How to Fix Under-Extrusion Issues in 3D Prints
Prevent gaps and missing details in the finished print by fixing under-extrusion issues.
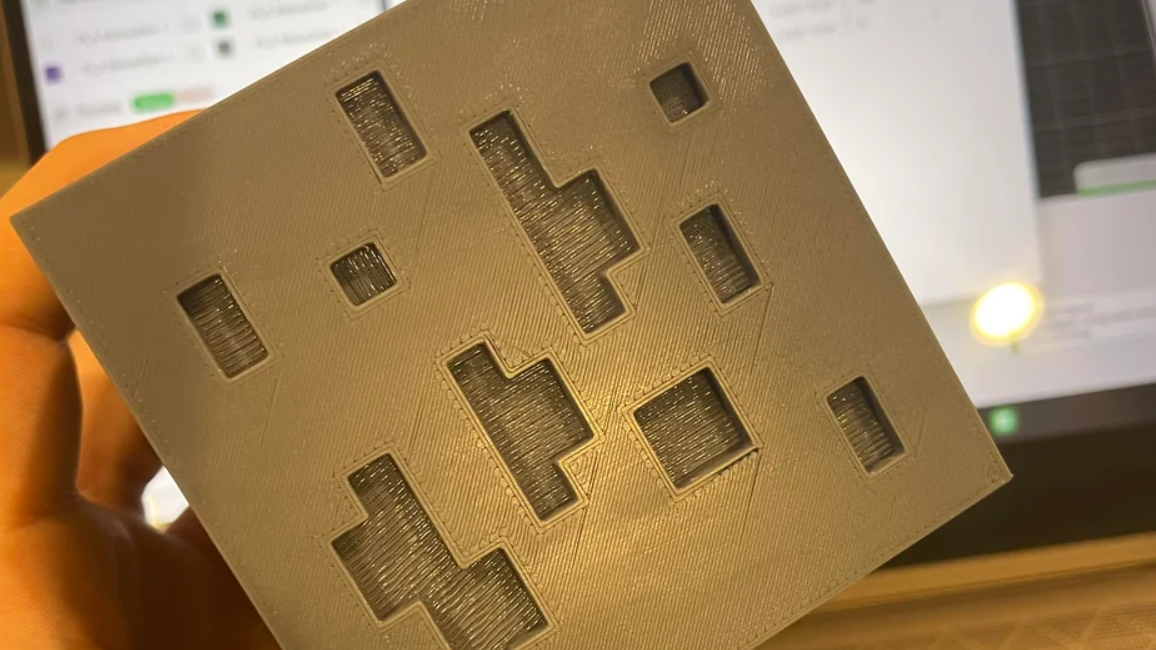
If your 3D printer does not deposit enough filament during printing, it might have under-extrusion issues. When the printer is supposed to extrude a specific amount of filament, it falls short of that amount, resulting in various issues with your print quality, like poor layer adhesion, stringing and oozing, and even imperfections in the surfaces. Under-extrusion can result from many factors, and you need to take your time to know the root cause and fix it. Below we highlighted the different ways you can use to fix under-extrusion problems.
Method 1: Clean the 3D Printer Nozzle
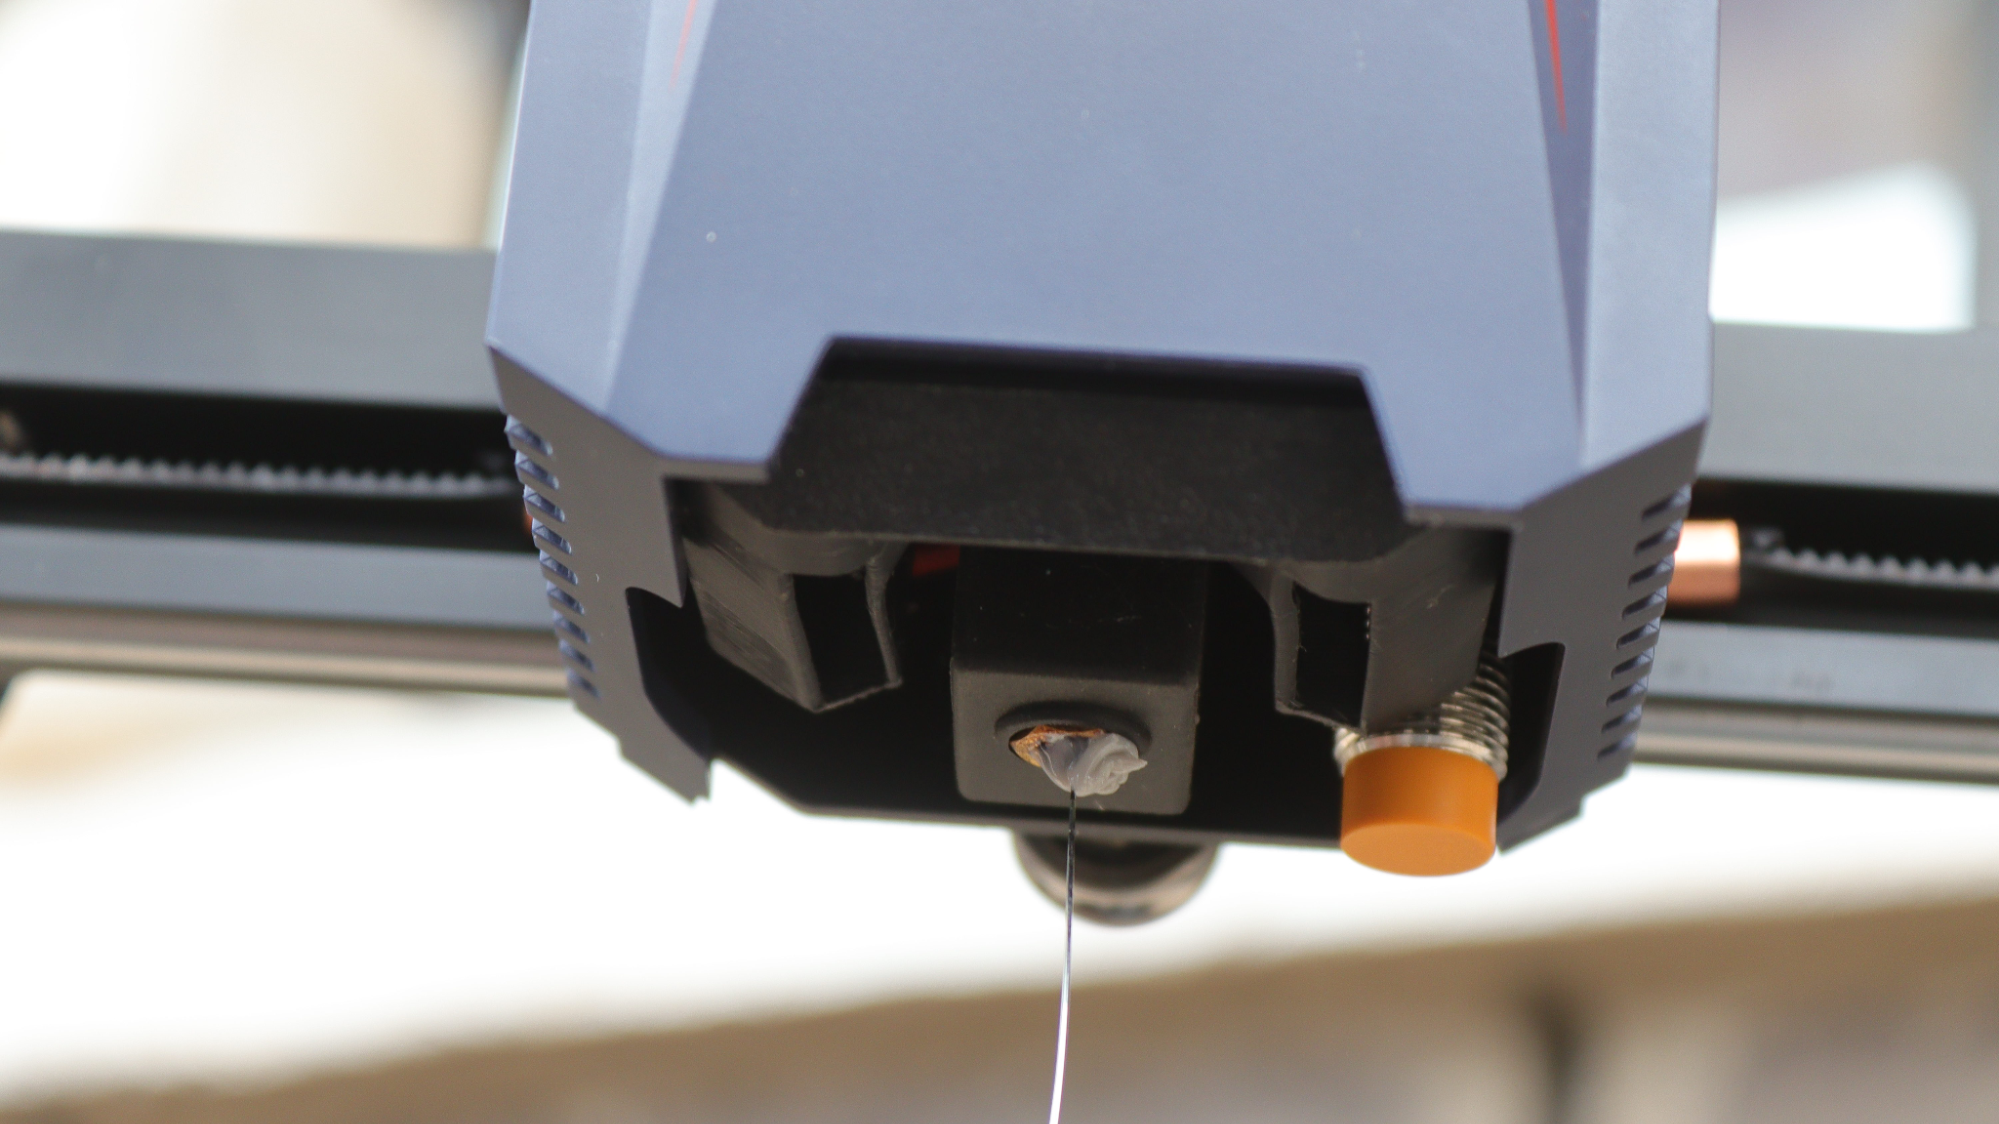
Start by checking the nozzle for any blockages and clean it. You can use a sharp needle or wire to see if it will unclog the nozzle.
If it doesn’t, you can try the cold pull method. Follow the steps below to use this method.
1. Remove the Bowden tube from the extruder.
2. Heat the hotend to the temperature suitable for the filament type you have been using. For example, 200-220C if you are using the PLA filament.
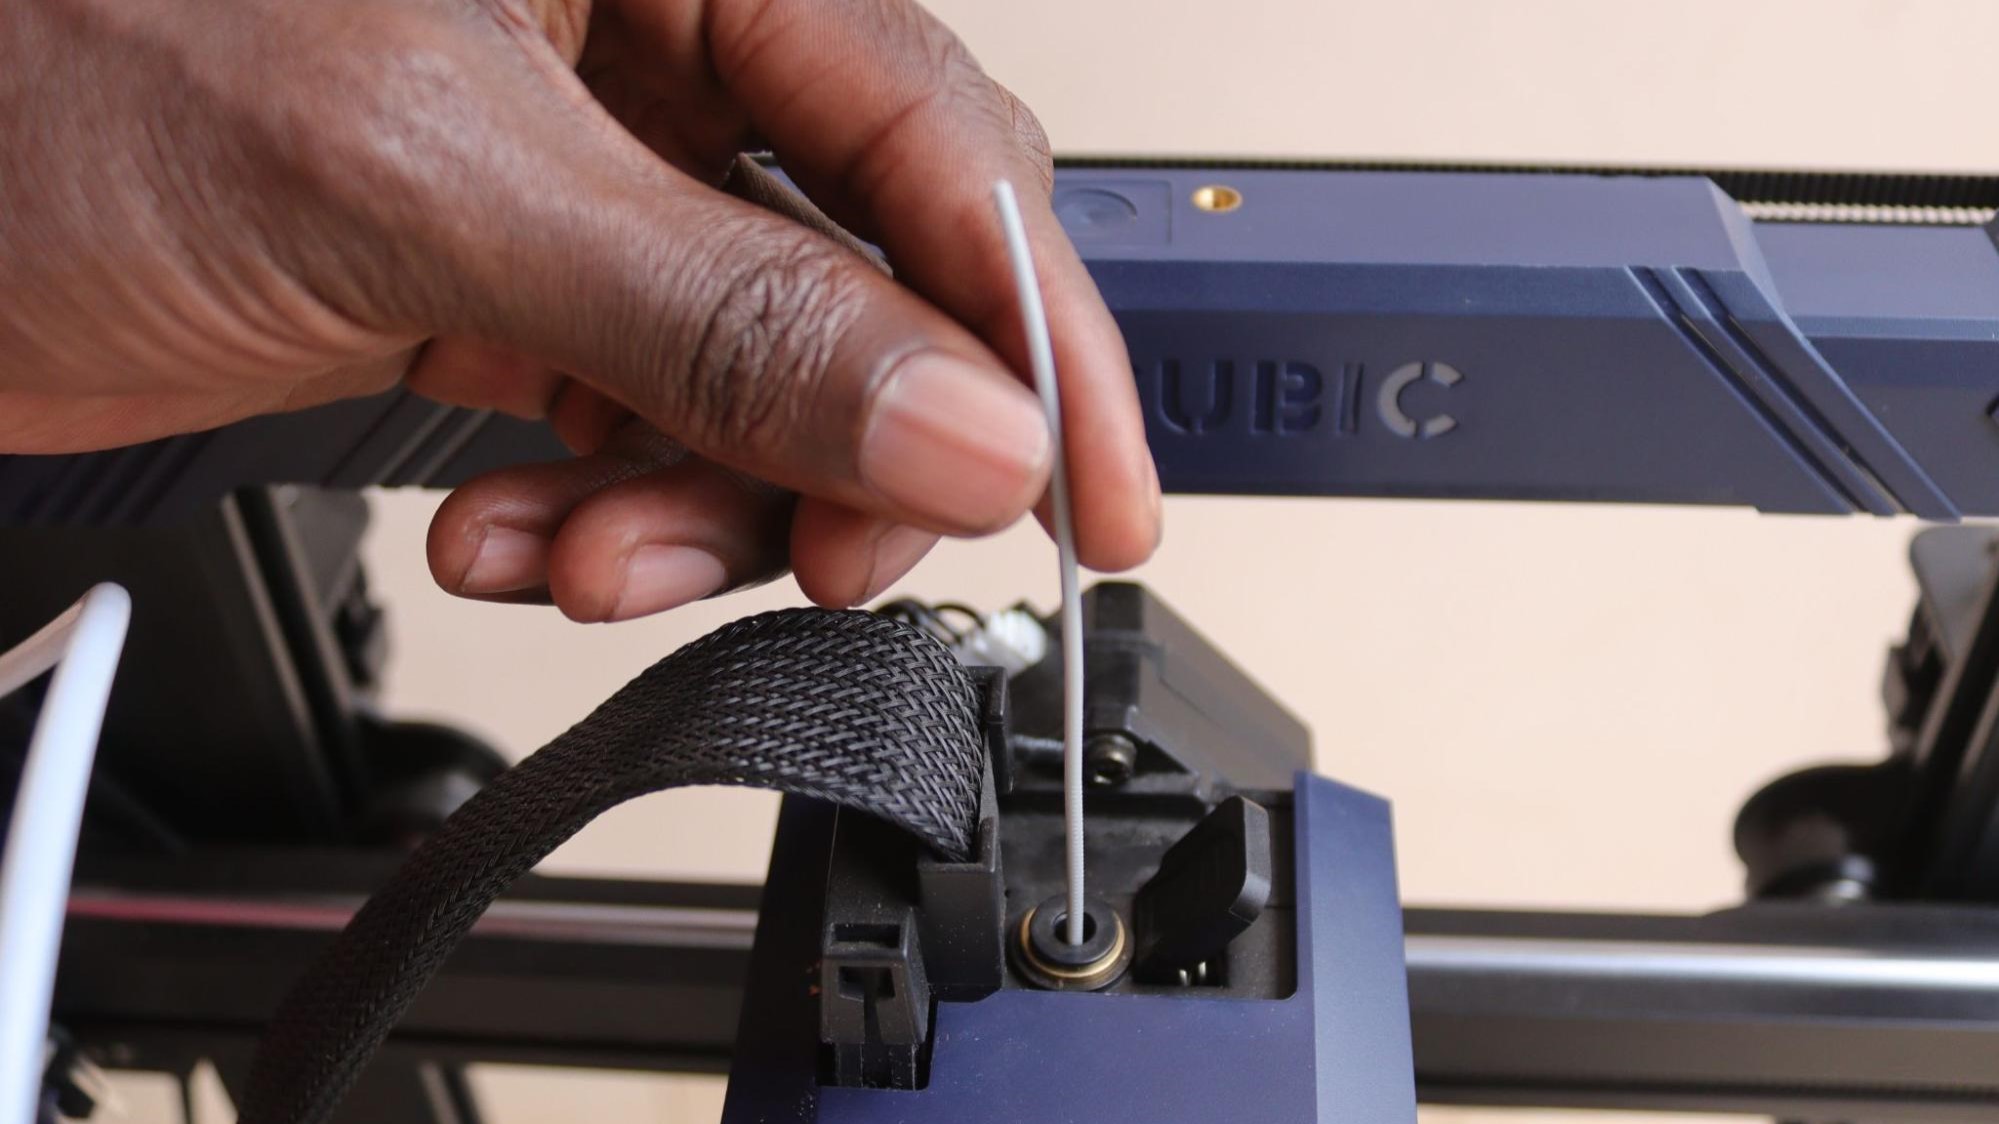
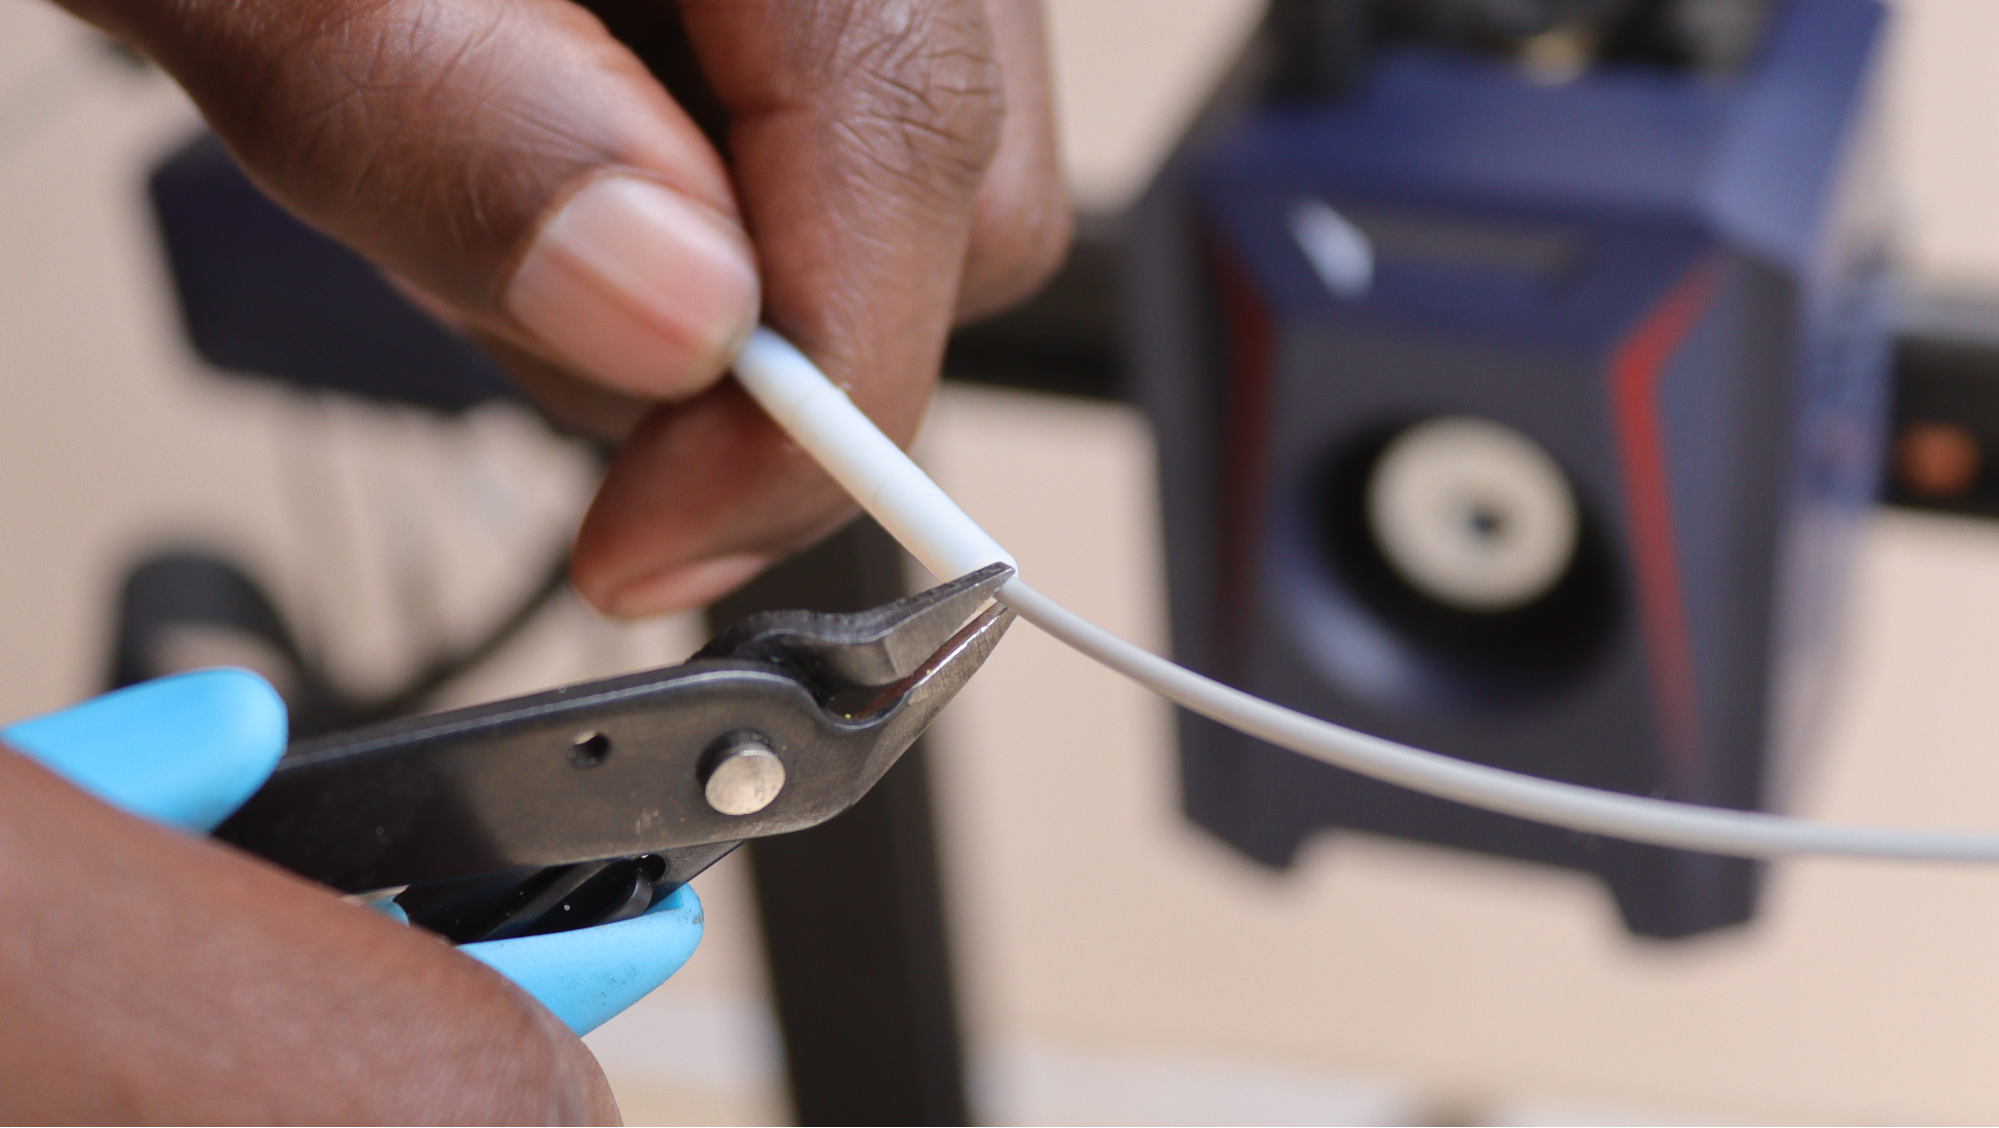
3. Cut a small length of filament to use for the cold pull. Ensure it’s from the filament you will be using.
4. Insert the small filament into the hotend, then wait till you see it starting to ooze out.
Get Tom's Hardware's best news and in-depth reviews, straight to your inbox.
5. Cool down the hotend until it reaches around 60-90C.
6. Apply a little pressure, then quickly pull the filament out of the hotend. The goal is to ensure that the filament has much contact with the nozzle walls to remove any debris as you pull it out.
7. Inspect the filament and check if it has any signs of debris. The cold pull successfully cleaned the nozzle if it had residue at the tip, but you can still repeat the process if more clogs are present.
The above method should fix the issue, but you should consider removing it and soaking it in a cleaning substance if it doesn't. Follow the steps below to do so.
1. Heat the hotend to the normal printing temperature for your filament like we did above.
2. Soak the nozzle in a container with a cleaning solution like acetone. Then allow it to soak for a few minutes to loosen any clogs or residue that might be stacked.
3. Wipe and dry the nozzle using a soft cloth, then reassemble it back into the hotend, ensuring it is properly seated and tightened.
4. Load the filament again to the extruder and see if it extrudes consistently.
Method 2: Check the Extruder Components
Some parts of the extruder, especially the tensional arm and the gear system, might experience wear and tear over time, and this can result in cracking or breakage at some point as it feeds and pushes the filament to the hotend. This is a common issue in Ender 3 users, as indicated in the responses on the under-extrusion issue on Reddit.
A broken 3D printer extruder may not apply even pressure on the filament, leading to inconsistent feeding. So, inspecting the extruder and seeing if any part is broken and, if necessary, repairing or replacing it is crucial. If your 3D printer uses a plastic extruder, you should consider switching to a metal one.
Moreover, even if the tensional arm and gear systems are okay, applying too much or low pressure to the filament on the extruder might cause issues. So you should check the strews or tensions on the extruder to ensure that they are not too tight or loose.
Method 3: Check Your Filament
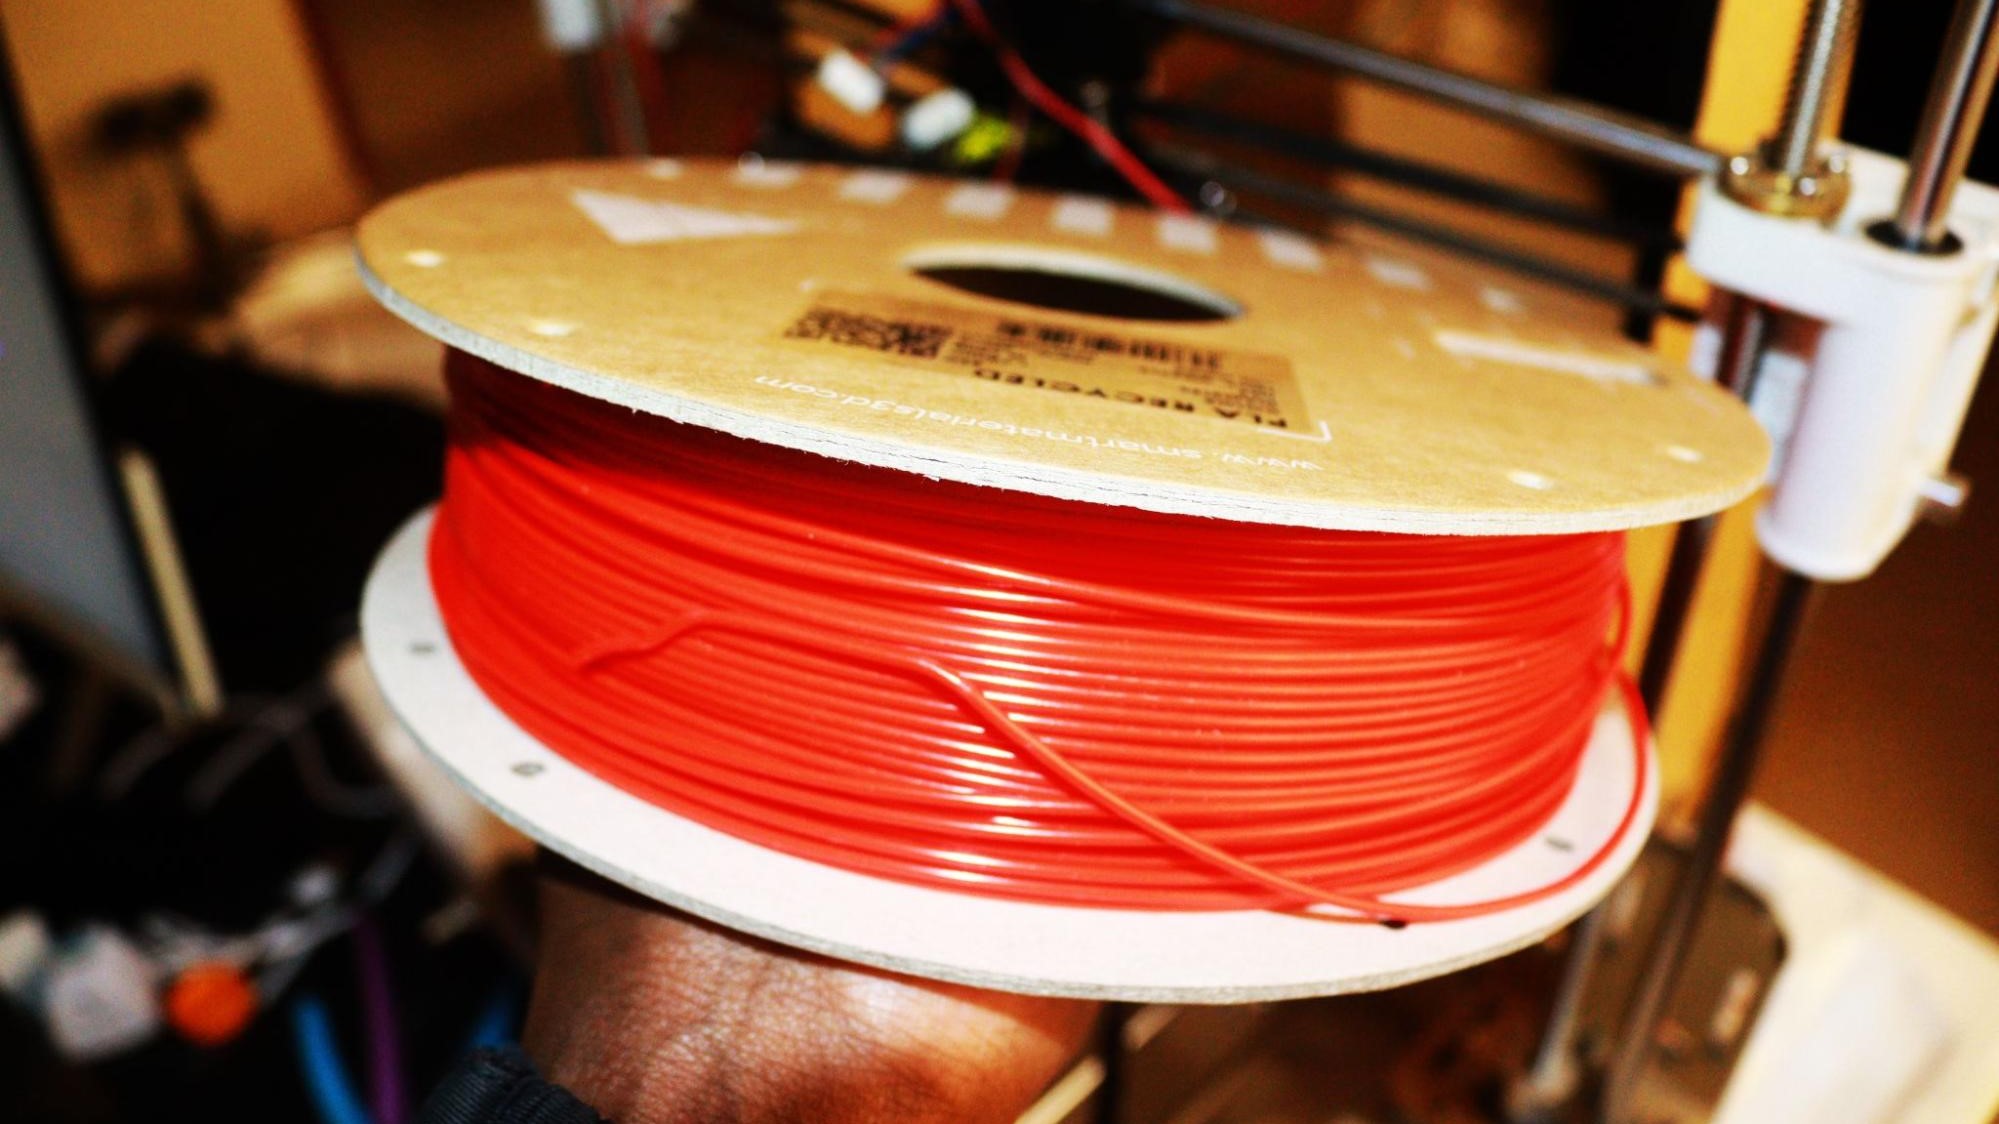
Inspect the filament for any tangles or knots that can cause resistance and affect the smooth flow of the material. It’s also important to ensure that the filament you are using matches the diameter of your nozzle. You can measure using a caliper or a filament gauge. Also, make sure the filament spool is mounted correctly, allowing the filament to unwind smoothly.
Additionally, you should ensure the filament you are using is of high quality as those of low quality might have irregularities in the diameter and even inconsistency in material composition. Impurities can also contribute to under-extrusion issues, so using a clean filament is essential.
Also, properly store your filament in a dry and dust-free environment, as moisture absorption can affect the filament's properties. Consider using airtight containers or filament dry boxes to maintain optimal filament conditions.
Method 4: Inspect the Bowden Tube for Severe Wear and Tier
Any wear or damage to the Bowden tube can affect impact filament flow, leading to under-extrusion issues. Though this is not a common cause of under-extrusion, it’s important to take the time to check if it has any issues.
You can examine the entire length of the Bowden tube for any visible signs of wear or cracks as you pay attention to areas where the tube bends or enters fittings.
If possible, you can remove it and inspect it more closely and ensure that the inside diameter of the tube is smooth and free from any obstructions, such as melted filament or debris. Any blockages can hinder the smooth flow of filament. If you notice any severe issues, you should consider replacing it with a new one.
Method 5: Perform Extruder Calibration
Calibrate the extruder steps per millimeter to ensure it accurately feeds the expected amount of filament. Before adjusting your extruder settings, you must know if your extruder setup is Bowden or direct drive. In Bowden, the motor is located on the frame of the 3D printer, and in direct drive, it is mounted directly on the print bed, usually above or beside the hotend.
Follow the steps below to calibrate your 3D printer extruder.
1. Remove the tube from the hotend and cut the filament at the end of the tube if you are using a Bowden extruder.
If you are using a direct drive, you will take a caliper and measure around 100-150mm, then mark the filament at that length.
2. Send a G-code command to your 3D printer to extrude a specific length of the filament. For example, G1 E100 F100 will extrude 100mm of filament at a 100mm/min speed.
3. Measure the distance from the mark on the filament to the entry point of the extruder if you are using a dual extruder. This measurement represents the actual extruded length. If you are using a Bowden extruder, you will measure how much filament came out of the tube.
4. Calculate the new steps/mm value using the formula: New Steps/mm = (Current Steps/mm) * (100 / Actual Extruded Length), then update it.
5. Repeat steps 4 to 7 a few times to ensure consistency. Calculate a new steps/mm value each time and update the firmware settings accordingly.
Method 6: Adjust Your Slicer Settings
There are settings in your slicer that can affect extrusion. One of those settings is the temperature. Ensure that the settings you use are appropriate for your specific filament material. You can consider printing a smart temperature tower to determine the ideal temperature for your specific filament.
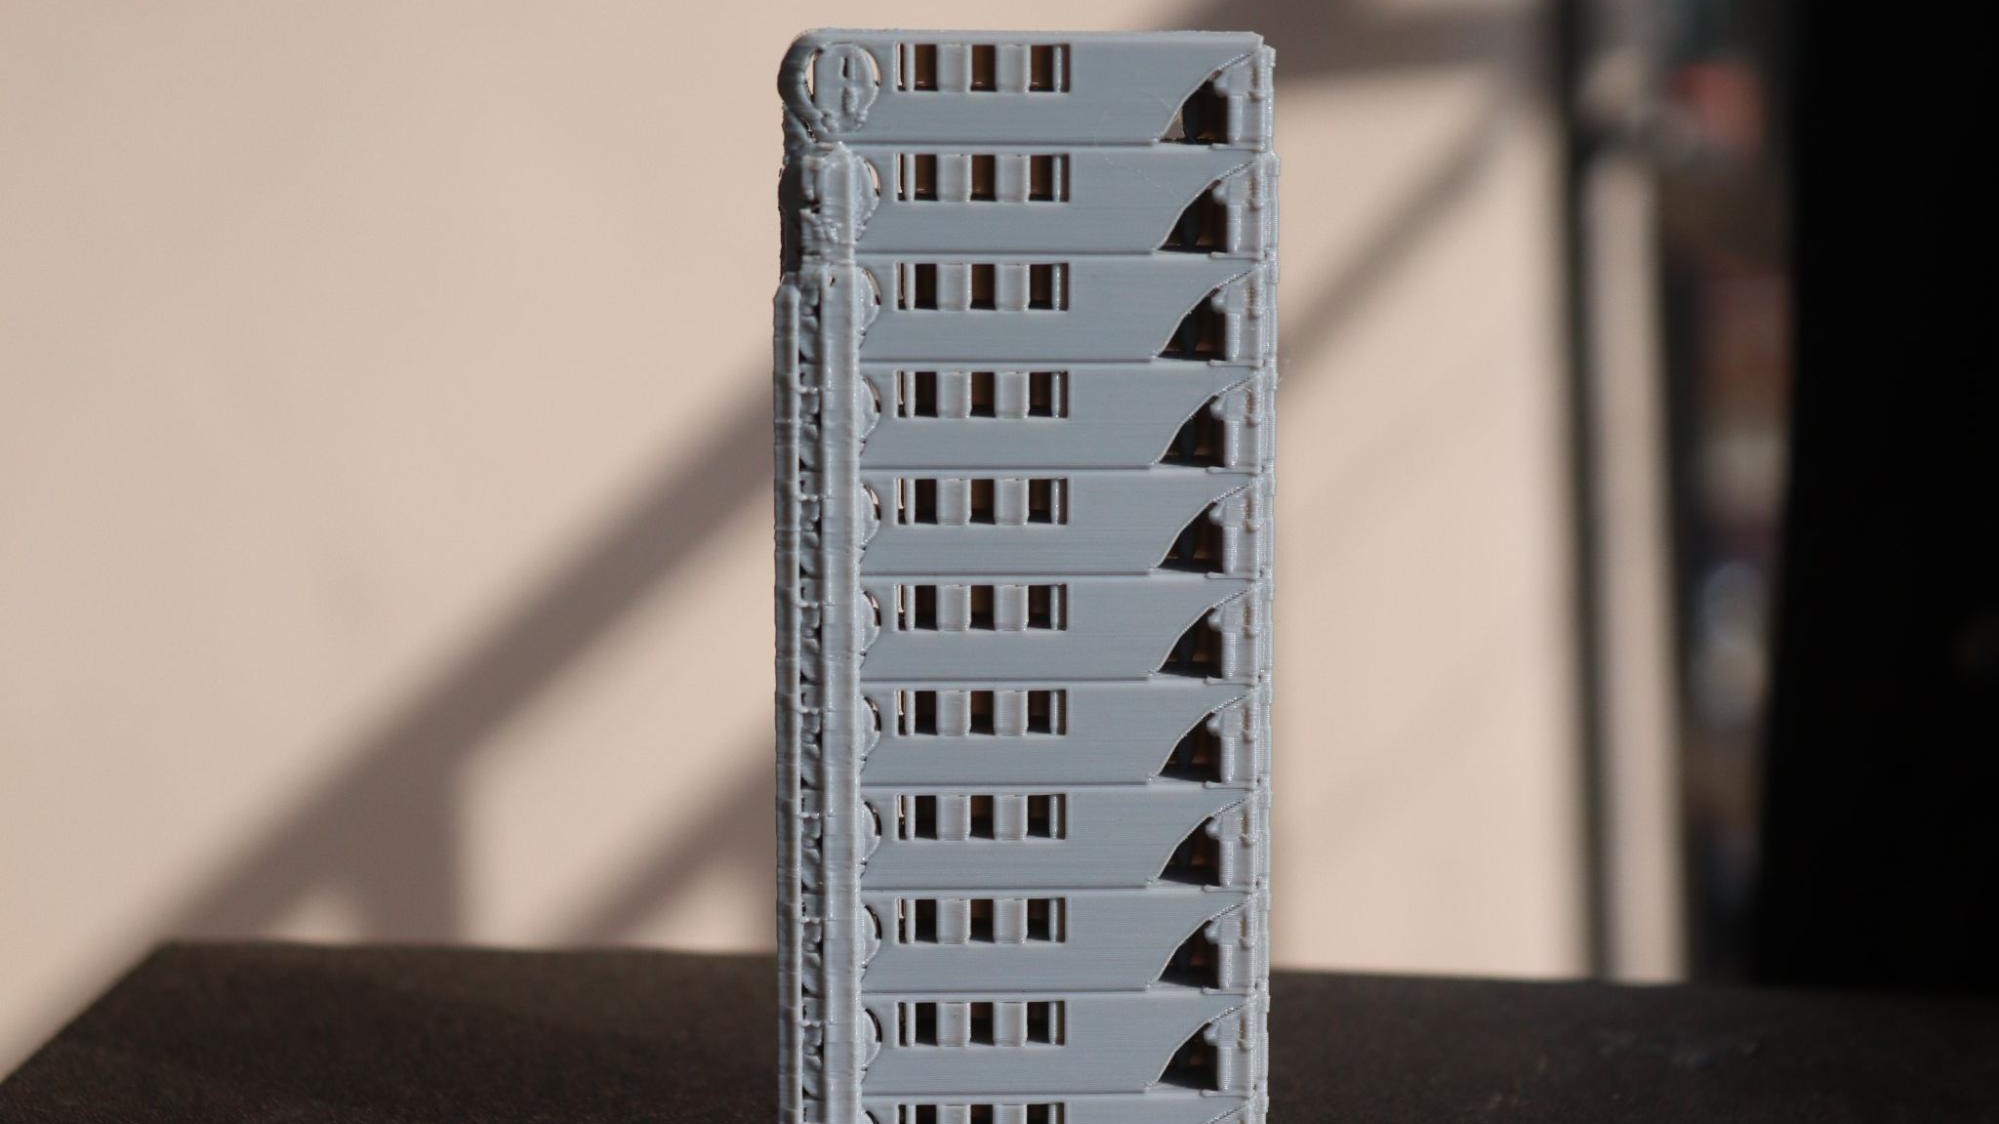
The temperature tower comes with different temperature segments, allowing you to identify the temperature that produces the best print quality.
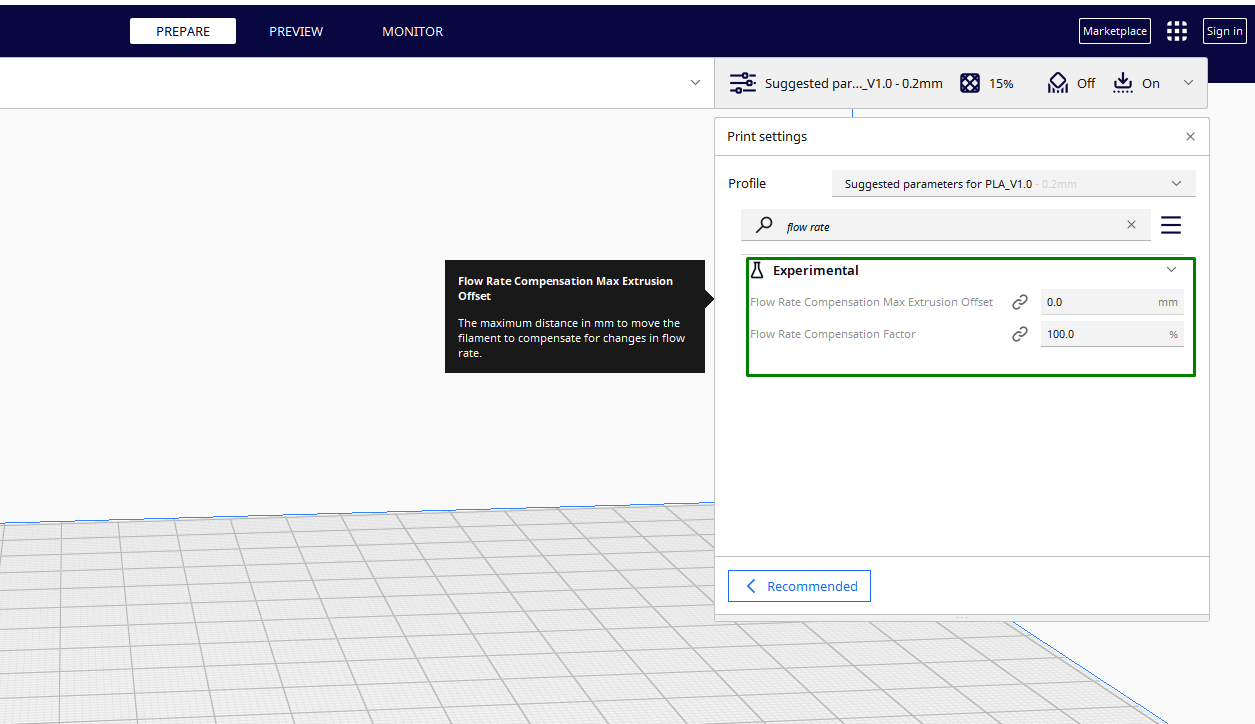
You should also check the flow rate compensation settings. This is an option to compensate for flow rate variations within a print. This feature can help address under-extrusion issues in specific parts of the print. You can find these settings in the Experimental section of the slicer.
Also, consider adjusting the print speed to ensure the extruder can keep up with the required filament flow. Reducing the print speed can help prevent under-extrusion, especially in complex or detailed parts.
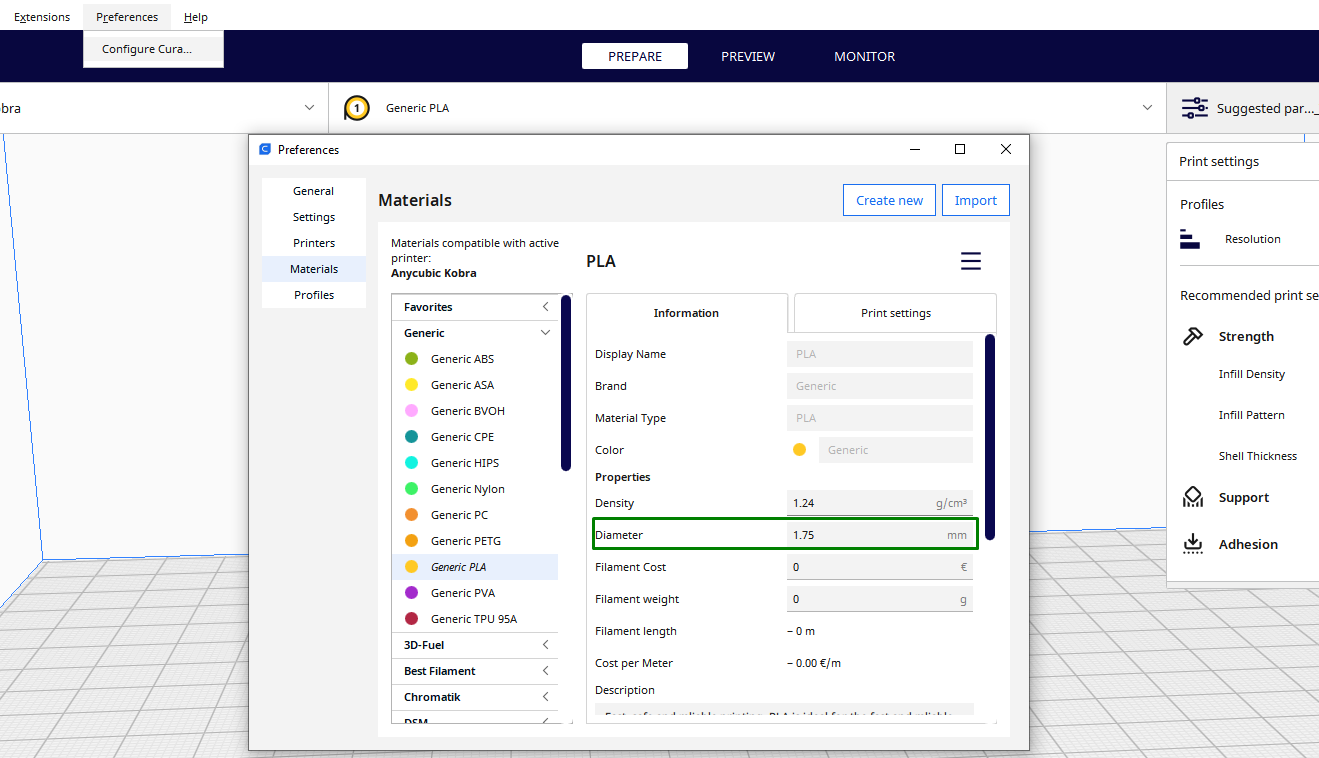
In addition to temperature and speed settings, ensure you set the filament diameter accurately in your slicer material settings. If you are using Cura slicer, go to Preferences > Configure Cura, then select your material. In my case, it’s PLA filament, so I will click Generic PLA then adjust the diameter.
If the value is incorrectly configured, it can lead to under-extrusion issues during 3D printing.
Method 7: Check Hardware Components
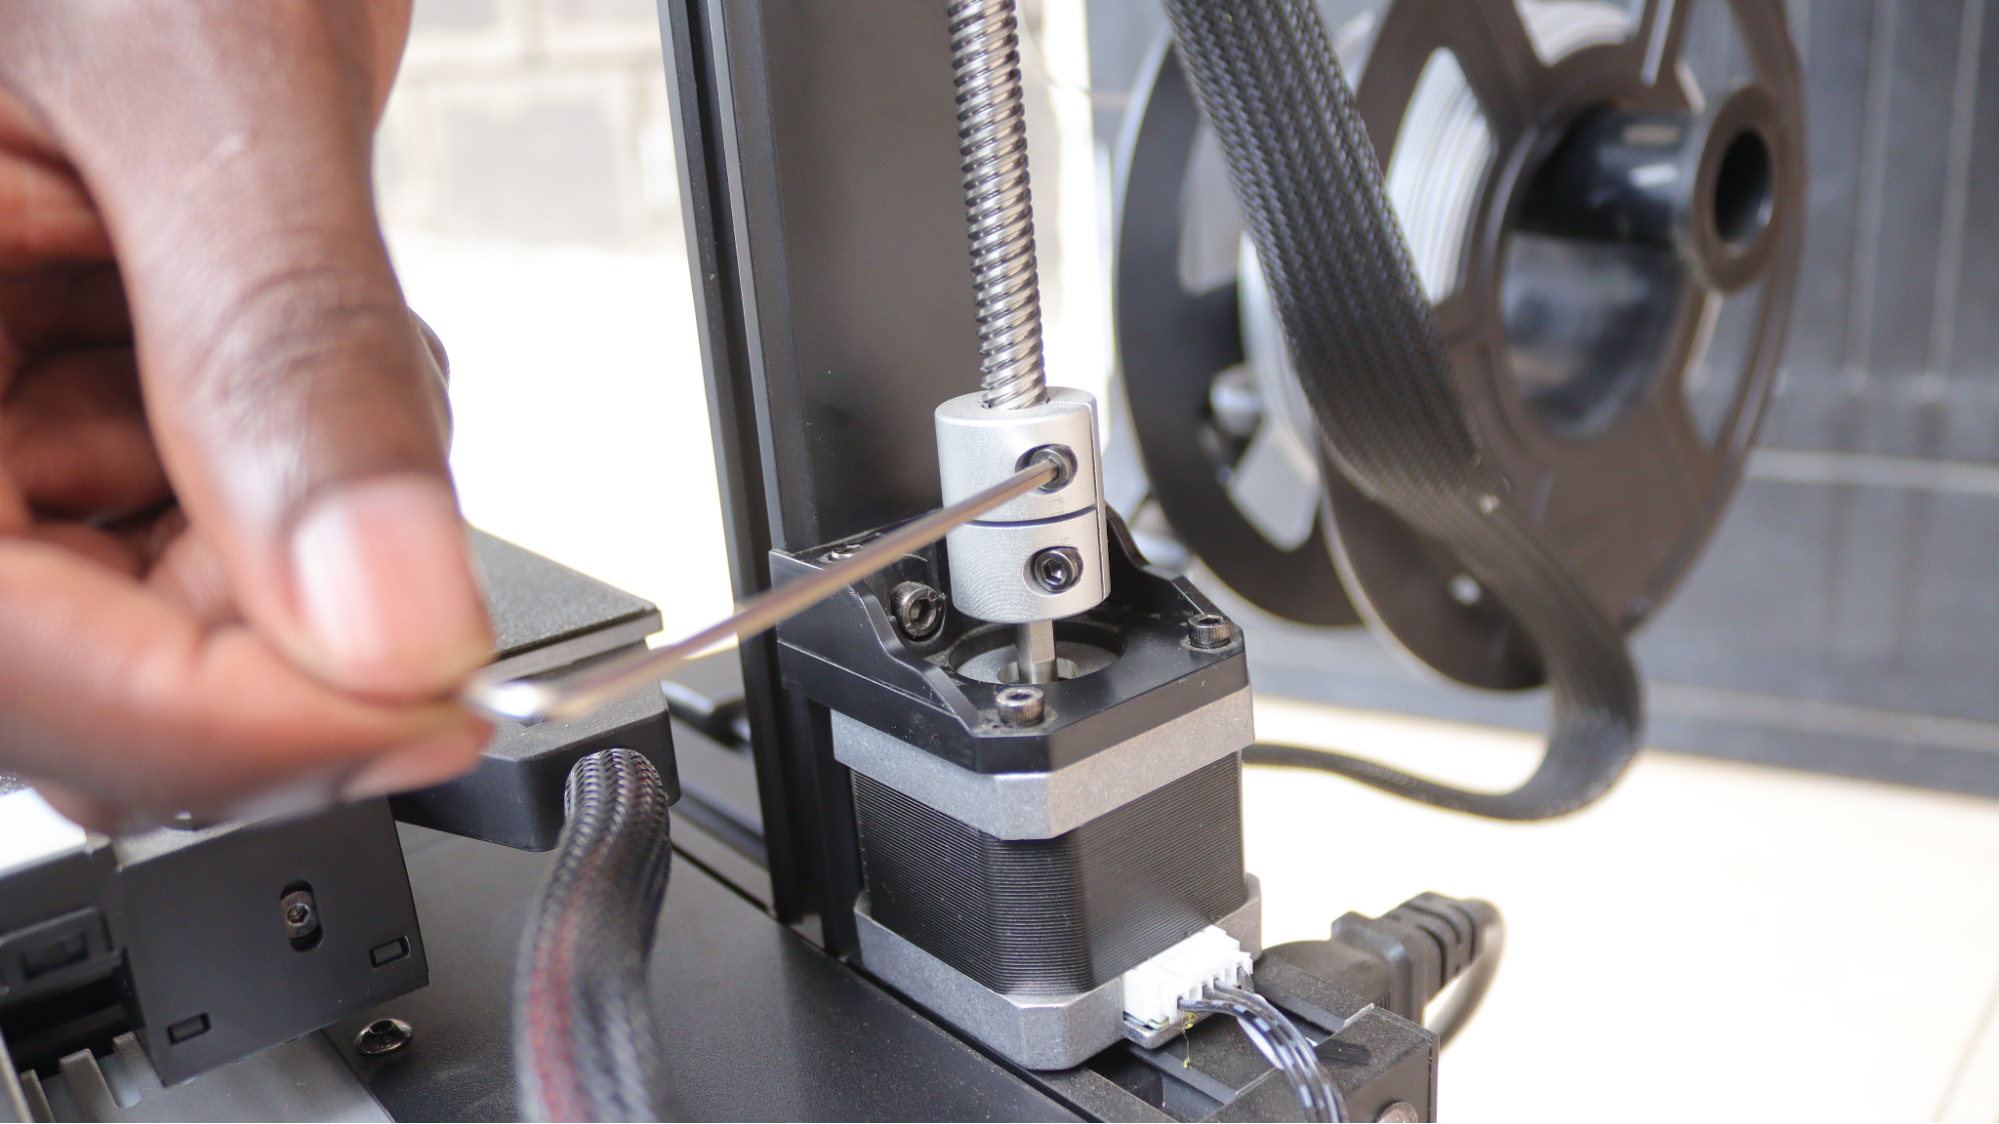
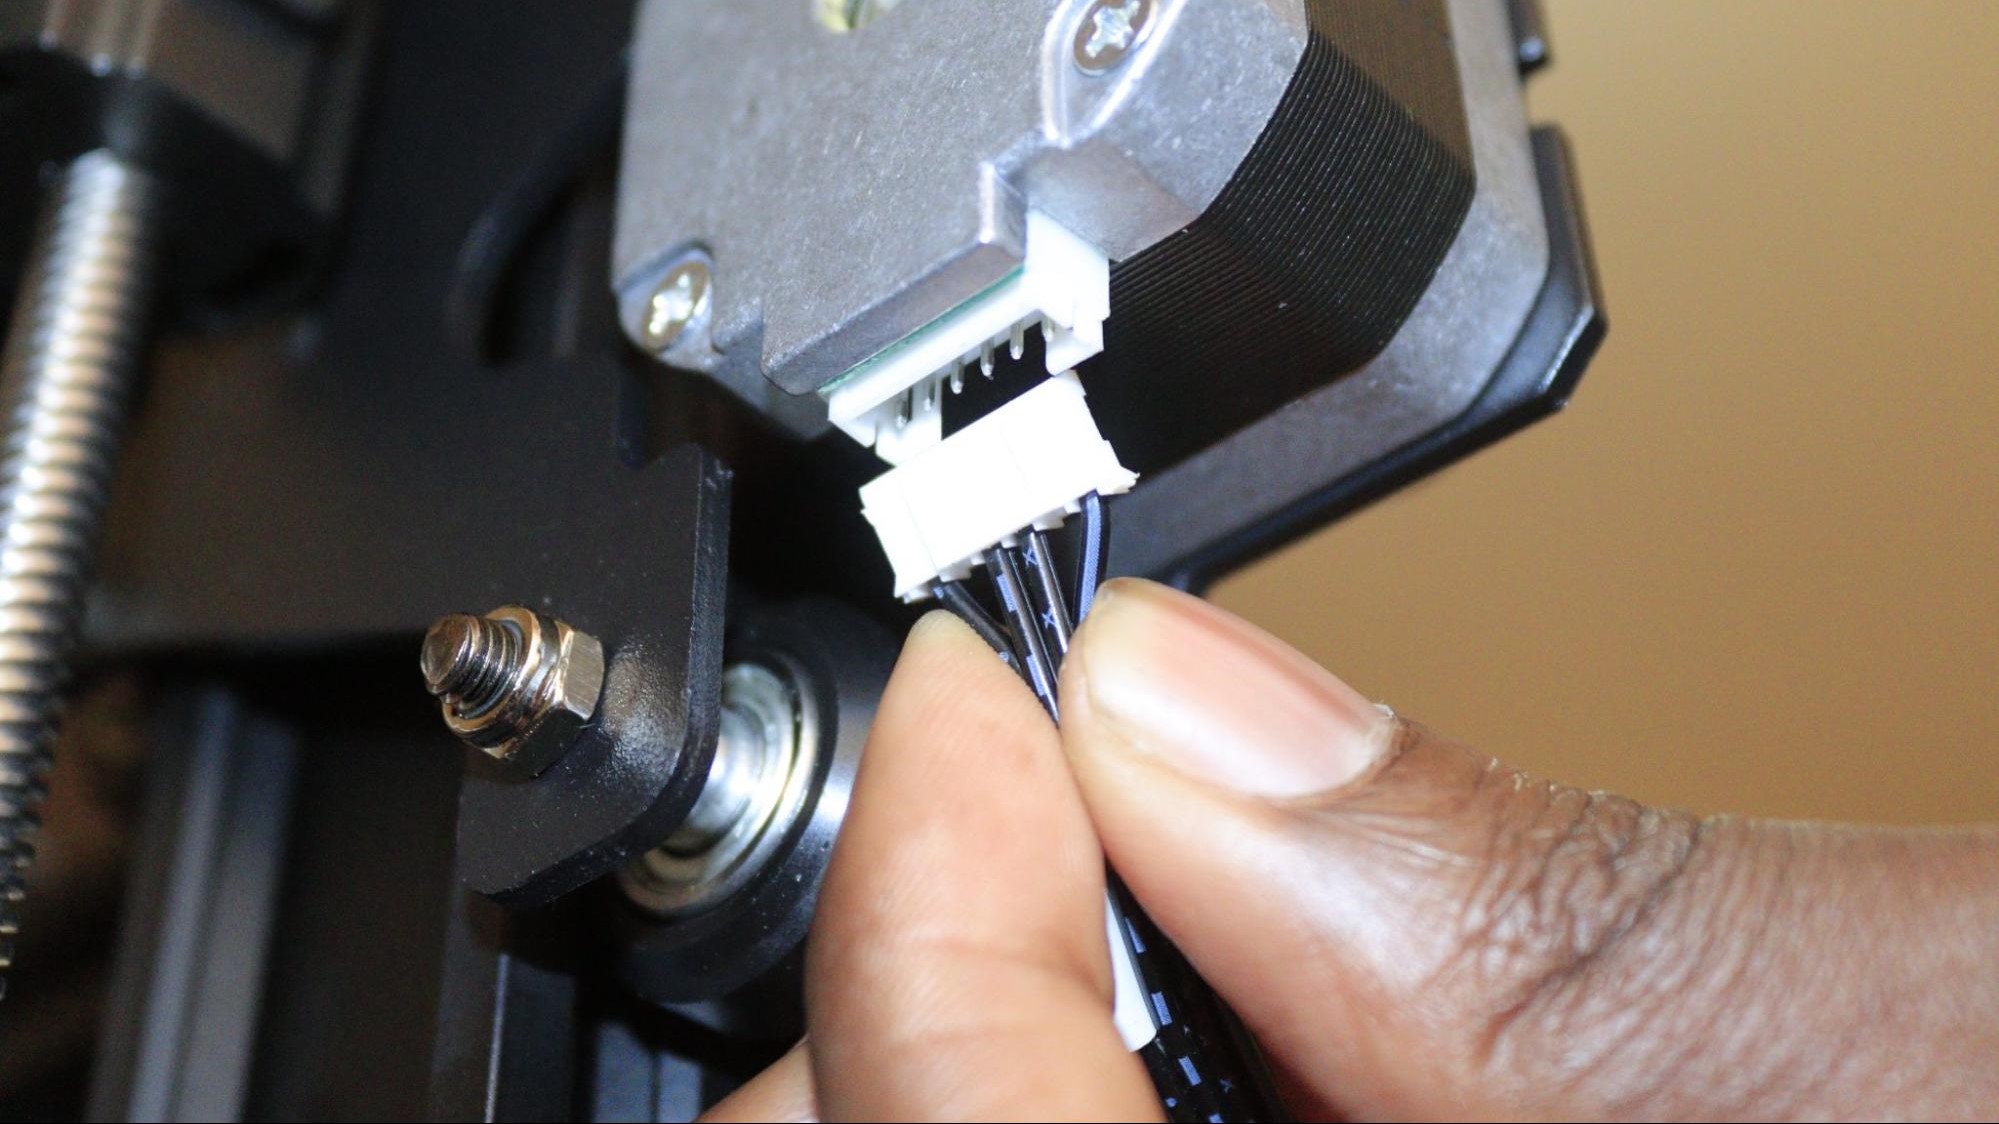
Begin by checking the extruder motor for any physical damage or abnormalities. You can also look for signs of overheating and loose connections. After that, check the stepper drivers and motors and ensure they are correctly set and not slipping.
You can inspect all wiring connections and ensure you insert and secure them correctly in their respective ports.
Remember that tangled wires could cause intermittent issues with the motor's operation.
Method 8: Adjust Retraction Settings
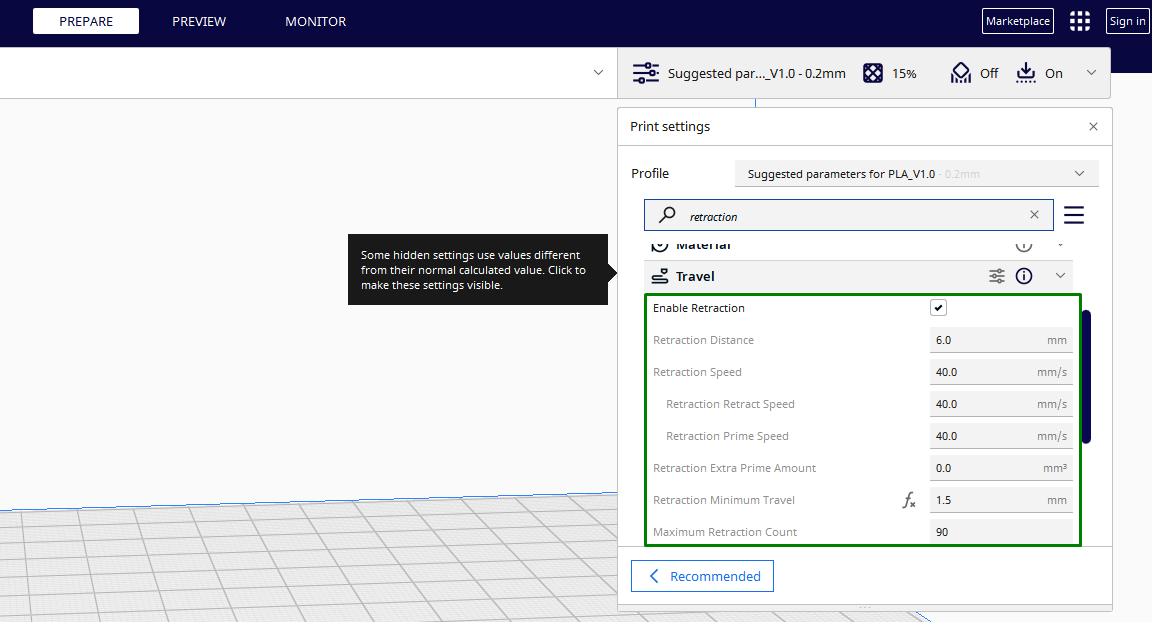
Fine-tuning the retraction distance and speed as the hotend moves between non-printed sections can effectively resolve the issue. This adjustment improves filament flow control during non-printing movements, preventing filament oozing and ensuring consistent filament deposition when the print head reaches the intended 3D printing section.
When the retraction settings are not set correctly, you might experience under-extrusion in some sections, and other sections will experience over-extrusion as the filament oozes. Also, there can be issues with stringing.
You can access retraction settings in the Travel section of the print settings.
Optimal retraction settings may vary, but you must experiment with different retraction distances and speeds and perform test prints. The retraction test model from Thingiverse is a good test print that you can use to find the correct retraction settings.
If you try all the above techniques, you should be able to fix the issue. If not, you should consider replacing the entire extruder and see if the issue has been resolved and the print quality has improved.
MORE: Best 3D Printers
MORE: Best Budget 3D Printers
MORE: Best Resin 3D Printers
Sammy Ekaran is a freelancer writer for Tom's Hardware. He specializes in writing about 3D printing tutorials and guides. You can find more of his work on various publications, including Makeuseof, All3dp, and 3Dsourced.
-
OldWalter____IsMyDog Hello Sammy! I'm LOVING this whole series - one odd problem - I can't seem to find how to get a list of all of them on the website. When I'm on the homepage, there's no link to the "how-to" section, and when I click on the 3d printers link at the top, it just takes me to the current page of purchase recommendations. How do I make sure I'm seeing this entire series? It's excellent and I don't want to miss any of it! Thanks!Reply
