HTC Vive Setup Procedure
Get Tom's Hardware's best news and in-depth reviews, straight to your inbox.
You are now subscribed
Your newsletter sign-up was successful
Setting Up HTC Vive
The HTC Vive is the most advanced VR system that you can buy for home use today. It allows you to use your hands to interact with digital environment, and it can track you in a space as large as 15 x 15 feet so you can move around within virtual worlds. The Vive system, which couples with Valve's Steam VR platform, also offers room for expansion with a proposed lineup of accessories that should hit the market later this year.
Setting up the Vive system isn’t complicated, but it does require some planning. You need a large enough play area, power for everything, and somewhere to mount the Lighthouse Base Stations tracking system.
Follow this guide to avoid any unforeseen problems with your installation and configuration.
MORE: Best Virtual Reality HMDs
MORE: Virtual Reality Peripherals And Accessories
Take Stock Of Your Components
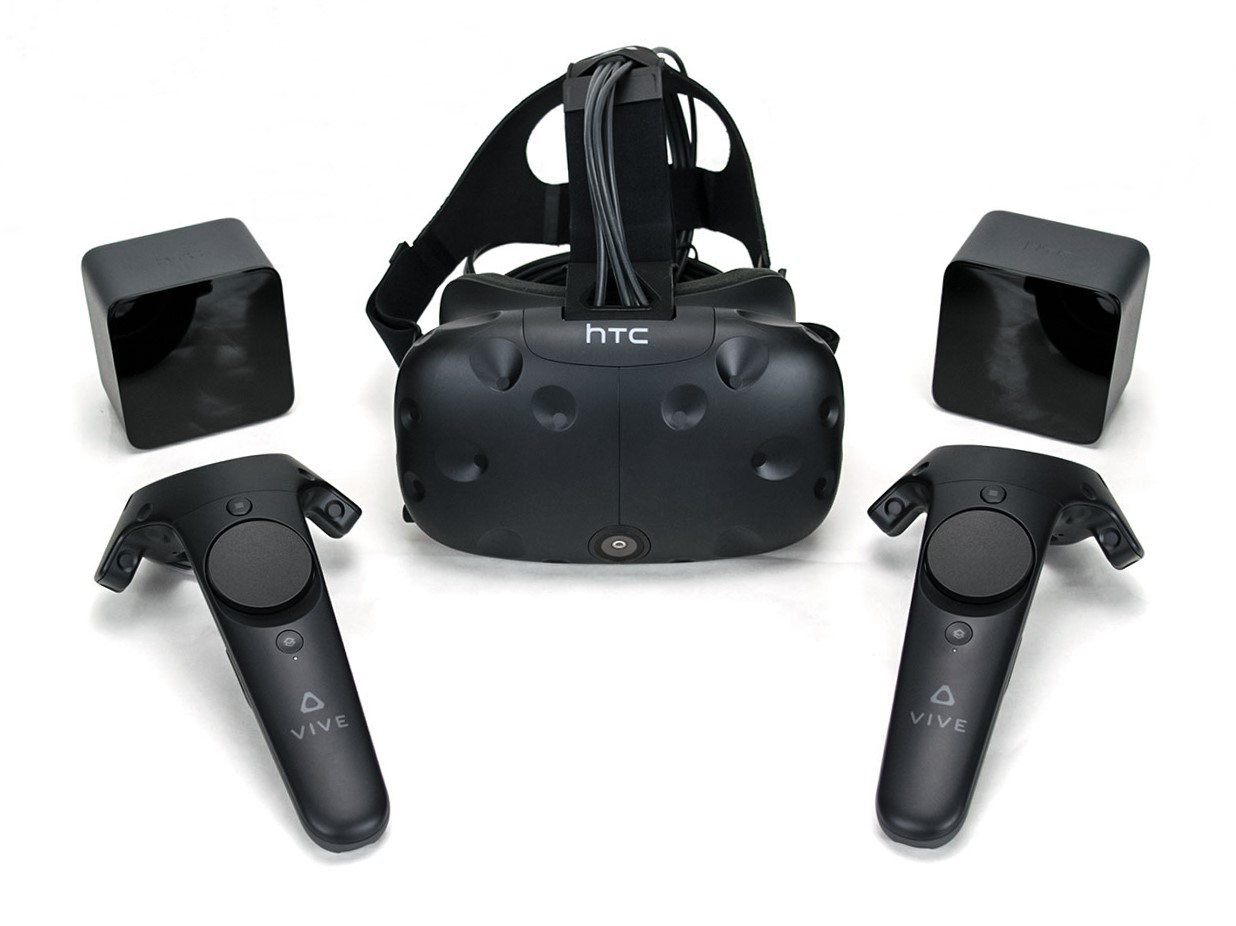
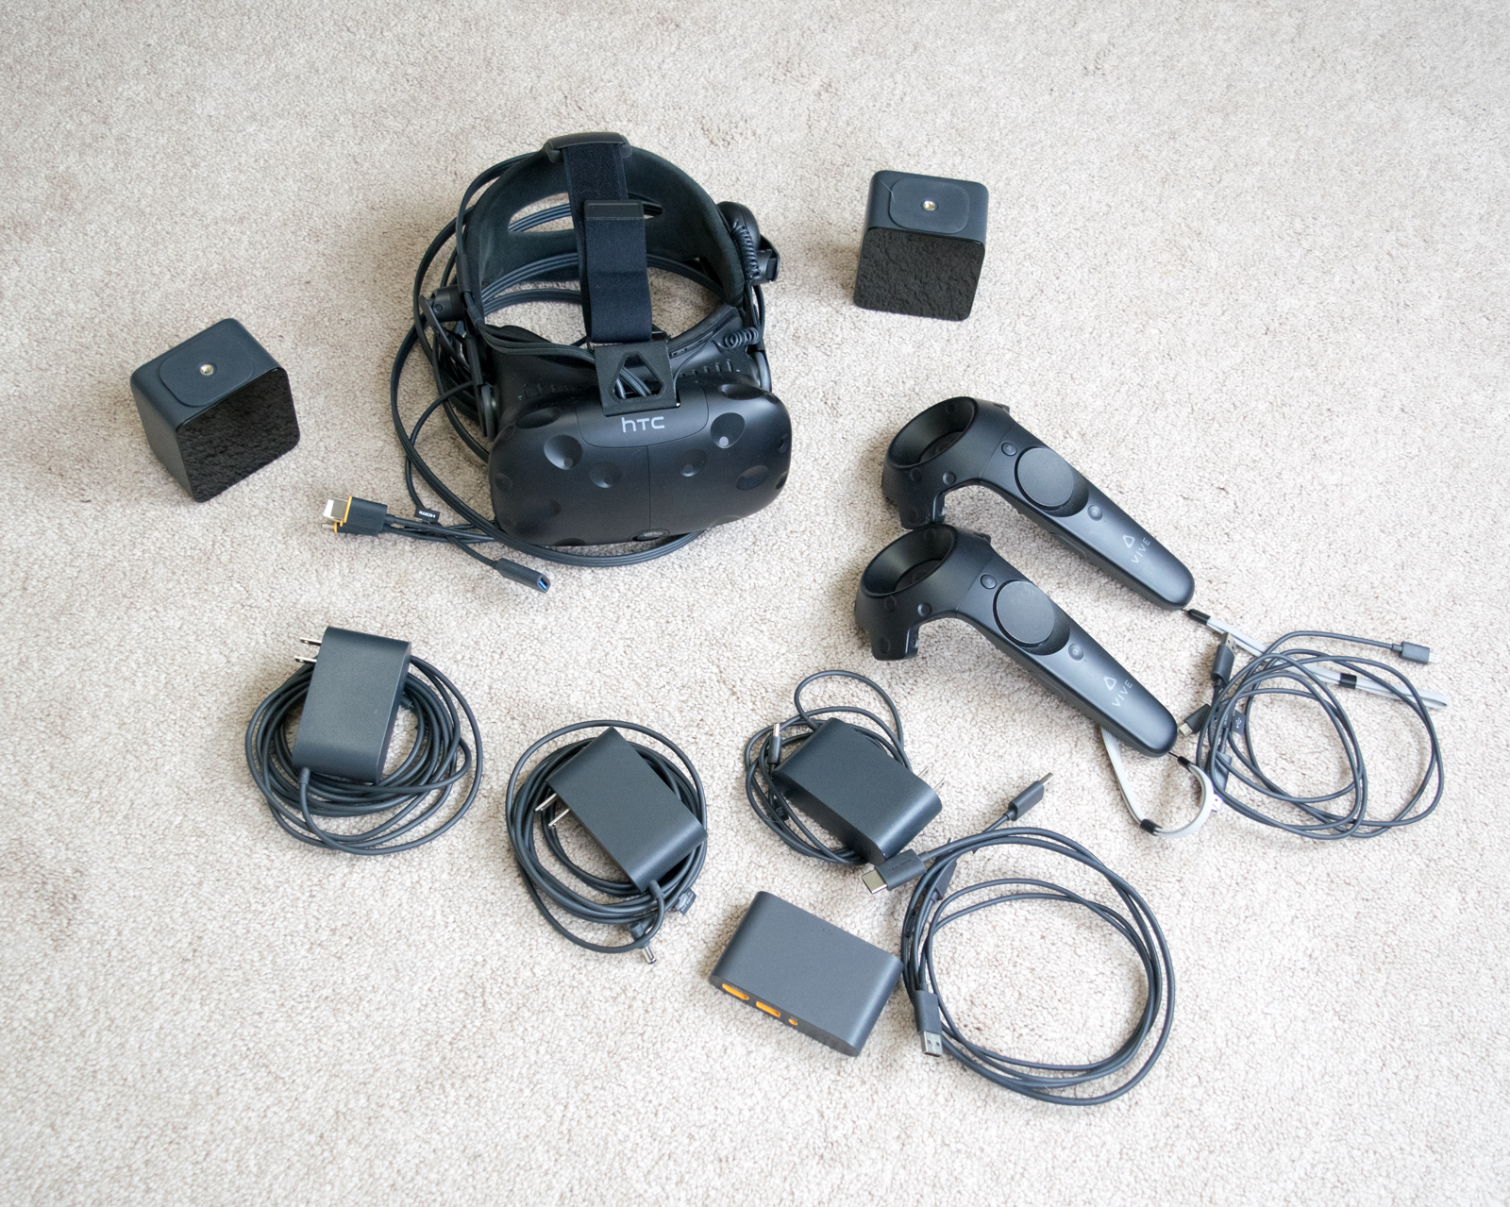
The HTC Vive package includes many components. Before you get started, you would be wise to take an inventory of the different parts and organize them into relevant groups.
You should put both Base Stations, the two long power cords, and the 50-foot sync cable into one group. The second group includes the Link Box, the short power cord, and the HDMI and USB cables. The Vive HMD and the two wand controllers form the third group.
Get Tom's Hardware's best news and in-depth reviews, straight to your inbox.
The Vive package also includes a couple of extra pieces. You get a second foam face cushion and piece of rubber with a mild adhesive on both sides to hold the Link Box on your desktop. You’ll also find a pair of HTC earbuds in the box. Put the extra parts off to the side; you won’t need them for the setup process.
MORE: Best Virtual Reality HMDs
MORE: Virtual Reality Peripherals And Accessories
Software Installation: Vive Software
The Vive package includes all the hardware and none of the software--there's not even a driver disk in the box.
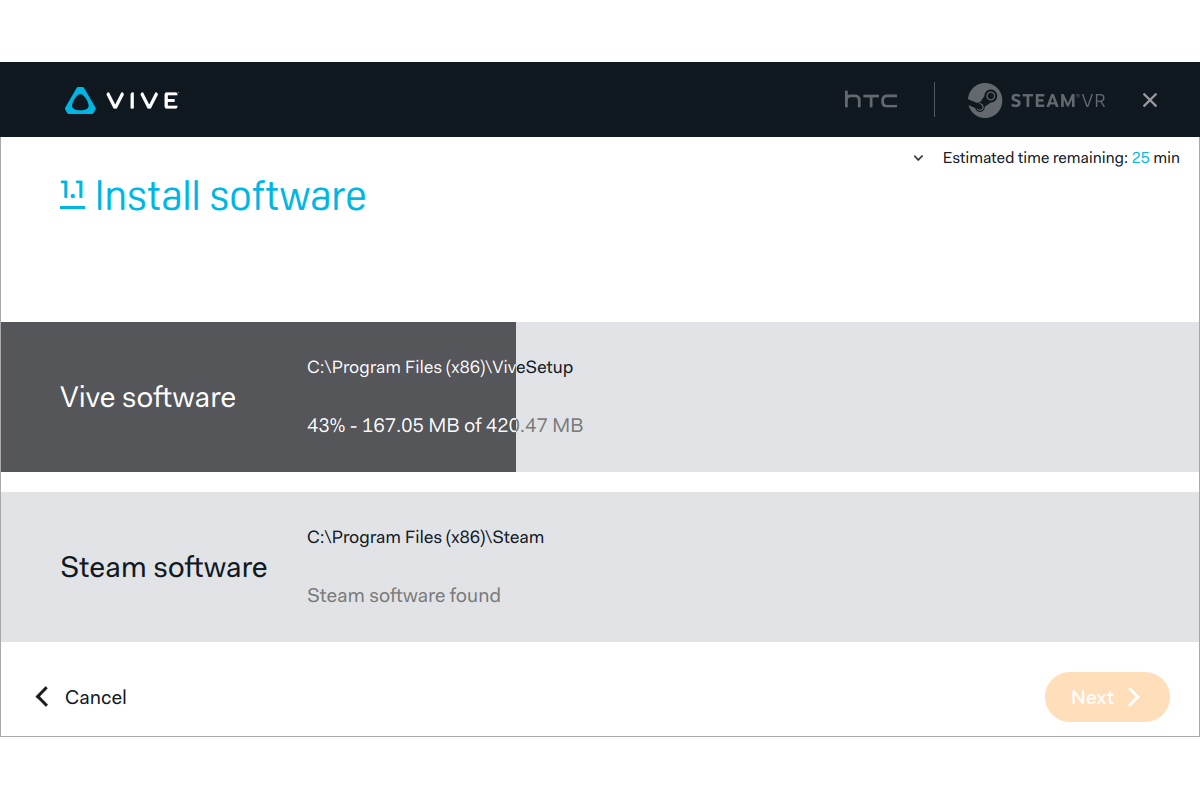
The instructions that come in the Vive’s shipping box direct you to download the Vive Setup software from www.vive.com/setup and install the Vive Desktop application, which provides a portal to Vive’s Viveport distribution platform. The Vive Desktop application also allows you to pair your phone to your Vive headset so that you can receive messages while in VR.
The Vive Setup software also checks your computer for Valve’s Steam application. If it finds Steam, it prompts you to log in. If not, the install proceeds to download Steam and install it for you.
MORE: Best Virtual Reality HMDs
MORE: Virtual Reality Peripherals And Accessories
Software Installation: Steam VR Only
The Vive Desktop application gives you access to Viveport and Bluetooth pairing, but it doesn’t install the drivers for the Vive HMD. If you don’t want Vive’s software on your computer, however, you aren’t forced to install it. You do need to have Steam and the SteamVR utility installed, though.
If by some chance you don’t have Steam on your gaming PC, you can download the client from www.steampowered.com. Once you have Steam running, open the Library and filter it for Tools. Locate SteamVR, right-click it, and select Install.
You can also wait until you’re ready to plug the headset in; when Steam detects a Vive HMD, it prompts you to install SteamVR if it isn’t already on the system.
MORE: Best Virtual Reality HMDs
MORE: Virtual Reality Peripherals And Accessories
Choose Your Play Space Wisely
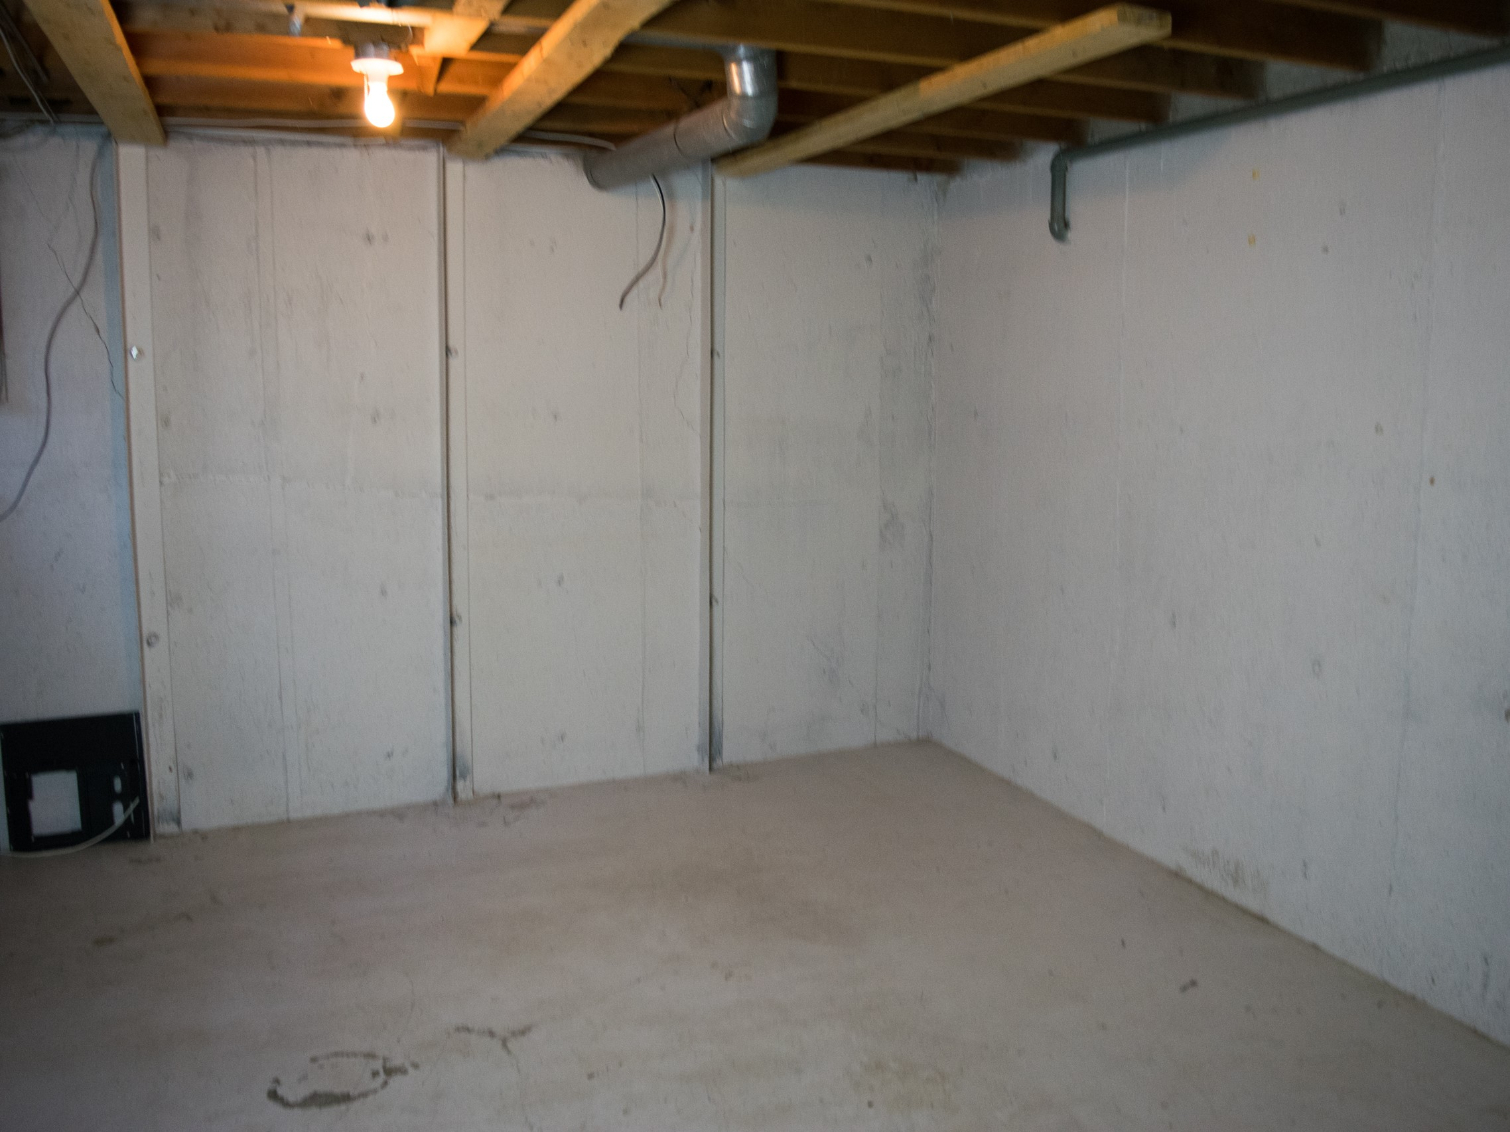
Room-scale VR requires at least 5 x 6.5 feet of floor-to-ceiling open space, but you can make your play area as large as 15 x 15 feet. Room-scale VR is more enjoyable with larger tracking volumes, so find a space that’s as close to the maximum as possible. Not everyone has even the minimum space available, but it shouldn’t be hard to find room for standing/sitting VR experiences, which the Vive still offers.
Remember to take the desk area for your computer into consideration. Your PC must be within range of the Vive’s 15-foot tether cable. You also want your PC far enough away that your monitor won’t be within range of your wildly swinging arms.
It’s also important to avoid reflective surfaces. Mirrors, windows, display cases, and even hardwood and tile flooring can all negatively impact your Vive’s tracking accuracy.
MORE: Best Virtual Reality HMDs
MORE: Virtual Reality Peripherals And Accessories
Take Flooring Into Consideration
You should try to find an area in your house with soft flooring, such as carpet. Carpet can help prevent damage to your hardware in case you drop it, and it's a softer landing spot in case you lose your balance and wipe out while playing a game. Carpet is also helpful because it doesn’t reflect light the way hardwood and tile floors do, and reflections from sunlight and bright overhead lighting can affect tracking accuracy.
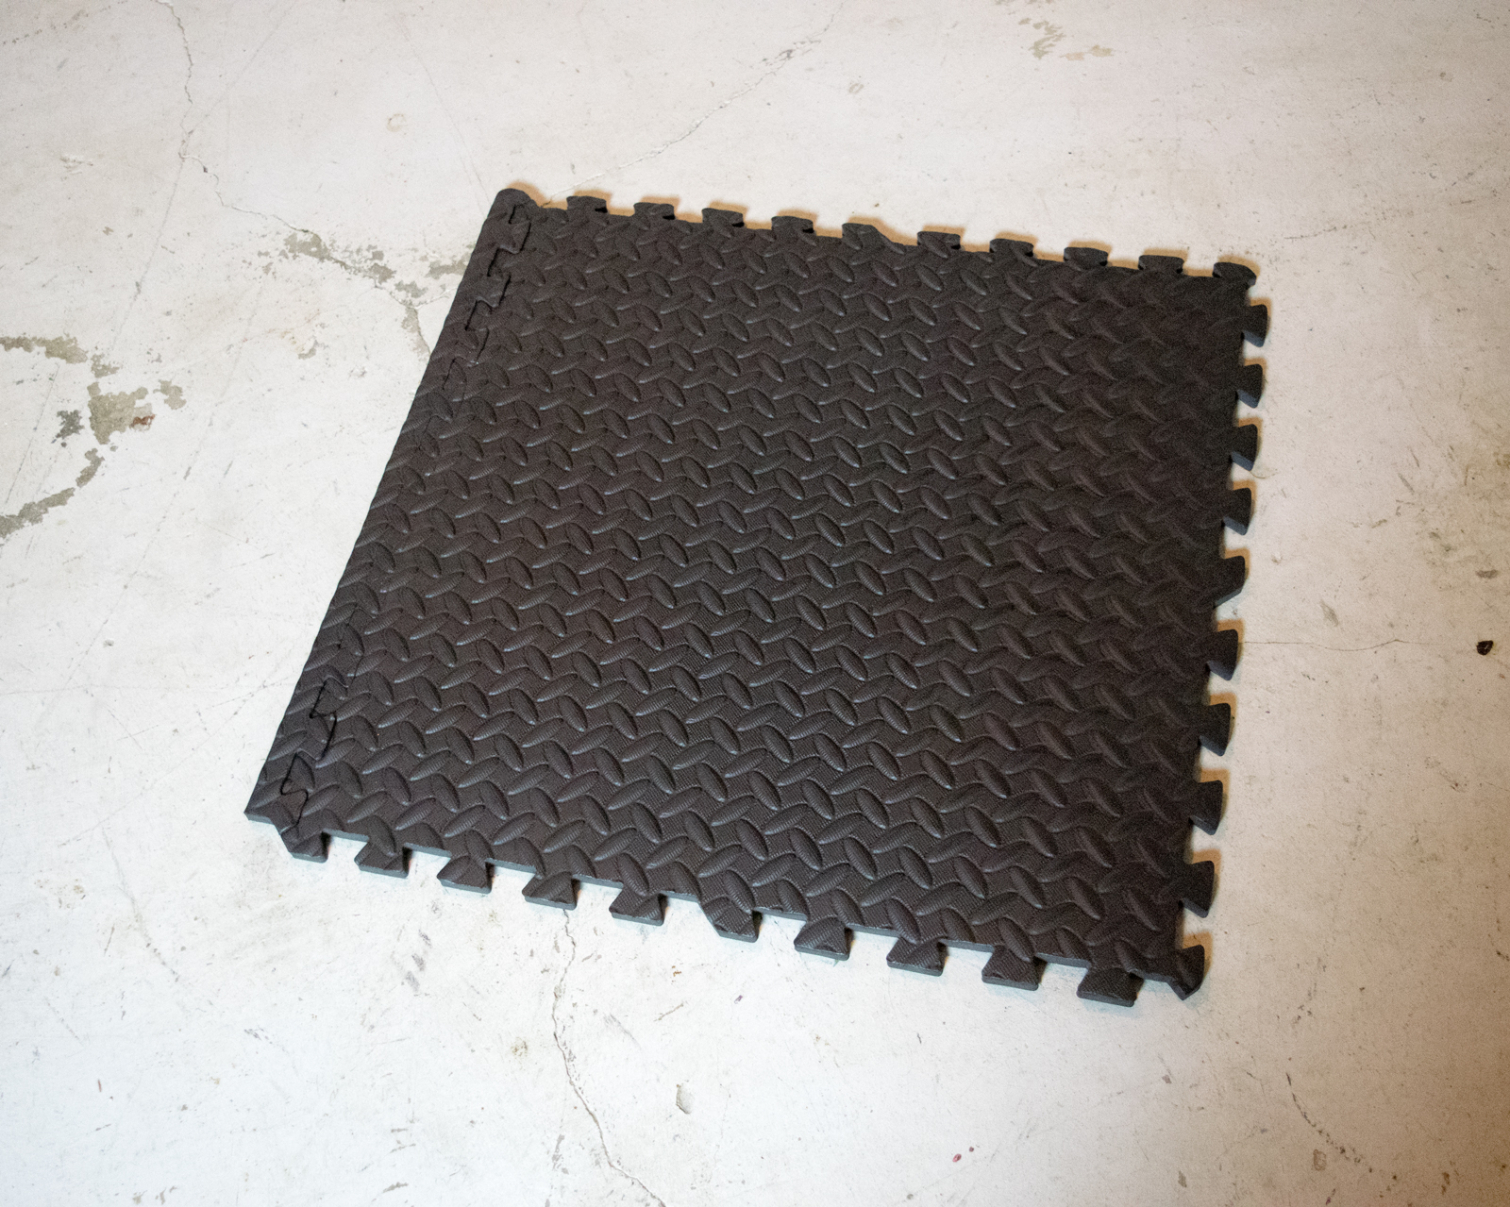
If you don’t have carpet, you should consider an area rug or exercise mat for your play space to soften the floor surface and avoid light reflection.
MORE: Best Virtual Reality HMDs
MORE: Virtual Reality Peripherals And Accessories
Base Station Placement
The placement of your Lighthouse Base Stations is of the utmost importance.
The Base Stations must be positioned diagonally across the room from each other and as high up the wall as possible so they can cover the entire play space in infrared light. The IR emitters in the Base Stations cast light in all directions (pyramid shape) at 120 degrees from the unit. You'll want the Base Stations positioned a couple of feet outside the tracking area so you don’t end up with blind spots. For the maximum play space set up, it’s best to place the Base Stations a few feet from the corner, so the Base Stations aren’t out of range from each other (necessary for optical sync).
It’s also important to consider where the power outlets are located when placing your Base Stations. The power cords that HTC provides for them are just 10 feet long, so unless you want to run an extension cord, you'll need to be relatively close to outlets.
MORE: Best Virtual Reality HMDs
MORE: Virtual Reality Peripherals And Accessories
Mounting The Base Stations
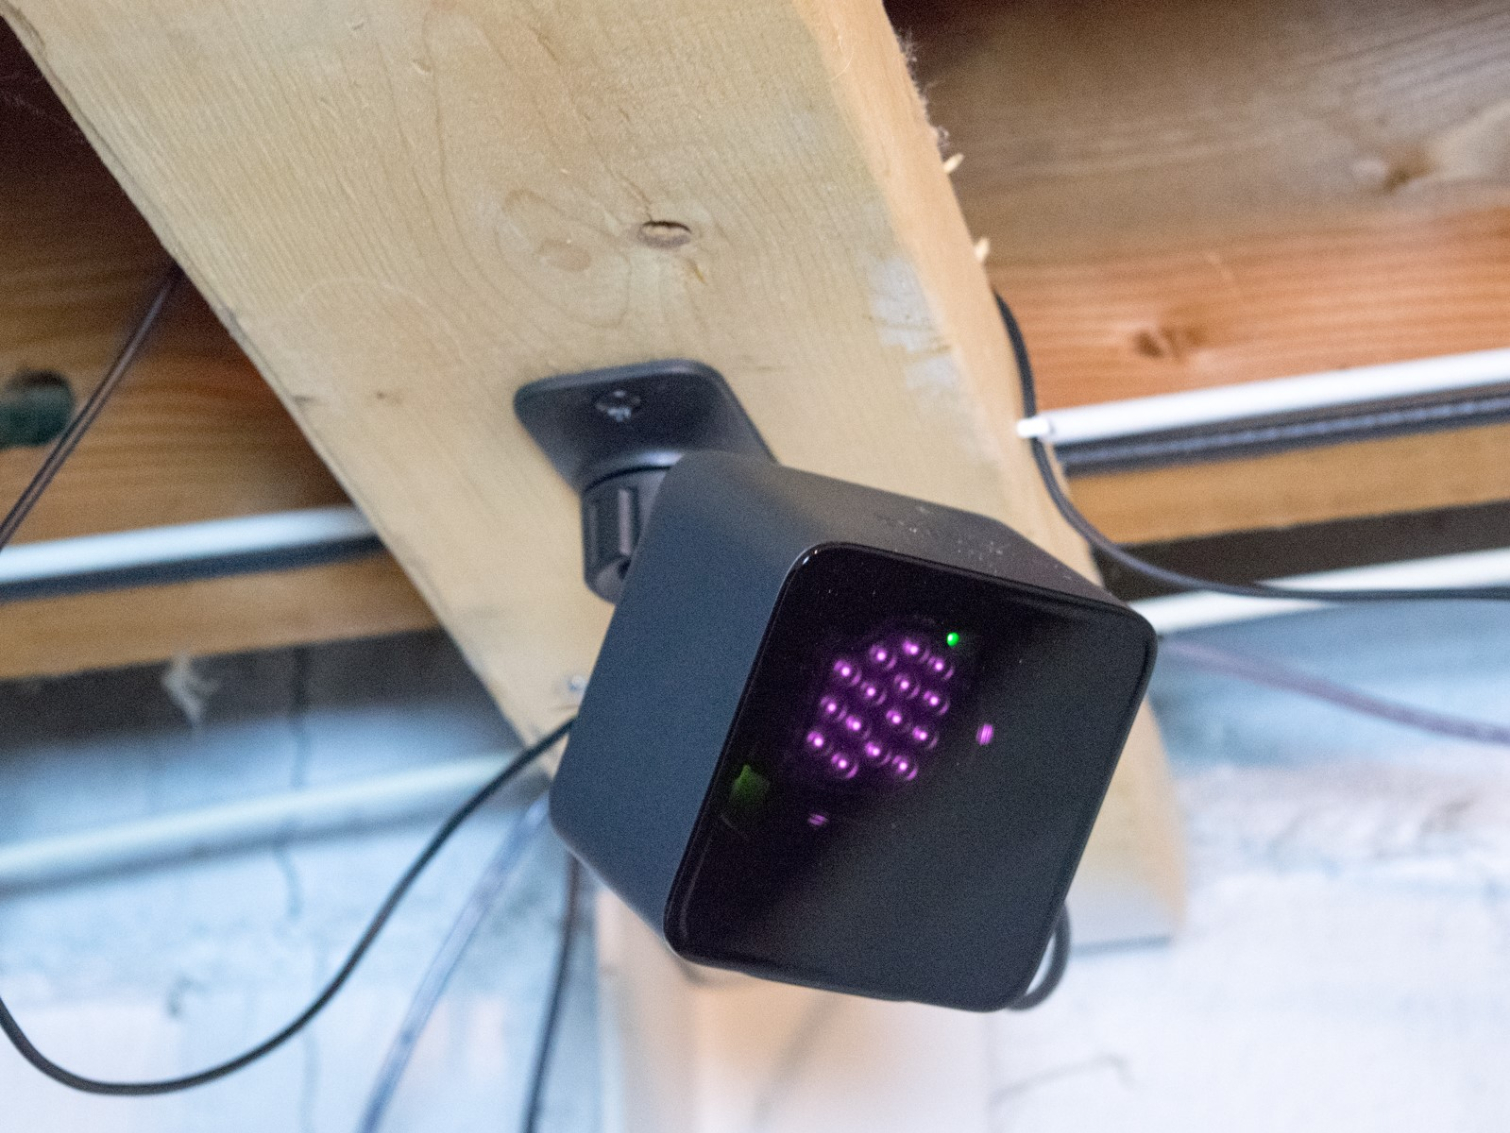
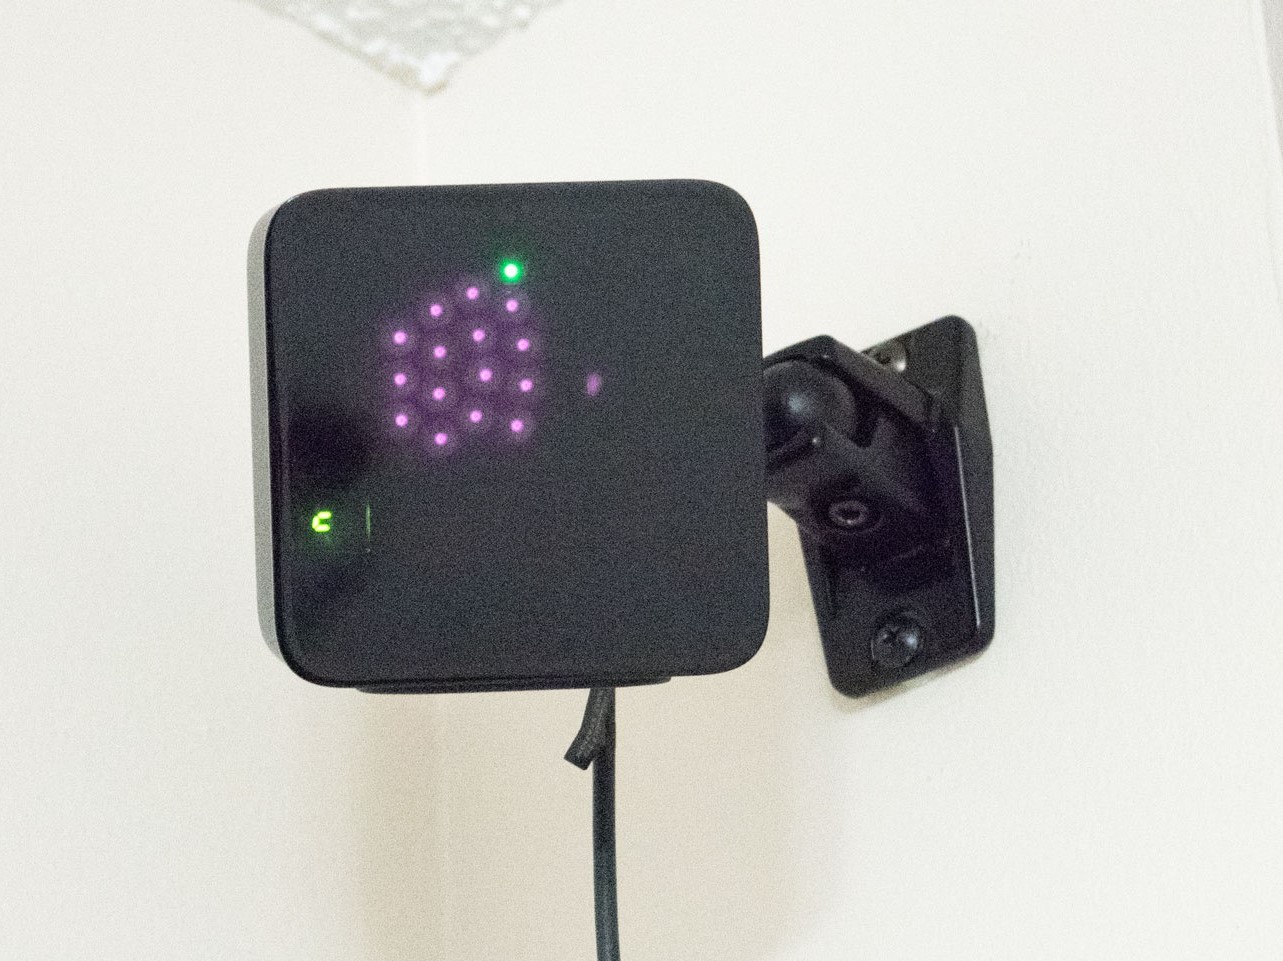
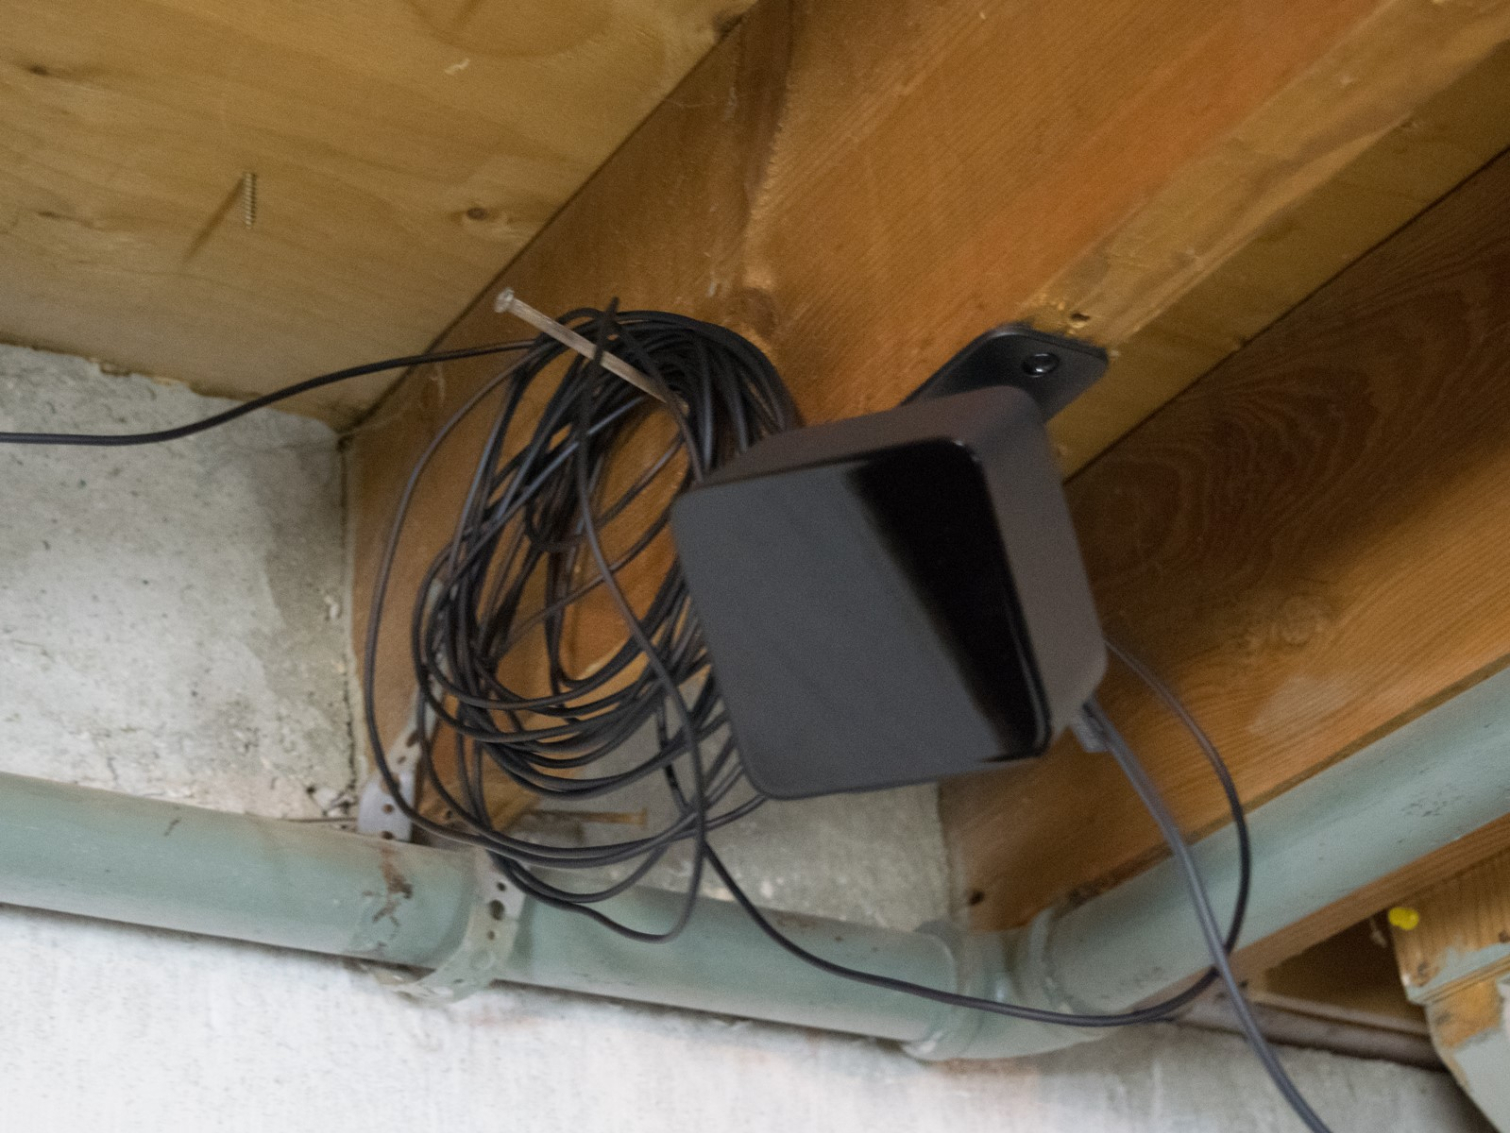
HTC provides speaker mounts that allow you to mount the Base Stations on the wall. The mounts include the hardware that you need to attach them to a wood or drywall surface. The screws that hold the mounts to the wall are thick, so it's best to drill a pilot hole before putting the screw into the wall. If you can't find a wall stud, or there isn't one in the spot you need to hang the hardware, the package includes plastic anchors that let you mount the screws to drywall.
You should place your Base Stations at least 6 feet above the ground, but mount them even higher if you're able. It’s best to mount the Base Stations above the head of the tallest person that will be using the Vive. You don’t want to be able to reach above the tracking range while playing.
The Base Stations should point downward at roughly a 30-degree angle so that the floor gets even infrared coverage from both of them.
MORE: Best Virtual Reality HMDs
MORE: Virtual Reality Peripherals And Accessories
Optical Sync
The Base Stations must be able to "see" each other’s IR lights so they can sync together. The visual range of the sensors is 18 feet, which isn’t wide enough to put the Base Stations in the corners of a 15x15-foot play area. The Base Stations' 120-degree range of coverage allows them to sync by line of sight in most cases. (Future Base Stations will cover a larger area). They don’t even have to be facing each other; they just have to be able to catch the light from the other unit at any angle.
For the optical sync setup, make sure that one of your Base Stations is set to channel C and the is set to channel B.
MORE: Best Virtual Reality HMDs
MORE: Virtual Reality Peripherals And Accessories
Cable Sync
There are situations, though, wherein optical sync is not possible. If your play area is in a bright room with a lot of sunlight and reflective surfaces, or you're setting up at an event with multiple Vive systems, you should connect the Base Stations with the included 50-foot sync cable. With the cable plugged in, the Base Stations don’t need to see the infrared light from the other one to triangulate your position because the synchronization data passes through the data cable.
When you’re using the sync cable, set one Base Station to channel A and the other one to channel B.
MORE: Best Virtual Reality HMDs
MORE: Virtual Reality Peripherals And Accessories
Plug In The Link Box
Once you have the Base Stations mounted, you can proceed to plug the Link Box into your computer.
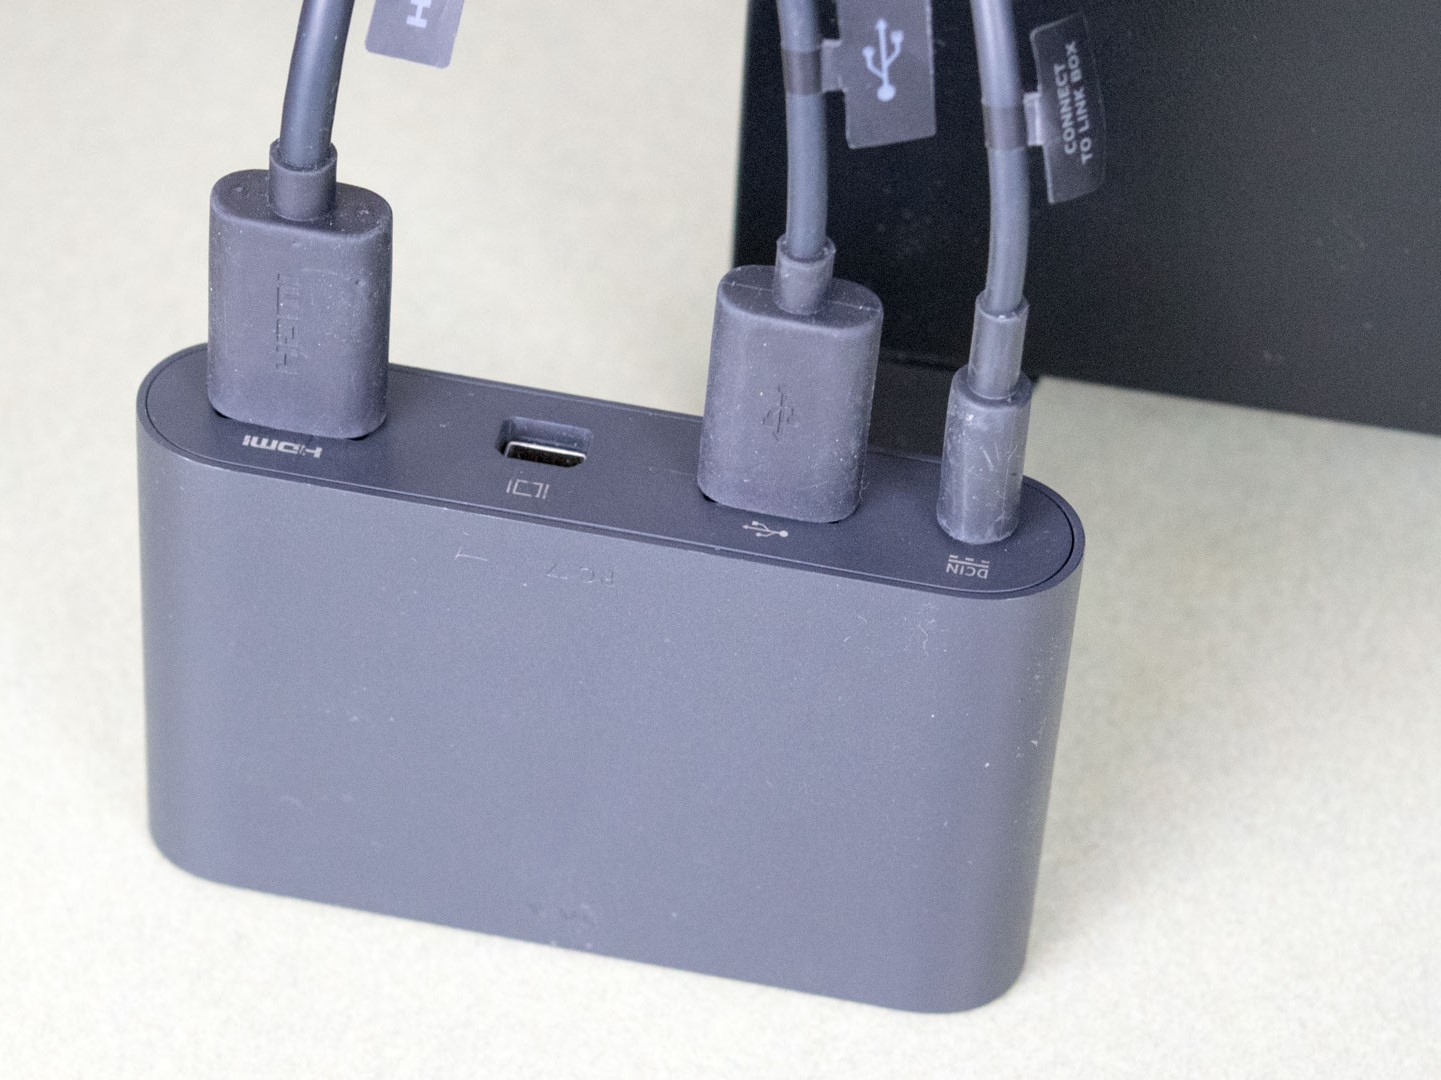
The Link Box features power, USB, and HDMI ports on each side. The headset side is marked with orange highlights; the PC side is not highlighted.
Plug the power cord into the Link Box first, followed by the USB cable, and then the HDMI cable. The PC side of the USB cable must be plugged into a USB 2.0 or USB 3.0 port. The other end of the HDMI cable should be plugged into your graphics card.
The PC side of the Link Box also includes an optional mini-DisplayPort interface, which you can use if you don’t have a free HDMI port on your graphics card. You won’t find a mini-DisplayPort cable in the box with the Vive, but you can buy the cable from Vive.com.
MORE: Best Virtual Reality HMDs
MORE: Virtual Reality Peripherals And Accessories
Kevin Carbotte is a contributing writer for Tom's Hardware who primarily covers VR and AR hardware. He has been writing for us for more than four years.
-
gergguy It's a strange time to have a setup guide for the HTC Vive. After the huge discount of the Rift/Touch bundle (here in the states at least), there should be a large amount of people setting up their new Oculus Rifts right about now. I'm not a fan boy or anything, I'm just sayin'.Reply -
Dustin_45 Do not buy! Mine broke after 7 months, and I've hand a horrible experience thus far with their support team. I have proof of p7rchase, yet in one example of their terrible support process, they want 48 hours to "verify the security of my account". I've spoken with so called supervisors and it just gets worse. It took a week of numerous hours following up to finally be able to send it in. I've spoken with a handful of ppl that have had similar experiences, and heard of many more. The content doesn't warrant a $700 purchase, that's another major issue. Lastly, it's a serious pain to setup, even though it should be very simple. Save yourself the headache and do not buy!!!!!Reply -
vinay2070 When playing in room scale VR, the actual space we get is very small compared to the in game space. How do we get to walk continuously in the game and not hit the obstacles in real world(assuming the minimum is just 5X6.5)?? Can somebody point to a video that explains this? Thanks.Reply -
computerguy72 Dustin_45... The vive is great and has been getting much better via drivers and accessories. Bizarre highly uncommon experience you have relayed. Mine still works perfectly. Between supersampling and better drivers the quality is a lot better too. Vinay2070 - Lots of locomotion techniques in games they vary. However one that is typical is where you point to a spot in VR with the controller and teleport to it. Lots of other methods as well.Reply -
Davil Don't know why this article is necessary, the setup guide is pretty simple. Had mine since the release and it's still working great.Reply -
DbD2 Lol, that's a silly guide in that the only people that have a custom room just to put a vive in are professionals and they know perfectly well how to set it up.Reply
The actual setup of the vive is more along the lines of:
1) decide you fancy a play on the vive.
2) pick a room in the house you think you can get the most floor space in (lounge, dining room, etc)
3) drag all the furniture out of the room or into the corners at least.
4) get the base stations, try to work out where you can put them that doesn't involve drilling holes in walls as this is just a temp setup.
5) get out your duct tape and try to tape the base stations to something in the corners of the room.
6) Realise this isn't going to work well, swear at HTC for not giving the vive base stations sensible bases for anything but a permanent install.
7) Find some planks of wood, screw base stations into wood, duct tape larger and easier to work with planks of wood to something. Wonder why HTC couldn't have provided this in the first place being as the vive cost big $$$.
8) Unplug your whole desktop, drag the whole lot downstairs, plug it in.
9) Wonder how you will get the vive to work as your graphics card has one HDMI output and both the vive and the TV want to use it.
10) Fiddle around will silly converter cables until eventually you get them both talking at once.
11) Turn on vive.
12) Go through setup procedure.
13) Finish it, realise you've done it the wrong way around so the cable is always infront of you tripping you up not behind. Redo the setup again.
14) Get a quick play, then see the kids, their friends and their friends friends all wanting a go.
15) Realise the room is nothing like clear enough for kids swinging their arms around. Take all the breakables off the walls.
16) Spend several hours giving everyone a go - taking on/off headsets, fighting with the extra cable's caused by having to have separate headphones, and the vive software which needs restarted fairly regularly between games.
17) Collapse somewhat uncomfortably onto whatever chair's you have left to sit on (the rest being stacked out the way somewhere).
18) Play for a day.
19) Realise you've got to return the room to use-able again or wife will kill you, so take the whole lot apart, take the pc back upstairs plug it all in again, put all the furniture and breakables back.
20) Put vive away having been reminded of the pain having the thing out is to people with a normal house that doesn't come with a "VR room". -
pegnose Man, what r u complaining?Reply
@5: you can use virtually any tripod, telescope stick, and whatnot
@6: if they get moved, your tracking quality goes down - same with Oculus from some point
@8: I am living in a single room apartment and have no issues whatsoever ;)
@9: MiniDP cable for the connector box? also, there actually are graphics cards with 2 HDMI connectors (mostly from ASUS) - also same with the Rift
@13: shoot, another 5 minutes; what a waste of life time for getting room scale tracking
@14: oh, you have kids. your decision, I guess.
@15: see above
@16: must be something wrong with your PC, software is just robust
@17: yawn
@19: I really pity you; al the trouble and no fun. Sucks to be you.
@20: yeah, people with a house really have a hard time ;)
