Tom's Hardware Verdict
If you absolutely have to have the most cooling for your Raspberry Pi 5, then Seeed / 52Pi’s water cooling kit for the Raspberry Pi 5 is the zenith of cooling, but it will demand more dollars than many other coolers.
Pros
- +
Excellent cooling ability
- +
Quiet
- +
Easy to build
Cons
- -
Expensive
- -
Large
Why you can trust Tom's Hardware
Water cooling for the Raspberry Pi is nothing new, but this new kit from Seeed Studio and 52Pi makes the entire process painless. The only pinch you will feel is the $120 being removed from your wallet. The Water Cooling Kit for Raspberry Pi 5 is exclusively designed for the latest flagship Raspberry Pi, a Pi which needs all the help it can get to keep cool. The Raspberry Pi 5 runs hotter than any previous model and so it requires active cooling.
Can this water cooling kit keep our Raspberry Pi 5 cool under pressure? Will we spring a leak, or will it be plain sailing? The only way to find out is to put it on the bench.
Design of the Water Cooling Kit
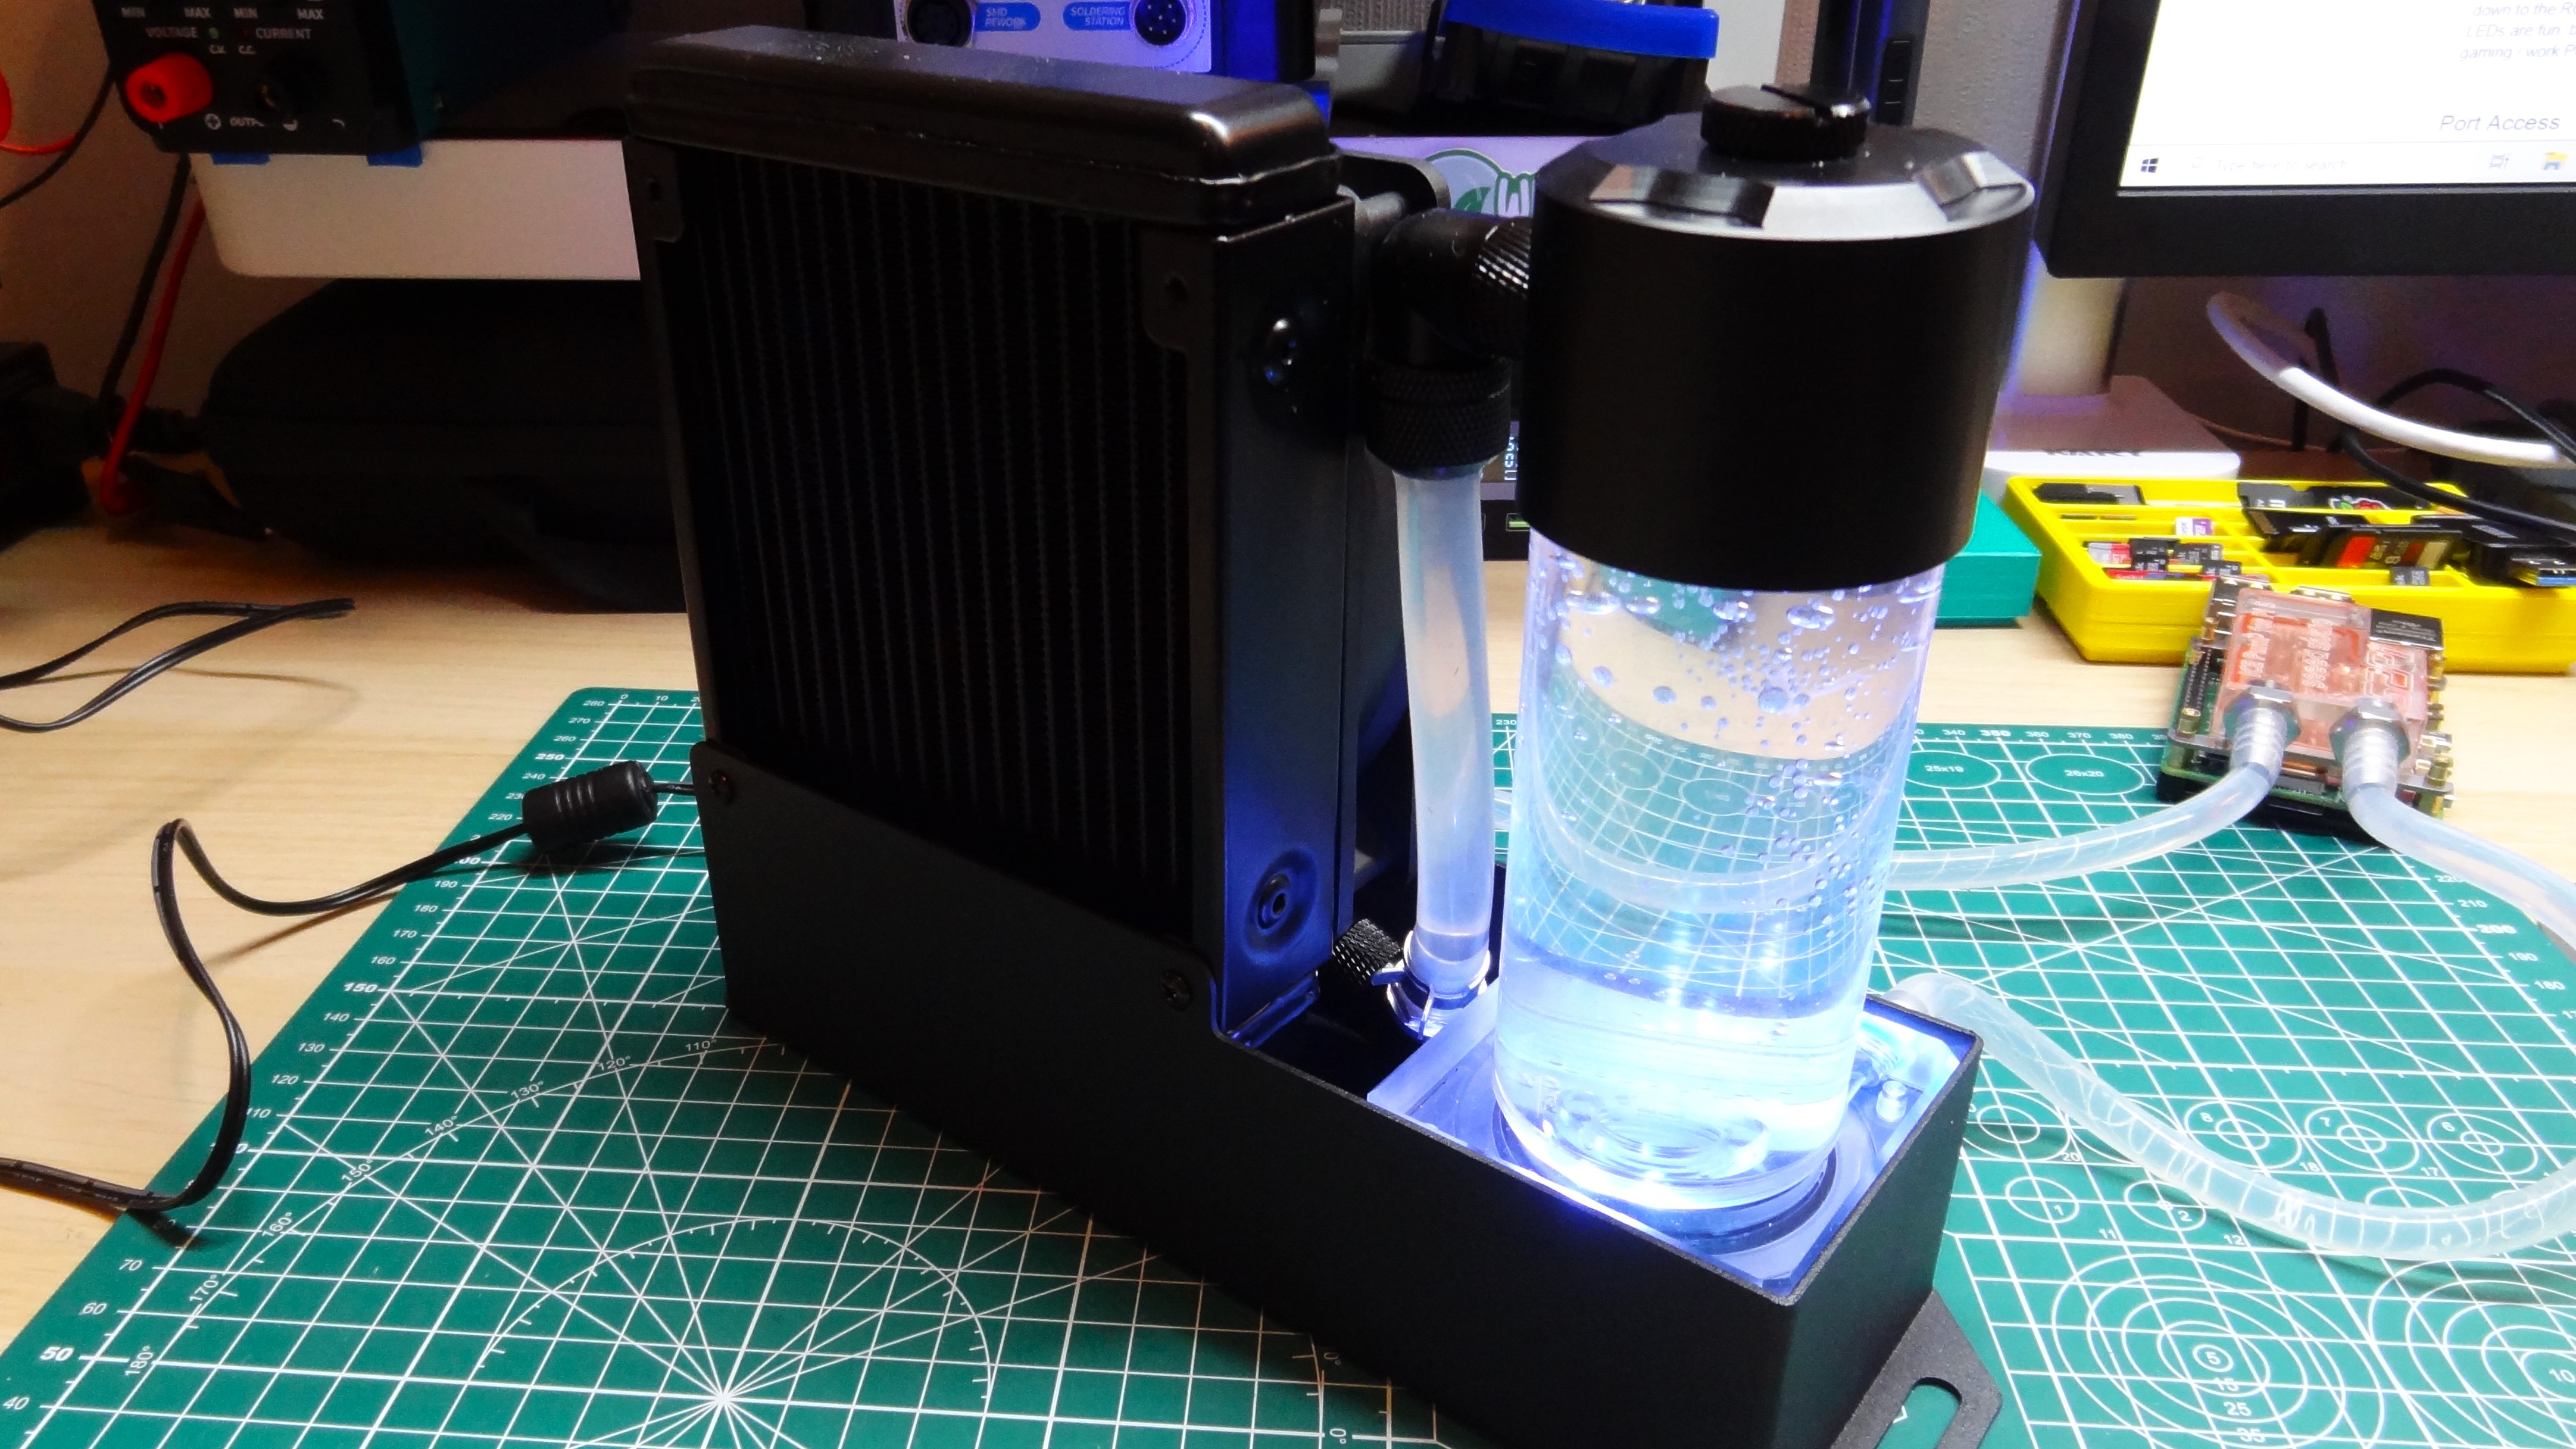
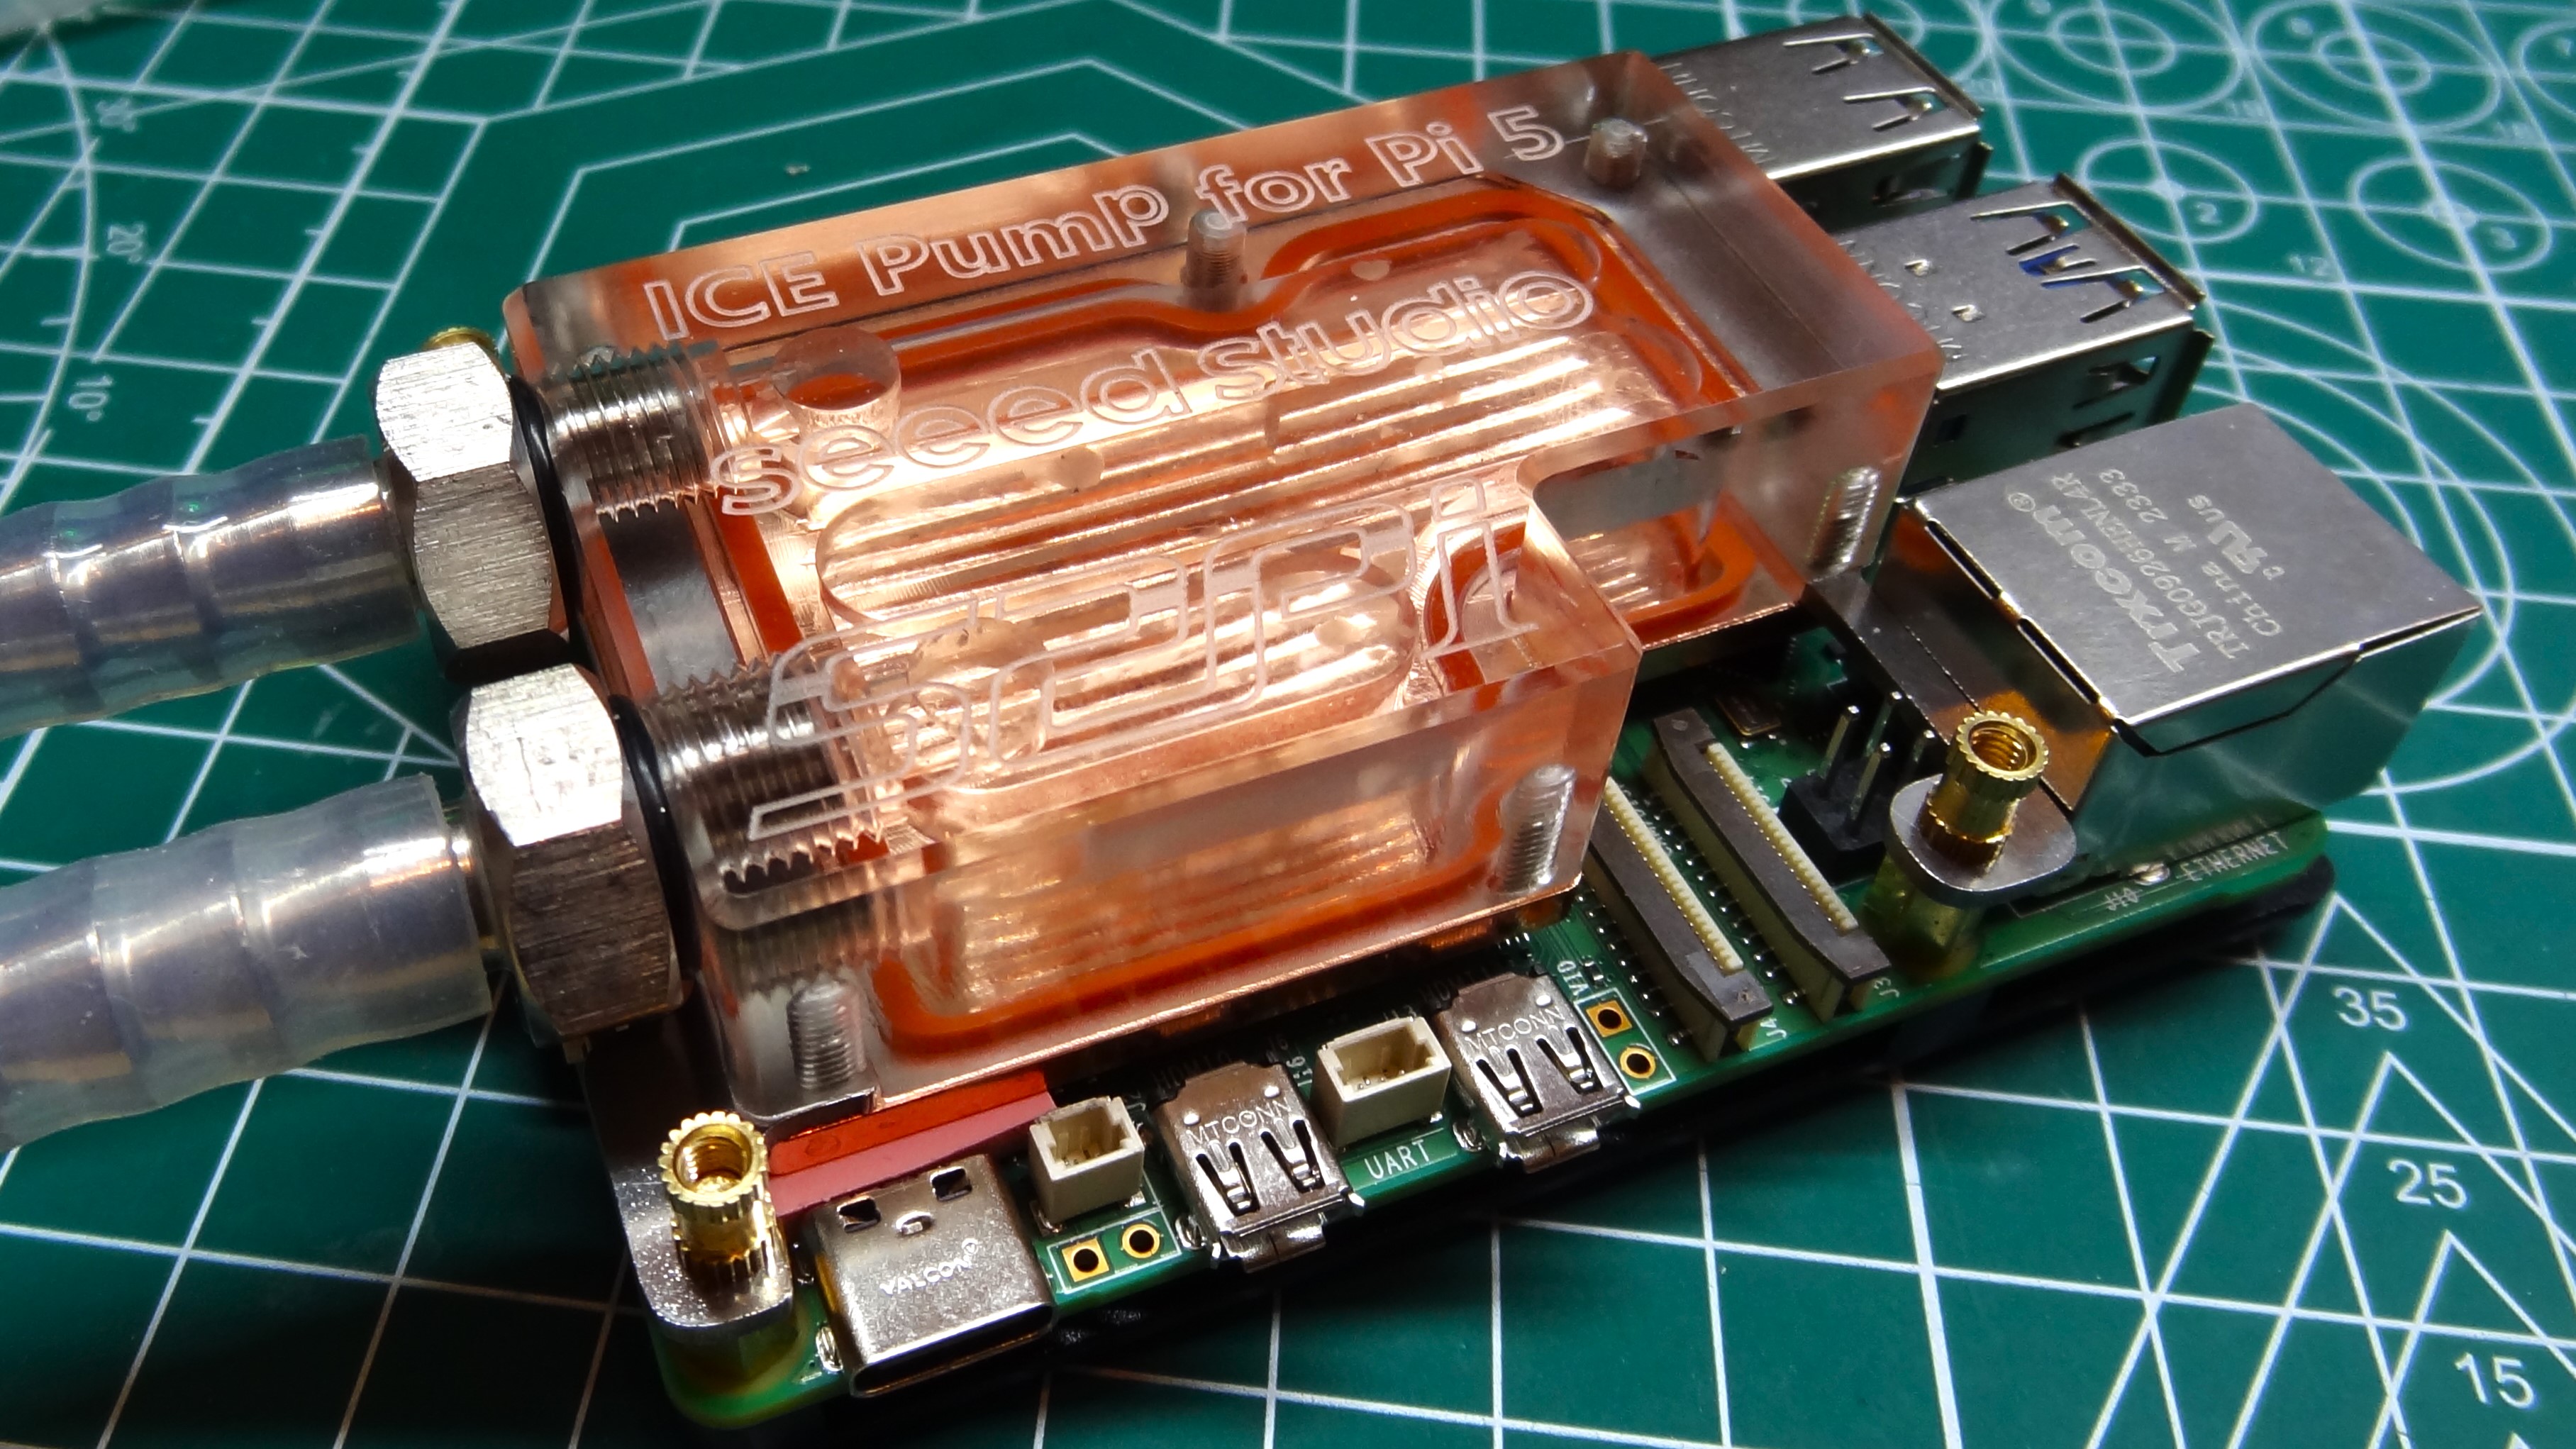
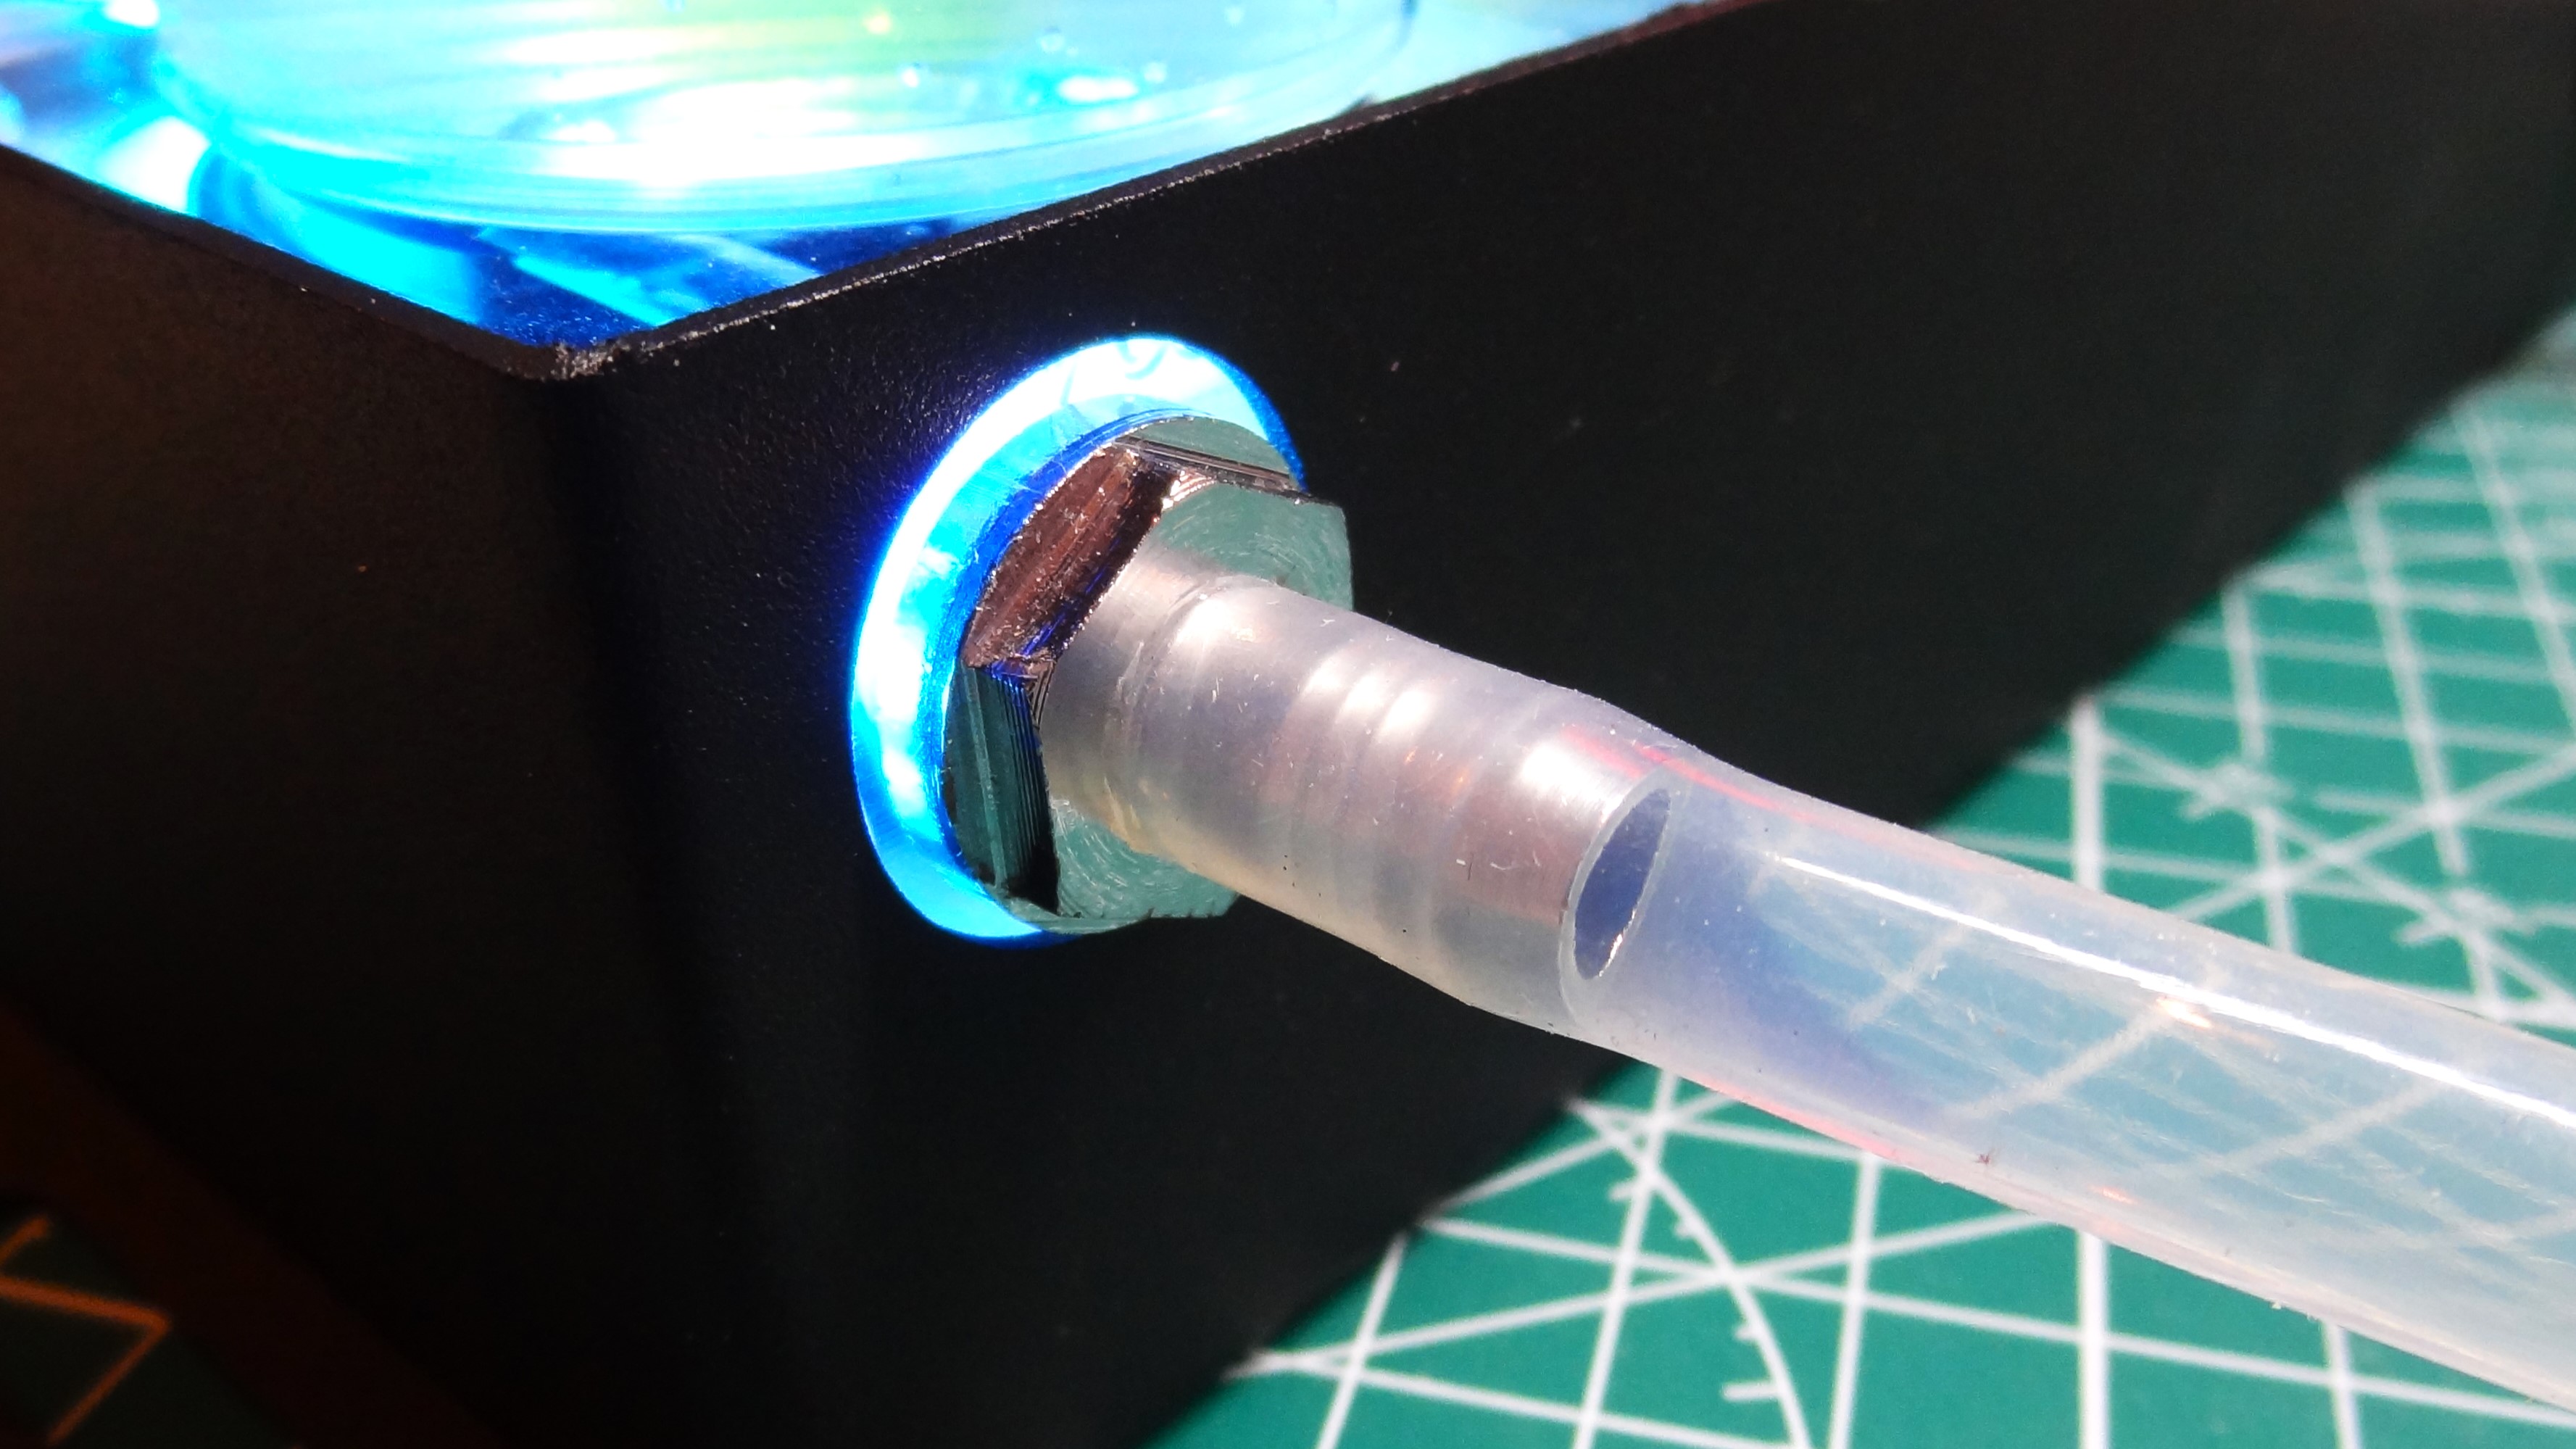
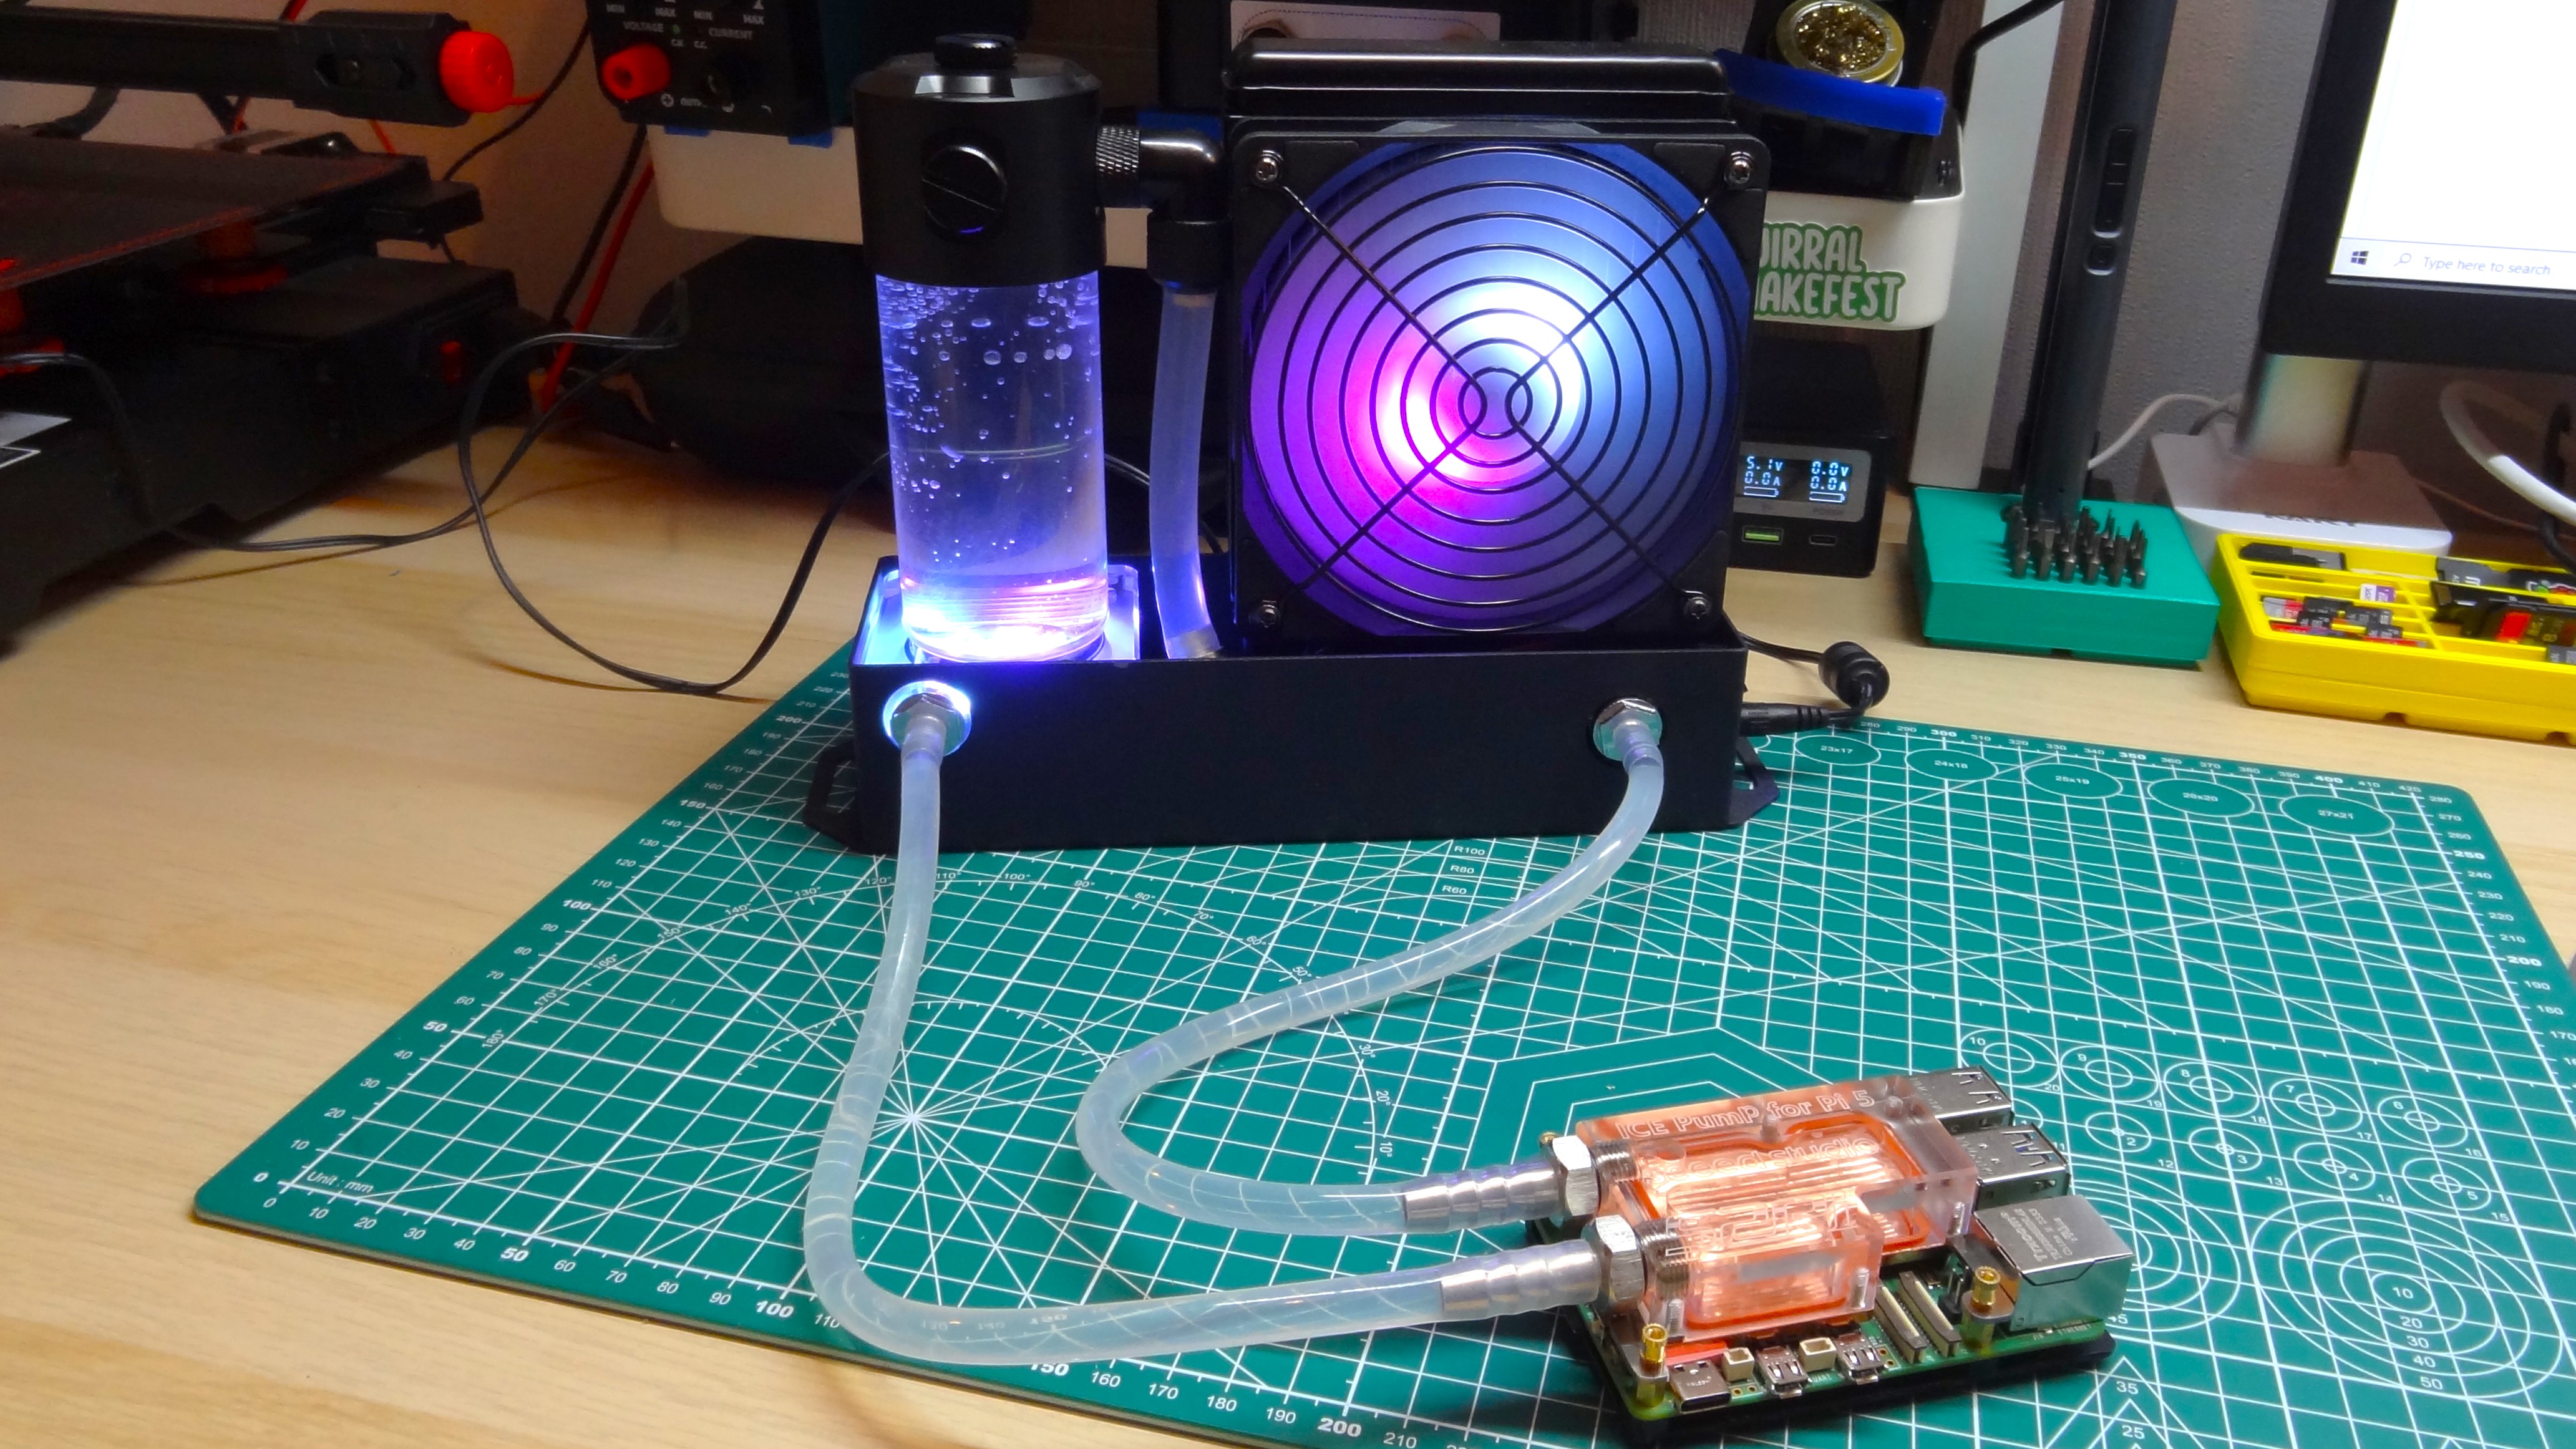
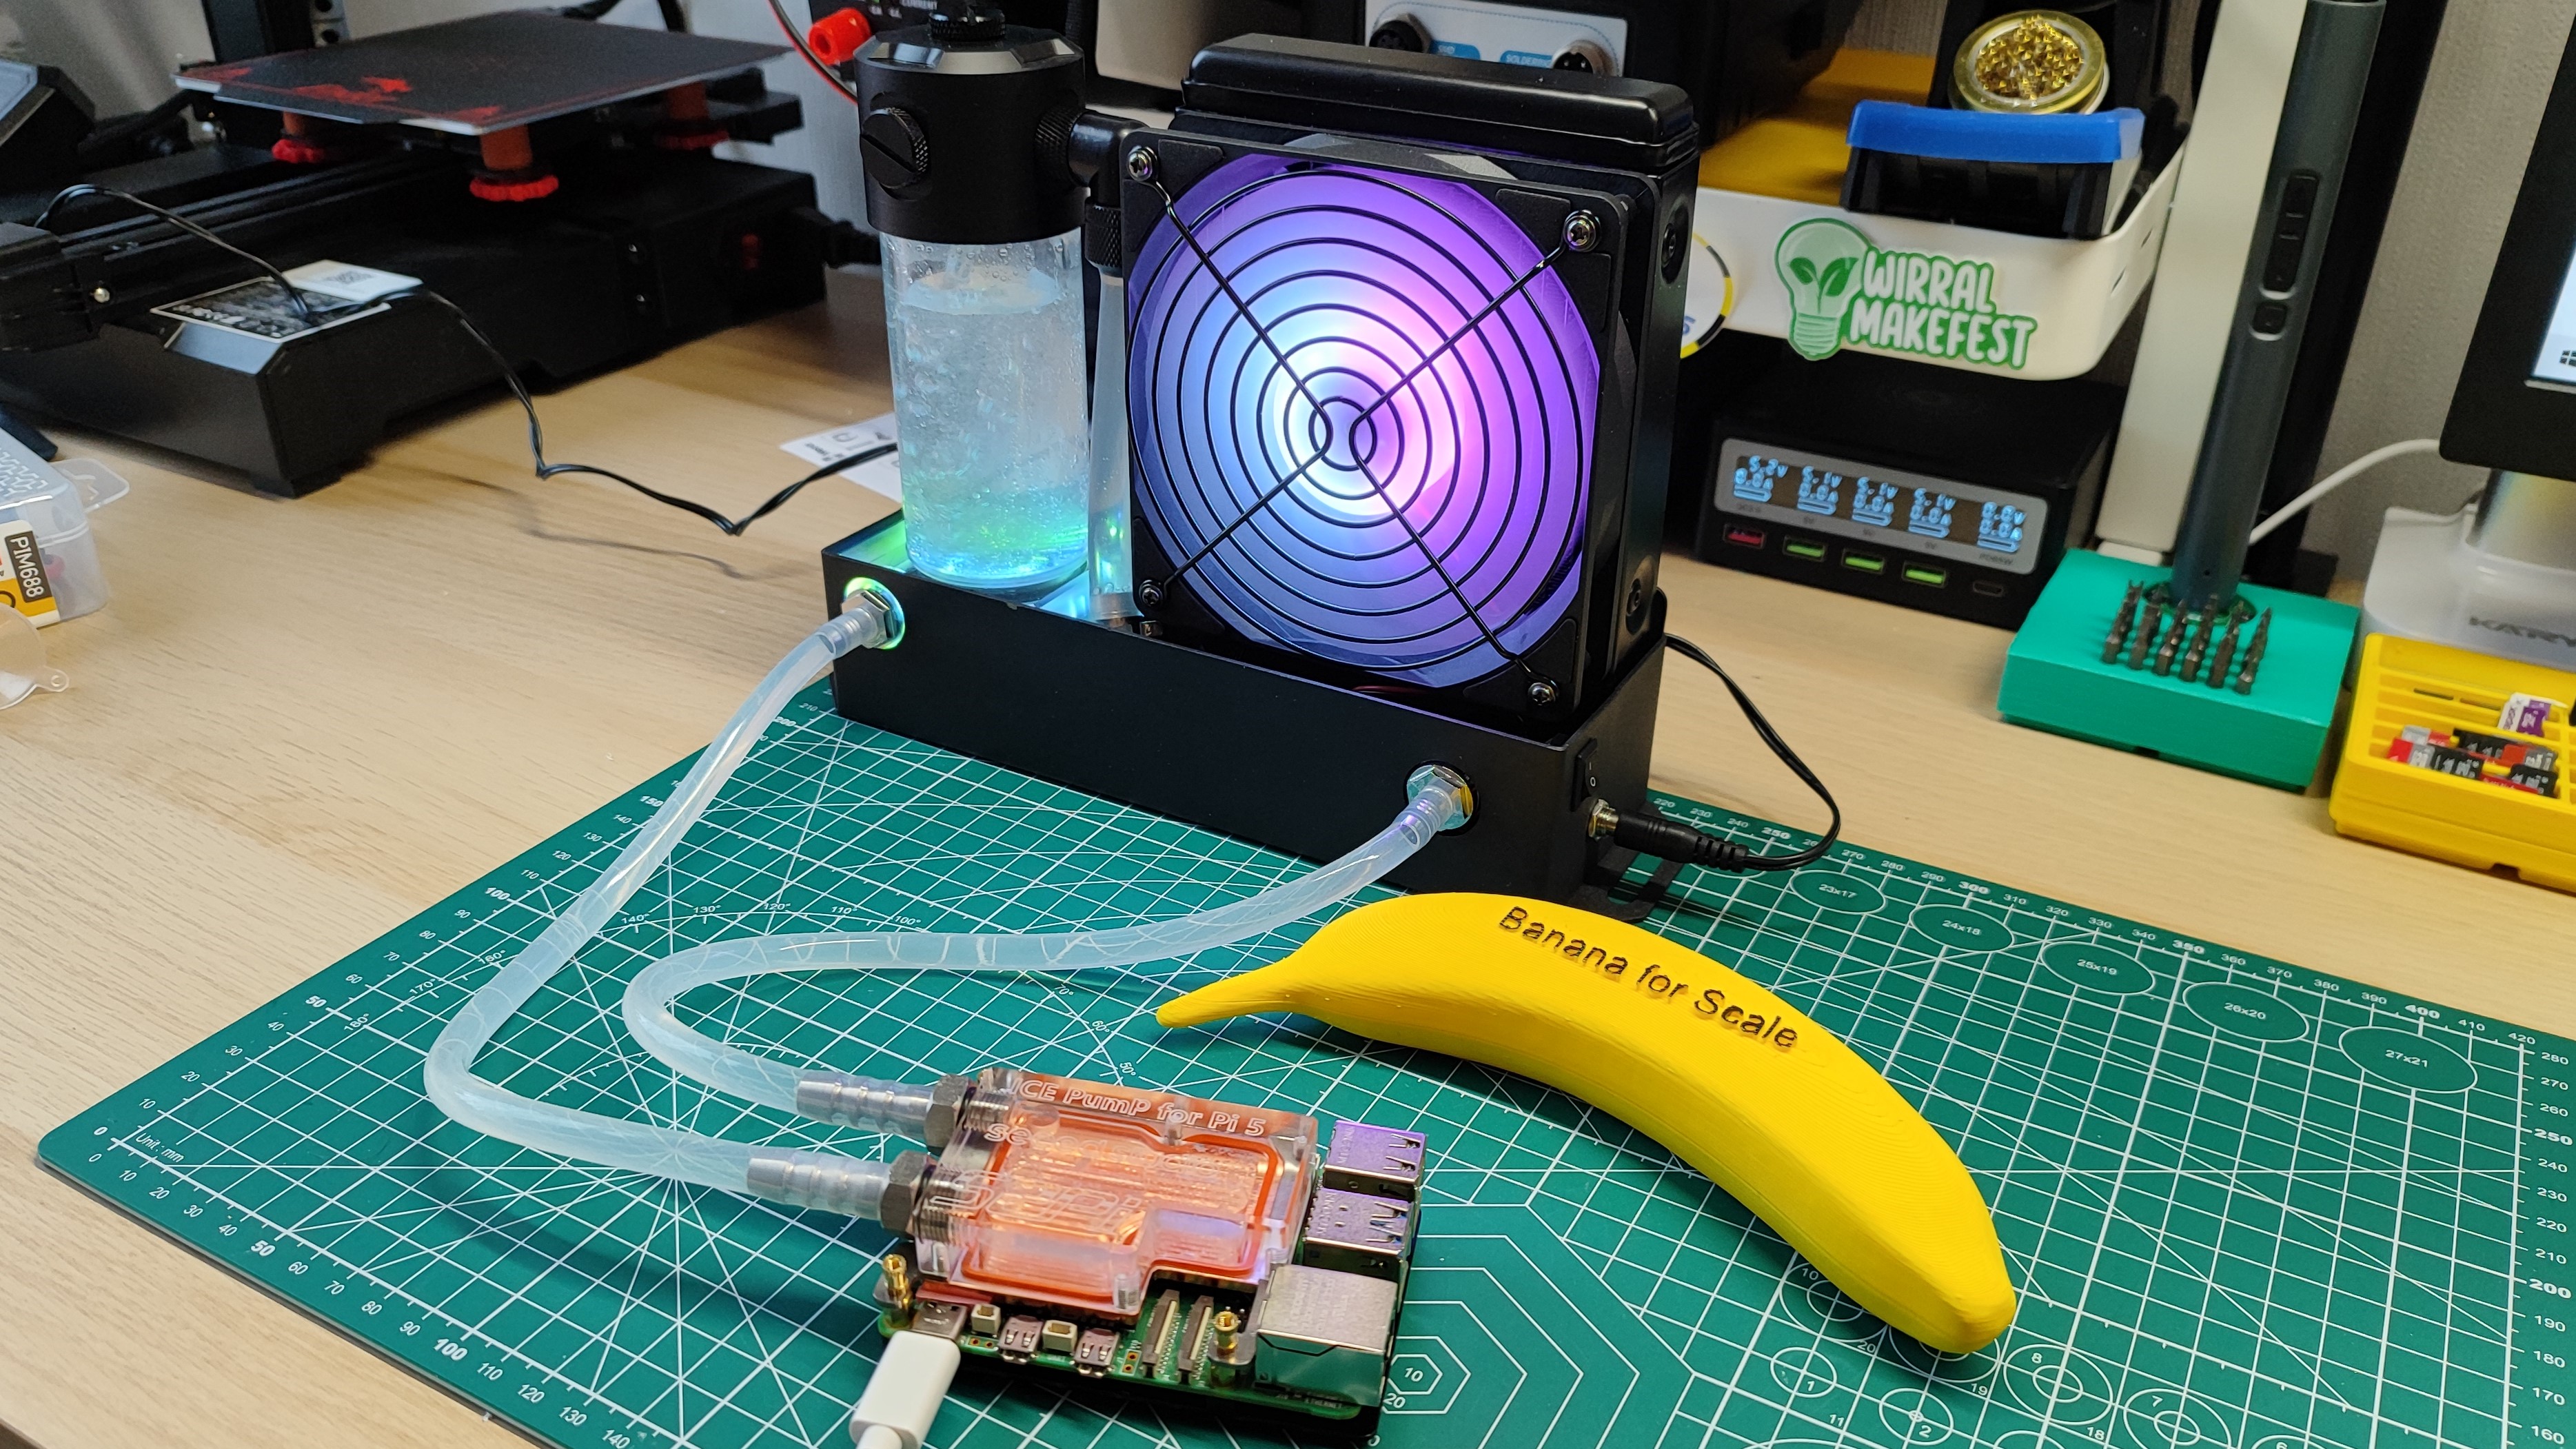
There is no escaping the sheer size of this cooling unit. It dwarfs the Raspberry Pi 5 (85 x 56 x 14 mm, 66 cm³) at 173 x 70 x 247 mm and with a volume of 2991 cm³ . The 120mm RGB fan draws cold air over a radiator which is fed water from a tank just to the side. The tank has its own RGB LEDs, but none of the LEDs can be user controlled. In operation the fan is quiet, all we could hear is a slight bubbling sound, cured by topping up the water.
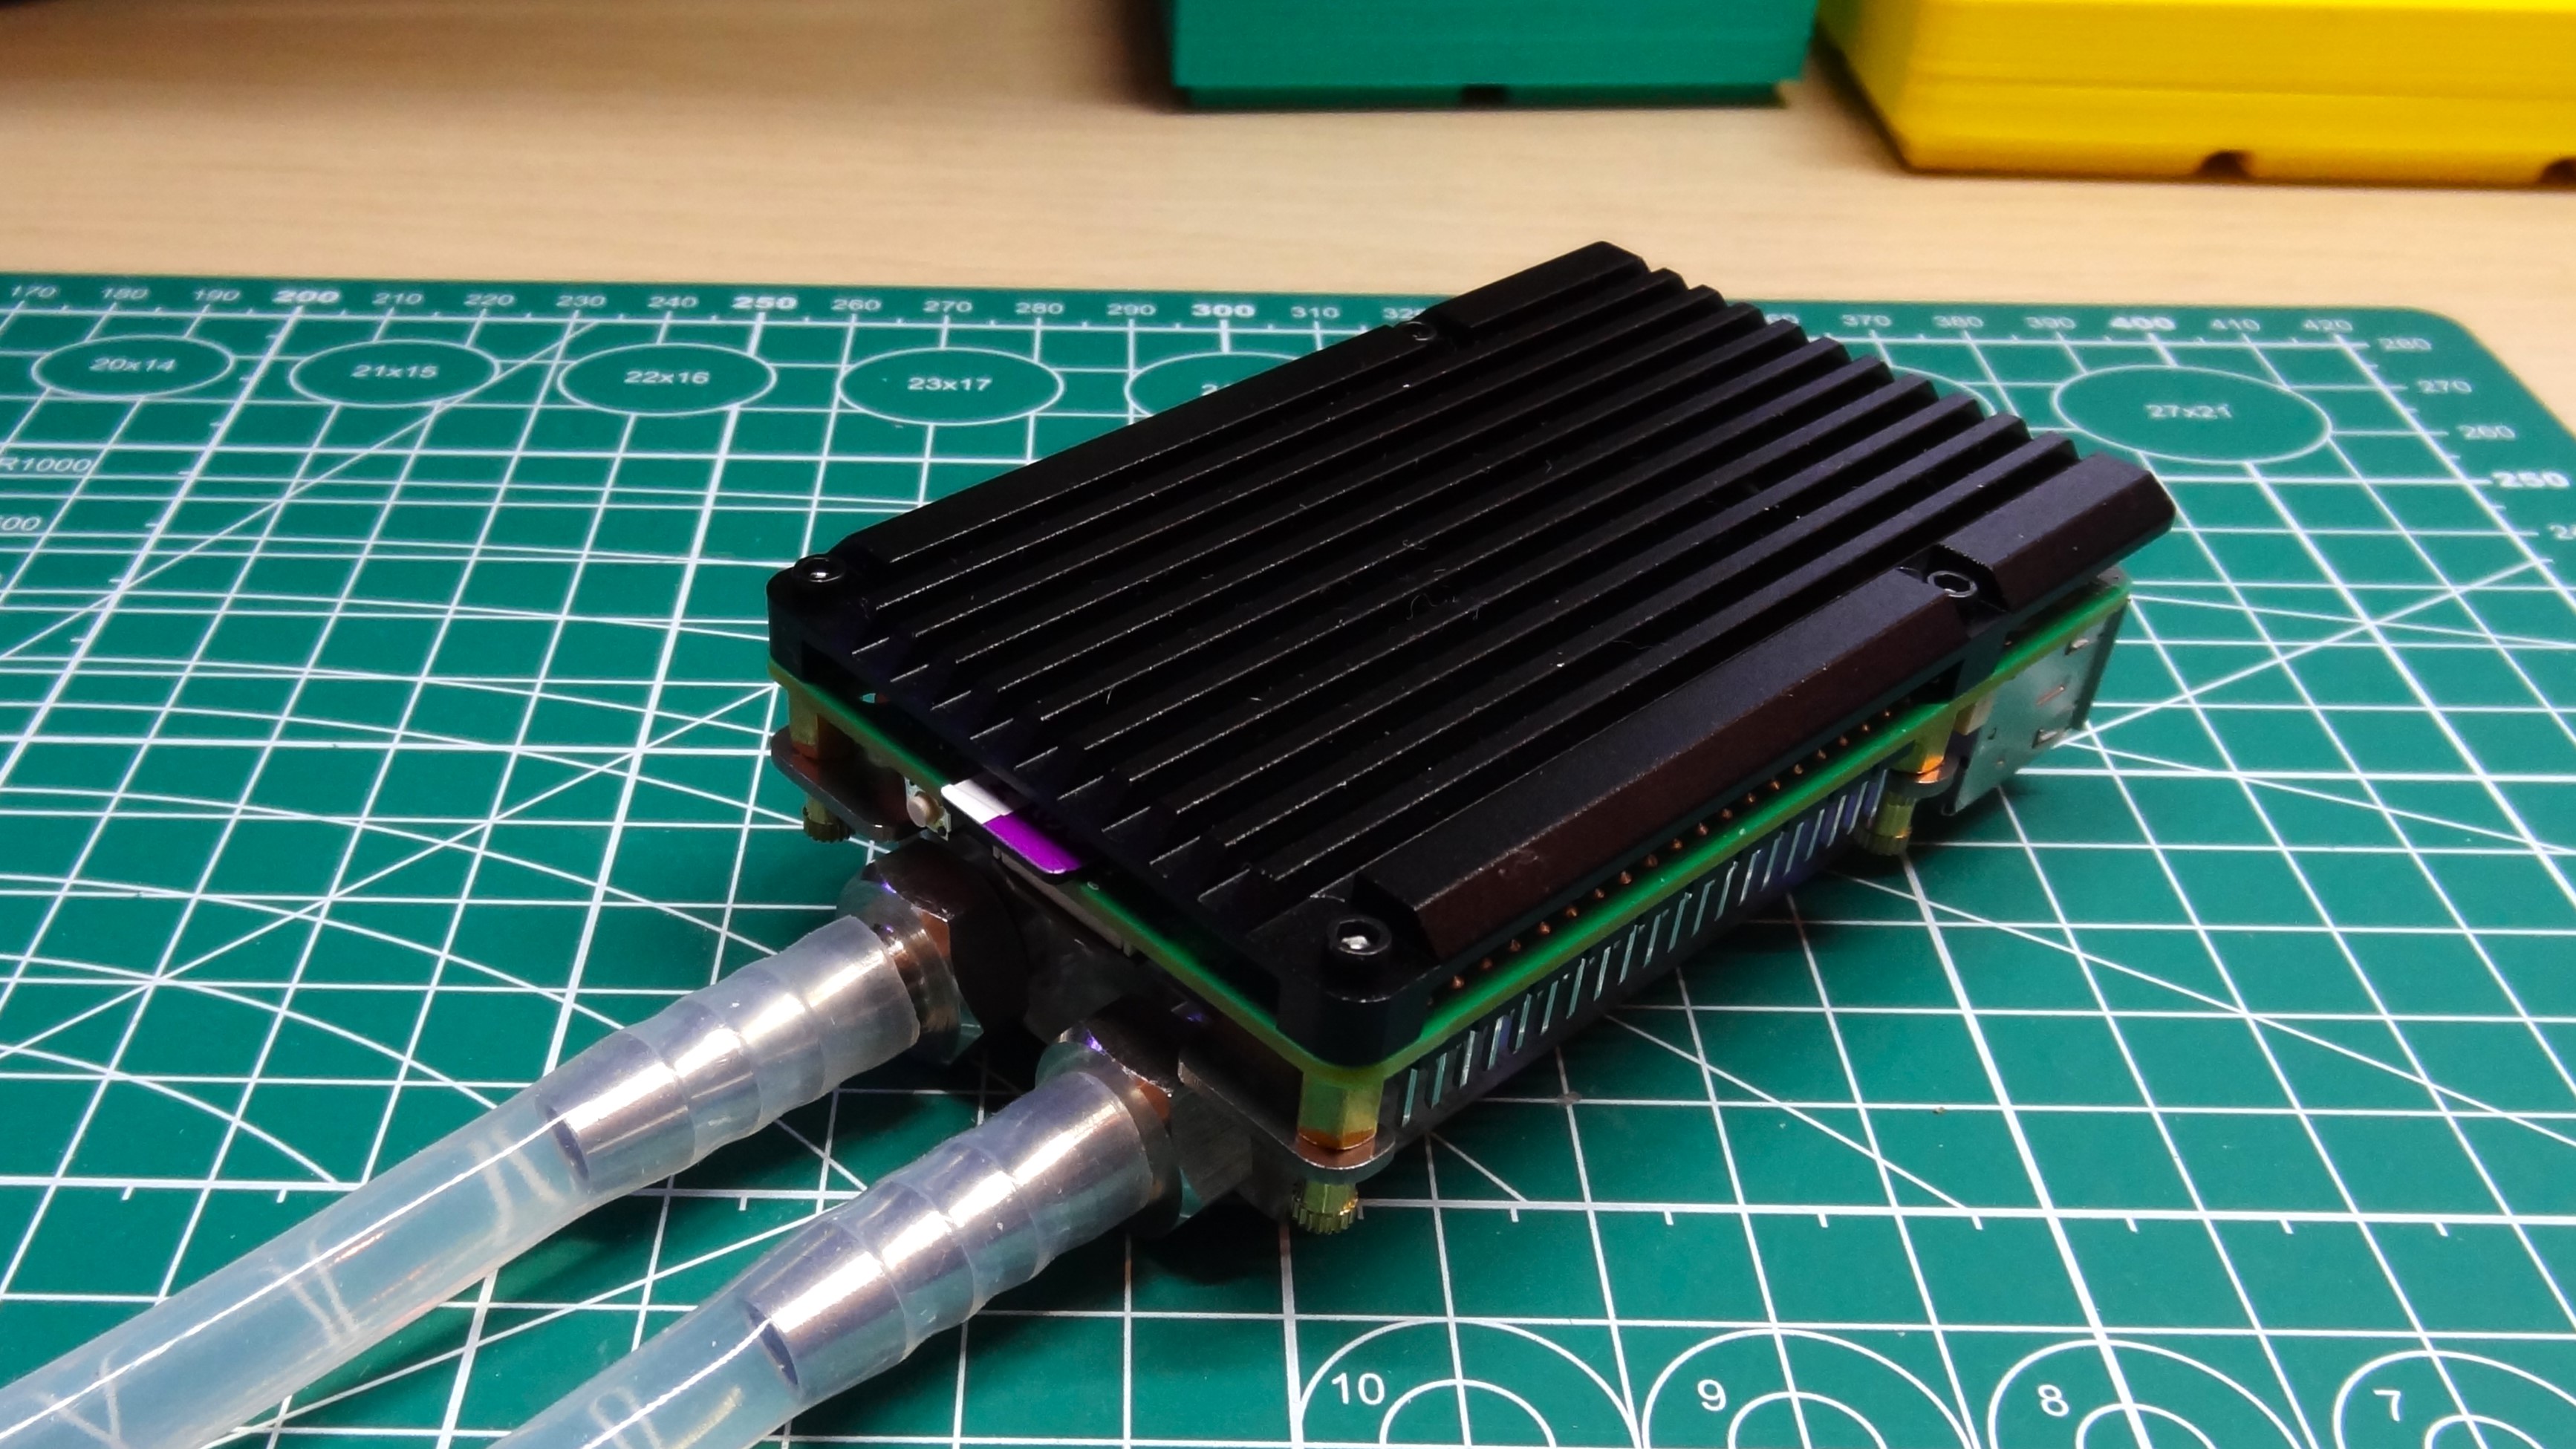
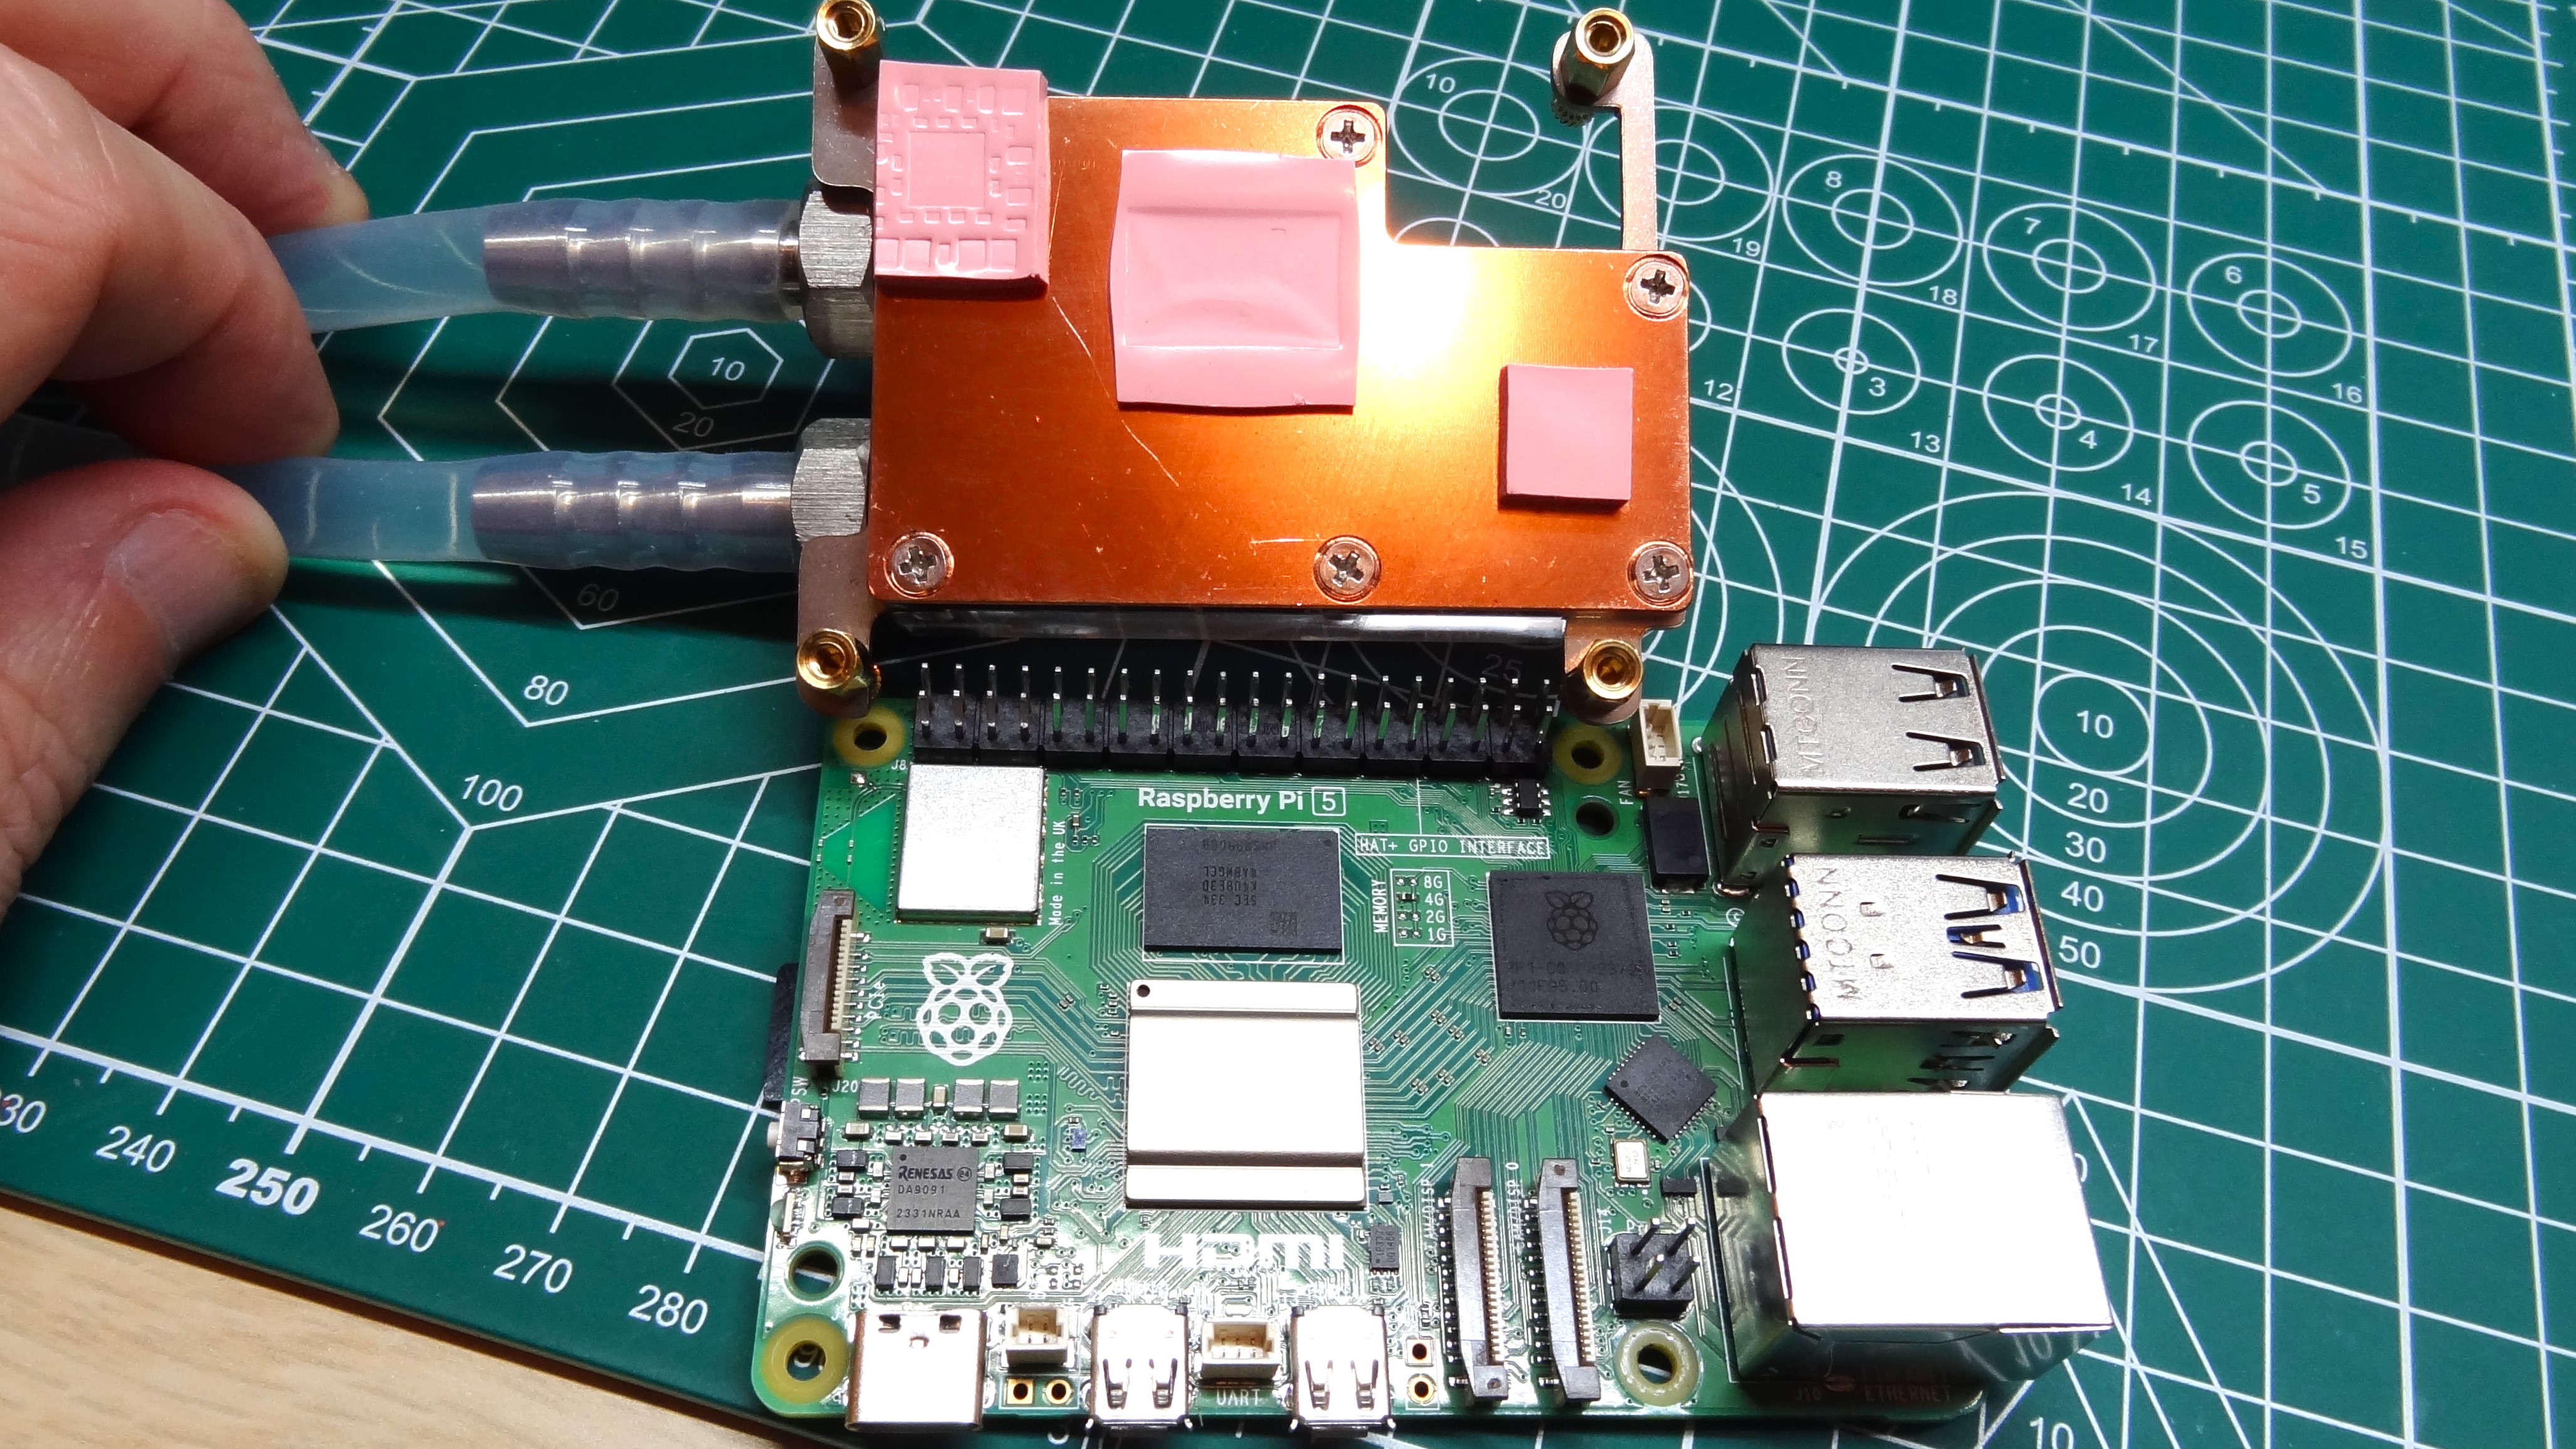
The water is pumped to a custom block which sits on top of the Raspberry Pi 5’s SoC, PMIC and the RP1 southbridge. The block has a copper base, for the best thermal conductivity, but the top is made from acrylic and shows the channel in which the water flows. To conduct the heat from the chips, thermal pads are used as buffers between the copper and the bare electronics. On the underside of the Pi is a large heatsink case. Again, a thermal pad is used to draw heat from the board without causing a short. Water is pumped to and from the Pi 5 using two hoses which friction fit on to the block and the cooling unit.
Building the Water Cooling Kit
Even a water cooling novice can build this kit. Following the wiki we put the thermal pads in place, secured them down with the water block and underside heatsink, then used the screws to hold it all together.
The water block is held in place using a 52Pi staple framework which supports the cooling elements while routing everything around the chips and connectors. The final tasks are to connect up the hoses, making sure they are snug, and then open the tank and pour in your choice of cooling fluid. We chose distilled water because it is cheap and easy to source. Could you get better thermal performance with custom cooling liquids? Probably, but as we will see, distilled water does a grand job anyway.
Power Requirements
The cooling side of the build requires its own power source. A 12V 1.5A PSU was included, which gives us a maximum possible output of 18W (if everything was 100% efficient). In reality the unit pulls 12 Volts at 1.13 Amps (13.56 W), we measured this using our bench power supply.
Get Tom's Hardware's best news and in-depth reviews, straight to your inbox.
The current draw does fluctuate, this is down to the RGB LEDs. When the sequence uses white LEDs it draws the most current. The LEDs are fun, but I’d rather have the means to turn them off. I’ve got RGB on my main gaming / work PC, but I don’t really need them for this particular product.
Port Access
Let's start with the ports around the edge of the board. USB, Ethernet, HDMI, UART and RTC clock are within easy reach. The dual camera / display ports are accessible, with a little forward thinking. The micro SD card slot is accessible, if a little awkward.
The most awkward access is reserved for the PCIe connector, used for M.2 HATs such as Pimoroni’s NVMe Base and Pineberry Pi’s HAT Drive boards. Both hose connections get in the way of connecting up your PCIe flat flex cable. You’ll need to remove the cooling block to insert the cable. But there is a bigger issue, cooling the underside of the Pi 5.
With an NVMe HAT attached to the underside, the aluminum heatsink can no longer be used.You could build the NVMe SSD on the side of your Pi 5 project before attaching the water cooling kit. This isn’t a deal breaker per se, but it is a barrier to using the cooler with NVMe drives.
Cooling Capacity
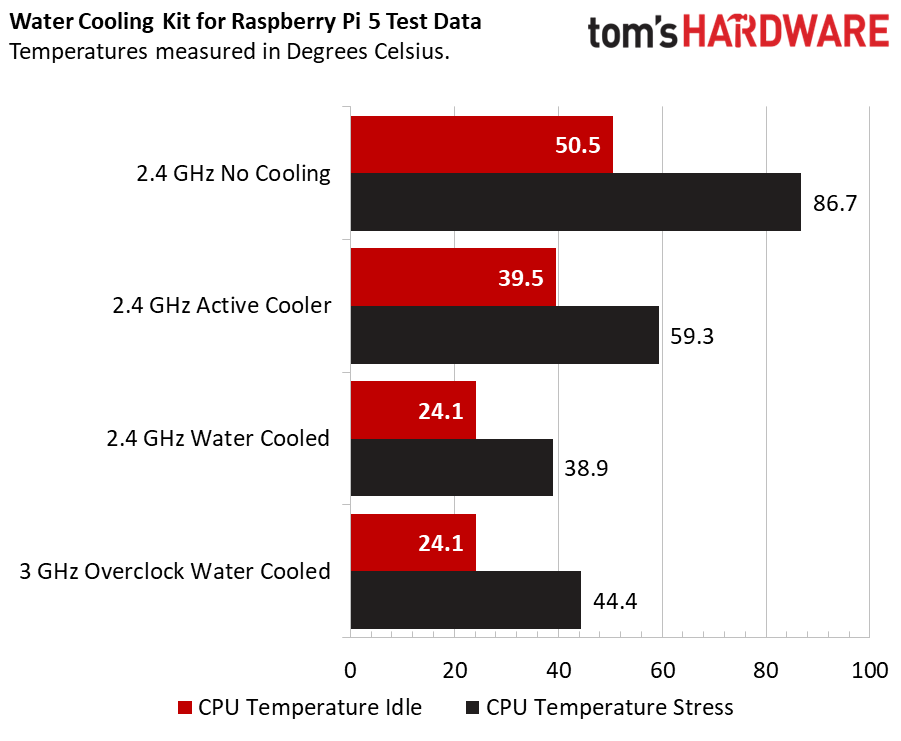
With all of this water, copper and pumps we can expect great cooling capacity, right? We can confirm that the water cooling kit does indeed have the power to keep your Raspberry Pi 5 cool. Running at stock speeds (2.4 GHz CPU and 800 MHz GPU), the Raspberry Pi 5 idles at 50.5 degrees Celsius. With the active cooler (an essential purchase for the Pi 5) this goes down to 39.5°C. So, how does the water cooling kit perform? An amazing 24.1°C at idle and 38.9°C under stress!
Can it keep a Raspberry Pi 5 cool when overclocked? We overclocked the CPU to 3 GHz, the maximum available clock for the Pi 5 and retested. At idle the CPU sat at a chilly 24.1°C, the same as stock! Under stress and the CPU reached just 44.4°C, well below thermal throttling and even below the 50°C trigger point for the active cooler.
The Seeed / 52 Pi water cooling kit will keep your Raspberry Pi 5 chilly, even under the heaviest loads, just make sure that you have the desk space for it.
Who is the Water Cooling Kit for?
This isn’t a cooling system for the masses. We wouldn’t drop $120 unless we had a serious need. If you are building a Pi cluster or doing some heavy lifting with an Arm processor then you can warrant the cost.
Bottom Line
If you want the ultimate cooling for your Raspberry Pi 5, and you’ve got $120, the 52Pi is it. We love how simple the kit is to build. It is truly plug and play. We also love the cooling performance; it is truly amazing how much it can achieve.
However, we don’t see a tangible benefit for most people. You get the same 3-GHz maximum overclock speed as you do with the $6 active cooler, Argon Neo 5 or the passively cooled EDATEC case. The temperature of the CPU will be lower, but performance will be the same. However, if having the lowest possible temp is important to you, this is your solution.

Les Pounder is an associate editor at Tom's Hardware. He is a creative technologist and for seven years has created projects to educate and inspire minds both young and old. He has worked with the Raspberry Pi Foundation to write and deliver their teacher training program "Picademy".
-
TerryLaze Reply
Half the thermals at 600Mhz more, I don't know what that translates to in watts, but it's going to be more than stock.Notton said:This cooler uses 13.5W to cool a 12W part?
Also these are just fun articles about stupid stuff people do just to see what happens, they are not recommendations for you to do it. -
Tom Sunday I think that the entire ‘Cooling Phenomenon’ and for that matter for all tech-products has become and remains way overrated. Marketing people and OEM’s continue in jumping on the cooling bandwagon to not only keeping to enriching themselves, but also in banking on the fear already instilled towards consumer and that systems will fail if not cooled the way they want us to see!Reply
