Tom's Hardware Verdict
The Bakeneko65 is beginner-friendly and won’t break the bank, but more experienced builders may be left wanting. It offers more keys but less bounce than the Bakeneko60, while offering more customization with either a silicone or zinc weight.
Pros
- +
+ Easy to build (and mod)
- +
+ Affordably priced compared to the competition
- +
+ Included stabilizers
- +
+ Improved finish from the Bakeneko60
- +
+ Great entry-point to the keyboard hobby
Cons
- -
Imperfections in the finish
- -
Less flex than the Bakeneko60
- -
Only clip-in stabilizers supported
Why you can trust Tom's Hardware
Cannon Keys wants the Bakeneko65 to be your first custom keyboard. It’s designed to redefine what kind of quality you should expect from an entry-level keyboard kit, name-checking the classic Tofu from KBDFans right on the product page. Starting at $144.99, it’s less expensive than the Tofu, but includes a more flexible mounting system, FR4 plate and stabilizers in the box, as well a nice, zippered travel case to take it on the go.
Toppling a giant like the Tofu is never easy. Following the popular Bakeneko60 we reviewed last year, the Bakeneko65 brings back all of the things we loved about that keyboard and makes a few important changes, like a new powder-coated finish and the addition of a silicone or zinc weight for heft and acoustics. The novel o-ring mounting system and carefree assembly also make their return. It’s a great keyboard kit for newcomers, but it’s not without a few drawbacks you’ll want to keep in mind.
Cannon Keys Bakeneko65 Specs
| Switches | None included (hot-swappable) |
| Lighting | Per-key warm white |
| Onboard Storage | 4 (VIA) to 16 (QMK) supported layers |
| Media Keys | Secondary Layer |
| Connectivity | USB Type-C to Type-A |
| Cable | None included |
| Additional Ports | None |
| Keycaps | None included |
| Software | QMK or VIA |
| Dimensions (LxWxH) | 12.4 x 4.3 x 0.71 inches |
| Weight | --- |
Design of the Bakeneko65
The Bakeneko65 is an aluminum keyboard kit designed to balance quality and affordability. It’s the same design principle that guided the original Bakeneko60 and made it such a popular option throughout last year. Like that keyboard, it uses an o-ring mounting system that adds softness to the typing experience and removes the need for any screws outside of the USB port. It’s one of the simplest assemblies I’ve encountered in a custom keyboard kit and is a godsend when testing and applying different mods.
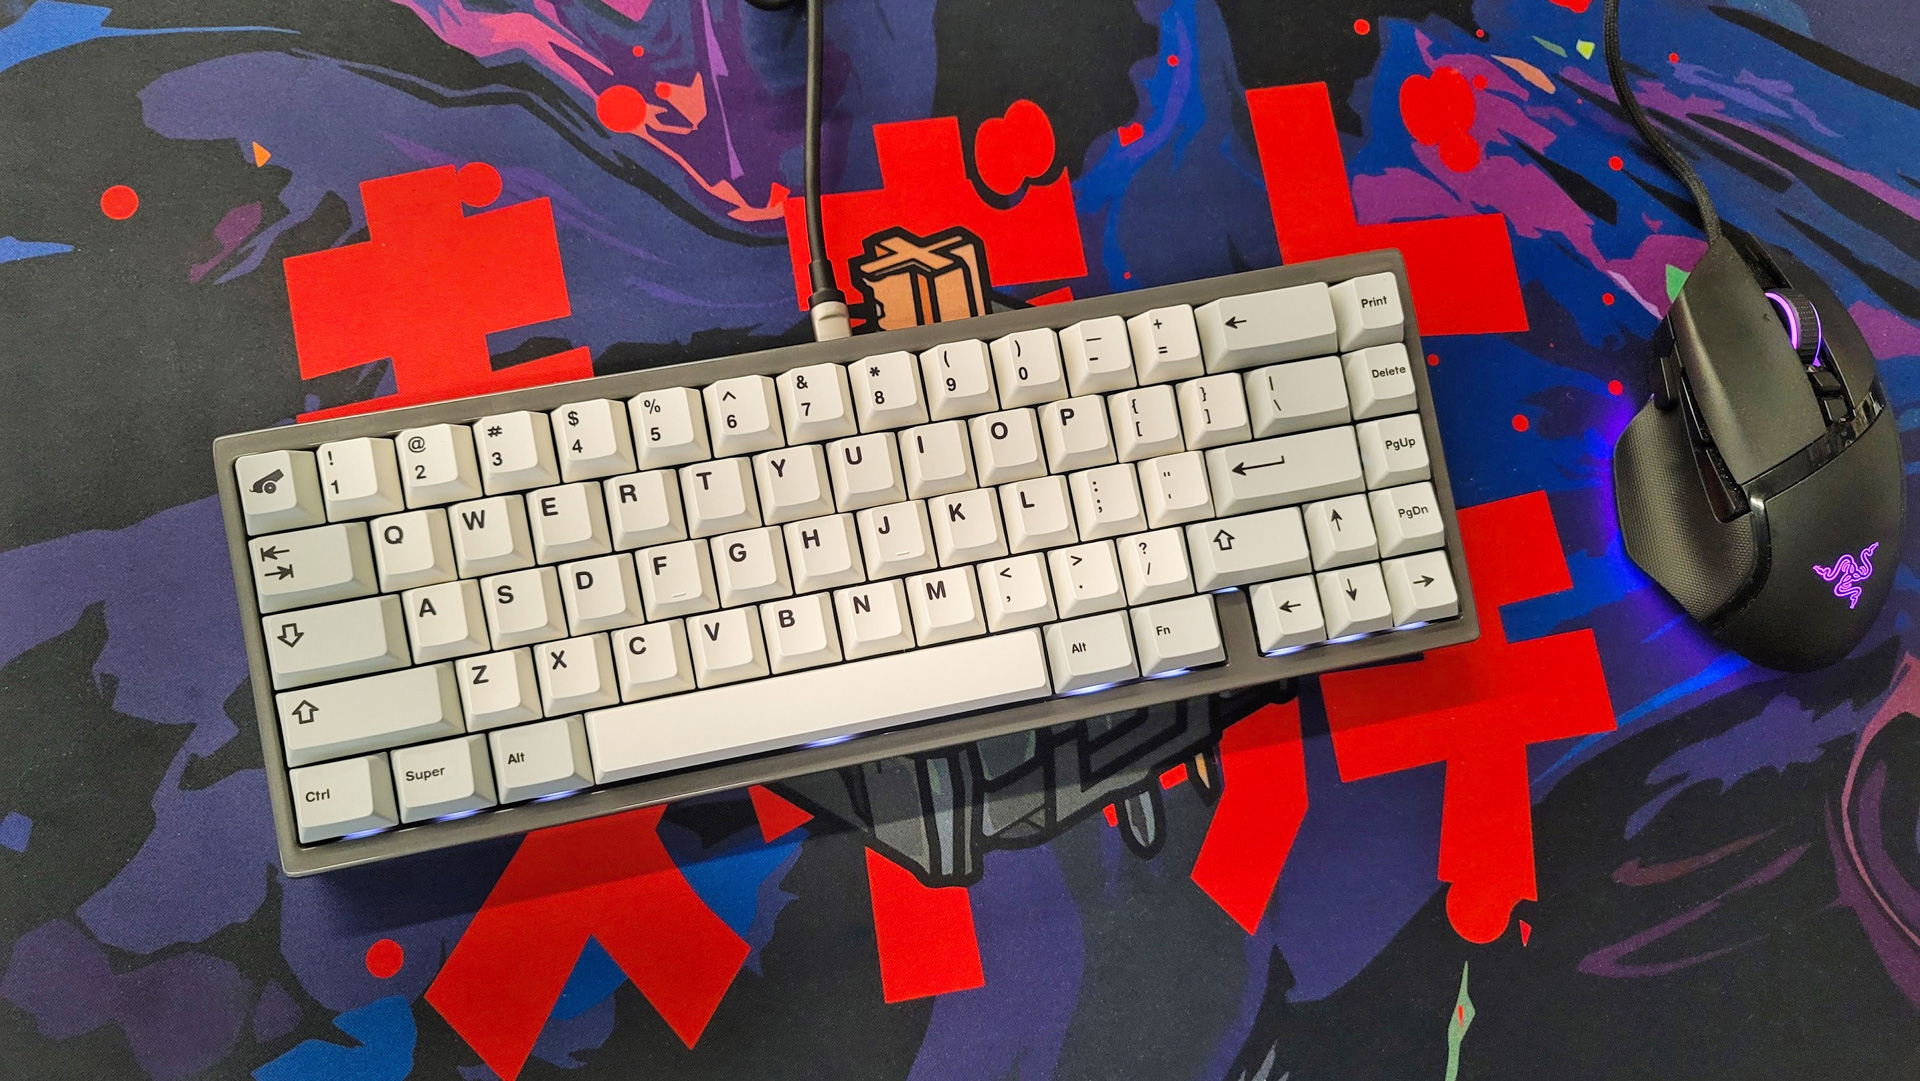
As the name implies, the Bakeneko65 is a compact keyboard with a 65-percent layout. Like the 60-percent Bakeneko60 or mega-popular Ducky One 2 Mini, this layout is all about space-savings, leaving the function row and dedicated number pad on the cutting room floor. Such a small layout can be good for certain games but can make getting work done difficult. The Bakeneko65 answers this by restoring the arrow cluster and column of four navigation and editing buttons on the right side of the keyboard.
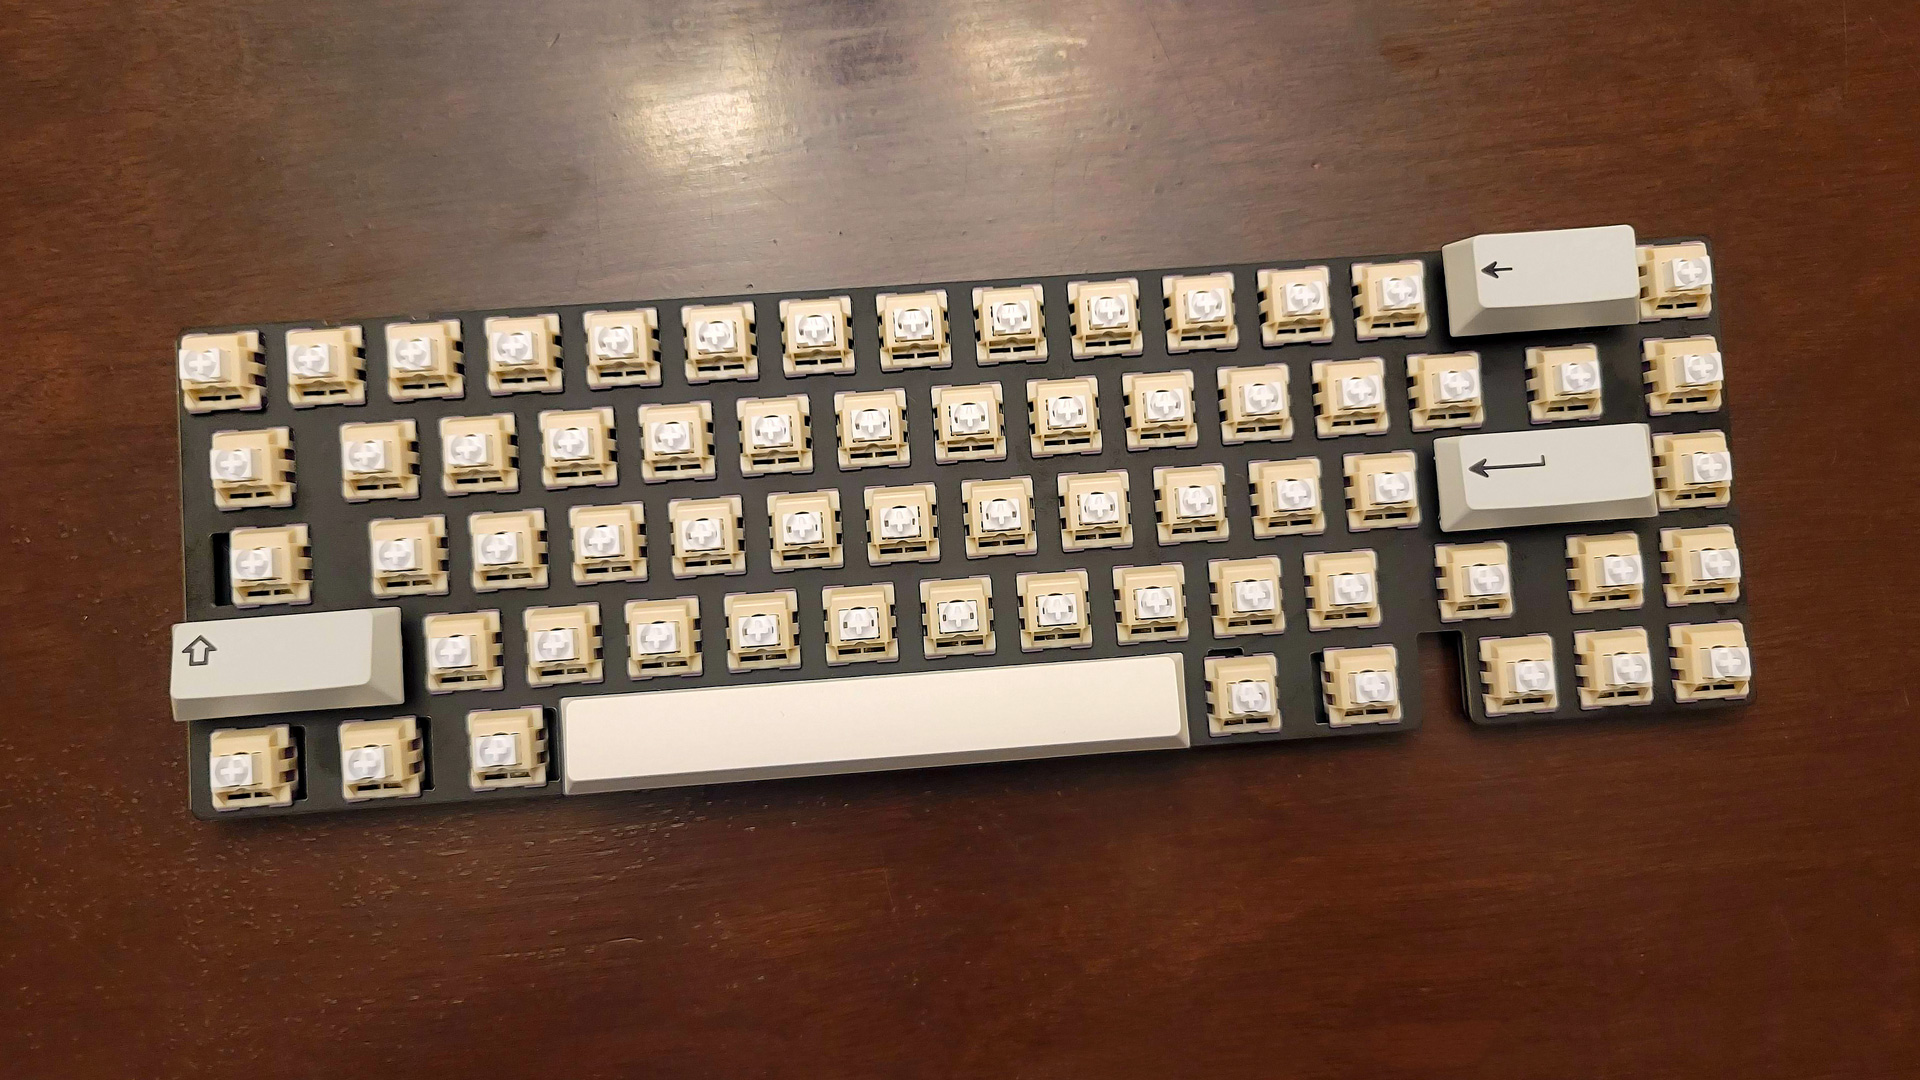
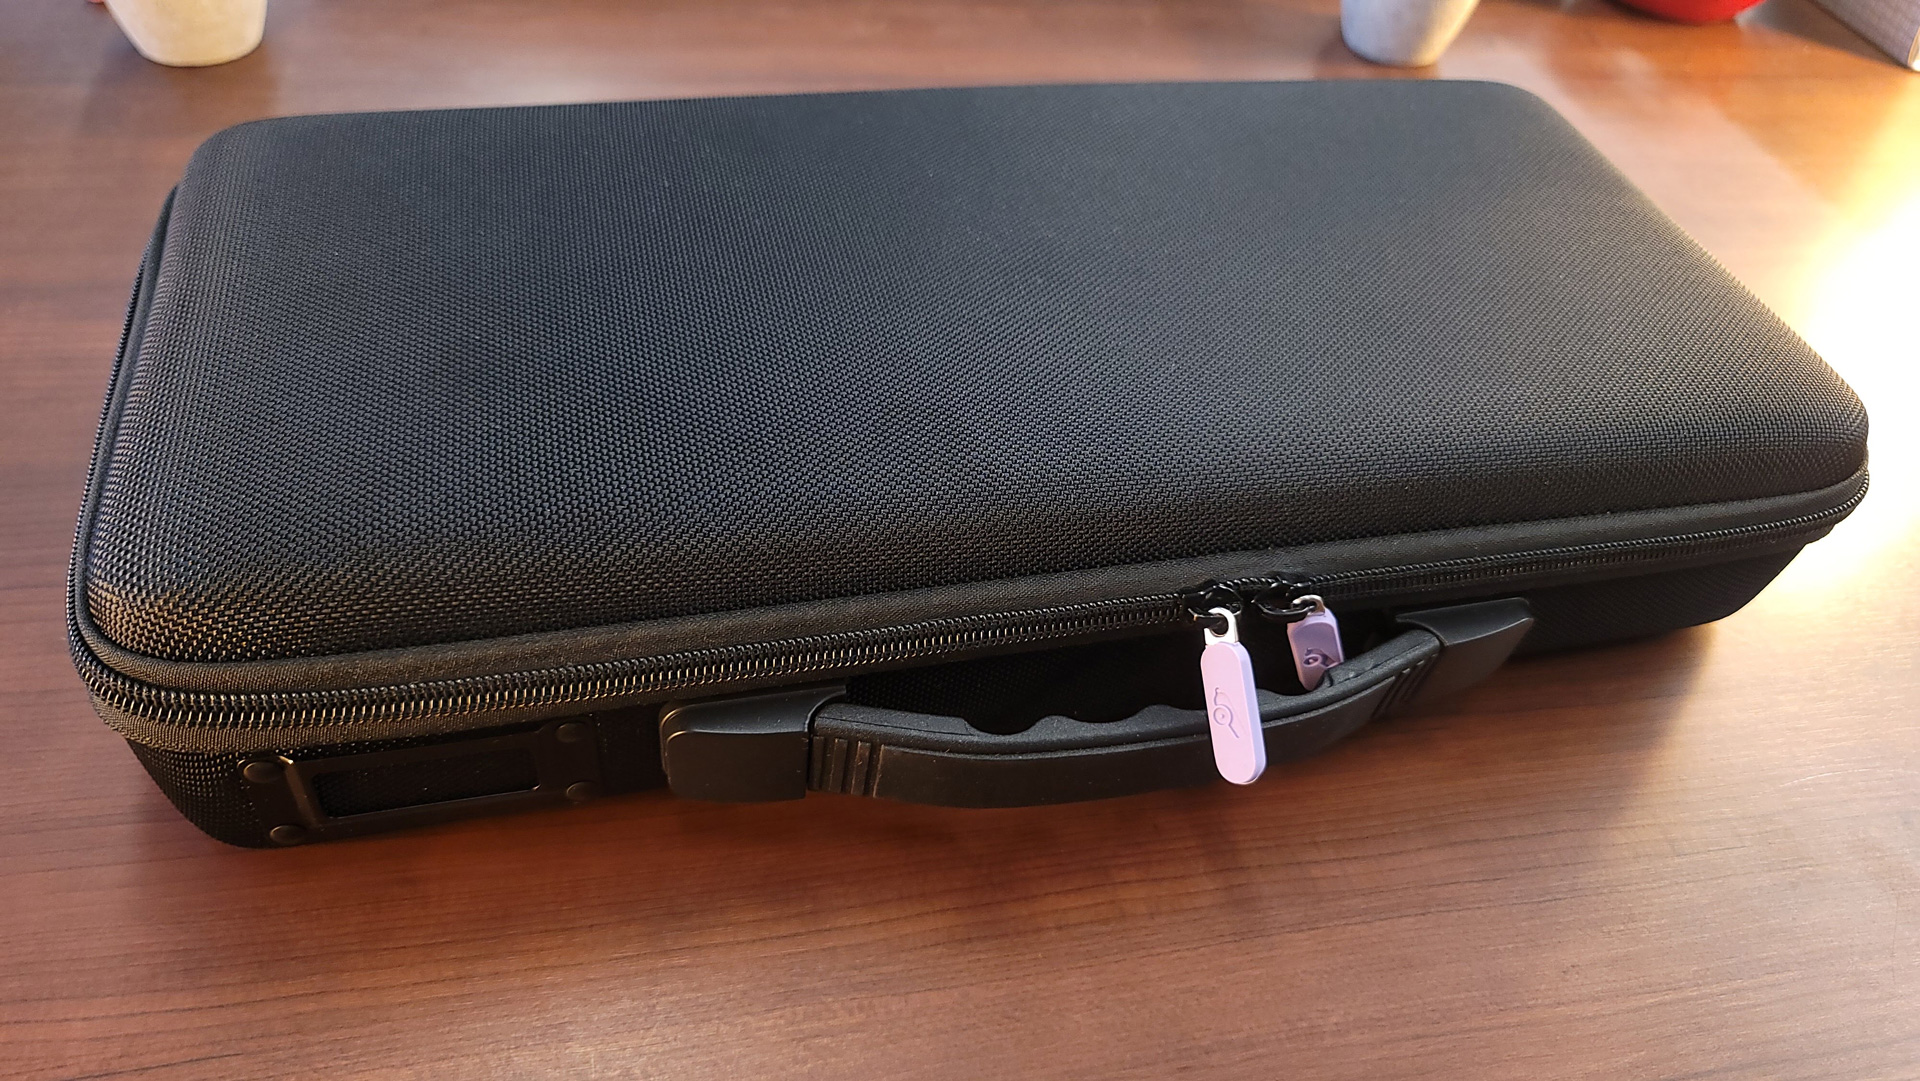
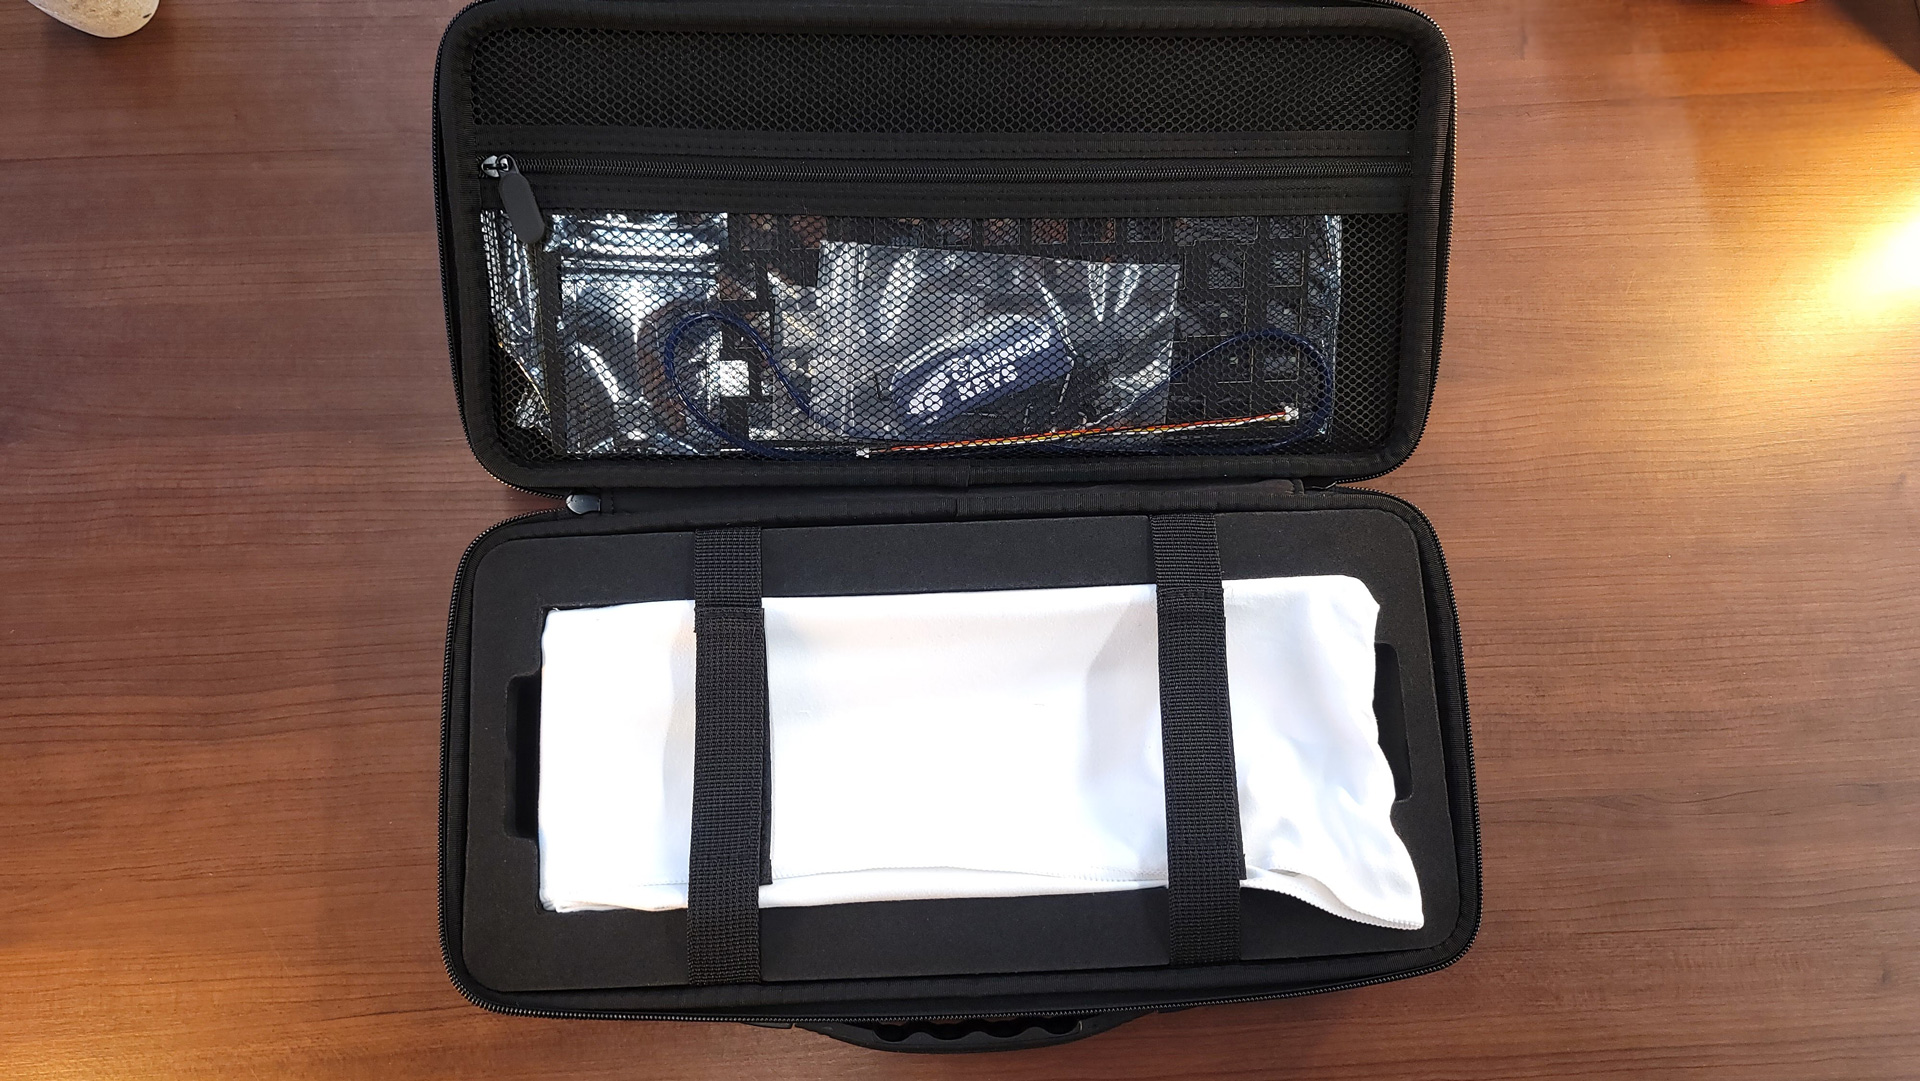
The kit itself is very simple. It comes with an aluminum case that doesn’t require screws to support the plate and PCB. You also have the hot-swappable PCB, fiberglass plate, o-ring, and Cherry clip-in stabilizers. All of this comes packaged in a semi-hardback travel case that retails for an additional $35 when purchased separately. The only things you’ll need to bring yourself are switches and keycaps, like with most other custom keyboard kits, which are available at the Cannon Keys store as in-stock purchases so you can check everything out at once.
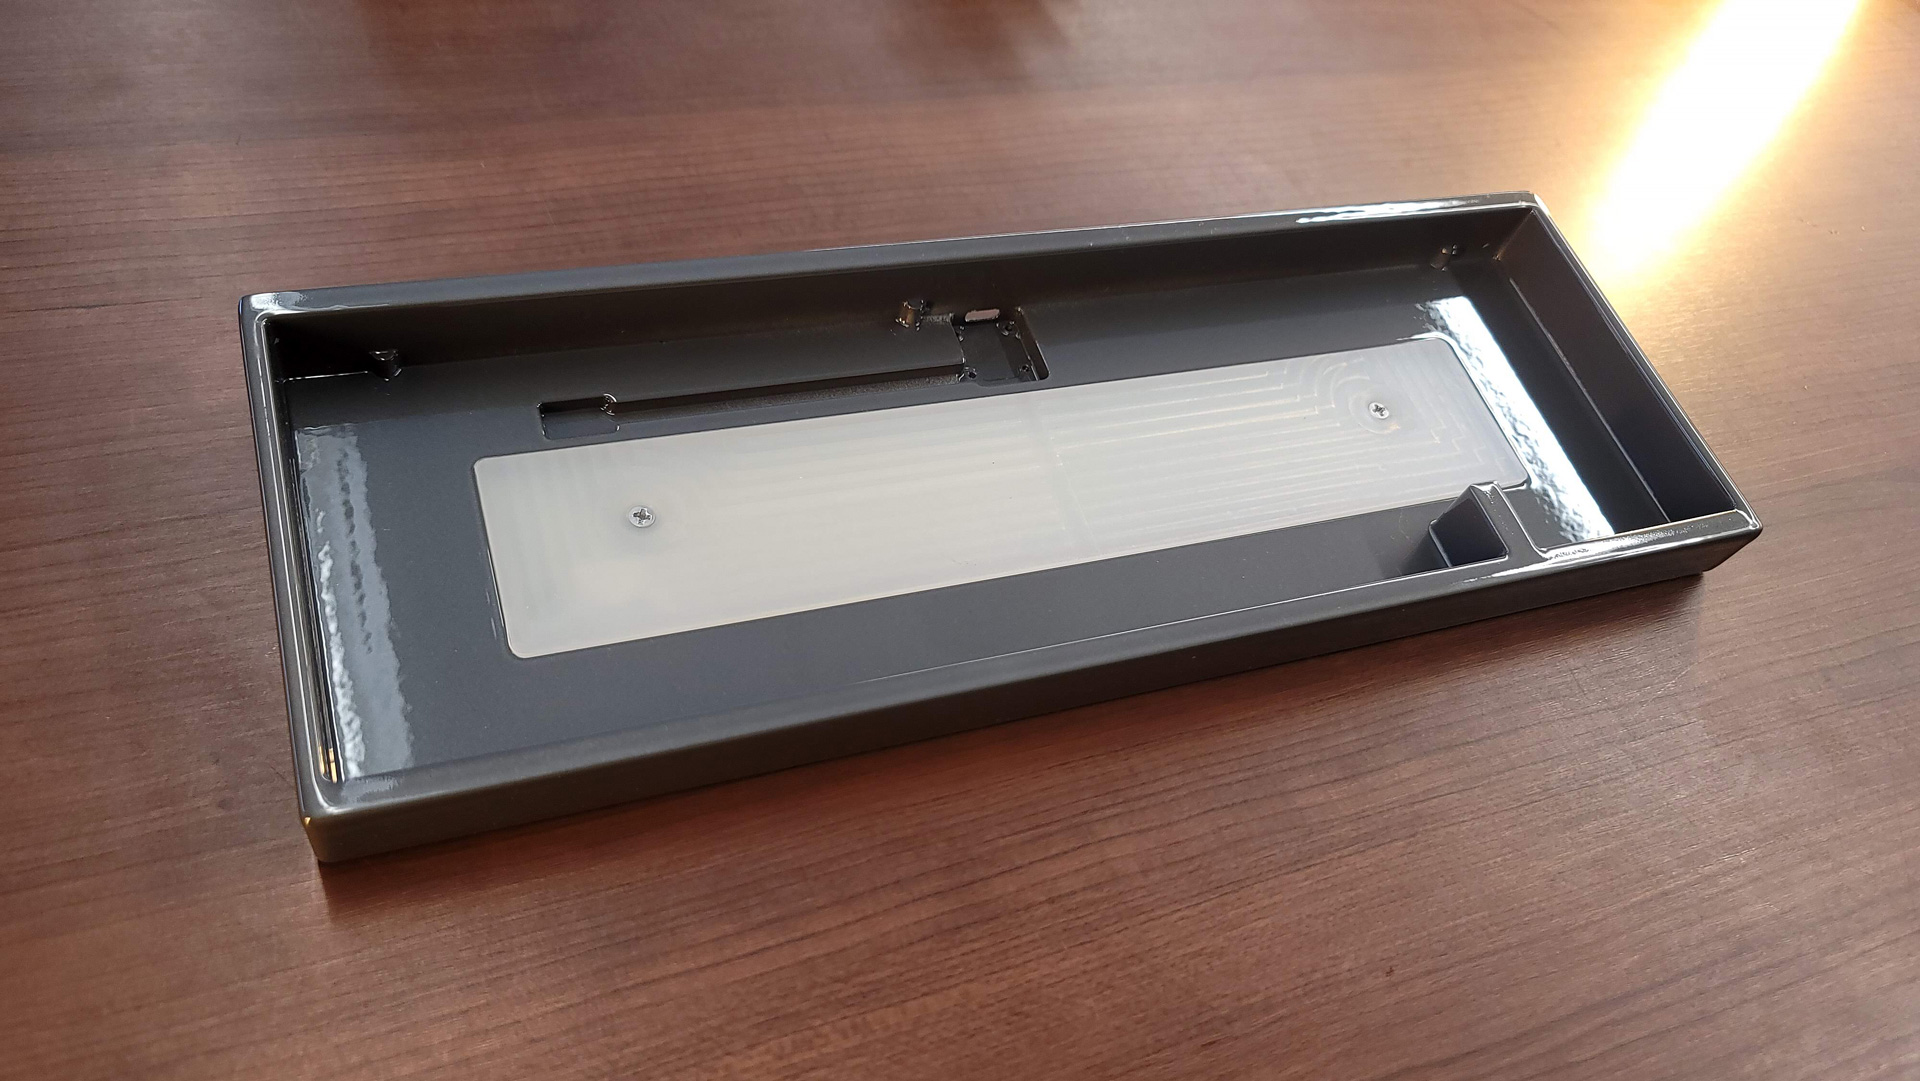
The case has been upgraded for this release. Like the Bakeneko60, to save on production costs and keep the price low, it’s made from cast aluminum instead of CNC milling. The finish has been upgraded with powder coating for the three main colors, black, whitish, and dark grey. The lavender and blue options are both still painted. Either color process is a downgrade from the anodization found on more expensive kits but, like the use of molding instead of CNCing, is done to keep the price accessible. Both processes can lead to surface imperfections, though, and my unit actually did have some minor pitting along the edges. It’s minor enough that I wouldn’t have noticed had I not been actively looking for this review.
Another new upgrade with the Bakeneko65 is that it now supports a built-in weight. When you buy the keyboard, you’re able to choose whether you would like a silicone or zinc weight (+$20). For this review, I was sent the silicone weight but have seen pictures of the zinc weight, which appears to lack any kind of aesthetic finish. It is heavier, however, and will add a more premium heft to the keyboard.
Get Tom's Hardware's best news and in-depth reviews, straight to your inbox.
The PCB used in this kit supports hot-swappable switches and per-key backlighting. There are no frills, like flex cuts, but the switches are south-facing for wide compatibility with aftermarket keycap sets. The backlighting is also warm-white only, so there’s no RGB available for deeper color customization.
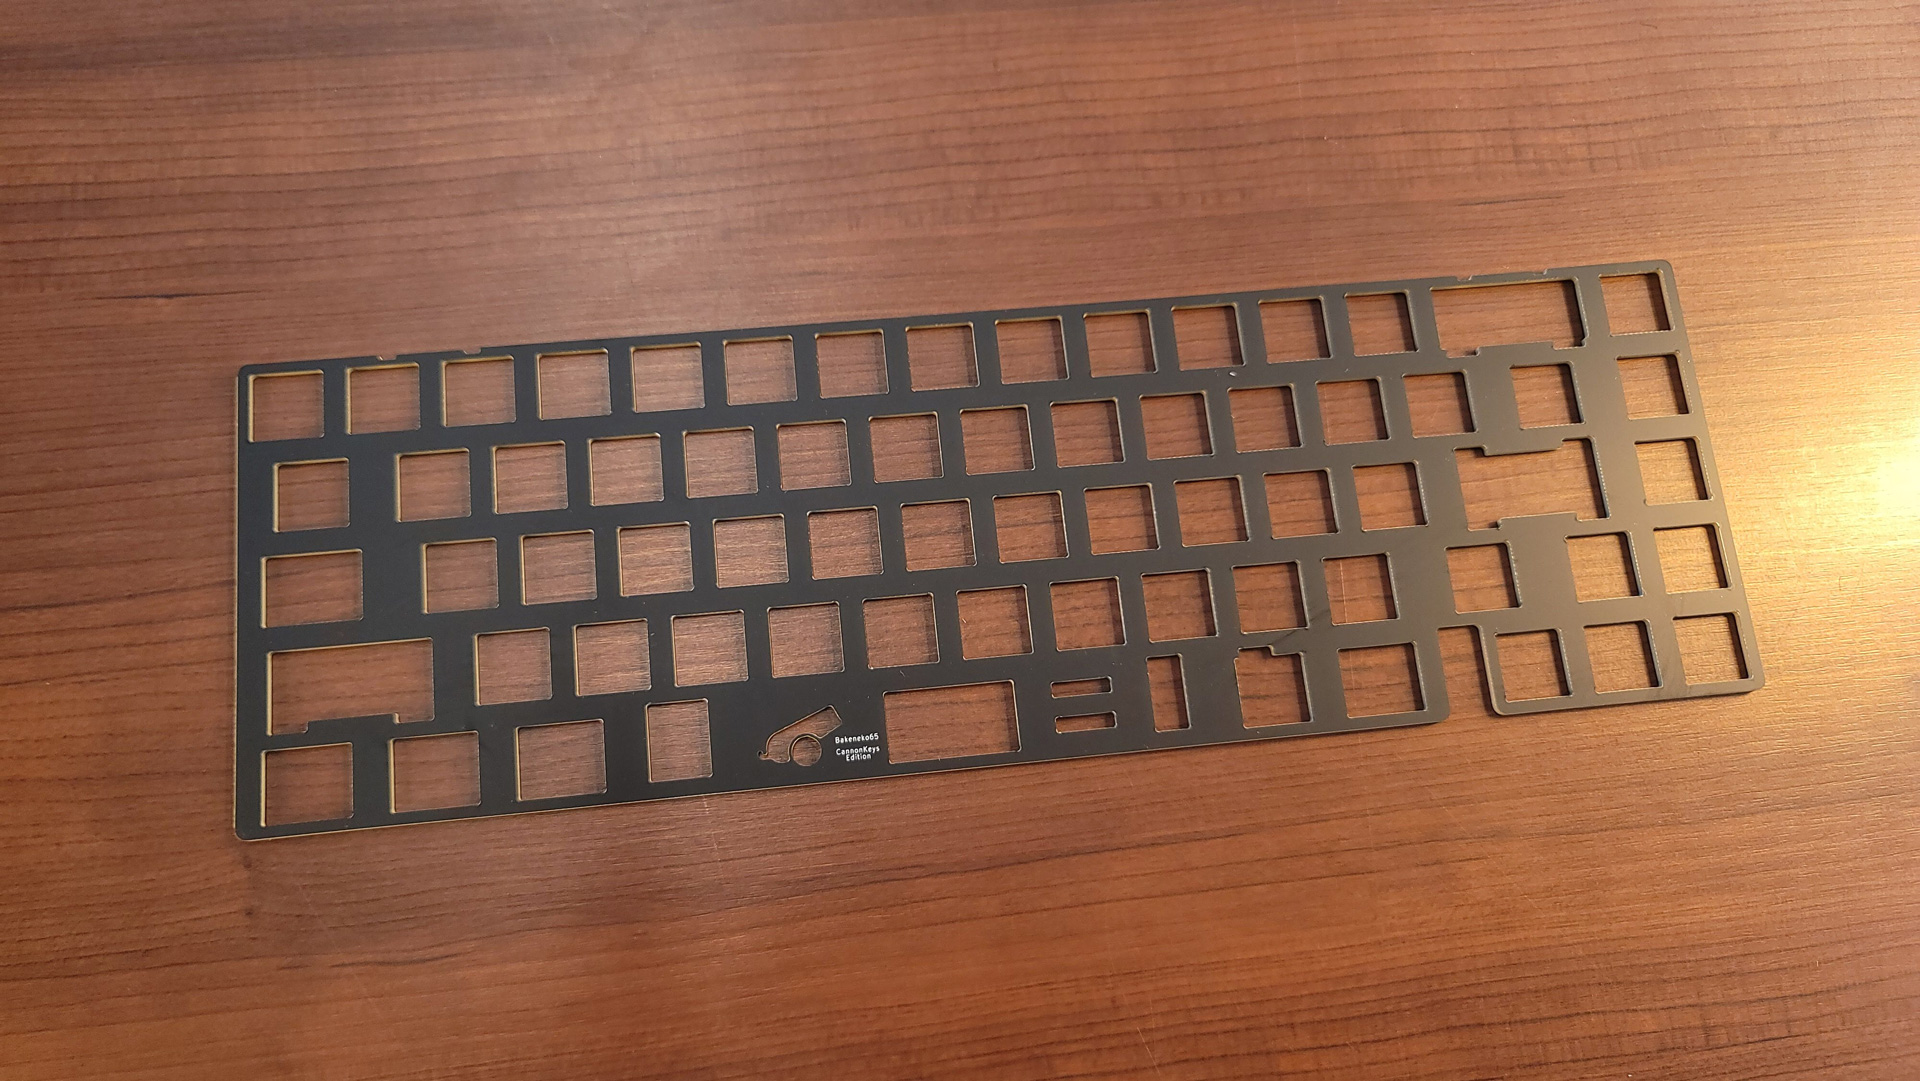
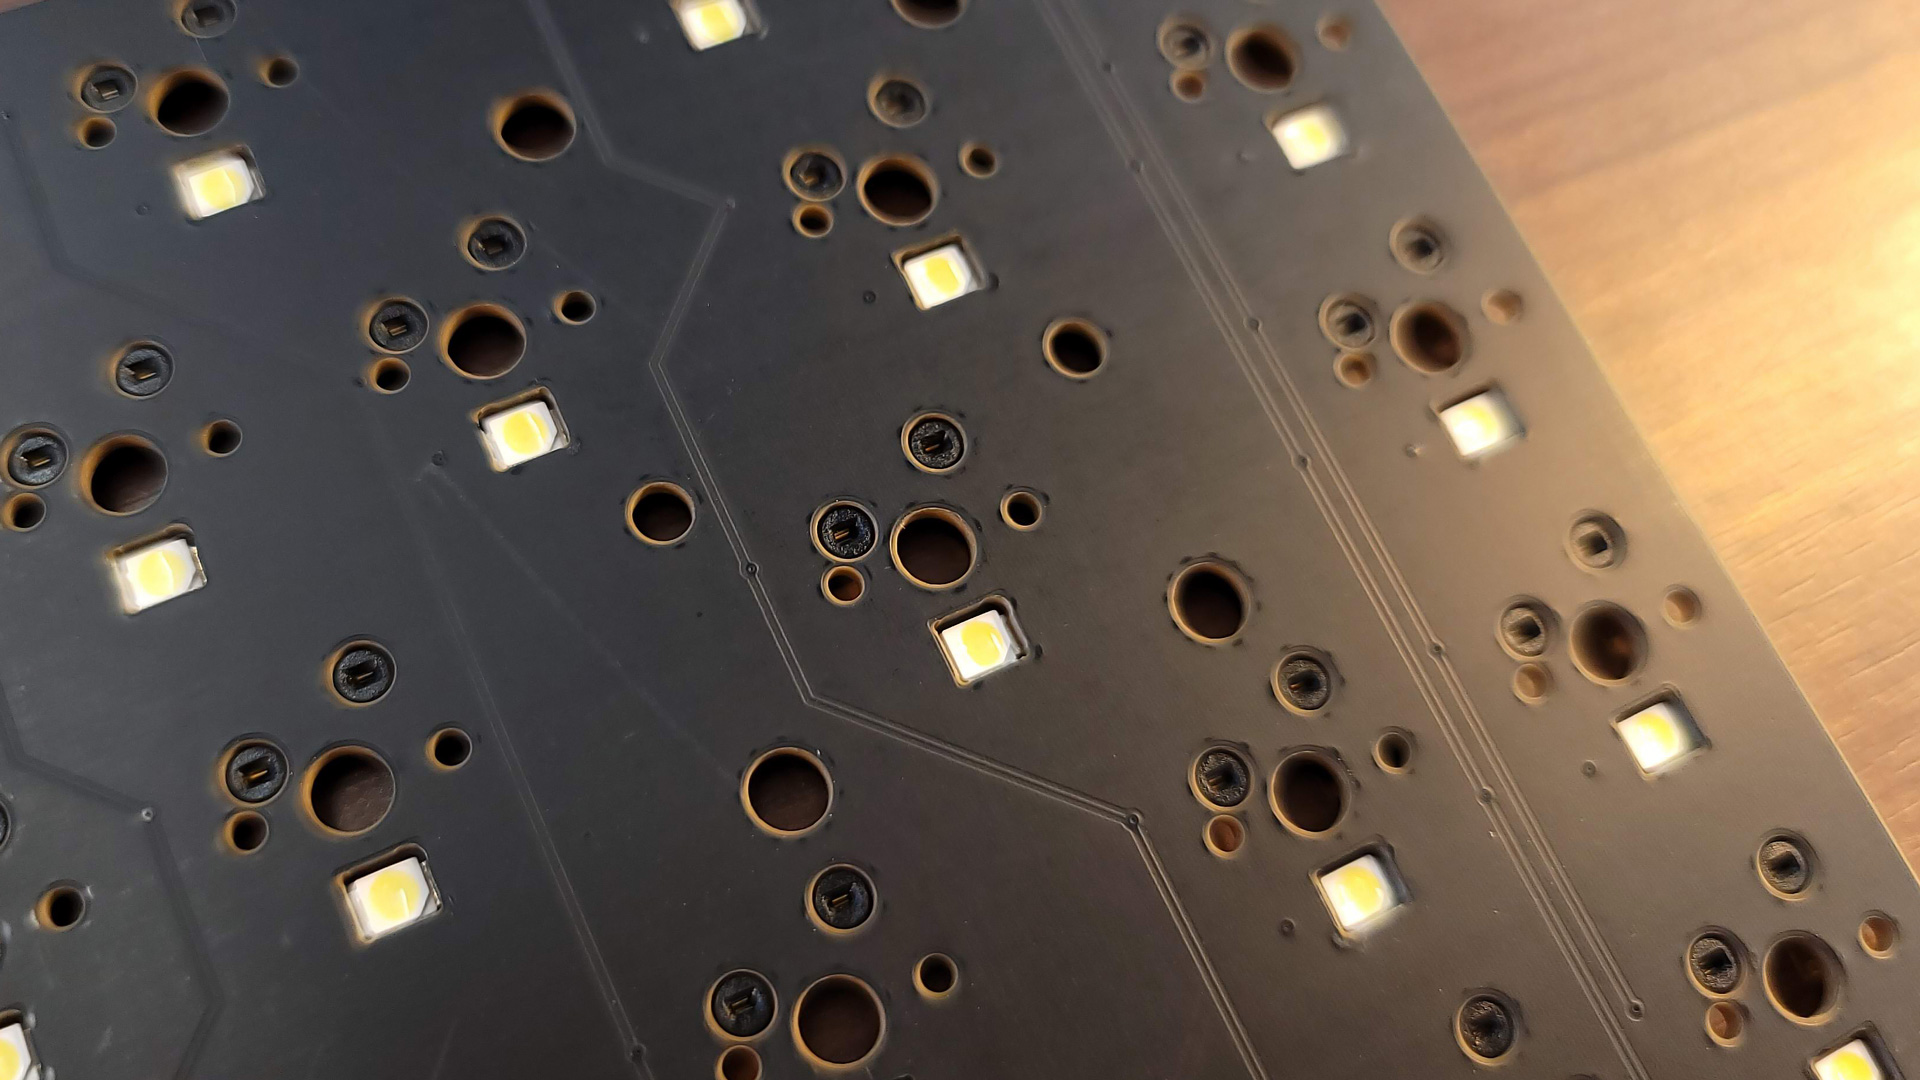
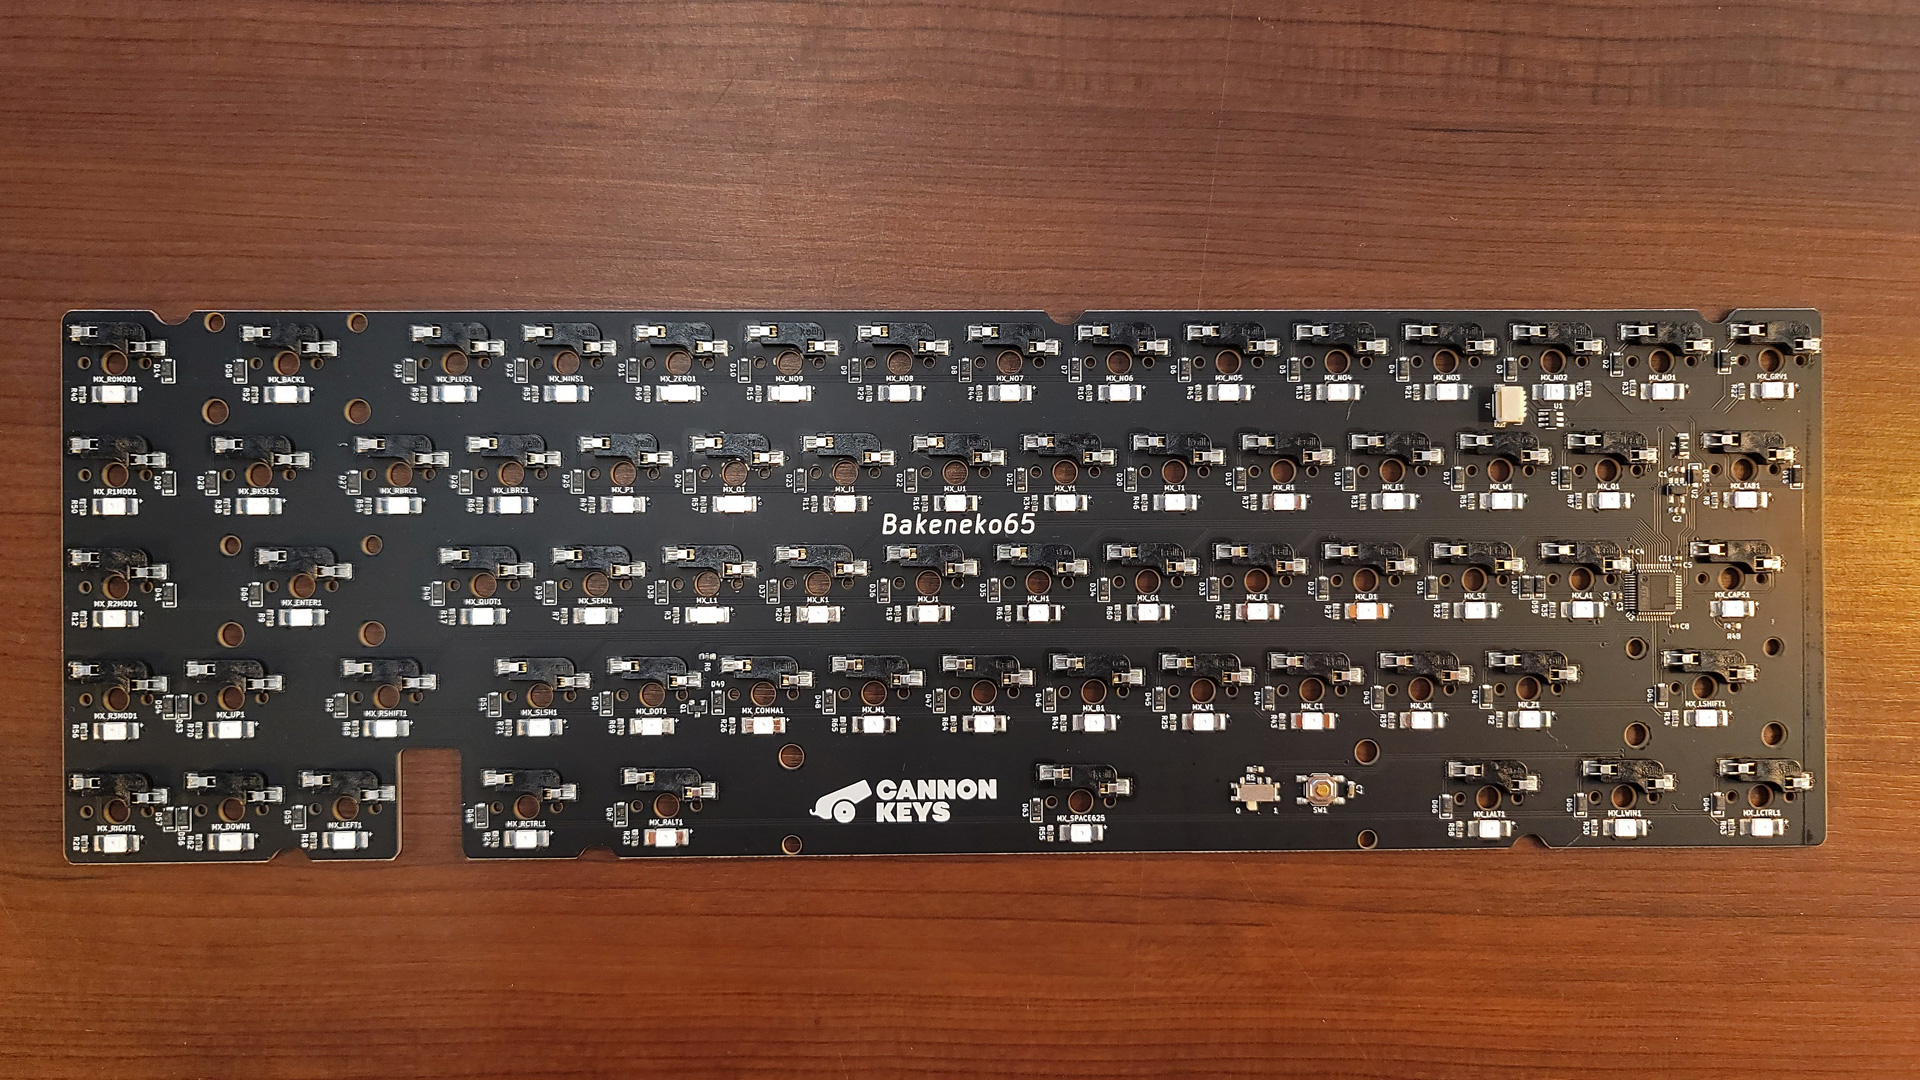
The plate is equally simple. It’s made of FR4, a fiberglass composite that’s more flexible than the typical aluminum or steel plates built into pre-made keyboards. It’s also easier to work with than the soft polycarbonate plates in other entry-level keyboard kits like the KBDFans KBD67 Lite. Unlike the Zoom65, there’s no support for split Spacebar or Backspace.
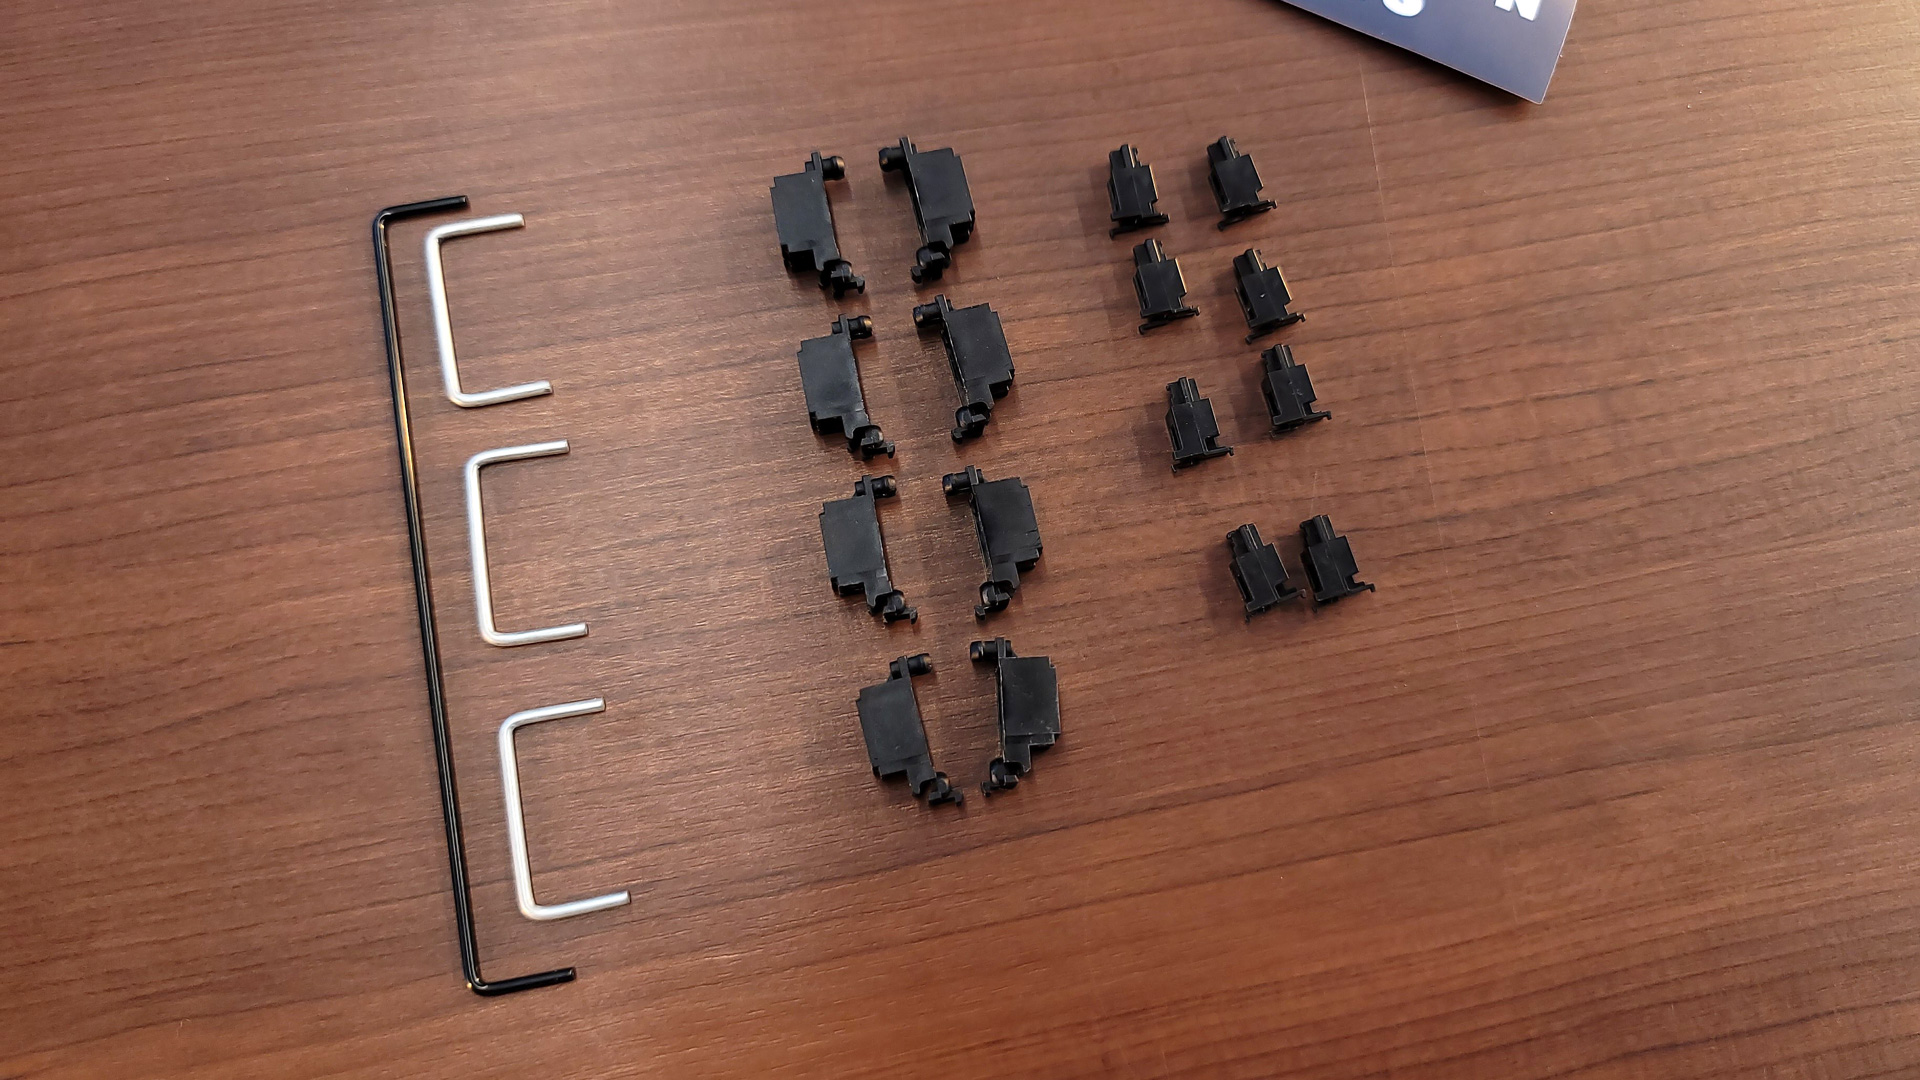
Though you’ll need to bring switches and keycaps, one thing you won’t need to buy separately is stabilizers. Because of the o-ring mounting system, the keyboard is only compatible with clip-in stabilizers. Cannon Keys includes a set in the box. You’ll need to lube these stabilizers yourself (and clip the feet if you want the best experience), but they work well and will save you a few extra dollars versus buying them separately.
Assembling the Bakeneko65
Assembling the Bakenko65 is very straightforward. Cannon Keys doesn’t have an assembly guide published yet but I was able to follow the manual published for the Bakeneko60 without difficulty. The entire process took me about 40 minutes but complete newcomers should plan on an hour (not including lubing switches or preparing stabilizers).
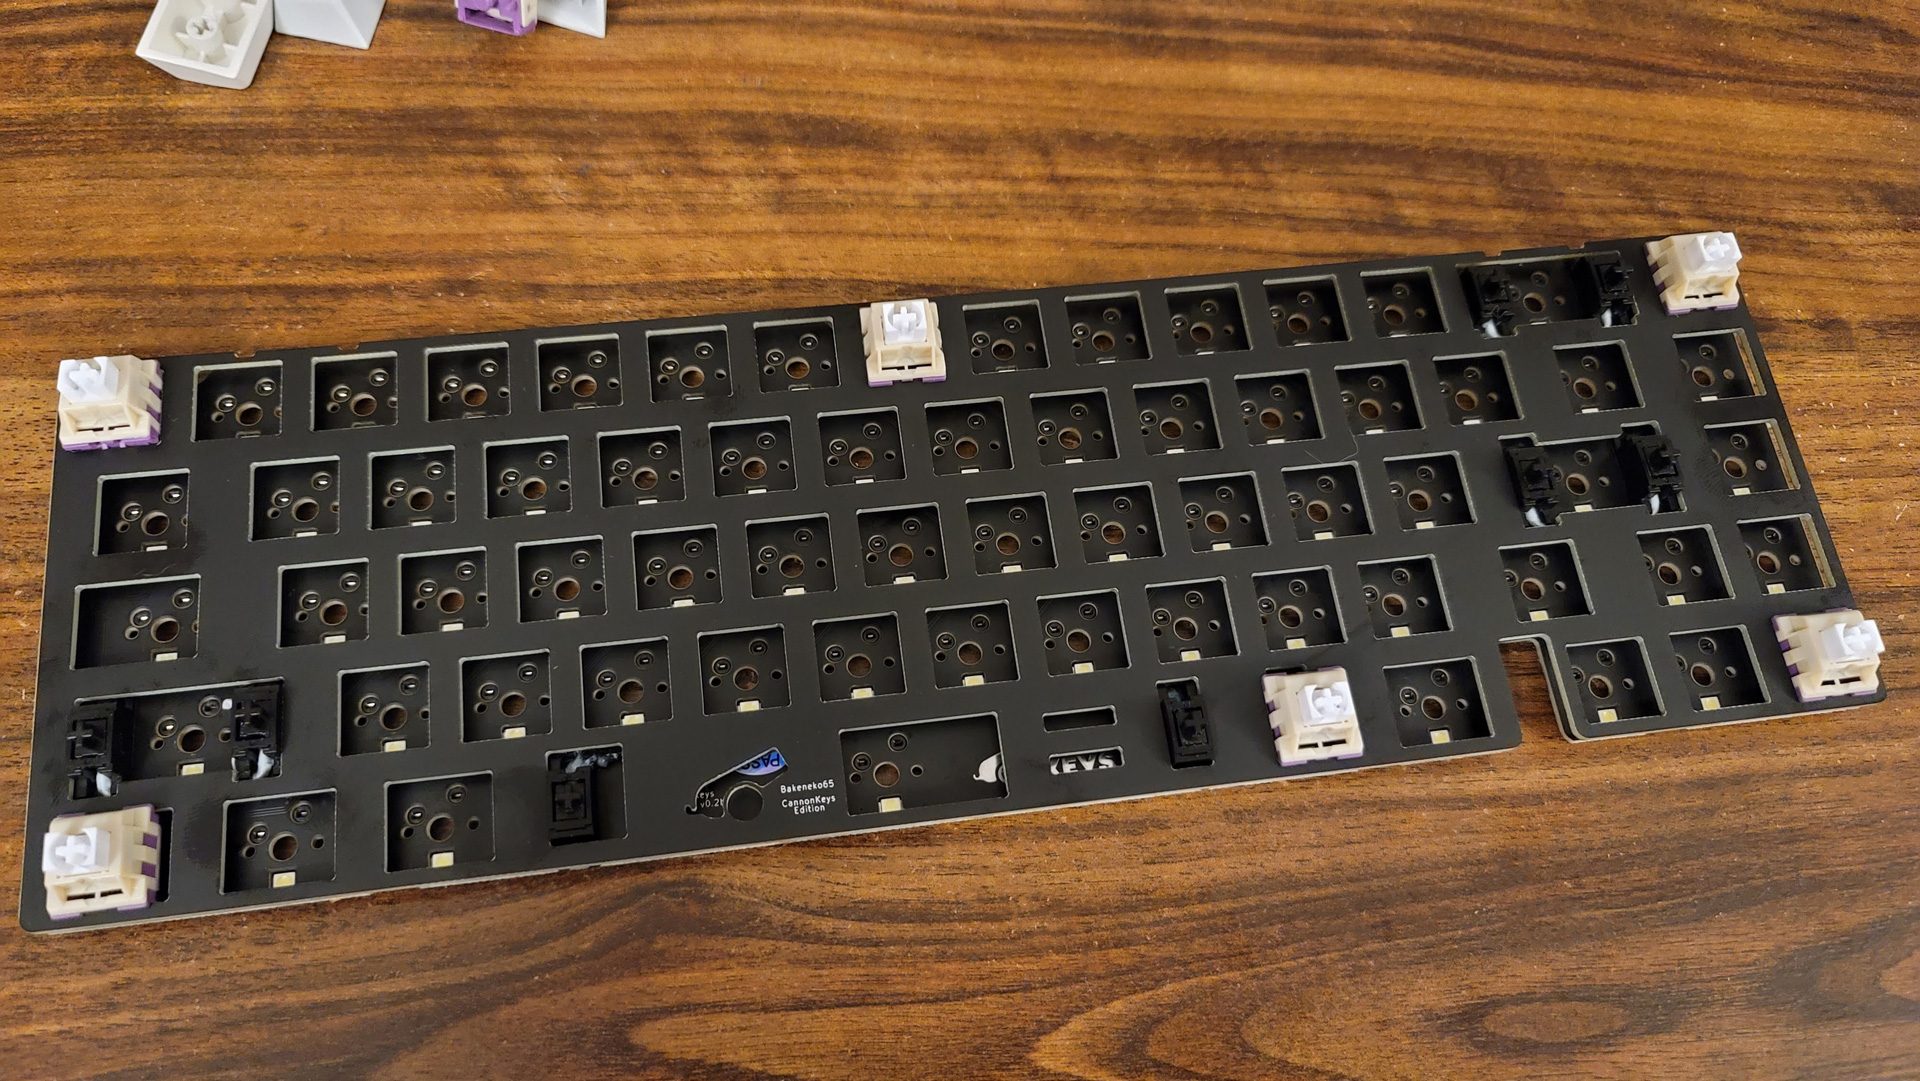
The most difficult part of the process was installing switches. Since the plate and PCB don’t screw together, they’re held in place by the switches themselves. You’ll need to mount the outer switches first, snapping them into the plate and aligning them with the hot-swap sockets. It’s a bit more complicated than most installs that attach the plate and PCB with standoffs, but once enough are installed to support the plate, the rest of the switches go in like normal.
Because of the o-ring mounting system, the keyboard only supports clip-in stabilizers. Unlike plate mount stabilizers (commonly found on pre-built keyboards), these still attach to the PCB. Instead of screwing into place like most PCB-mount stabs, the front foot of each snaps open when pressed into place to hold it firmly on the PCB.
With the plate and PCB assembled, the o-ring simply wraps around the assembly. It slots into the space between the plate and PCB, resting on the outer switches to stay in place. It protrudes around the edges to create the friction fit that holds it in the case. Once it’s wrapped, you simply press it down into the case, wrapping around the arrow key blocker, and it’s set.
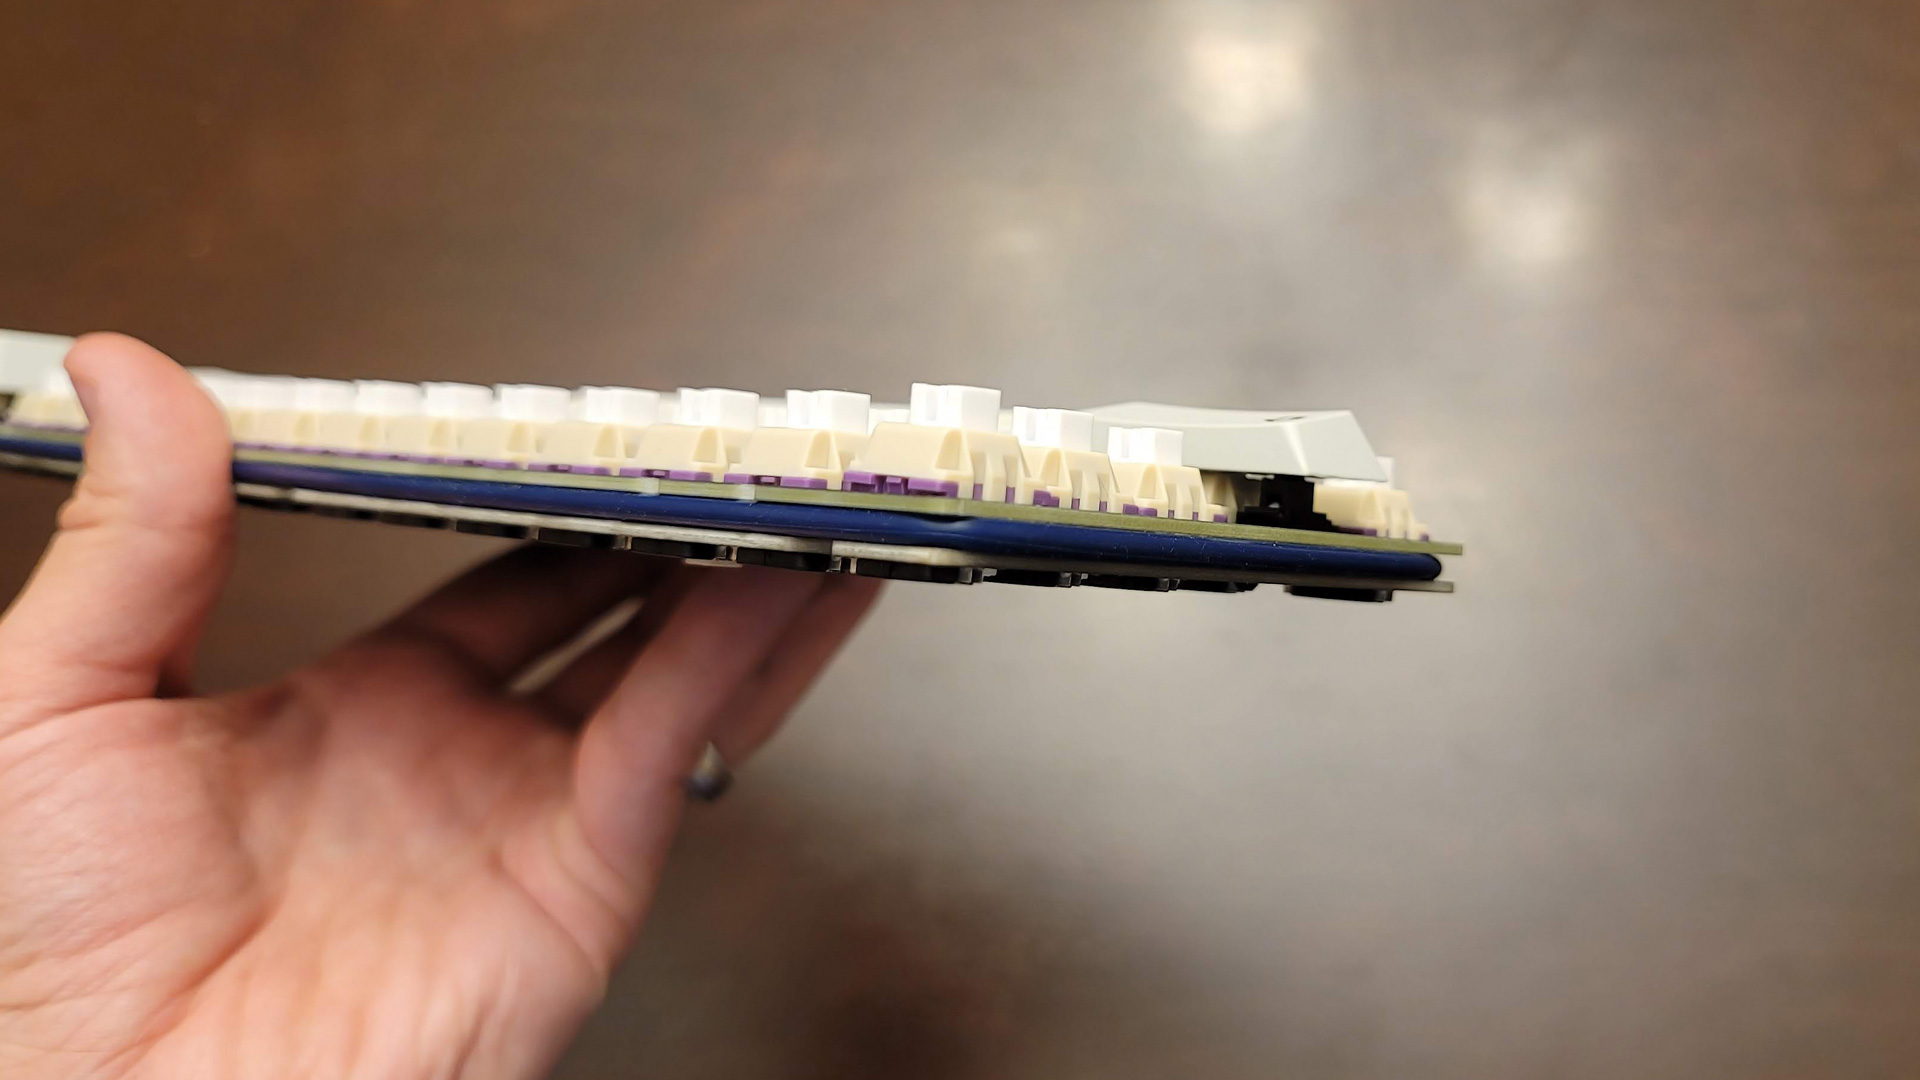
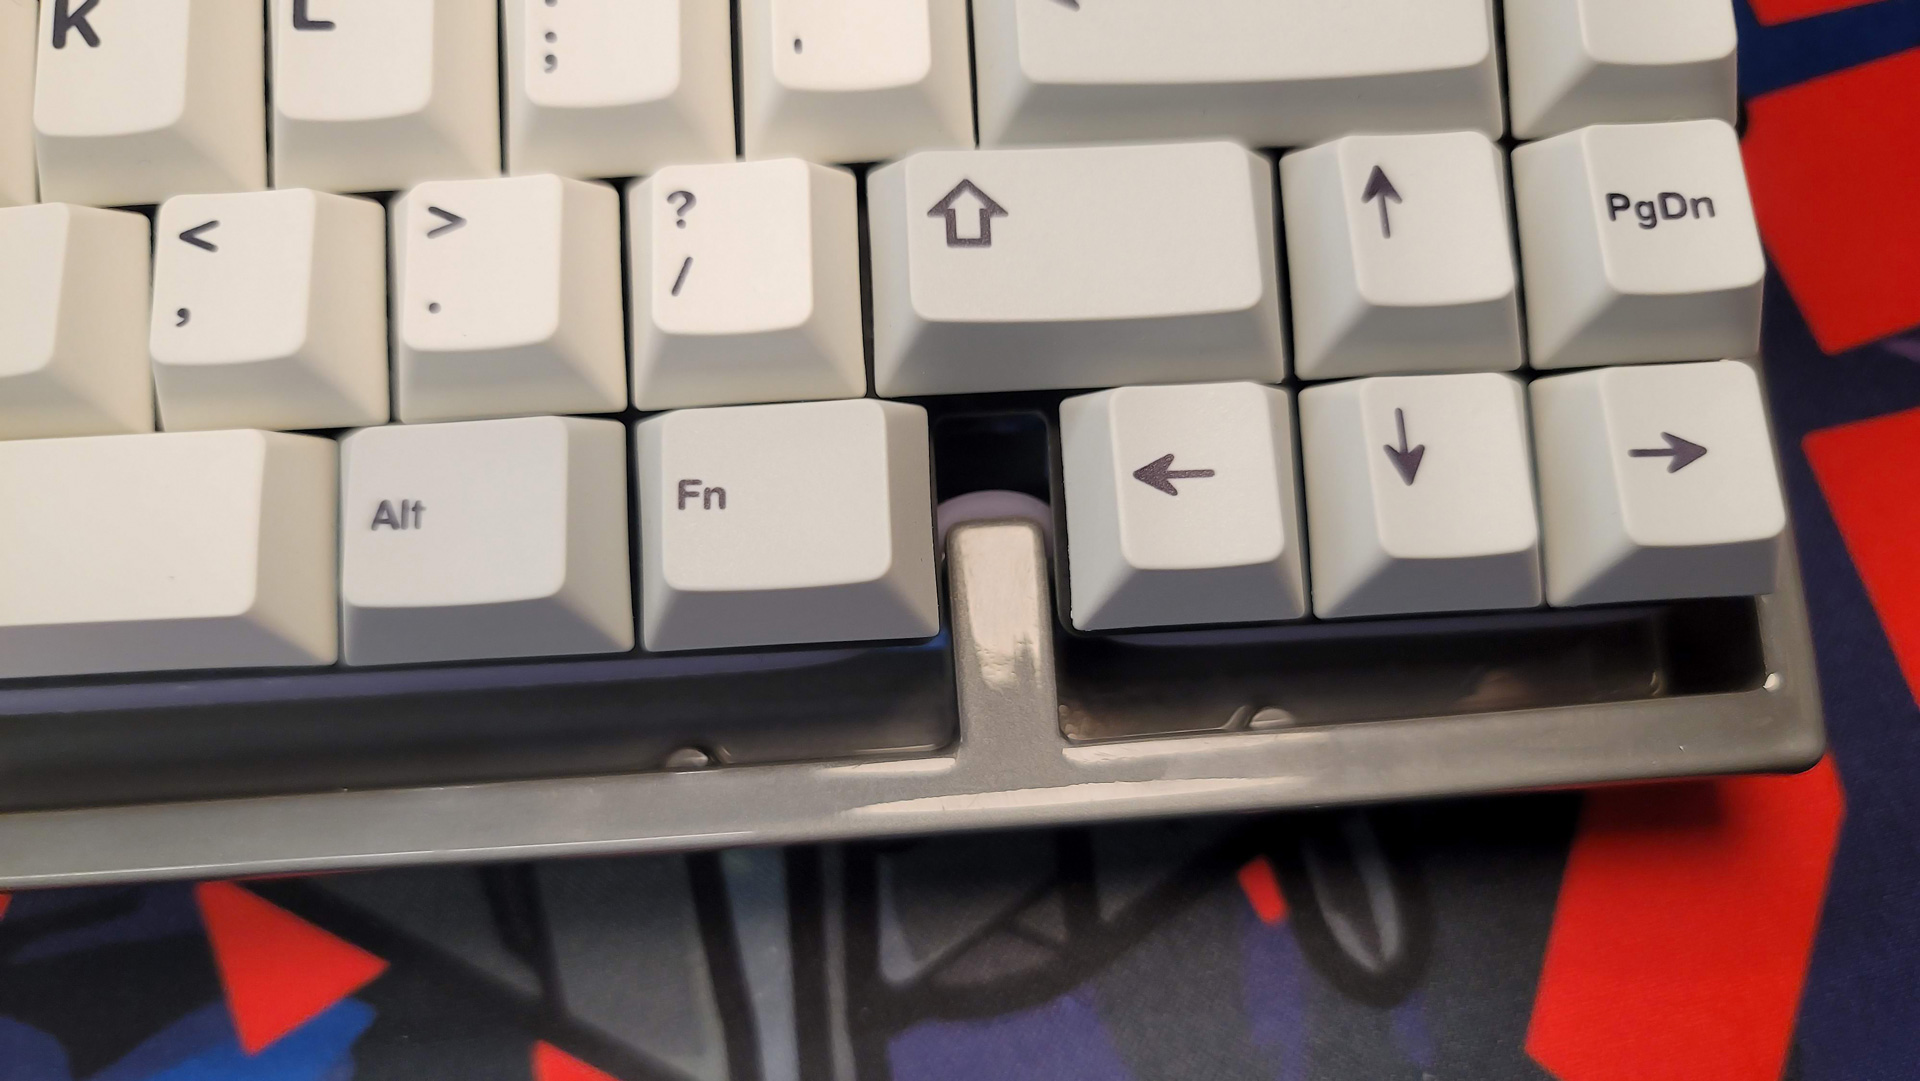
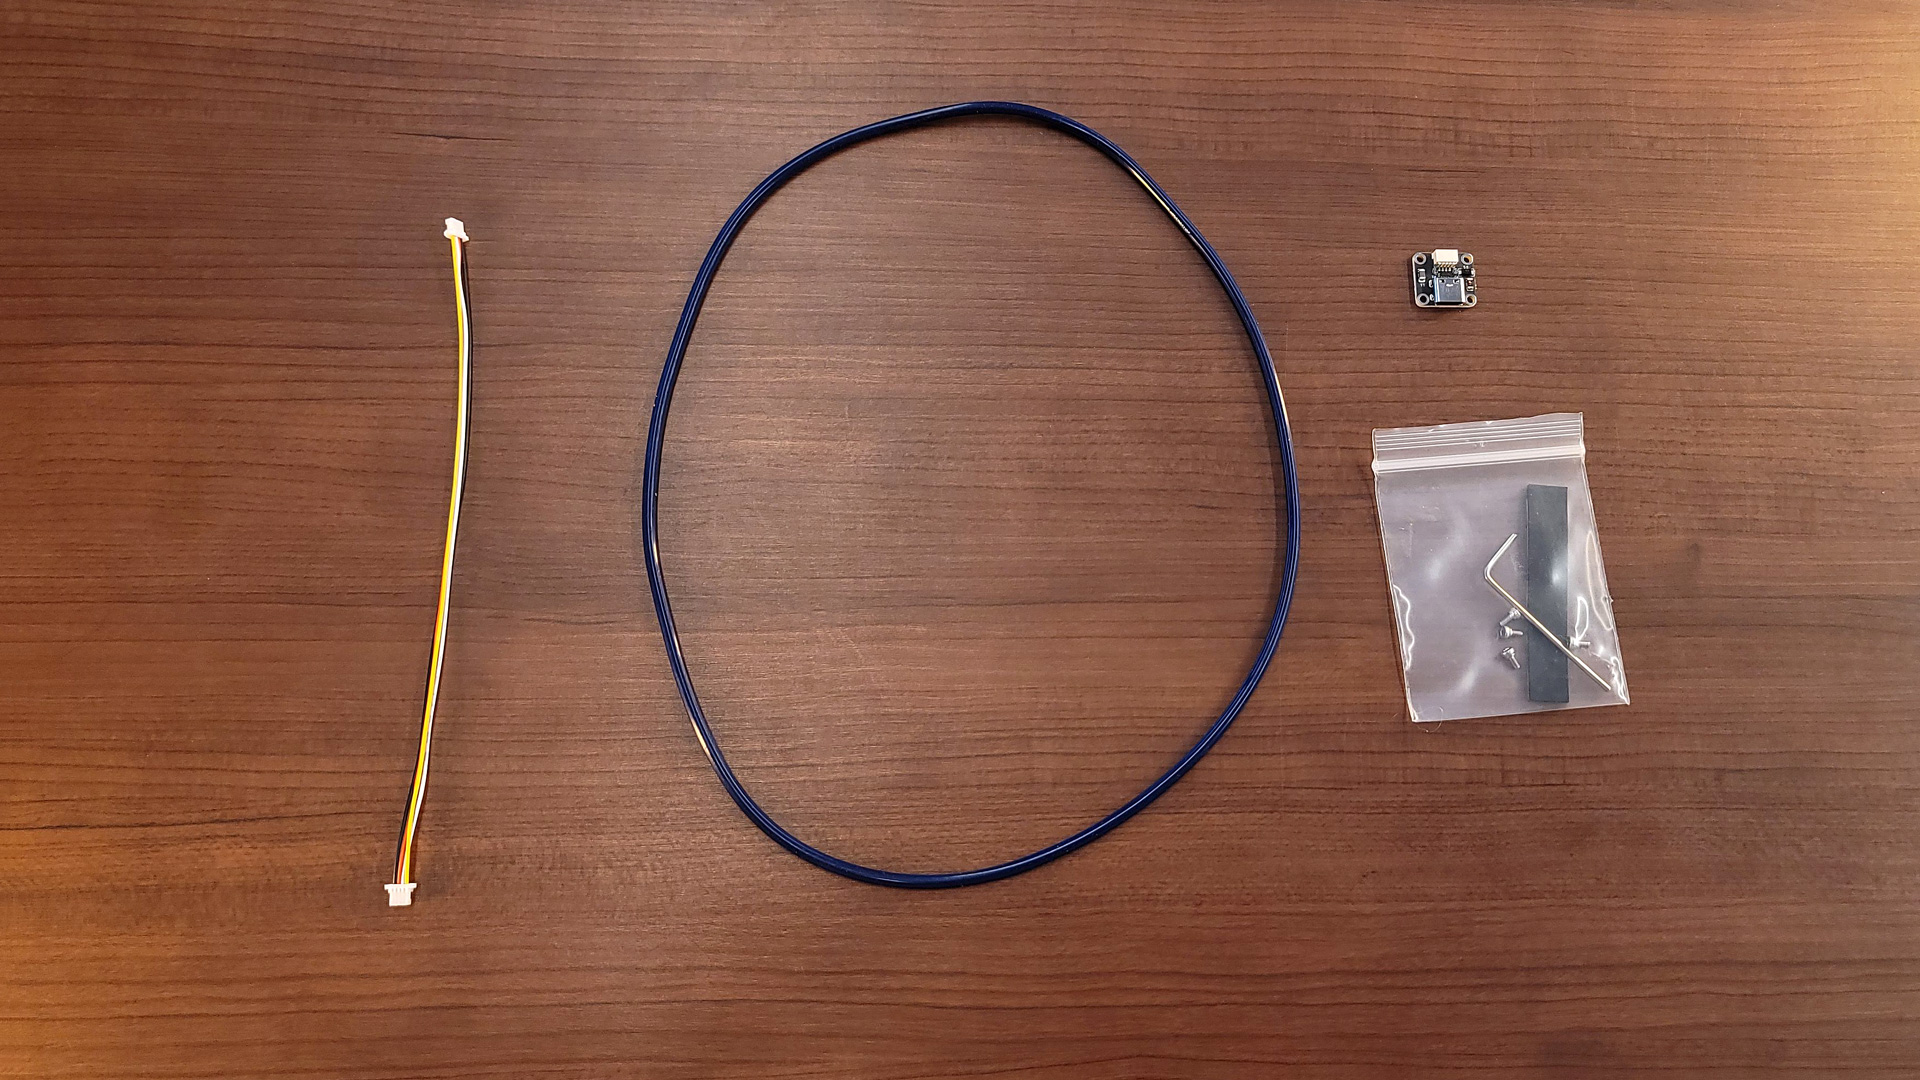
Just don’t forget to install the USB daughterboard and plug it into the PCB before doing so. This tiny circuit board comes with the kit and screws into the bottom of the case with four screws. A detachable JST cable connects it to the PCB. This step needs to be done before pressing the PCB down and is the entirety of work that needs to be done to prepare the case.
Typing Experience on the Bakeneko65
As a barebones keyboard kit, you’ll need to bring your own switches and keycaps. Both of these will impact your typing experience, as will your choice of weight. The o-ring mounting system does a good job of softening keystrokes and damping typing sounds. I would still recommend lubing switches for the smoothest sound possible, but I was impressed by the acoustics of the box given the complete lack of sound dampening foam.
Your choice of weight will make an impact on the sound of the keyboard. The silicone weight I tested dampened keystrokes nicely and really helped to mitigate any sense of hollowness in the case. The zinc weight, on the other hand, won’t have the same absorption qualities, so you can expect a sharper and possibly more reverberant sound profile. Early user reports also indicate this is the case.
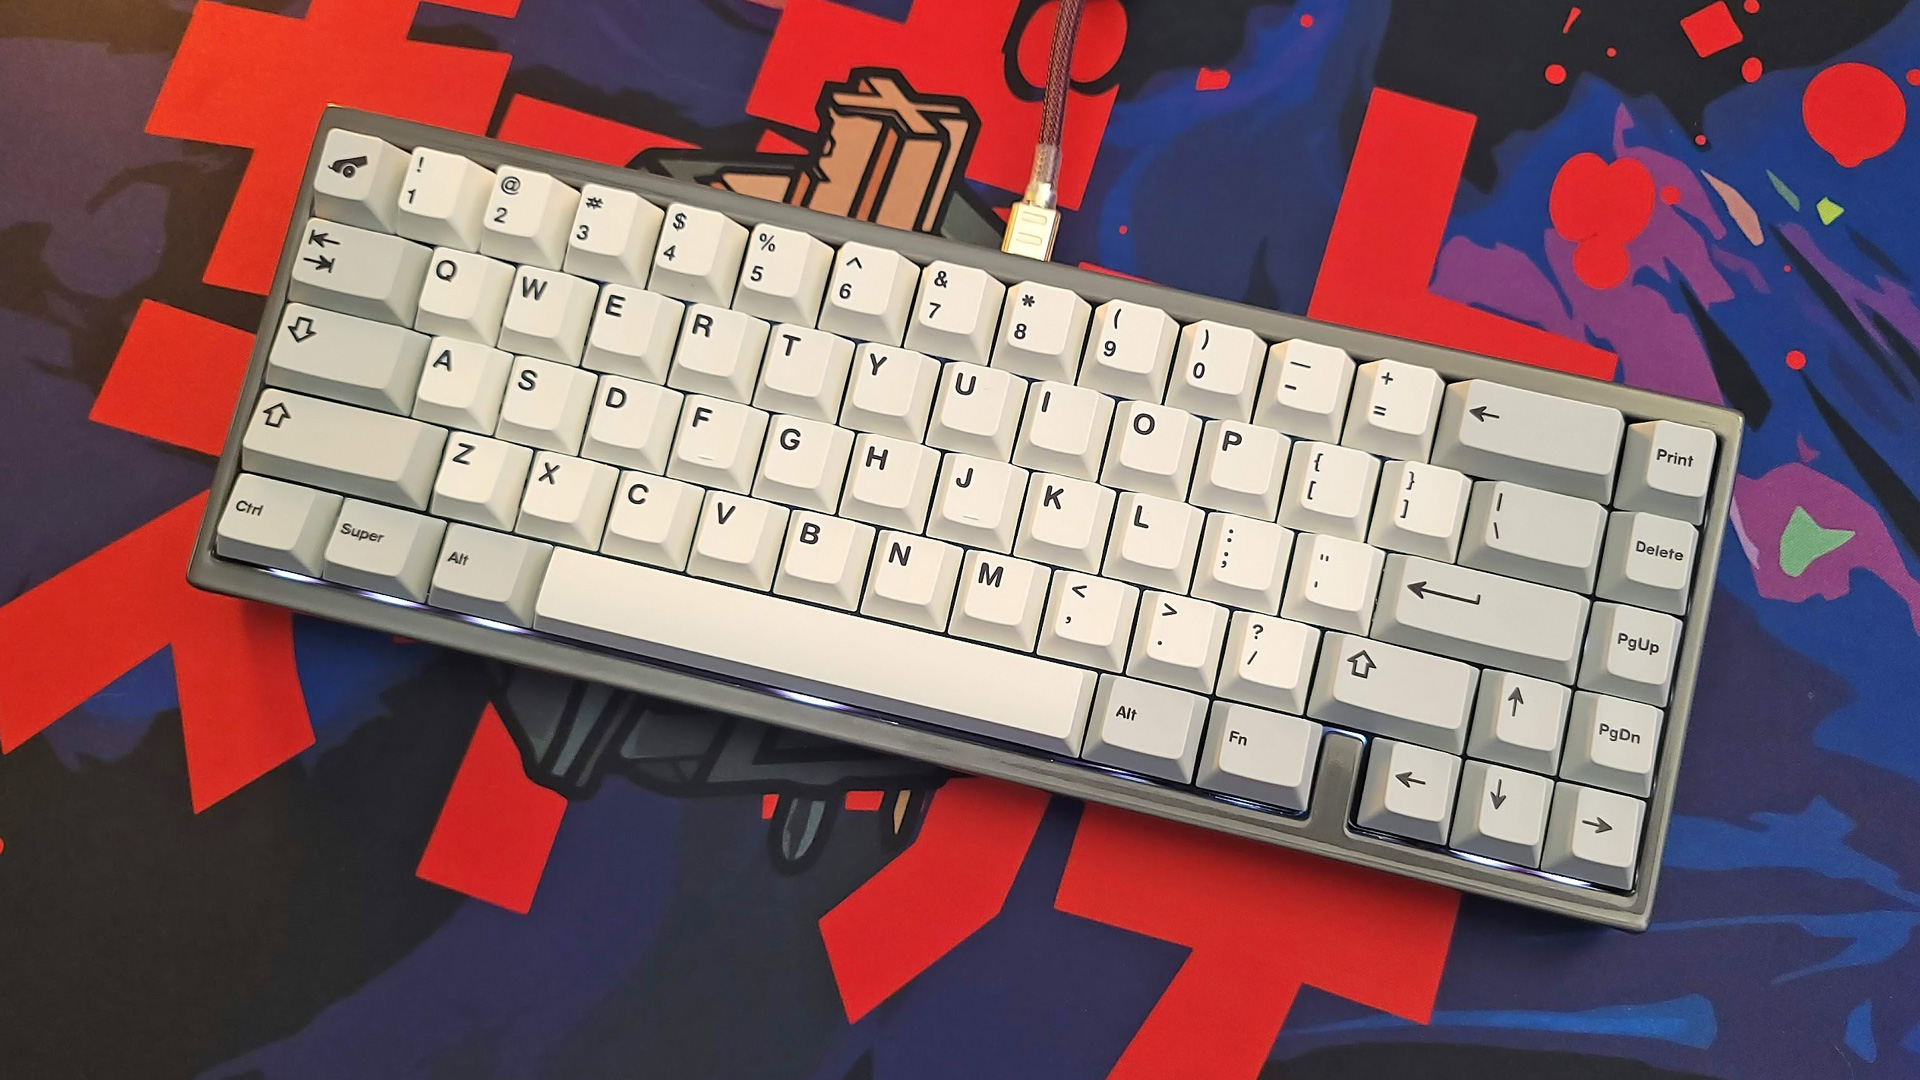
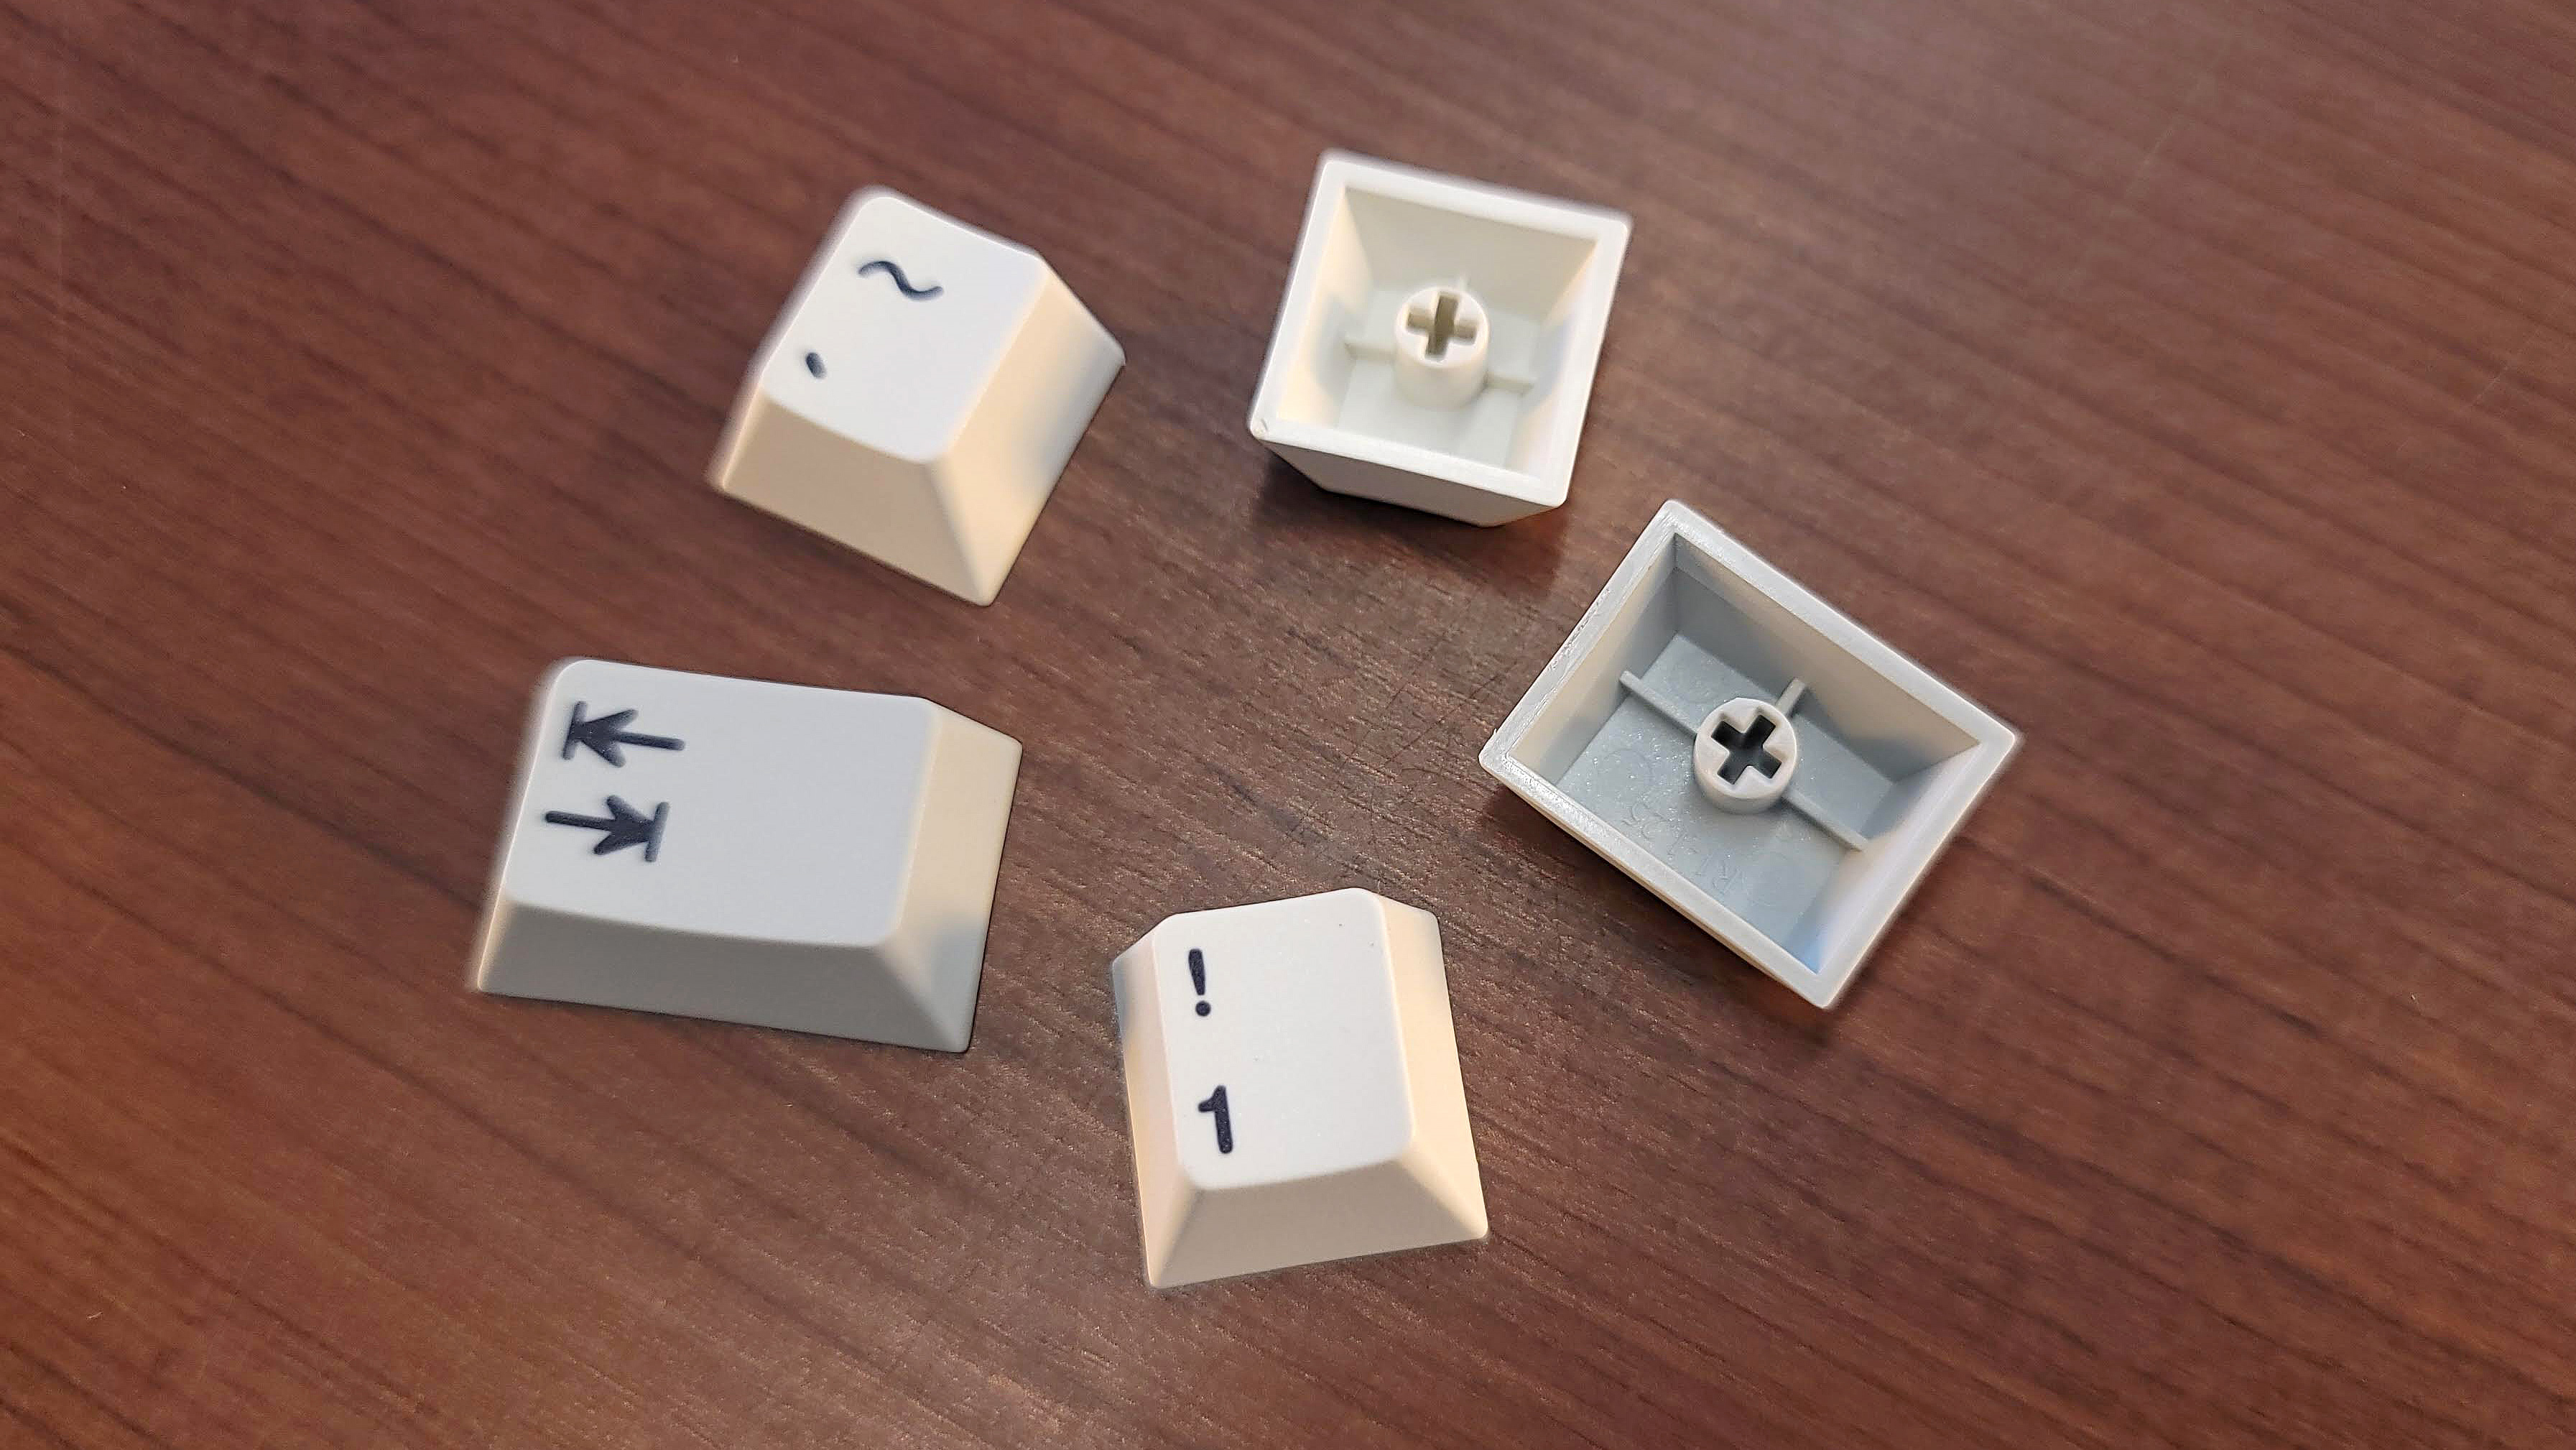
For my testing, I built the Bakeneko65 with Wuque Studio Onion switches and Cannon Keys’ store-brand NicePBT keycaps in Greyscale. Typing with this combination was comfortable and satisfying. The keycaps are thick and slightly textured which feels nice under the finger. They also have dye-sublimated legends, which will never fade. The thickness of the keycaps also lends them a satisfyingly deep sound when bottoming out that I enjoyed. The Wuque Onion switches came pre-lubed and were enjoyable smooth right out of the box.
Adapting to the Bakeneko65 from my current daily driver, the Meletrix Zoom65, was seamless. The layout and spacing of the keys take no liberties, so there wasn’t any learning curve when I swapped over for this review. The front height is also low enough that I didn’t need to use a wrist rest to feel comfortable using it. My typing speed remained consistent with my average of 110 WPM on MonkeyType.
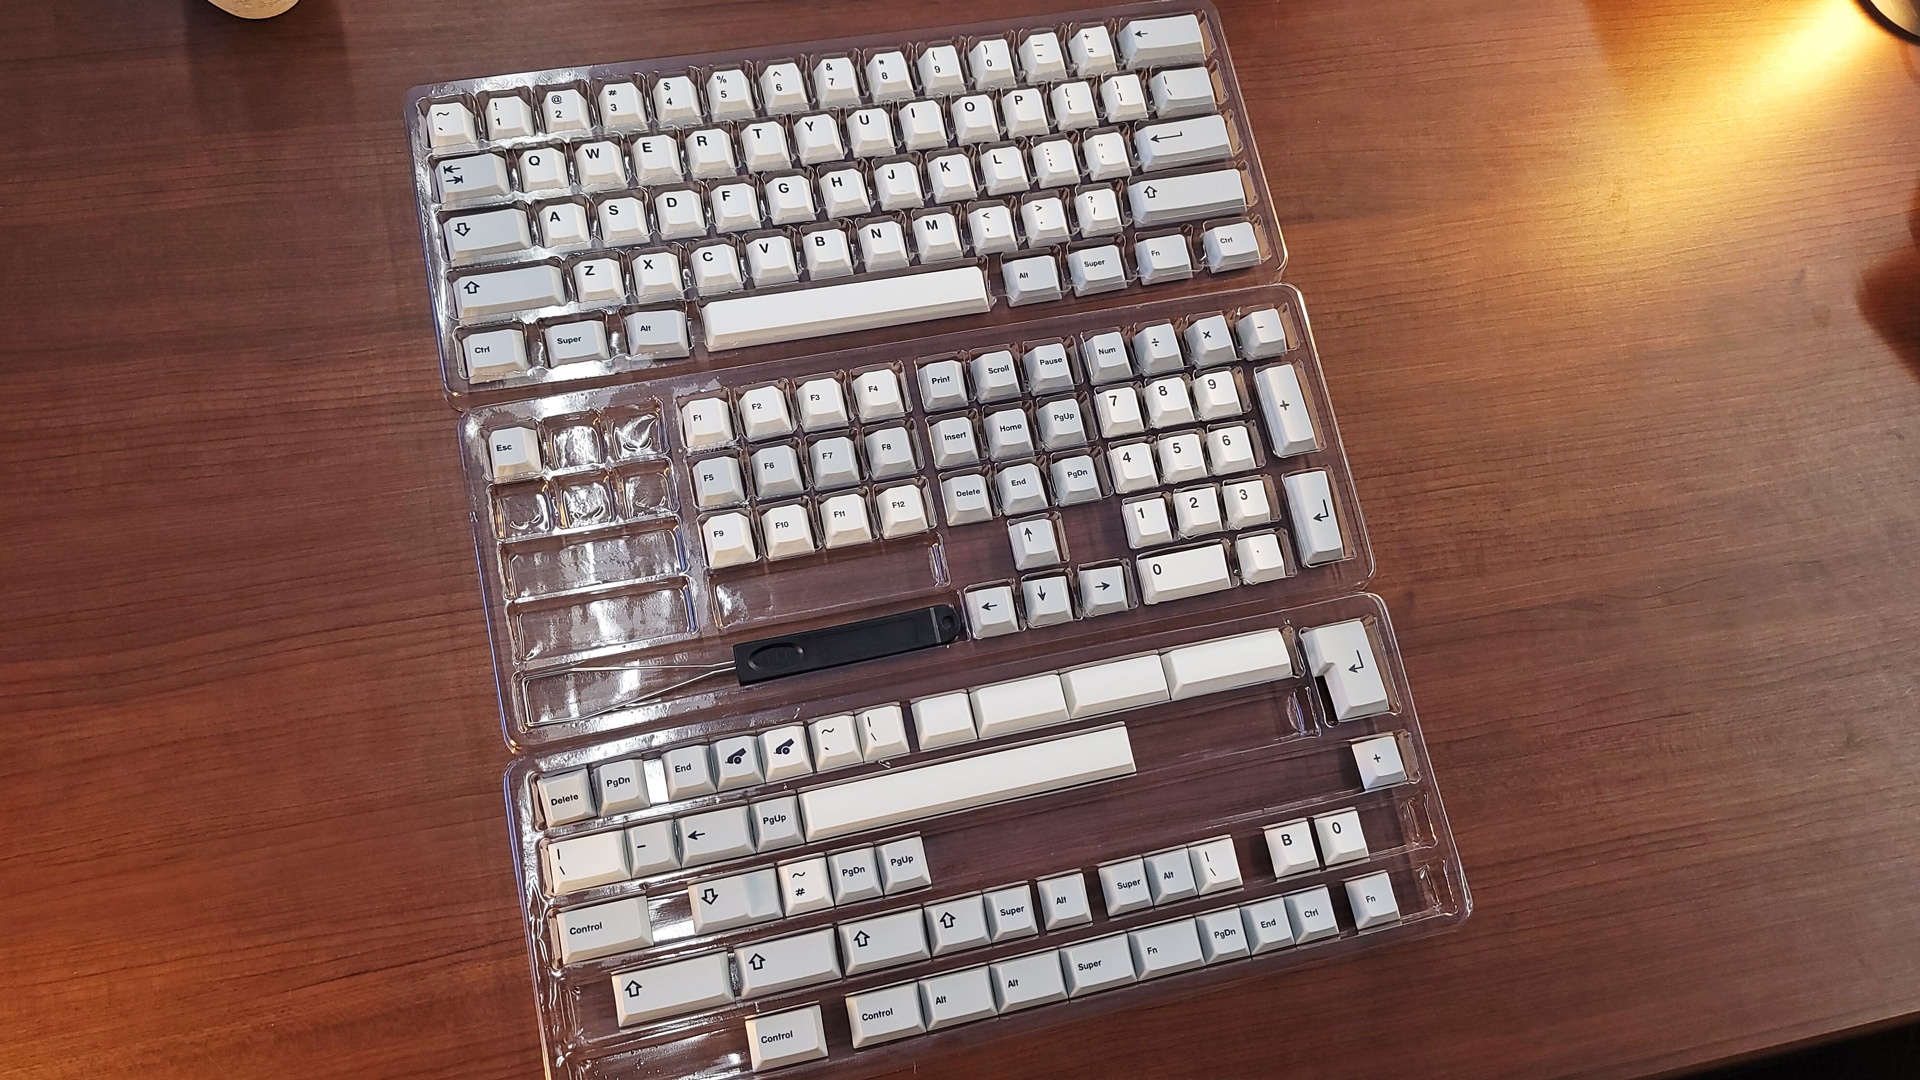
Compared to the Bakeneko60, there is less flex and bounce to the typing experience. I’m not sure why, but I suspect it’s because the o-ring has to stretch around the blocker separating the arrow keys from the rest of the keyset, which keeps it held taut when installed. There is still a bit of flex when pressed, but the o-ring mount is more about dampening keystrokes than providing movement on this keyboard.
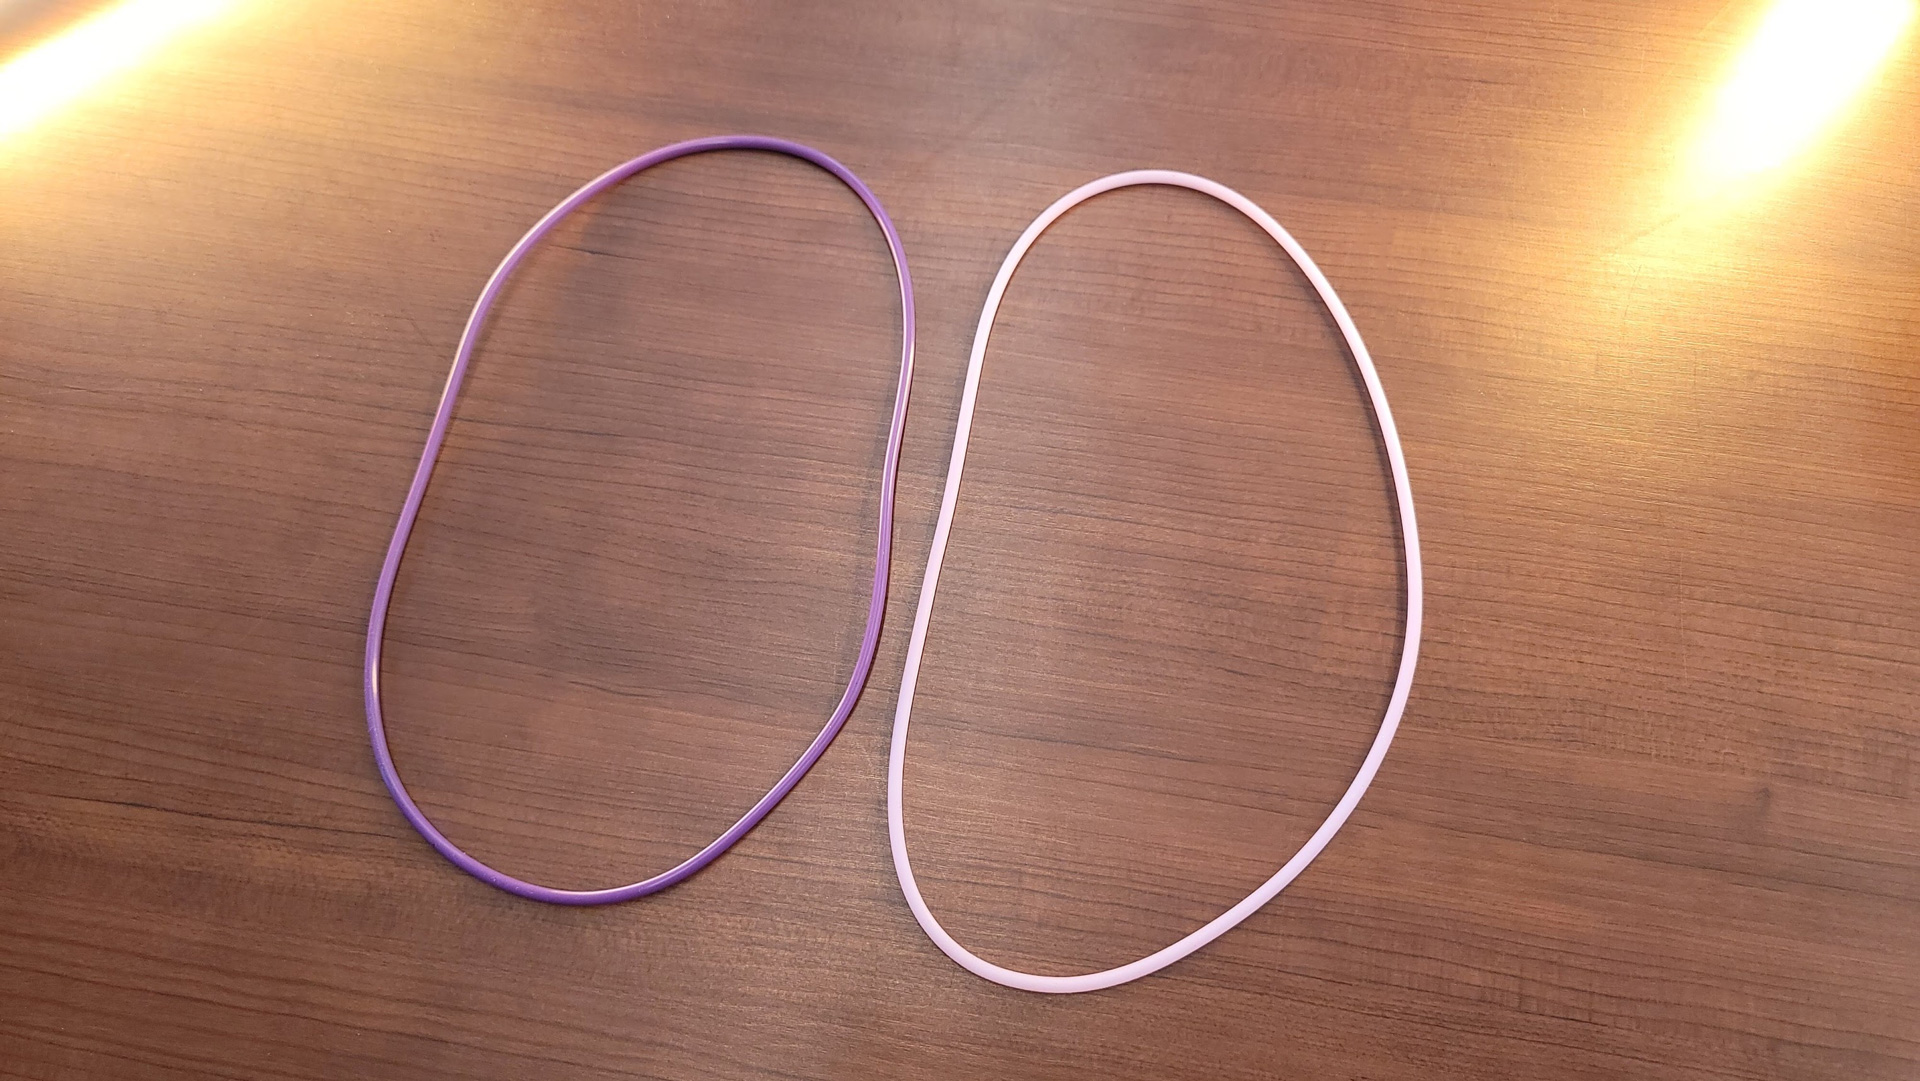
No two typists are alike, so Cannon Keys provides a way to tailor this typing experience further through alternate o-rings. Every kit comes with a medium-density (50A) o-ring. For another $5.50, you can buy a softer 30A ring or a firmer 70A ring. The changes to the typing experience are subtle but noticeable. I opted for the 30A ring after testing the stock option to get closer to the original Bakeneko60’s levels of bounce. It doesn’t get all the way there, but is noticeably softer than the 50A o-ring.
Gaming Experience of the Bakeneko65
The Bakeneko65 isn’t a gaming keyboard, but as we’ve seen from many keyboard kits of this type, it will work just fine for gaming provided you don’t need advanced software features. There are no macro keys or extra ports to plug in a mouse or gaming headset, so what you’re getting here is just a quality set of keys to hack away at your favorite games.
In my testing, I was able to play Call of Duty: Vanguard without feeling like I was at any disadvantage compared to a dedicated keyboard. Of course, I’m not a competitive player and the technical responsiveness of the keyboard isn’t going to compete with the incredible 8,000 Hz polling rate or optical switches of the Razer Huntsman V2 TKL, but from what I could actually feel, they performed identically.
The biggest asset the Bakeneko65 has going for it is its programmability. With QMK or VIA, you can easily remap keys or create custom layouts for individual games. You can also record macros, though this is more complicated than with competing gaming software, like Corsair iCUE.
Software for the Bakeneko65
The Bakeneko65 doesn’t have any software of its own. Instead, it uses QMK, an open-source firmware that lets you remap keys, assign macros, and control lighting. It applies these changes to the keyboard itself, which means you don’t need software running in the background once it’s programmed. It’s a great fit if you like to minimize background apps or use your keyboard with PCs that don’t allow software to be installed. The downside is that applying these changes requires flashing a custom firmware file to the keyboard, which is a nerve-wracking process as an error can leave your keyboard bricked.
To remedy this, the Bakeneko65 comes with native support for VIA. VIA is a standalone app that communicates directly with the keyboard’s processor to apply changes immediately, no flashing required. Because of this, VIA compatibility has become one of the biggest expected features for custom keyboard kits.
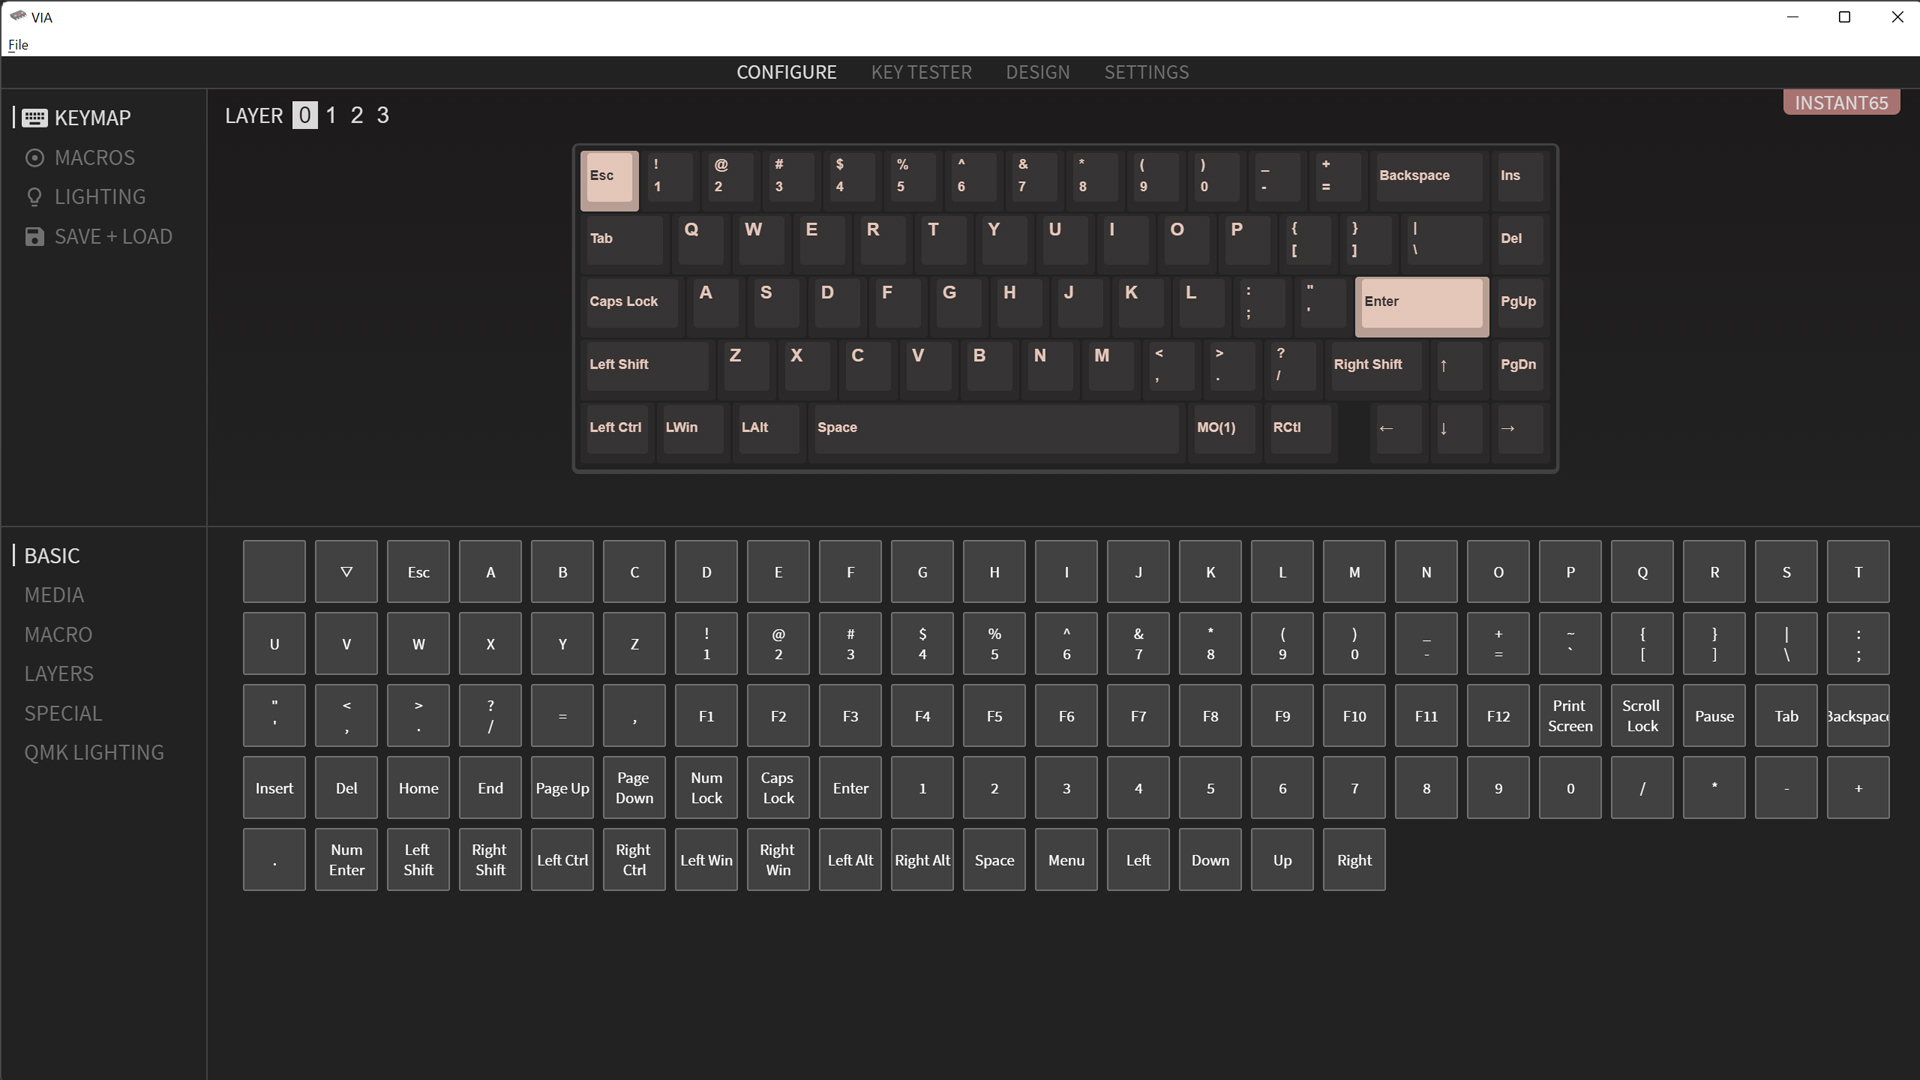
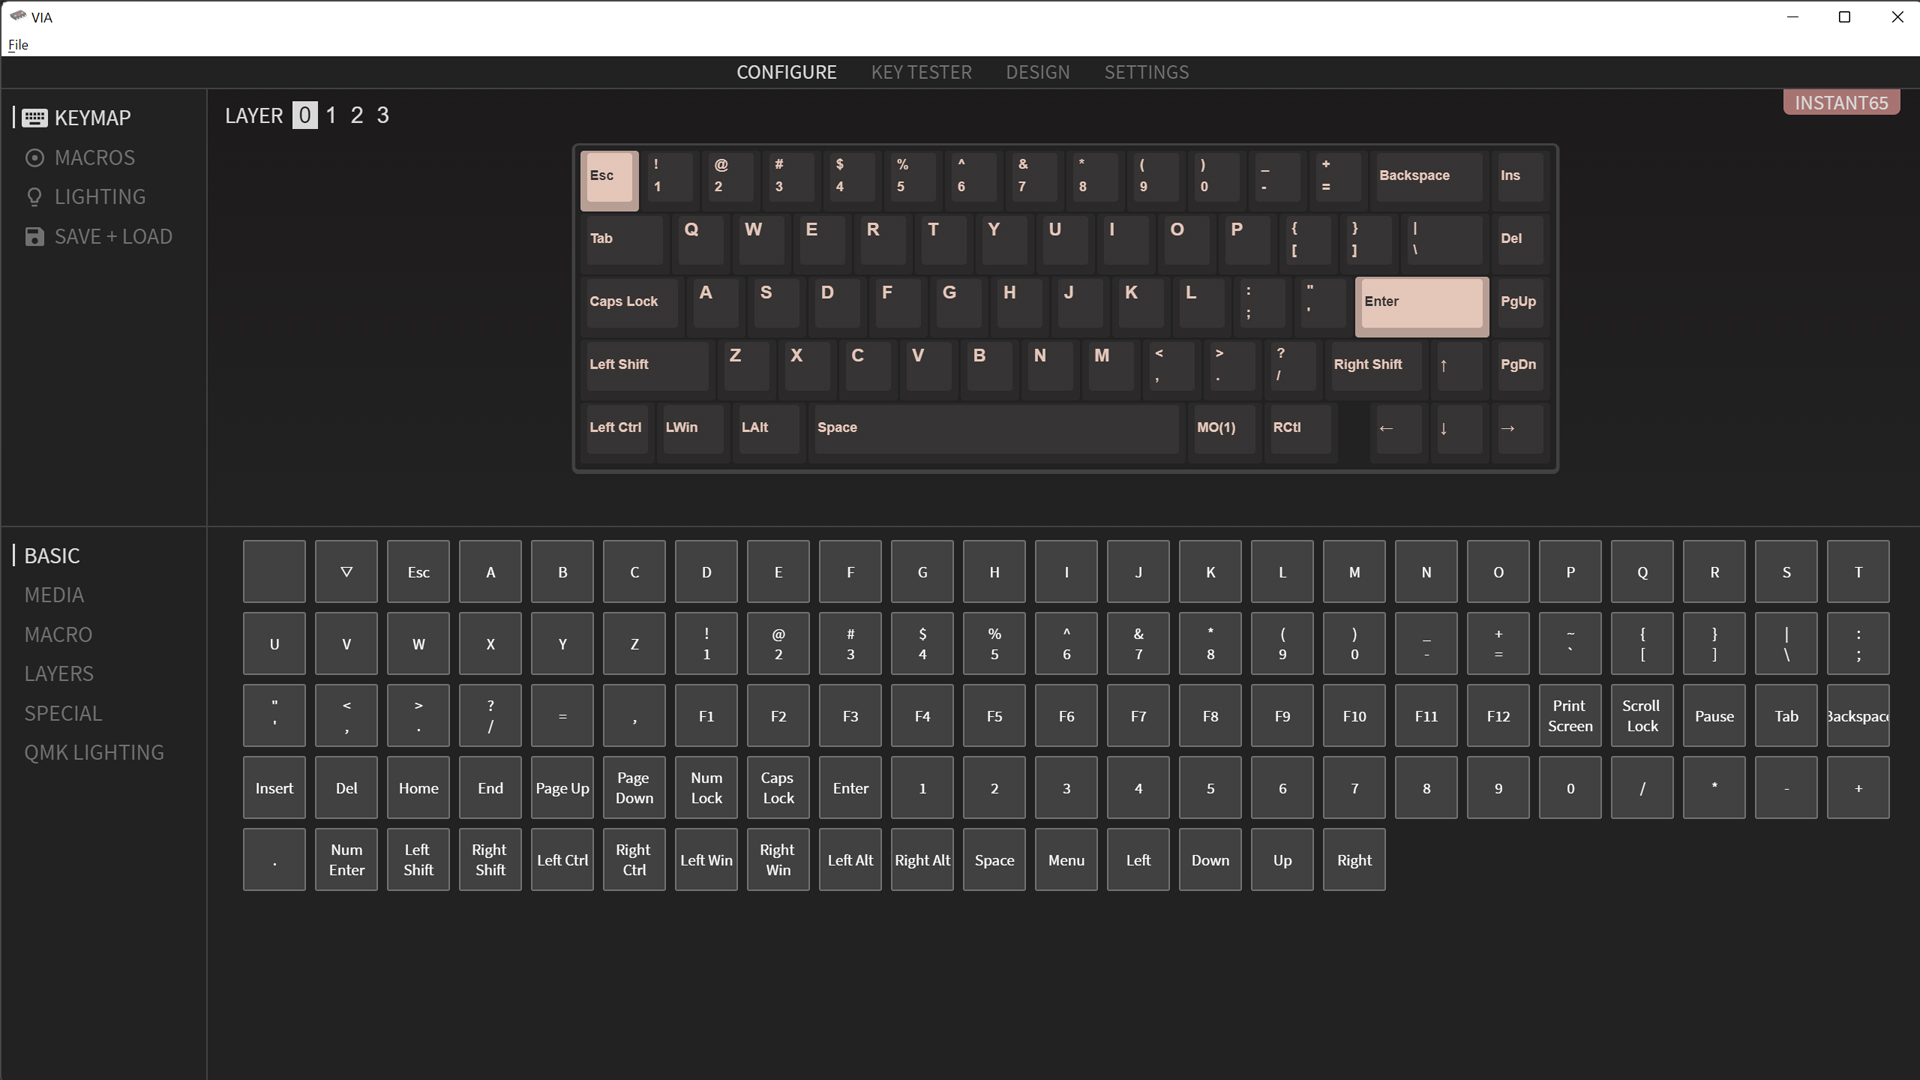
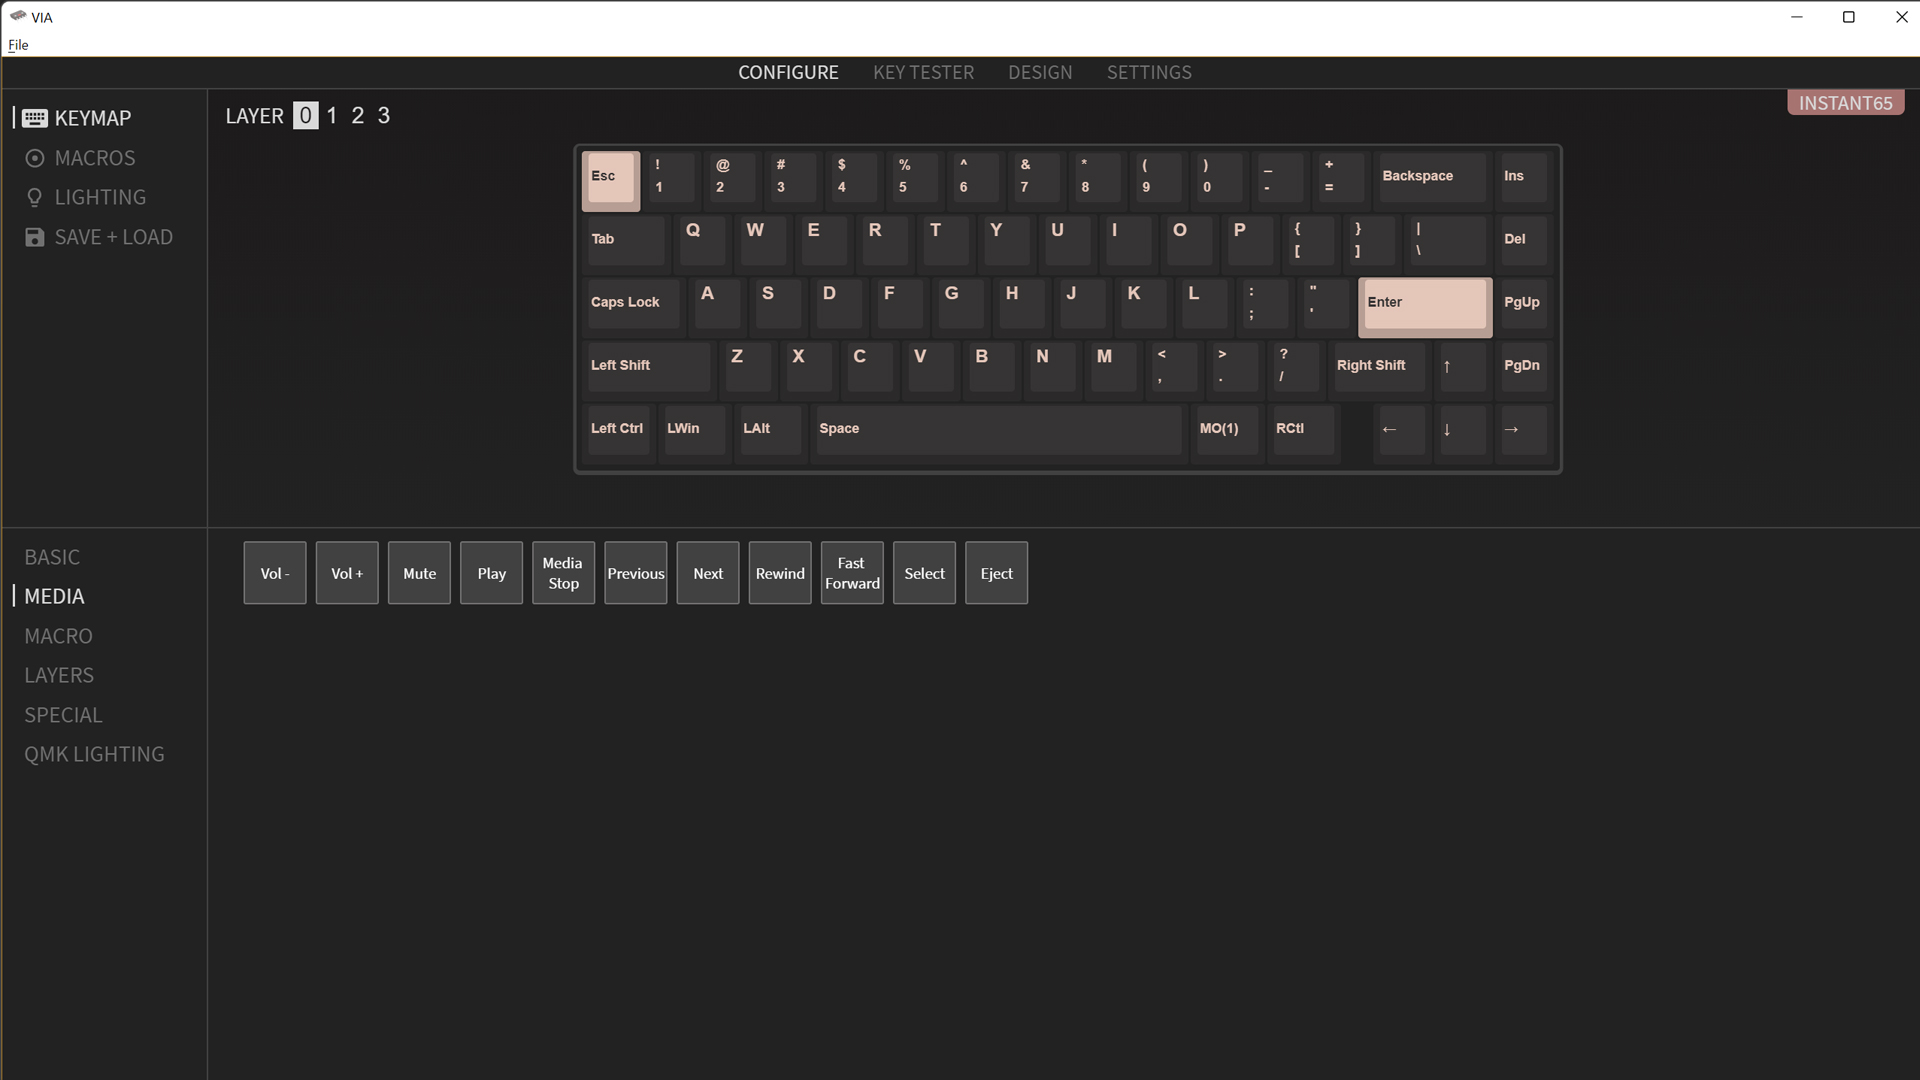
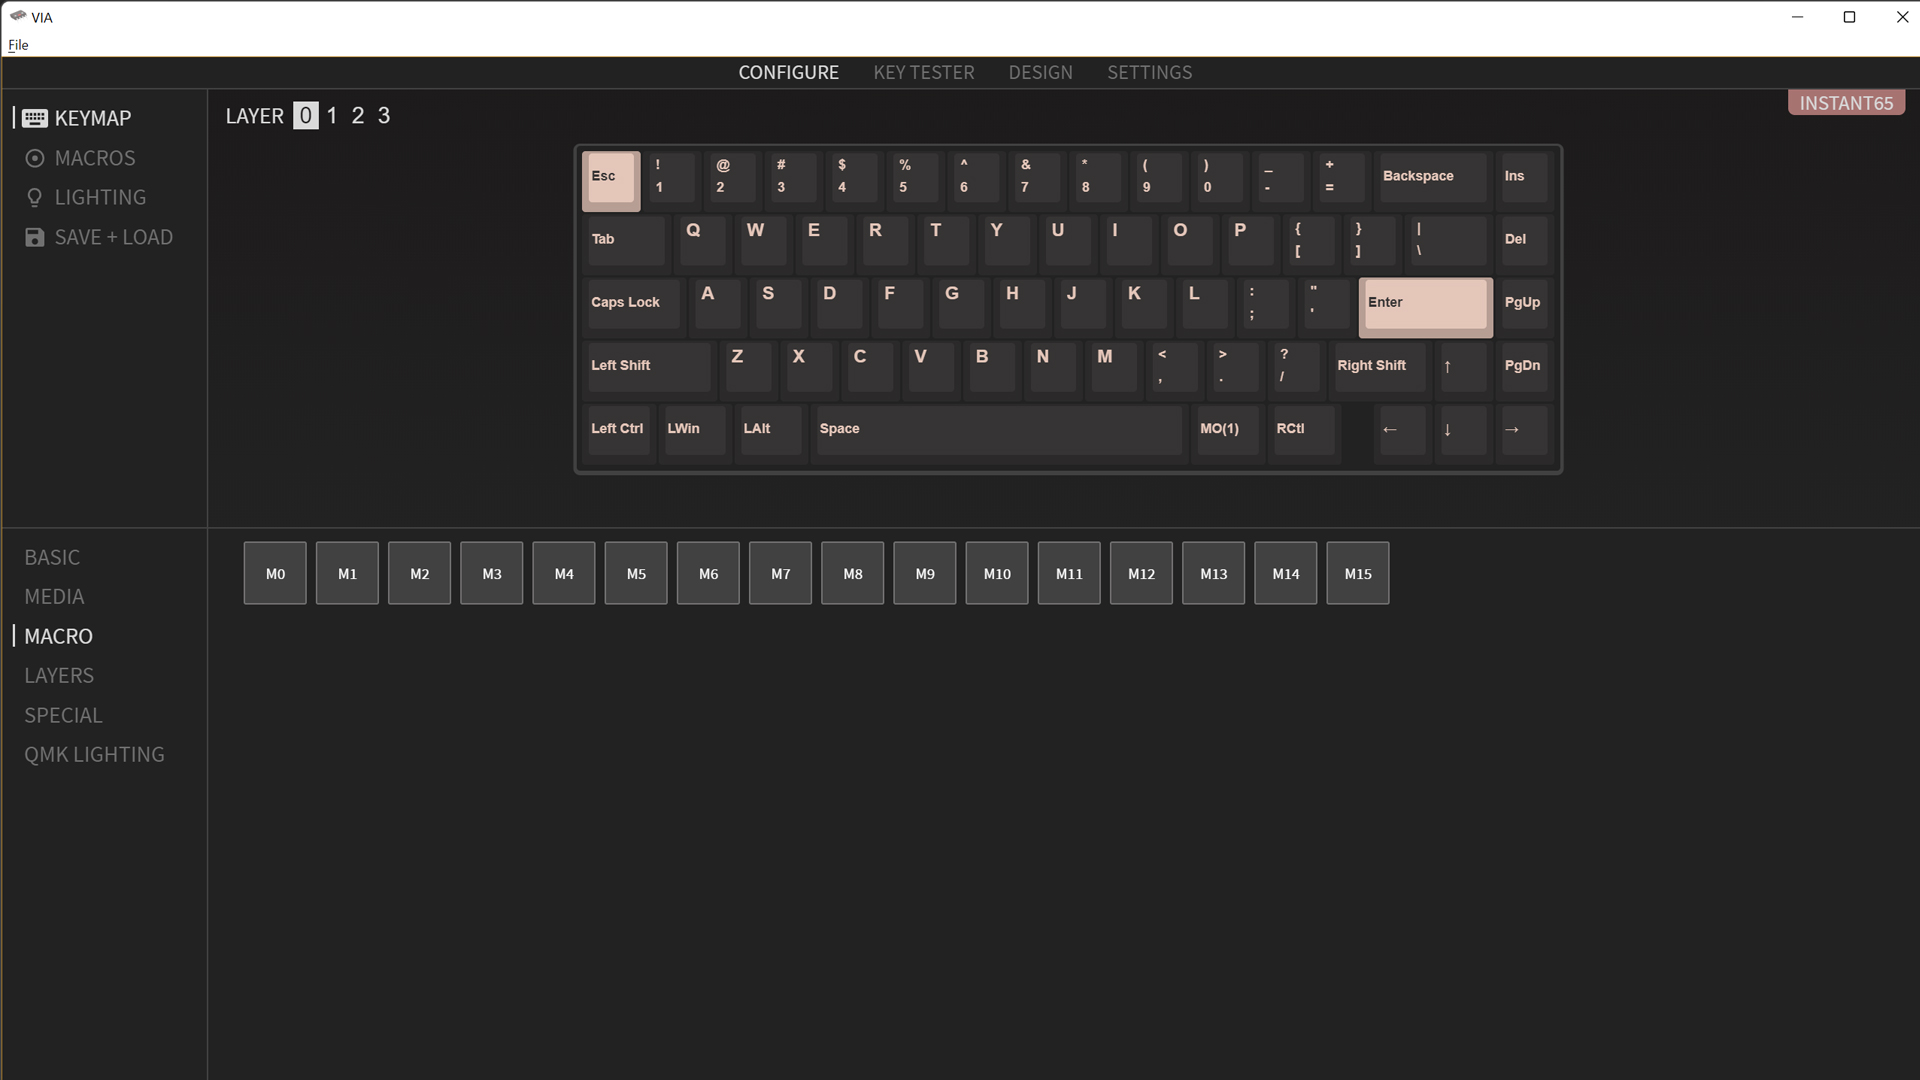
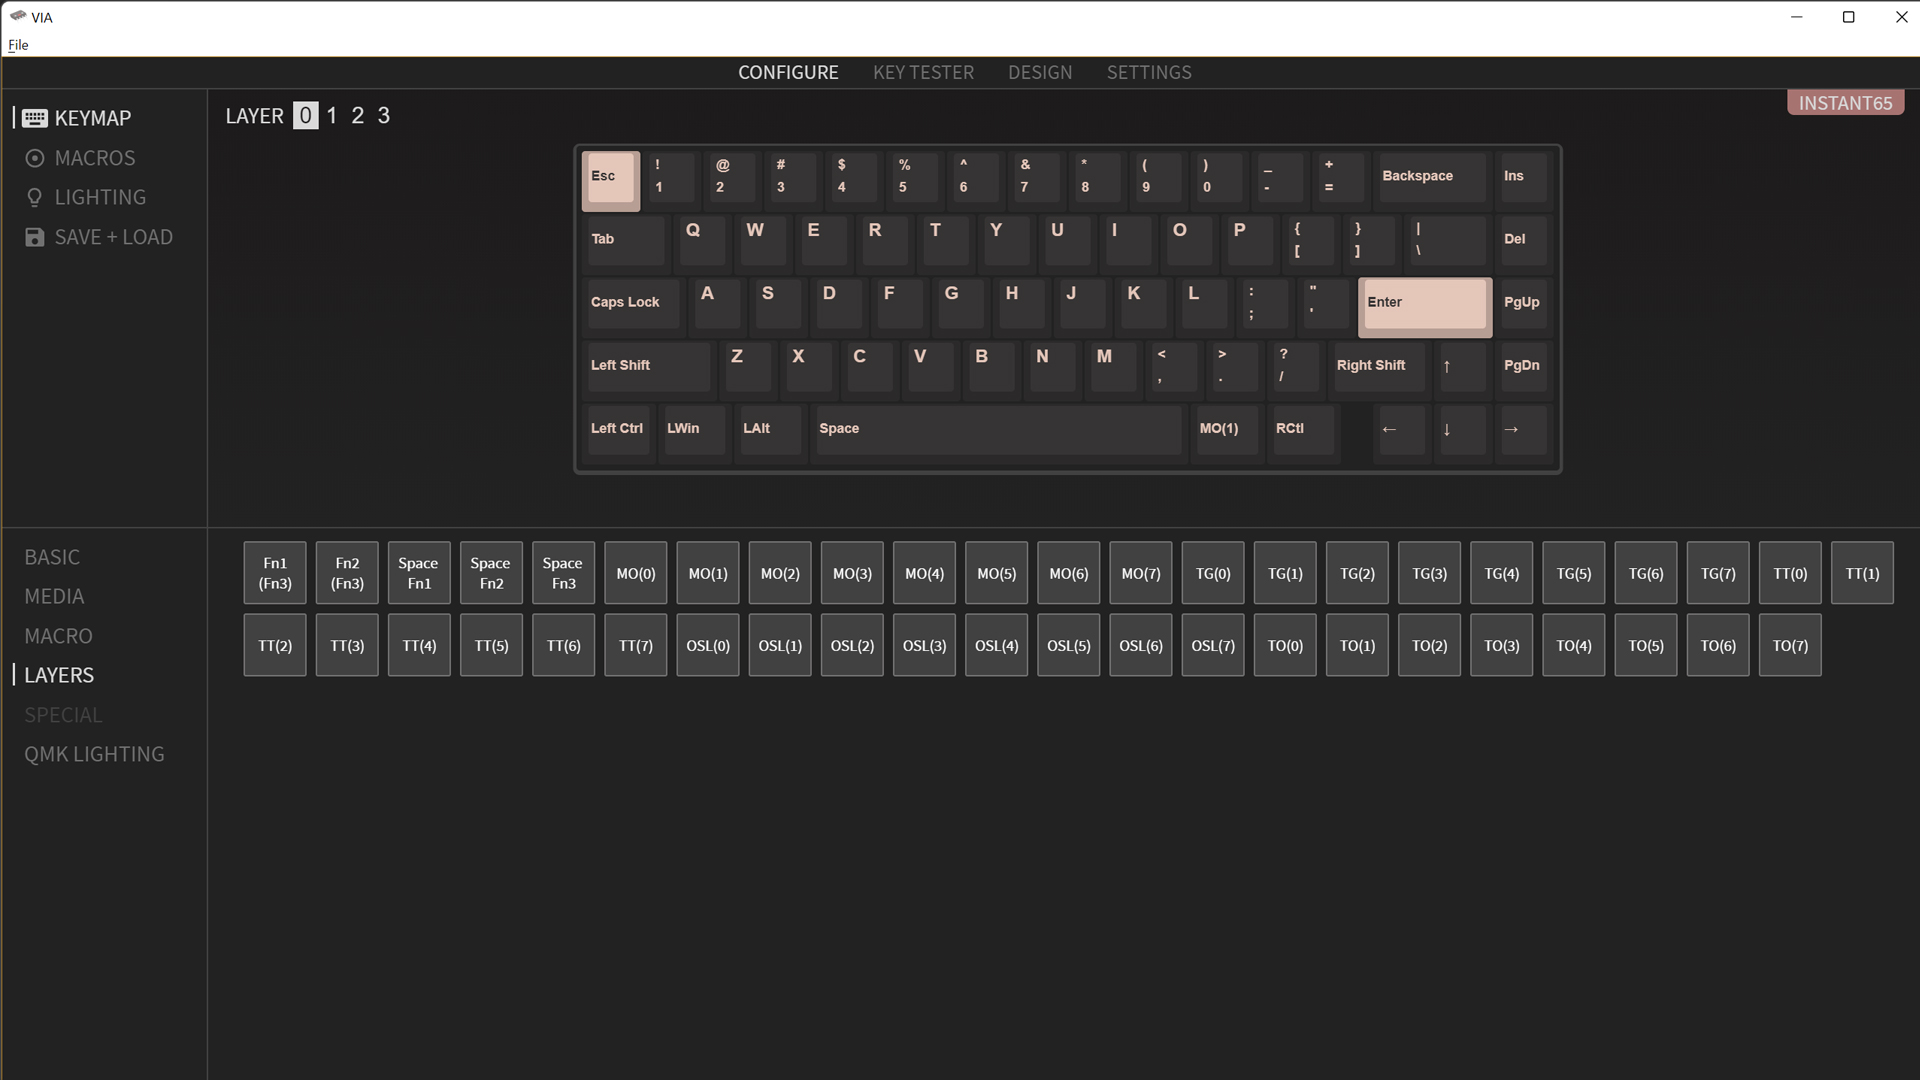
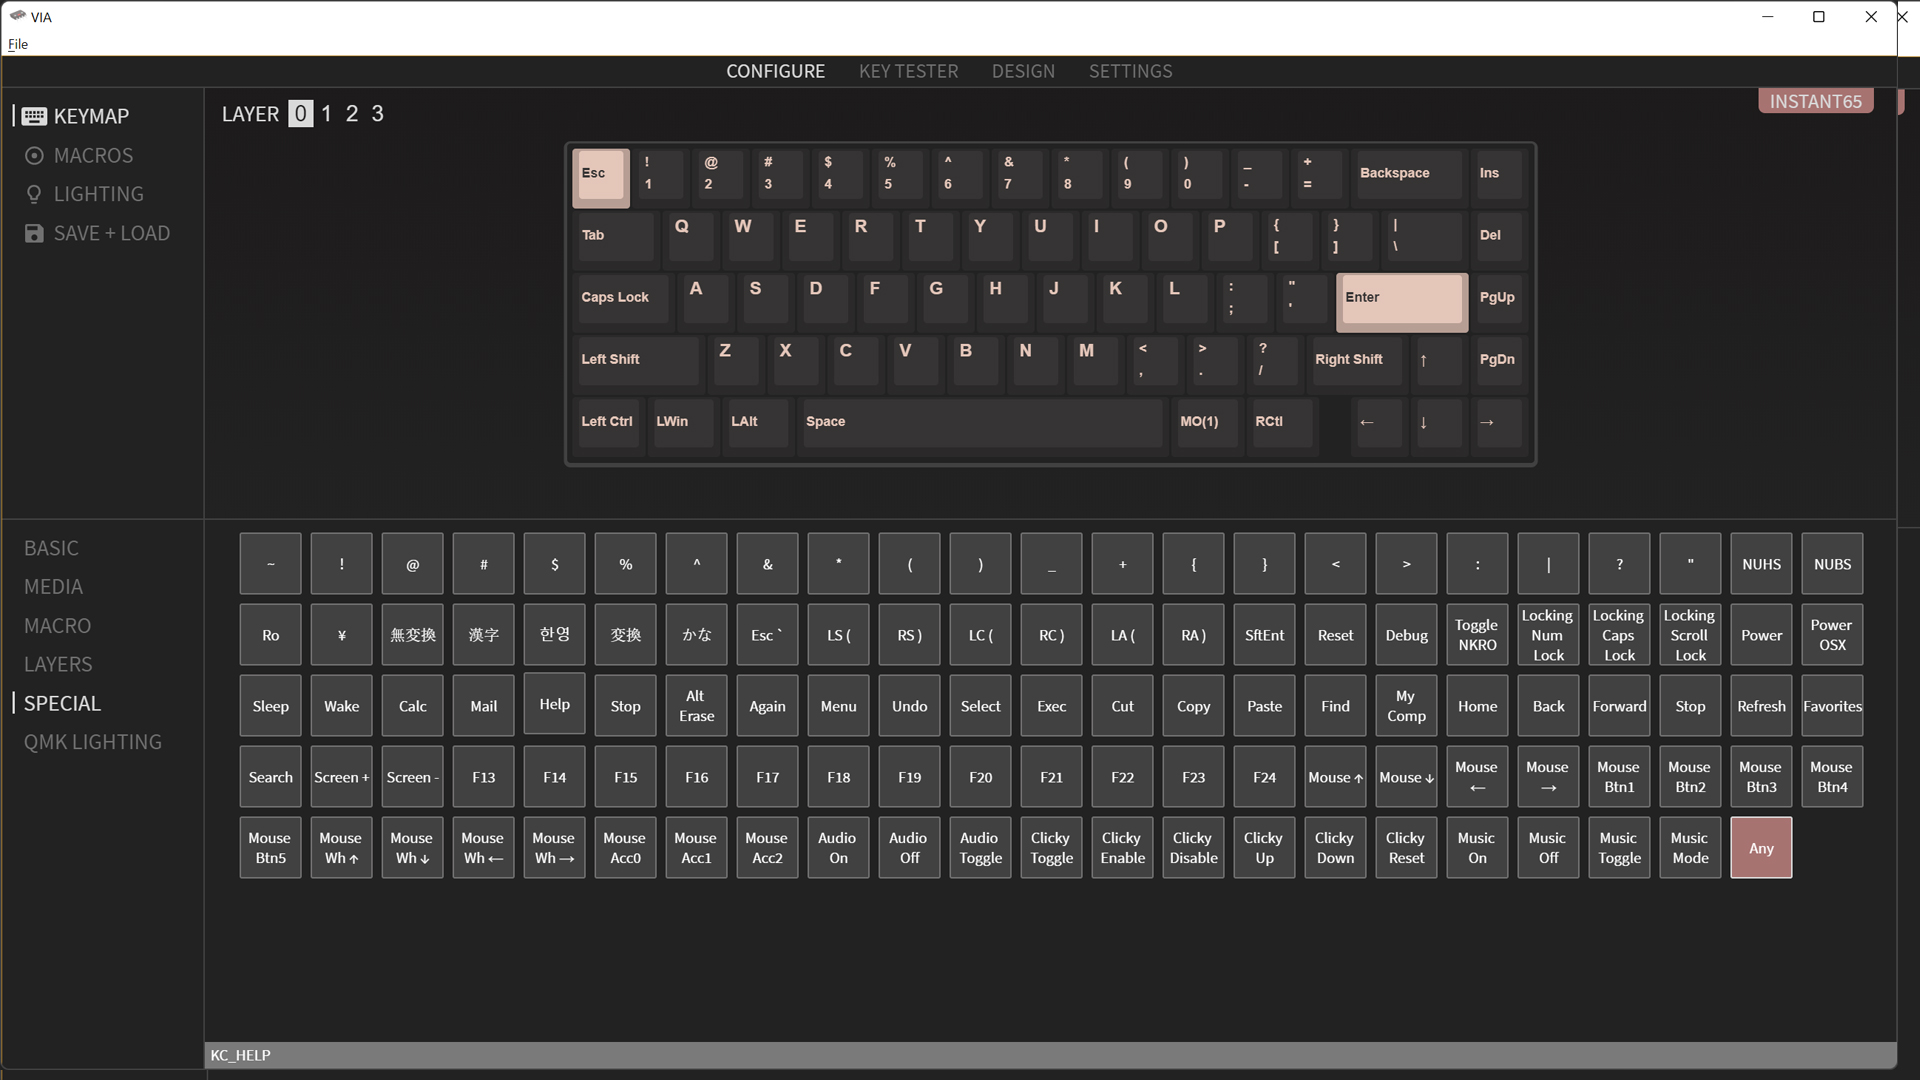
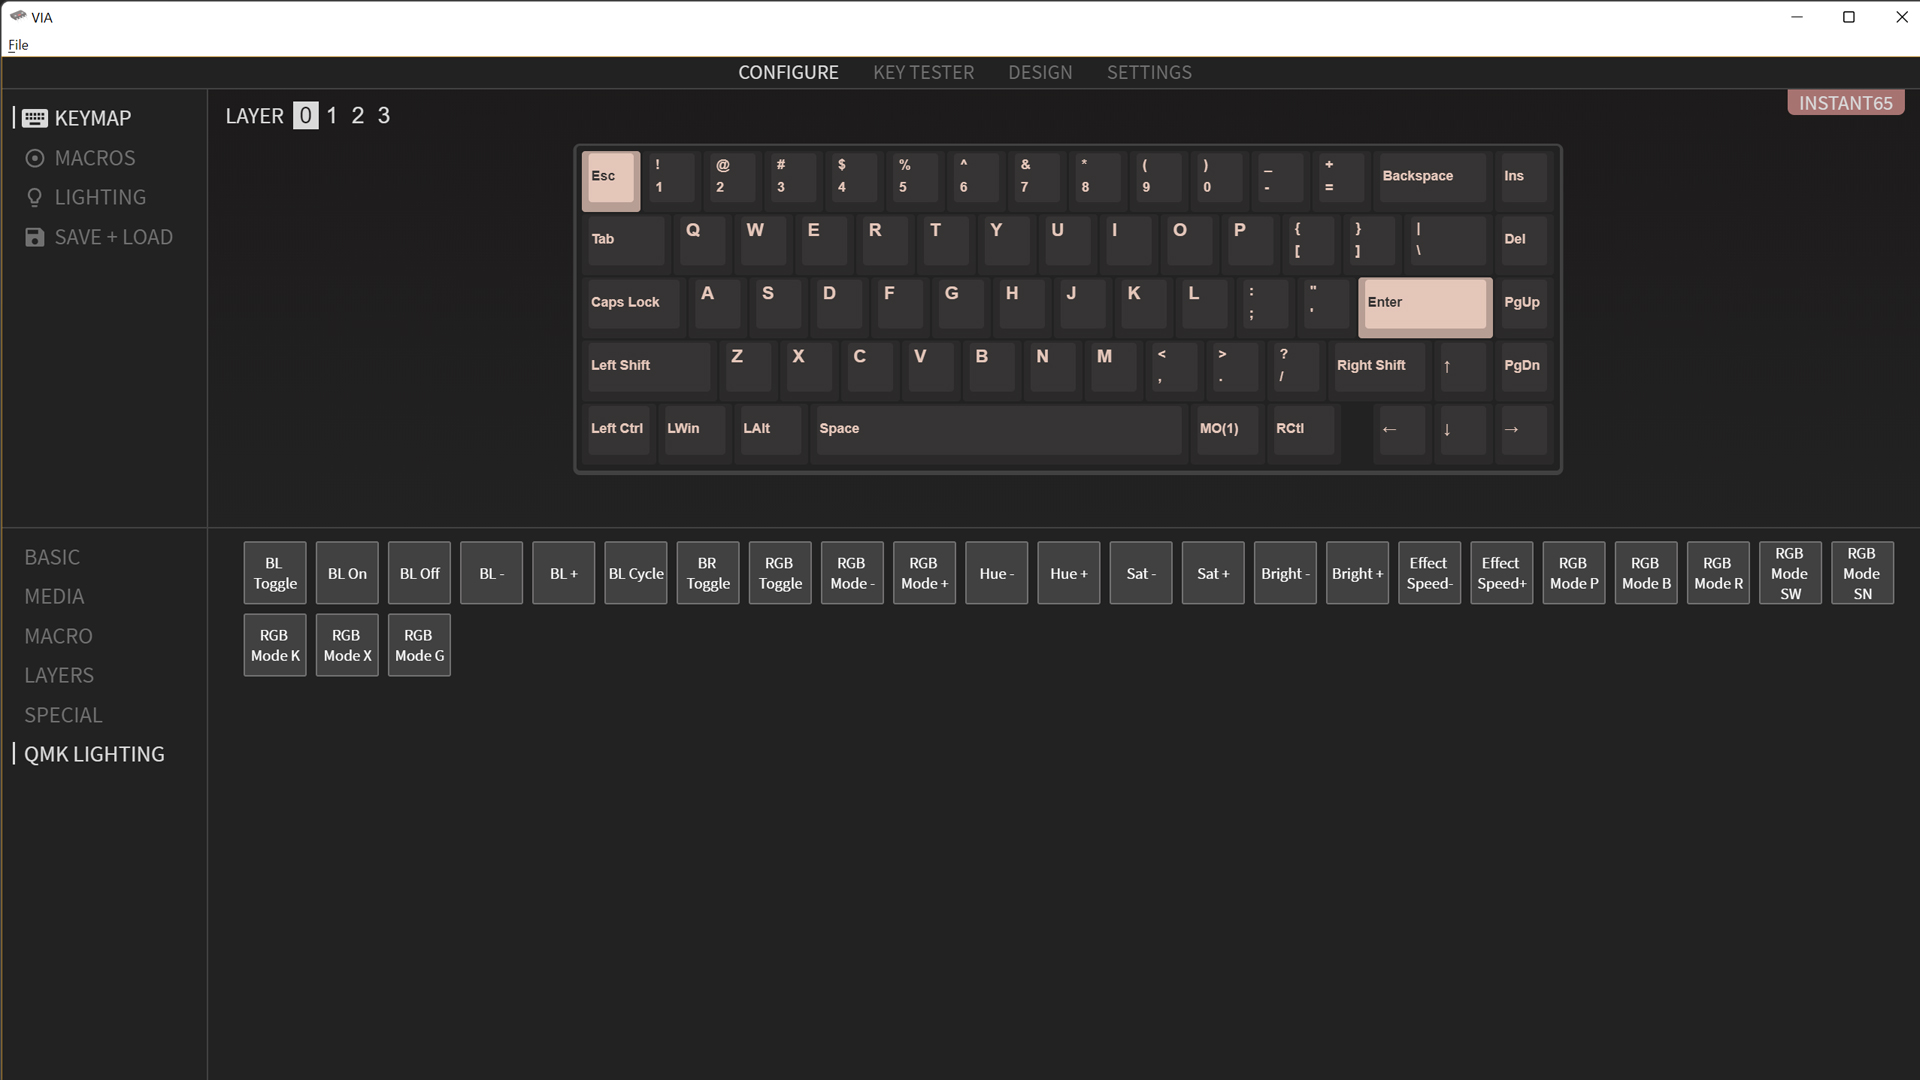
VIA itself is very straightforward for its basic functions. Using an easy-to-understand GUI, you simply click the key you would like to remap and then click the key you want there instead from an options menu down below. VIA also supports four “layers” of keys so you can re-assign any missing keys or secondary functions to sub-layers that are accessible with a key combination. Think of these layers like virtual keyboards, turning the 67 physical keys into 268.
Where things really get fun is when you begin to explore advanced functions, like multi-function keys. For example, my Caps Lock key doubles as a layer switch when held down but still sends Caps when tapped. Using creative layer access, you can put all of your needed functions where they’re most convenient for you. Once you get used to a completely custom layout, it’s genuinely difficult to go back to a normal keyboard with locked presets.
VIA isn’t perfect, however. If you’re looking for advanced functions like easy-to-record macros or per-key RGB, you’re out of luck. Lighting works in presets and colors that apply across the whole keyboard (white only for the Bakeneko65) instead of letting you dial in custom schemes per key. Macros, on the other hand, are fine for text strings, but require you to type in keycodes for anything more complicated, which isn’t practical to use on the fly.
Bottom Line
The Bakeneko65 is a very good choice for newcomers to the hobby. It may not have the same level of bounce as the original Bakeneko60, but makes up for it with a more functional layout for productivity and gaming. It’s a simple board, however, and lacks some amenities you’ll find in the competition, like sound-damping foam.
For slightly more, you can pick up the Meletrix Zoom65 later this year. That keyboard offers a similar level of flex but adds in multiple layers of Poron foam to dampen keystrokes and enhance the sound. It also comes with switches, keycaps and a volume knob to add extra value for its higher price. The Keychron Q2 is another great option with a more traditional gasket mount for around the same price (but is more expensive with switches and keycaps).
Since the release of the Bakeneko60 in April of last year, the budget-friendly all-aluminum custom keyboard market has become more competitive. There are more great options to choose from, and, as a result, the simple design of the Bakenko line isn’t as special as it used to be. Finding those options in stock can still be challenging, however, and the Bakeneko is still the easiest to take apart and put back together for modding. If you don’t mind a kit that’s light on frills but delivers a good typing experience, it’s a solid choice for a first custom keyboard kit.

Chris is a regular contributor for Tom’s Hardware, covering mechanical keyboards, peripherals, and content creation gear.
-
popatim I'm still waiting for one of these with the 5 programmable keys on the left side like Corsair, Logitech, EVGA's...Reply -
gamebynight Reply
They sell them, but they're mostly in group buy or are prebuilt.popatim said:I'm still waiting for one of these with the 5 programmable keys on the left side like Corsair, Logitech, EVGA's...
