Tom's Hardware Verdict
With impressive performance and a good internal layout, plus a low price, the only thing that lets the Cardbide 275R Airflow down is its dated cable management.
Pros
- +
Bold styling
- +
Good value
- +
Impressive stock performance
- +
Good cooling support
Cons
- -
Limited management options
- -
No RGB (a plus for many)
- -
No USB Type C
Why you can trust Tom's Hardware
When it first launched in 2018, Corsair’s Carbide 275R was an impressive chassis. With a low price point, the company managed to compliment a good internal layout with classic styling to produce a case that was sleek and easy to work with. Its main drawback that kept it from being one of the best PC cases was the solid front panel restricting intake air.
As the name suggests, Corsair’s 275R Airflow looks to address that complaint while also reducing the overall retail price in some locations.
Specifications
| Form Factor | Mid Tower |
| Motherboard Support | ATX, M-ATX, Mini-ITX |
| Colors Available | White, Black |
| Window Variants | Windowed Only |
| 3.5" Support | x2 |
| 2.5" Support | x4 |
| Radiator Support | 360mm front, 240mm roof, 120mm rear |
| Fan Support | 3x 120mm front, 2x 140mm roof, 1x 120mm rear |
| Dimensions | 457 x 216 x 455 mm |
| Graphics Card Clearance | 370mm |
| CPU Tower Clearance | 170mm |
Unboxing and Front I/O
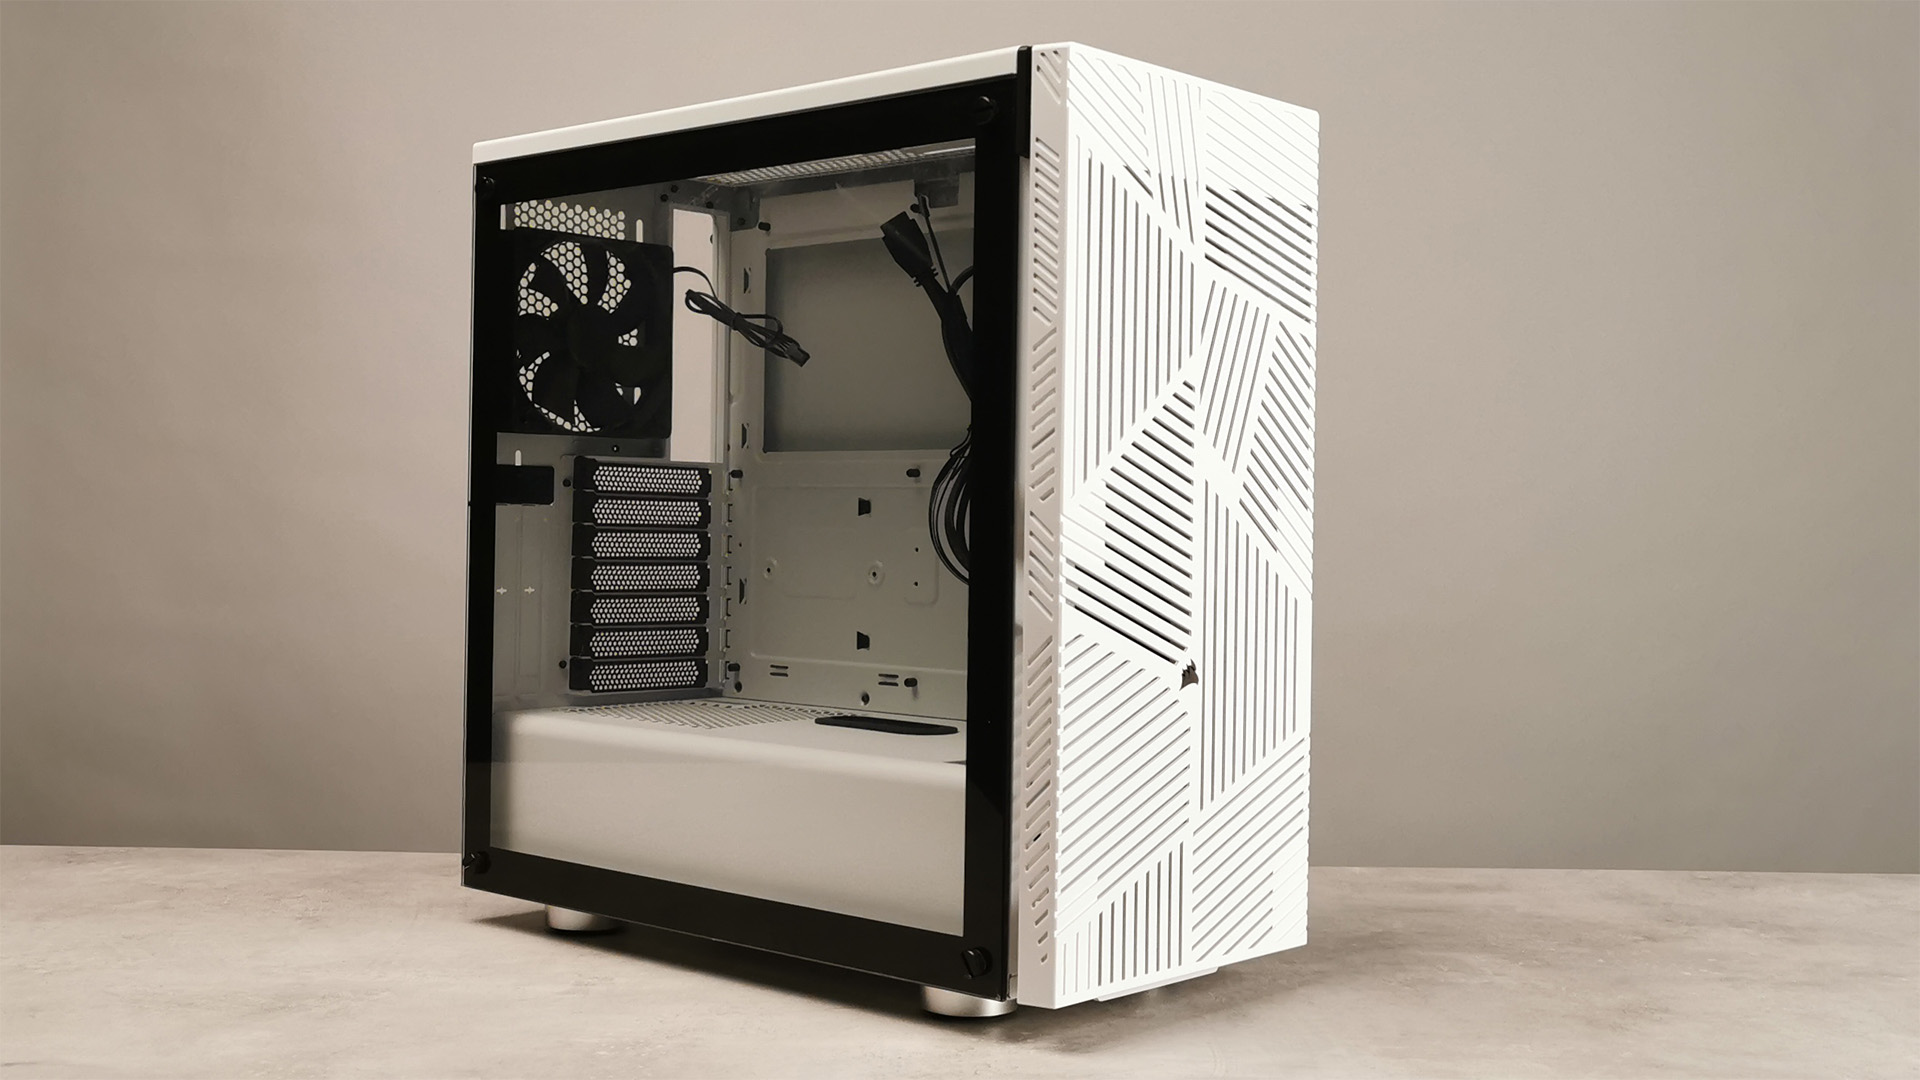
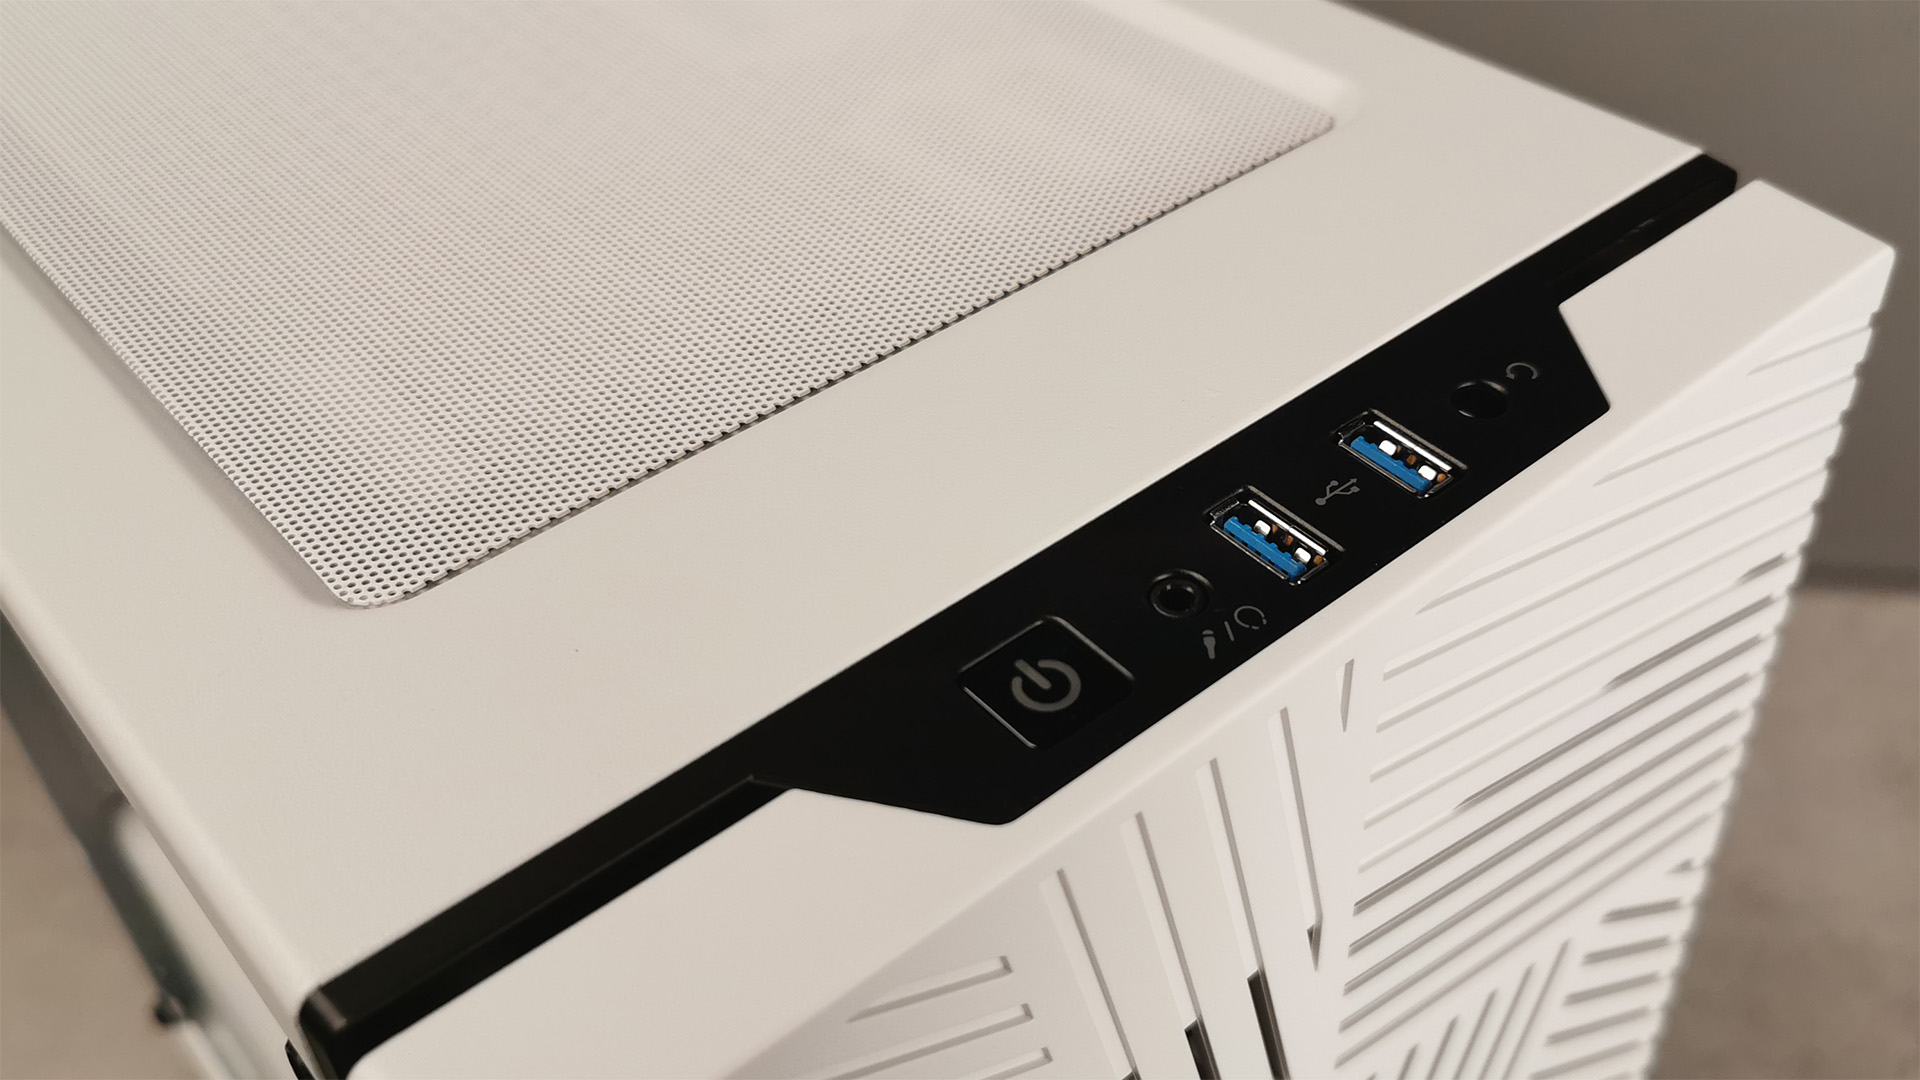
Corsair’s 275R Airflow chassis certainly looks striking, with its latticed front air vents. It’s available in both black and white, with a glass side panel . The front panel is an ABS plastic, with a sand-blast style finish, and the rest of the frame is a soft powder-coated steel.
For front I/O, you have access to a power button, a reset switch, two USB 3.1 ports, and a 4-pole microphone/headphone combo jack. There’s no integrated lighting or RGB in any capacity. But for the $80 asking price, that’s not necessarily a big drawback.
Front Panel
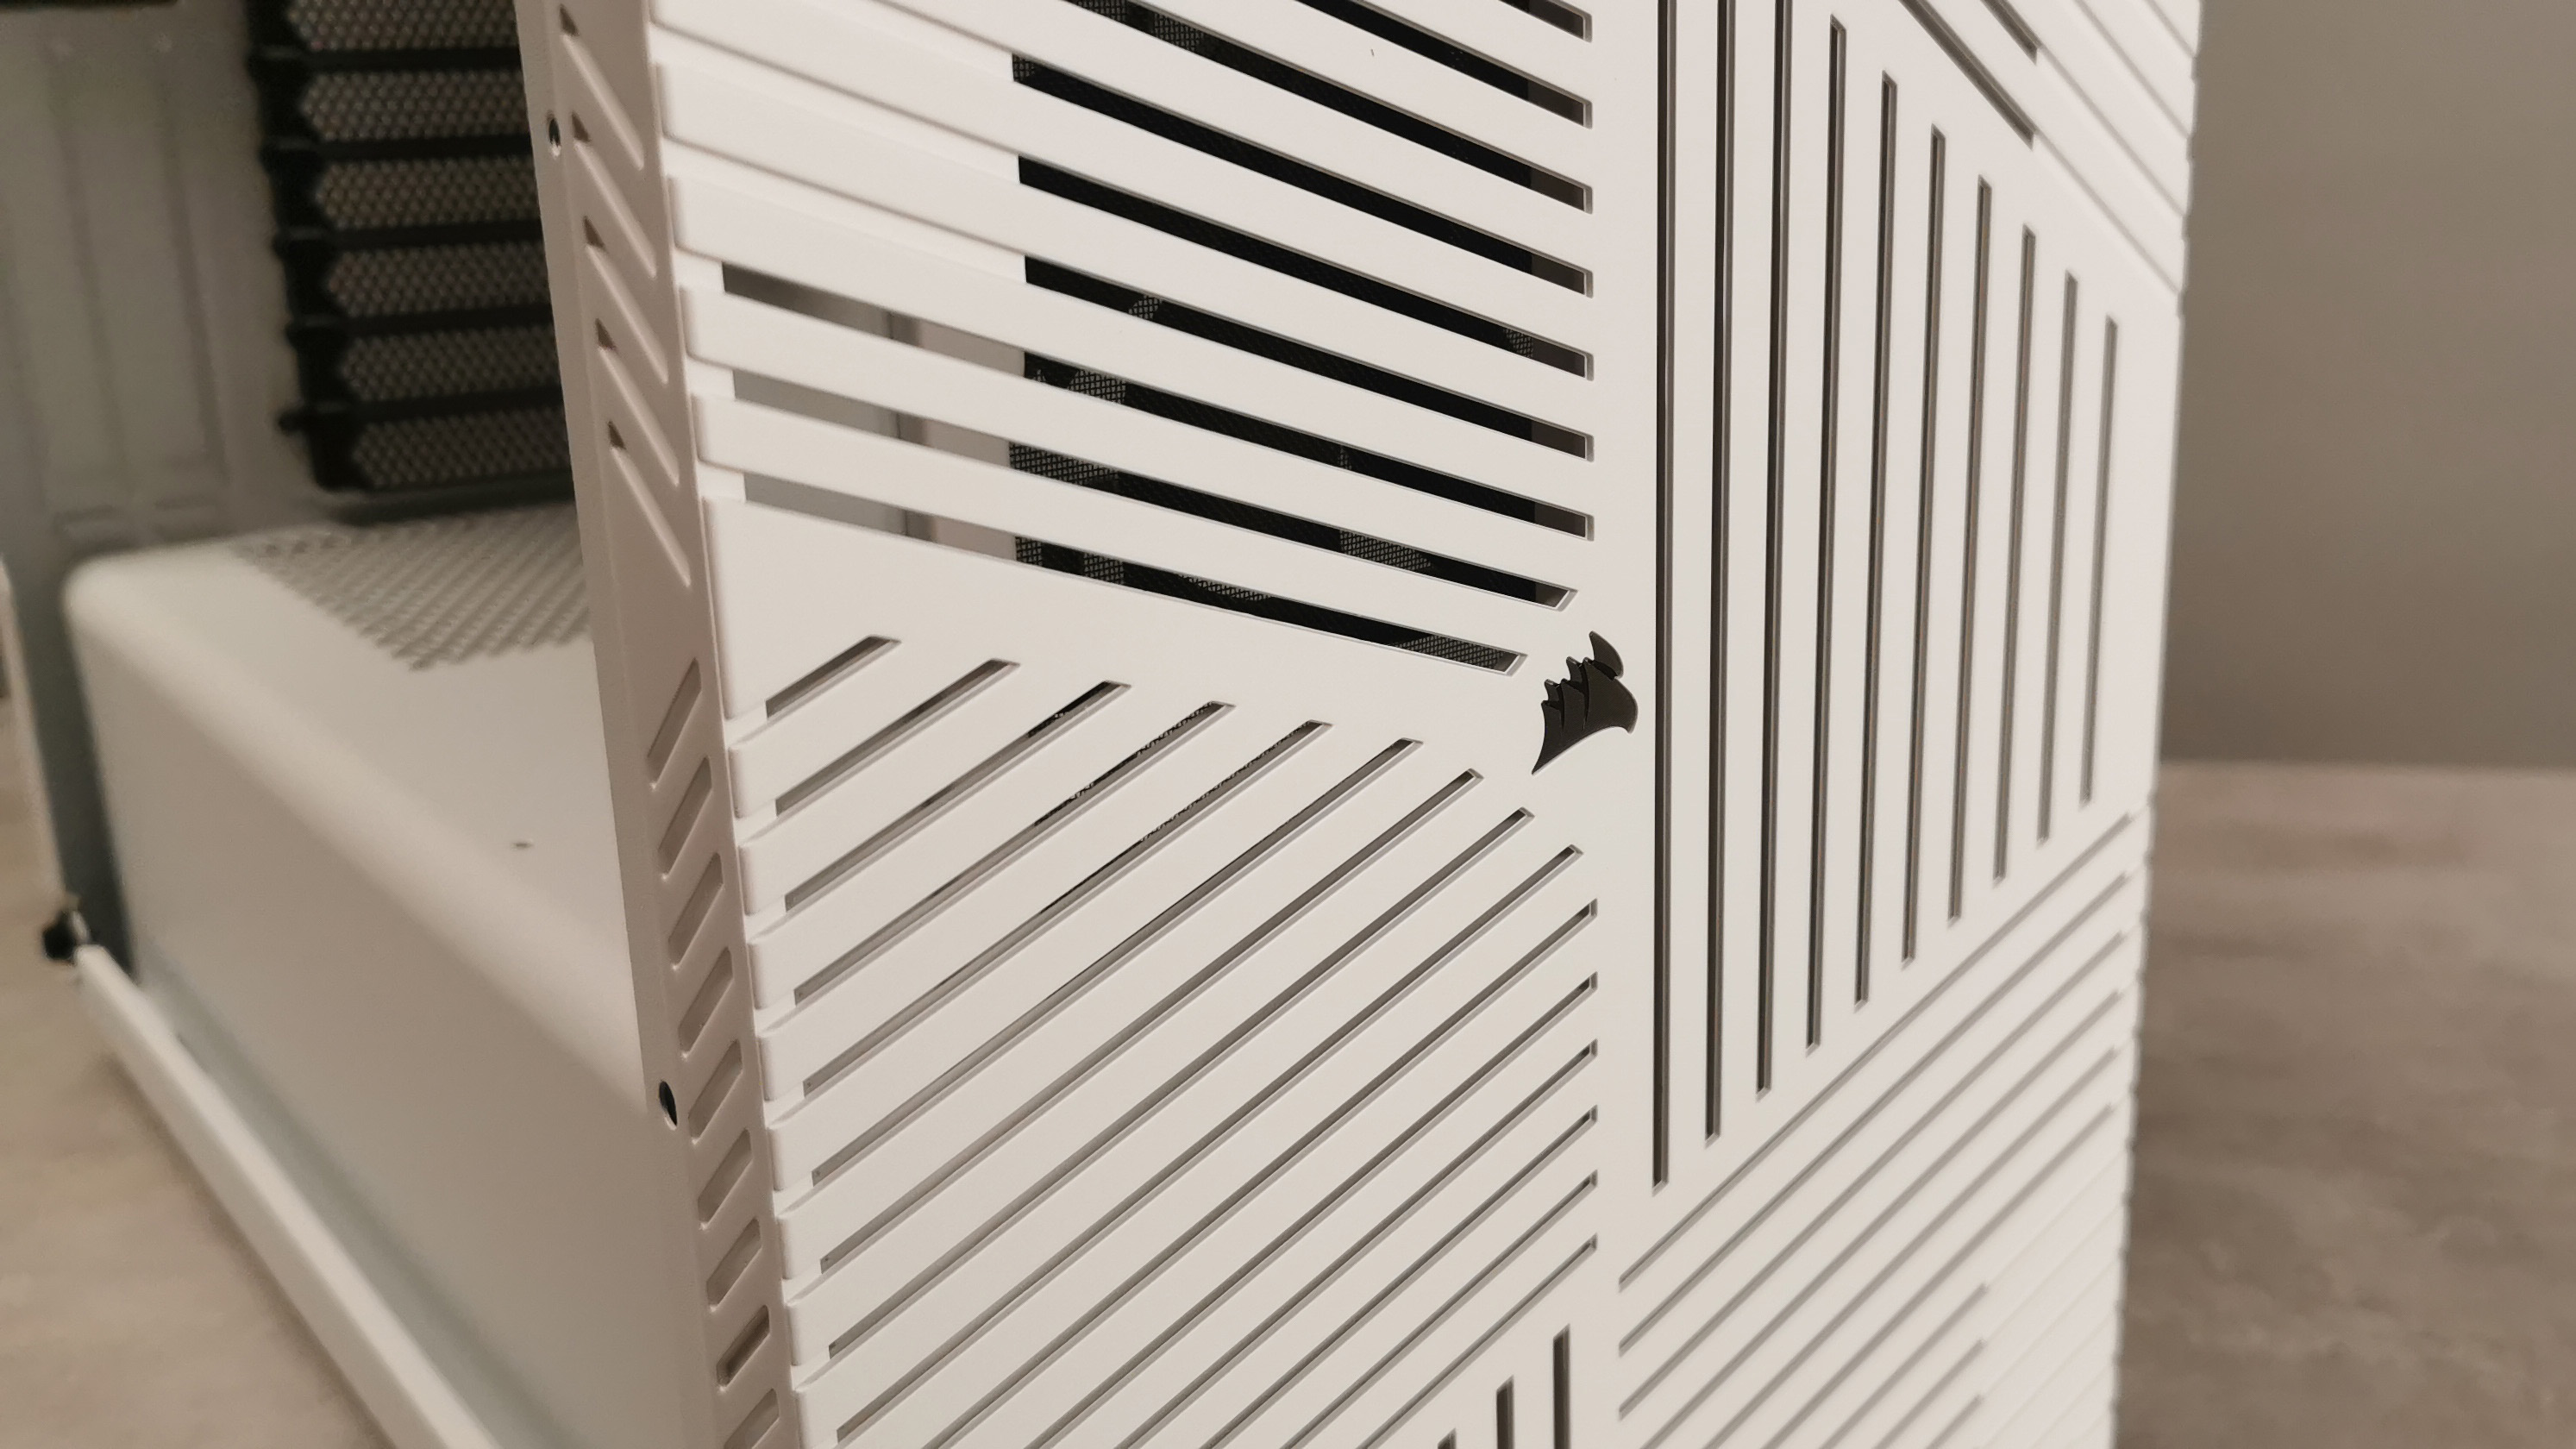
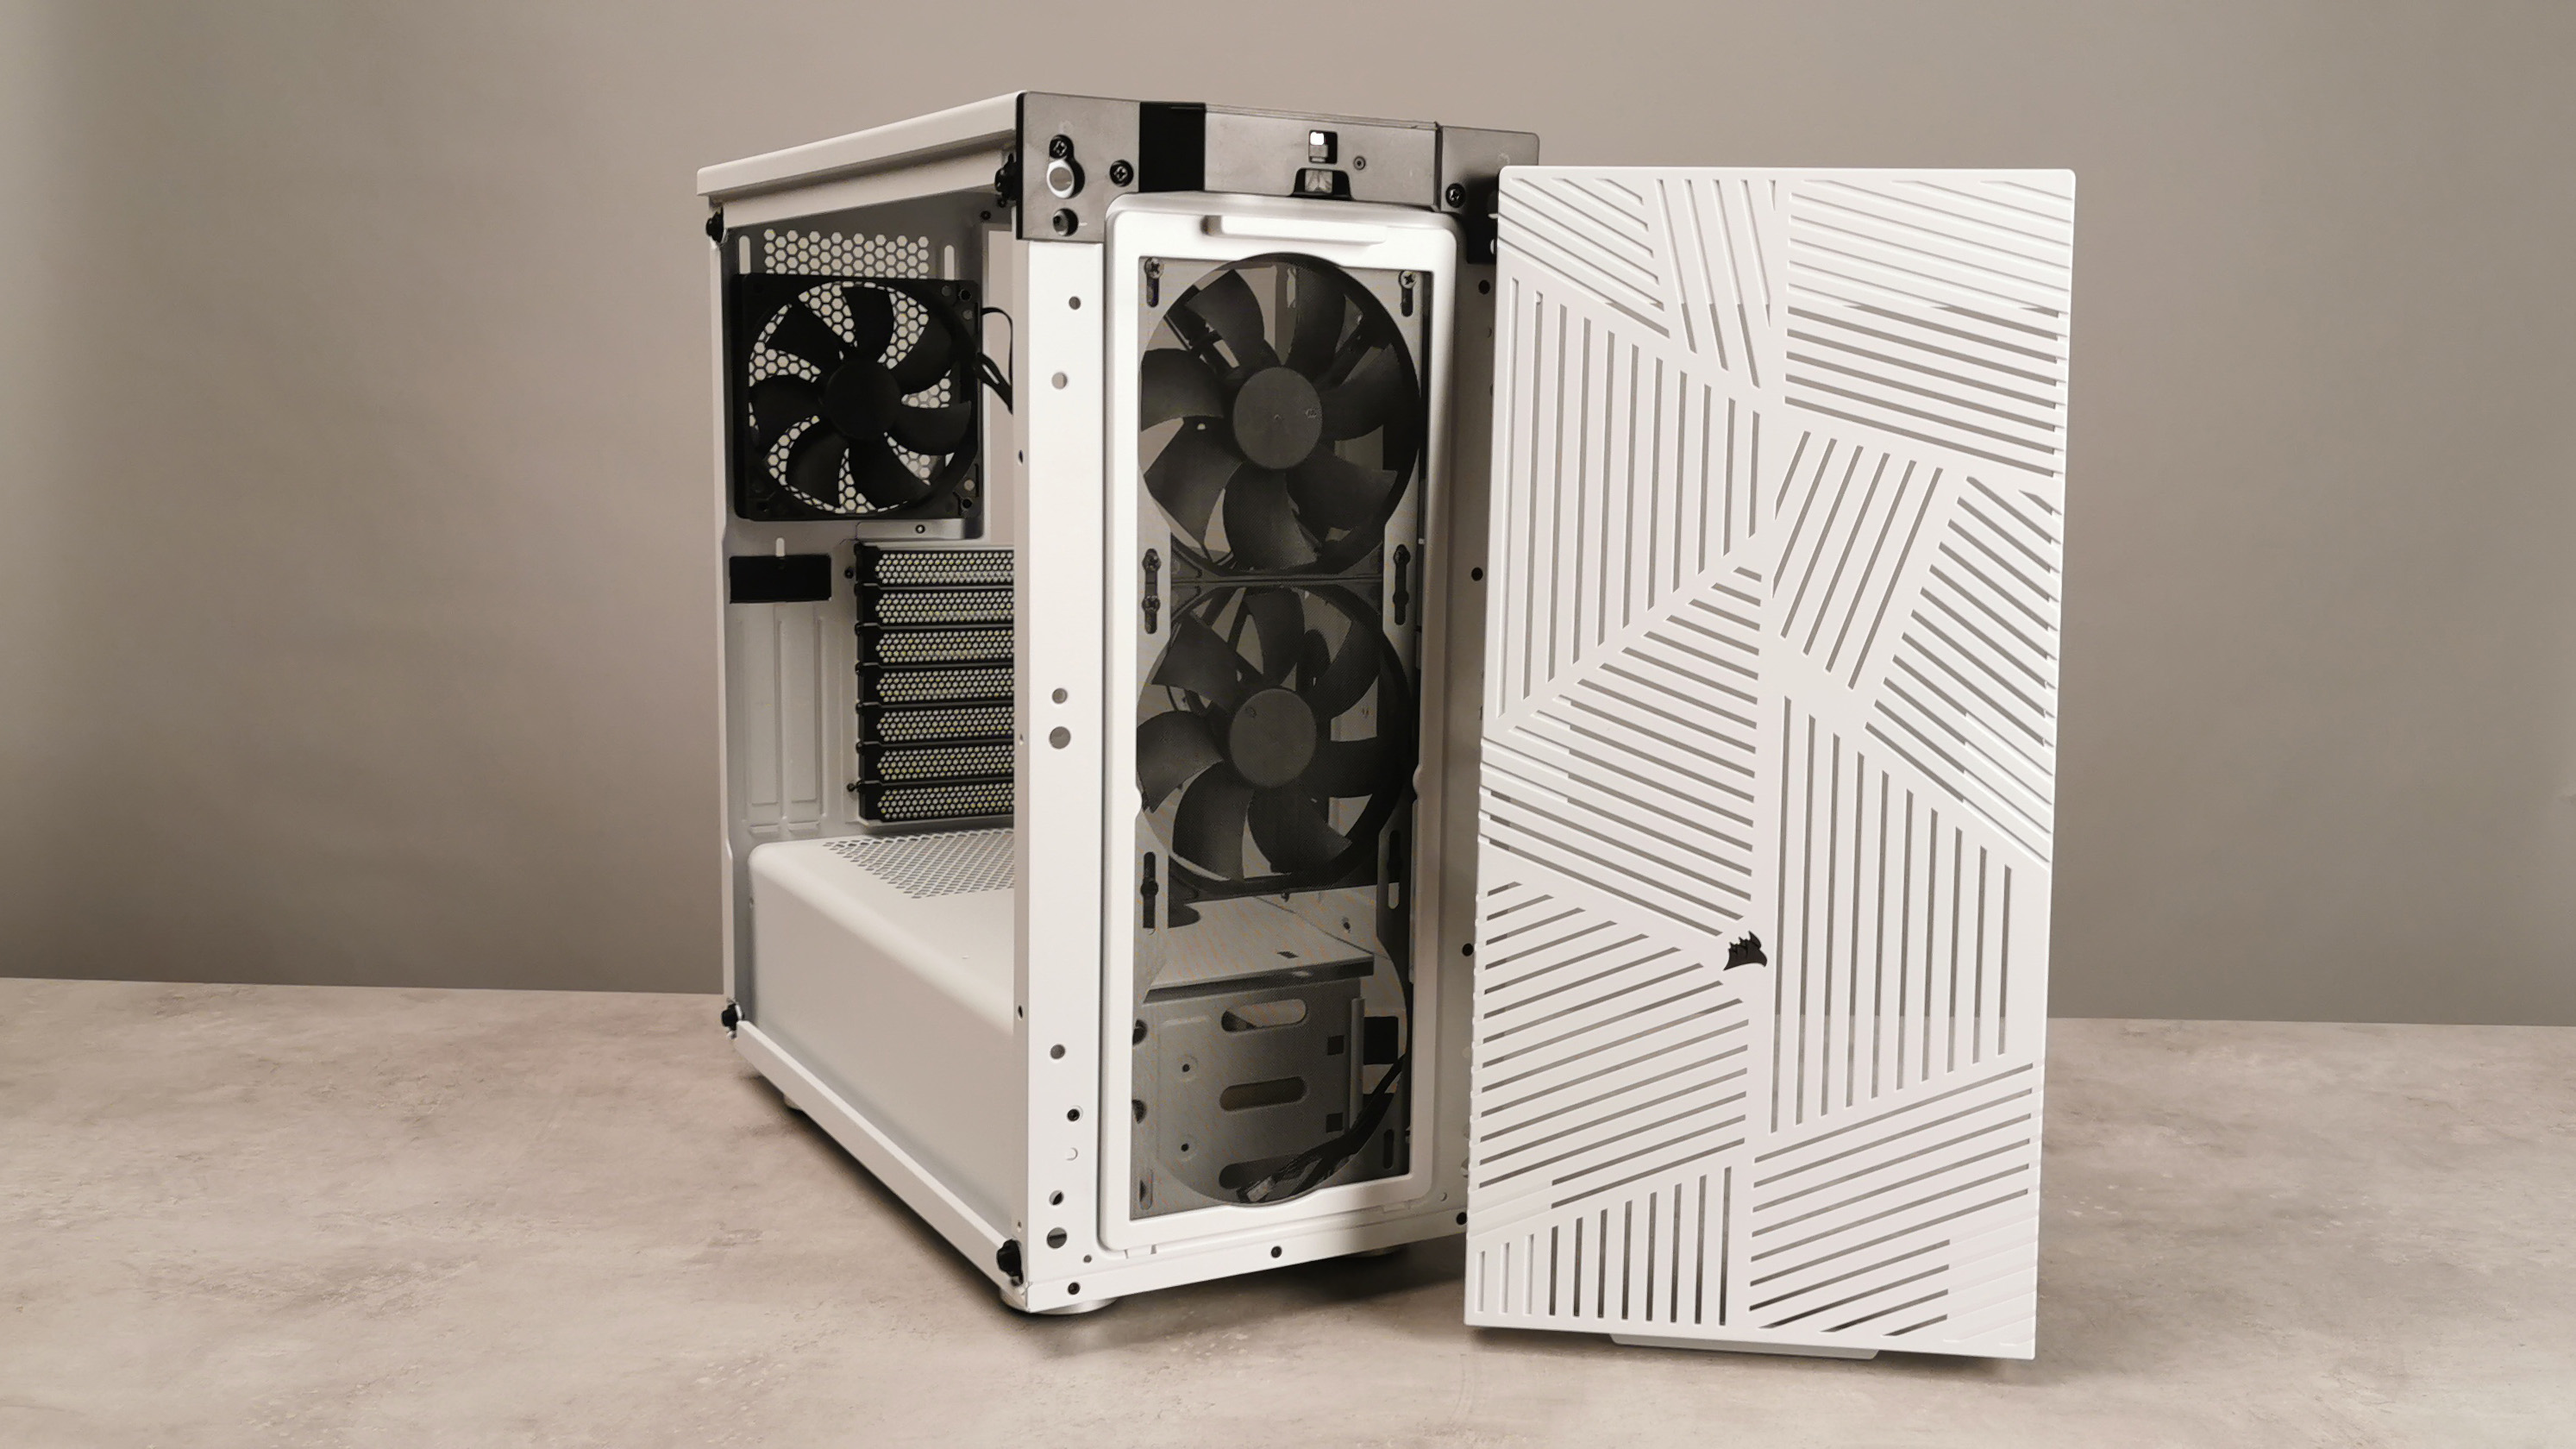
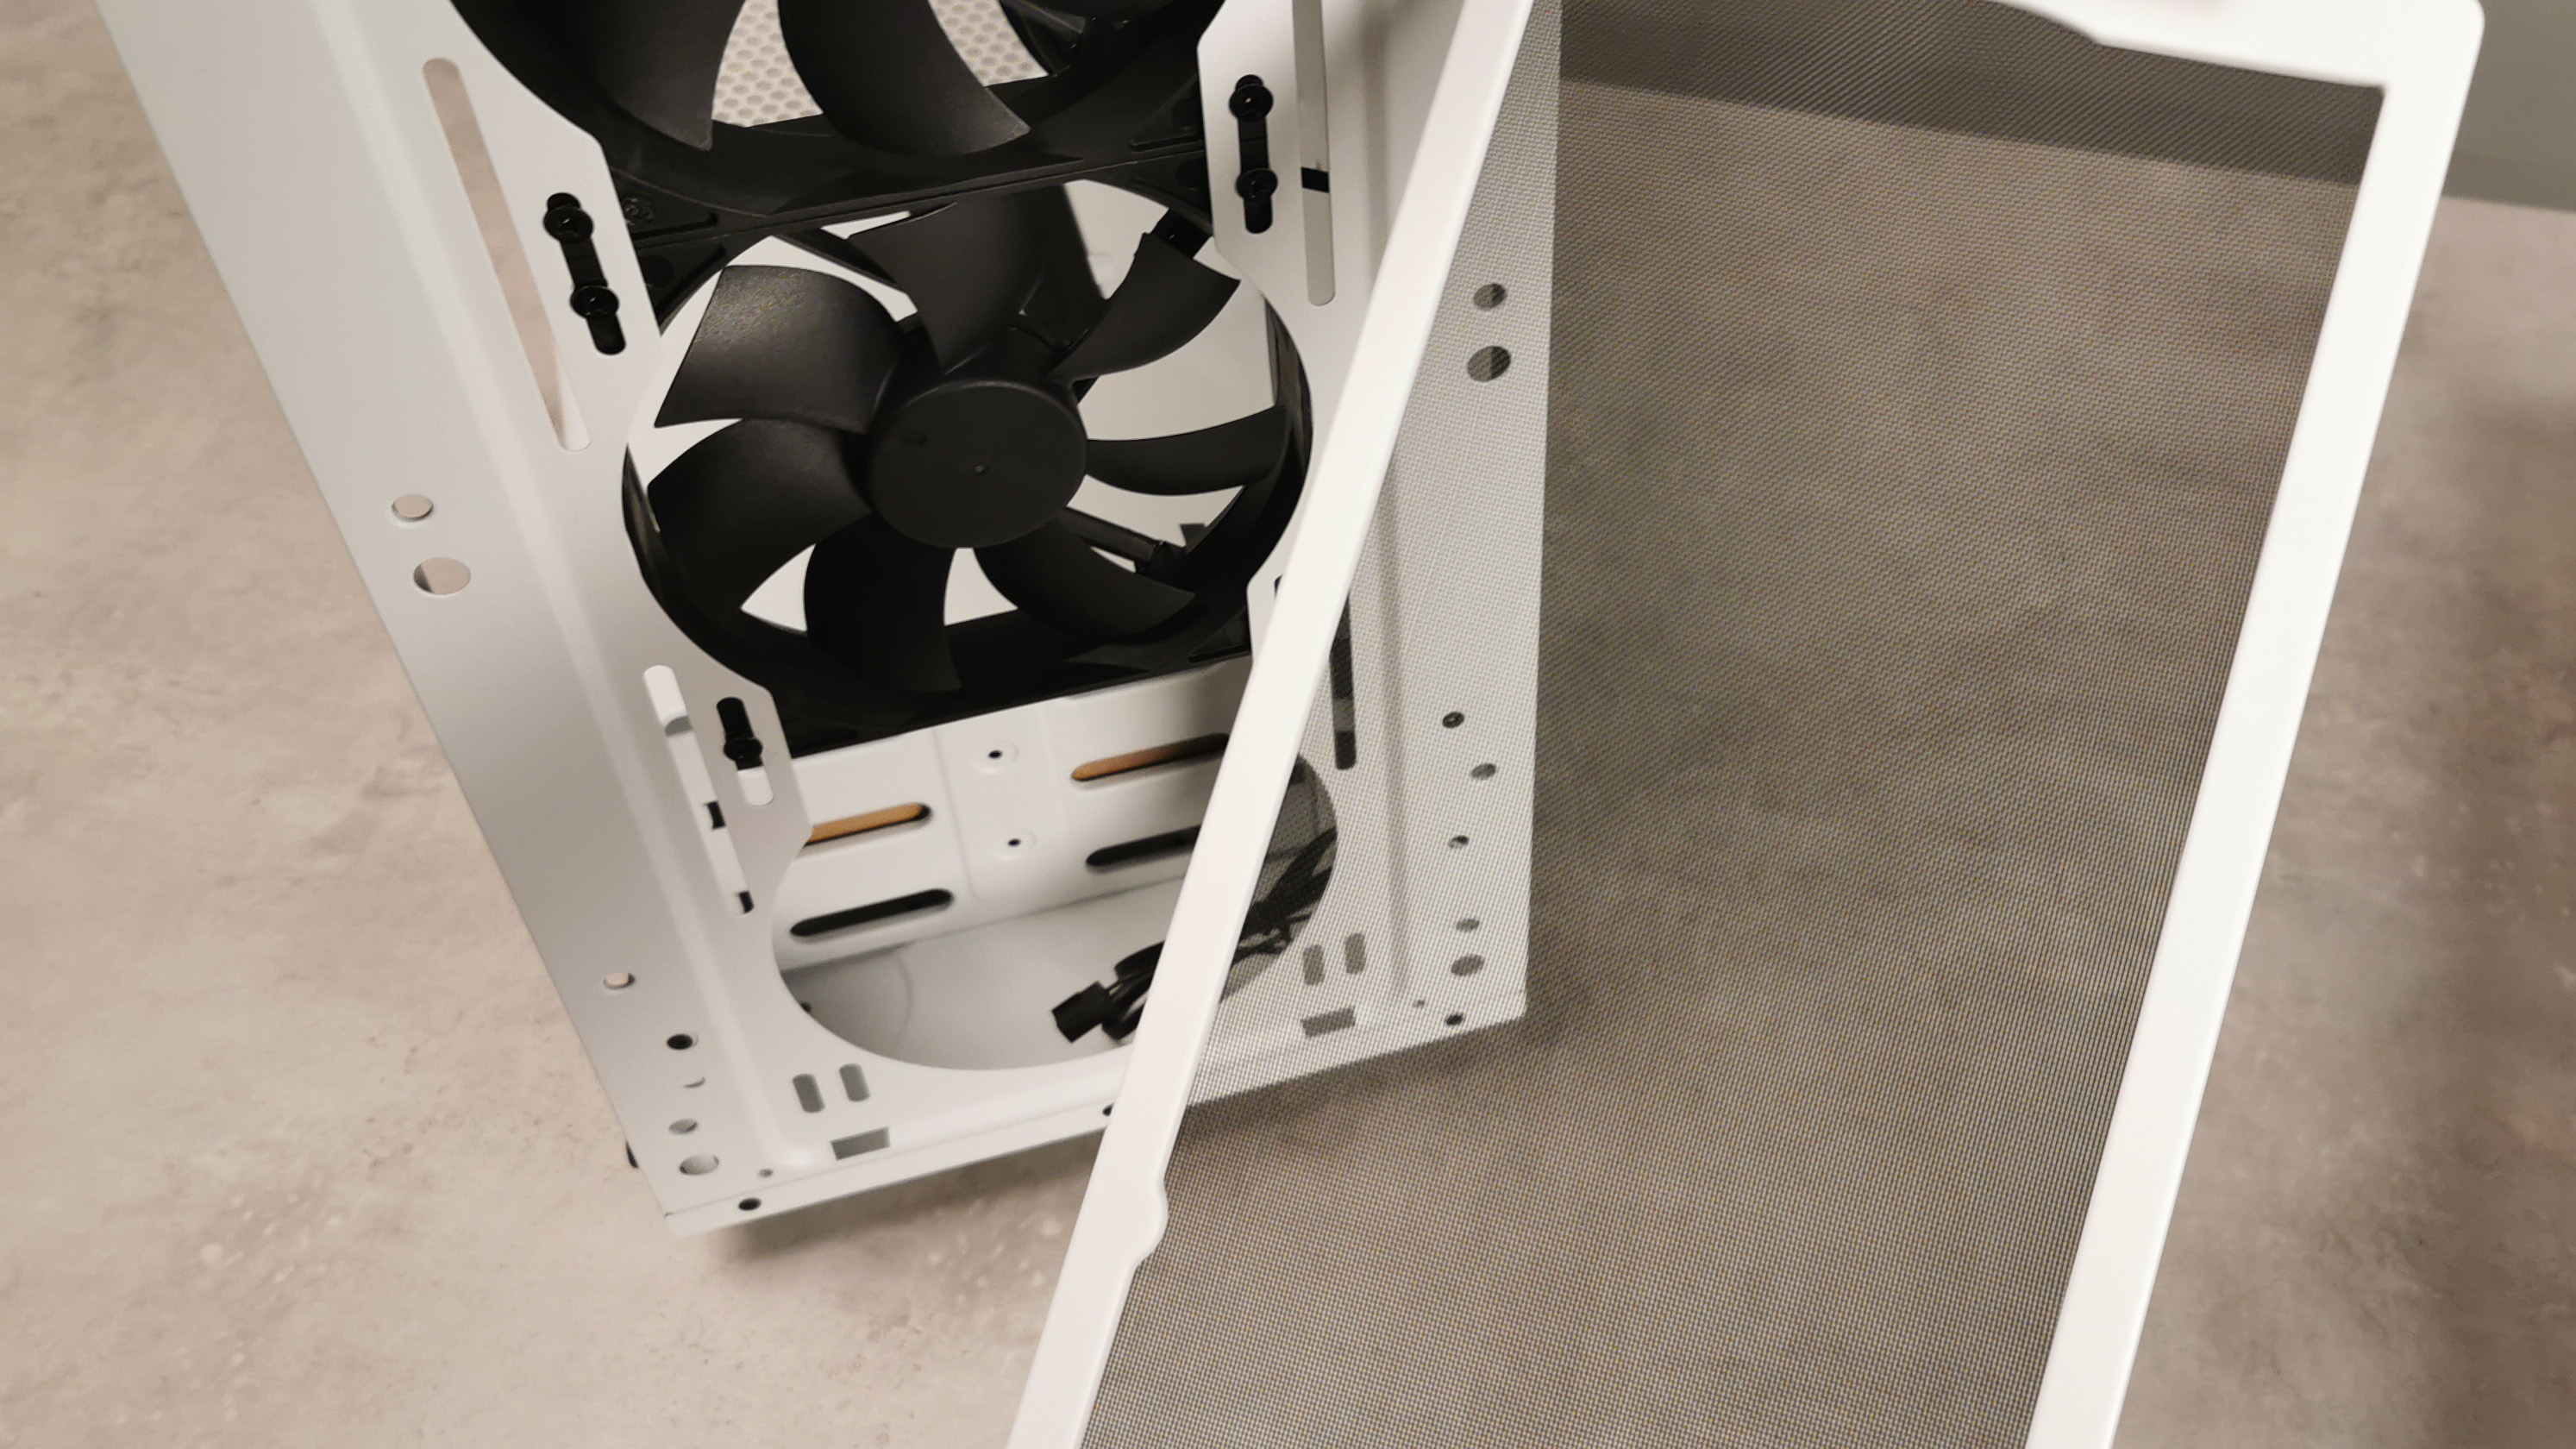
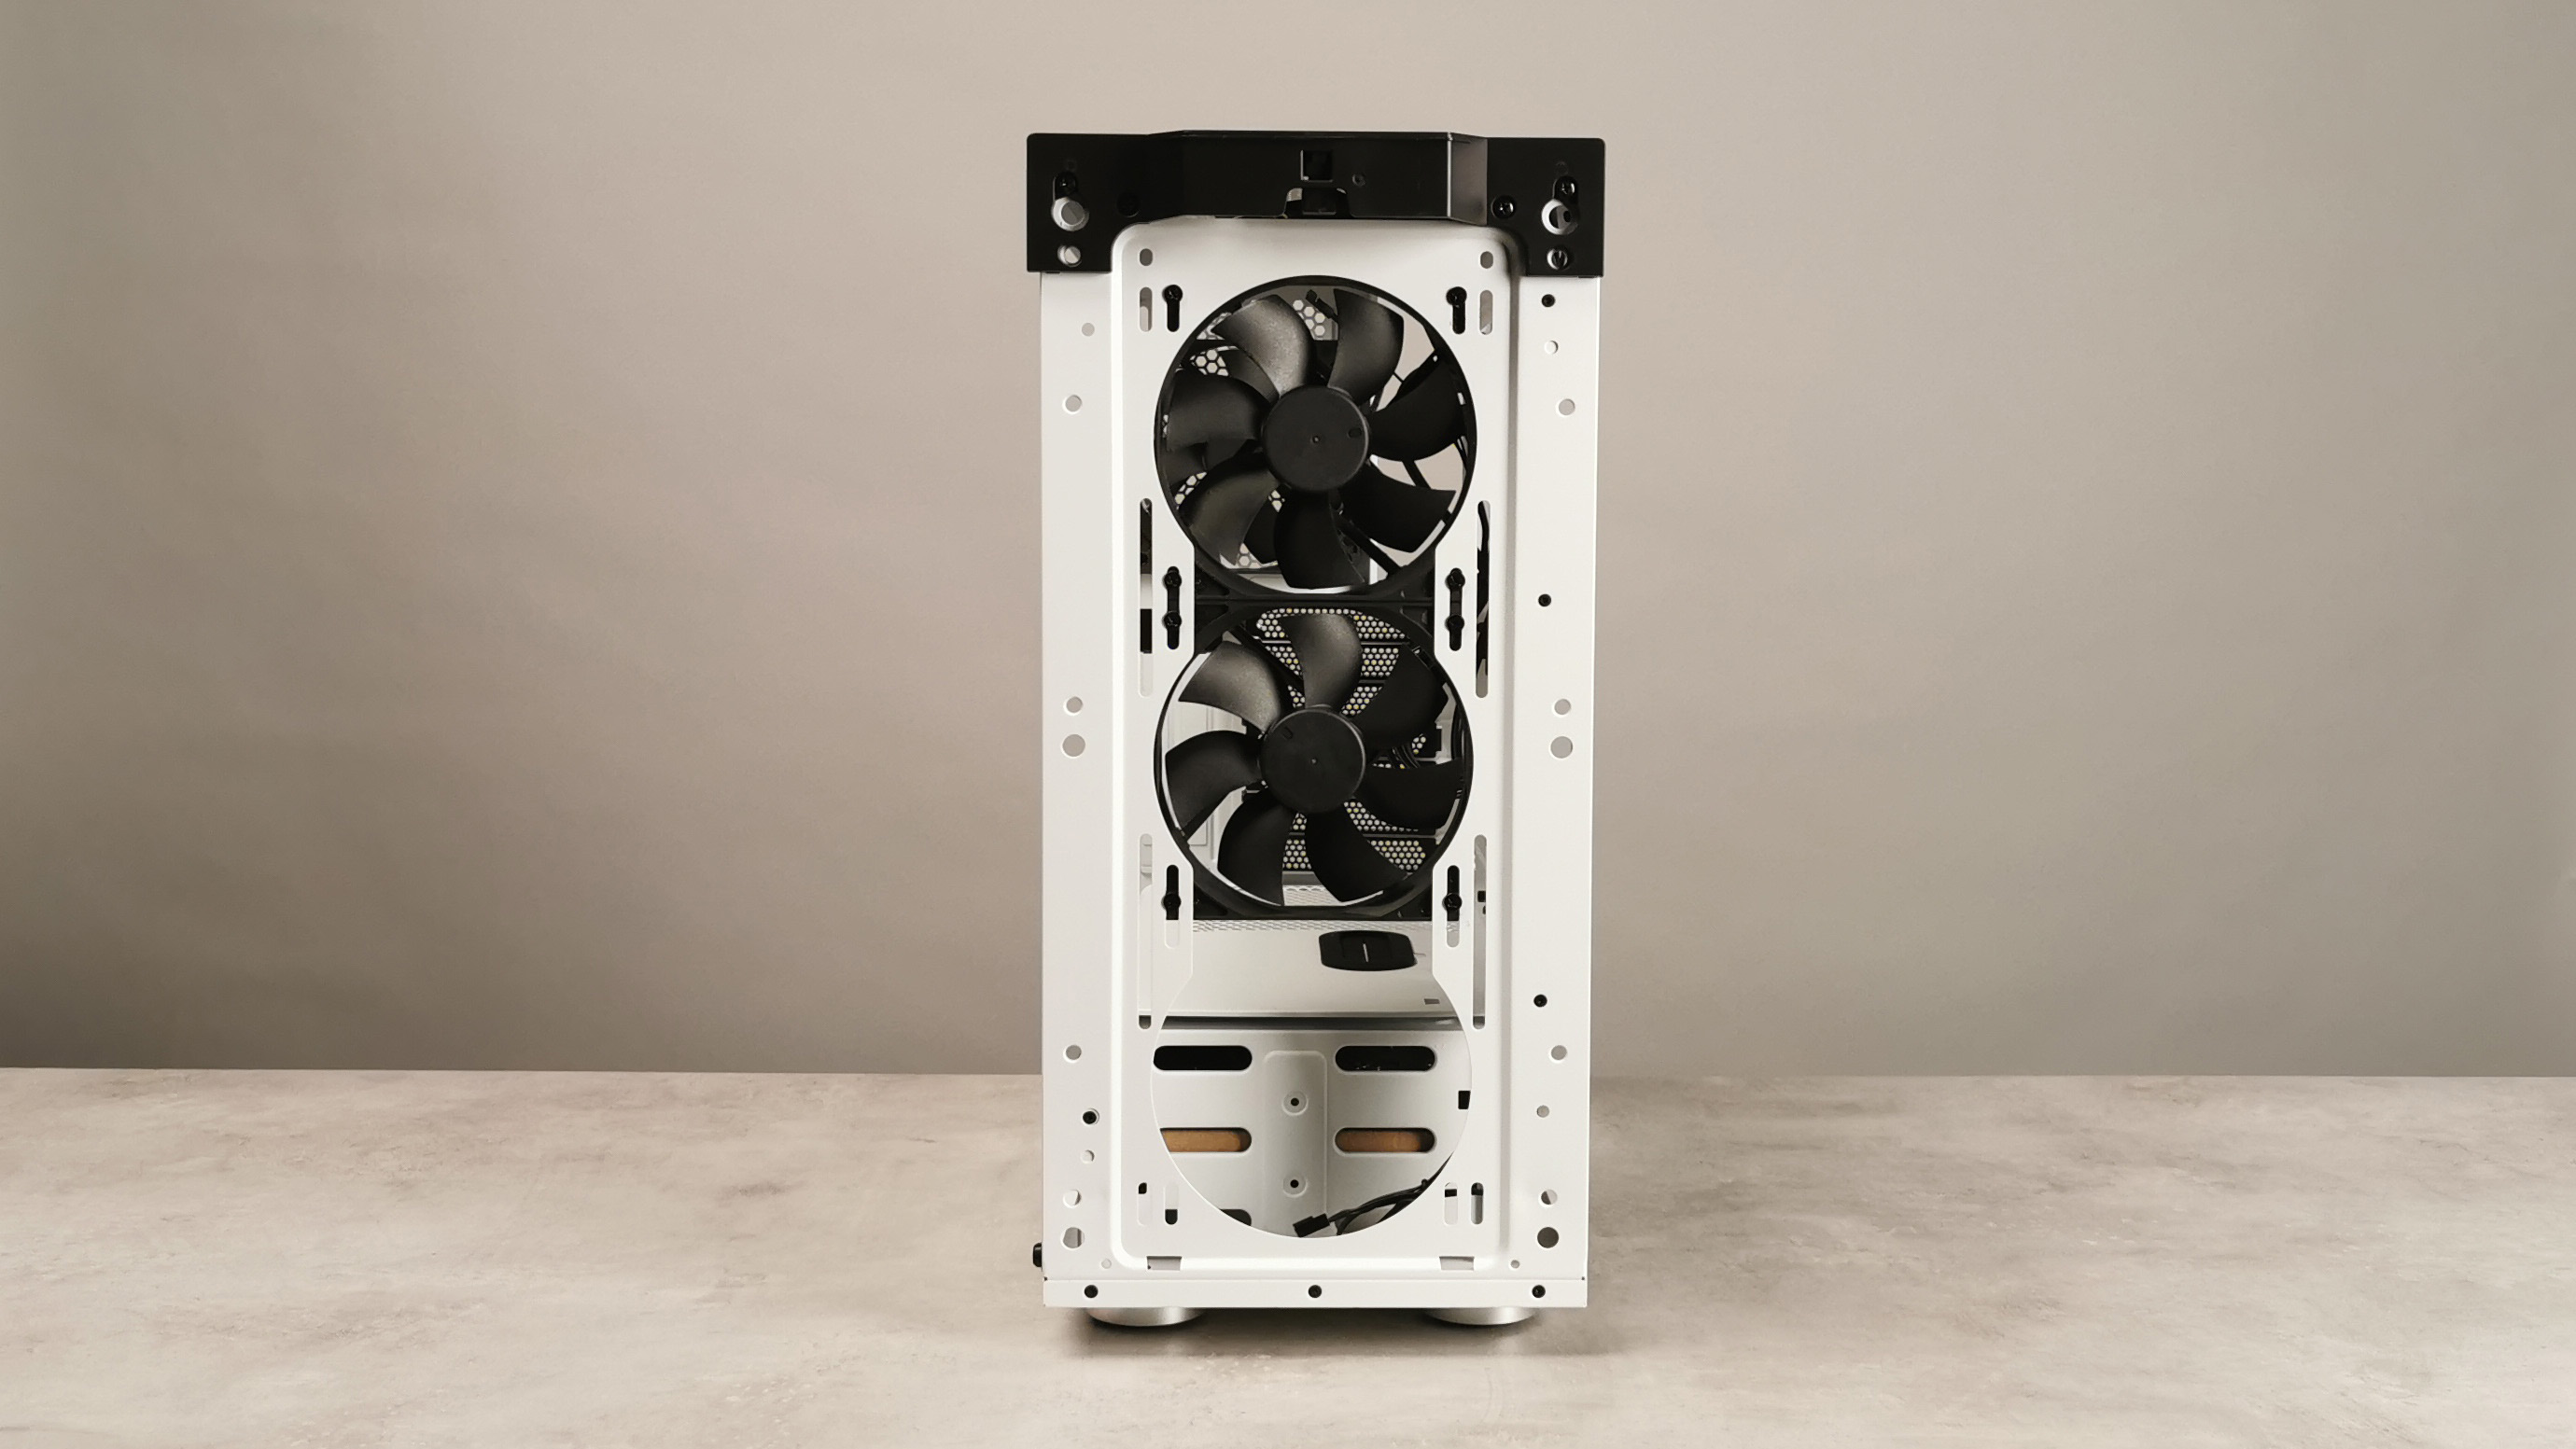
The front panel on the Corsair 275R is securely attached. Removing it requires you to pinch one or two of the pins that secure the panel in place from inside the chassis, while pulling from the bottom. Once it’s detached, there’s no integrated LED lighting or cables to worry about, so you can simply place it to one side.
Underneath, you’ll find a removable magnetic dust filter -- with a very fine mesh to allow easy cleaning -- and access to the two included intake fans. The Corsair 275R Airflow also supports up to a 360mm AIO liquid-cooler.
Interior Look
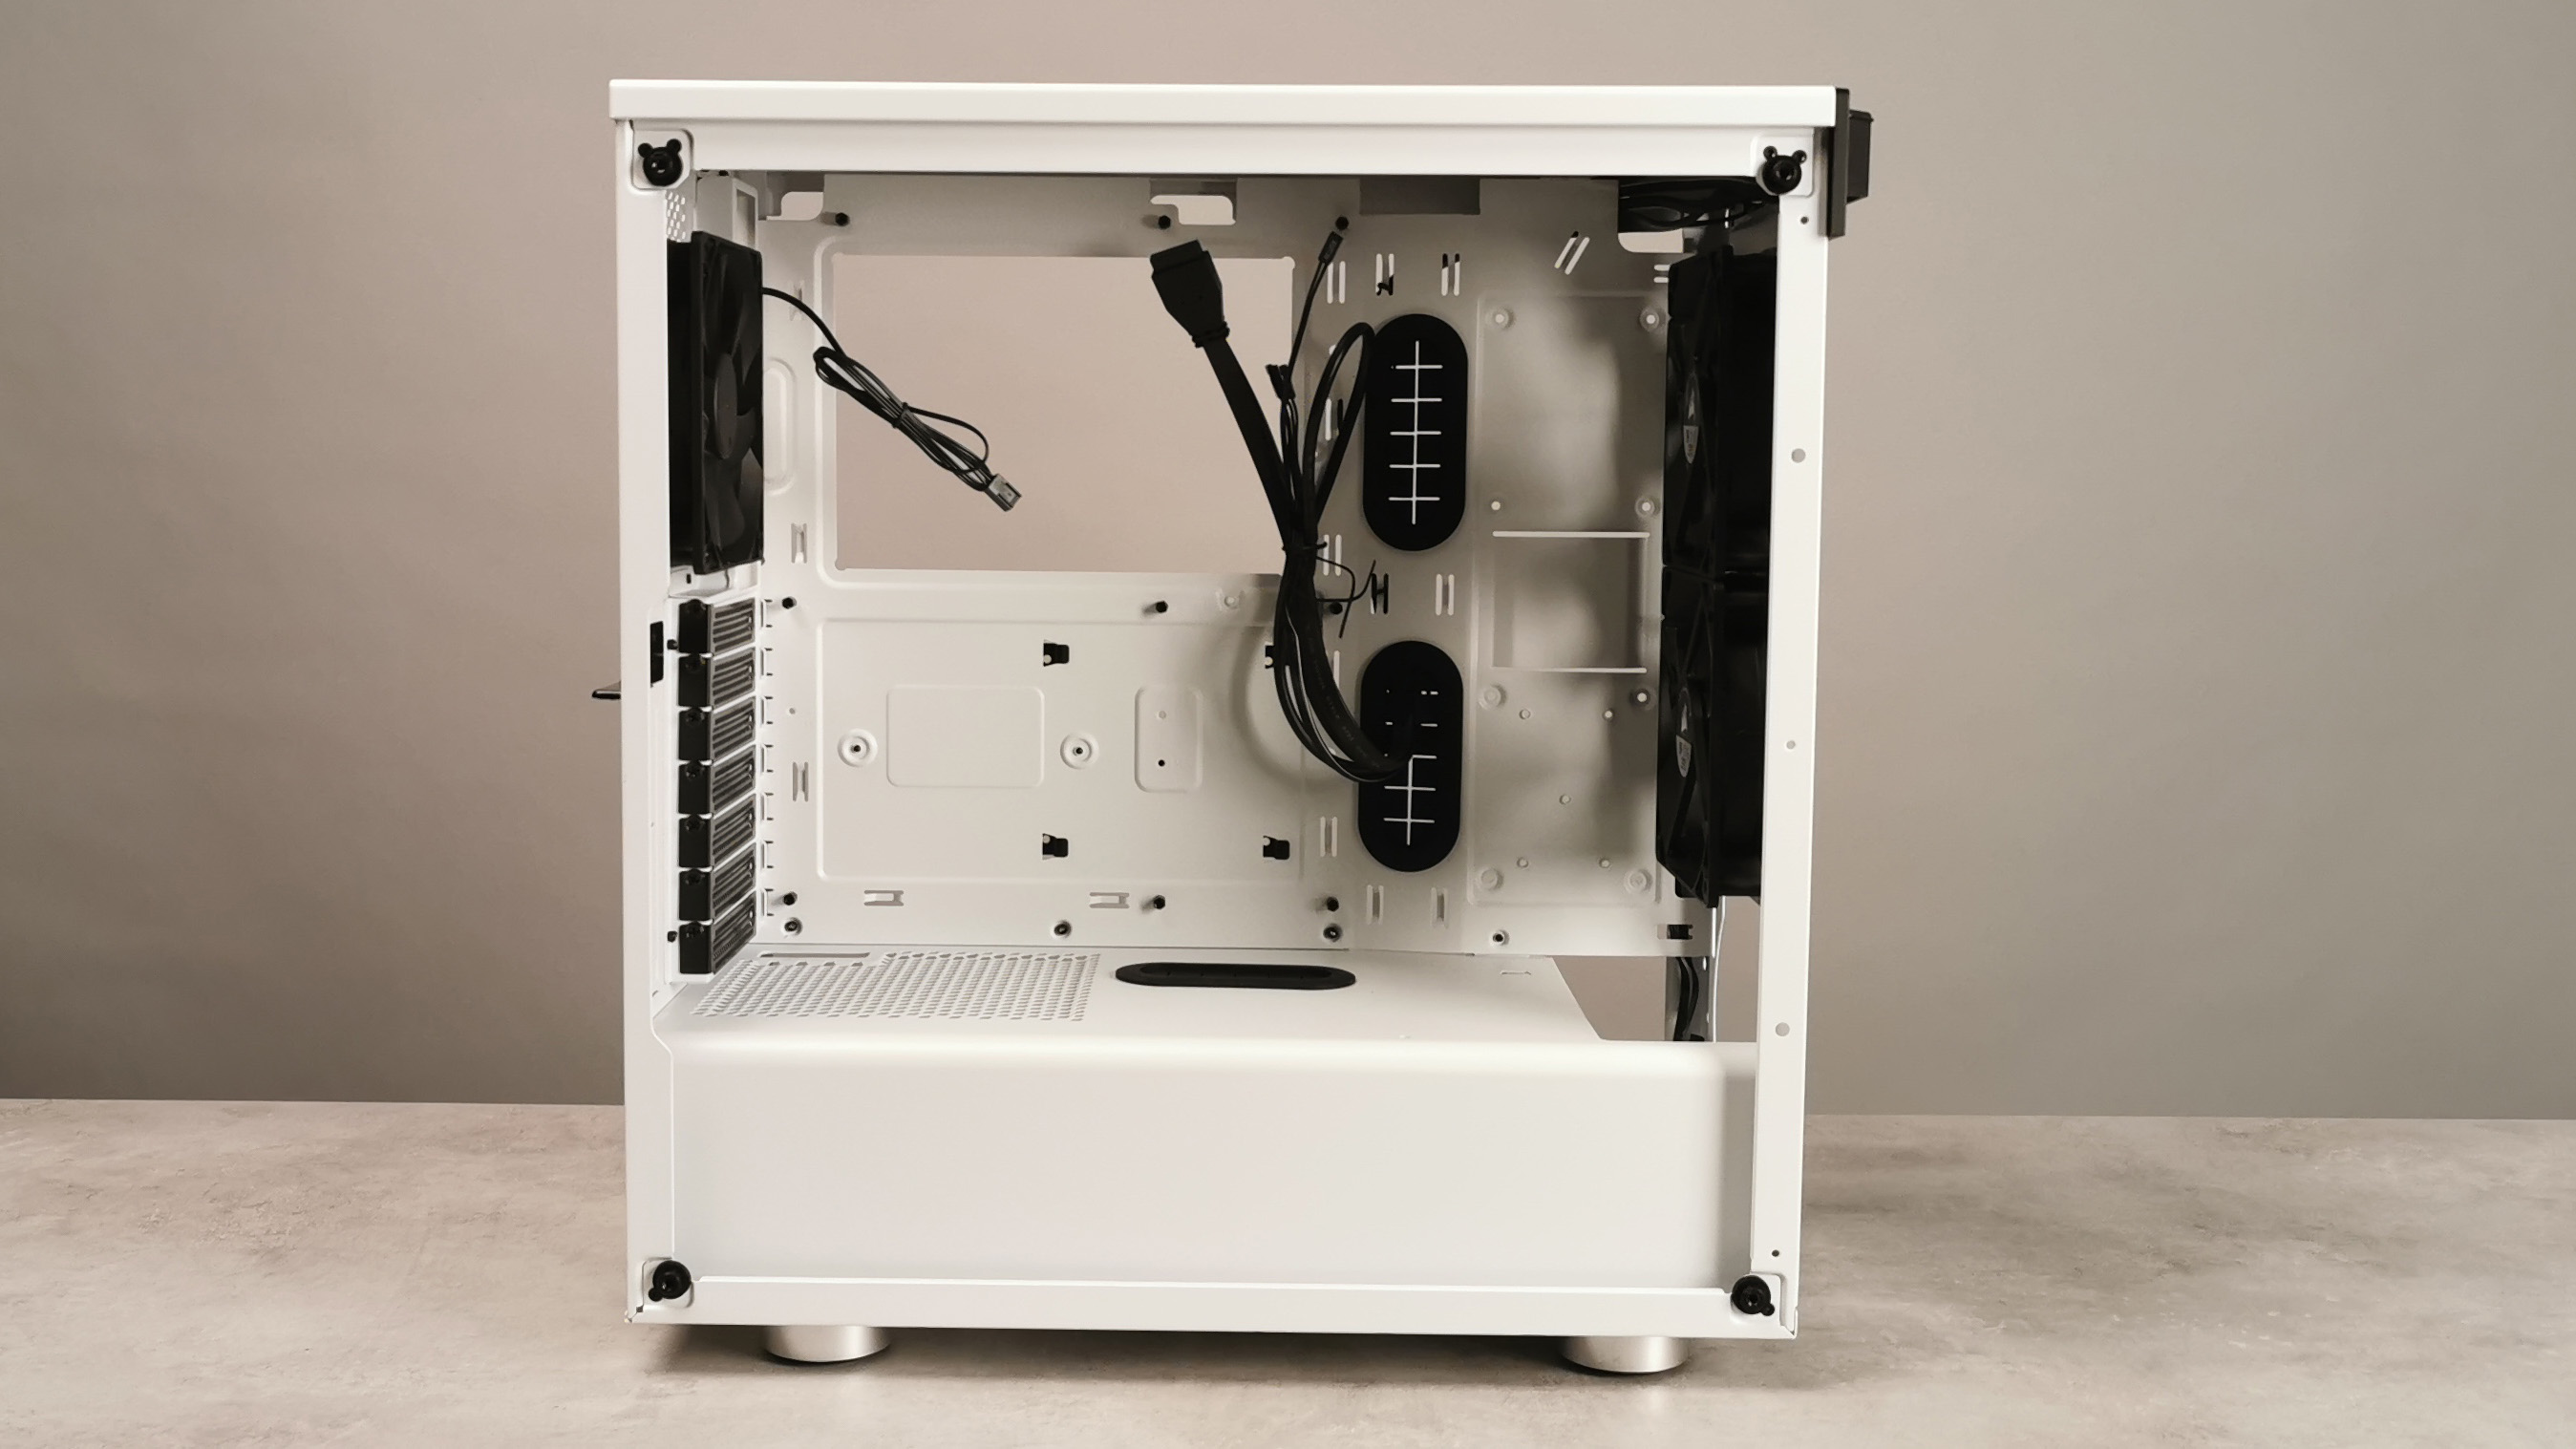
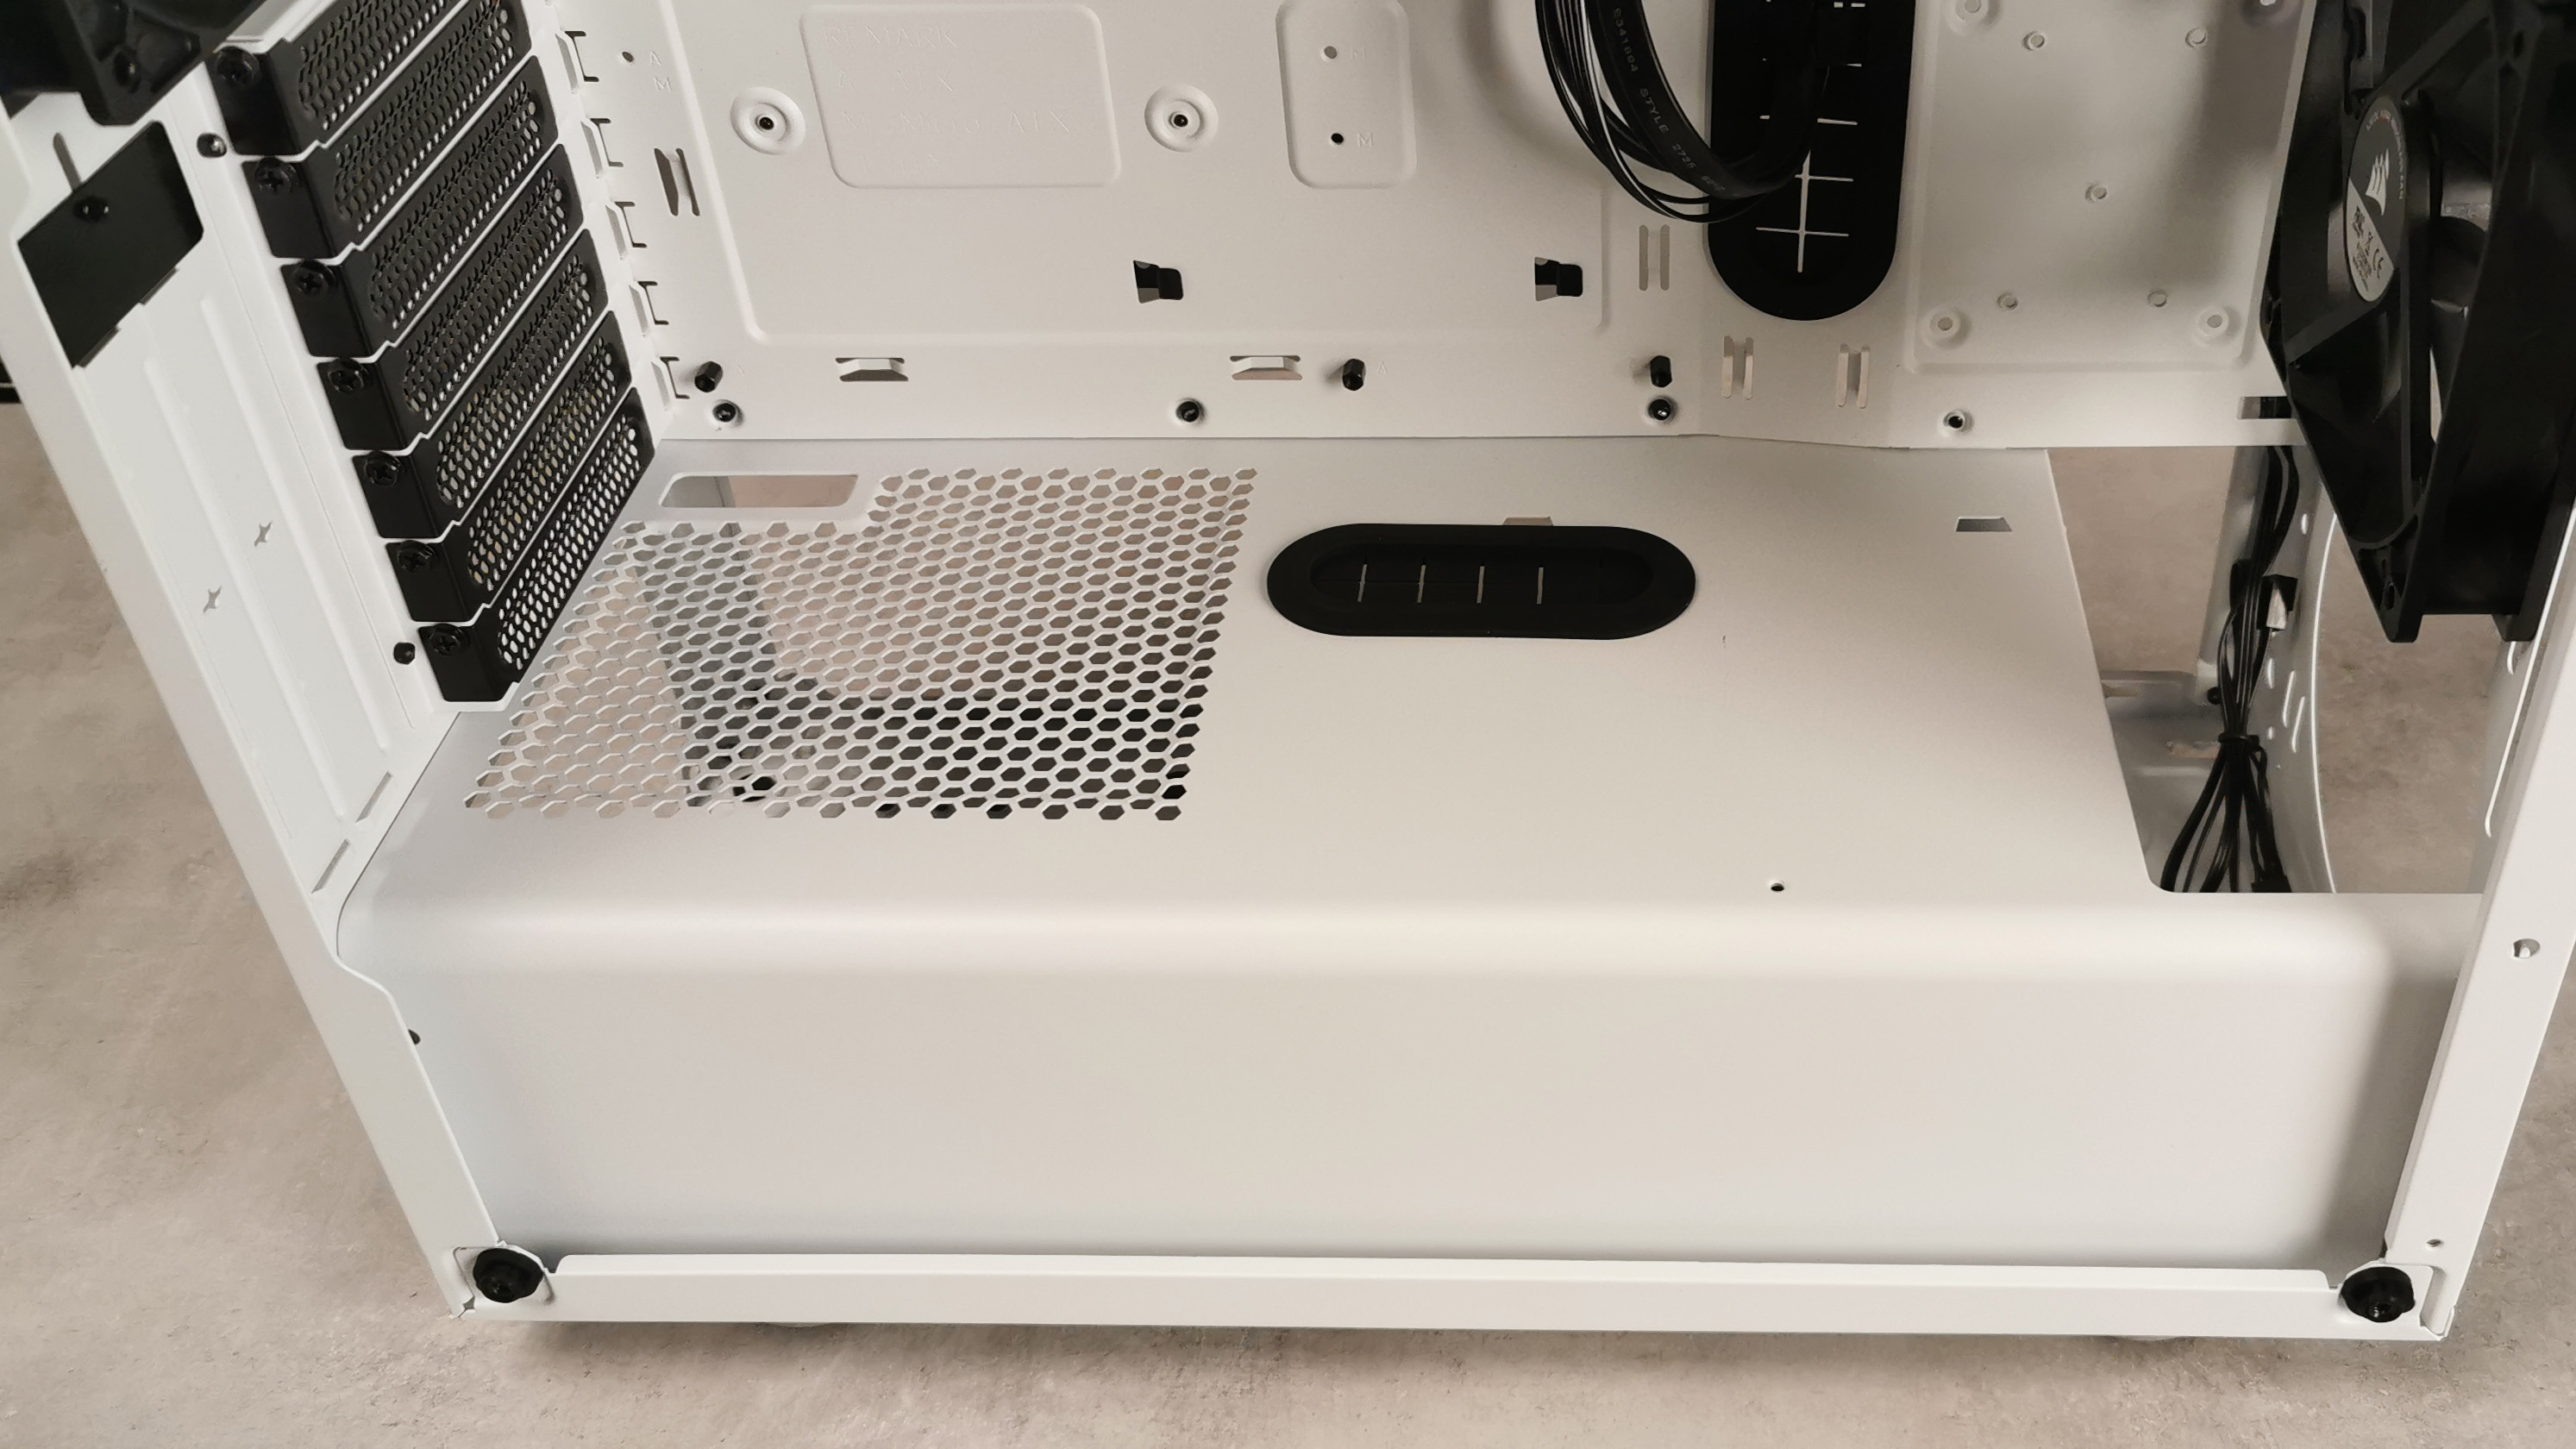
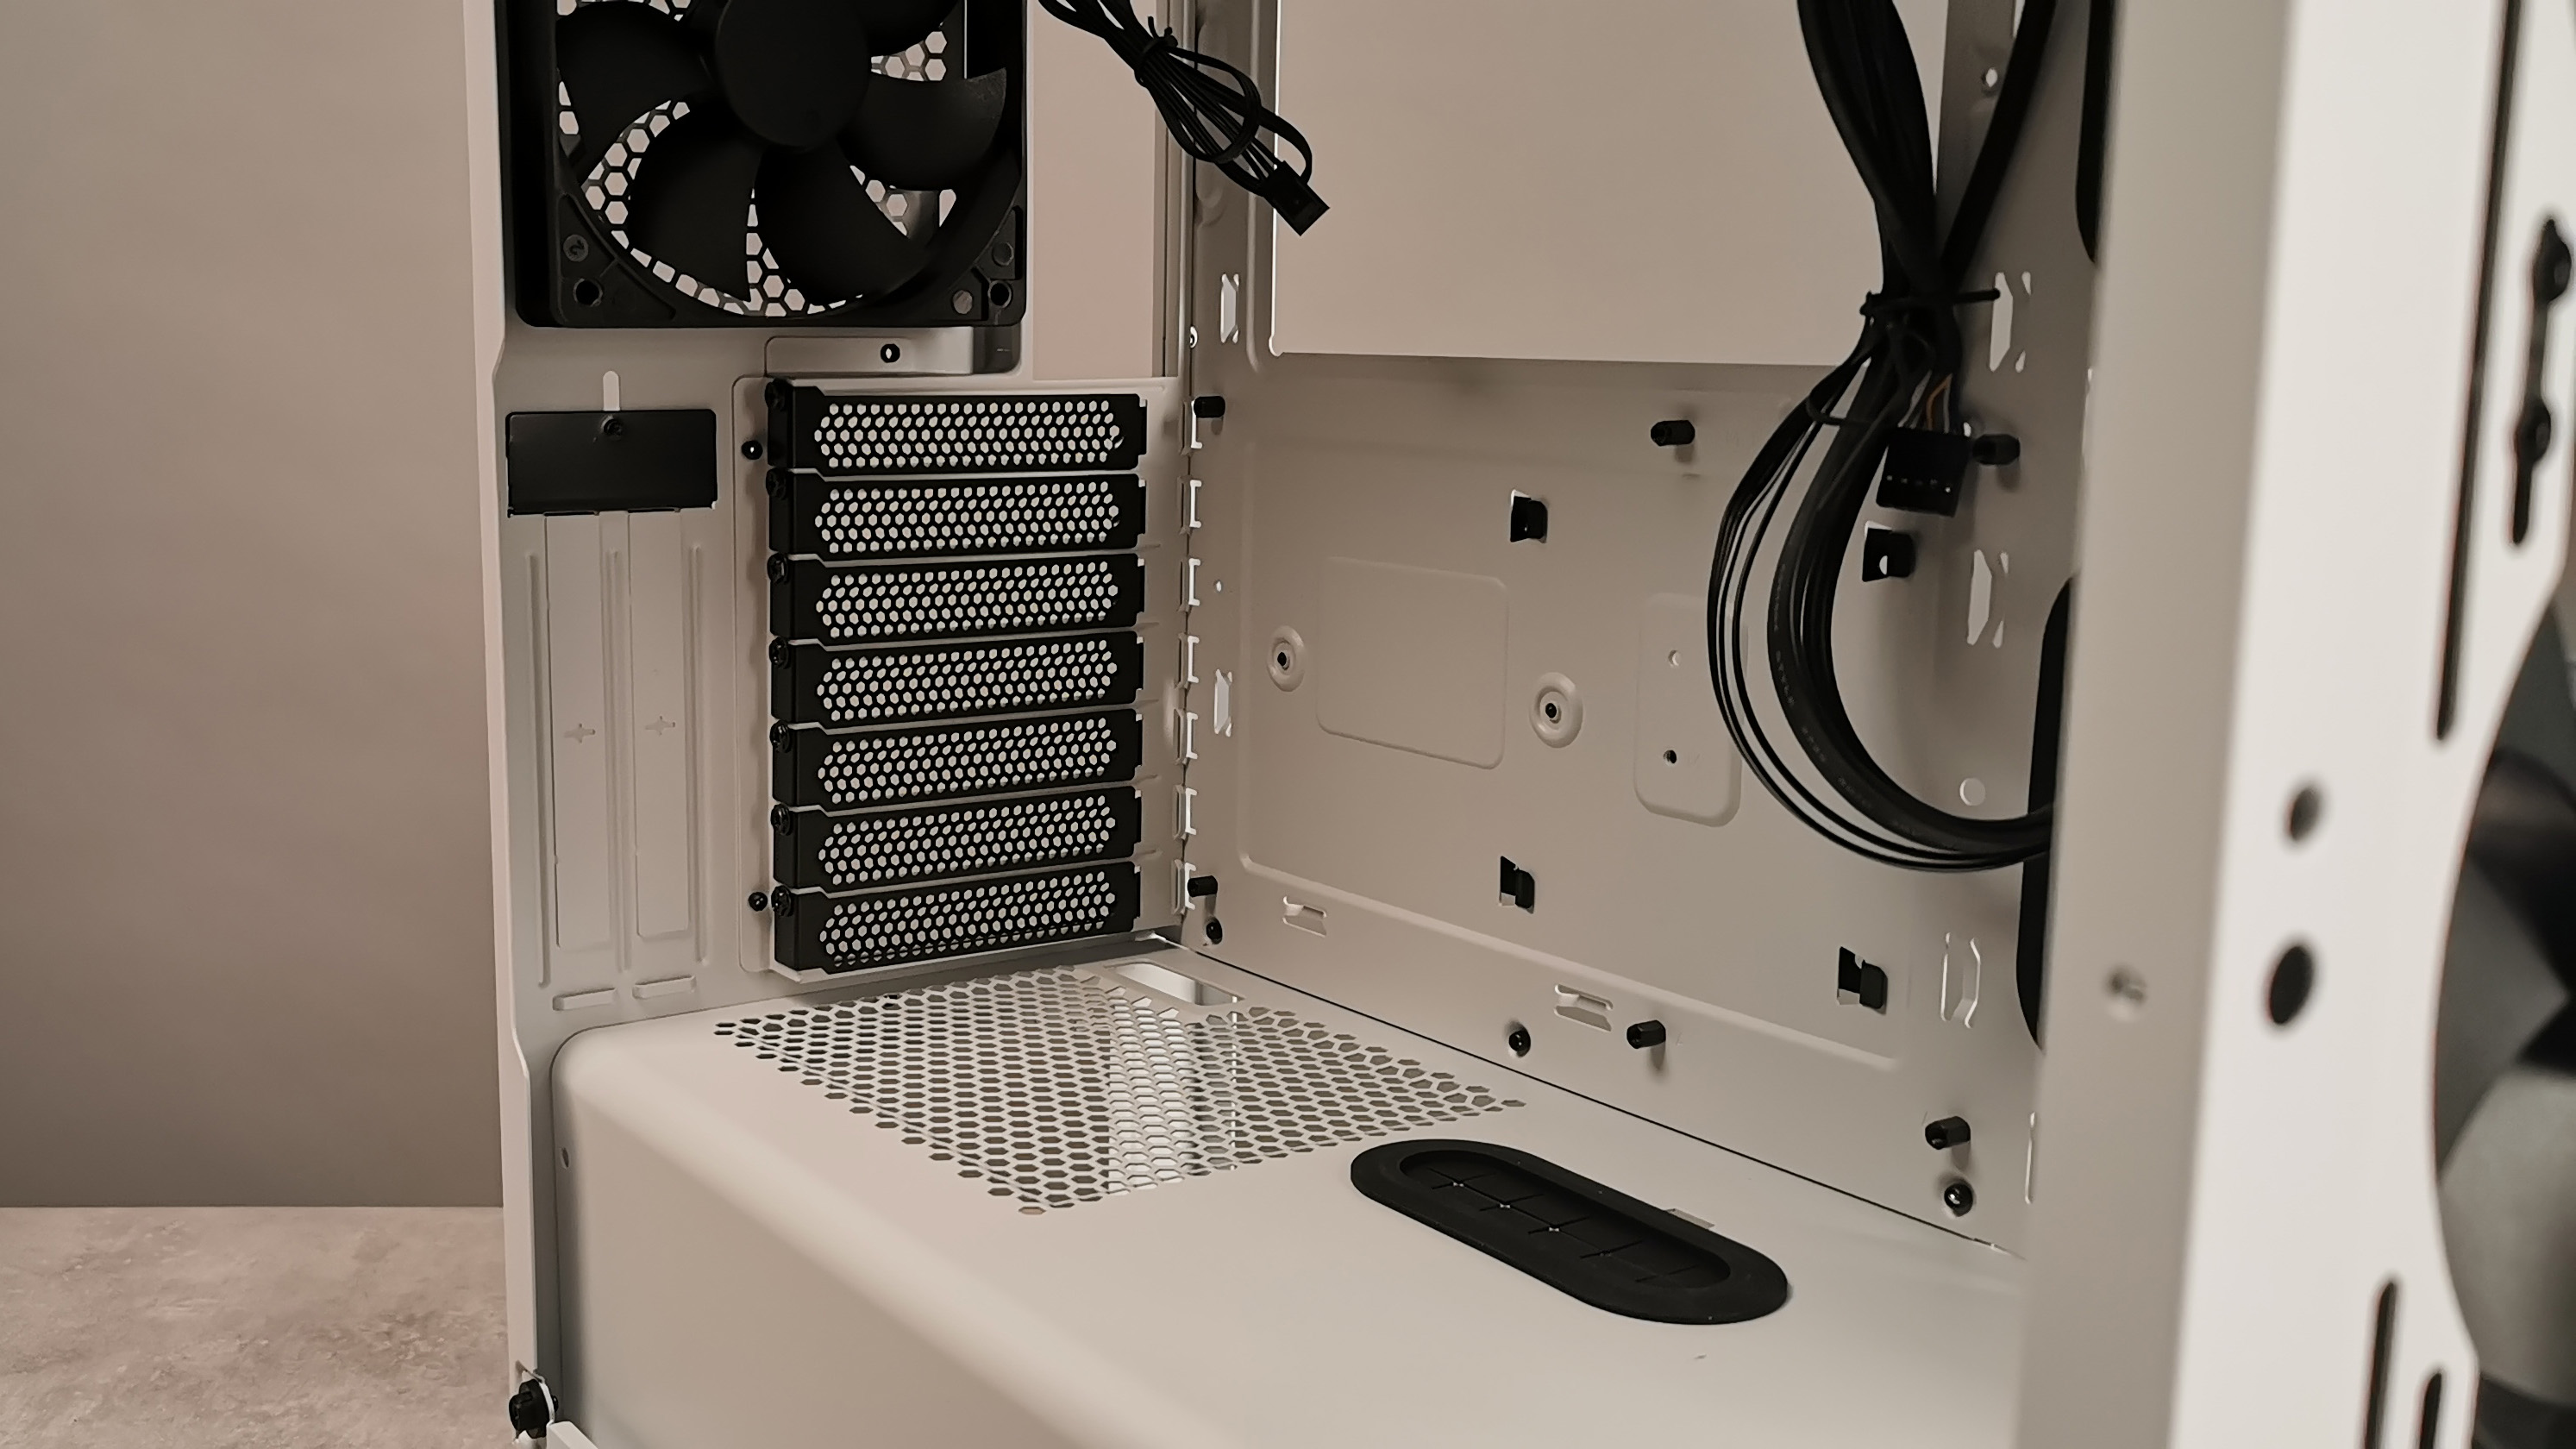
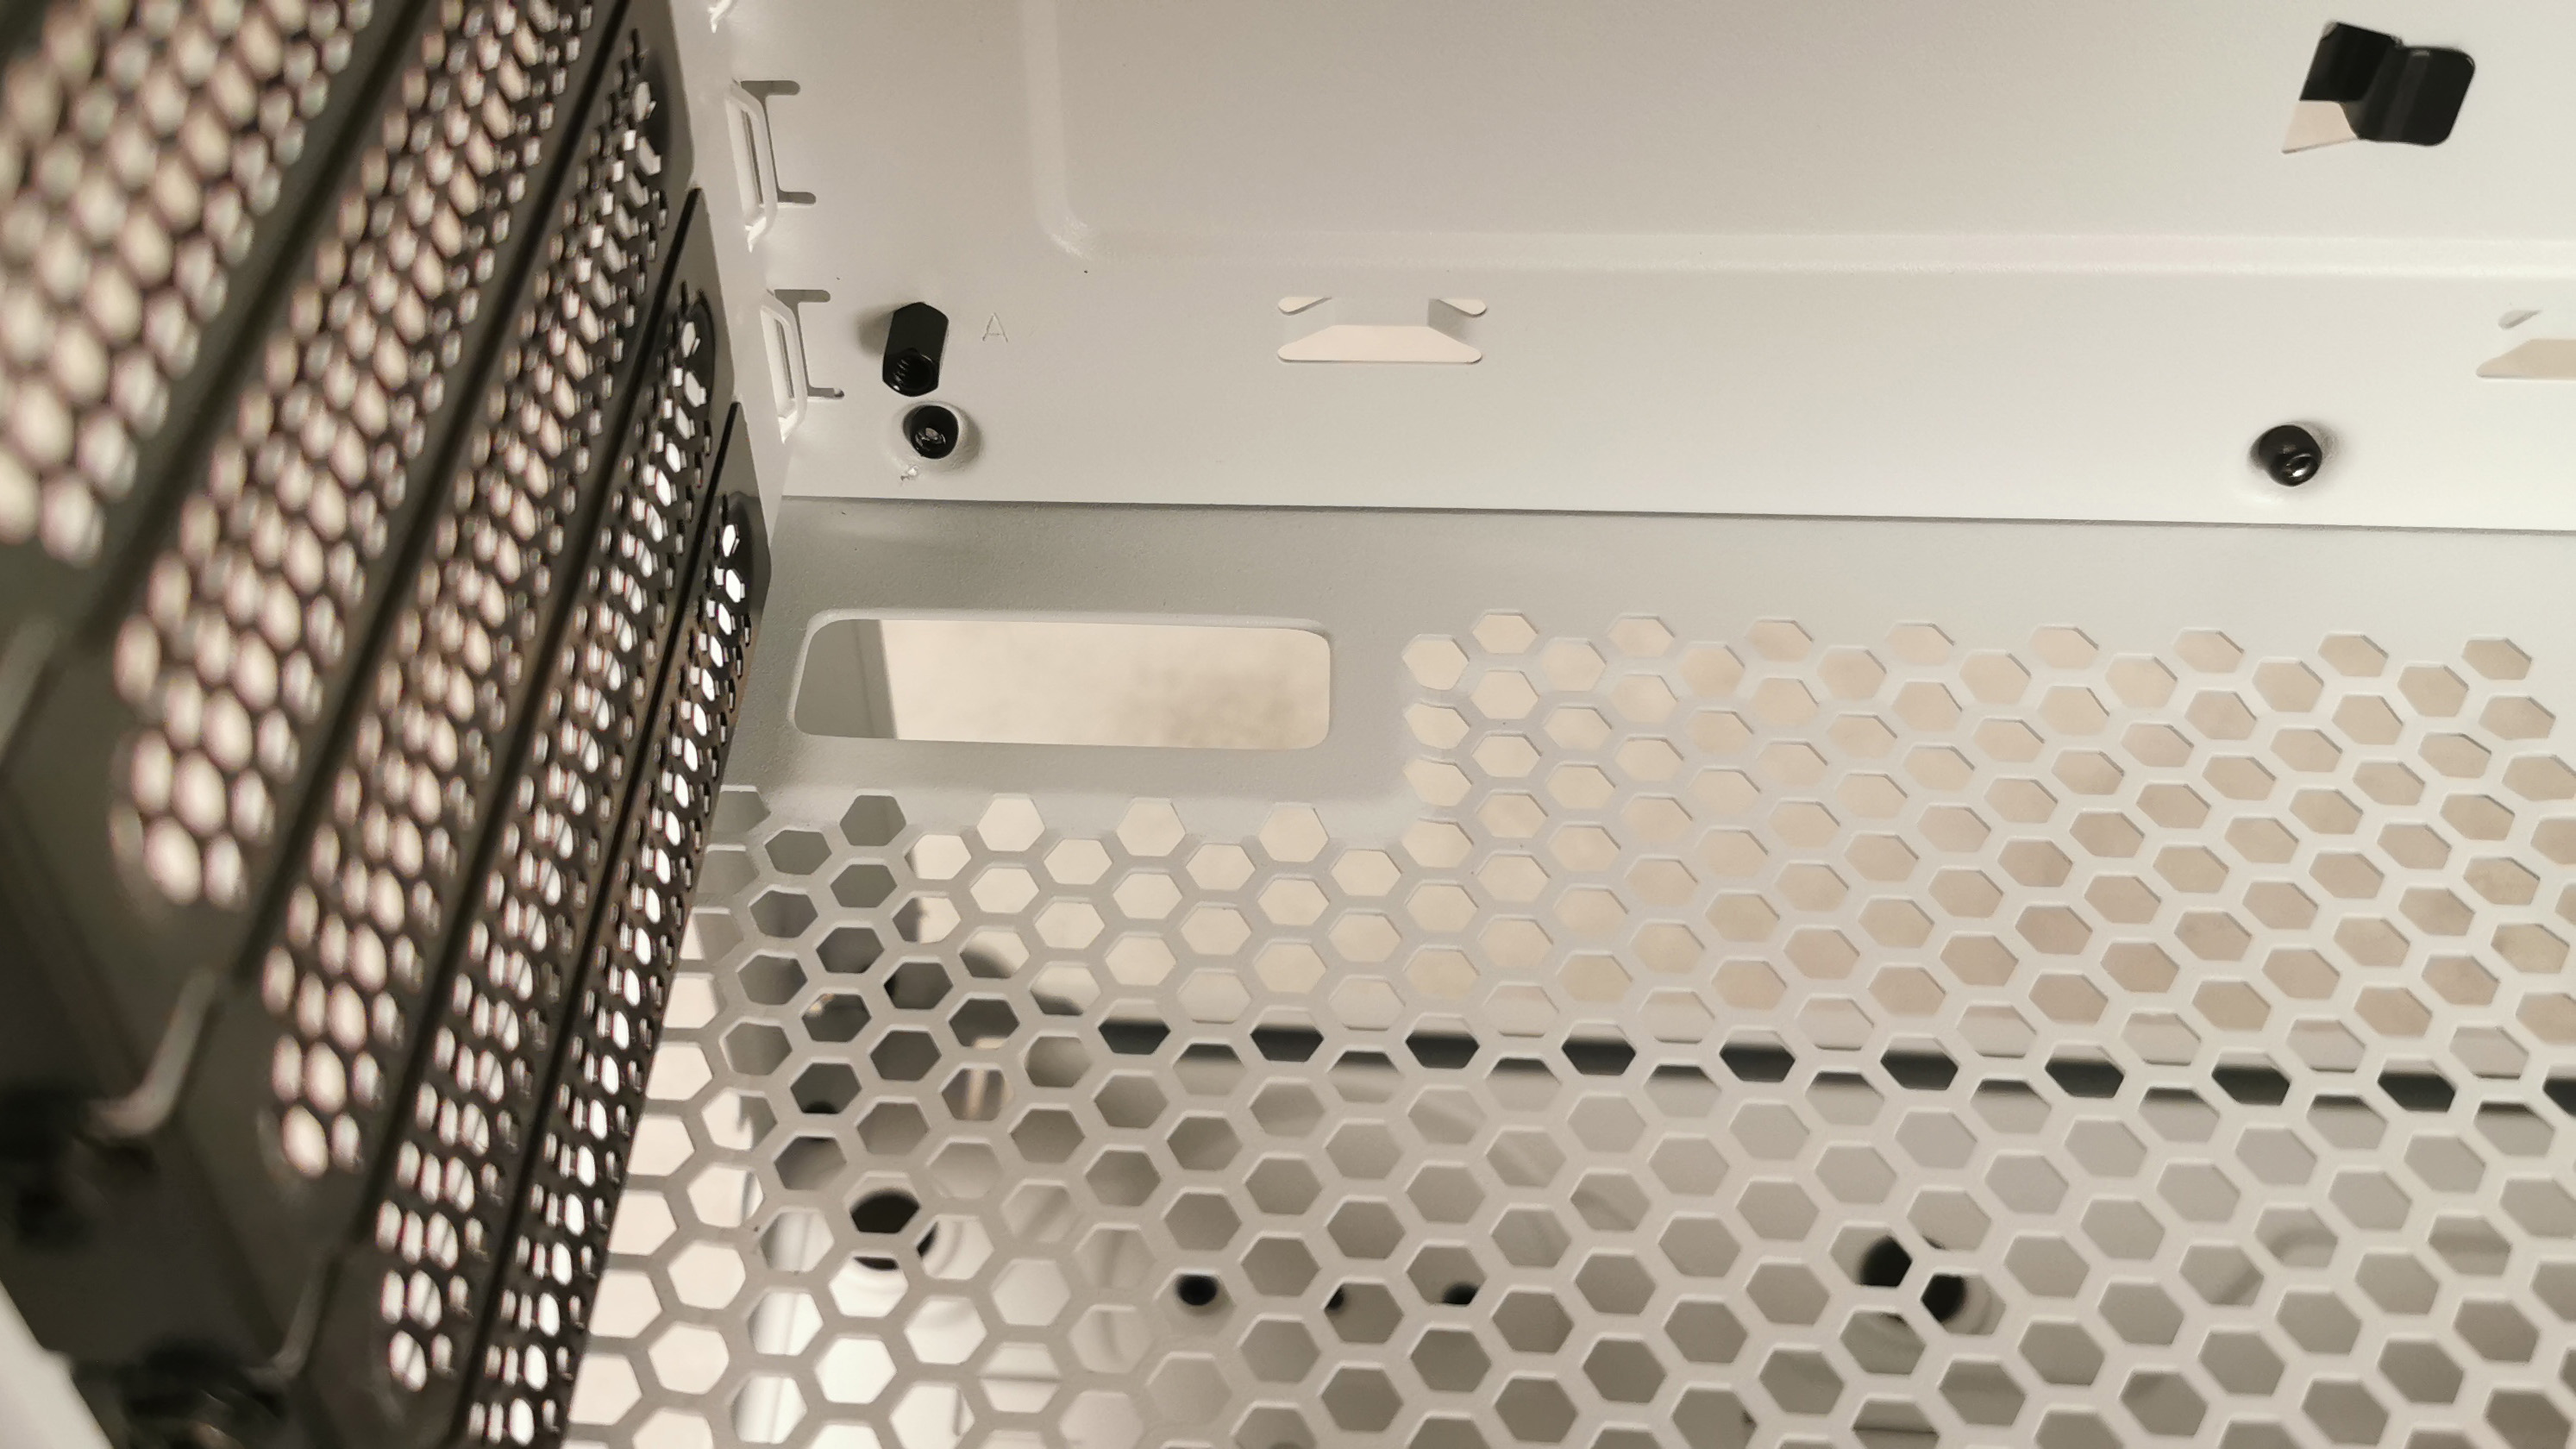
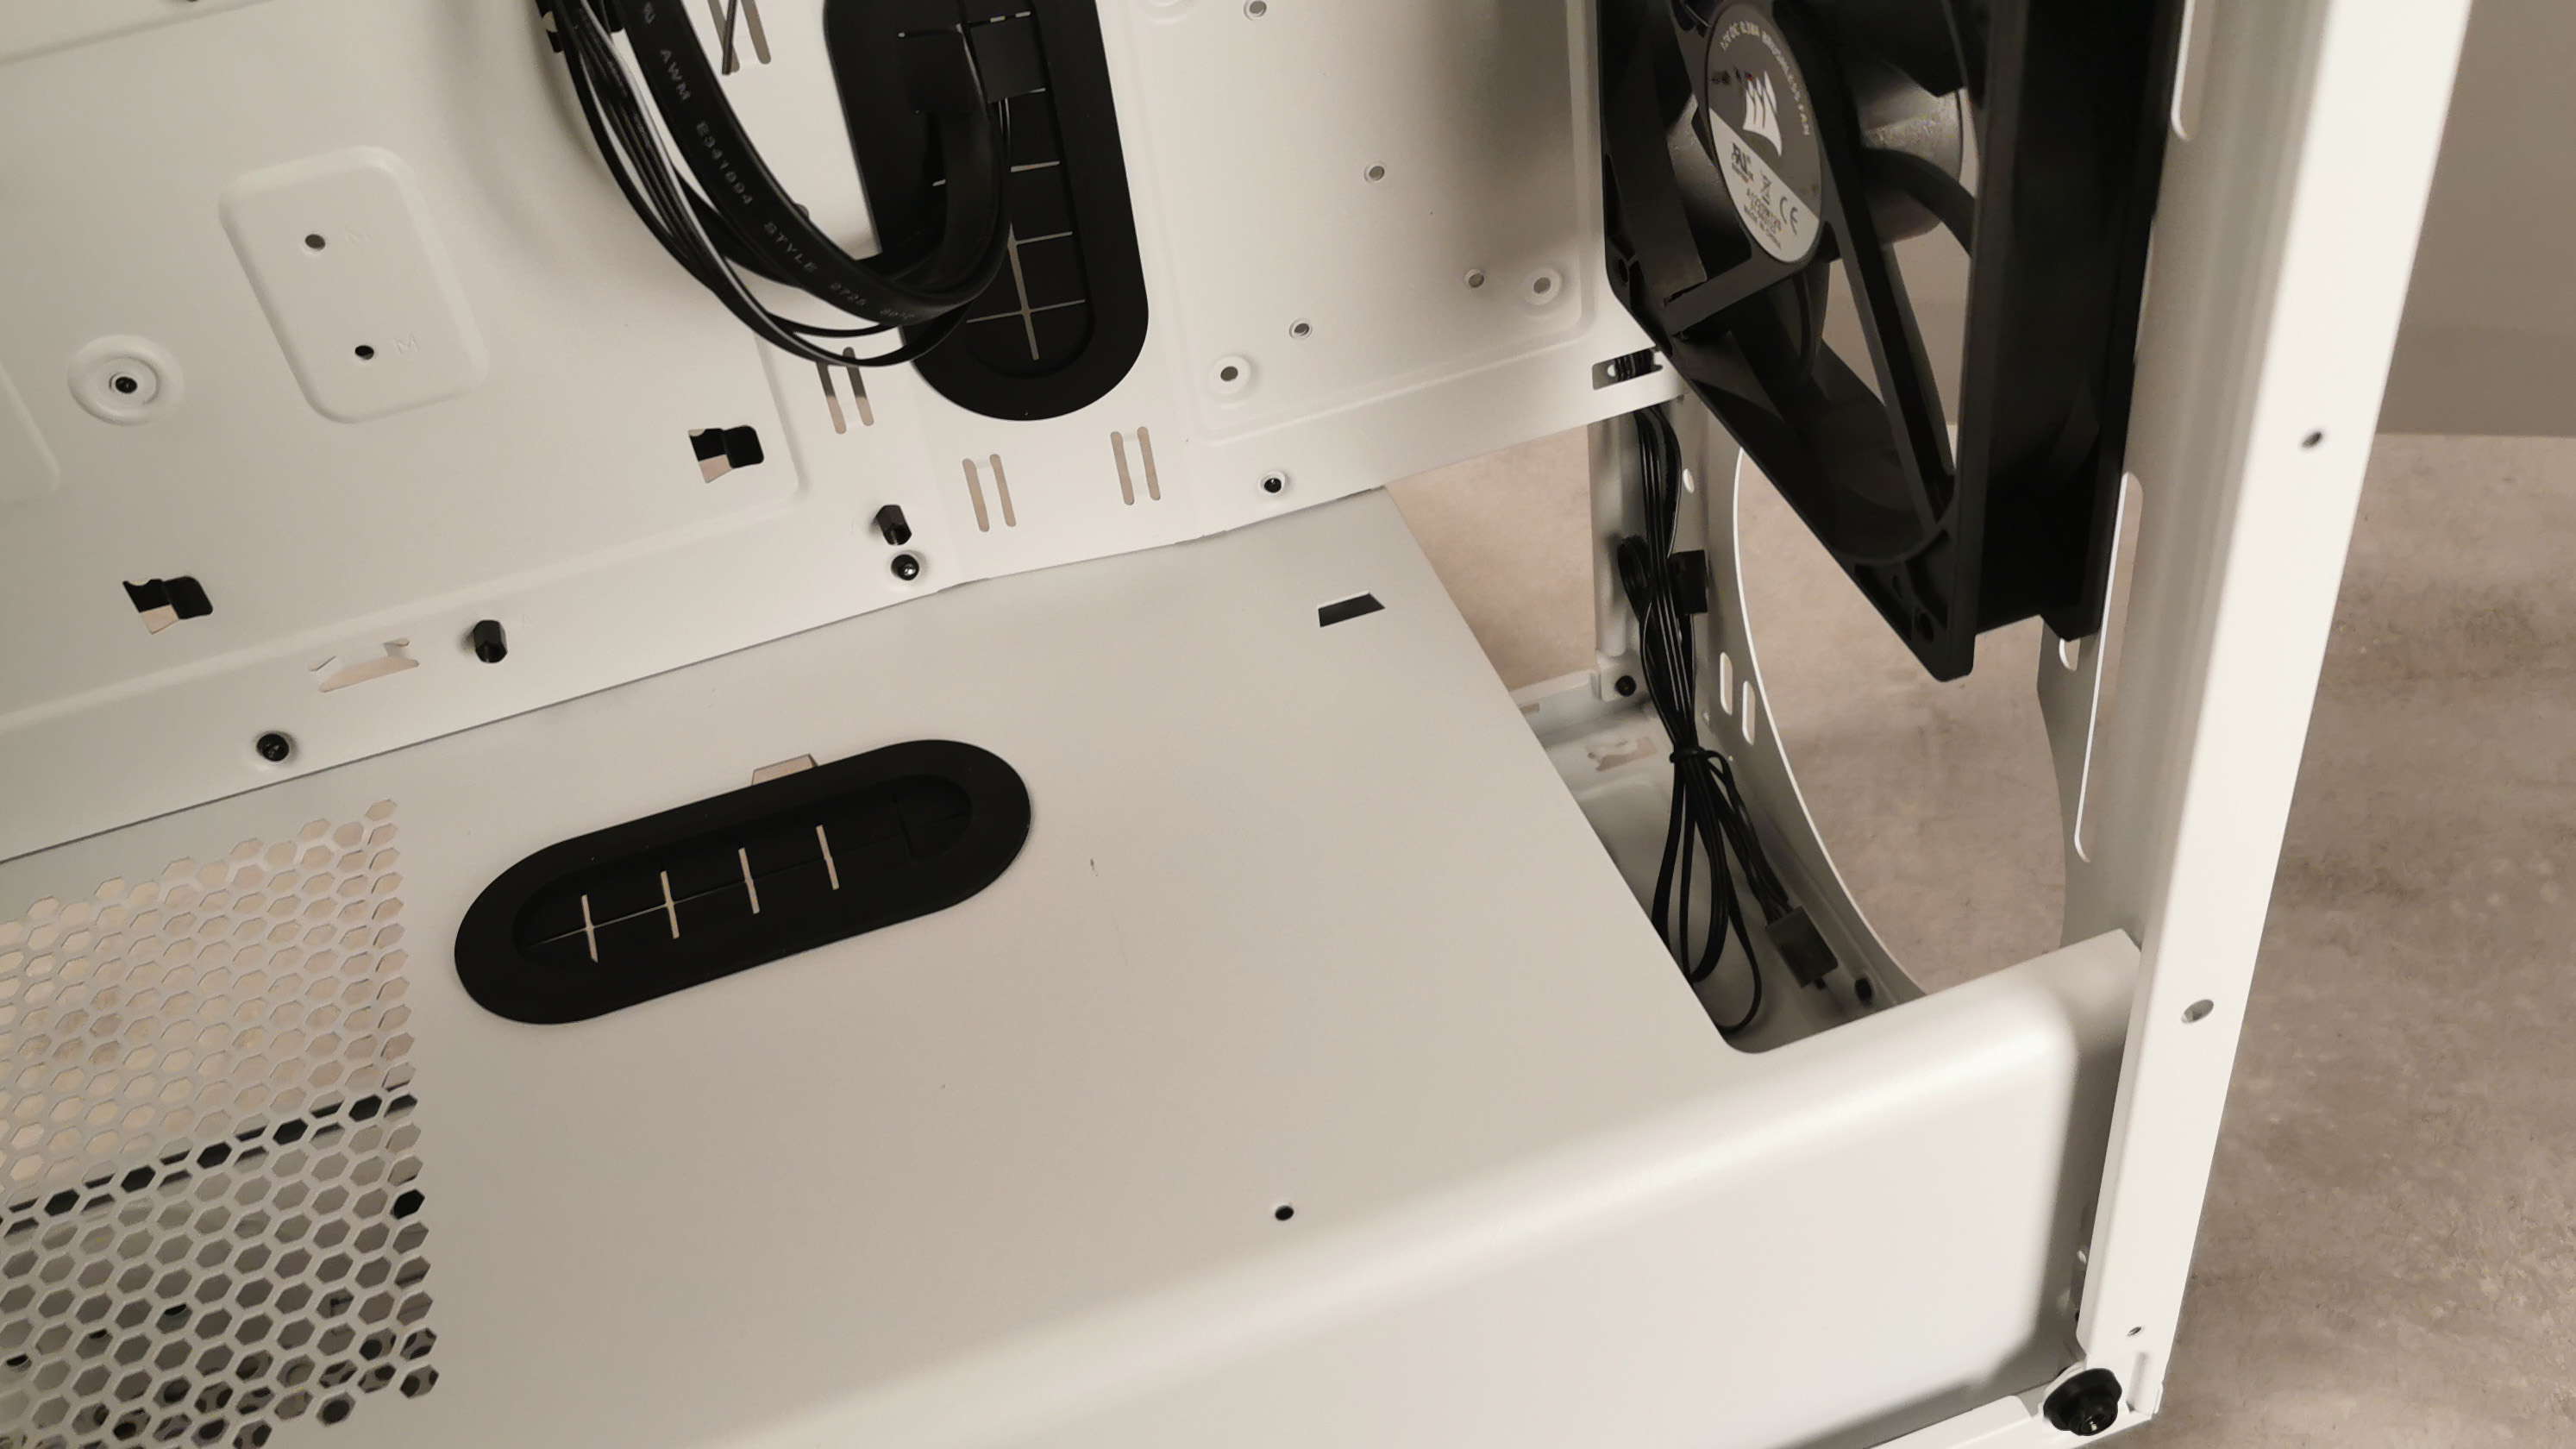
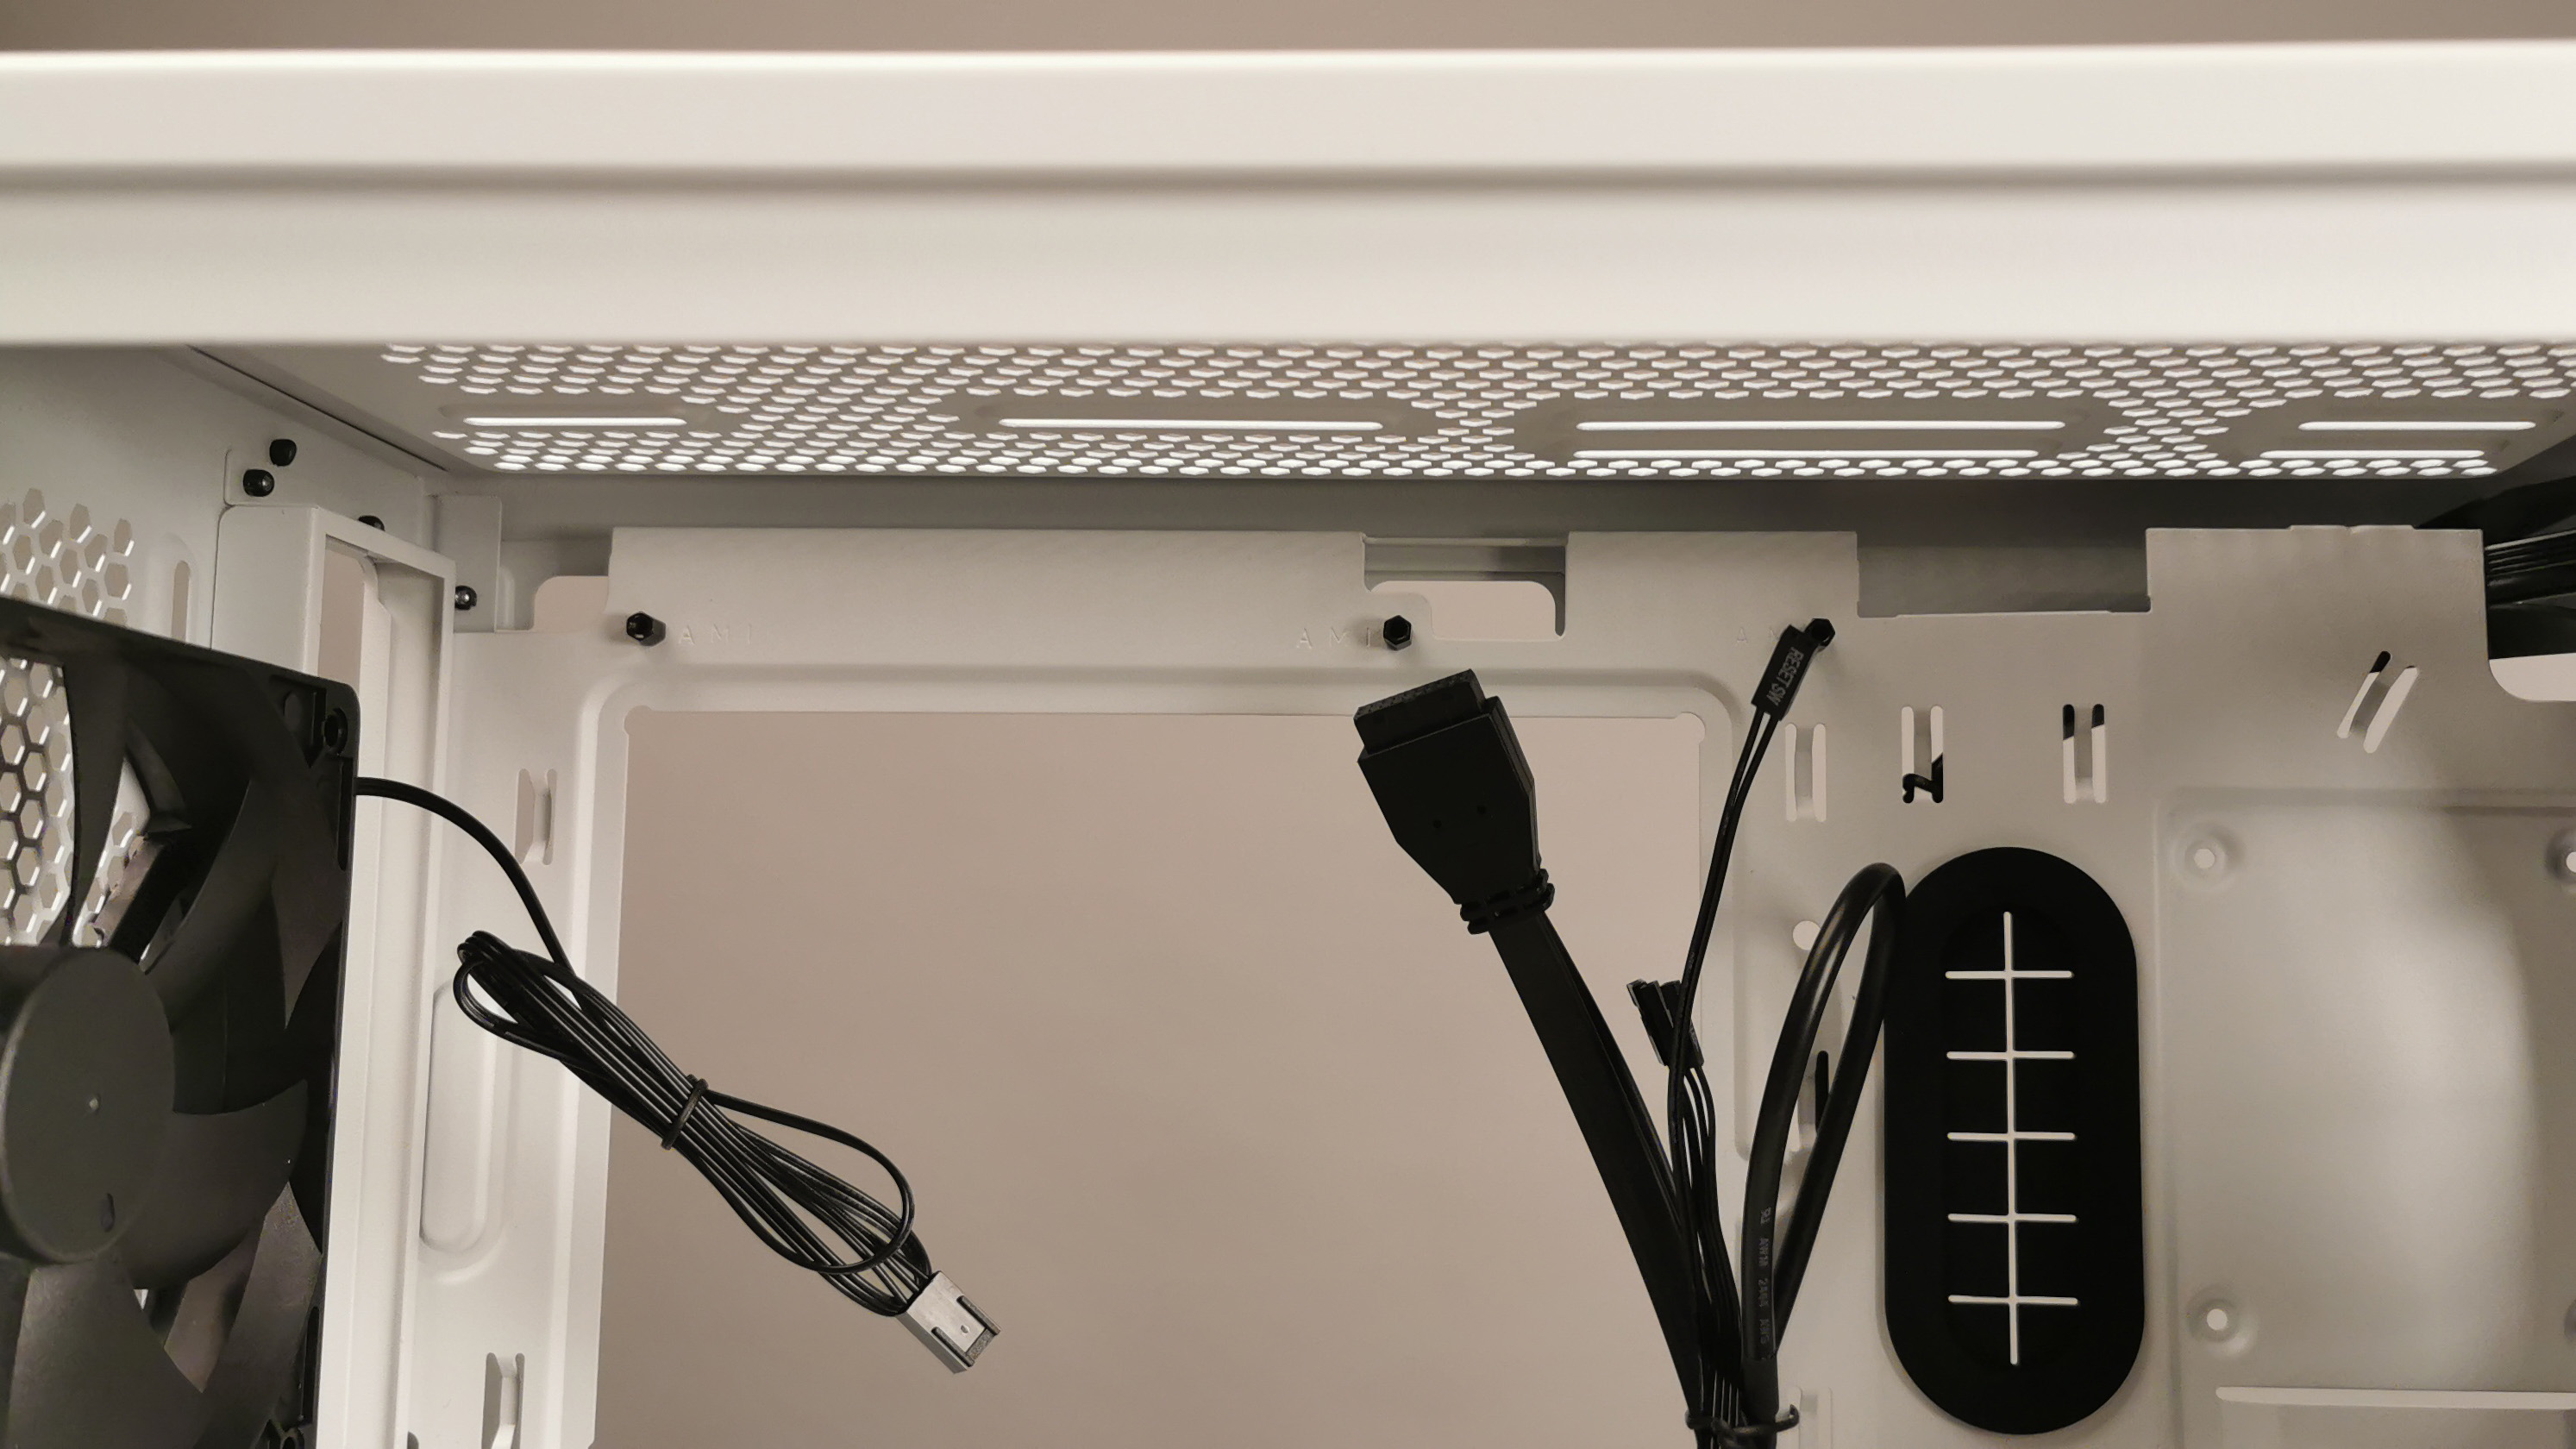
To remove the glass side panel, simply take off the thumb screws from each corner, and lift the panel off. The rear panel has two retainable thumb screws situated at the back of the case. The interior of the Corsair 275R Airflow, although spartan in appearance, actually comes together quite nicely. There’s a soft-touch paint finish throughout, plenty of rubber grommets, and cable passthrough holes located in key positions, for things such as the HD audio front panel header, the PCIe power, and more. On top of that, Corsair’s also included support for vertically mounted GPUs as well, although you will have to buy that adapter separately (which sells for $60, direct from Corsair).
Get Tom's Hardware's best news and in-depth reviews, straight to your inbox.
Similar to the be quiet! Pure Base 500 we reviewed earlier this year, Corsair’s also integrated mounting locations for two 2.5-inch SSDs in the front of the case. However, unlike the Pure Base, it’s baked into the motherboard tray itself as opposed to a removable bar.
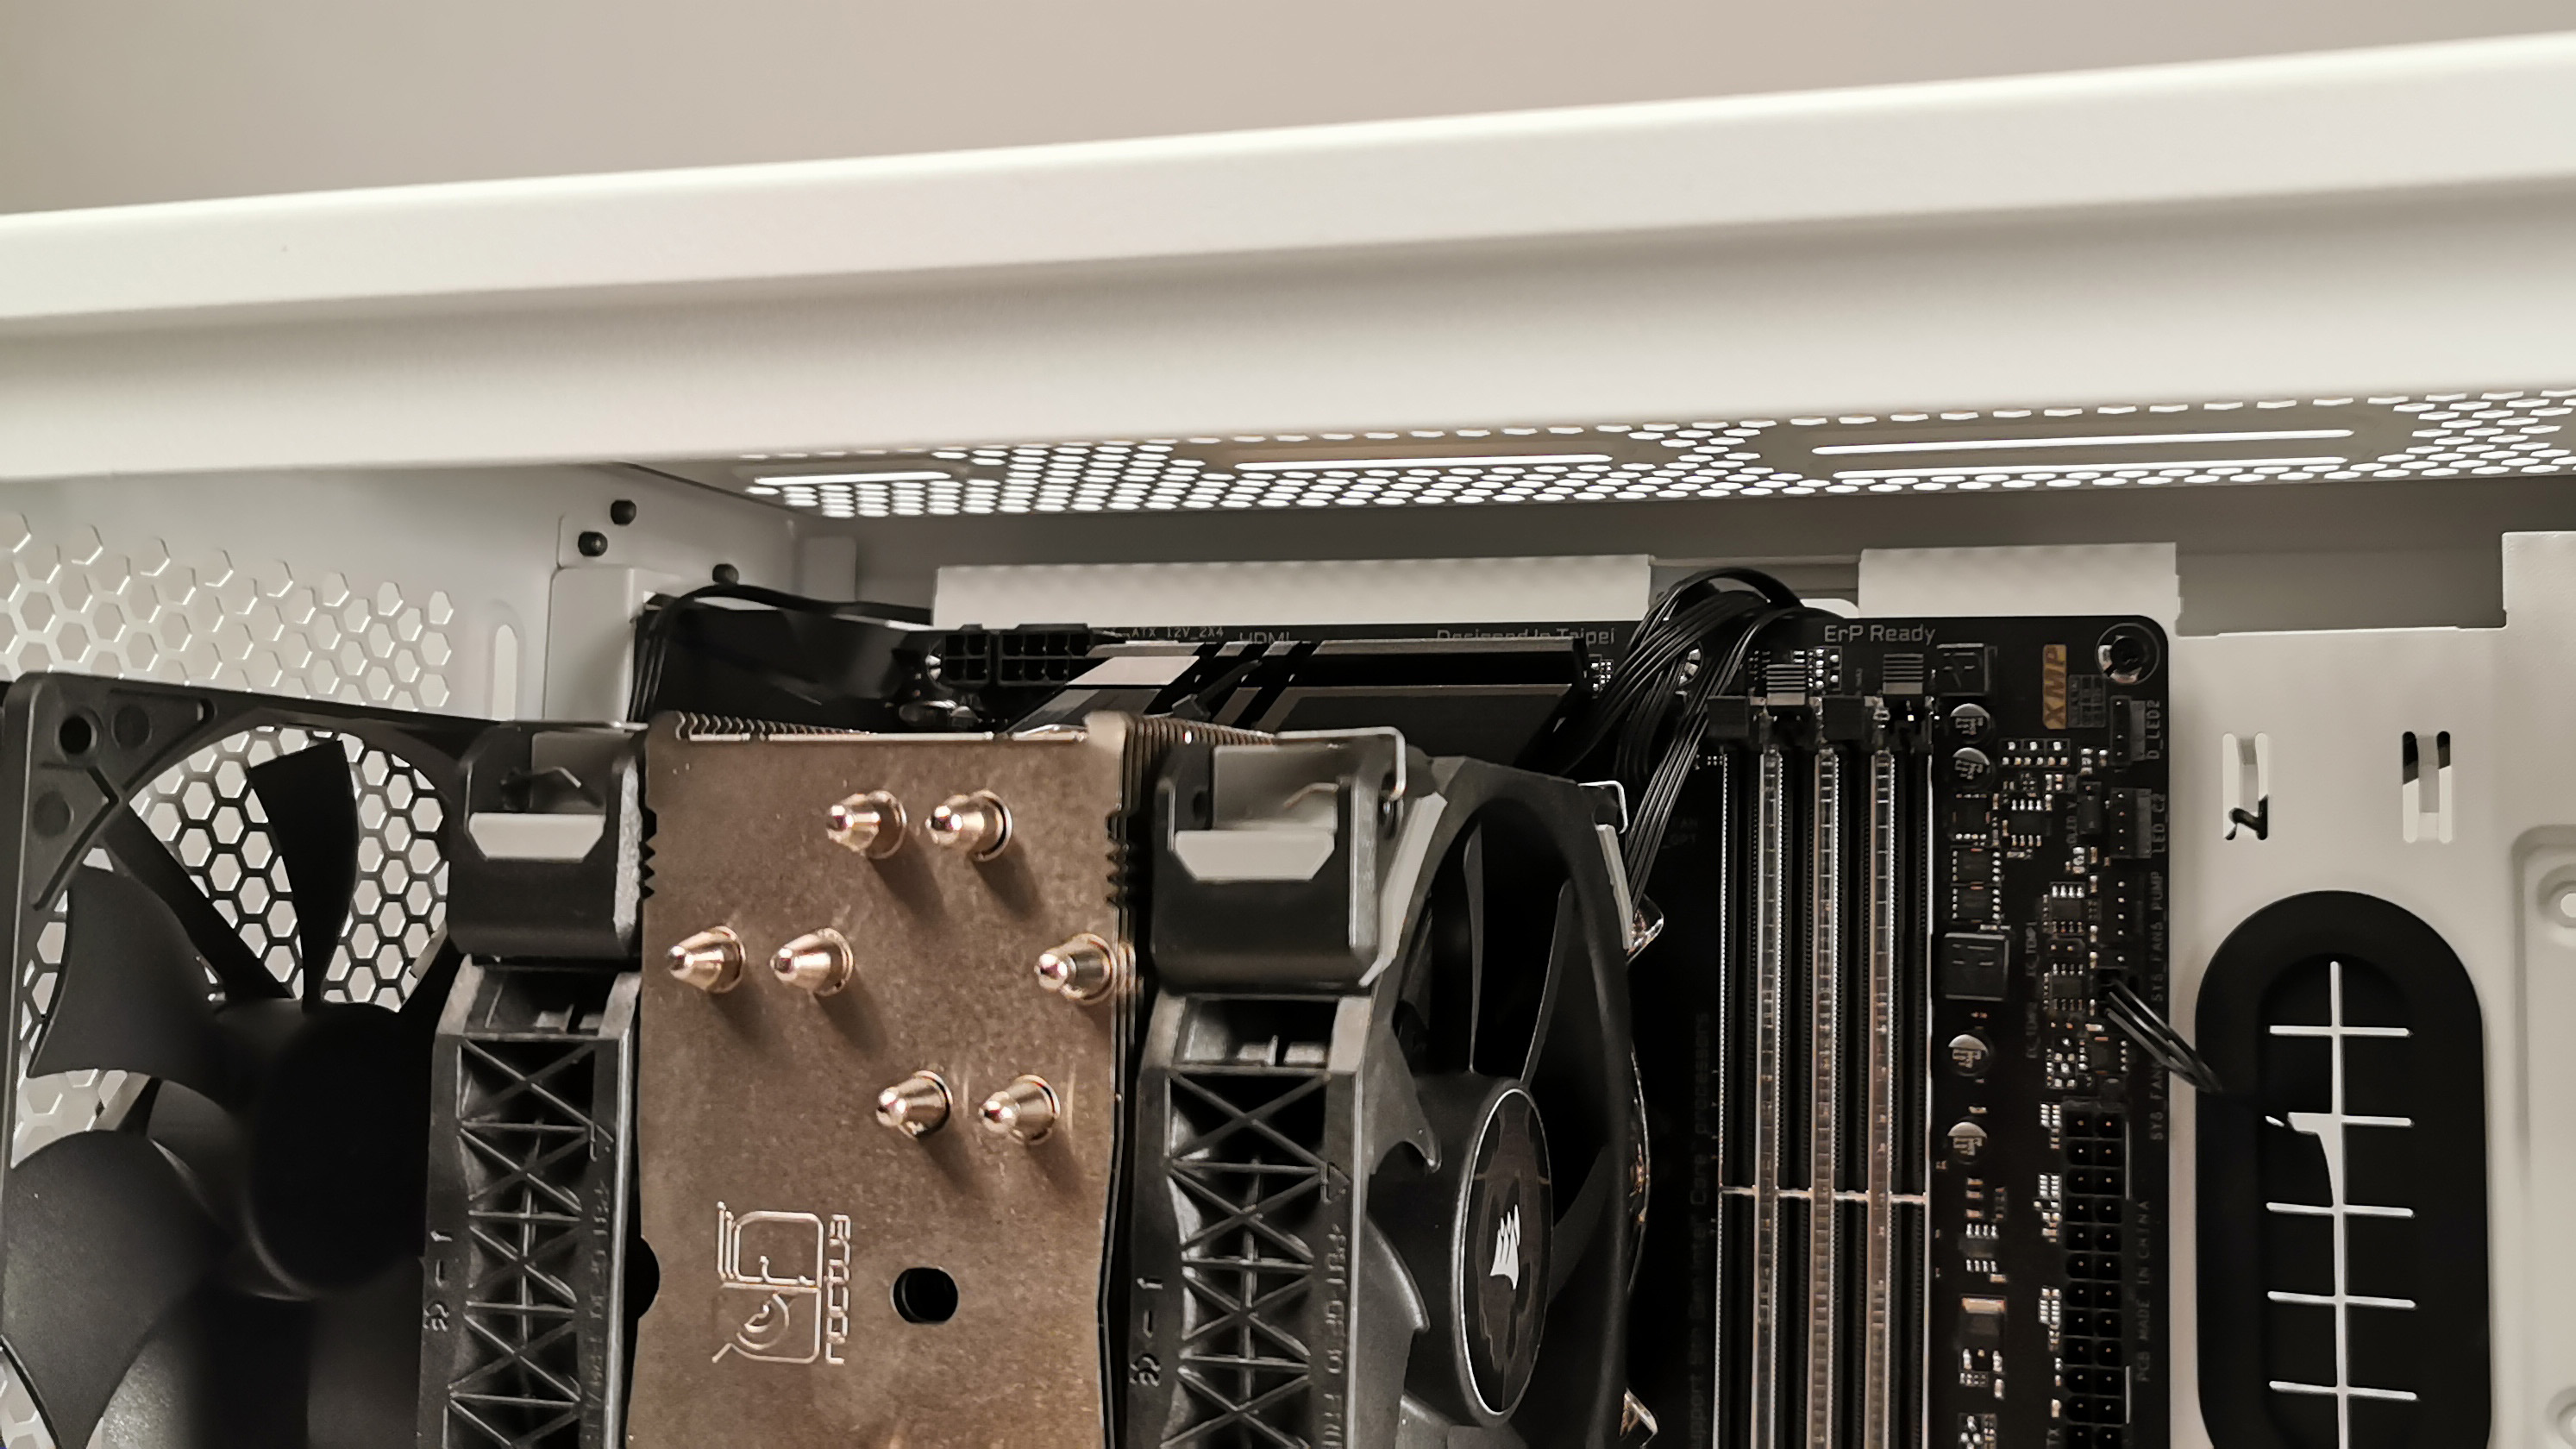
There’s also ample room for a standard-thickness 360mm AIO liquid-cooler in the front of the chassis, although you may have to remove the HDD cage to fit it. The roof additionally supports up to a 240mm AIO, with offset mounting locations to reduce motherboard conflicts. If you do decide to go that route, we recommend you install your CPU/EPS power cables before installation of the AIO. That said, you’d be far better off mounting the AIO in the front, and running exhaust fans in the roof instead.
Rear of Case
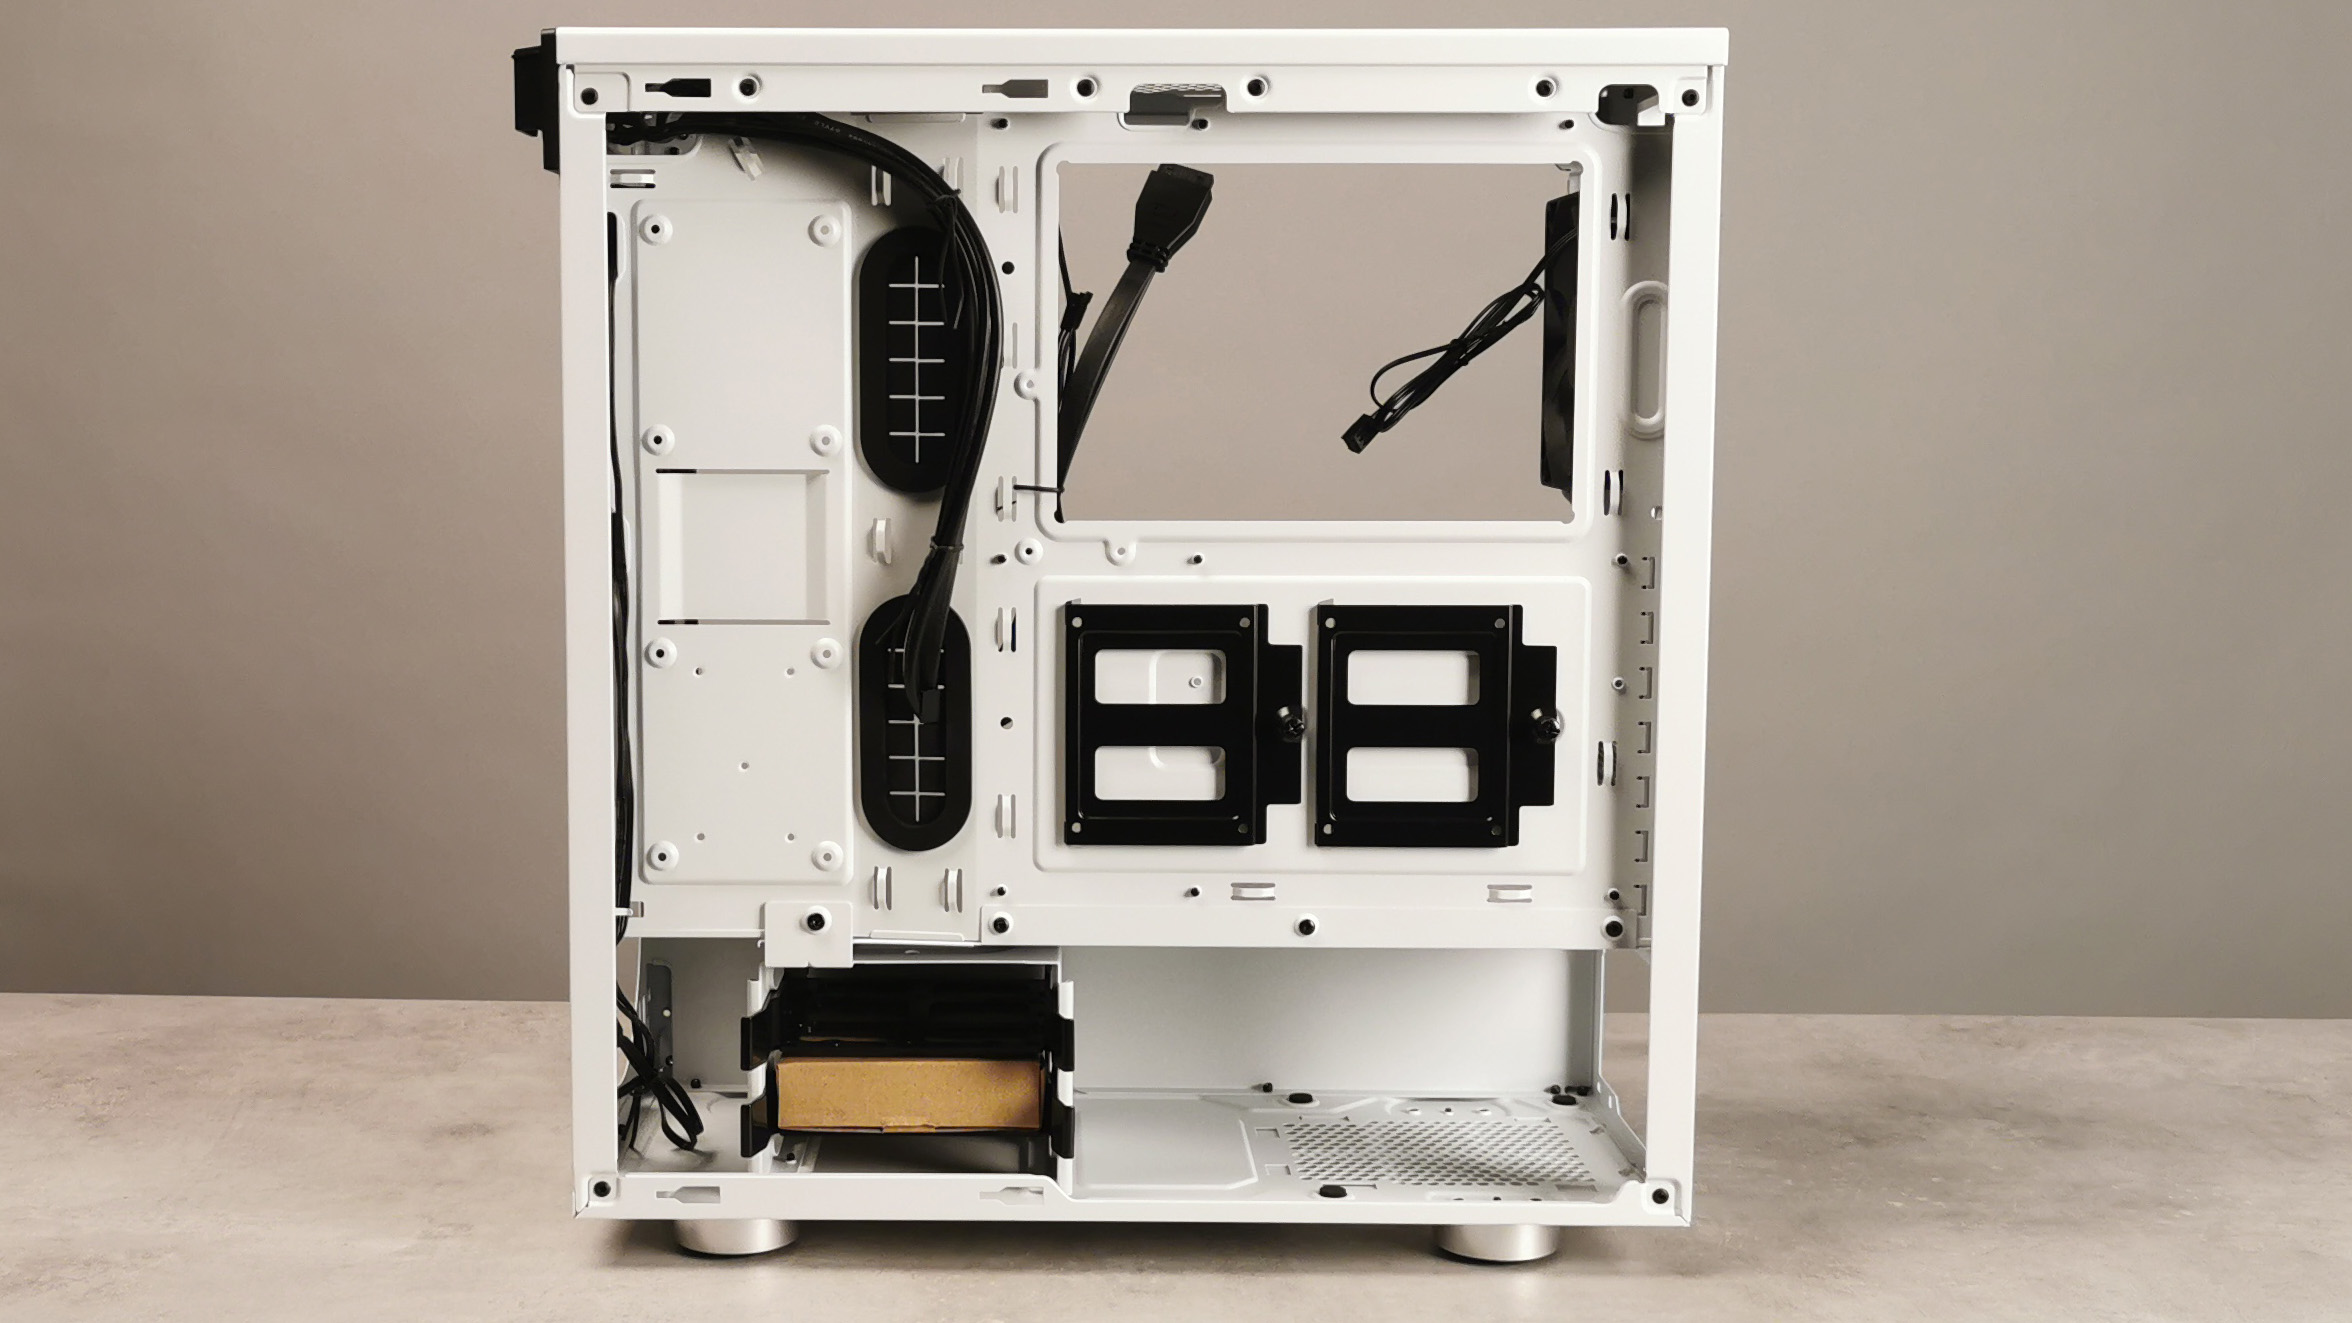
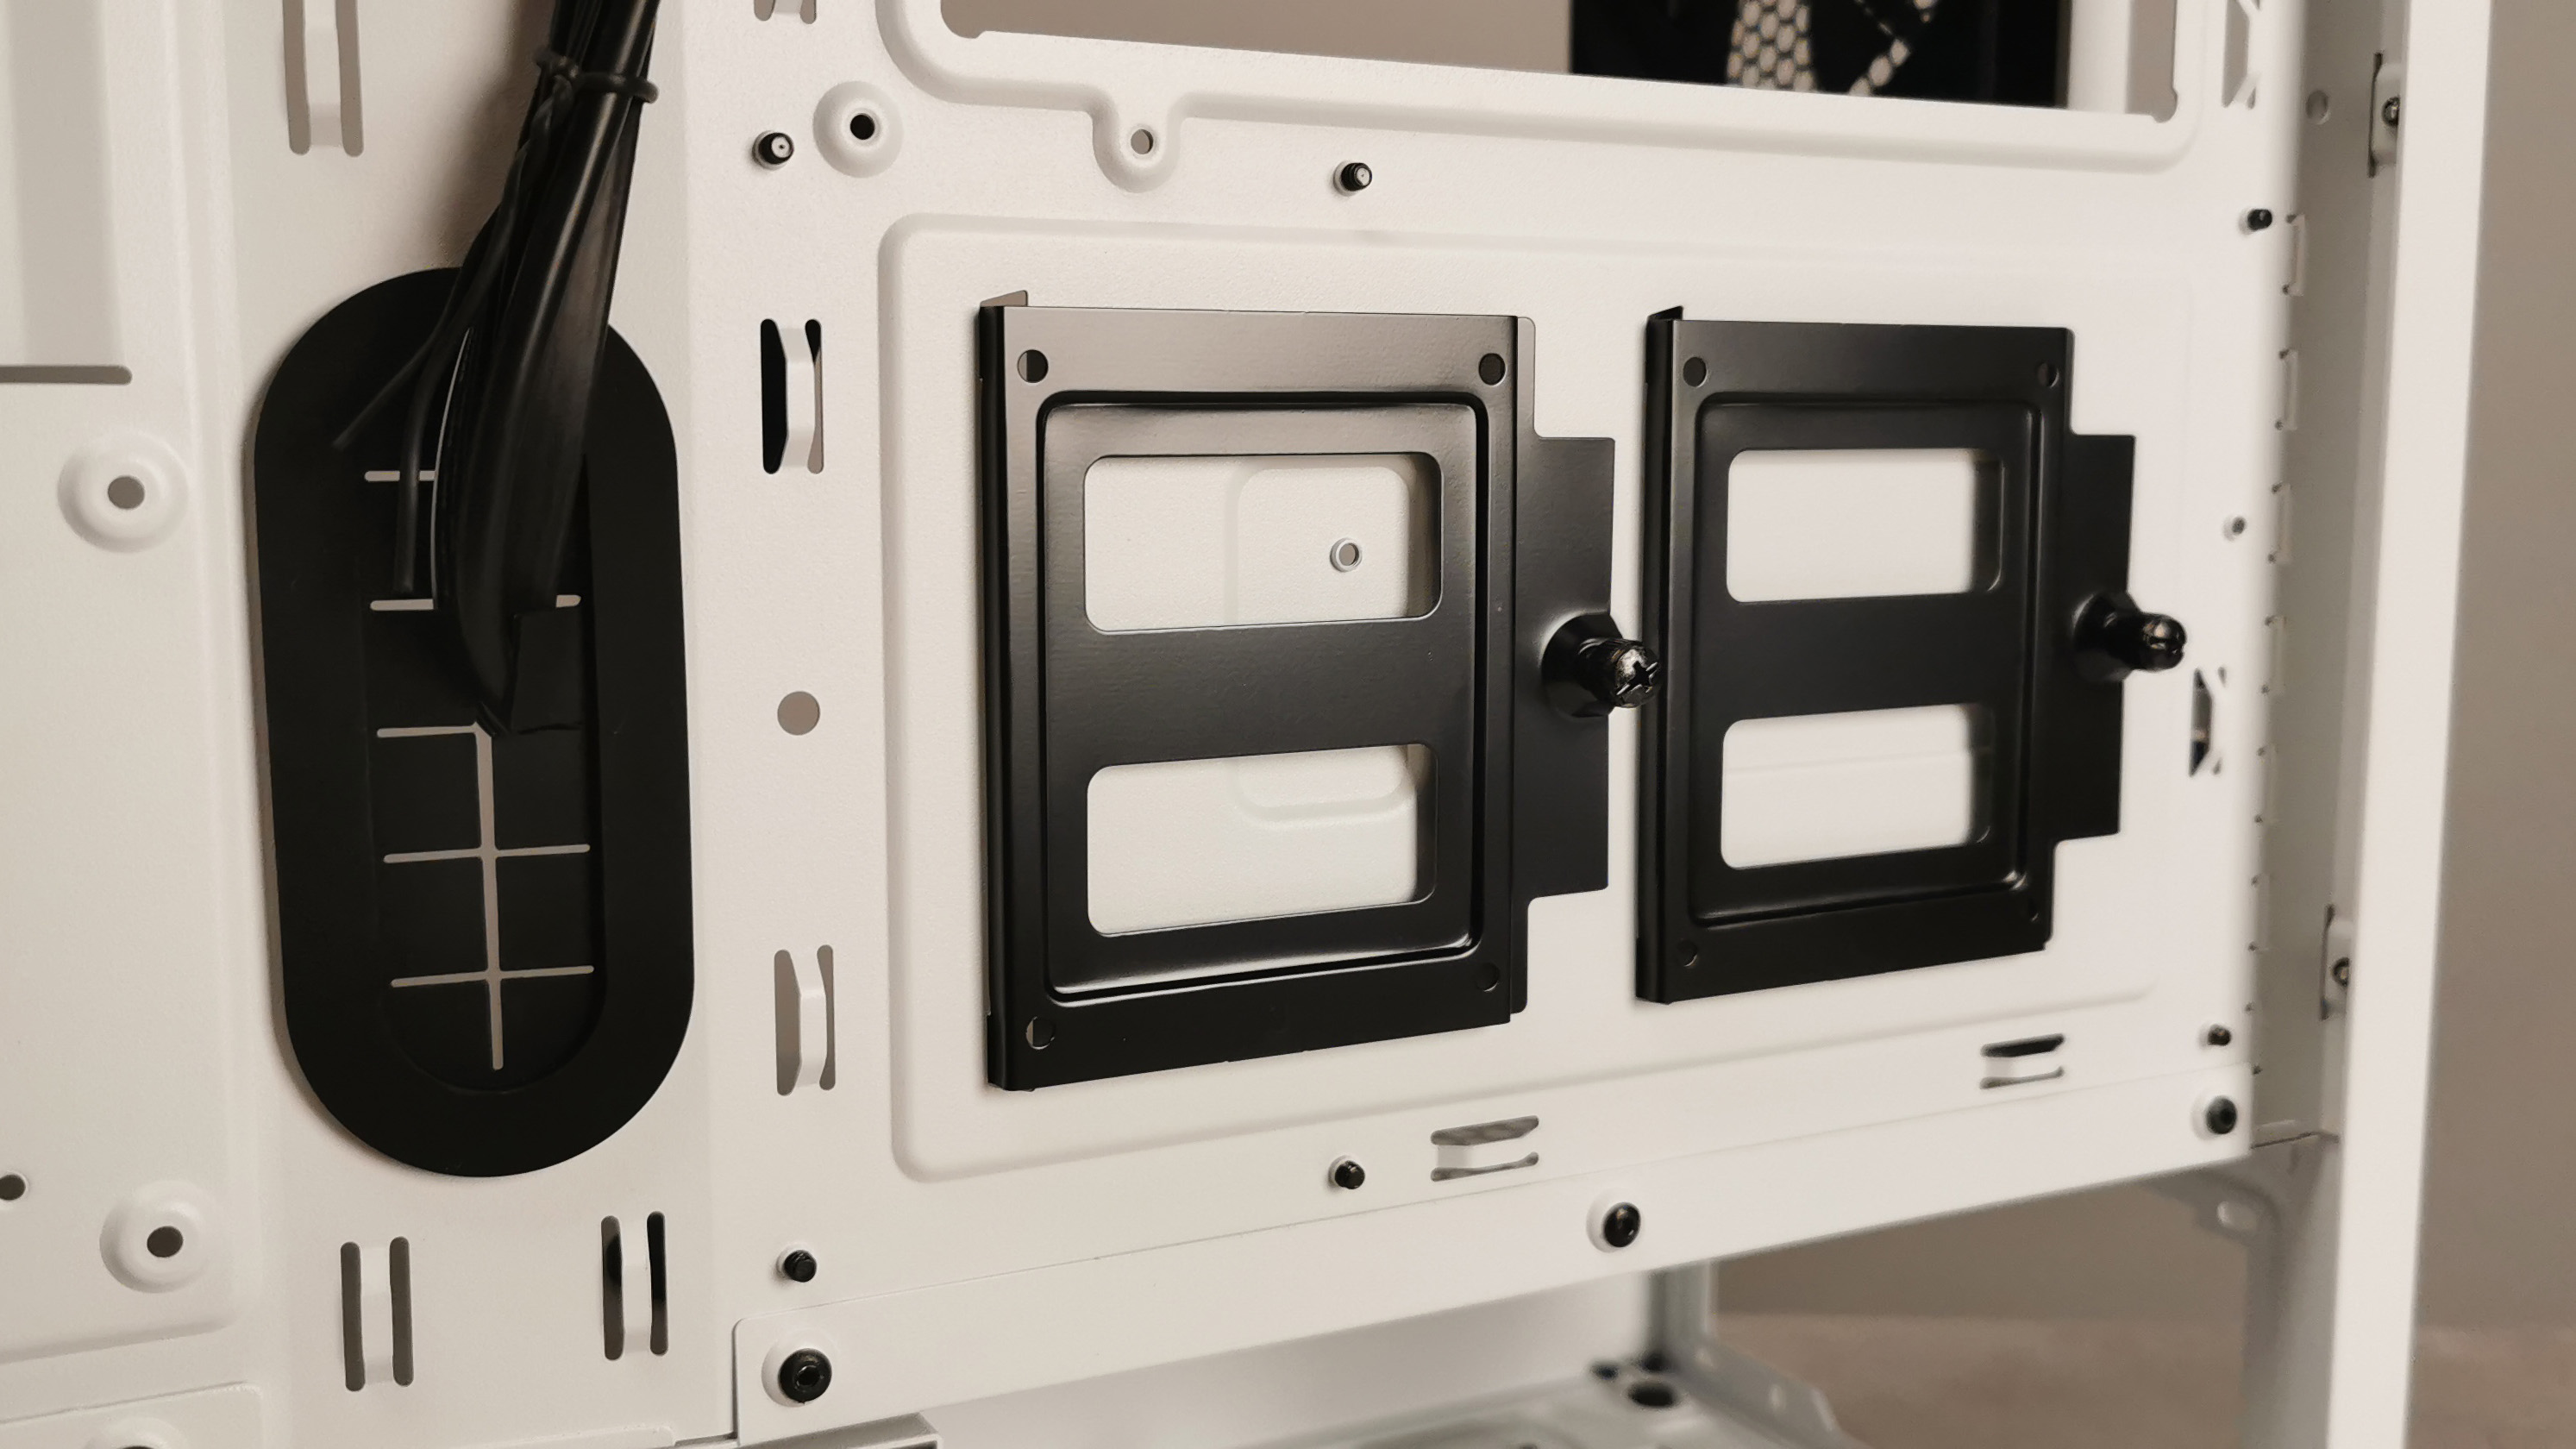
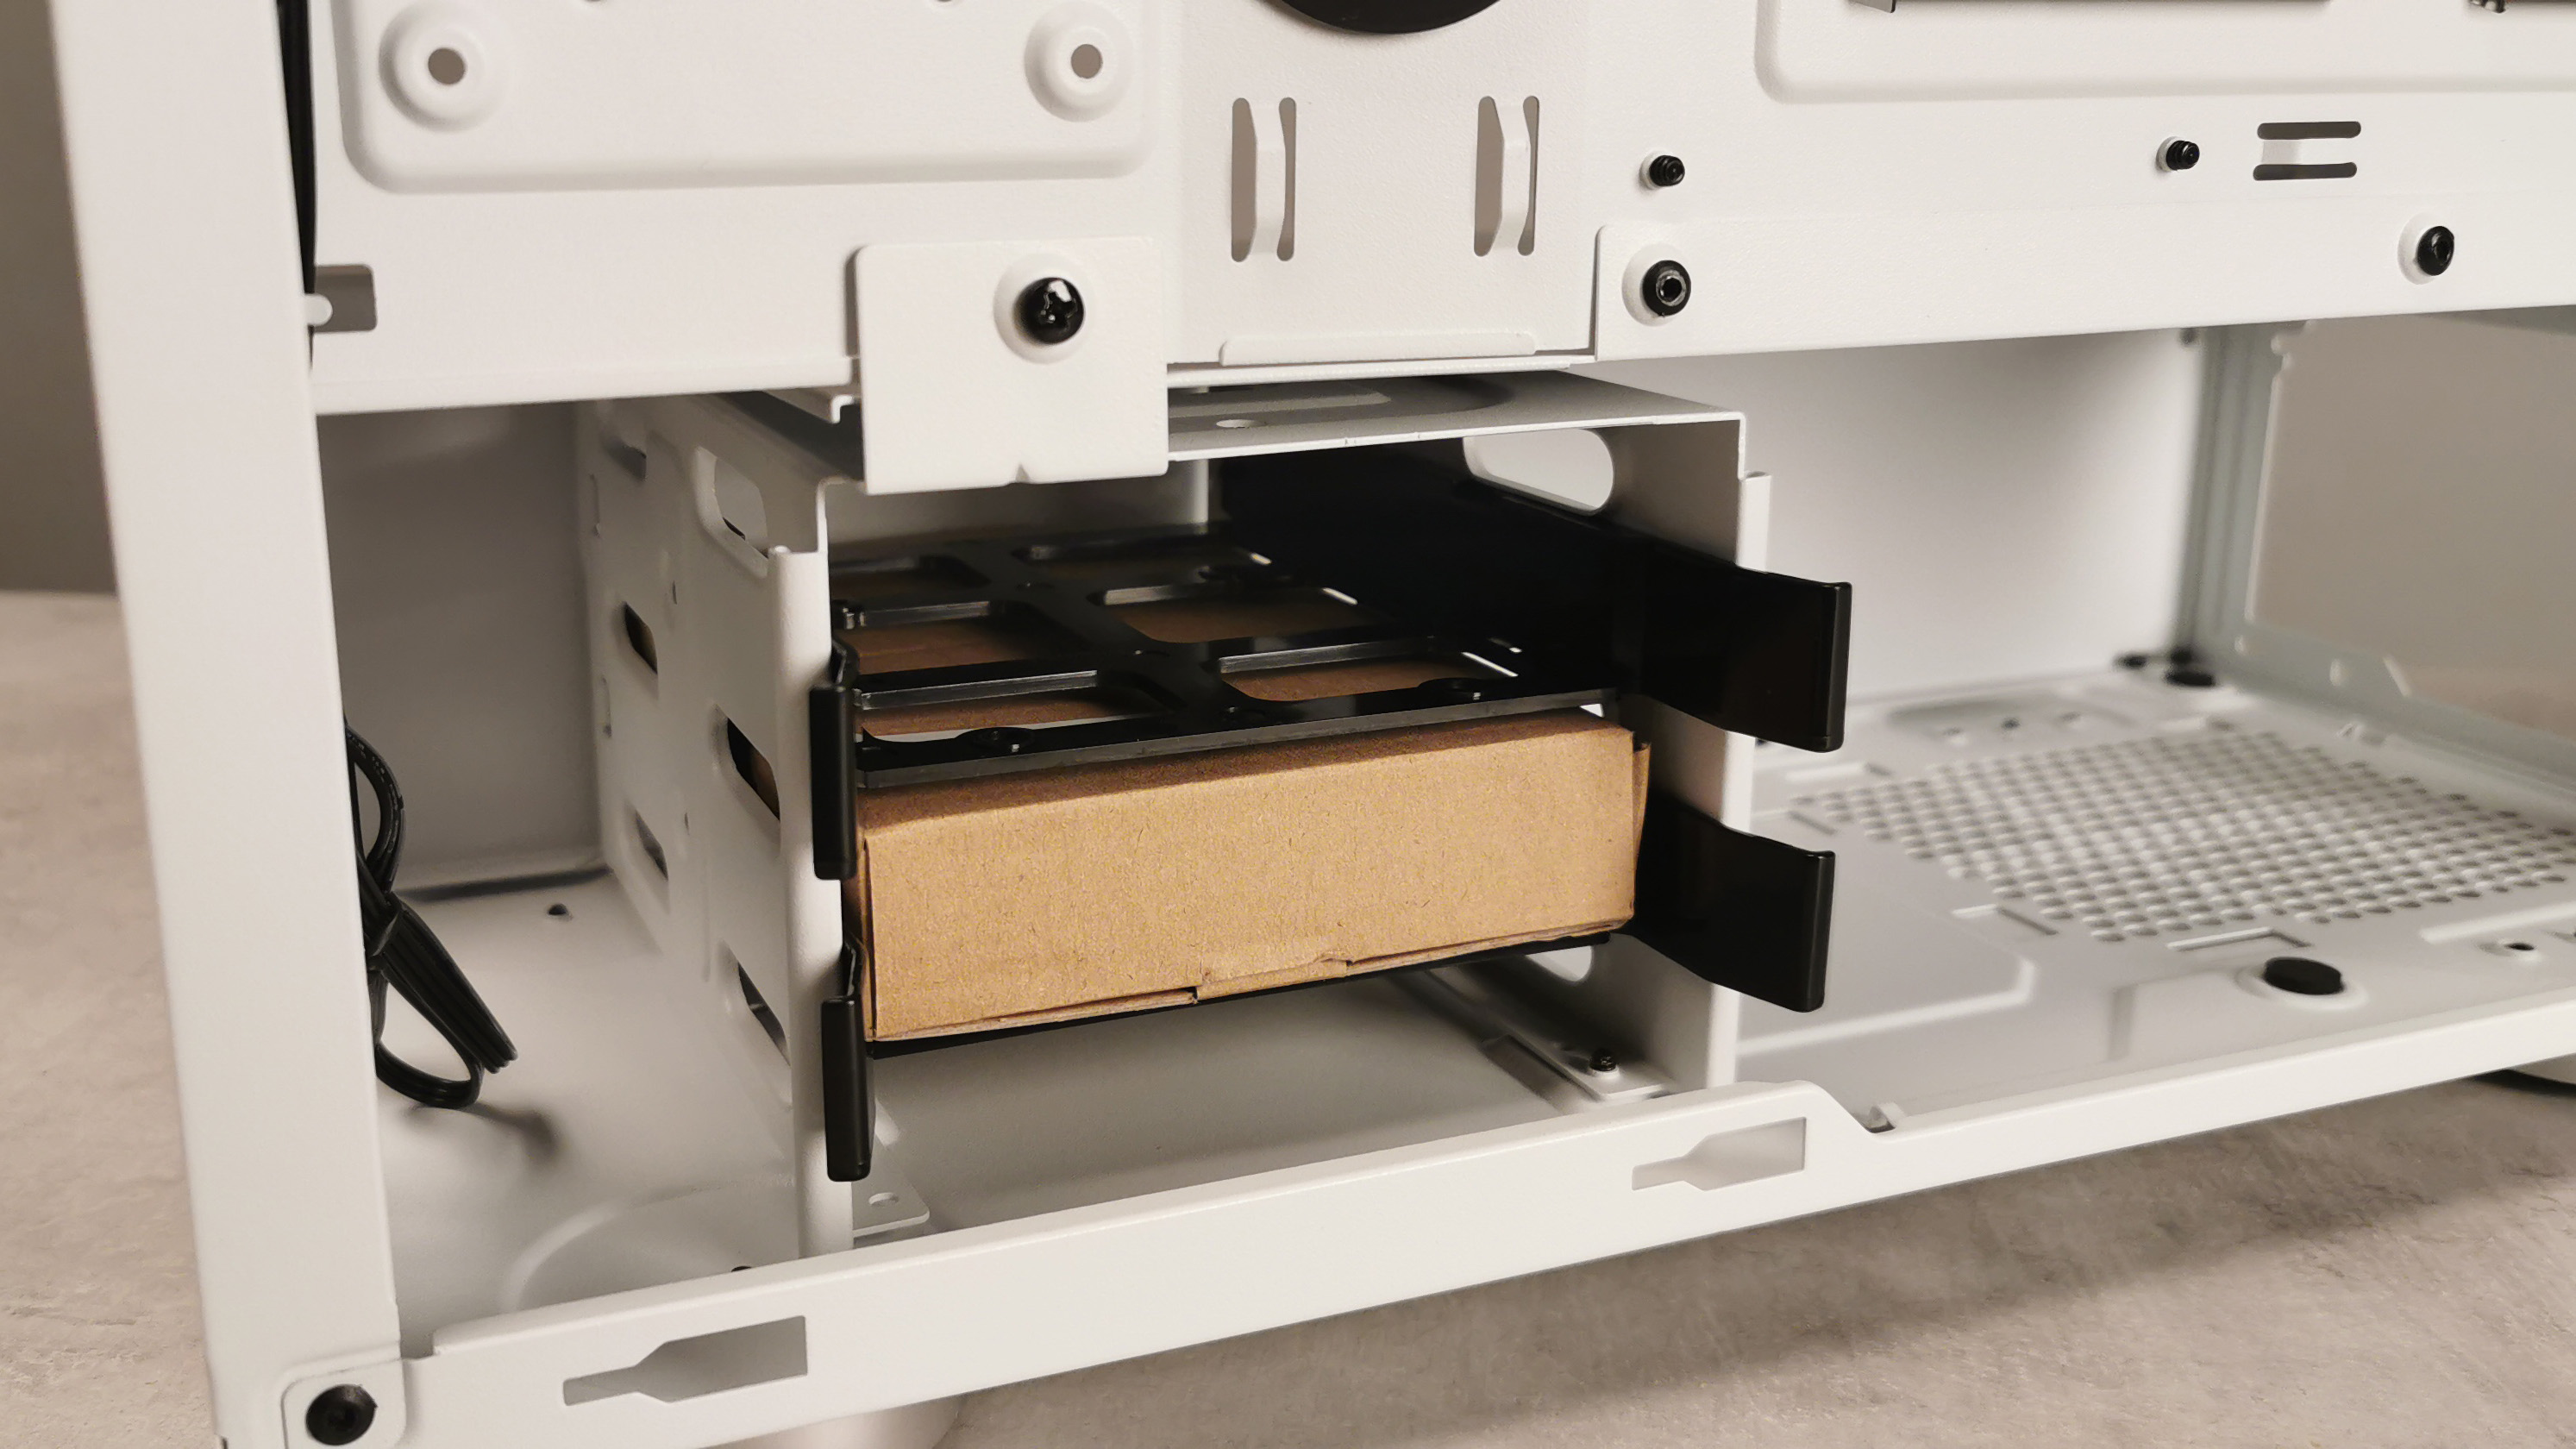
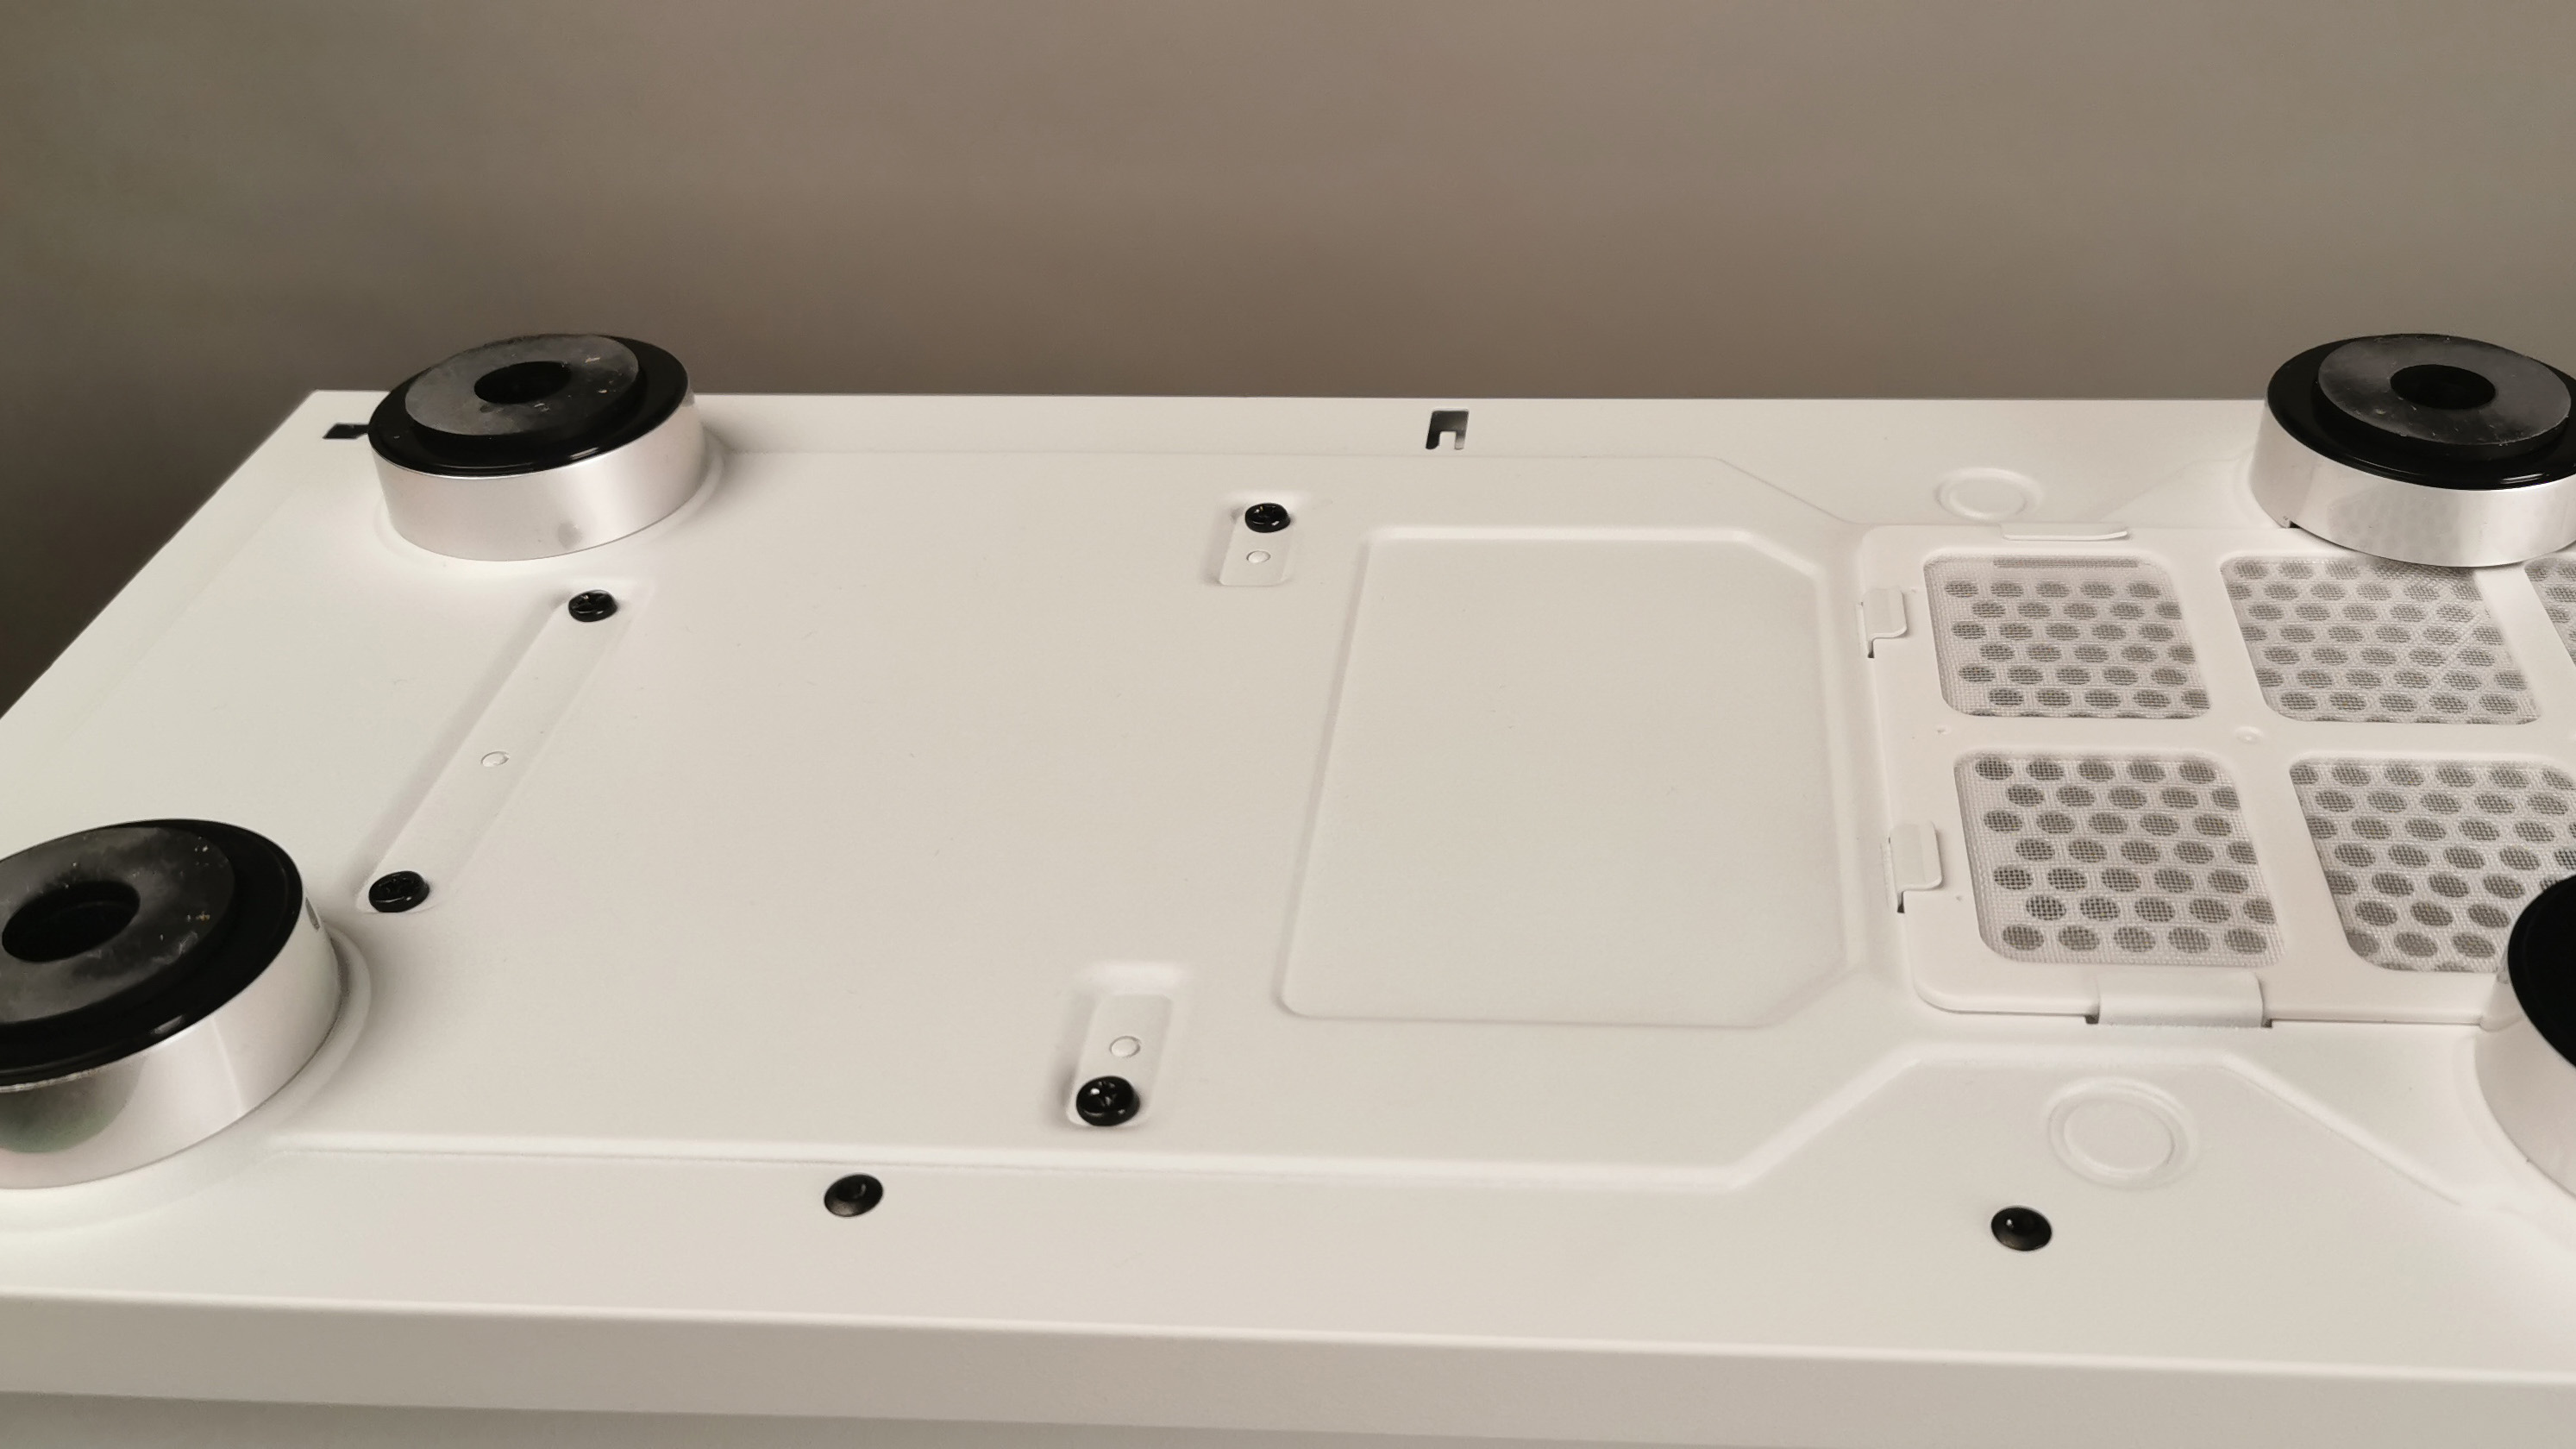
Moving to the back of the motherboard tray, we see the Corsair 275R Airflow follows a traditional style when it comes to cable management. There’s zip-tie points here, rubber cable grommets and that’s it -- there are no velcro straps or cable channels. What you do get is an additional two 2.5-inch SSD mounting trays and access to that 3.5-inch hard drive caddy.
You can remove that fairly easily via Phillips-head screws located underneath the case securing it down, and one securing it to the motherboard tray. Once they’re removed, simply slide it along to the rear of the chassis and pull it out. This is actually how we ended up installing our test build, as it gives us easier cable-routing options.
Build Log
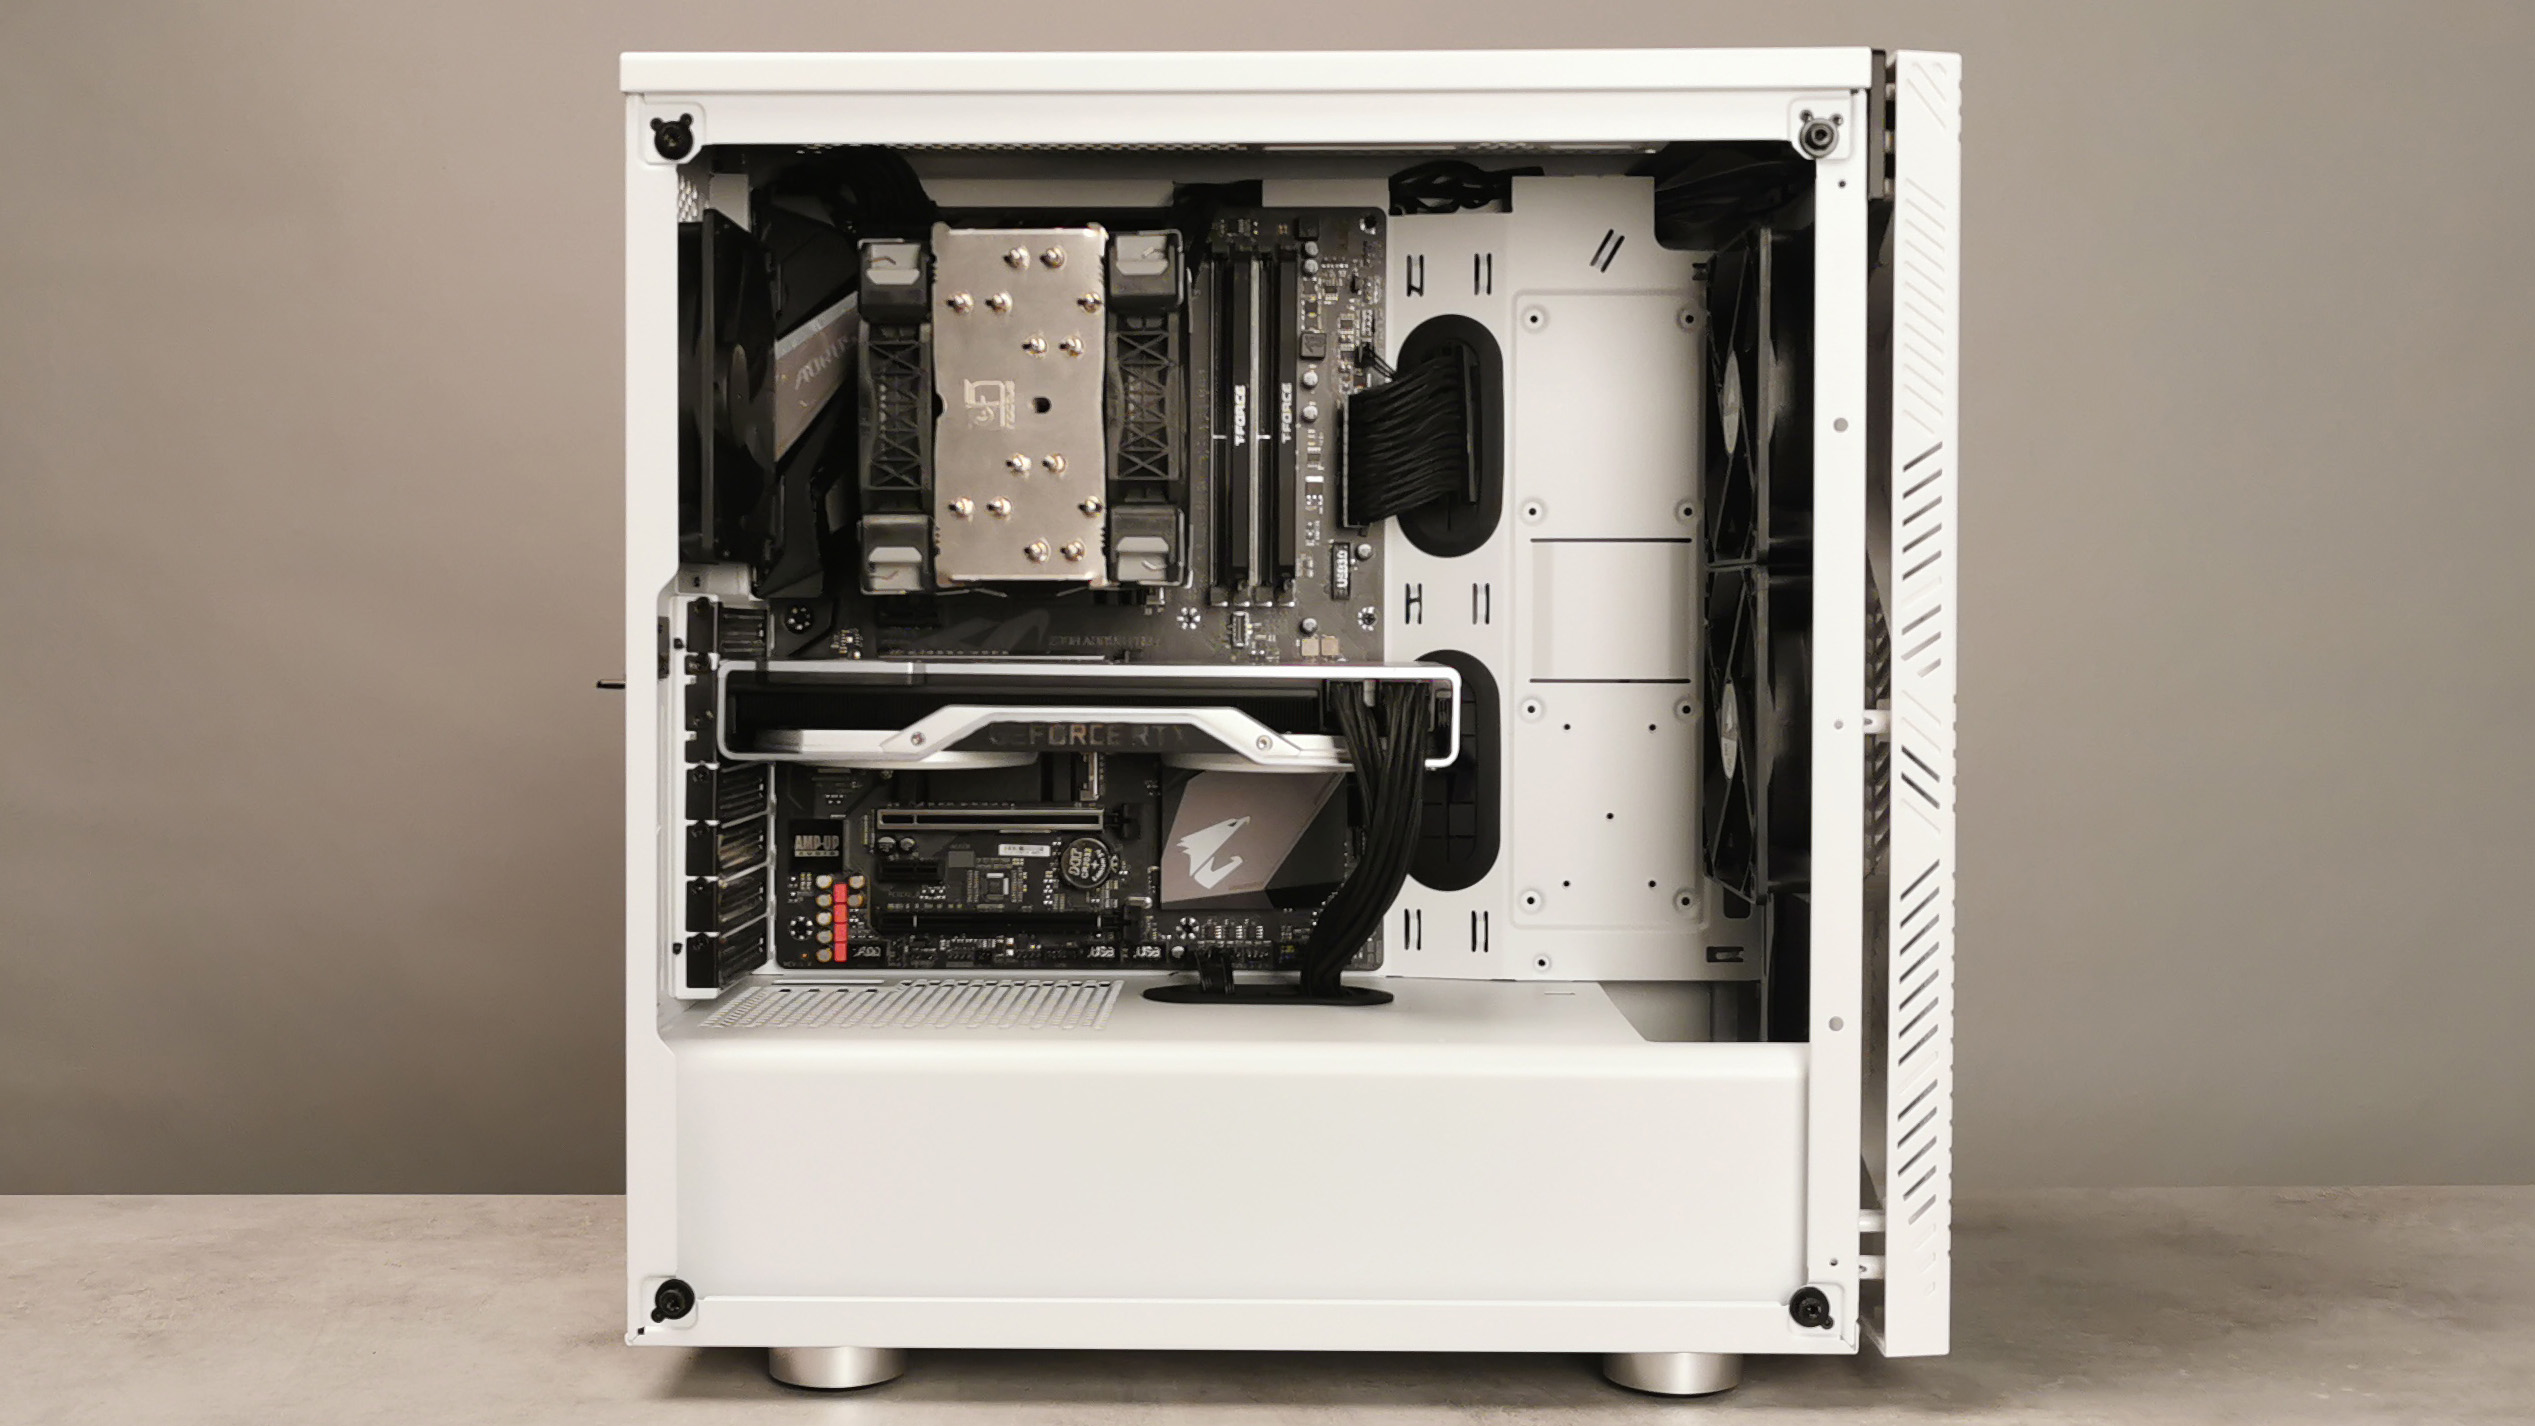
Our ATX “build” test bench consists of the following:
| CPU | Intel Core i9-9900K |
| Motherboard | Gigabyte Z390 Aorus Pro |
| RAM | 16GB (2x8GB) T-Force Pro Dark @ 3600 MT/s |
| GPU | Nvidia GeForce RTX 2070 Super |
| SSD | 240GB PNY CS1311 2.5-inch SSD |
| PSU | Corsair HX750 80+ Platinum Power Supply |
| Cables | Corsair Sleeved PSU Cables Pro Kit Type 4 |
| Cooler | Noctua NH U12A + 2x Corsair ML120 Pro Fans |
Motherboard Installation
Getting the motherboard in with the cooler pre-installed was fairly easy. That said, there’s not a huge amount of space above the motherboard tray once the board is in, so we’d actually recommend you install your CPU cooler after the fact, just so you can get those CPU power cables in first. The motherboard tray cutout is large enough that you can easily install your CPU tower after everything’s installed.
Power Supply Installation
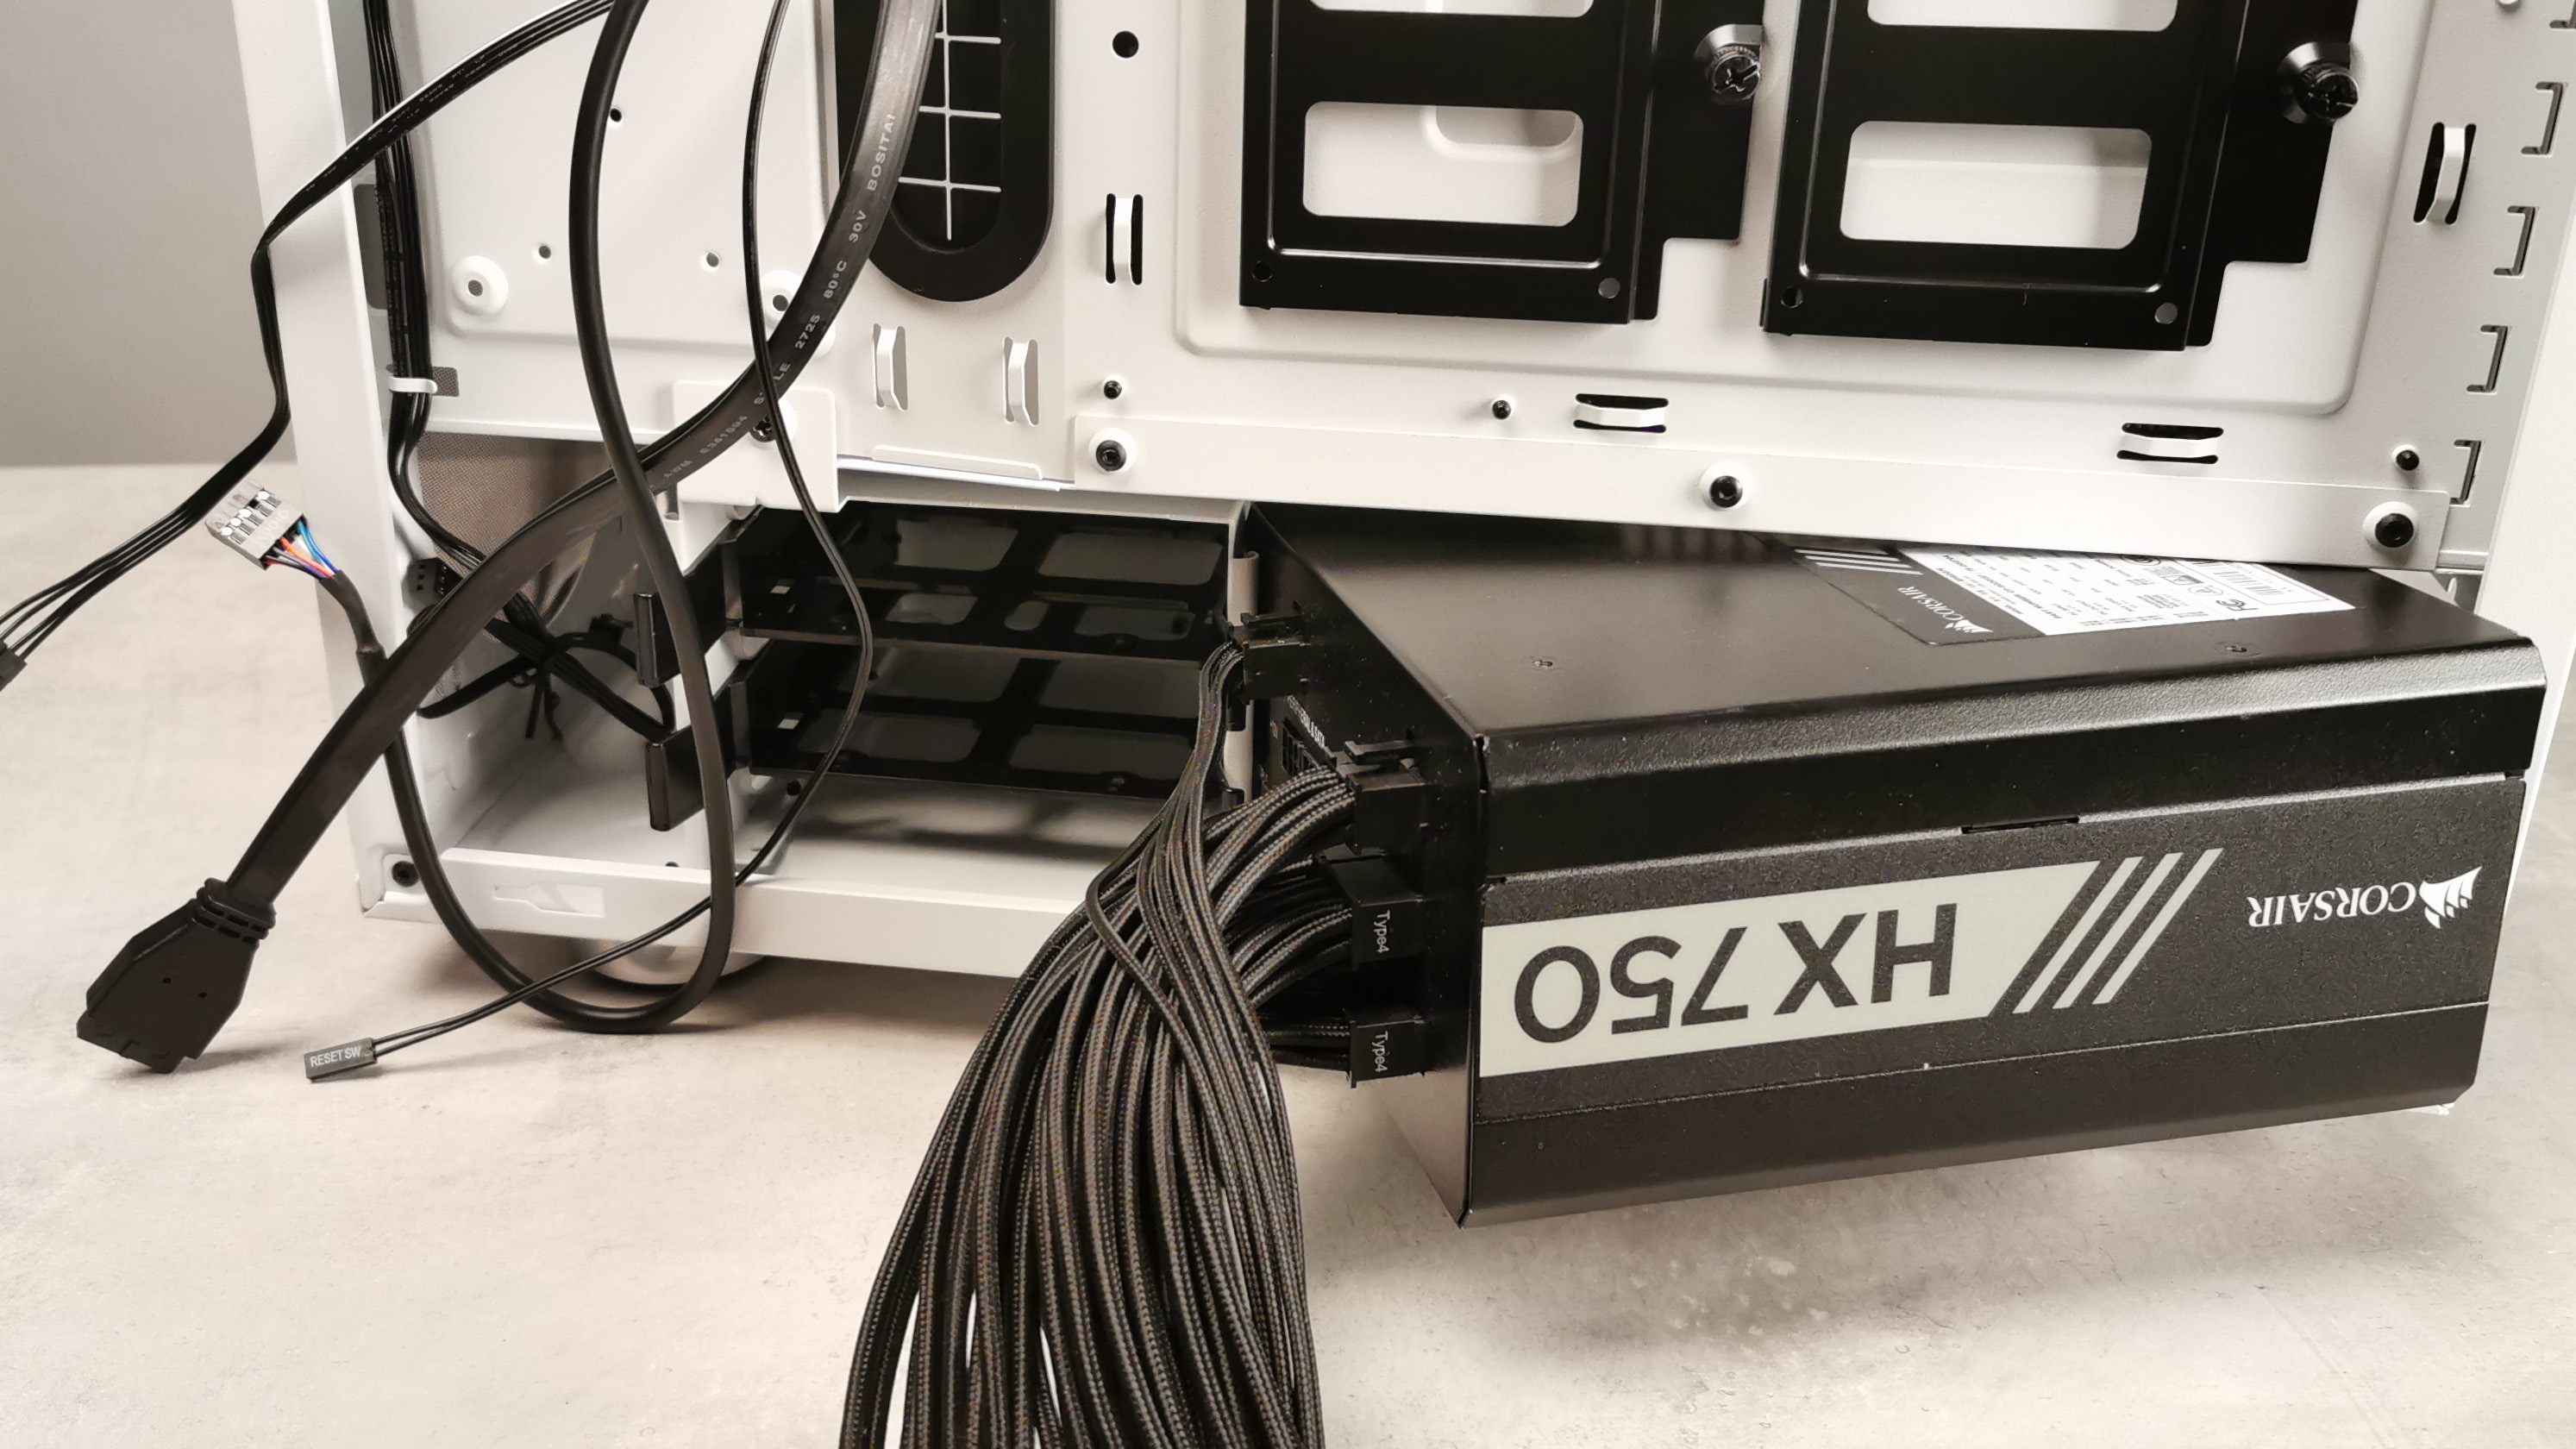
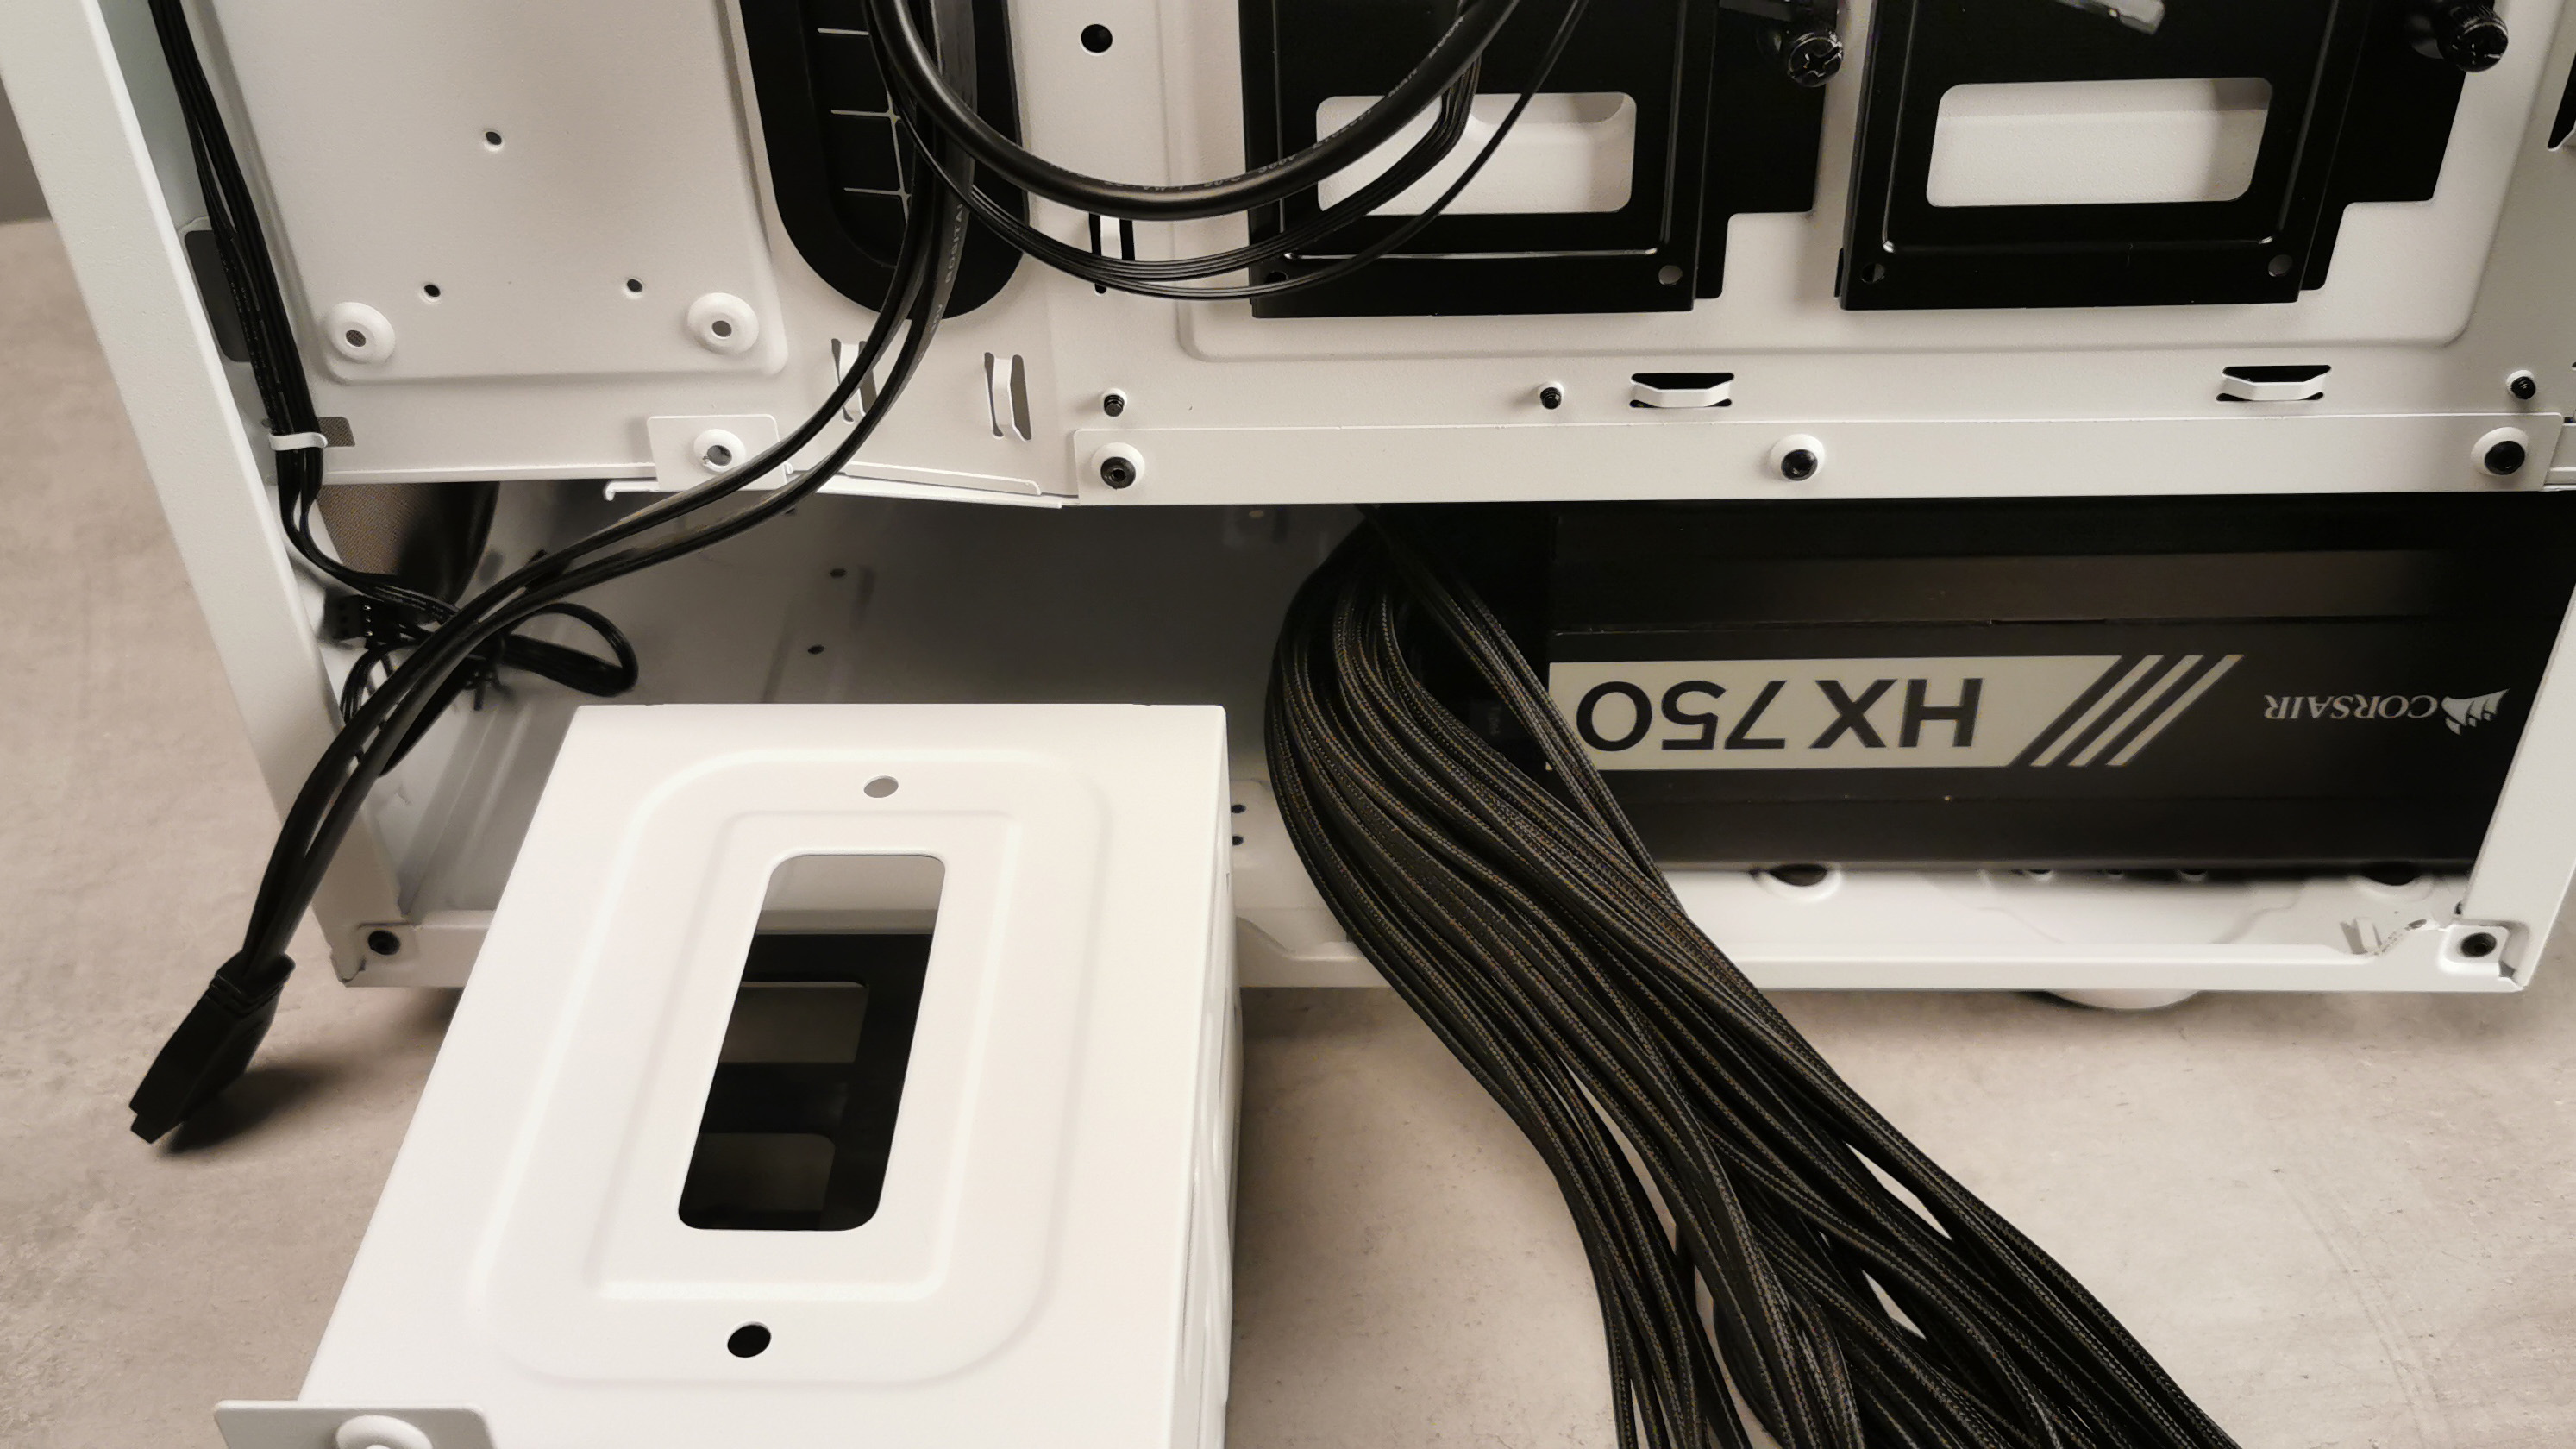
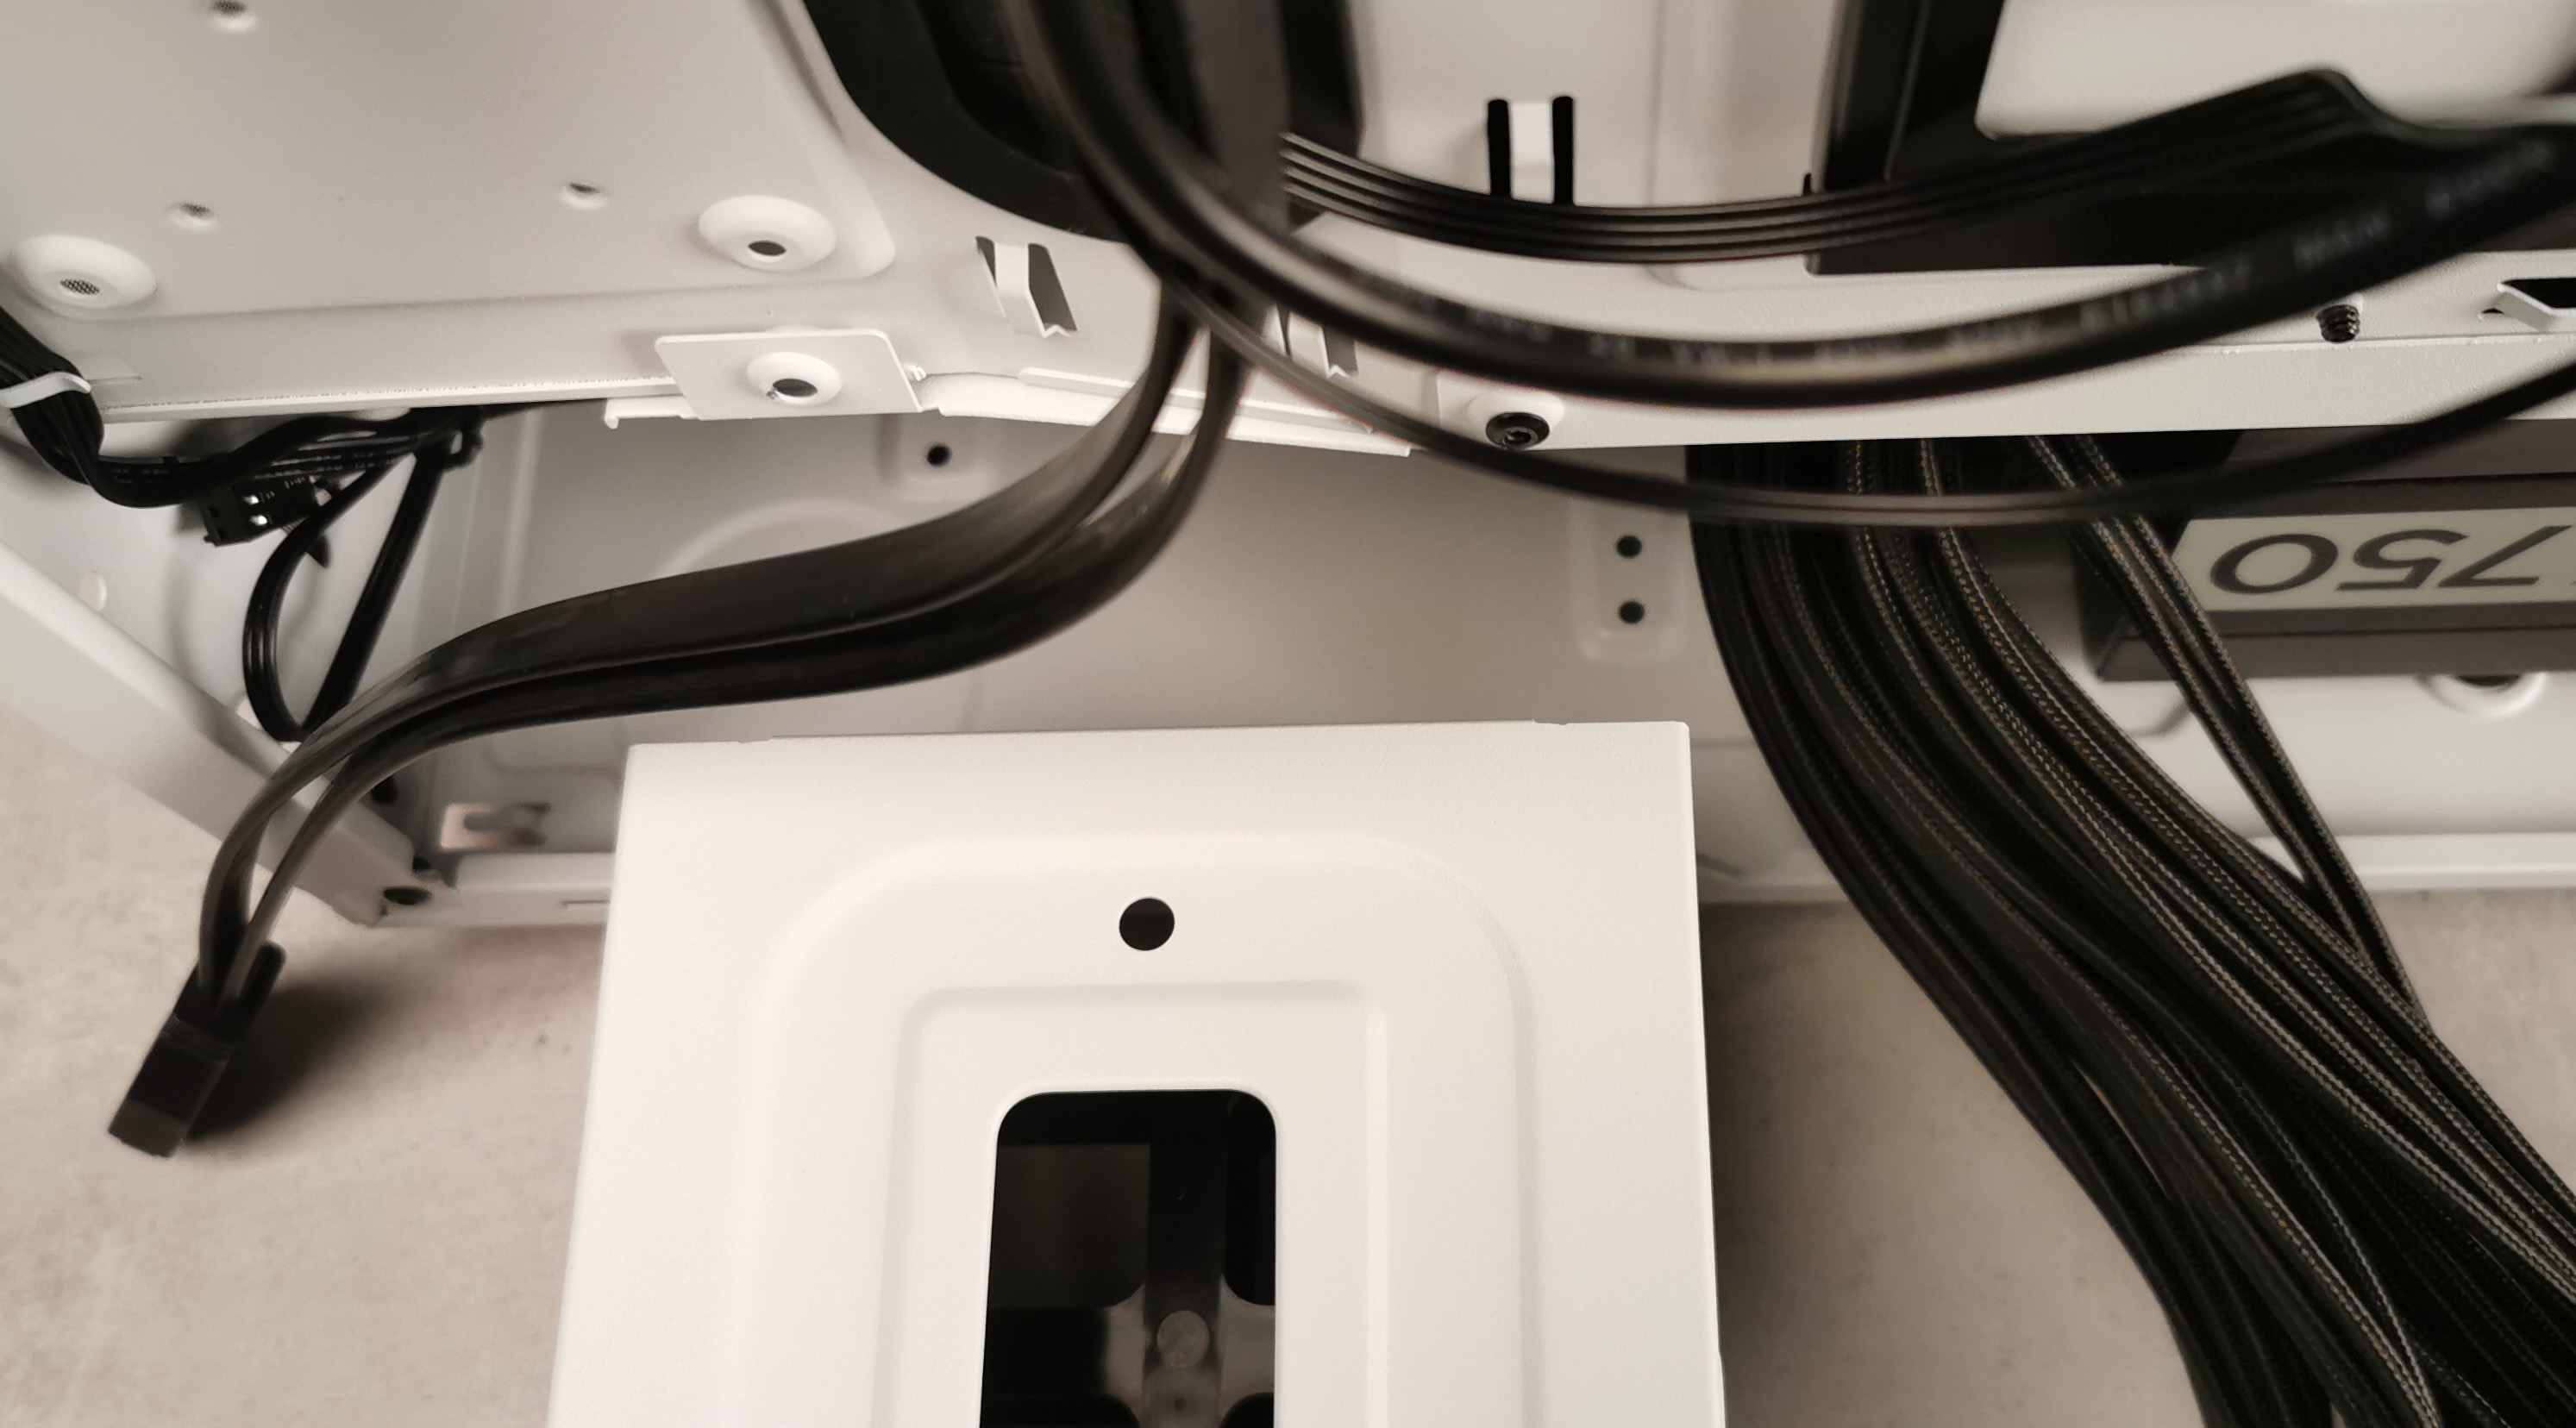
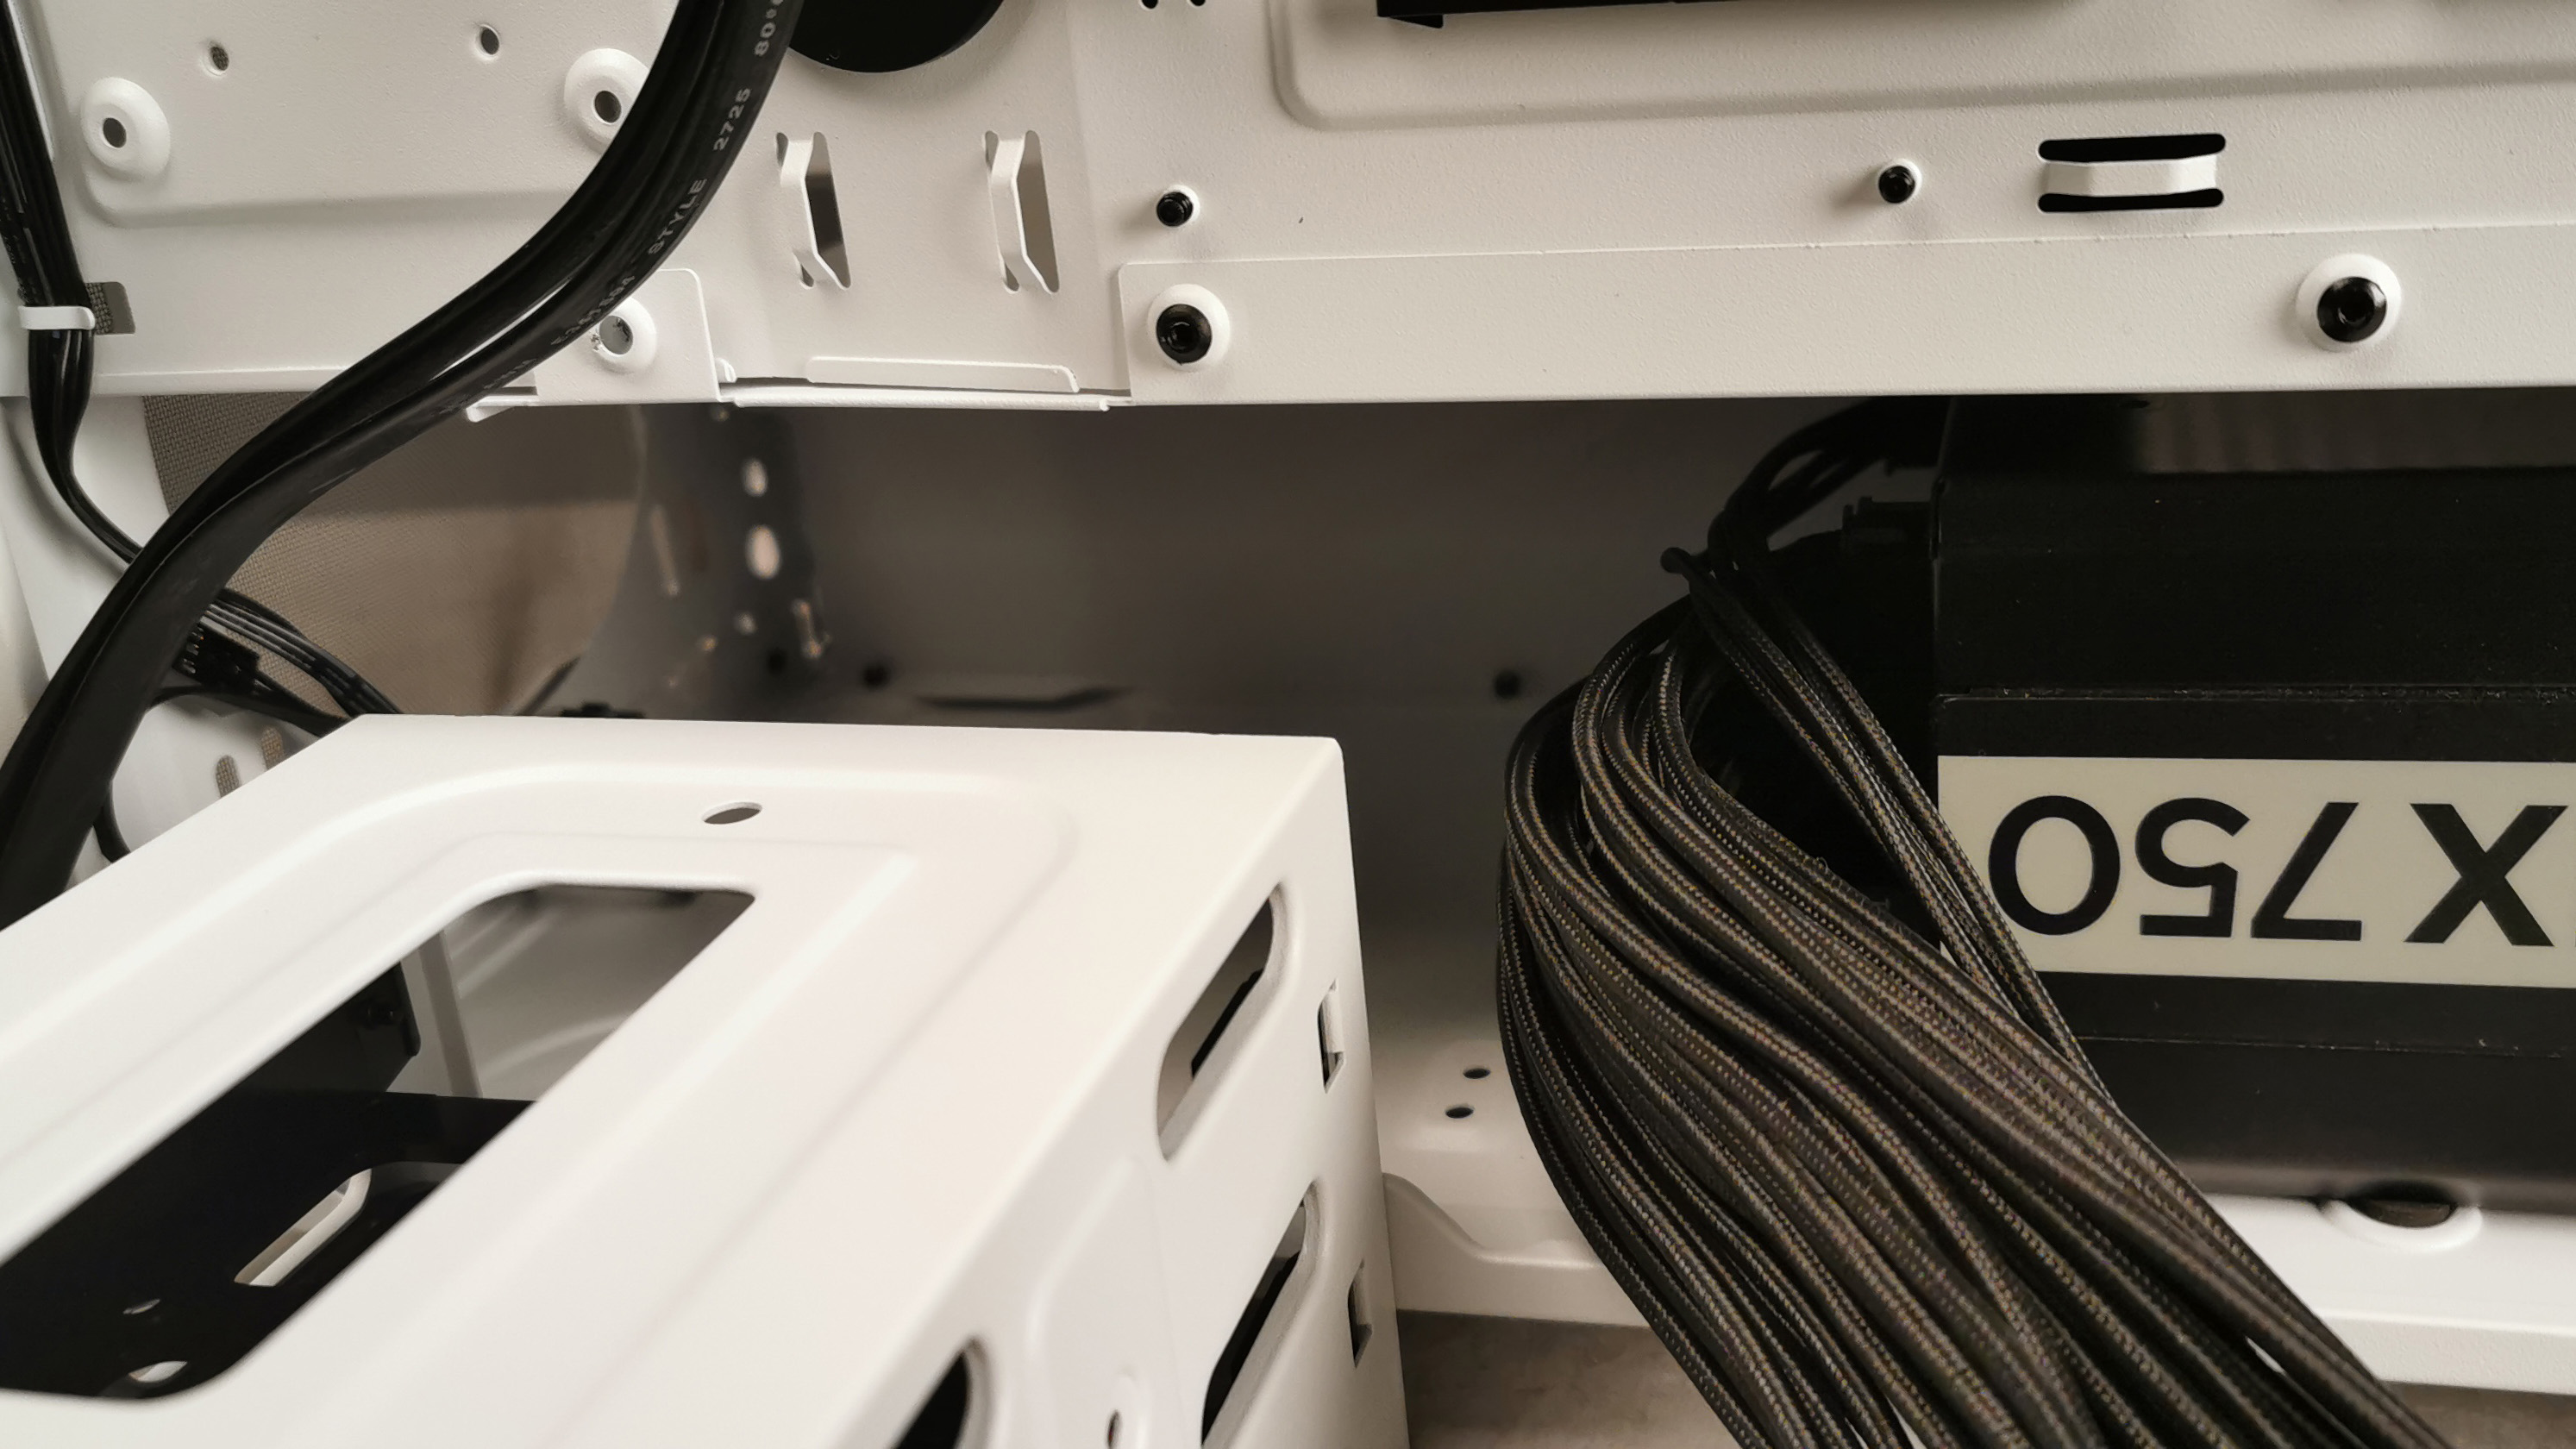
For improved compatibility -- and as we move away from traditional 3.5-inch drives -- we’d like to have seen a half-height hard drive caddy that supports a single 3.5-inch drive in the bottom, that you can slide in and out of the case easily. That would eliminate the clearance issues and also provide ample room to tuck those excess cables out of the way as well.
When it comes to installing your power supply, we always recommend -- for modular ones -- you pre-install the cables first. Unfortunately, our Corsair HX750 PSU is too large to fit in with the cables preinstalled and the hard drive caddy in its factory position.
To get around this, we had to remove the HDD caddy from the case and install the PSU first, however if you do that there’s no way to reinstall the caddy afterwards. If you bend the cables back towards the rear of the case, you should theoretically be able to install both without a problem as long as you plug in the cables after the power supply is secure, but that will be more frustrating.
Cable Management and Graphics Cards
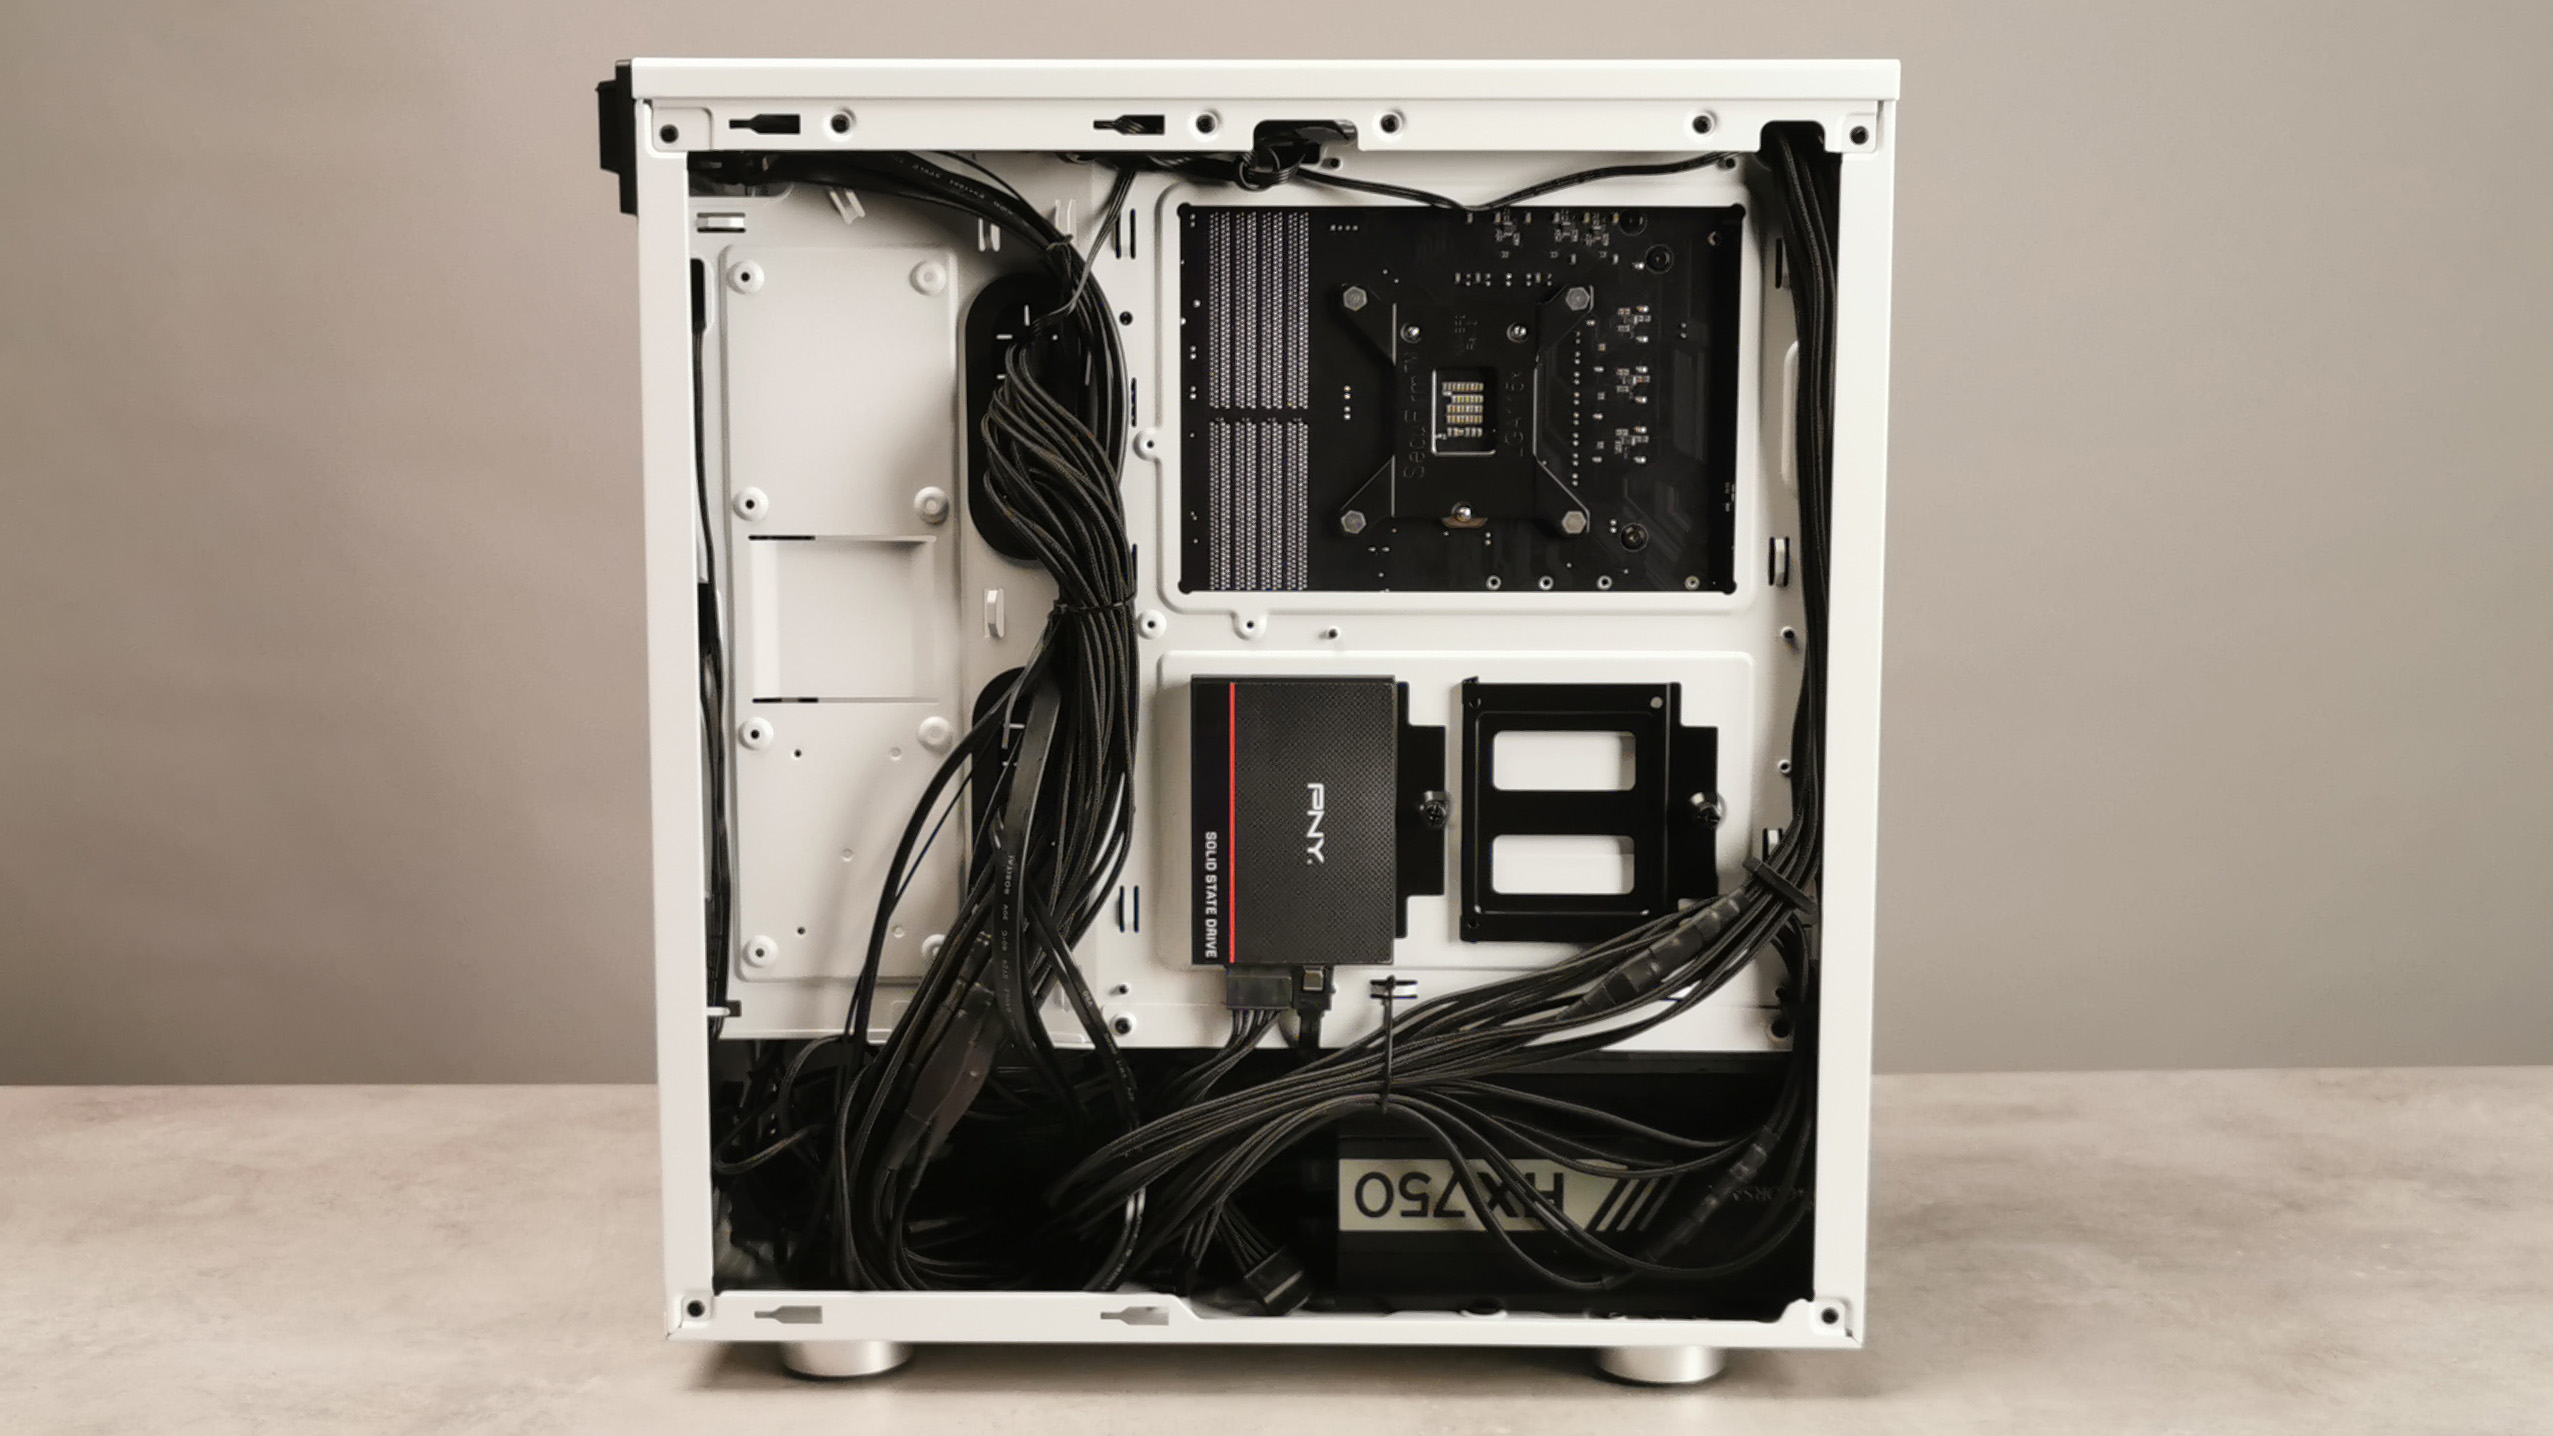
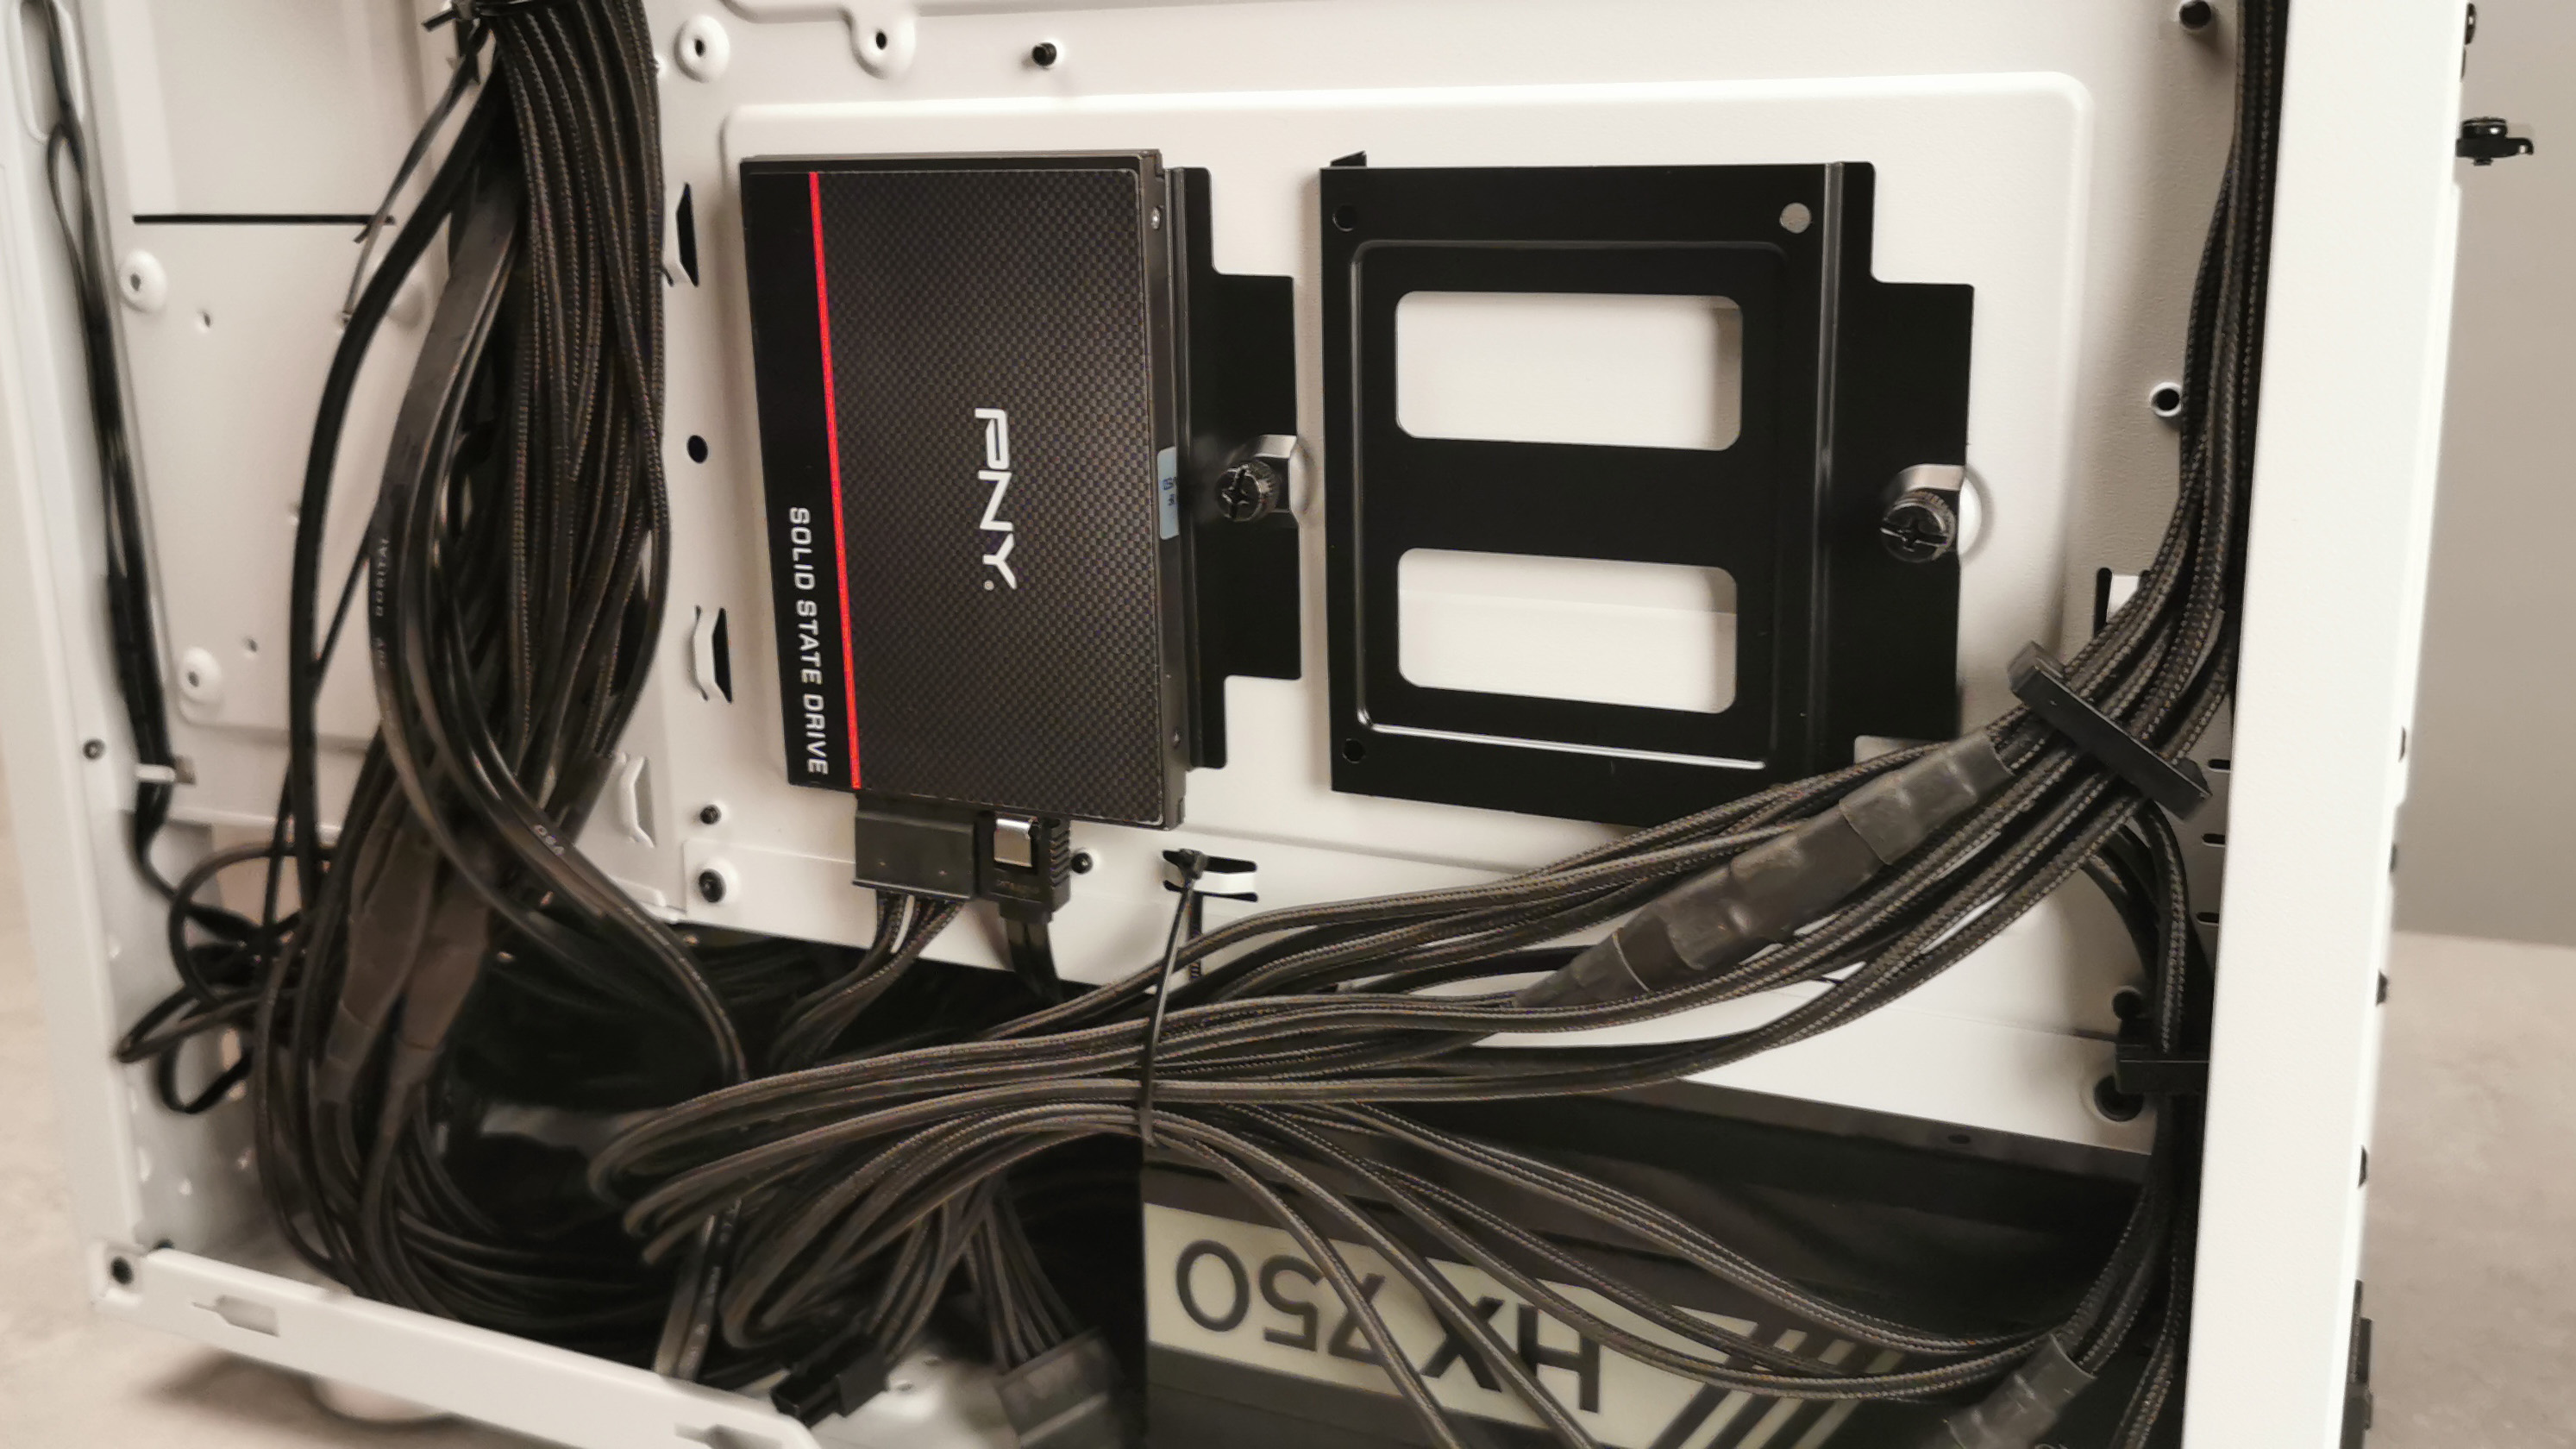
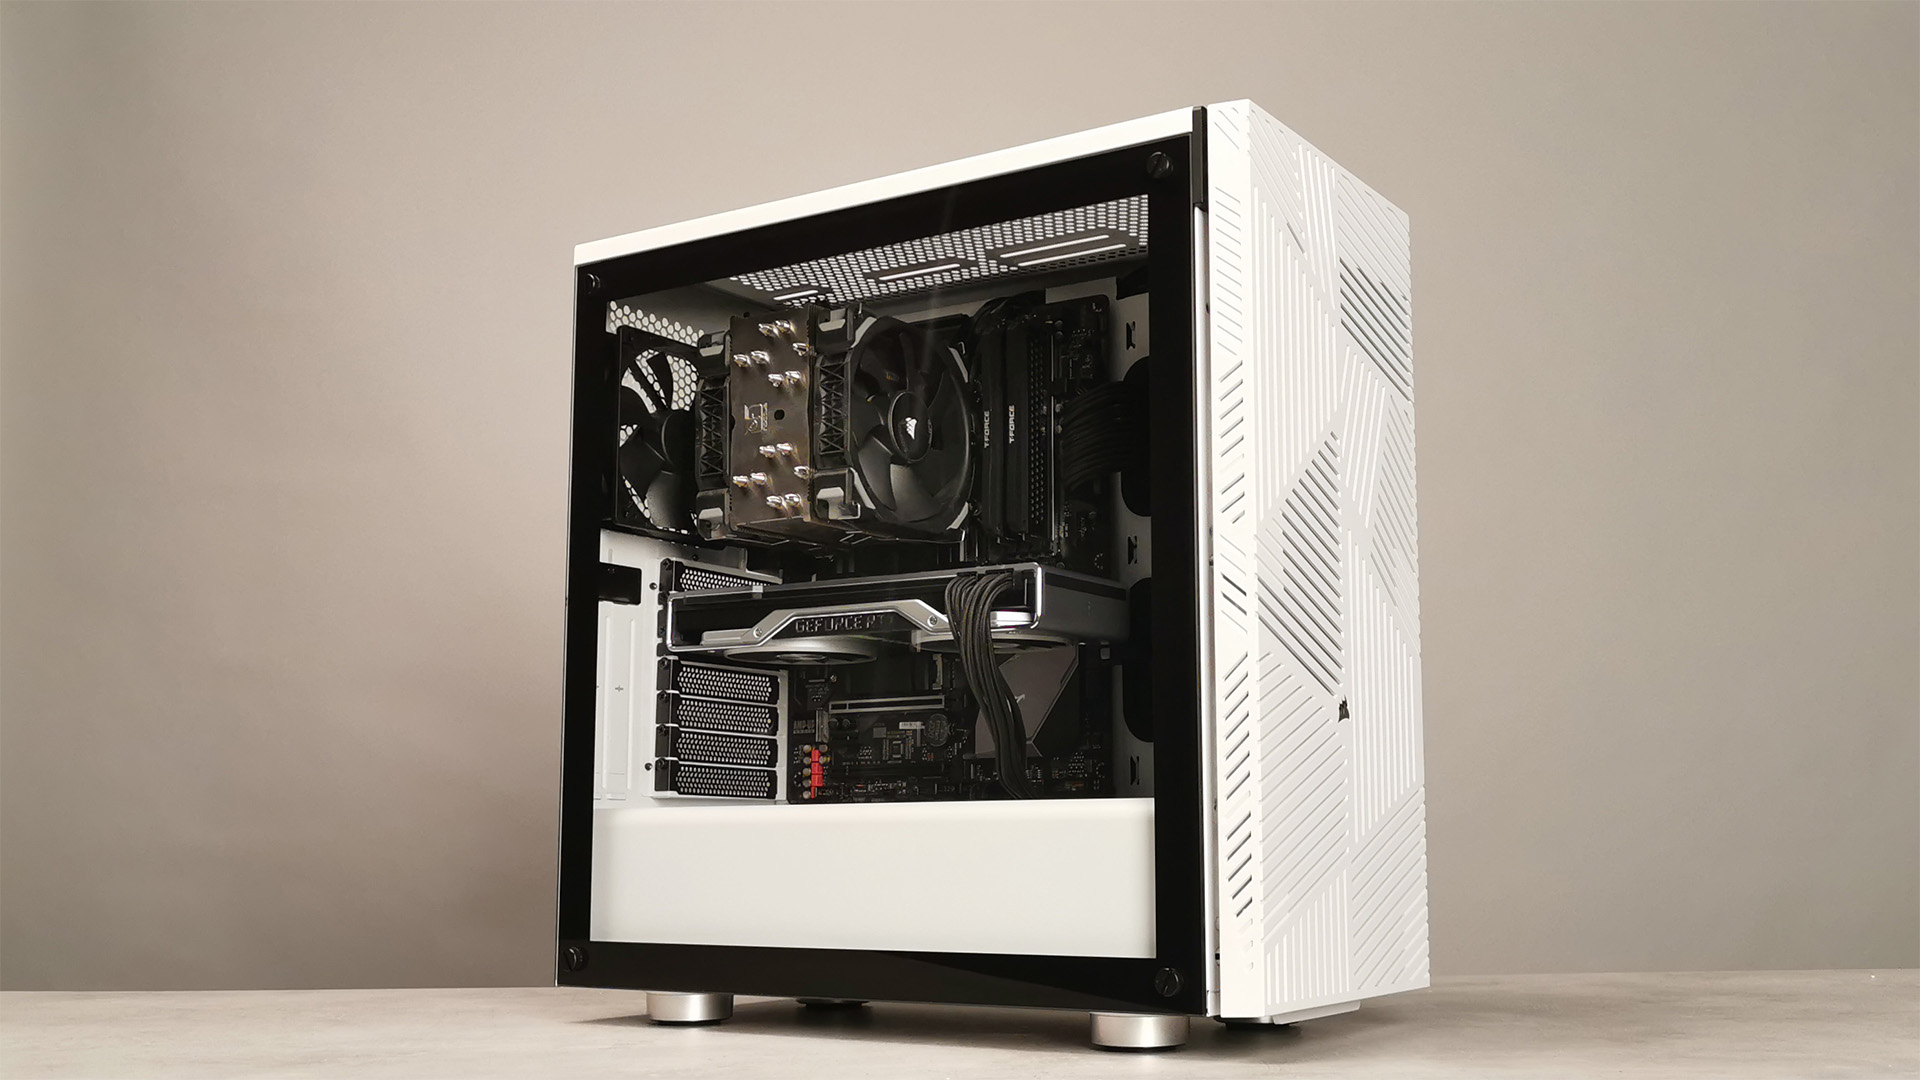
Installing our final components, the SSD and the GPU, didn’t present any problems. After that it was just a case of cable management, using a few loose cable ties here and there, and we were done.
MORE: Best Cases
MORE: All Case Content

As Associate Editor of Tom's Hardware's prestigous British division, Zak specializes in system building, case reviews and peripherals, and has a particular penchant for liquid-cooling. He's also a lover of all things Viking/Scandinavian (thus the poor attempt at a beard).
-
maikalwolf Reply
Why use a large PSU? A SSF PSU from Seasonic would fit nicely in there and leave room for the hard drive! All in all I'd say the only thing I like about it was the color, not much else!admin said:With great performance and a unique style, the Corsair 275R Airflow is a chassis worth a look for those on a budget.
Corsair 275R Airflow Review: Impressive Performance, Outlandish Style : Read more -
2Be_or_Not2Be Also missing mention of all of the included case filters. The only one mentioned by the reviewer in the one in the front, behind the front panel. However, there are also the one on top (magnetic "slap-on" style), and the one under the PSU compartment. The bottom filter seems to be the less desirable (for me) method of pulling out from the back.Reply -
octavecode This doesn't look like a review to me but more like an advertisement.Reply
Anyways the case looks fine i just hate how cheap the front panel looks. -
kep55 So it doesn't have RPG. Big deal. And with a glass side panel? Come on. Excess weight, fragility, horrible thermal transfer. Lousy sound deadening.Reply -
kmmatney "And with a glass side panel? Come on. Excess weight, fragility, horrible thermal transfer. Lousy sound deadening. "Reply
Do you have this case? I do, and have been using it for 3 months so far. The glass side panel is much better than plastic - stunningly clear. and easy to keep clean. I have a Ryzen 3600, Scythe Mine cpu cooler and a Gigabyte 2070 Super - it all runs cool and so quiet that I need to look at the small LED light on my video card to make sure it's still turned on. I have the black version. The main draws of the case is the low price and the efficient air flow. It's the Honda CRV or Toyota RAV4 of cases - no frills but works well. -
3ogdy White plastic box with simple cutouts for ventilation : * Exists *Reply
Tom's Hardware :
"Outlandish Style" "Bold styling"
Yeah. As outlandish as this one very boldly styled case:
-
ma2oliveira I wonder if the sound-deadening side panel from the 275Q variant (available direct from Corsair) can be used in the 275R Airflow (consequently reducing the CPU cooler maximum allowed height, I suppose).Reply
Side panels from 275Q on mesh front /top 275R Airflow = best flow/noise trade-off 275 case (275Q Airflow)?
