Tom's Hardware Verdict
The Pure Base 500, is a good-looking, easy-to-build-in case with OK cooling potential--if configured correctly.
Pros
- +
Strong styling
- +
Can display 2.5-inch drives
- +
Good value
- +
Powerful stock fans
- +
Noise dampening as standard
Cons
- -
Airflow is limited
- -
Front I/O is somewhat lackluster
- -
No RGB (a plus for many)
Why you can trust Tom's Hardware
For an industry that’s obsessed with RGB lighting, be quiet!’s Pure Base 500 provides a breath of fresh air for those not hooked on the latest trend. On sale for $85 / £80, this mid-tower chassis could rank as one of the best PC cases out there. It is available in three different color skus -- black, grey, and white -- with or without a window.
The Pure Base 500 also includes a significant number of quality-of-life PC building features. You get a full-size PSU cover, multiple fan filters for the roof -- your choice of either a mesh or a semi-ventilated option -- good cable management routing, housing for multiple 3.5-inch and 2.5-inch drives, support for AIOs up to 360mm, and sound dampening along the front and side panels as standard.
- The Best PC Cases available today
- How to Buy the Right CPU Cooler
Specifications
| Form Factor | Mid Tower |
| Motherboard Support | ATX, M-ATX, Mini-ITX |
| Colors Available | White, Black, Grey |
| Window Variants | Windowed / Non Windowed |
| 3.5" Support | x2 |
| 2.5" Support | x5 |
| Radiator Support | 360mm front, 240mm roof, 140mm rear |
| Fan Support | 2x 140mm/3x 120mm Front, 2x 140mm/2x120mm roof, 1x 140/120mm rear |
| Dimensions | 450 x 231 x 443 mm |
| Graphics Card Clearance | 369mm |
| CPU Tower Clearance | 190mm |
Unboxing and I/O
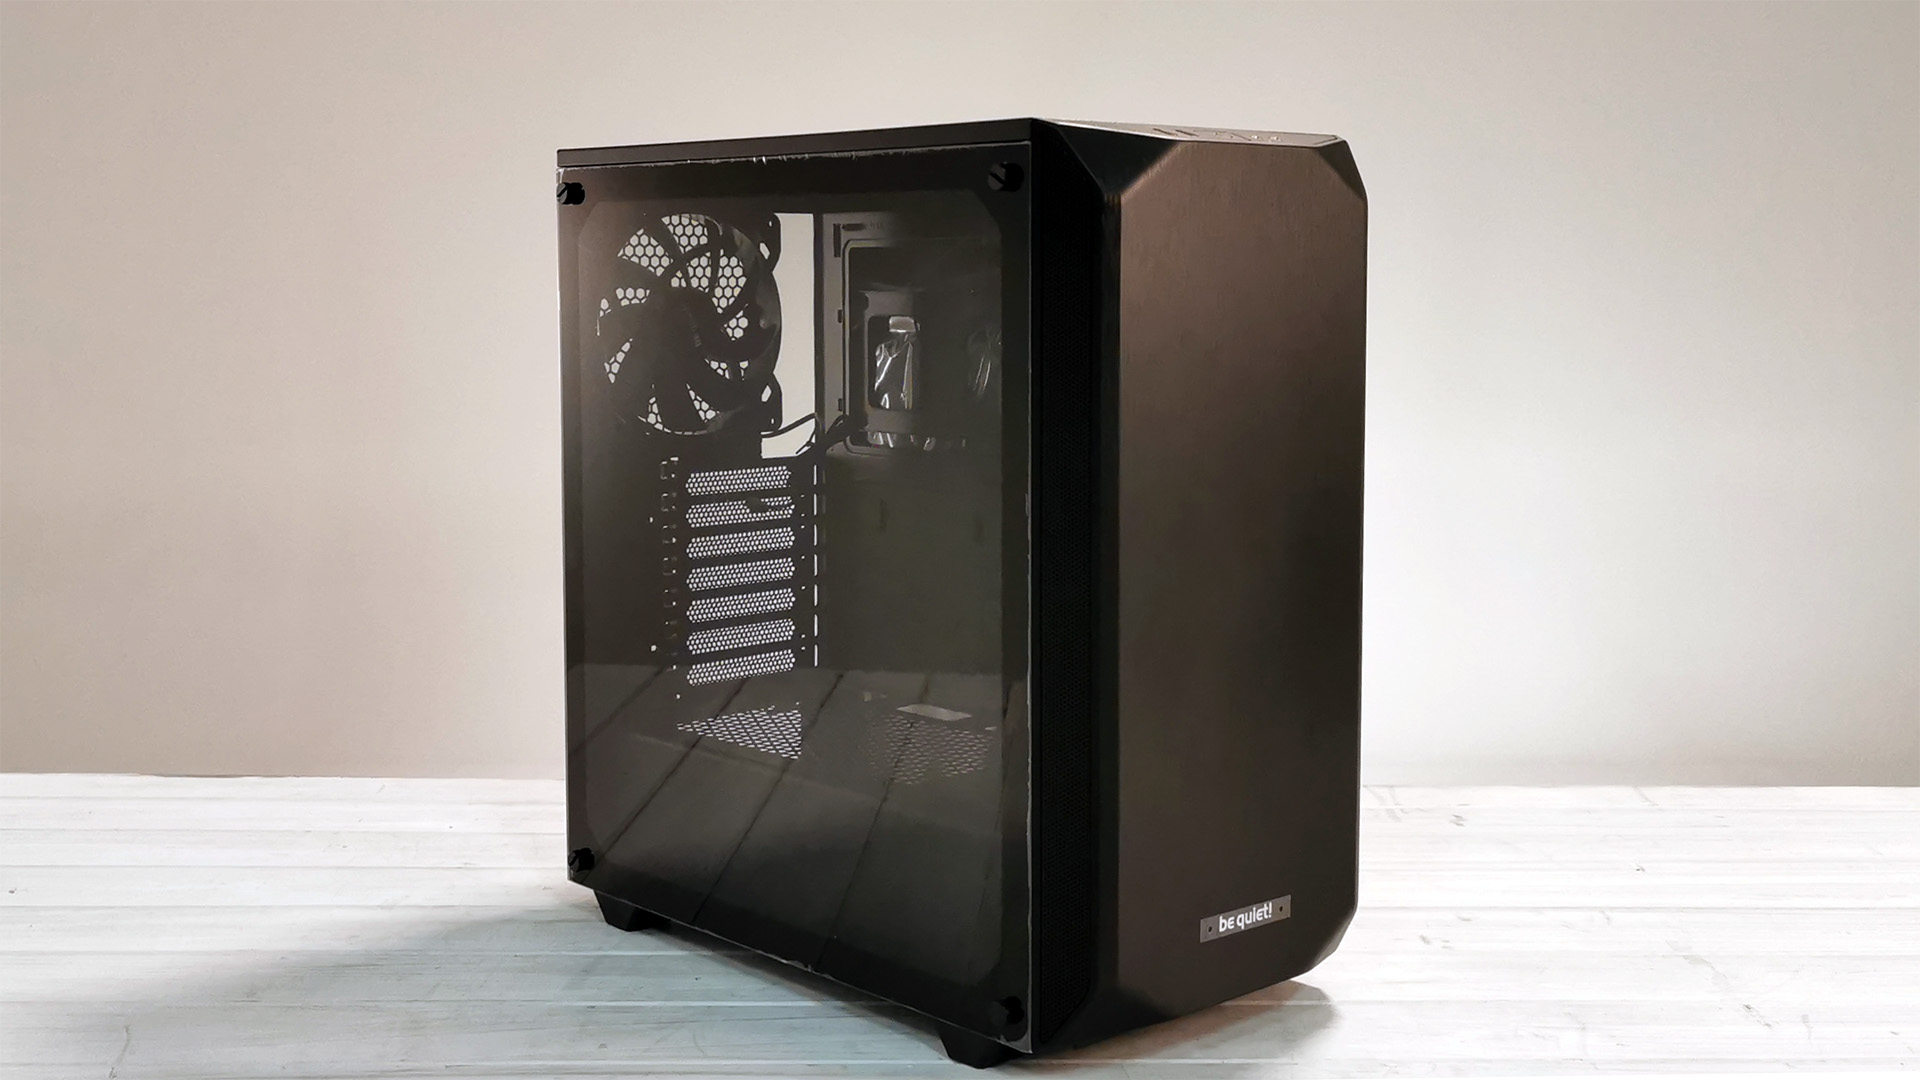
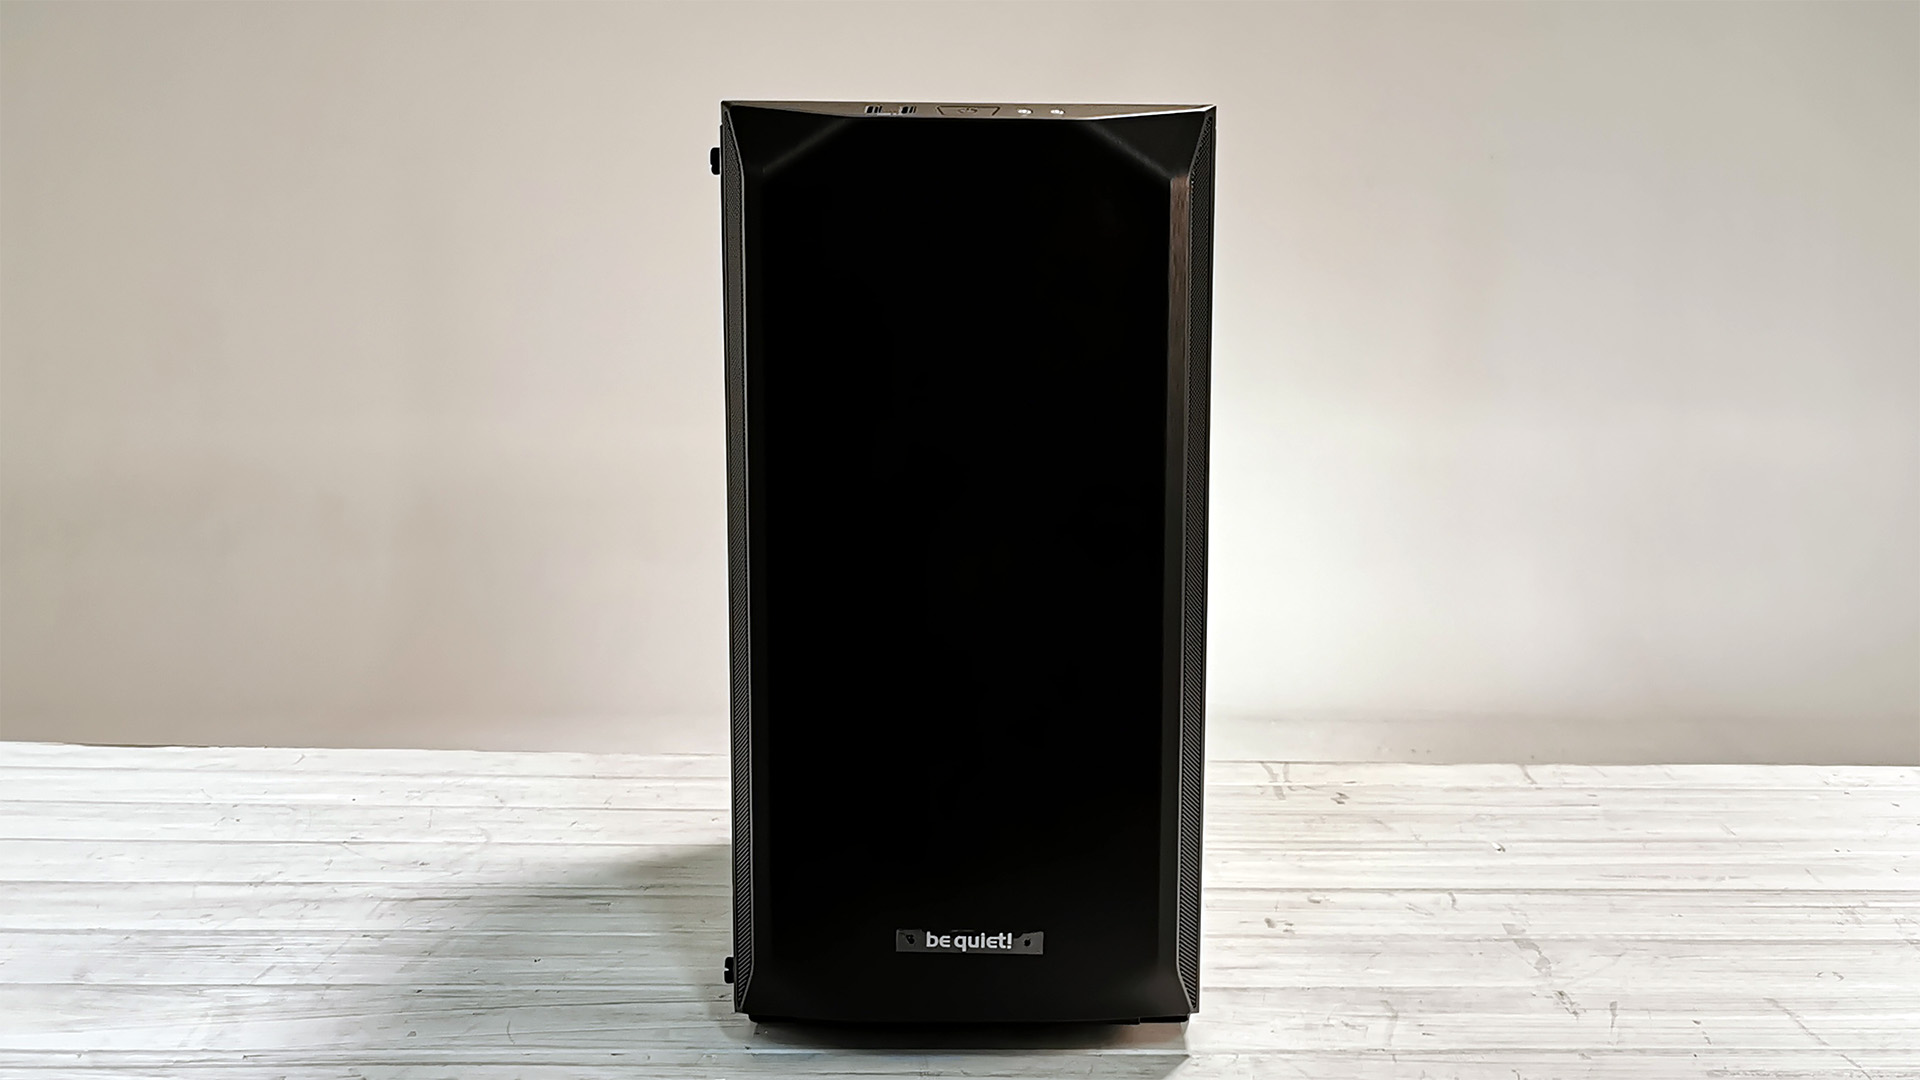
Out of the box, the Pure Base 500 looks slick. Those smooth folded corners on the front panel stop it from being just another black box. The front panel is made of ABS plastic with a faux-brushed-aluminum facade, but the rest of the chassis is made from a mixture of steel and tempered glass.
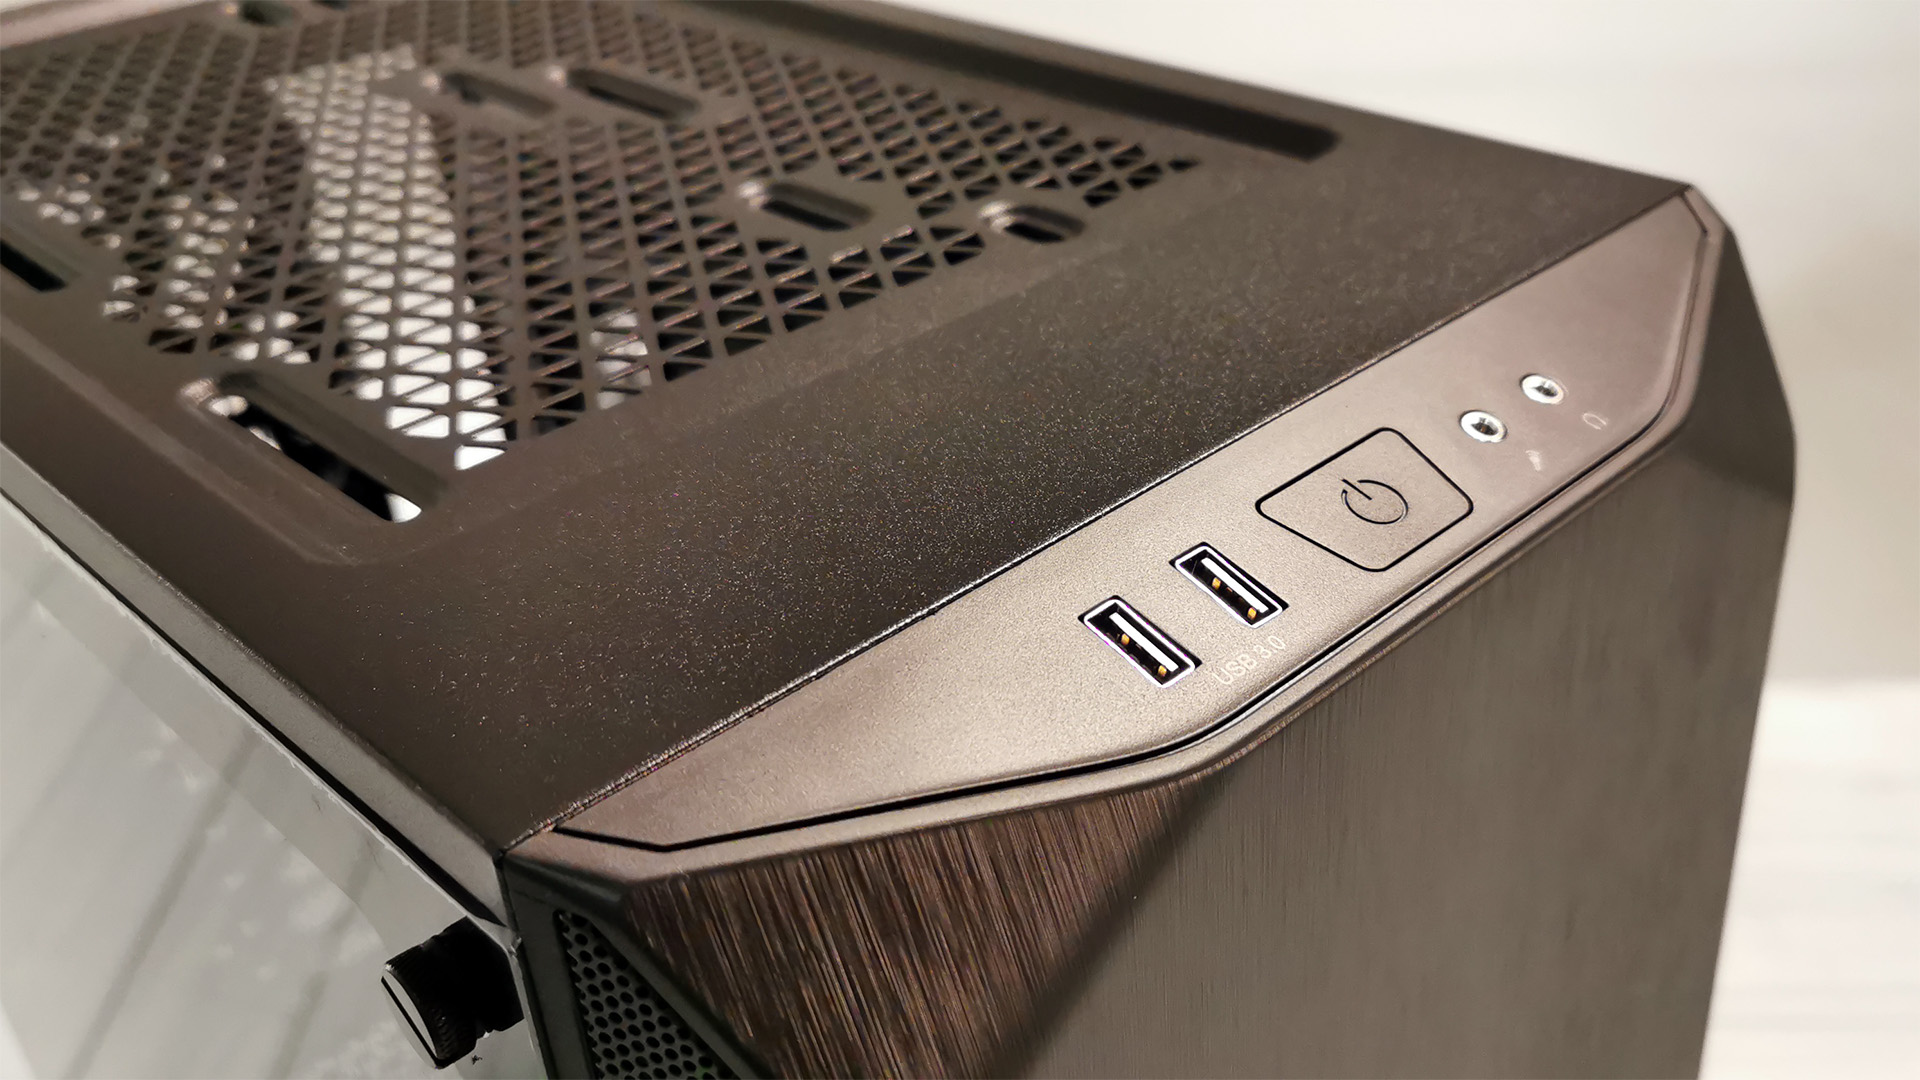
As for the front I/O, you get two USB 3.0 ports, separate microphone and headphone pass-throughs, a power button, and that’s it. Ideally, here in 2020, there would be a USB-C port here as well.
Front Panel and Soundproofing
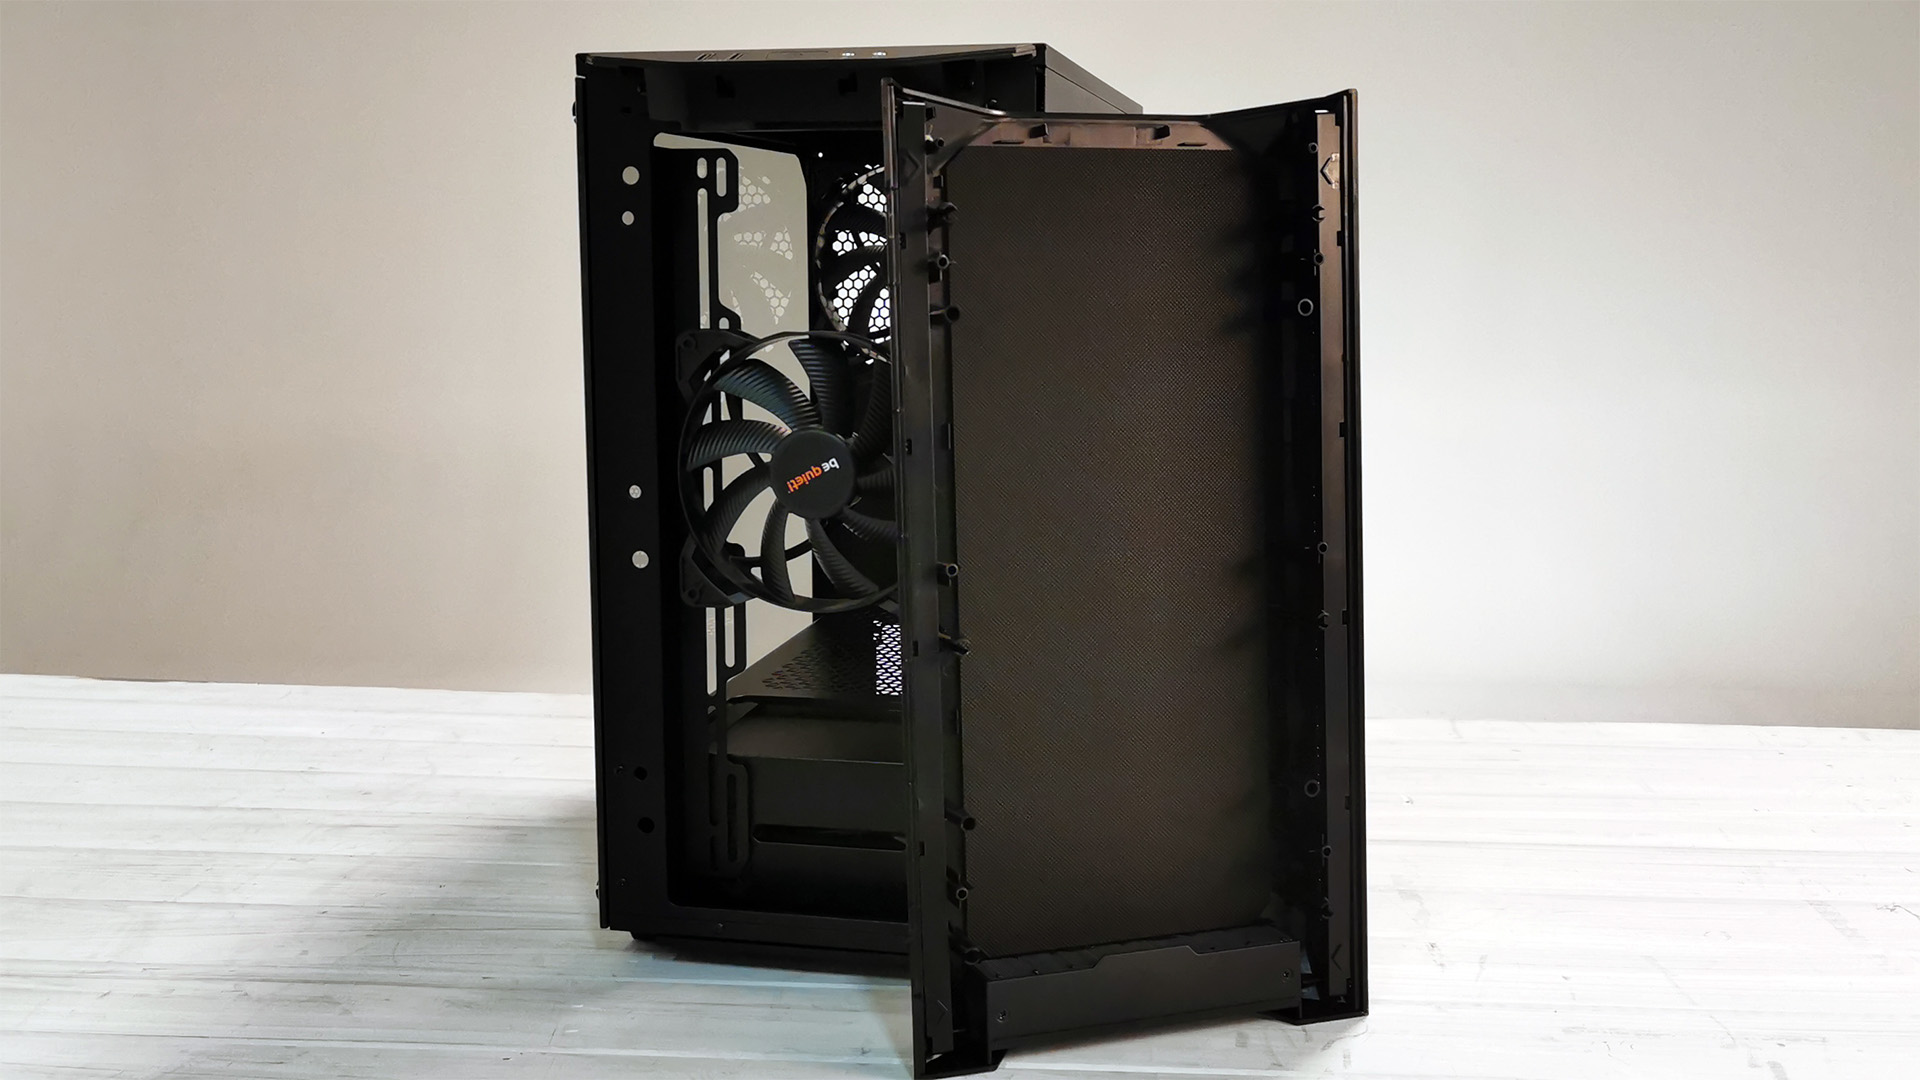
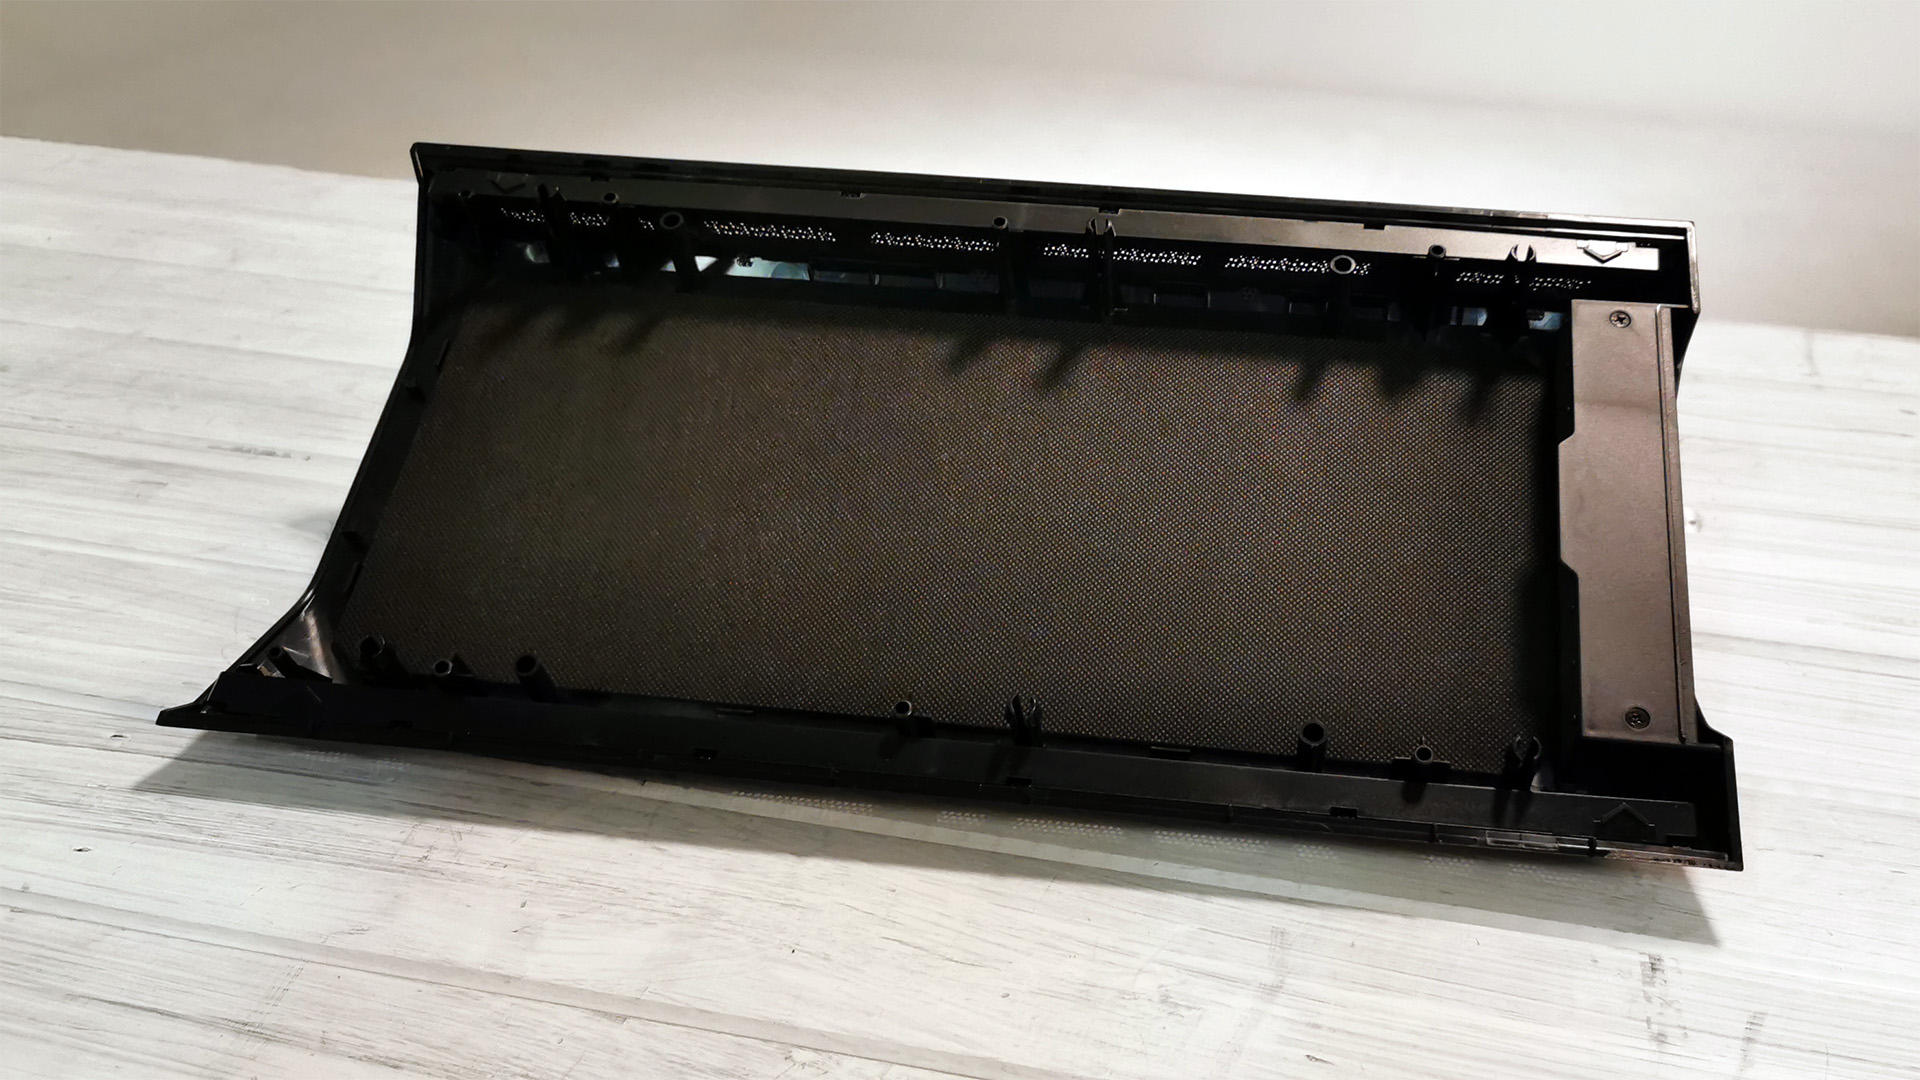
If you carefully pull from the bottom, you can remove the front panel. There’s no integrated RGB lighting or cables to worry about, and the panel itself is held in place via plastic pins.
Running down each edge and at the bottom of the panel are three rather thin dust filters. These have a one-inch gap between them and the front of the panel itself, giving your intake fans access to some much-needed airflow, and they can be removed for cleaning. Sound dampening material lines the front of the panel to help reduce unwanted noise.
Interestingly, be quiet! have opted for two layers of mesh with the front panel’s construction. One is the dust filter, and the other is built into the front panel itself, serving as an aesthetic feature rather than anything practical. This is likely to impede airflow intake. If you do run an AIO in the front of the chassis, we recommend you remove the dust filters entirely and rely solely on the single layer of mesh that’s permanently fixed to the panel.
Get Tom's Hardware's best news and in-depth reviews, straight to your inbox.
Side Panels
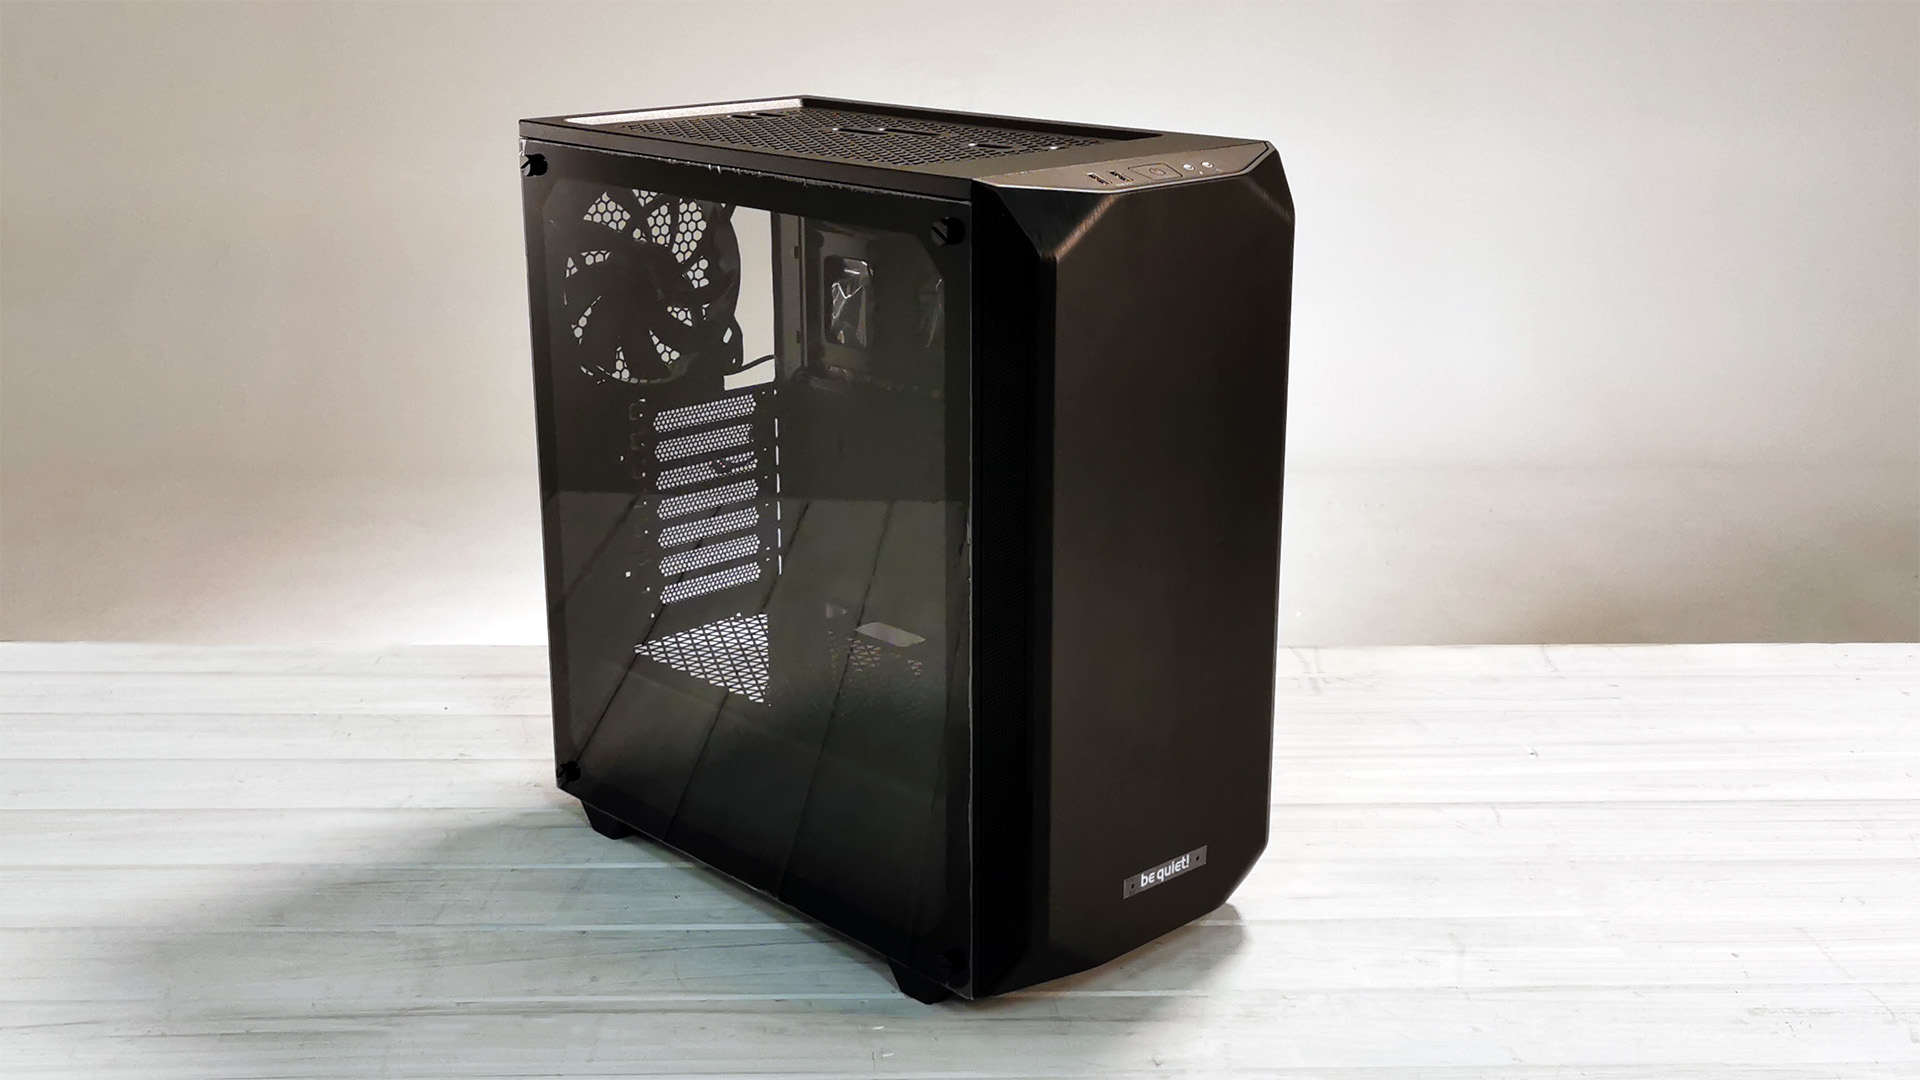
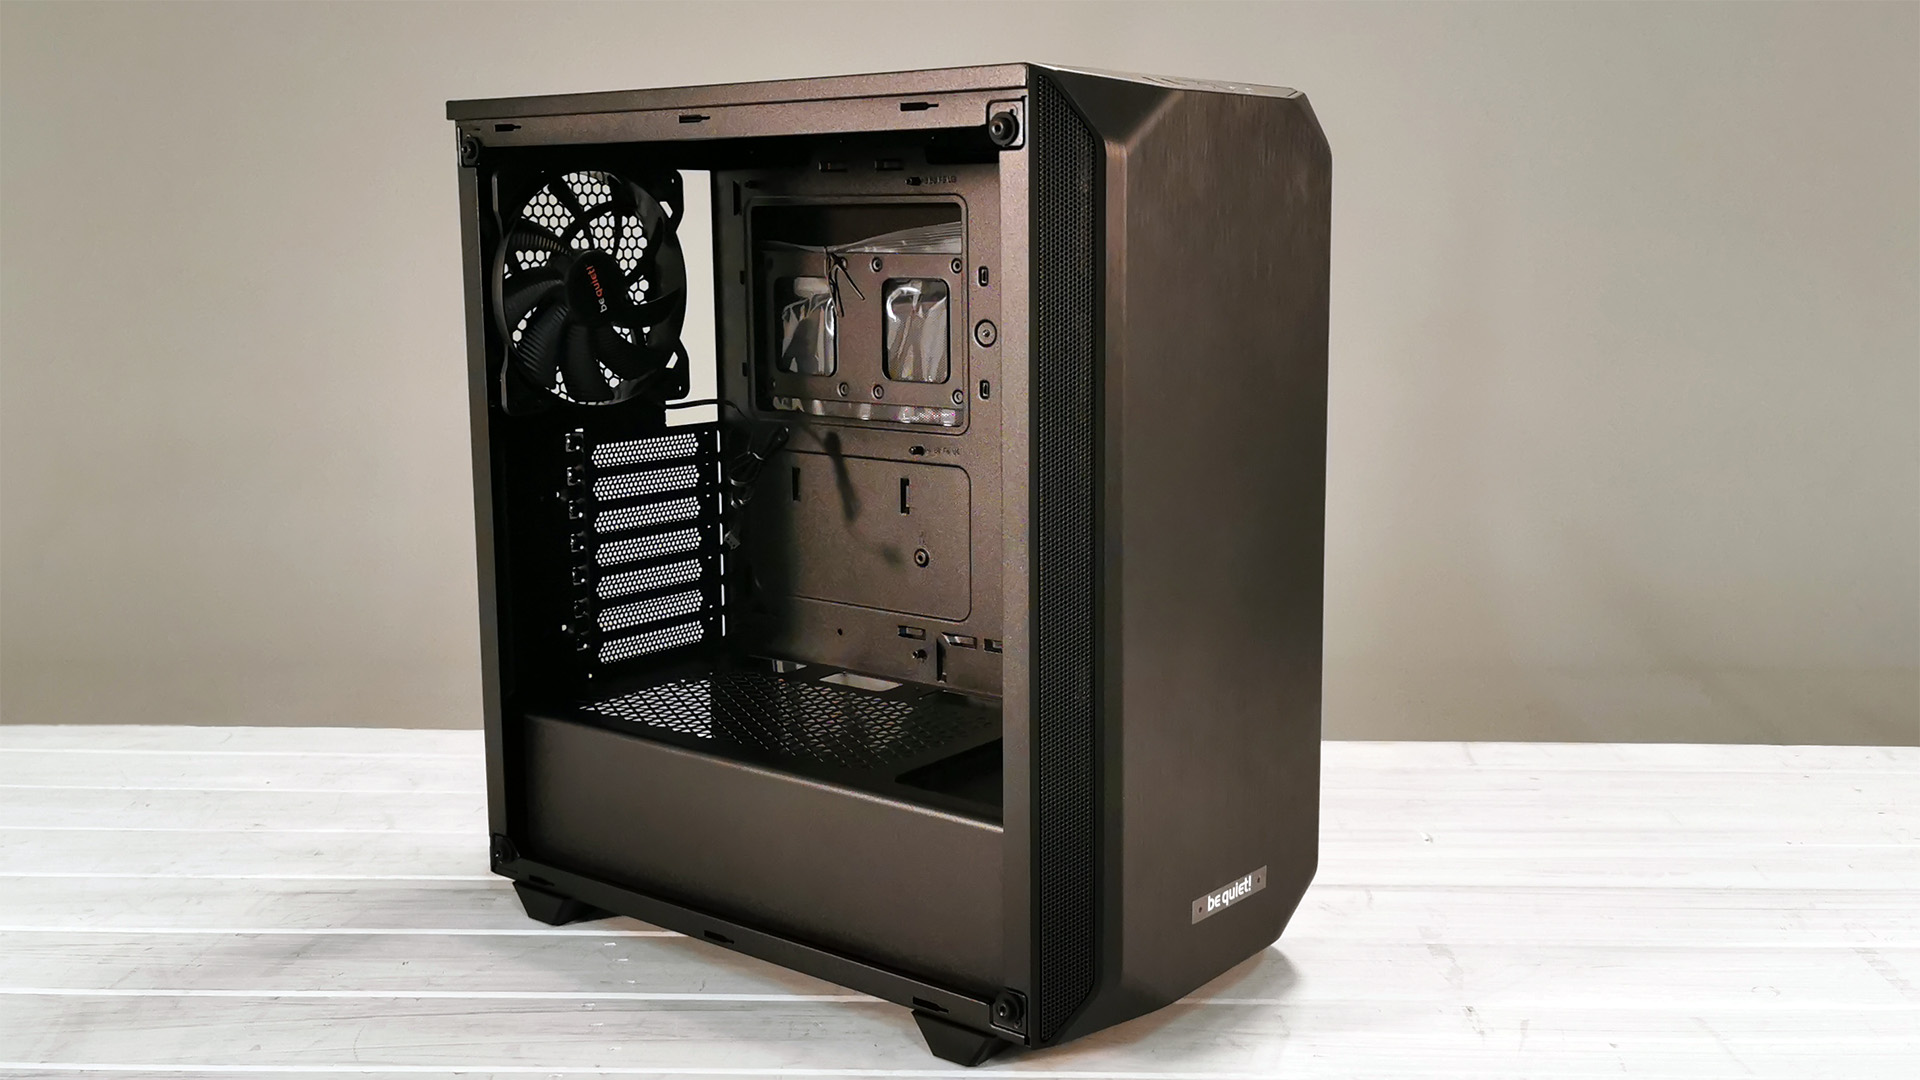
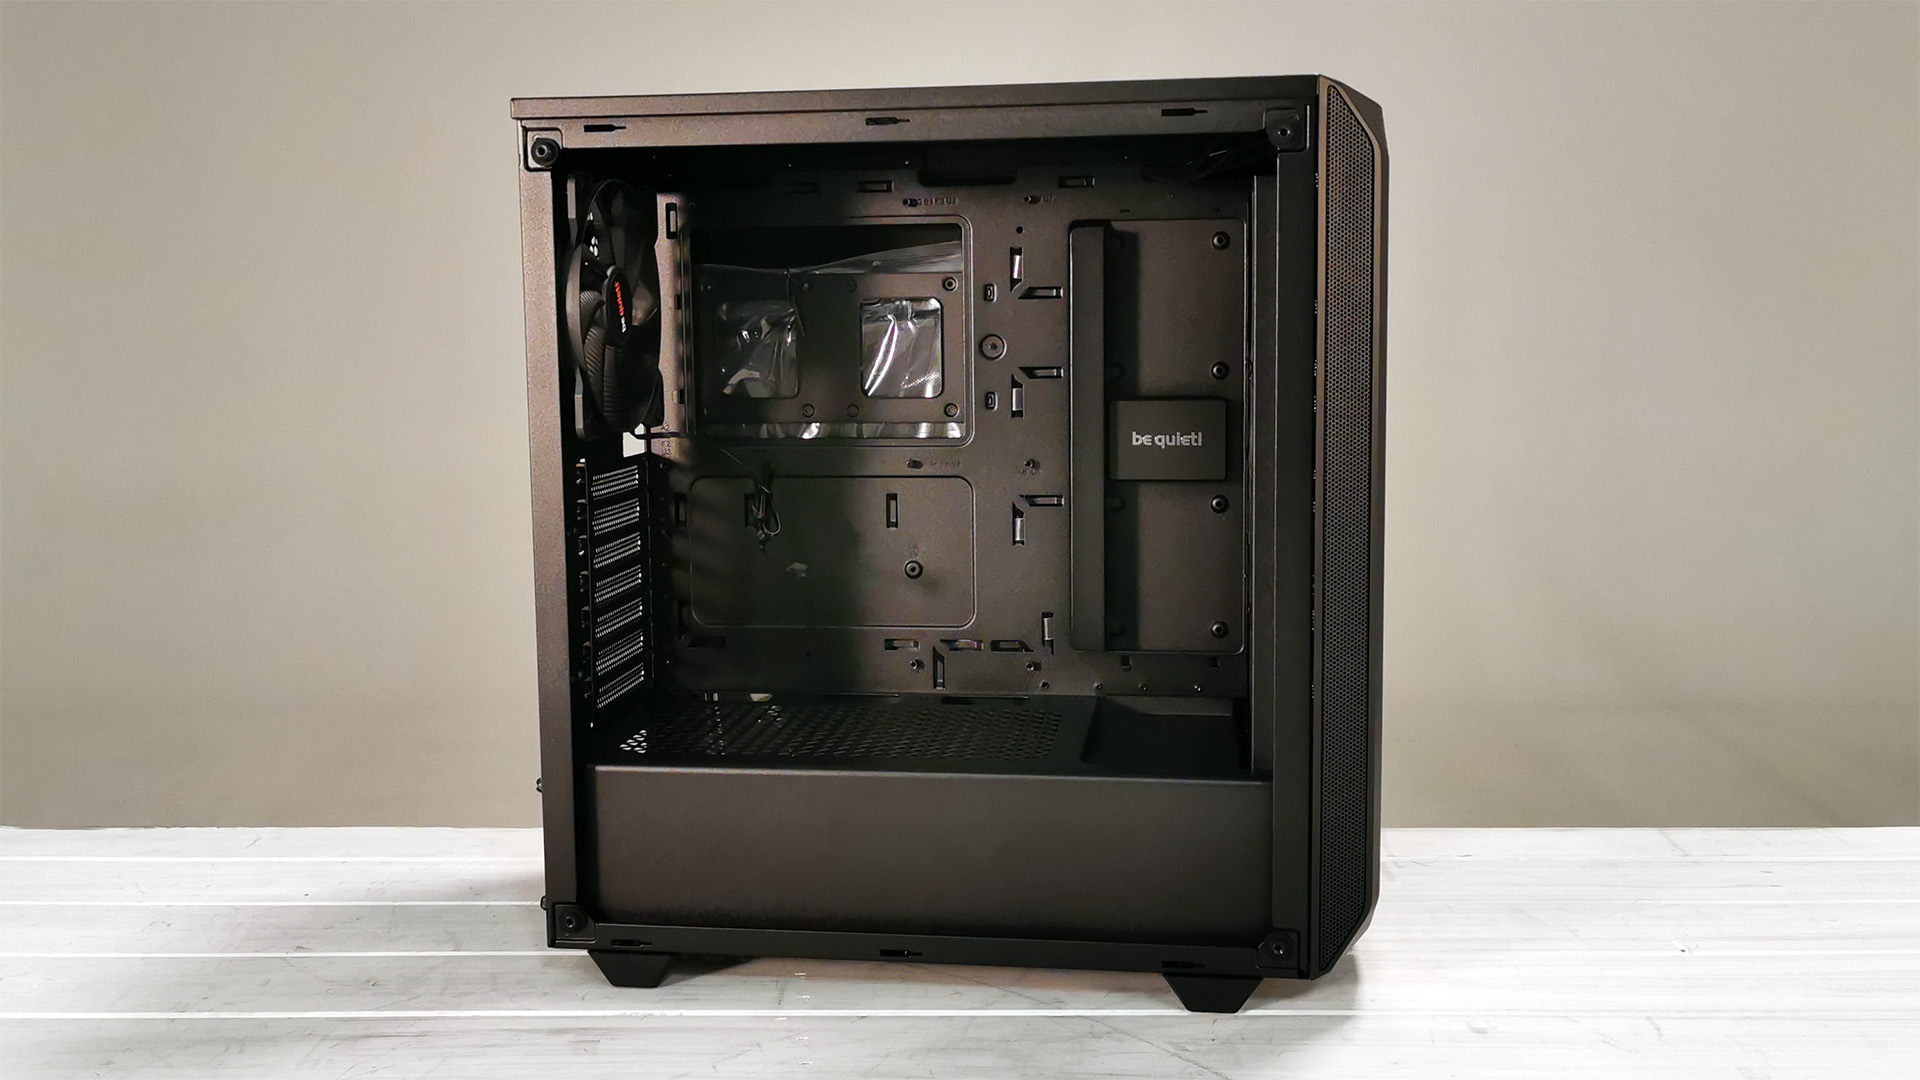
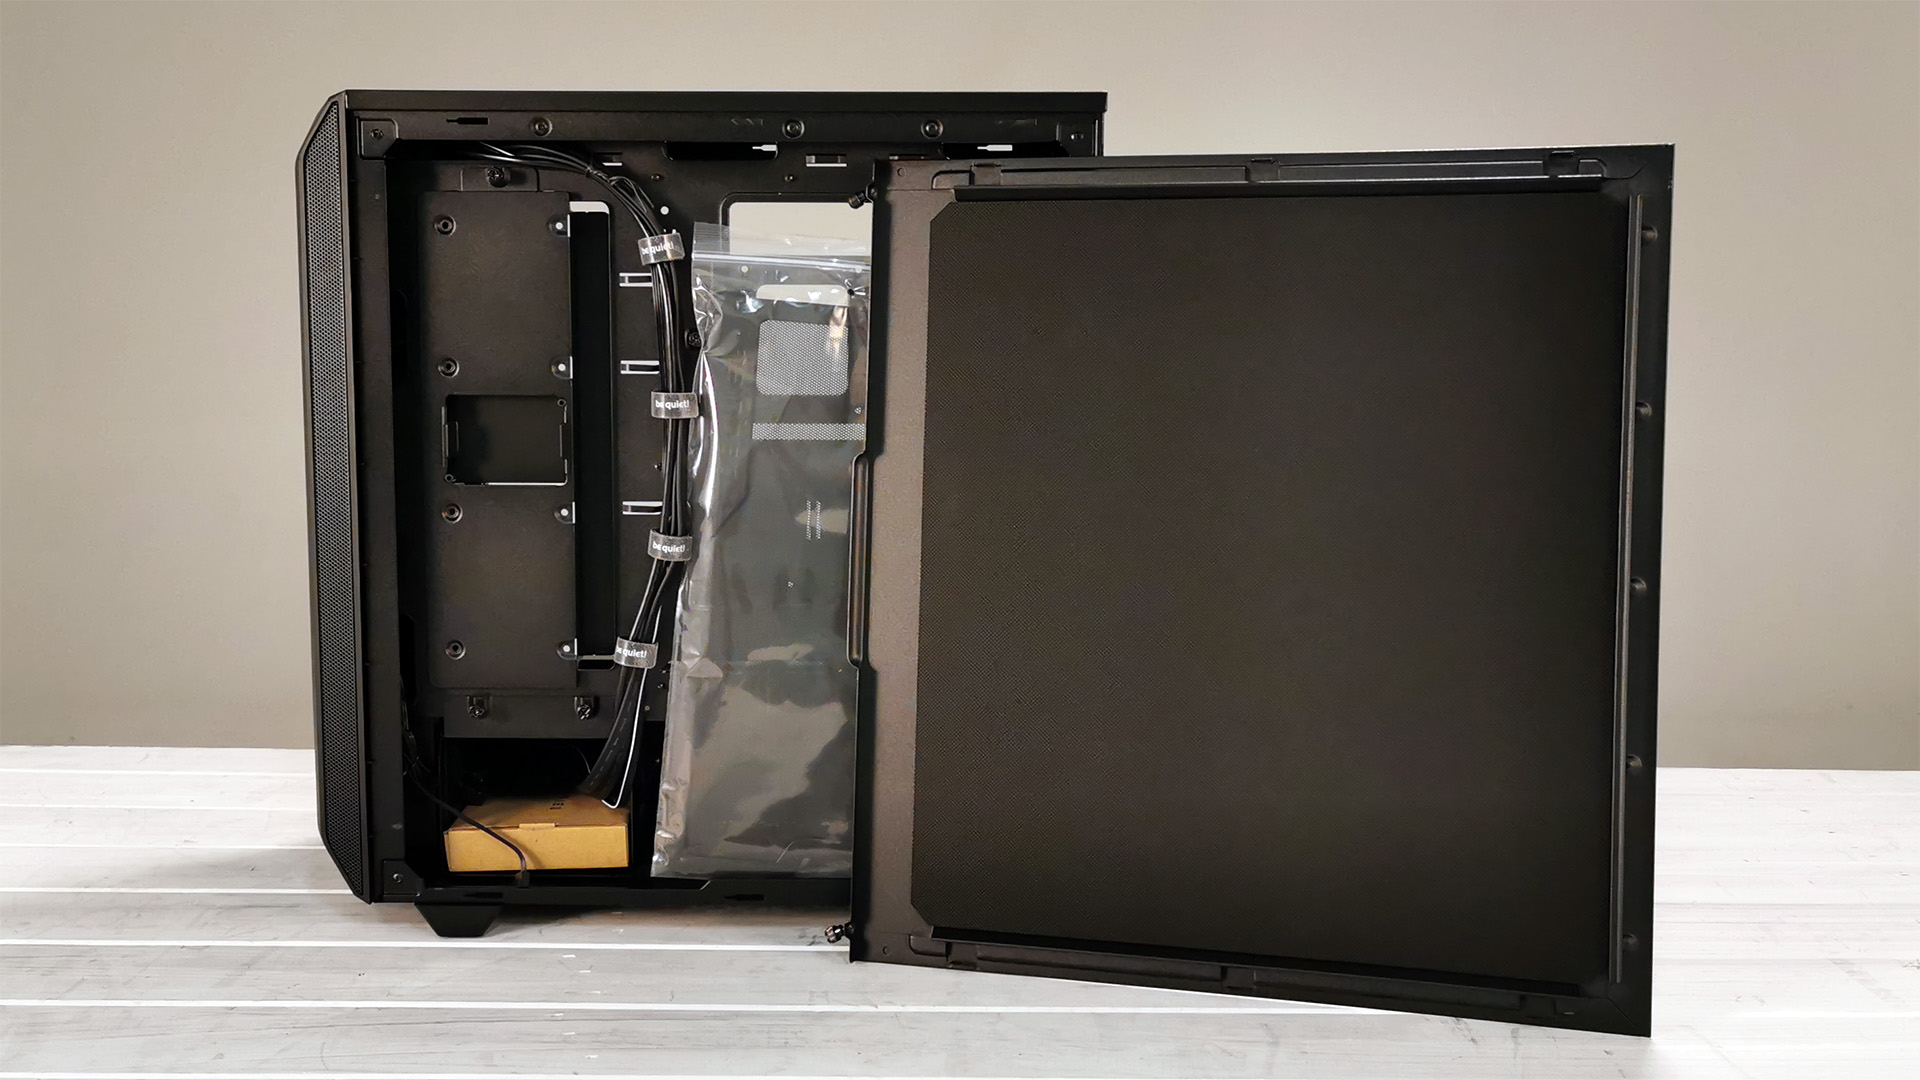
To remove the tempered glass window, simply undo the four thumb screws located in each corner and lift the window off. The steel door on the right side is secured via two retainable thumb screws.
Similar to the front panel, right door is covered with sound-deadening material to help reduce any noise produced through vibrations. Note: This does reduce the amount of space you have for cable management.
Hot Swappable Roof Filters
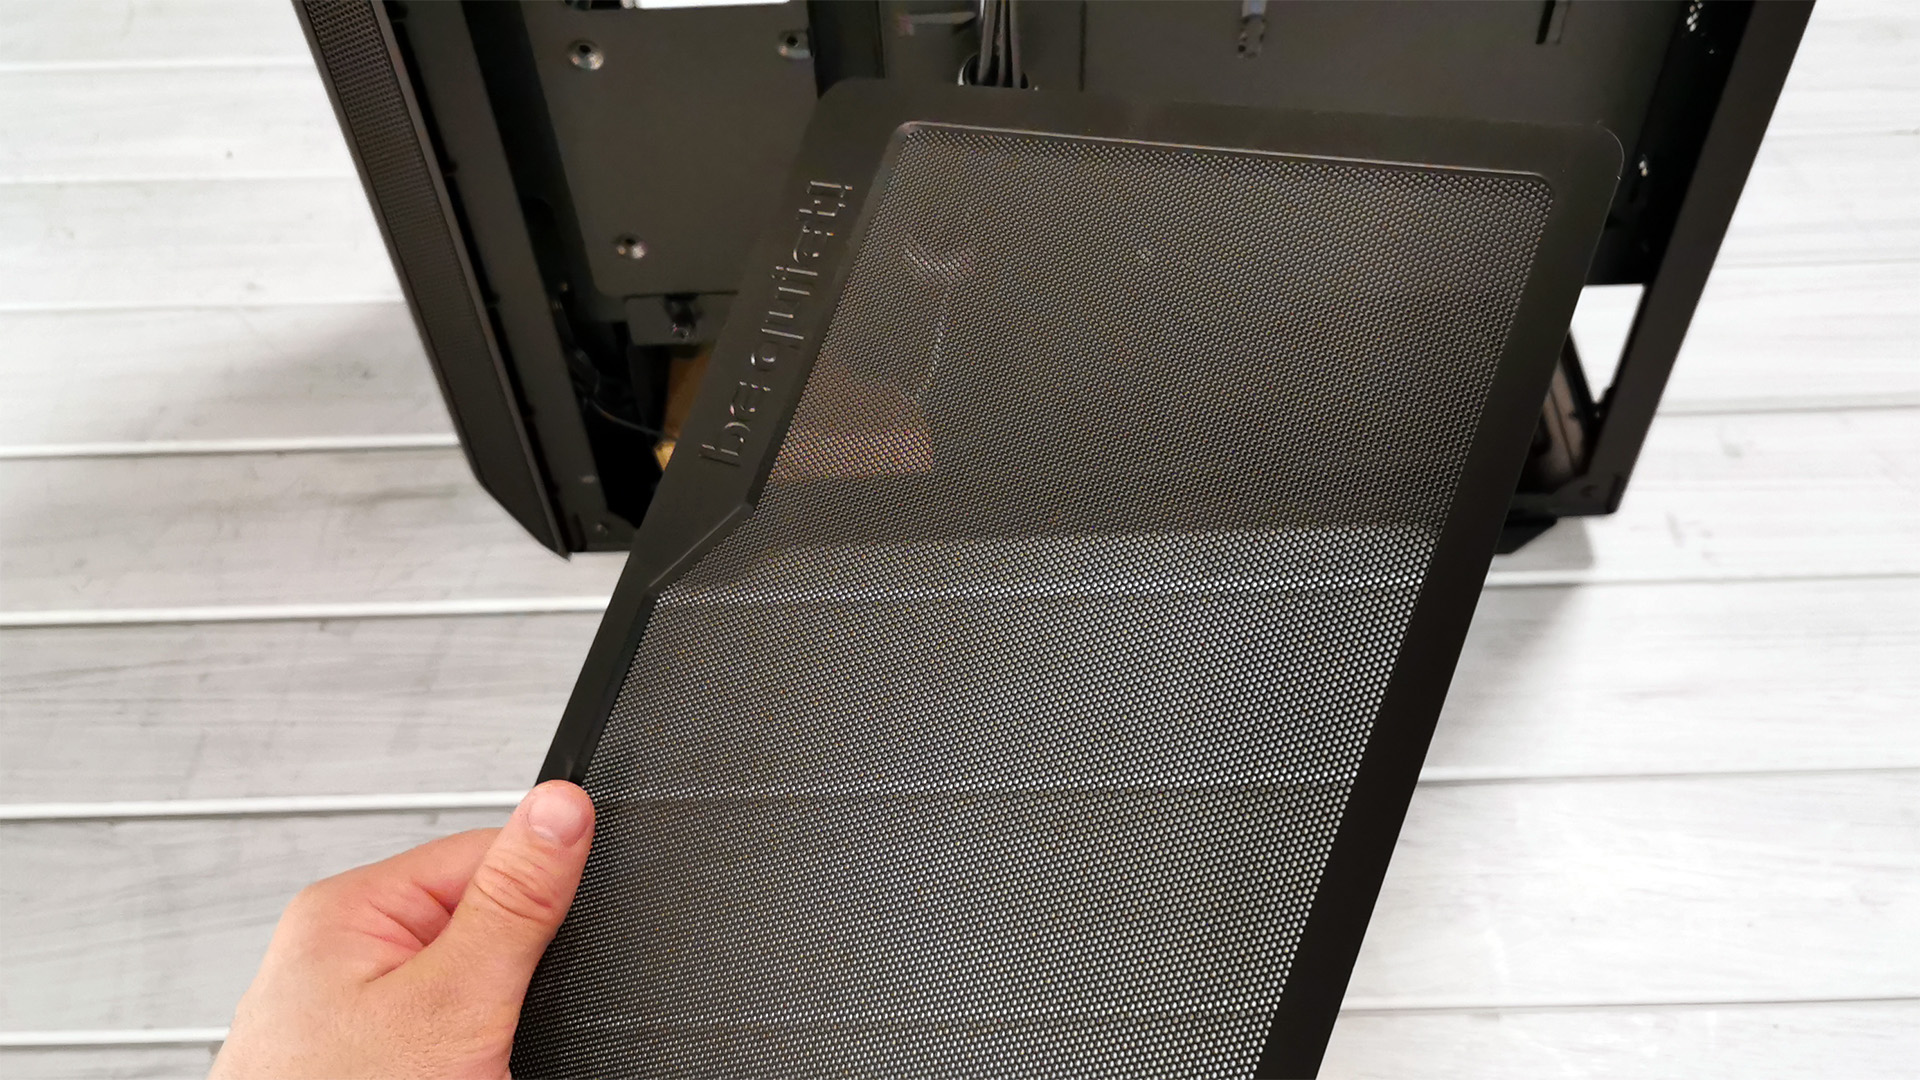
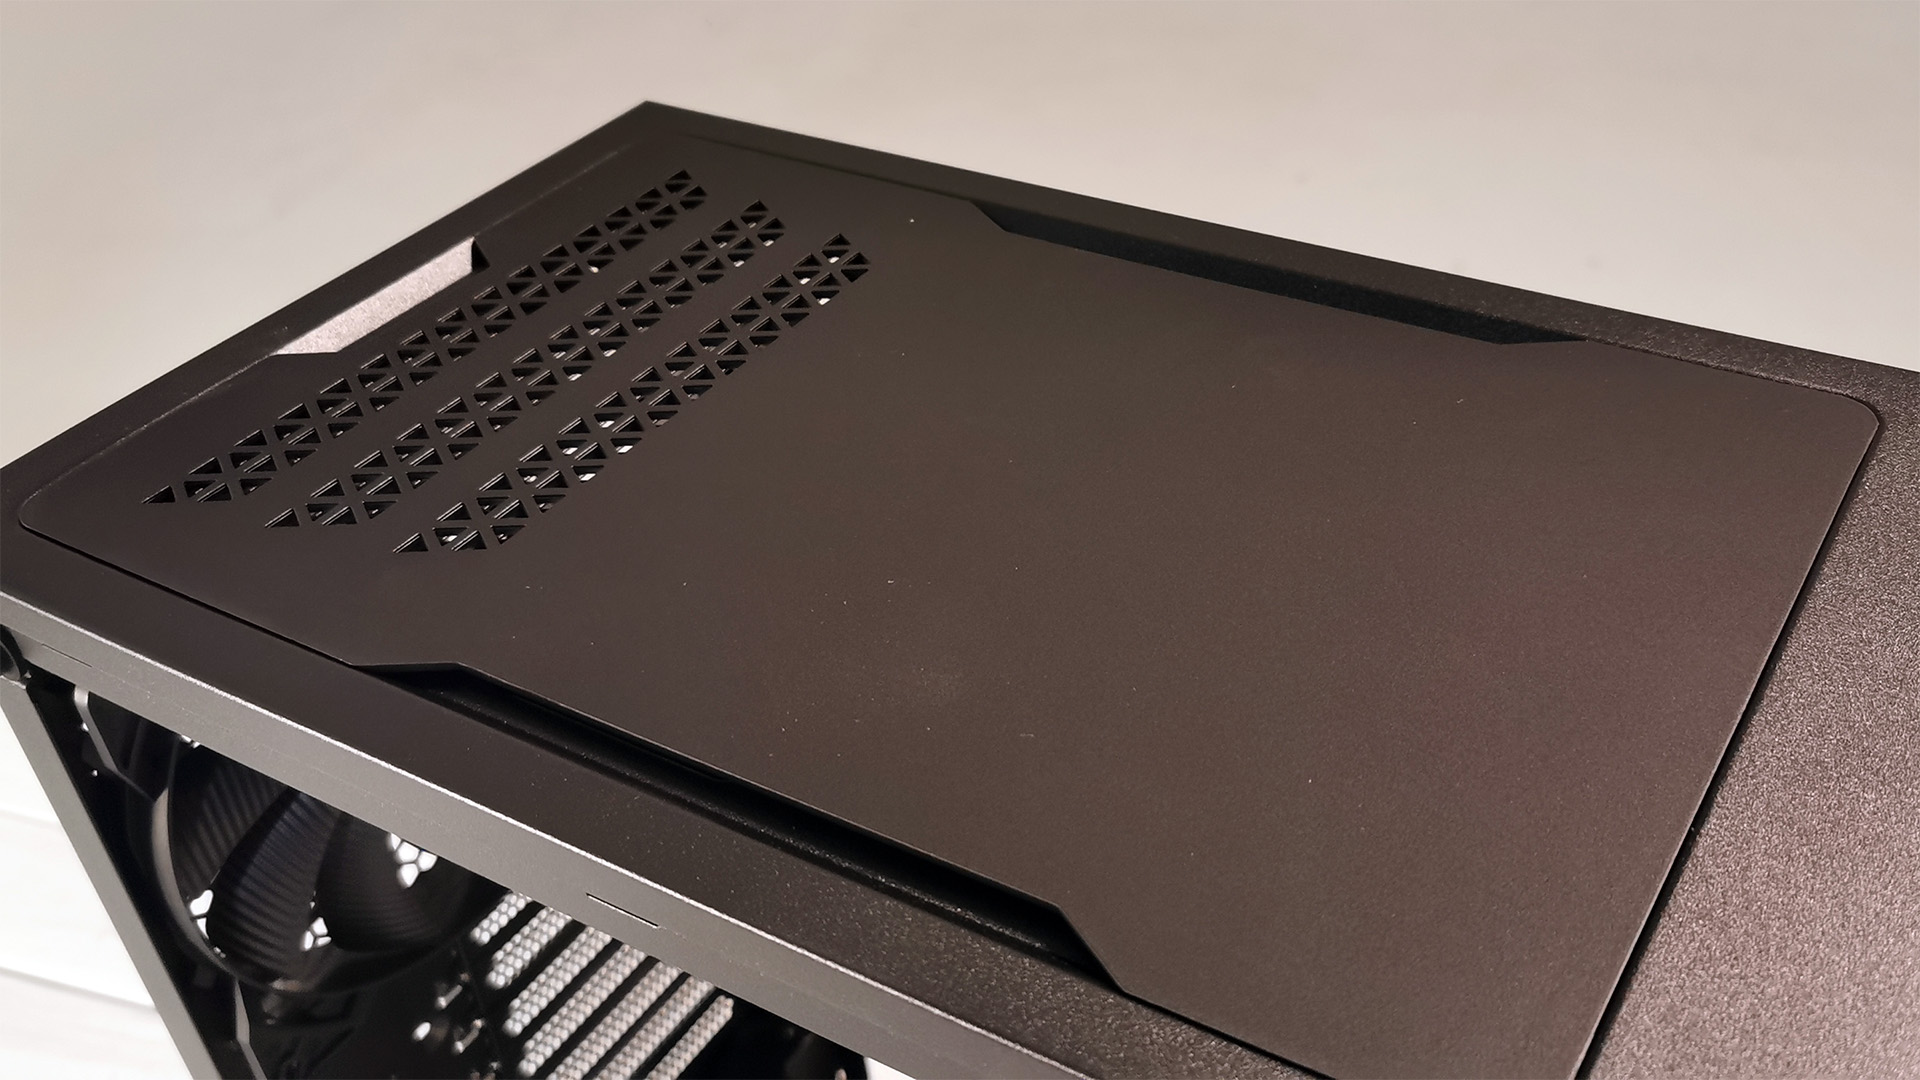
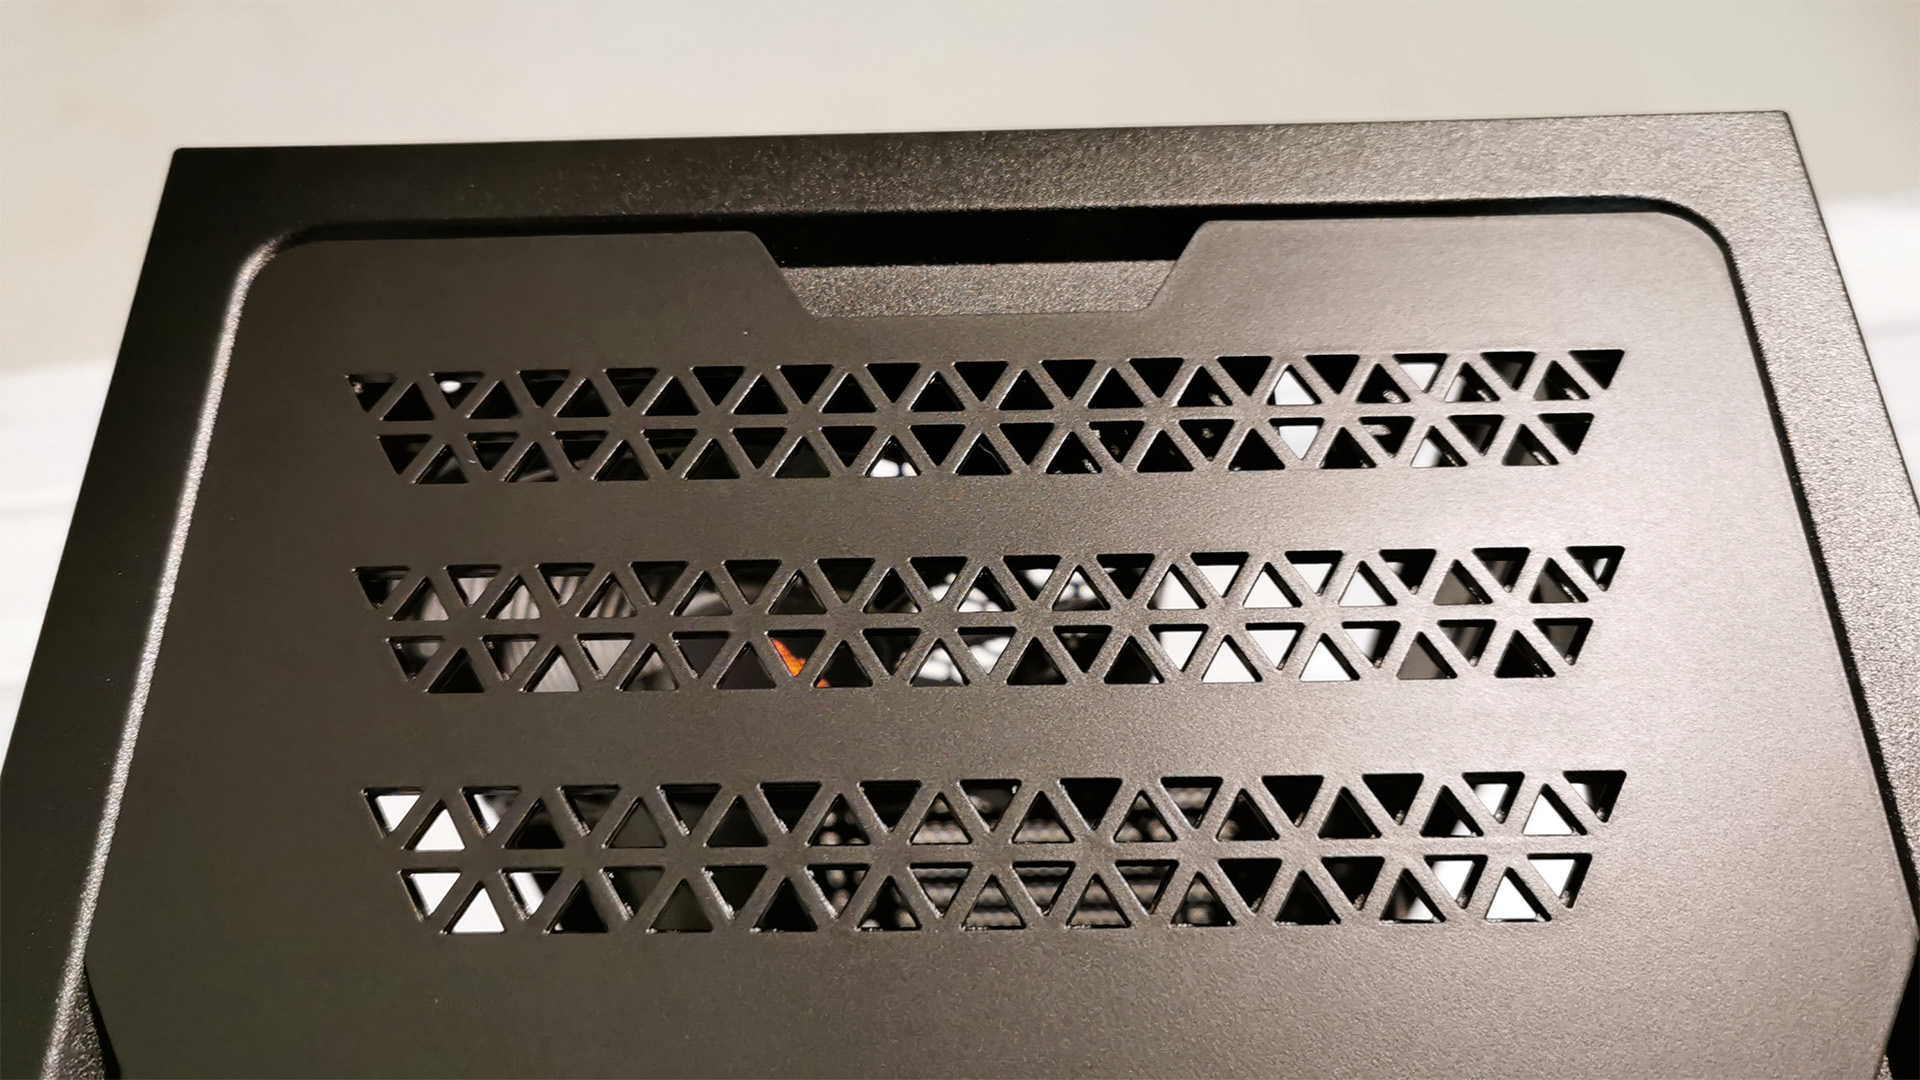
Be quiet! ships two top dust filters in the box to utilize depending on your setup. You can either opt for the complete mesh variant -- ideal for those installing 2x140mm fans in the roof, or instead go for the more solid version with the triangular cut design in the rear if noise dampening is more of a concern.
Both are constructed from a flexible plastic, and fit into position easily thanks to magnetic seals running along the inside edge of each filter.
Interior Look
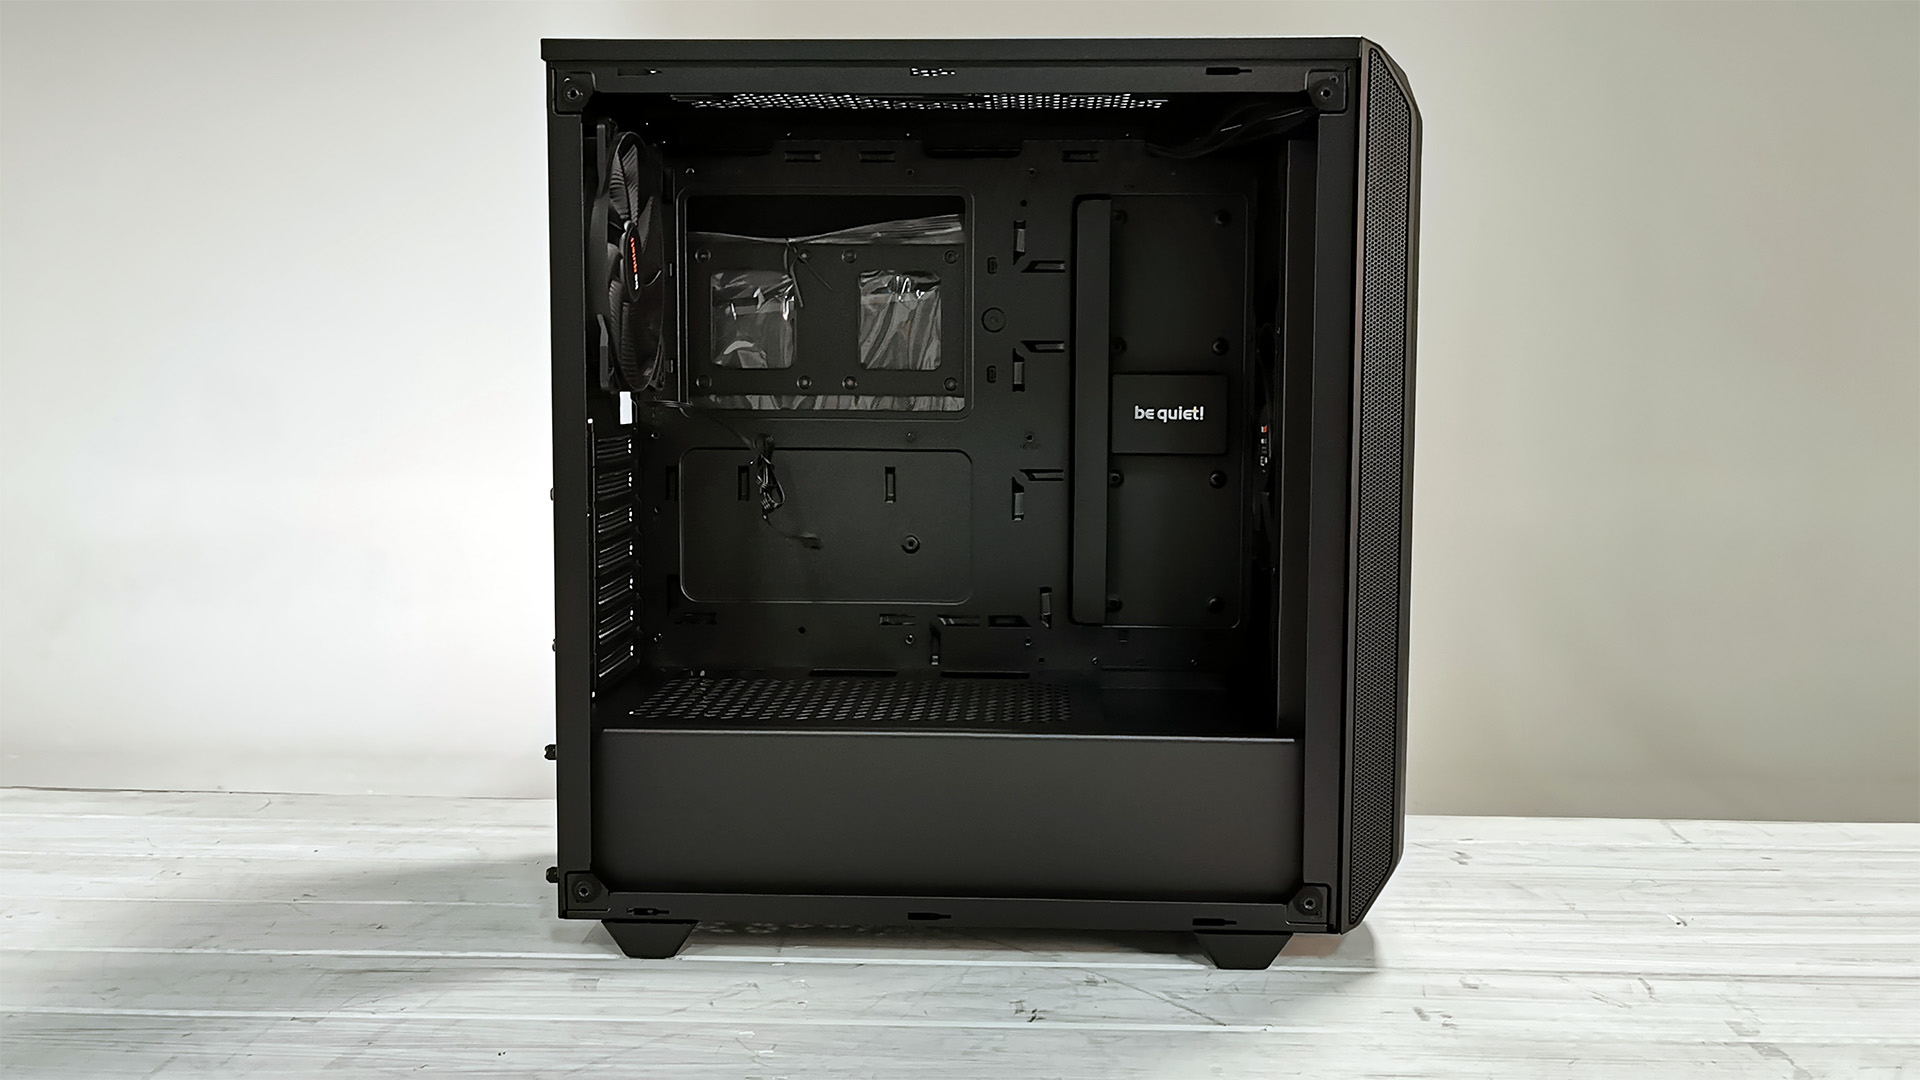
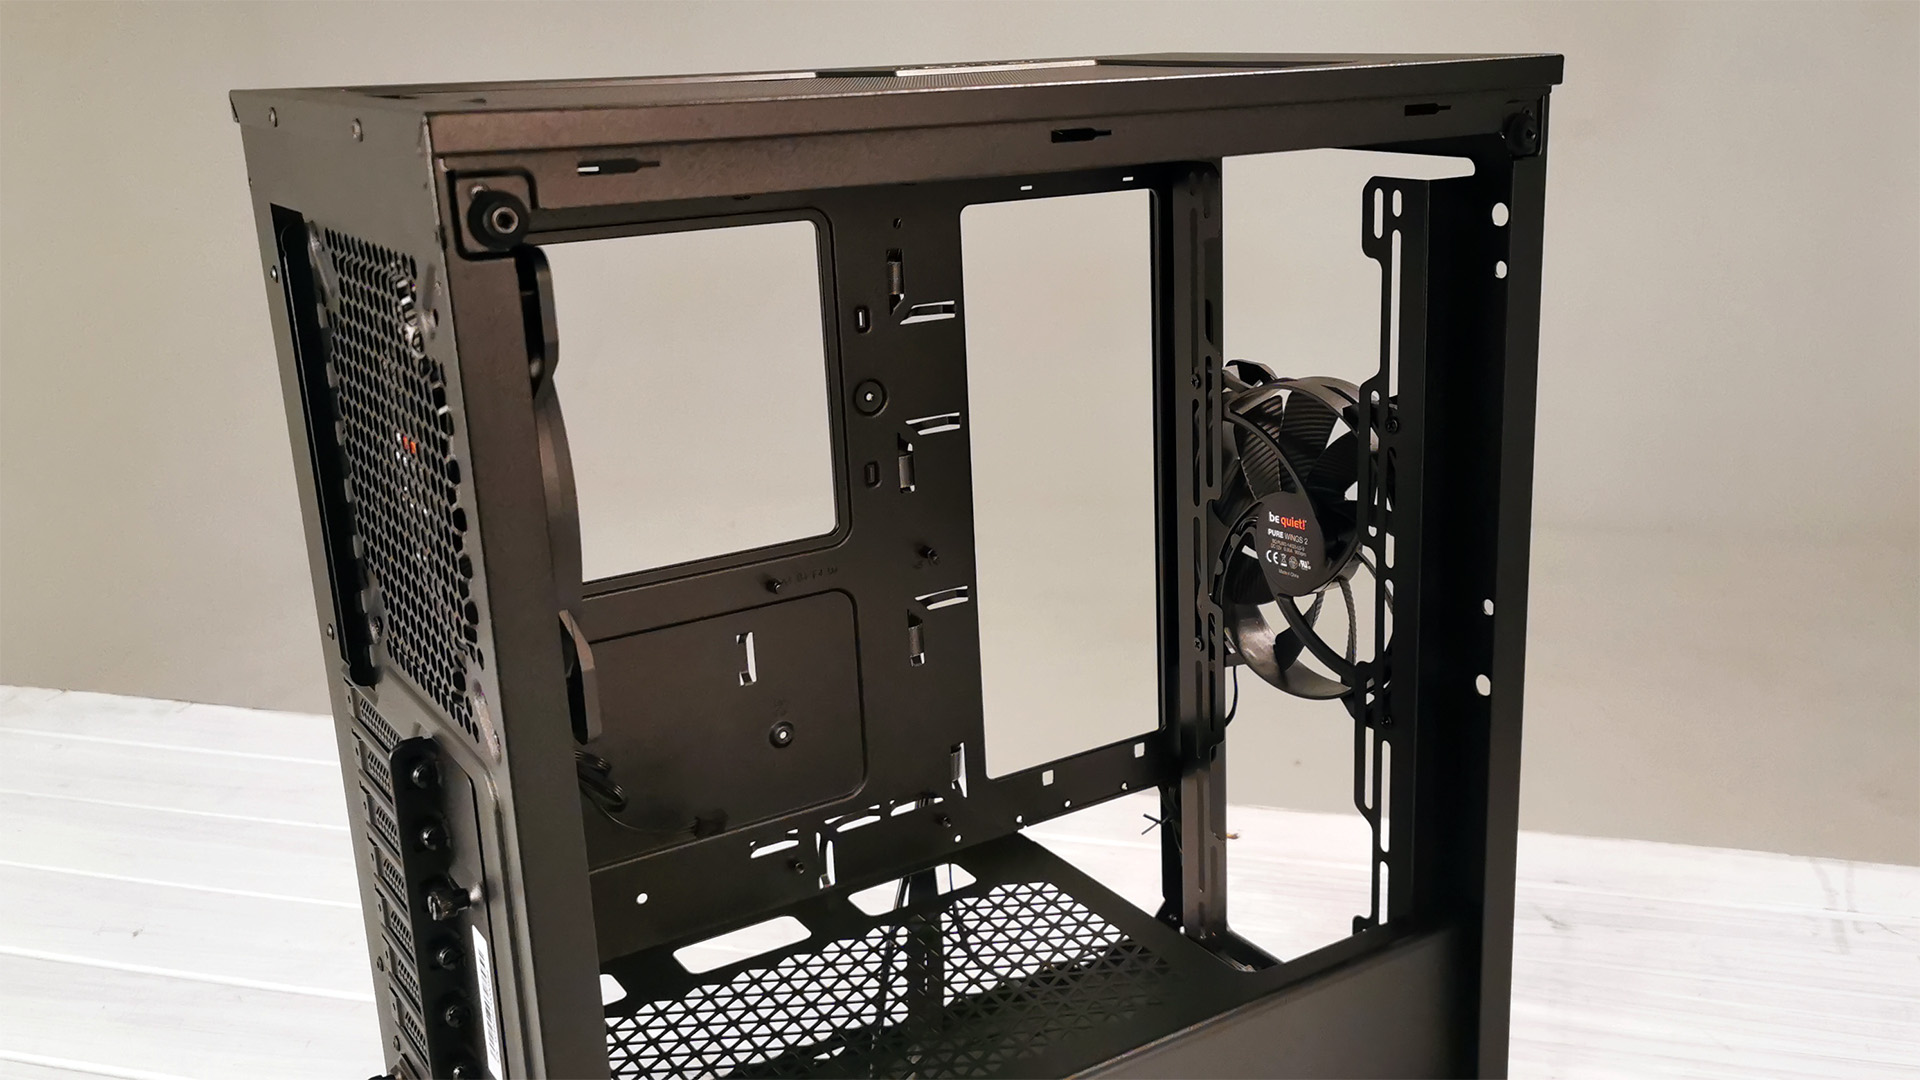
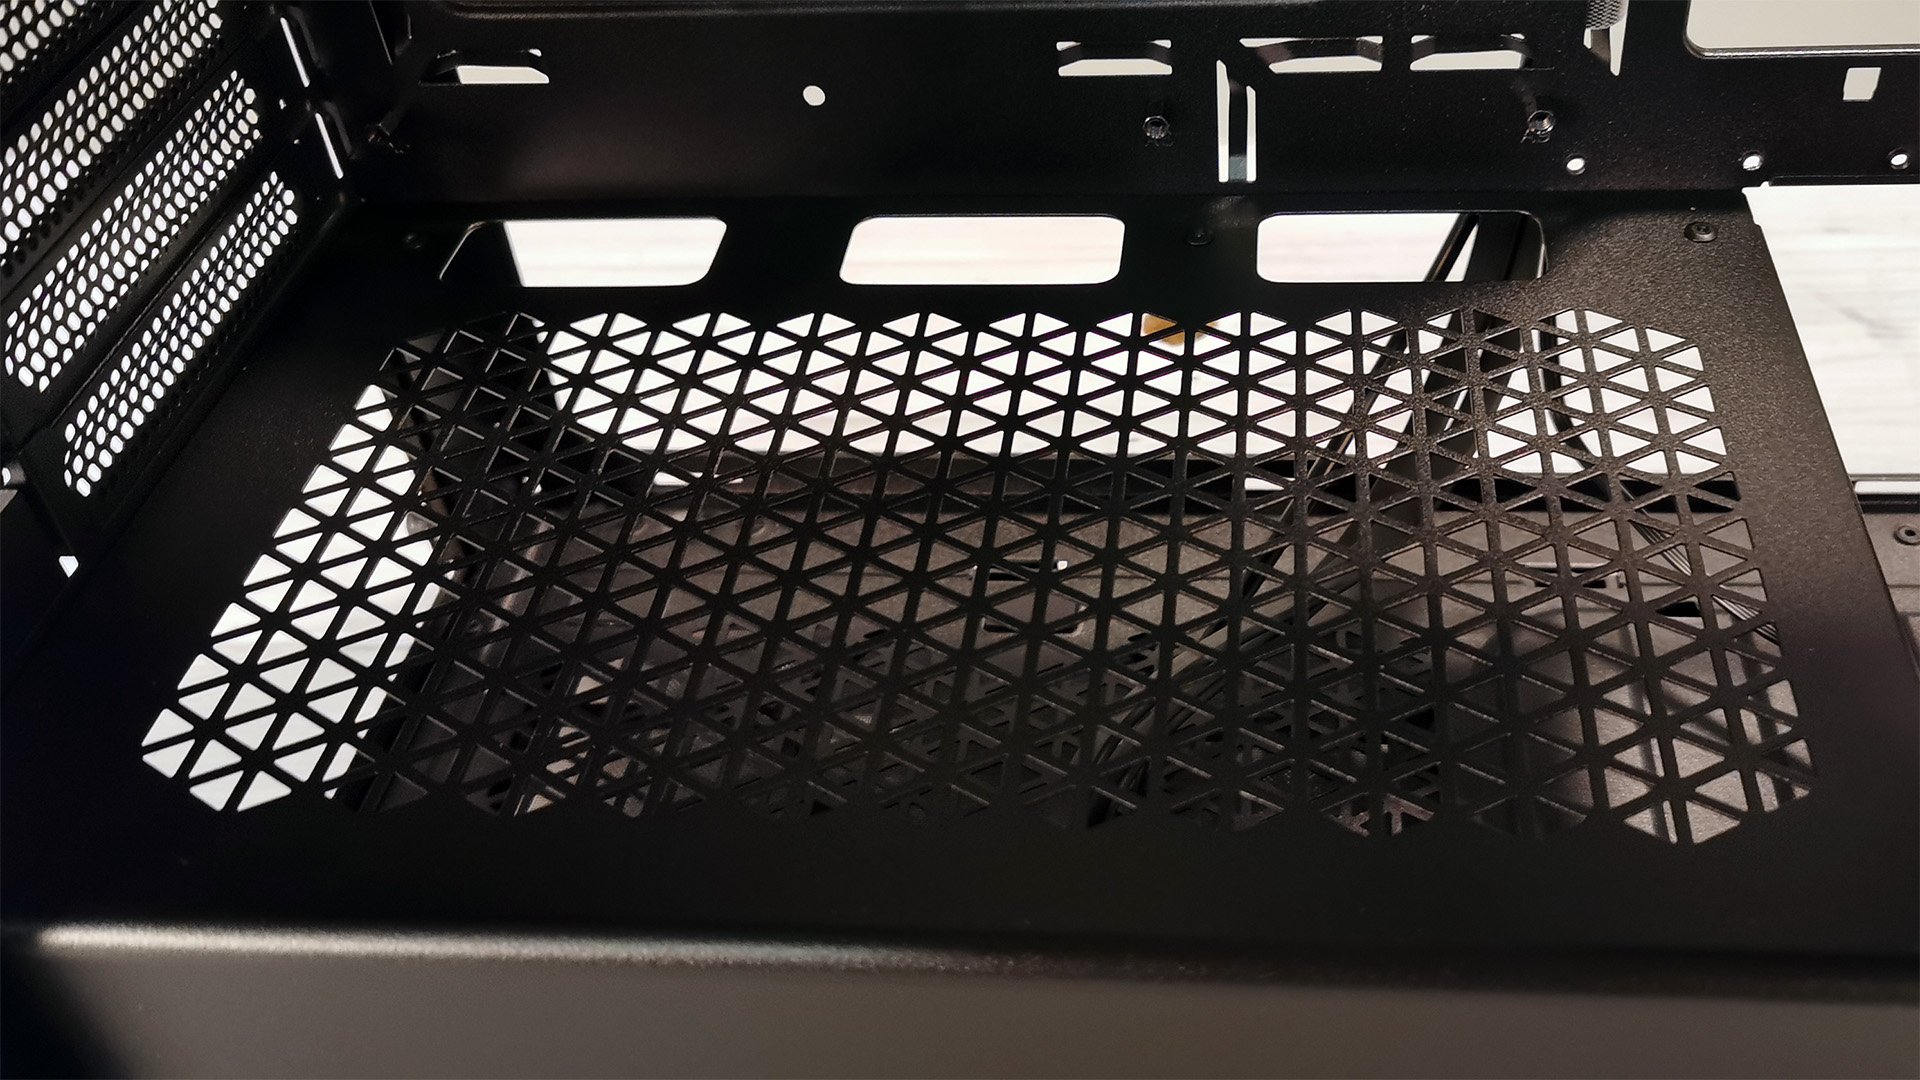
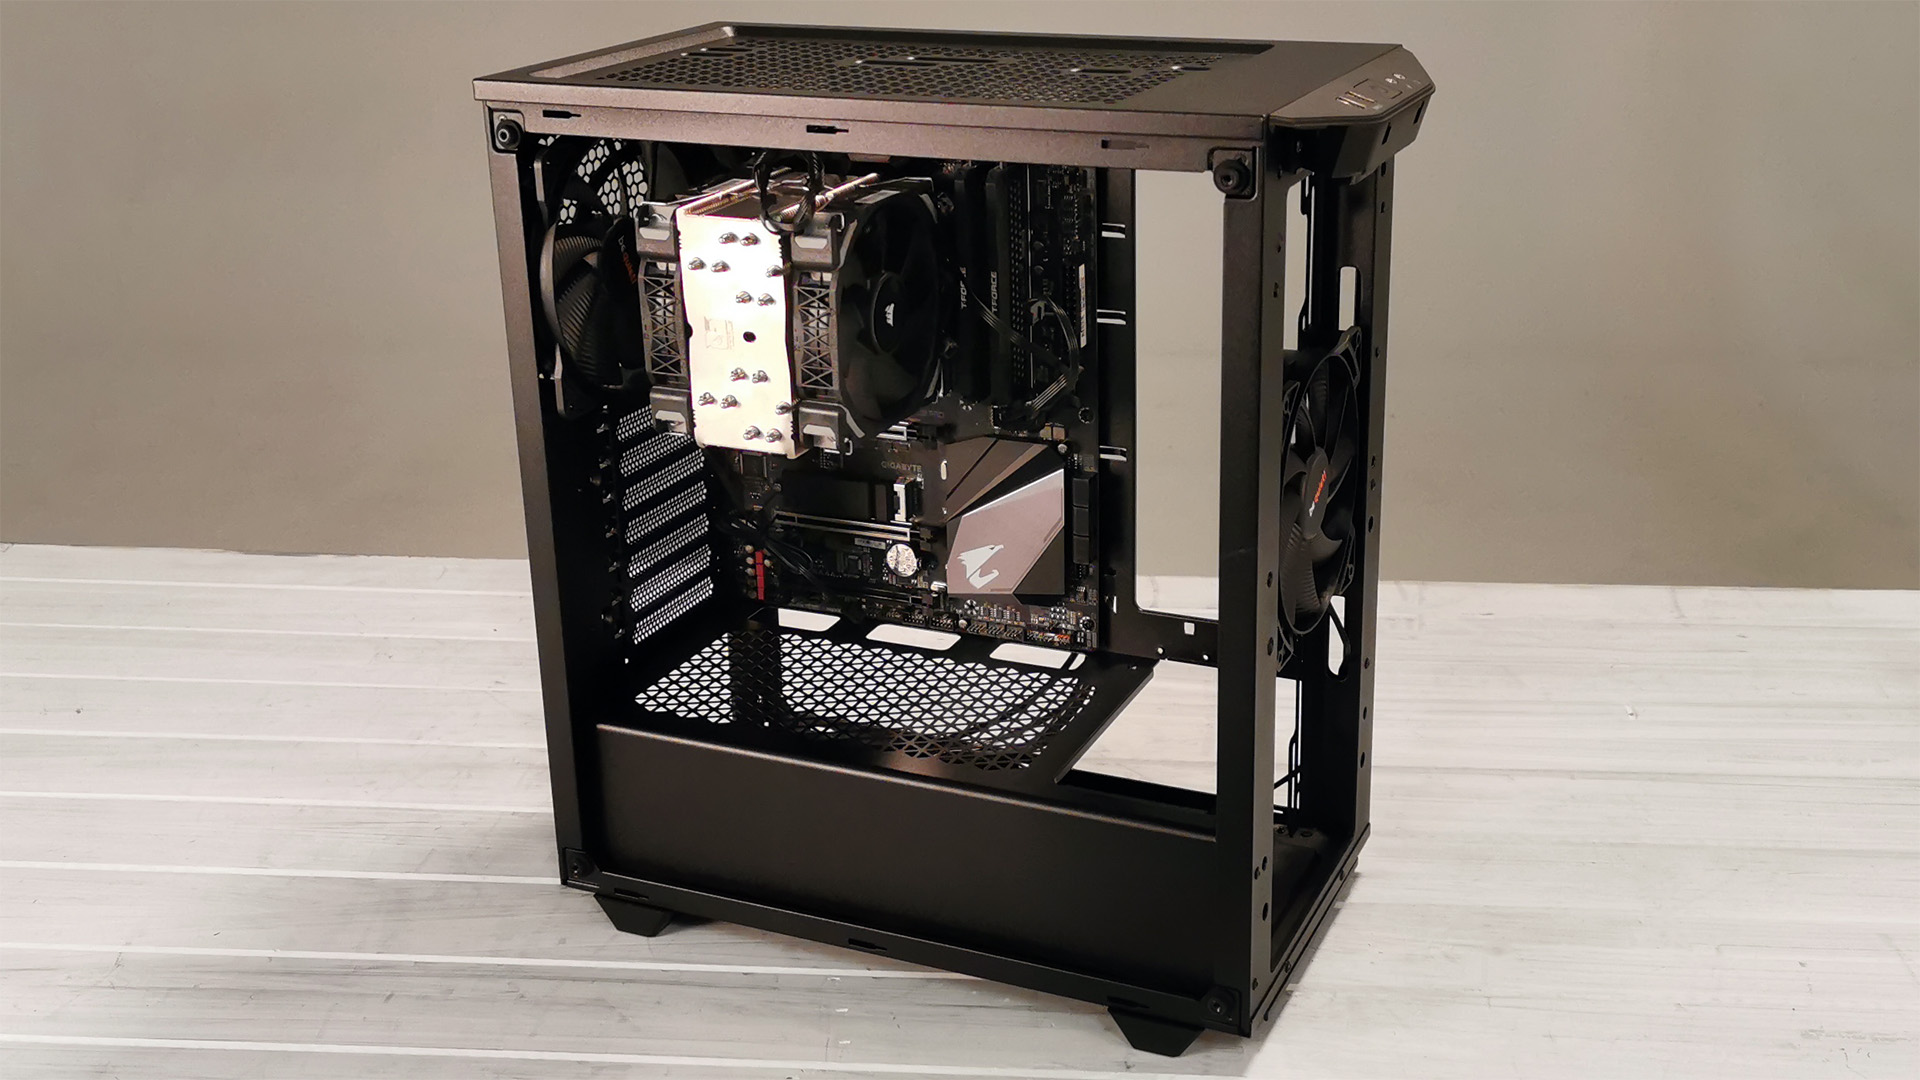
Inside, there’s space in the front to mount up to a 360mm radiator, as well as an additional set of fans, as long as you remove the 3.5-inch hard drive cage below. In the roof, the Pure Base 500 also supports a slim 240mm AIO, and in the rear up to a 140mm AIO.
GPU clearance measures at 369mm (14.5 inches), and the Pure Base 500 will support CPU towers up to 190mm (7.4 inches) tall as well. PSU compatibility is also strong at 258mm, as long as you don’t opt for any bottom-mounted fans.
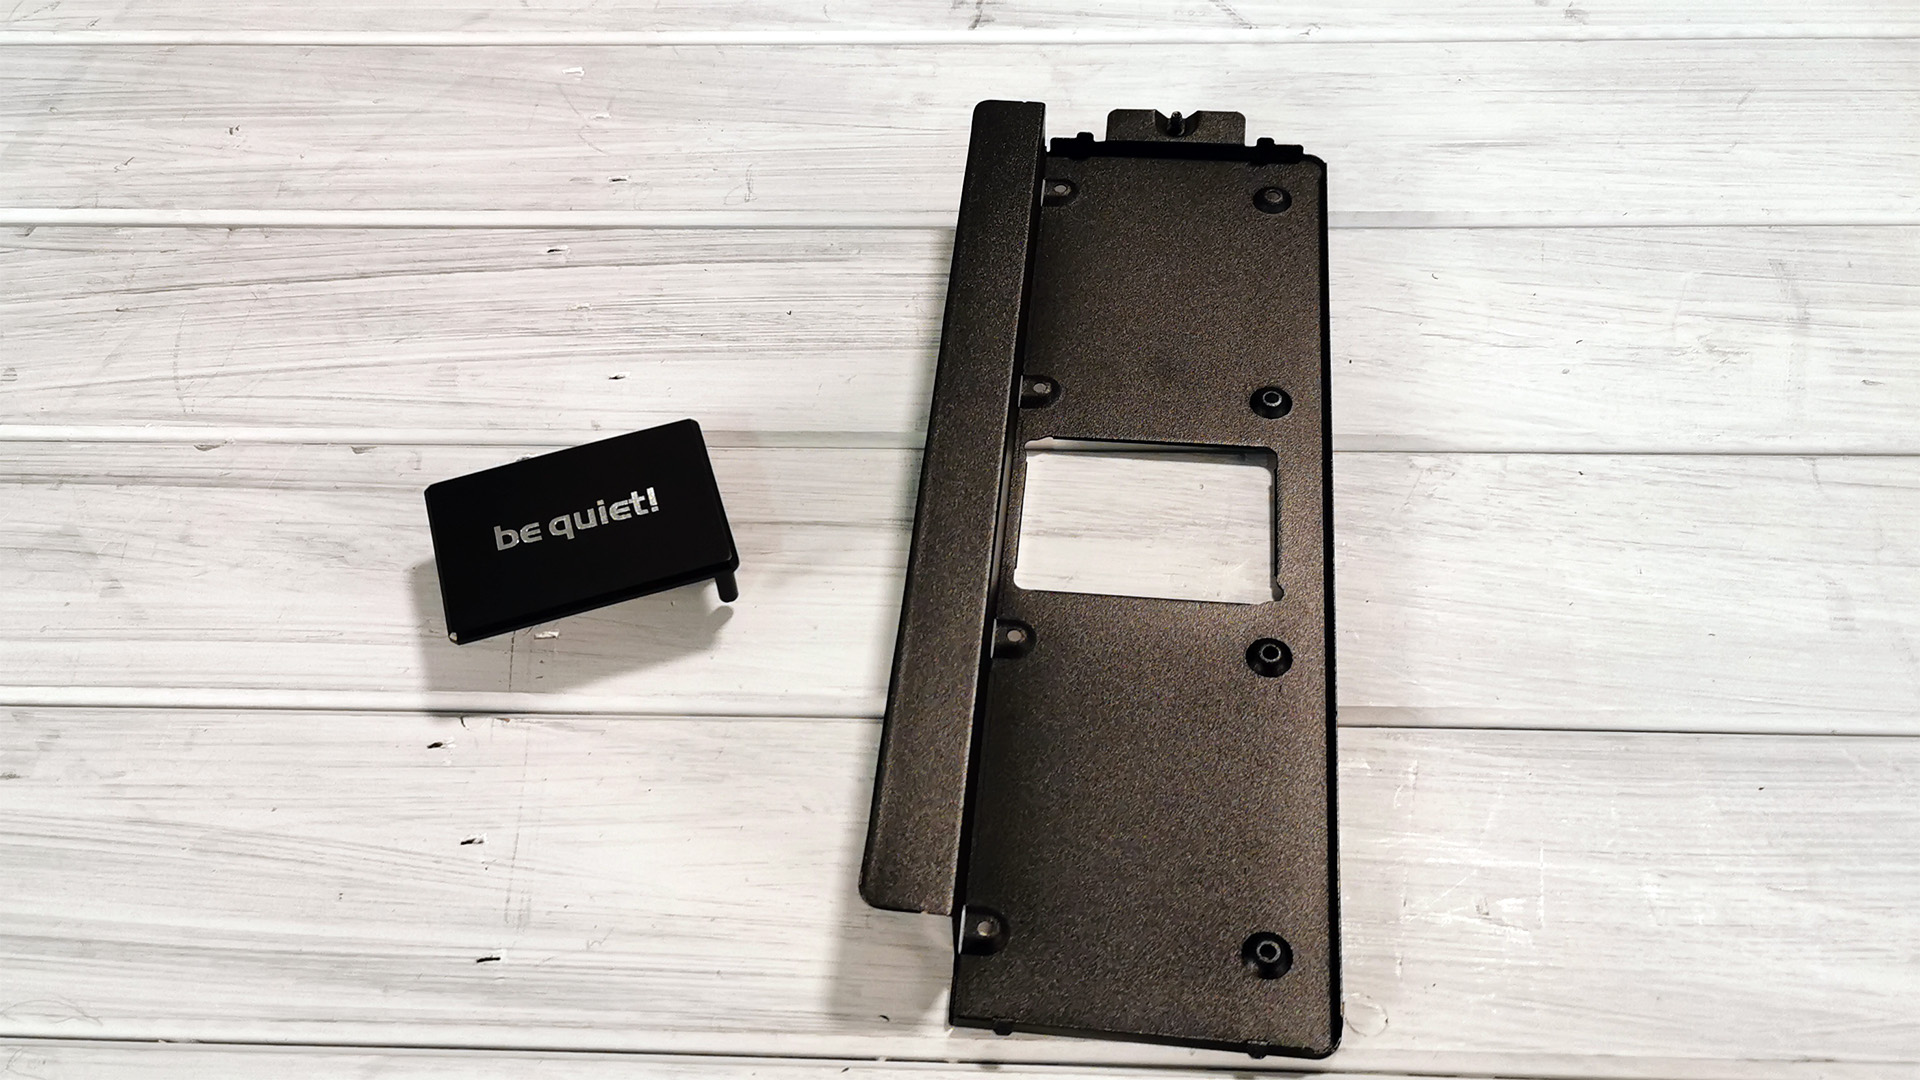
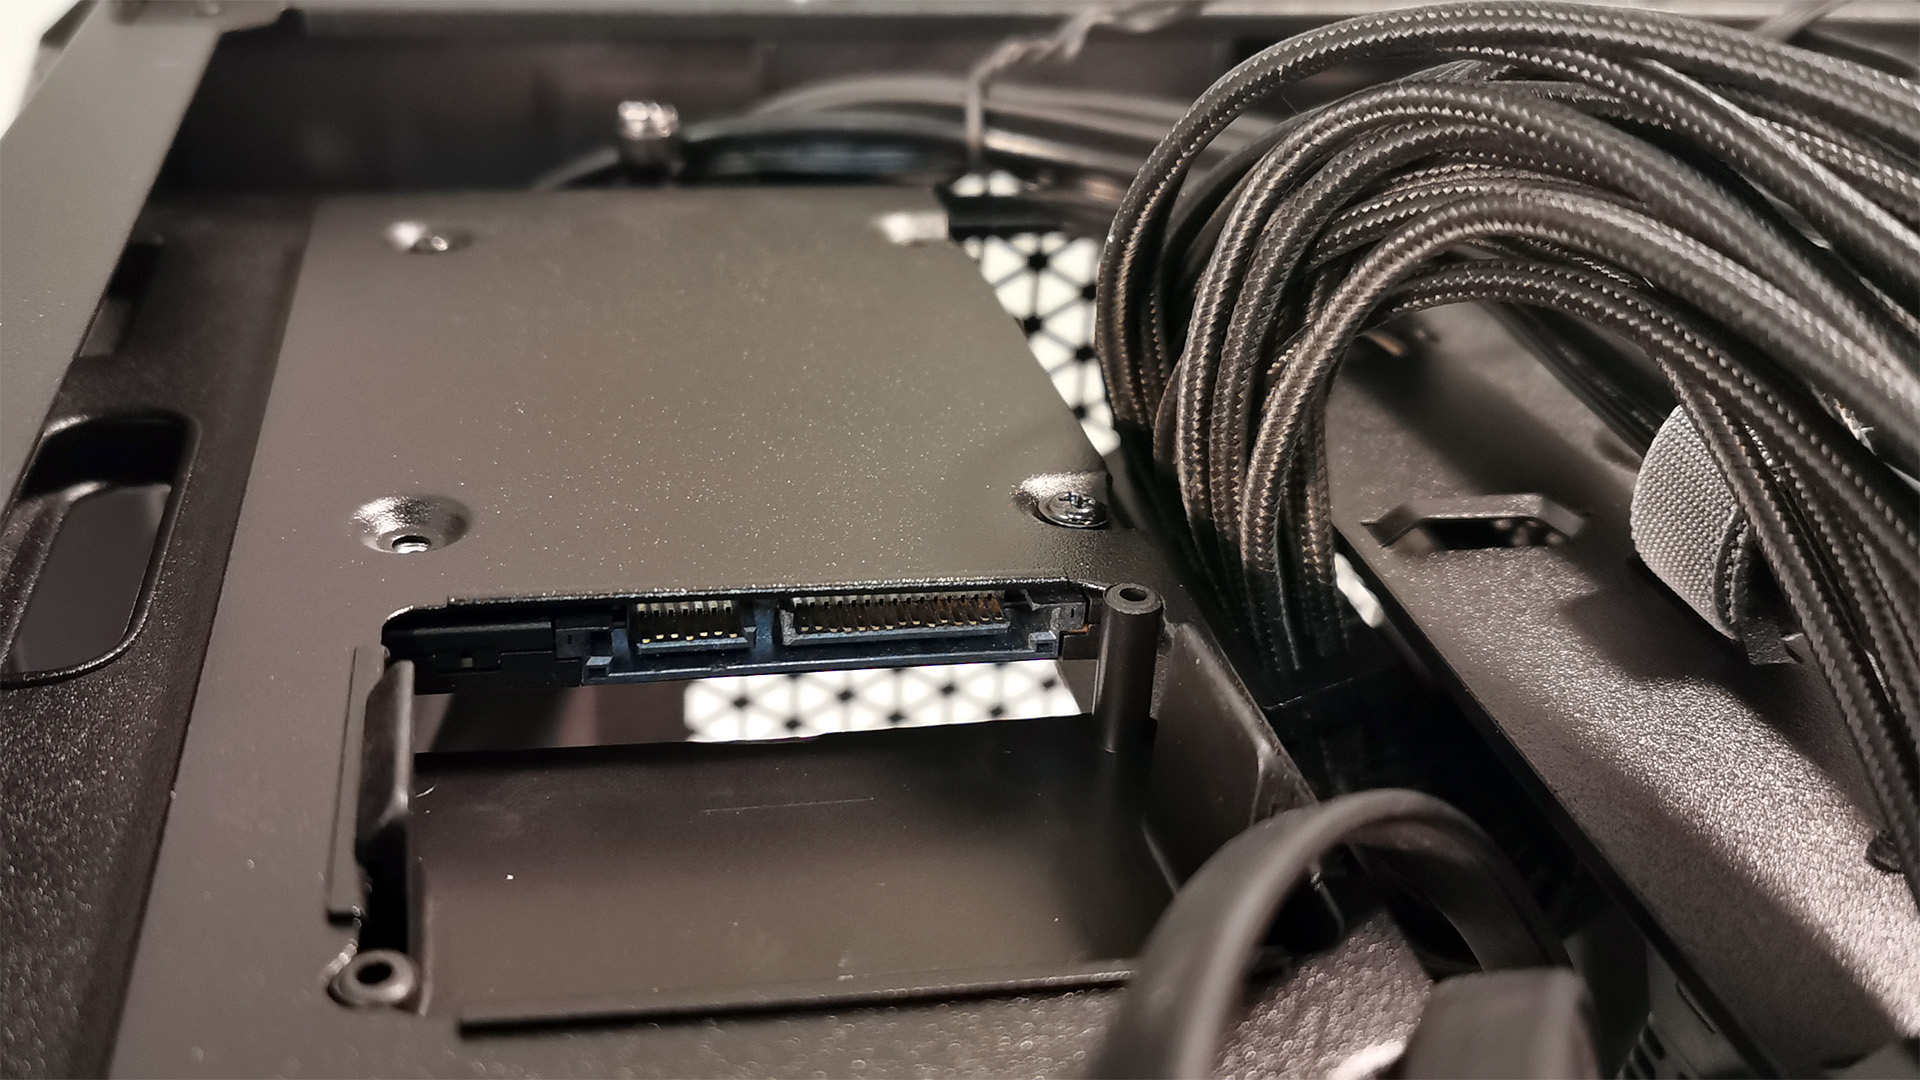
Another important feature is the cable management bar in the front. This doubles as a way of hiding your main 24-pin and front I/O or fan cables without the need for panel cutouts or rubber grommets. This bar also acts as an SSD mounting tray, too. Remove the cable bar from the case, pop off the be quiet! logo plate, install your SSDs with the ports facing towards the hole, reinstall back into the chassis, attach your cables, and then place the logo plate back into position.
It’s nice to see this option in a budget chassis like this. That said, the downside is that, with the SSD cables going through that center hole, it means your bottom-most SSD will be facing in a different orientation than the top one, so the label will be reversed or flipped.
Rear Cable Management
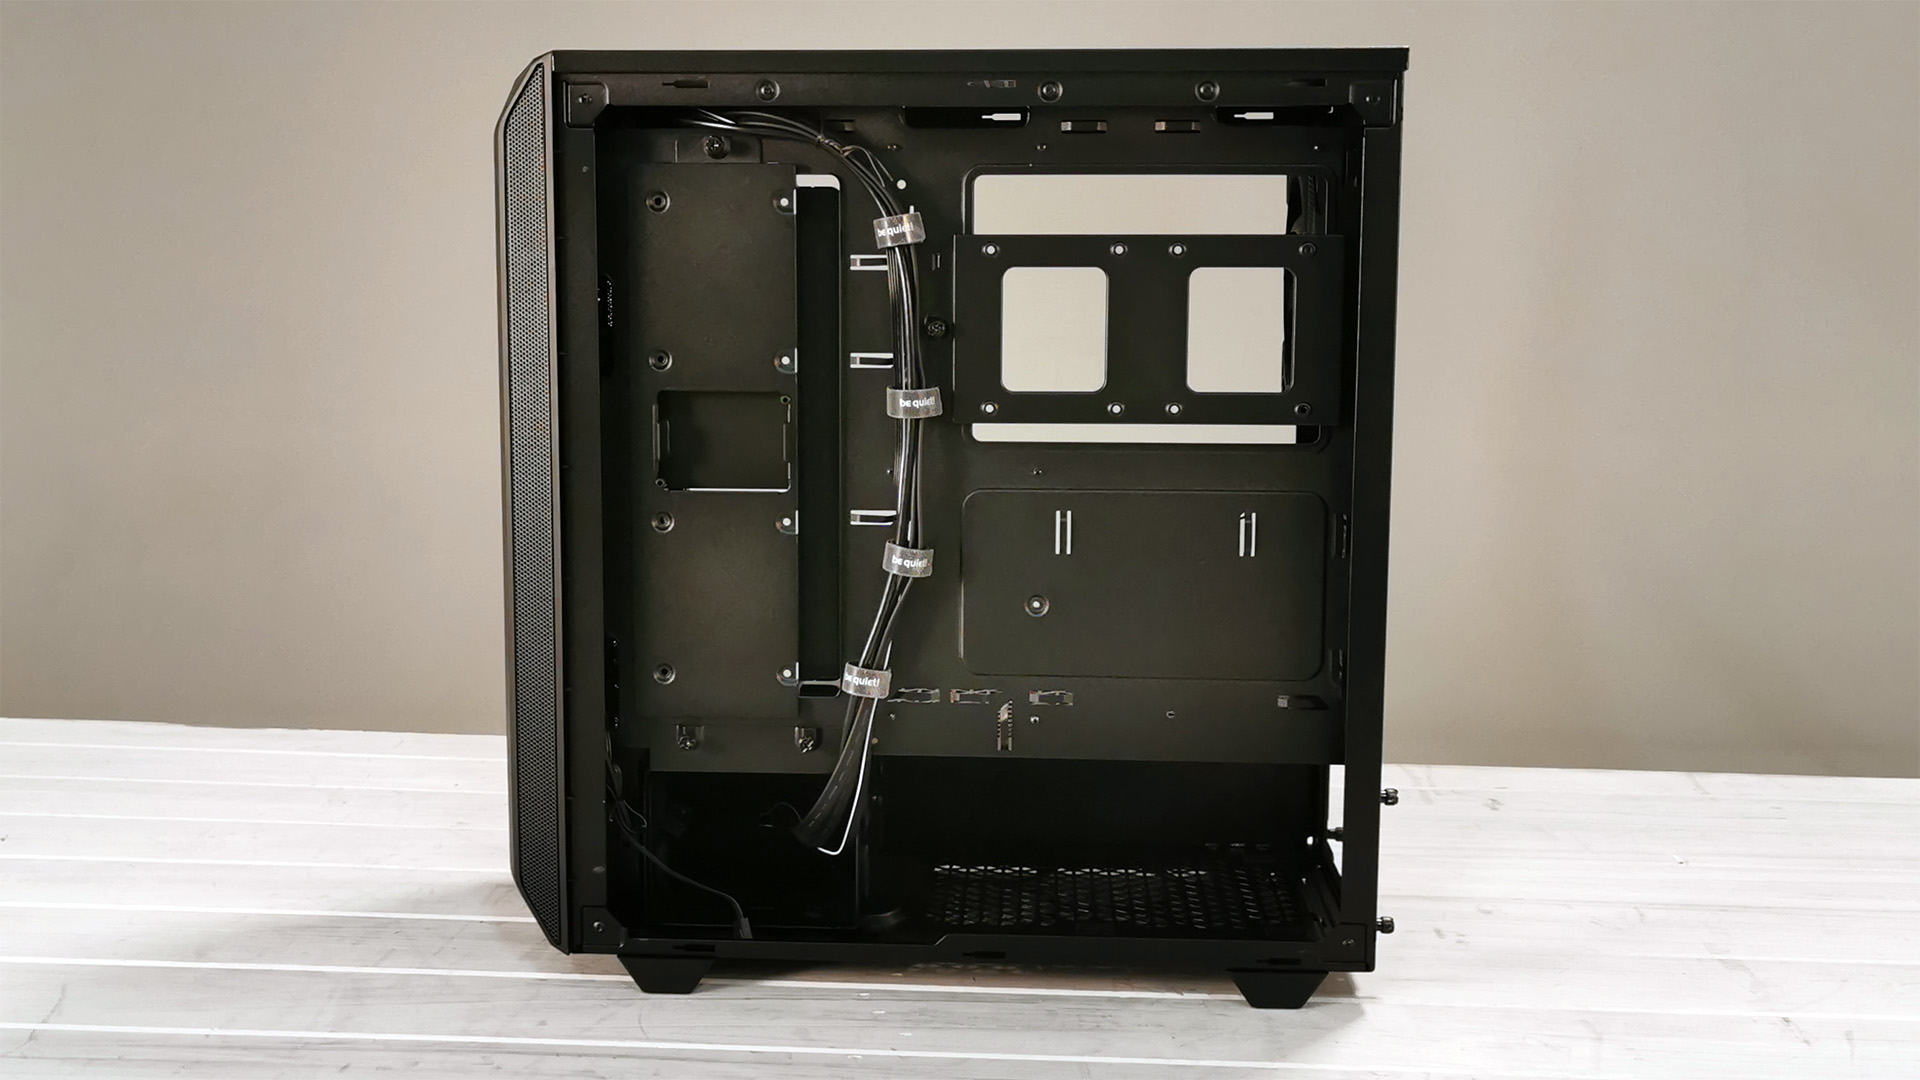
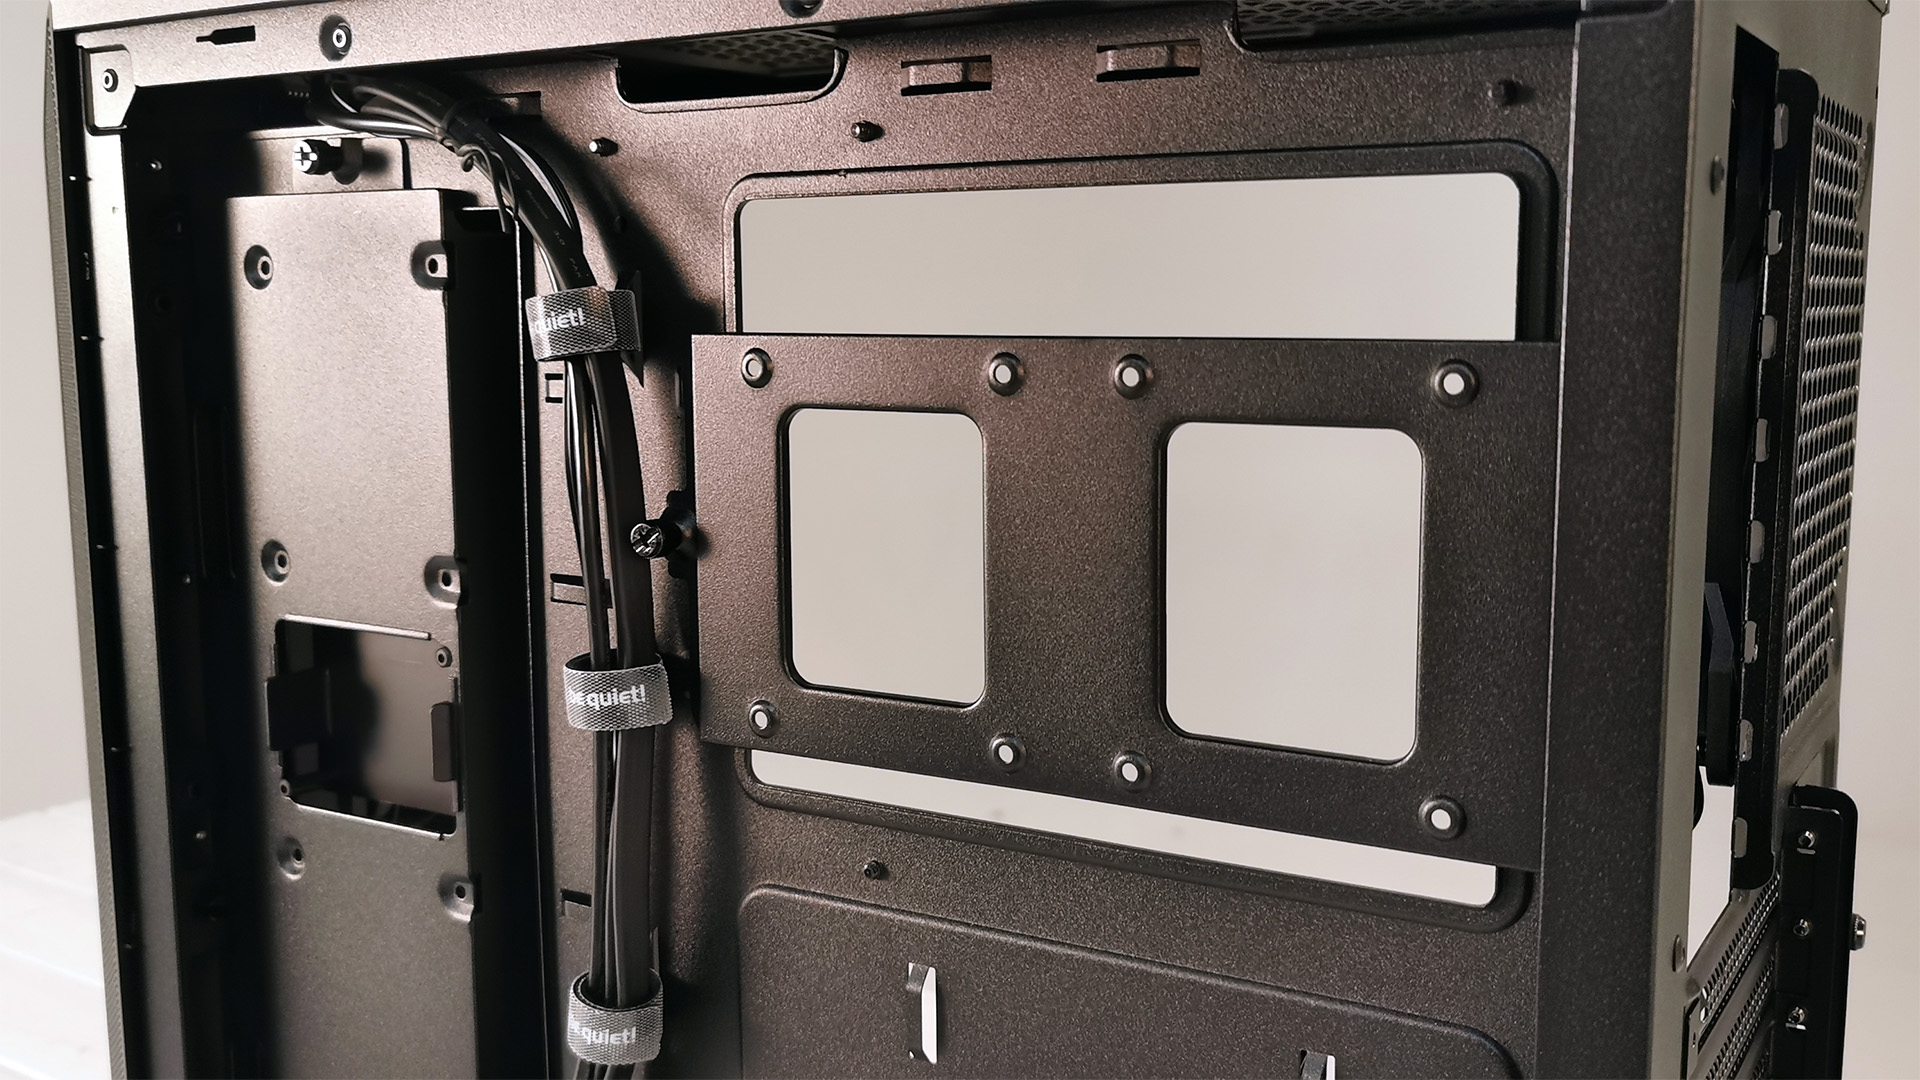
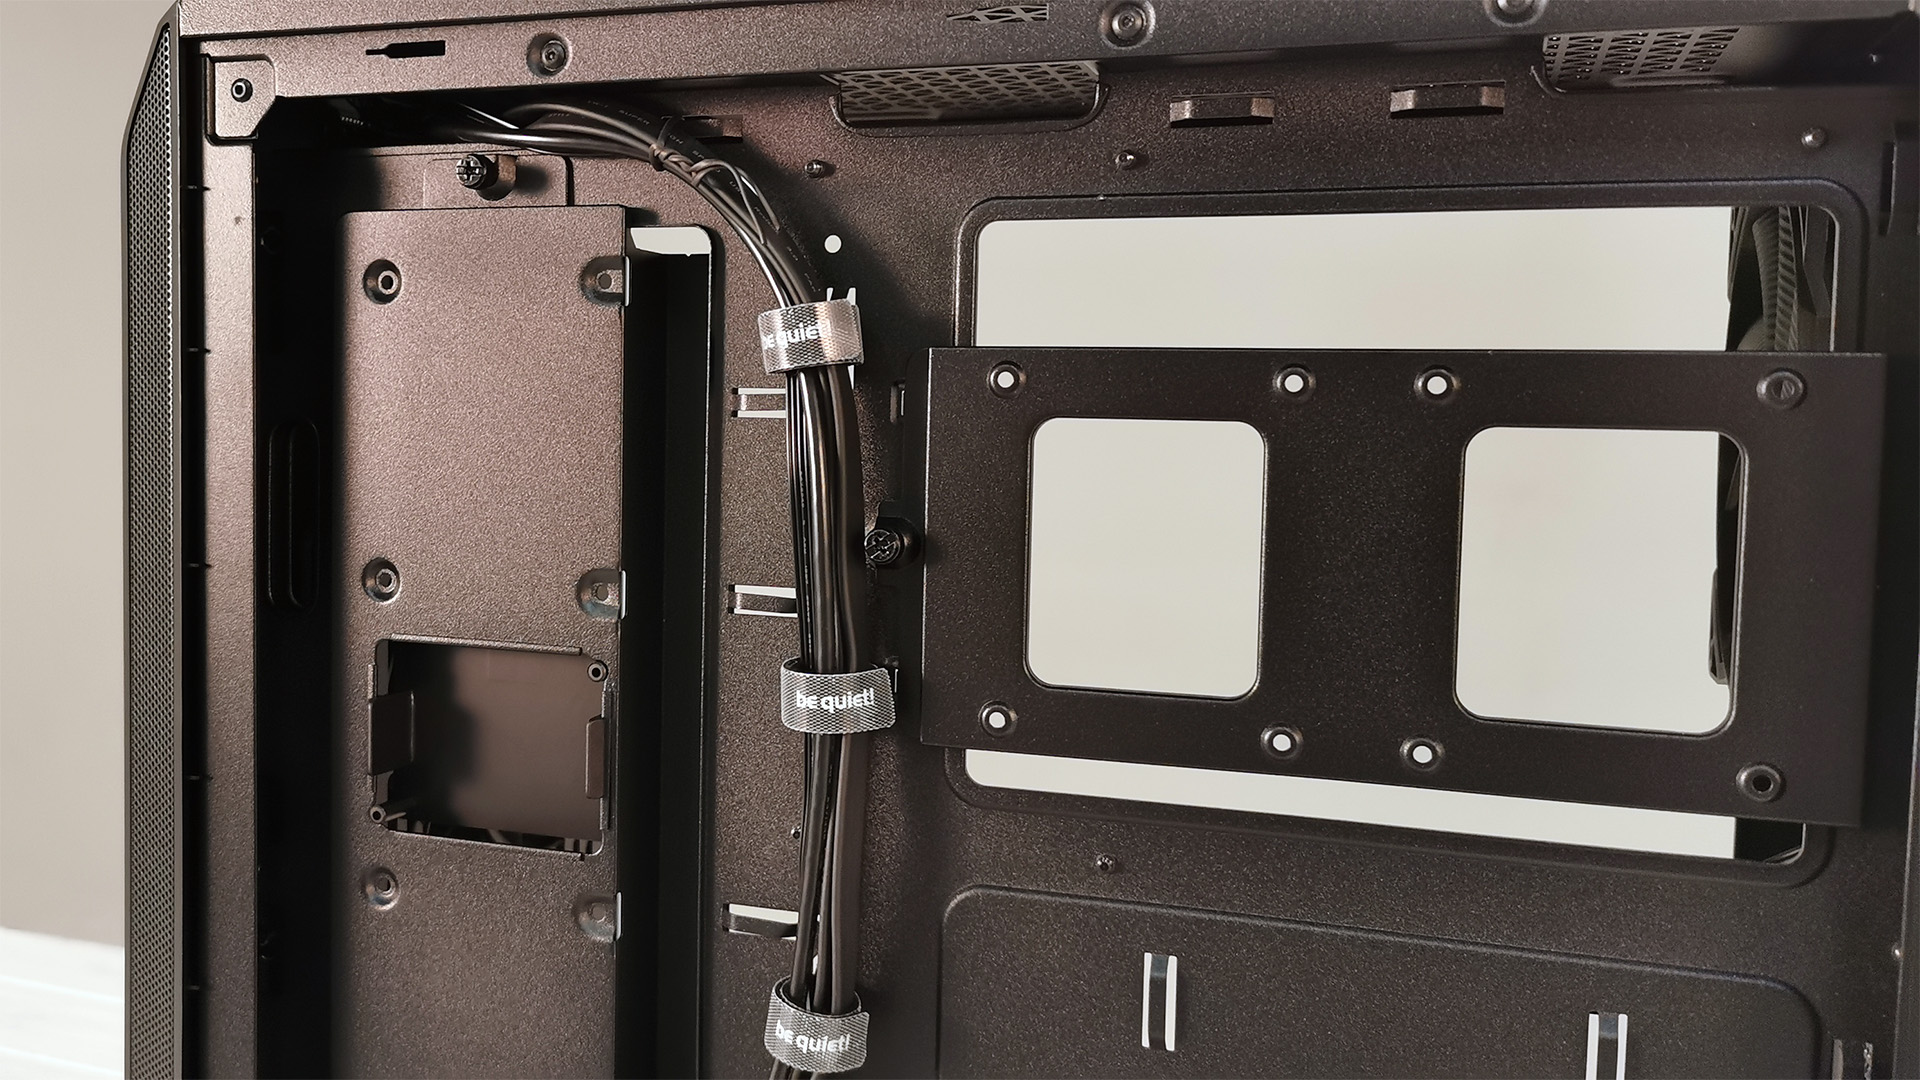
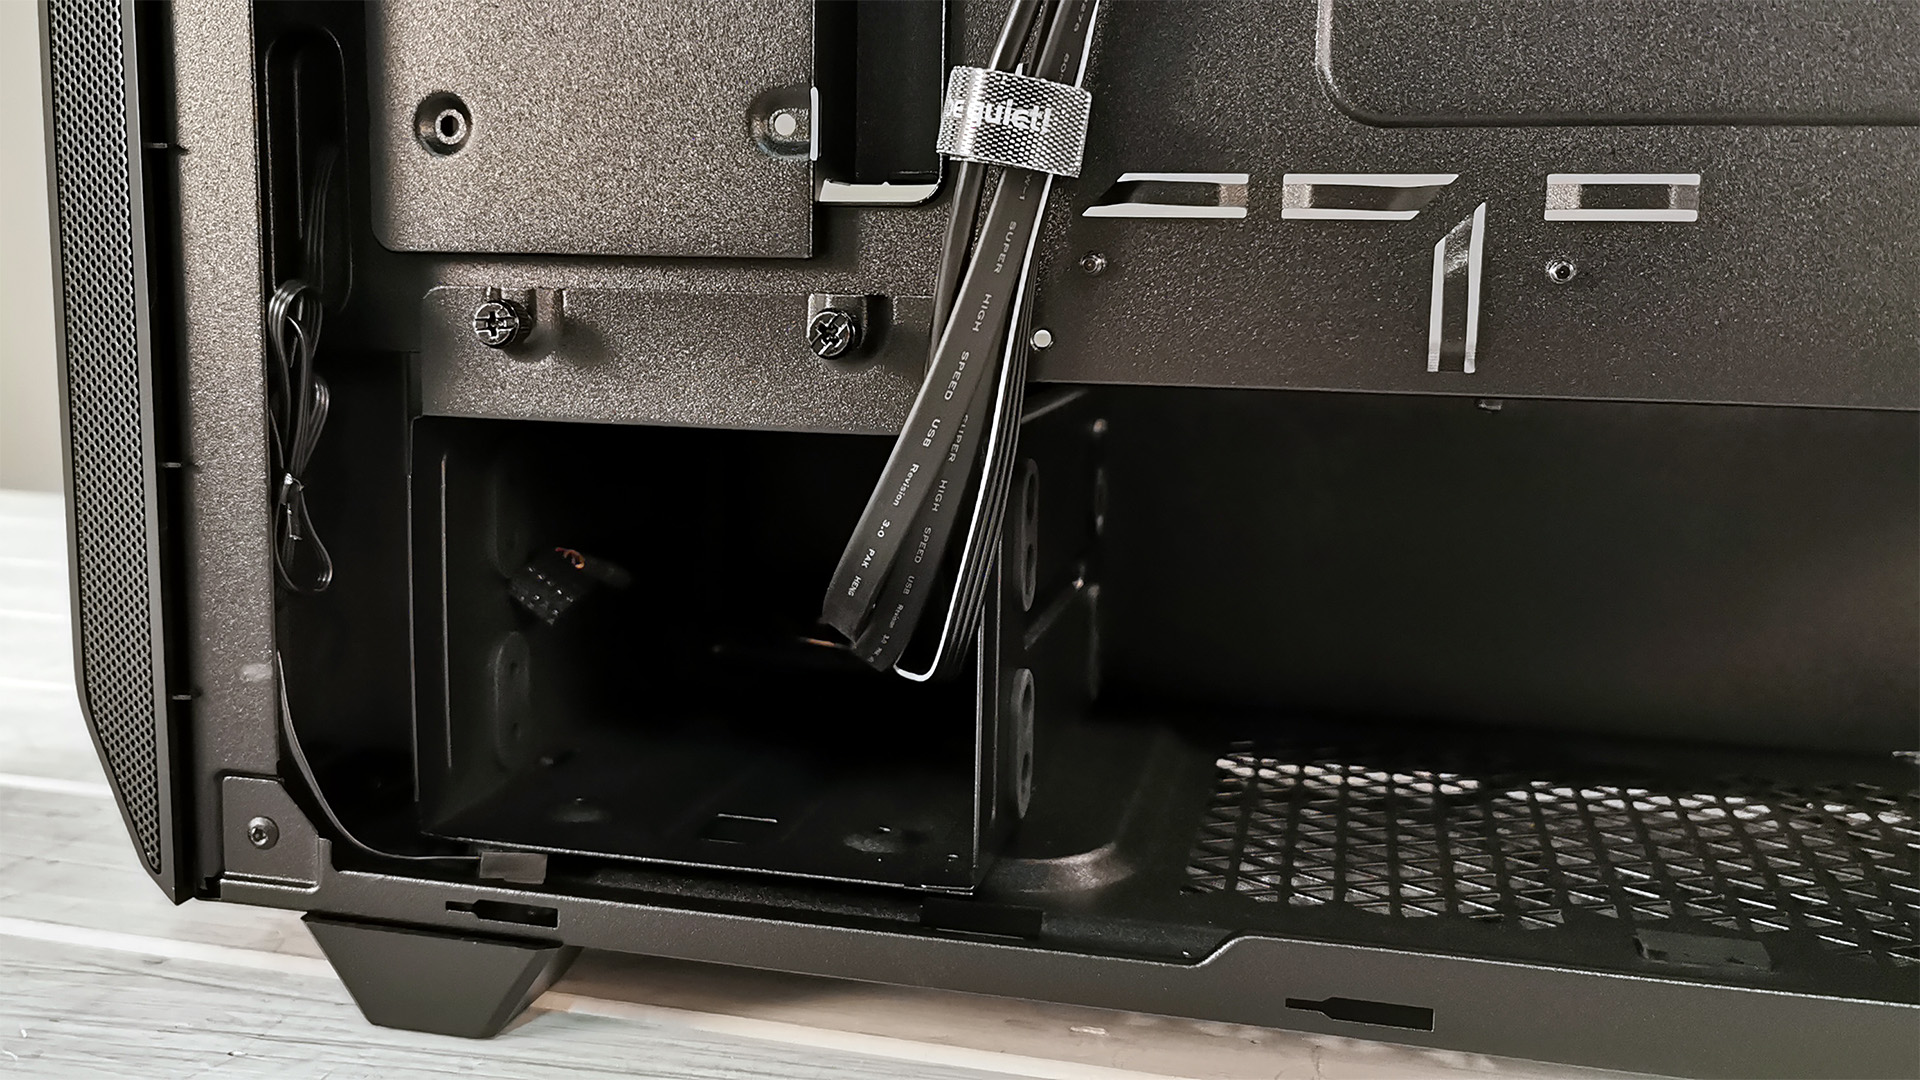
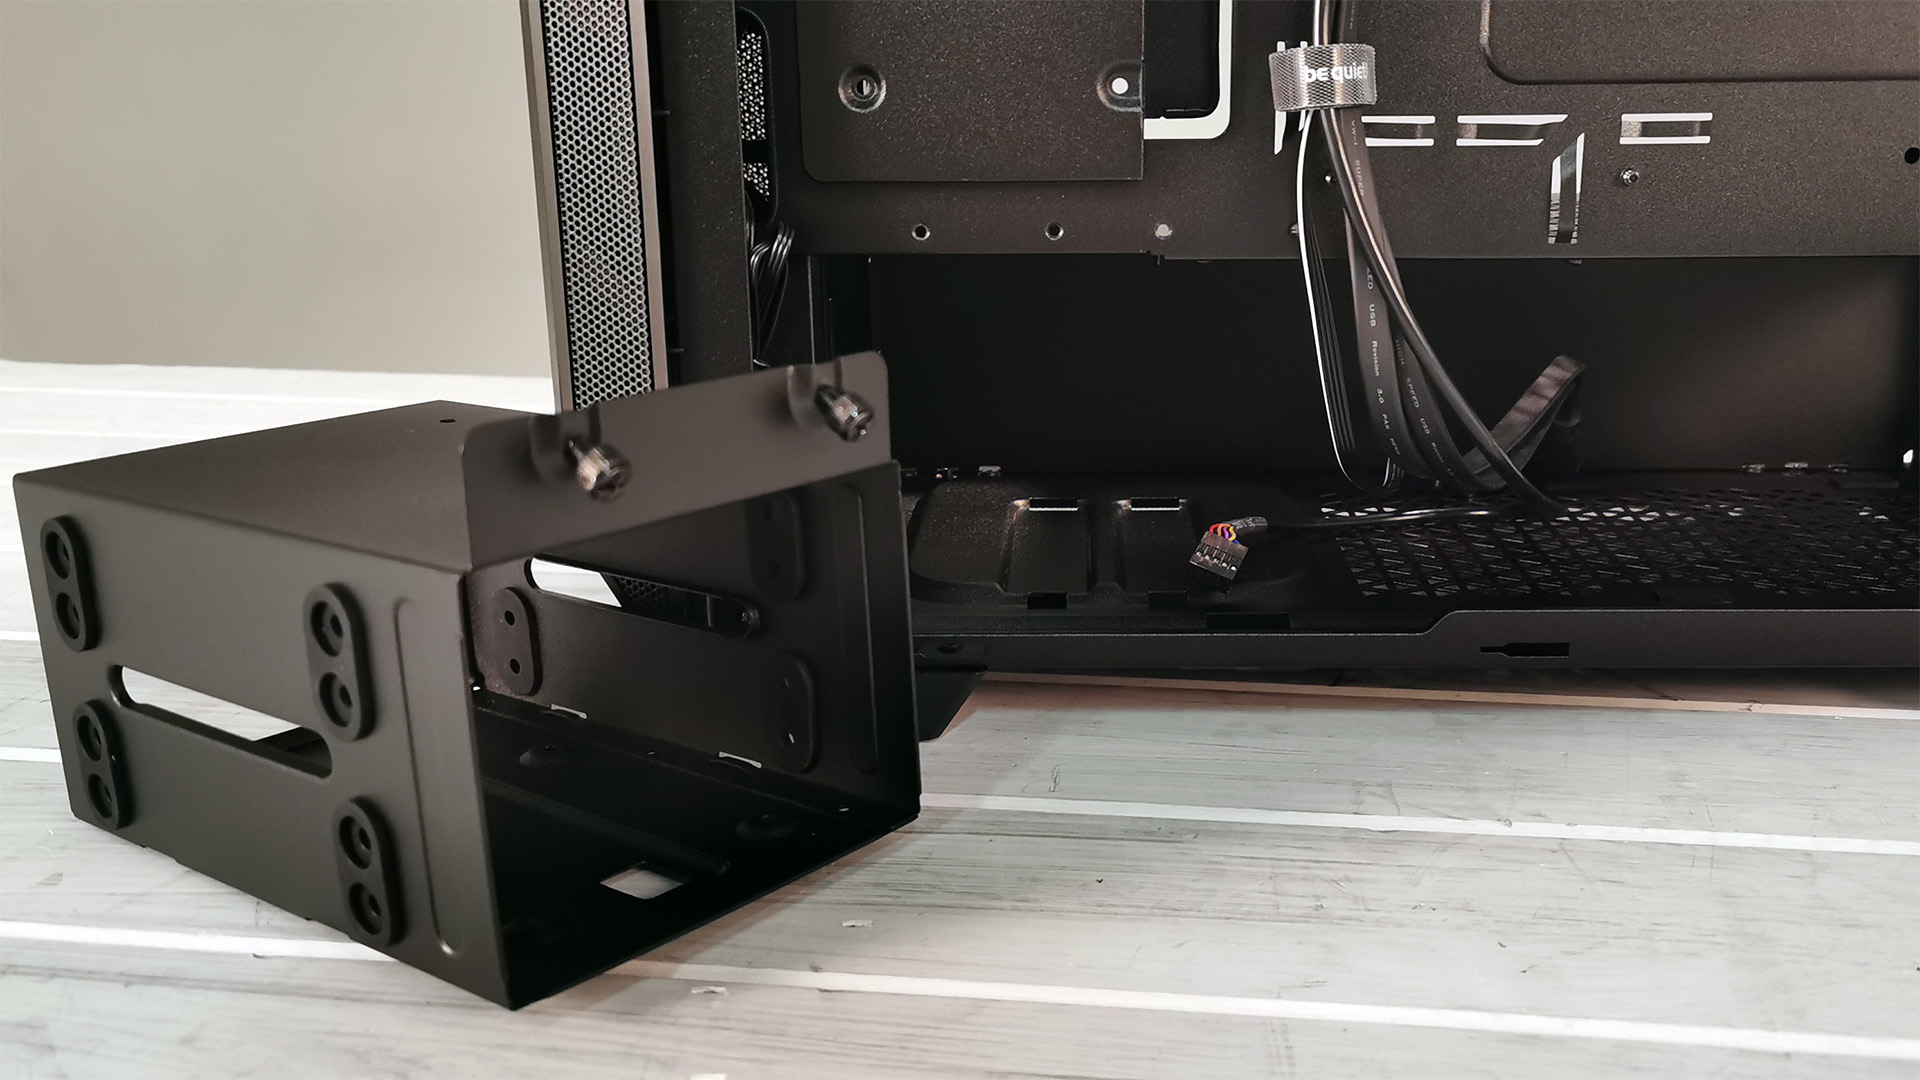
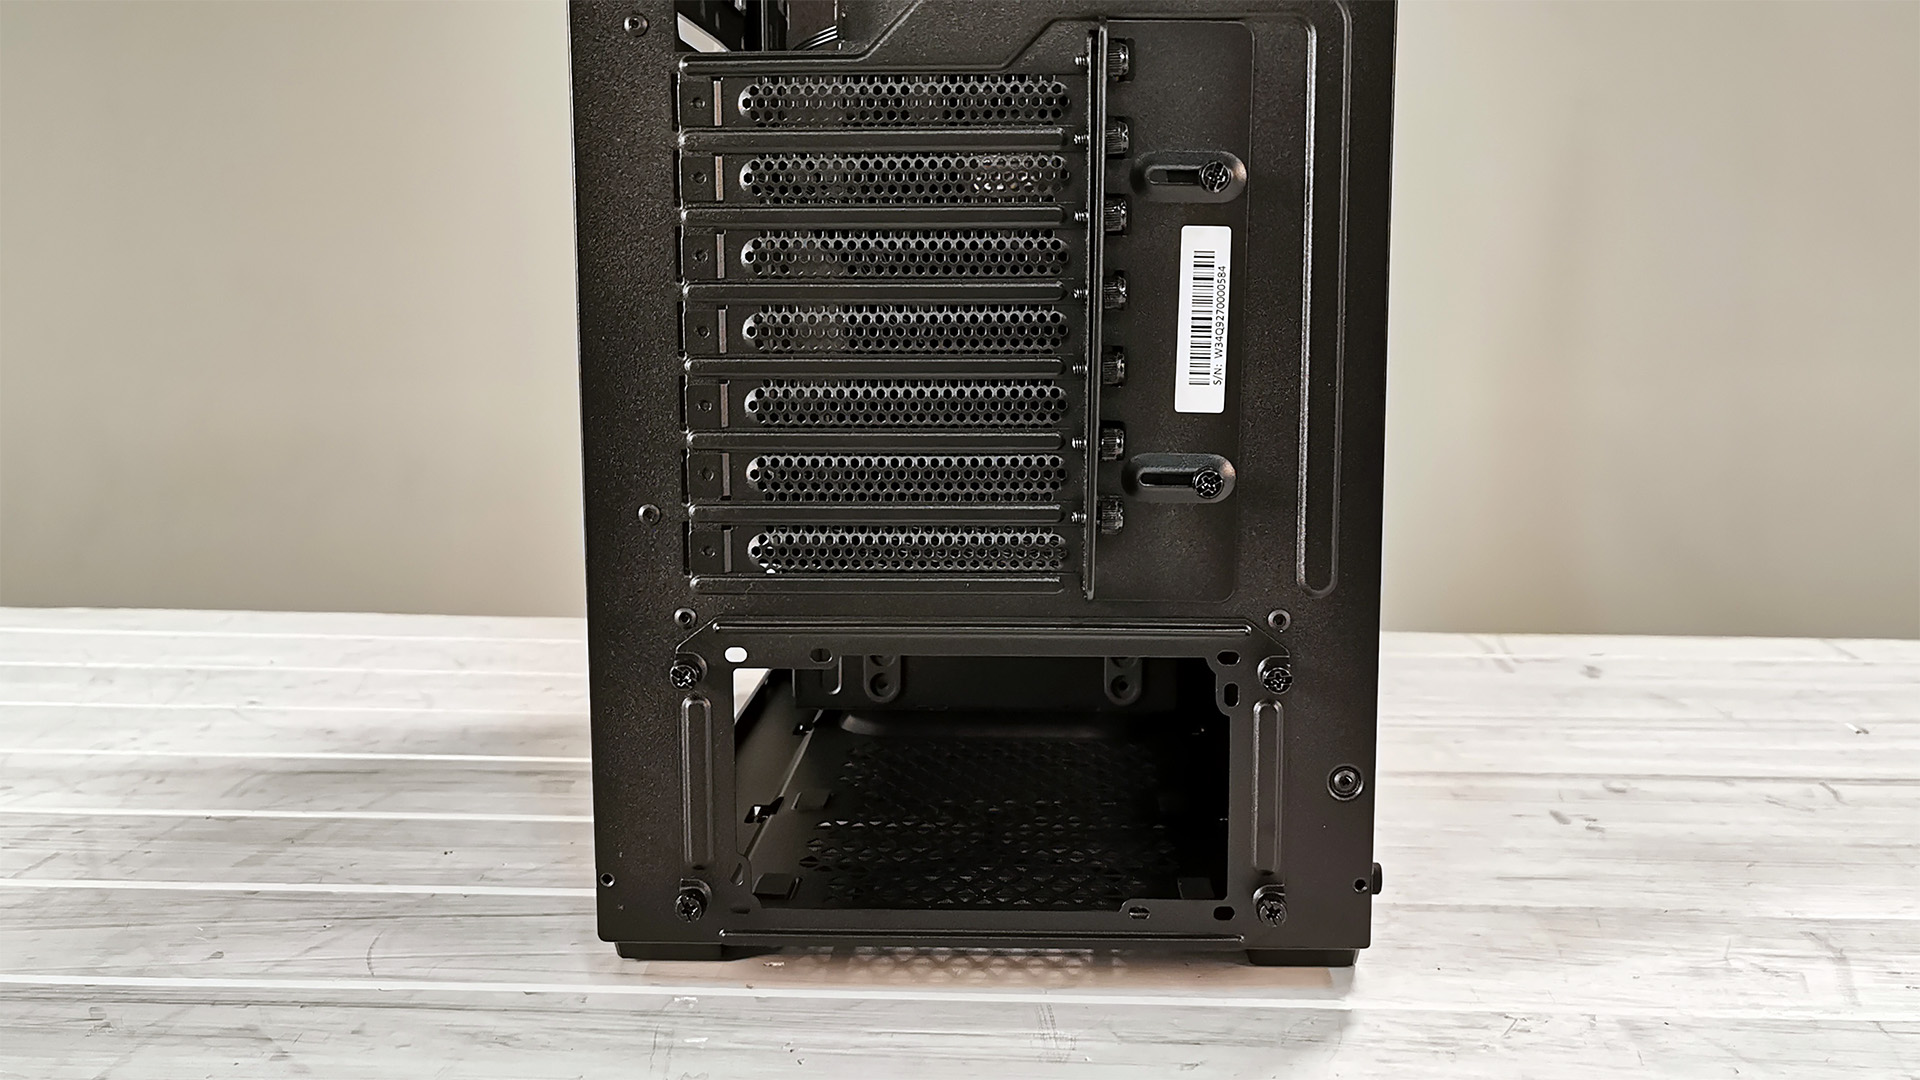
Behind the motherboard, there’s plenty of cable routing options as well, with velcro straps pre-installed. Additional straps can be found inside the included accessory box. There’s also a plethora of cable tie mounting locations and a removable SSD tray for the installation of a further two drives behind the motherboard.
The hard drive cage itself can also house an additional 2.5-inch drive in the top, and a further 2x 3.5-inch drives -- although not at the same time. To install the drives, you slide them in, align with the pre-drilled holes, and secure using the included screws. Pleasingly, the holes are surrounded by rubber on either side to reduce vibrations. The cage can also be removed in its entirety, if you prefer better airflow or a thicker front radiator.
Build Log
Our ATX “build” test bench consists of the following:
| CPU | Intel Core i9-9900K |
| Motherboard | Gigabyte Z390 Aorus Pro |
| RAM | 16GB (2x8GB) T-Force Pro Dark @ 3600 MT/s |
| GPU | Nvidia GeForce RTX 2070 Super |
| SSD | 240GB PNY CS1311 2.5-inch SSD |
| PSU | Corsair HX750 80+ Platinum Power Supply |
| Cables | Corsair Sleeved PSU Cables Pro Kit Type 4 |
| Cooler | Noctua NH U12A + 2x Corsair ML120 Pro Fans |
Motherboard Installation
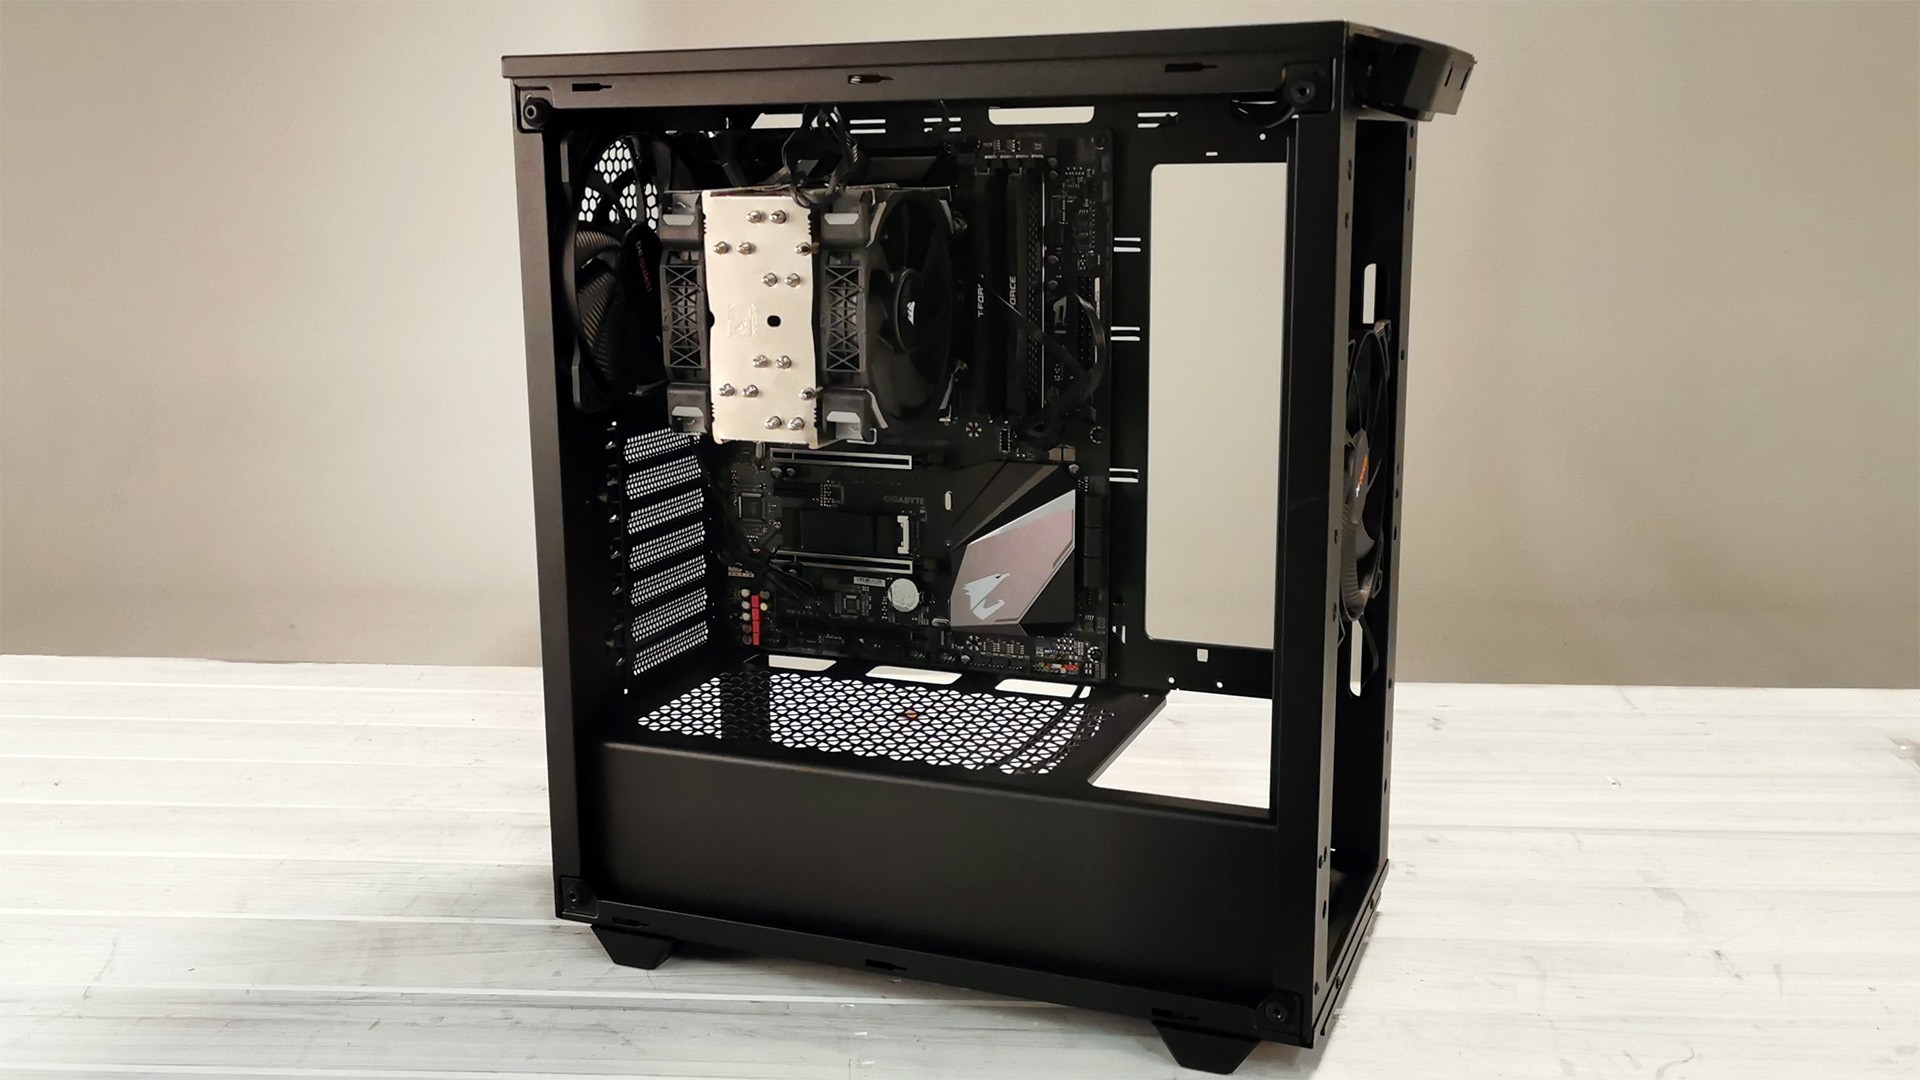
Our first step was to install the motherboard -- complete with fans and memory. This acts as a good compatibility test, as installing your CPU tower onto the board outside of the case is far easier than the alternative. There were no major hiccups outside of a few of the stand-off screws not securing properly, which was easily rectified with alternative screws.
Power Supply Installation
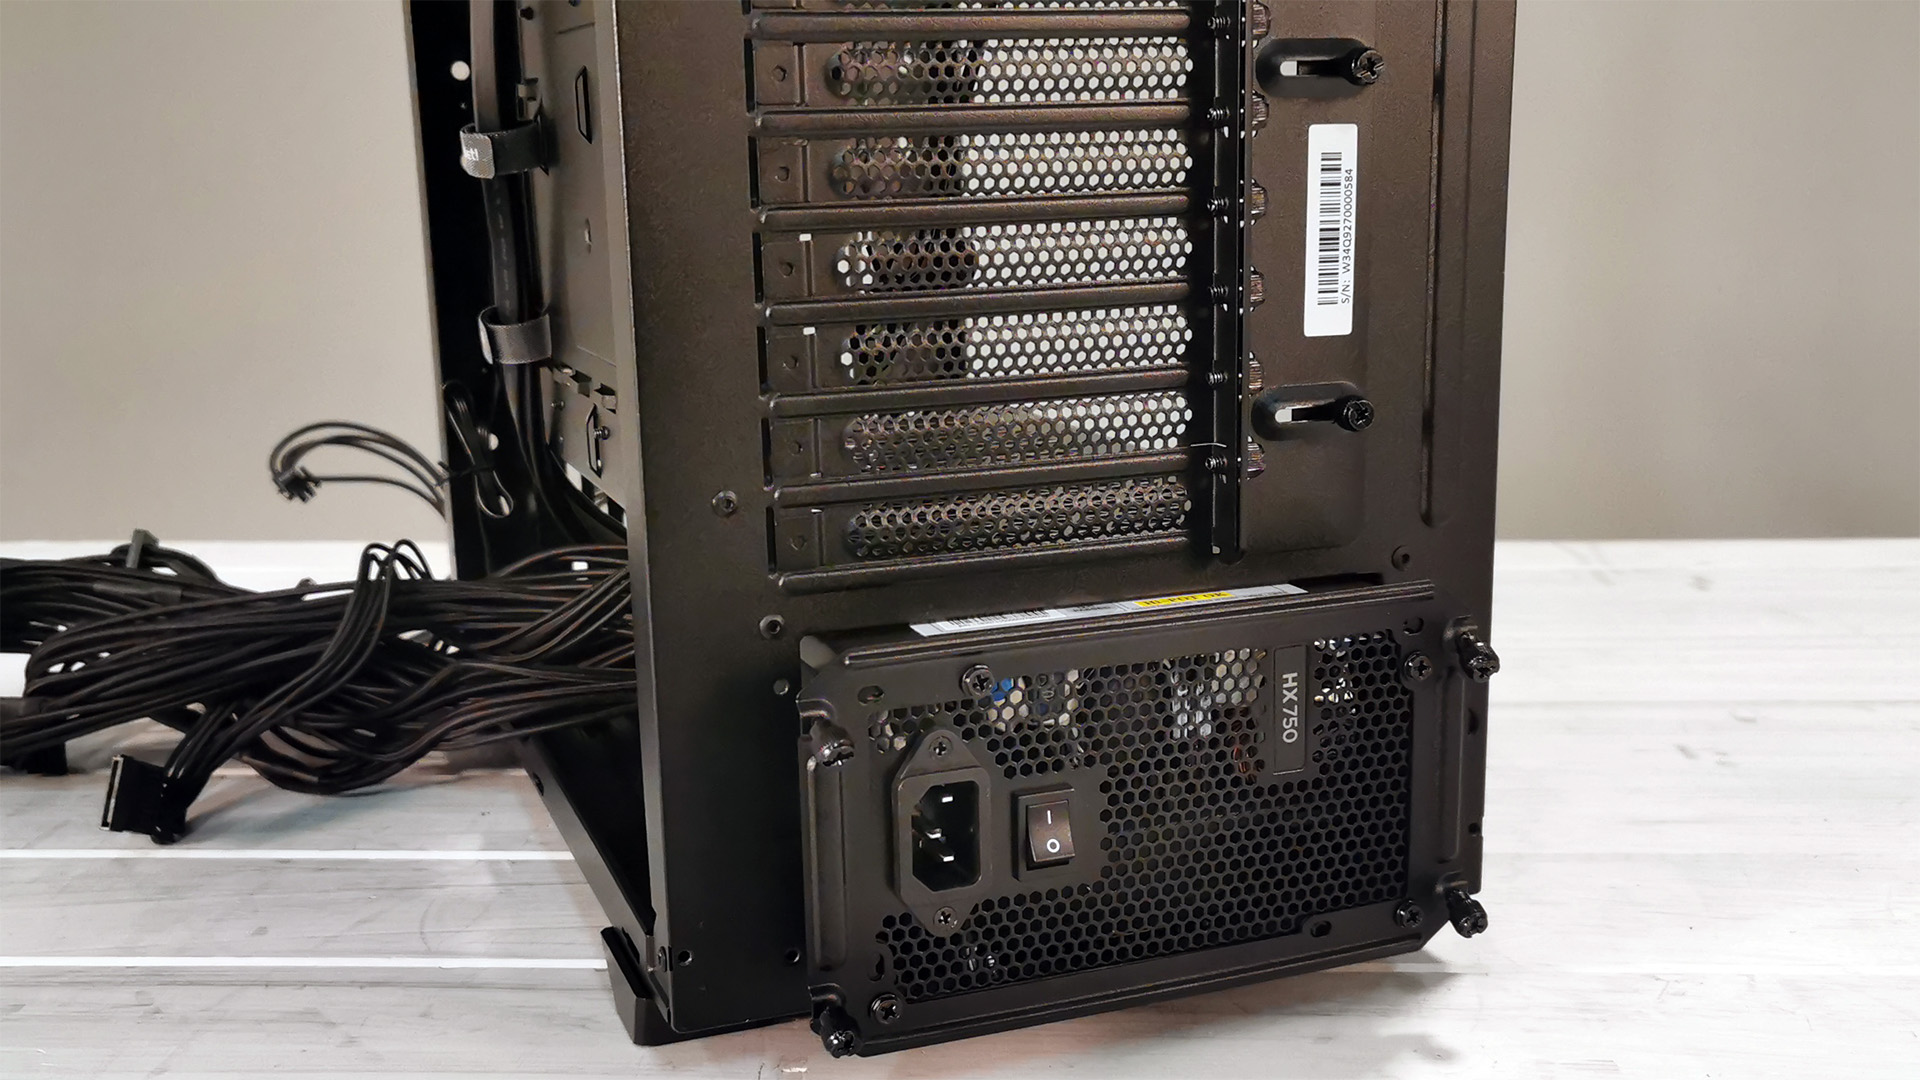
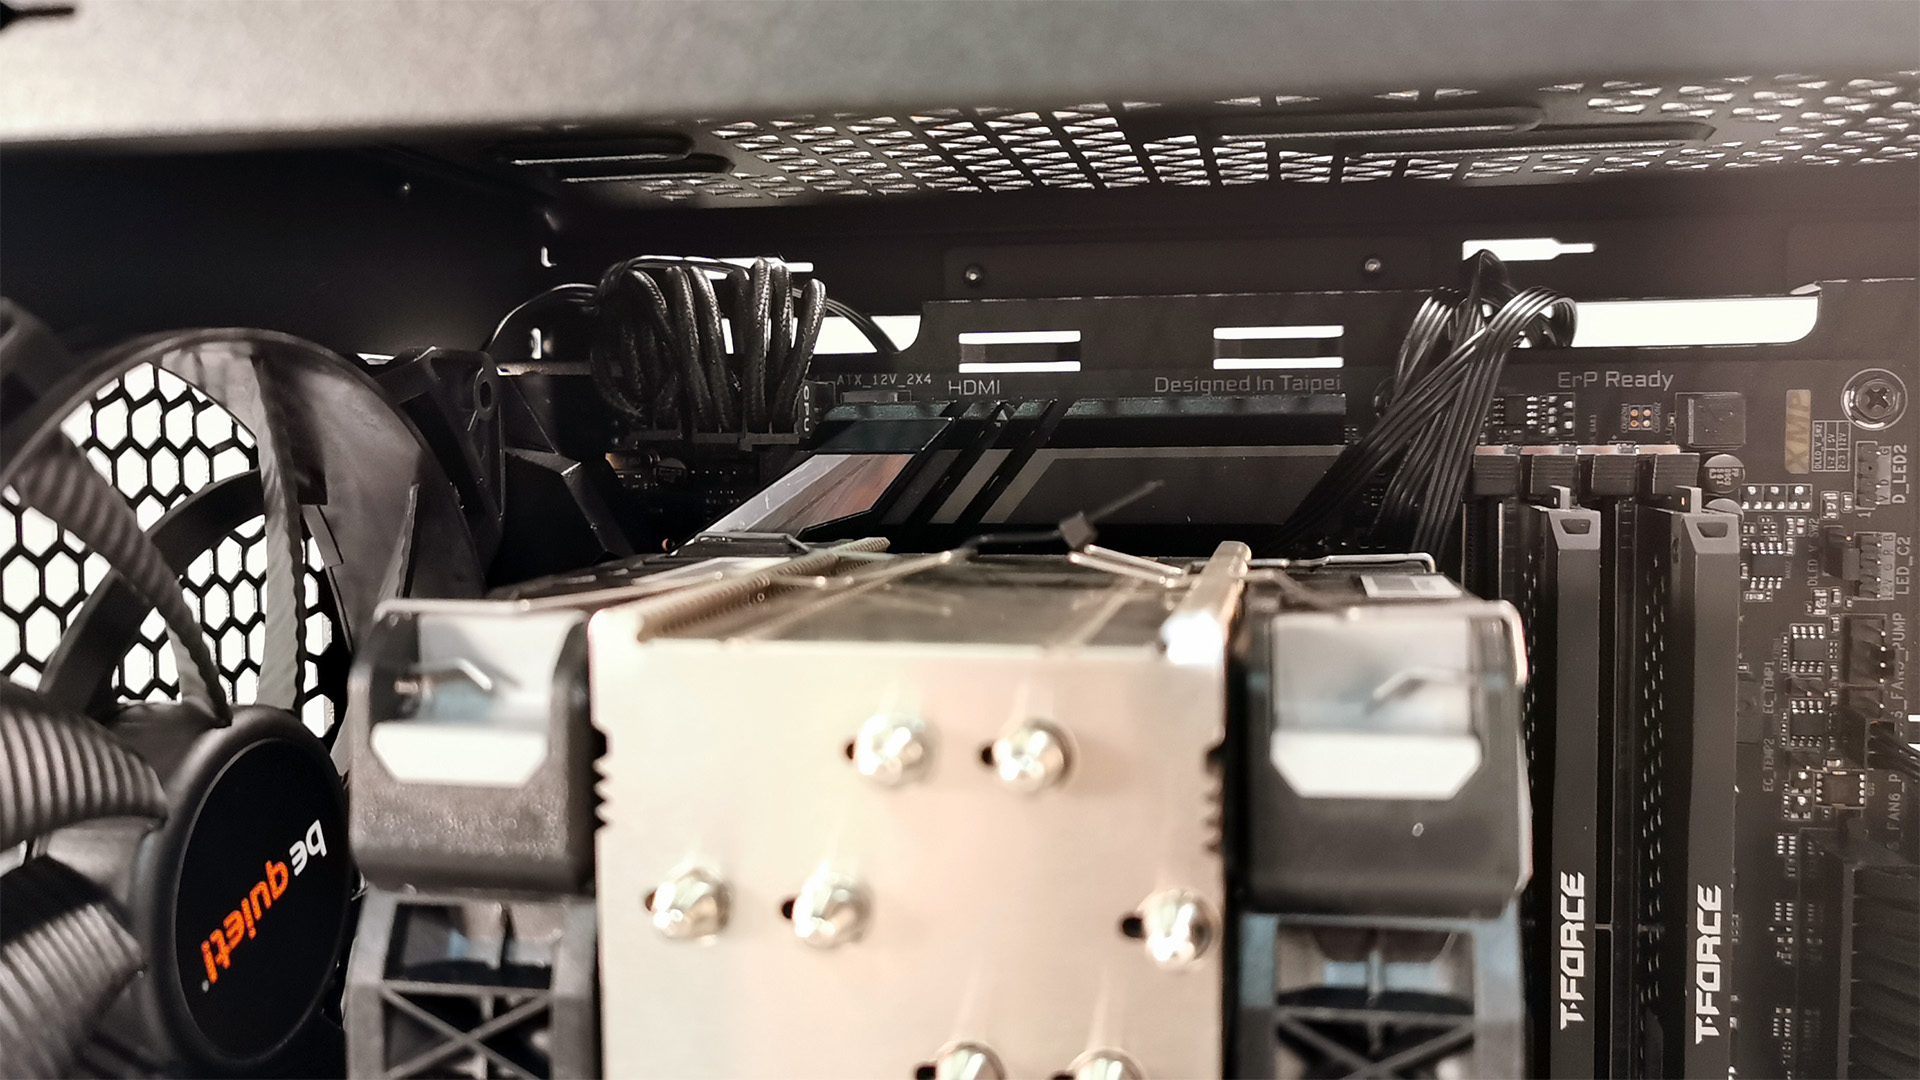
With the motherboard in, the power supply was next up. This attaches to a bracket, which then secures to the case via four thumbscrews. When using a modular PSU, install your cables to the power supply first, then attach the bracket, and slide it all into the case.
We then installed the cables, which unlike our recent review of the Lian Li Lancool II, went without a hitch; no fans needed to be removed and there was plenty of clearance to install the CPU power. When it comes to the 24-pin ATX power, it’s best to remove the cable/SSD bar before installing it.
After that, we installed our SSD onto the bar and resecured the bar into position. When it comes to attaching the cables for your SSD, it’s best to lay the case down on its side to get easier access -- and vision -- to the SSD ports.
Graphics and Cable Management
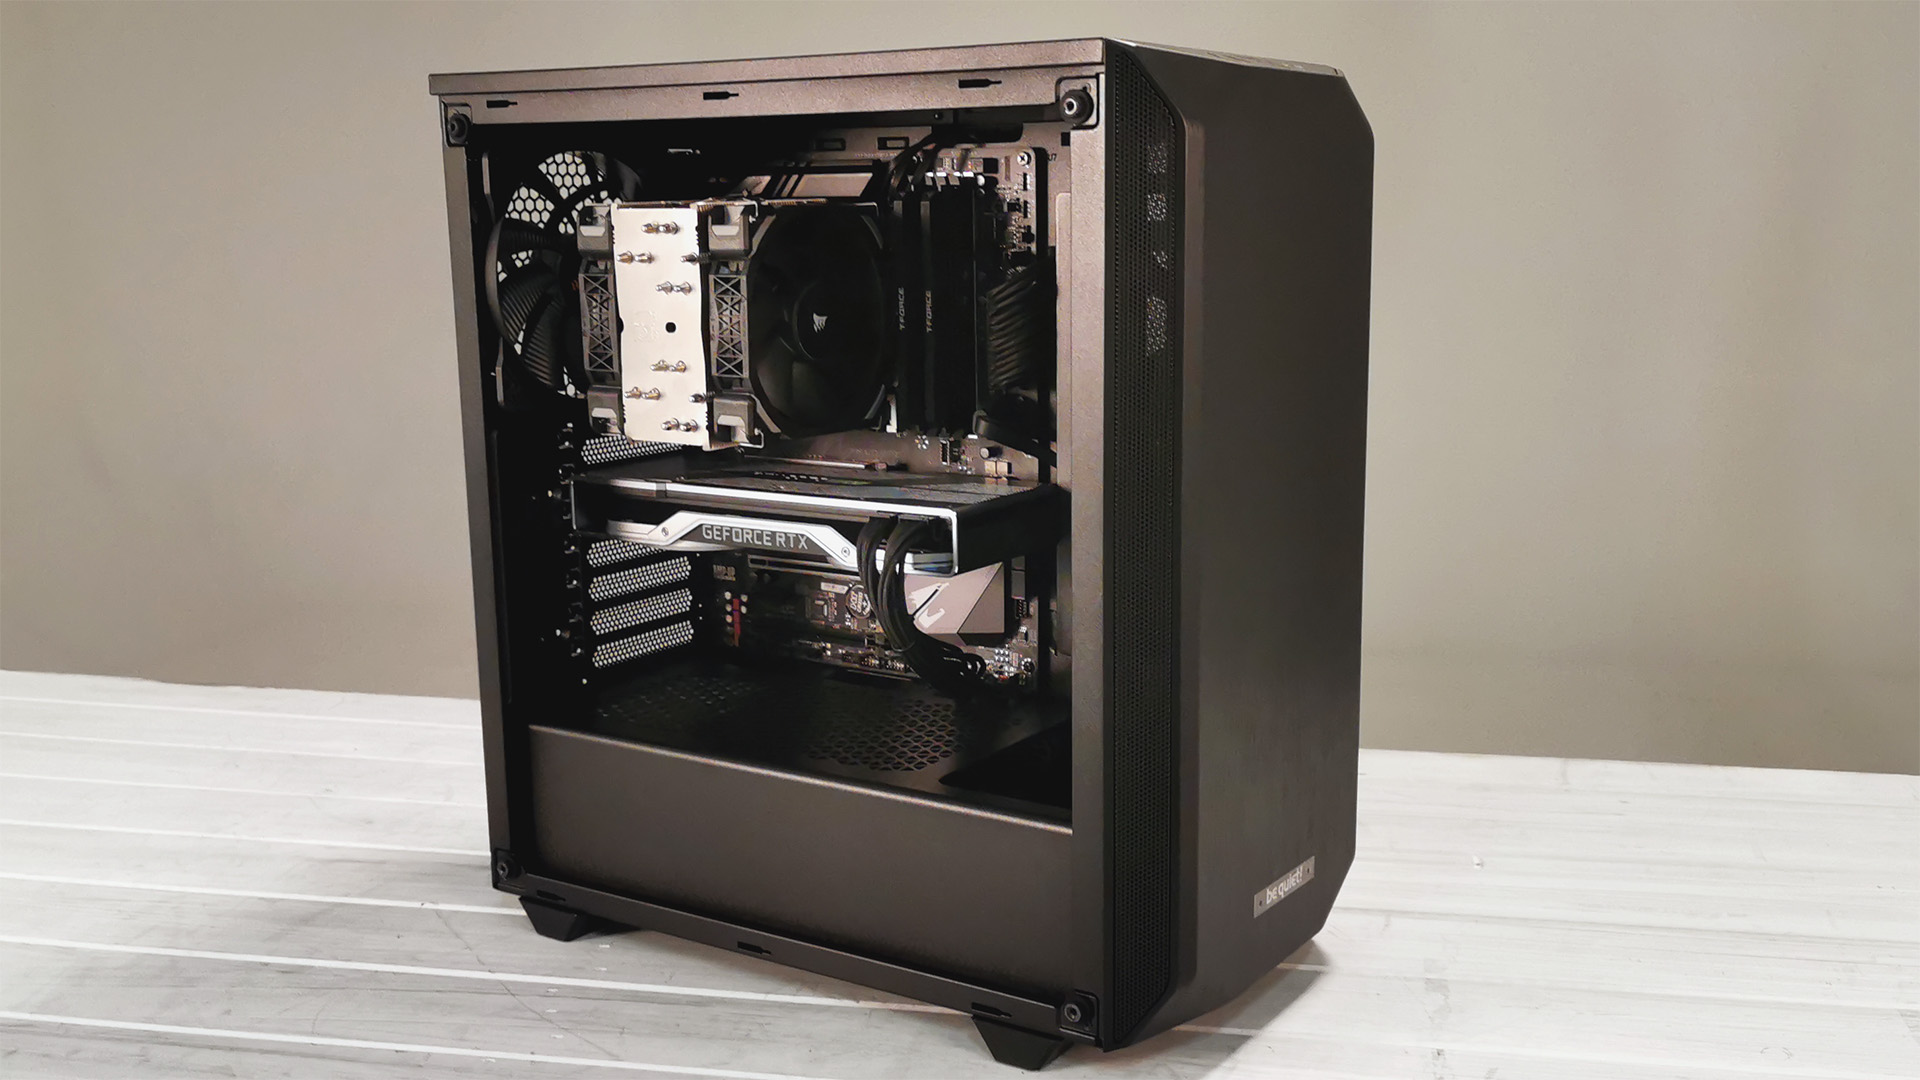
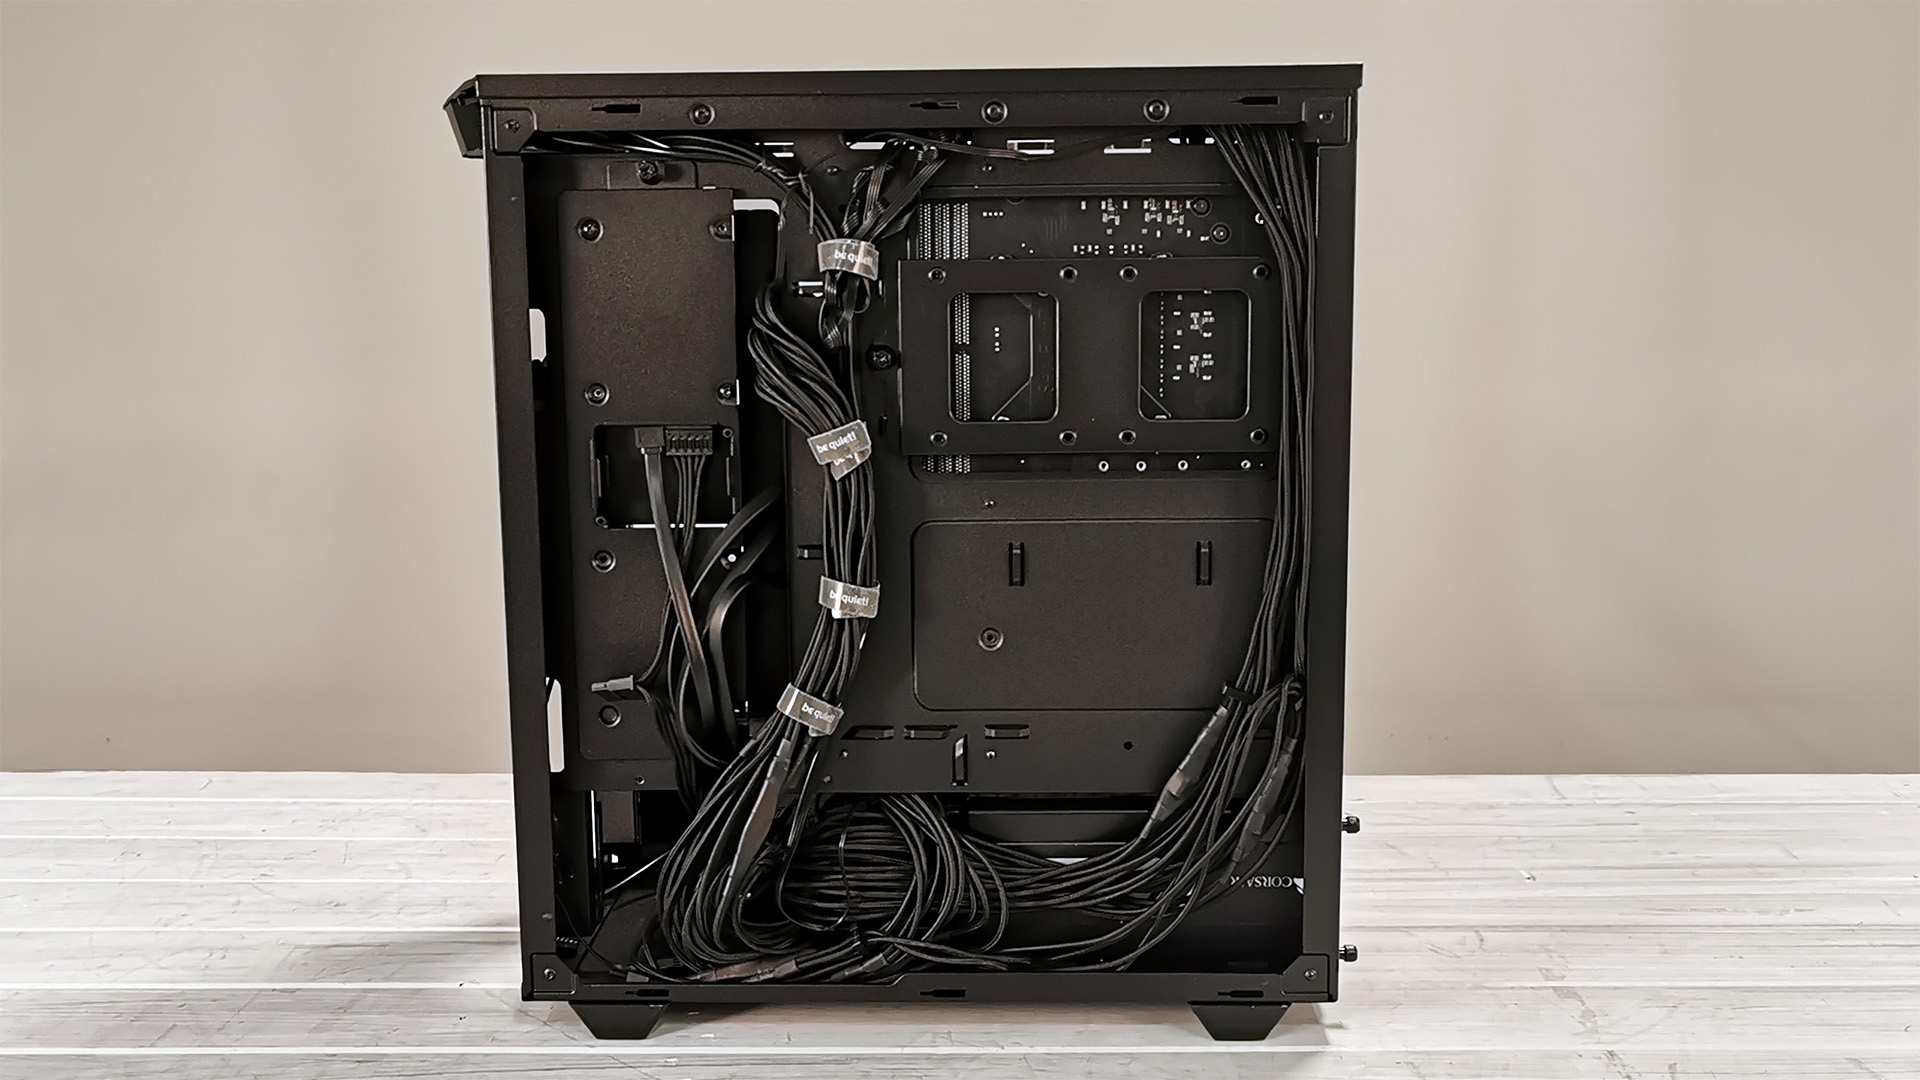
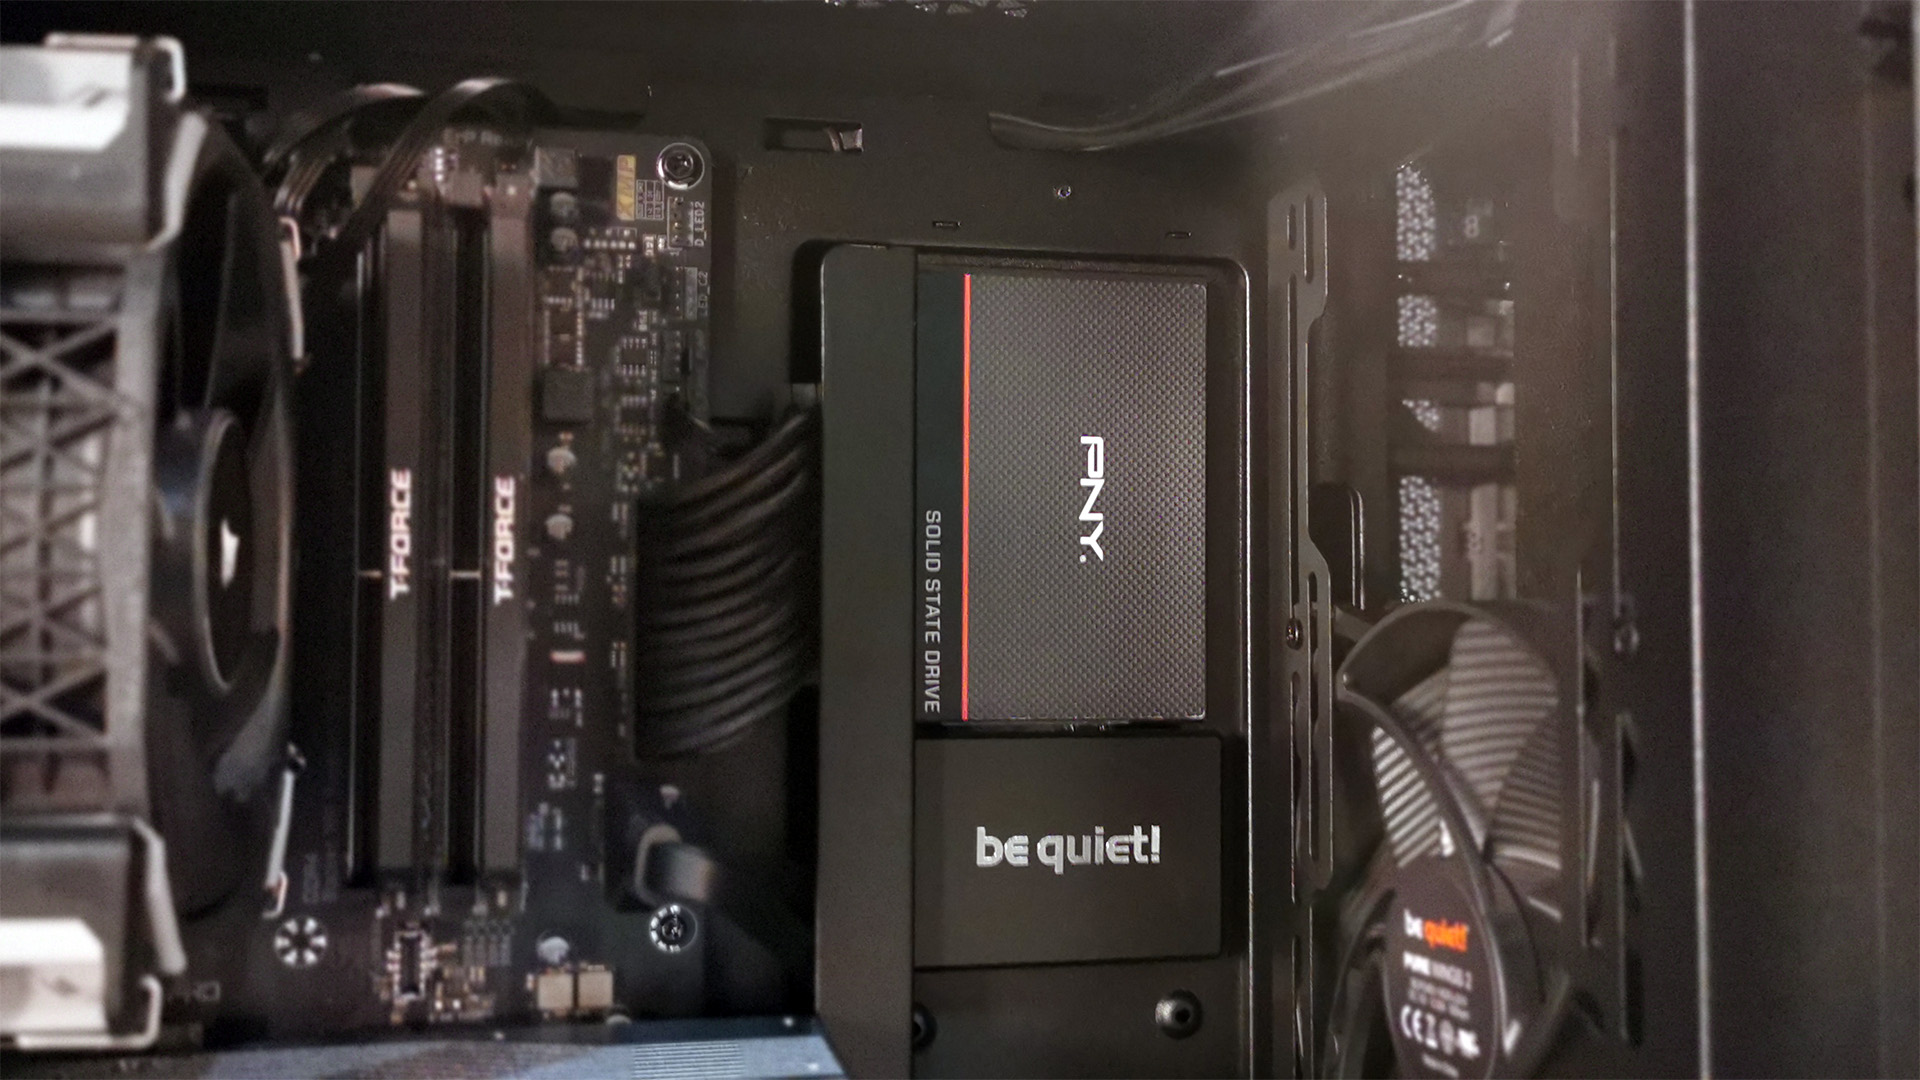
Next, we installed the GPU and tidied up the rear cables. For our PCIe power, we opted to run the cables through one of the cutouts in the PSU cover that’s there for the front I/O connectors. Alternatively, you can run them directly through that PSU cover cutout to the right, near the hard drive cage -- which you can remove to allow for bigger radiators -- or behind the cable/SSD bar instead.
As for the space behind the motherboard, the Pure Base 500 comes with three velcro straps installed as standard for the 24-pin/fan cables. We opted to install an additional one at the bottom as well. Then we tidied the rest up by taking advantage of the empty space we’d created by removing the 3.5-inch hard drive cage. If we left that part installed, it would be more difficult to hide these cables. You’d have to rely on a lot more cable ties, as you’re already compromised for rear panel space, due to the additional sound-dampening material.
Build Complete
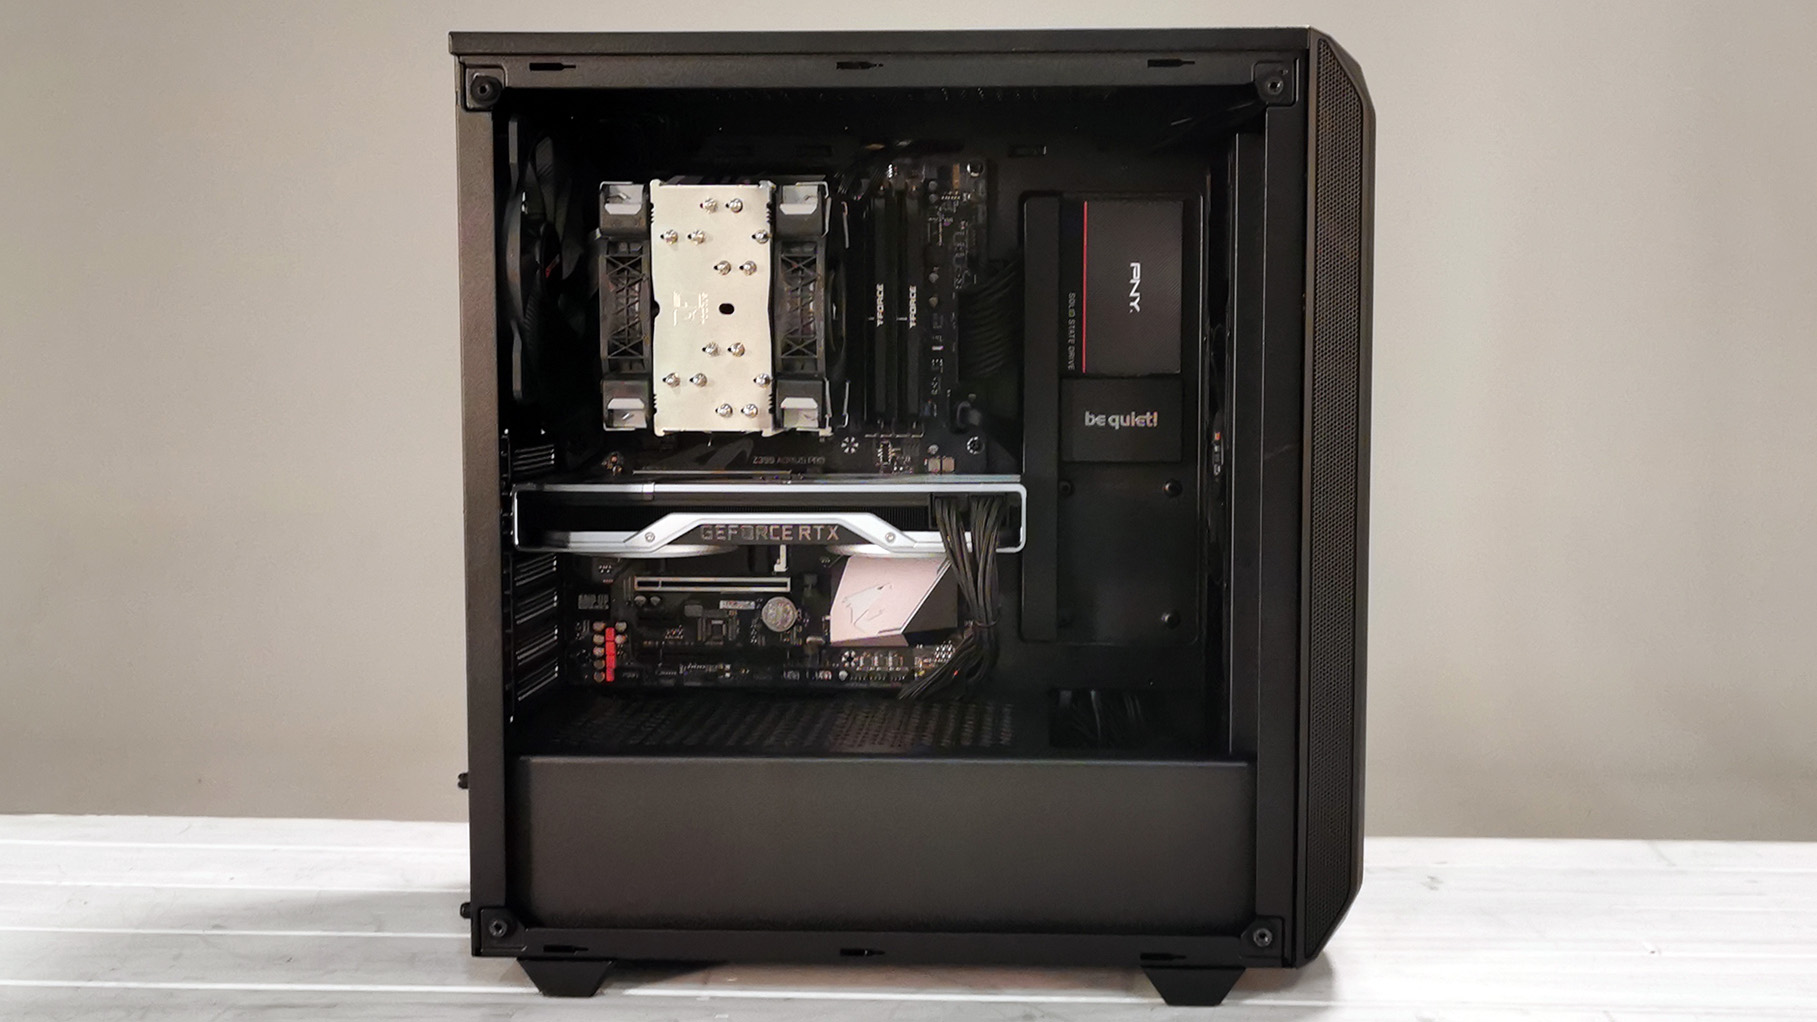
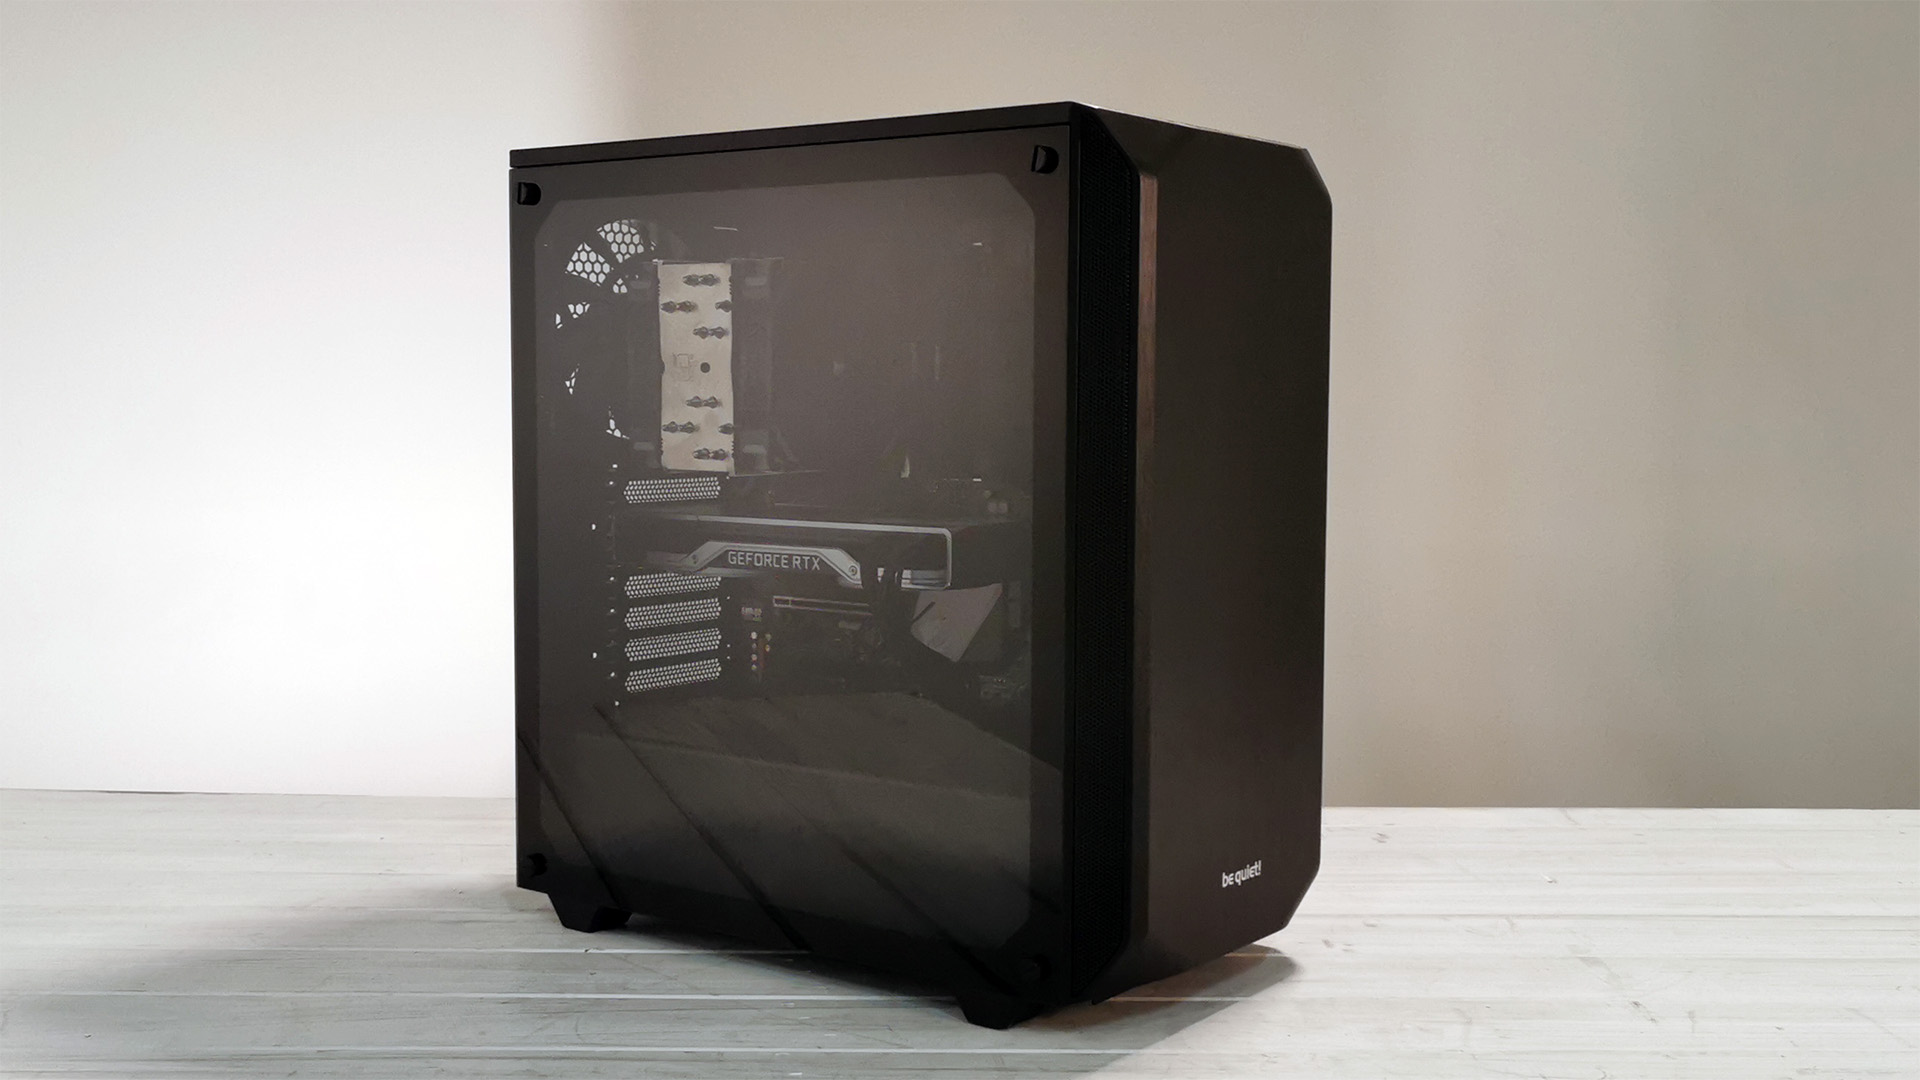
Overall, the build process was clean and simple. The Pure Base 500 is ideal for those starting a custom PC build for the first time. Not only is it affordable at $80, but it also packs in a lot of features and minor-but-appreciated details -- like the cable bar and the additional velcro straps -- that make building your new PC a cinch.
That said, the Pure Base 500’s stock configuration doesn’t lend itself well to good airflow. Those additional dust filters will likely hamper its performance, creating turbulence with the mesh lining the outside edges of the panel. If you’re taking advantage of an air-tower like ours is here, we’d recommend you remove the dust filters from the front panel, and move the 140mm Pure Wings 2 situated at the rear of the case to the front, to act as an additional intake instead.

As Associate Editor of Tom's Hardware's prestigous British division, Zak specializes in system building, case reviews and peripherals, and has a particular penchant for liquid-cooling. He's also a lover of all things Viking/Scandinavian (thus the poor attempt at a beard).
-
1foxracing Why would you replace the Noctua NF-A12x25 that come with the NH-U12A with Corsair units?Reply
