Tom's Hardware Verdict
The Lancool II packs in so much for such a low price, it’s easy to recommend--especially when you consider its flexibility.
Pros
- +
Excellent value for the money
- +
Great cable management options
- +
Impressive cooling support
- +
Good storage options
Cons
- -
Optional extras can add cost
- -
Airflow isn’t great with stock fan configuration
- -
Radiator bracket needs work
Why you can trust Tom's Hardware
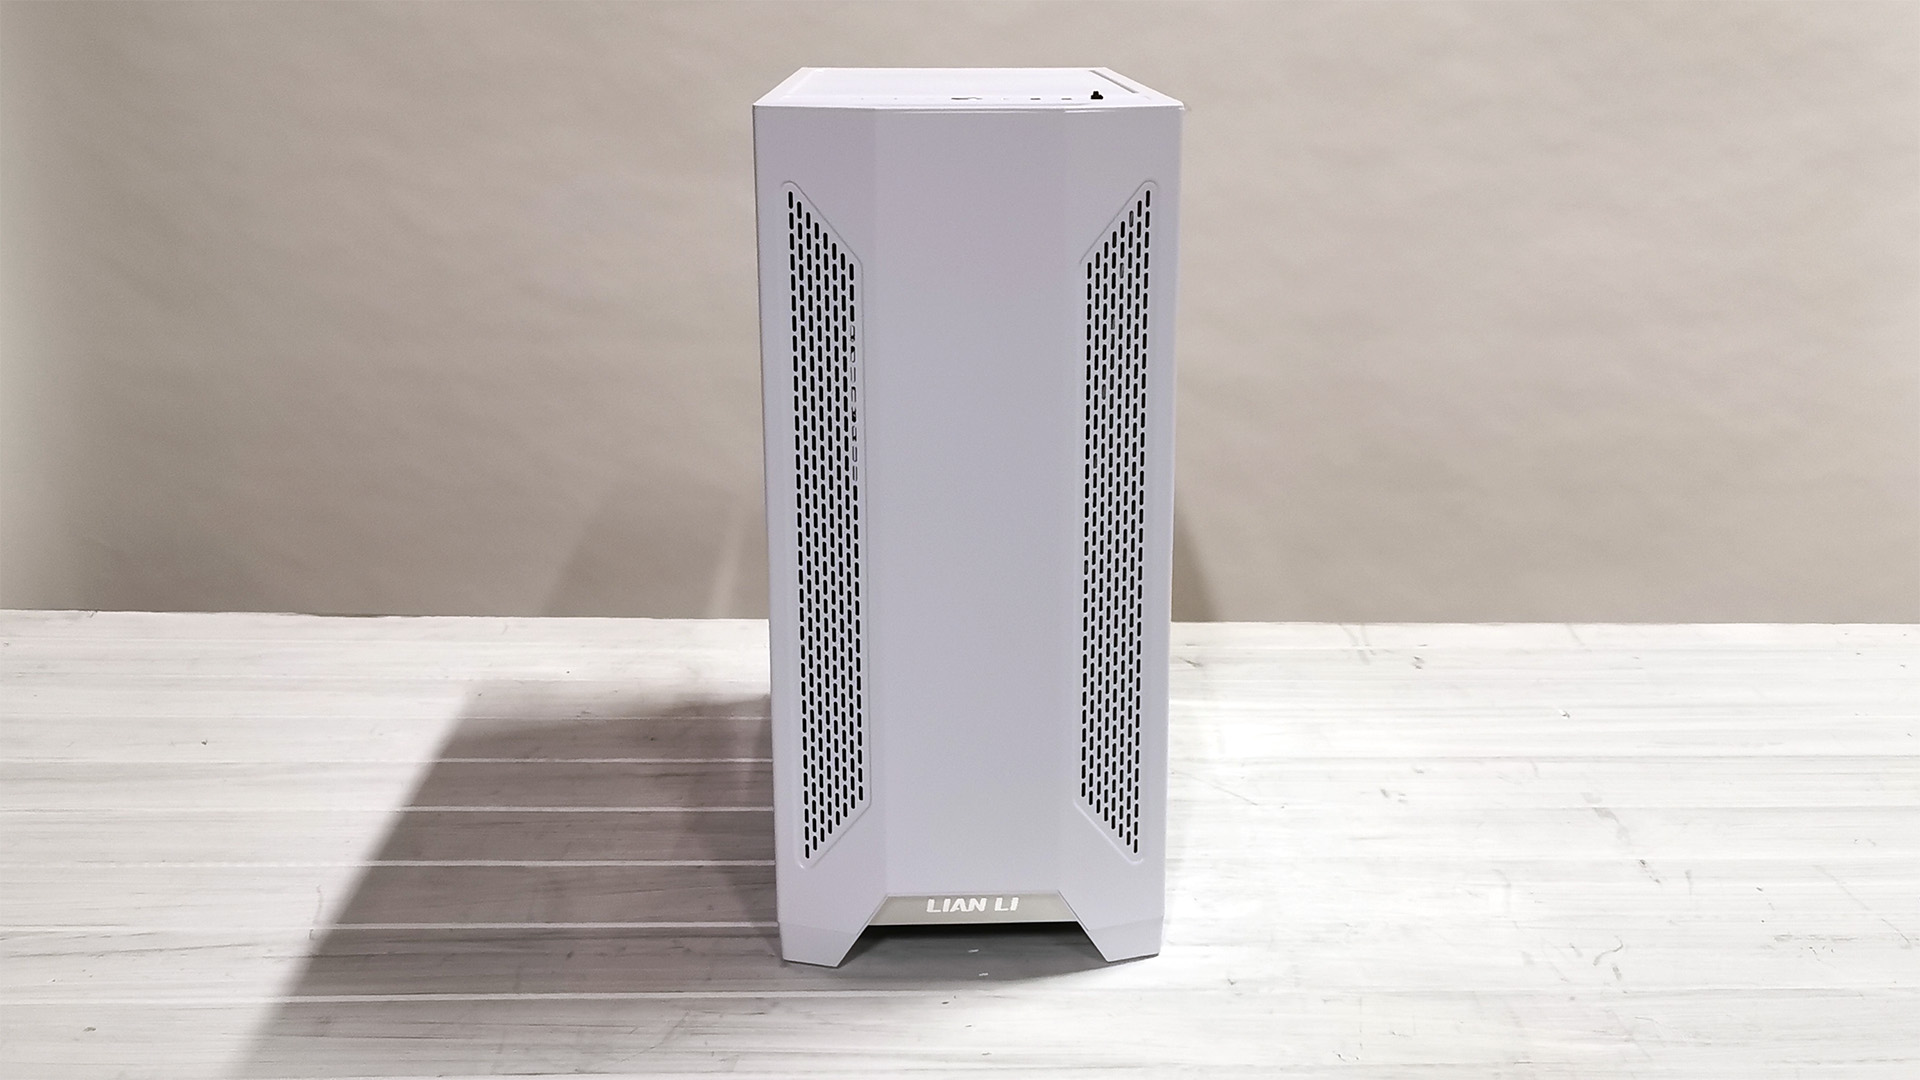
Lian Li’s Lancool II case delivers impressive value at around $95 (£88) for the white version. And you can save $5 more by opting for basic black. Straight out of the box you’ve got: hinged and magnetically secured tempered glass windows on both sides of the chassis, drop-down side panels situated along the PSU compartment front and back, some impressive cable management solutions in the interior, strong storage support with potentially hot-swappable drives, and extensive cooling compatibility as well. Couple that with this generation’s inclusion of some particularly potent addressable D-RGB lighting, and what you’re looking at is a fantastic modern case that’s suitable for nearly any ATX build.
It’s impressive that Lian Li has delivered so much here for under $100. This isn’t just a shell placed on top of an existing chassis frame from 2017 to save money. It’s an entirely new design built to accommodate an extensive list of features that you won’t often find in this price range.
Specifications
| Form Factor | Mid Tower |
|---|---|
| Motherboard Support | E-ATX (Up to 280mm), ATX, M-ATX, ITX |
| Colors Available | Black, White |
| Window Available | Windowed Only |
| 3.5" Support | x3 |
| 2.5" Support | x7 |
| Radiator Support | Up to 360mm front, 240mm roof |
| Fan Support | Up to 3x120mm front, 2x 140mm roof, 1x 120mm rear, 2x 120mm above PSU chamber |
| Dimensions | 478 x 229 x 494 mm |
| Graphics Card Clearance | 384 mm |
| CPU Tower Clearance | 176 mm |
Unboxing and I/O
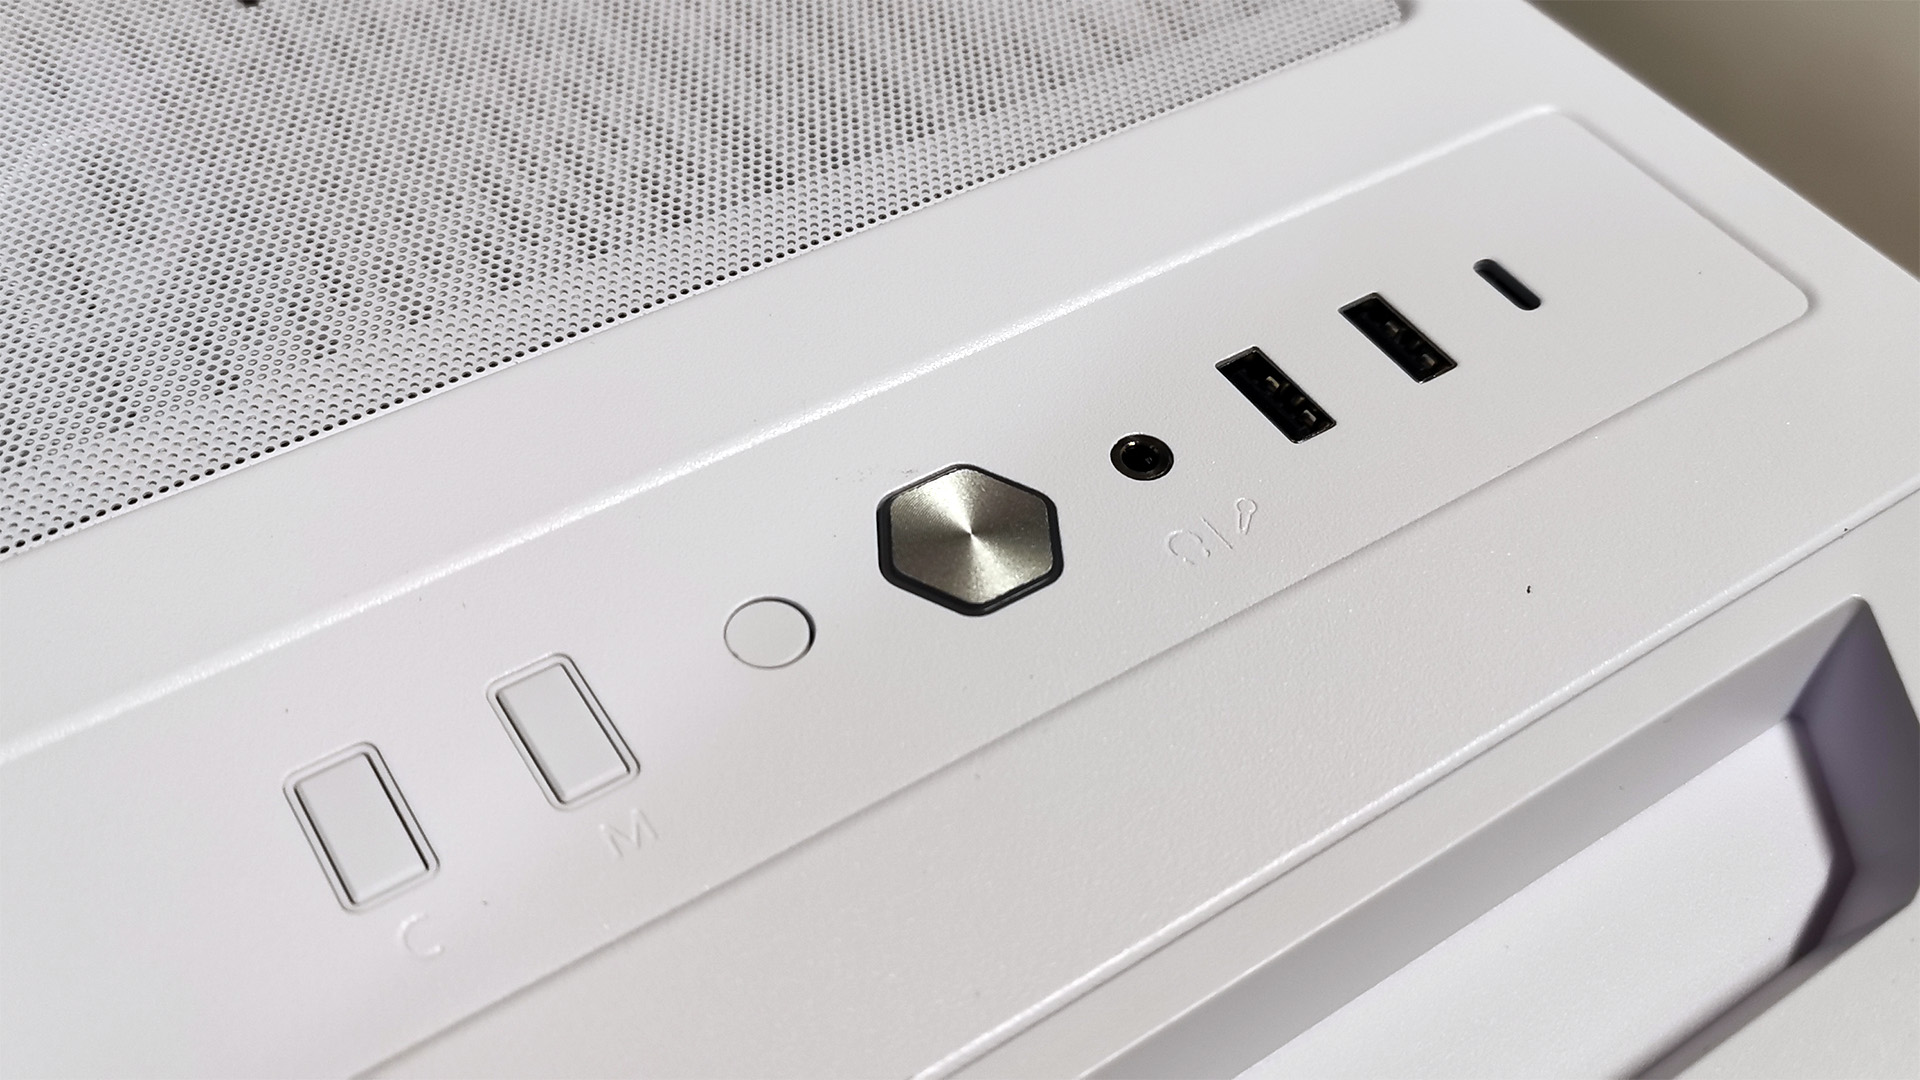
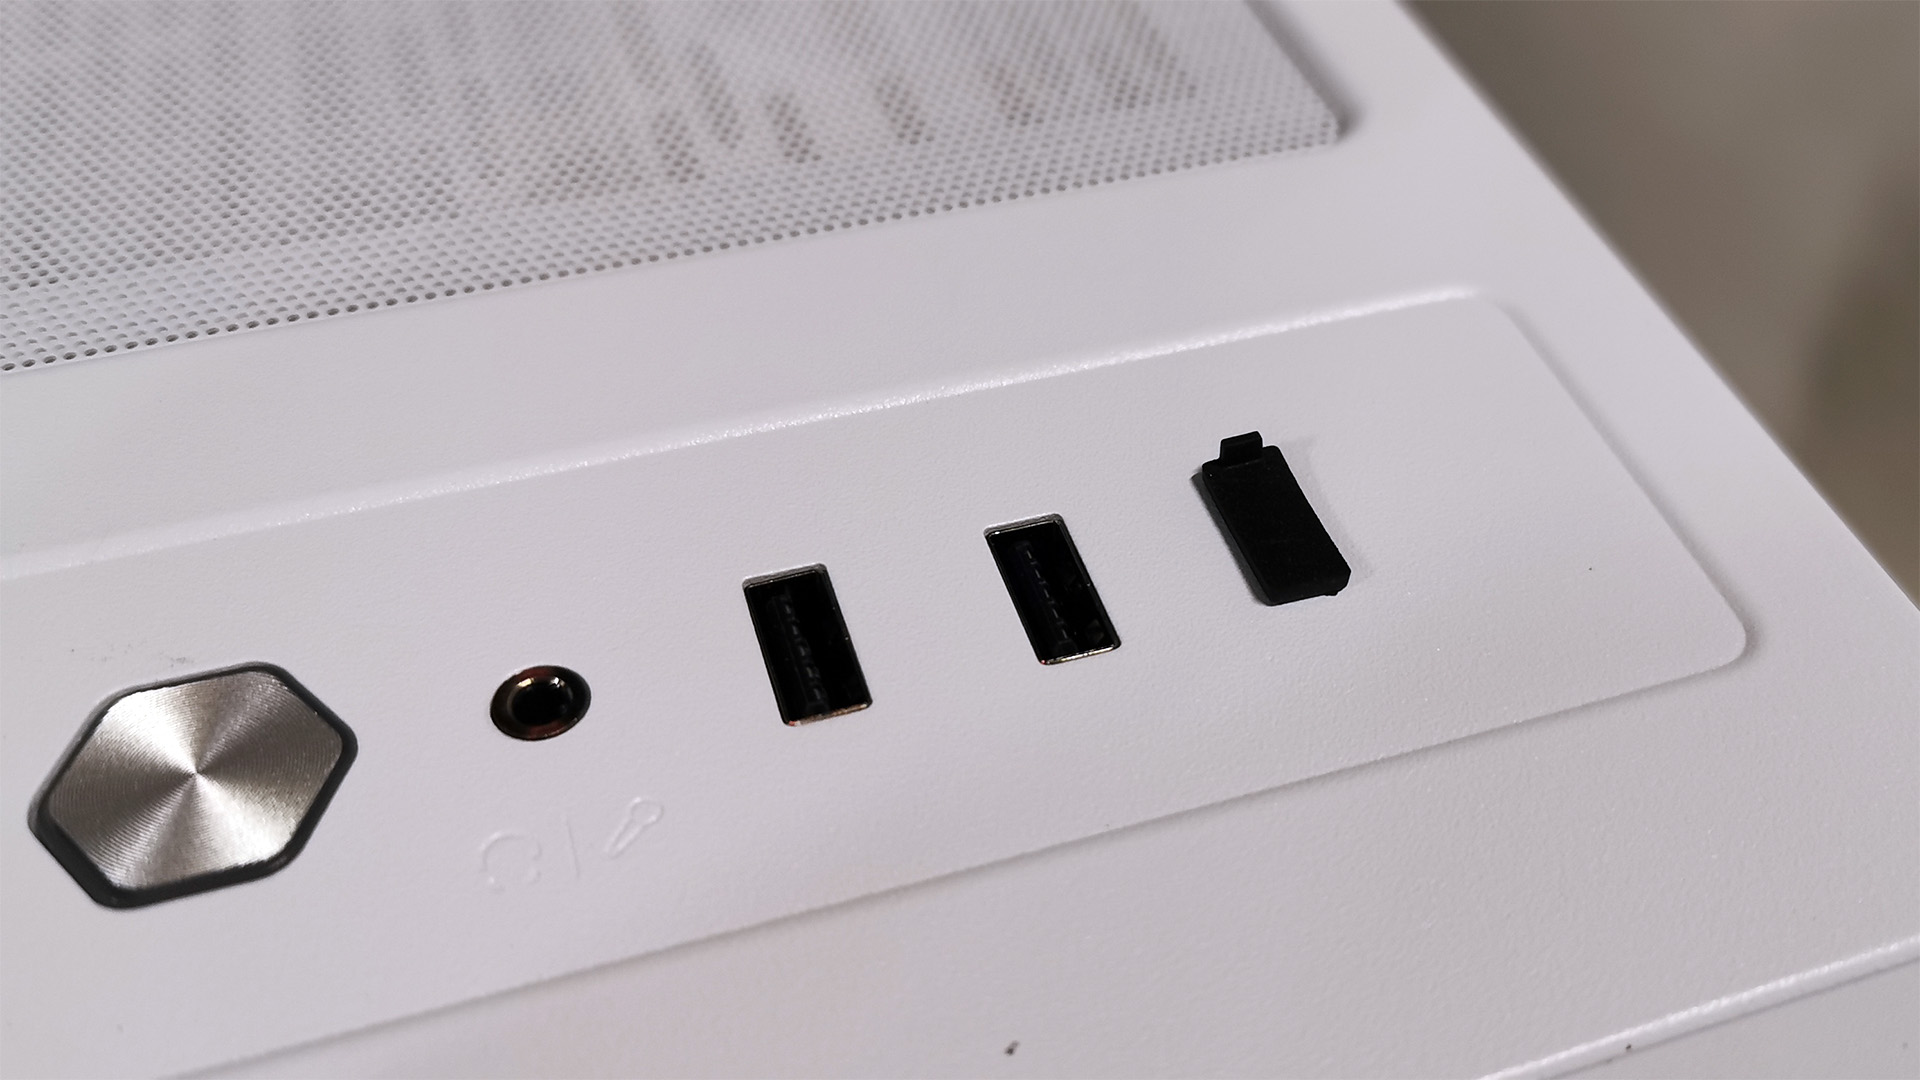
After lifting the Lancool II out of its excellent protective packaging, our eyes were immediately drawn to the I/O at the top. Here, you’ve got access to two D-RGB control buttons for manual use (color and mode), a reset button, power button, headphone jack, two USB 3.0 Type A ports. There’s also a USB 3.0 Type-C port here that’s covered with a small rubber insert, because it doesn’t work out of the box. While the port is there, the Lancool II doesn’t come with USB Type-C support as standard; it’s an optional extra that’ll set you back an additional $12 / £12 for the required cable. Aside from this annoying issue, there’s little to critique about the case’s exterior. The paint finish has a sandblast-like texture and is fairly resistant to fingerprints. But we tested the white model, so your mileage may vary with the black variant.
Front Panel and Lighting
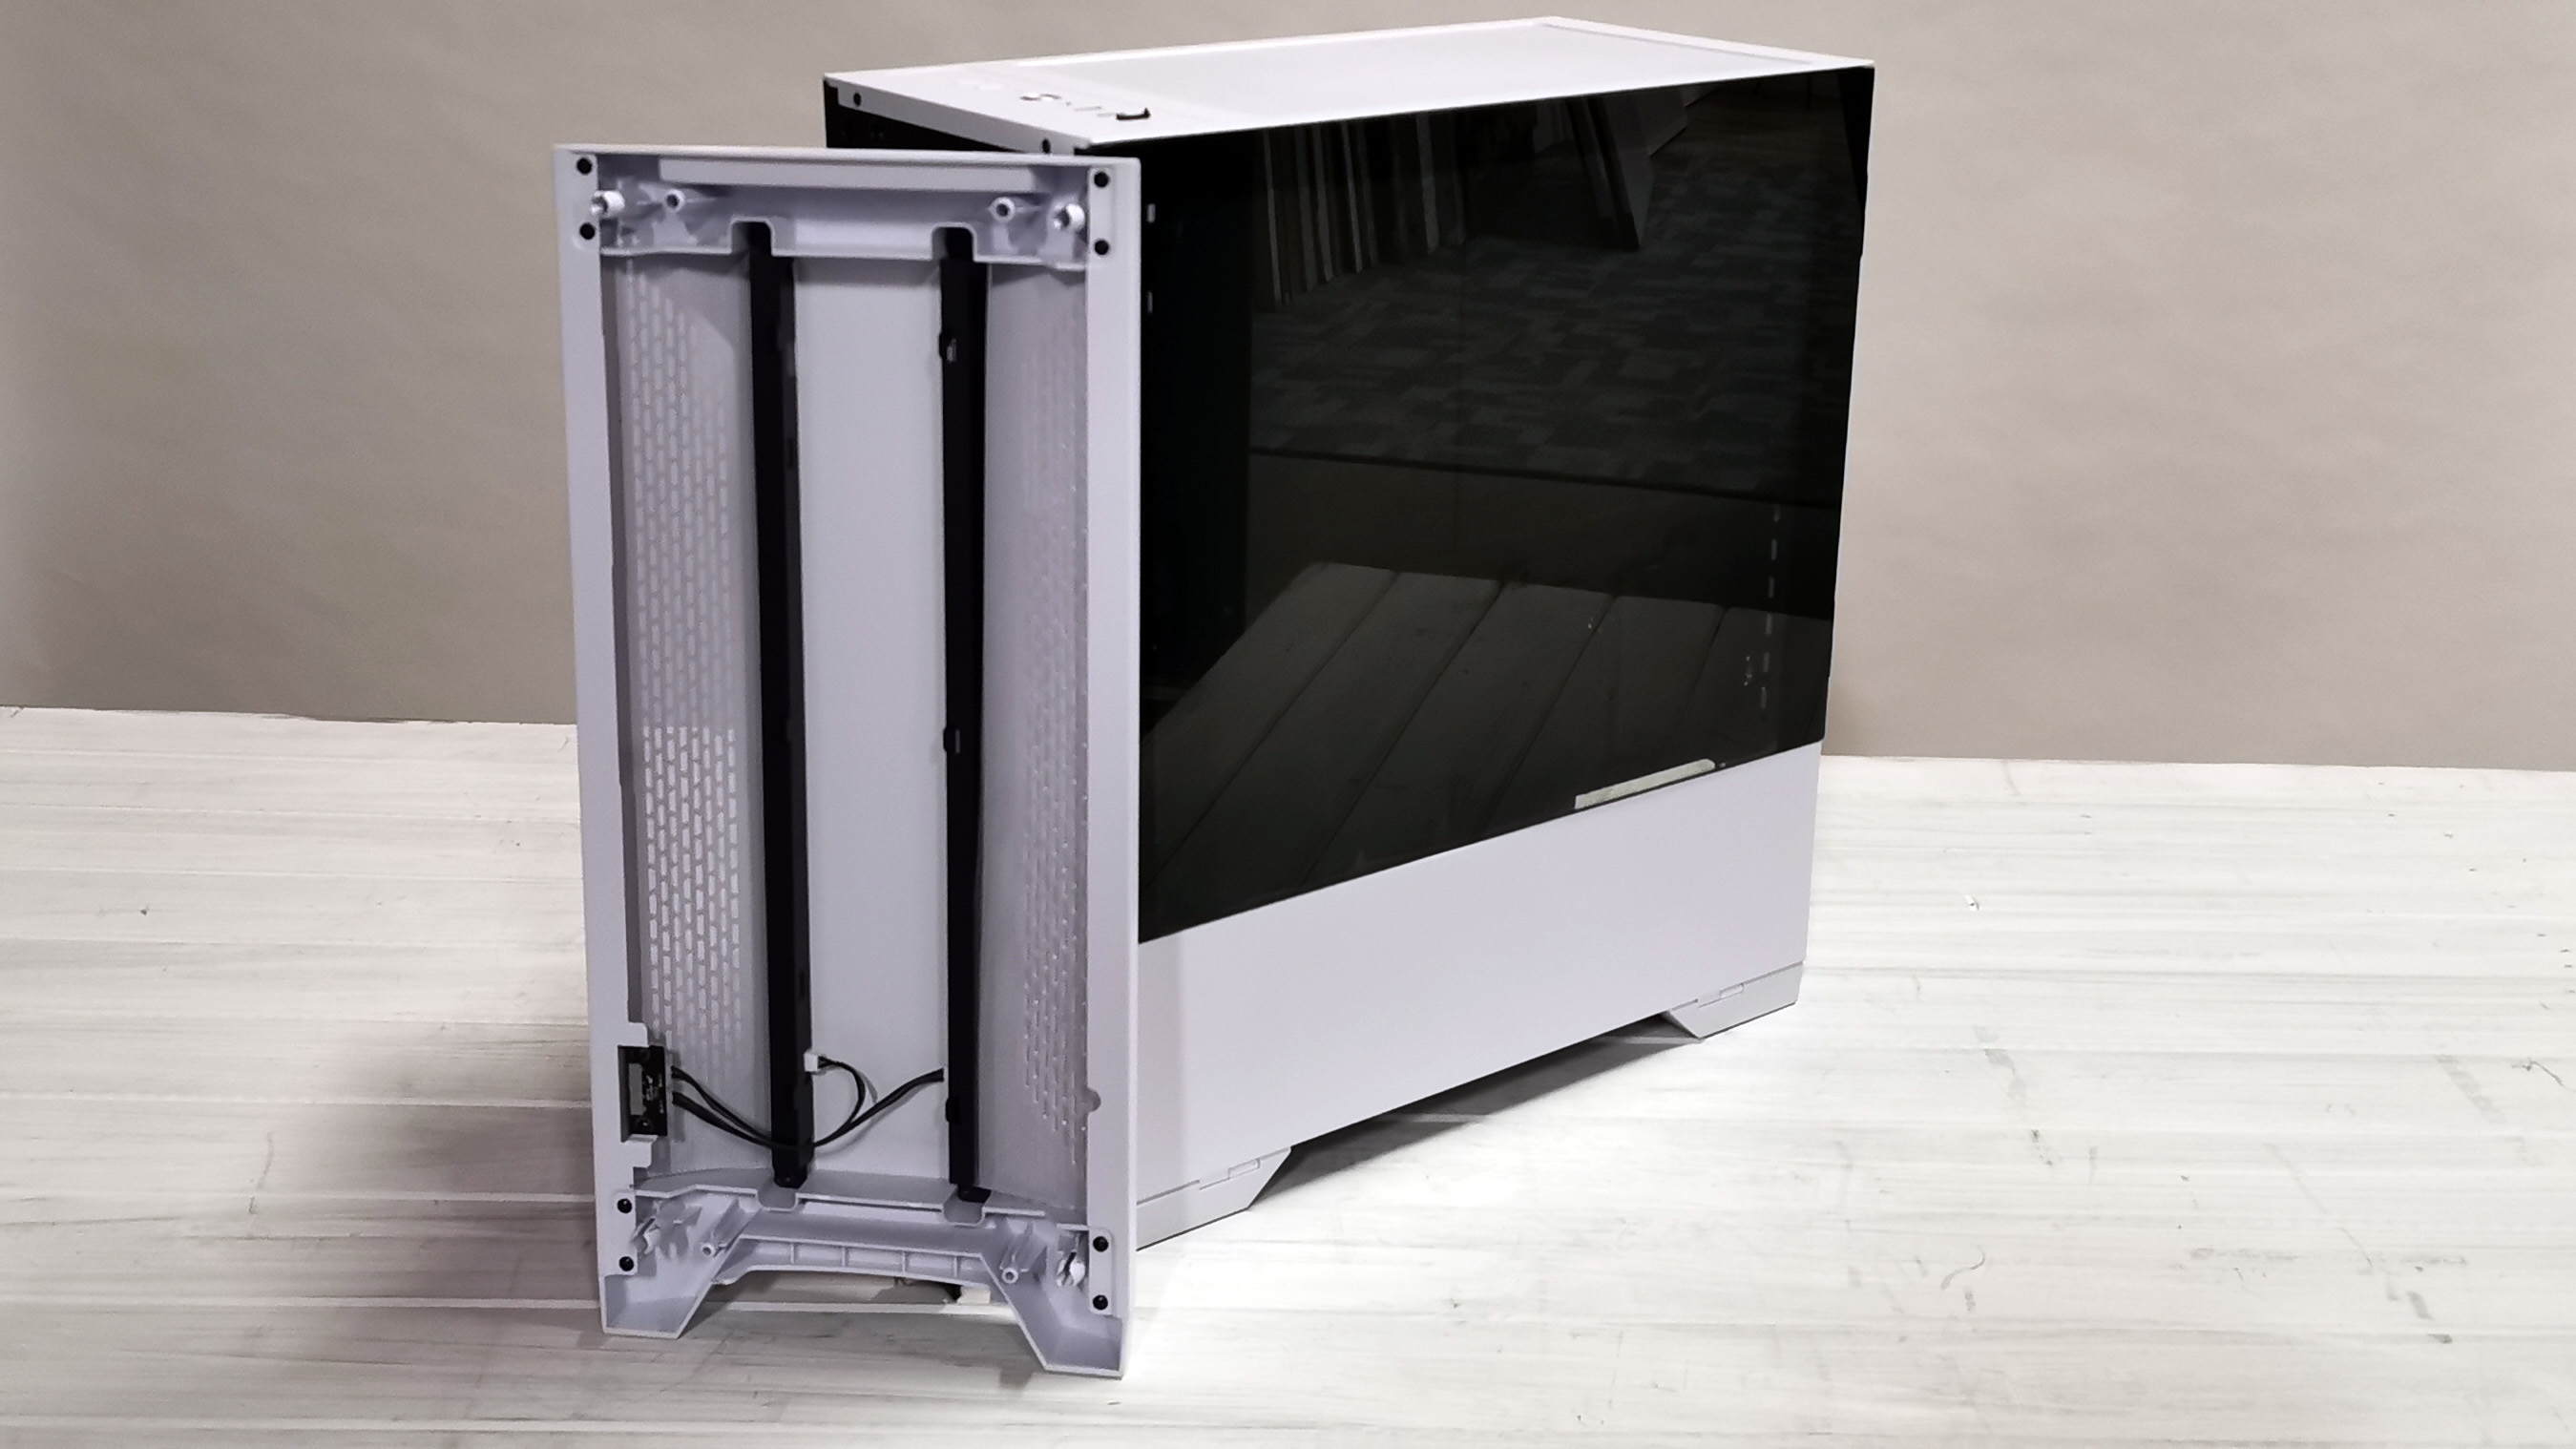
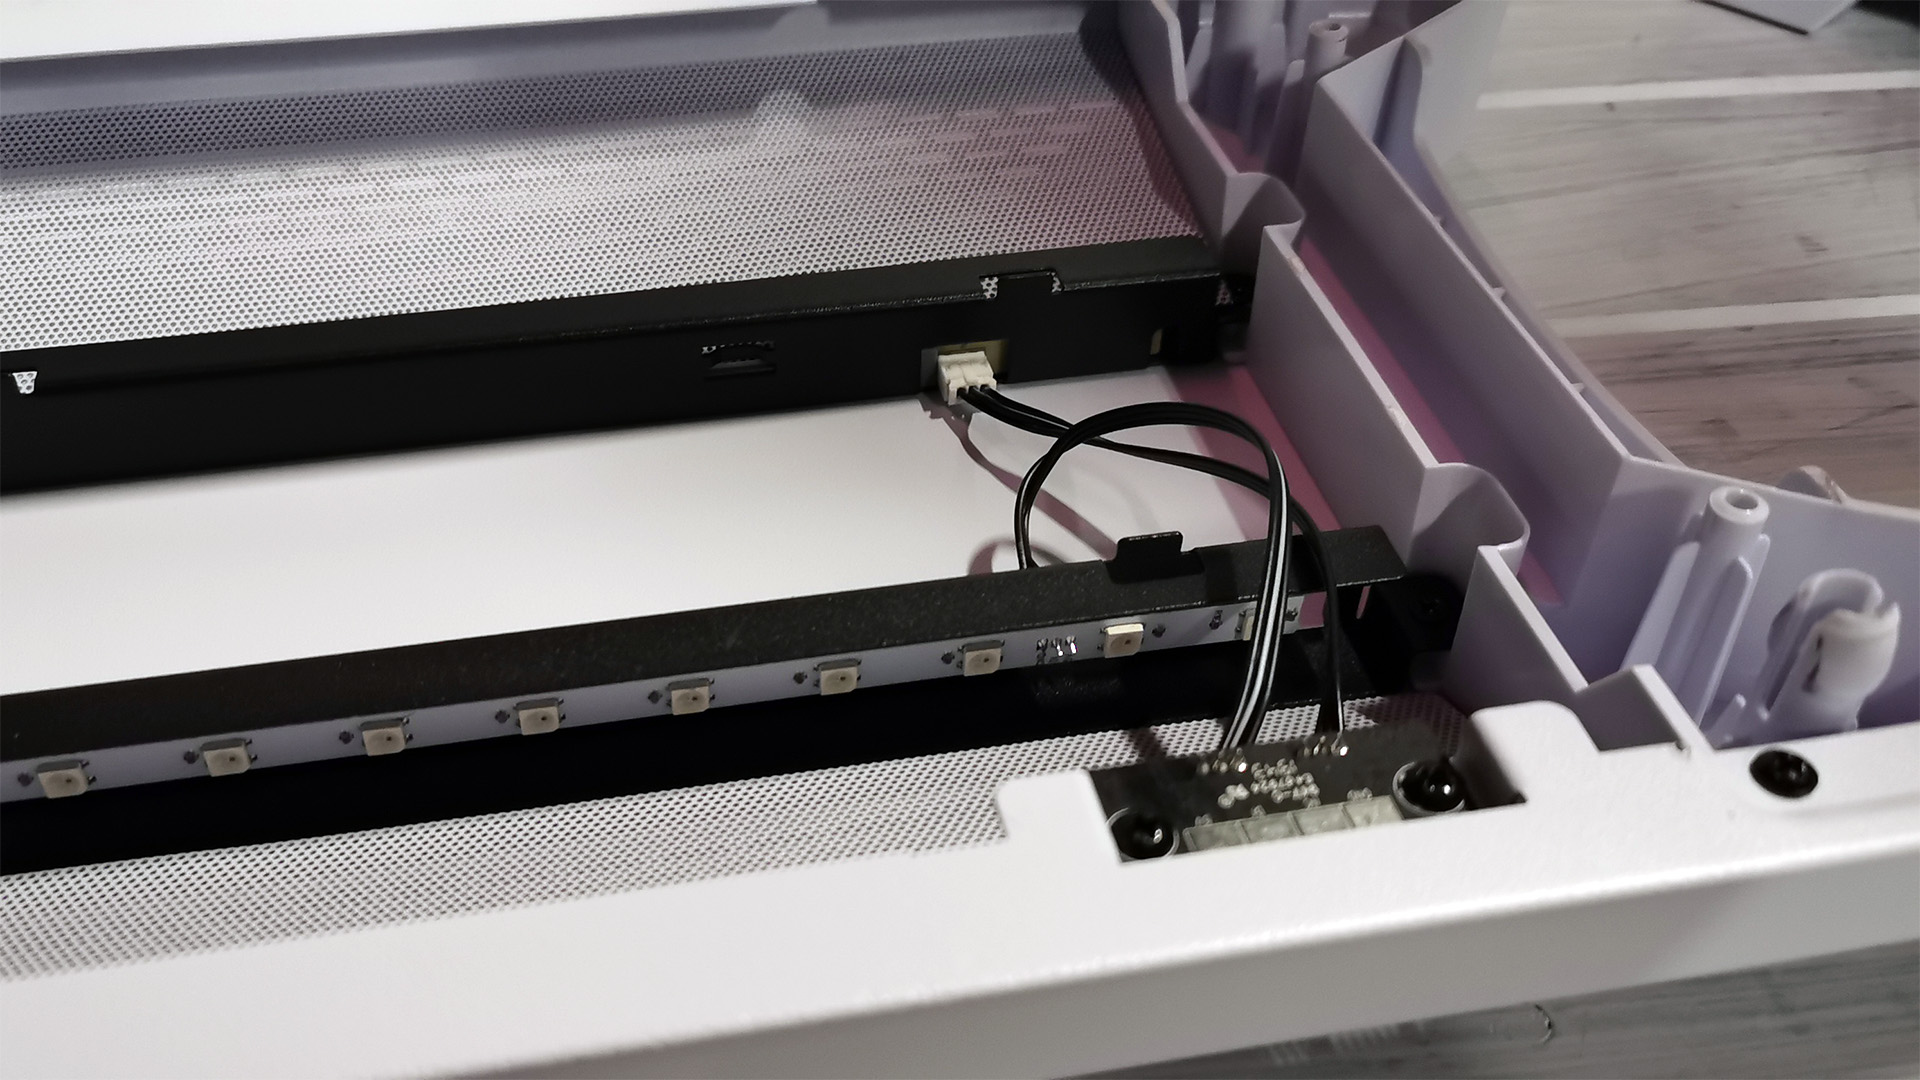
Take off the front panel by carefully pulling from the bottom, and you’ll gain access to that D-RGB we mentioned earlier. There are no cables here attaching the front panel to the internals of the case to power the lighting. Instead, the two D-RGB strips are powered by three metal contacts located on the bottom left of the panel. That then connects to a pin-like interface on the chassis’ frame which is then powered by a SATA header. You can control the lighting via the I/O buttons we mentioned earlier, or through motherboard software thanks to the inclusion of a connecting D-RGB cable. This is an almost identical design to that seen on the Phanteks Evolv X (which comes in at near $190), so it’s nice to see it on a more-affordable case.
Inside the front panel itself, you’ll find the two magnetic fan filters, strapped down with tape for shipping. Remove the tape, and then place them inside the angular grooves. The two RGB strips are located in the center of the panel. In our sample, potentially due to shipping, one came unstuck and bowed outward toward the fan filter area. We were able to push it back into place, yet over time as heat melts the glue, it may come unstuck again. We’d like to see magnetic D-RGB LED strips in the future, as the case itself is steel.
Side Panels
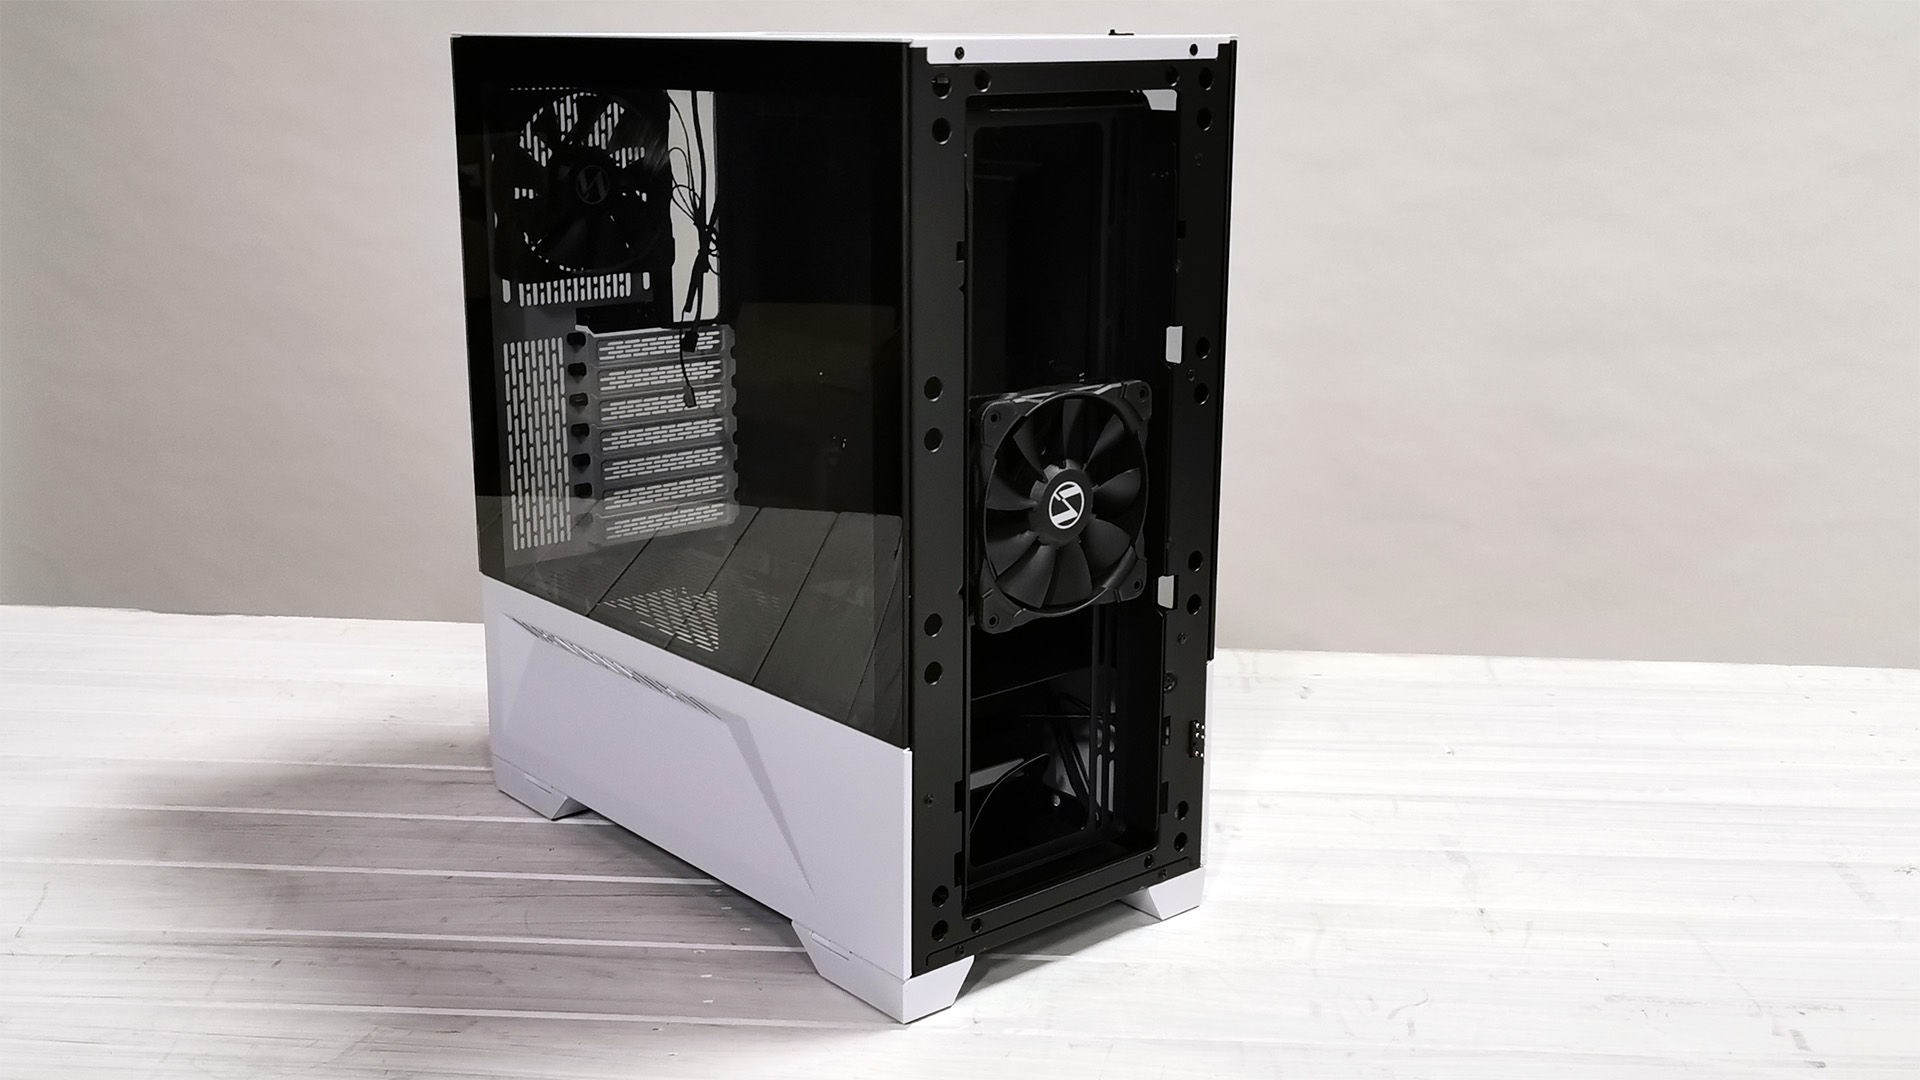
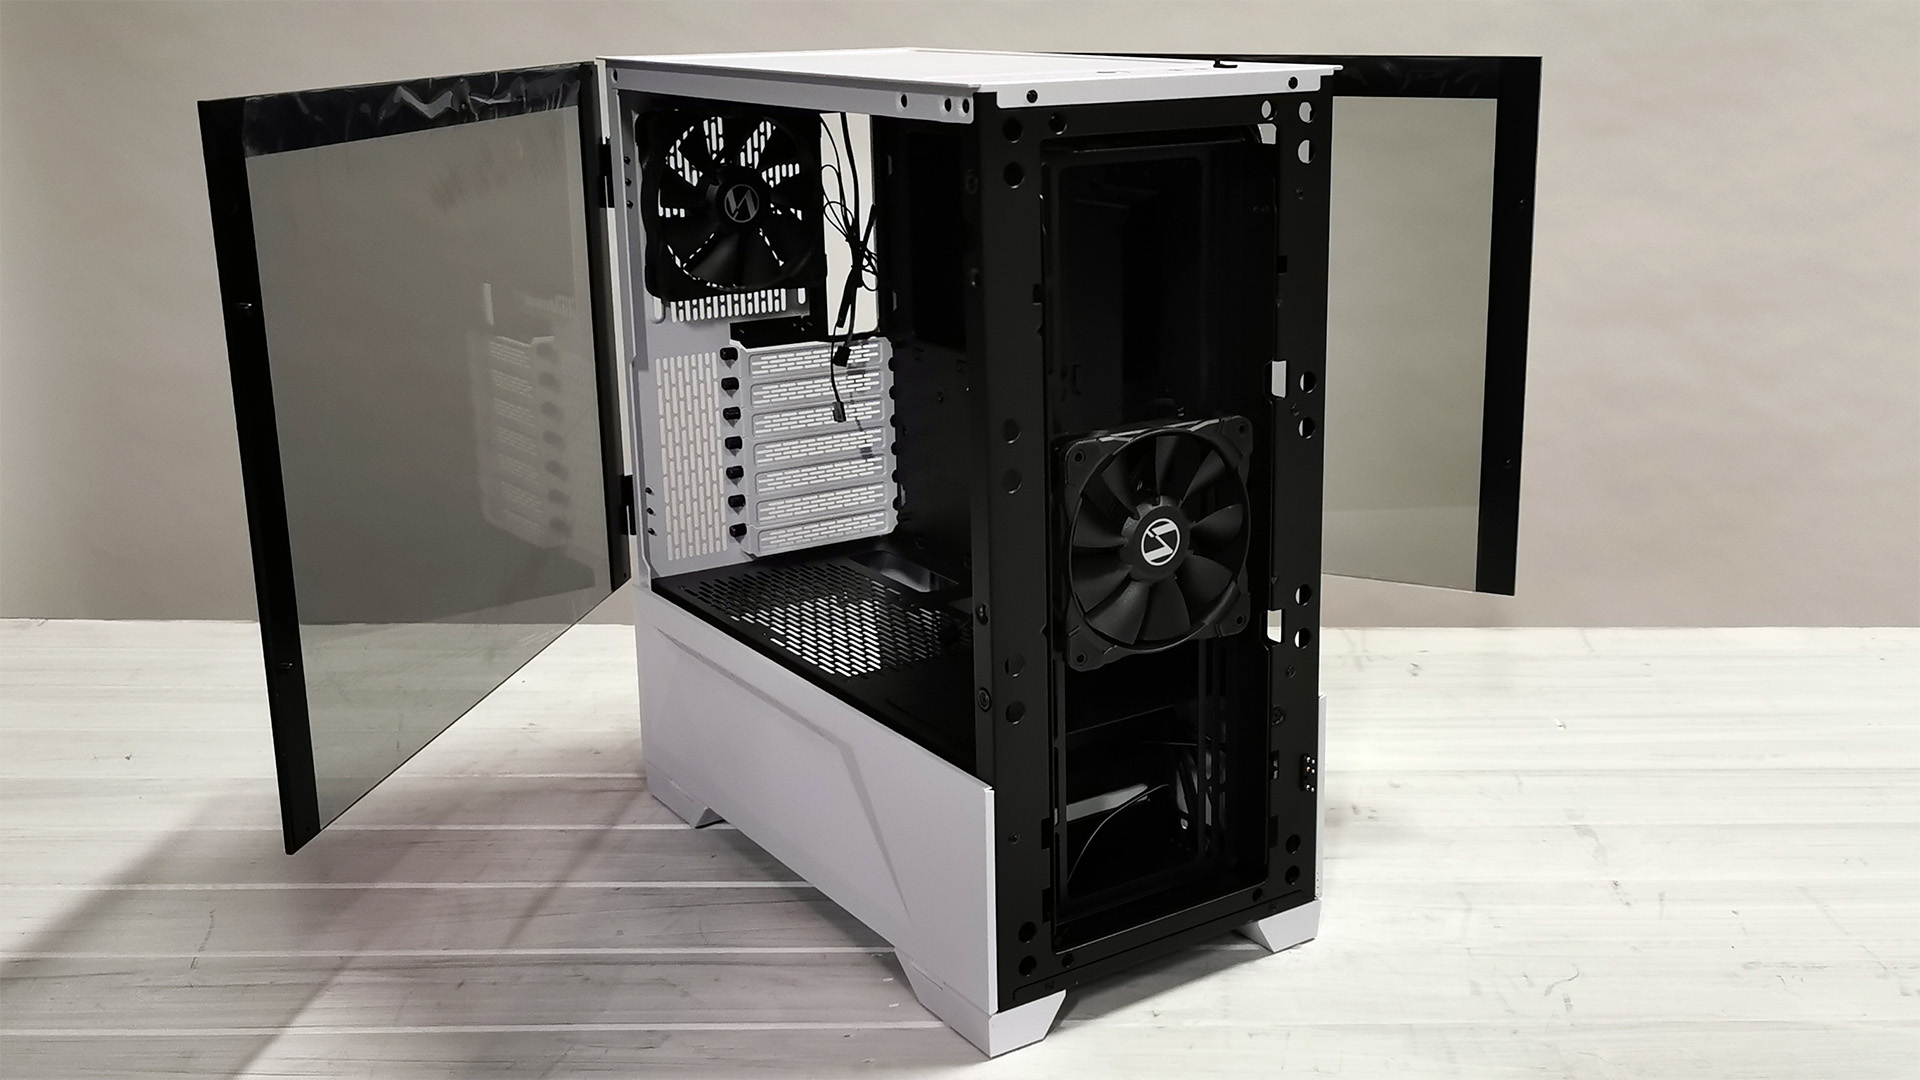
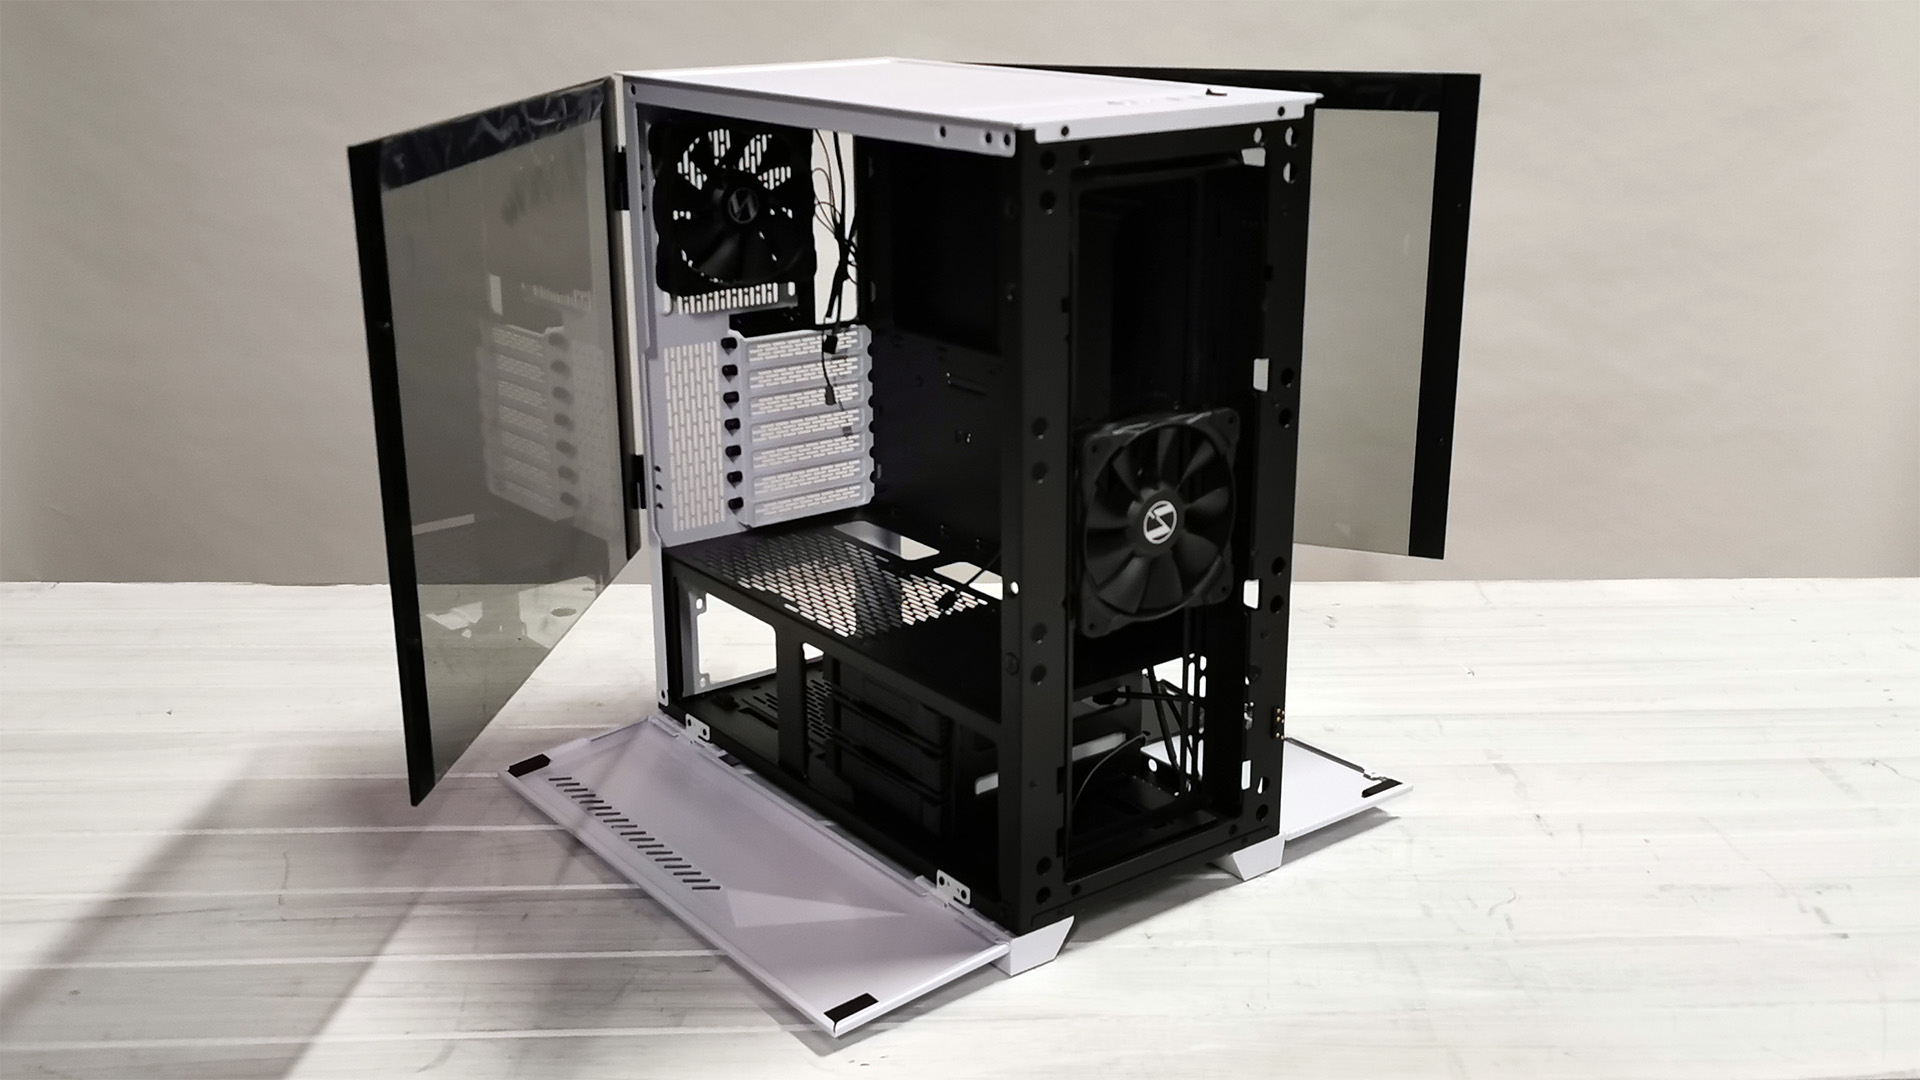
With the front panel out of the way, we get our first look at the interior. It’s quite the showcase when you drop both of the PSU compartment panels and open the two magnetically latched tempered-glass doors, which we recommend you remove while building out your system. You can do this by lifting them up off their hinges. Unfortunately, the PSU compartment panels are not removable unless you take a screwdriver to the hinge mechanisms themselves. They do come with phillips head screws, and aren’t riveted into place.
Interior Look
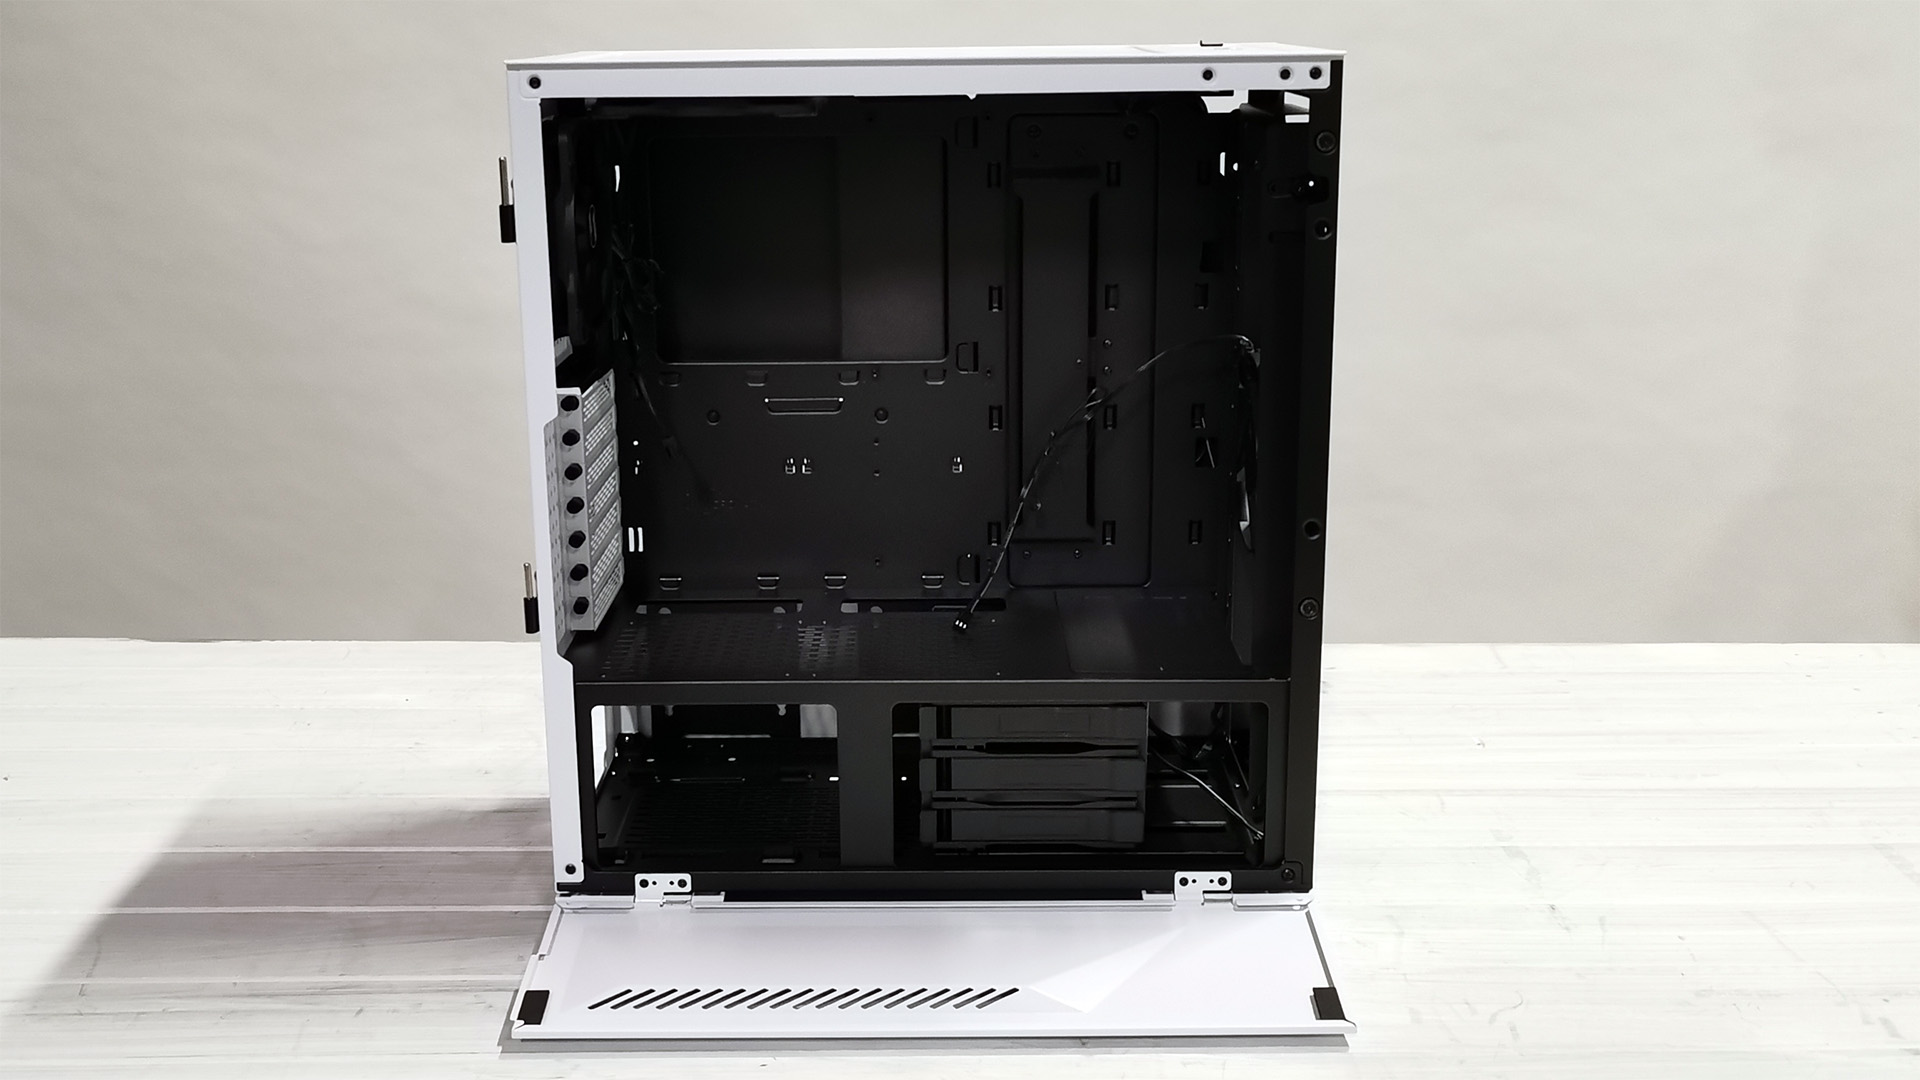
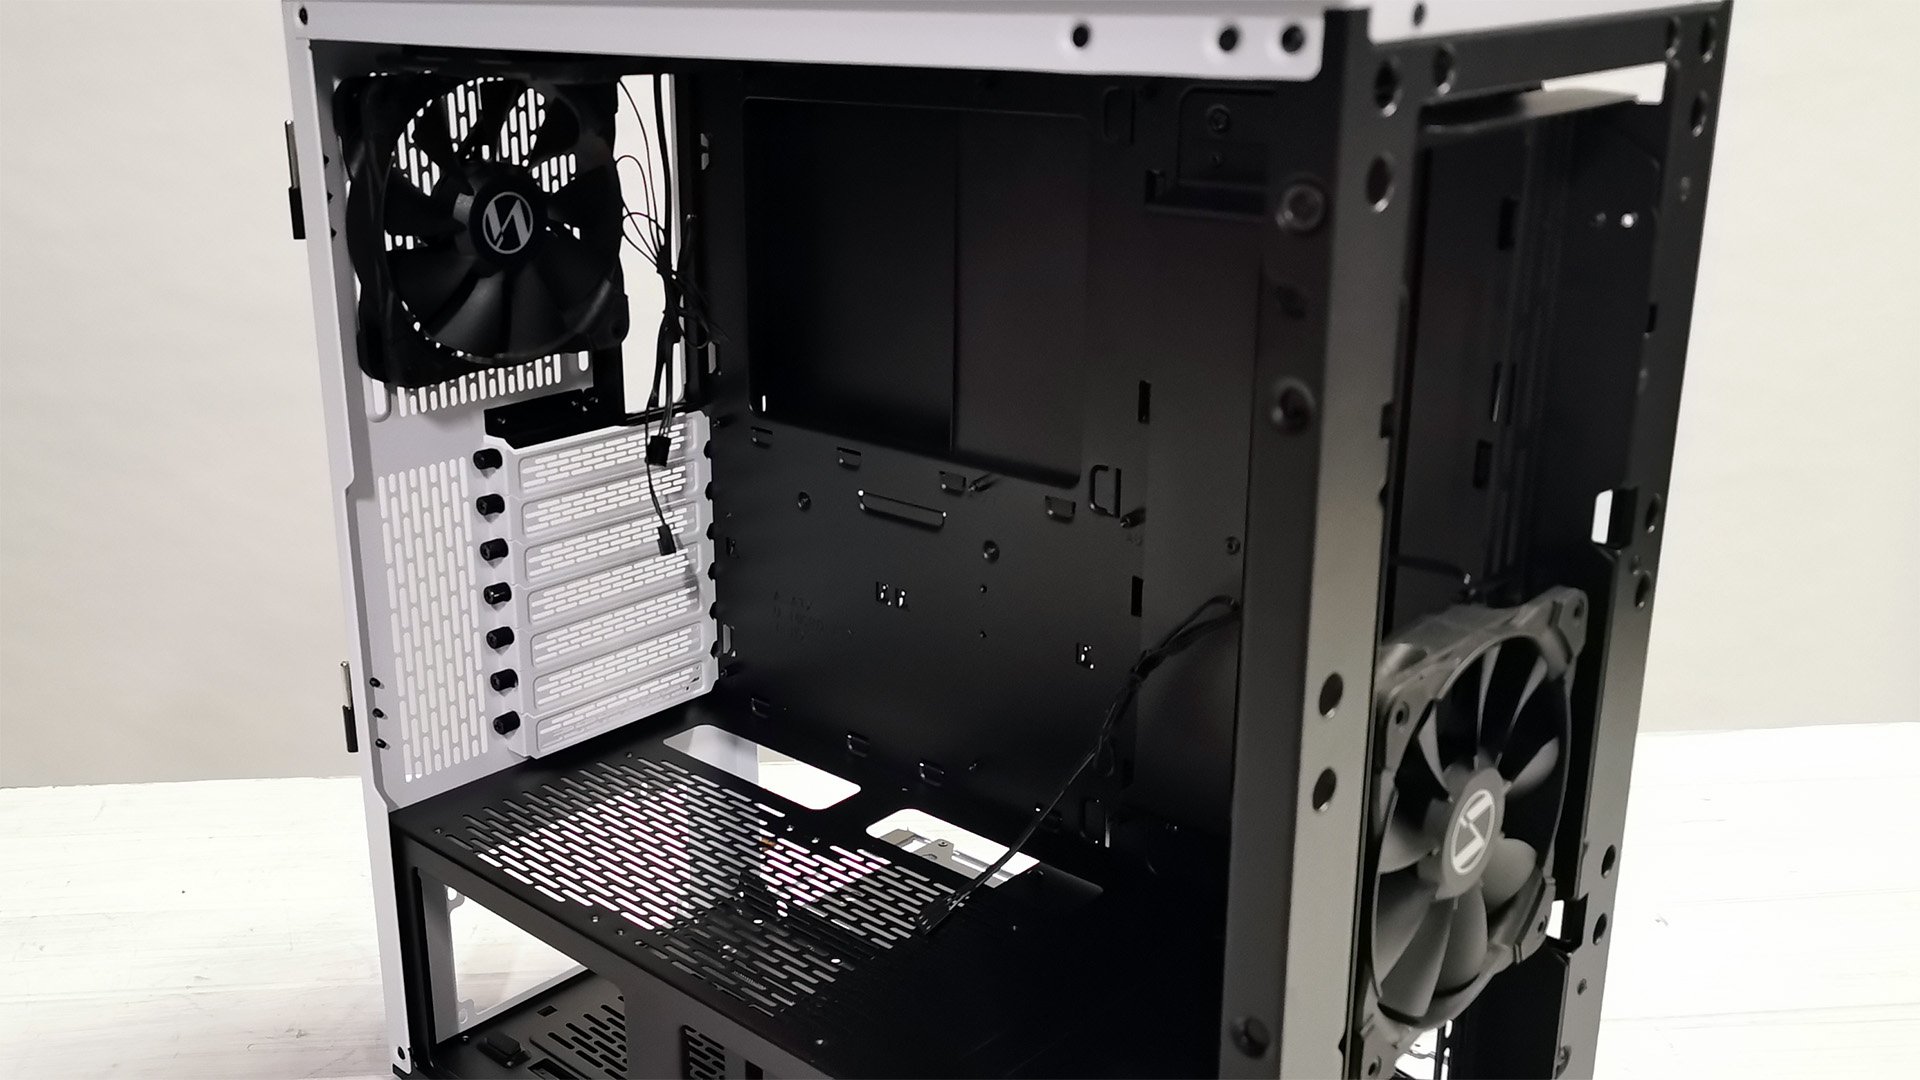
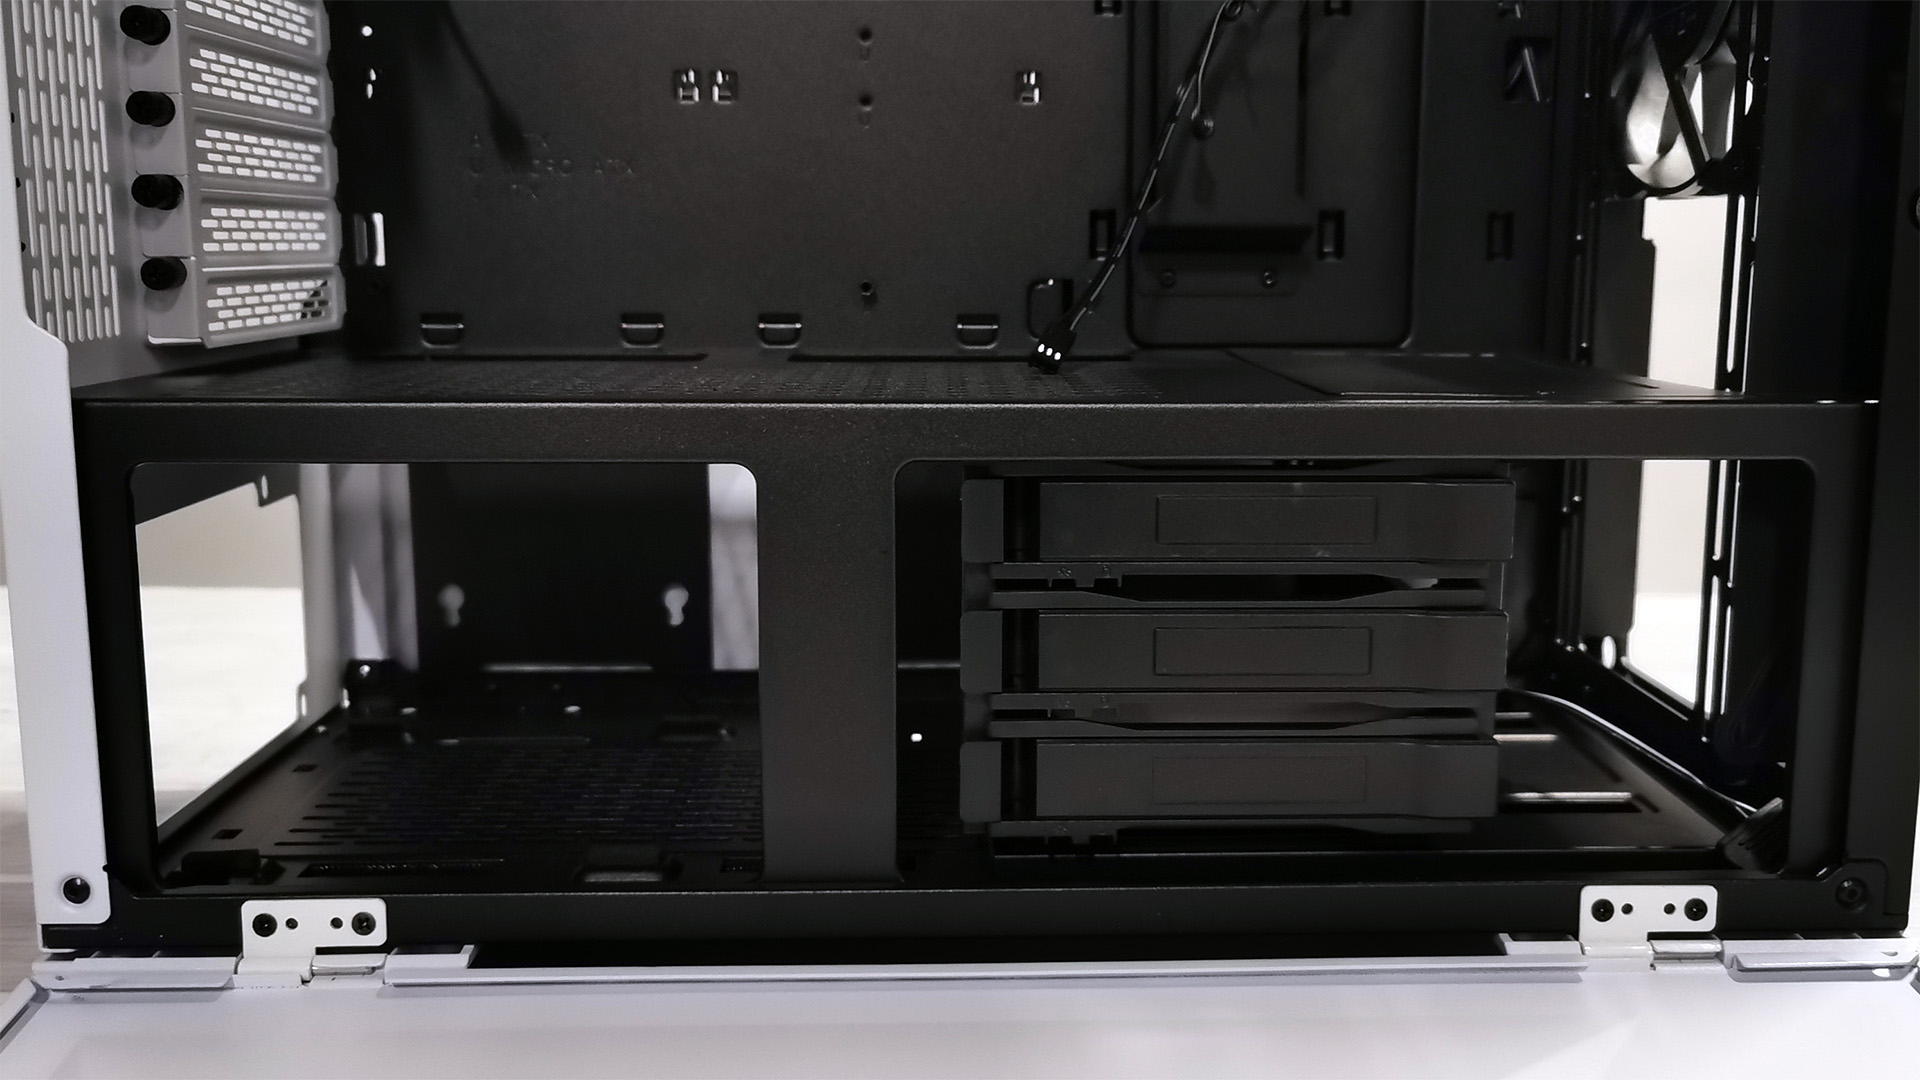
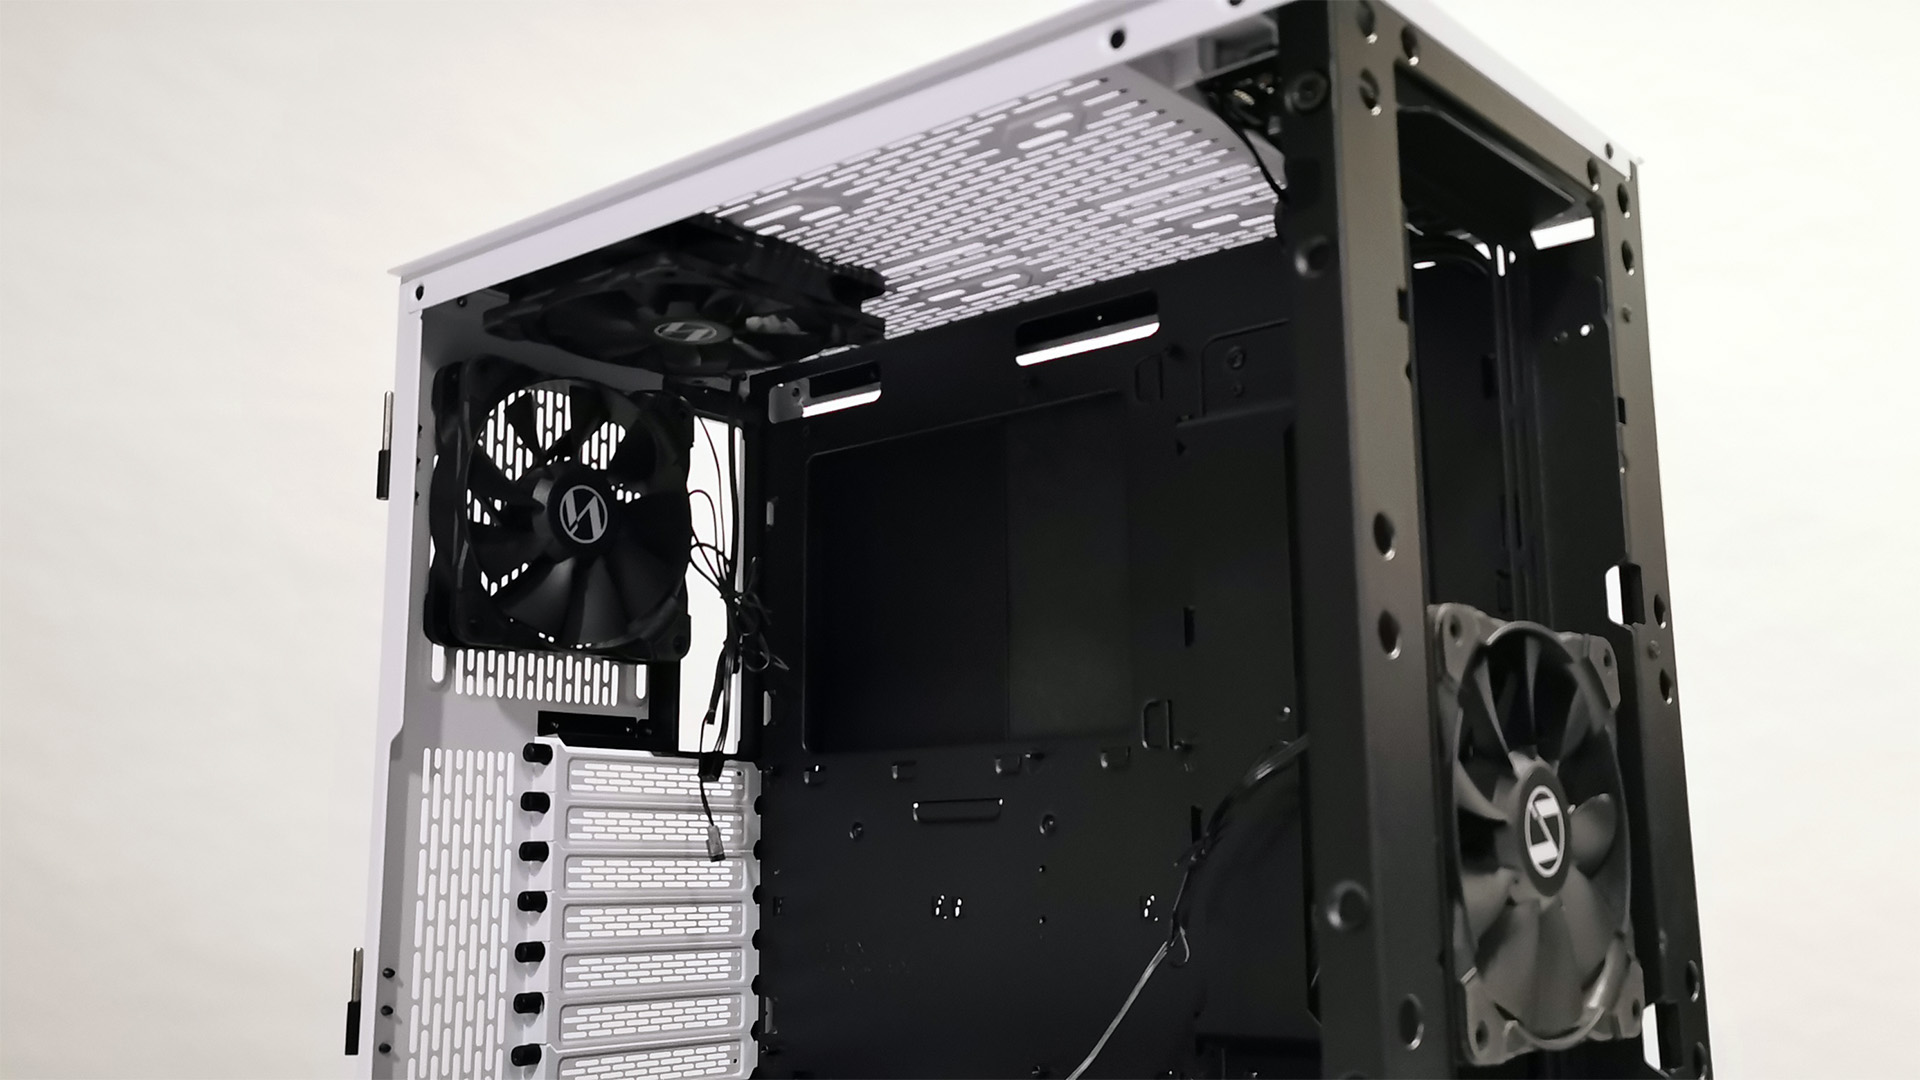
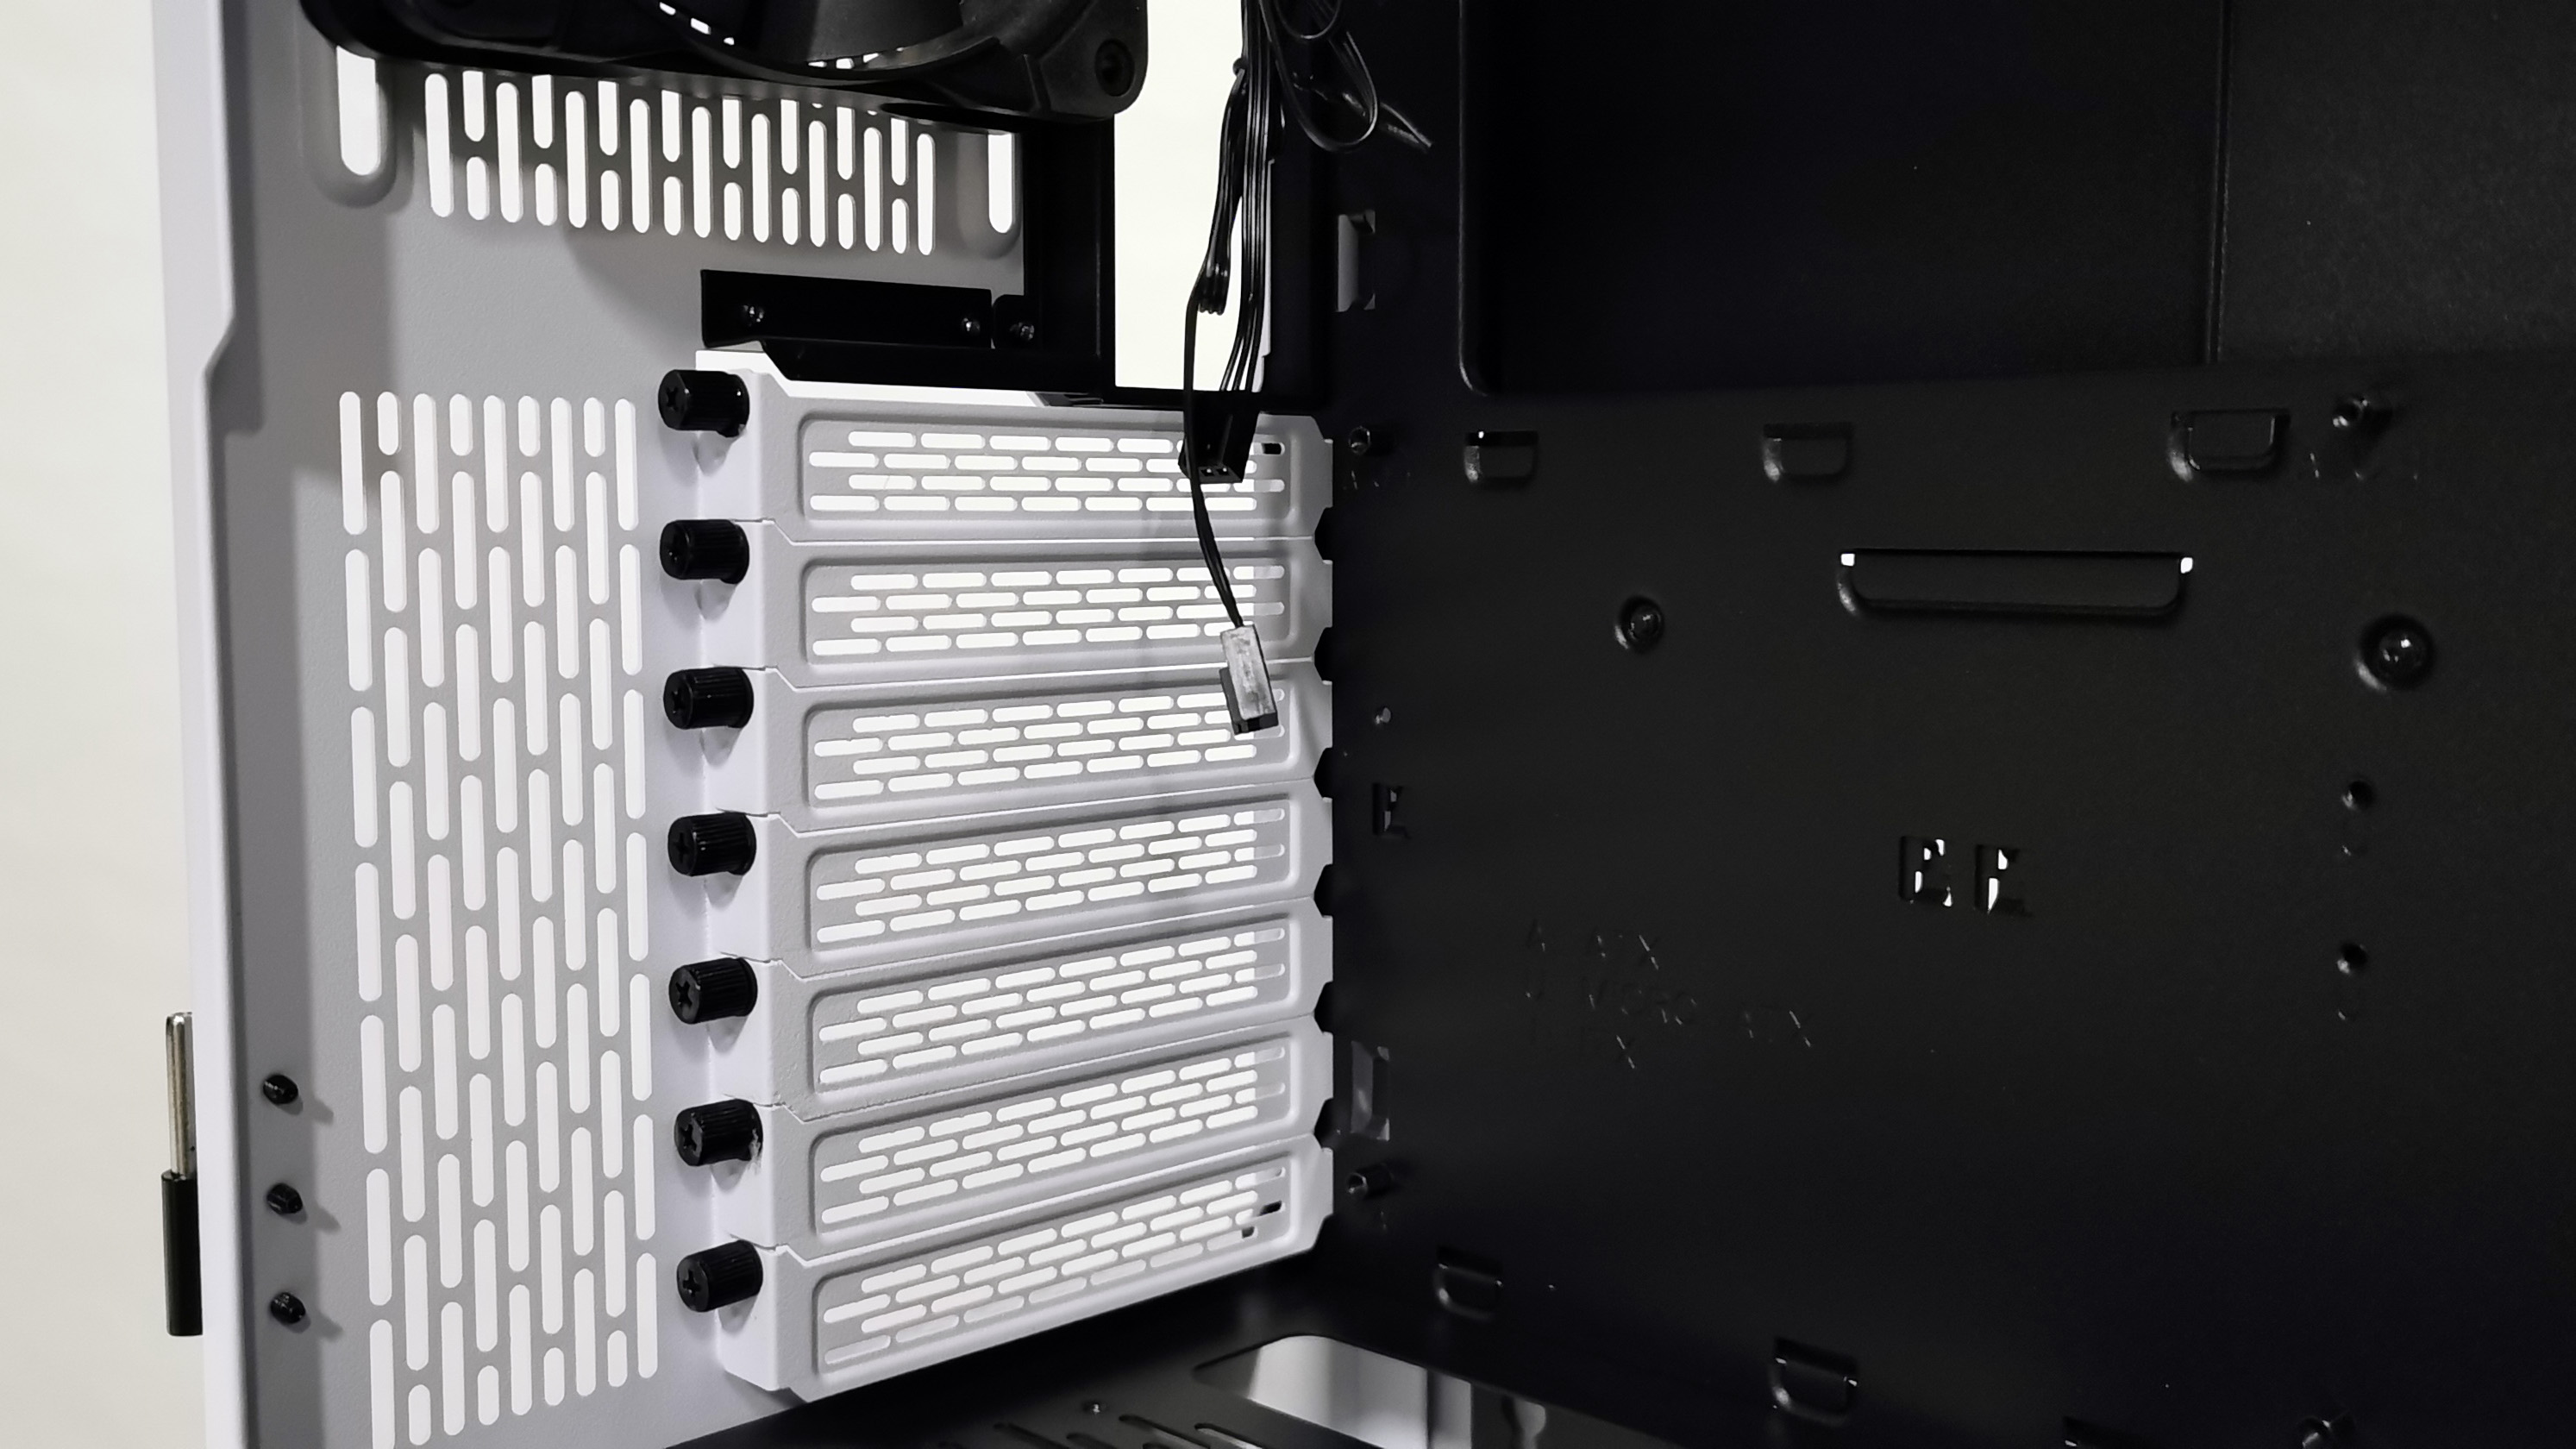
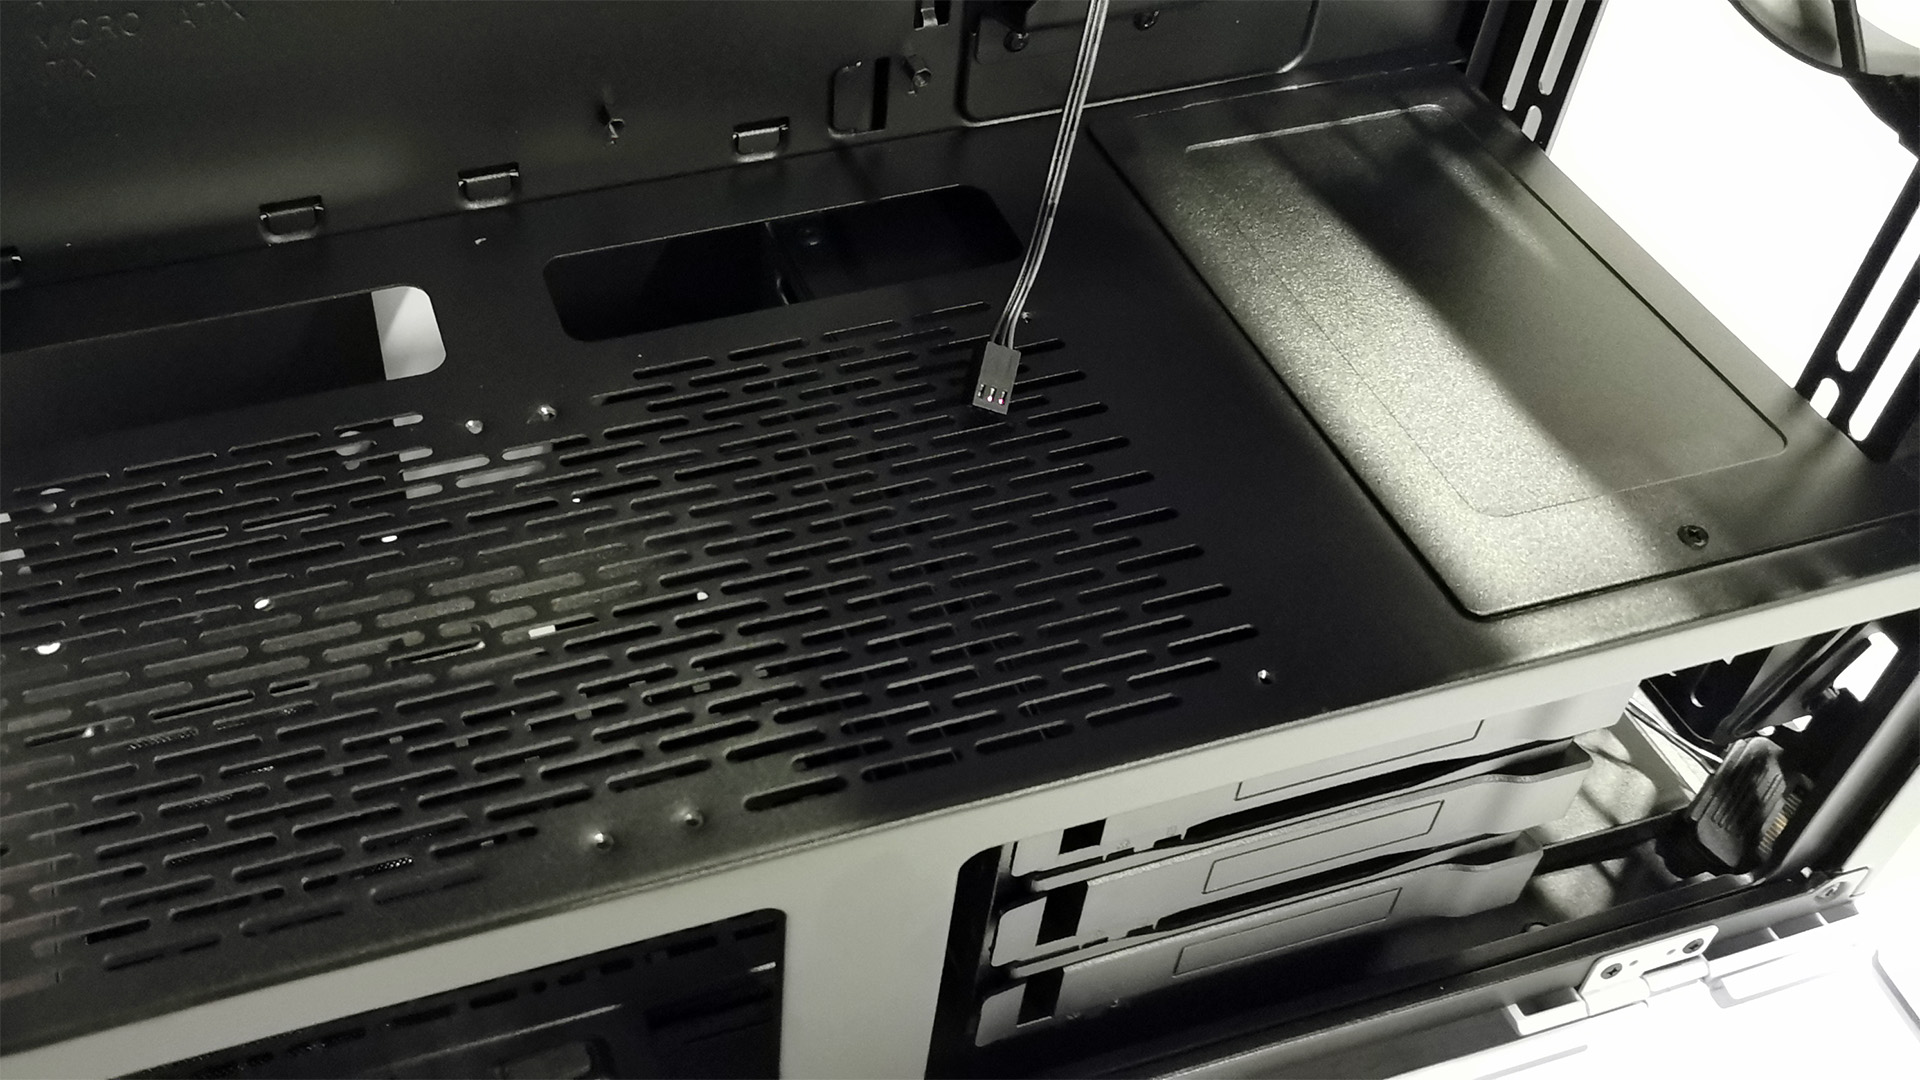
Inside, there’s ample support for expansion cards, a sizable PSU cover, and easy access to the potentially hot-swappable drive bay, although more on that later.
Get Tom's Hardware's best news and in-depth reviews, straight to your inbox.
The cable-hiding/routing bar here is fairly rudimentary. It doesn’t have the style of say, NZXT’s H710i, but it’s also a considerably cheaper chassis. On top of that, there’s support for ATX motherboards and also E-ATX if the cable bar is removed. If you do go the big board route, be aware that the far right edge of the motherboard won’t be supported by standoffs. So just be careful when installing your 24-pin ATX power that you don’t warp or snap the board’s edge.
There’s also a panel located at the front of the case on the PSU cover, that you can take out to enable greater support for thicker radiators, and a removable radiator bracket as well.
Cooling Support
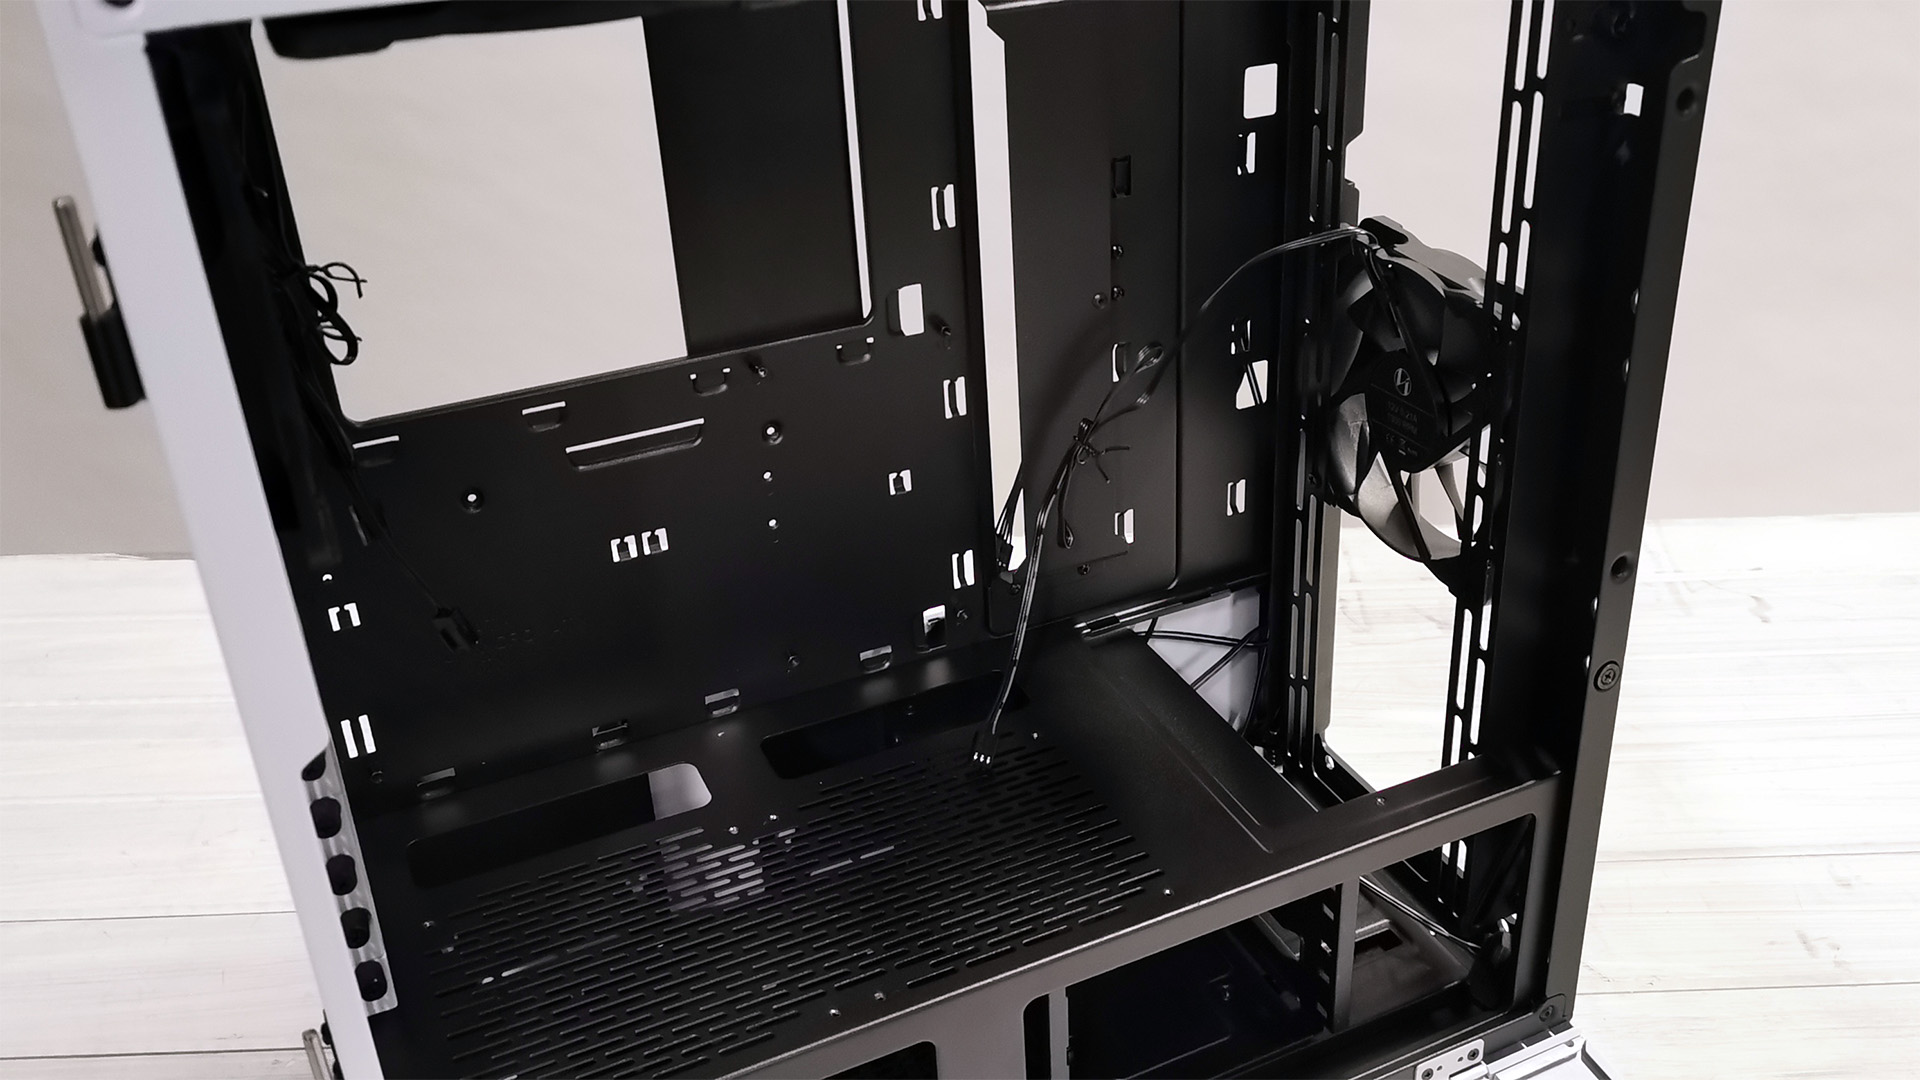
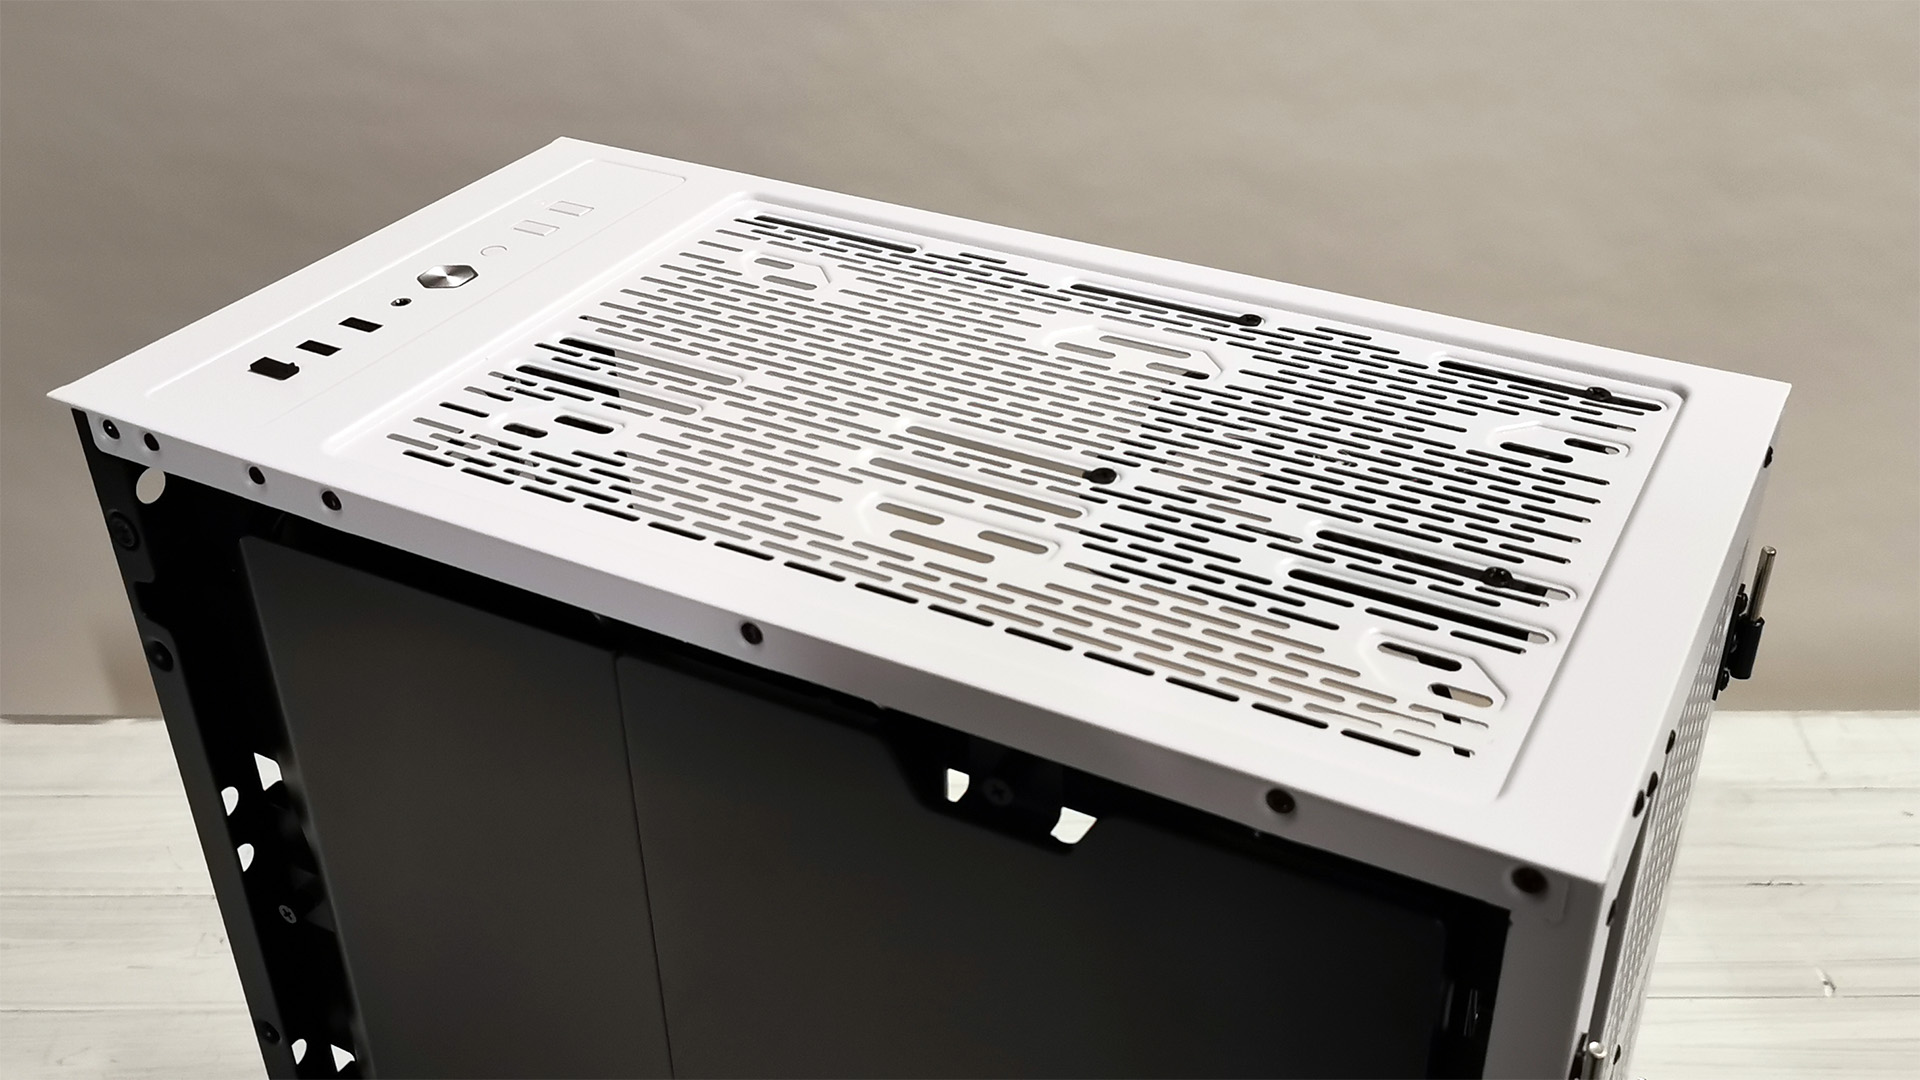
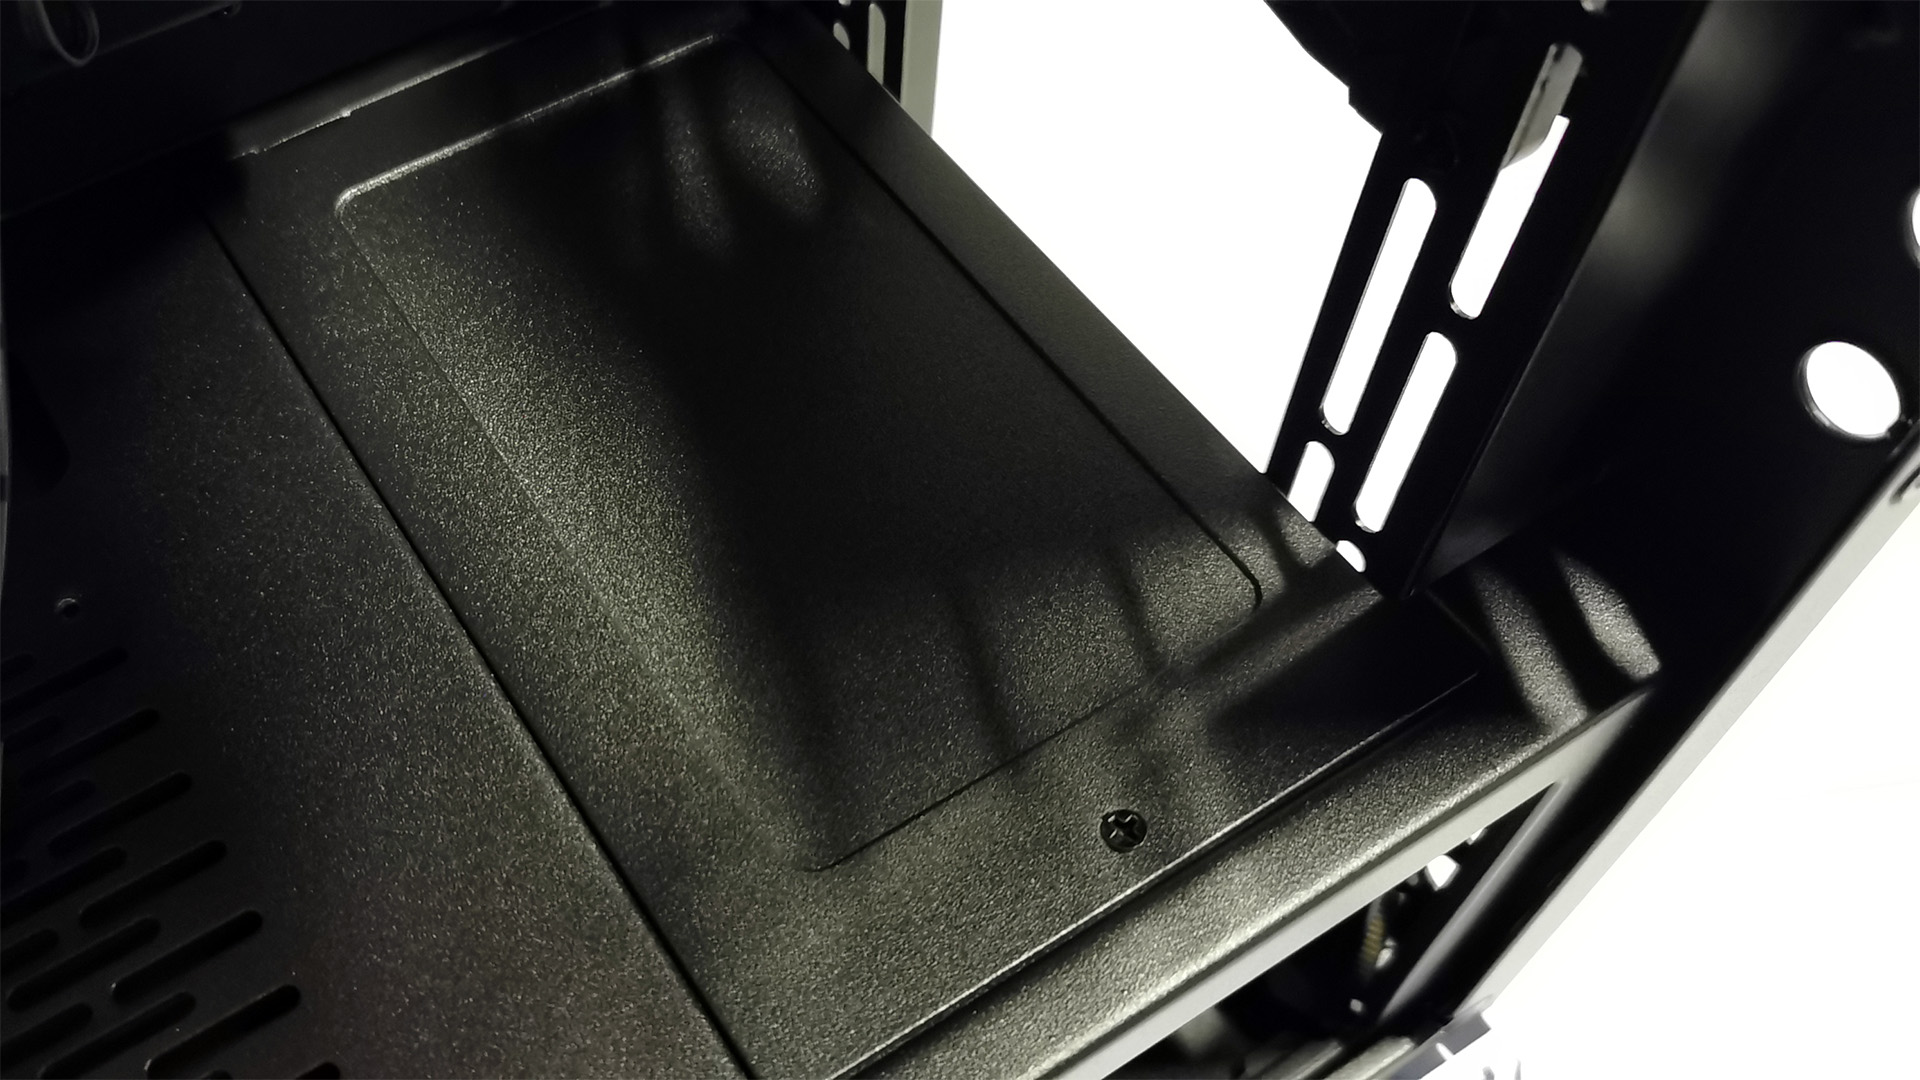
For an $88 chassis (in its black configuration) cooling support is very strong. As mentioned earlier, you get that removable radiator bracket to attach your fans and radiator to (although Lian Li warns against attaching radiators directly to the inside of the bracket as it’ll damage the bracket itself), and the removable panel on the PSU cover too. It’s that latter part that’s important here, as it allows you to install radiator and fan combos up to 110mm thick if you so desire. That amount of space is a bit extreme, as most AIO combos only measure 52mm in total thickness with fans, and a push pull config would put that up to 77mm. But the option is there for thicker cooling setups.
To achieve the 110mm room, you do also have to move the hard drive cage back along its rails (as it’s adjustable), limiting space for the PSU and its cables, although we’ll discuss that shortly. Aside from that front panel, you can also mount a 240mm radiator up top, as the mounting location is offset enough to ensure there’s no incompatibilities with memory or motherboard heatsinks.
Rear Cable Management
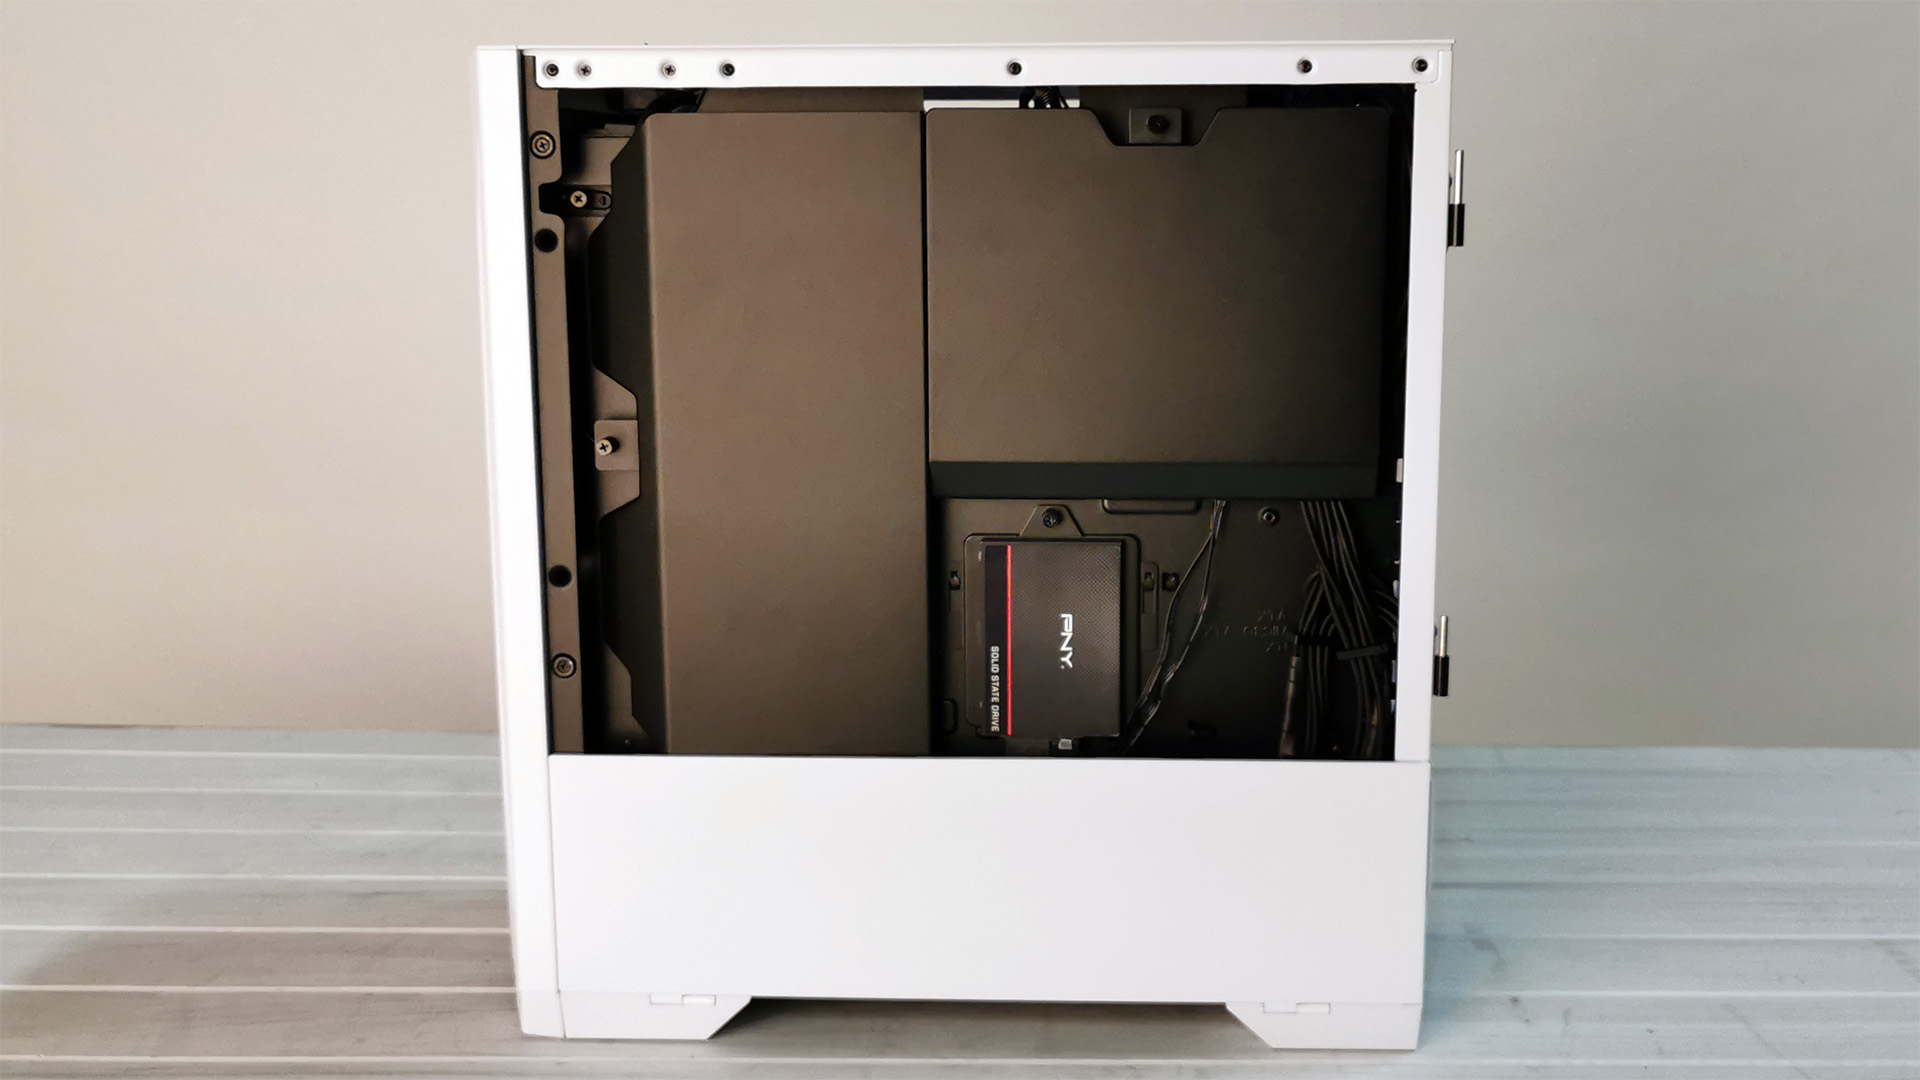
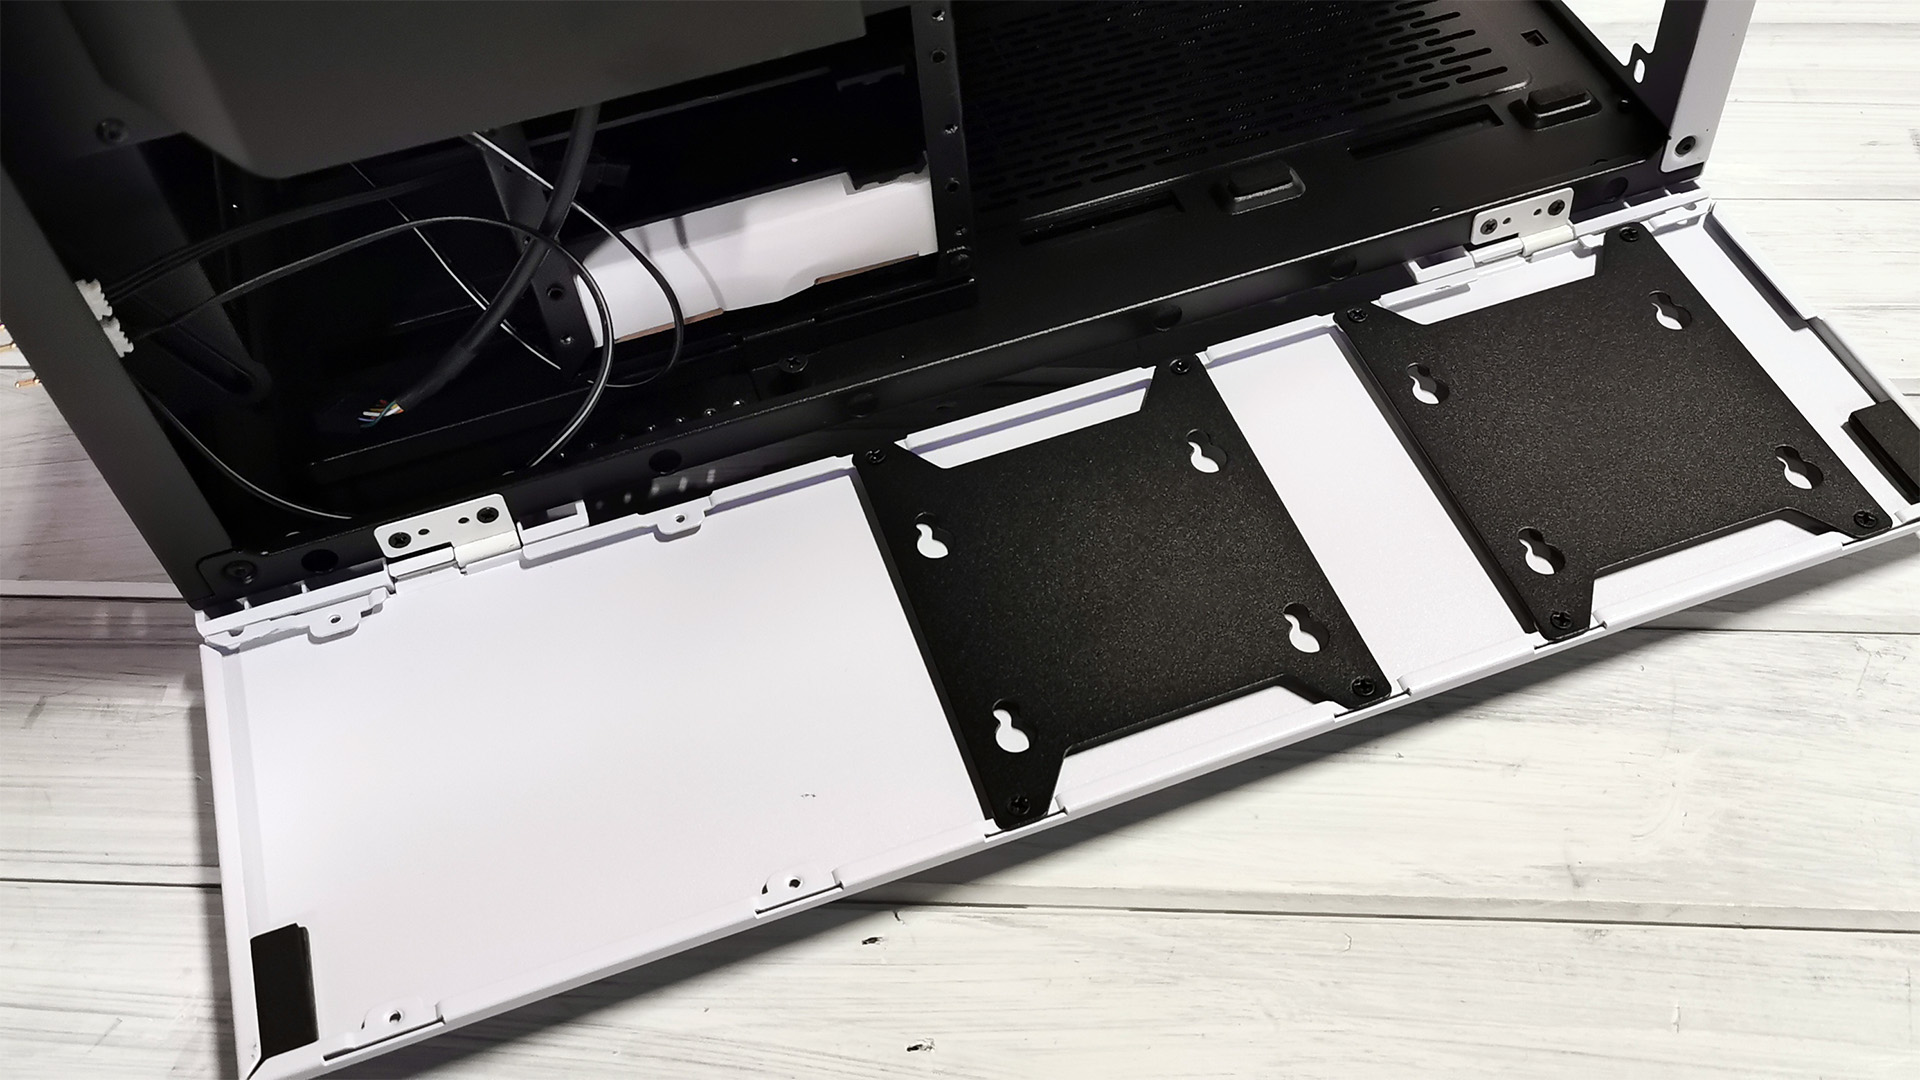
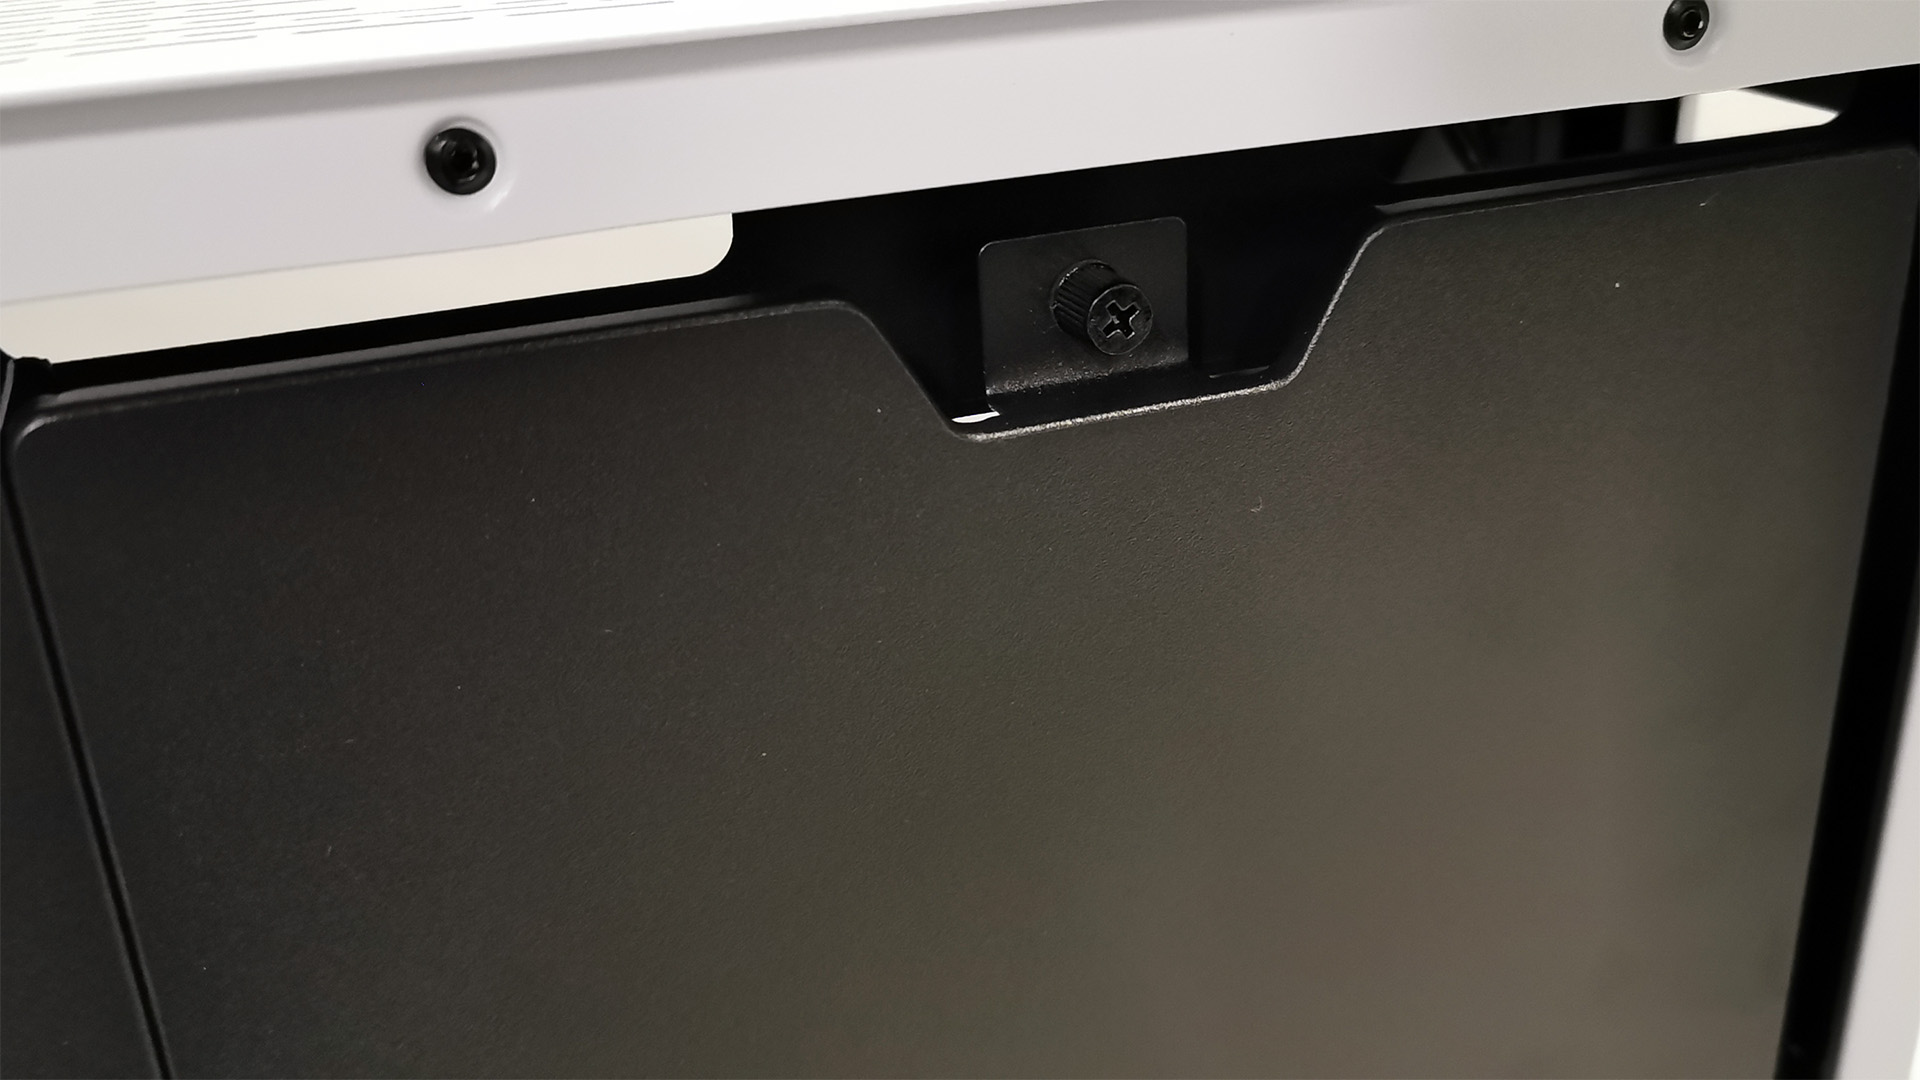
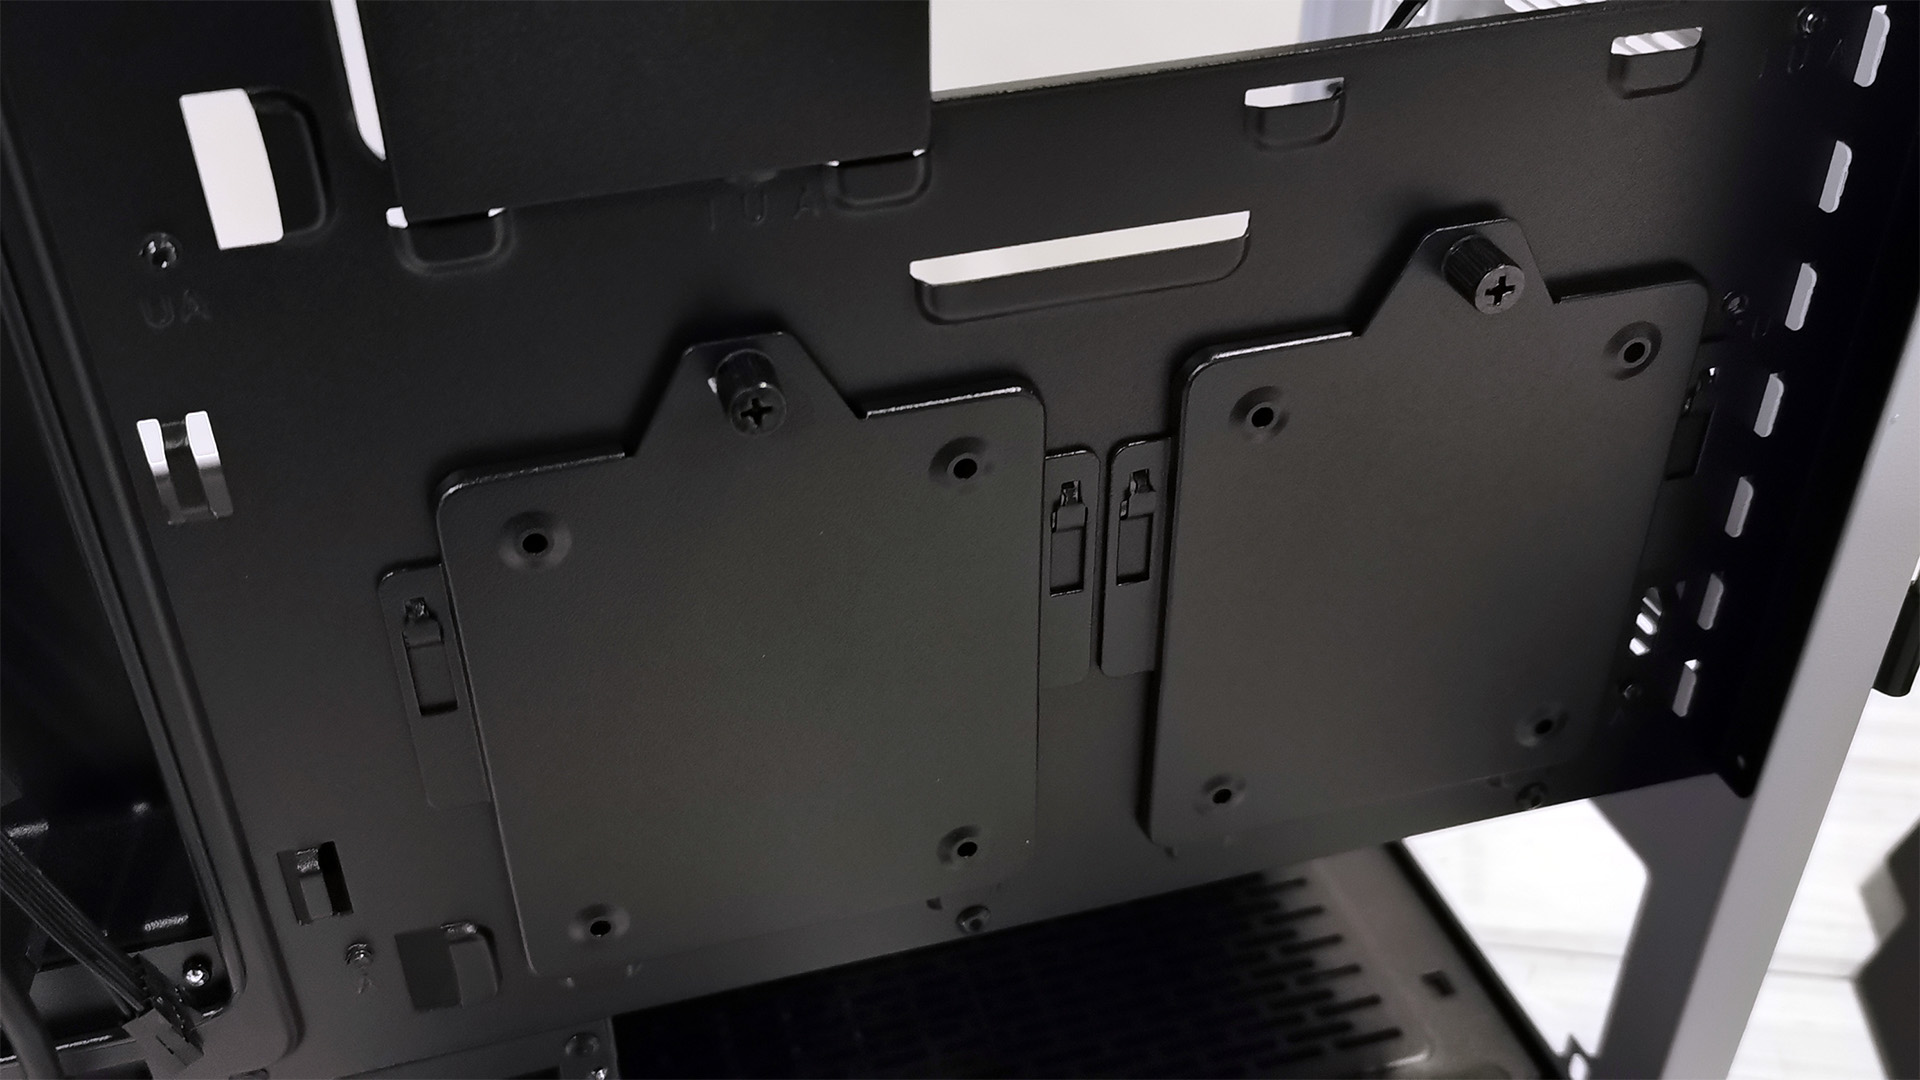
Because of that desire to retain the tempered glass panels on both sides of the case, Lian Li has included a multitude of cable cover panels behind the motherboard tray. These are steel covers that slot into position and are secured by a simple thumb screw. They do have to be installed in order -- the leftmost panel hiding your ATX power and front panel connectors goes in first). However on the whole we found them to be very effective and they look the part too. They don’t cover the SSD caddies, so if you want to show off your drives, you can.
Hard Drive Caddy
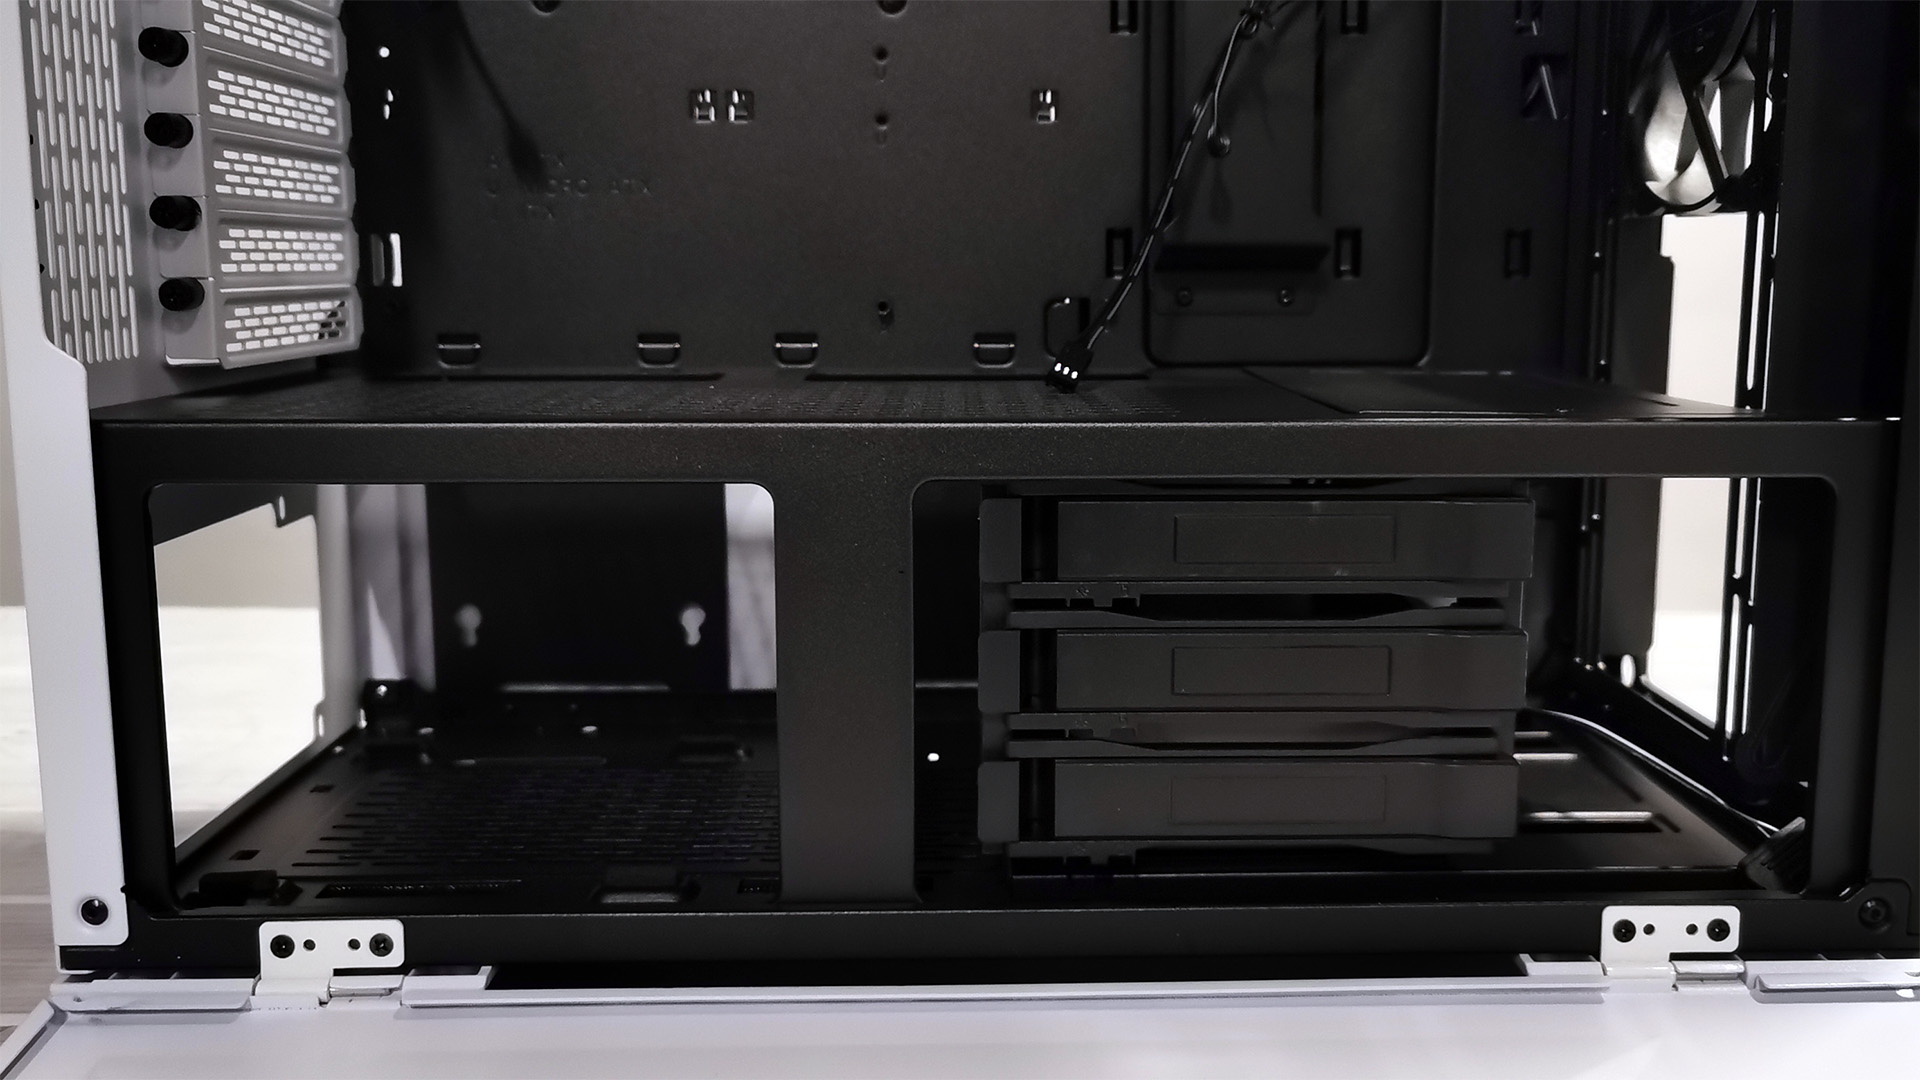
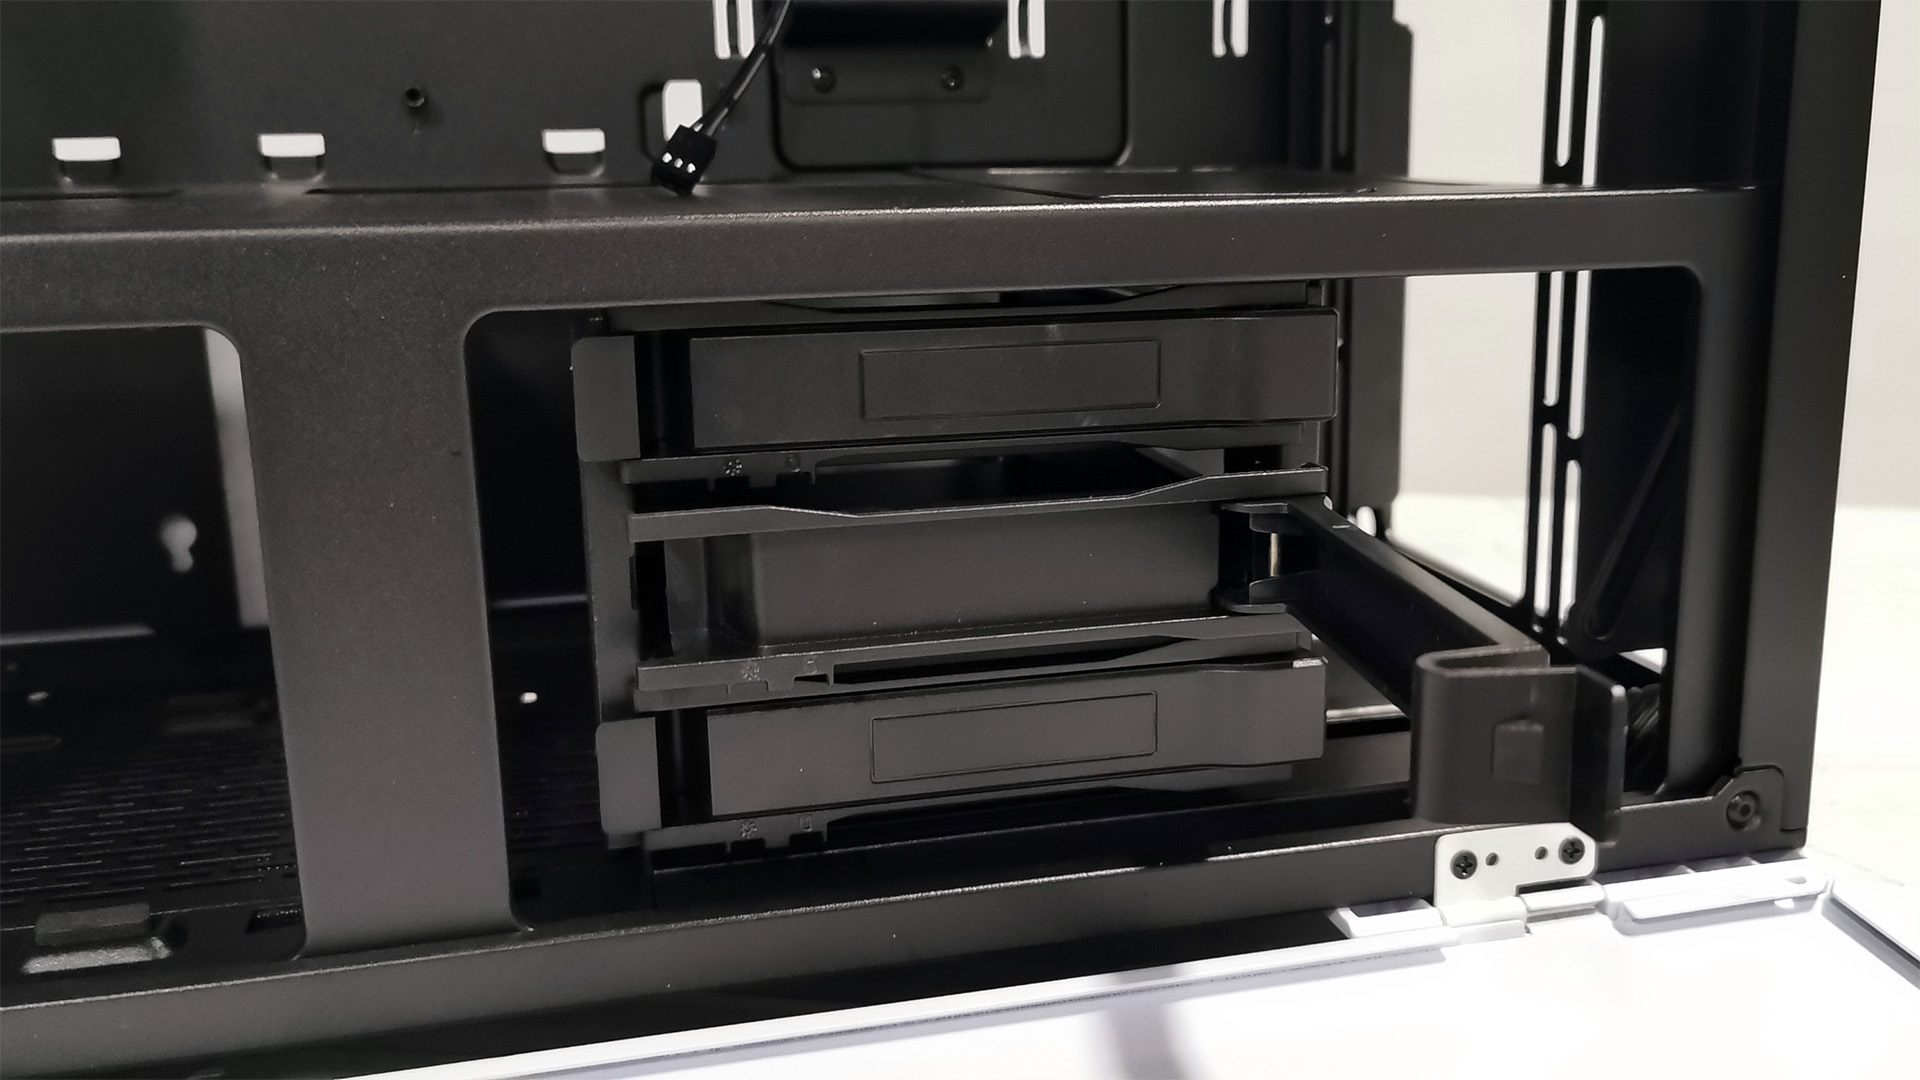
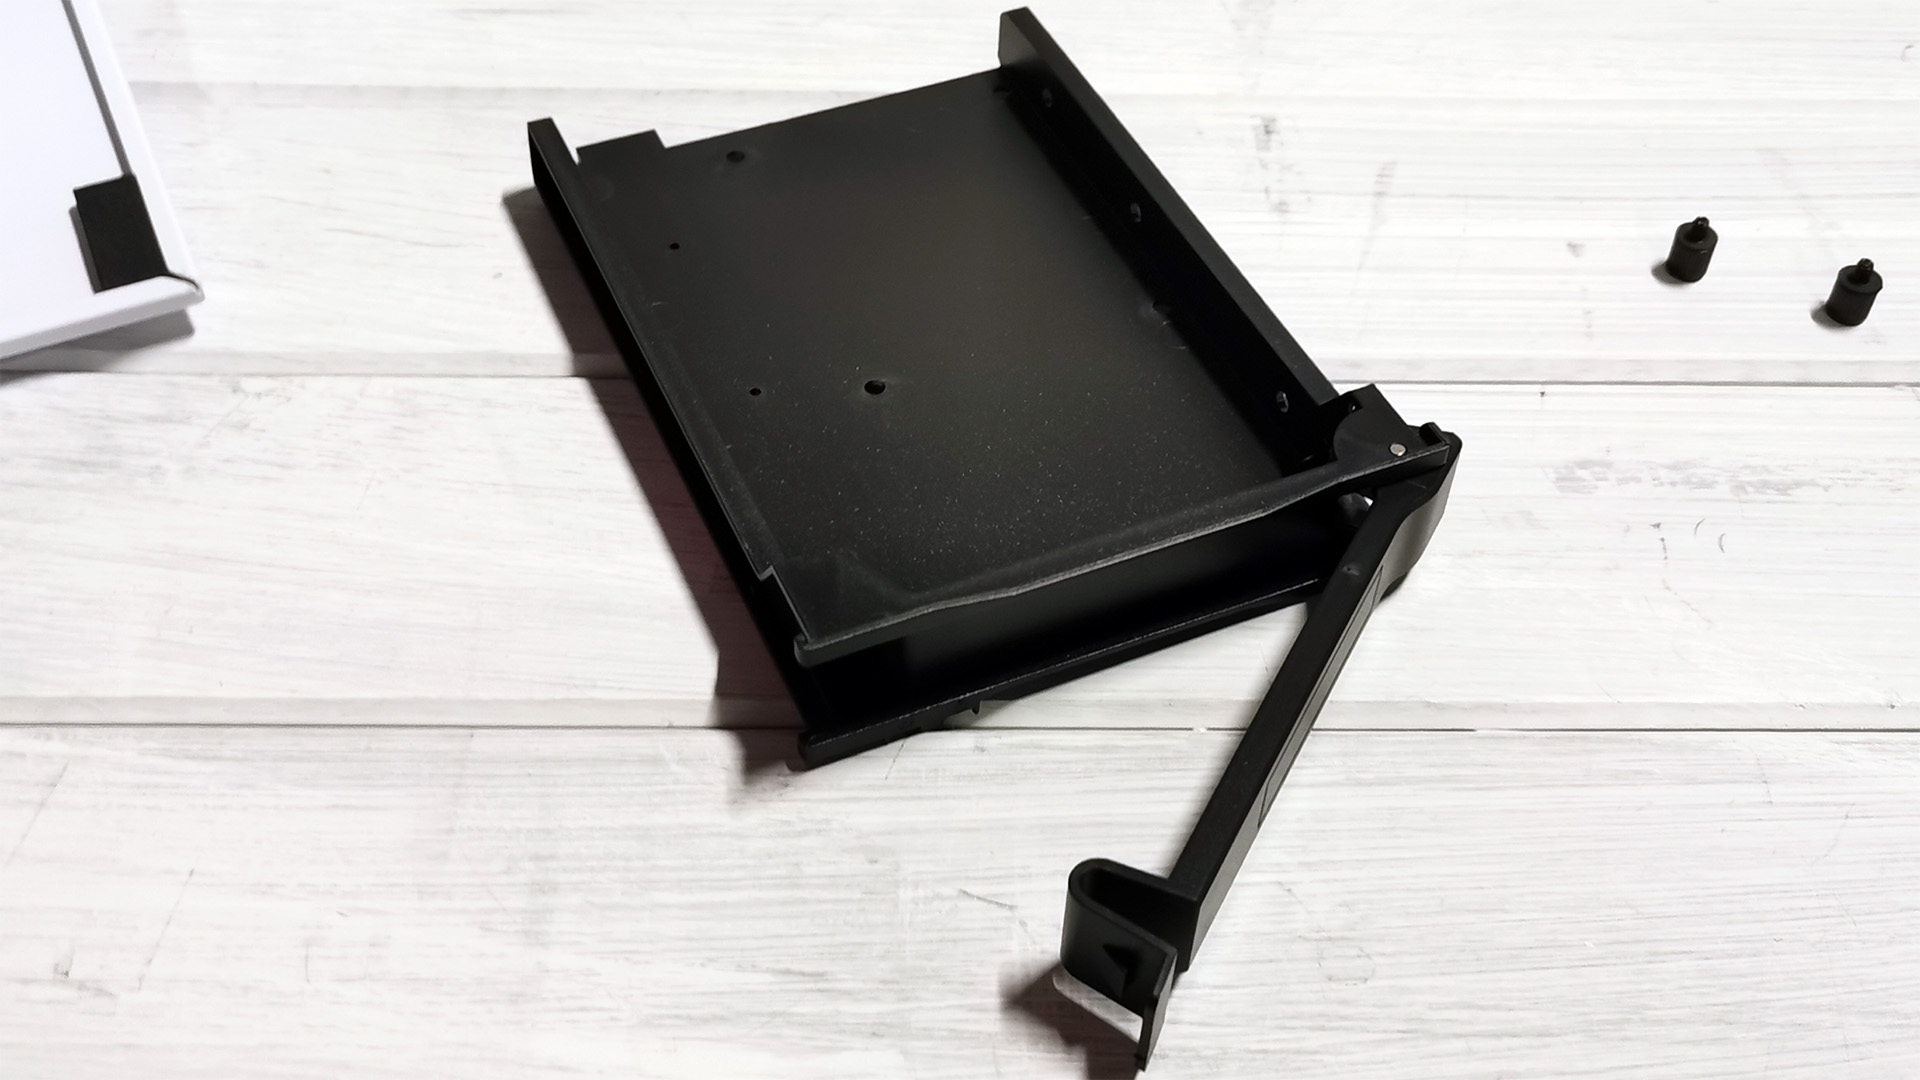
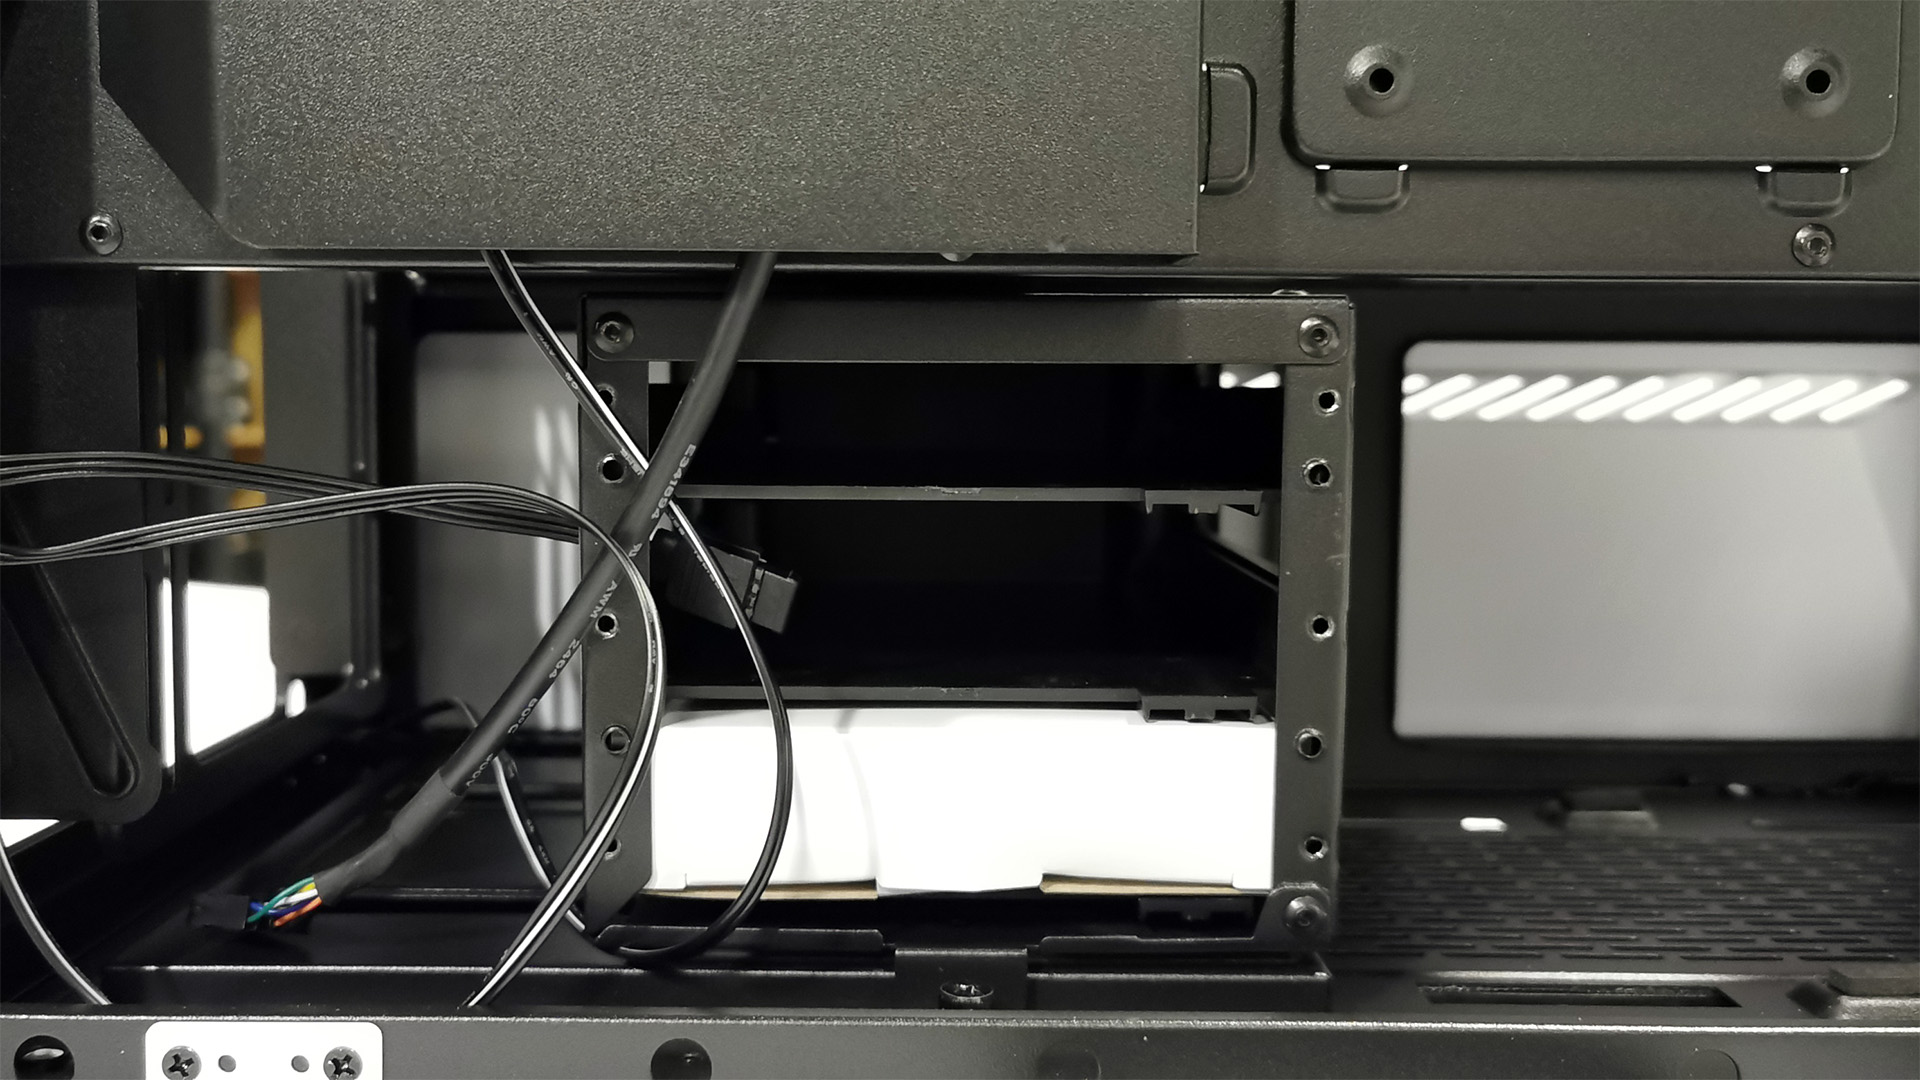
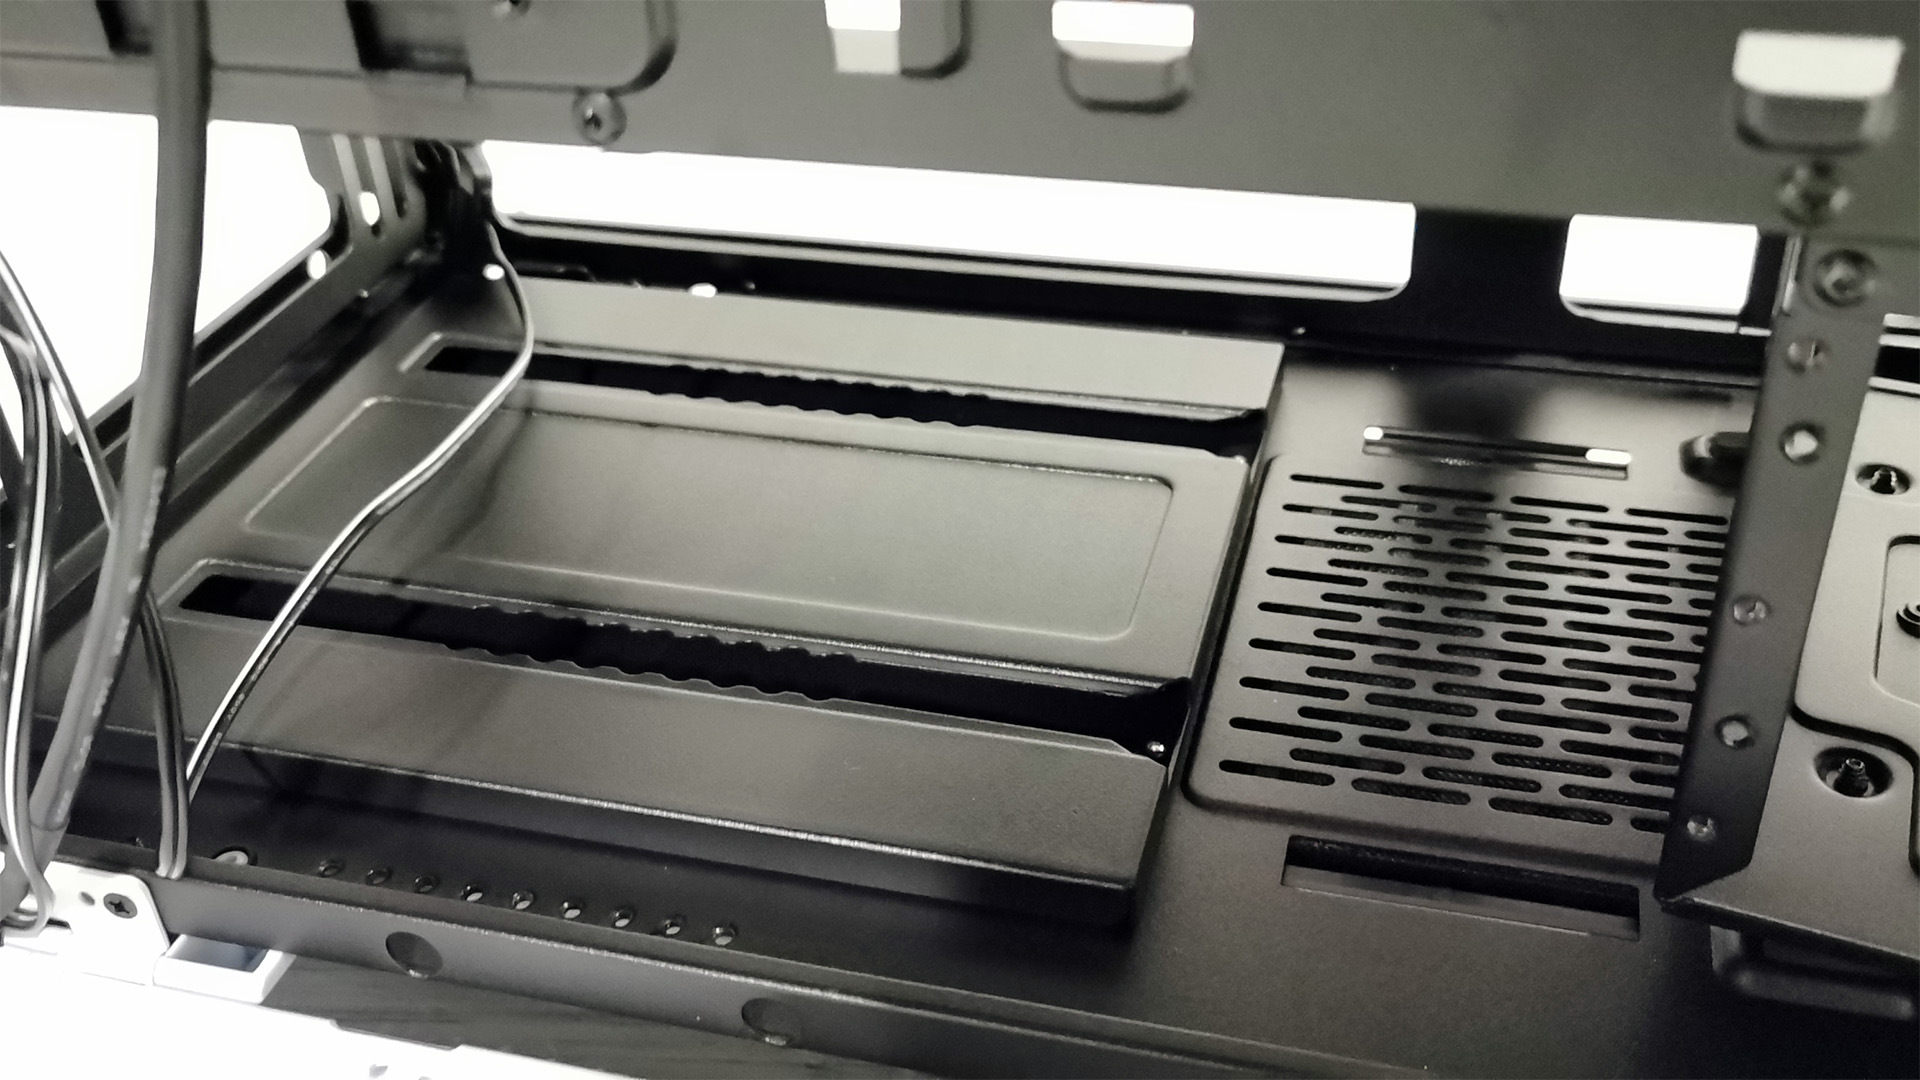
The 3.5-inch drive situation with the Lancool II follows a similar trend to the USB Type C cover we mentioned earlier. As standard, it works quite well. The trays are easy to pull out, easy to install a drive in, and slot nicely into position. As standard they’re not hot-swappable, but you can buy an adapter which mounts to the back of the caddy to support this for another $15 / £15. Noticing a trend?
That foible aside, the caddy itself is situated on rails. Simply remove one thumbscrew at the back of the case, and you can slide it along as close to the front of the chassis or to the rear near the power supply as you’d like. There’s also nine holes drilled into the bottom panel, so you can re-secure it down without worry. This is something you have to do if you want to install a 360mm radiator with that 110mm clearance we mentioned earlier. But despite the fact you can remove the hard drive caddy from its rail system entirely when the PSU isn’t installed, there’s seemingly no way of removing it from the case entirely, for those who have long given up on 3.5-inch hard drives.
Build Log
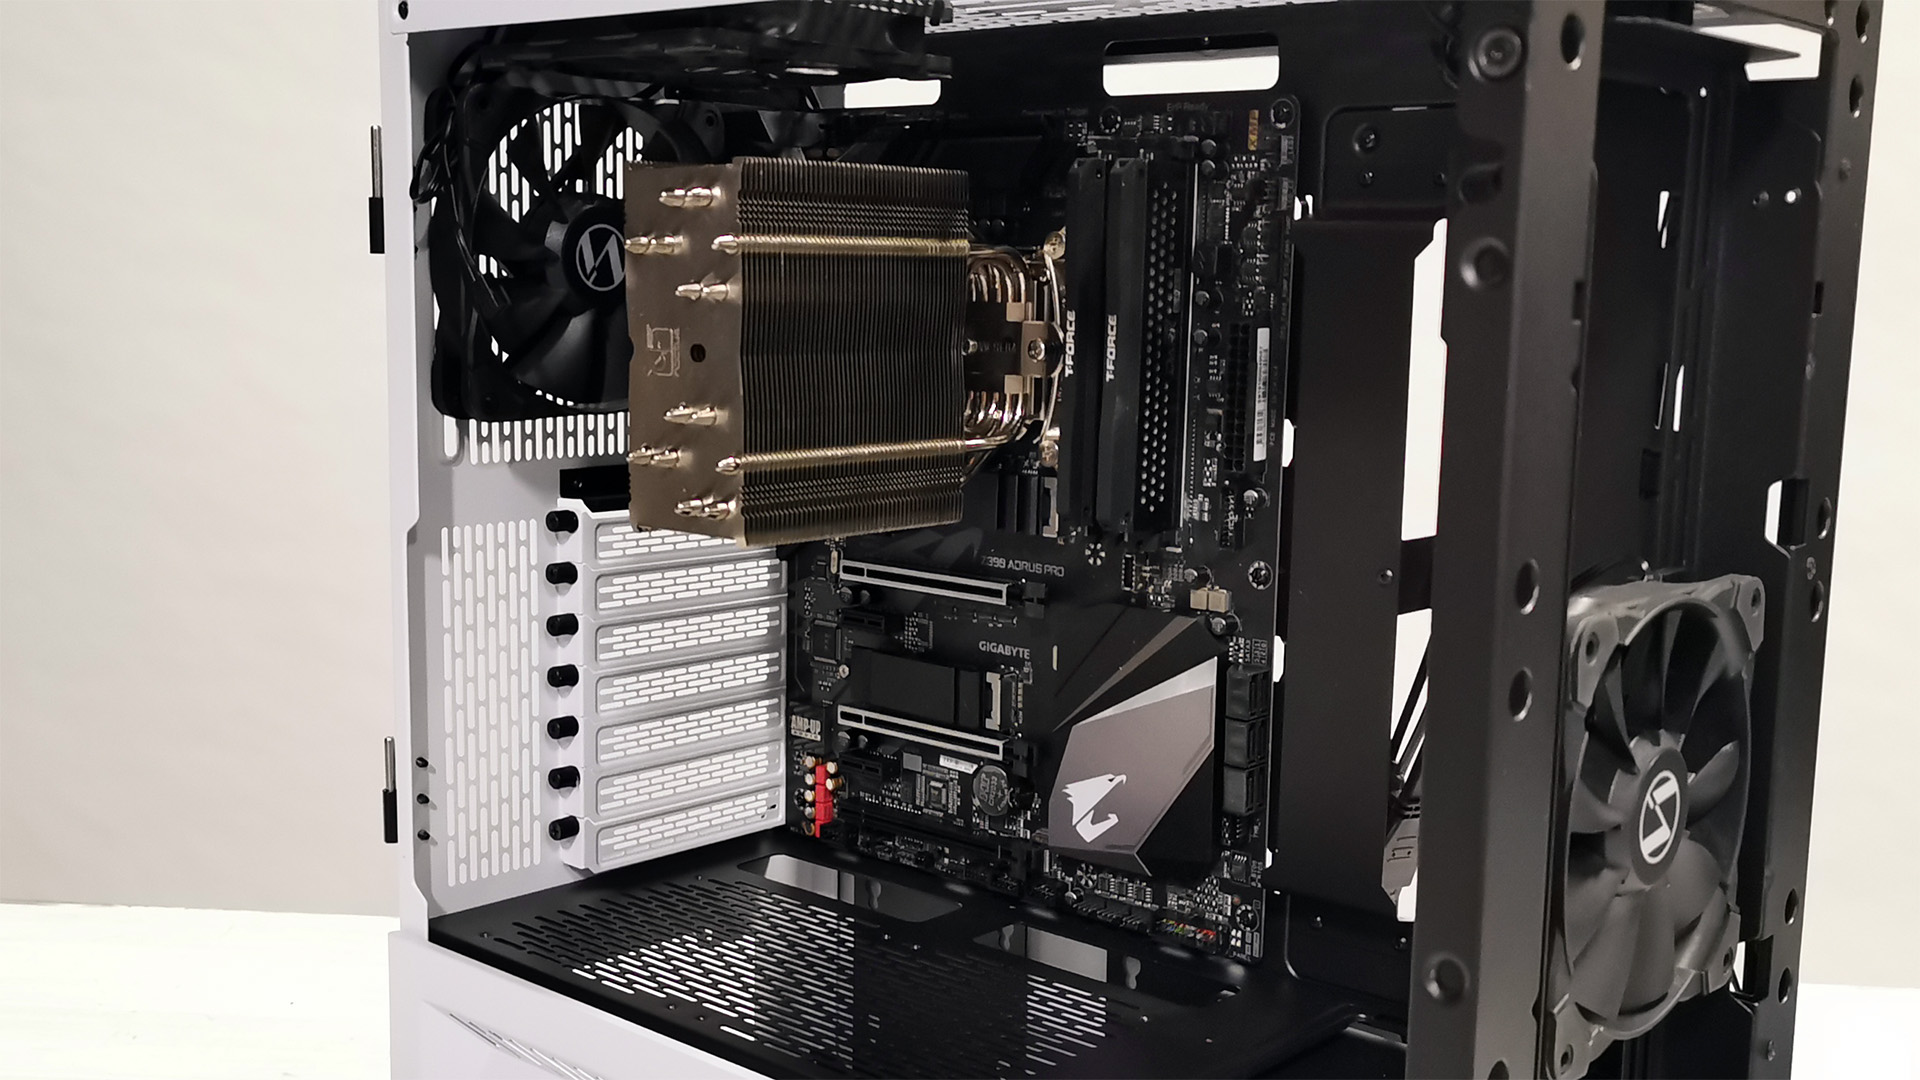
Our ATX “build” test bench consists of the following:
| CPU | Intel Core i9-9900K |
| Motherboard | Gigabyte Z390 Aorus Pro |
| Memory | 16GB (2x8GB) T-Force Pro Dark @ 3600 MT/s |
| Graphics | Nvidia GeForce RTX 2070 Super |
| SSD | 240GB PNY CS1311 2.5-inch SSD |
| PSU | Corsair HX750 80+ Platinum Power Supply |
| Cooler | Noctua NH U12A + 2x Corsair ML120 Pro Fans |
| Cables | Corsair Sleeved PSU Cables Pro Kit Type 4 |
Cabling Issues
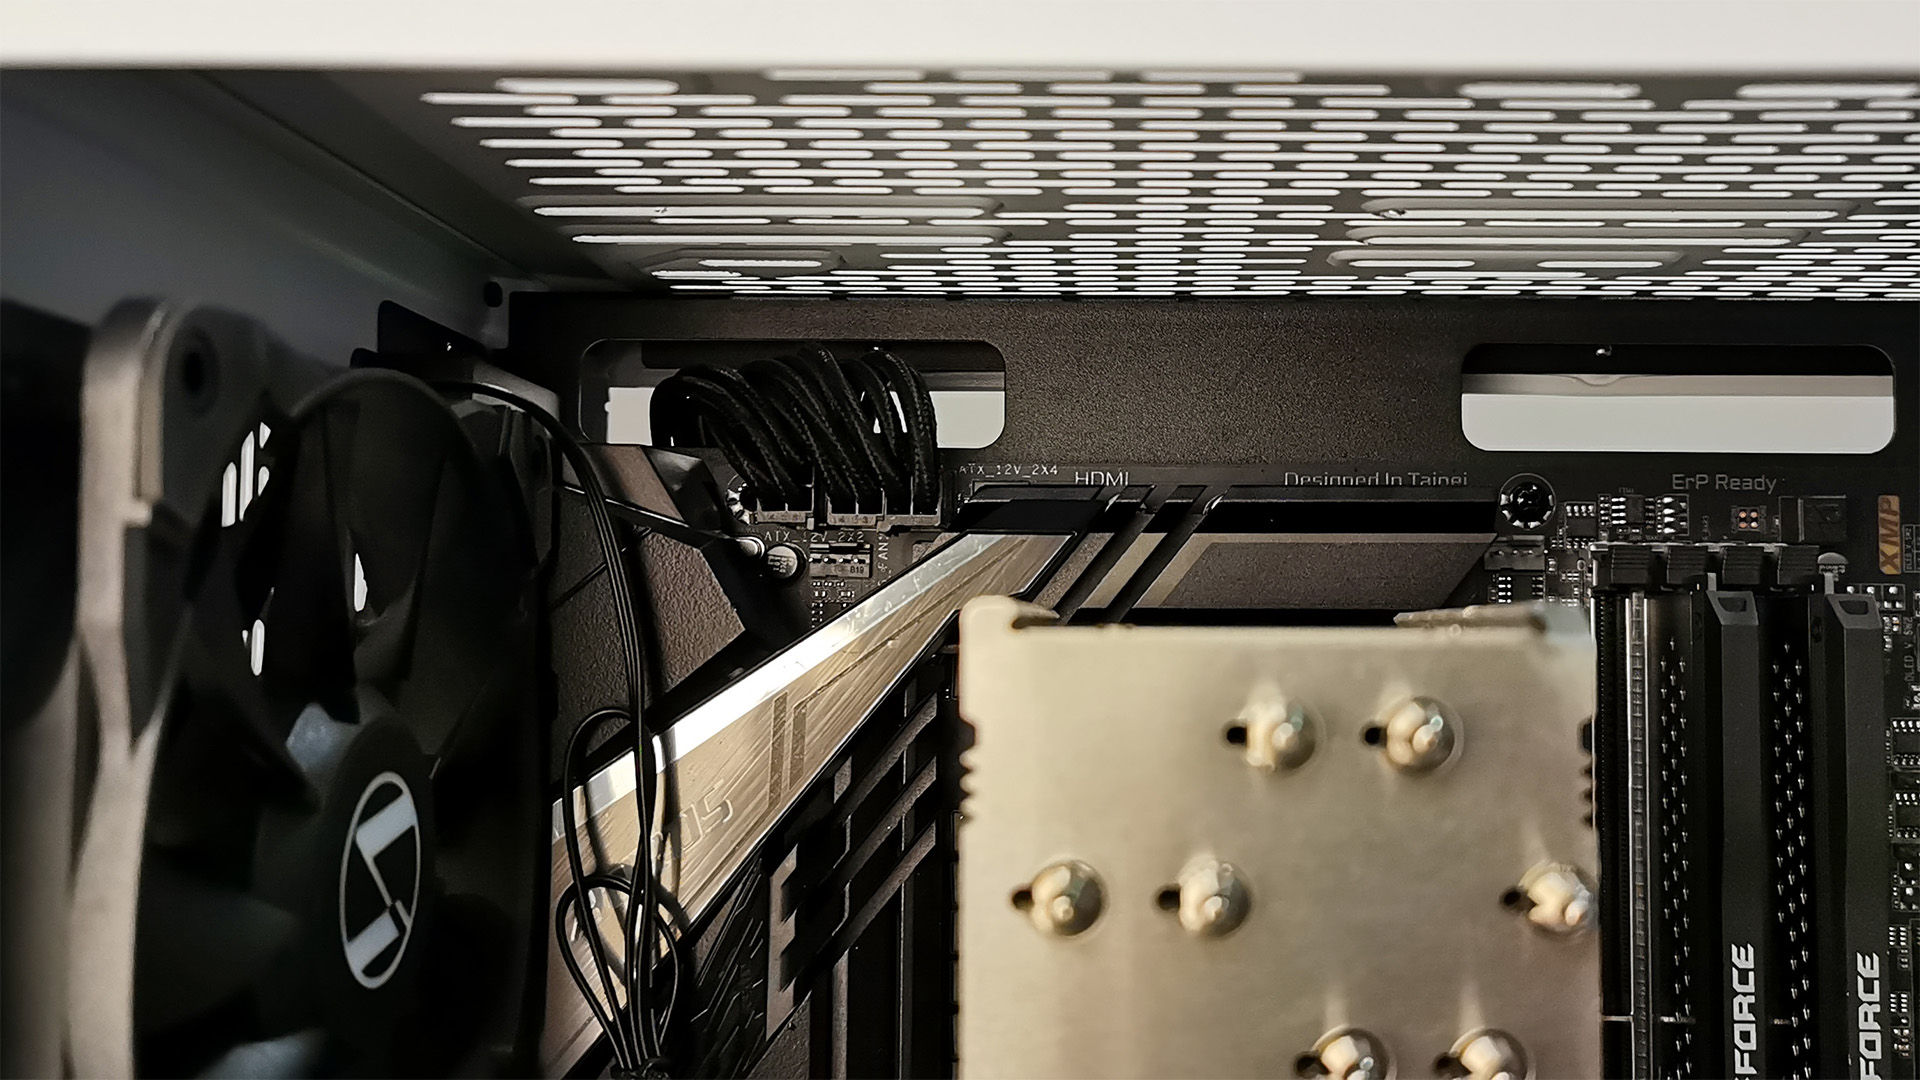
During installation of the motherboard, the main problem stemmed from just how tight the top of the case can be. With the 120mm fan installed, it was nearly impossible to get our CPU power plugged in. In the end, we had to remove the top fan, then install the cables, and then reinstall the fan.
Installing the PSU was also easy, and we had no trouble routing the cables to where they needed to go elsewhere. There are cable cutouts in the PSU cover to allow for your front-panel headers, and they’re large enough so you can also thread your PCIe power connectors through, too. This is actually a nice feature, as it looks a lot tidier than having a dedicated PCIe power cutout directly in the middle of the PSU shroud.
Rear Panel
With everything installed, we spent some time tidying up the cables in the back. Lian Li includes a few extra velcro straps as standard, and we had to install an additional one to help secure the front I/O cables that run along the left side of the case here.
We had our doubts about the cable bar running in the interior of the panel, but on the whole it looks very clean. We do wish it had an additional side to the bar facing those front fans, because at the right angle and with the RGB lighting shining on it, you can see the cable mess behind it quite easily.
Build Complete
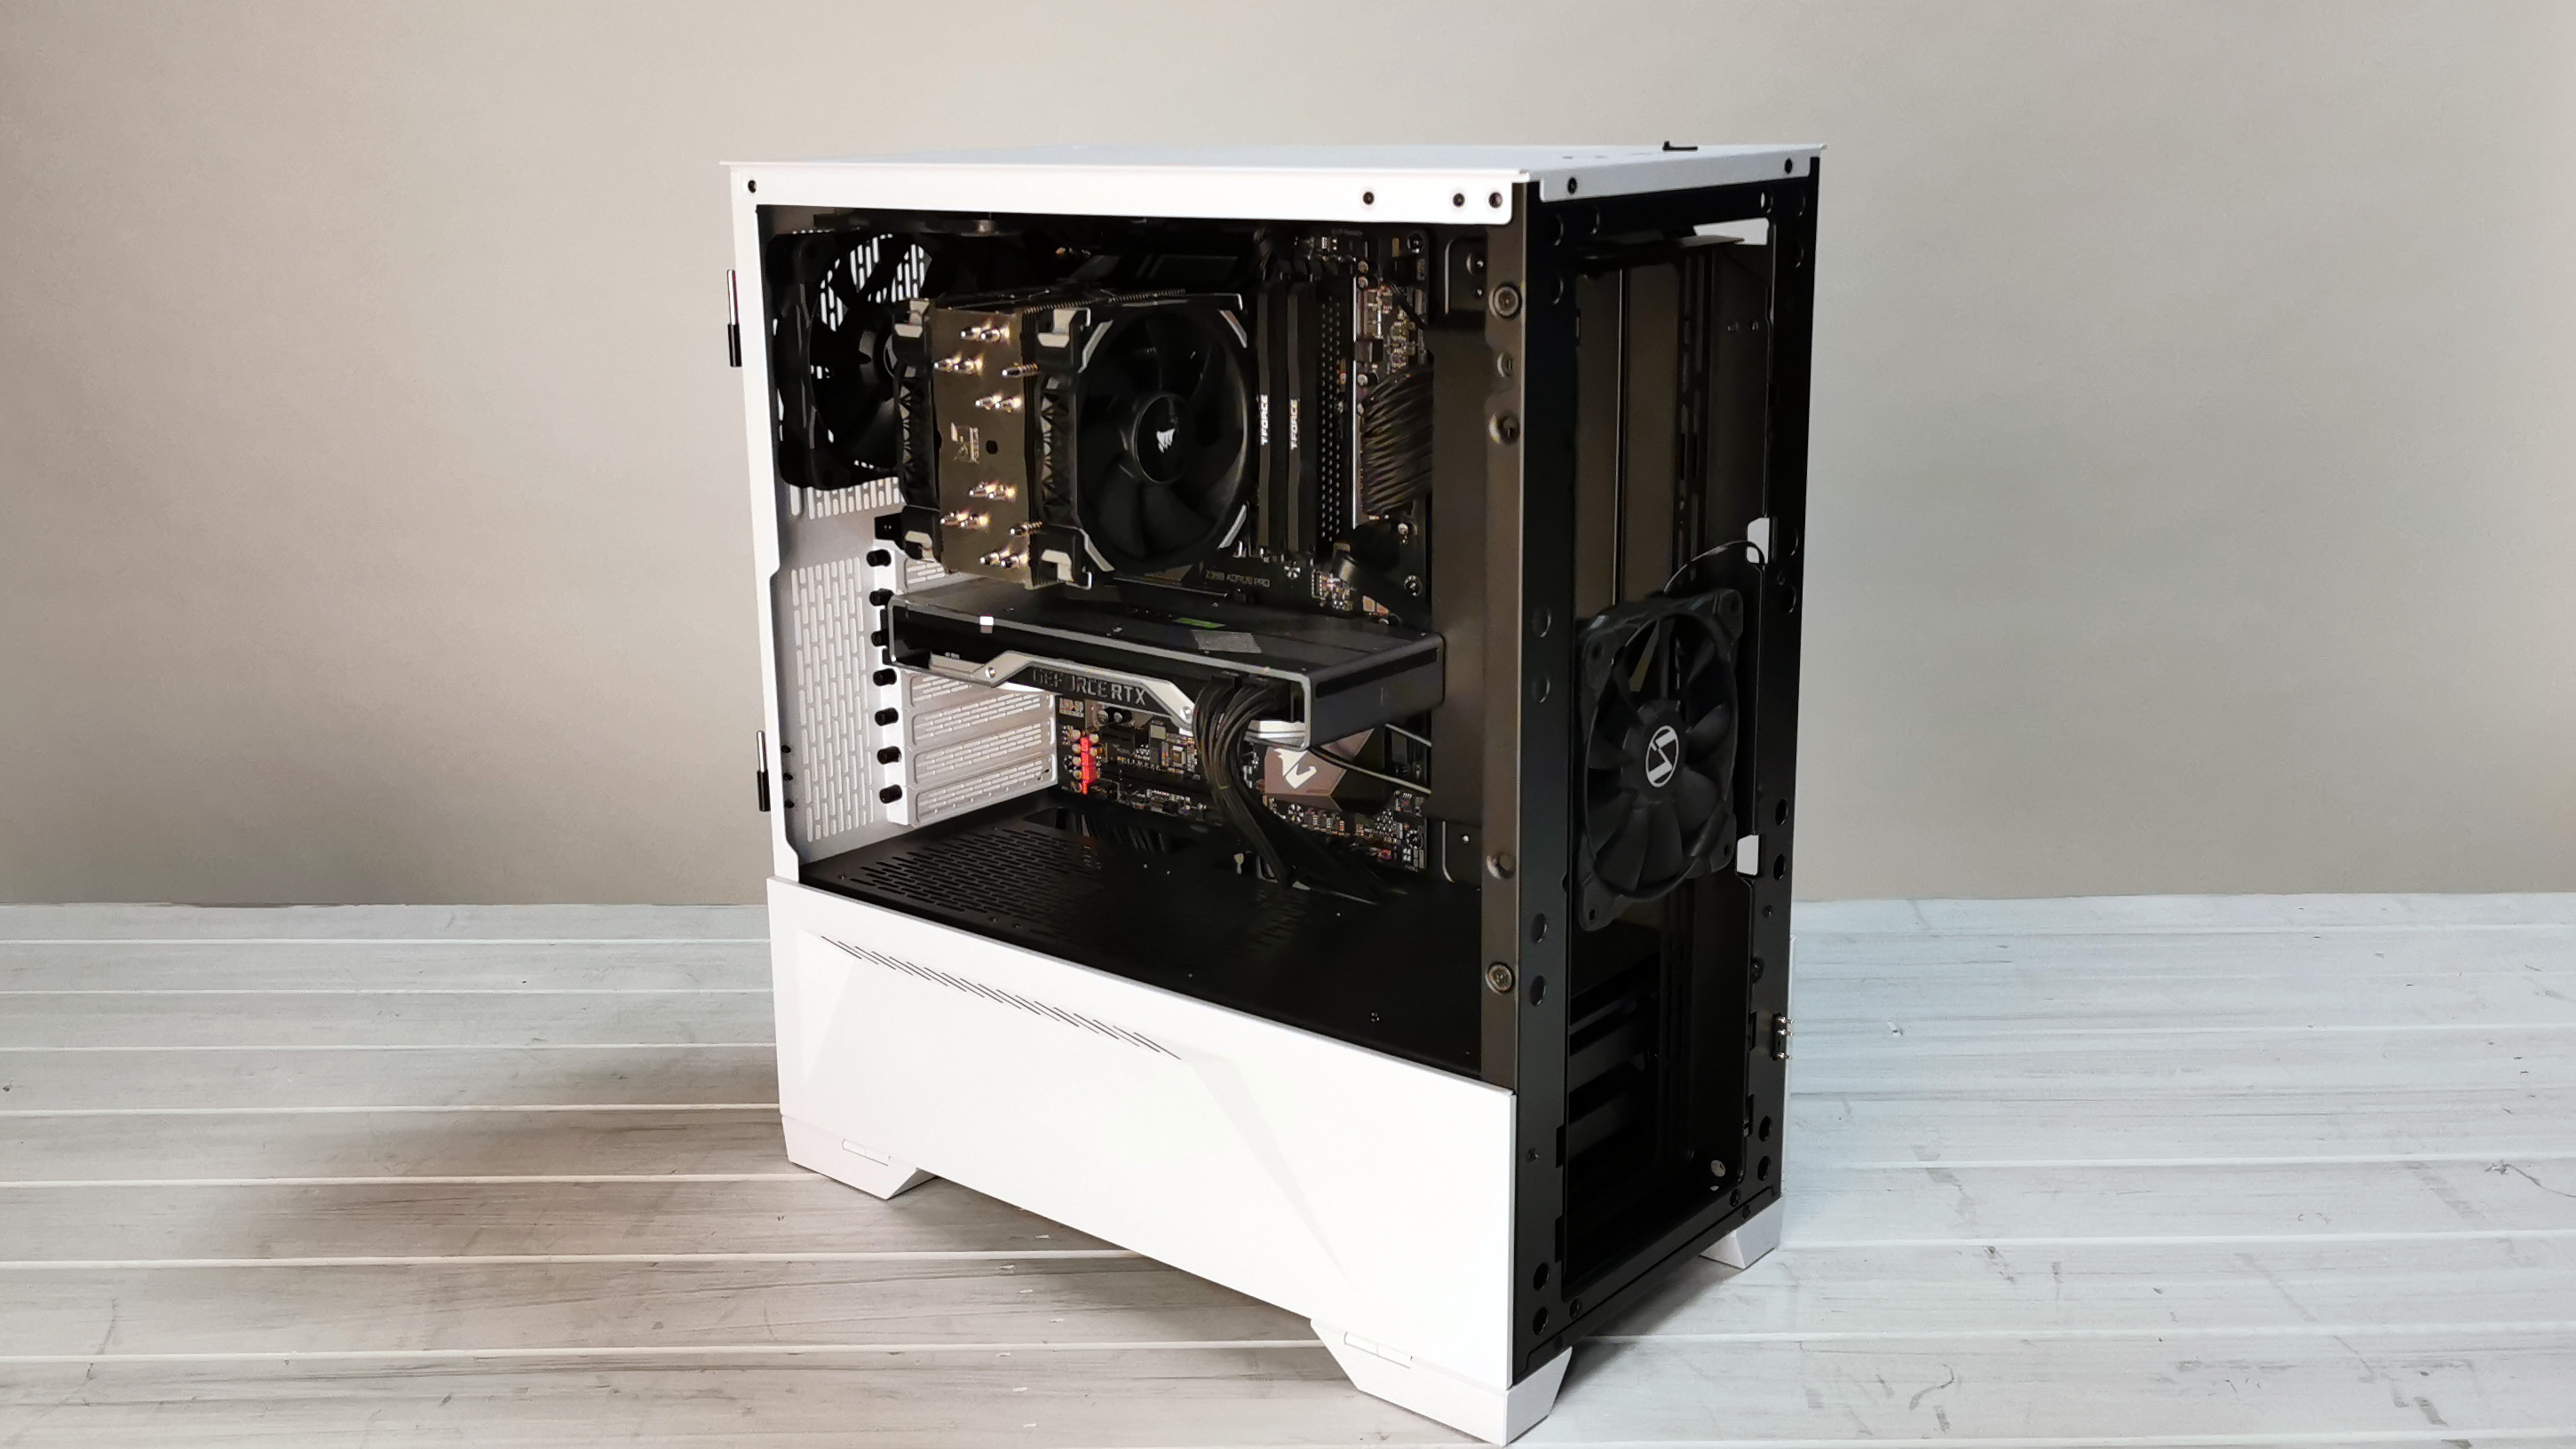
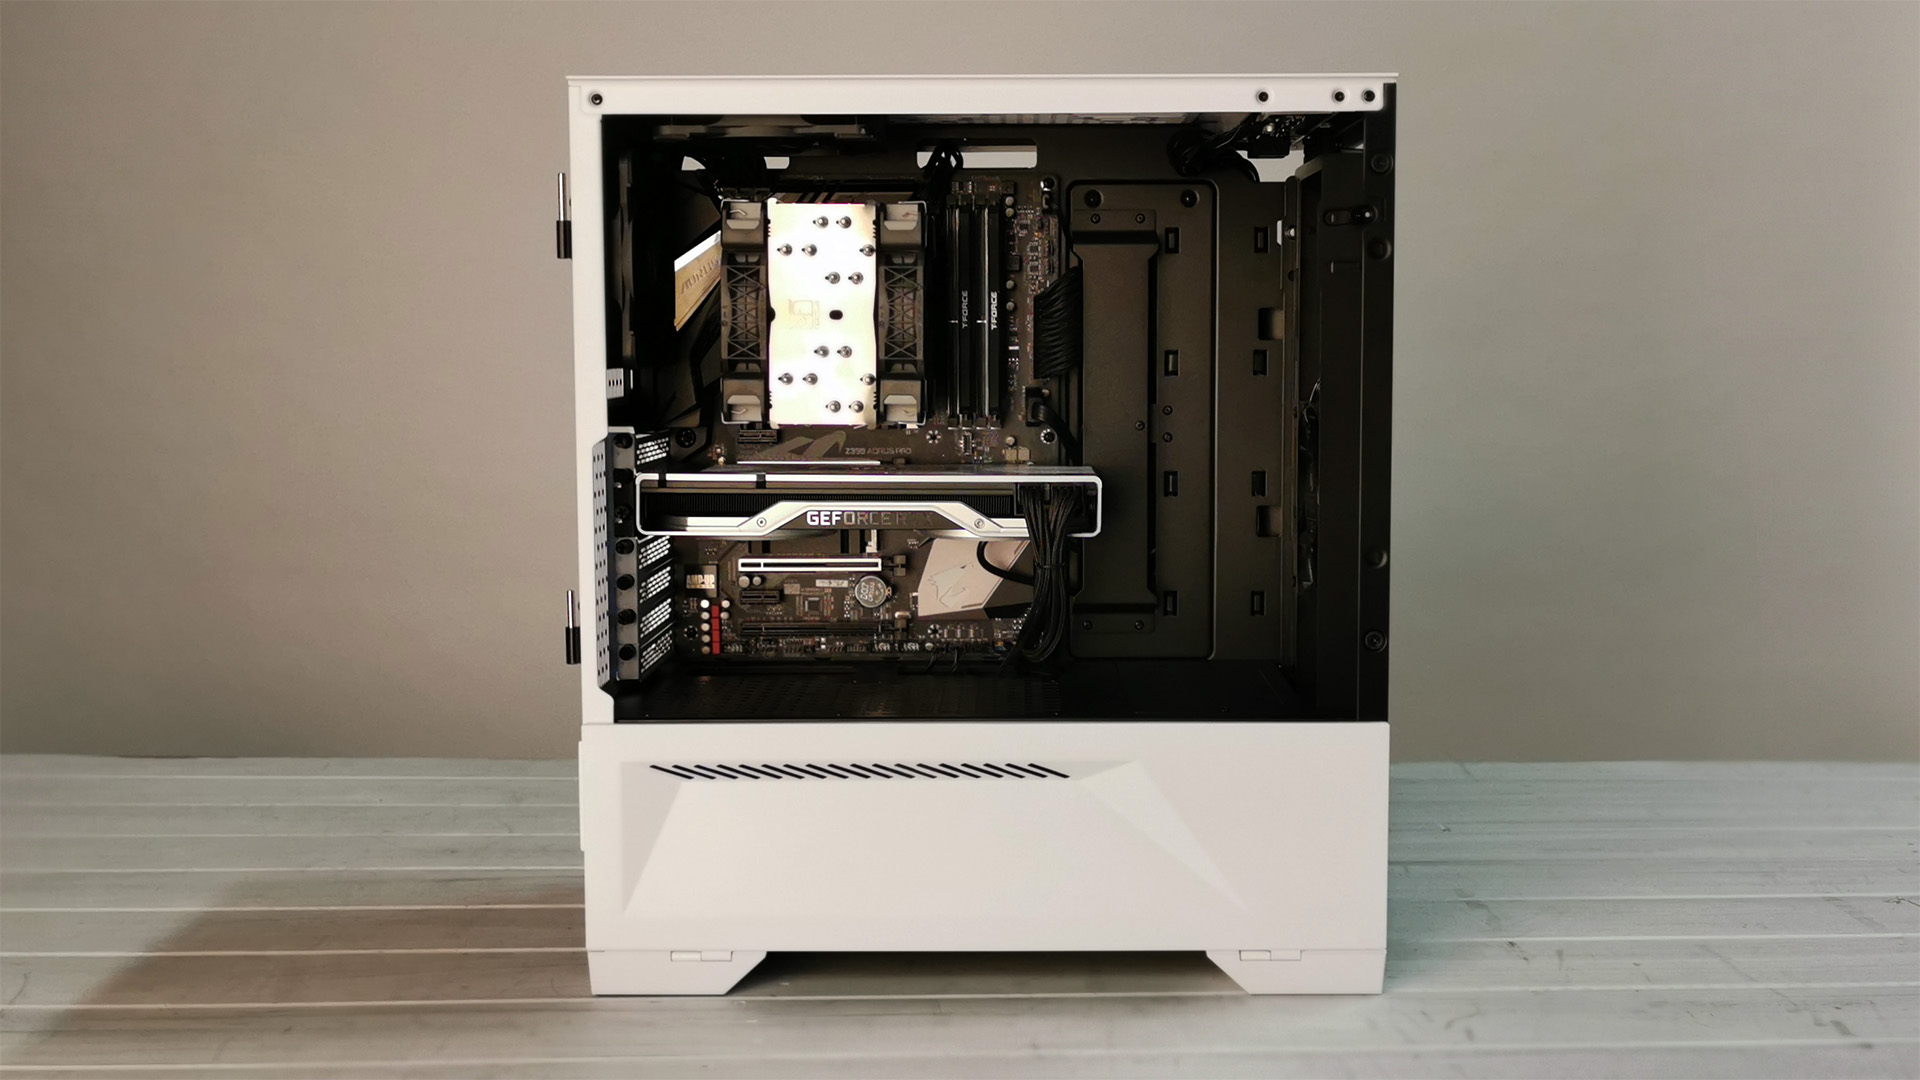
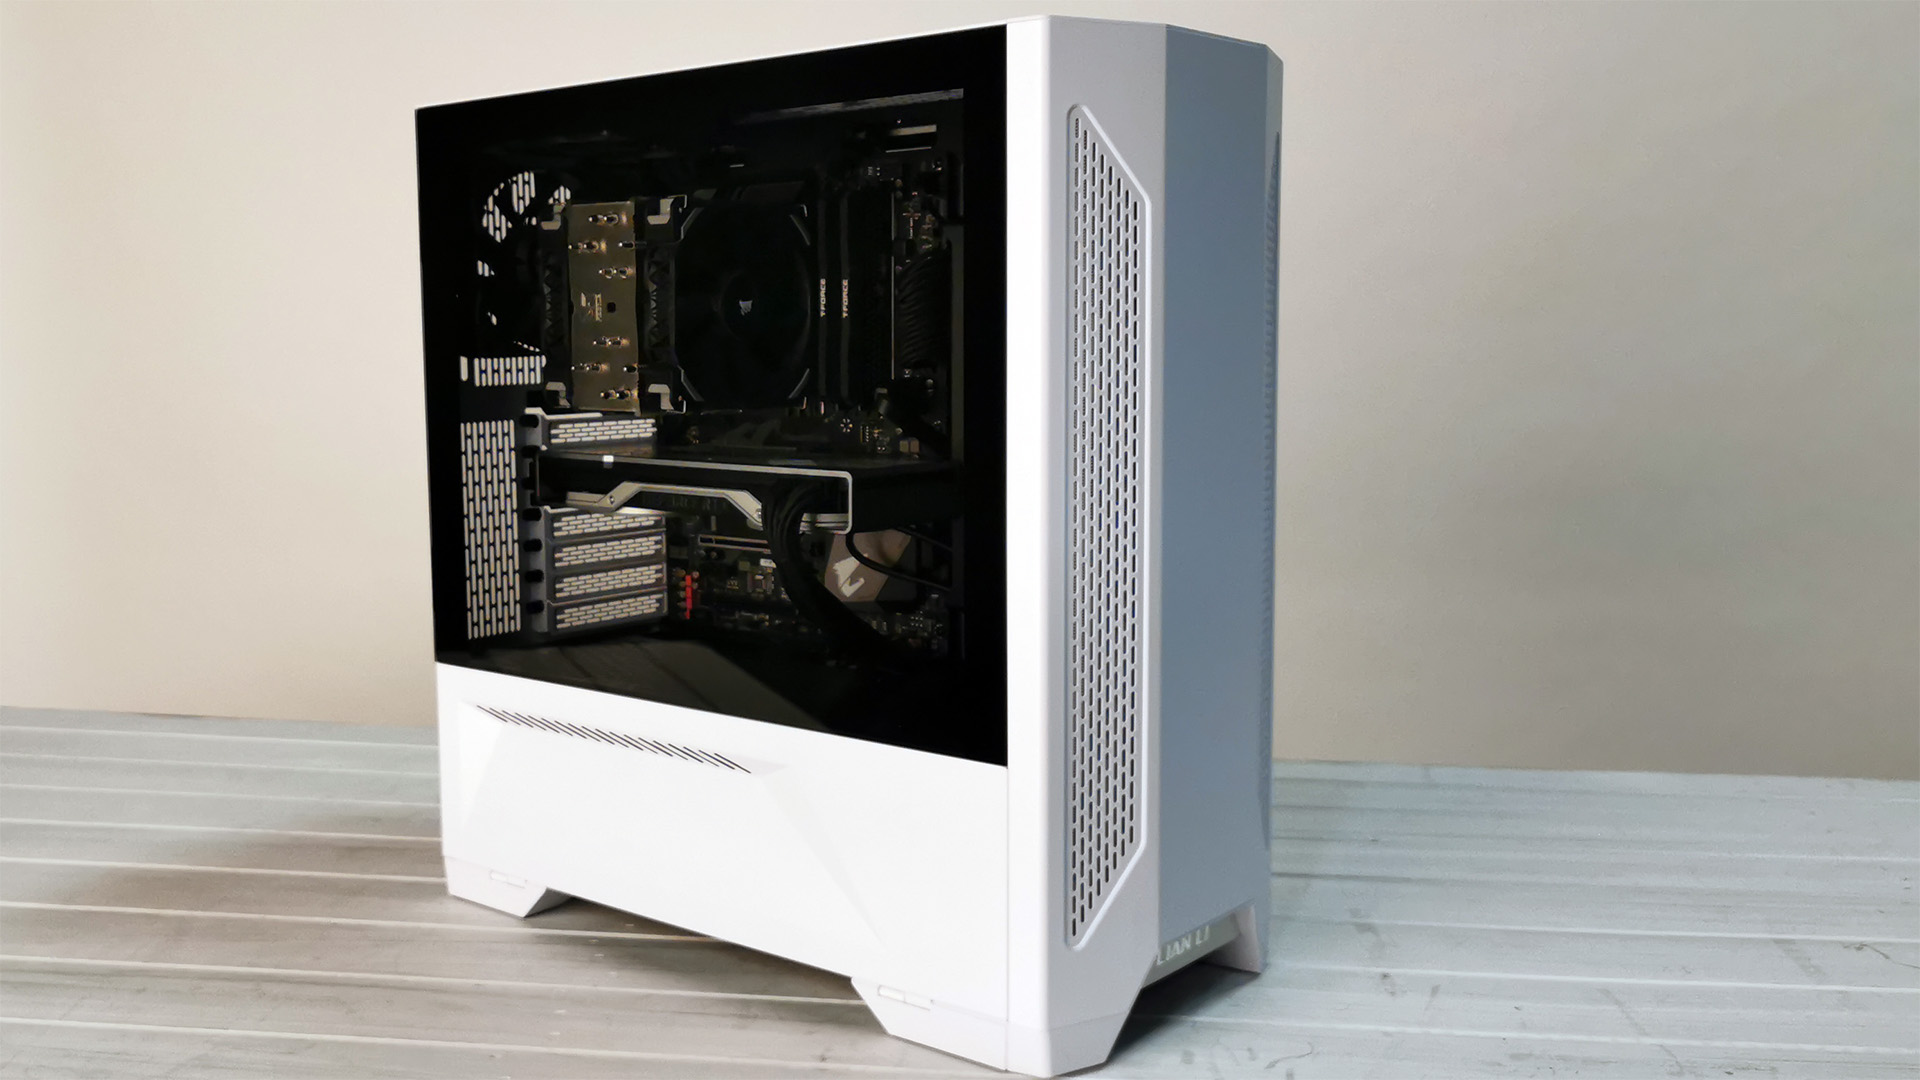
Overall, the build process was pleasant and the results look clean. Outside of a bit of a struggle with one of the default installed fans, the build itself came together quite nicely. One thing to note: we tested this in the case’s shipped configuration (single 120mm in the front of the chassis and two 120mm fans in the roof and the rear.
However, if your build is running an airtower like ours, we’d recommend moving that rear 120mm fan to the front of the case as an intake. Internal temperatures should remain fairly similar either way, though you may see 1-2 C drop in CPU temps. In its shipped configuration, the case is running a negative pressure setup, meaning dust and detritus will likely be drawn in through the areas of the case that aren’t filtered.
MORE: Best Cases
MORE: All Case Content

As Associate Editor of Tom's Hardware's prestigous British division, Zak specializes in system building, case reviews and peripherals, and has a particular penchant for liquid-cooling. He's also a lover of all things Viking/Scandinavian (thus the poor attempt at a beard).
-
WINTERLORD hi, my main question on this case is i always end up bending the door or somthing after year or two of use has always been my main issue with cases cause i swap stuff out alot reorganize ect does the magnetic doors help eliminate the common problems of budget cases and doors?Reply -
Zak Storey ReplyWINTERLORD said:hi, my main question on this case is i always end up bending the door or somthing after year or two of use has always been my main issue with cases cause i swap stuff out alot reorganize ect does the magnetic doors help eliminate the common problems of budget cases and doors?
I mean I can't really comment as to its longevity, as we only really get to test each case for 2-3 builds before writing the review, but there's no reason I see why you should damage the windows/doors on it as long as you're careful. With a lot of modern cases, the Lancool II included, you can actually remove the window panels entirely from the chassis, just by lifting it up and off the hinges. In fact I'd recommend you do this before you commence building in it, at any point, just to keep them safe and the case balanced. I was building in the Phanteks Evolv X a while back, took the front most tempered glass panel off, then opened the back panel too, and because the case was empty and the weight was so unevenly distributed the chassis almost fell over off of my work bench. Luckily I caught it before that happened.
As for the bottom doors for the PSU cover/HDD area, I mean it's possible they may warp over time, it's a steel panel so it does have some potential flex in it unlike aluminum, but yes the magnets do help, as you're not trying to line up a thumbscrew or anything to secure it back in place. In fact it just snaps into position quite comfortably. They're strong magnets too, once secured, you can only really open it from a little edge near the front panel with your fingertips. Additionally you can actually remove the bottom most panels as well, however you have to take a screwdriver to the hinges if you want to do that, and there's a risk of ruining the screw thread on those hinges if you do it too often and messing up the panel alignment because of it. -
Crashman It has a headphone OR microphone jack? Not both? What kind of garbage is that?Reply
If I'm plugging in a headset I'm going to have both.
If I'm ONLY plugging in a microphone to go with my speakers, it's going on the back panel.
I guess you're right to call it only a headphone jack then. -
leclod Why Full Tower ? no good reason to do multiple GPUs no more. No need for big HDDs, so why would most people want the big empty TowersReply -
closs.sebastien gpu, soundcard, wifi card, big cpu-fan. 2 or 3 disks/ssd, 1 m2.. we need place...Reply -
shrapnel_indie I haven't compared the two yet, but... does anyone know the differences between the Lancool II-X and the Lancool II (reviewed here)? Does it address some of the shortcomings?Reply