Cougar Conquer Case Review
Why you can trust Tom's Hardware
Hardware Installation & Test Configuration
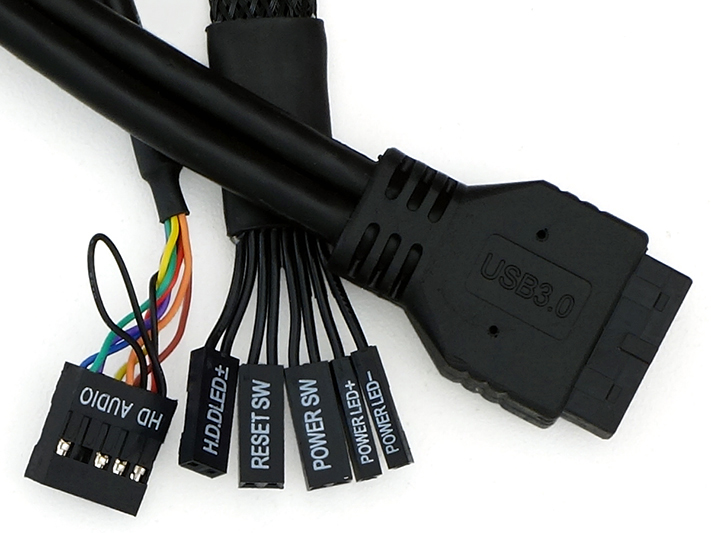
Since the Conquer is packaged unassembled, its installation kit was part of the photos of the Page 1 assembly. Moving on, we find that it has but three cables to connect to the motherboard: HD-Audio, the front panel button/LED group, and USB 3.0.
The included cable packs have labels that designate their purpose, yet none were labeled as being for the card slots. Leftover 3.5” drive screws can be used since they have the same #6-32 UNC threads, but so do the power supply screws, and those screws have wider heads.
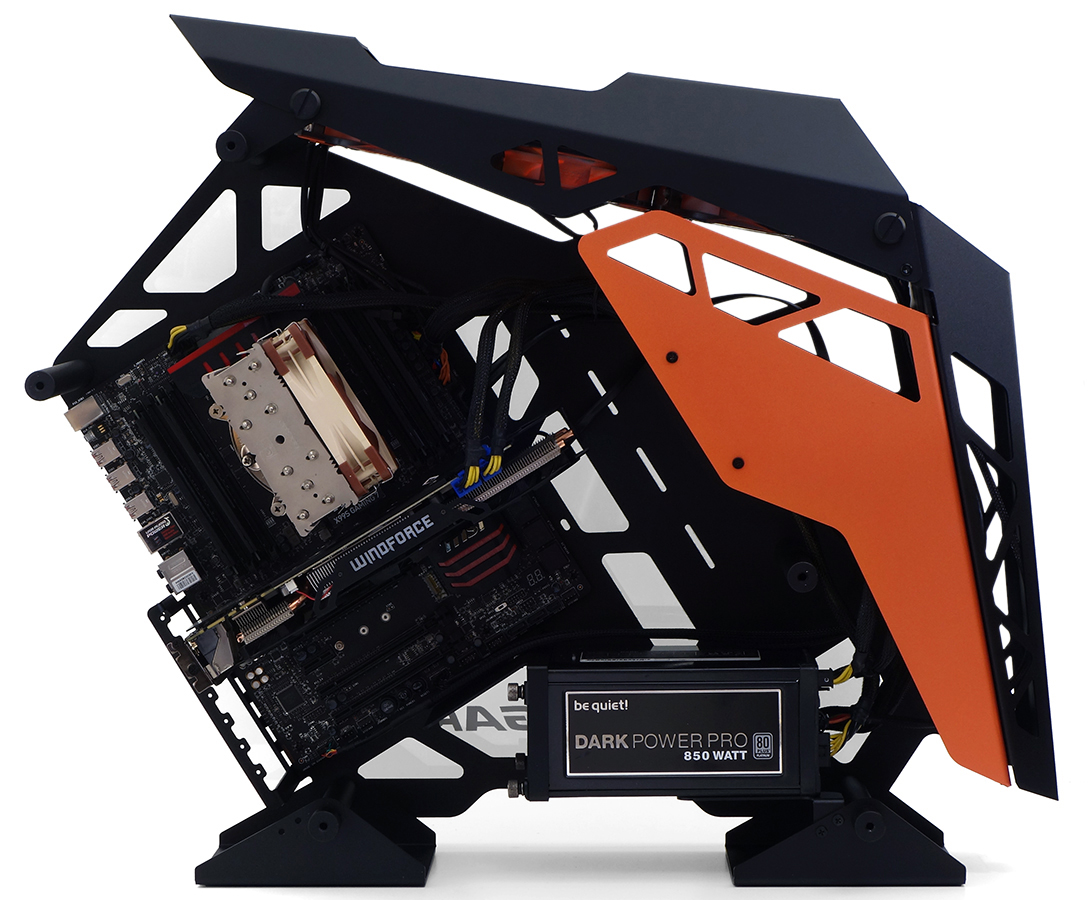
The most creative builders will imagine all that empty space filled with liquid cooling gear, but it’s also useful for the minimization of heat pooling with our air-cooled hardware. This same hardware has allowed us to test everything from the mainstream up over the past two years and has only recently been downgraded on our second test system to accommodate the lower performance levels of modern glass-paneled enclosures.
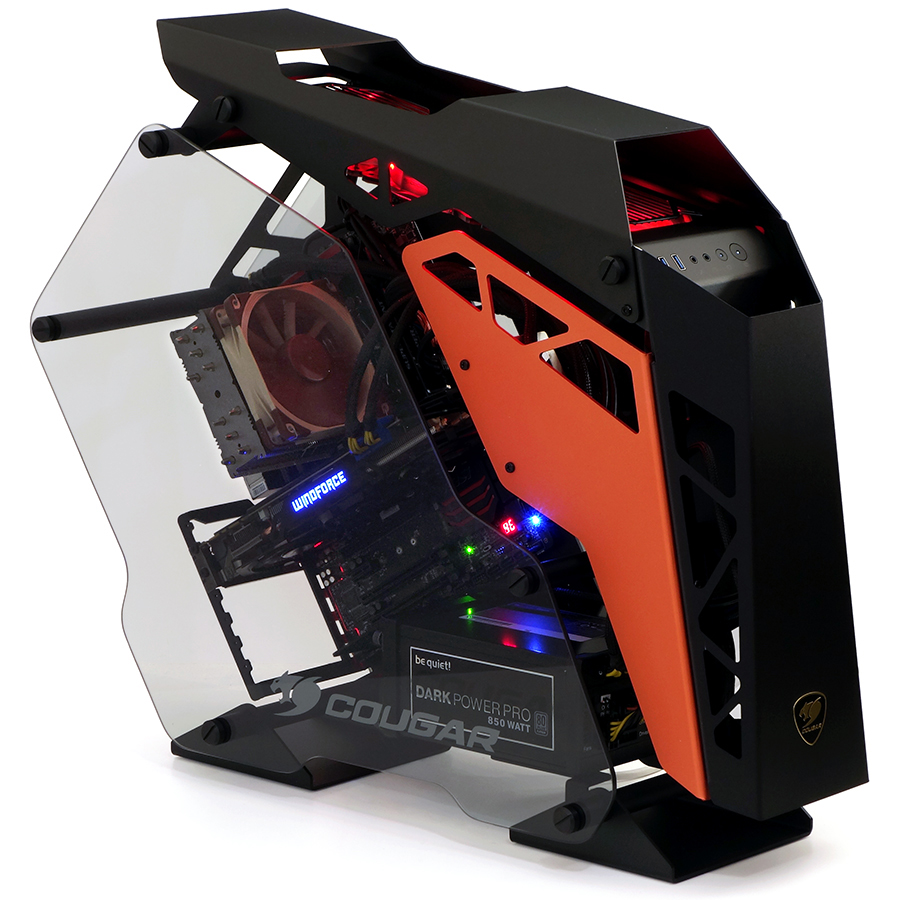
The left side glass panel is a structural member of the Cougar Conquer, and we probably shouldn’t complain too much that the case must be laid on its side to install the glass since doing so allows the supports to line up with screw holes. Then again, we didn’t hold back any complaints about a previous case that likewise lacked locator pins upon which side glass panels could rest.
Comparison Cases
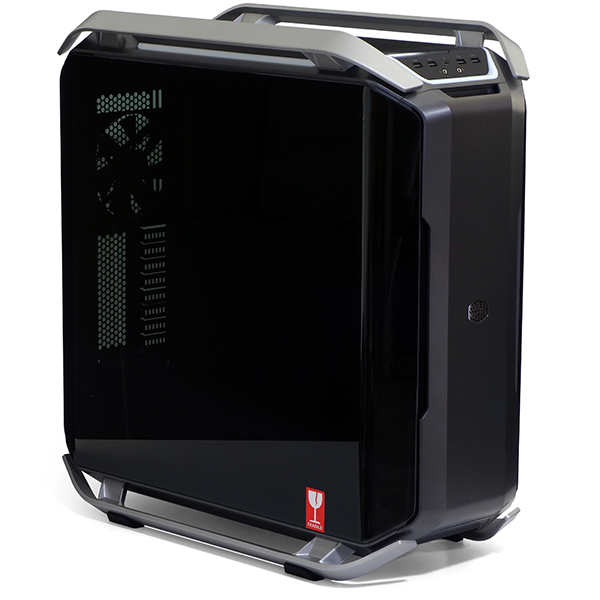
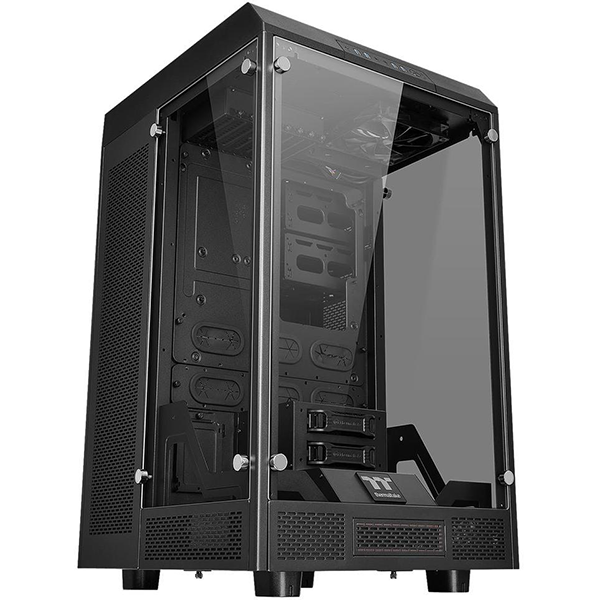
We haven’t reviewed any open platforms recently, particularly any vertical models. The Cougar Conquer is instead compared in the premium class based on price alone, where only the Tower 900 can offer a similar number of deviations from traditional designs.
Test Configuration
| Drivers & Settings | |
|---|---|
| Chipset | Intel INF 9.4.2.1019 |
| CPU | 4.2GHz (42x 100MHz) @ 1.2V Core |
| Motherboard | Firmware 17.8 (02/10/2015) |
| RAM | XMP CAS 16 Defaults (1.2V) |
| Graphics | Maximum Fan for Thermal Tests | Nvidia GeForce 347.52 |
MORE: Best Cases
Get Tom's Hardware's best news and in-depth reviews, straight to your inbox.
MORE: All Case Content
Current page: Hardware Installation & Test Configuration
Prev Page Features & Specifications Next Page Benchmark Results & Final Analysis-
rtrski Could you please clarify about the 'could fit EATX motherboard but no support'? (Paraphrasing). I've seriously considered re-housing my current build into this case with the one exception being I have the MSI X-power AC EATX motherboard, and all the specs for the case promise only ATX compatibility. A couple missing standoffs alone wouldn't be enough to stop me...just have to support the backside when plugging in things like CPU, RAM, etc. But if it physically interferes with getting the case built, that's another story of course.Reply -
rtrski Sorry, I should have been more specific. MSI X99S X-power AC from Haswell-E/Broadwell-E days, dimensions are 12"x10.7".Reply -
Crashman Reply
To be clear, your board will fit this chassis, and the chassis has all the standoffs for your board. Likewise, your board isn't actually EATX, it's a prioprietary depth in between ATX and EATX. It's only about an inch deeper than ATX, and far less than the 13"-deep EATX specification. Take a look:20695485 said:Could you please clarify about the 'could fit EATX motherboard but no support'? (Paraphrasing). I've seriously considered re-housing my current build into this case with the one exception being I have the MSI X-power AC EATX motherboard, and all the specs for the case promise only ATX compatibility. A couple missing standoffs alone wouldn't be enough to stop me...just have to support the backside when plugging in things like CPU, RAM, etc. But if it physically interferes with getting the case built, that's another story of course.
You can clearly see that there's around 3" of extra space in front of the board, at the closest corner
Here is an EATX board, with the extra standoffs:
The reason for these lengthy discussions is that a case must support the above board to be labeled fully EATX compliant, and must have standoffs 12.7" forward of the rear edge. Since a 10.7"-deep board doesn't cover those extra standoffs, it doesn't need those extra standoffs. -
antishill What is with all these oversized giant cases. Price too high, too big, and generally pointless.Reply -
rtrski Thanks very much, Crashman!Reply
Now I just have to figure out if I can mod in an optical disk easily, since I'm a Luddite that still wants one. (Yes, misuse of Luddite. ;-P ) If nothing else just use an external and place it underneath that center gap between the case legs with the tray turned sideways. -
milkod2001 Looke very sexy yes but in a few months time dust will kill it inside, who is going to clean it all the time?Reply -
modusoperandi00 Pah! Back in my day, we liked our cases like we liked our women; closed-off and rectangular!Reply -
JamesSneed You know what they say beauty is in the eye of the beholder and this eye thinks this case looks like junk. Course the terrible noise levels and no dust filters just add to the no thank you column from me. Thanks for reviewing it i'm sure some people will like a case geared 100% to cooling that has this funky look to it.Reply
