Why you can trust Tom's Hardware
Test Build
With the details out of the way, it’s time to find out how well the Fractal Design Vector RS performs in our test build segment. Our ATX test “build” for mid-tower cases consists of the following:
| Row 0 - Cell 0 | Row 0 - Cell 1 |
| CPU | Intel Core i9-9900K |
| Motherboard | Gigabyte Z390 Aorus Pro |
| Memory | 16GB (2x8GB) T-Force Pro Dark @ 3600 MT/s |
| Graphics | Nvidia GeForce RTX 2070 Super |
| Storage | 240GB PNY CS1311 2.5-inch SSD |
| Power Supplies | Corsair HX750 80+ Platinum Power Supply |
| Cables | Corsair Sleeved PSU Cables Pro Kit Type 4 |
| Cooler | Corsair H100X 240mm AIO + 2x Corsair ML120 Pro Fans |
Motherboard Installation
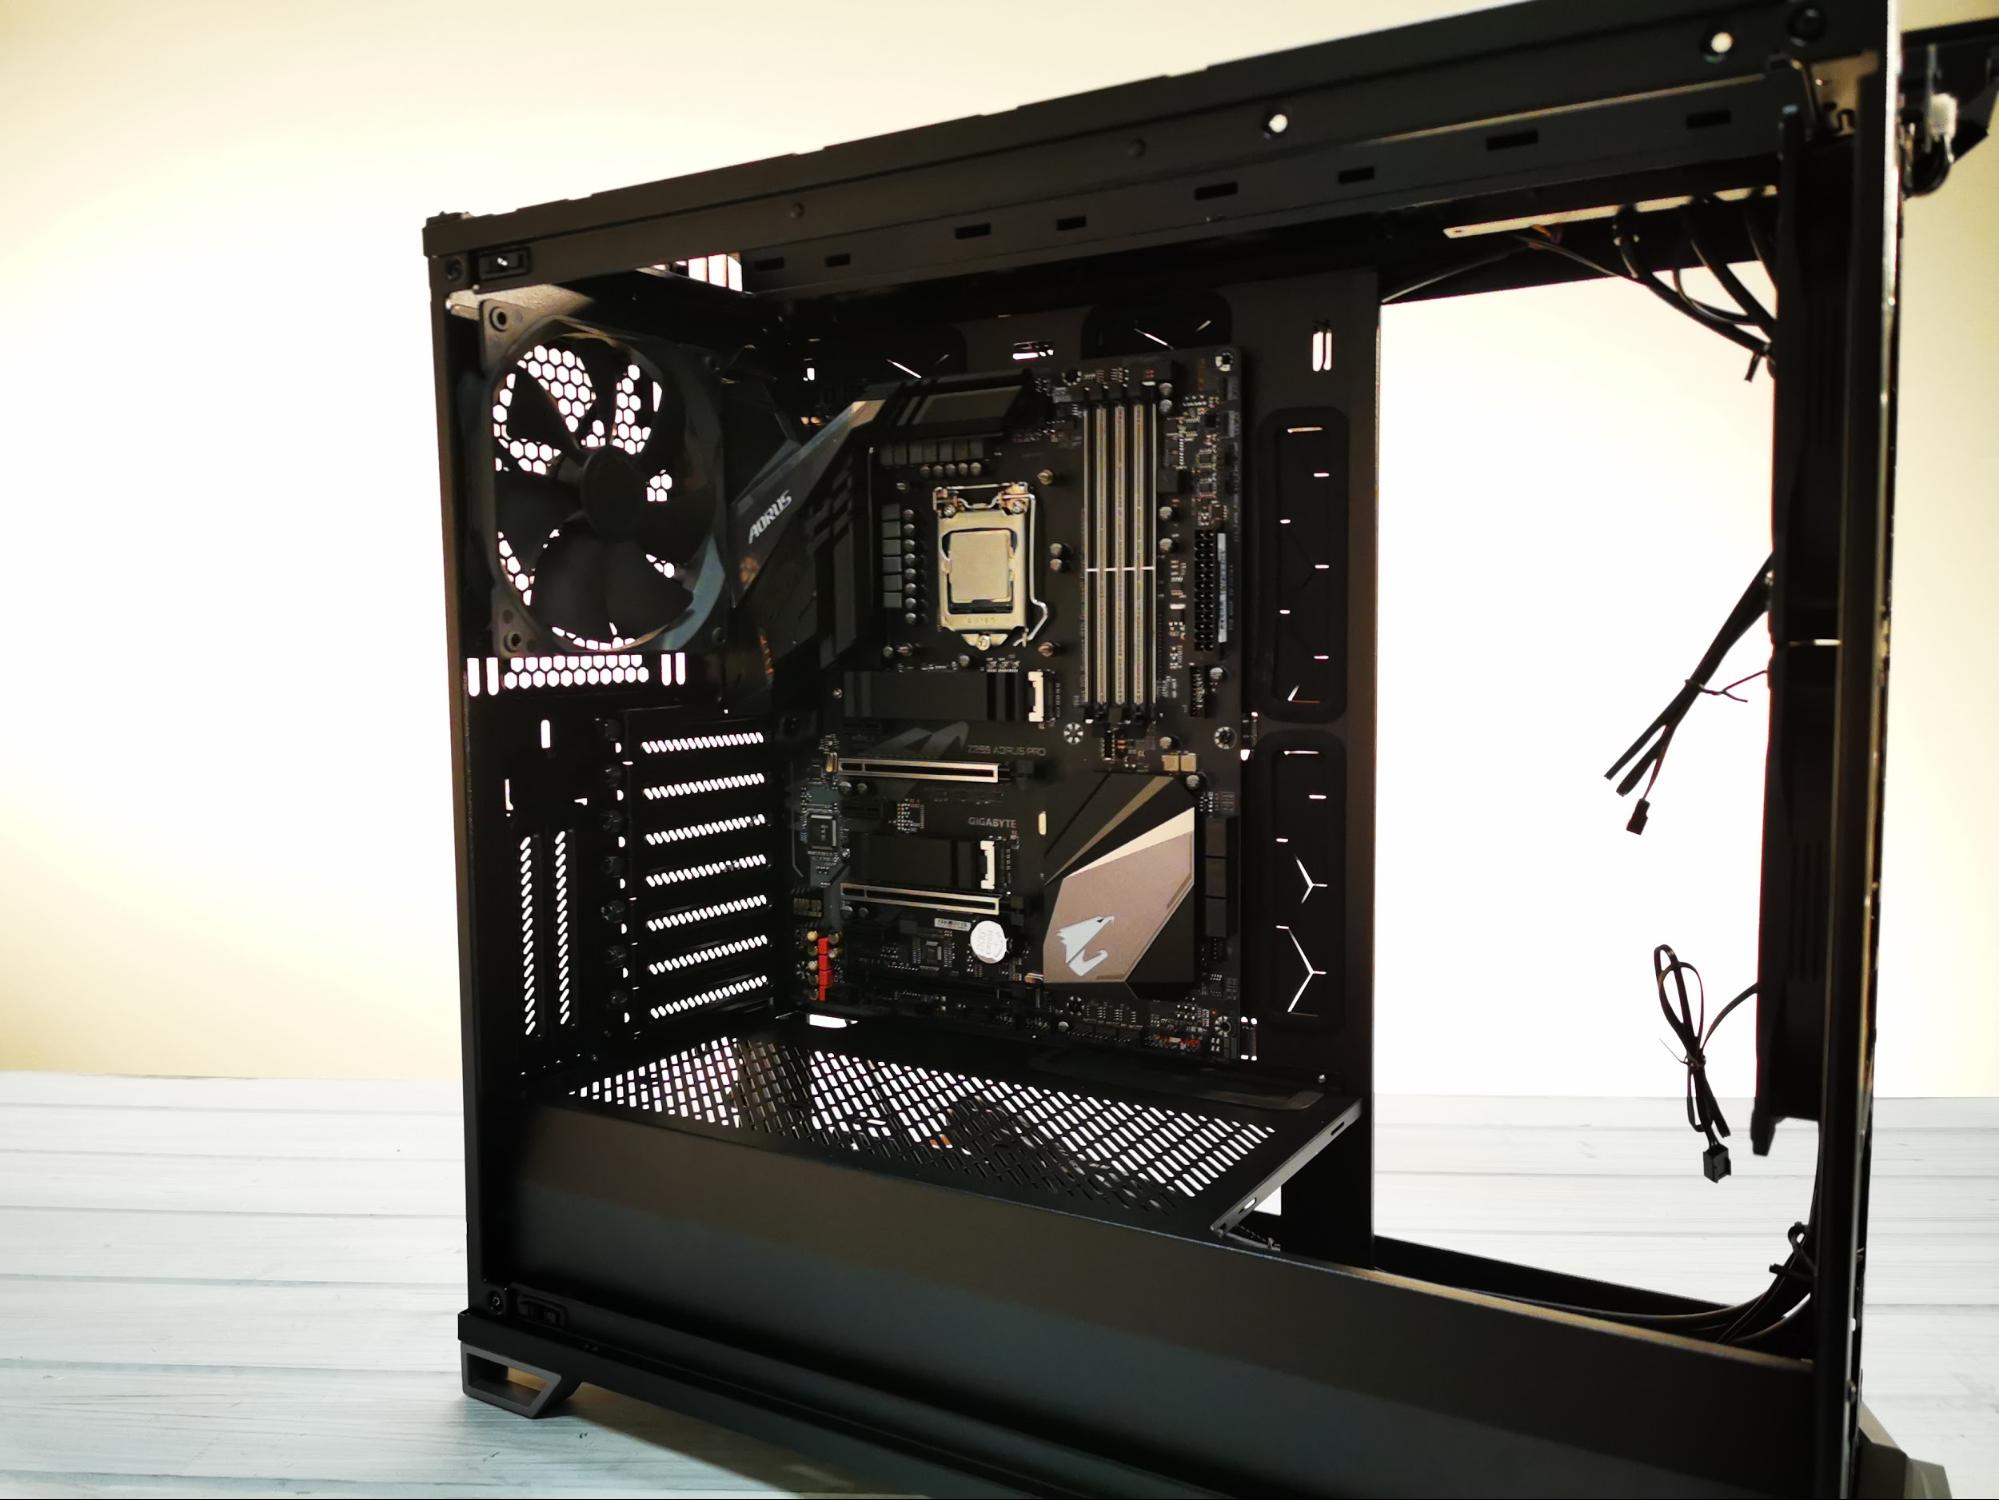
The first thing you should always do when building a new rig is strip the case down to its shell. The fewer panels on the thing, the less chance you have of damaging them, and the easier it is to work around. The Vector RS is no exception to that rule, and it strips down rather nicely. Installing the motherboard was simple, and we encountered no major problems. Looking at the cable grommets below the bottom of the board also gave us a good idea as to how we would route our bottom-most cables as well.
Cable Management
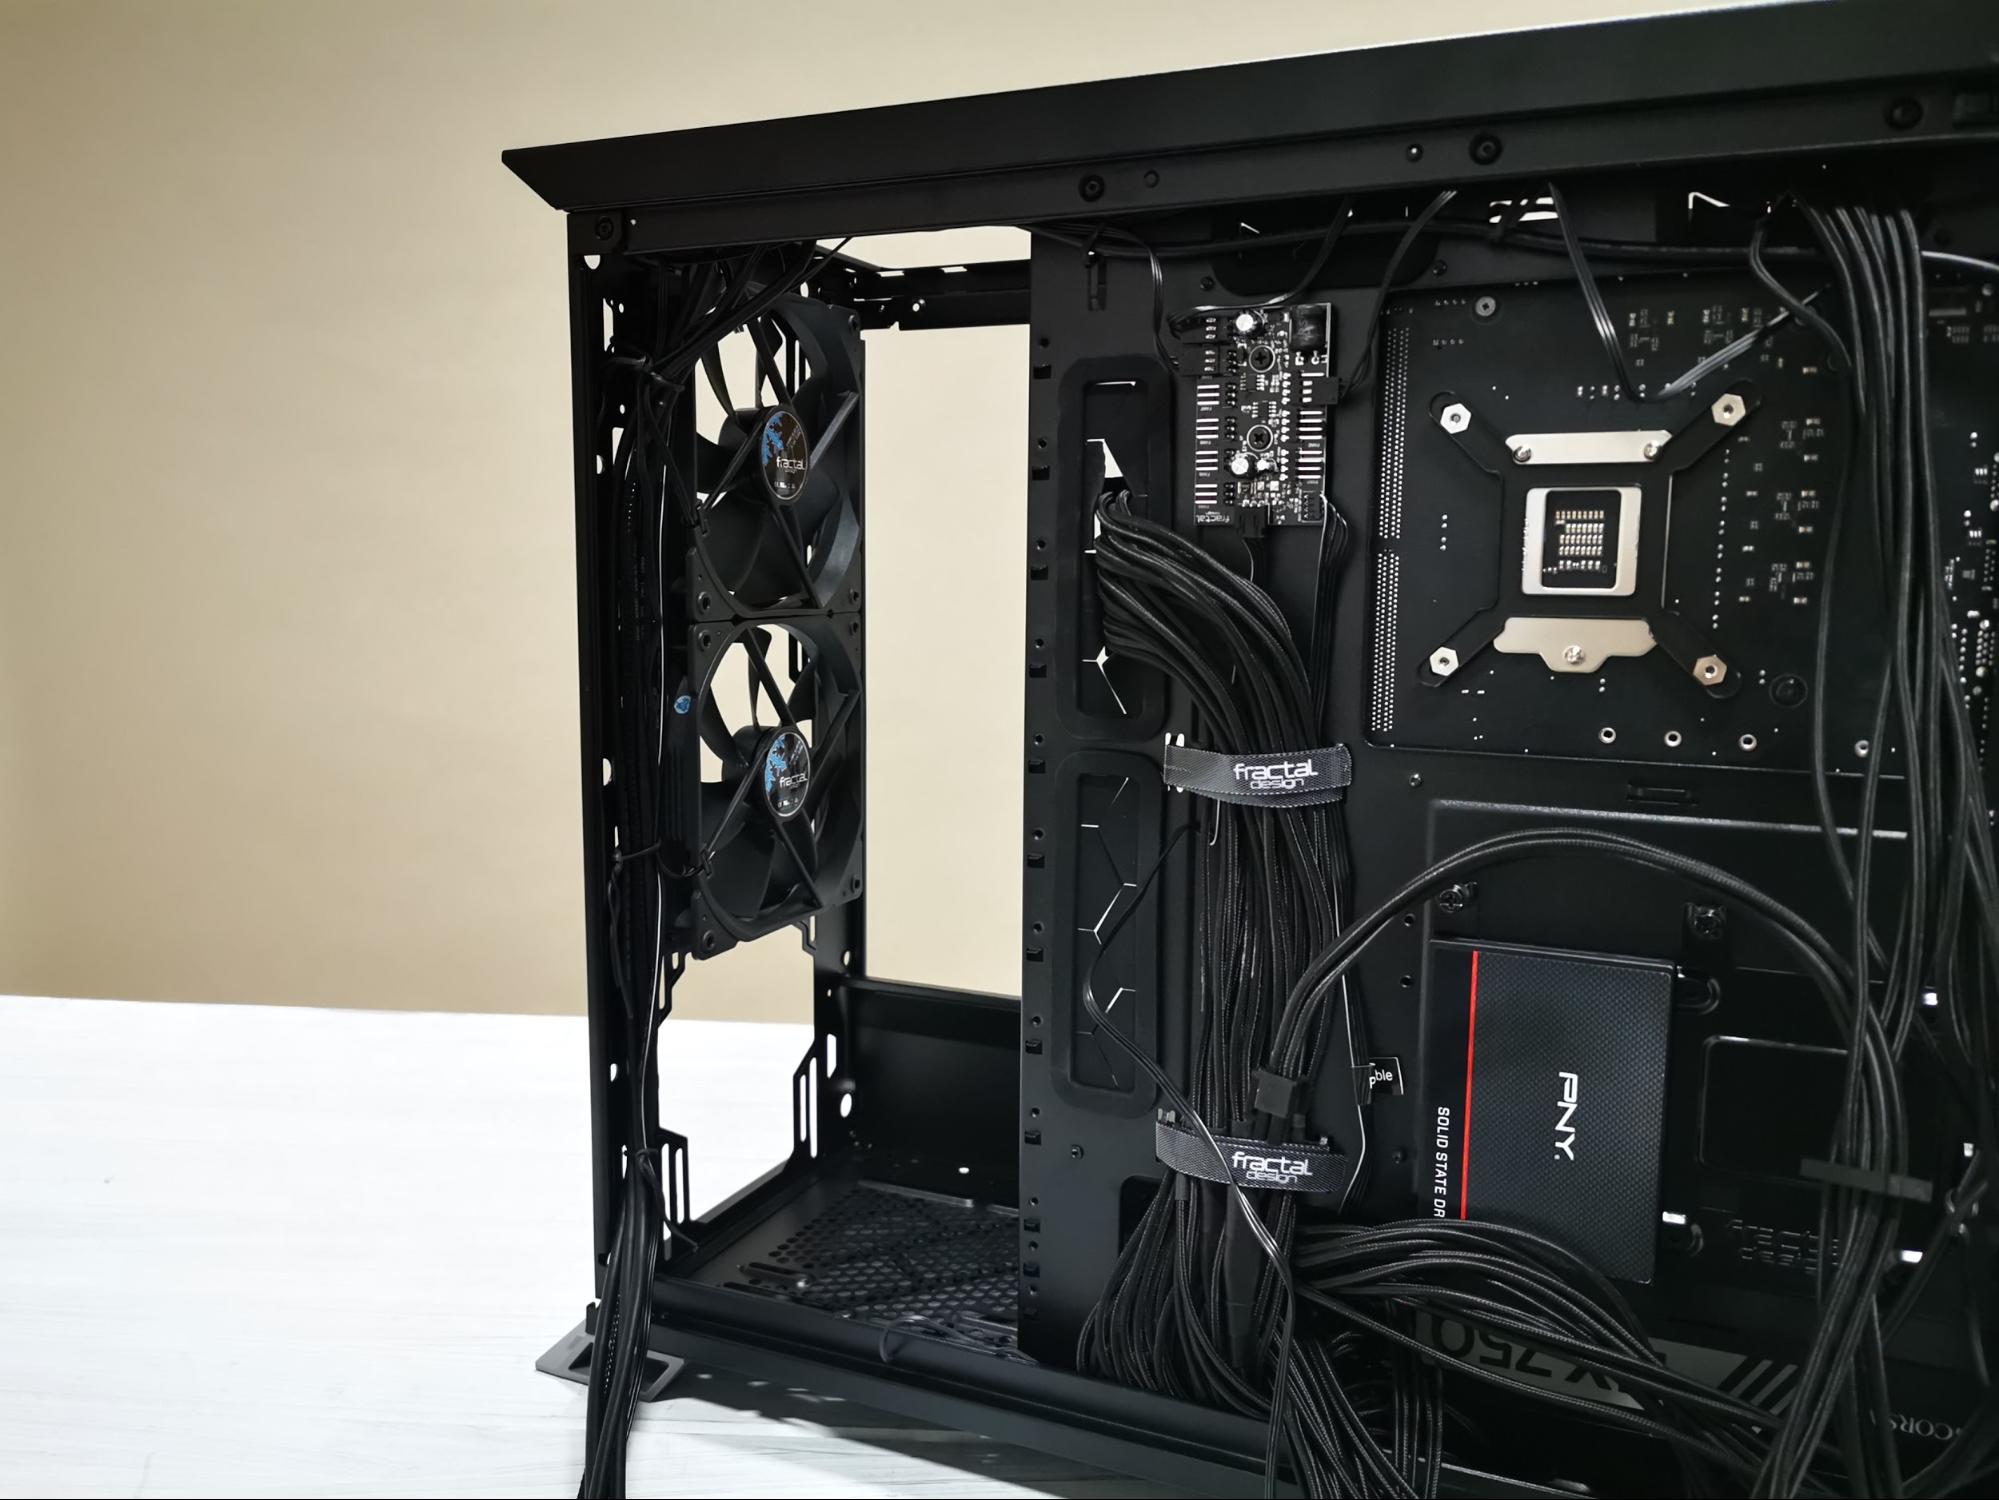
Next up on the checklist is installing the PSU and sorting out the back of the case. Thanks to the bracket system Fractal is using, it’s a fairly seamless procedure. Attach the bracket outside of the case to the PSU, pre-attach the cables you’ll need, thread them through the back of the case, slot the PSU into position and secure down with the thumb screws. Then you can take the time to carefully route the cables where they need to be.
Things to note: There’s no PCIe power cutout in the PSU cover, so you'll have to run it through the bottom cable grommet, similar to the Phanteks P400A Eclipse we reviewed earlier this month. Additionally, one plus here are those Velcro straps. It’s an amazingly small design tweak compared to the likes of NZXT and Phanteks, but the fact you can place the cables in the middle, and then strap them over the top saves a lot of time. The manual says you should remove the entire strap, place your cables in, then thread the Velcro strap in and tighten it down. But this is frustrating and tedious, especially if you end up placing more cables there later.
Get Tom's Hardware's best news and in-depth reviews, straight to your inbox.
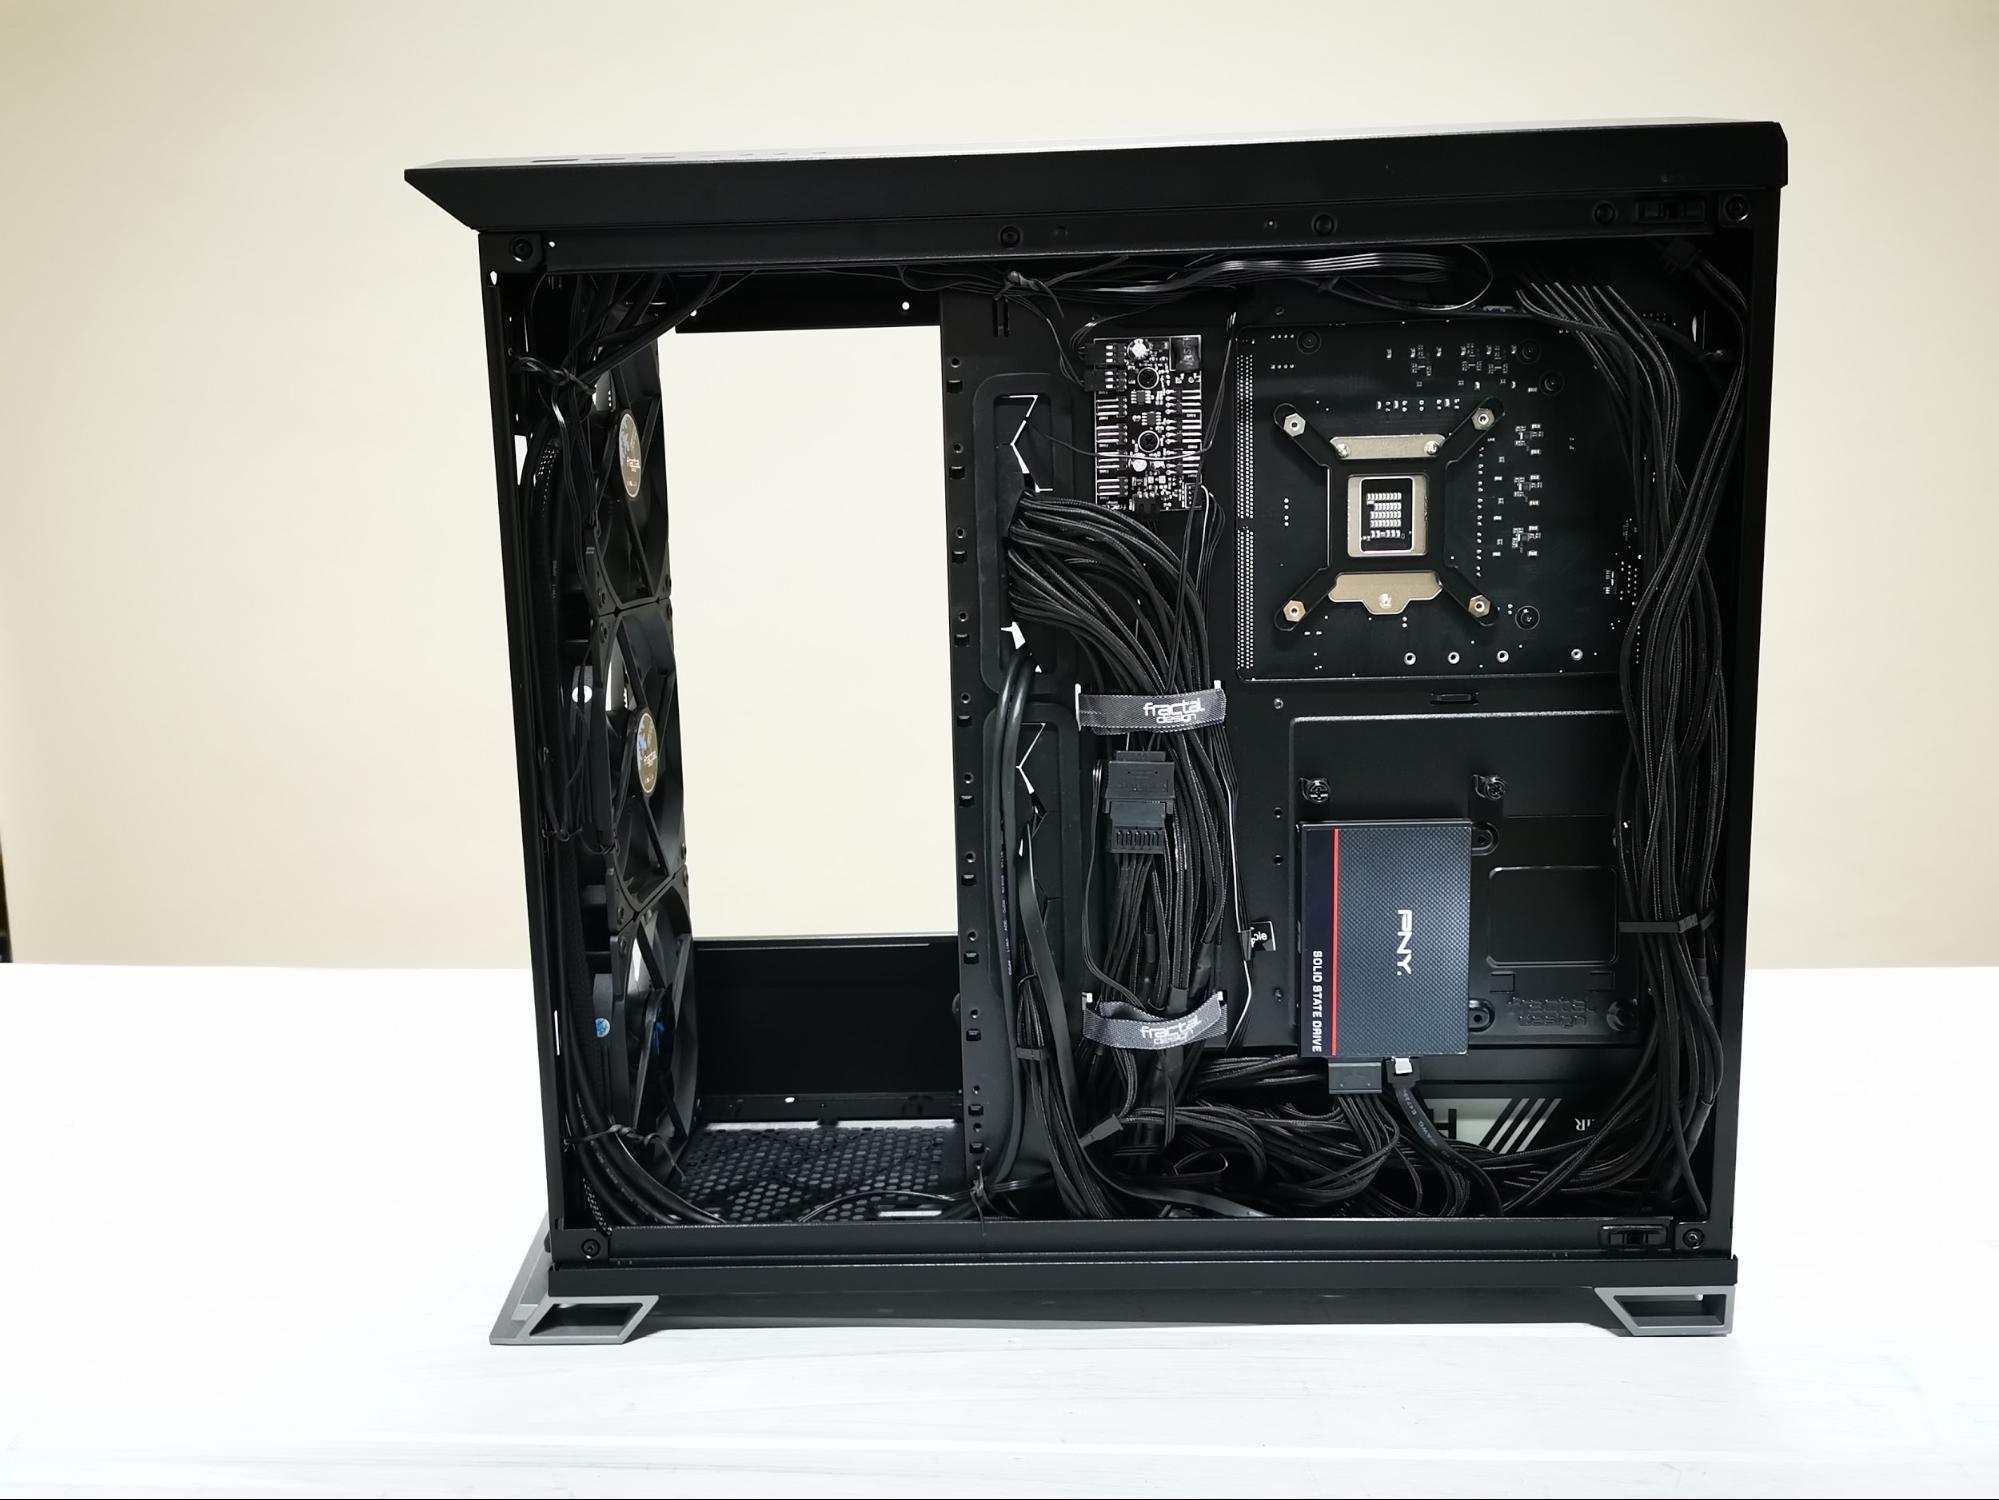
One downside to removing that front 3.5-inch caddy is that there’s no way of hiding any of the front I/O or fan cables easily. You have to painstakingly run them along the top and the bottom of the case and hope they’re not as noticeable once the tempered-glass panel is in. It’s not a huge concern, but very frustrating if you do decide to go for a thicker front radiator, or just want a bit better airflow/internal looks.
The best compromise would be to just remove the caddies and leave the tower in place. However, if you do take that route and plan on running a custom loop, you’ll most certainly lose sight of your front radiator and any reservoirs mounted to it.
Fan Controller
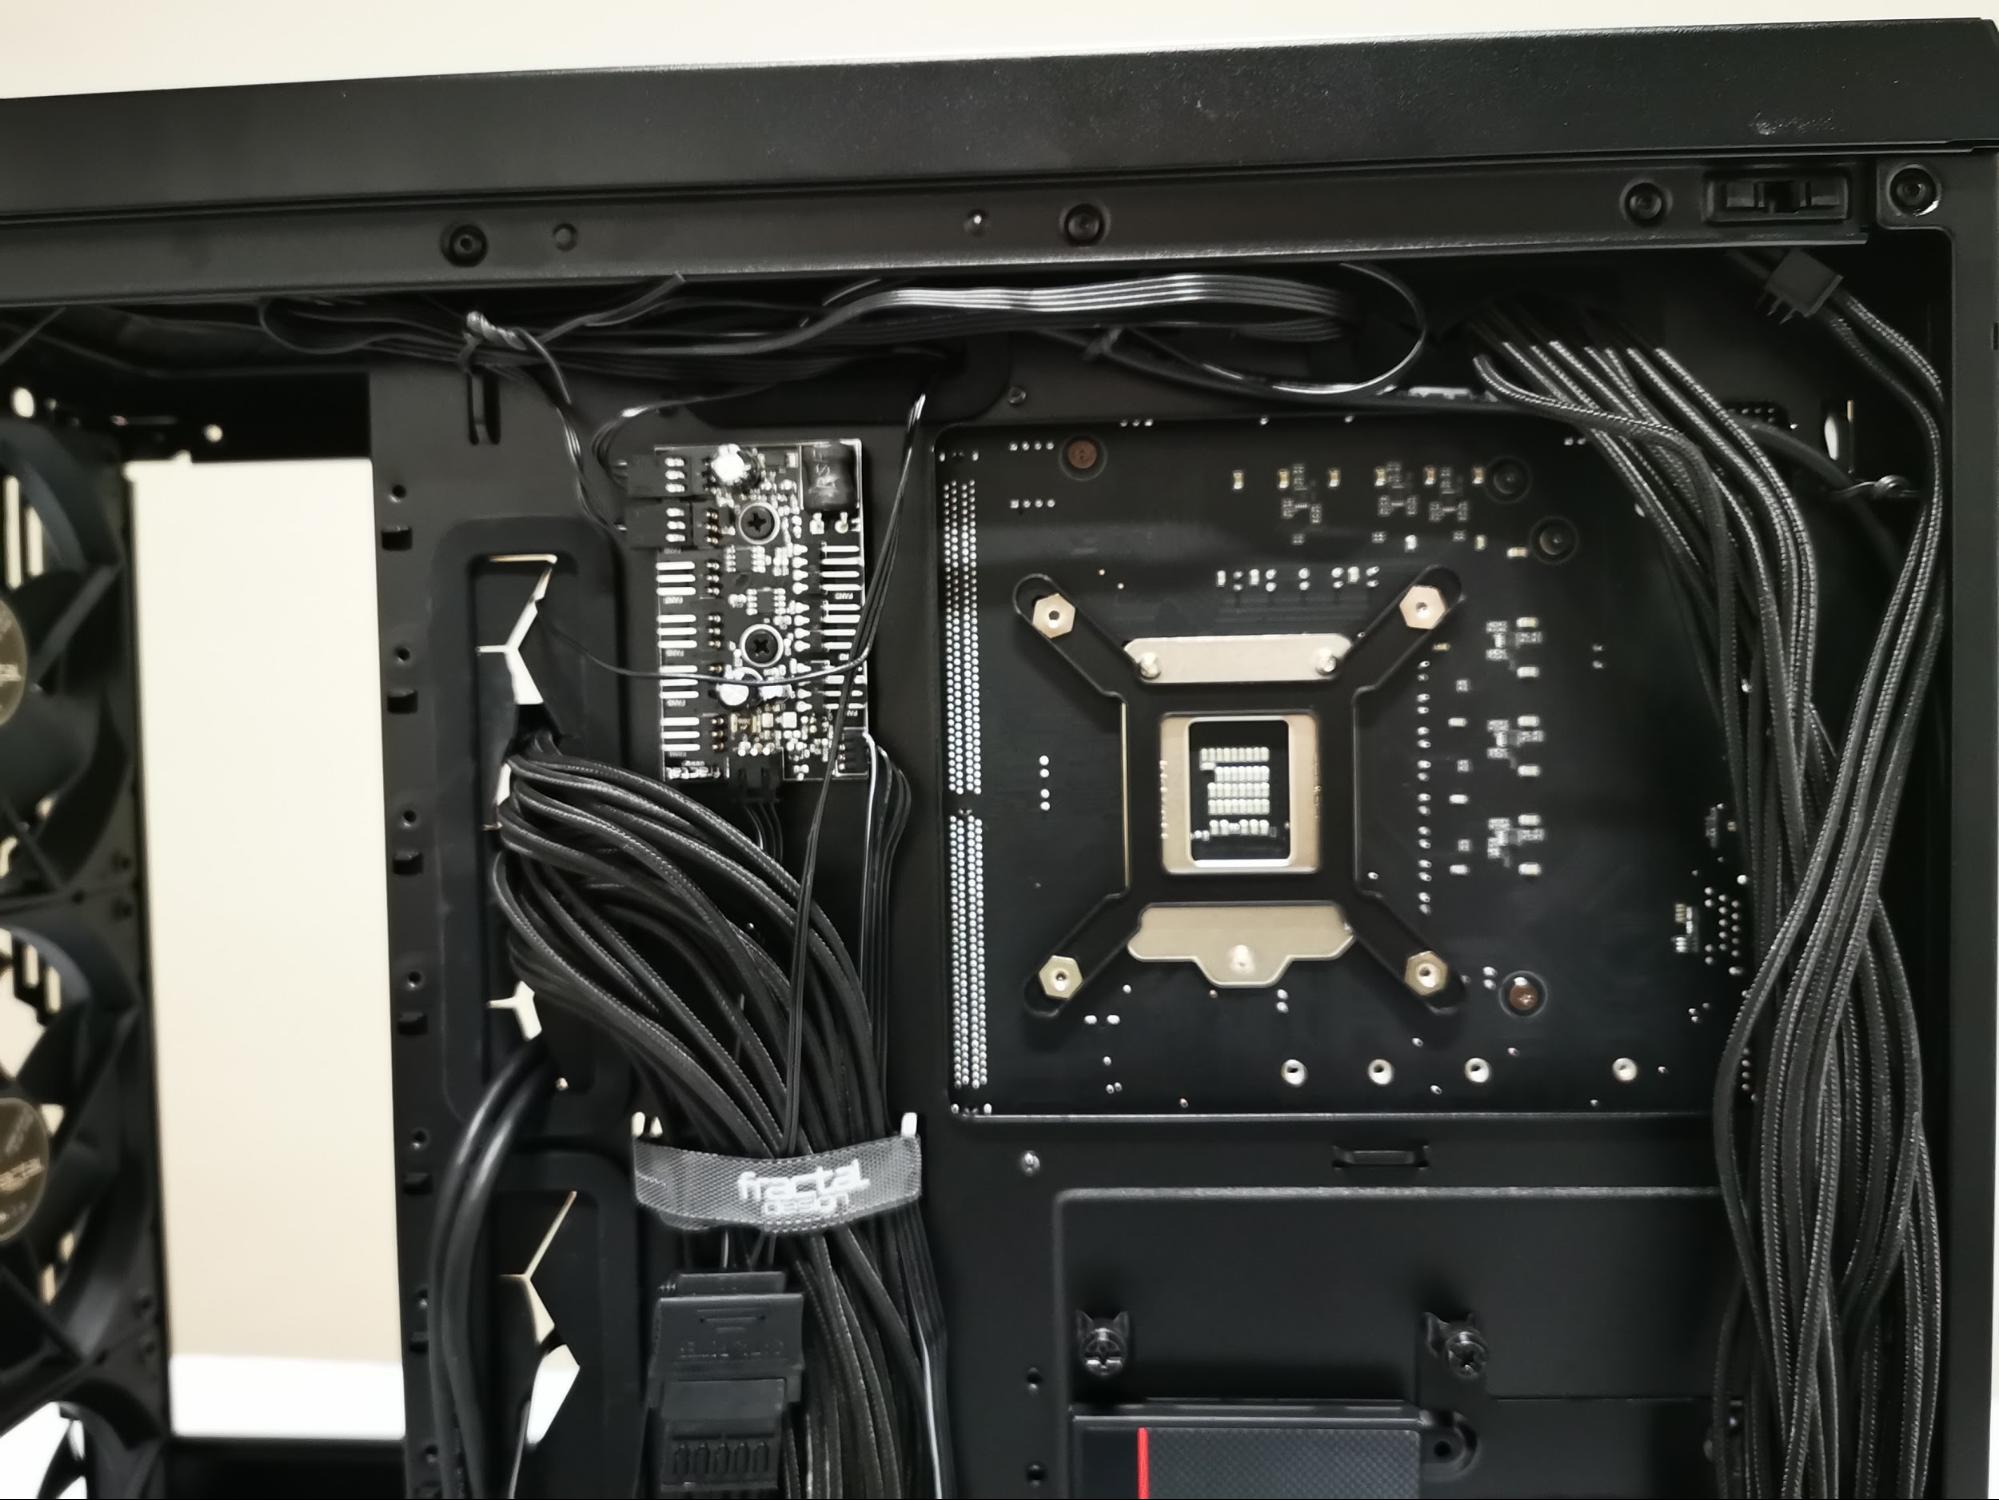
Although it doesn’t plug in via a USB 2.0 header or have any fancy software, there’s a lot to be said for the inclusion of this dumb fan controller here. Simply plug in up to 9 fans, power it via a SATA header, then plug the PWM header directly into the motherboard and control it via BIOS with a single header. It’s simple, and just works. Just ensure you attach fans to it that run at the same RPM.
AiO Installation
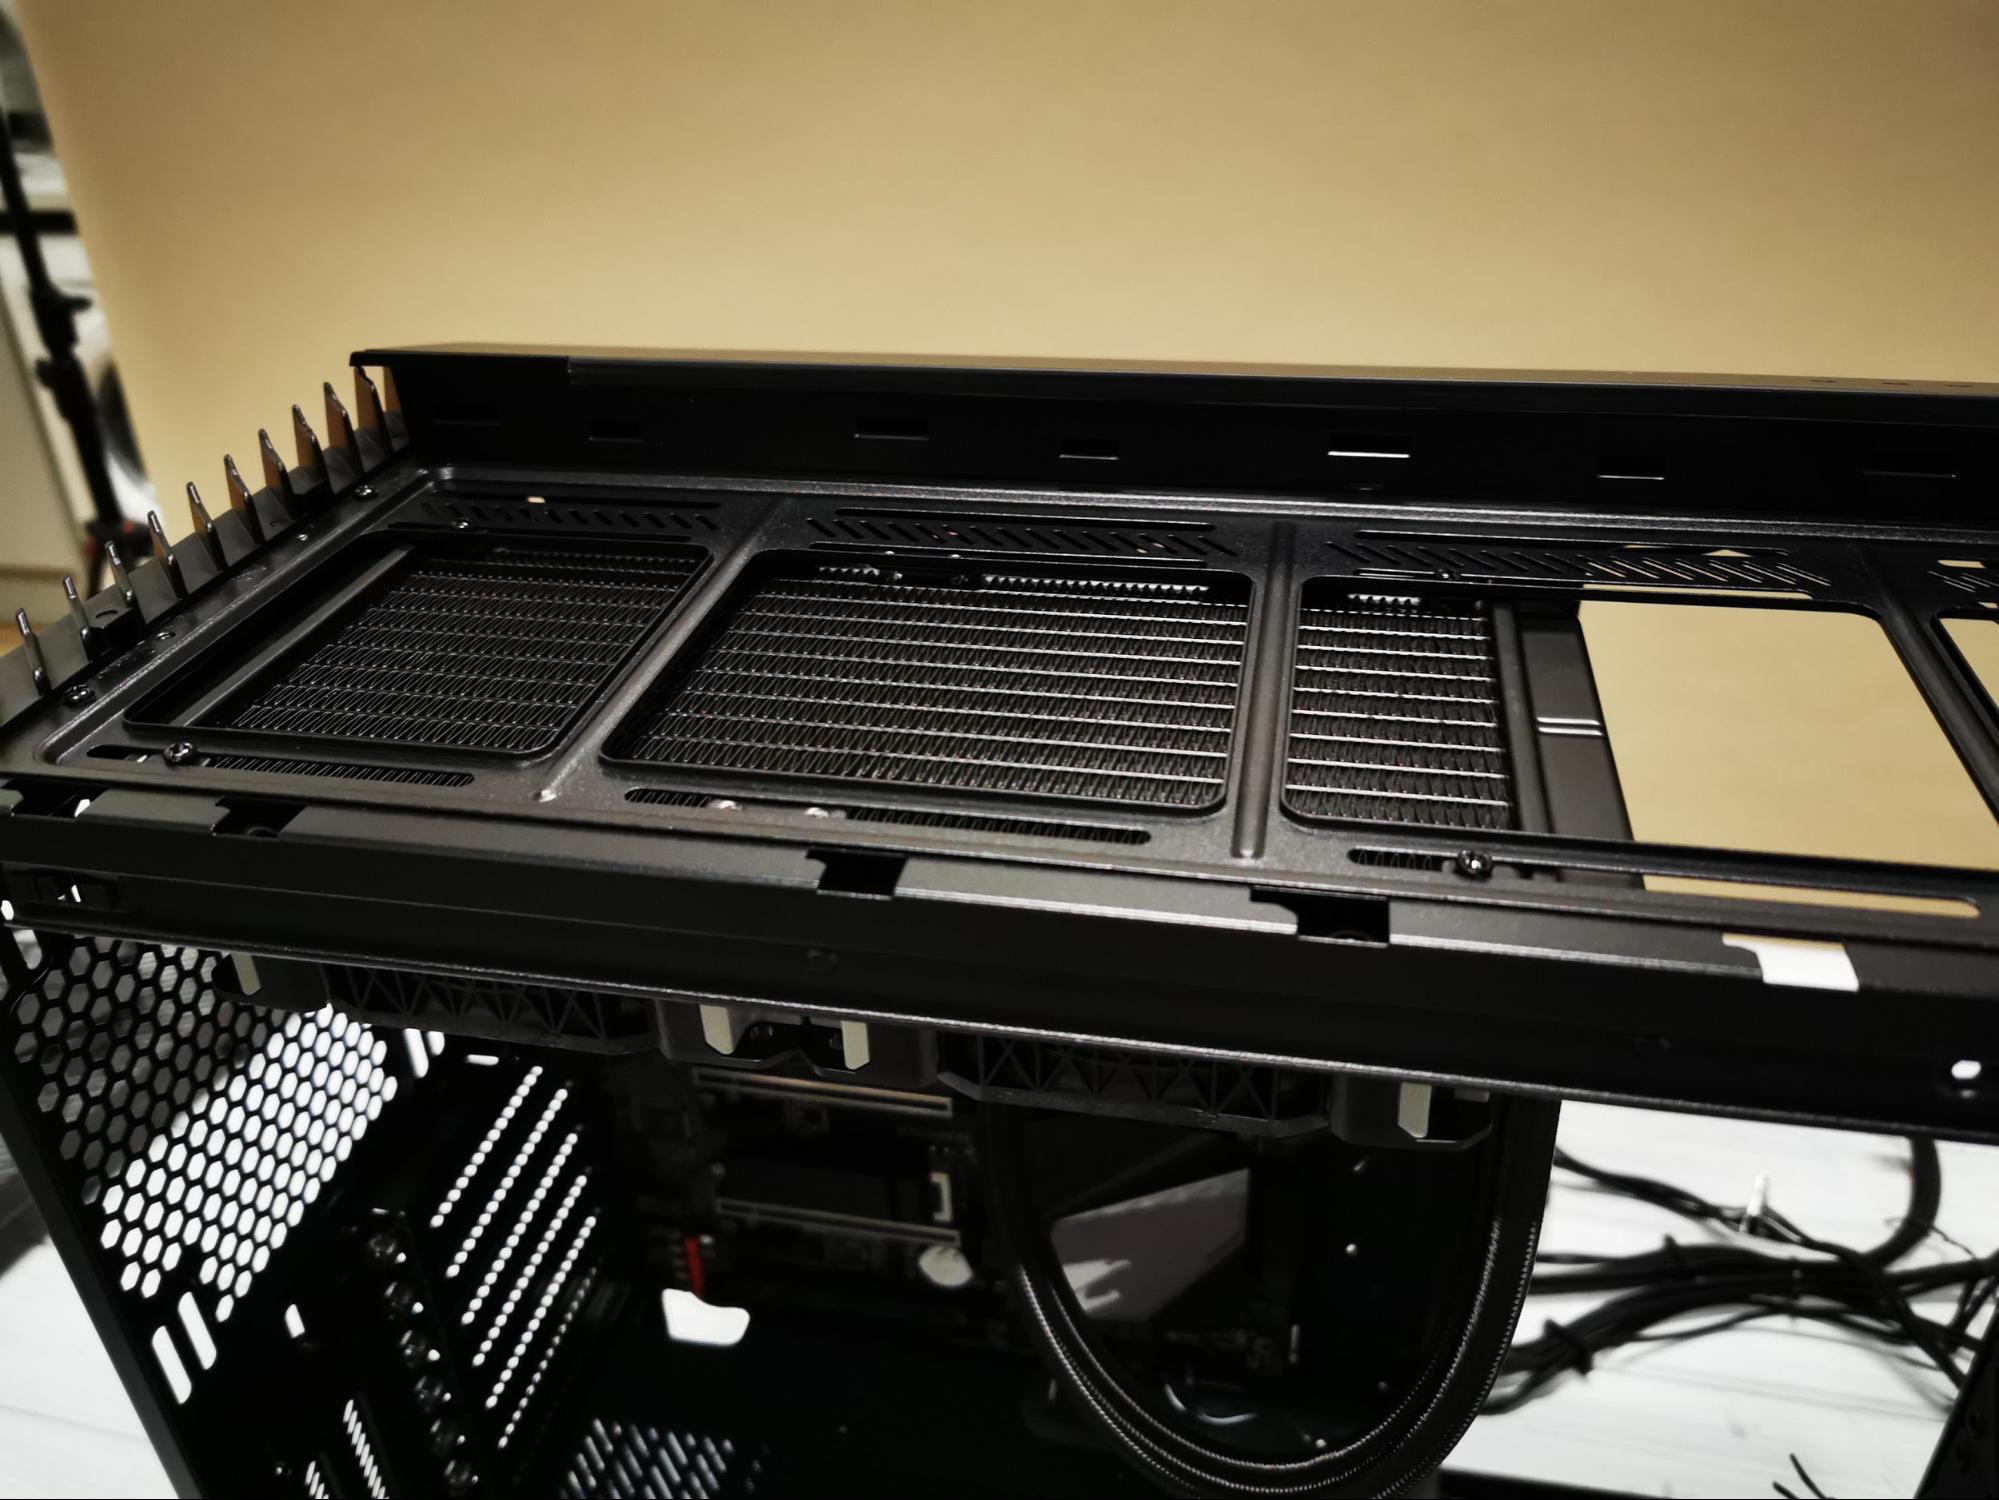
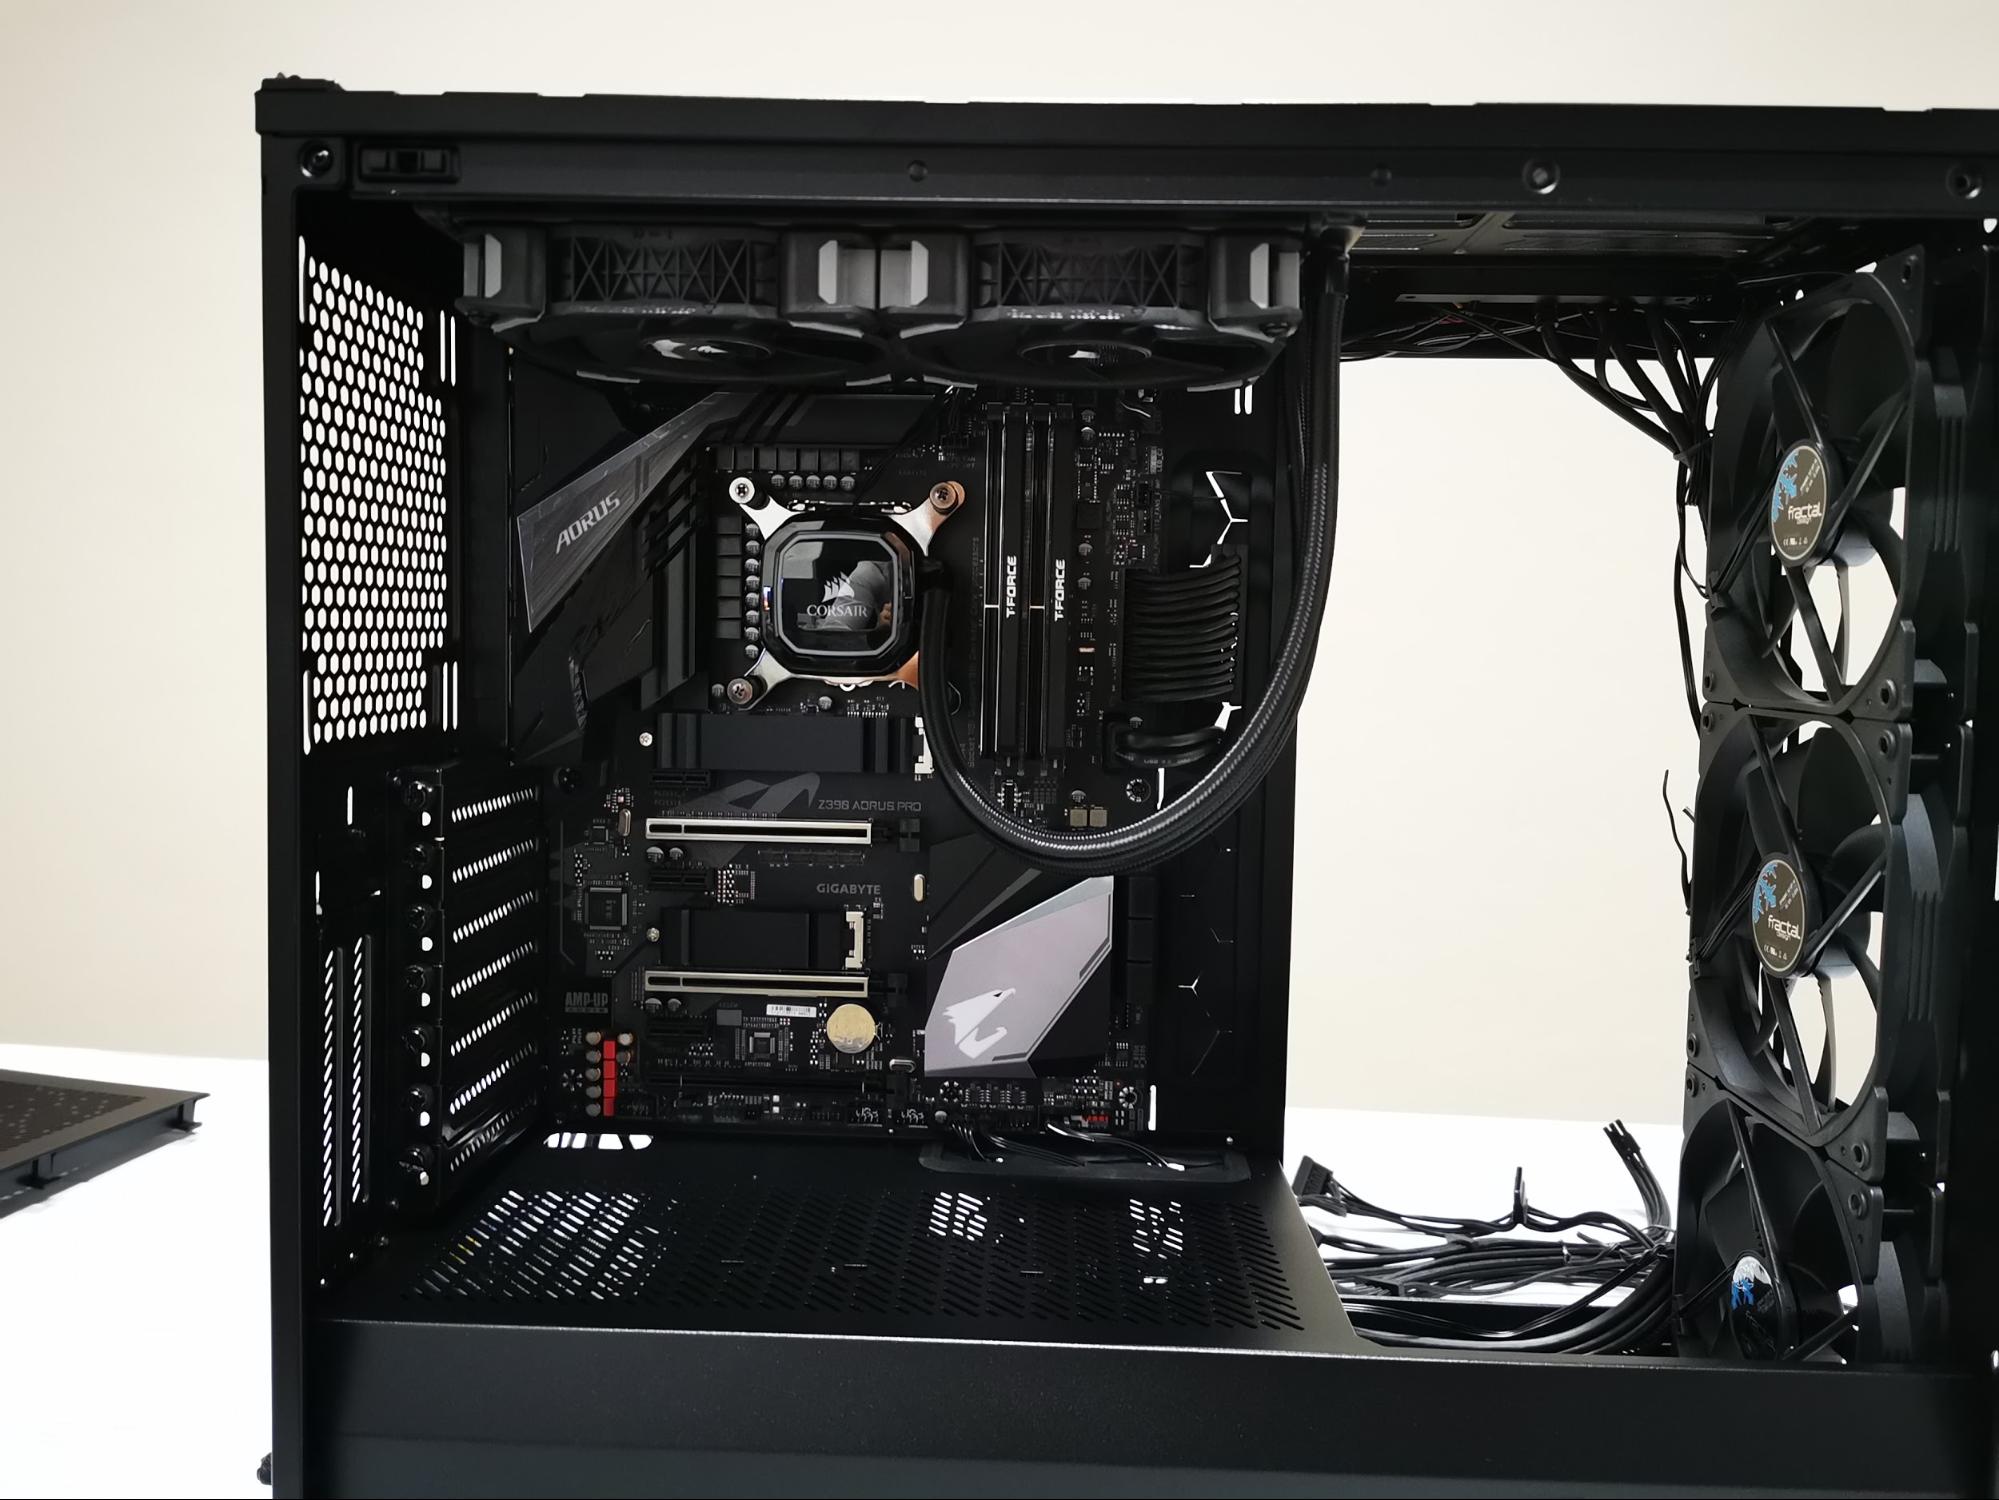
We’ve decided to run our 240mm Corsair Hydro AIO in the roof this time around. It looks very clean, and with a quick swap to the ventilated mesh variant top panel, should provide an excellent exhaust for the internal airflow.
The Vector’s swappable panel is definitely a boon in this regard, albeit one that’s arisen purely because of airflow issues the original case imposes. We would have loved to have seen two separate variants of this chassis, one with and one without the tempered glass top panel for sale at a lower price. That would’ve made a lot more sense, since users are going to choose one or the other.
Recommended Setup?
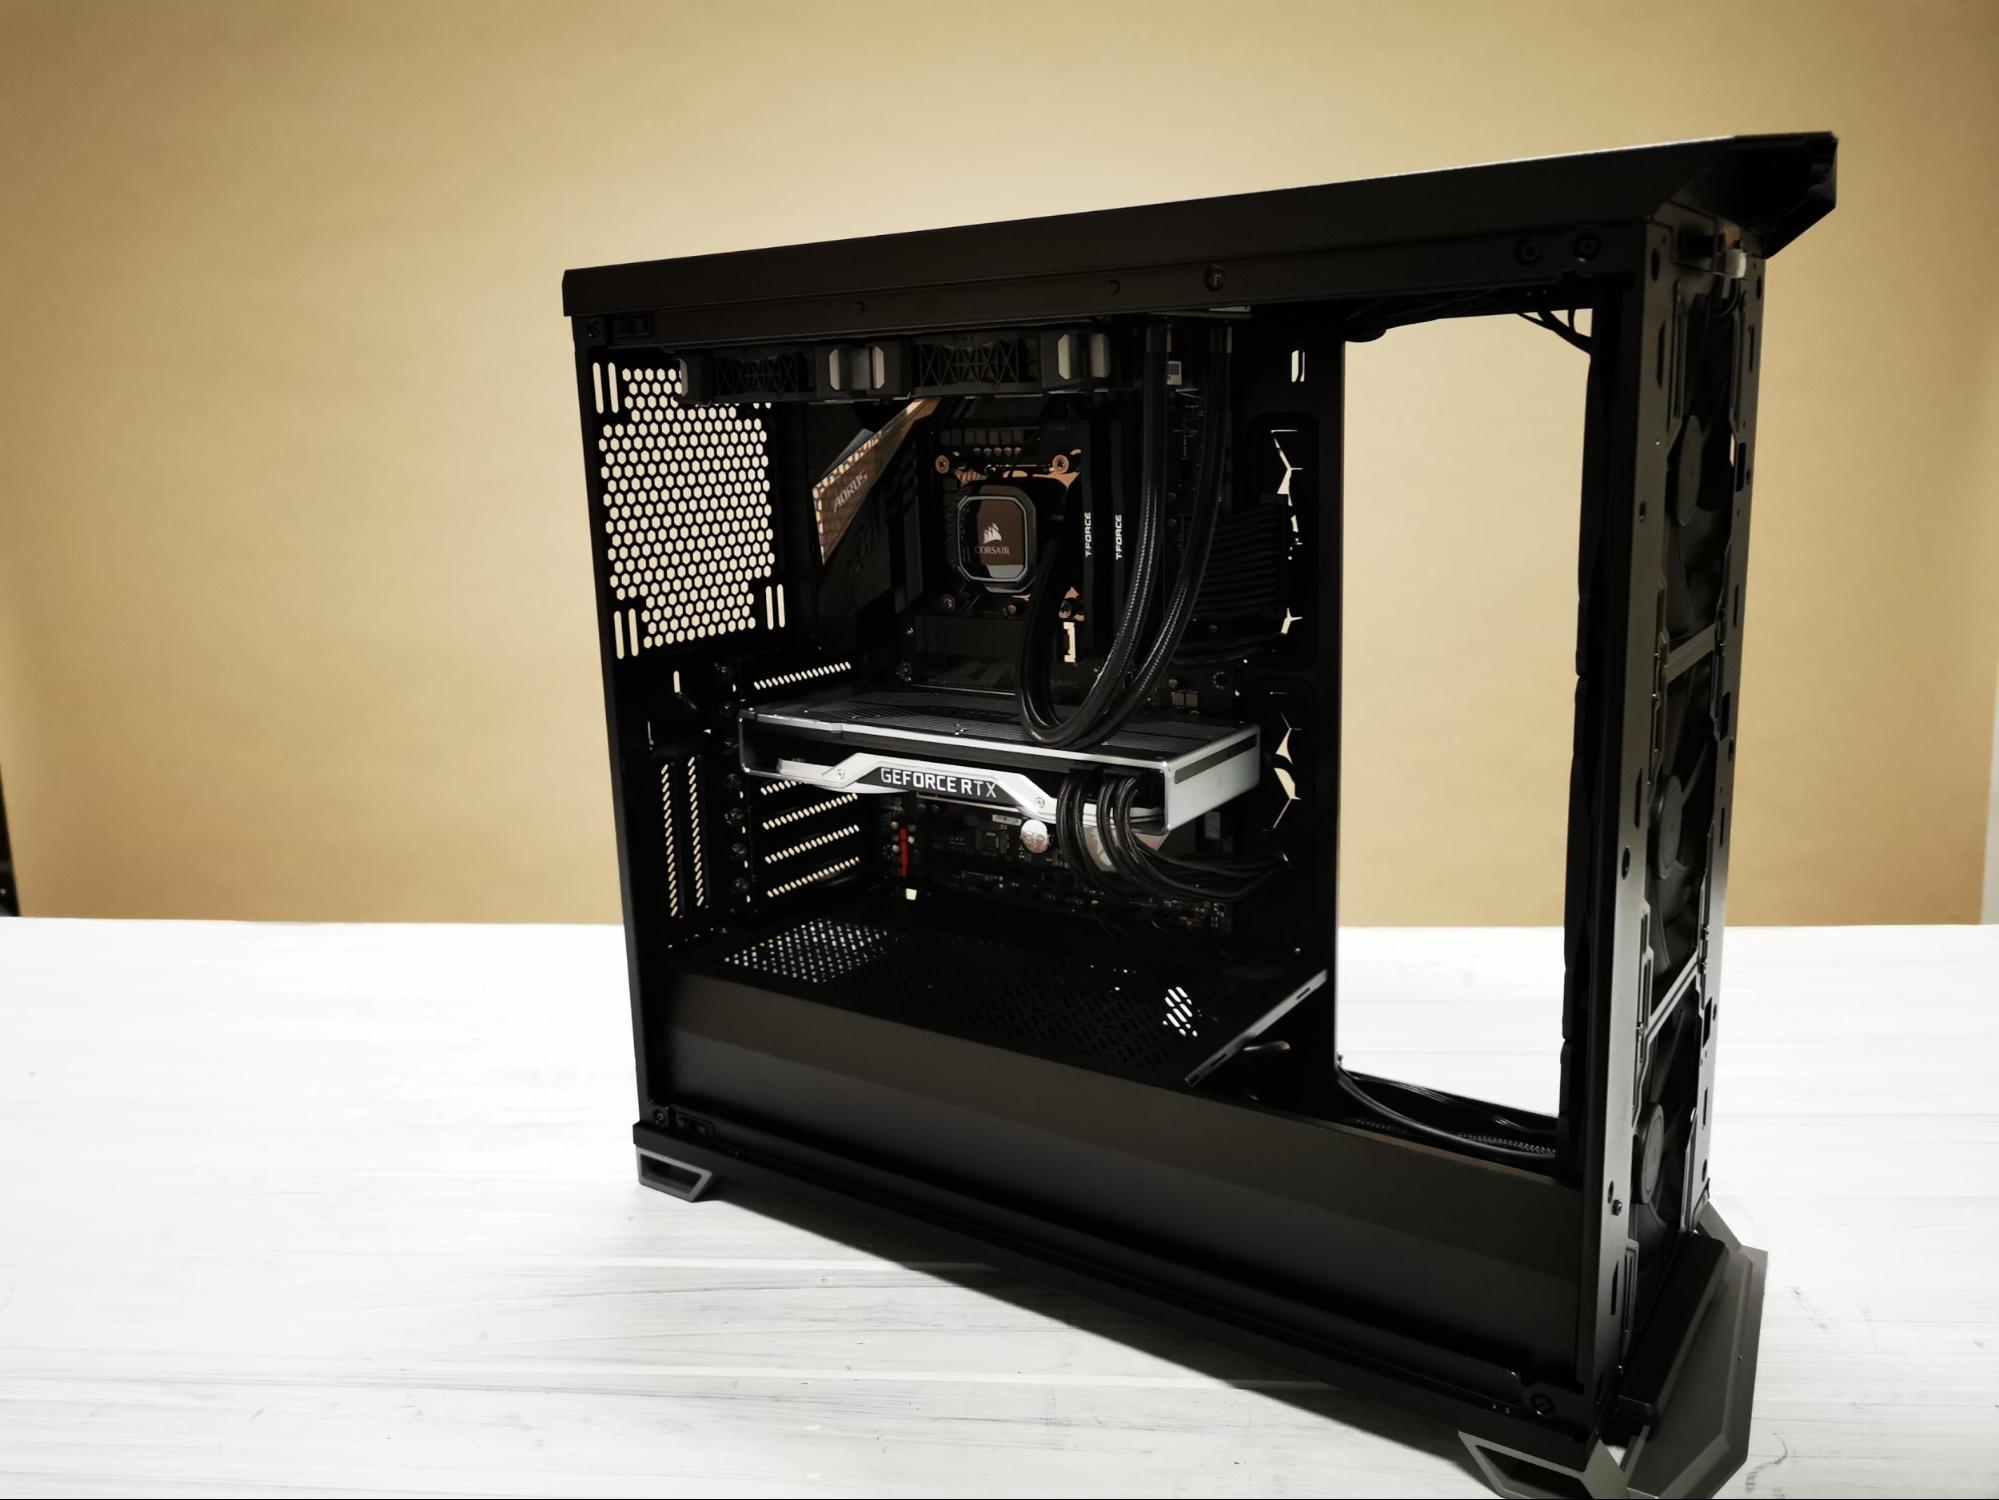
Once that’s all wrapped up we decided to remove the rear 140mm fan and install it in the front instead. We have worries about that front airflow just not providing enough cool air to the GPU, so throwing it in here should help alleviate that significantly.
In a perfect world we’d replace all three of those front fans with some static pressure optimized fans, and even potentially mount an additional 140mm intake in the floor as well. If you’ve got fans lying around from an old build, it’s definitely worth considering.
MORE: Best Cases
MORE: All Case Content
Current page: Hardware Installation and Test Configuration
Prev Page Features and Specifications Next Page Benchmark Results and Conclusion
As Associate Editor of Tom's Hardware's prestigous British division, Zak specializes in system building, case reviews and peripherals, and has a particular penchant for liquid-cooling. He's also a lover of all things Viking/Scandinavian (thus the poor attempt at a beard).
-
alextheblue My take on this review:Reply
"The stock fans are designed for low RPM quiet operation, and there are only three of them installed stock. Therefore, via the transitive factor, the design of the chassis itself must be at fault for the subpar cooling benchmarks!"
Poking fun aside, you drew this conclusion without a really solid scientific basis. Take all of the hardware, including the fans, and stick them in a similar competing glass-heavy chassis with the same settings. See if there's a radical difference in cooling performance. I don't think the intake vents are the major limiting factor here with those silent fans. The main flaw with this case (other than I don't care for glass, but that's a matter of taste) is that it's overpriced, even for a glasser.
In a perfect world we’d replace all three of those front fans with some static pressure optimized fans, and even potentially mount an additional 140mm intake in the floor as well, especially if you’re not running 3.5-inch drives. If you’ve got fans lying around from an old build, it’s definitely worth considering.
Exactly, I mean, it's not like you could order new fans or anything. First thing I do with most builds is flesh out the fan configuration. If I don't like the stock fans (or don't trust their durability) I toss them for some premium ones. I prefer Noctua but most builds don't justify the price.