Cheap Coffee Lake: Three Intel H370 and B360 Motherboards, Tested
Why you can trust Tom's Hardware
Gigabyte H370 Aorus Gaming 3 WiFi: The Full Pot?
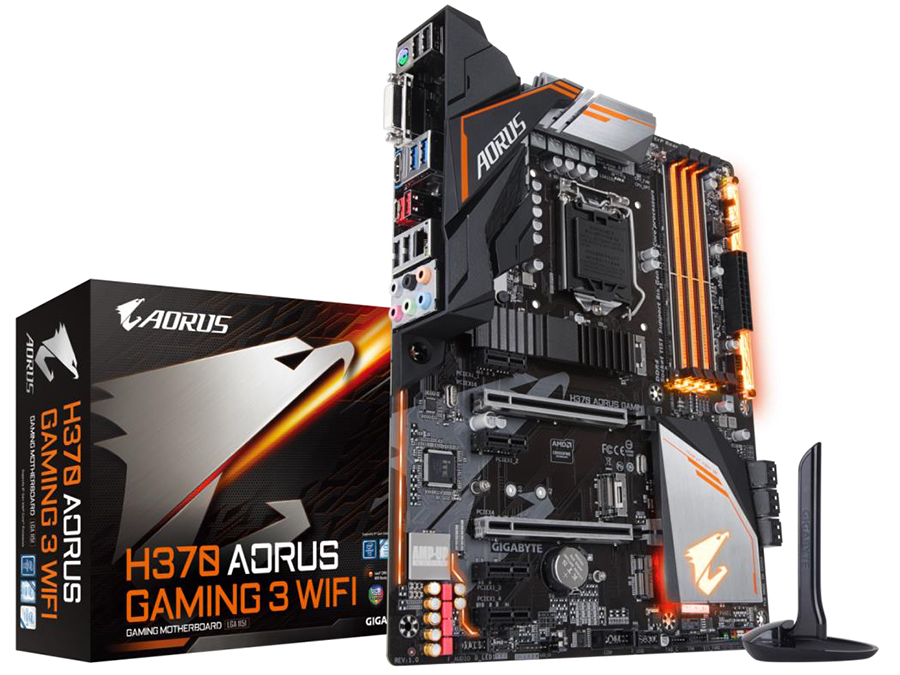
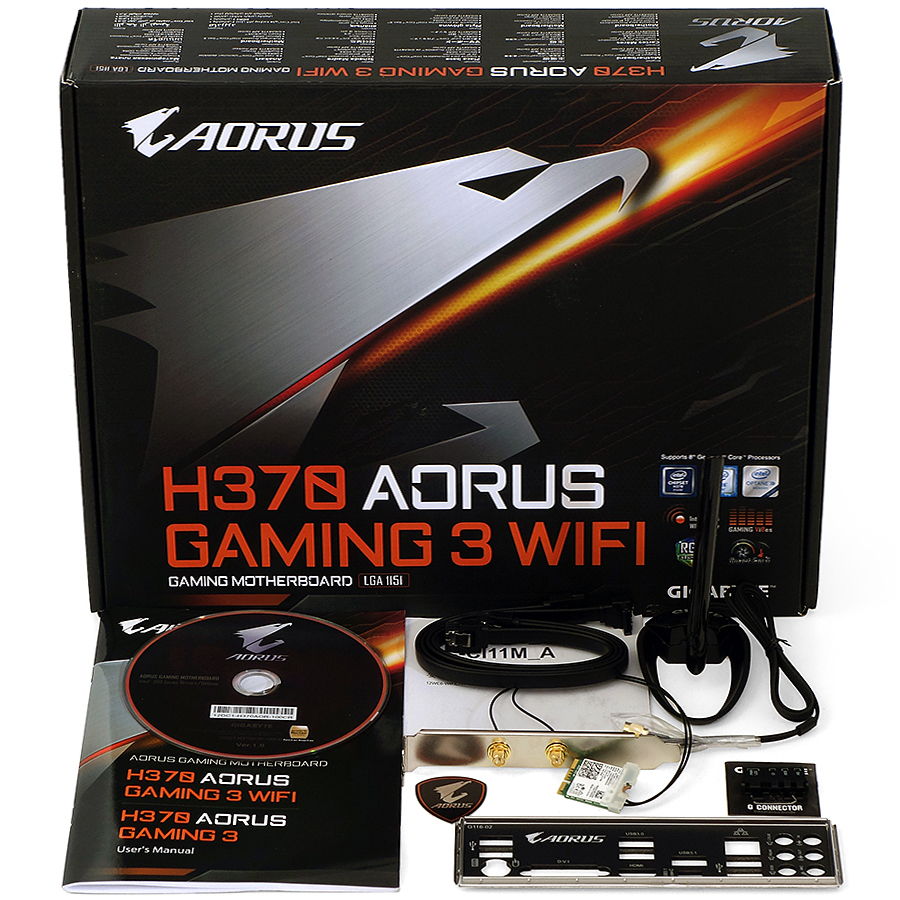
Topping our features list among these three non-Z mainstream boards, Gigabyte's H370 Aorus Gaming 3 leverages all of the H370 chipset’s advancements beyond Z370, including the integrated USB 3.1 Gen2 controller (two ports on the back, one front-panel header) and the support for CNVi we mentioned earlier--that is, Intel’s new 1.73Gb/s Wi-Fi controller.
As the image above shows, the H370 Aorus Gaming 3 WiFi also gets a giant serving of RGB LEDs, both in the form of onboard lighting and external device headers. External headers include a pair of RGBW headers and a pair of Addressable LED strip headers; the latter includes a jumper on each header to select between 5V and 12V strip power.
As for onboard lighting, the combination of a lighted extension cover on the PCH heat sink, lighted DIMM slots, and a light bar at the front edge has us asking: Why no lighting under the I/O connector shroud? The inclusion of DIMM lighting would have us expect something closer to an “all-in” lighting approach. Then again, this is H370, not Z370; we suppose Gigabyte had to leave something in reserve for the higher-end boards.
Specifications
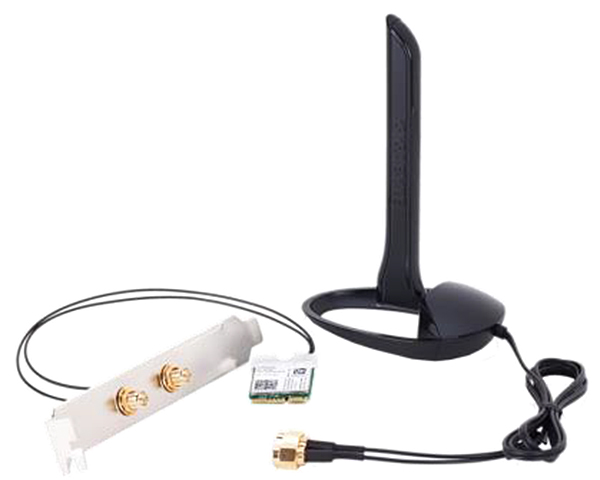
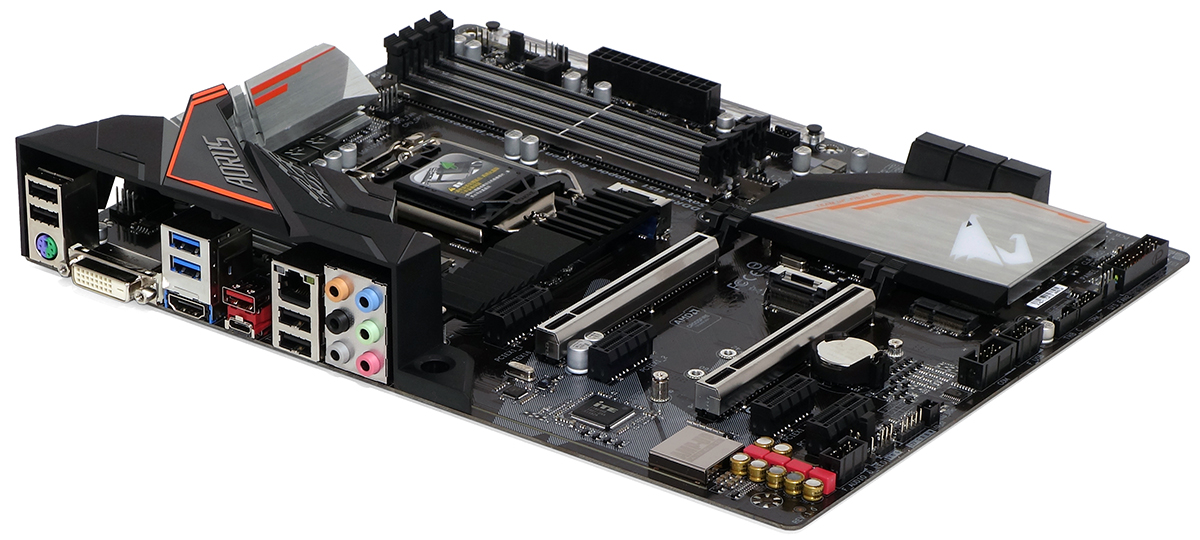
Four USB 2.0 ports help to boost I/O-panel connectivity here without exceeding the H370’s HSIO resources, since they don’t consume any. Faster are the two USB 3.1 Gen1 ports, and faster still are the Type-A and Type-C USB 3.1 Gen2 ports. We’re not seeing any added features here, as even the Gigabit Ethernet port is fed by Intel’s i219 PHY, but at least the audio ports use Realtek’s high-end ALC1220 codec. The Wi-Fi antenna connectors missing from the I/O panel have been displaced to an expansion-slot breakout plate.
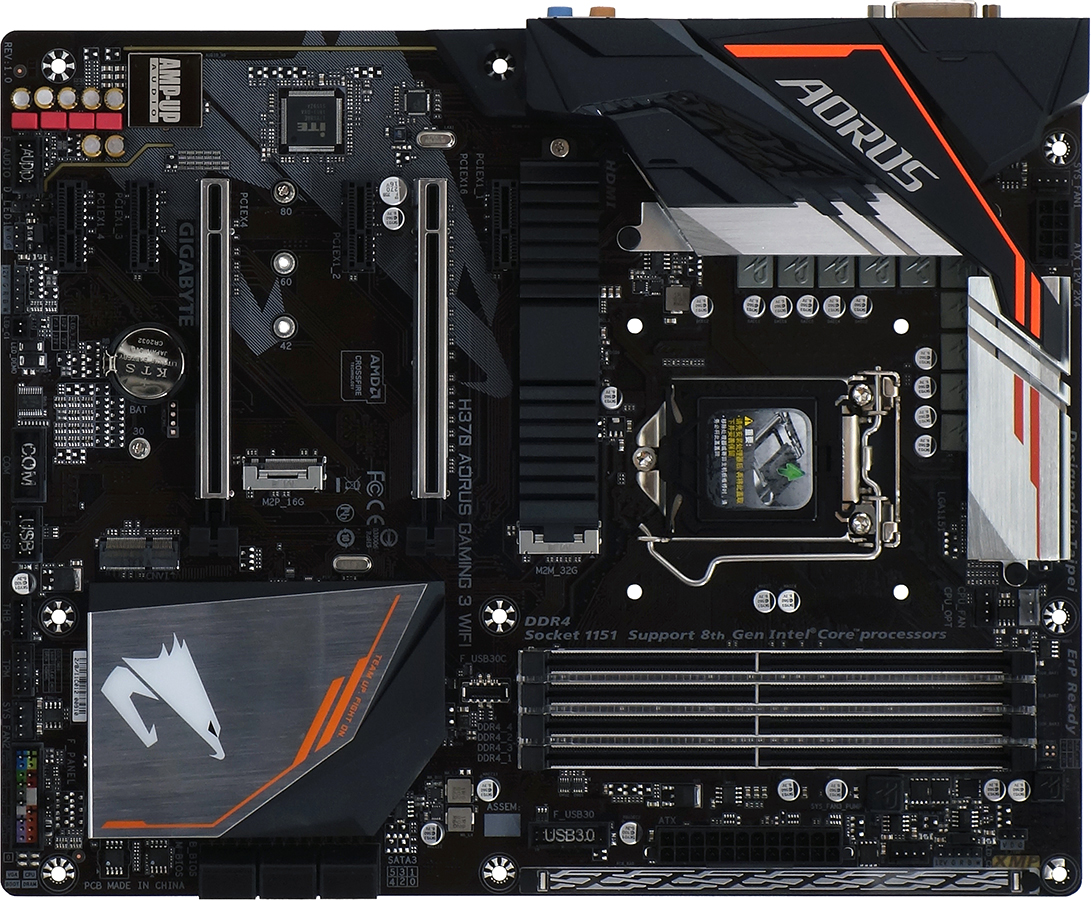
By putting the second M.2 slot where a fourth PCIe slot might have gone, Gigabyte even gives builders the perfect place to put the slot cover without interfering with other devices. That’s not a huge deal, seeing as a double-wide graphics card will block one physical PCIe x1 connector while leaving an empty space beneath that connector. We can’t be certain why Gigabyte didn’t swap the position of the second M.2 storage slot with the second PCIe x1 slot, and though we can guess that it could have had something to do with M.2 drive cooling, we’d then begin to wonder why Gigabyte didn’t simply leave out the second x1 slot and reassign its HSIO resource elsewhere. The second M.2 slot has only two pathways, and that leads us into a resource-allocation discussion.
The first PCIe x16 slot is fed by the CPU’s PCIe controller and doesn’t count toward the chipset’s 30-lane limit. The second x16-length slot has four chipset lanes, the four x1 slots have fixed pathways, and only one of the six SATA ports is a potential share (in the unlikely event that it gets lost to a SATA-based M.2 card). The upper and lower M.2 drive slots consume four and two lanes (respectively), the two rear-panel USB 3.0 ports takes up two more HSIO resources, the front-panel USB 3.0 header consumes only one HSIO through a USB hub, the USB 3.1 front-panel header consumes one HSIO since it's only connected to a Gen1 interface, and our math says that the four of the remaining six HSIO serve rear-panel USB 3.1 Gen2 ports. The two remaining HSIO pathways would seam to go to an unused M.2 Key-E interface, since the CNVi connector is cross-compatible with Key-E devices. All that said, for a budget-minded PC, the second (two-path) M.2 storage slot may likely go unused, rendering its lane count moot.
Both the single-port USB 3.1 and dual-port USB 3.0 front-panel connectors are located above the graphics card’s slot, though the former limits the length of any card installed in the top x1 slot to 7.2”. An aluminum sink covers the top M.2 storage slot, which is the one most people will want to use first, since it's the one that has a full PCIe x4 interface.
Get Tom's Hardware's best news and in-depth reviews, straight to your inbox.
An old-fashioned serial breakout cable header is placed at the middle of the bottom edge, and if you can, ahem, COMPort yourself around such things, you’ll be able to use the USB 2.0, Thunderbolt add-in-card, Trusted Platform Module (TPM), fan, and power/reset/activity headers in front of it, and/or the RGBW, digital LED strip, S/PDIF breakout, and front-panel-audio headers behind it.
The H370 Aorus Gaming 3 WiFi includes a driver disc and documentation, two SATA cables, the Intel 9560NGW Wi-Fi module (with an antenna breakout plate and documentation), a Gigabyte Wi-Fi antenna, Gigabyte’s G-Connector bundling bracket (for front-panel-button and activity-LED leads), an I/O shield, and an Aorus case badge.
Firmware
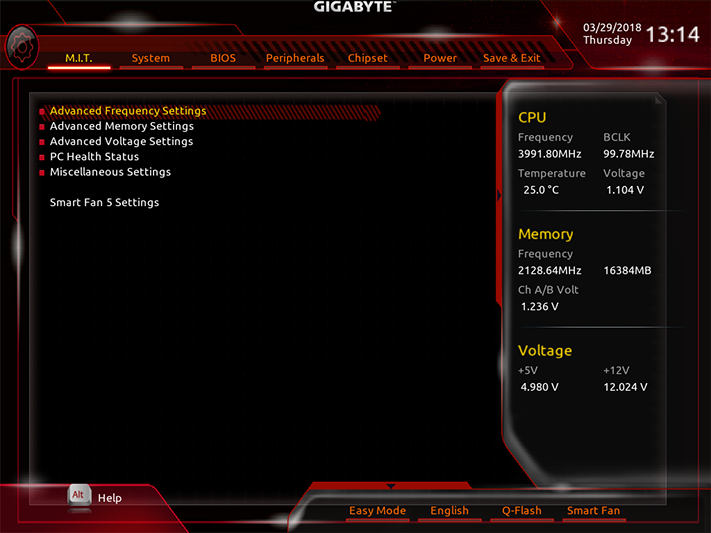
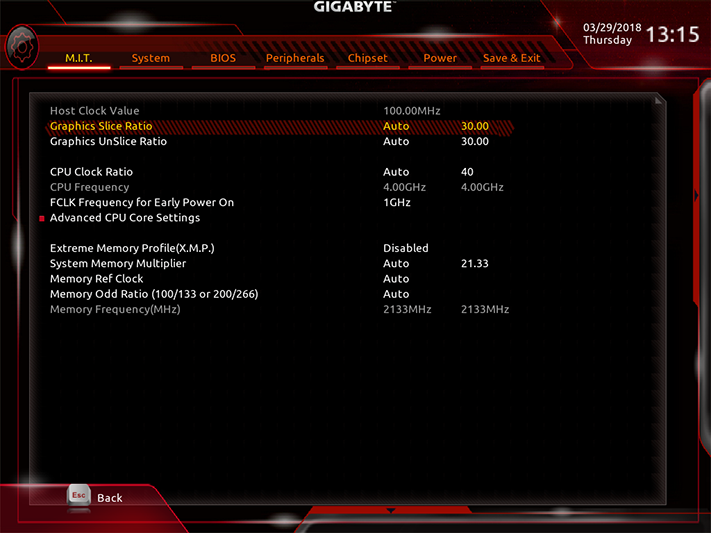
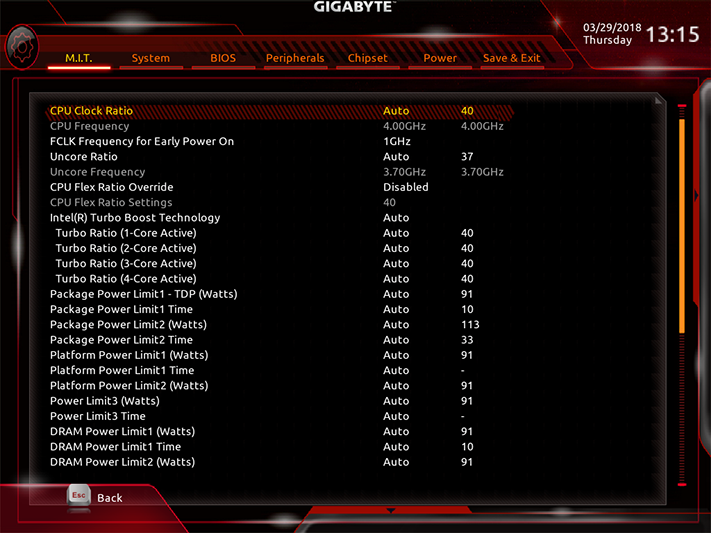
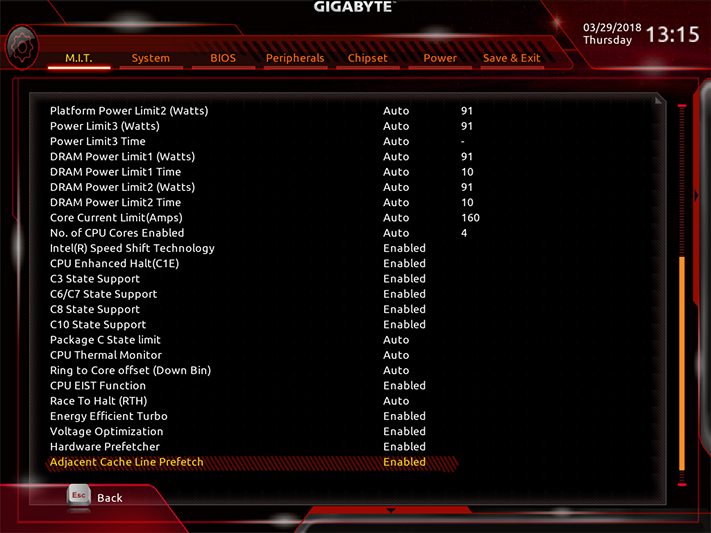
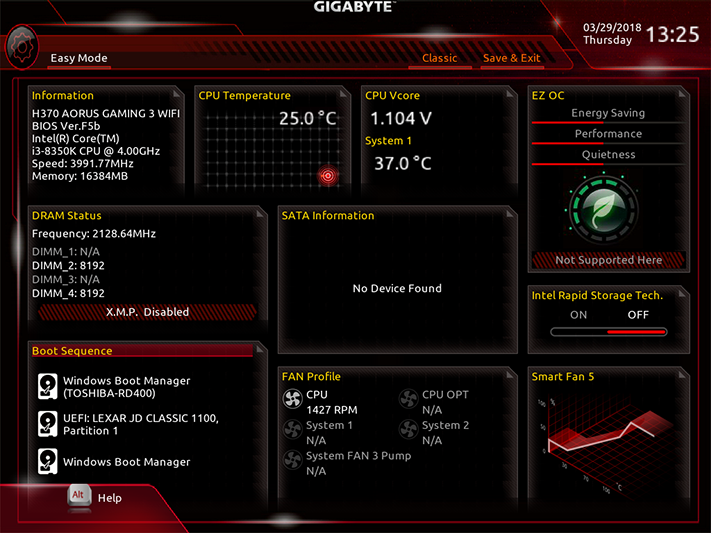
The H370 Aorus Gaming 3 WiFi's firmware opens to the “M.I.T.” menu of its “Classic” GUI, which is a launching point for system tuning pages traditionally affiliated with overclocking. Of course, given the H370 chipset, there will be no overclocking here, unless perhaps you’re simply trying to push your DDR4-2133 to DDR4-2400.
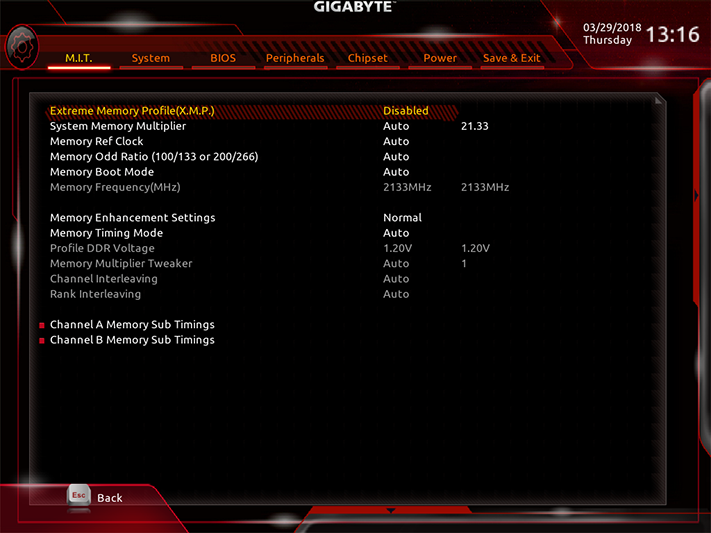
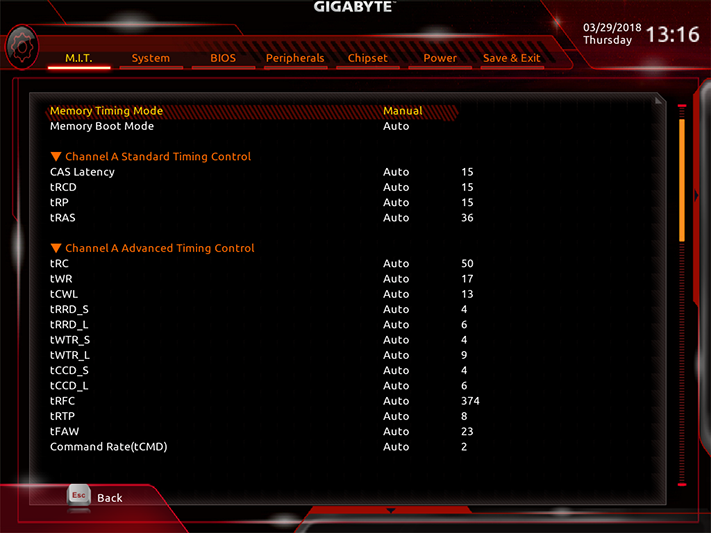
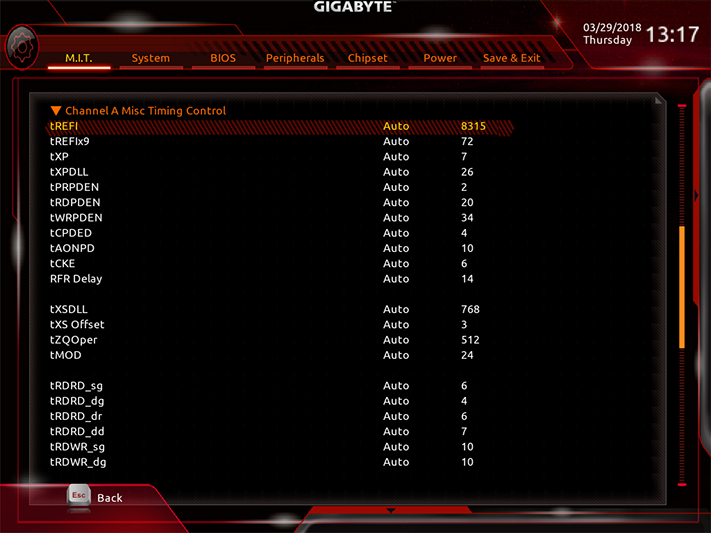
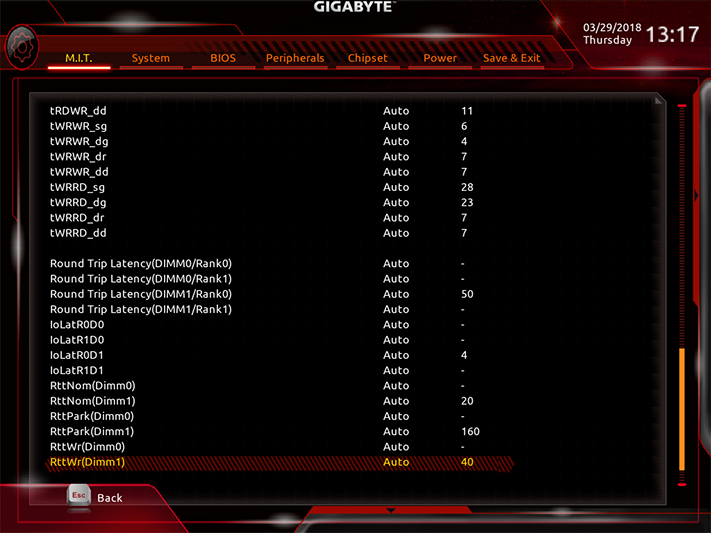
Our Core i3-8350K CPU is limited to DDR4-2400, but H370 places its own data-rate limit of DDR4-2666 when used with higher-model processors. Those with slower memory can still overclock to the CPU or chipset limit, and even optimize latency for quicker response times after reaching those limits.
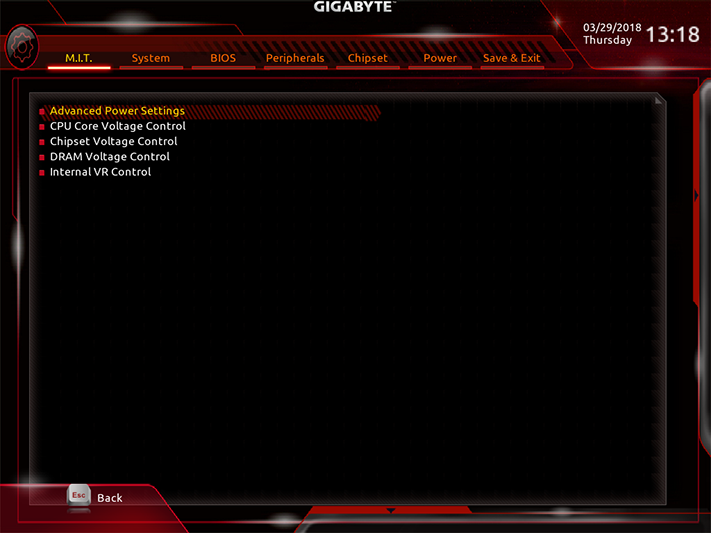
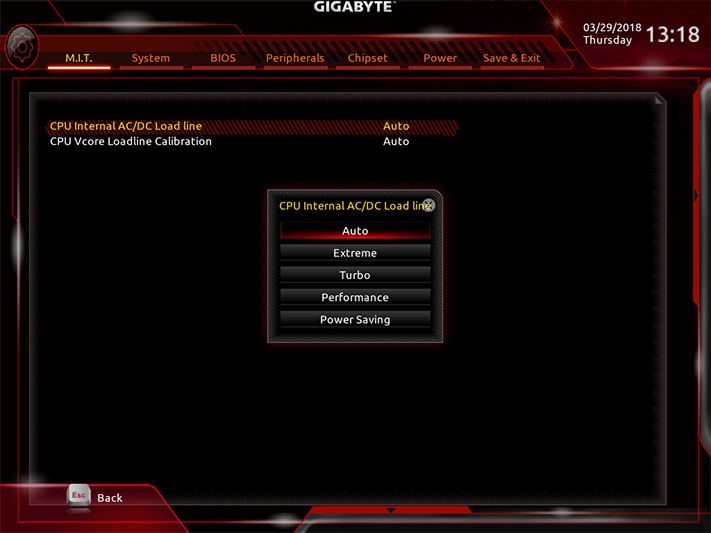
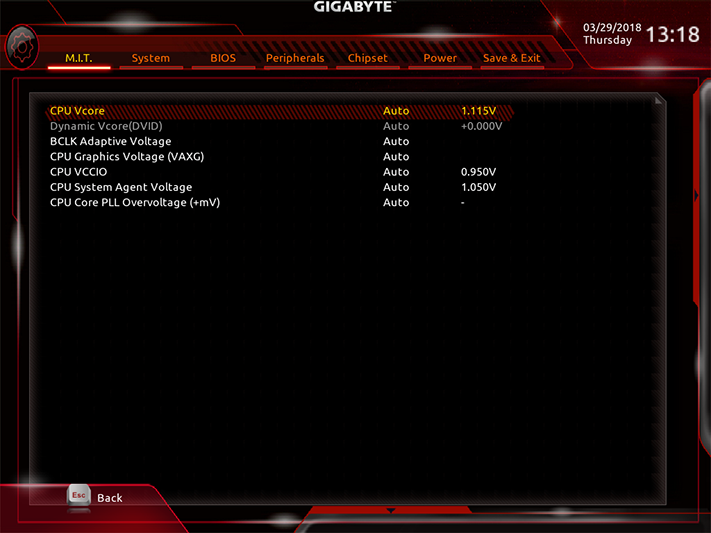
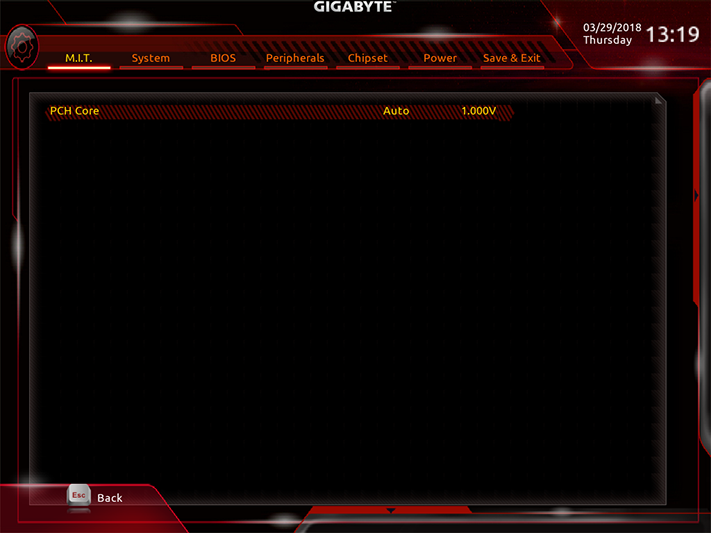
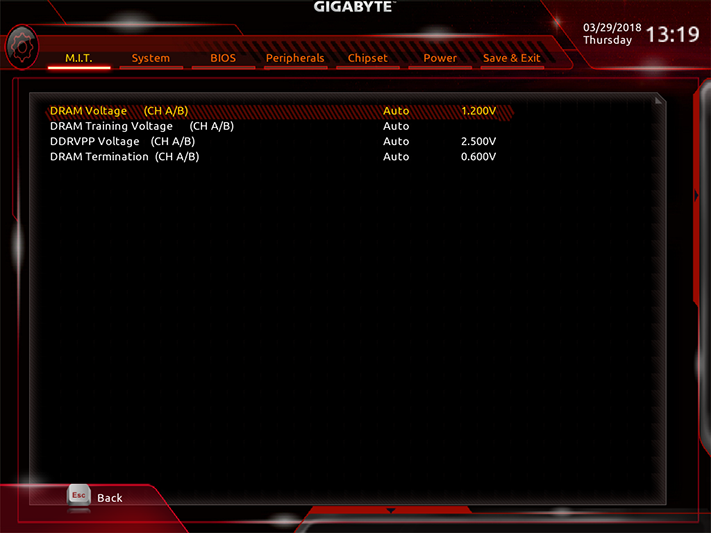
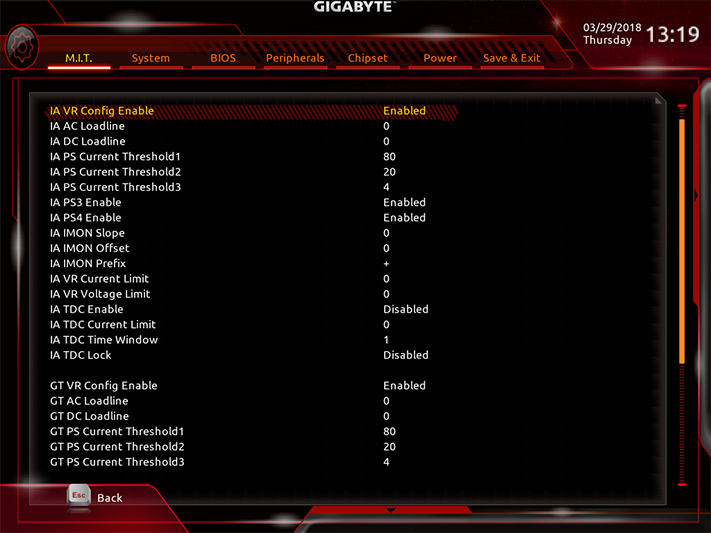
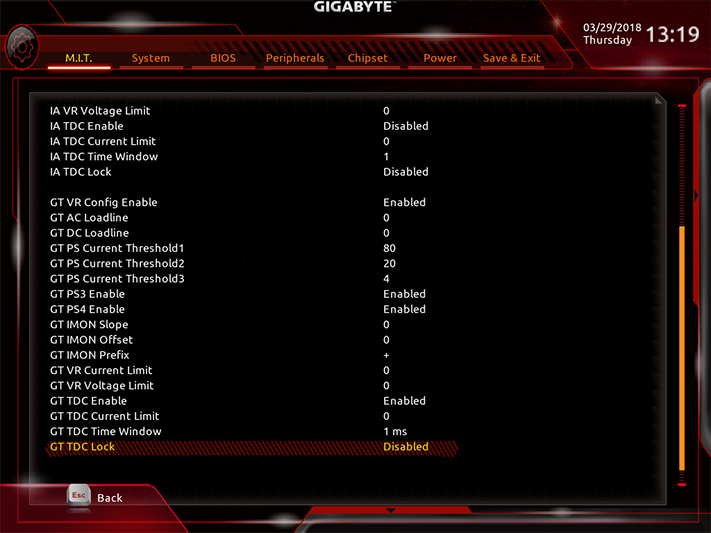
The Advanced Voltage Settings submenu is a launching point for even more submenus. But if you’re only able to overclock the memory, you’ll probably need only the DIMM and System Agent voltage settings. And with the chipset’s DDR4-2666 ceiling, adjusting the System Agent voltage also seems like overkill.

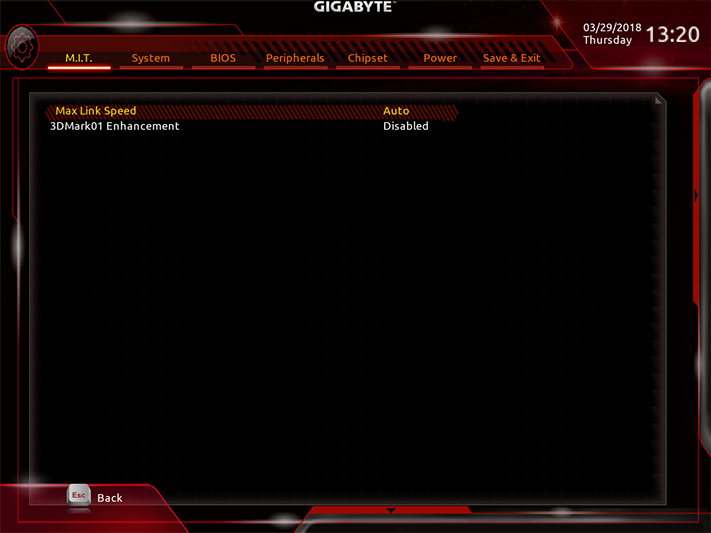
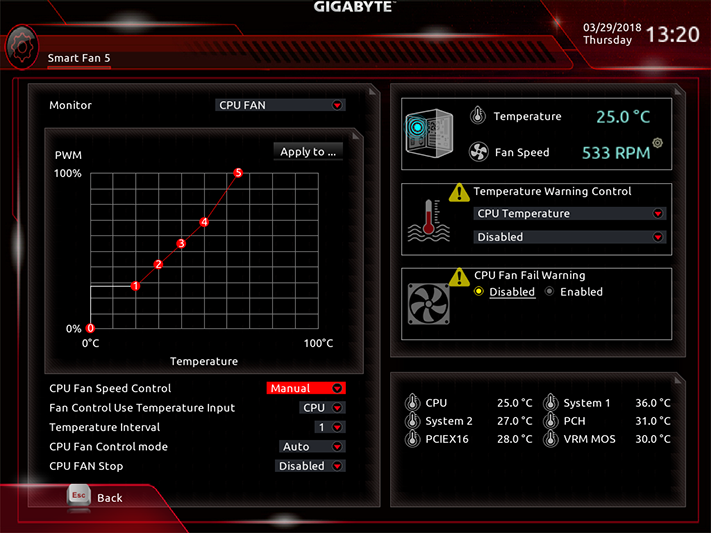
Other submenus from M.I.T. include system monitor readings, a legacy 3DMark setting, and a fan-slope control.
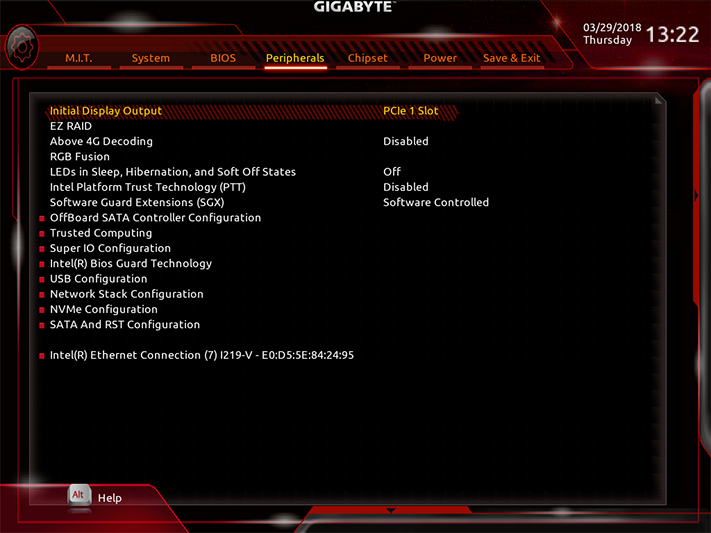
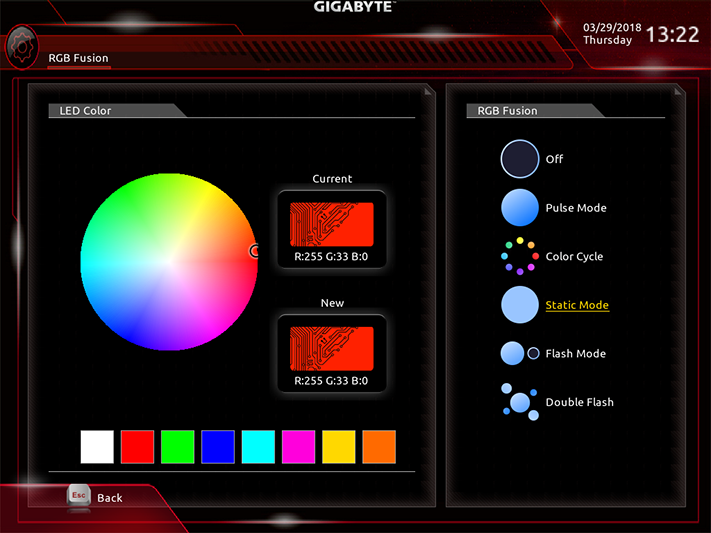
A simplified version of Gigabyte's RGB Fusion lighting control is found within the Peripherals menu. Its main advantage over software control is…that it doesn’t require installing or loading any additional software.
If you’d like to get a more complicated “Easy Mode” GUI, just click the icon from Classic mode to go there instantly.
MORE: Best Motherboards
MORE: How To Choose A Motherboard
MORE: All Motherboard Content
Current page: Gigabyte H370 Aorus Gaming 3 WiFi: The Full Pot?
Prev Page ASRock H370M-ITX/ac: The Single Shot? Next Page MSI B360M Mortar: The Micro Grande?-
Crashman Reply
We can see that MSI tried to push the top end of the B360 range with the Micro ATX sample submitted, so I wouldn't be surprised to see lesser B360 boards for $80. Below that will be H310, and I doubt anyone wants to show those off.20852628 said:no under $80 mobo yet?
-
Saga Lout When the miners are staring at bankruptcy, they'll be glad to get a reasonable price.Reply -
1_rick Reply20852654 said:
We can see that MSI tried to push the top end of the B360 range with the Micro ATX sample submitted, so I wouldn't be surprised to see lesser B360 boards for $80. Below that will be H310, and I doubt anyone wants to show those off.20852628 said:no under $80 mobo yet?
Newegg's got about a dozen sub-$80 boards, mostly H310, but several B360s. -
Crashman Reply
Thanks Rick, I figured the bottom of the B360 market would be around $80 and with in-store discounts maybe a bit less. I don't think I'd recommend the H310 for much.20853375 said:20852654 said:
We can see that MSI tried to push the top end of the B360 range with the Micro ATX sample submitted, so I wouldn't be surprised to see lesser B360 boards for $80. Below that will be H310, and I doubt anyone wants to show those off.20852628 said:no under $80 mobo yet?
Newegg's got about a dozen sub-$80 boards, mostly H310, but several B360s.
-
bit_user Reply
When is the last time you checked?20852687 said:Now if we could just get cheap graphics cards we'd be back in business!
Newegg has new GTX 1080's starting at $610, GTX 1060's from $270, and RX 580's from $350.
Not exactly cheap, but prices have been dropping every week, for nearly a month. -
Lutfij Reply
Amen to that brudda!20852687 said:Now if we could just get cheap graphics cards we'd be back in business!
Yeah, miners! :'(20852738 said:When the miners are staring at bankruptcy, they'll be glad to get a reasonable price.
Nice article/review/writeup Thomas. Keep up the great work! -
sunsanvil I would have been very interested in seeing you evaluate these boards with an upper end non-K processor. Its one thing to say that less expensive boards will tend to be coupled with lower end CPUs, but in the case of the Intel x70 family, the Z370 is all but pointless for anything which does not have a K at the end of it. That means that finding out how H and B boards make out with something like an i5-8600 or i7-8700 would be quite relevant, particularly as it relates to power delivery during all-core max turbo situations.Reply -
Crashman Reply
There are of course other reasons to use a Z, including support for DDR4-3200 etc, SLI/Crossfire, and CPU-based NVMe.20932240 said:I would have been very interested in seeing you evaluate these boards with an upper end non-K processor. Its one thing to say that less expensive boards will tend to be coupled with lower end CPUs, but in the case of the Intel x70 family, the Z370 is all but pointless for anything which does not have a K at the end of it. That means that finding out how H and B boards make out with something like an i5-8600 or i7-8700 would be quite relevant, particularly as it relates to power delivery during all-core max turbo situations.
Your point is also appropriate, and the combination of these two points could leave one question why I didn't use the 8700K in the first place and tell readers "if the board can handle this it can certainly handle that". We used to do things that way until angry budget-gamers came in and said "we don't use expensive CPUs on cheap motherboards". And so we'd be left testing the boards on at least two processors...and heck the higher one might as well be the 8700K since we already have it right? And we'd at least get to show whether or not these boards can lock-in the highest "stock" Turbo Boost ratio with that one, right?
