Cheap Coffee Lake: Three Intel H370 and B360 Motherboards, Tested
Why you can trust Tom's Hardware
ASRock H370M-ITX/ac: The Single Shot?
The H370 chipset is one step above the B360 in connectivity. So how would you go about using those extra HSIO pathways within the cramped quarters of a Mini-ITX board?
Perhaps you’d add some M.2 slots to the underside? Maybe you’d add a couple of PCIe-based USB 3.0 controllers, despite the onboard 3.1, just to fill out the I/O panel with more ports? And then, maybe you’d use that integrated USB 3.1 controller to feed 10Gb/s ports to both the I/O panel and the front panel?
Those things weren’t part of ASRock’s plan in this around-$110 board. Let's see what was.
Specifications
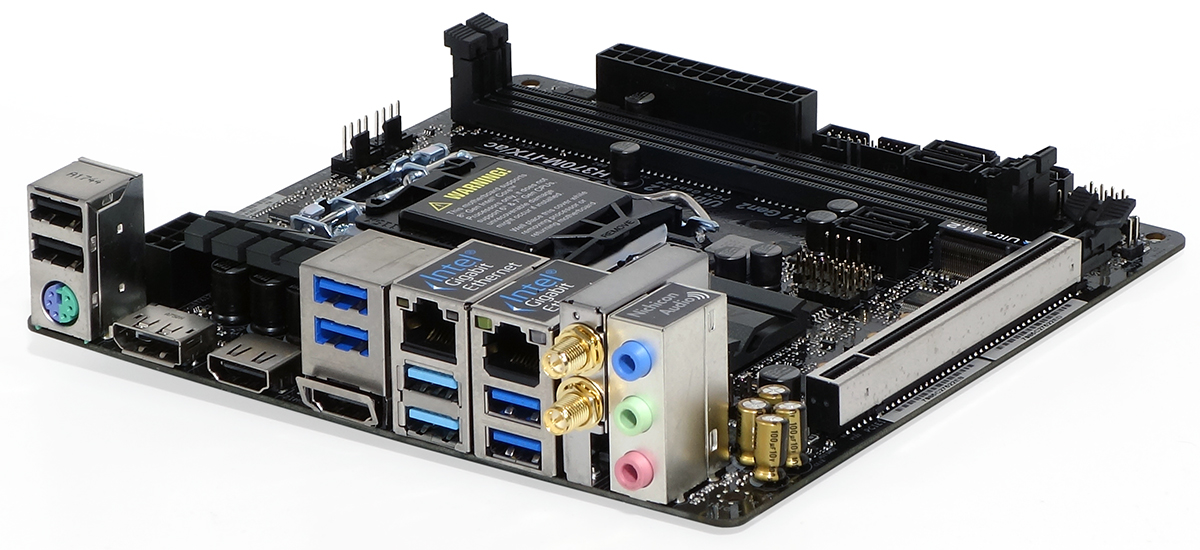
Rather than try to build a high-end board from a mainstream chipset, ASRock configured the H370M-ITX/ac as a low-cost board with a few added features, such as dual Gigabit Ethernet and a 433Mb/s Wi-Fi controller. Integrated USB appears to be the firm’s primary impetus for using the H370 rather than B360, as we find the eight high-bandwidth ports split as four USB 3.1 and two USB 3.0 ports on the back, plus a two-port front-panel USB 3.0 header. Two USB 2.0 ports allow users to connect a keyboard and mouse without dipping into the chipset’s USB 3.0/3.1 limitations.
Buyers also get three outputs for onboard graphics, in the form of two HDMI outputs and one DisplayPort output. Given the broad number of mainstream features, we’re left to question the lack of Type-C connectors. Hasn’t the latest generation of smartphones driven those into the mainstream?
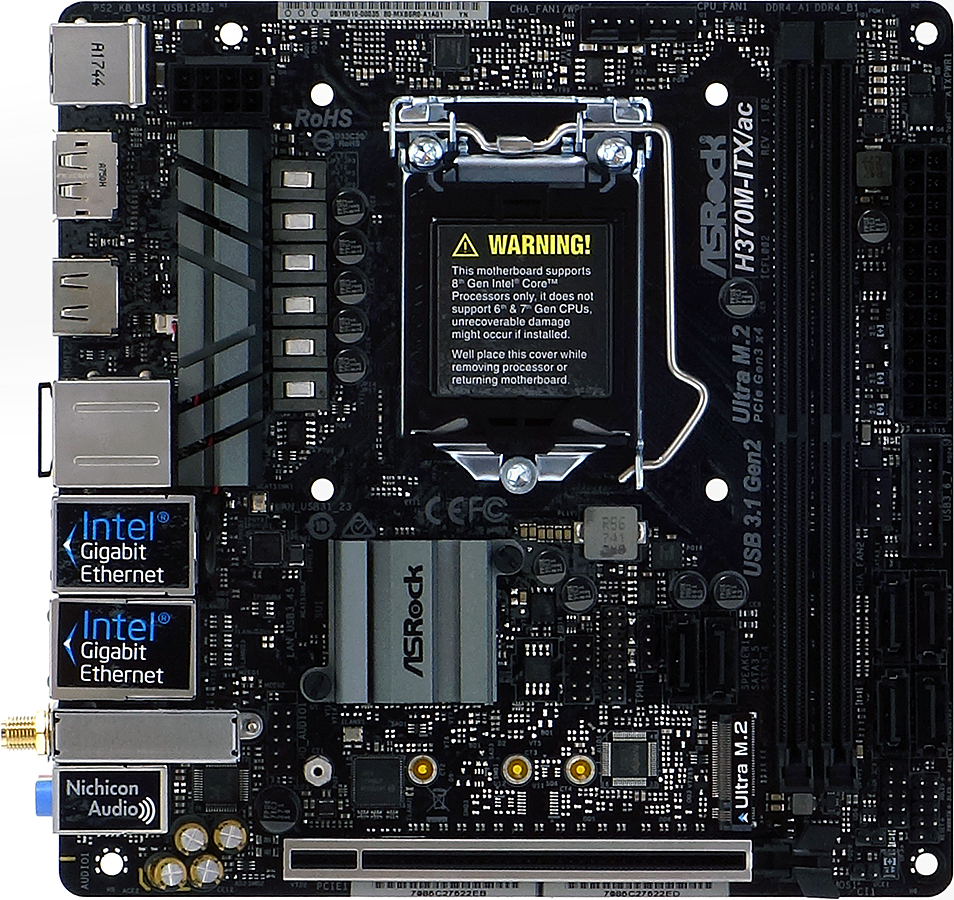
The top of the H370M-ITX/ac features a single M.2 slot and two DIMM slots, six SATA ports, one USB 3.0 and one USB 2.0 front-panel header, three four-pin fan connectors, front-panel audio, and a TPM module interface. Nothing is blocking the single PCIe x16 slot, though a large CPU cooler could block access to the two SATA ports on the inboard side of the DIMM slots. The M.2 Key-E Wi-Fi controller is encased in a special riser module, but there is no CNVi capability for those considering a swap to Intel’s new 1.73Gb/s card.
Unlike a shot of espresso, the H370M-ITX/ac probably isn't as strong as the regular grind: Its six-phase voltage regulator includes 60A-rated chokes, but current limit throttling is used to protect the MOSFETs from overload when using Prime95 with the Core i7-8700K. So we didn't indulge in that kind of extremity. Understanding that a $300+ processor is out of market range, we're instead testing these boards with the Core i3-8350K. For what it's worth, we're also told that it's safe to increase the power threshold when using high-end Core i7s, since any real overload would trip the thermal trigger before any damage was done.
Get Tom's Hardware's best news and in-depth reviews, straight to your inbox.
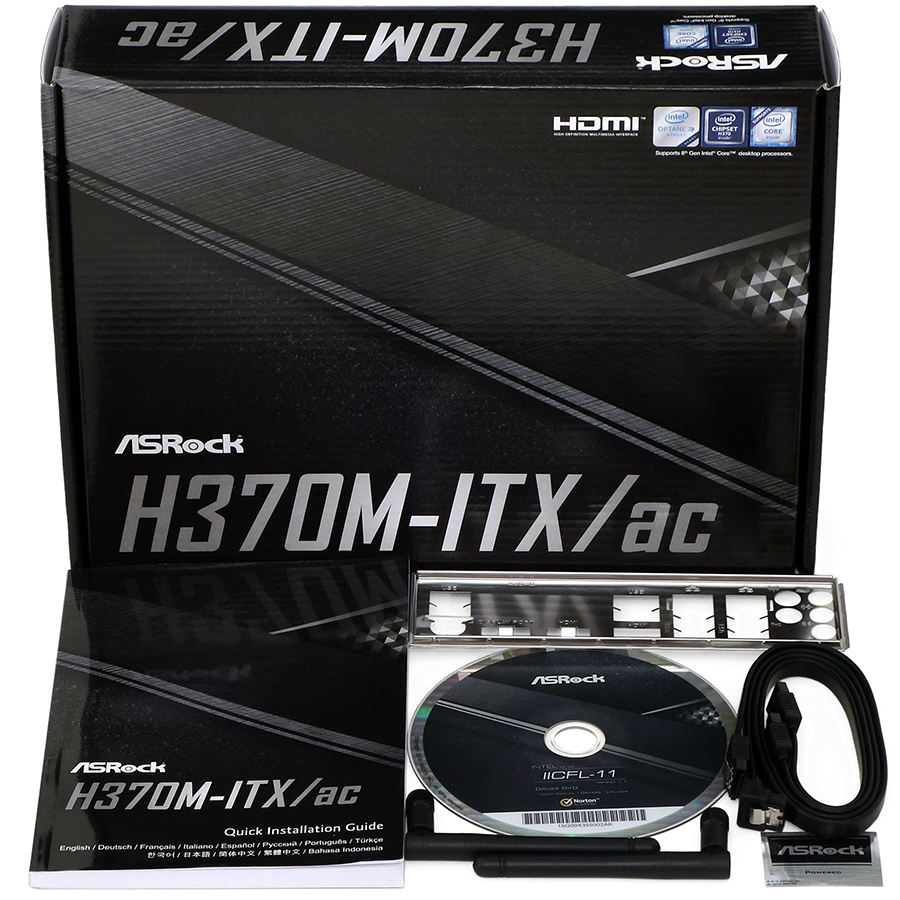
The H370M-ITX/ac includes a manual, an I/O shield, a driver disc, two SATA cables, two Wi-Fi antennas, and a foil case badge.
Firmware
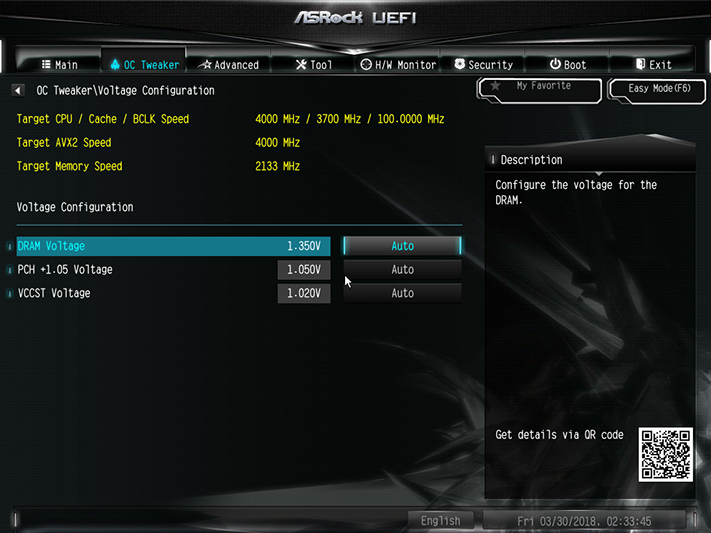
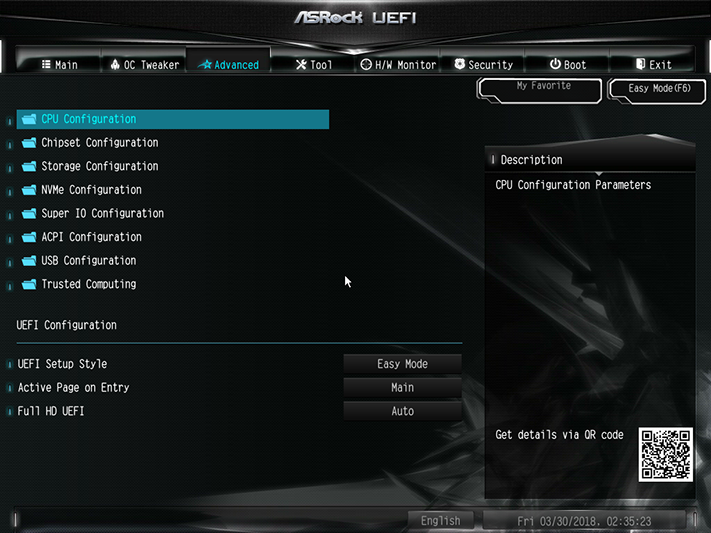
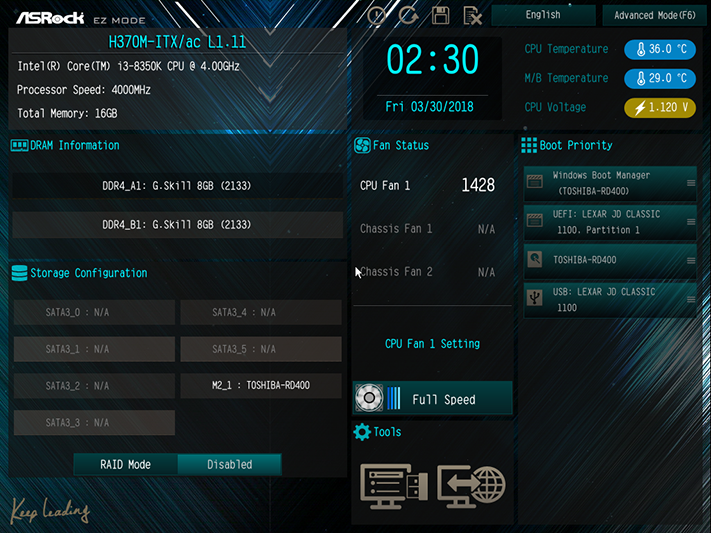
The H370M-ITX/ac's BIOS opens to an “Easy Mode” interface where users can do little more than set boot order, SATA RAID mode, and fan profile. Slapping the keyboard’s F6 key brings up the Advanced Mode GUI, where we noted an OC Tweaker menu. That's vestigial and would be better suited to a board with overclocking functions that are missing from the H370 chipset.
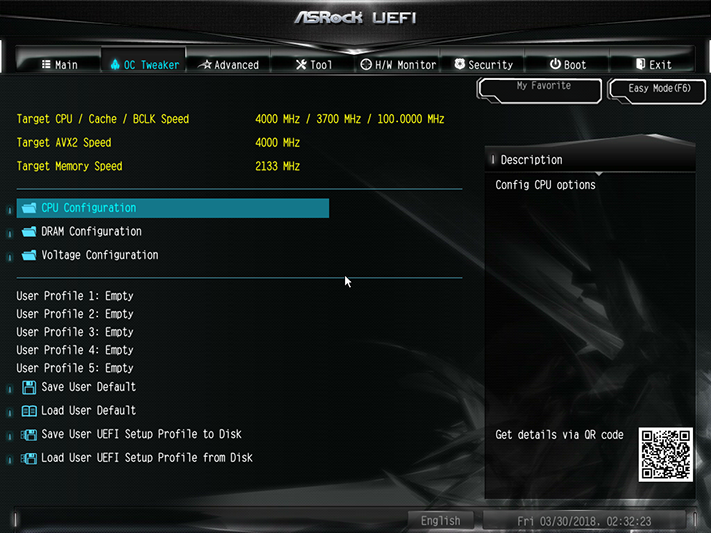
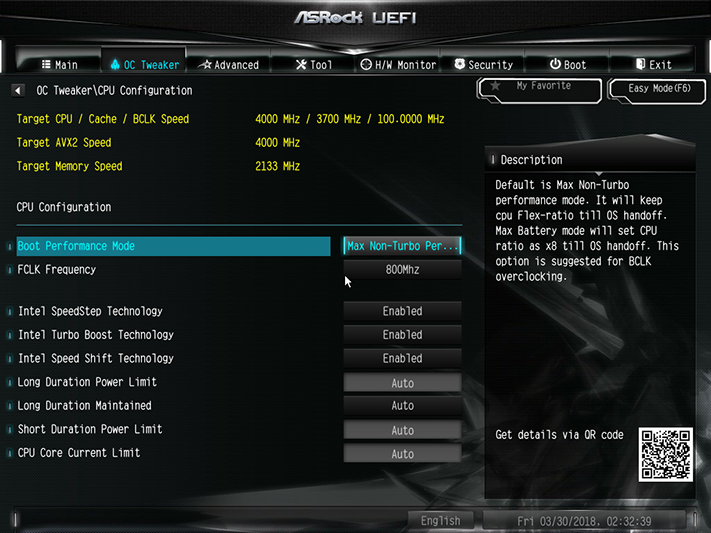
The OC Tweaker menu includes submenus for CPU, DRAM, and Voltage configuration, along with storage for up to five user-defined configurations and the ability to transfer those to and from a USB flash drive.
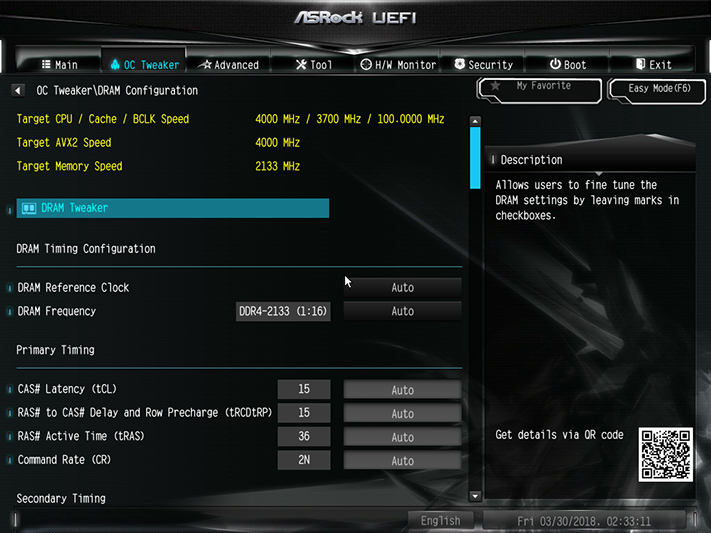
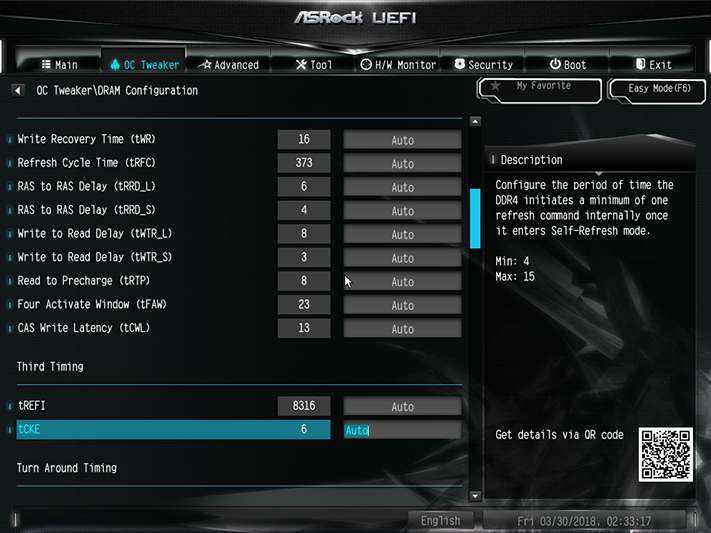
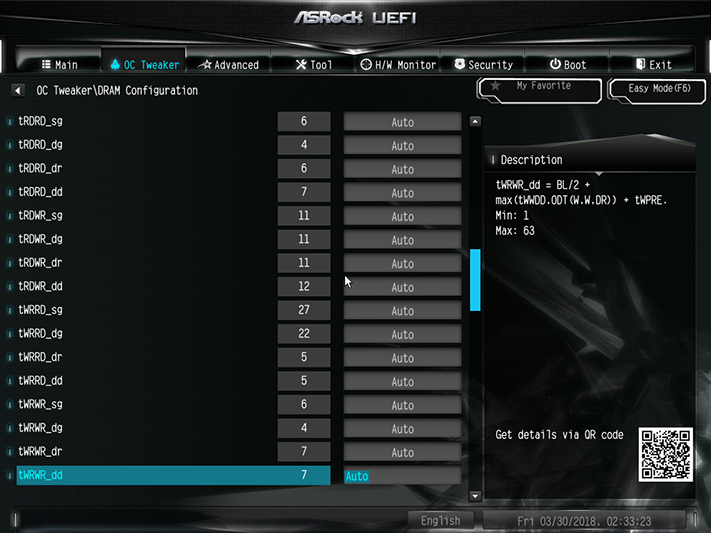
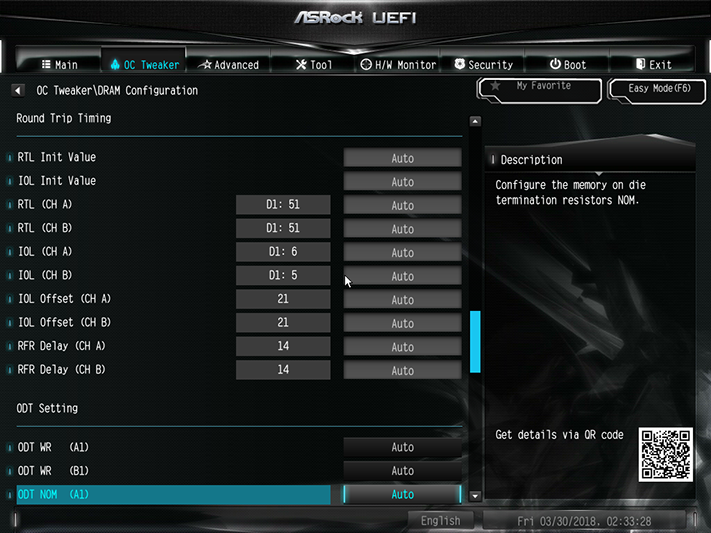
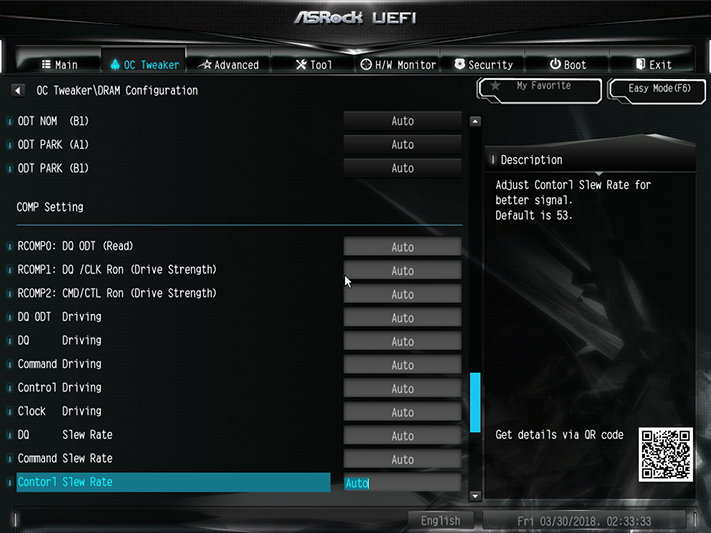
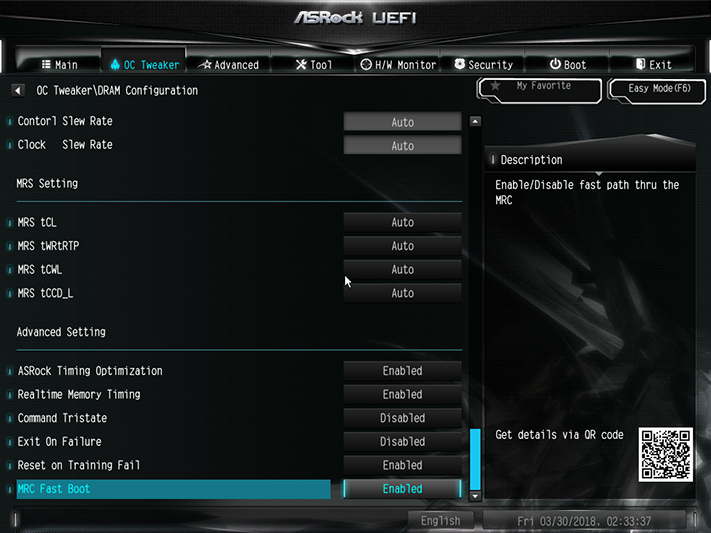
Because the chipset imposes a DDR4-2666 limit on a CPU’s memory controller, and our CPU is further limited to DDR4-2400, the best way to increase memory performance is through latency optimization. A full set of primary through tertiary timings, along with a wide variety of additional memory settings, is available to tuning fanatics.
Though a few users have experimented with underclocking to reach optimal power-per-performance levels, the H370M-ITX/ac lacks the ability to tune the processor frequency and/or voltage downward. DRAM is still tunable, so the board retains that voltage adjustment.
Users can change the entry GUI from Easy to Advanced mode from the Advanced menu of Advanced mode. (We'll wait while you read that a few times for clarity.)
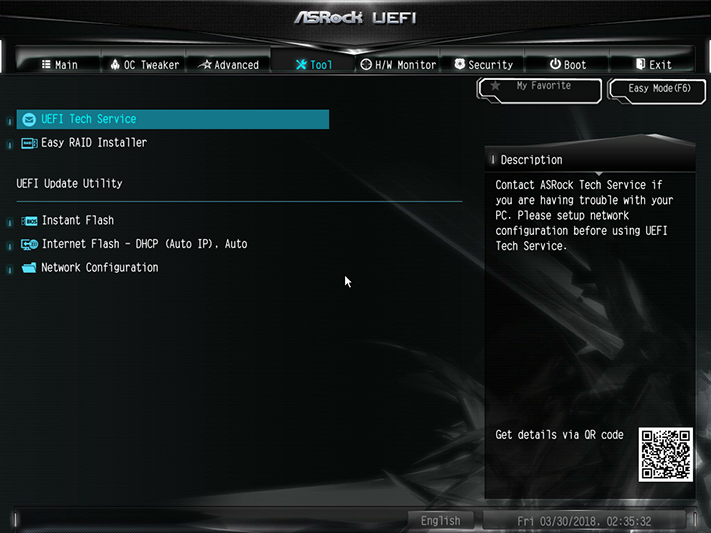
The Tools section includes an email sender for ASRock support, a “RAID Installer” that copies drivers to a USB flash drive, a firmware flash utility for USB flash drives, an ASRock server-polling utility for new firmware files, and a network configuration page that lets users configure the onboard controller for any custom network settings required to use the other internet-based tools.
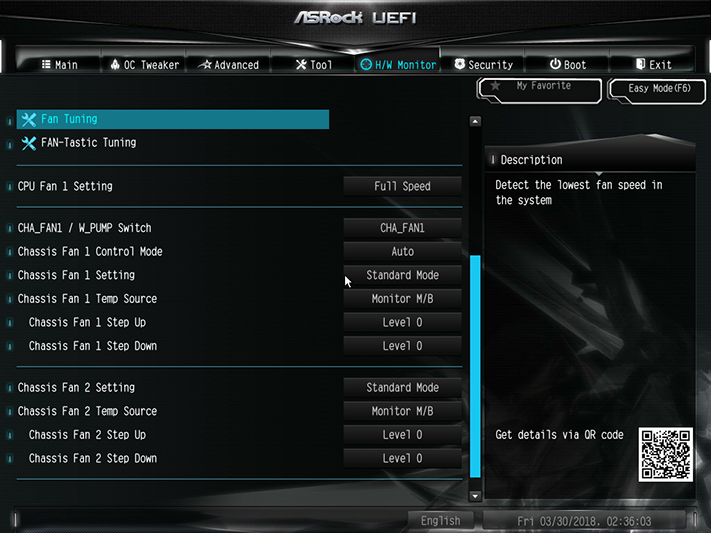
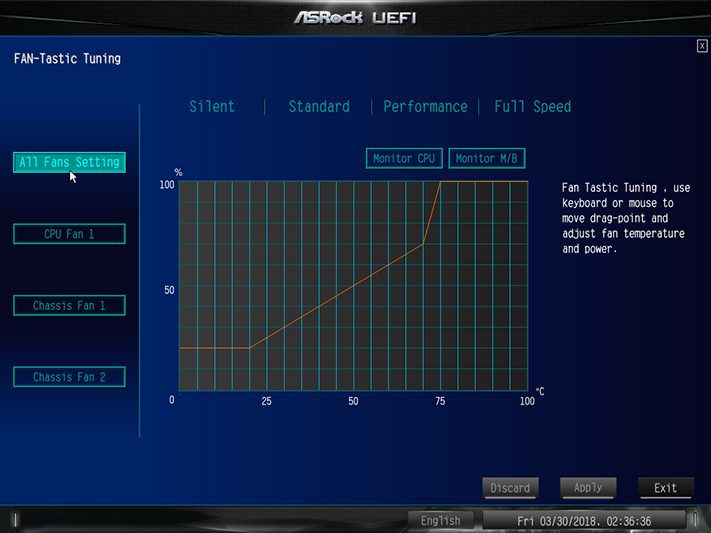
Only one of the fan headers can be switched from PWM- to voltage-based speed control. The FAN-Tastic Tuning menu allows users to pick from viewed slopes, or create their own.
MORE: Best Motherboards
MORE: How To Choose A Motherboard
MORE: All Motherboard Content
Current page: ASRock H370M-ITX/ac: The Single Shot?
Prev Page Fresh Coffee: The New H370 and B360 Motherboard Chipsets Next Page Gigabyte H370 Aorus Gaming 3 WiFi: The Full Pot?-
Crashman Reply
We can see that MSI tried to push the top end of the B360 range with the Micro ATX sample submitted, so I wouldn't be surprised to see lesser B360 boards for $80. Below that will be H310, and I doubt anyone wants to show those off.20852628 said:no under $80 mobo yet?
-
Saga Lout When the miners are staring at bankruptcy, they'll be glad to get a reasonable price.Reply -
1_rick Reply20852654 said:
We can see that MSI tried to push the top end of the B360 range with the Micro ATX sample submitted, so I wouldn't be surprised to see lesser B360 boards for $80. Below that will be H310, and I doubt anyone wants to show those off.20852628 said:no under $80 mobo yet?
Newegg's got about a dozen sub-$80 boards, mostly H310, but several B360s. -
Crashman Reply
Thanks Rick, I figured the bottom of the B360 market would be around $80 and with in-store discounts maybe a bit less. I don't think I'd recommend the H310 for much.20853375 said:20852654 said:
We can see that MSI tried to push the top end of the B360 range with the Micro ATX sample submitted, so I wouldn't be surprised to see lesser B360 boards for $80. Below that will be H310, and I doubt anyone wants to show those off.20852628 said:no under $80 mobo yet?
Newegg's got about a dozen sub-$80 boards, mostly H310, but several B360s.
-
bit_user Reply
When is the last time you checked?20852687 said:Now if we could just get cheap graphics cards we'd be back in business!
Newegg has new GTX 1080's starting at $610, GTX 1060's from $270, and RX 580's from $350.
Not exactly cheap, but prices have been dropping every week, for nearly a month. -
Lutfij Reply
Amen to that brudda!20852687 said:Now if we could just get cheap graphics cards we'd be back in business!
Yeah, miners! :'(20852738 said:When the miners are staring at bankruptcy, they'll be glad to get a reasonable price.
Nice article/review/writeup Thomas. Keep up the great work! -
sunsanvil I would have been very interested in seeing you evaluate these boards with an upper end non-K processor. Its one thing to say that less expensive boards will tend to be coupled with lower end CPUs, but in the case of the Intel x70 family, the Z370 is all but pointless for anything which does not have a K at the end of it. That means that finding out how H and B boards make out with something like an i5-8600 or i7-8700 would be quite relevant, particularly as it relates to power delivery during all-core max turbo situations.Reply -
Crashman Reply
There are of course other reasons to use a Z, including support for DDR4-3200 etc, SLI/Crossfire, and CPU-based NVMe.20932240 said:I would have been very interested in seeing you evaluate these boards with an upper end non-K processor. Its one thing to say that less expensive boards will tend to be coupled with lower end CPUs, but in the case of the Intel x70 family, the Z370 is all but pointless for anything which does not have a K at the end of it. That means that finding out how H and B boards make out with something like an i5-8600 or i7-8700 would be quite relevant, particularly as it relates to power delivery during all-core max turbo situations.
Your point is also appropriate, and the combination of these two points could leave one question why I didn't use the 8700K in the first place and tell readers "if the board can handle this it can certainly handle that". We used to do things that way until angry budget-gamers came in and said "we don't use expensive CPUs on cheap motherboards". And so we'd be left testing the boards on at least two processors...and heck the higher one might as well be the 8700K since we already have it right? And we'd at least get to show whether or not these boards can lock-in the highest "stock" Turbo Boost ratio with that one, right?
