Cheap Coffee Lake: Three Intel H370 and B360 Motherboards, Tested
Why you can trust Tom's Hardware
MSI B360M Mortar: The Micro Grande?
Perhaps people who understand how "Grande" describes a medium-size cup of Joe would also understand how the term "micro" can be used to describe the middle value in certain other contexts...like MicroATX?
To the builders who would prefer to plug their ears and repeat “MicroATX is too big,” we would like to remind them that the extra DIMM slots can come in handy. While PCIe slots are of greater importance to some builders, all builders should be able to appreciate the ability to upgrade memory. This was our conclusion when we recently tried to upgrade from 16GB to 32GB on a Mini-ITX office machine, only to be confounded by the 8GB-per-DIMM limit of DDR3.
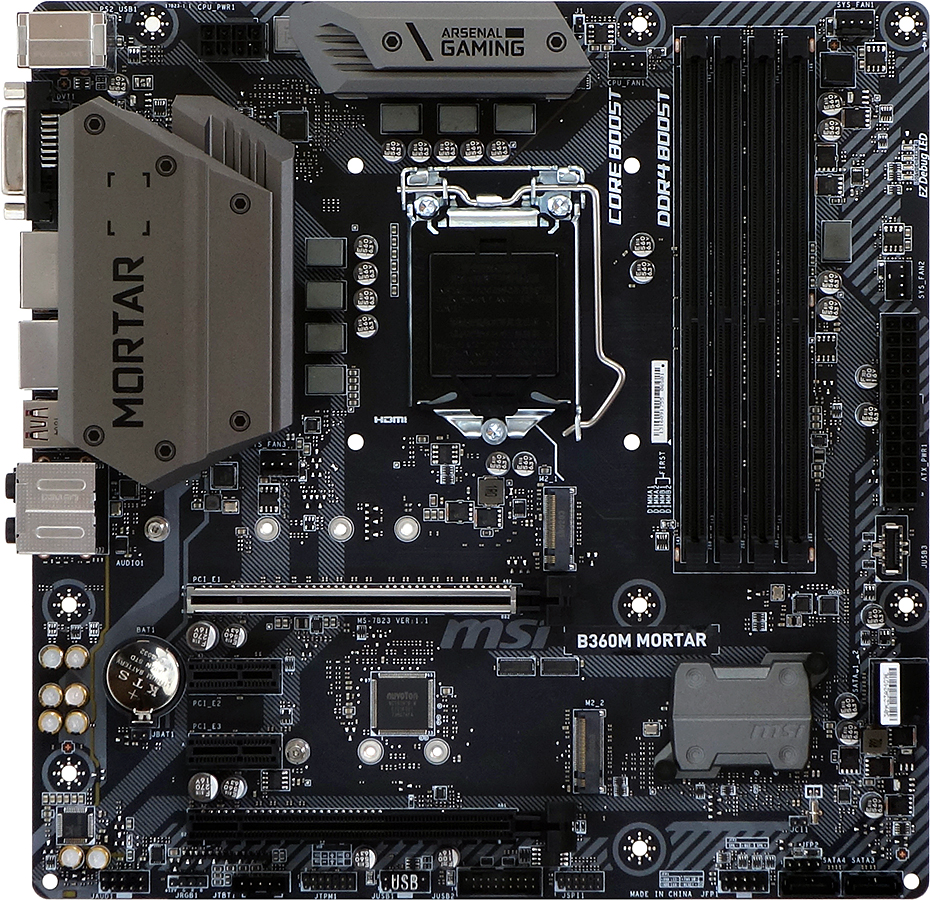
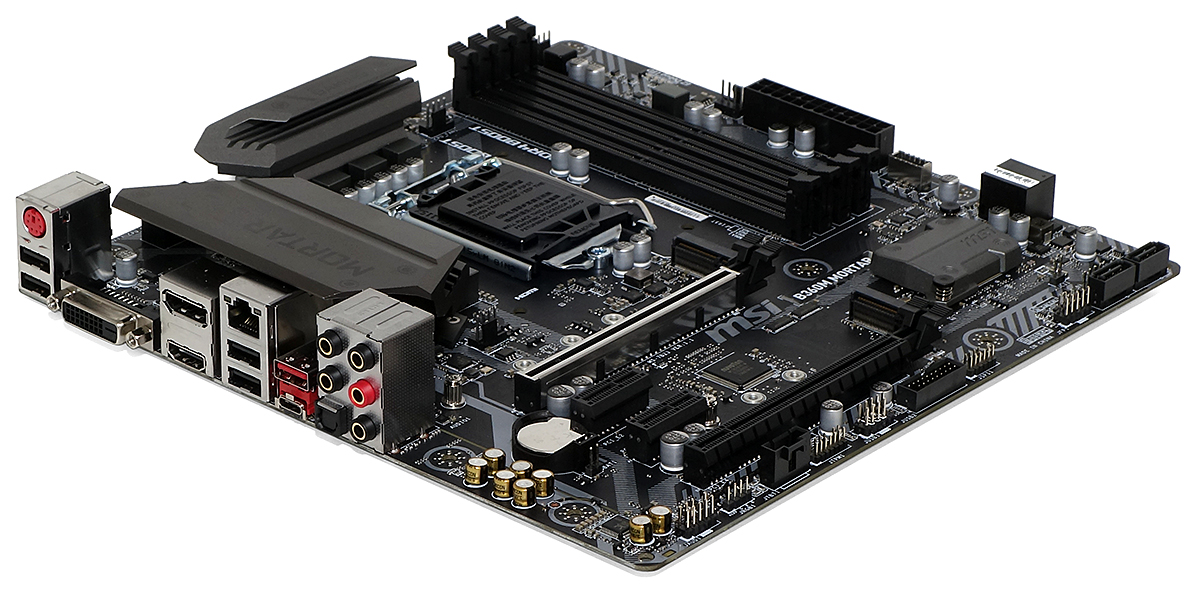
That quibble aside, MSI makes reasonable use of space on other parts of this board, adding a four-lane x16-length slot to the bottom, as well as an M.2 slot above each x16-length slot. Due to the B360 chipset’s limitations, though, the second M.2 slot works only when the bottom PCIe slot is empty. Perhaps the B360 chipset would have made more sense on a Mini-ITX board?
Specifications
You probably wouldn’t want to put a graphics card in the bottom slot here, anyway, since your case probably has a USB 3.0 front-panel cable, and MSI puts that header directly beneath the expansion slot. The front panel button/LED group and two perpendicular SATA ports are forward of that connector, while headers for USB 2.0, TPM, Thunderbolt add-in-card, RGB LED, and front-panel audio are aft of it. Two more SATA ports face forward at the board’s upper edge, and above that is a single USB 3.1 Gen2 front-panel header, just in case your chassis is a fully modern one that can make use of that header type.
You also get four four-pin fan headers surrounding the CPU area, and all of them can switch between PWM- and voltage-based speed regulation. Features like that add to items like the seven-phase voltage regulator, oversize heat sinks, and metal PCIe x16 slot reinforcement to let the customer know they’re not buying a cut-rate board, but a solid motherboard with a pared-down chipset.
The I/O panel features two USB 3.1 Gen2 ports and four USB 2.0 ports, but it completely lacks USB 3.0 (that is, USB 3.1 Gen1) ports, again due to the chipset’s limited resources. Most of the I/O panel’s remaining space is filled by PS/2, DVI-D, DisplayPort 1.2, HDMI 1.4, and Gigabit Ethernet ports, a digital optical audio port, and five analog audio jacks. Rather than conceal the tops of the connector block with plastic, MSI has designed its extended voltage regulator sink to partially shroud those connectors while sustaining a Core i7-8700K at max load.
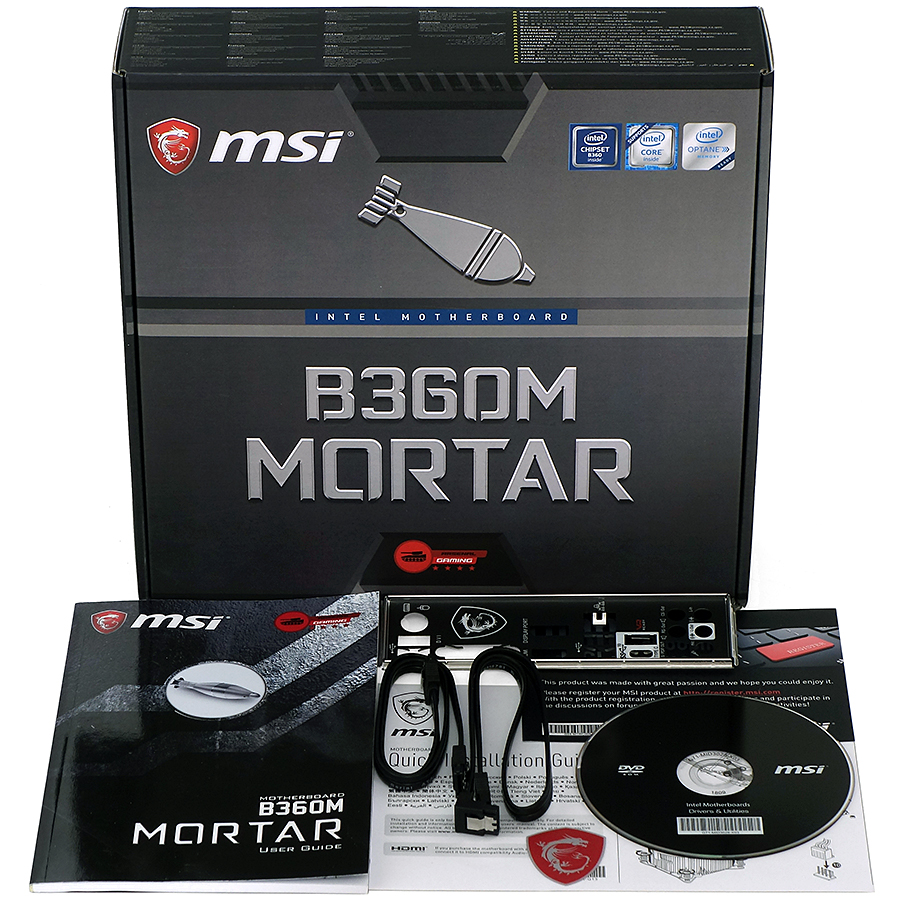
The B360M Mortar’s installation kit includes a full user manual, a software and driver disc, an I/O shield, two SATA cables, a quick-installation guide, a thank-you note, and an MSI Dragon case badge.
Get Tom's Hardware's best news and in-depth reviews, straight to your inbox.
Firmware
MSI’s Click BIOS 5 opens the first time to its EZ Mode GUI, but it remembers which GUI you were using when you exited so that, if you exited from Advanced Mode, that’s what you’ll see next time. The keyboard’s F7 key toggles between these interfaces. Users can do things like change boot order here, but even that task is easier for some of us from Advanced mode. Oh, and there’s the XMP memory mode enable button, which persists on both GUIs.
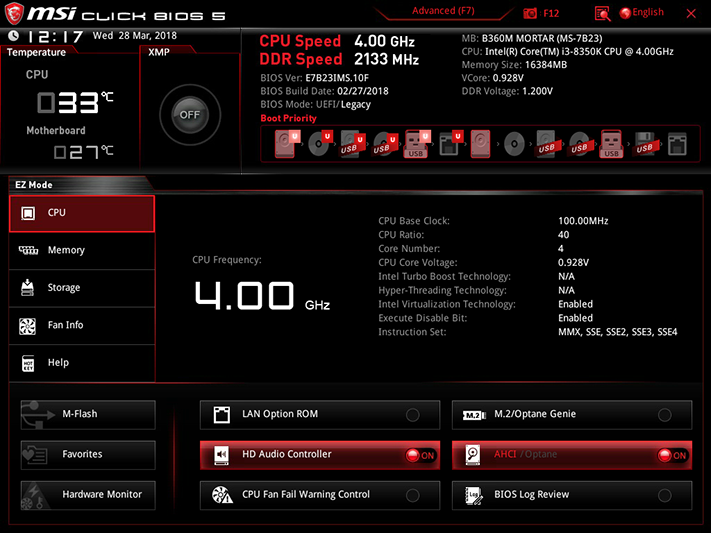
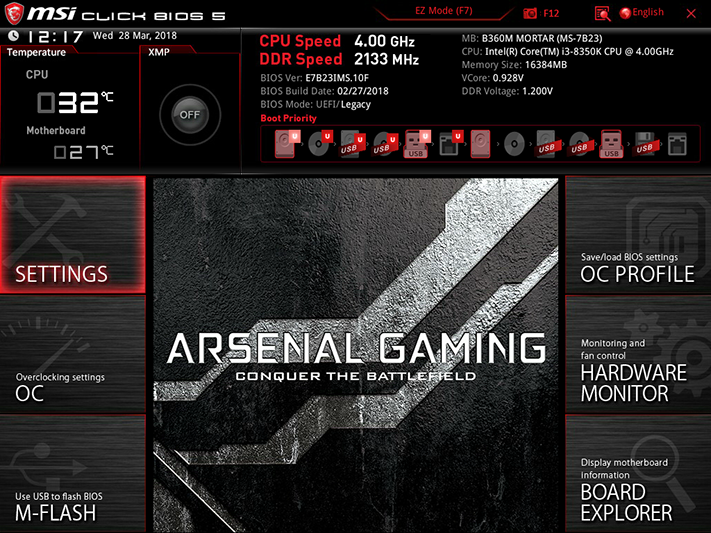
We’re testing with an unlocked CPU, but that doesn’t make much difference when used with a locked chipset (unless someone finds a workaround). As such, we don’t see a bunch of overclock settings, but users are welcome to set memory data rate up to DDR4-2666 on Core i5 and Core i7 models. Our Core i3-8350K’s memory multiplier is capped at 9x when using the 133MHz memory base clock offered by this board. (Multiply clock speed by two to get data rate.)
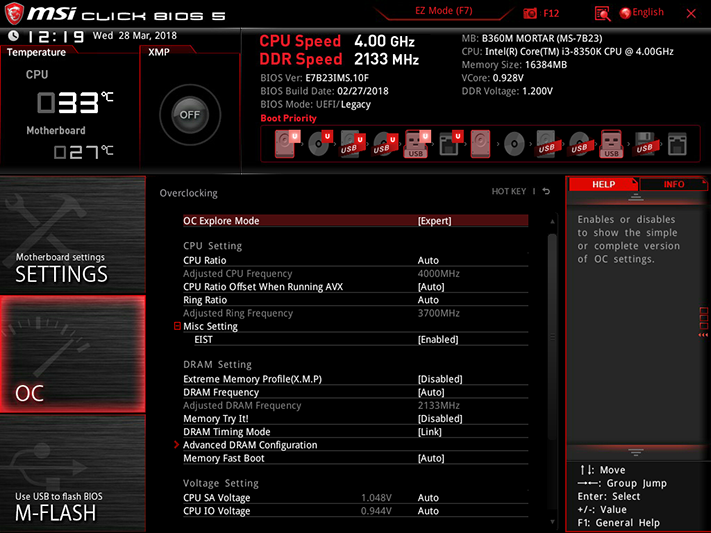

Regardless of whether your build is limited by the chipset’s DDR4-2666 limit or the Core i3’s DDR4-2400 limit, the B360M Mortar lets users shoot for more memory performance via timing adjustments, in which lower latency settings provide quicker response times.
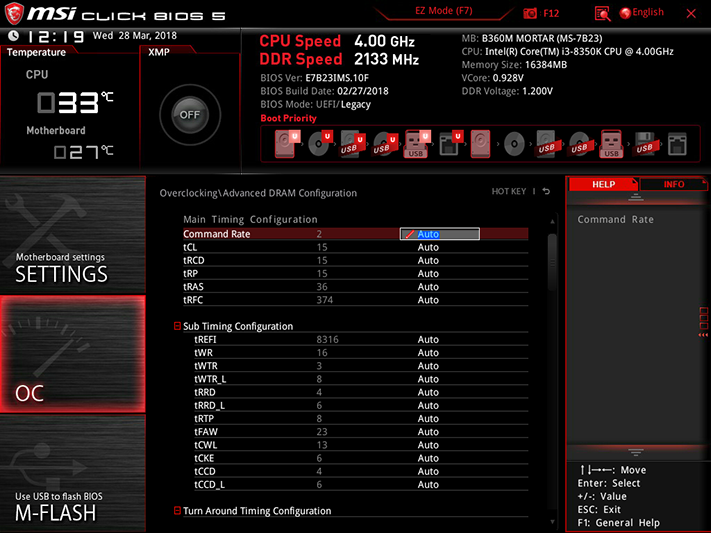
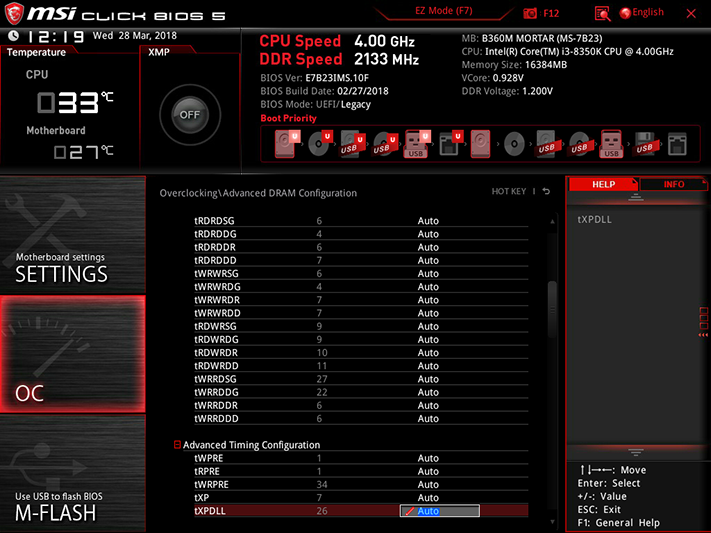
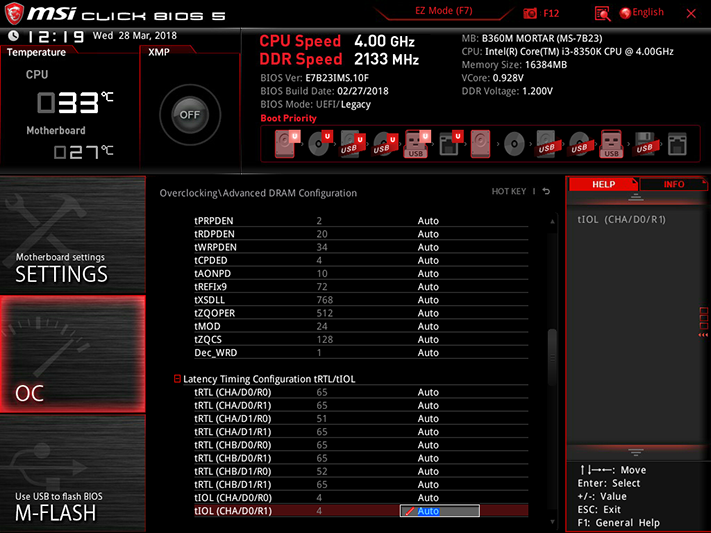
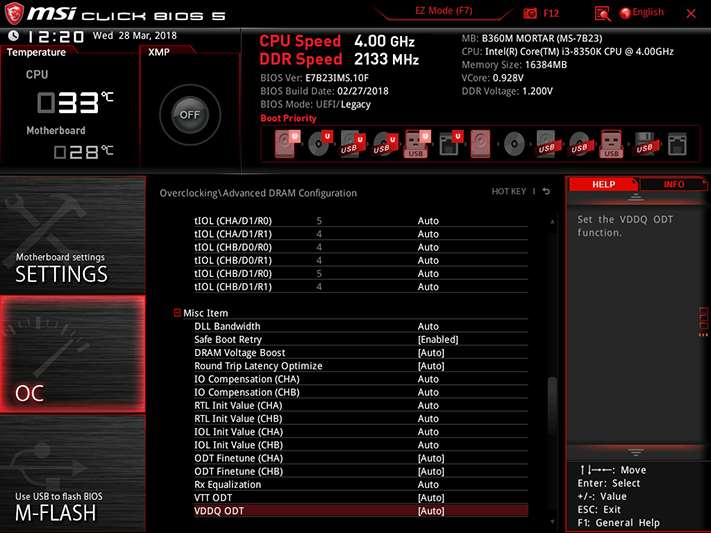
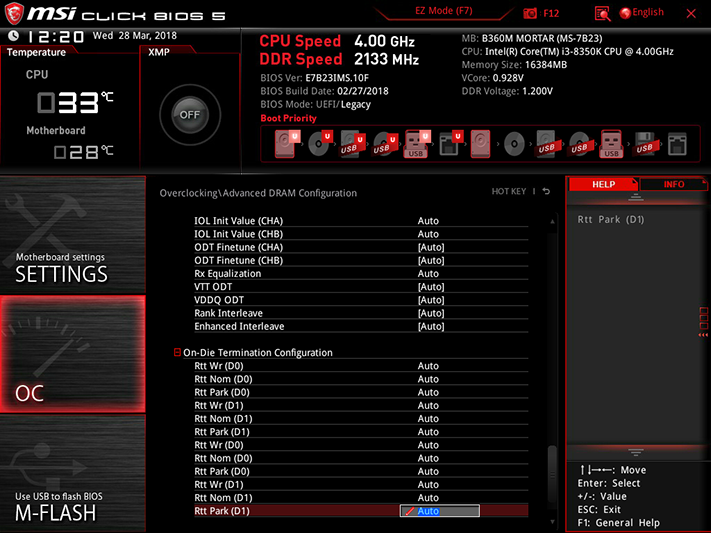
MSI’s Memory-Z allows users to read configuration tables from each module’s SPD IC.
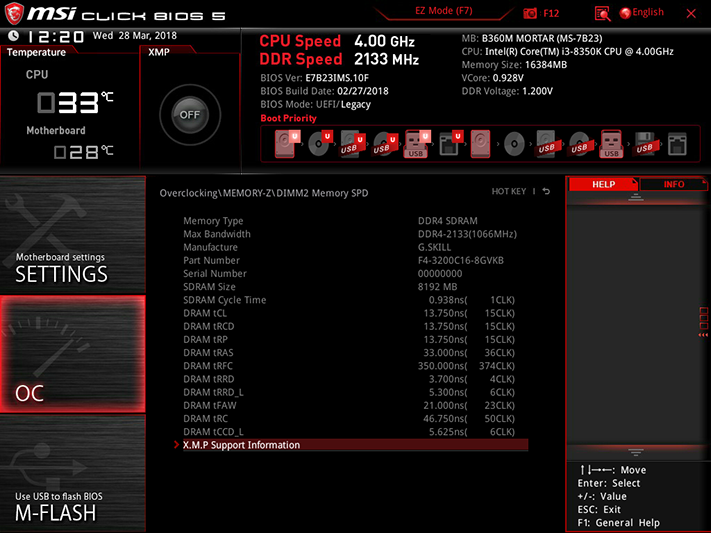
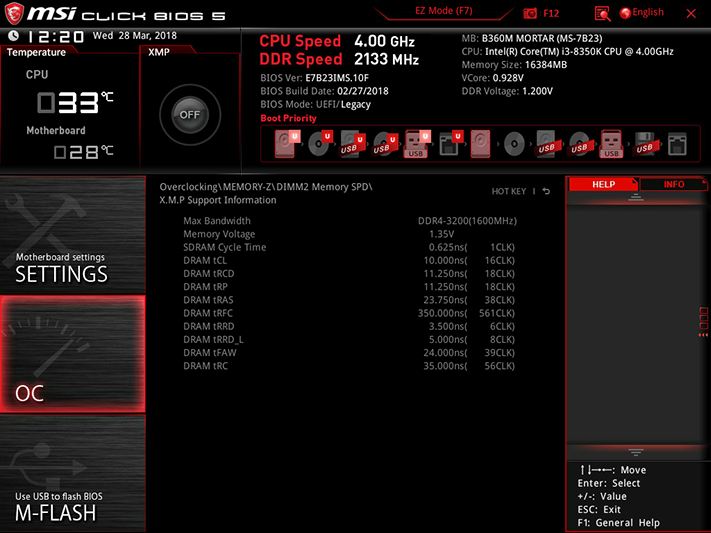
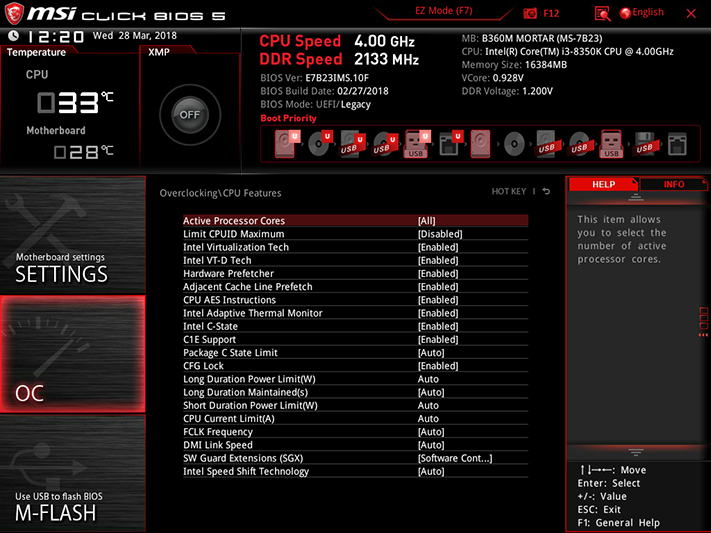
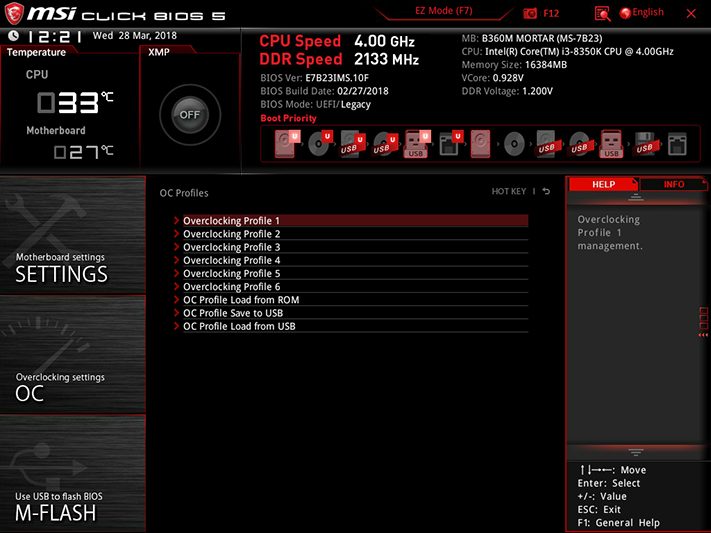
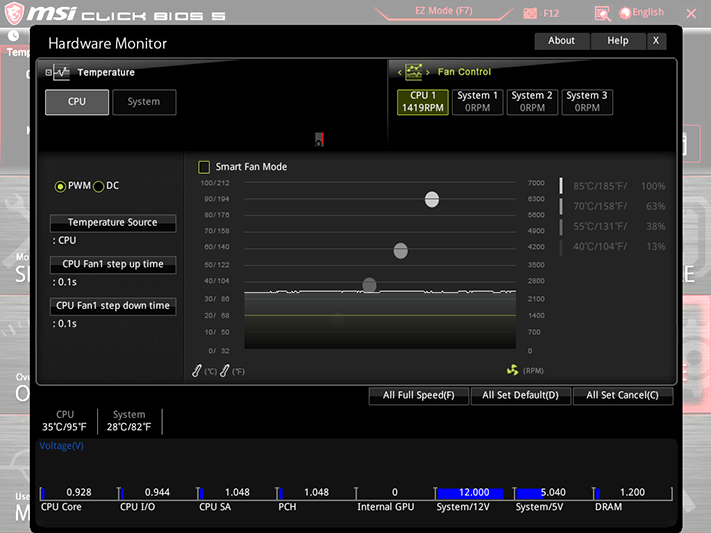
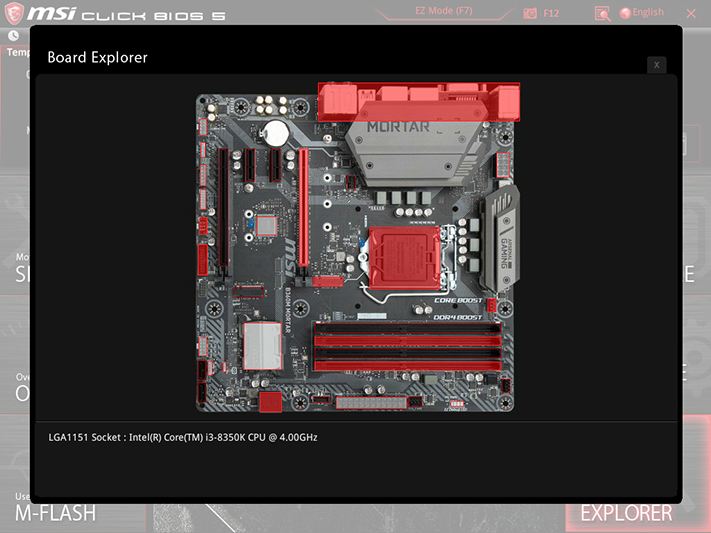
Other menus allow users to store up to six custom settings as “overclocking” profiles, import or export those saved files, set custom fan slopes, and view detected add-in devices. Hovering over the CPU makes it show the model, and the same method opens a popup menu for the I/O panel and internal header groups, where pointing at a port allows you to see what’s detected there.
MORE: Best Motherboards
MORE: How To Choose A Motherboard
MORE: All Motherboard Content
Current page: MSI B360M Mortar: The Micro Grande?
Prev Page Gigabyte H370 Aorus Gaming 3 WiFi: The Full Pot? Next Page How We Test-
Crashman Reply
We can see that MSI tried to push the top end of the B360 range with the Micro ATX sample submitted, so I wouldn't be surprised to see lesser B360 boards for $80. Below that will be H310, and I doubt anyone wants to show those off.20852628 said:no under $80 mobo yet?
-
Saga Lout When the miners are staring at bankruptcy, they'll be glad to get a reasonable price.Reply -
1_rick Reply20852654 said:
We can see that MSI tried to push the top end of the B360 range with the Micro ATX sample submitted, so I wouldn't be surprised to see lesser B360 boards for $80. Below that will be H310, and I doubt anyone wants to show those off.20852628 said:no under $80 mobo yet?
Newegg's got about a dozen sub-$80 boards, mostly H310, but several B360s. -
Crashman Reply
Thanks Rick, I figured the bottom of the B360 market would be around $80 and with in-store discounts maybe a bit less. I don't think I'd recommend the H310 for much.20853375 said:20852654 said:
We can see that MSI tried to push the top end of the B360 range with the Micro ATX sample submitted, so I wouldn't be surprised to see lesser B360 boards for $80. Below that will be H310, and I doubt anyone wants to show those off.20852628 said:no under $80 mobo yet?
Newegg's got about a dozen sub-$80 boards, mostly H310, but several B360s.
-
bit_user Reply
When is the last time you checked?20852687 said:Now if we could just get cheap graphics cards we'd be back in business!
Newegg has new GTX 1080's starting at $610, GTX 1060's from $270, and RX 580's from $350.
Not exactly cheap, but prices have been dropping every week, for nearly a month. -
Lutfij Reply
Amen to that brudda!20852687 said:Now if we could just get cheap graphics cards we'd be back in business!
Yeah, miners! :'(20852738 said:When the miners are staring at bankruptcy, they'll be glad to get a reasonable price.
Nice article/review/writeup Thomas. Keep up the great work! -
sunsanvil I would have been very interested in seeing you evaluate these boards with an upper end non-K processor. Its one thing to say that less expensive boards will tend to be coupled with lower end CPUs, but in the case of the Intel x70 family, the Z370 is all but pointless for anything which does not have a K at the end of it. That means that finding out how H and B boards make out with something like an i5-8600 or i7-8700 would be quite relevant, particularly as it relates to power delivery during all-core max turbo situations.Reply -
Crashman Reply
There are of course other reasons to use a Z, including support for DDR4-3200 etc, SLI/Crossfire, and CPU-based NVMe.20932240 said:I would have been very interested in seeing you evaluate these boards with an upper end non-K processor. Its one thing to say that less expensive boards will tend to be coupled with lower end CPUs, but in the case of the Intel x70 family, the Z370 is all but pointless for anything which does not have a K at the end of it. That means that finding out how H and B boards make out with something like an i5-8600 or i7-8700 would be quite relevant, particularly as it relates to power delivery during all-core max turbo situations.
Your point is also appropriate, and the combination of these two points could leave one question why I didn't use the 8700K in the first place and tell readers "if the board can handle this it can certainly handle that". We used to do things that way until angry budget-gamers came in and said "we don't use expensive CPUs on cheap motherboards". And so we'd be left testing the boards on at least two processors...and heck the higher one might as well be the 8700K since we already have it right? And we'd at least get to show whether or not these boards can lock-in the highest "stock" Turbo Boost ratio with that one, right?
