How Seagate Tests Its Hard Drives
Tom's Hardware gets a rare and in-depth look at how Seagate designs and tests its hard drives. Join us for a tour through the company's Longmont, Colorado R&D center.
Get Tom's Hardware's best news and in-depth reviews, straight to your inbox.
You are now subscribed
Your newsletter sign-up was successful
Analysis
The Longmont facility contains a full manufacturing lab capable of producing prototype volumes of any of Seagate’s drives in a fully automated fashion. The lab itself could fill an entire article in how it goes about using robotic systems, visual feedback loops for calibration, and tracking systems able to identify not the drive batch a given disk came from but also its media tray and even the slot position within that tray. It’s mind-boggling.
However, this lab is only a microcosm of the dramatically larger manufacturing facilities located abroad. Contamination is a constant focus for Seagate drive design robustness and manufacturing processes. Despite assembly happening in rigid cleanroom conditions, there’s no such thing as perfect cleanliness. Contamination could occur from factors outside the drive as well as inside—a type of lubricant, a chemical emission from a new PCB component, and so on. Some factors lie within Seagate’s factories; others can come from outside suppliers. And remember when we talked about drives getting pulled from atmospheric test chambers for analysis? Contamination can result from atmospheric influences. If contaminants get onto the media or heads, it may prove disastrous for drive reliability.
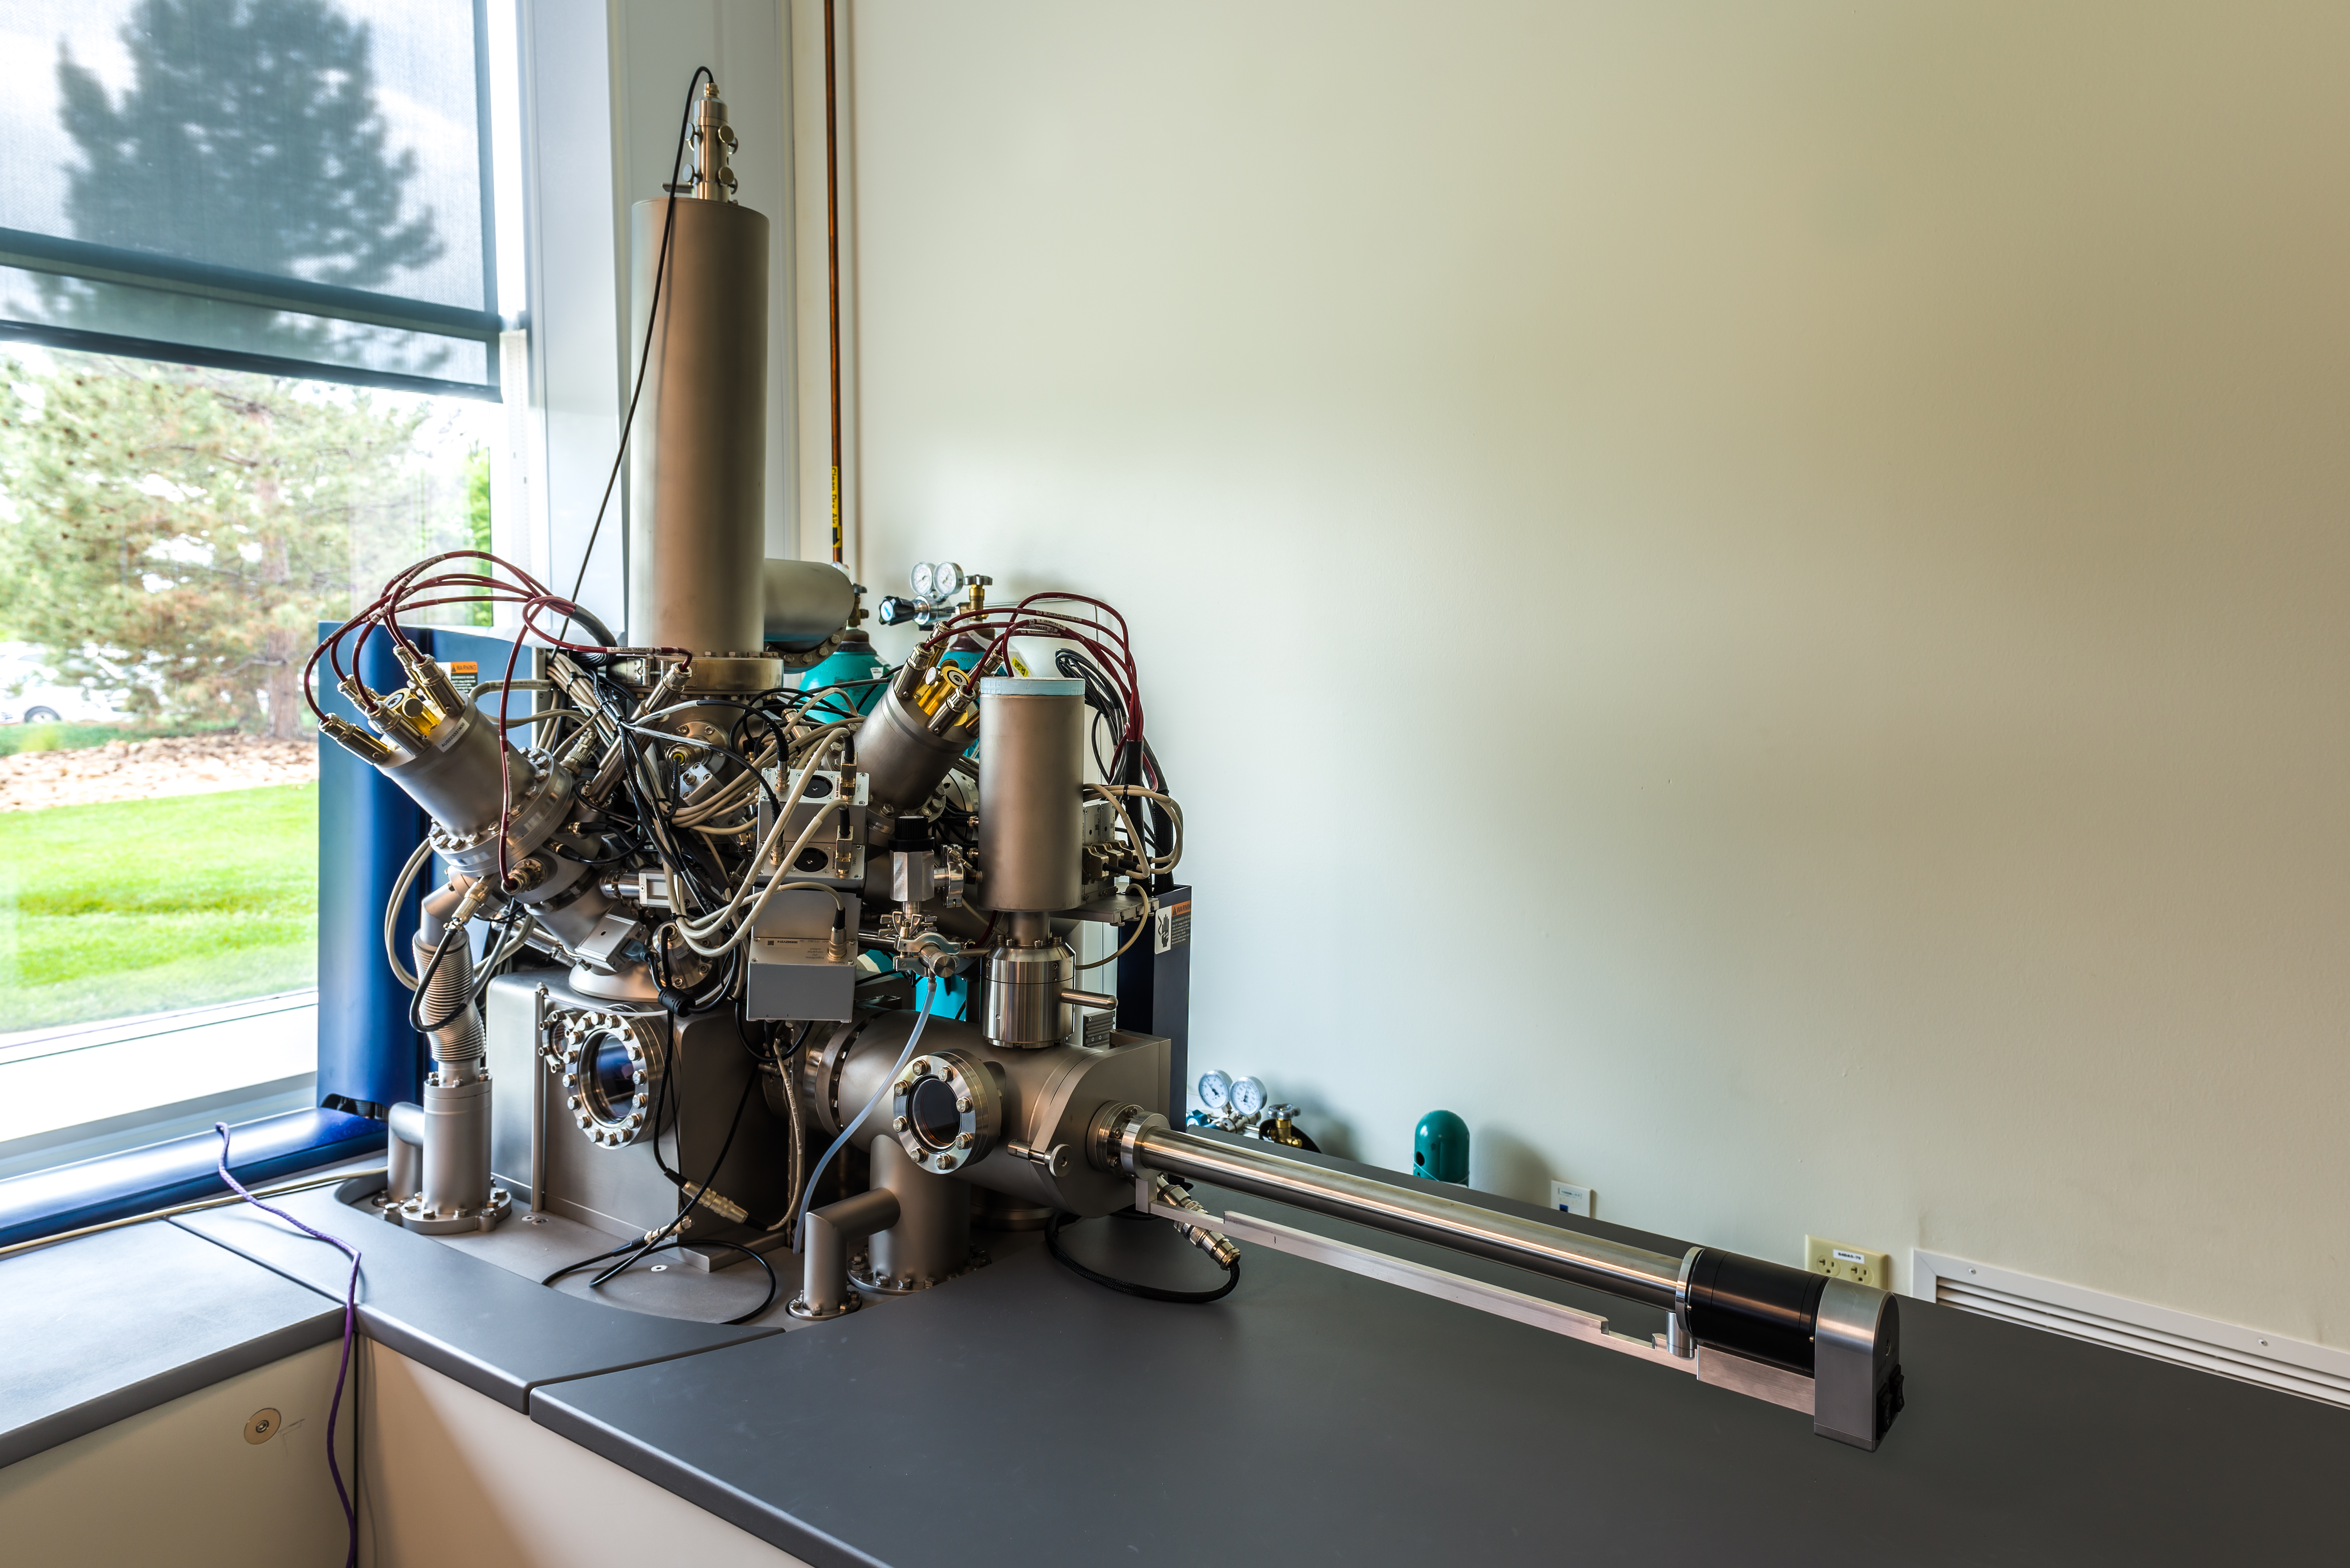
The forensic quest for contaminants starts here, with a $1.6 million secondary ion mass spectrometer. In the simplest terms, this machine allows scientists to analyze materials from the very topmost layers of heads or media, sometimes down to only a few molecules.
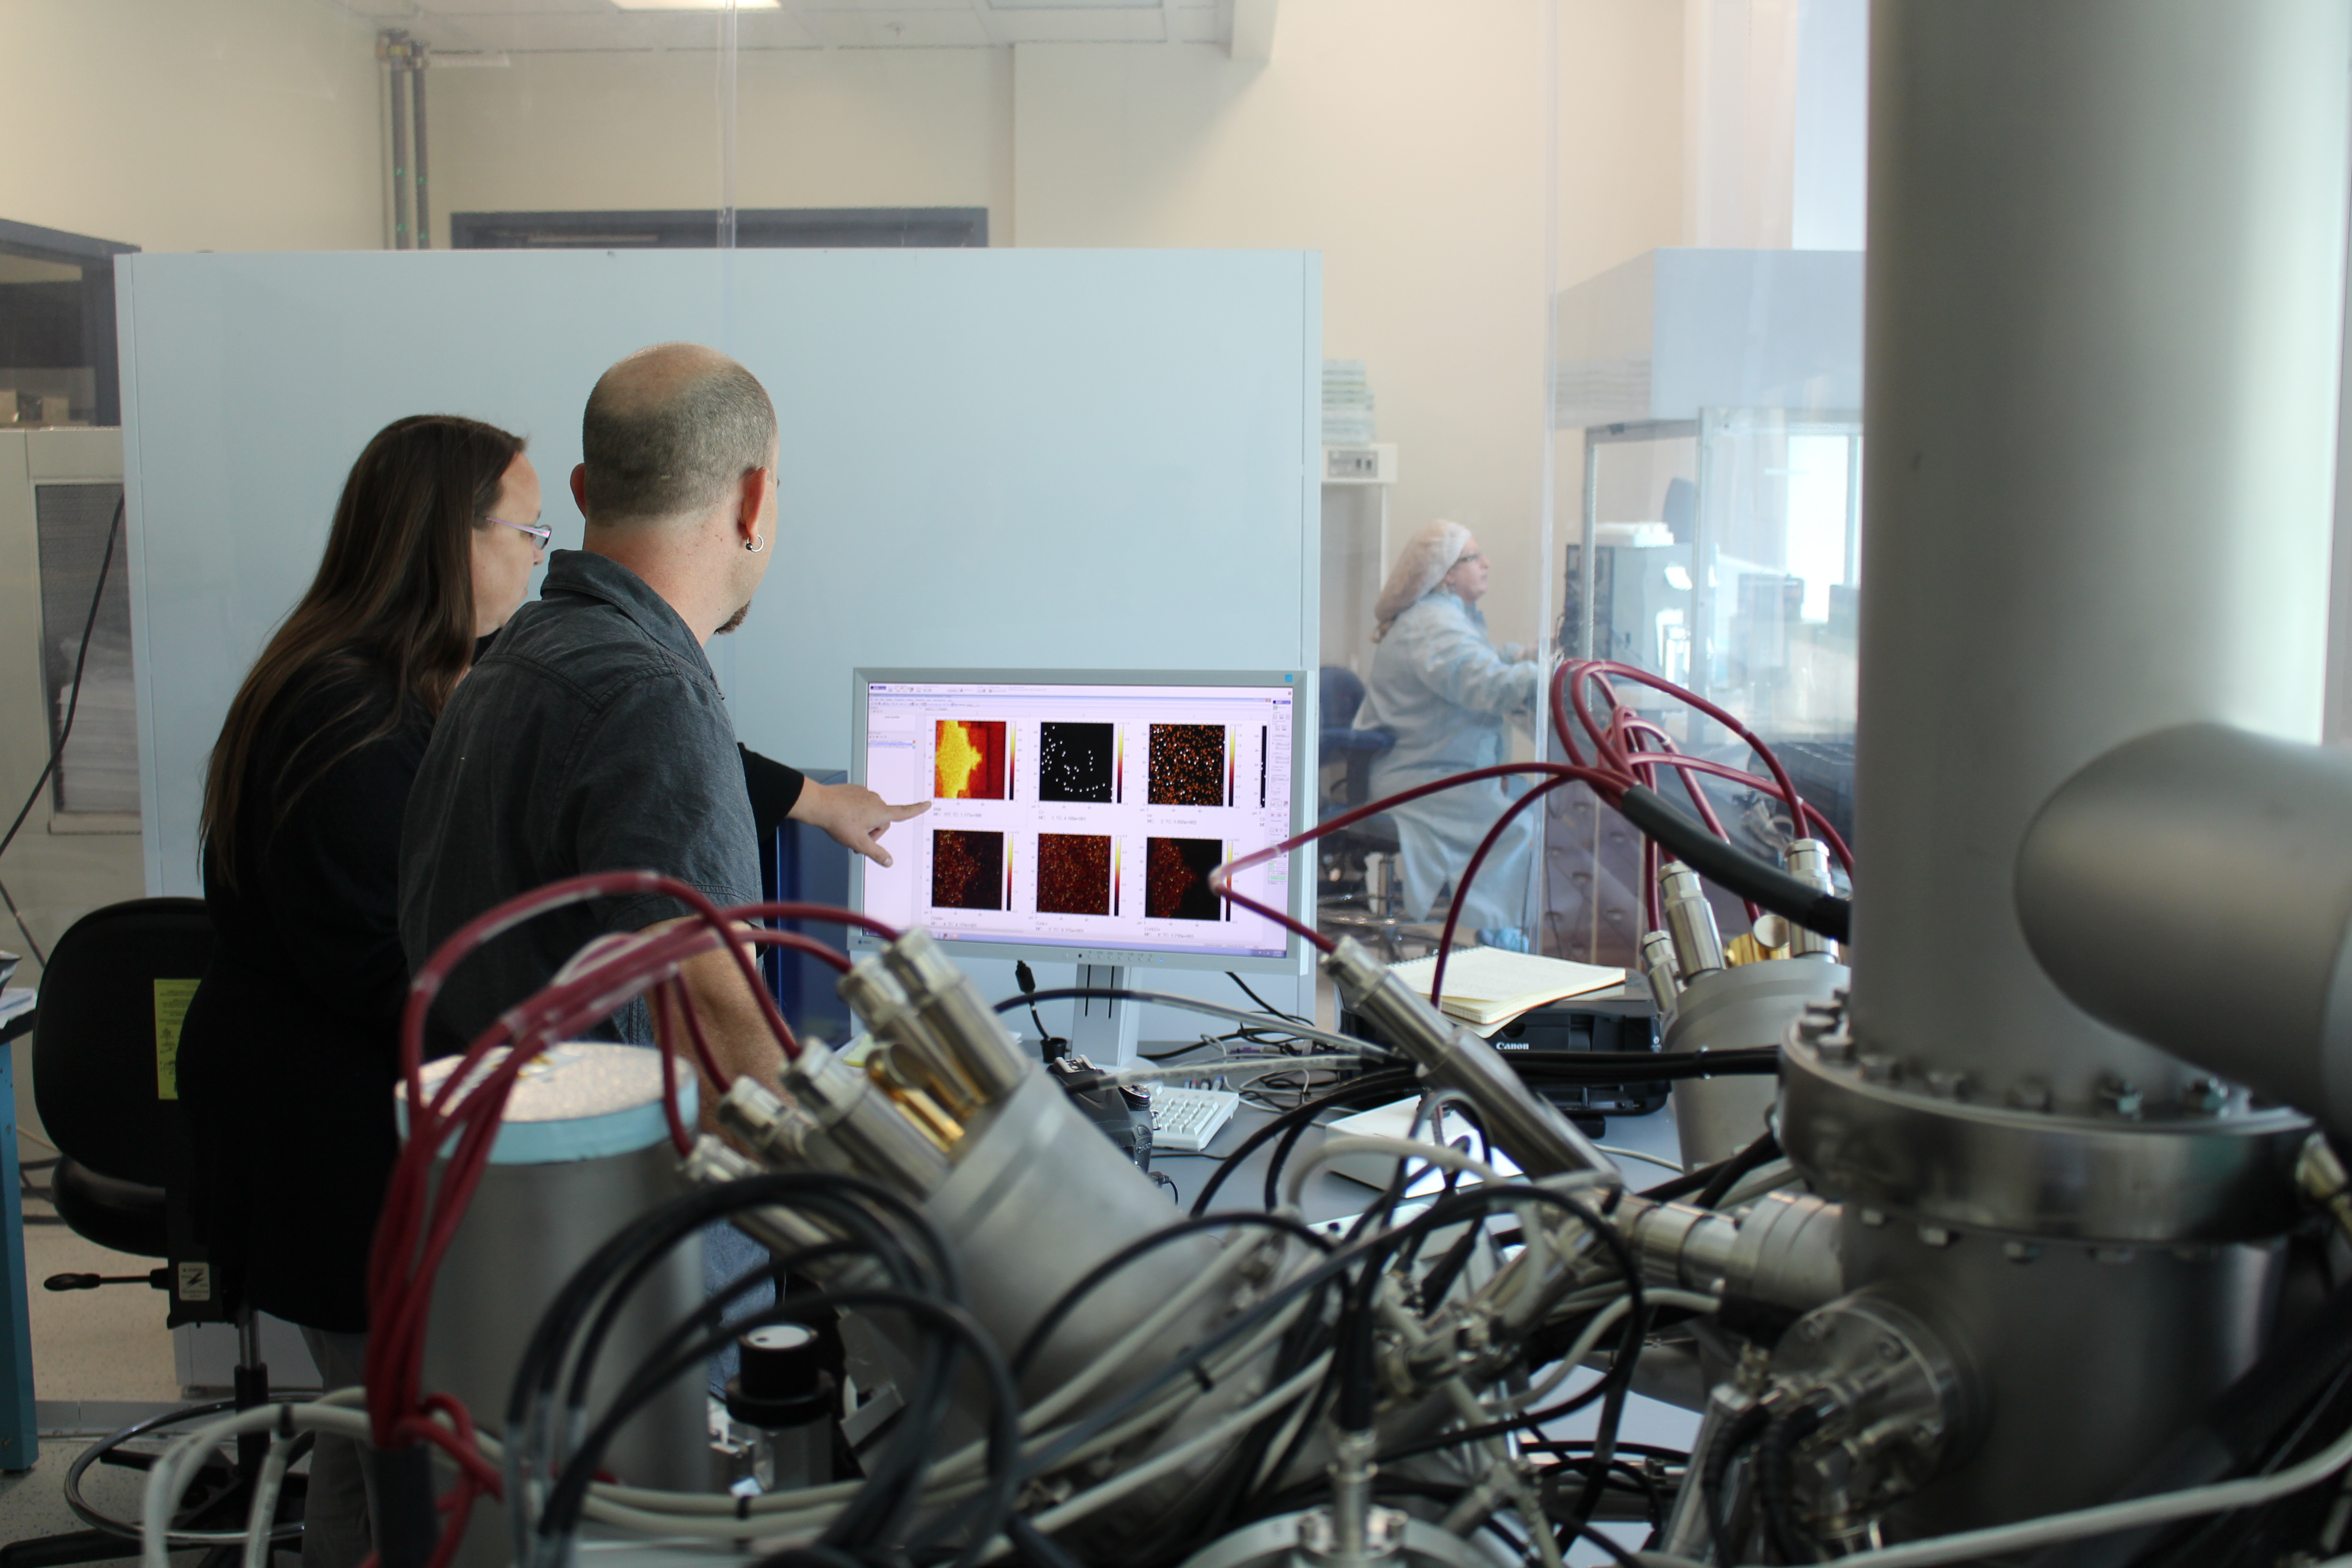
Article continues belowWhen we arrived in the spectrometer lab, workers were busy examining a chemical contaminant fingerprint. Most likely, it came from one of the lubricants used within the drive. Interestingly, though, different components within the drive can use different lubricants, and each gives off a unique spectral pattern under analysis. In this way, scientists can better pinpoint the root cause of potential contamination issues.
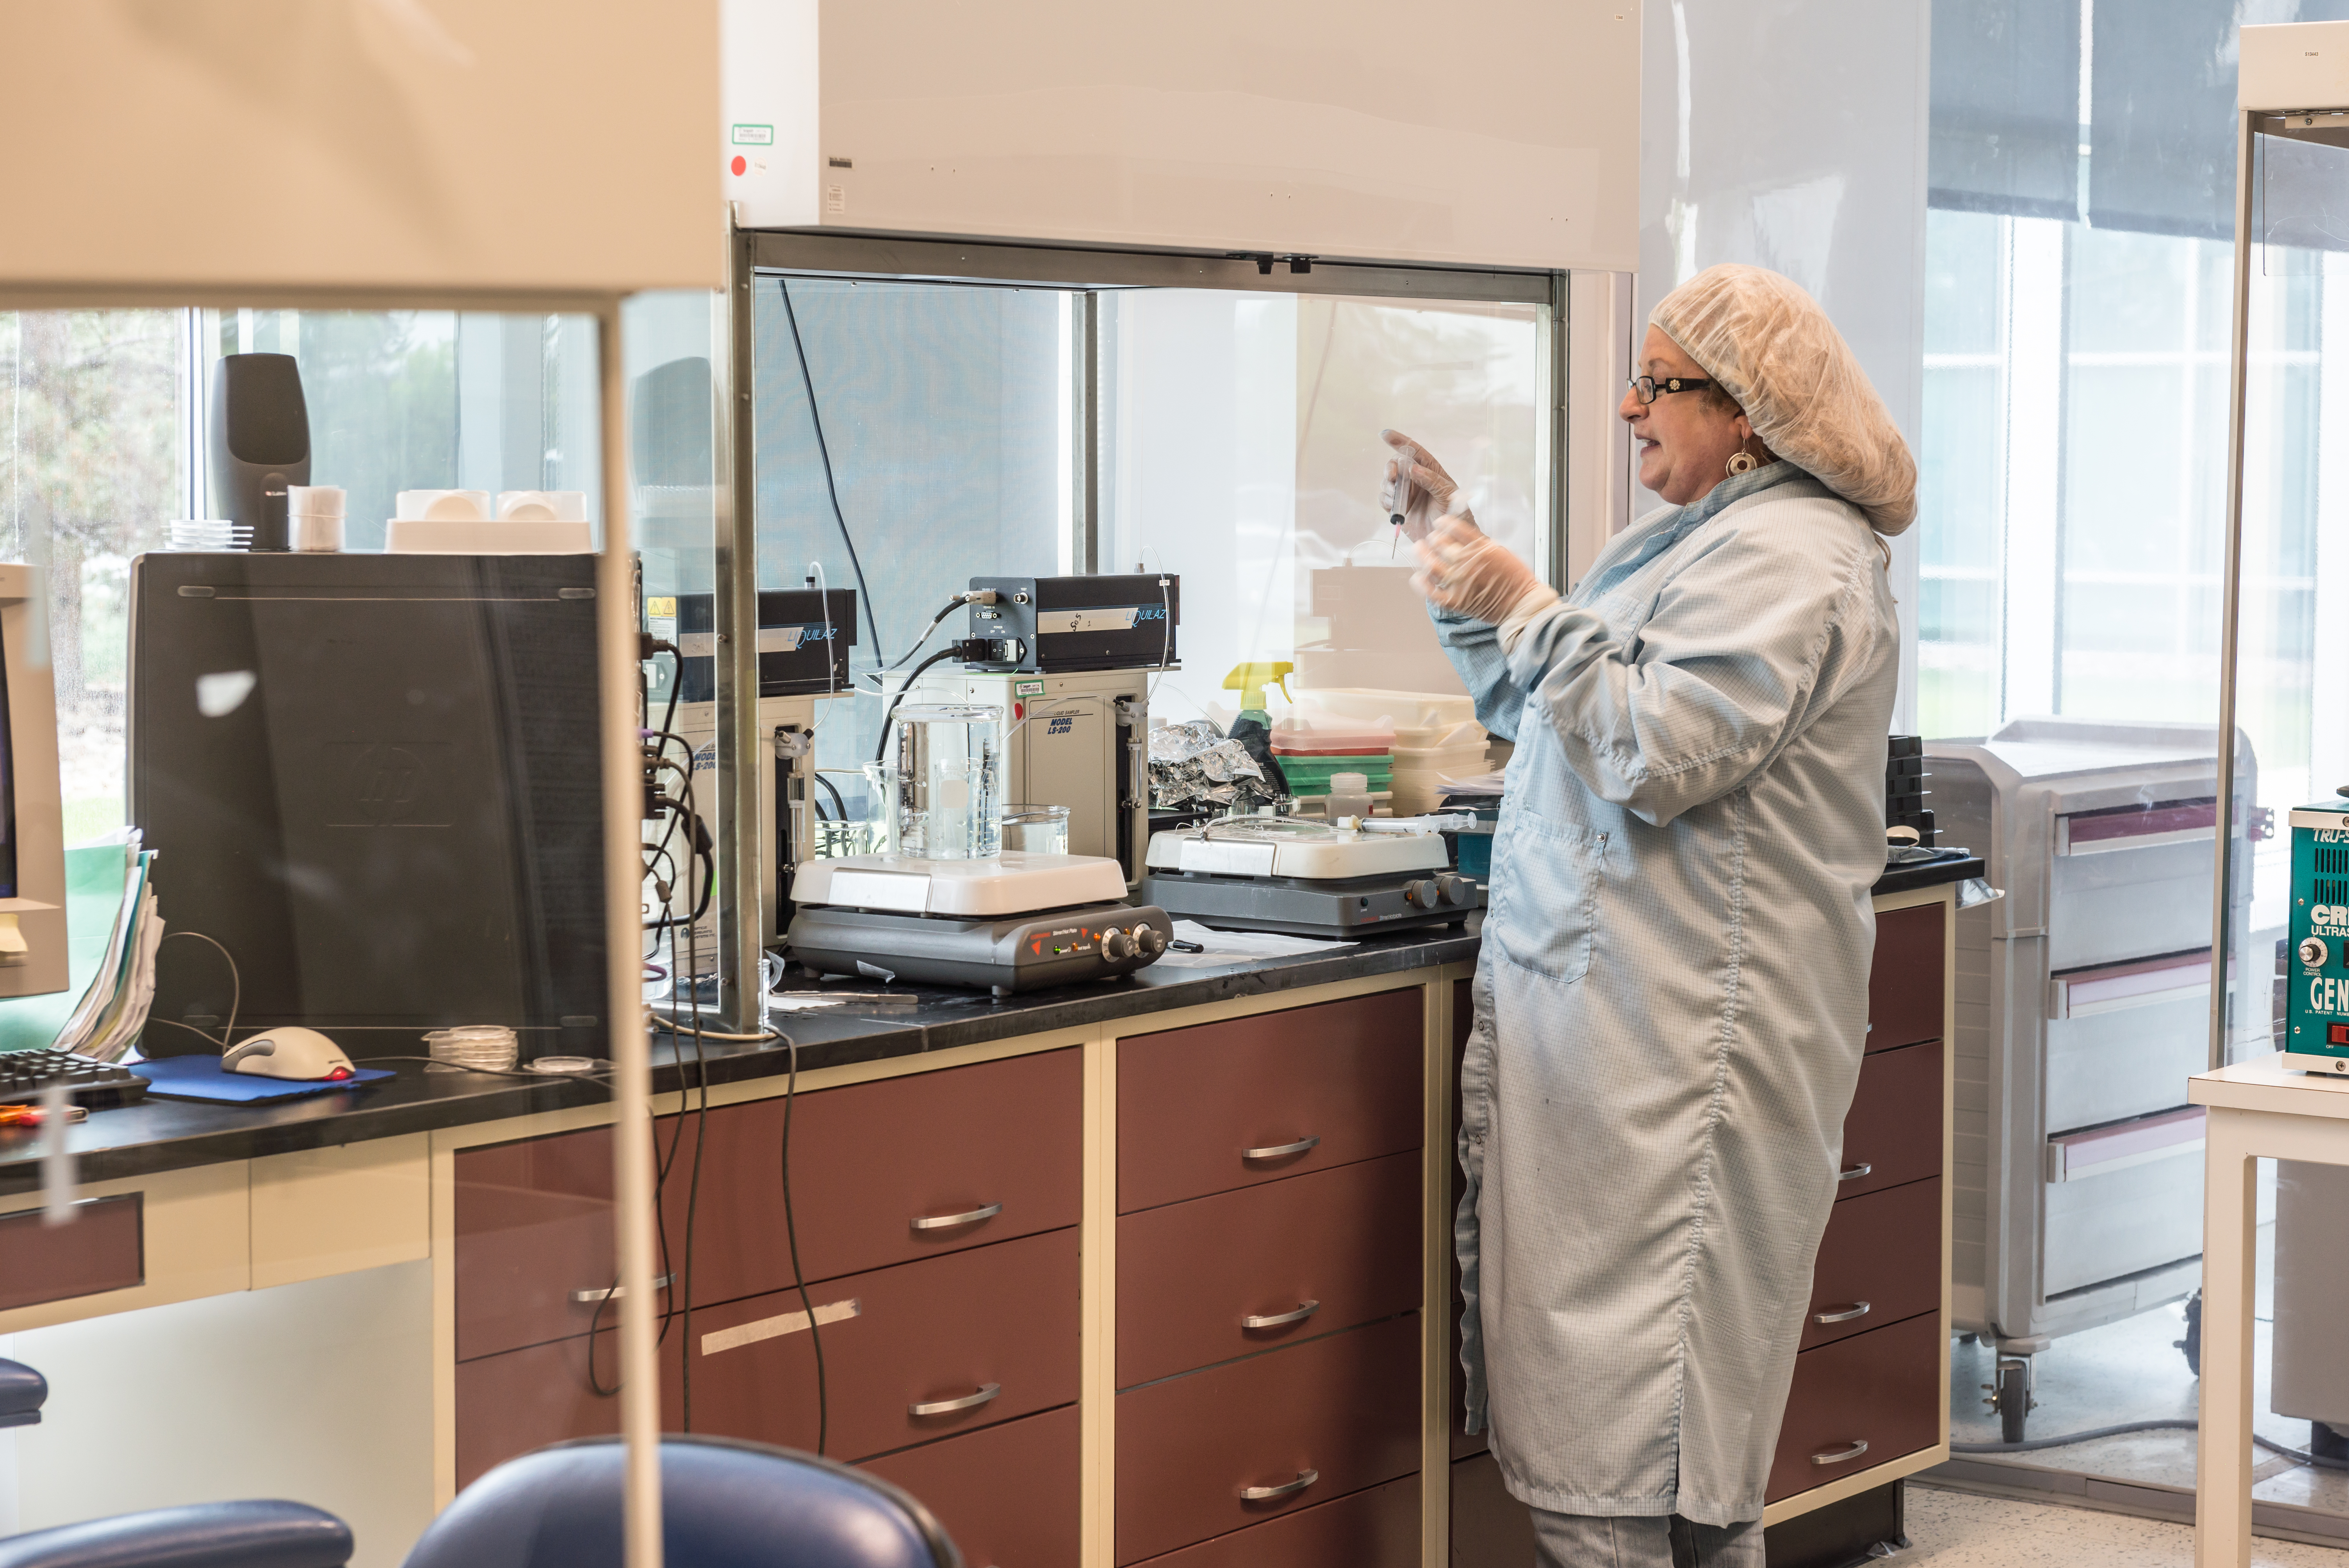
The secondary mass ion spectrometer room stands adjacent to the particle metrology lab. Here, every particulate that can be extracted from a component gets extracted and analyzed. Workers measure quantities, but they also intensively characterize the types of particulate that are either intrinsic to the material or are present as a contaminant.
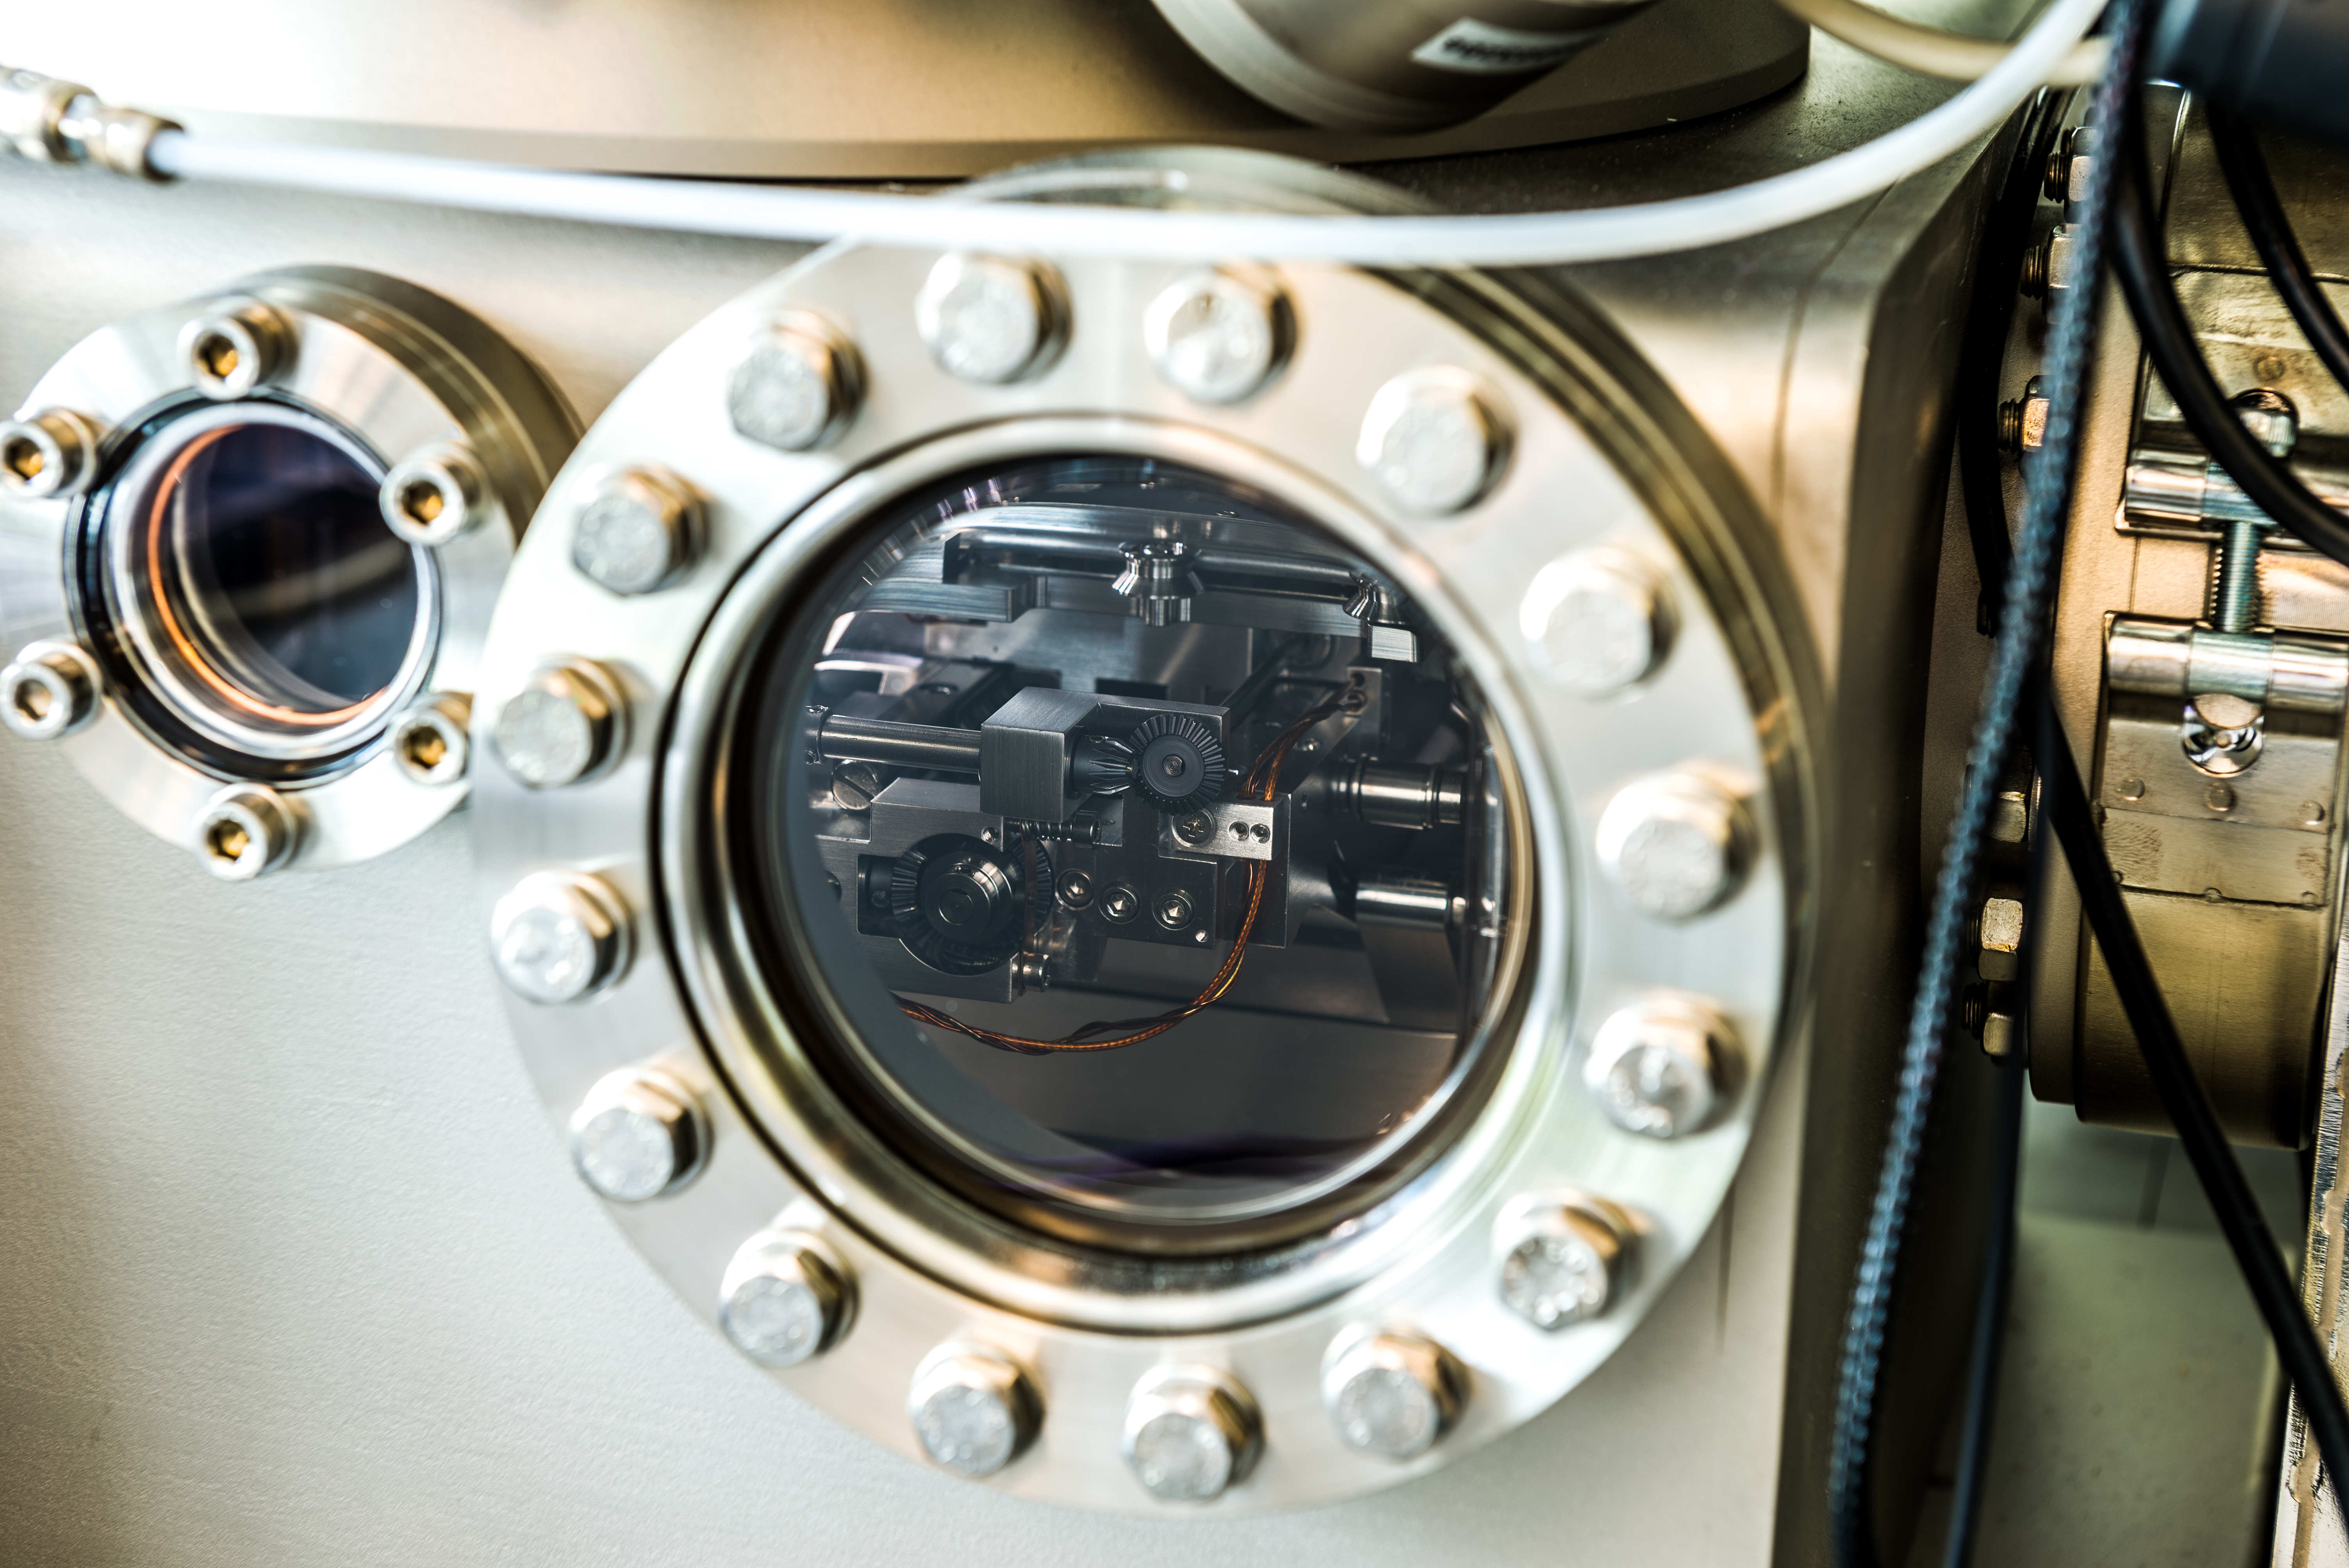
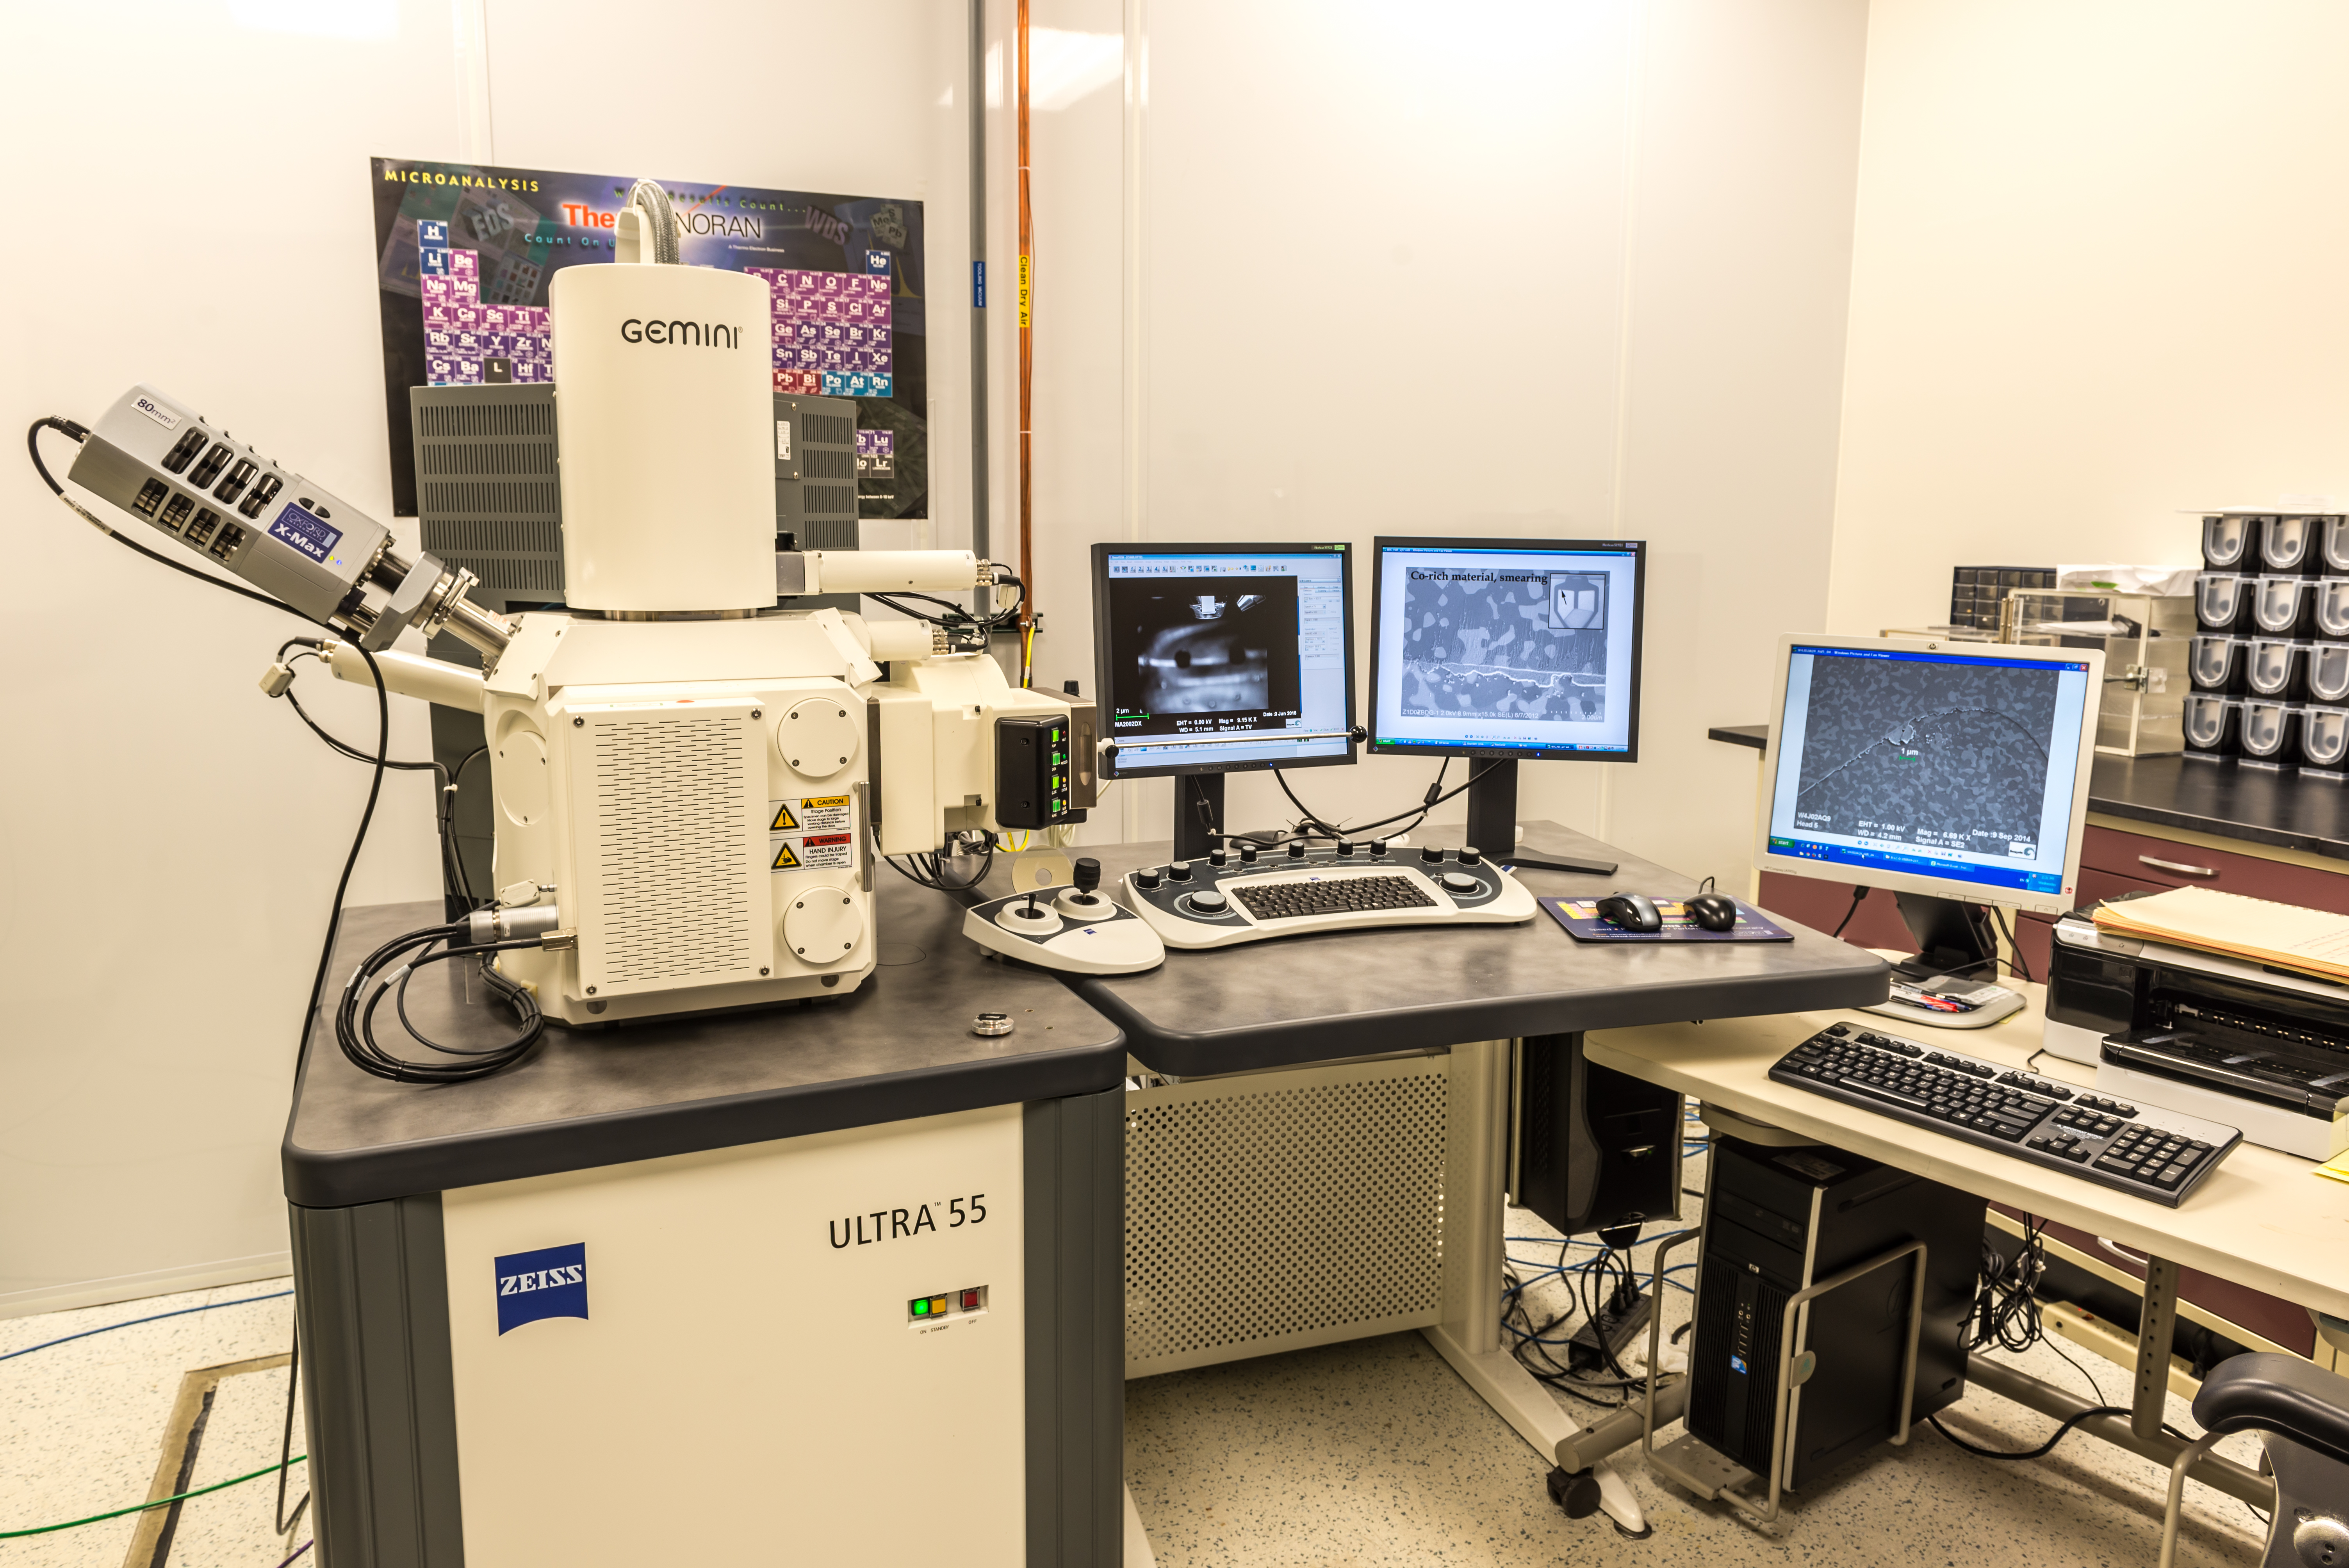
Of course, no analysis lab would be complete without a scanning electron microscope (SEM) or two. During our visit, we saw one machine taking extractions filtered out from the particle metrology lab and subsequently dried, then examined by the SEM for identification. On a different SEM, shown below, white dots are observed and identified as bits of corrosion measuring only a few dozen molecules across. These were found on heads exposed to the three-week high temperature and humidity conditions mentioned earlier.
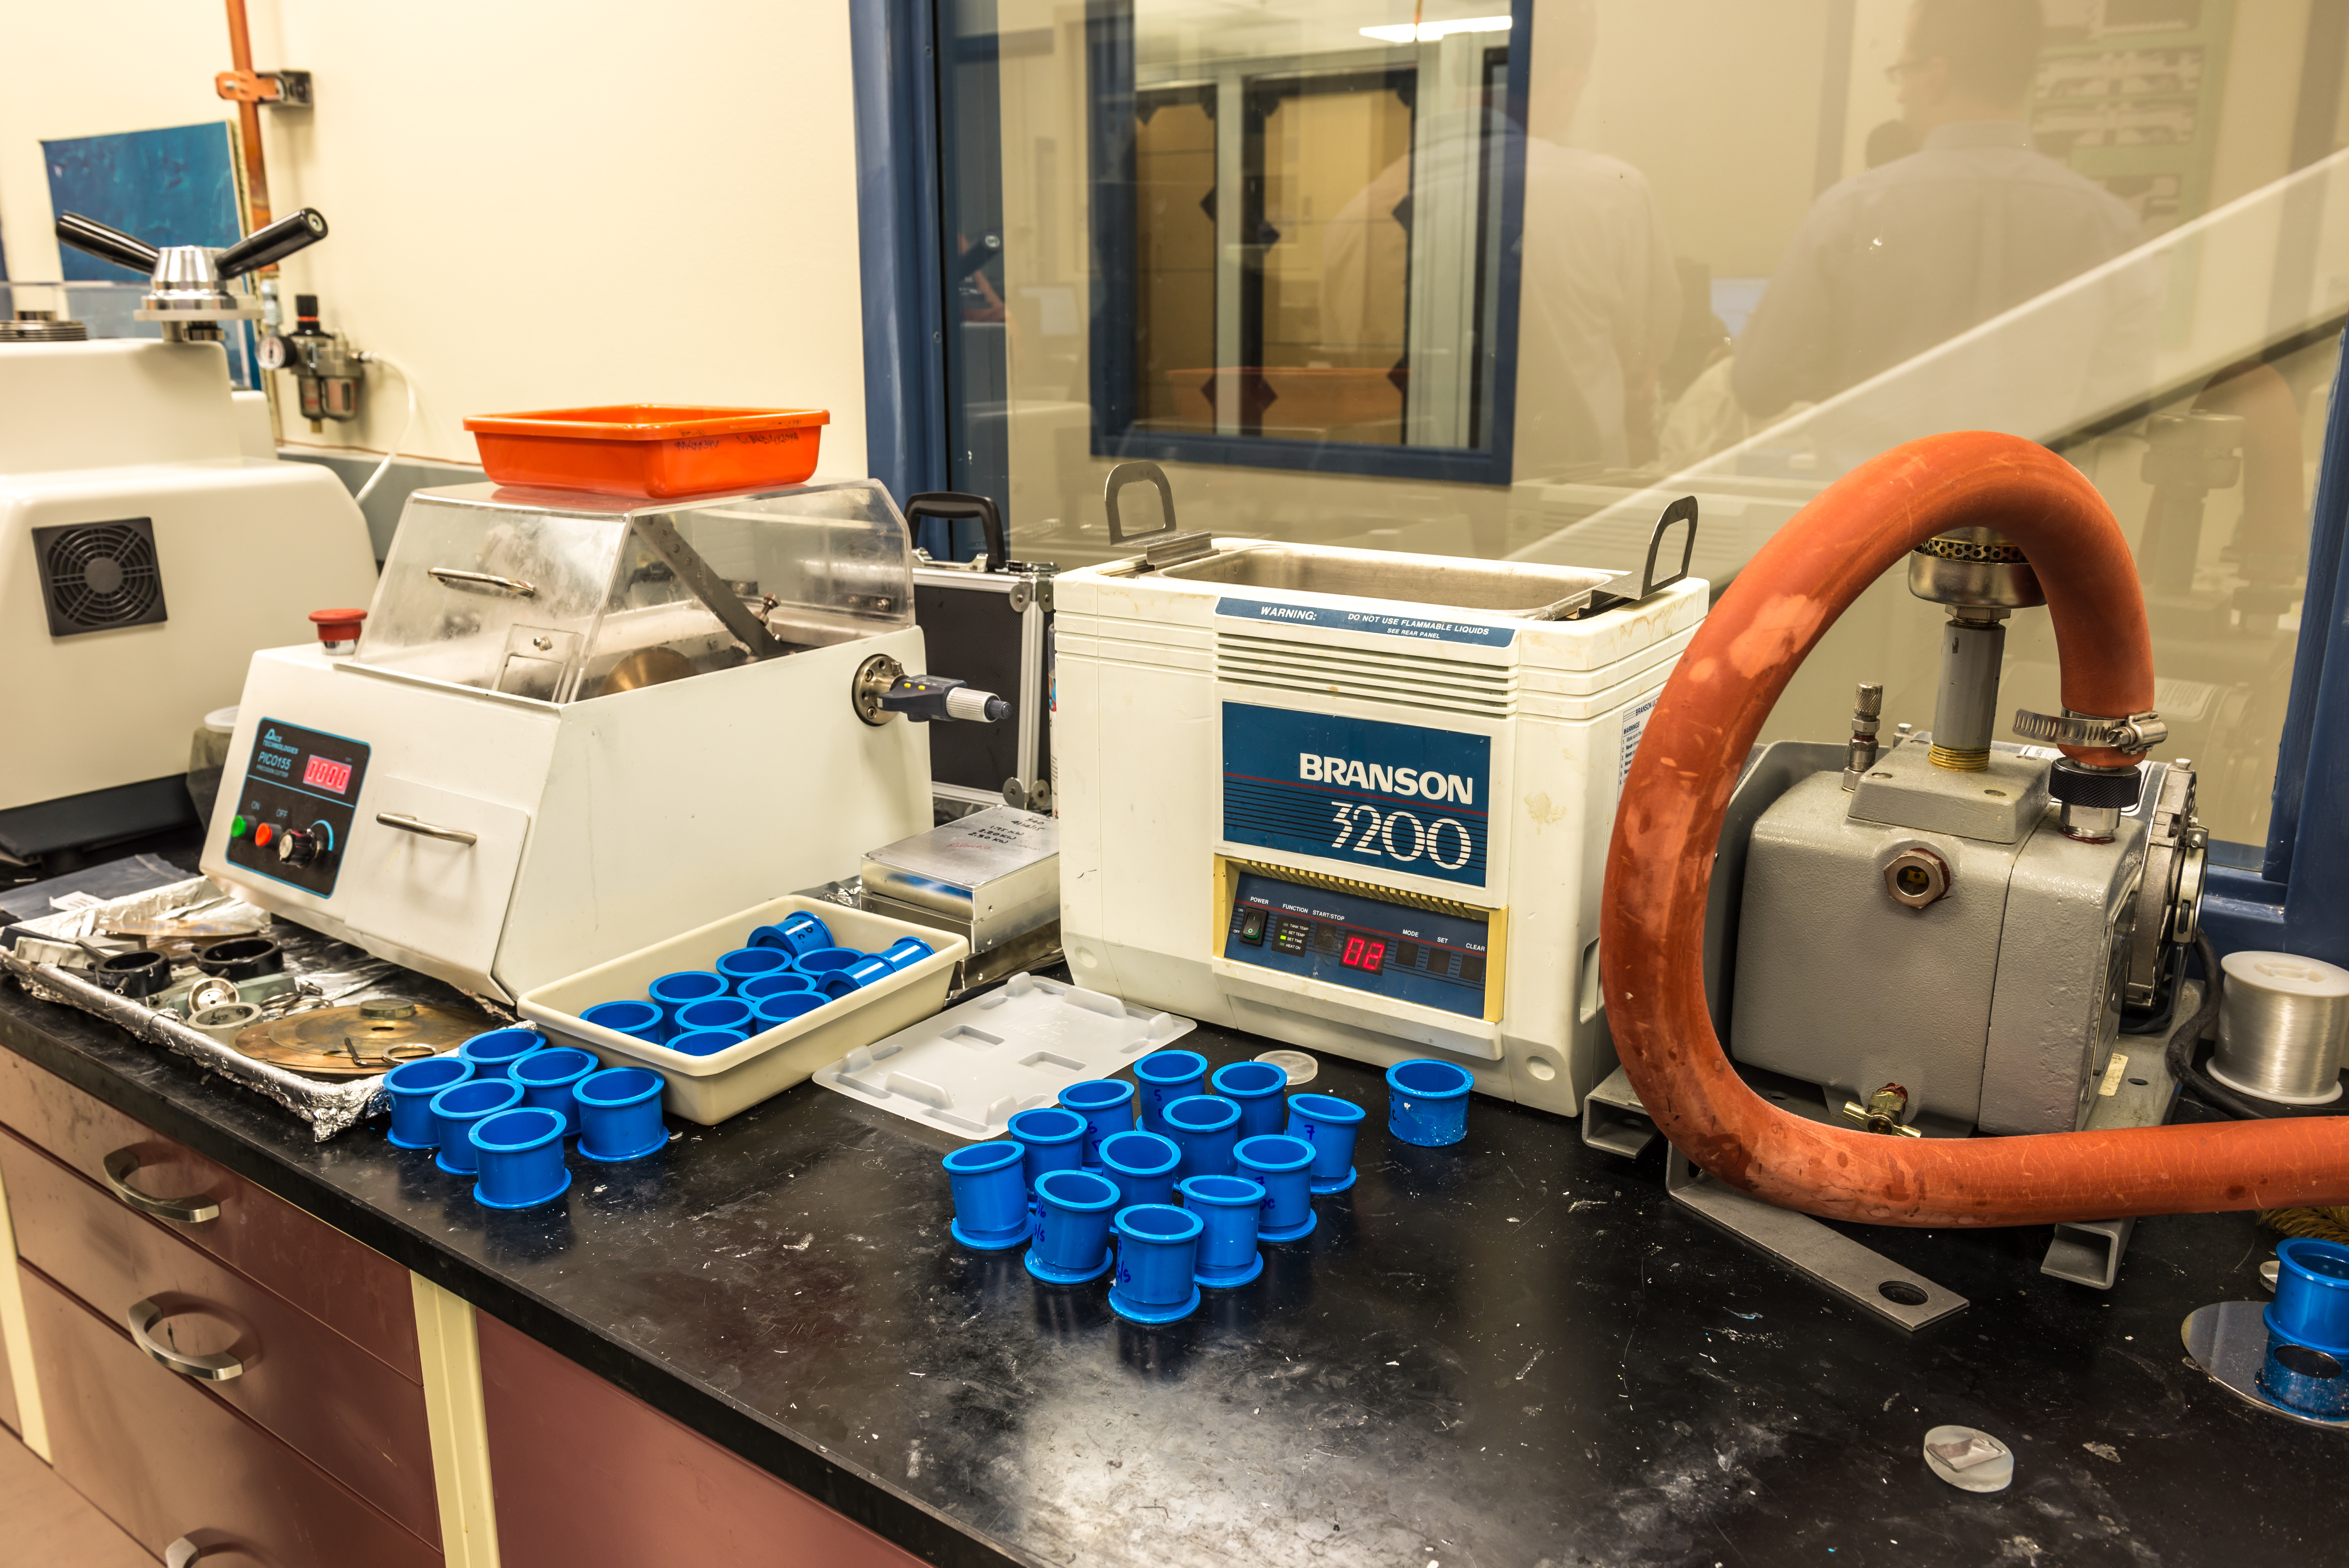
Not all analysis is chemical. Our last leg in the analysis wing took us to the metallography lab, which essentially involves lots and lots of cross-sectioning work.
Get Tom's Hardware's best news and in-depth reviews, straight to your inbox.
“We cross section any part, any sub-assembly,” explained one senior technician. “We even cross-section whole drives here. There are many, many reasons to do that. Oftentimes, it’s for the mechanical design team to look at tolerances off of a production part. More fun is when we’re looking at parts that have been subjected to environmental conditions that are intolerable for human beings, then figuring out the robustness of the component or the sub-assembly. Increasingly, drives are expected to perform in extreme environments. We send off drives for corrosion and pollution and heat, then we evaluate what the consequences are, to the PCBA especially. Part of our concern is about the need for a longer warranty on enterprise drives, but we also need to address markets in these inhospitable environments.”
The variety of things that can be learned through cross-sectioning is fascinating. Worker may intentionally fracture a drive to see what happens to its materials, particularly on surfaces. The PCB occupies a lot of attention, especially under chips, as do solder joints around the drive. Not surprisingly, such matters become doubly important when designing and refining the integration of new drive technologies.
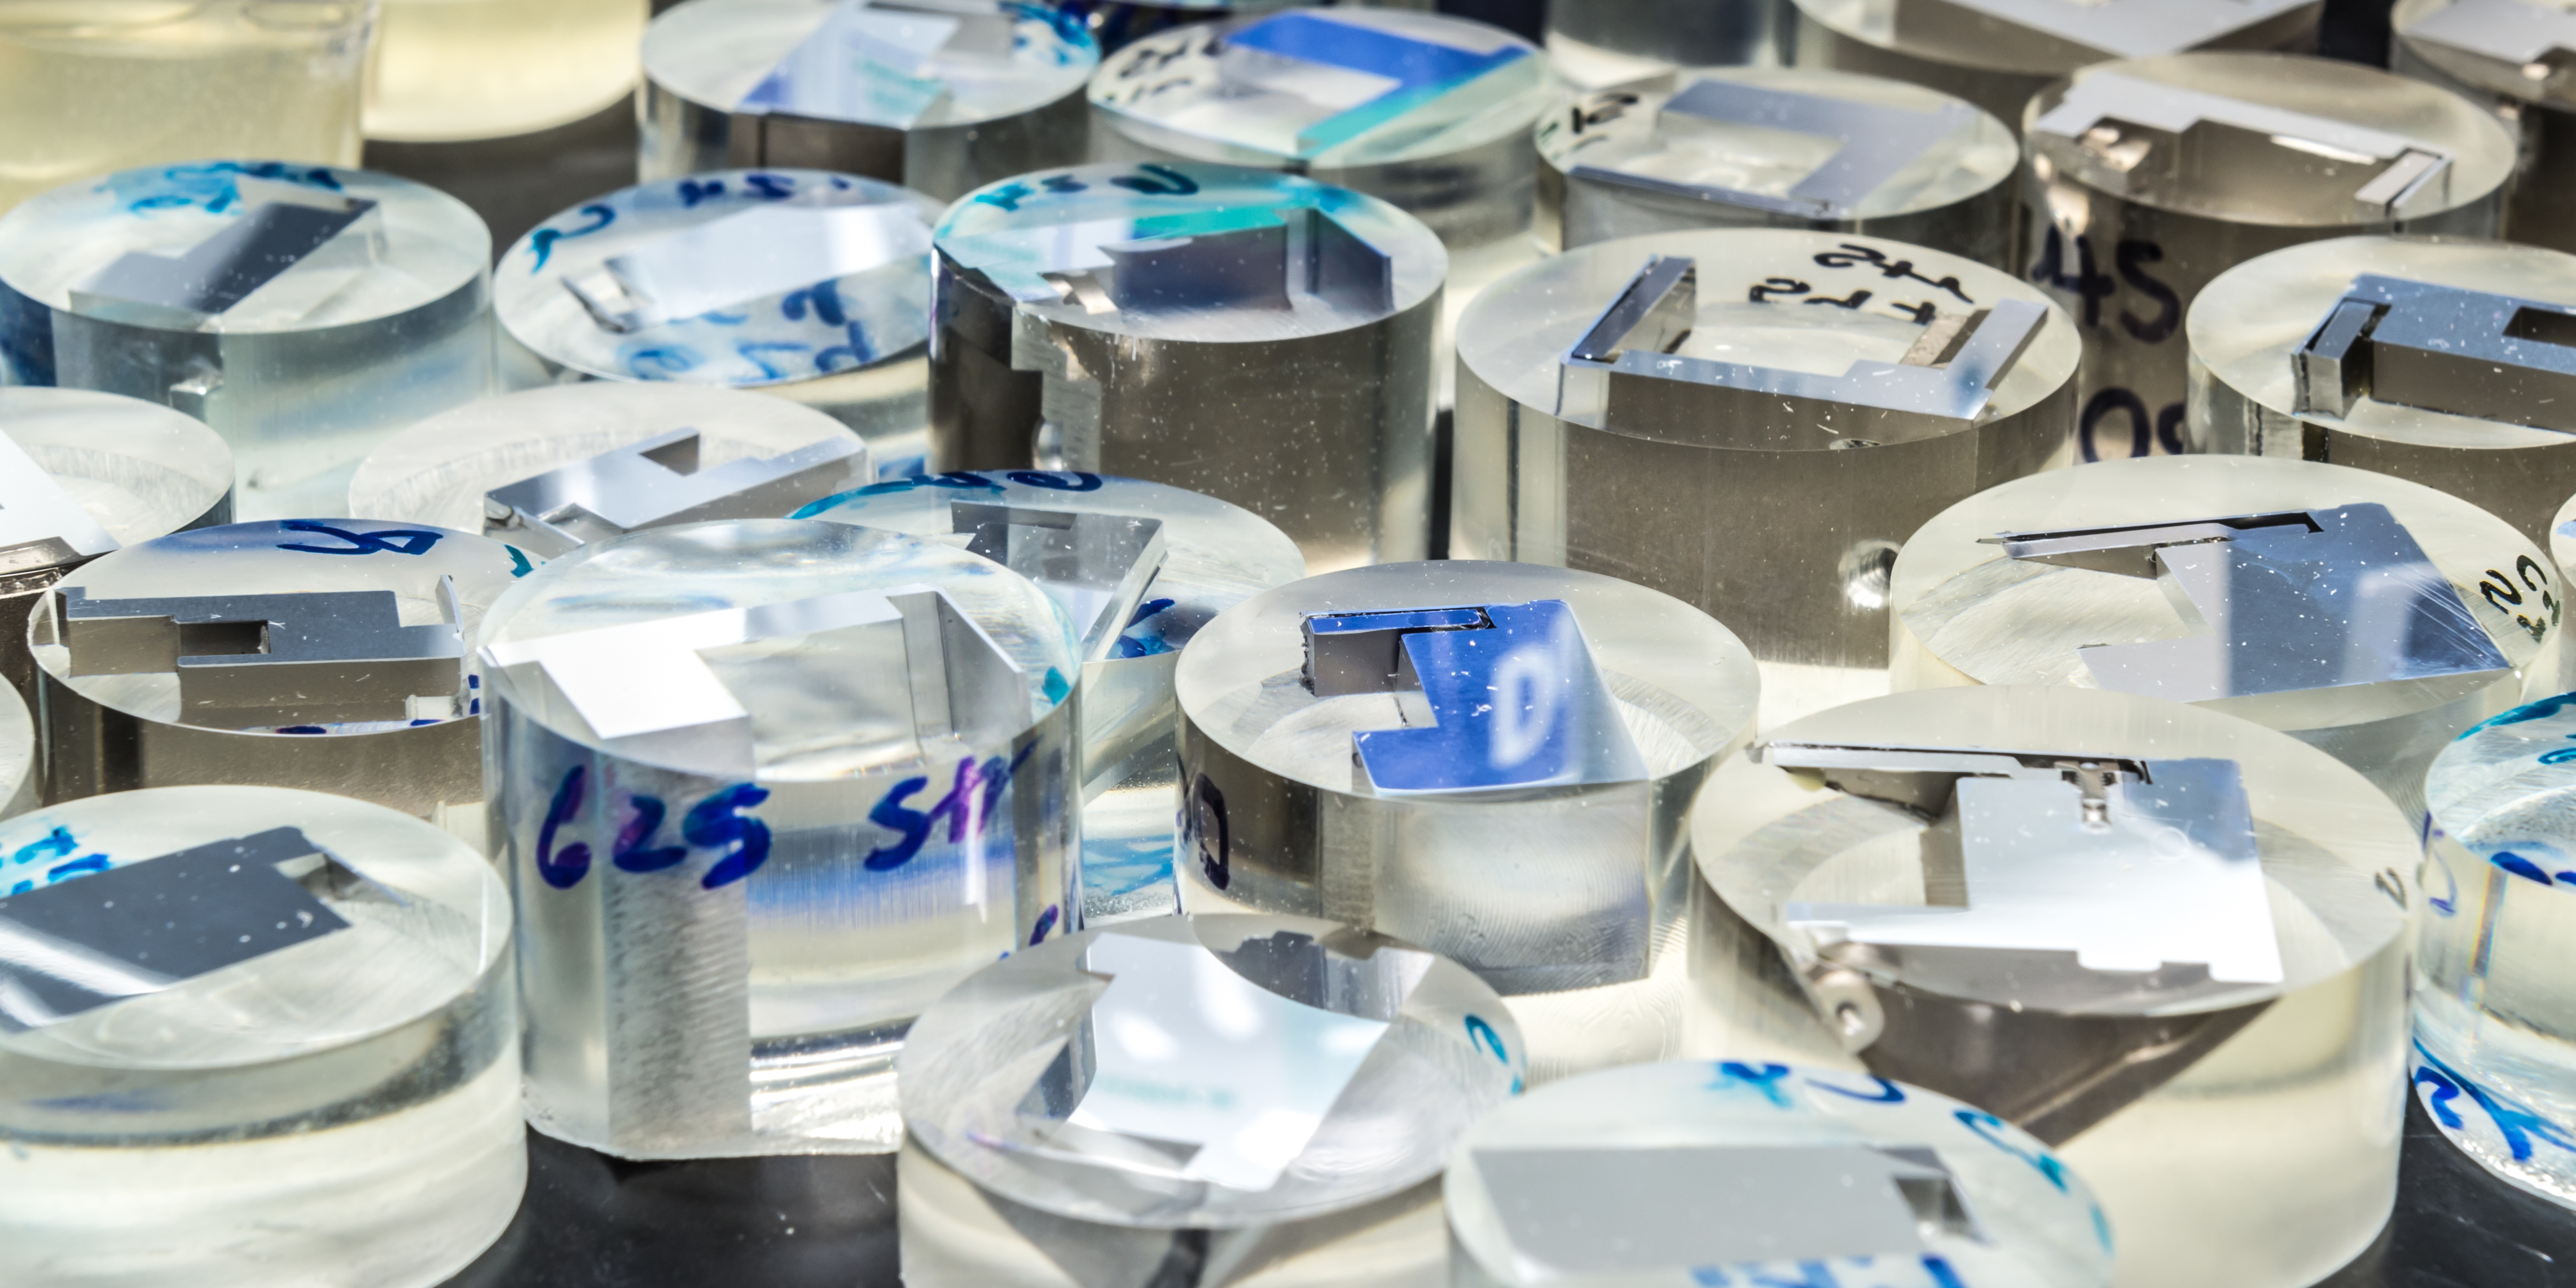
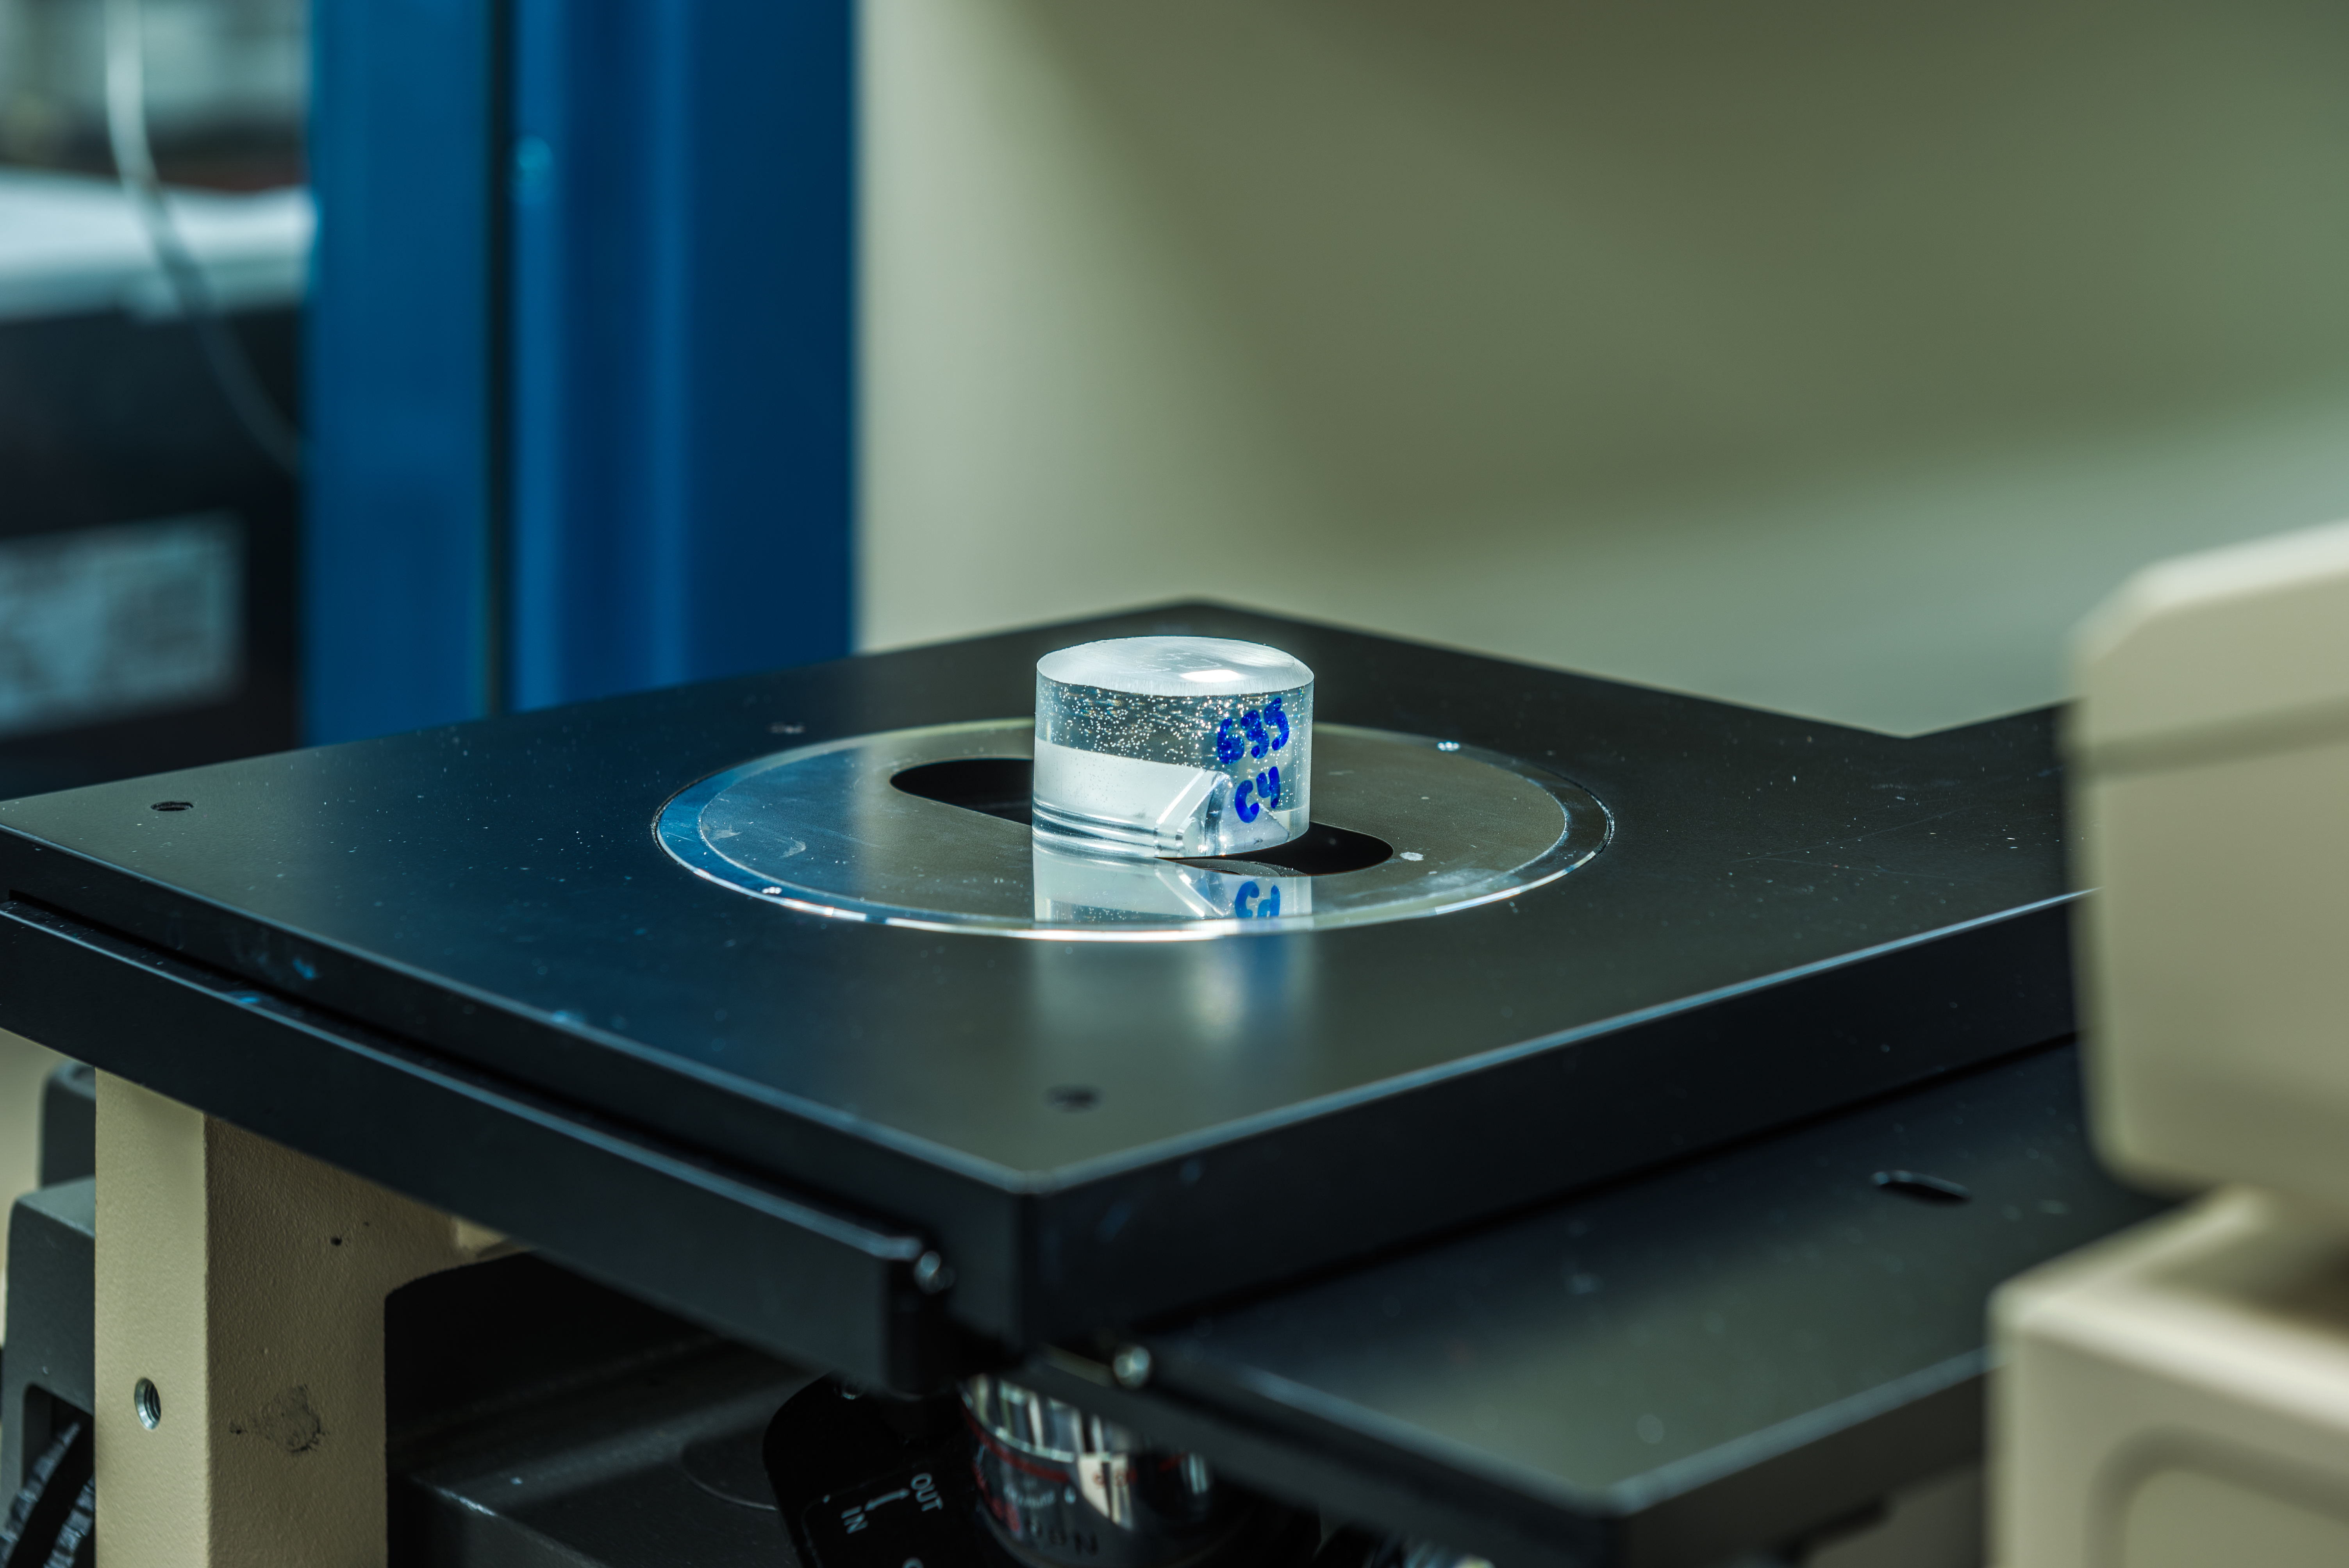
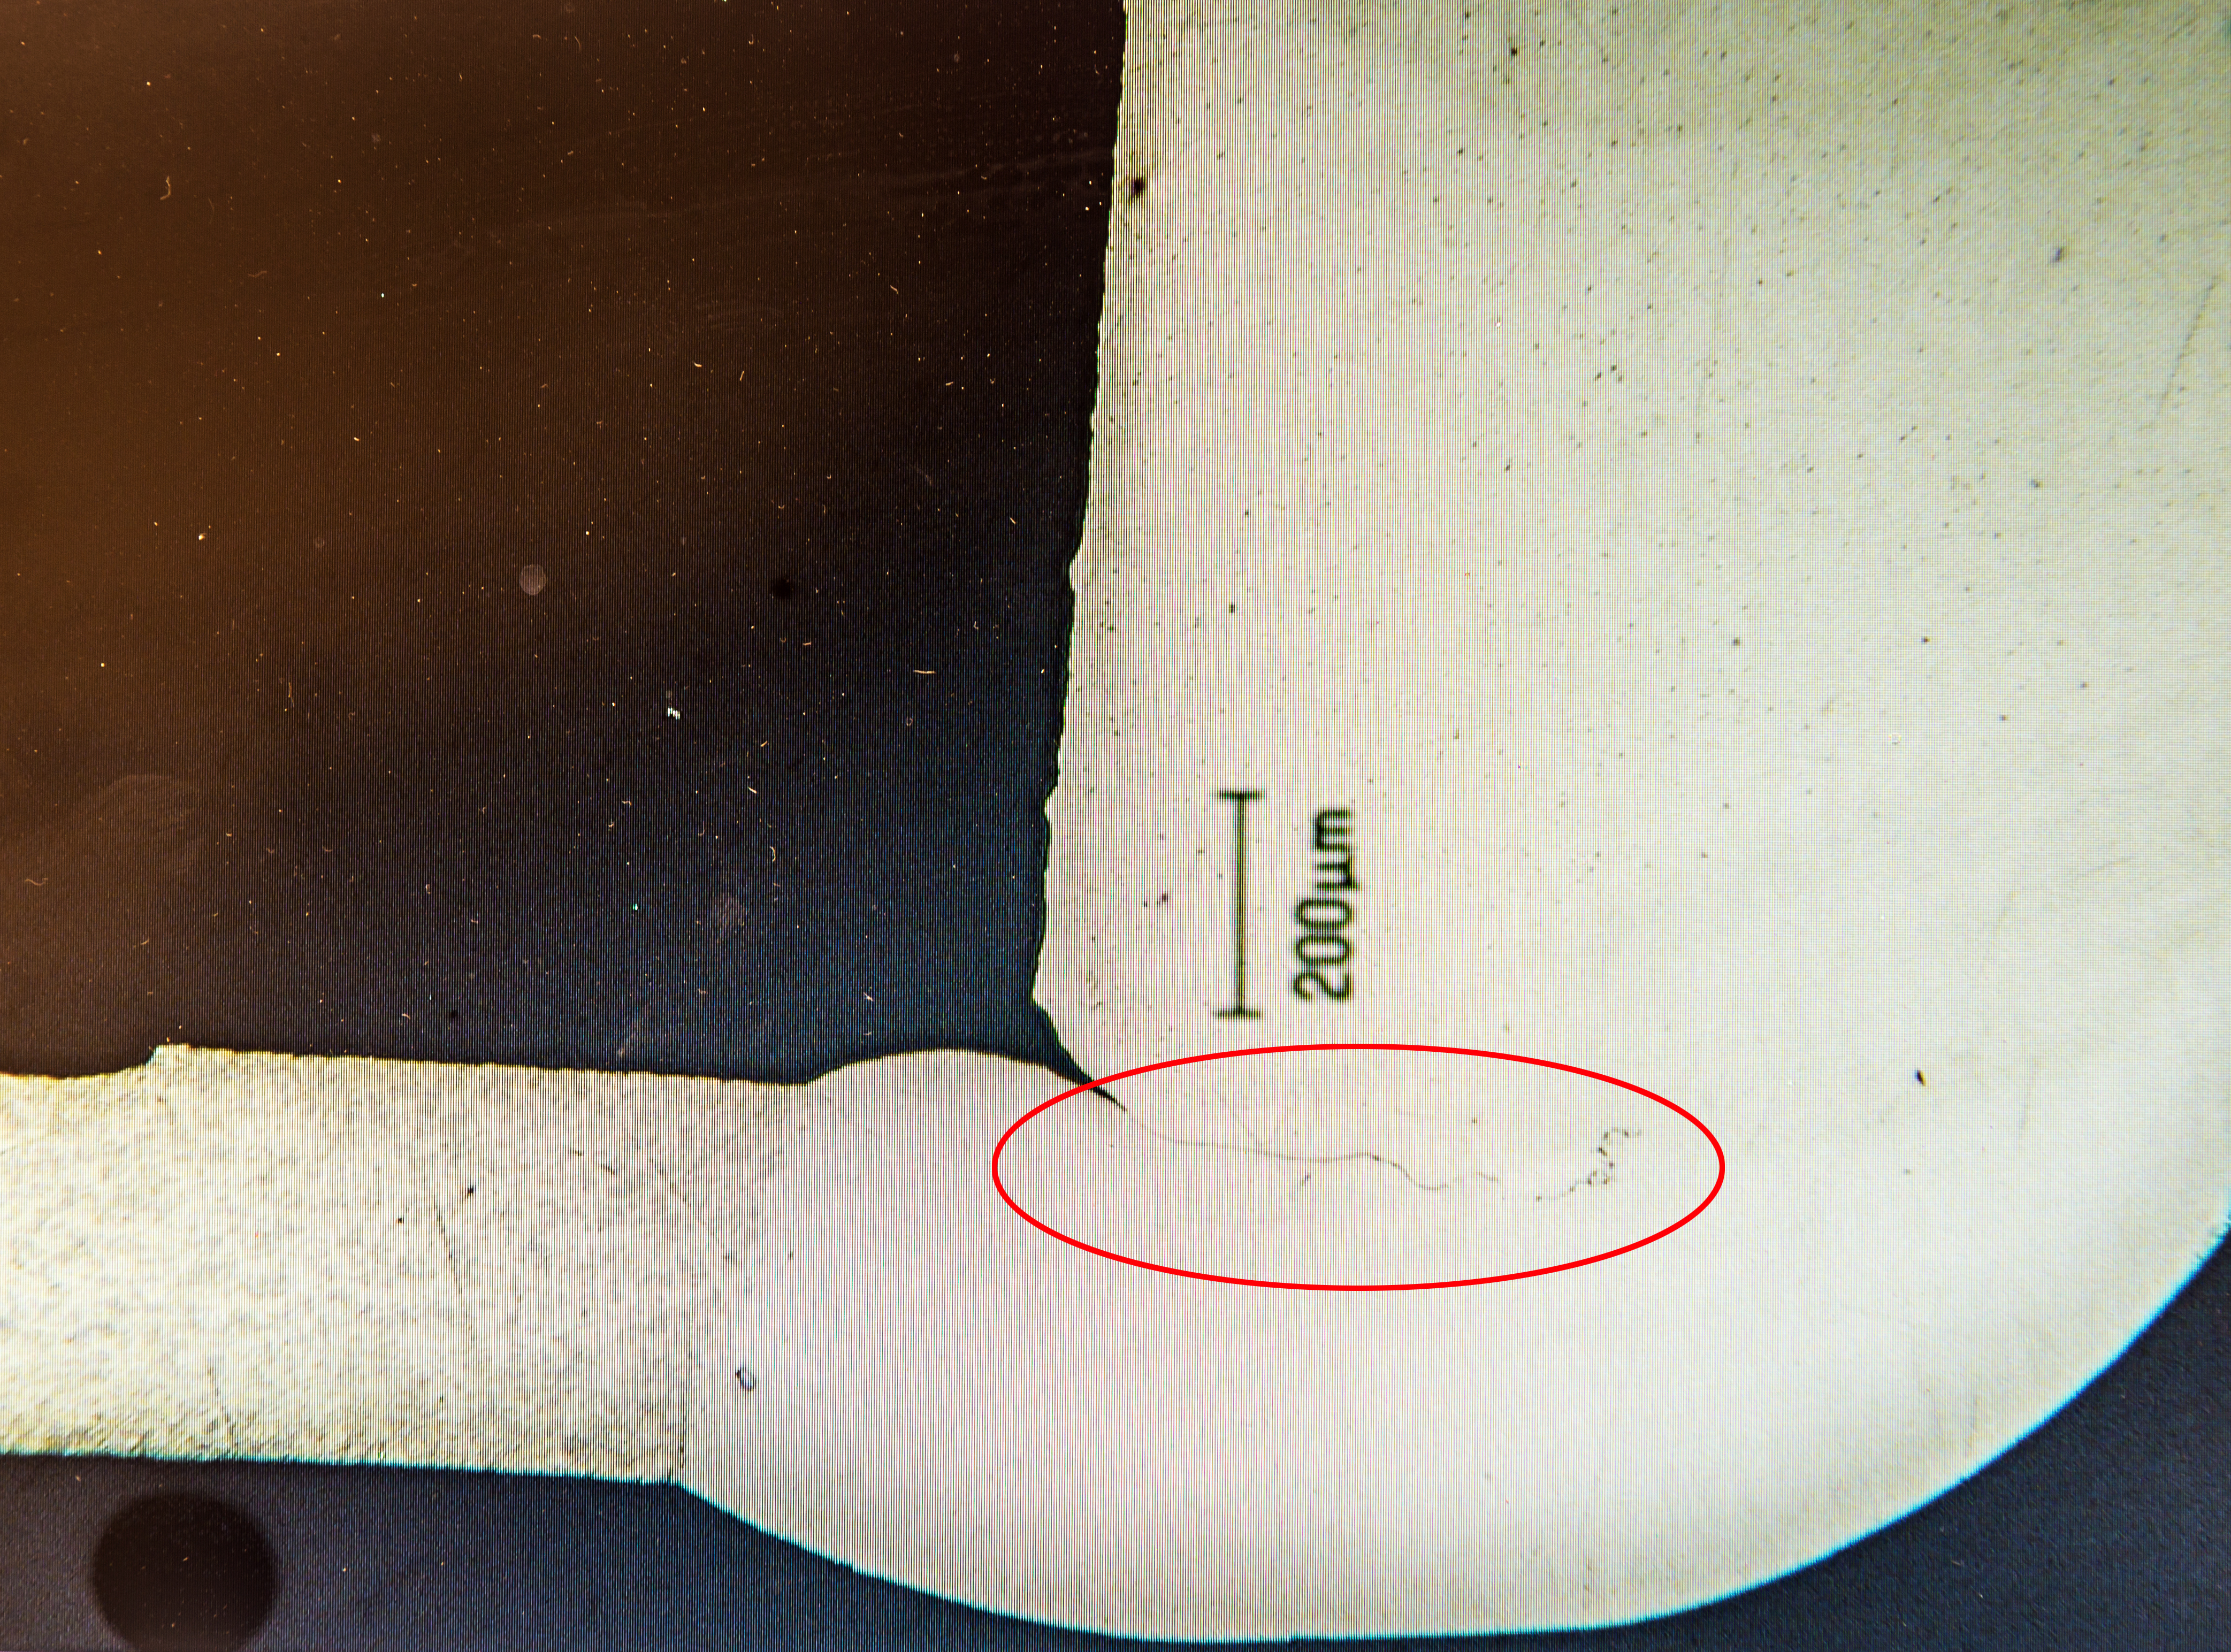
In these images, you see cross-sections of a new design’s base plate. When imaged through a microscope, one can see the hairline crack splitting through a corner region. This is exactly the sort of thing engineers want remedied before completing the Design phase.
MORE: Best SSDs For The Money
MORE: How We Test HDDs And SSDs
MORE: All Storage Content
-
tom10167 Awesome photos. I don't know what the last picture is but I know I need one of those in my house.Reply -
Rookie_MIB ReplyAwesome photos. I don't know what the last picture is but I know I need one of those in my house.
That is an enterprise storage rack full of 2u hotswap chassis. 18 chassis, 12 drives per chassis = 216 drives @ 6tb (?) per drive = 1,296 terabytes or 1.3 Petabytes.
You could store a lot of TV shows or movies on that thing. Imagine how many of those are used for YouTube? Yikes. They get 300 hours of footage uploaded every minute. -
Mike-TH So if their testing is so good, why are their drives among the worst for reliability - to the point where most IT people I know actually refuse to use them, or if forced to use them will keep (and use) more spares than for other makers.Reply -
Tom20160027 The article explains the different types of drive/MTBF and why the backblaze test is useless information. Marketing plot to have folks talking about it and re-posting its link. It seems to work as we keep seeing the link over and over... They are not getting my data. They put drives designed for desktop into servers and run them to the ground and call it a "reliability test". Let's test my kids bicycle with training wheels at the Tour de France and complain about its quality....Reply
I know IT folks that refuse to use other brands of drives as well. I know IT folks that refuse to use servers from this brand or that brand. We can find anecdotal information about anything. It does not make it true. -
Glock24 Seagate tests their drives? I thought they didn't!Reply
I've had more Seagate drives die without warning than any other brand. The only ones that have survived are some old 250GB Barracuda ES. All other models I've owned had lots of bad sectors or just stopped working before the first year, but SMART almost always says the drive is fine! -
zodiacfml Yawn. All I think of right now is that HDDs will become the tape drives of the past.Reply -
Garrek99 The only drives I've ever had go bad on me were Seagate drives.Reply
Every other drive I've ever purchased simply became obsolete due to size and thus replaced.
They should be reading about how the other drive makers do their testing and learn from that. Hahaha -
rosen380 Maybe things changed... but all of my old SGI machines always had Seagate drives in them and the 20+ year old drives all still work. Hell look at what these drives *sell* for on eBay:Reply
http://www.ebay.com/sch/i.html?_sc=1&_udlo=0&_fln=1&_udhi=200&LH_Complete=1&_ssov=1&_mPrRngCbx=1&LH_Sold=1&_from=R40&_sacat=0&_nkw=%28st31200N%2C+st32171N%2C+st32272N%2C+ST34371N%2C+st34520N%2C+st34573n%2C+st39173N%2C+st318417N%2C+st52160N%29&_sop=16
4.5 GB drives *selling* for $150+ I see a 2Gb for $120.
They must have been pretty decent at some point if SGI was putting them in their $5000-20000 workstations and people are spending $40+ per GB to get these now...
