Tom's Hardware Verdict
LulzBot’s TAZ Sidekick is an excellent printer with classic features, name brand parts and a side of sticker shock.
Pros
- +
Quality prints
- +
Easy assembly
- +
Auto bed leveling
- +
Direct drive
Cons
- -
Expensive
- -
No brake to prevent the tool head from falling during power failure
Why you can trust Tom's Hardware
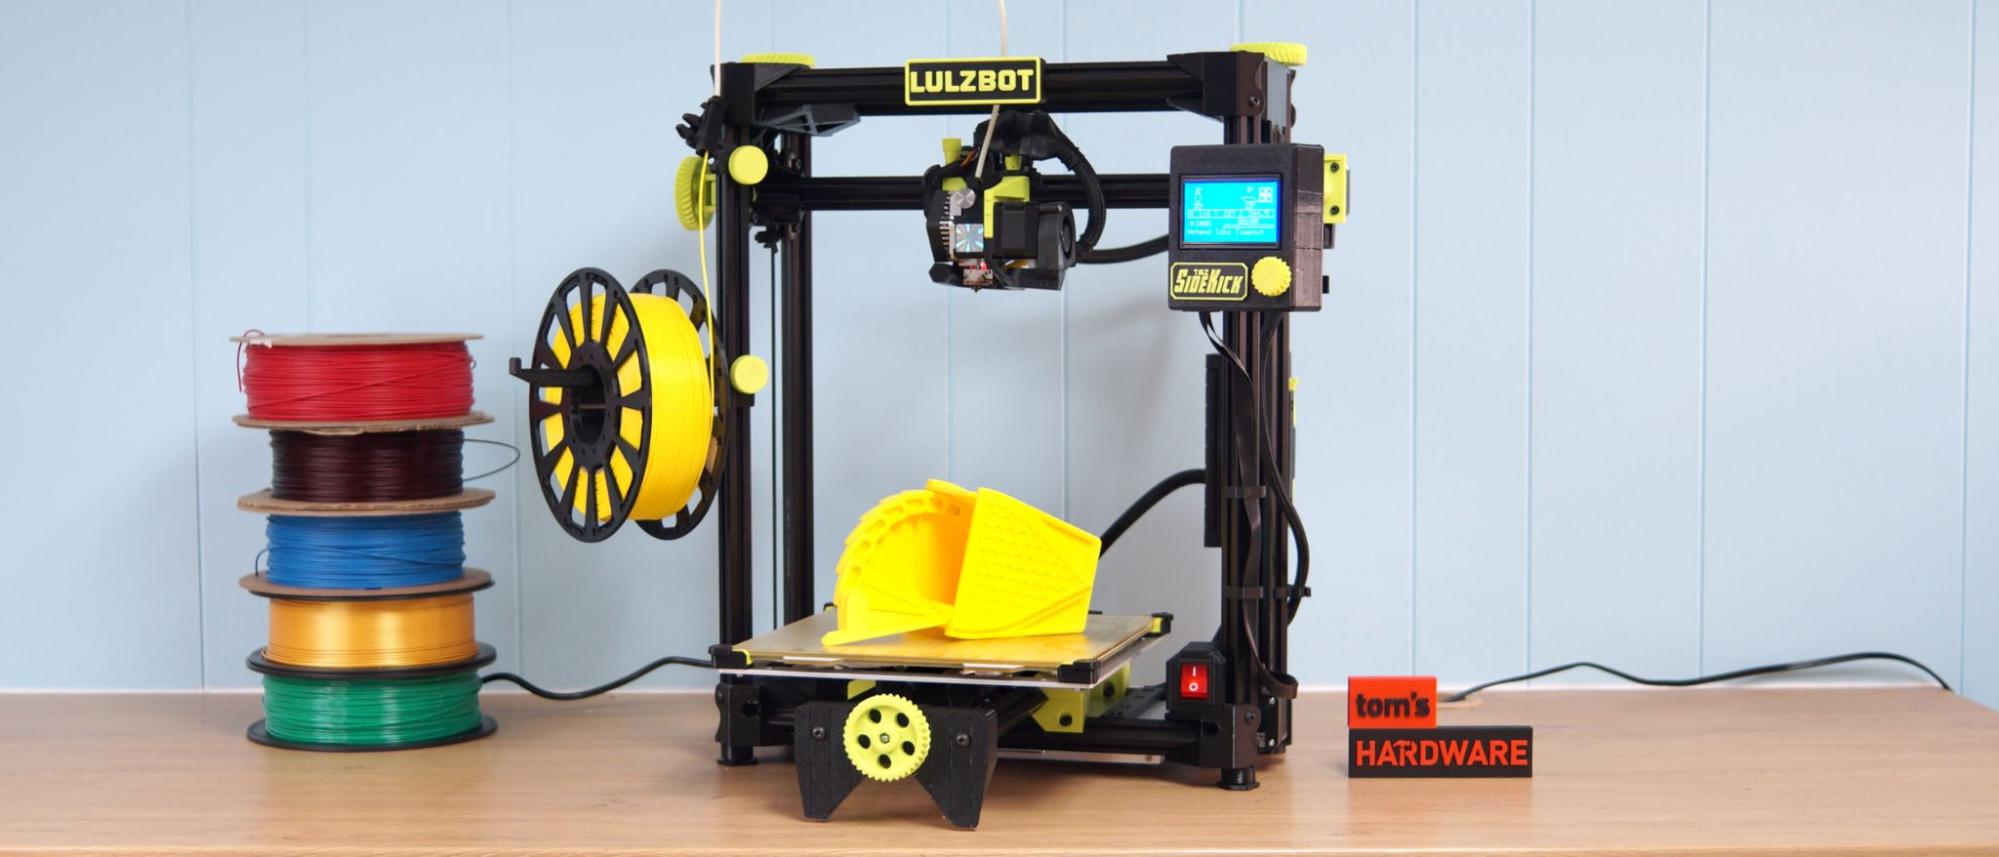
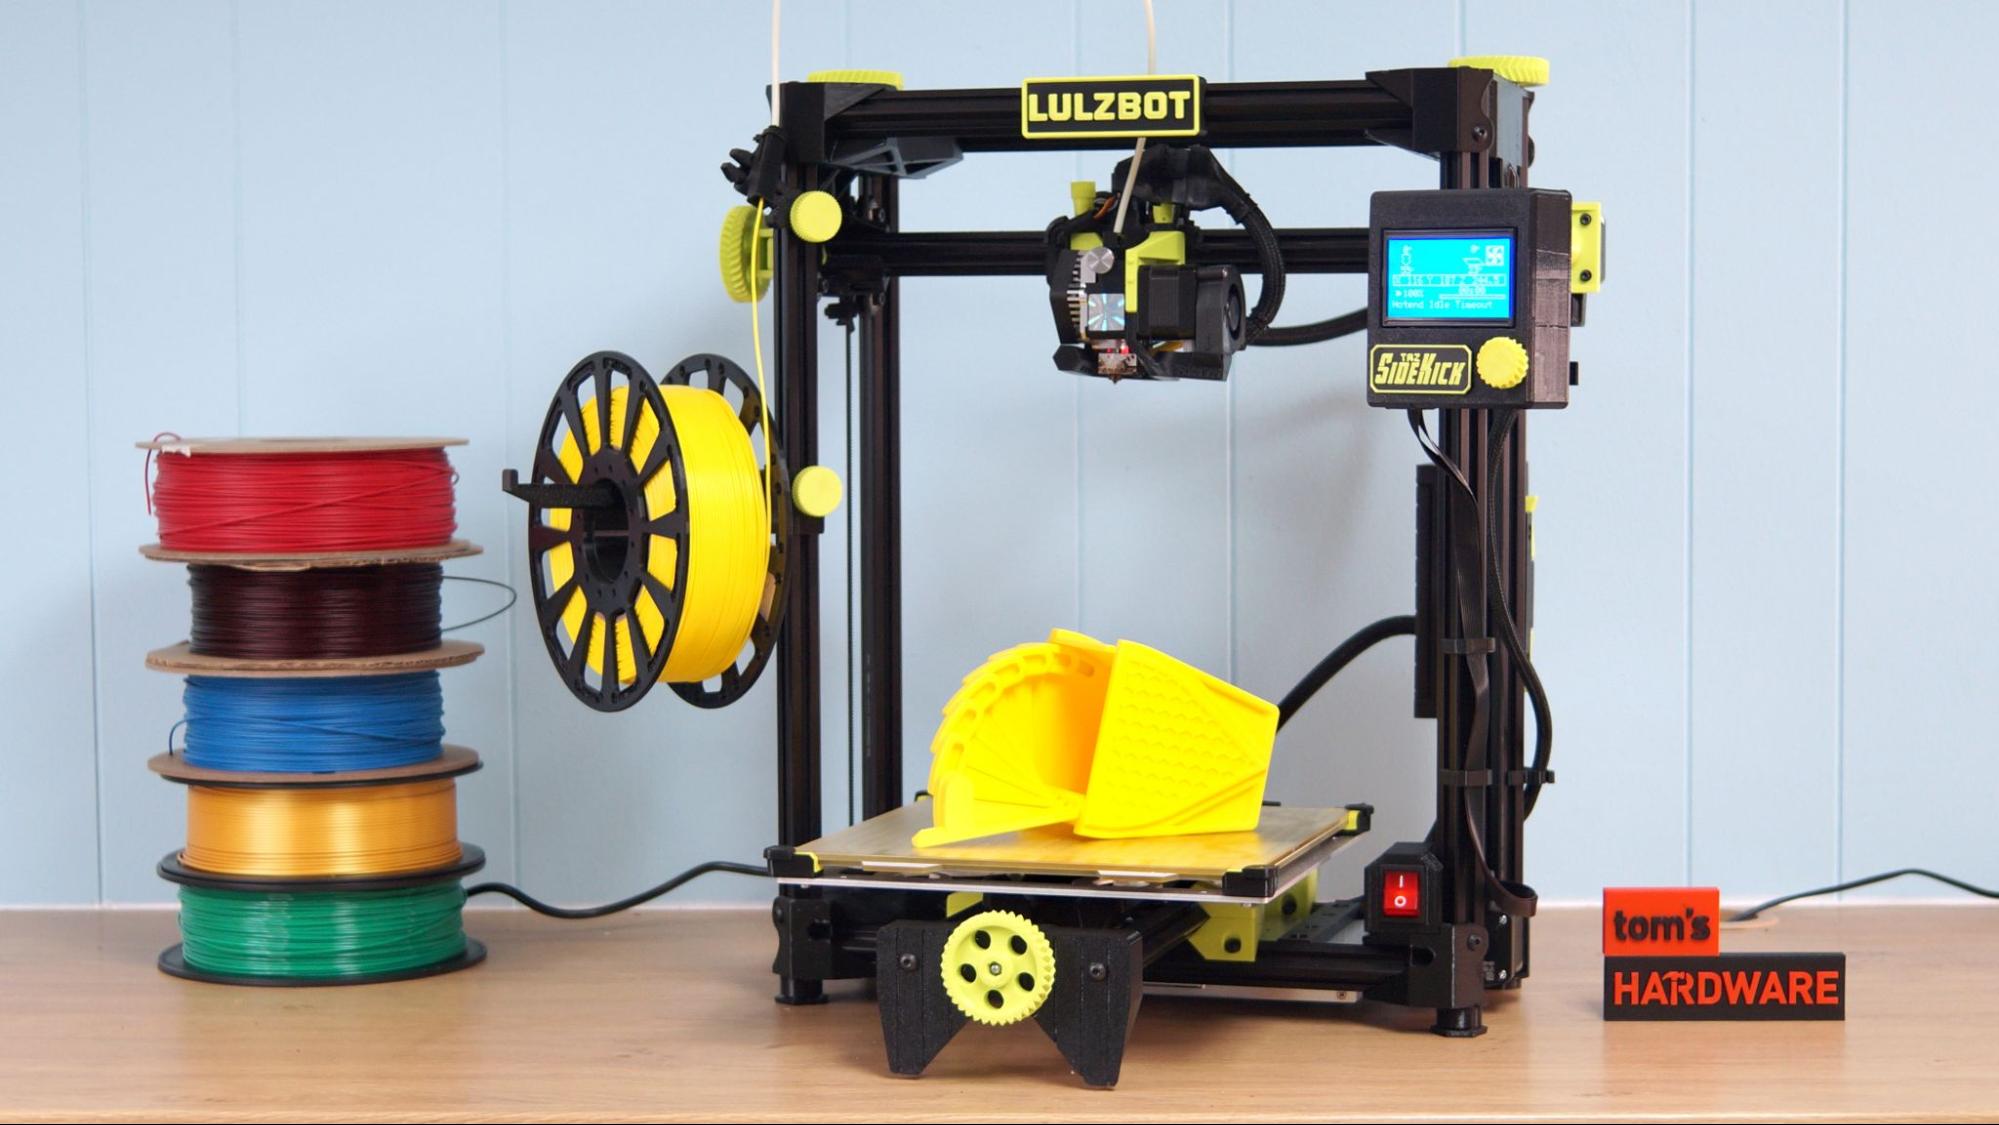
The LulzBot TAZ SideKick 747 is a premium American made 3D printer with roots stretching back to the first consumer level machines. The TAZ Sidekick comes stock with a direct drive, auto bed leveling system and PEI coated glass bed. It doesn’t need any tools to assemble and arrives folded up in a neatly packed box.
I really enjoy using this whimsical, old school 3D printer. It’s fun. It’s green. It’s covered in octopi arms. It feels solid and makes a cool humming noise as its belts whip the Z axis up and down. Retailing at $1285 for the Standard Edition, the TAZ Sidekick 747 is not going to fit everyone’s budget. Designed to take on the best 3D printers and win, this is a well-built machine with quality, name brand parts that’s assembled in America where labor costs are more expensive than overseas.
Another premium perk is a customer service team that can be reached by phone. Anyone who’s ever attempted to troubleshoot a weird noise via email knows this is worth a few bucks. The service team is most useful to US customers, as they’re located in the Midwest and only available during the business week. I tried it after getting a clog – I’m purposefully rough on my test machines – I called up to see how good the service might be. I was given some basic advice, told where to find photos of my tool head online, then walked through how to dismantle the direct drive to pick the gears clean. They were really helpful.
In addition, all LulzBot printers are open source, which means anyone can browse through Github, find an STL file and print replacement parts. Don’t like the knob colors? Reprint them. Break a piece off? Reprint it. In fact, I’ll be doing exactly this for a future review of an E3D Revo Hemera I’ll be installing on the SideKick 747.
Specifications: LulzBot TAZ SideKick 747
| Machine Footprint | 24 x 28 x 21.5 Inches (609.6 X 711.2 x 546.1 mm) |
| Build Volume | 231 x 231 x 248mm (9 x 9 x 9.25 inches) |
| Material | PLA/PETG/TPU/ABS |
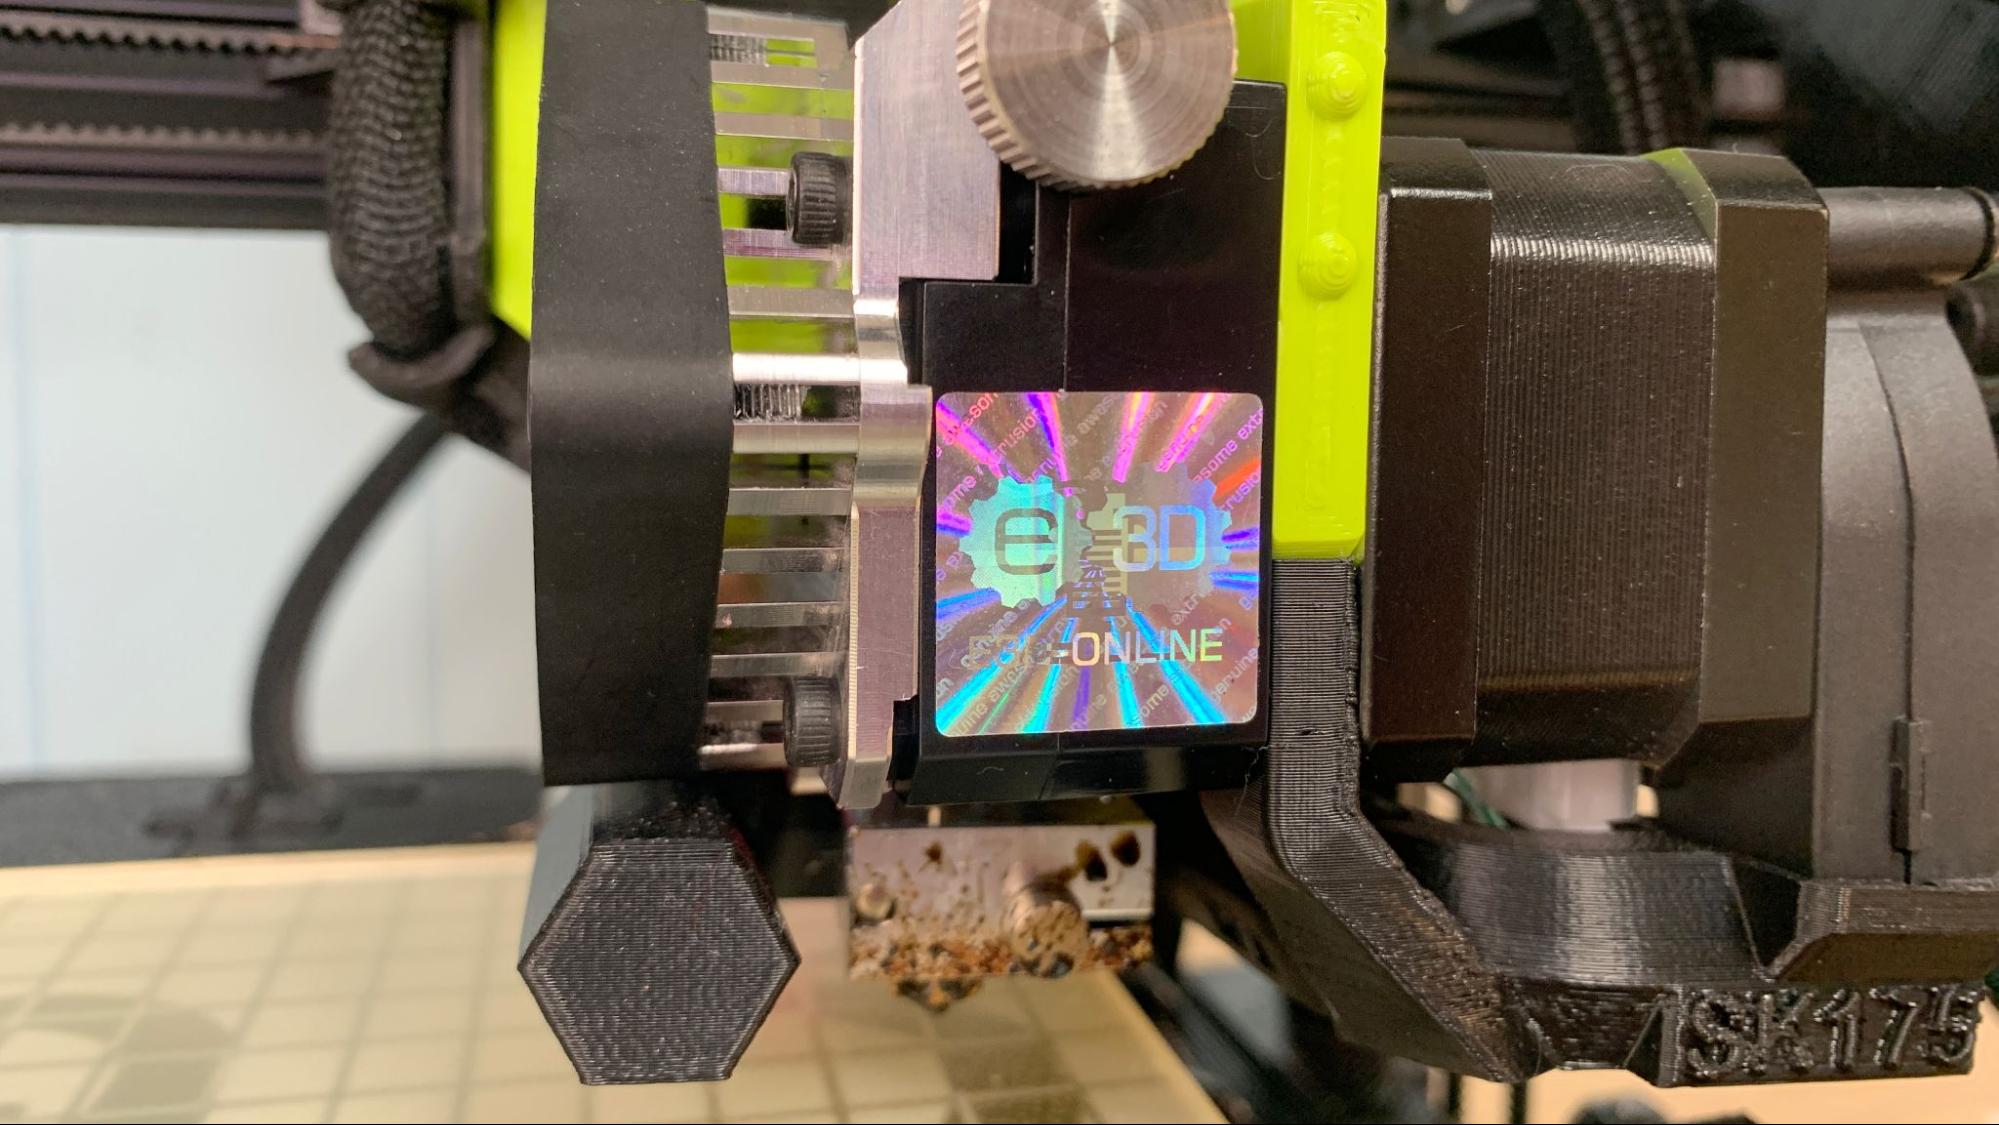
| Extruder Type | Direct Drive E3D Titan Aero |
| Nozzle | .5mm E3D V6 |
| Build Platform | PEI coated glass |
| Filament Runout Sensor | No |
| Bed Leveling | Genuine ANTCLABS BLTouch |
| Connectivity | SD card, Type-C USB |
| Interface | LCD with knob |
LulzBot TAZ SideKick 747: Included in the box
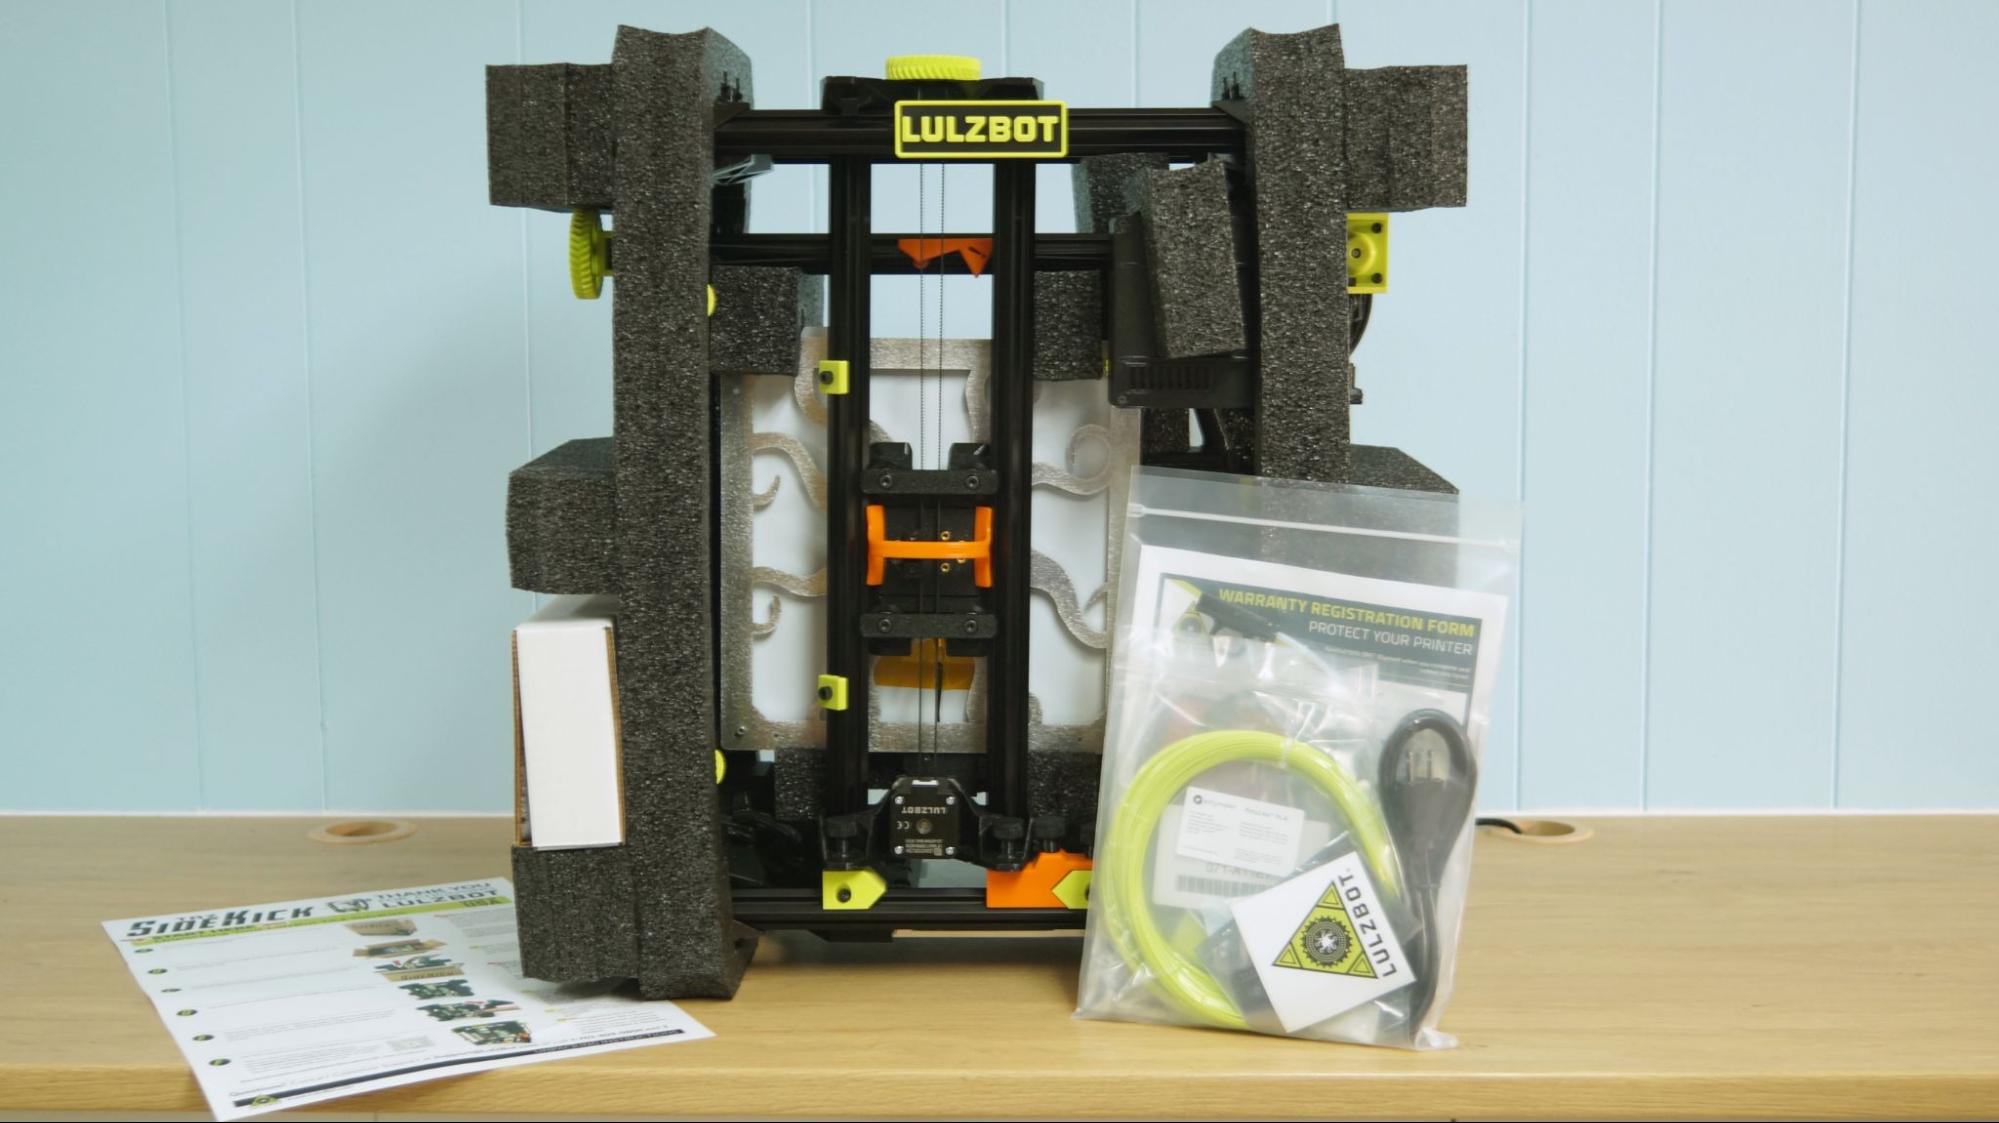
The LulzBot TAZ SideKick 747 doesn’t come with much, only a set of heavy-duty hex wrenches, a USB cable, a full sized SD card and two sample coils of LulzBot green PLA. There’s also a sample of 3D Gloop.
The SD card has a copy of Cura Lulzbot 3.6.2, a custom version of Cura’s slicing software. There’s a paper copy of the quick start guide for setting up the printer, and a PDF copy of the User’s Manual on the SD Card. A test model – the LulzBot octopus – is also on the SD card.
This is one manual you should really flip through. It has the most comprehensive collection of tips and advice on 3D printing, from what temperature to use for a wide variety of filament, to in-depth troubleshooting advice for quality prints.
Get Tom's Hardware's best news and in-depth reviews, straight to your inbox.
Design of the LulzBot TAZ SideKick 747
The LulzBot TAZ SideKick 747 is a unique machine from one of the oldest manufacturers of professional desktop 3D printers. It’s American made – with over 50% of the machine 3D printed by other LulzBots at a factory in Fargo, ND. The SideKick’s default hotend is a brand name direct drive Titan Aero from the UK’s E3D. There are no cloned or “inspired by” parts on this printer. Even the USB cord came from a company in Chicago.
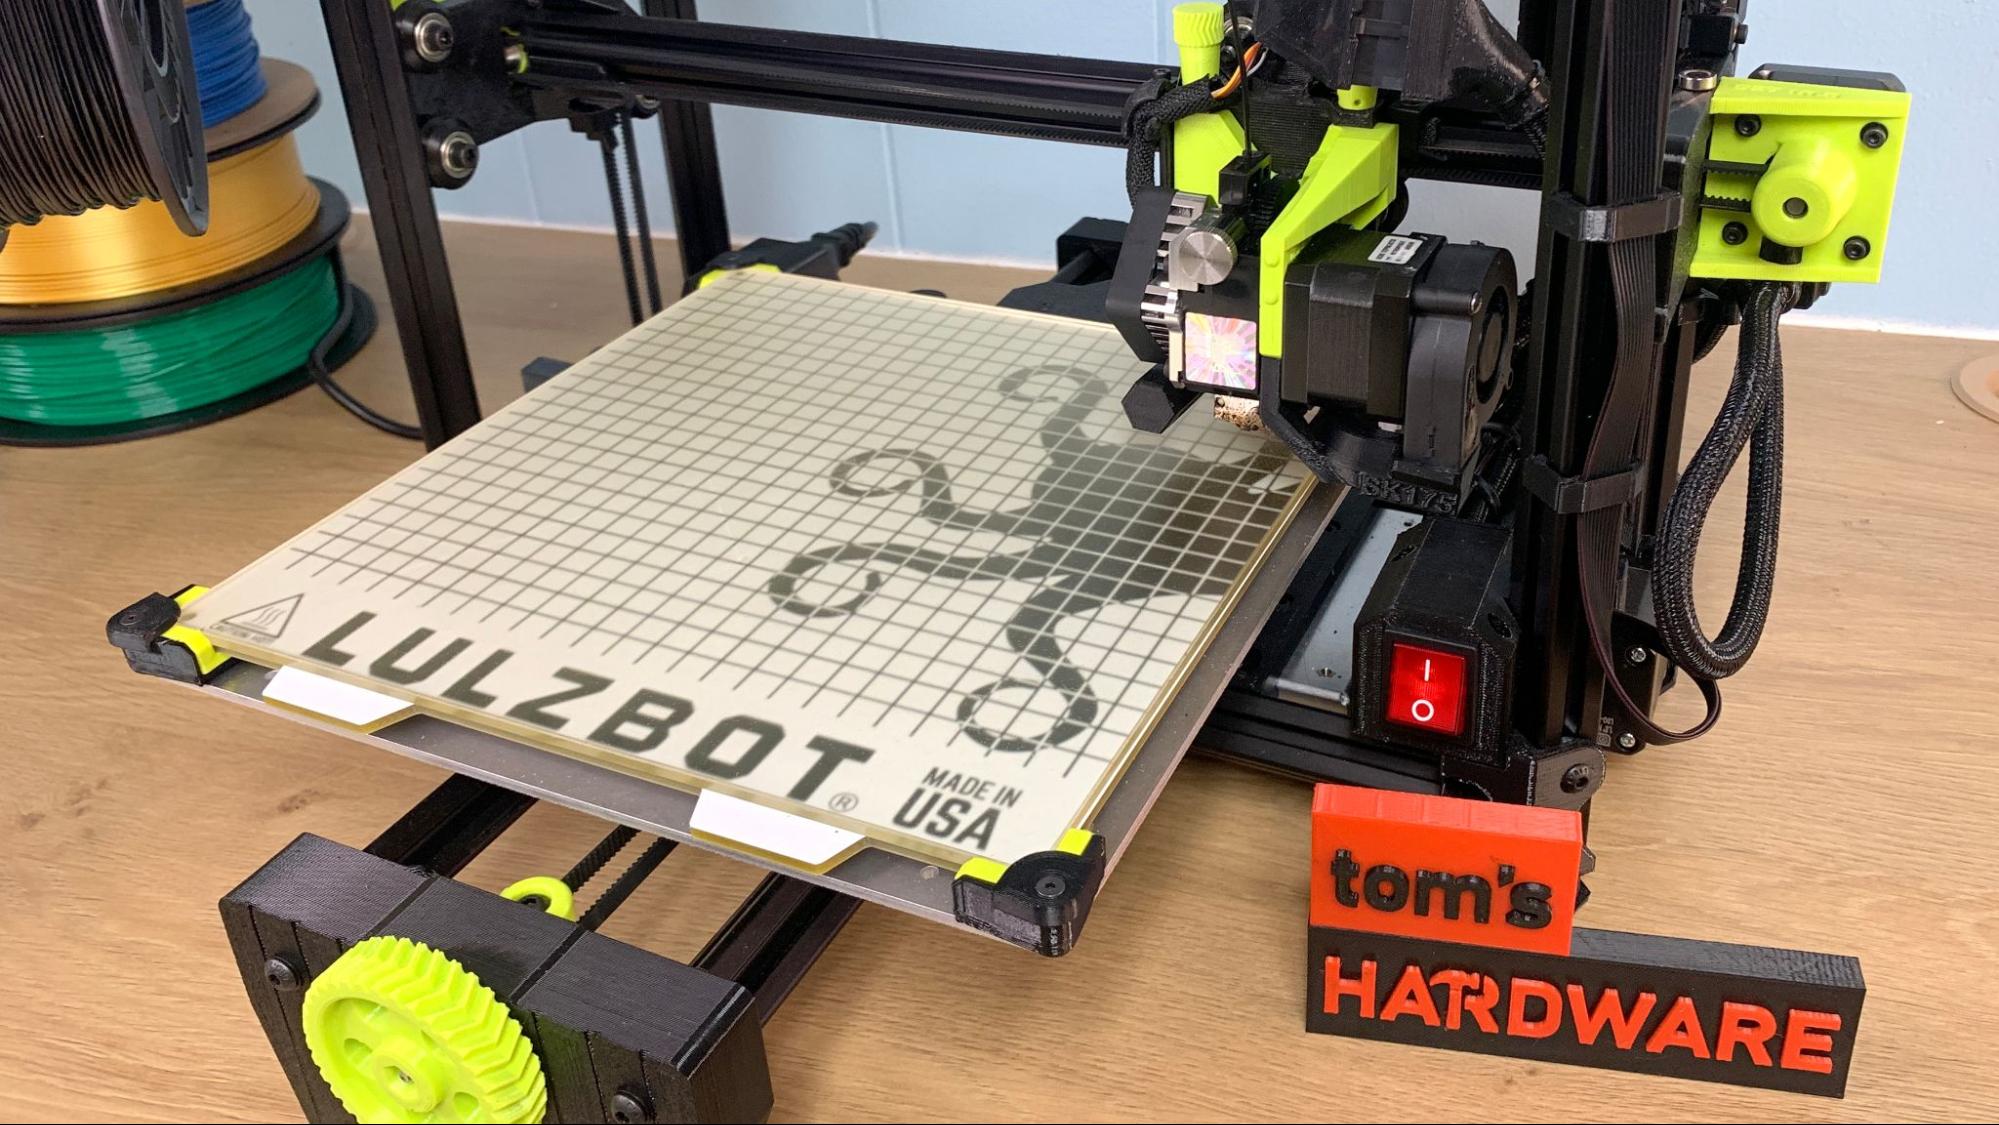
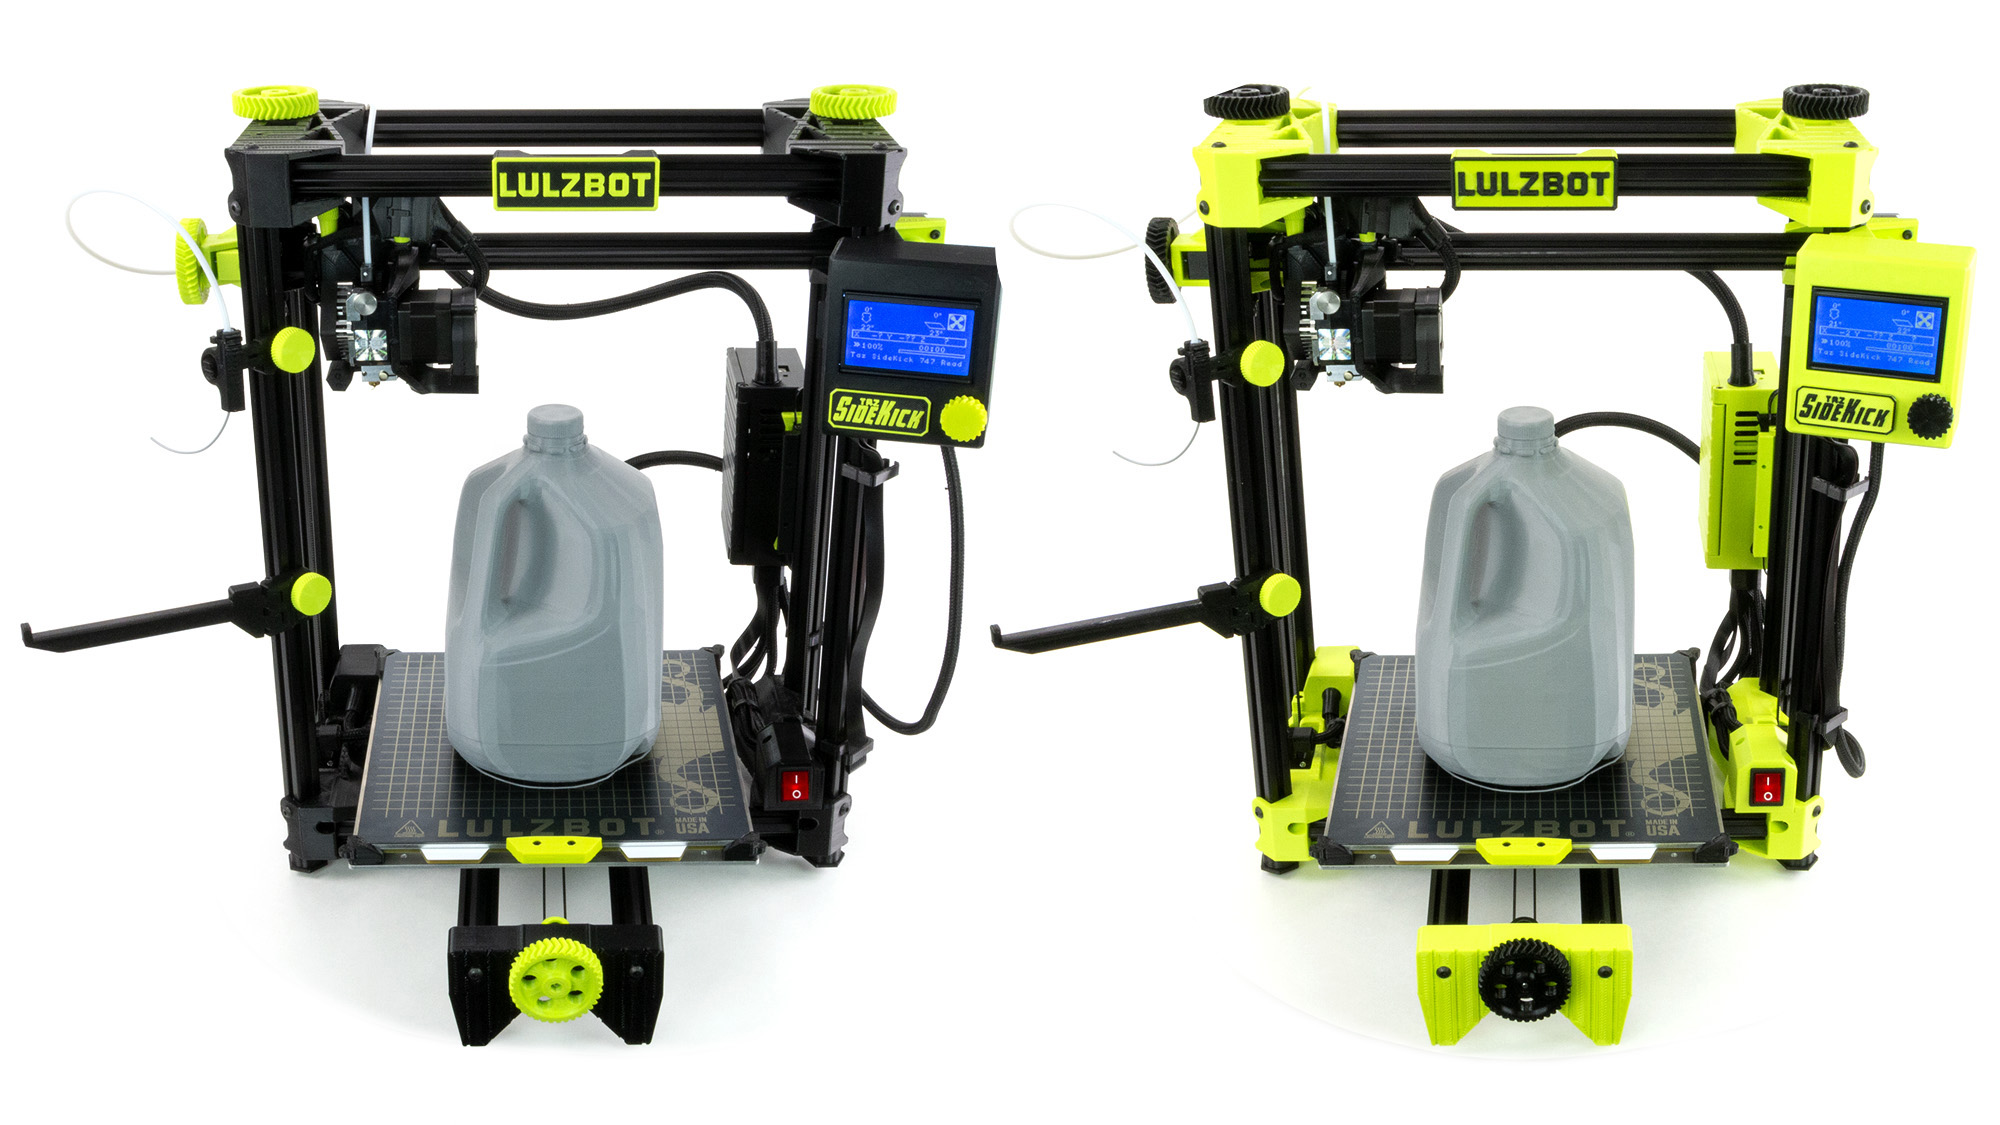
The most striking thing about the TAZ SideKick is the appearance of its 3D printed parts, which come in two combinations of black and LulzBot neon green. Stealth Black – like our test unit – is mostly black with green accents. LulzBot Green is the reverse. Parts are printed in PETG and the quality is quite good. There’s a prominent “Made in USA” and LulzBot octopus branding on the build plate. You will not mistake this printer for any other machine.
The TAZ Sidekick has a double gantry of slim extruded black aluminum, with all the bars set at a 45-degree angle. This makes it look quite different from any other machine, though I’m not sure if this was done for strength or just style.
I was surprised to find a Bowden tube on the SideKick, as this is a direct drive machine. It turned out to be a “reverse Bowden” and the tube is to help guild the filament from the side mounted spool holder, over the gantry and into the hotend. I wasn’t particularly fond of it, especially since it kept popping off every time I unloaded filament. Eventually I cut the tube down to a few inches at the filament guide and it hasn’t been a problem since.
The spool holder was also a bit rustic for such an expensive machine. It’s a square sided peg that produces a bit of drag on cardboard spools. Taking the open source spirit to heart, I printed a tube to fit over the peg and smooth out the filament’s journey.
The TAZ SideKick uses belts for all three axes, which eliminates potential Z wobble from a wonky metal axis. When parked at the top of the machine, the X gantry is held in place with neodymium magnets. There is one flaw with this system – if the machine loses power while printing, there’s no brake and the hotend will fall into the unfinished print.
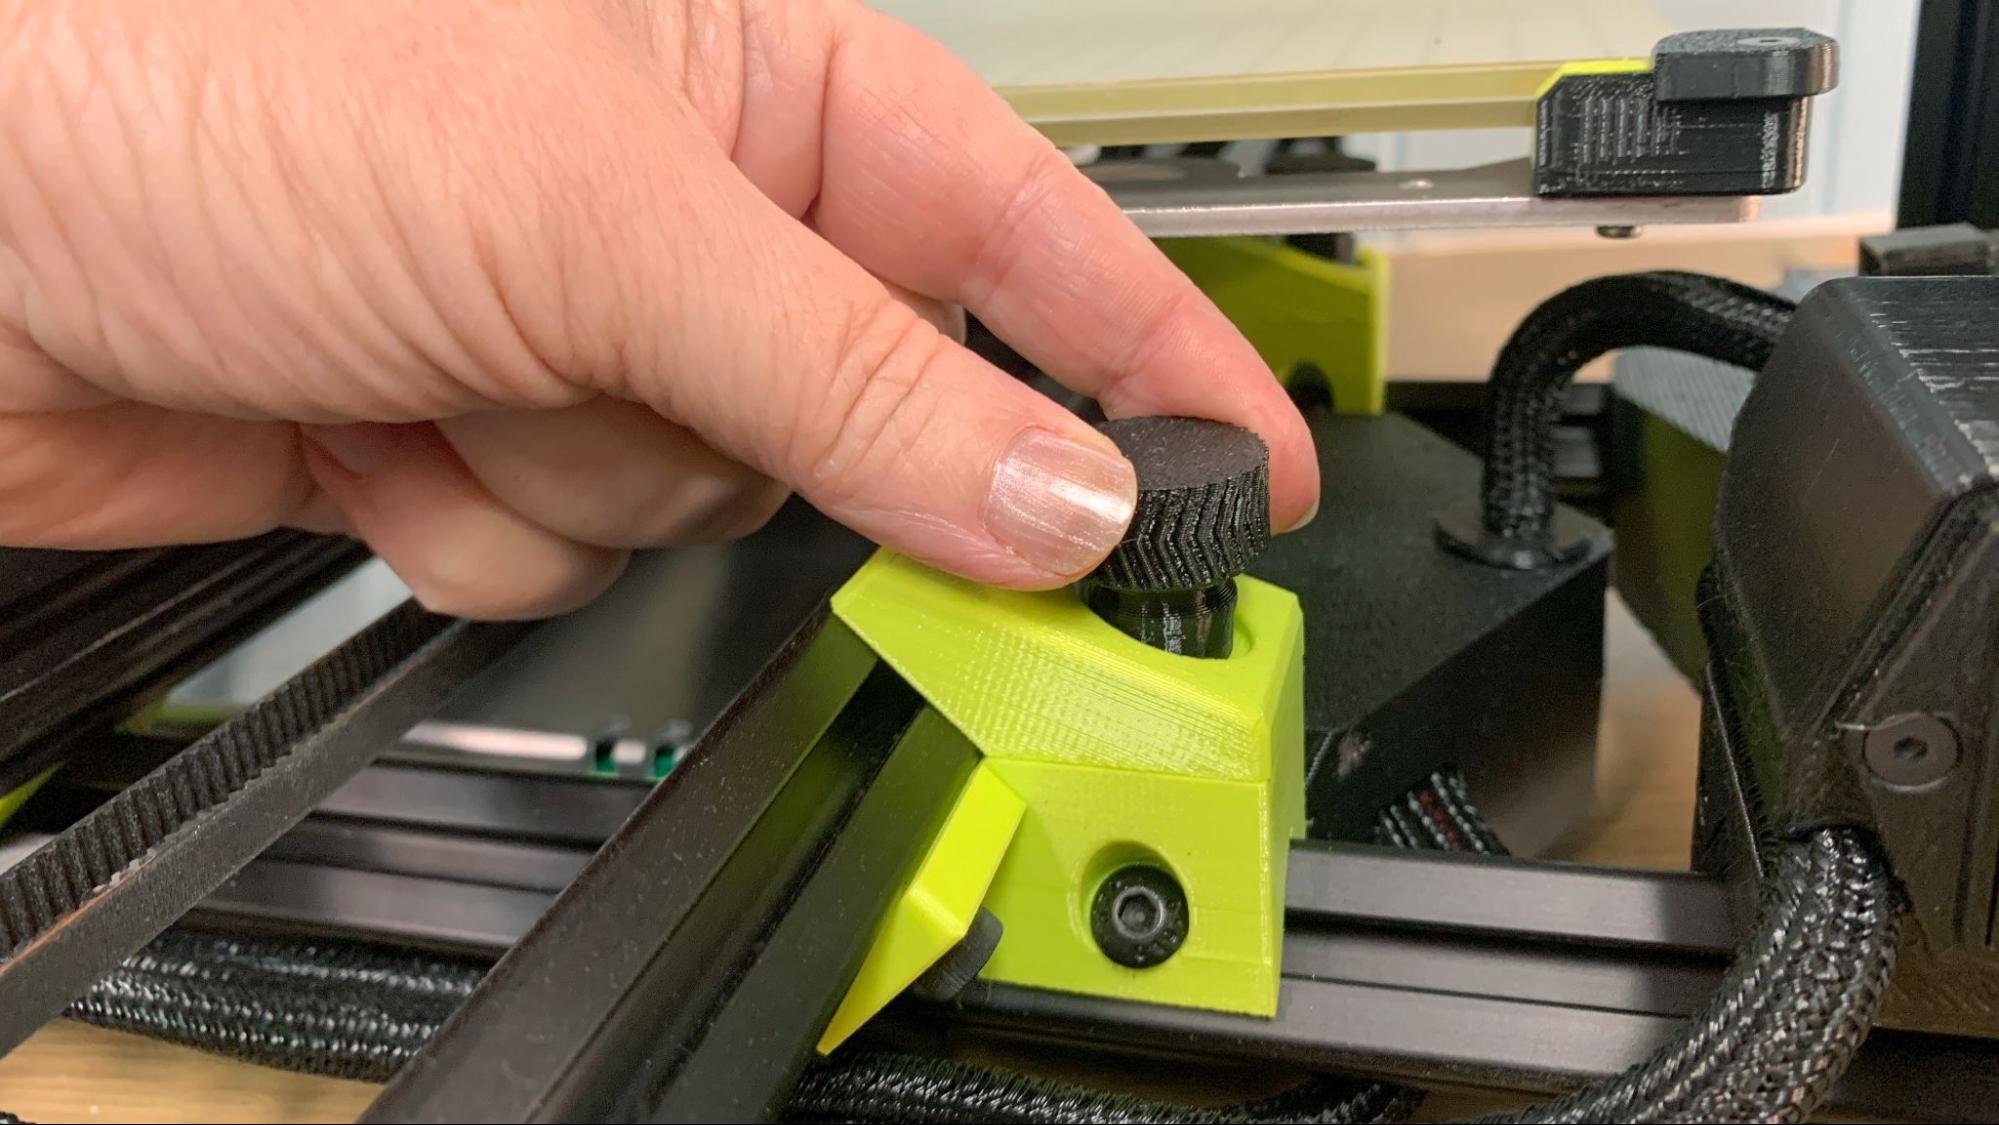
Our test machine is the Standard Edition and came with a borosilicate glass plate covered in a thick sheet of smooth PEI. This plate is held down with screwed-in corner pieces, so you can take it off for cleaning but you’ll have to leave it in place while removing prints. There is also an option to choose an OctoGrab magnetic flex plate, also coated in smooth PEI.
Speaking of options, when selecting your printer from the LulzBot site, you can choose the prepackaged Standard edition, or customize your machine. This lets you select the color, build surface, hotend and whether you need a display controller. Hotends come from E3D and Slice Engineering and have options for both 1.75 mm and 2.85 mm filament.
Is a LulzBot Taz SideKick Worth the Price?
You might be wondering why this printer is so expensive when compared to more popular brands. There are, after all, a lot of really good machines on our Best Printer list, and most are nowhere near this expensive. The Creality Ender 3 S1 and Anycubic Kobra are both excellent 3D printers with similar build volumes, direct drives, auto bed leveling, stock flexible bed surfaces and large touch screens. They’re also roughly one half to one third the price.
I’m not an economics expert, but it’s safe to say that Chinese companies have both cheaper labor and access to less expensive parts. Both LulzBot and Prusa Research are companies dedicated to open source – meaning their designs are publicly posted for all to see. Ideally, this allows others to take these designs and improve upon them. Or make them cheaper.
And what about Prusa? The wildly popular Prusa MK3S+ is nearly $200 cheaper for the prebuilt version and even less if you’ve got time for some DIY. For the last 10 years LulzBot and Prusa have placed their focus on quality, name brand parts. When you look closely, they have a lot in common. They both source parts from E3D, Bondtech, Ultimachine and LDO Motors. LulzBot uses a Mean Well power supply, while Prusa gets theirs from Delta.
They are both excellent, quality 3D printers that have decided to outsource to 3rd party vendors. This makes them both a bit expensive.
The difference between the two comes down to focus. Prusa has always been focused on “makers” and bringing 3D printing to the little guy. Joseph Prusa has embraced social media and his printers are as highly visible as his bright orange machines. LulzBot, on the other hand, spread its attention to a variety of markets. They currently have a TAZ Pro for $5000. They’re in the educational space, aerospace and even NASA space. In 2019 they teamed up with FluidForm and Carnegie Mellon University to explore bioprinted human tissue.
The TAZ SideKick is the company’s most recent attempt at an “affordable printer” since they were acquired by new owners. Did they hit the mark? It depends what you consider affordable. If a made in America product gives you the warm fuzzies, then this printer is for you. If you’re more interested in saving cash, then you certainly have options.
Assembling the LulzBot TAZ SideKick 747
The LulzBot TAZ SideKick is mostly pre-assembled and only needs to be unpacked, unfolded and put together with 3D printed thumbscrews. Tools are completely unneeded for the process, but they do supply a rugged set of hex wrenches just in case. It took me about 35 minutes to unpack and assemble the TAZ SideKick.
The printer is secured with several bright orange 3D printed clips for shipping. You’ll want to save these in case you ever need to put your printer back in the box for moving or shipping off to the LulzBot repair service. (Yes, there is an official repair service.)
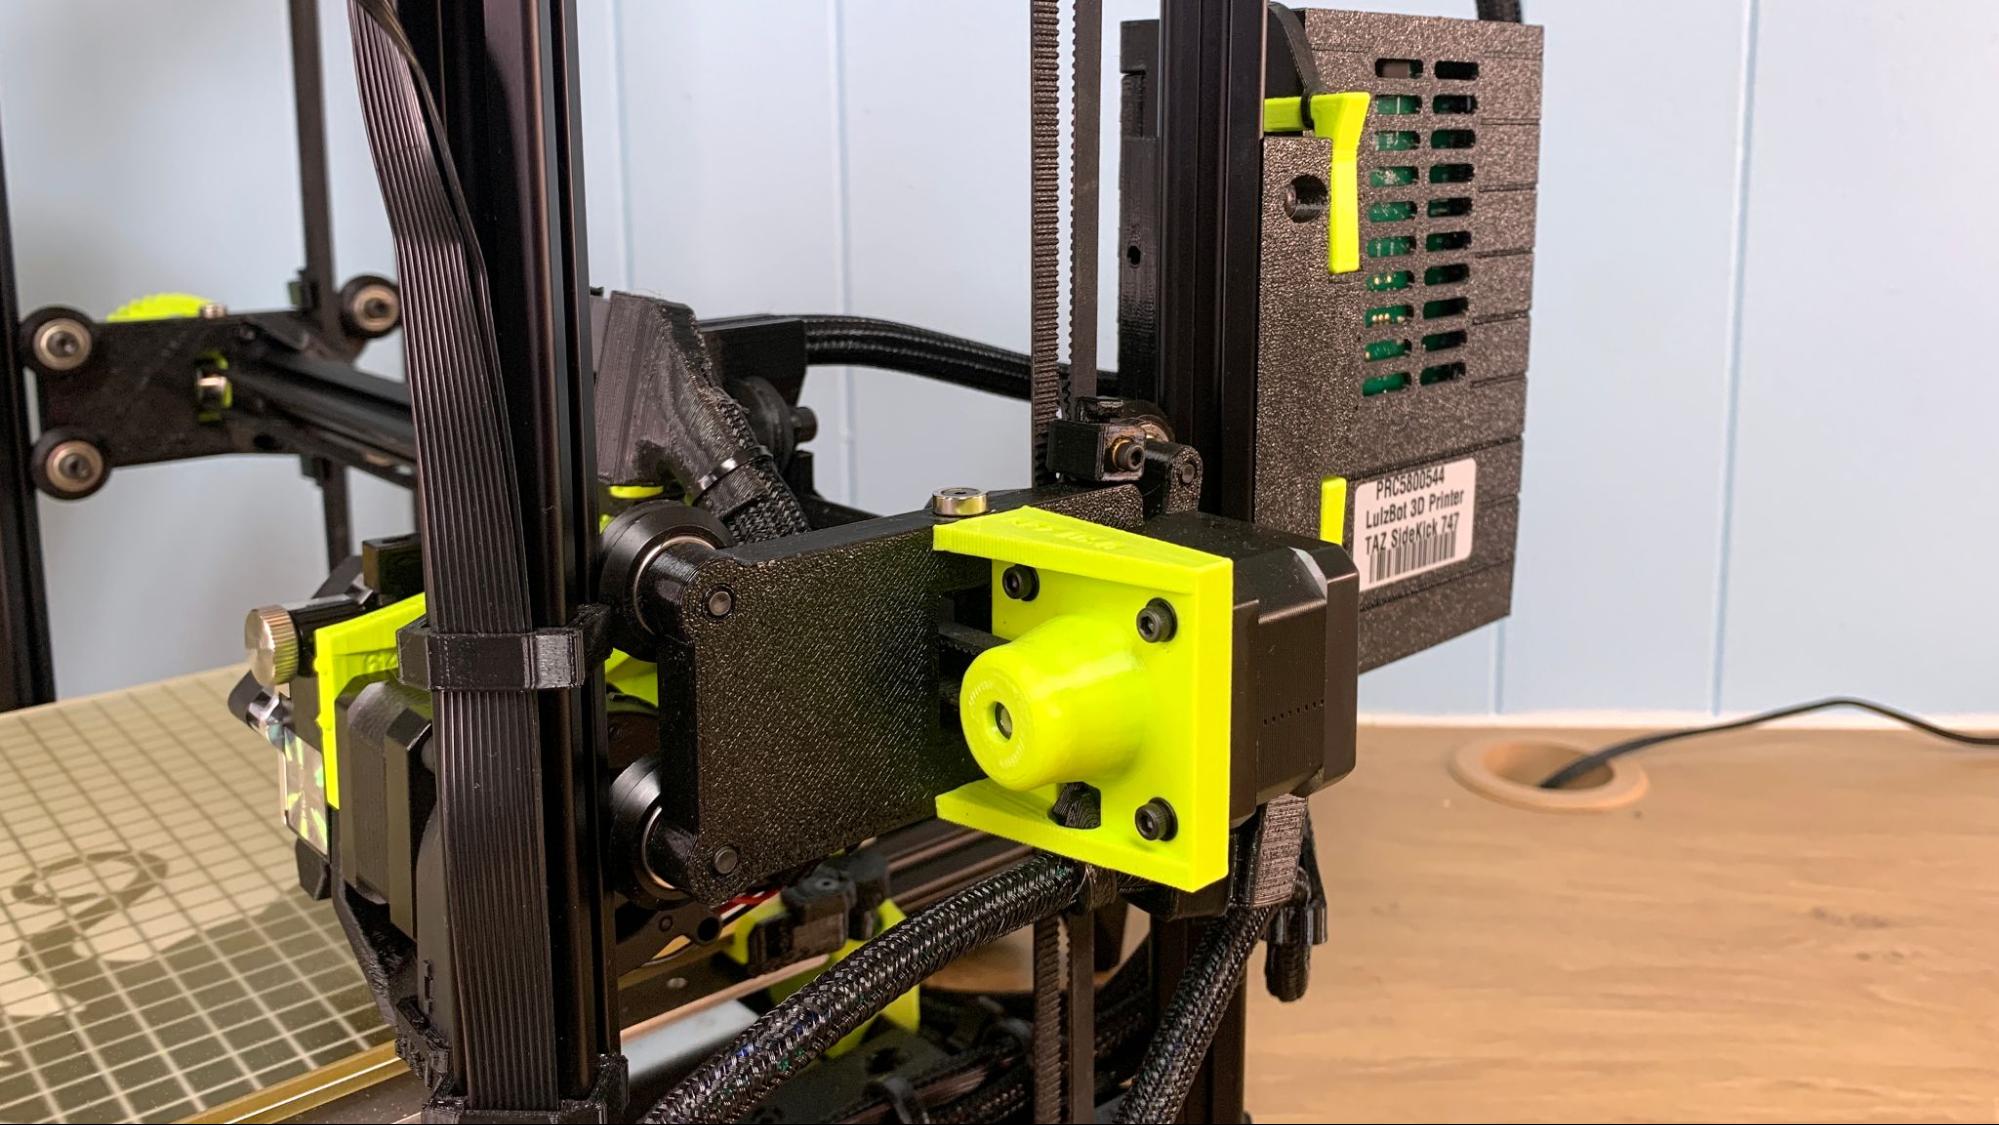
The Y-Axis assembly needs to be attached to the printer’s main frame and screwed down with thumb screws. The tool head is attached to the side frame for shipping and needs to be removed and reattached to the X-Axis. There are three thumbscrews to tighten to hold it in place. The wiring harness is pretty straightforward and easy to plug in. The spool holder is already attached and only needs to be unfolded and tightened at the desired height.
Leveling the LulzBot TAZ SideKick 747
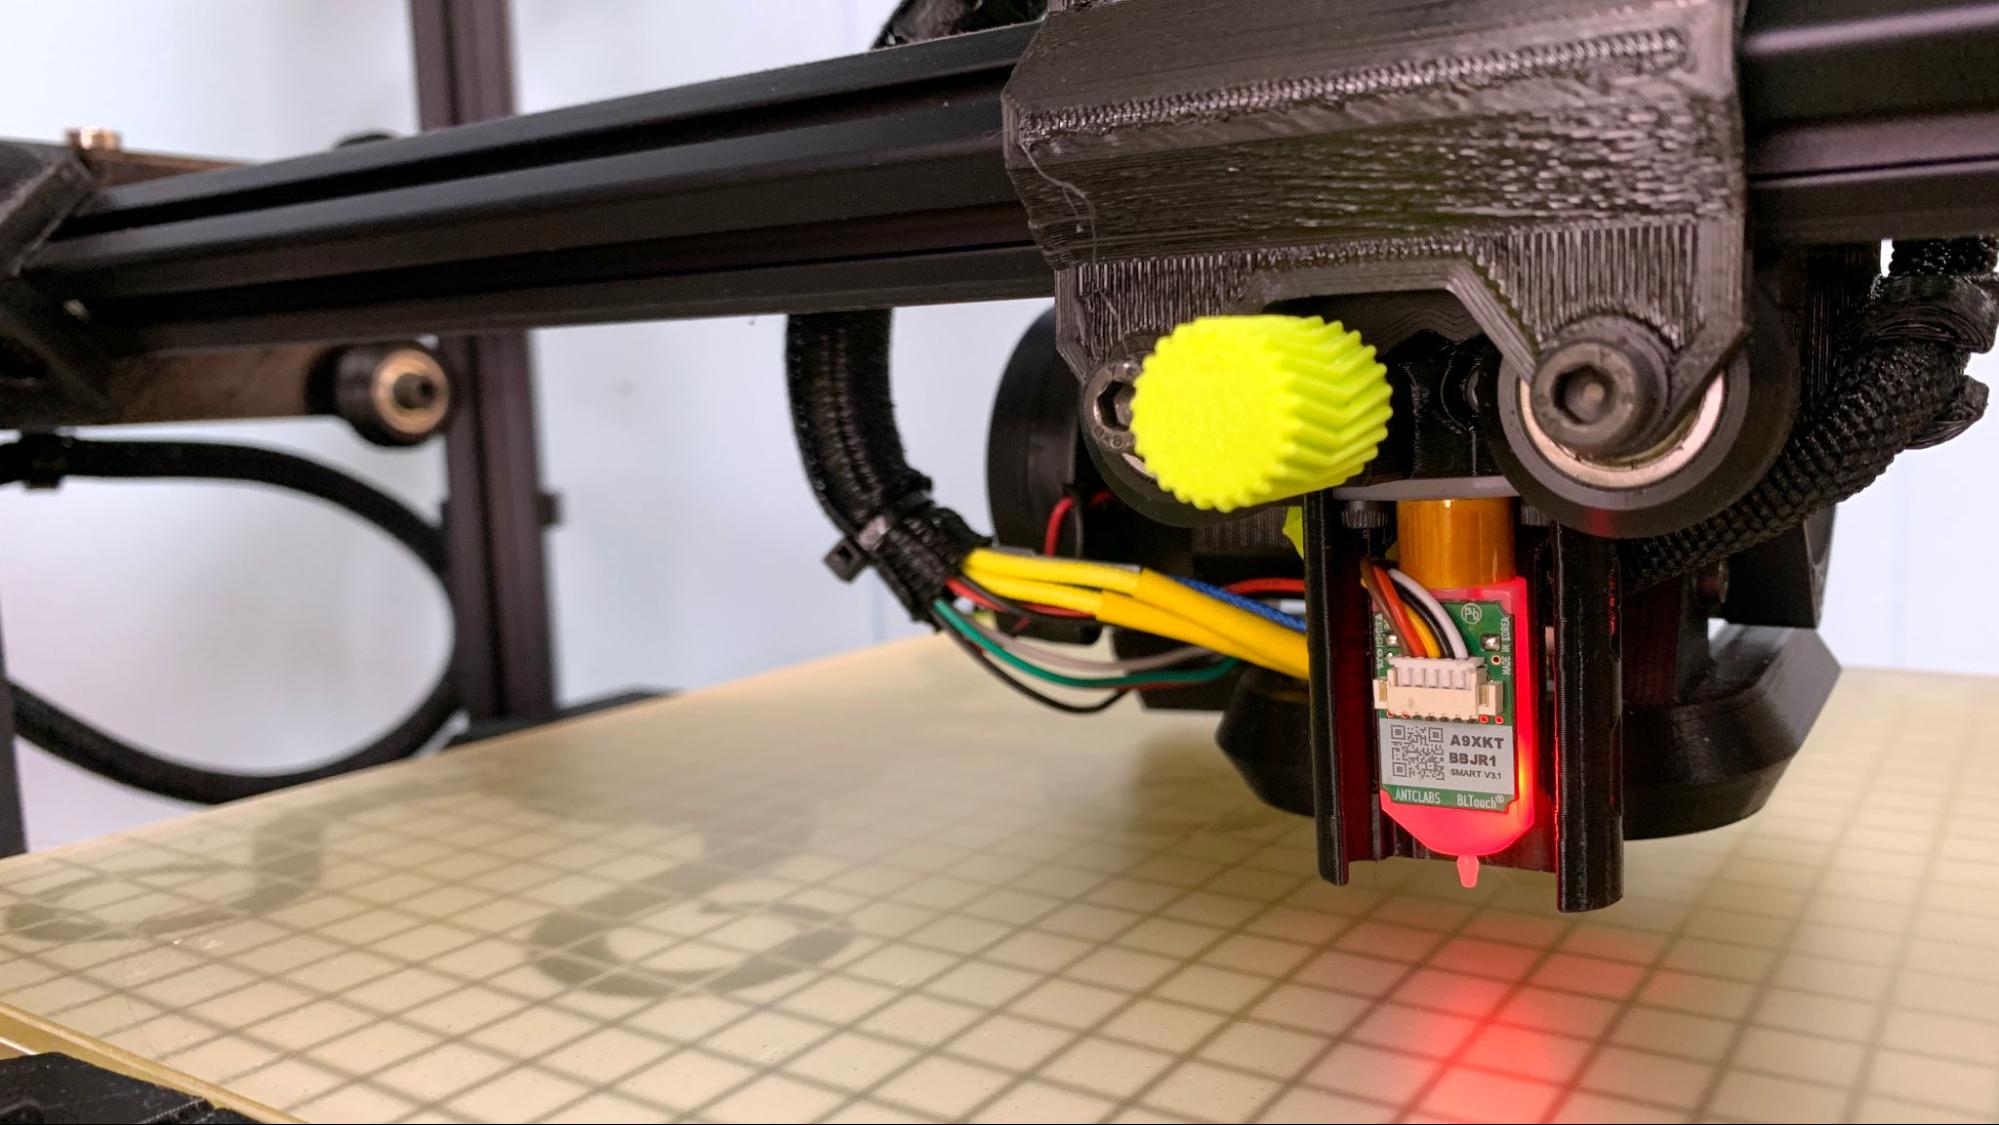
The LulzBot TAZ SideKick comes with a genuine BL Touch installed and performs a 16 point probe before every print to ensure accuracy. There are no manual adjustment knobs and everything must be leveled through the controller.
The Z offset has been set at the factory, so your first print should work perfectly. If you’re not happy with the layer adhesion, you can tune the Z offset by selecting Tune while it’s printing and then Z offset.
Loading Filament on the LulzBot TAZ SideKick 747
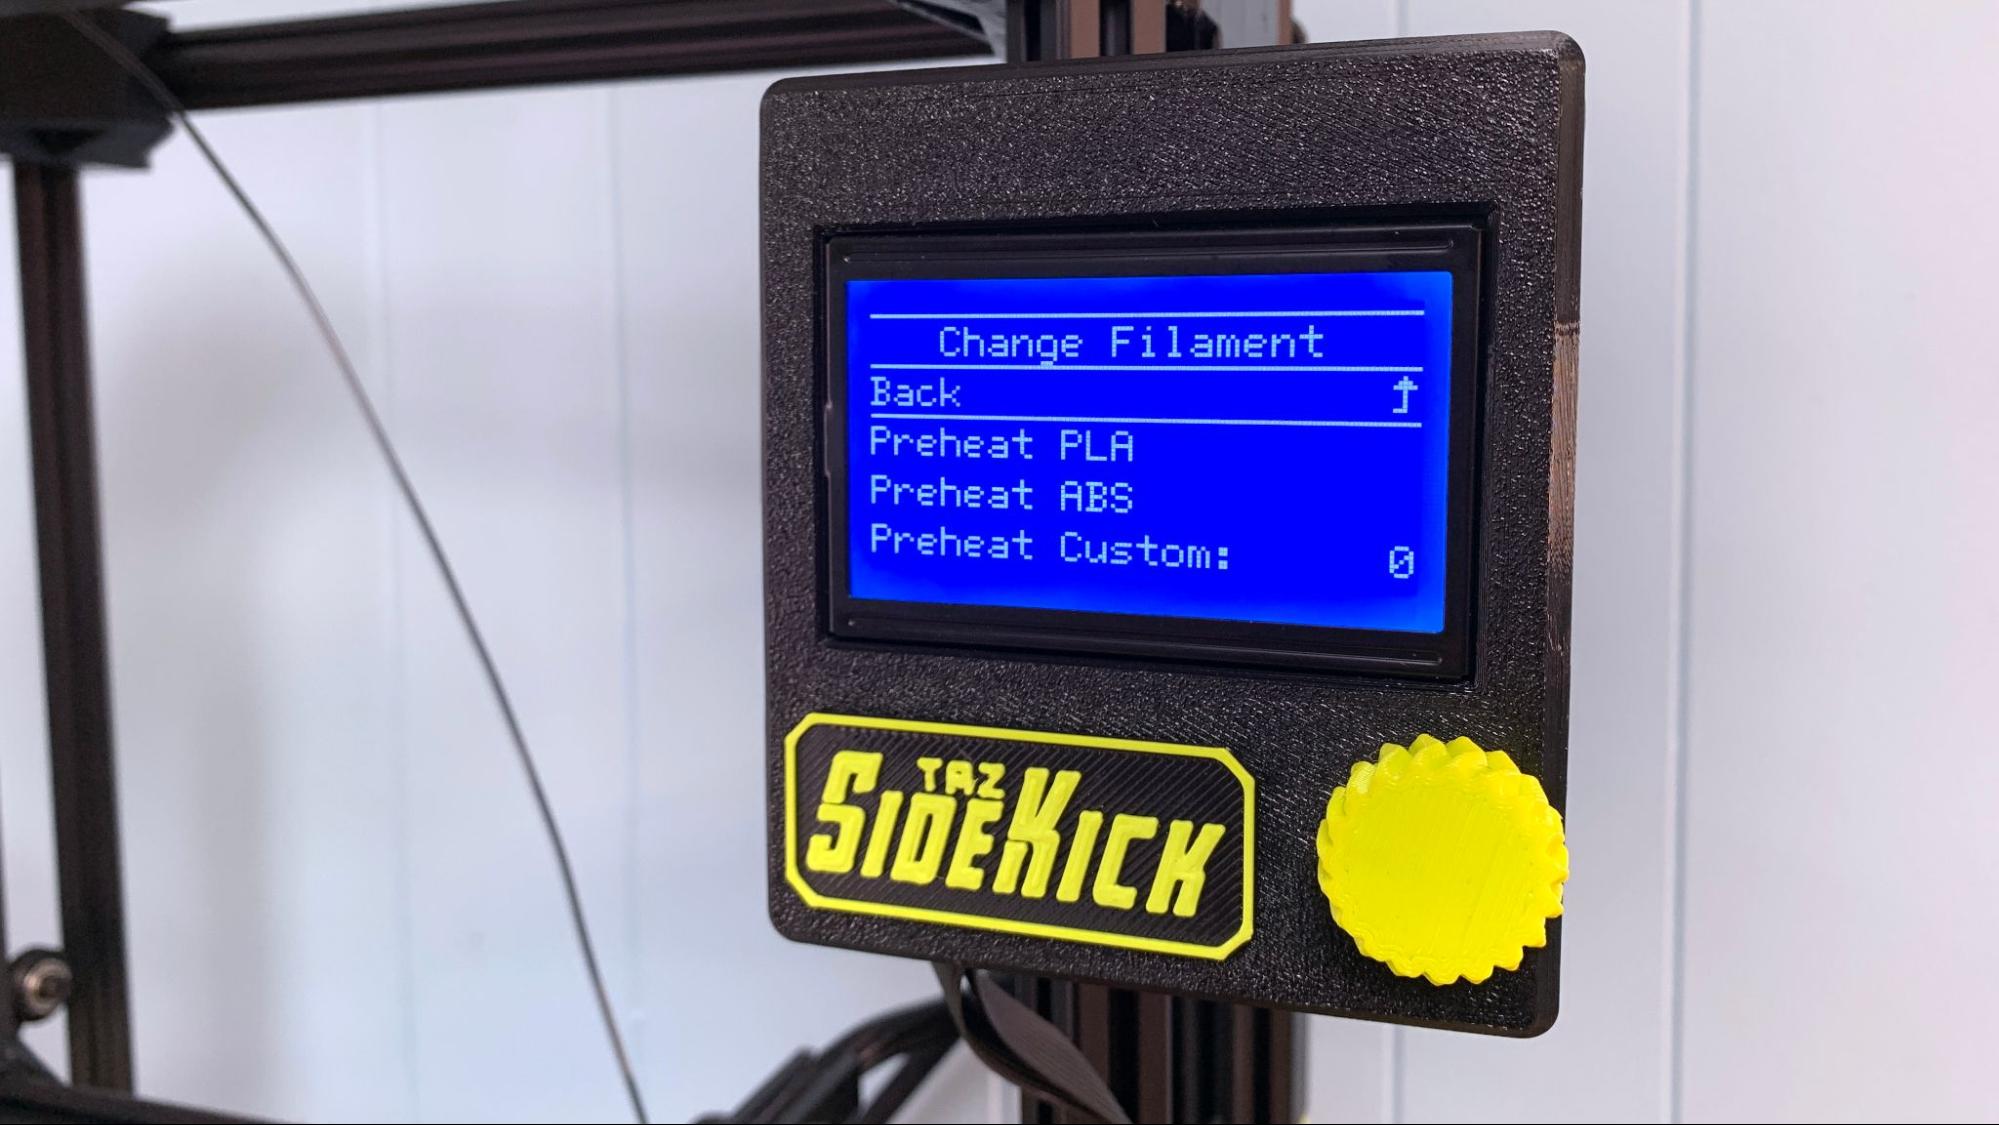
The LulzBot TAZ SideKick had a preset routine for loading and unloading filament. Select Change Filament in the main menu and follow the directions. The printer will heat up, ask for you to insert the filament, then advance.
To unload material, just reverse the process.
Preparing Files / Software for LulzBot TAZ SideKick 747
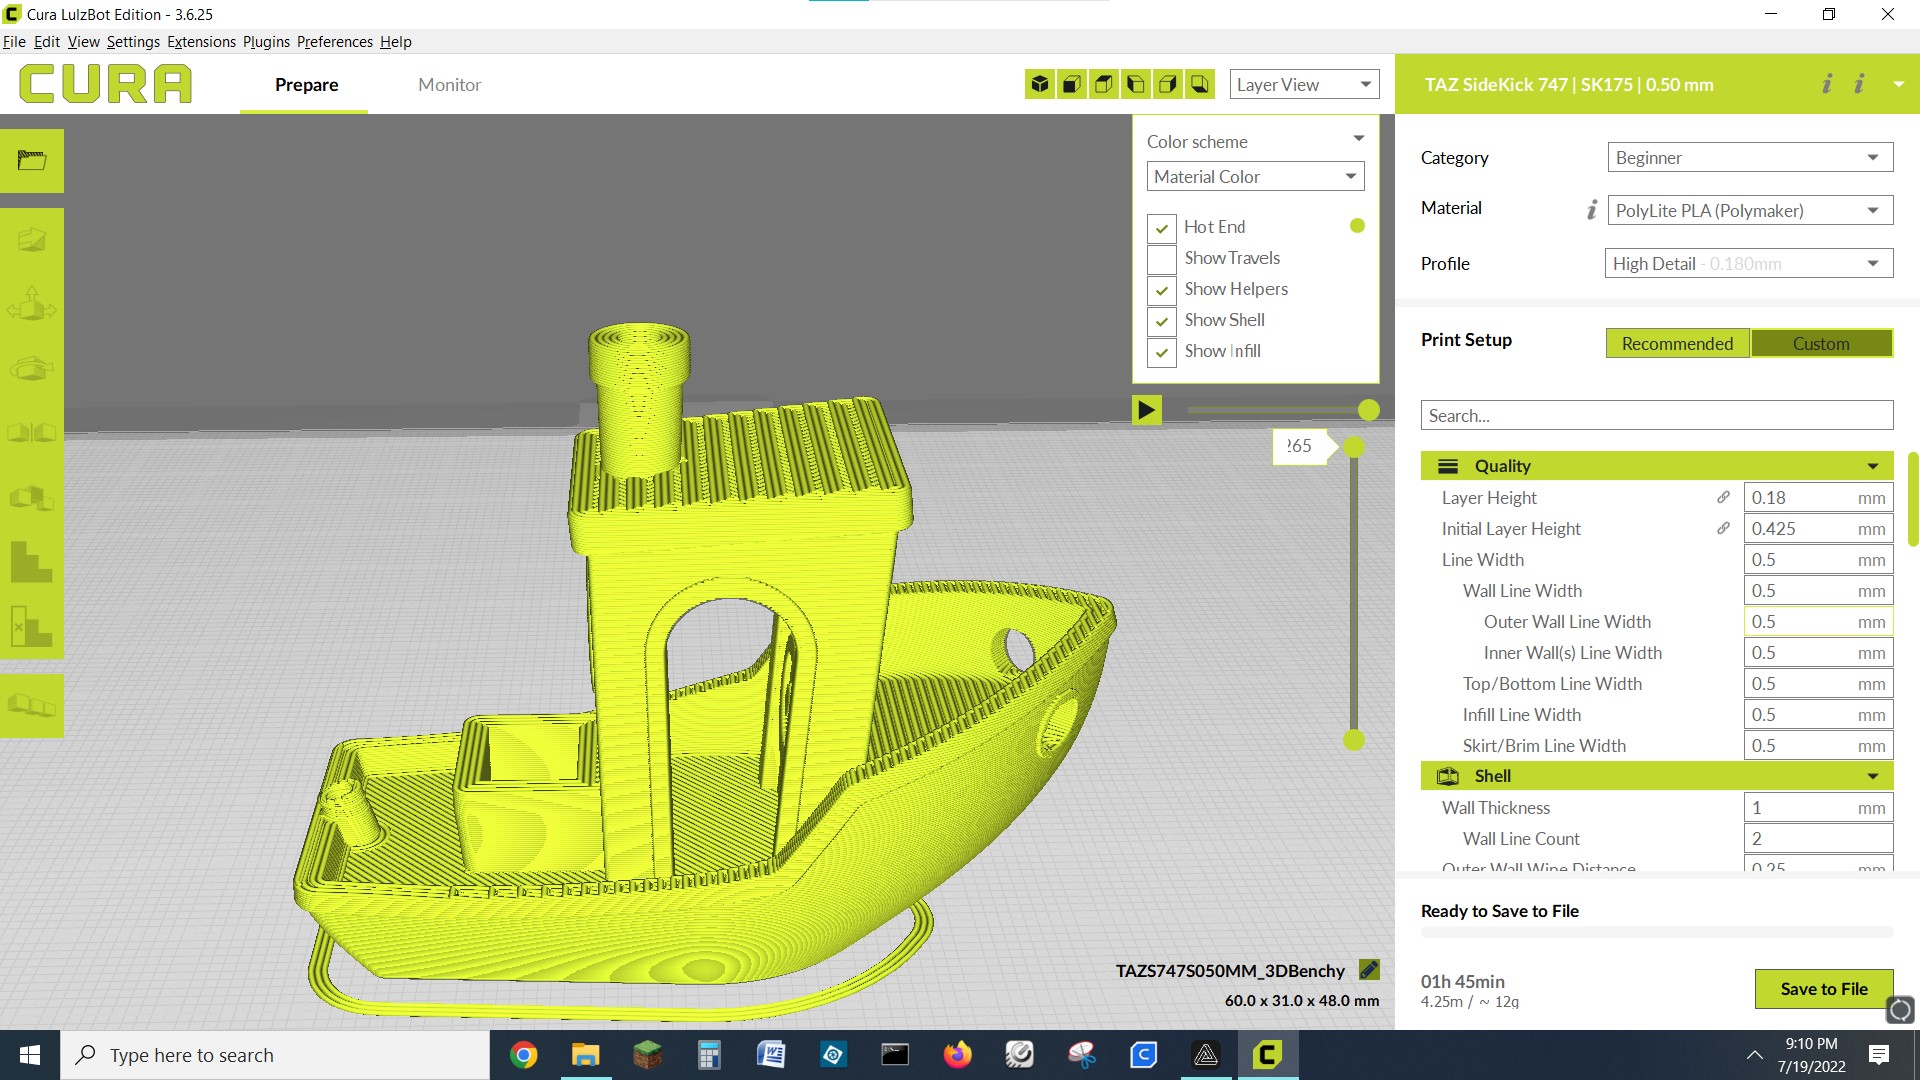
The LulzBot TAZ SideKick comes with a copy of Cura LulzBot 3.6.2. This is an older version of Cura, but unlike other companies that slap their logo on Cura and call it done, this one is actually tuned specifically for the printer you purchased. It takes advantage of the printer’s .5mm nozzle and has a high speed setting with thicker layer heights that result in very quick prints.
There is no profile for the TAZ SideKick on the current version of Cura or PrusaSlicer. Setting up a SideKick for Cura 5.1 was a little tricky since it needed special start and end gcodes to activate the bed leveling and then properly park the print head at the top of the gantry where the magnets are located. You can’t just copy the gcodes from LulzBot Cura to regular Cura – the programs are too different. I was able to find some helpful advice on the LulzBot Forum, but it would be easier if LulzBot just created a profile for Cura 5.1.
Printing on the LulzBot TAZ SideKick 747
LulzBot packed two sample coils of their signature LulzBot green PLA with the printer. One was from 3D Fuel and the other from Polymaker. I thought this was a fun way to do samples and much better than having a no name coil of plain white. The samples didn’t go very far, so you’ll definitely need to shop for more. To see my favorite materials to use, check out our guide to the Best Filaments for 3D Printing.
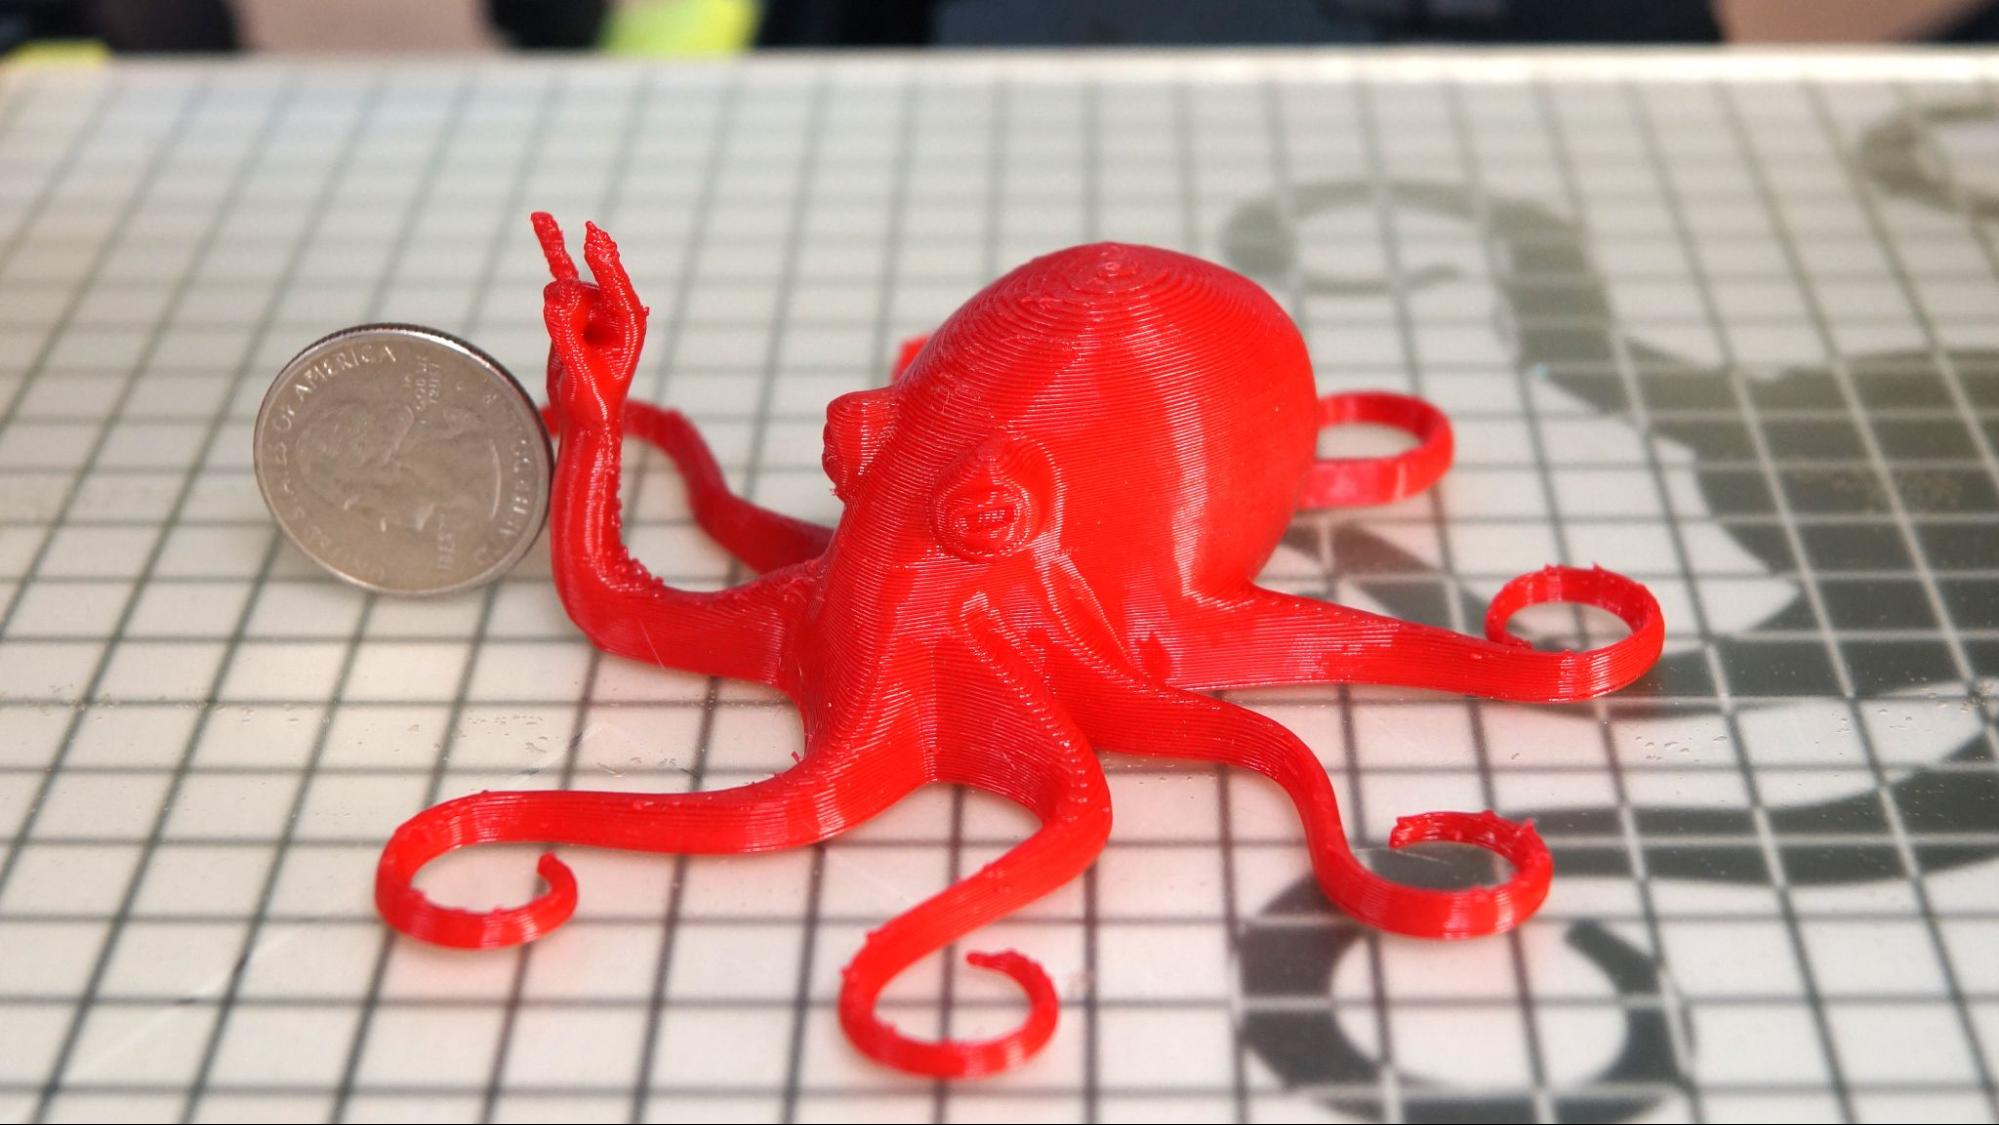
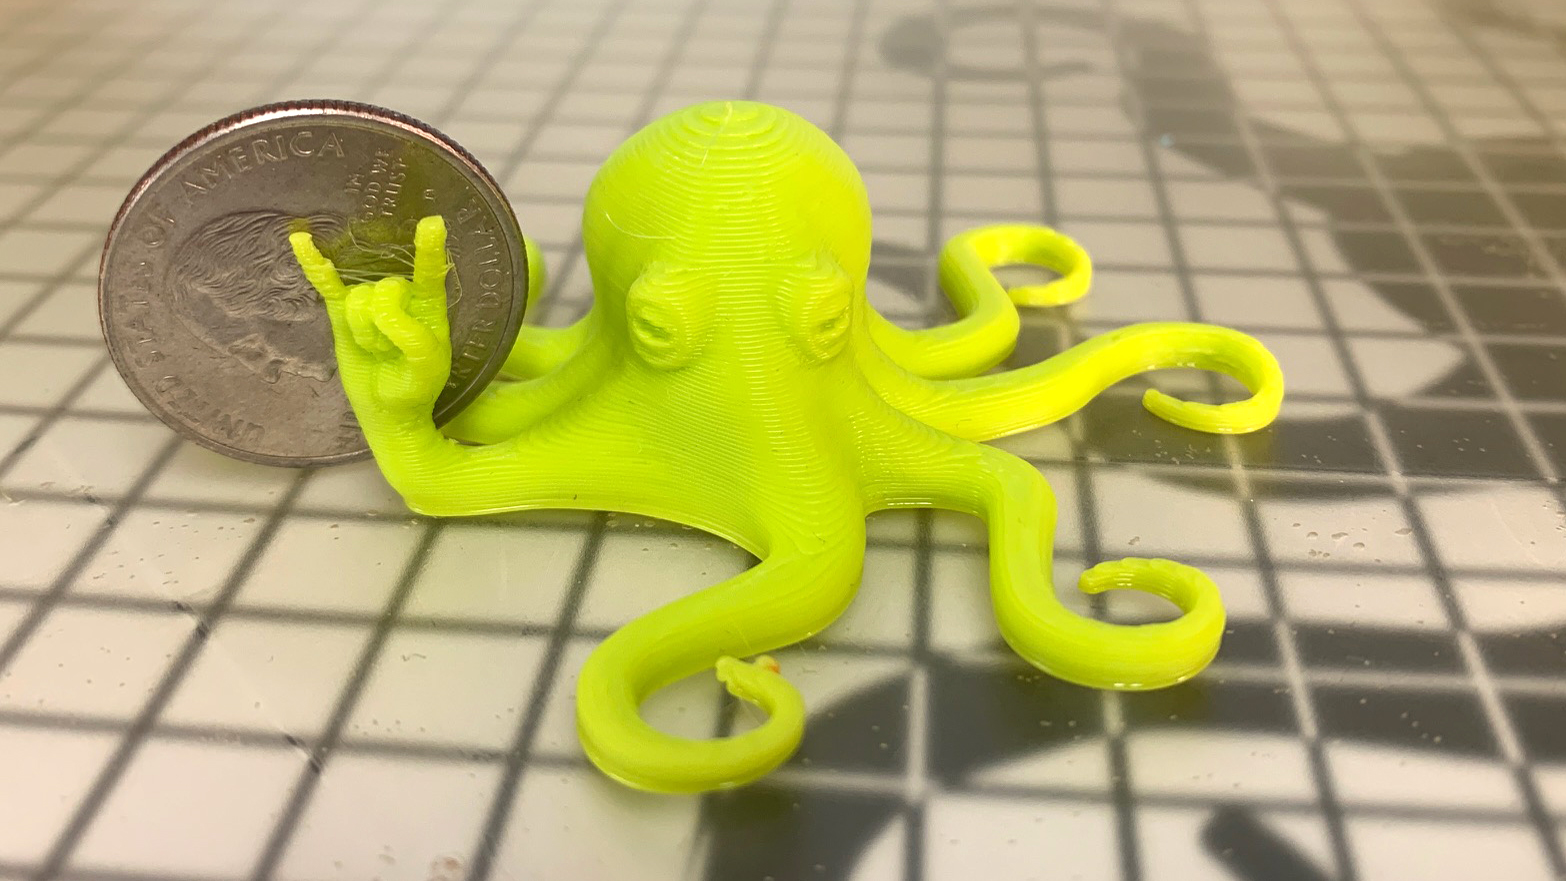
I started with the pre-sliced test print, the original Rocktopus by Kent Johnson, which can be found on Thingiverse. I place a quarter in the photo for size so you can see how well it handles the tiny fingers, even with its .5mm nozzle. This was printed in 20 minutes using the LulzBot Cura High Speed profile, which is a layer height of .4mm and a print speed of 60mm/s.
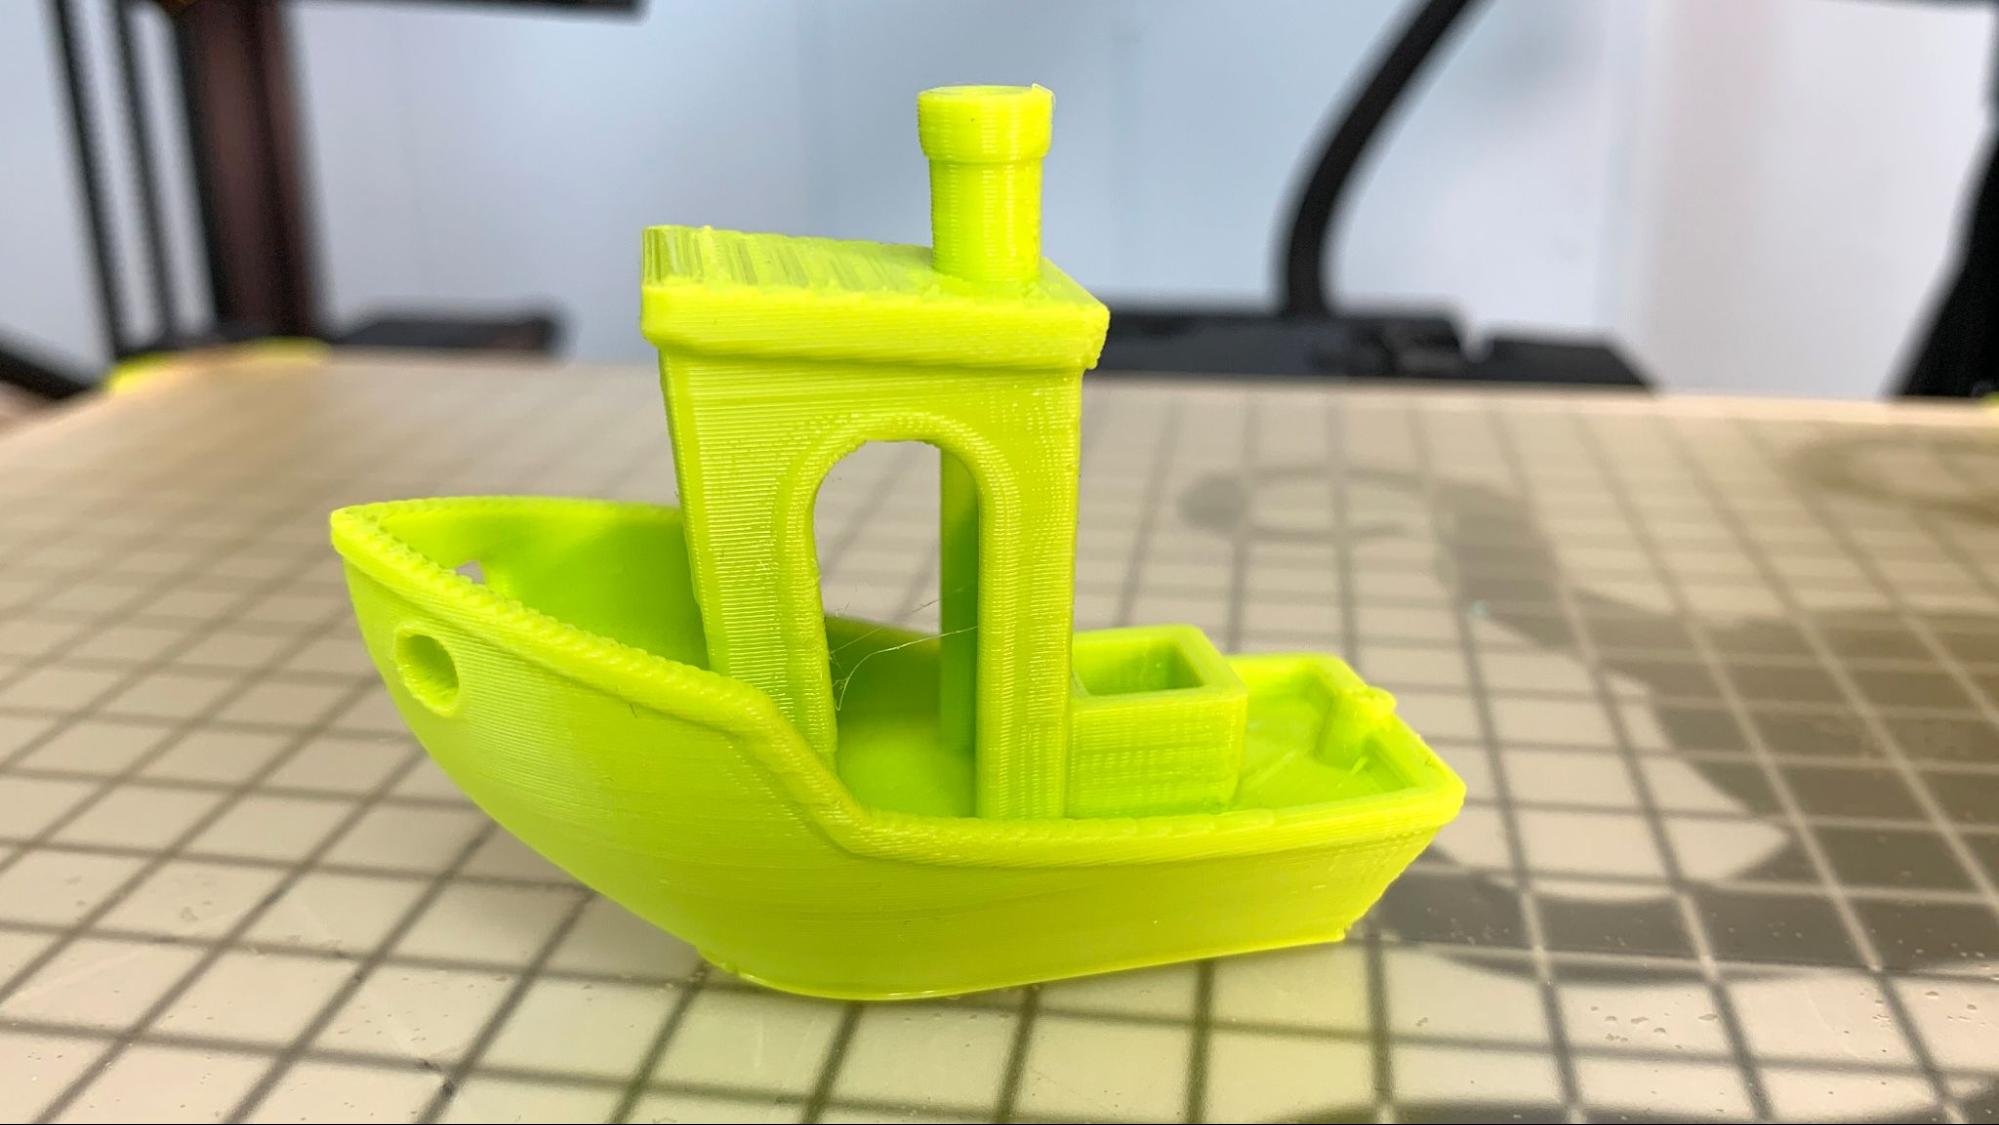
This Benchy was printed in the sample of PolyMaker PLA Lulzbot green using LulzBot Cura. There’s a bit of an elephant’s foot at the bottom from the default setting’s .425 mm bottom layer. It’s a pretty decent print with just a bit of stringing and some slightly uneven layers. This print took 43 minutes with a .4mm layer height and 60mm/s speed.
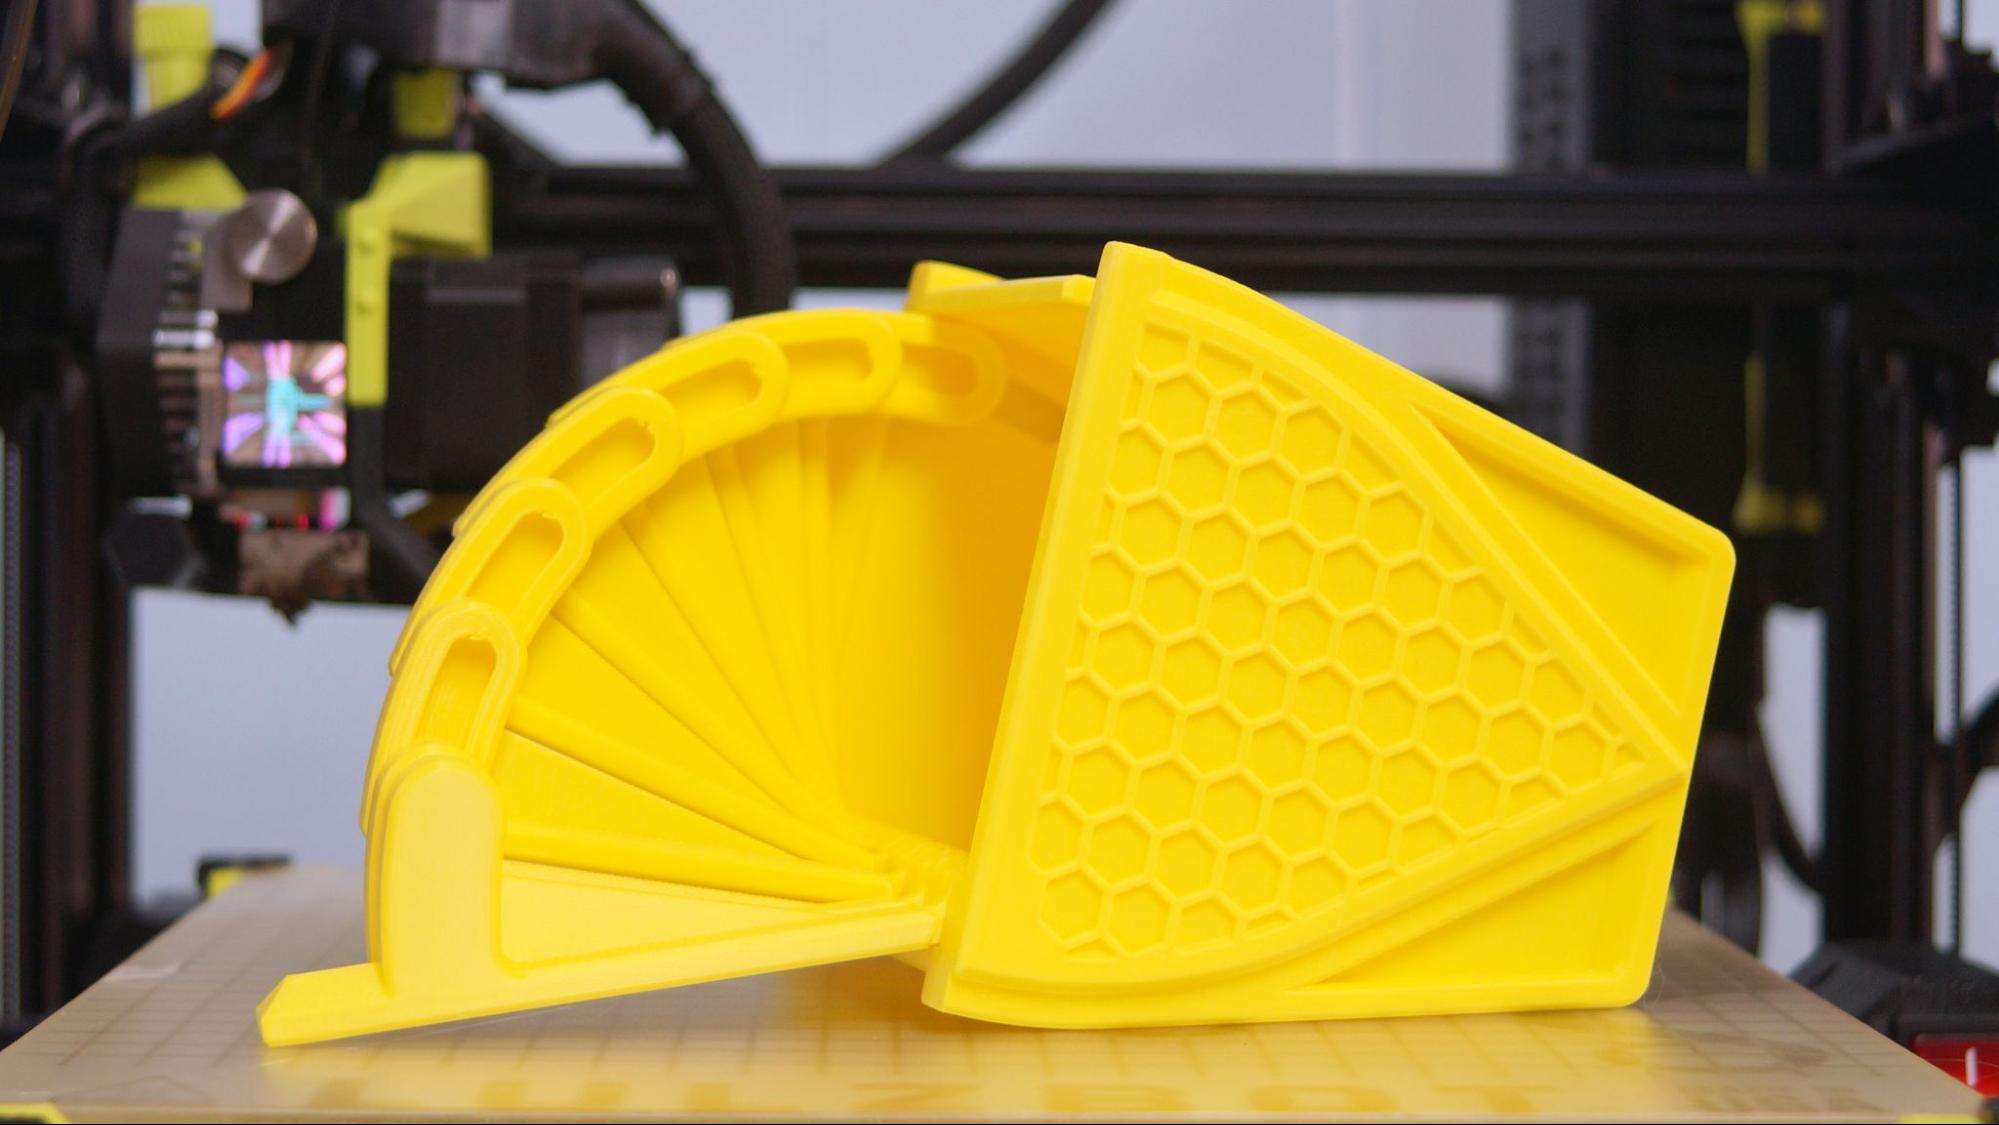
After searching through the LulzBot forum, I found start and end gcodes that would let me use the latest Cura 5.1. Prints became more even and I switched to my standard .2mm layer height. This print in place box from Clockspring 3D printed in Inland Yellow PLA+ is nearly perfect. It printed in 19 hours and 35 minutes with .2mm layers and a 65mm/s speed.
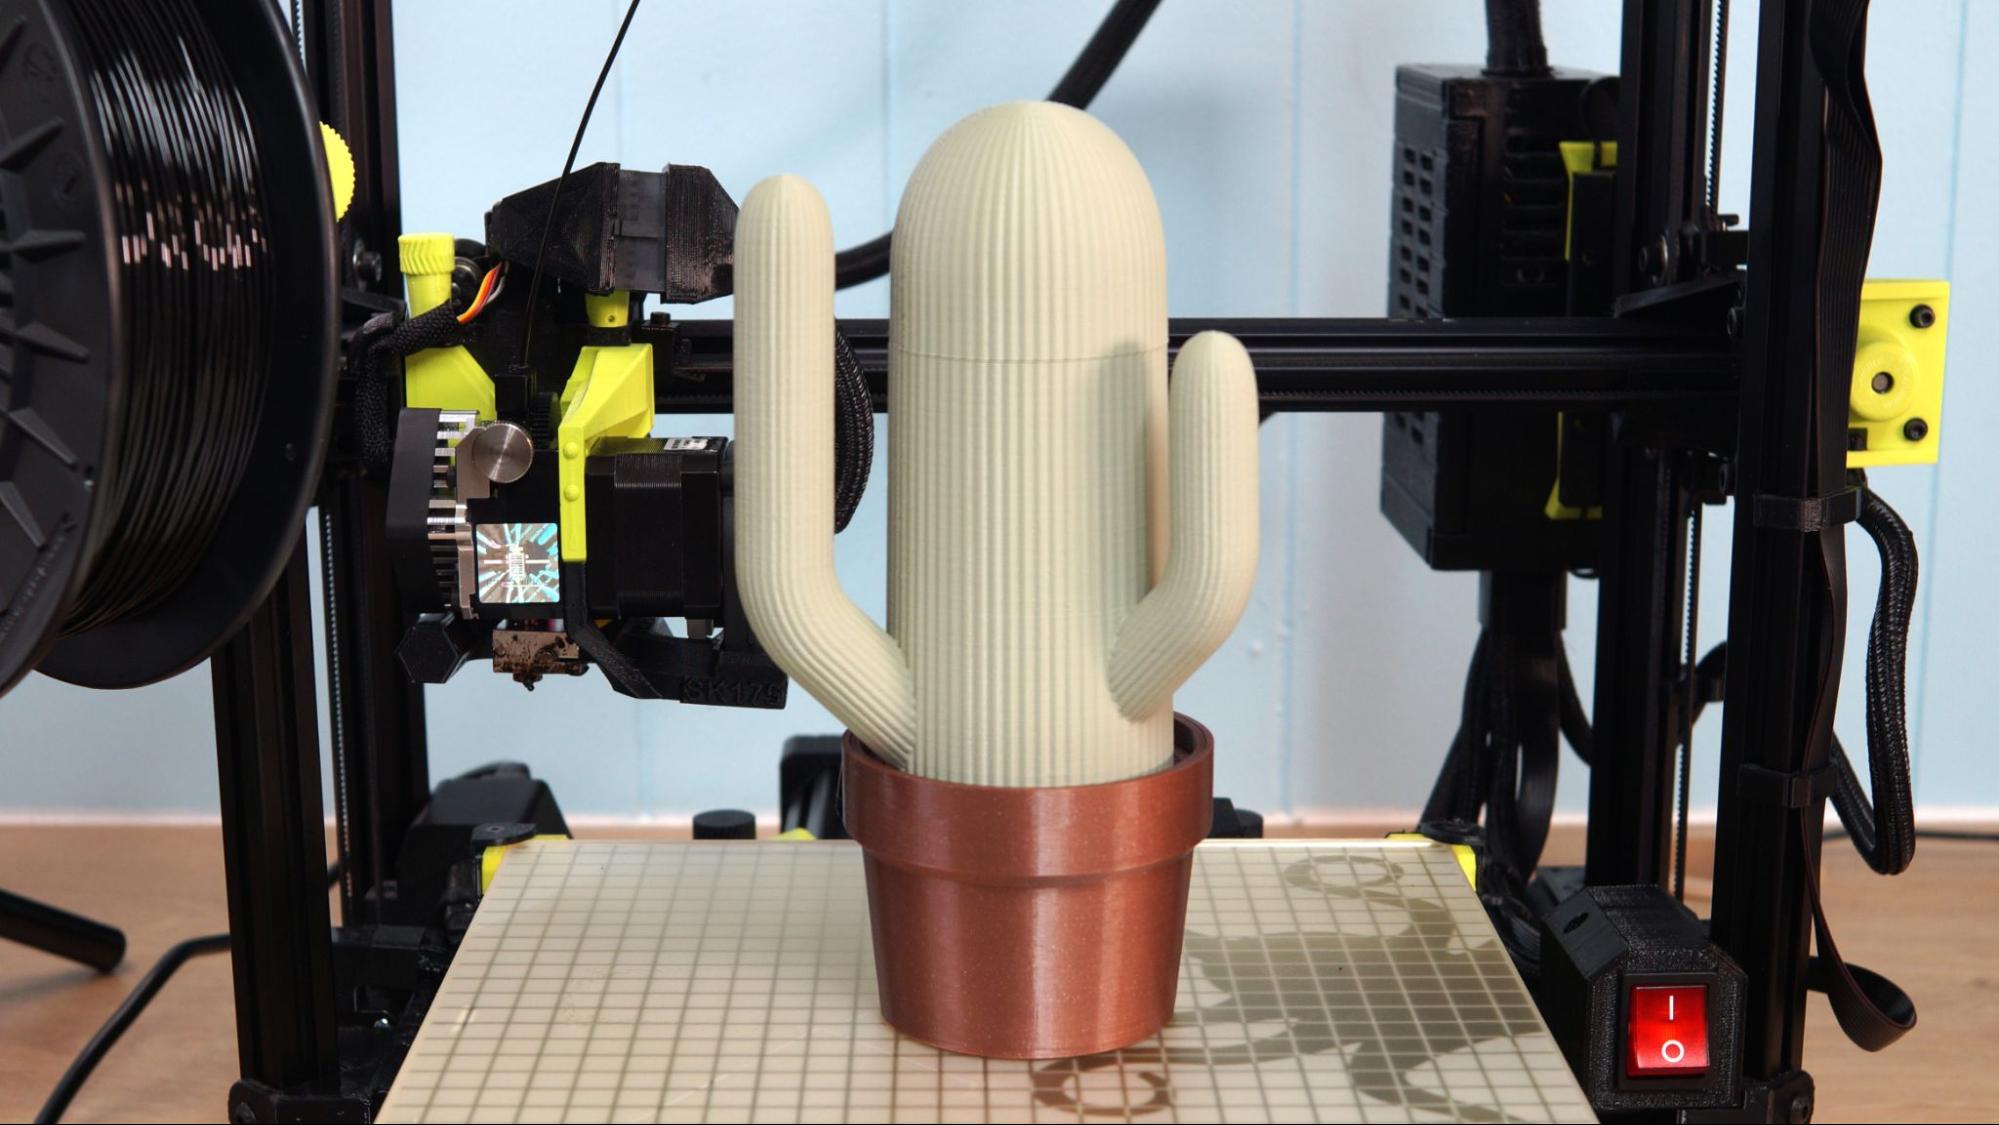
I received an odd color of dusty sage green PLA from my Keene Village subscription box and needed to find something suitable to print with it. Enter the Cactus Caddy by CM Design, a multipart print that can stash pens and paper clips. The pot and plant are separate containers, so I also used a Silk Copper PLA from Overture for the pot. The print was nice and clean without any supports and took 17 hours and 16 minutes of total print time at a .2mm layer height and 65mm/s speed.
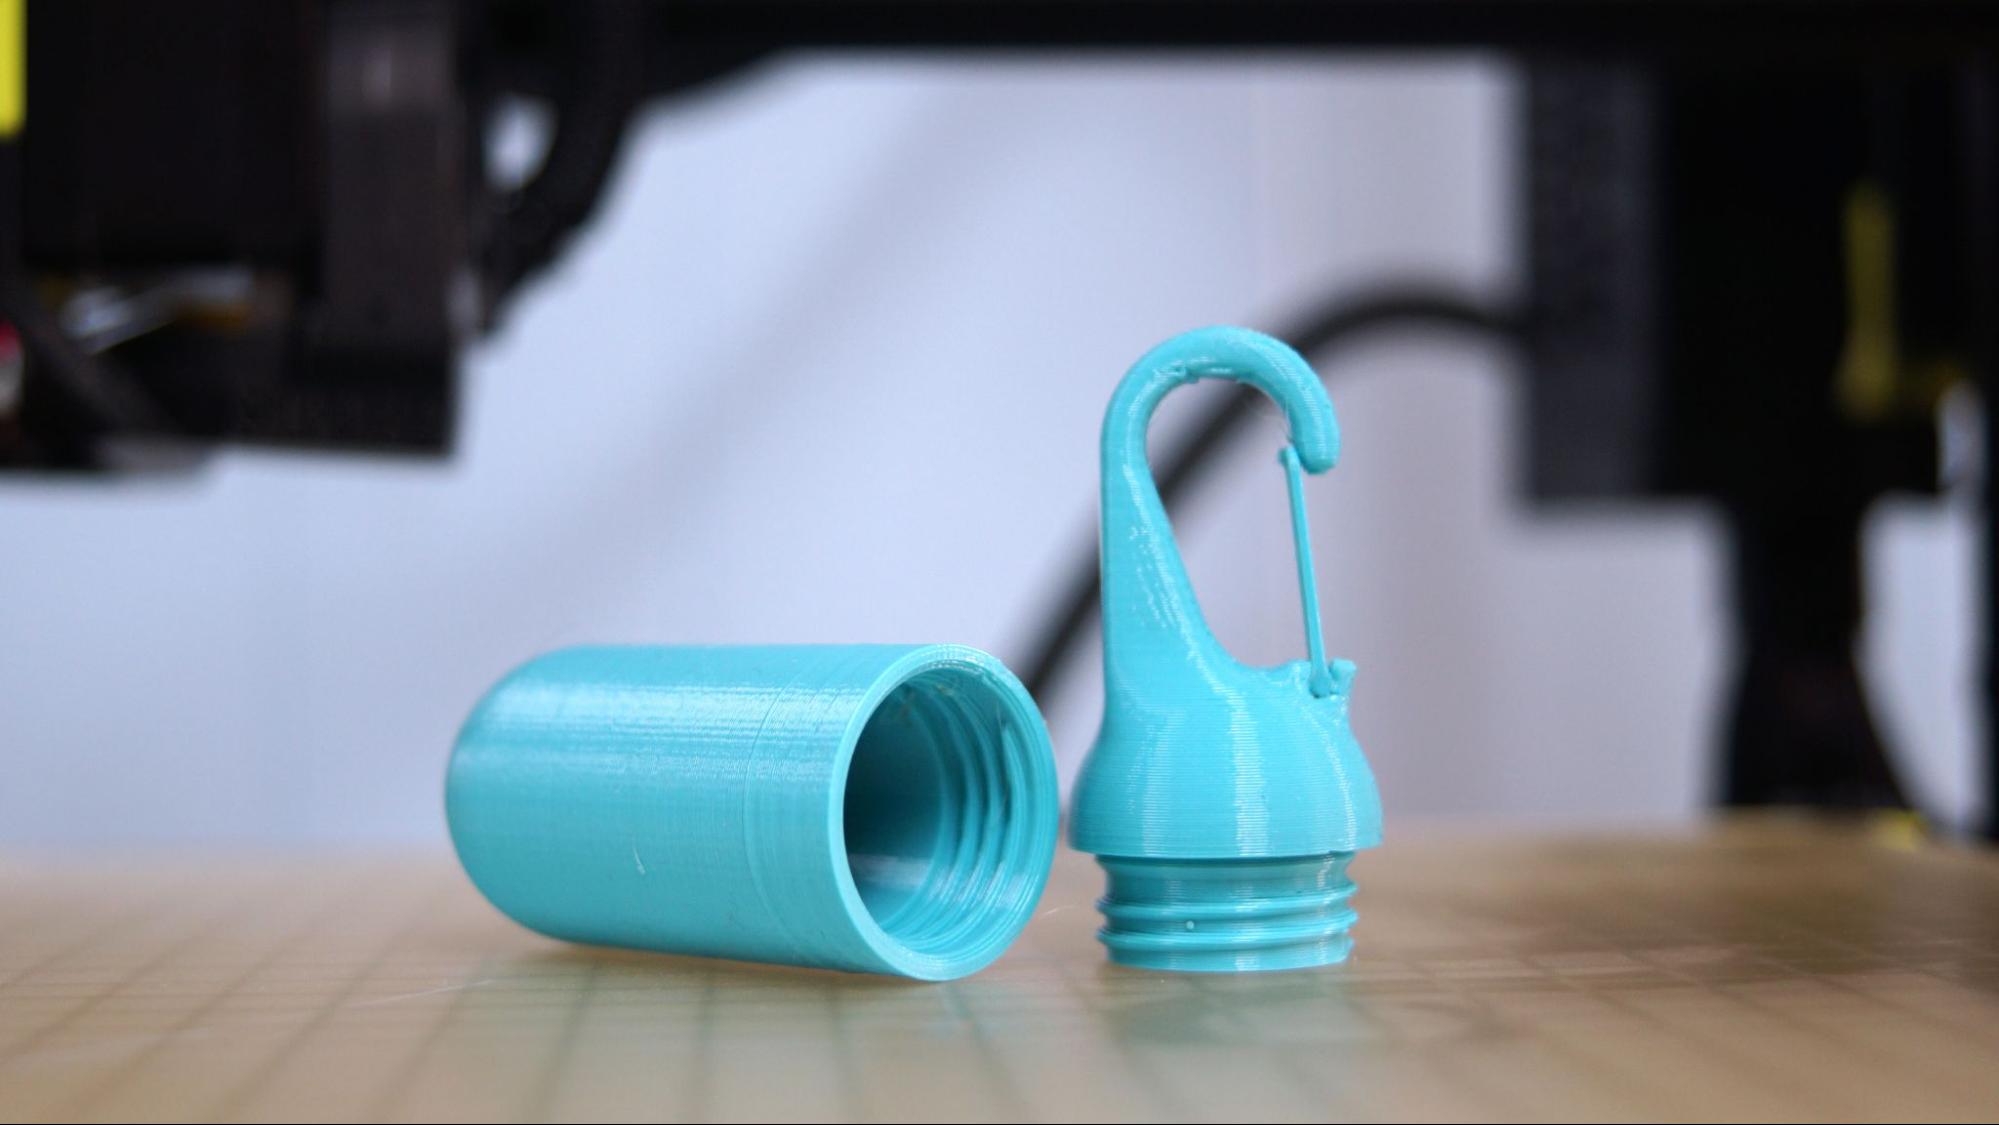
For testing out PETG, I picked something practical. This capsule printed in three parts, with the clip’s “flap” being slid in place after printing. The overhangs printed cleanly, as did the screw threads inside the container. This took one hour and 56 minutes to print at a .2mm layer height and 65mm/s speed. Printed in PolyMaker PolyLite Teal PETG.
Because the TAZ SideKick has a direct drive it can do a great job with flexible filament. This is the Rocktopus again, but now in NinjaTek Cheetah Fire Red. This took one hour and 17 minutes using a .16mm layer height and 40mm/s speed. There was a little stringing, which is expected with TPU, but it cleaned off very easily. Some blobs remain where it made travel moves, visible on the arm.
📷
Bottom Line
The LulzBot TAZ SideKick 747 is a fantastic printer that’s maybe a little old school with its small LED controller and stock PEI glass bed. However, it was refreshing to unbox a printer full of original name brand parts and not a single cloned copy. And since it’s an open source design, it’s very easy to upgrade should you feel the need.
The printer is visually loud and proud with its octopus branding and bright colors – but has quiet fans and stepper motors. The stock direct drive comes with an all metal heat break to allow it to print any material, from flexibles to engineering grade filament. The stock .5 mm nozzle gives it a bit of a speed boost too, which is definitely nice.
Retailing at $1285, this is not a budget printer, but it’s worth the price. It has perfect auto bed leveling, a sturdy PEI coated glass plate and an easy-to-navigate control interface. It is incredibly beginner friendly, fun to look at and well-built. It’s a delightful combination of premium features and no nonsense practicality. Plus, it’s American made, which has a certain appeal. It’s well worth a spot on our Best Printer’s list.
This printer is designed to compete with the Prusa MK3S+ and other high-end machines. However, if the LulzBot’s price is a bit out of reach, you might like the Creality Ender 3 S1, a fully loaded machine with a similar build volume for about a third of the price. Another feature packed printer we like is the Anycubic Kobra, priced at $319, it’s an Editor’s Choice and our pick for Best Printer for Beginners.
MORE: Best 3D Printers
MORE: Best Resin 3D Printers
MORE: Best Filaments for 3D Printing

Denise Bertacchi is a Contributing Writer for Tom’s Hardware US, covering 3D printing. Denise has been crafting with PCs since she discovered Print Shop had clip art on her Apple IIe. She loves reviewing 3D printers because she can mix all her passions: printing, photography, and writing.
-
Giroro Is the LulzBot made in America, or is it assembled in America?Reply
Your typical bargain-bin Chinese Creality printer has been assembled in America (or what ever country you live in) 3-4 times by the time a typical user gets it working to spec. -
joeprints I would happily pay a premium for an American product, just like I've paid a premium for non-Chinese Prusa products. Except sorry with a cant-take-ourselves-seriously name like "Lulzbot", it looks like my money is still destined for Prague.Reply -
Gam3r01 Reply
It looks like all the printed parts and most others are made in the USA, but the article states it uses a Meanwell PSU (which is not US made, as far as I know), and the direct drive extruder is sourced from the UK.Giroro said:Is the LulzBot made in America, or is it assembled in America?
Your typical bargain-bin Chinese Creality printer has been assembled in America (or what ever country you live in) 3-4 times by the time a typical user gets it working to spec.
