Early Verdict
I suspect there is a niche that would appreciate this board, and is willing to pay the price premium to get it. For everyone else, though, there are better choices, typically for less money. With a few BIOS fixes and $10-$15 off the price, this could be an award winner, but not today.
Pros
- +
Quality components used • Plenty of ports • Clear layout • Speaker header • Front and rear USB3.0 • Four DIMM slots • Heat sinks on VRMs • Three year warranty
Cons
- -
No pilot or diagnostic LEDs • BIOS anomalies • Poor RAM overclocking • High price • Minimal accessories
Why you can trust Tom's Hardware
Specifications & Overview
Offering a notable step up from the entry-level H81, Intel's B85 platform controller hub seems like a good choice for anyone looking for more DIMM slots, more USB 3.0 or a couple of extra SATA 6Gb/s ports. Today, we're looking at another B85 board, MSI's B85-G41 PC Mate, which employs the ATX form factor. Priced right around $75, we want to know if its real value matches up with the perceived benefit of a low-cost, yet fully-featured platform.
Specifications
MORE: Best MotherboardsMORE:
How To Choose A Motherboard
MORE: All Motherboard Content
This motherboard uses the ALC887 audio codec, a mainstream part that is a little better than the low-end ALC662 found on the cheapest boards. It offers 97dB SNR on the outputs, but only 90dB SNR on the inputs. In most cases, that's fine, although audio professionals will naturally find themselves looking elsewhere. Lacking an optical S/PDIF port and equipped with just three 1/8" audio jacks, MSI clearly didn't design this board to be the center of a home theater.
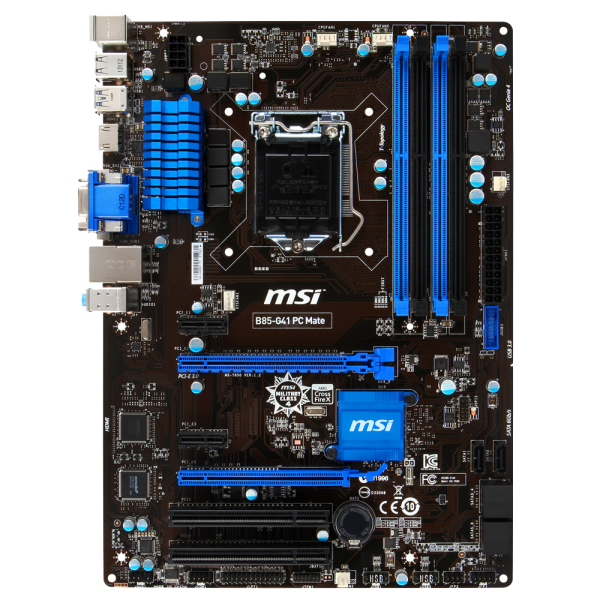
The B85-G41 PC Mate uses a Realtek network controller as well, and does not include a wireless adapter. It includes connectivity for two front USB 3.0 ports, two rear USB 3.0 ports, four front USB 2.0 ports and four rear USB 2.0 ports, which is as many as most mainstream users will need. You'll find a blue heat sink covering the voltage regulation circuitry, and I observed four sets of larger solder points under the board for chokes, suggesting the 3+1 arrangement noted in the specification chart.
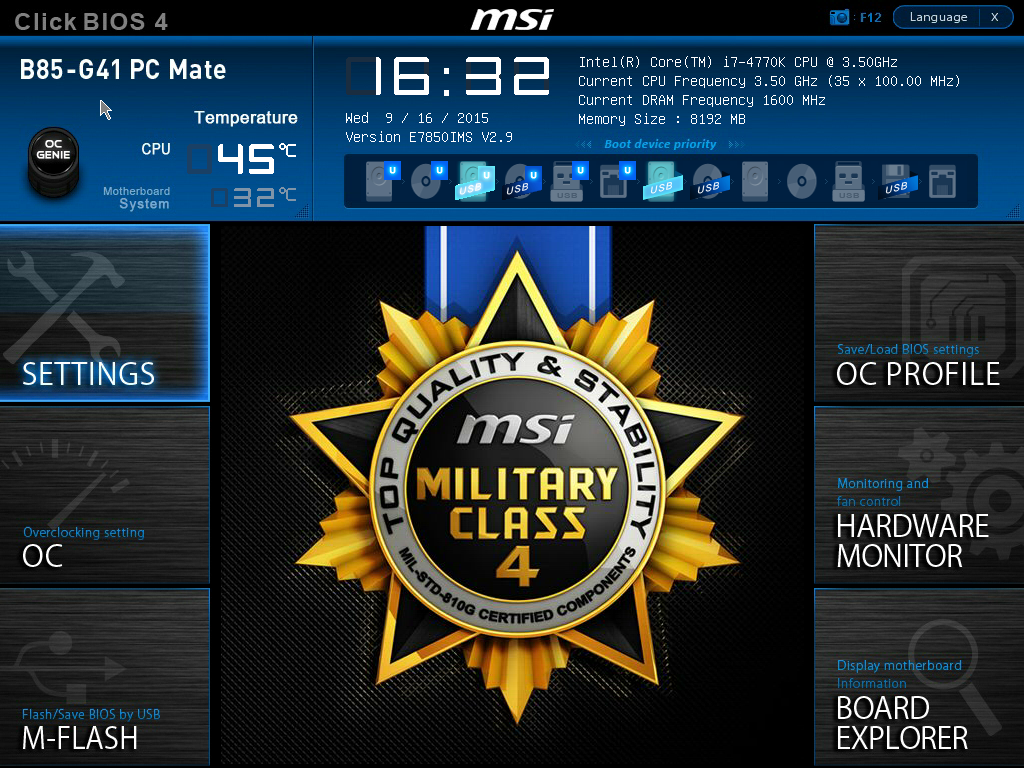
Notice that the intro BIOS screen is not consistent with the Pentium G3258 I used for testing. This is because, as was the case with a previous MSI board, the B85-G41 PC Mate would not save screen shots. And that's one of several BIOS-related issues I discovered. Special thanks to the MSI team for providing the screenshots we were able to include in our review.
Overview
MSI bundles the standard accessories typical of a mainstream board, including a glue-bound manual (meaning it won't lie flat) in English, German, French and Russian. The manual actually covers three distinct platforms: the one we're reviewing, a Z87 variant and an H87-based version. It's not particularly difficult to figure out which specifications apply to each. You also get a driver CD, an I/O shield and a couple of SATA 6Gb/s cables. We'd like to see even entry-level boards include three, since two aren't enough to cover an optical drive, SSD and a storage drive.
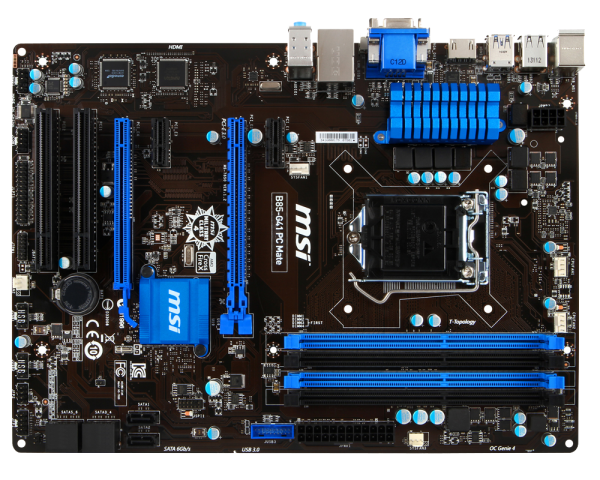
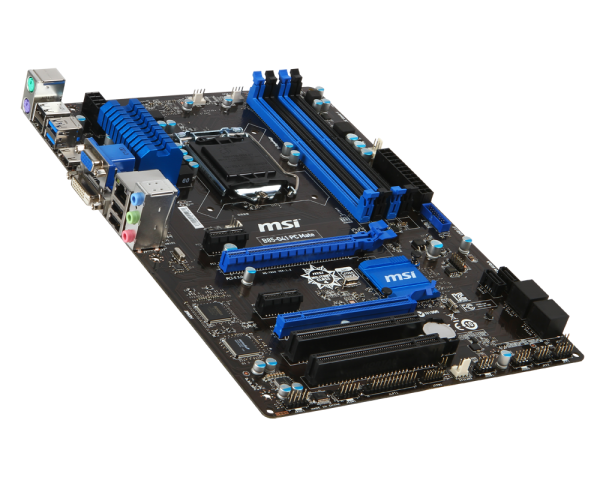
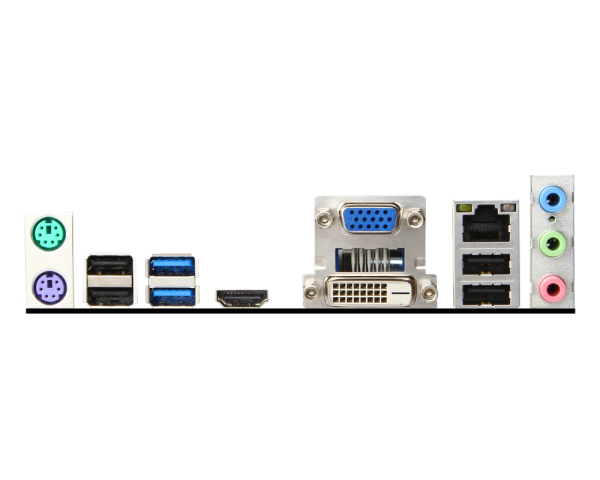
Perhaps due to its size and relative lack of complexity, the board's layout is fairly open and generally good. Note that there is only one mounting hole along the back, where many boards have two. The PCB is sturdy enough that I didn't observe any sagging after installing a graphics card.
Get Tom's Hardware's best news and in-depth reviews, straight to your inbox.
None of the ports or slots are blocked by other peripherals. Even the PCIe x1 slot placement allows for a double-slot graphics card without overlap. In addition to the (short) GeForce GT 730 I used for testing, I also installed a longer card to determine that there is about one-quarter inch of clearance next to the USB 3.0 connector, so that doesn't get blocked either. There are four DIMM slots, and nothing interferes with their latches. Except for one fan, all other connectors (including front audio) are located around the edges, convenient to the cable management openings found in most cases.
MSI integrates two CPU fan headers, not just one, which is unusual for a mainstream board. The only other oddity is the arrangement of the SATA ports. You might expect the four 6Gb/s ports to be together and the two 3Gb/s ports set off on their own, but that's not the case. Four ports are angled toward the front, two 3Gb/s and two 6Gb/s ports. The two that plug straight into the board are the other 6Gb/s ports. This really isn't a big deal; you'll simply want to pay attention when it comes time to make your connections.
The JBAT1 header (for the CLR_CMOS function) has only two pins, and does not come with a jumper block. It is fairly easy to find on the left edge, just above the level of the battery. The eight-pin CPU power cable is high on the right edge, just behind the PS/2 connectors. All capacitors are solid, and the chokes are ferrite core. There are two front-panel headers in the bottom-left, one of which has pins for a speaker. Whether your power LED connector has two pins or three, you'll find a place for it on one block or the other. The audio header is on the edge at the back-left, which is a cleaner placement than the more central position many boards use. There are no indicator LEDs on the board, so be sure you've switched your PSU off or unplugged it before adding/removing expansion cards.
-
wkwilley2 I have one of these boards. I just did a new build using a i5 4690k and I love it, as mentioned in the review, there are a couple quirks with the BIOS, no game changers but definitely some variability when booting. Most of my issues we're fixed by updating the BIOS to 2.9, the board came with 2.6 on it and was giving me TDR issues with my Radeon 280. Overall though, great board, lots of options for overclocking and very easy to build with.Reply -
caiokn Nice article! I've been looking to build a PC by the end of the year using the G3258 and a budget friendly motherboard. These mobo reviews will surely be of help when the times comes. Just out of curiosity, how much can you get out of your bad overclocker G3258?Reply -
RedJaron The power delivery here makes me think this was designed with a Xeon and maybe even an i7 in mind. I know some of the lower budget LGA1150 boards we've reviewed could have trouble keeping an i7 even at stock speeds without the VRM overheating.Reply -
Onus Yeah, this board looks like it was meant as a workhorse.Reply
My bad-overclocker G3258 has not been stable over 4.0GHz on any board I've tried, including a couple of H97s that allowed voltage adjustment. It runs fine (and not overly hot, so it's not a thermal problem) at 4.0GHz.
-
delaro Why would you even consider DDR3 1333mhz over DDR3 1600mhz especially for Overclocking a G3258? I mean there is cheap and cheapo they are the same price.Reply -
RedJaron Because an H81 and B85 board can only go up to DDR3-1400 when paired with a G3258. The G3258 can only go up to 1600 when dropped in a Z board.Reply -
chaosmassive it is just me or MSI put 2 chipsets series as their brand numbering?Reply
sounds weird though -
RedJaron Nah, this is MSI's normal naming convention. Chipset first, form-factor identifier next ( blank for ATX, M for mATX, I for mini ITX ), then product line identifier ( eXtreme, Gaming, Entertainment, Pro, Casual ) and overall model feature number ( higher numbers mean a more feature-rich board ). The final number, unfortunately, isn't informative about which features always come in which feature range.Reply -
shrapnel_indie I understand that this platform is still relevant considering low budget needs (It is sub-$100, but not exactly low end budget) and the availability of Haswell based processors is still good, but I'd really like to see more Skylake based motherboards in the reviews.Reply
