System Builder Marathon: TH's $2000 Hand-Picked Build
Hardware Installation
Our collection of how-to articles would make a complete builder’s guide redundant, so today we’ll cover only the highlights of this particular build.
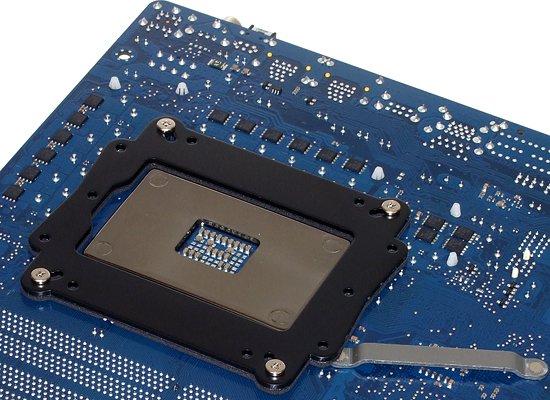
We started with a basic CPU installation and moved on to the more intricate cooler assembly.
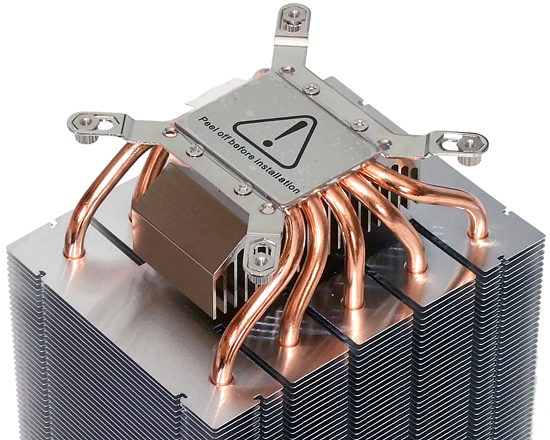
Scythe’s Mugen 2 Revision B includes several brackets for use with AMD- and Intel-based motherboards. Threaded inserts screw onto the outer hole positions of its universal LGA brackets, which are then screwed to the base as shown. As the protective sticker says, remember to remove it!
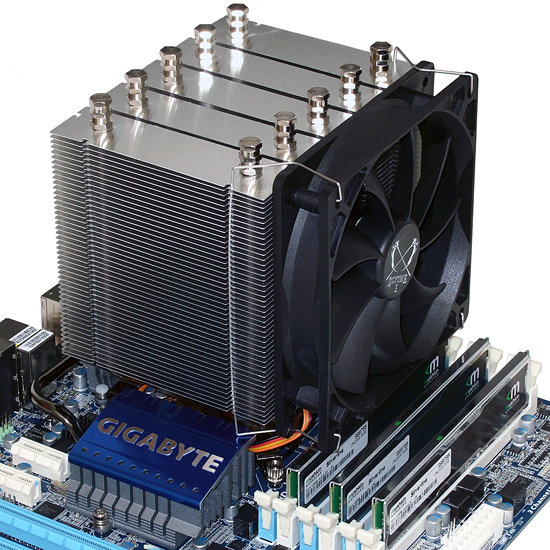
After adding a small amount of thermal paste as shown in our “how to build” guide, it was time to mount this monster to our motherboard. We joked in our previous build that we needed four hands to hold the cooler, motherboard, screwdriver, and non-magnetic screws. But placing the cooler upside down on a bench and carefully positioning the board over it will eventually lead to success. That is, at least for anyone with moderate dexterity.
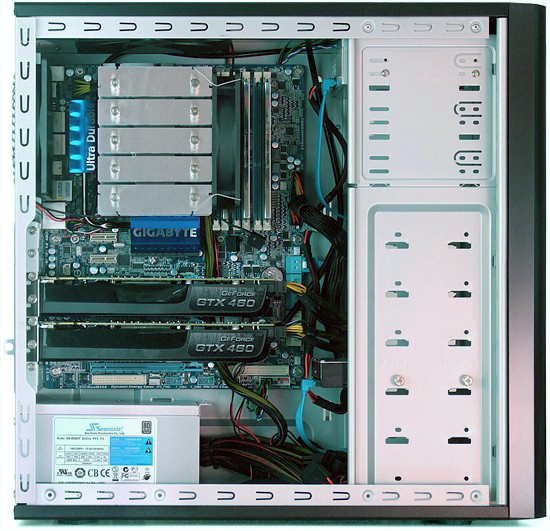
Our motherboard’s chipset heat sink is close to the same height as our memory, and the fan clips hit both. This will force some of its air to bypass the top of the cooler, rather than the bottom where it would cool additional components. We expect only a miniscule drop in overall cooling performance however, and would rate the fit as a nine out of ten.
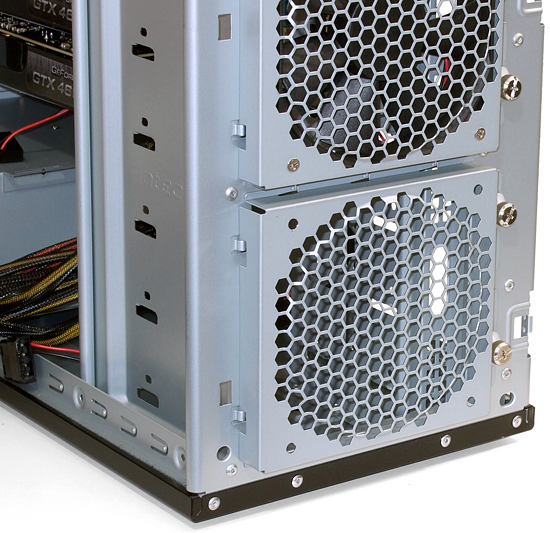
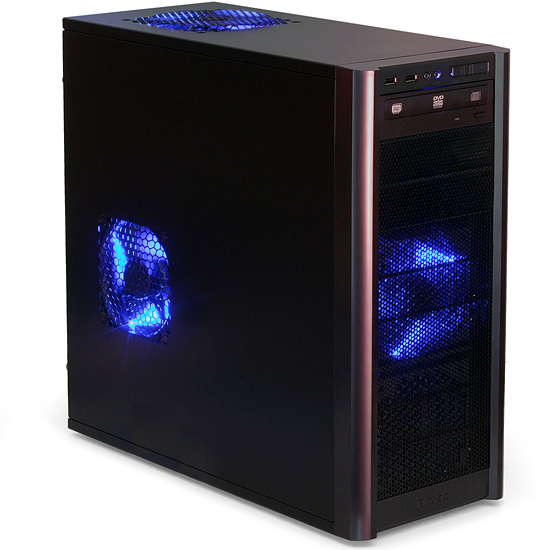
Because our graphics coolers have radial fans in the center, we moved the lower intake fan to the side panel. The alignment was perfect, thanks to the design team at Antec.
Remaining components are installed in a traditional manner, though clearance between the graphics card's power connector and hard drive would make cable management more of a challenge if additional drives were added. Spare power cables lay nicely upon the floor of the chassis.
Get Tom's Hardware's best news and in-depth reviews, straight to your inbox.
With no side-panel window to reveal our extra cable, placing it on the bottom did not create an unsightly mess.
-
duk3 I agree, however, this SBM was about 6-core performance.Reply
With an i7-930, a better heatsink, 2 470s and maybe an extra fan or 2 for the case is in reach. -
Crashman duk3I agree, however, this SBM was about 6-core performance.With an i7-930, a better heatsink, 2 470s and maybe an extra fan or 2 for the case is in reach.yes, the i7-930 and a couple 470's would be normal in the SBM $2000 PC.Reply
-
IzzyCraft I guess these were more performance driven choices. I still will miss the case, i'd gladly trade a 920/930 for the SilverStone RavenReply -
Crashman IzzyCraftI guess these were more performance driven choices. I still will miss the case, i'd gladly trade a 920/930 for the SilverStone RavenQuality-wise, the Three Hundred is probably the best case you can get for under $80, but there should have been one more fan in the system given the internally-vented graphics cards the system ended up with. On the other hand, a lot of builders would be more than happy to "settle for" 4GHz at 1.30V, and the CPU will certainly live longer at the lower voltage.Reply -
pinkfloydminnesota A 970 and a drop to 460s? Are you kidding me? How much is newegg dropping in ad revenue for you to help them dump this overpriced stock?Reply

