System Builder Marathon Q4 2015: $895 LAN Box PC
Last quarter, I chose to forgo traditional CPU/GPU balance ideas, and was rewarded with superb triple-screen gaming for only $800. This quarter, I have no budget limits.
Component Selection & The Build
System Builder Marathon Q4 2015
Here are links to each of the five articles in this quarter’s System Builder Marathon (we’ll update them as each story is published). And remember, these systems are all being given away at the end of the marathon.
To enter the giveaway, please fill out this SurveyGizmo form, and be sure to read the complete rules before entering!
- $1184 Gaming PC
- $1055 Prosumer PC
- $895 LAN Box PC
- System Value Compared
- $912 AMD LAN Box PC
$895 LAN Box PC
My SBM build last quarter was divisive, to say the least. Good. It was meant to be. If an SBM machine is met with universal agreement, we rarely learn anything from it. I wanted to spark debate in the comments and get readers to consider alternatives to how they usually build computers. Some readers thought the original Munchkin was a complete waste of time and money. Some thought it was brilliant. Most were somewhere in between.
During the discussion last quarter, Thomas brought up the idea of using Q4 to revisit the Q3 machines and "fix" them. A lot of readers liked that idea, so we decided to run with it. This time we're throwing out all budget limitations. You won't see any compromises on the components this time. Every part included here is exactly the one I wanted.
So, let me introduce you to the Munchkin 2.0. Those that liked the first version will hopefully appreciate the refinement here. Those that hated the first one will hopefully see those shortcomings addressed. For simplicity and clarity, throughout this article I'll use capitalized Revision to refer to this quarter's machine and Original for last quarter's build.
The Build
- Platform Cost: $680
- Total Hardware Cost: $795
- Complete System Price: $895
You'll notice most of the parts are identical to last quarter. This is meant to be a refinement, not a complete overhaul. Let's dive in so I can explain the component selection.
Identifying the Problem
The first Munchkin's biggest problem was CPU performance. Kaveri simply doesn't have the IPC that Haswell or Skylake do. I wasn't able to overclock it enough to compensate for that inefficiency (or overclock it much at all, really). The stock CPU cooler and tiny ITX case just couldn't handle the heat buildup. The result was a CPU that throttled down under even moderate loads.
Get Tom's Hardware's best news and in-depth reviews, straight to your inbox.
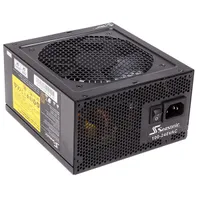
With no SSD, storage performance was also on the low side. The storage score may be a small part of the final value consideration, but I consider the SSD experience important for the end-user. And while I was able to get a respectable RAM overclock last time, overall memory bandwidth lagged behind Thomas' and Joe's machines. Finally, many people felt the chosen PSU was inadequate. While it had no problem with wattage capacity, many readers wanted a higher quality unit.
Setting the Rules
Before shopping for parts, Thomas, Chris and I had to fully define the rules. Originally, this was supposed to be a completely open budget to build whatever rig we wanted with a similar idea to last quarter. We then discussed adding some restrictions such as keeping the same CPU, same CPU socket, same motherboard form-factor or only having $200 extra to spend. Each of those had a few small problems that would have affected one builder more than the others.
Finally, it was decided to go back to the original idea — unlimited budget, anything goes, and stay true to your original idea — but Thomas insisted on altering the end goal. Going for higher performance and benchmark scores alone would've been easy. Instead he wanted to surpass our machines from last quarter in terms of performance value. That means we have to get better performance than last time while spending proportionally less money. Let me explain the math:
Our final value percentages are calculated by taking total system performance scores and comparing them against the scores from other machines. That gives us a percentage score of how much faster or slower each machine is. Taking those percentages and dividing them by the relative cost of each machine gives us a performance value.
For me to be successful this quarter, if I spend 50 percent more money, I need to get at least 51 percent more performance out of that extra money. From past SBM experiments we know the value sweet spot is somewhere between $800 and $1200, and it moves a little depending on where we are in a hardware release cycle. I already spent $800 last quarter, so I don't have a lot of wiggle room.
The theme this quarter is how we would correct what we built last time without a budget restriction. For my own build, I'm going to take it a little farther and treat it as though I was shopping for parts three months ago. That means I'm not going to swap out a part just because I can get a slightly cheaper variant of the same thing now. In order to derive the most useful comparison between the two builds, I need to isolate and limit the variables.
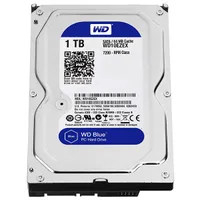
The parts I chose last quarter were the best values I could find at the time. If I'm treating this like I'm shopping back then, it goes to reason that I would choose many of those same parts again. The only changes should be where I'm intentionally going in a new direction. Basically, if I want a 1TB 7200 RPM hard drive again in this build, it should be the exact same model I used last quarter. If I decided to change capacity or rotational speed, then it would make sense to look at other brands and product lines. If I do change a product, it should be one that was available three months ago.
Correcting the Issues
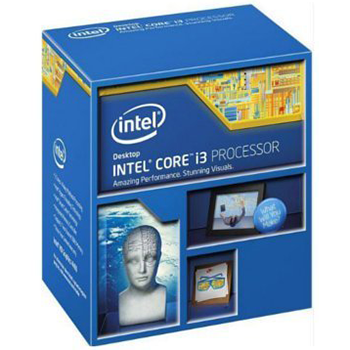
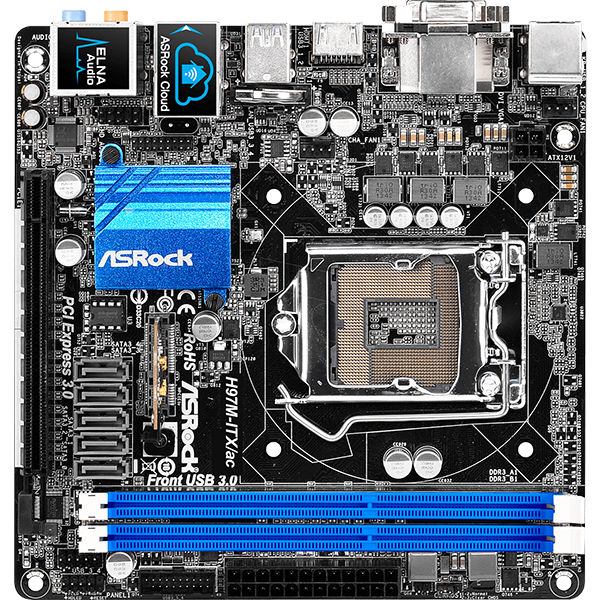
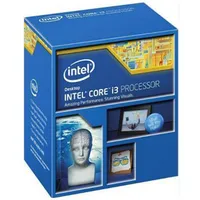
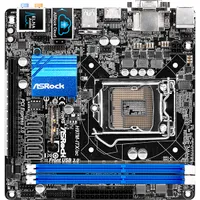
Three of the biggest problems plaguing the Original (heat, poor IPC and memory bandwidth) all stem primarily from the CPU choice. The simplest way to deal with them is to switch from the FM2+ platform over to LGA1150. Intel's CPUs currently are more efficient, run cooler and offer superior memory controllers compared to AMD. Since I'm looking to keep the budget low, the i3 line is my best bet.
The i3 may be a low-power chip (topping out at 54W TDP) but the stock cooler bundled with the i3 is solid aluminum, not the copper core models that come with Intel's higher SKUs and unlocked chips. This means when stock cooling is used, the i3 tends to run hotter. A larger, better ventilated case will help ensure I don't encounter thermal throttling. However this still needs to be an ITX LAN box, so I won't swap to mATX or a tower.
Finally, I will upgrade the storage with an SSD system drive (keeping the spindle drive for storage) and swap out the PSU for a higher quality unit.
Still Something to Prove?
As a revisit of last quarter, that means this is an extension of that experiment. So, are there any questions I want answered this time? Not as many. Chris' i3 machine last quarter soundly beat the 860K at stock clocks in just about every benchmark outside of gaming. So I already have a good idea of what kind of performance I'll get this quarter. Judging by responses in the forum, an i3 is considered by many to be too weak to pair with a GTX 970, so I'm still in the "unbalanced system" space of last quarter. I've already shown that the CPU bottleneck in gaming is relative to the resolution and graphic detail. So the only question is how much, if any, the GTX 970 is held back this time.
This is a much safer build than last quarter. I don't think there will be any surprises in the benchmarks this time. I said last quarter that an i3 paired with a GTX 970 would be a relatively inexpensive yet potent combo. I fully expect to prove that today.
Component Selection
Assembly
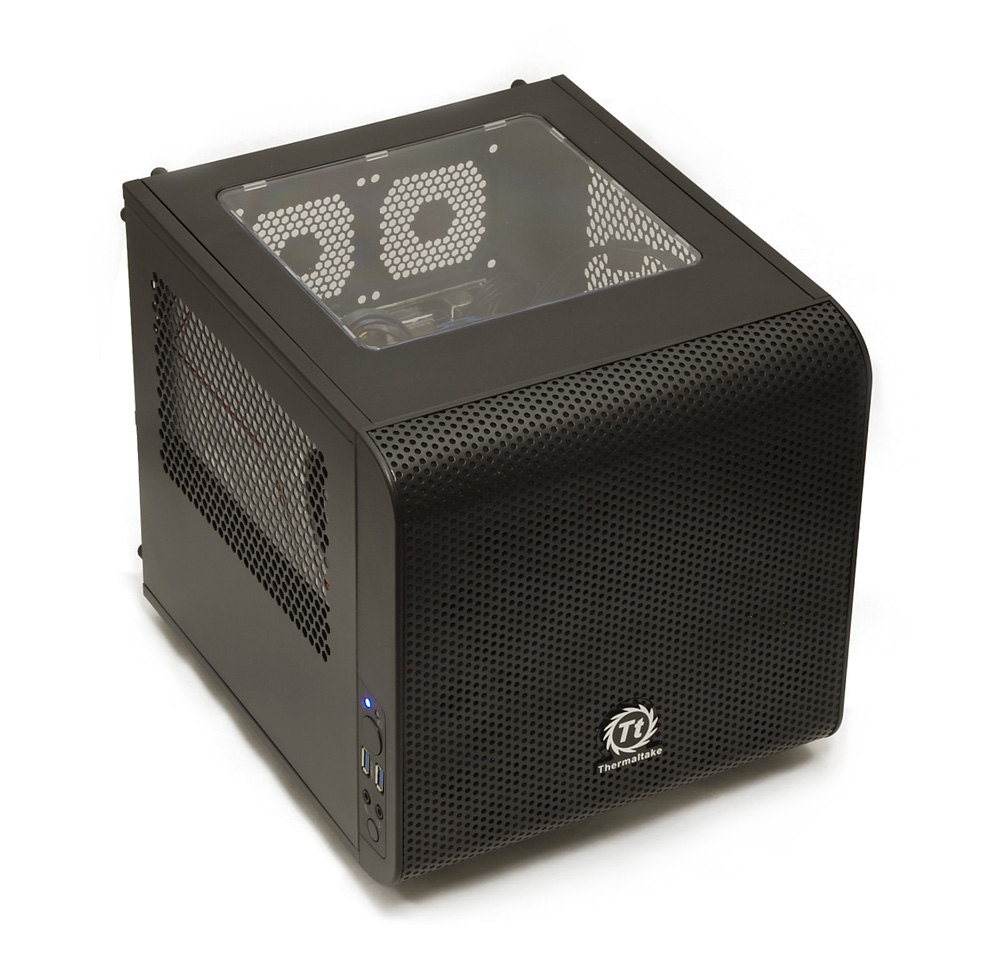
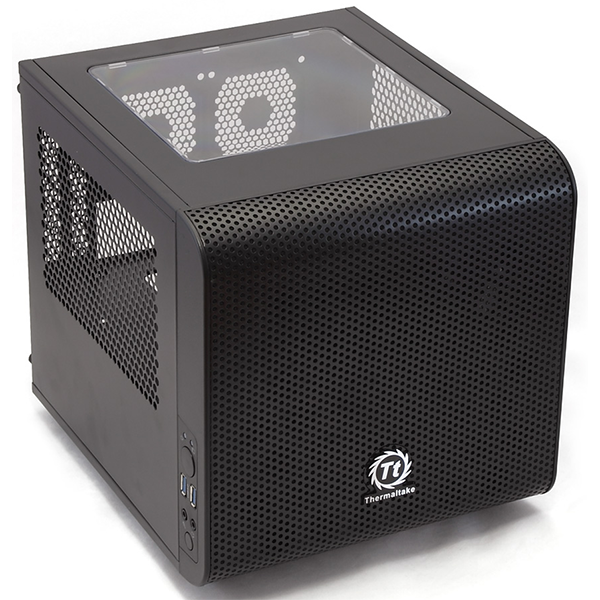
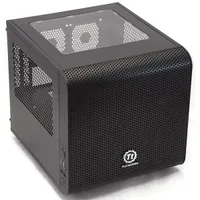
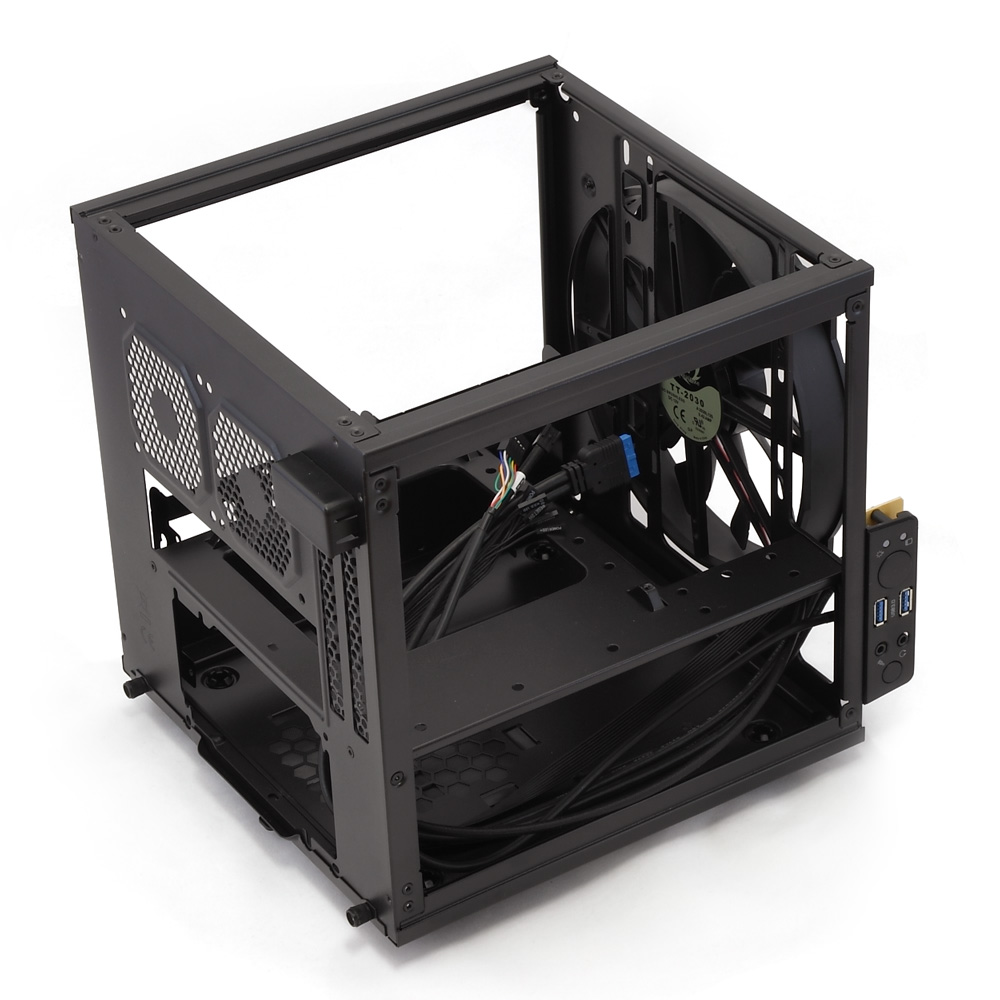
We've been over most of this before, so there's not much point in rehashing everything again. The biggest challenge assembling parts from last quarter was the tight confines of the case. Though over 15 inches long, the Elite 130's cross section is only 8.2 x 9.4 inches. The Core V1 is at least 10 inches in each dimension and every panel can come off (even the floor), which meant nearly each part could be inserted and extracted independent of the others.
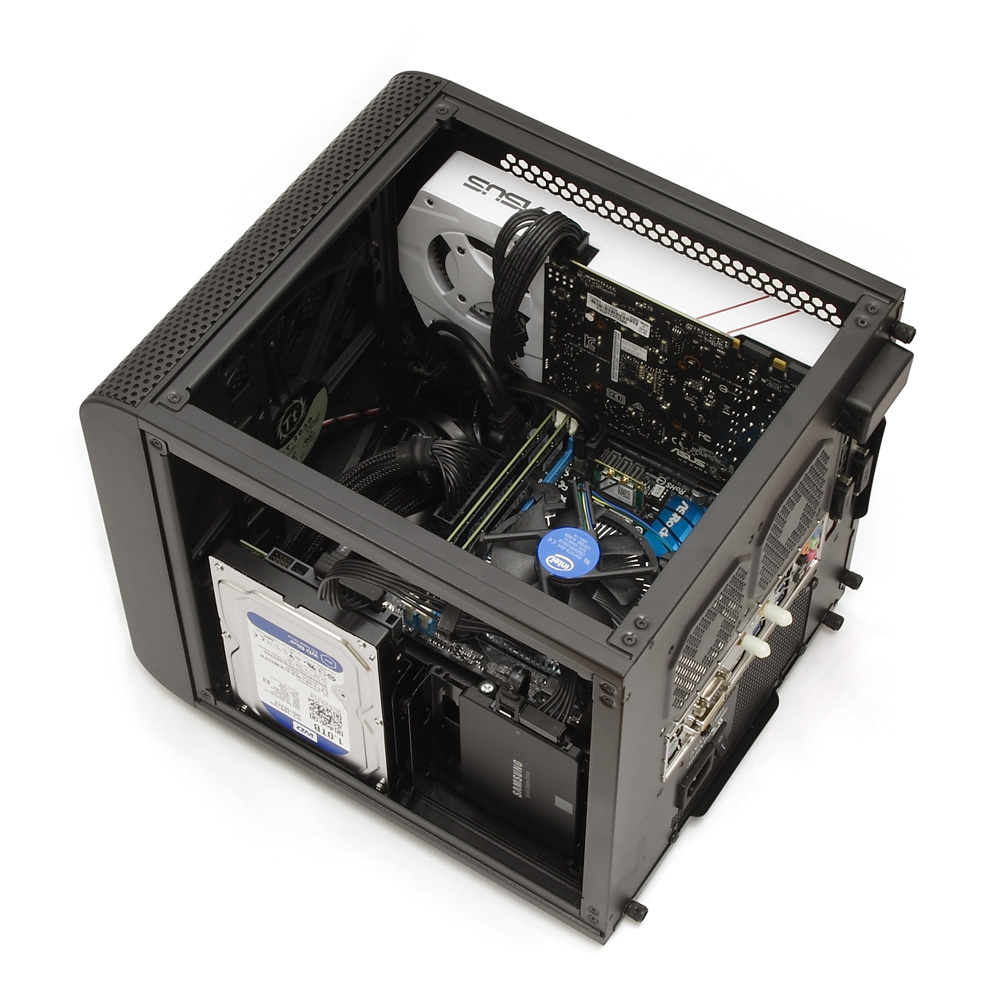
Also, unlike the 130, the V1 has distinct hard drive cages which took the guesswork out of drive mounting. I decided to mount the 3.5 inch drive closer to the intake fan since it's in more need of cooling. The SSD is also short enough to allow some of the hot air from the CPU cooling fan to escape out the side vent, whereas the larger drive would block it.
The biggest challenge was cleanly routing and gathering the cables to get maximum airflow to the motherboard and inside intake on the GPU. Total assembly this time around literally took half the time as last quarter.
-
spentshells You spent too much on the psu, the saved 30 dollars would have been better applied elsewhere.Reply -
robinspi ReplyYou spent too much on the psu, the saved 30 dollars would have been better applied elsewhere.
Agreed. There are other good options, though TBH, I might have done something near $20-10 less because I like good PSUs. (esp for modularity in that mITX system) -
silverblue It's a shame about the 860K throttling like it does; a larger cooler would help but your space is limited. Still, the comments on the Q3 article about undervolting hold some merit - AMD overvolts its CPUs, and you can easily knock 0.1 to 0.15V off. I'm not sure it'd help much with power nor thermals in stress tests, but it'd at least take a bit longer before it throttles.Reply
I've not had mine above 60 degrees C yet on the stock cooler (Prime95); it usually sits in the 40-50 degree range and at about 3.9GHz on 1.32V on an ASUS A88XM-A. In a smaller case, I'd probably undervolt a little more, but I'd also have a better cooler than stock. I was considering an i3 but the price differential was too great, even when looking at Haswell. :S The 860K does drop to 3.0 or 3.5GHz occasionally without any thermal issues being present (hell, the fan is at low speed), so I'm just putting that does as a fast idle, or its inherent dislike of these new article layouts - so much on a single page at the same time meaning it doesn't idle for long, though to be fair that could be Opera's fault. :) -
silverblue Putting that DOWN as a fast idle, rather - can't edit due to an issue with too many redirects to the forum. :(Reply -
Onus Reply
As a stickler for quality PSUs, normally I'd disagree with this. In this case though, the power numbers (at the wall, no less), suggest that a smaller unit could have been used, while maintaining quality. The 400W Seasonic Thomas picked comes to mind. I'm not sure where else you'd use the money; perhaps a SSHD or a WD Black for data storage (I'd probably take option #2 for the 5-year warranty).17214175 said:You spent too much on the psu, the saved 30 dollars would have been better applied elsewhere.
This, overall, is a solid machine that someone may very well build. On a tighter budget, a GTX960 or GTX950 is still viable. Even if all you can afford is a GTX750Ti, you won't be suffering to build this; lower a few settings and game on.
Eric, combined with Munchkin 1.0, I think you've done an outstanding job providing some solid data points.
-
Mopar63 As an AVID LAN party gamer I can tell you I am excited to see builds with a focus on LAN Event attendance being in your build list. However if would be nice if that was your focus or at least a more than basic understanding. Lets begin with those quote from your part selection.Reply
As a LAN box, I wanted to keep the wireless network capabilities. Despite what many gamers think, playing over a wireless network is more than acceptable with the right router and setup.
I 100% agree that with the setup being done properly wireless can give a great gaming experience. However at anything but a few buddies in size event wireless is NOT a viable option. First the setup will vary from event to event and on top of that with events having more than 4 or 5 buddies a wireless setup will be all but toasted in performance. At organized LAN events wireless is the worst possible option and often never offered.
As for your testing methodology also shows a lack of focus on LAN events and rather that you built a small system and then used the same old testing methods. LAN event attenders seldom, with the exception of the show offs, bring large monitors. They are bulky and a mess to handle plus expensive do you want to risk traveling with your expensive monitor. Multiple monitors are also a huge no-no as LAN events have limited space and most events do not allow them.
Testing at 1600x900 could make sense but I know of few to no gamers that build a solid gaming rig and use anything less than 1080P. The 24" monitor is the prime choice for a LAN event gamer, decent size and good resolution, low cost and easy to transport. That being said testing even to 1440 is reasonable as 27" monitors are still within a reasonable price point and carry size. Going beyond that resolution is nothing to do with LAN events and purely a fall back to an old and tired testing methodology that does not take into account the supposed target of the article.
Finally, while I understand your choice of an SSD and spindle drive, I would suggest instead getting a single, larger SSD. You can get a 480 gig SSD for a little less than your combo and it will perform faster than the system you listed.
While you will lose disk space you gain speed, and durability, a kind of valuable factor for an event being carried between events. Further a dedicated LAN box tends to be a more pure gaming rig. On my pure gaming rig with just a 480 gig SSD I have ESO, Secret Worlds, Fallout 4, XCOM, Kerbel Plague and Civilization all installed and still have 267 gig free. That does include extras like Gamevox, OBS, Paint.Net and other utilities a gamer might need.
Again I appreciate the fact your trying to show an effort to support LAN events and the people that attend them by creating what you list as a focused build. However next time I suggest attending a few LANs and getting a feel for what is really needed at a LAN event. A better understanding of your topic matter would have made a better article. -
Onus ^A little harsh, perhaps, but there are some valid points there. I suspect it is partly a matter of scale. It would not surprise me if the author was anticipating carrying the machine to a buddy's house for a session with 2-4 friends, not attending a major LAN gaming event. For example, I had HOURS of fun playing Diablo2 and Guild Wars with 1-2 of my nieces.Reply
We'd be interested to hear how you would test large scale LAN gaming. No, I'm not being sarcastic; is there a way that a single system builder can approximate this, or an environment he can visit with the machine for realistic (if not entirely controlled) testing? -
Mopar63 Reply^A little harsh, perhaps, but there are some valid points there. I suspect it is partly a matter of scale. It would not surprise me if the author was anticipating carrying the machine to a buddy's house for a session with 2-4 friends, not attending a major LAN gaming event. For example, I had HOURS of fun playing Diablo2 and Guild Wars with 1-2 of my nieces.
We'd be interested to hear how you would test large scale LAN gaming. No, I'm not being sarcastic; is there a way that a single system builder can approximate this, or an environment he can visit with the machine for realistic (if not entirely controlled) testing?
It is not so much a matter of testing for large scale LAN events as planning. A larger LAN event usually has a space limitation so the reasoning I gave for 24" monitors being the preferred size. The other factors I point out are along the same lines, ideas that show more thought and understanding in the limitations of organized LAN events as well as the travel and difficulties associated with it.
One area however that could be "tested" is cooling levels. LAN events are bad about air conditioning breaking down. Even at winter events when you put 100+ gaming systems in a room there is a heat issue. To test this is actually easy, raise the ambient room temp. I would suggest 80F to even 85F as a great place test gaming load under hours of game play.
Many people attend LAN events with the same system they use at home. A dedicated LAN rig is a luxury only a few of us would likely ever have. However to say your building a rig specifically for LAN events means more effort should have gone in to make sure the rig is focused in the right areas to achieve the goal instead of throwing as big a system as you can afford into a small case and calling it a LAN Rig Guide, which is what it feels like was done here.
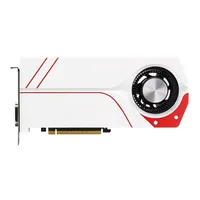
For example the choice of the 970 is a great choice but if you wanted to be efficient for a true LAN rig it makes no sense. Remember 1080P is the norm so a card that can drive 1080P gaming well should be the target, not the biggest I can throw.
With this in mind a 380/380X or 960 could shave as much as $100 off the price and not effect the game play experience at all.
With that in mind the money saved could be used to upgrade the CPU cooler, say to a Cryorig C7 to allow better performance in the heated environment.
Again however what I am pointing out is true, TESTING for the event is not the issue so much as a planning that takes the factors of attending the event, traveling with the system and working within the confines of the environment into account.
-
rayden54 /sigh. Fine this isn't a LAN box. None of that stuff is relevant to a SBM. Just call it a SFF PC and be done with it.Reply -
Mopar63 Reply17216639 said:/sigh. Fine this isn't a LAN box. None of that stuff is relevant to a SBM. Just call it a SFF PC and be done with it.
Calling a device a LAN box but not taking into account t the needs of someone regularly attending a LAN is not relevant? I am not saying it is a bad build and a good setup for a SFF build for staying at home. I am saying if you are calling a system build topical at least show a better understanding of the nature of the topic.
