Why you can trust Tom's Hardware
We are using the following system for today’s build:
| CPU | Intel Core i5-9600K |
| Motherboard | ASRock Z390 Phantom Gaming-ITX/ac |
| Memory | Corsair Vengeance LPX 3000 MHz, 16 GB (2x 8GB) |
| Graphics | Nvidia GeForce RTX 2070 Super Founder's Edition |
| CPU Cooling | Phanteks Glacier One 240MP |
| Noctua NT-H2 Thermal Paste | |
| Storage | Corsair Force Series MP600 NVMe SSD, 480GB |
| Power Supply | Phanteks Amp 750 W PSU |
Step 1: CPU Block & Motherboard Installation
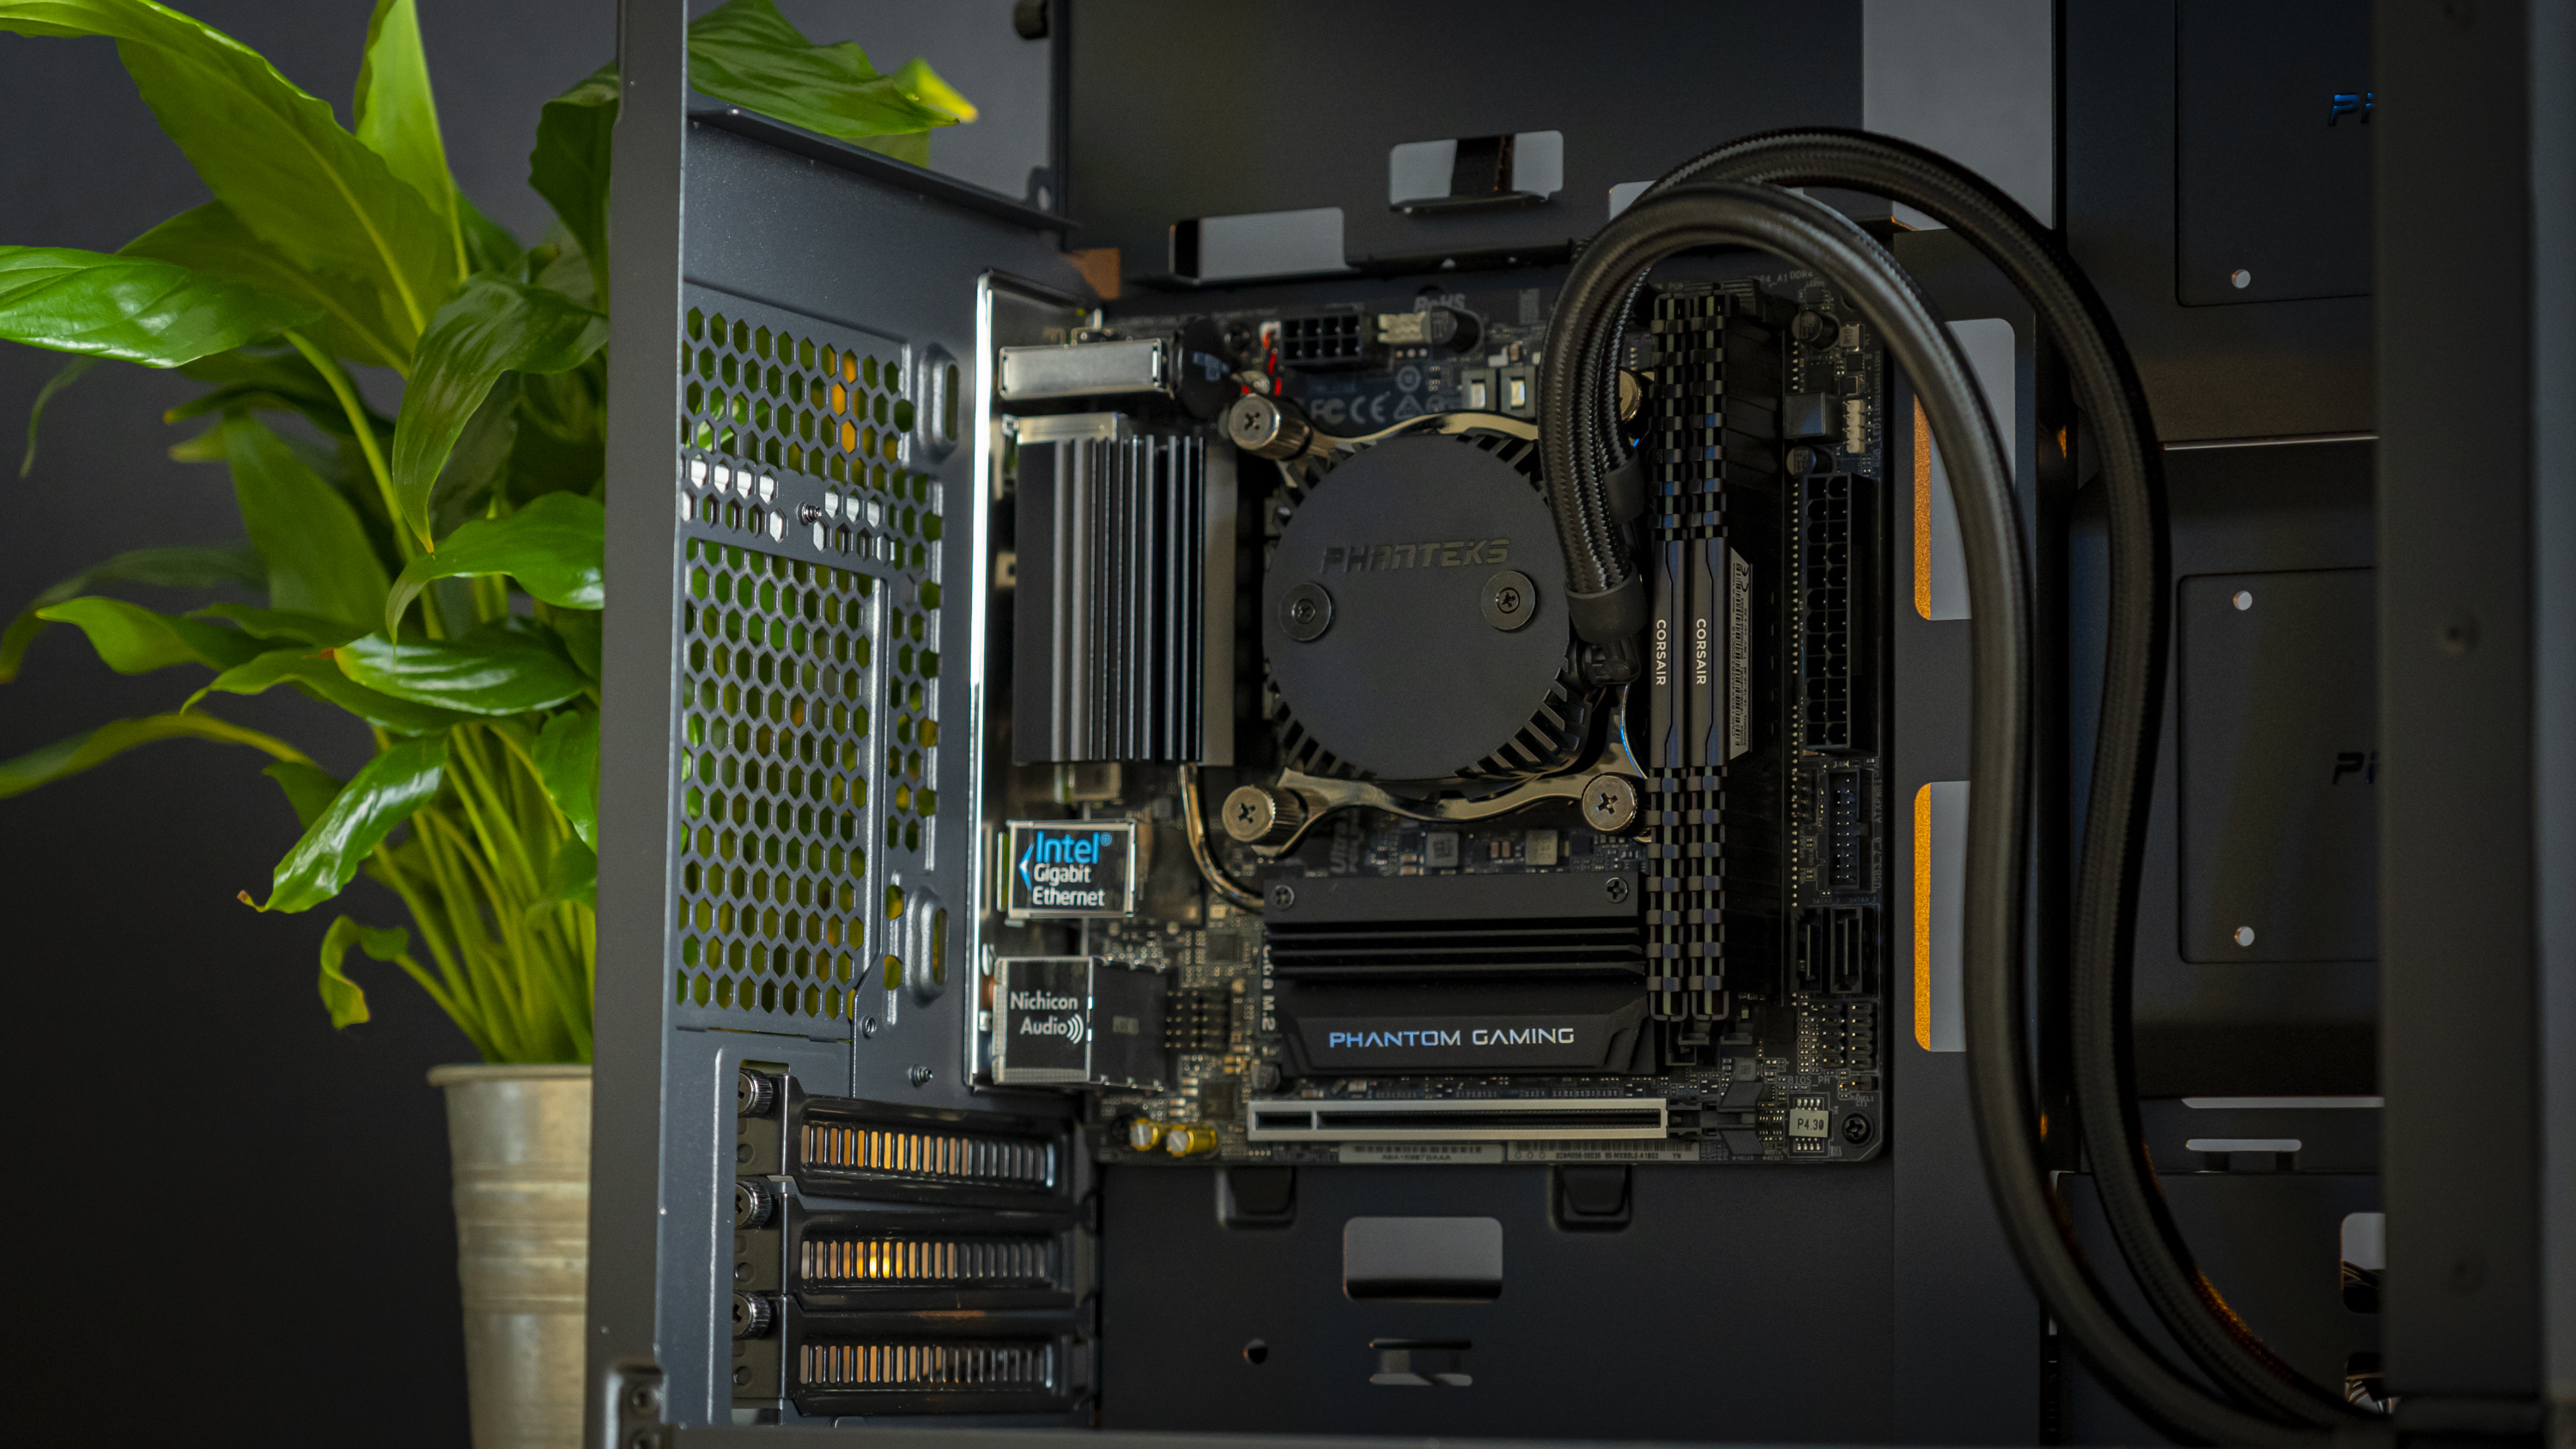
We’re starting off with the CPU, memory, and SSD pre-installed onto the motherboard. We then chuck the CPU block of our AIO on the board, simply because it’s generally easier to do this beforehand in case the cutout at the back of the motherboard tray is too small to access the socket afterward.
One of the pre-installed standoffs has an anchor, meaning the board was held in place with the case upright before tightening it in – a little detail that makes life just a little easier.
Step 2: Finishing AIO installation
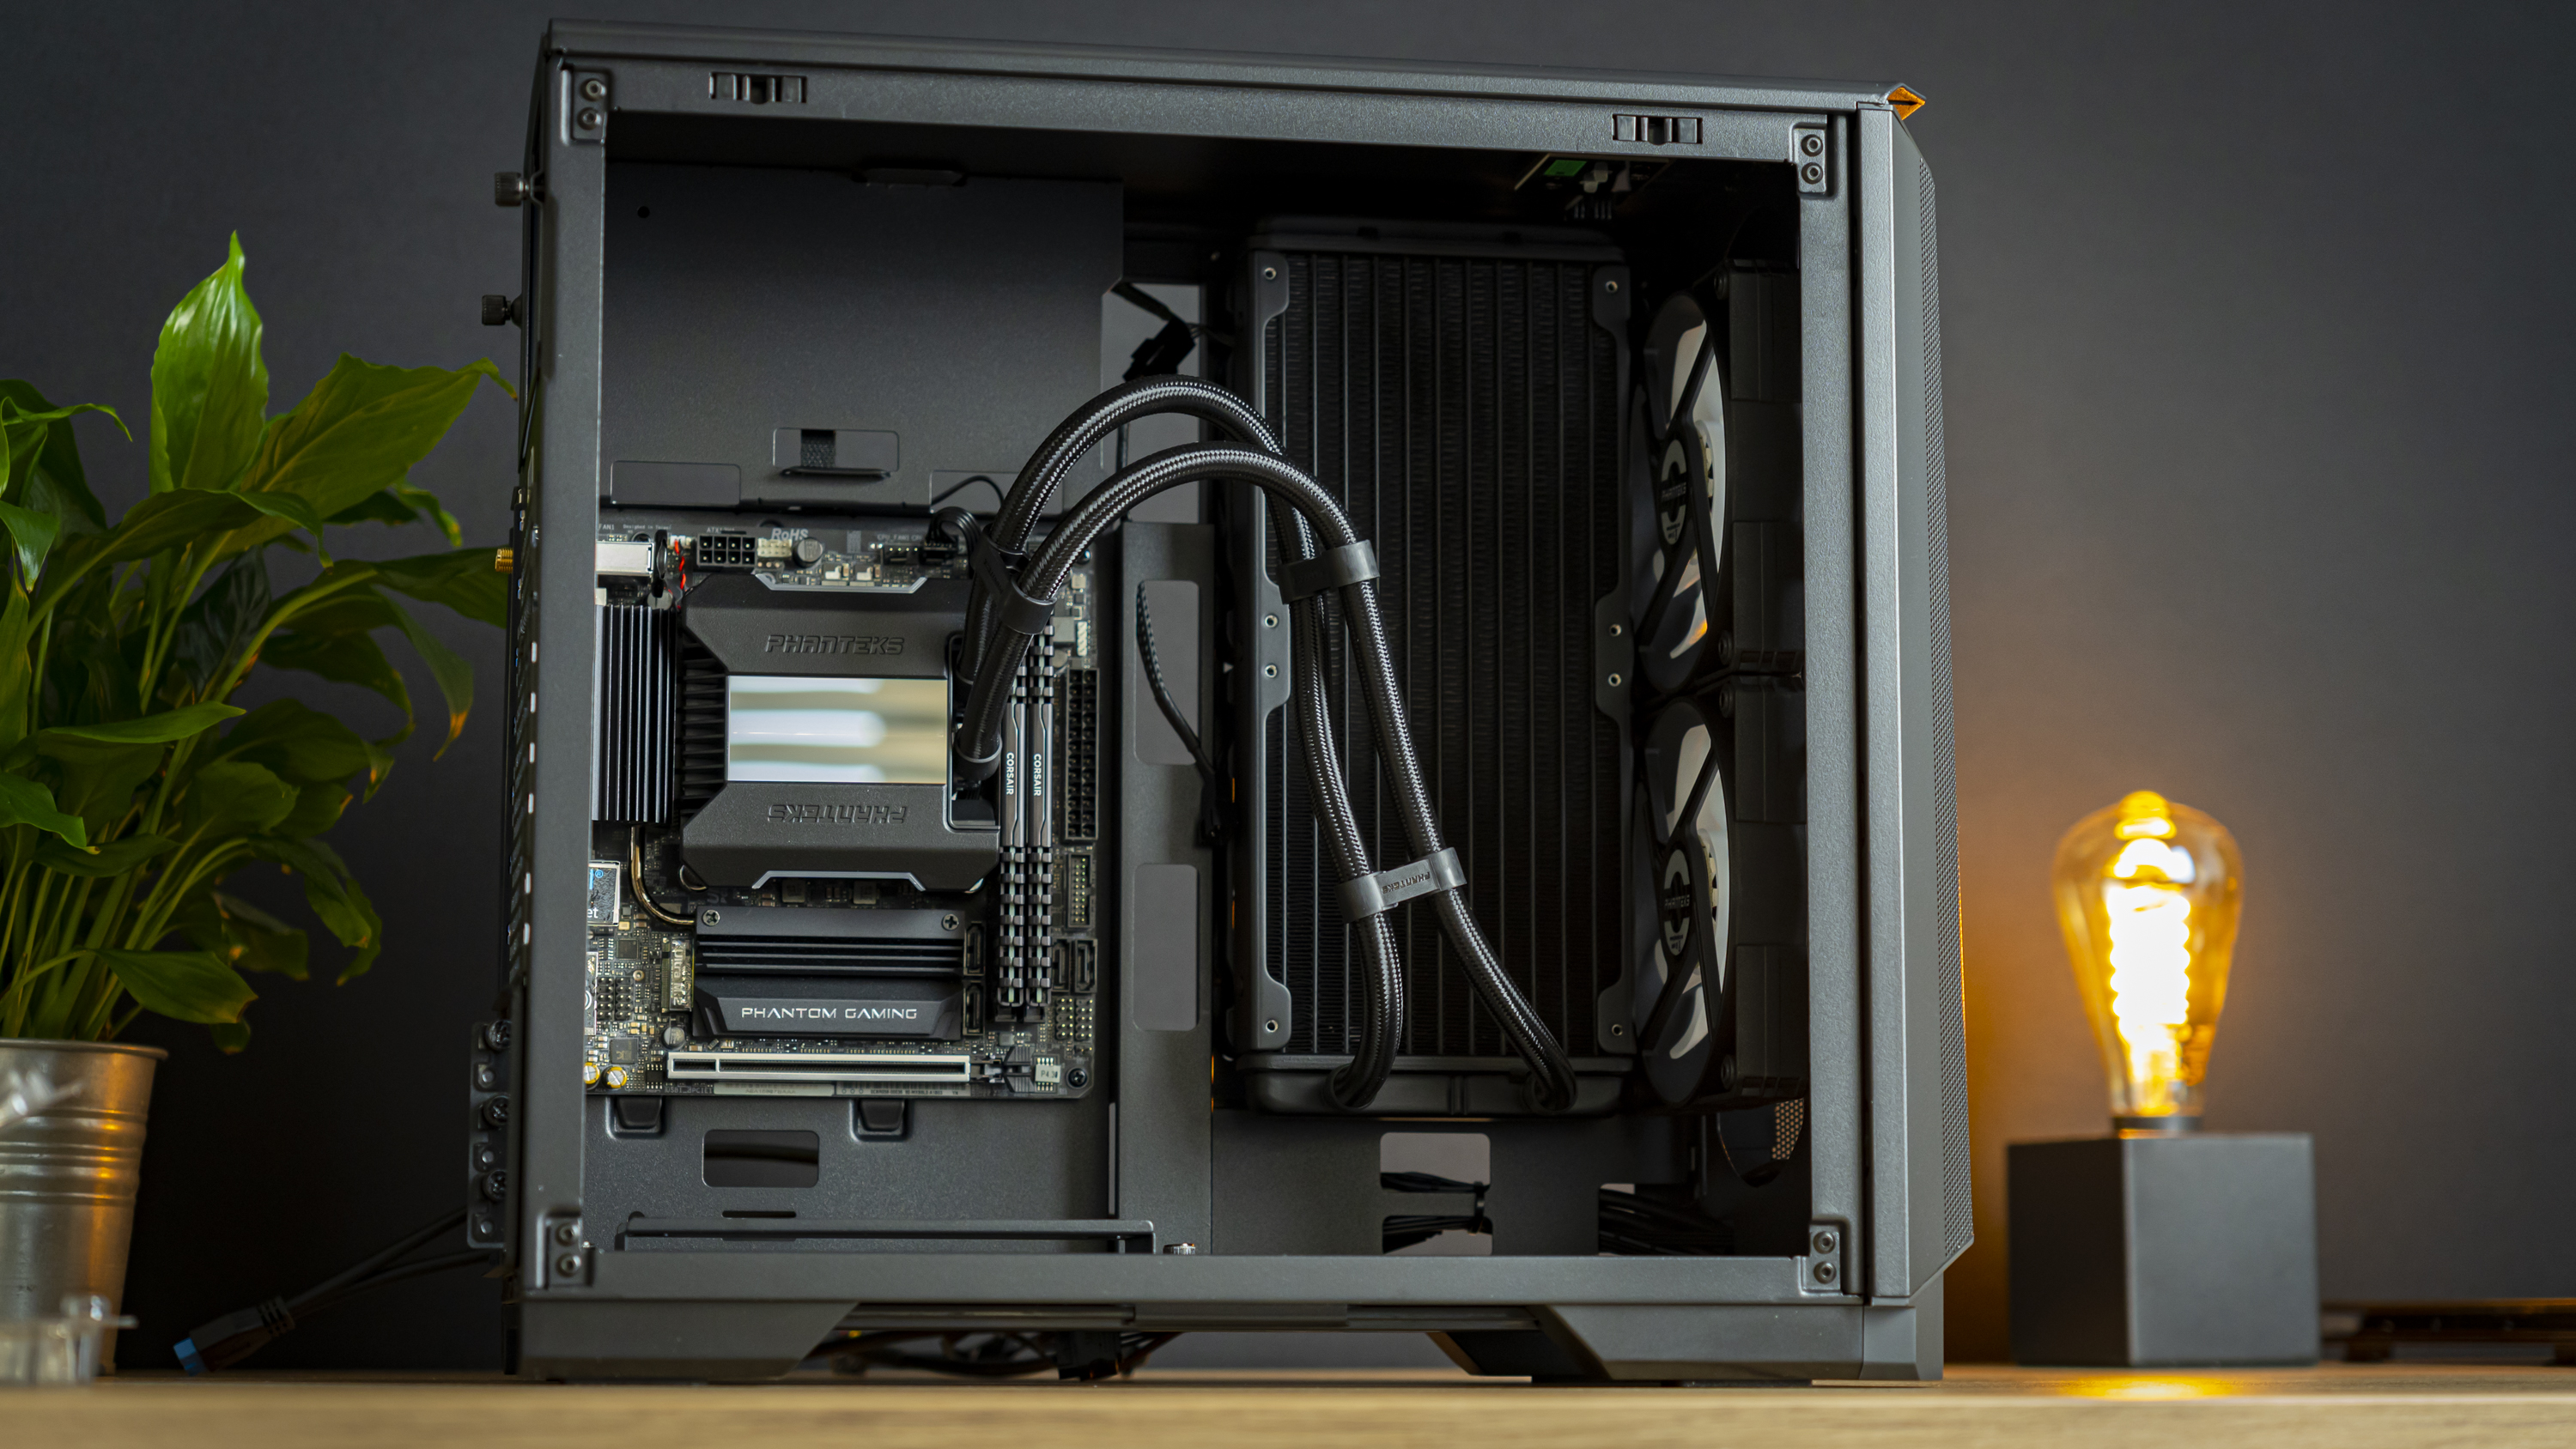
Then, I installed the remainder of the all-in-one liquid cooler. I made sure to use the side vent as an intake, with the fans pushing air through the radiator. This would give the AIO access to cold fresh air for optimal CPU temperatures, which paired with the front intake should lead to impressive temperatures in the thermal tests.
Step 3: PSU Installation
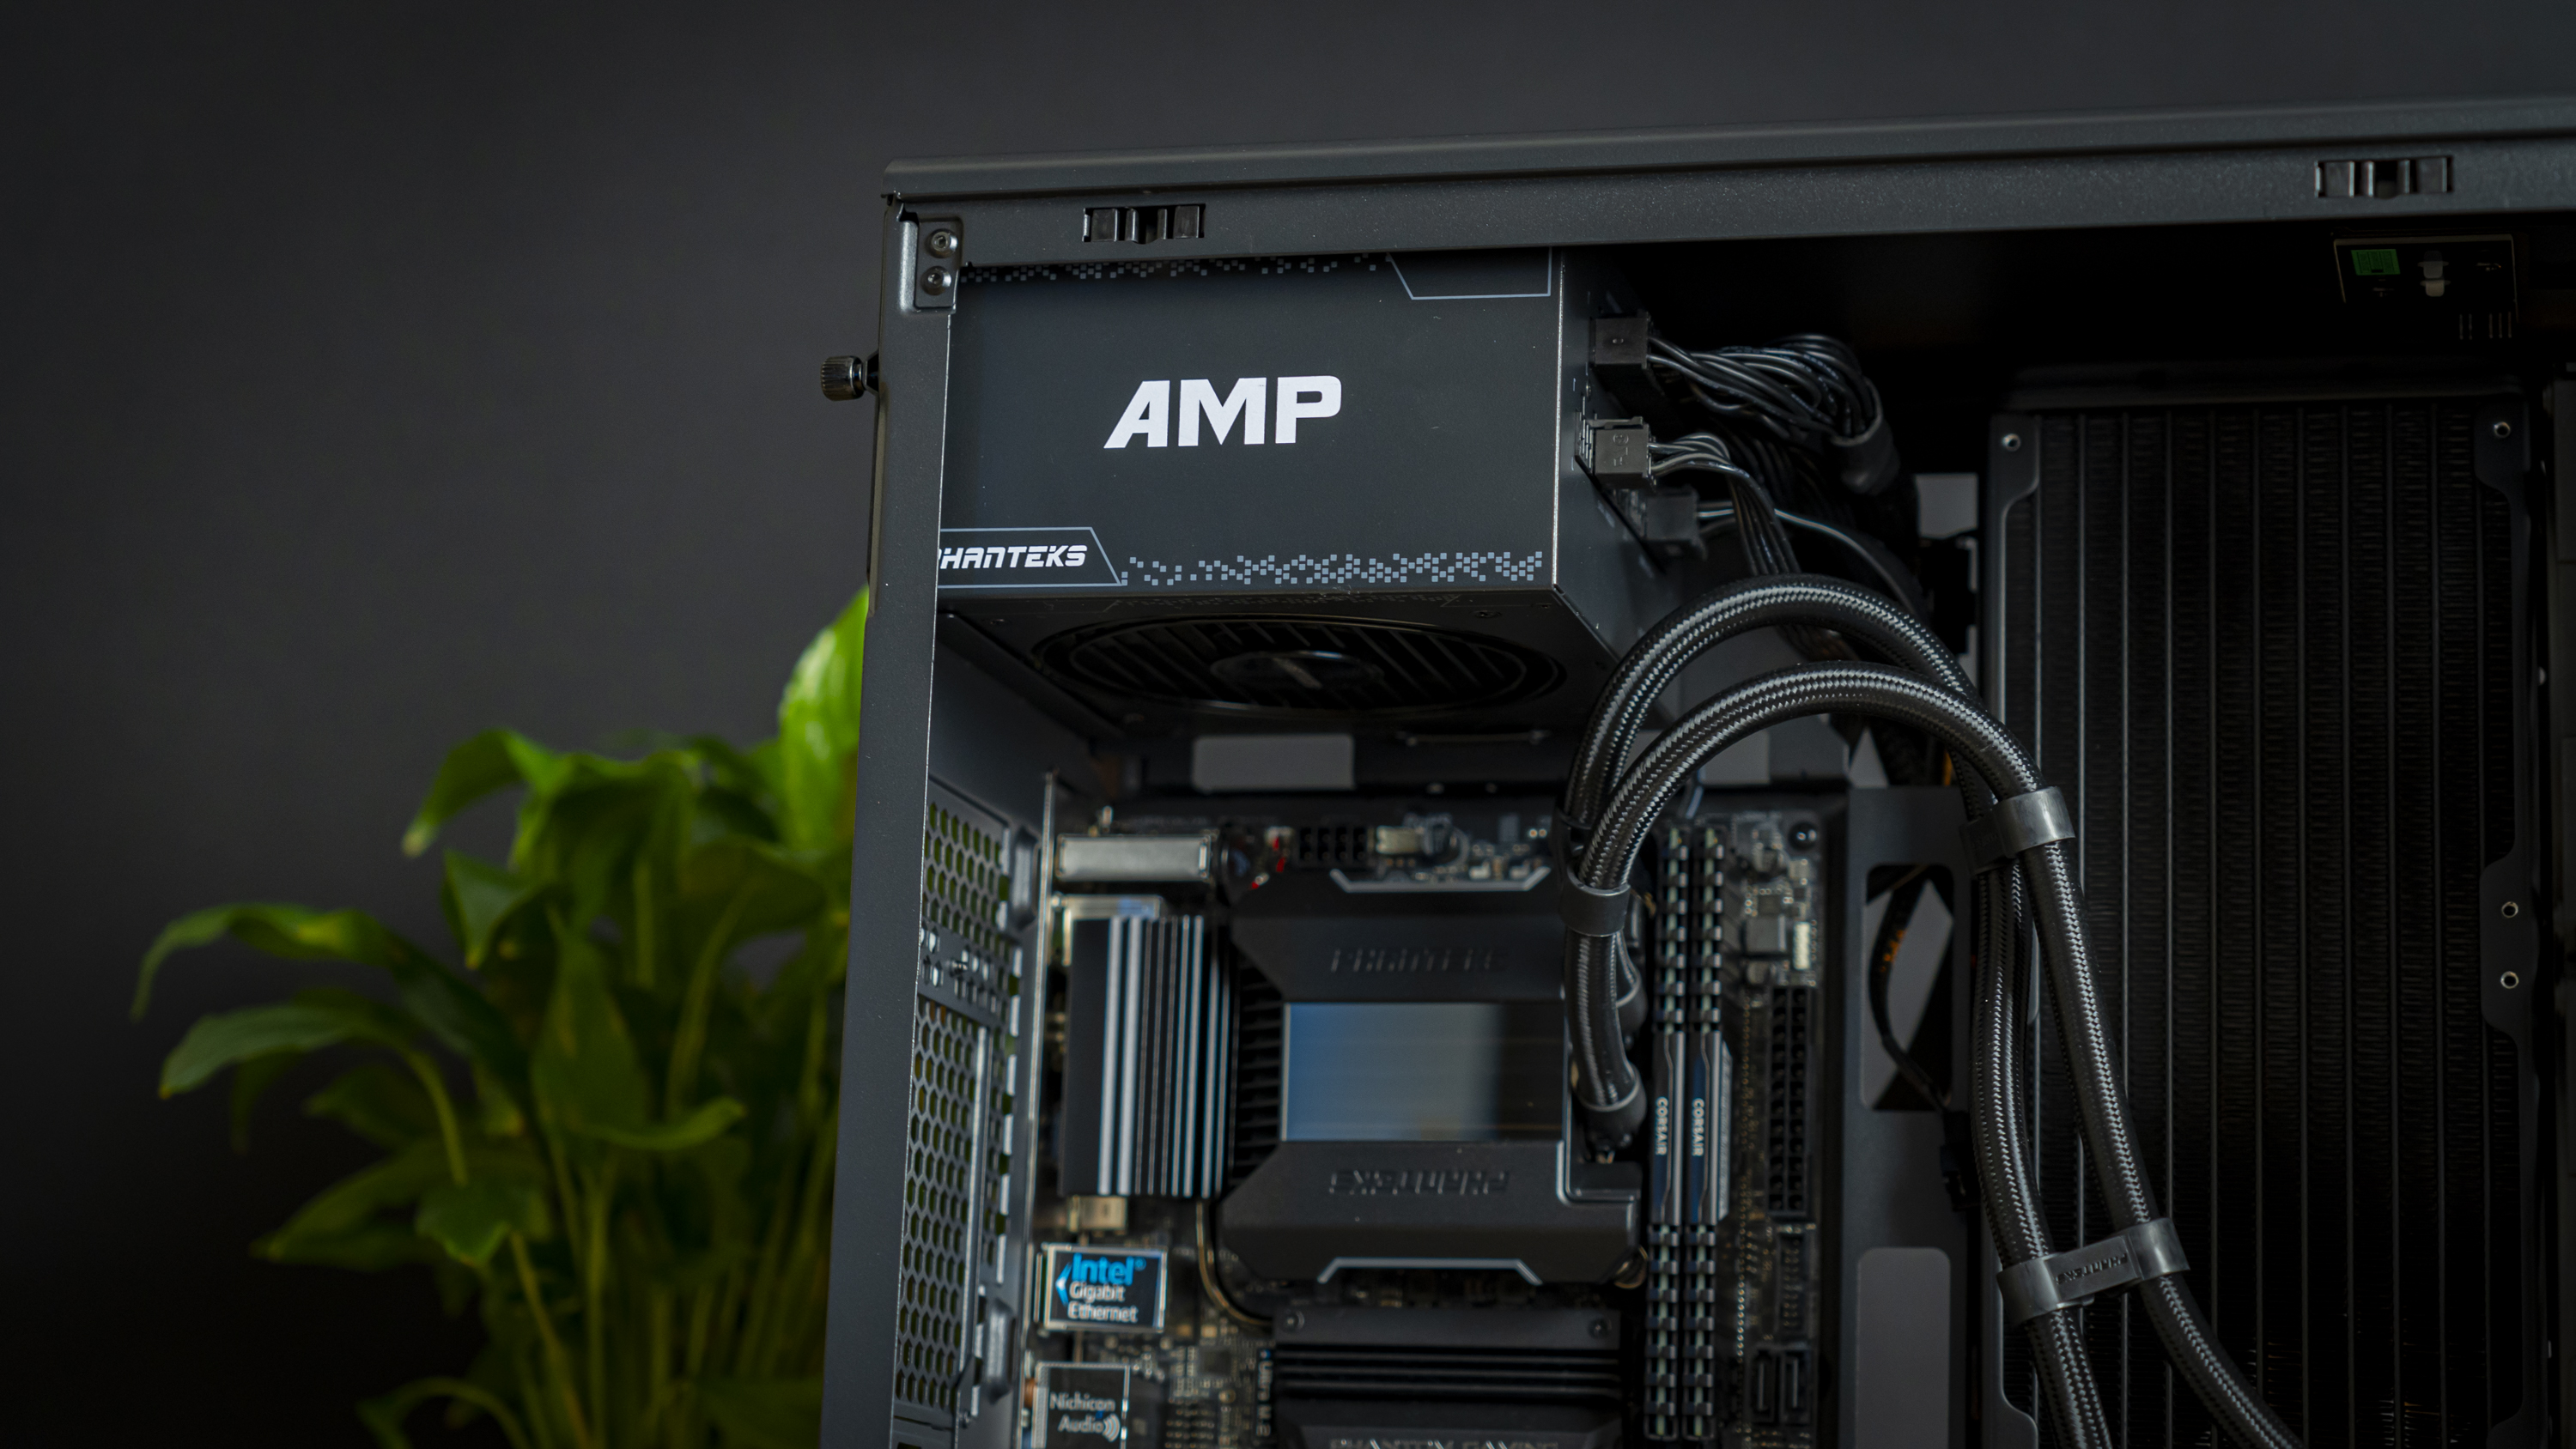
After that, I installed the power supply at the top of the chassis, ensuring the fan was pointed down as there is no intake at the top of the case. I routed all the cables to the back of the chassis. You can slide it in from the inside of the chassis if the PSU isn’t too big, but if you’re having trouble, there’s also a mechanism to slide in from the back of the case.
Step 4: Switching to Vertical GPU Layout
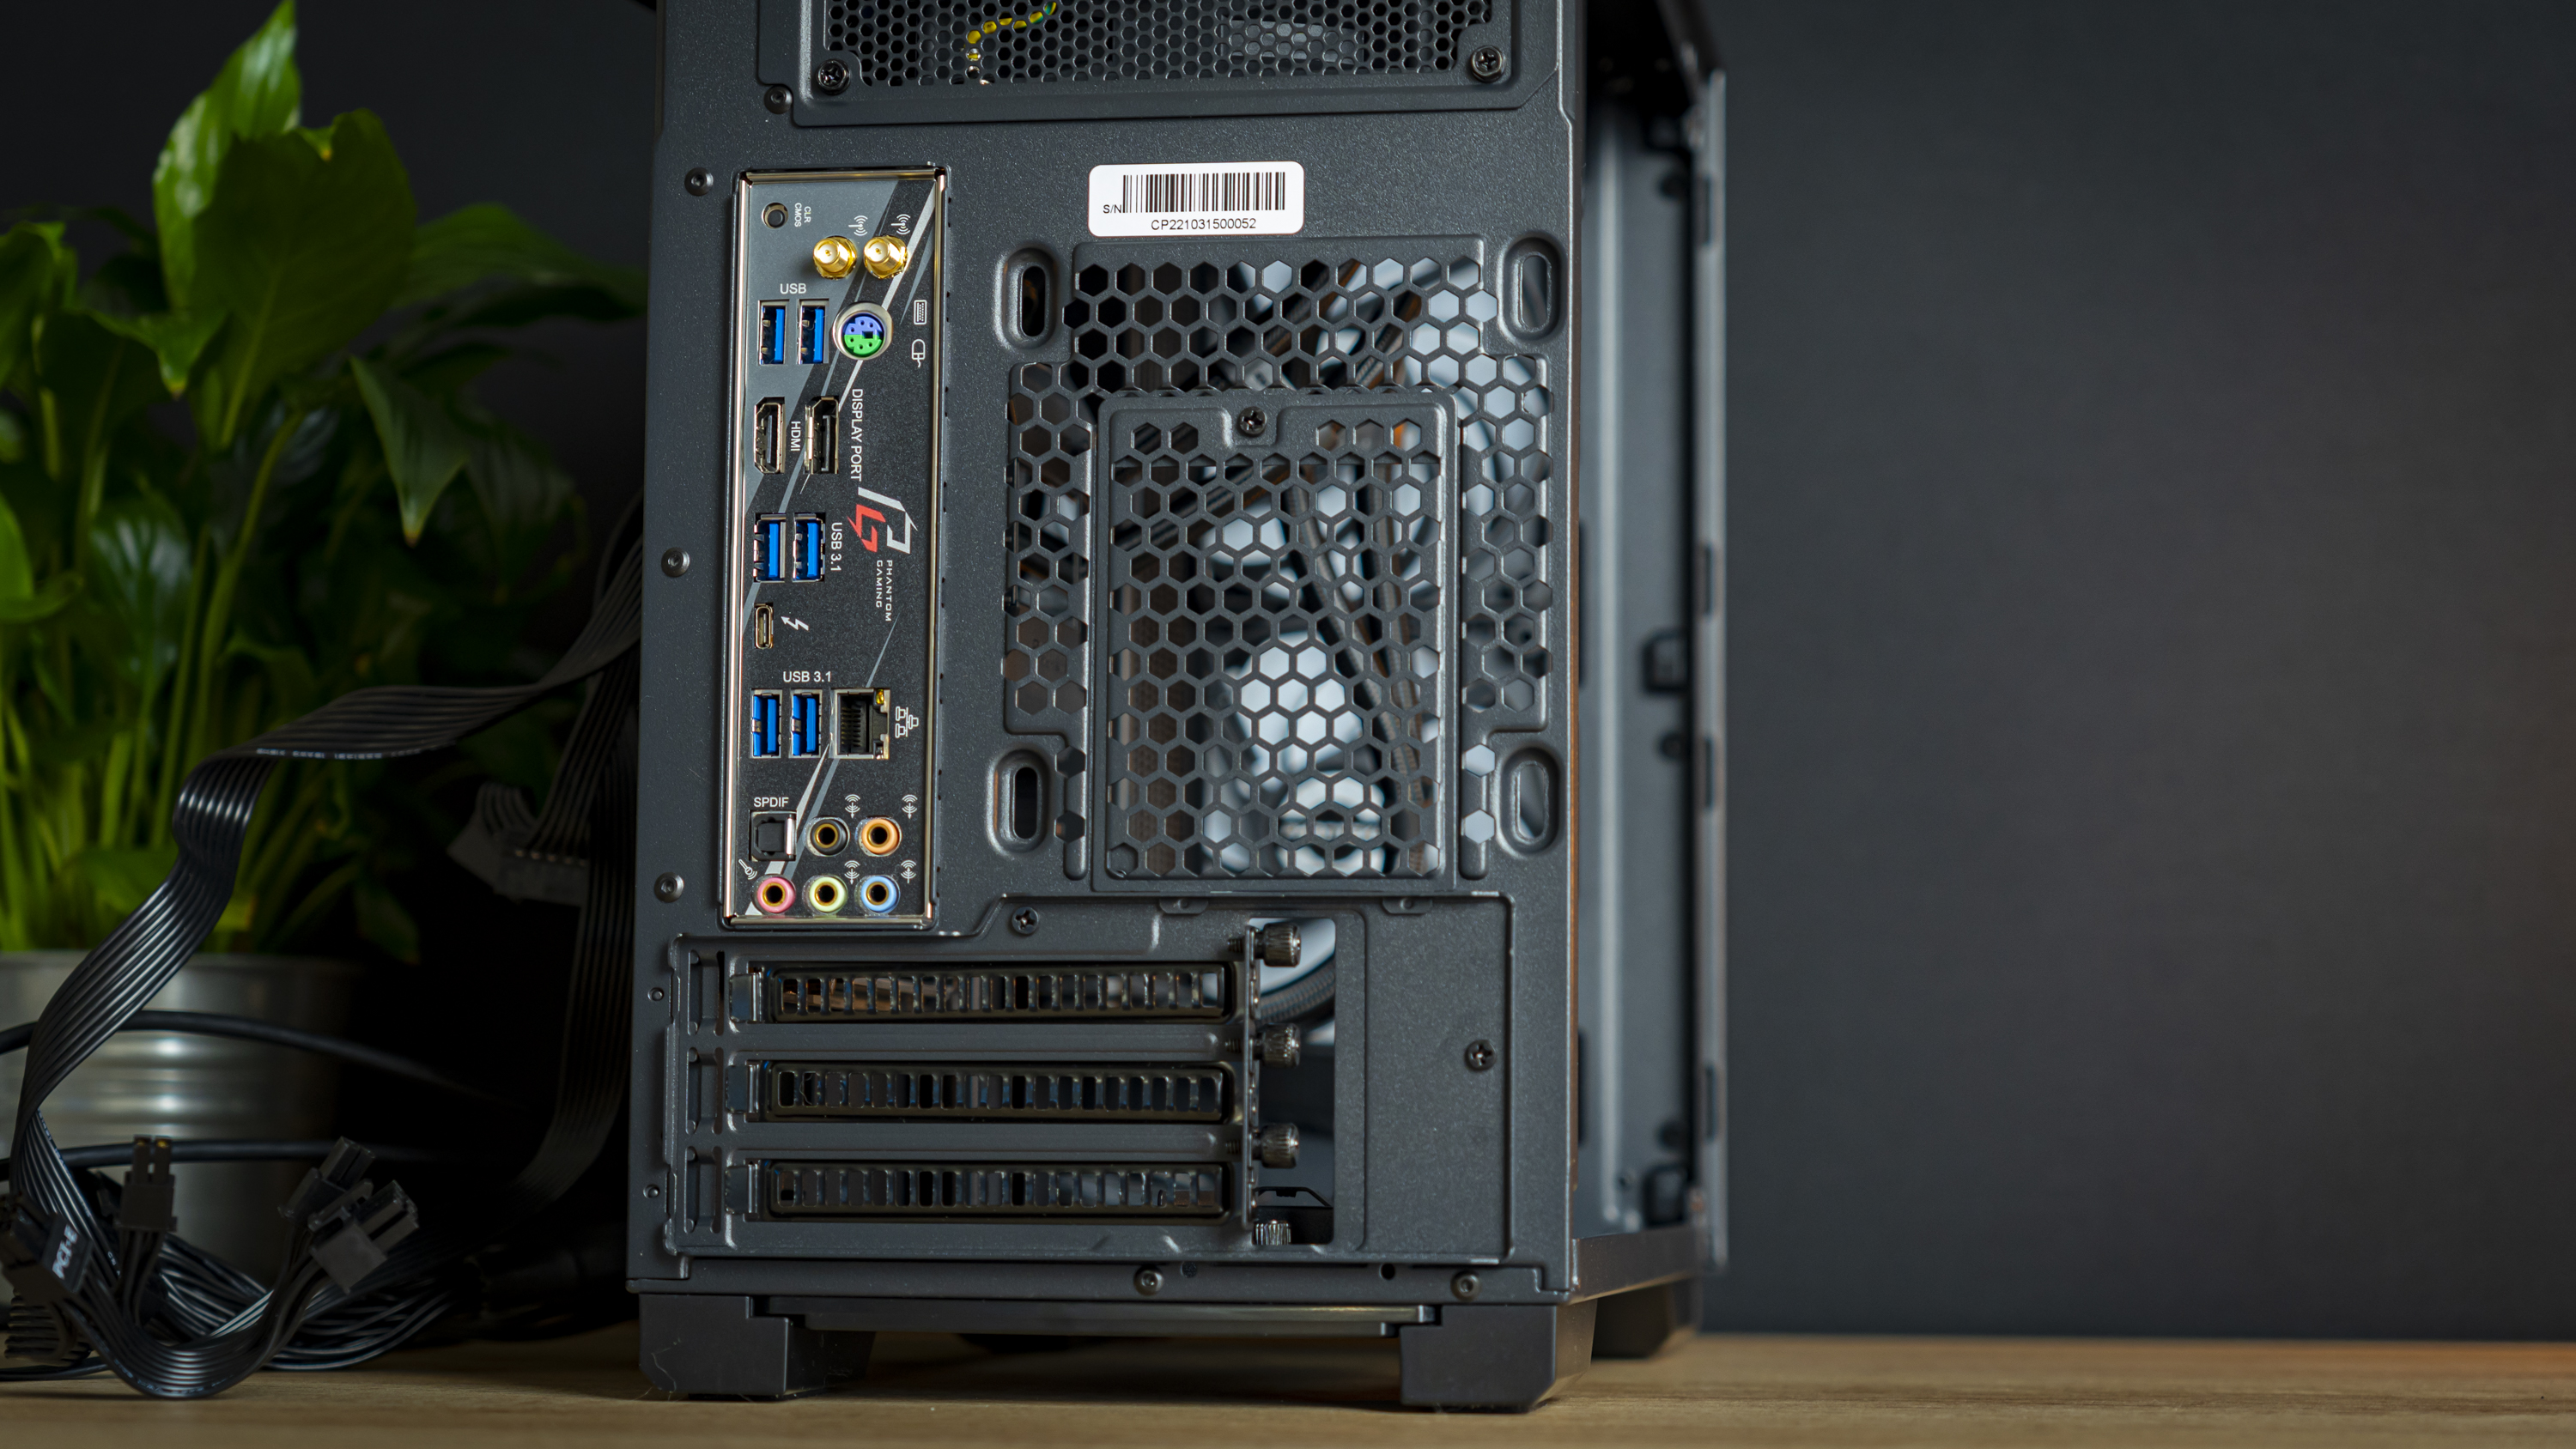
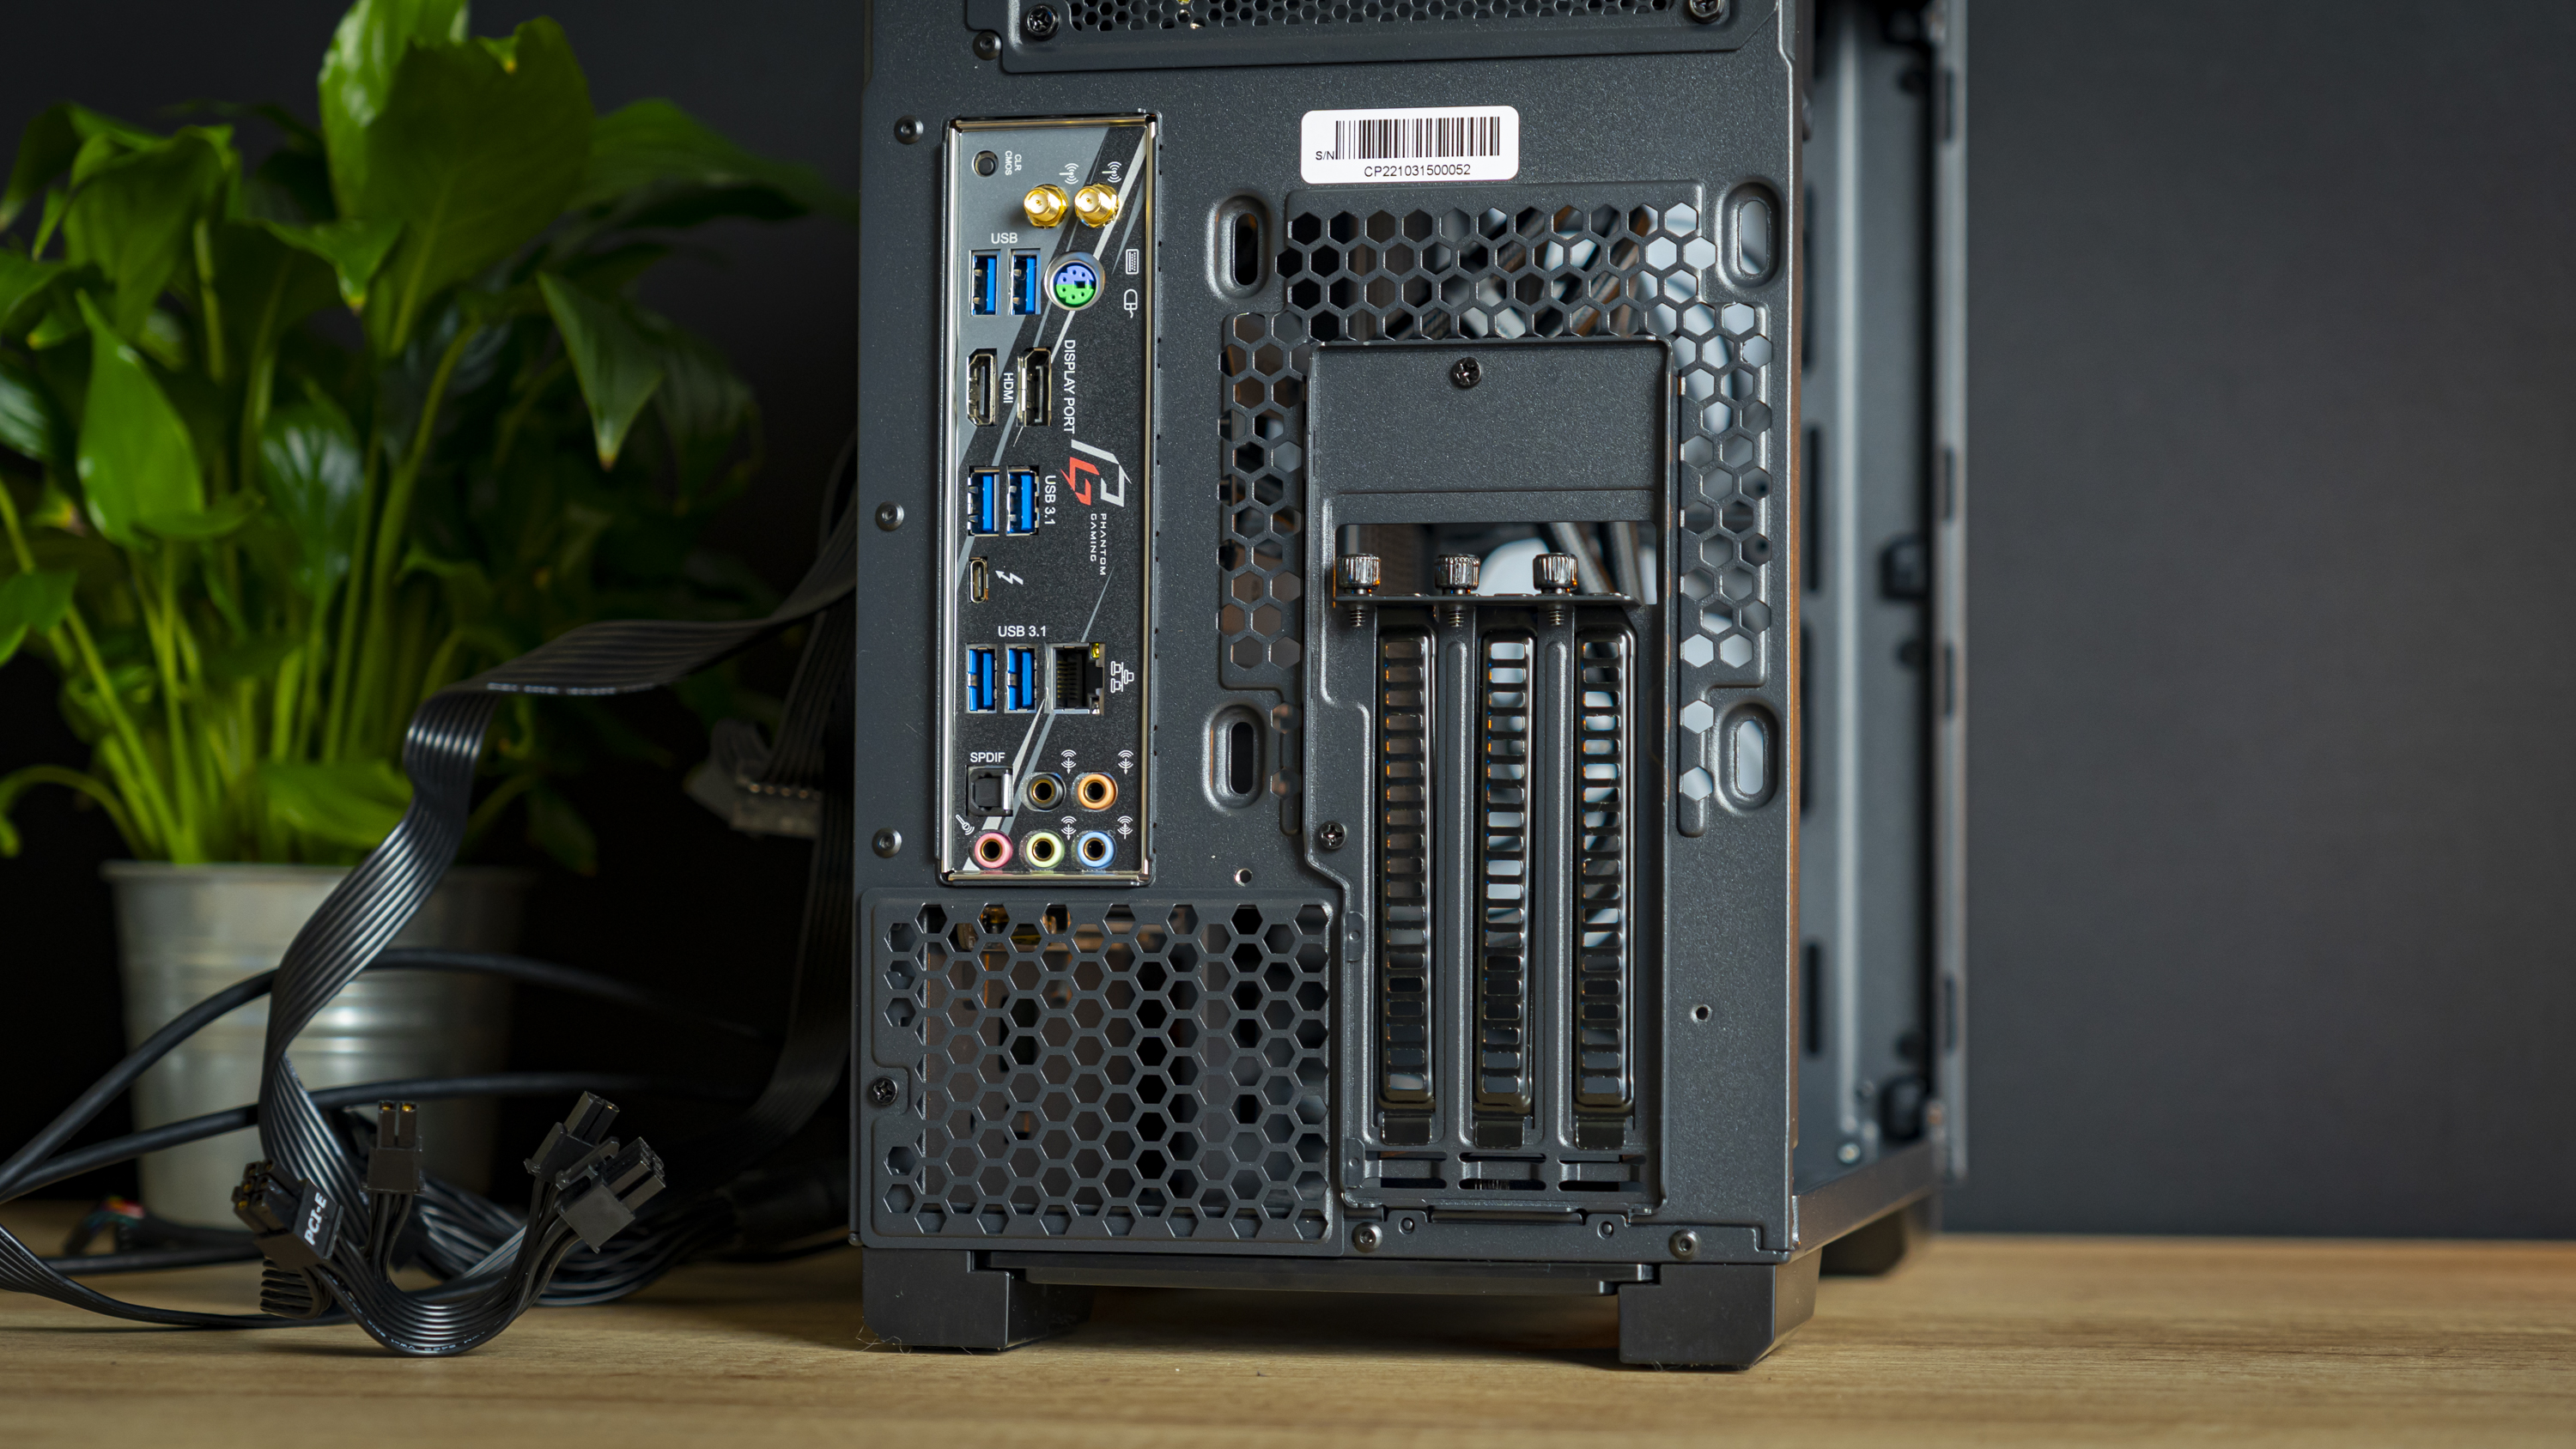
As Phanteks supplied us with a GPU riser cable, I figured it would be fun to put it to use. To do this, I first swapped two plates at the back of the chassis around to switch the expansion slots to the vertical layout.
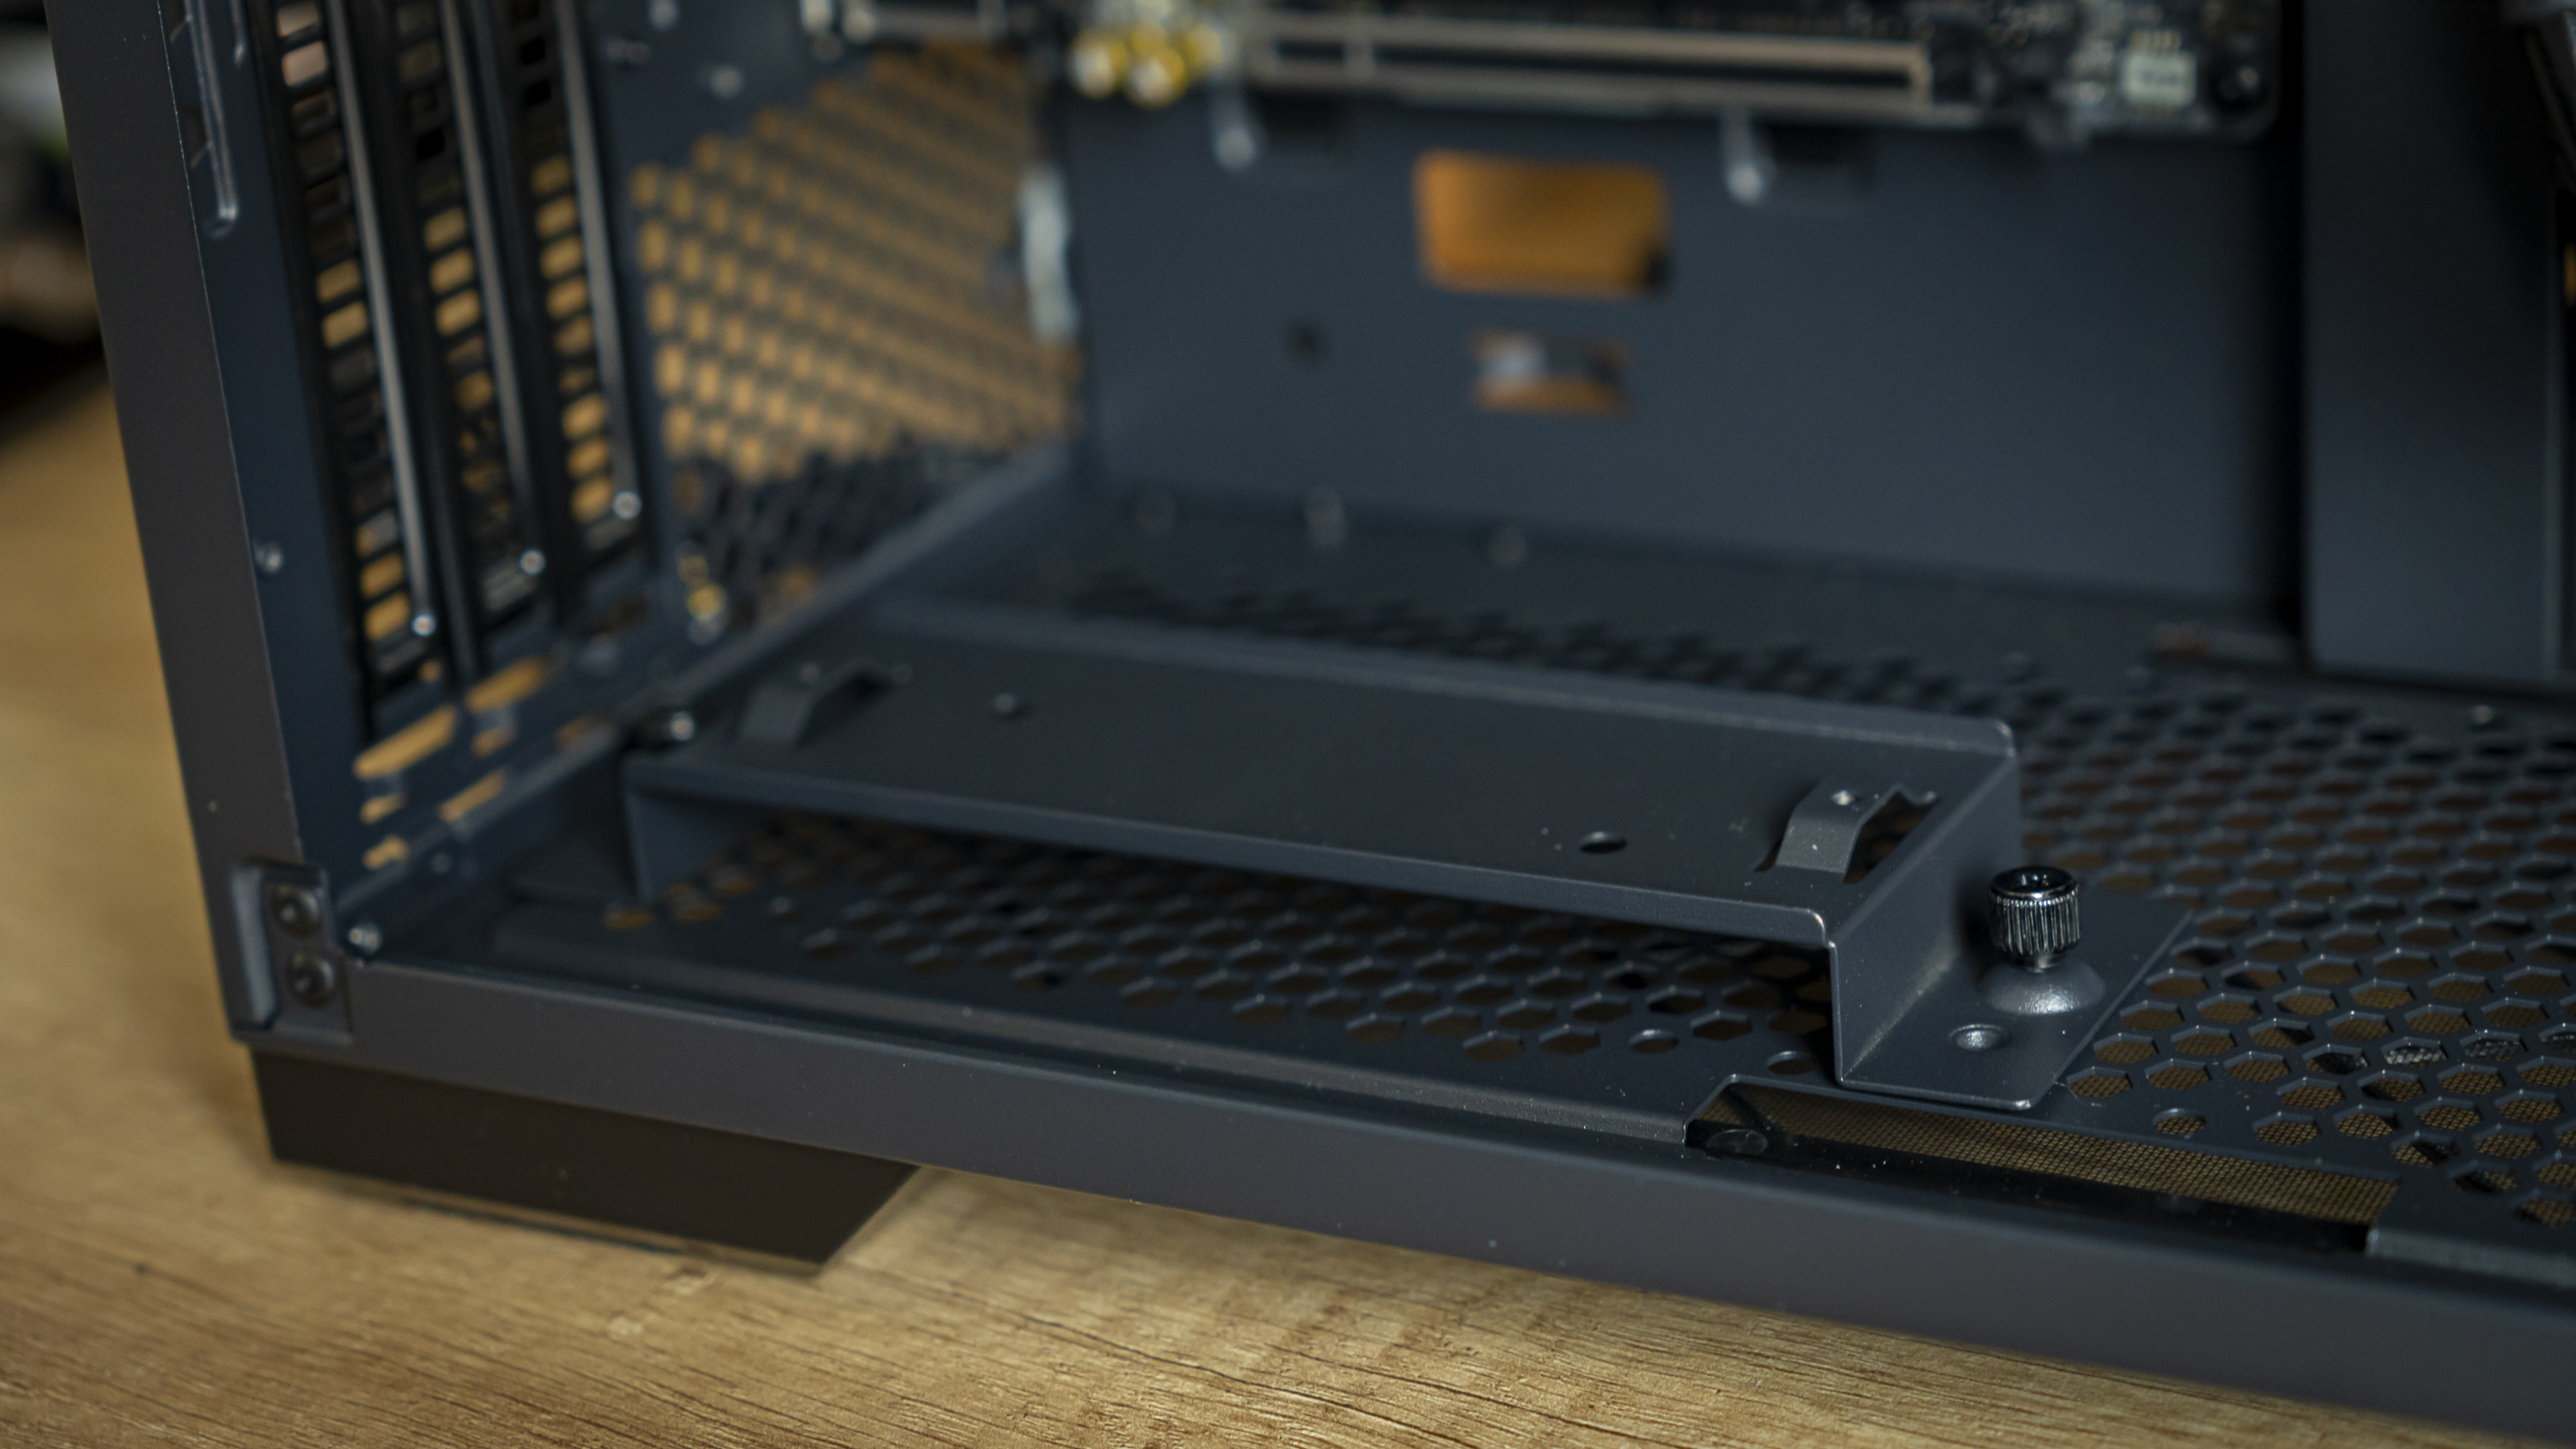
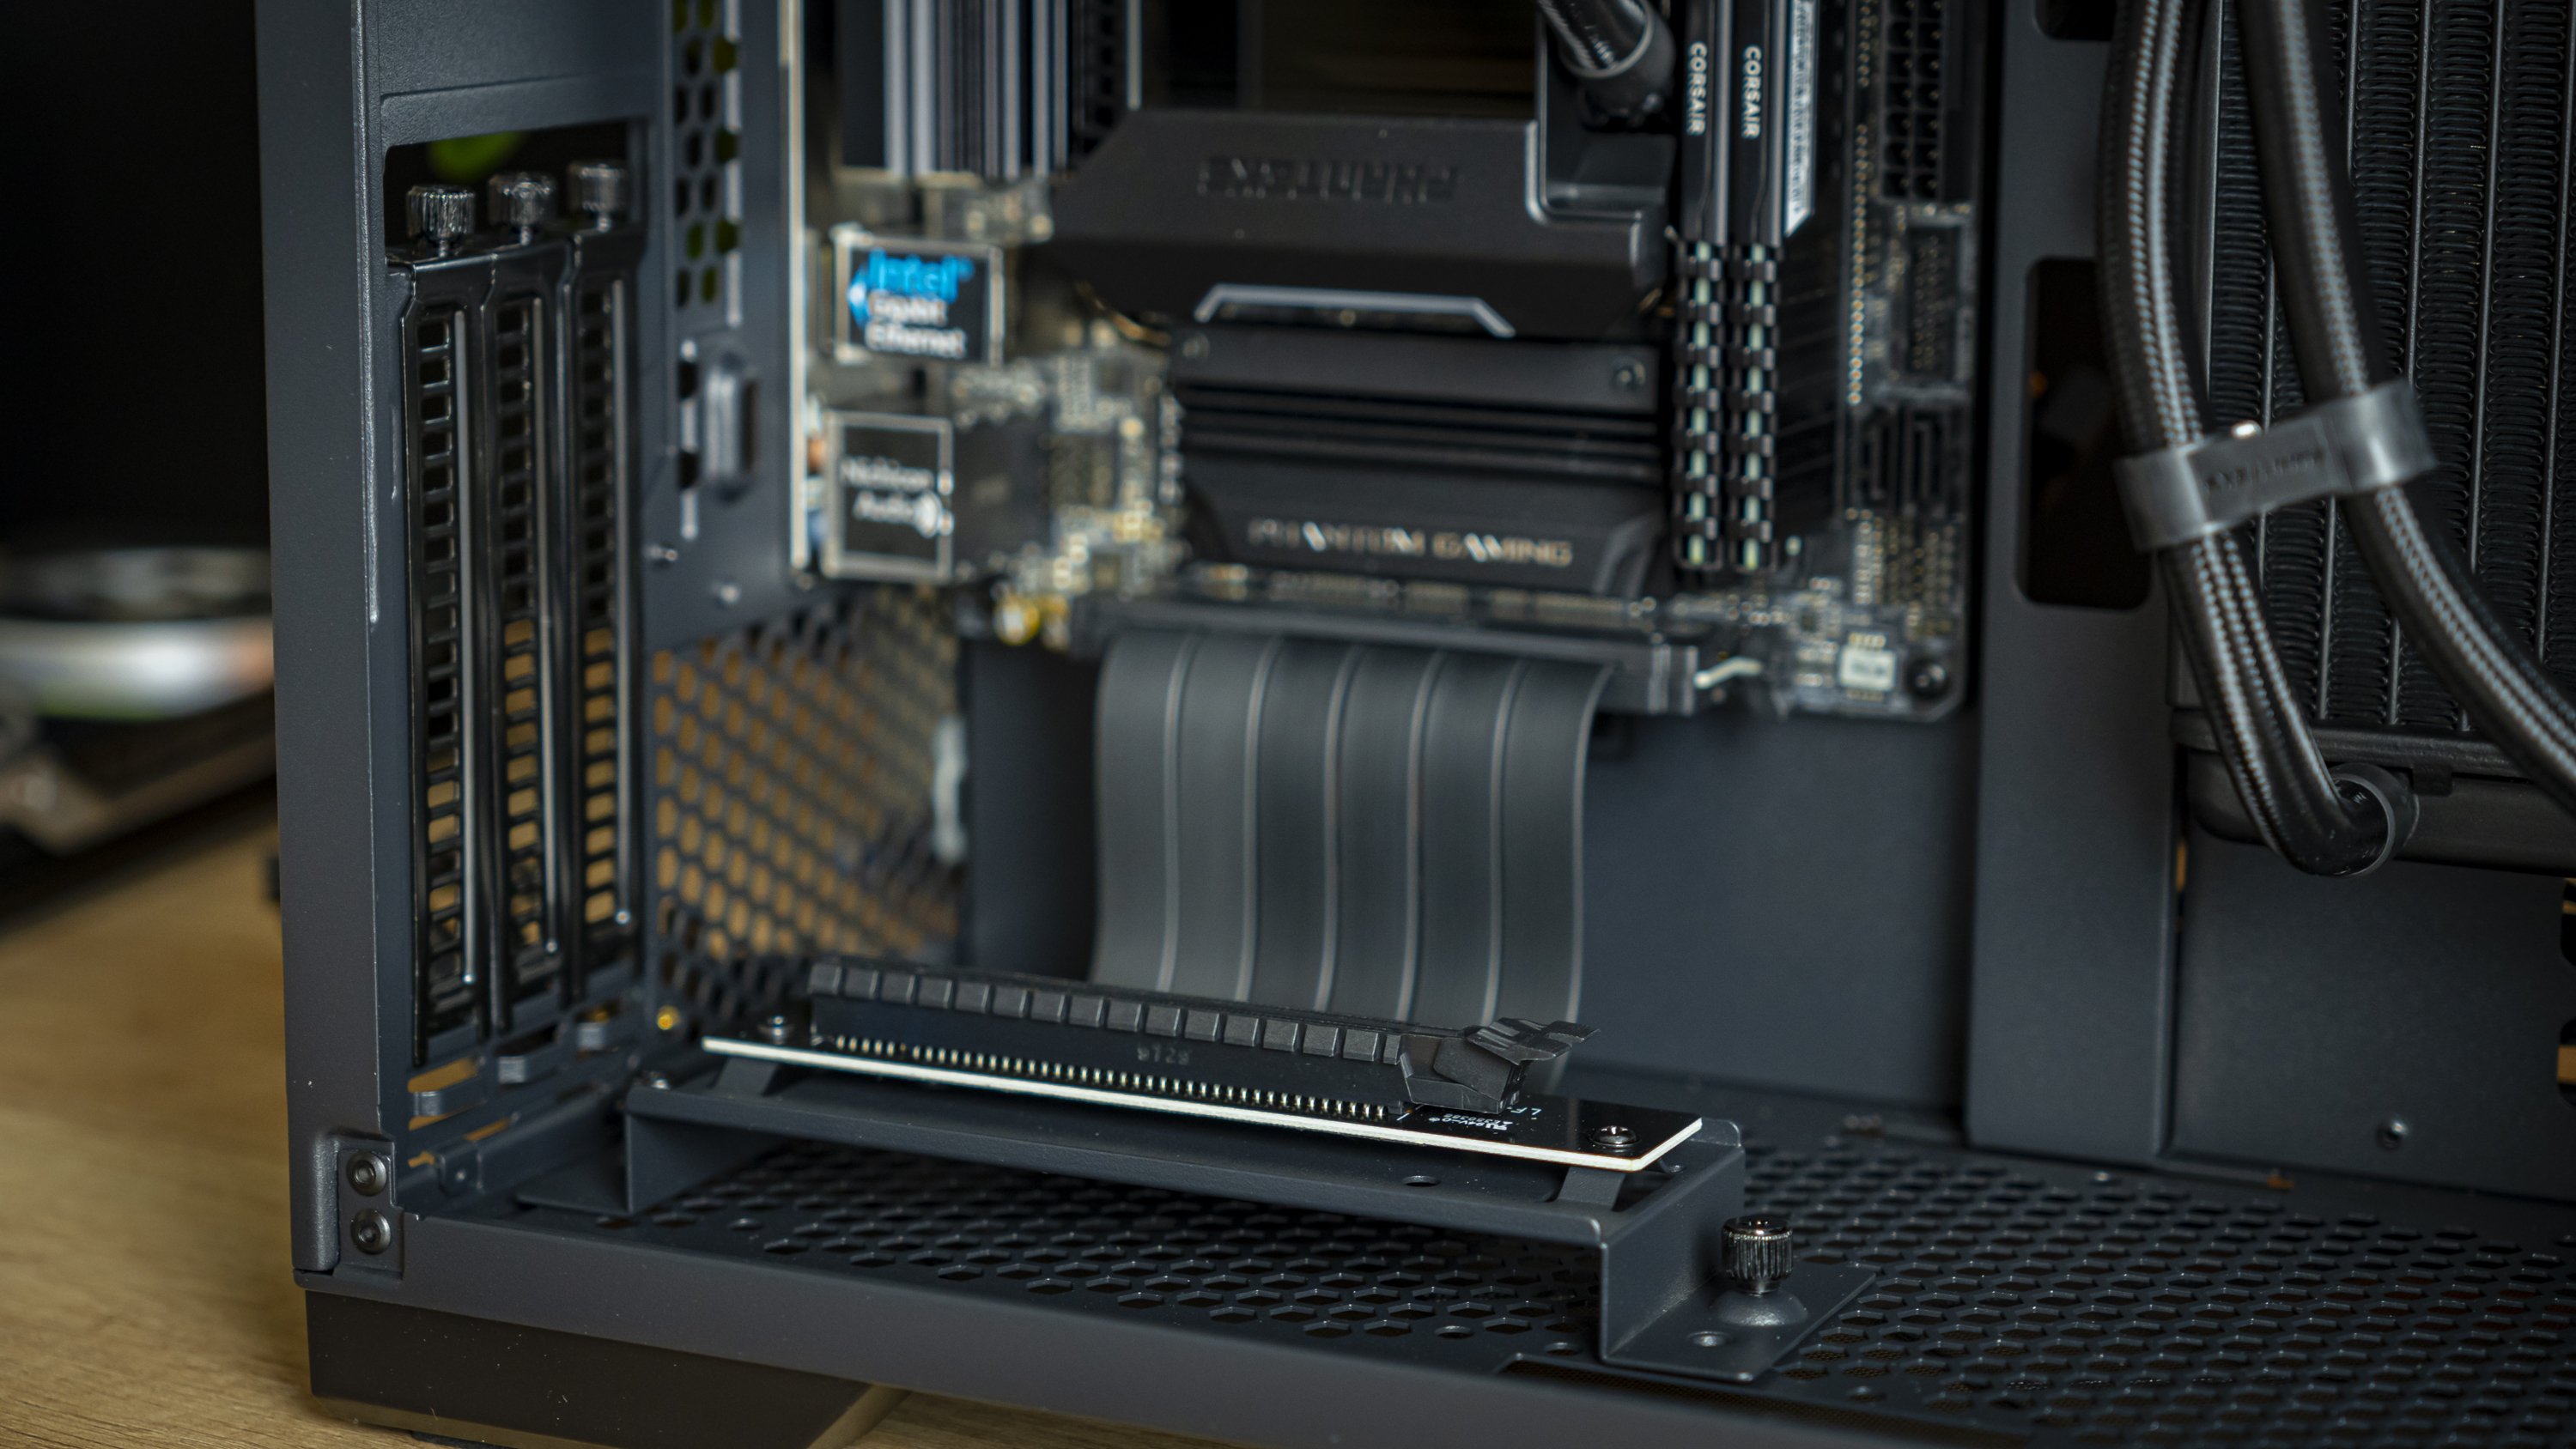
Then, I installed the metal bracket that came with the chassis and the optional riser cable. I used position A, which sits a little deeper inside the case for better cooling, as otherwise the GPU gets too close to the glass panel.
Get Tom's Hardware's best news and in-depth reviews, straight to your inbox.
Step 5: Cable Management
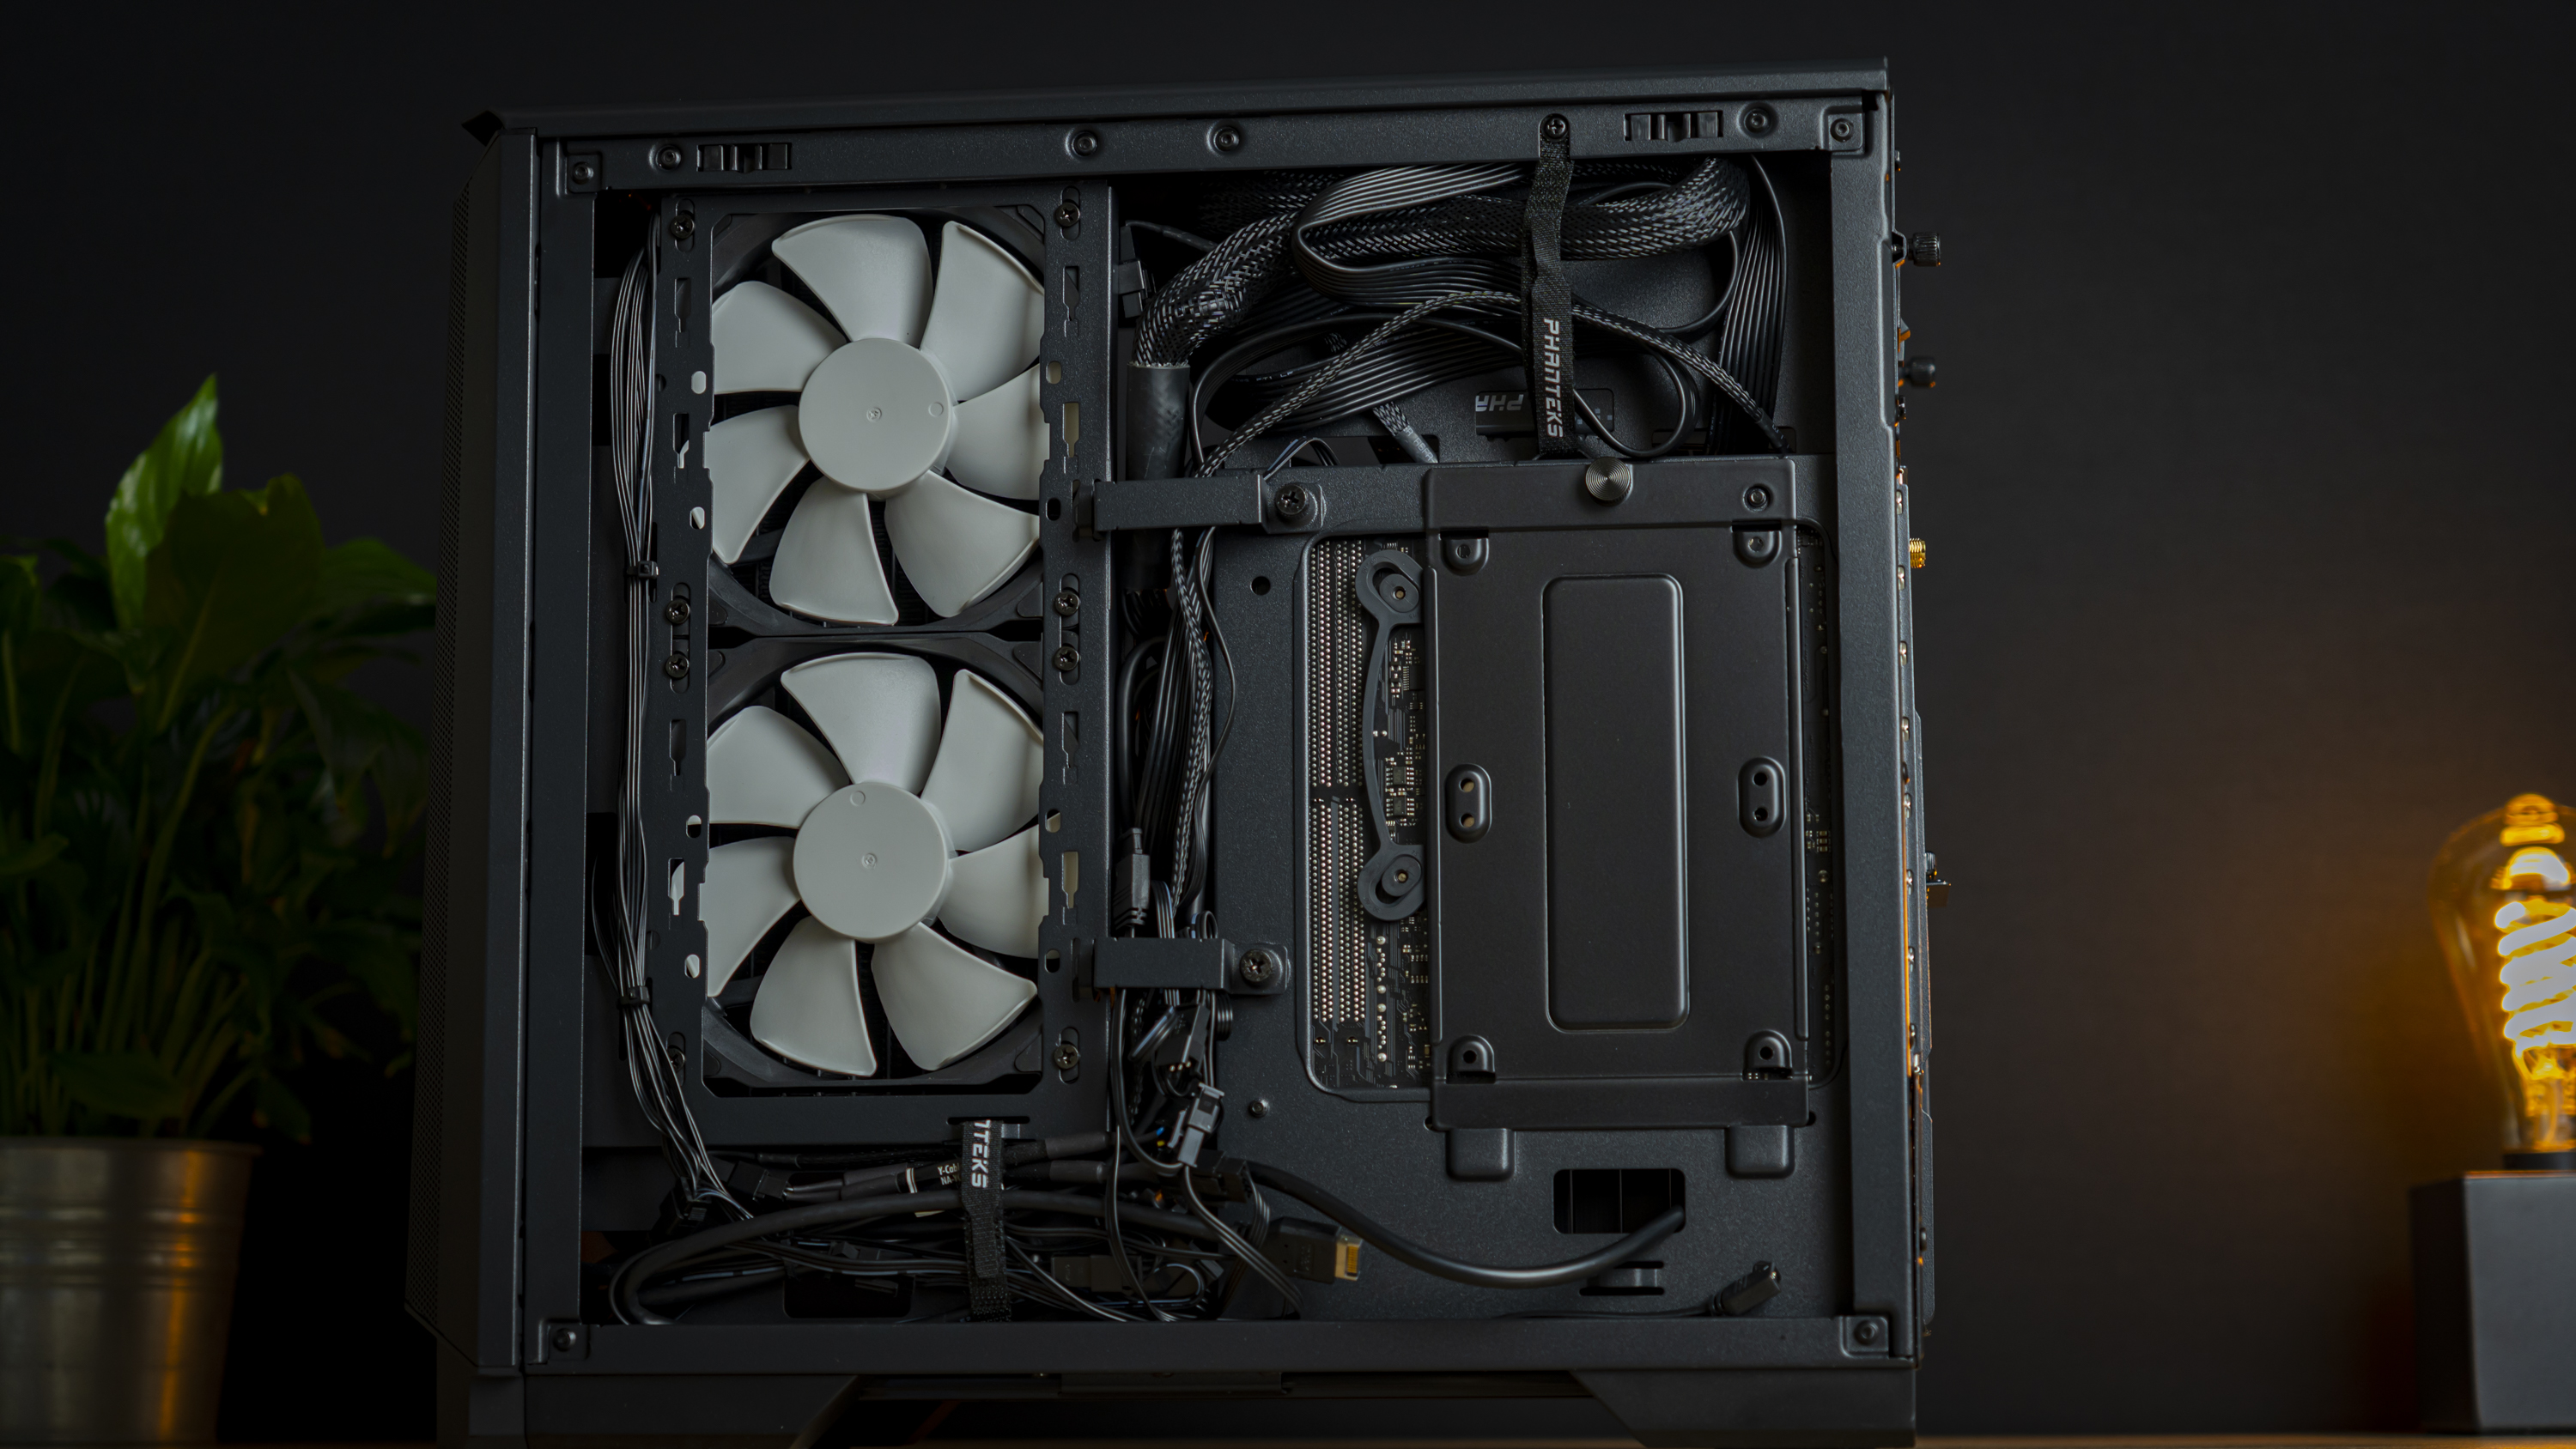
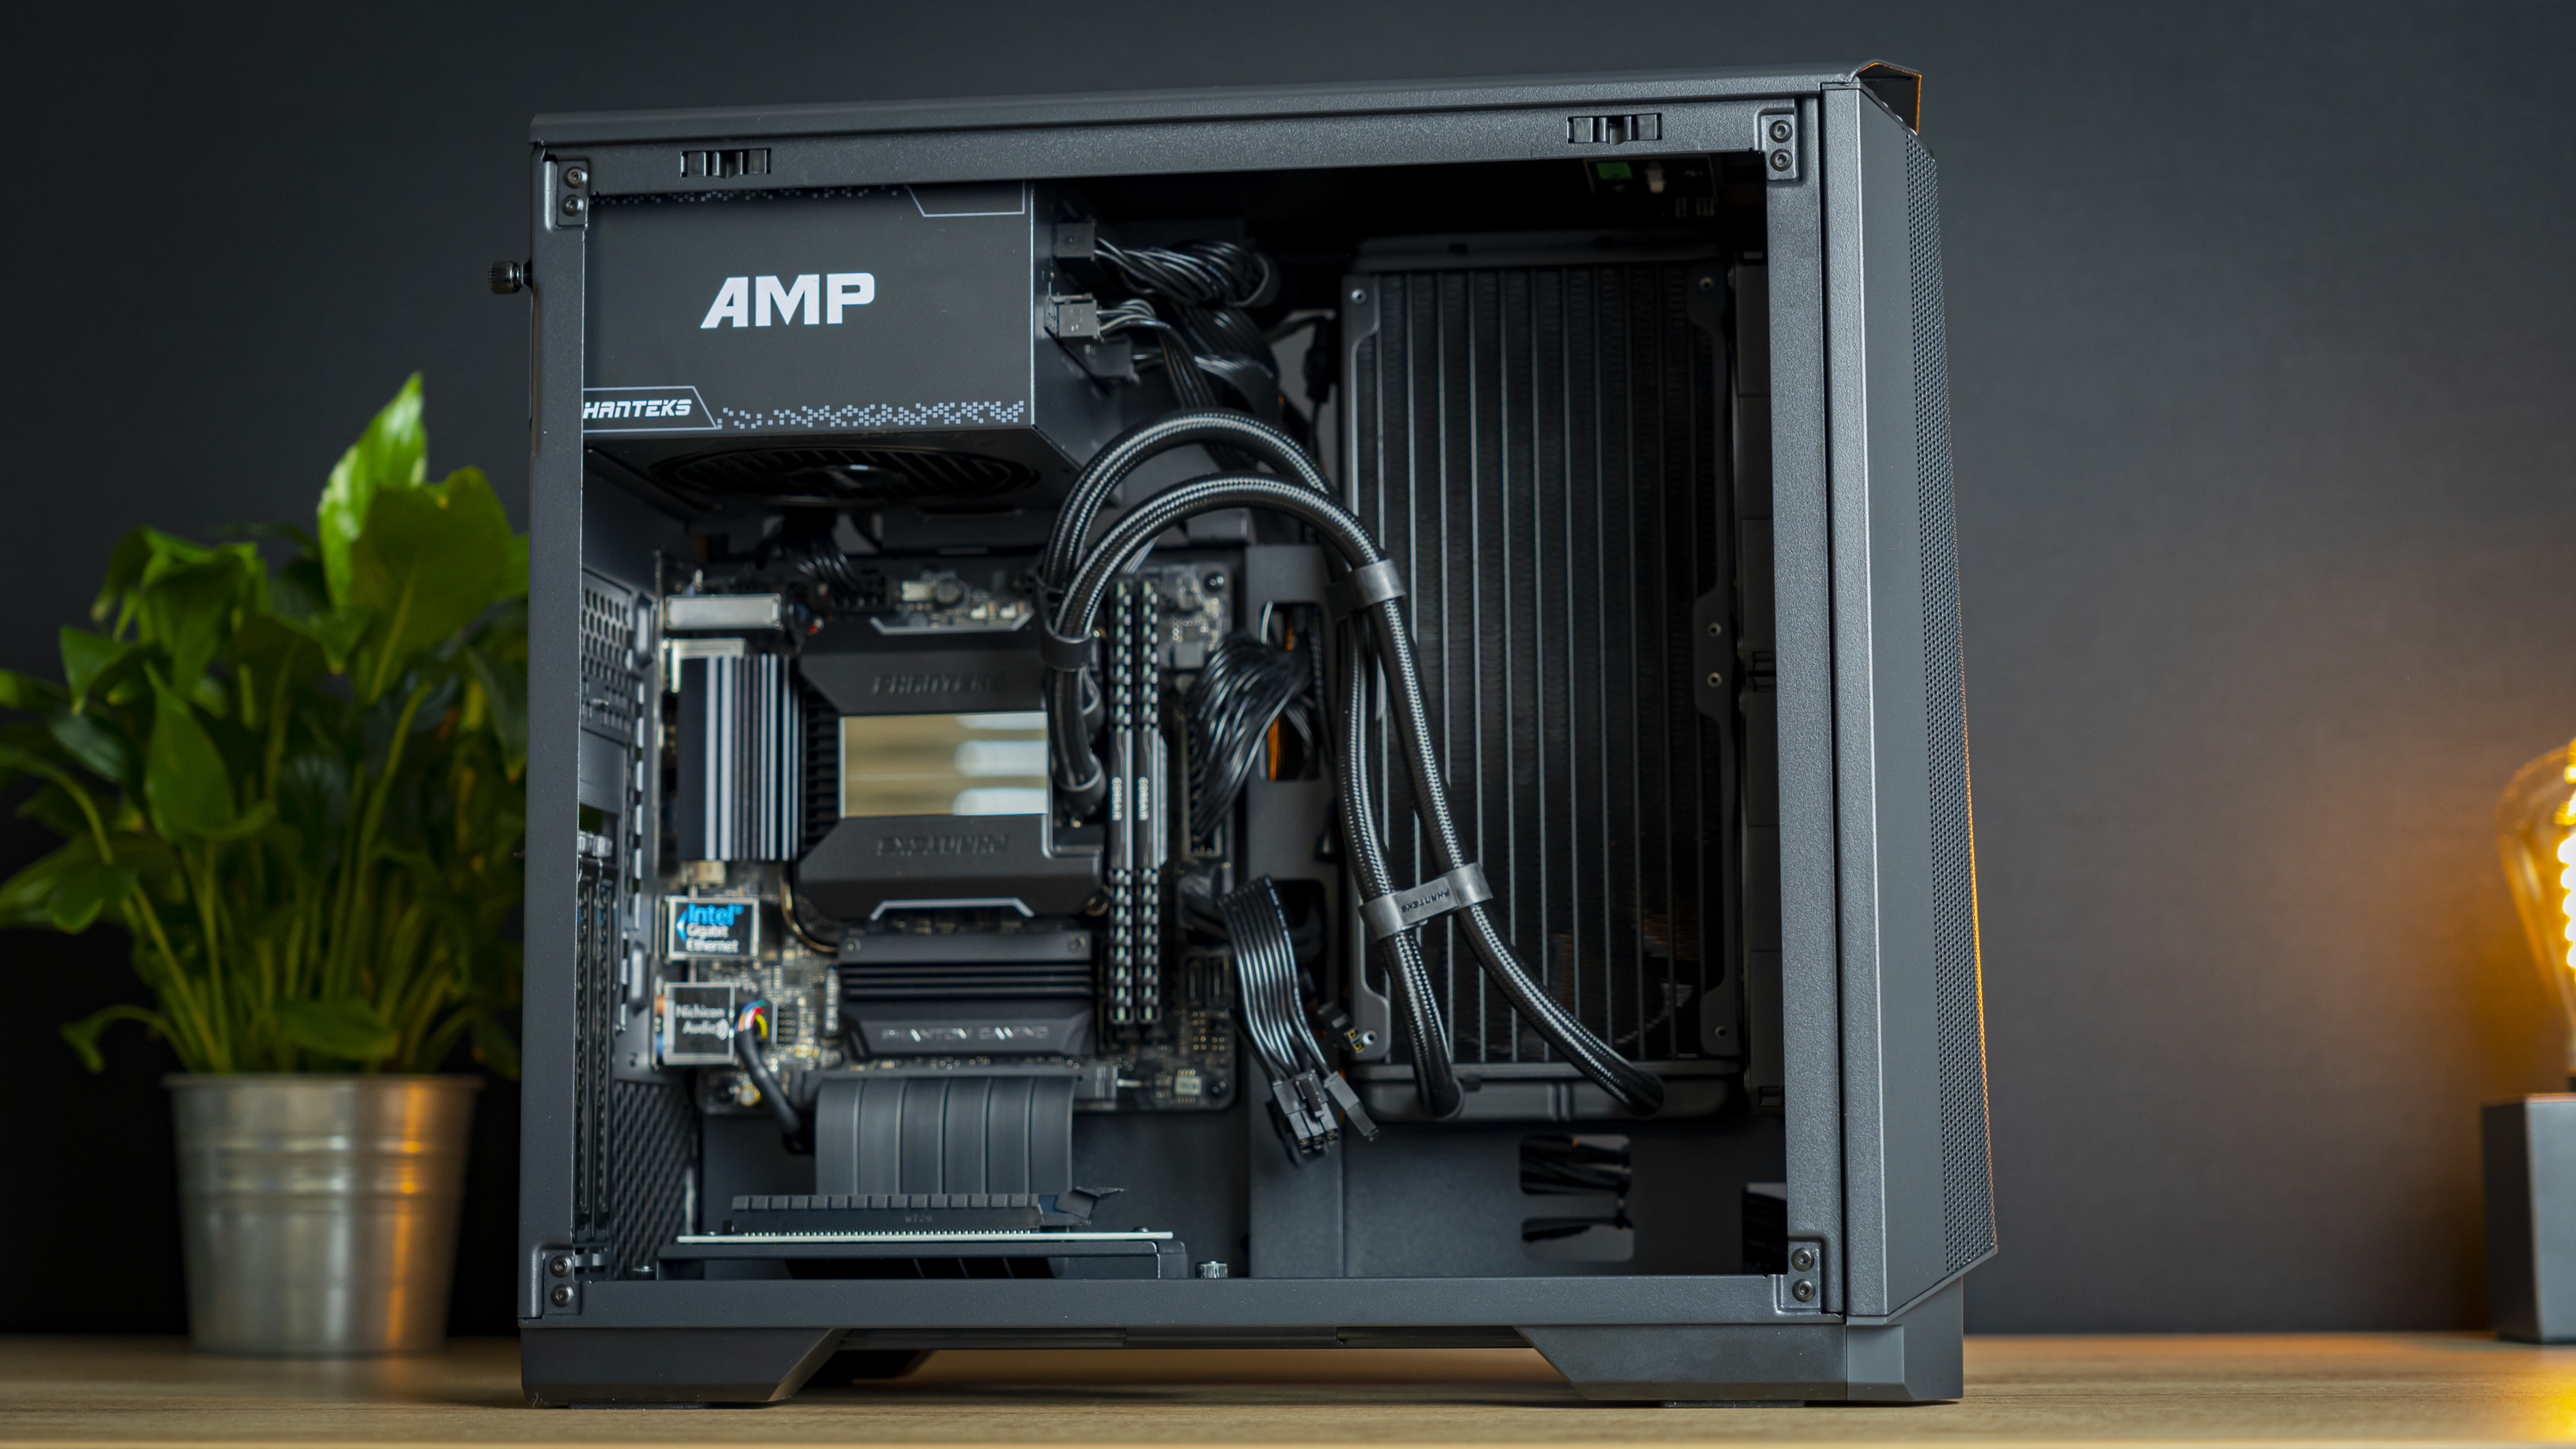
At this point, I could install the GPU, but it would sit in the way of all the cables I still had to manage. With RGB, an RGB controller, four fans and the rest of the system, there were quite a few cables to tidy up, so I figured it would be easier to do this before putting in the GPU.
As far as cable management goes, the P200A is surprisingly good for an ITX chassis. Of course, it’s still an ITX case – by which I mean that it’s still small and you’ll have to strain a bit to get everything where you want it to be, but there are cutouts in all the right places, along with plenty of Velcro straps and brackets to hold everything in place. In total, I spent about 30 minutes on cable management, though this could have been less if I hadn’t removed the Velcro strap at the top PSU area, as it was difficult to get back into its anchor point.
Step 6: GPU Installation
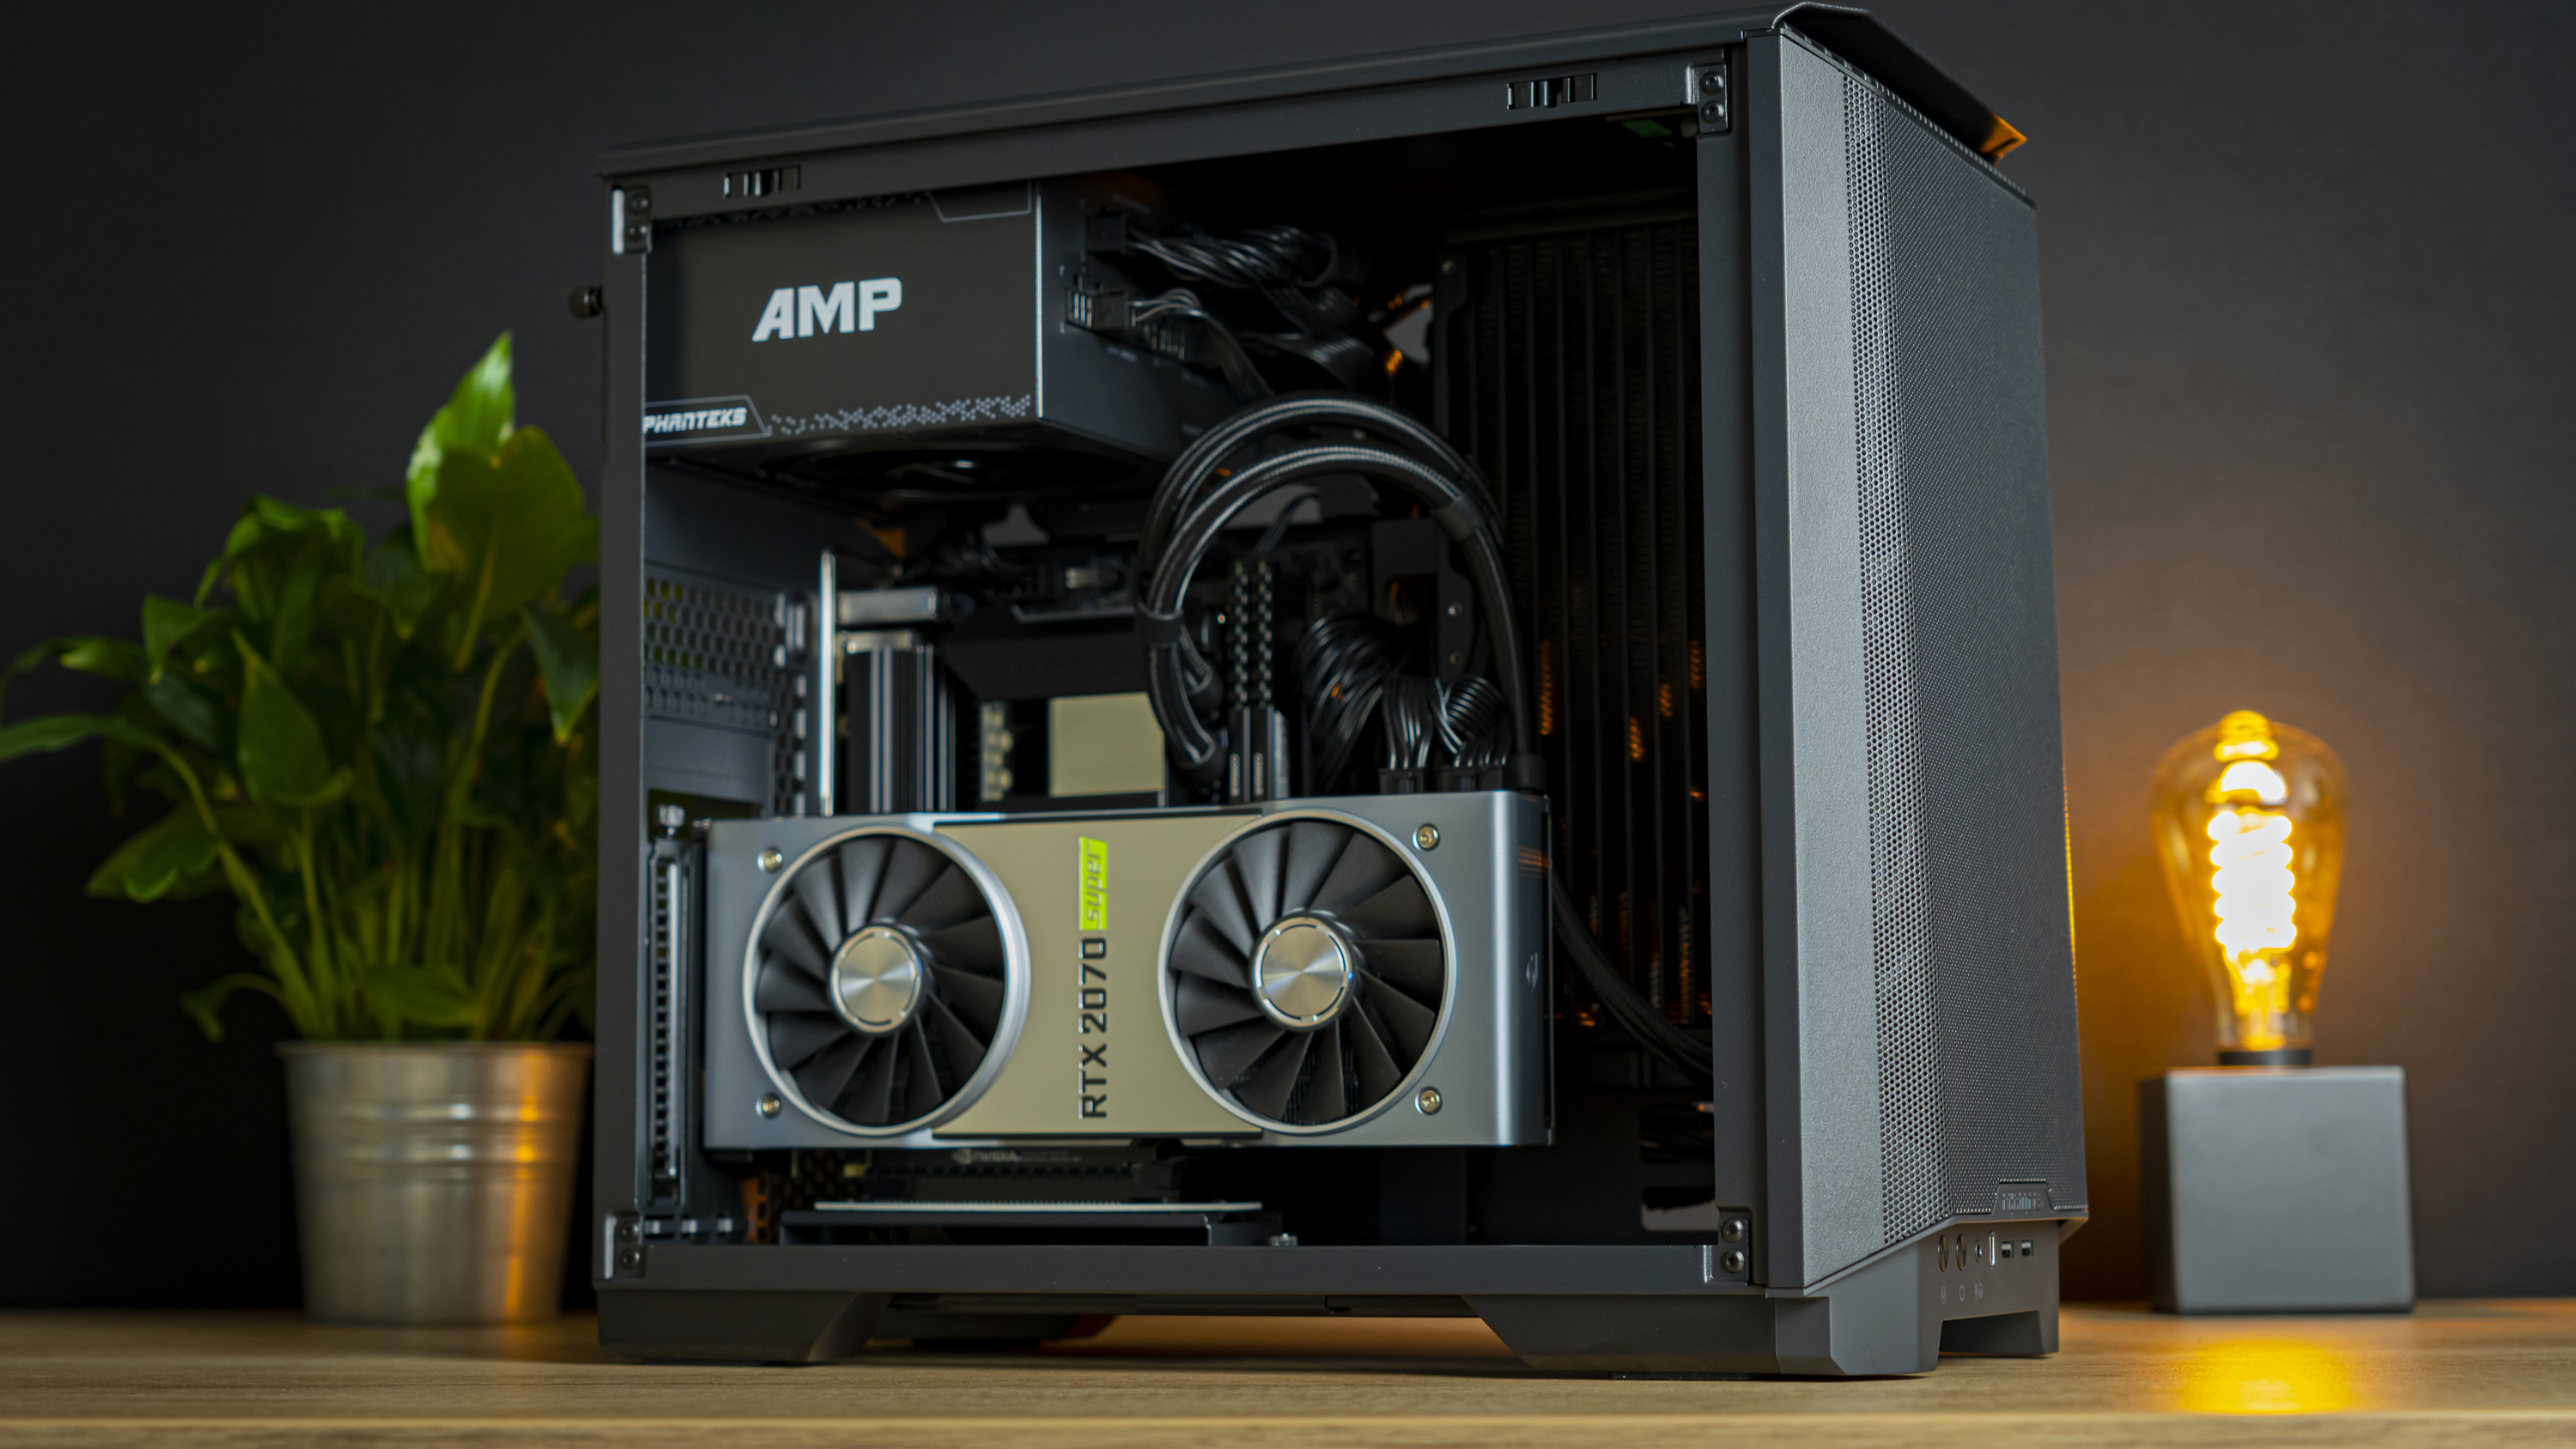
After all that, dropping our Founder’s Edition RTX 2070 Super was simple. Nothing more to be said here.
Build Complete
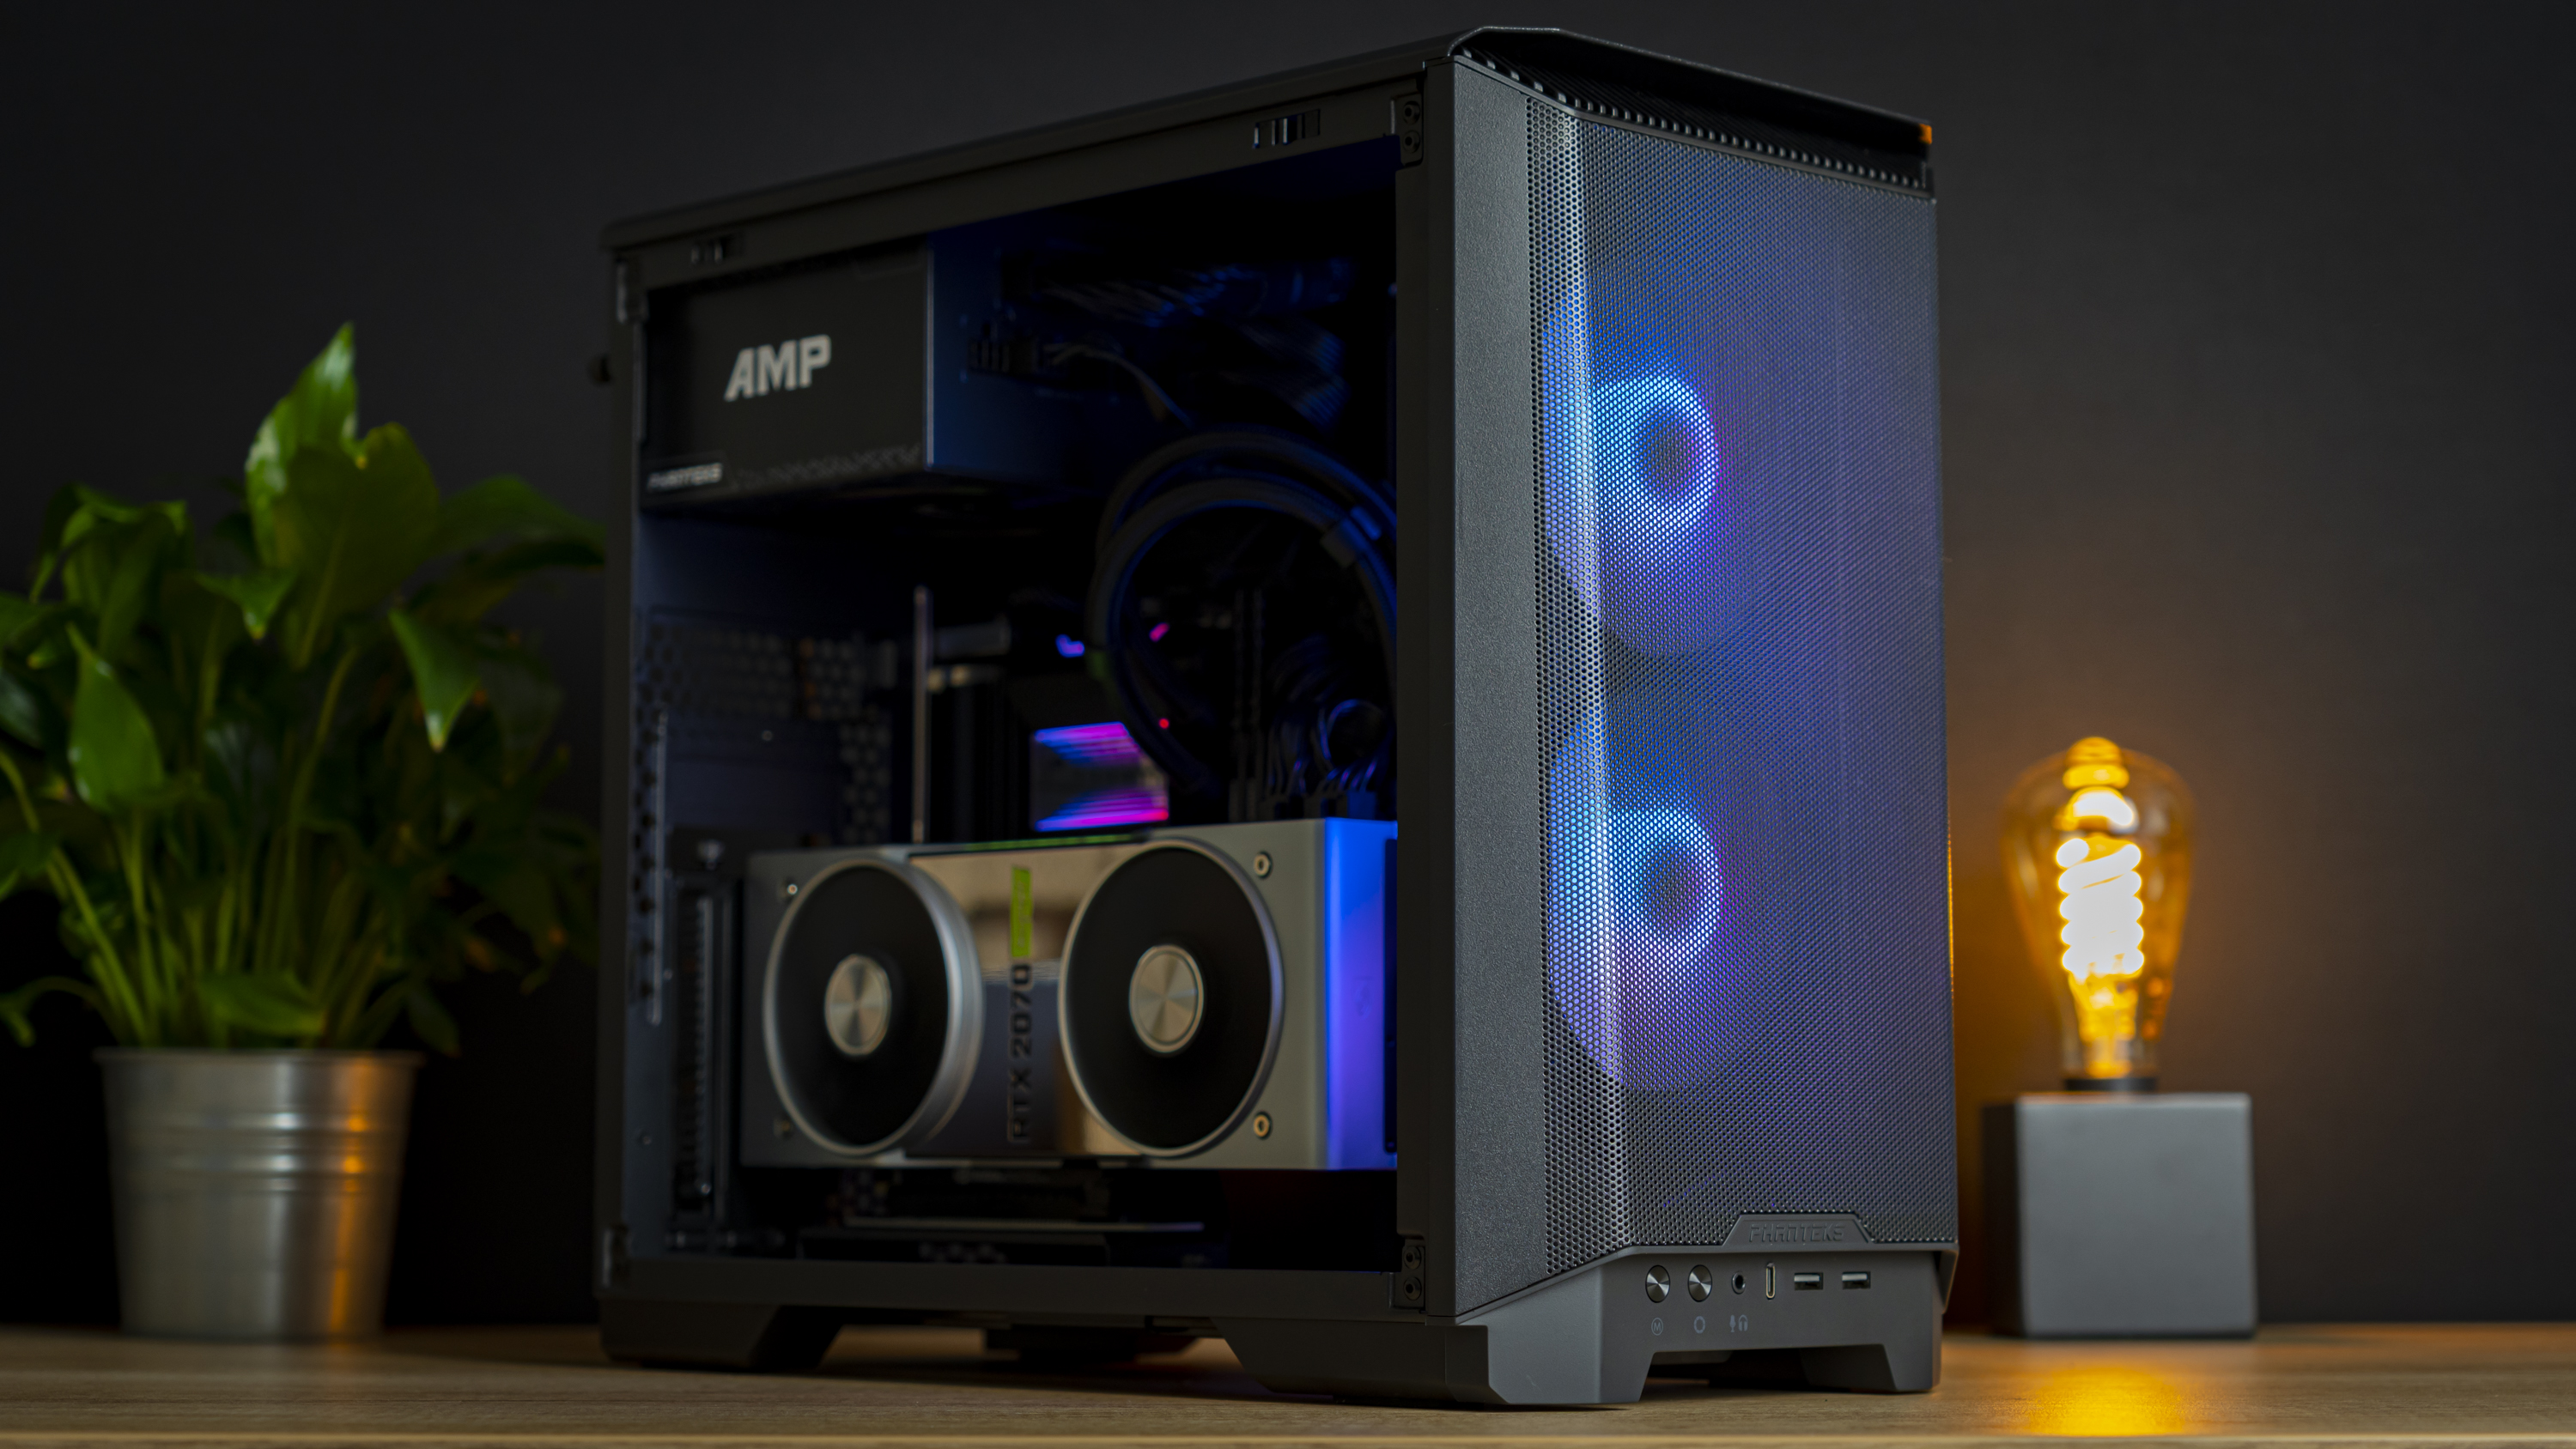
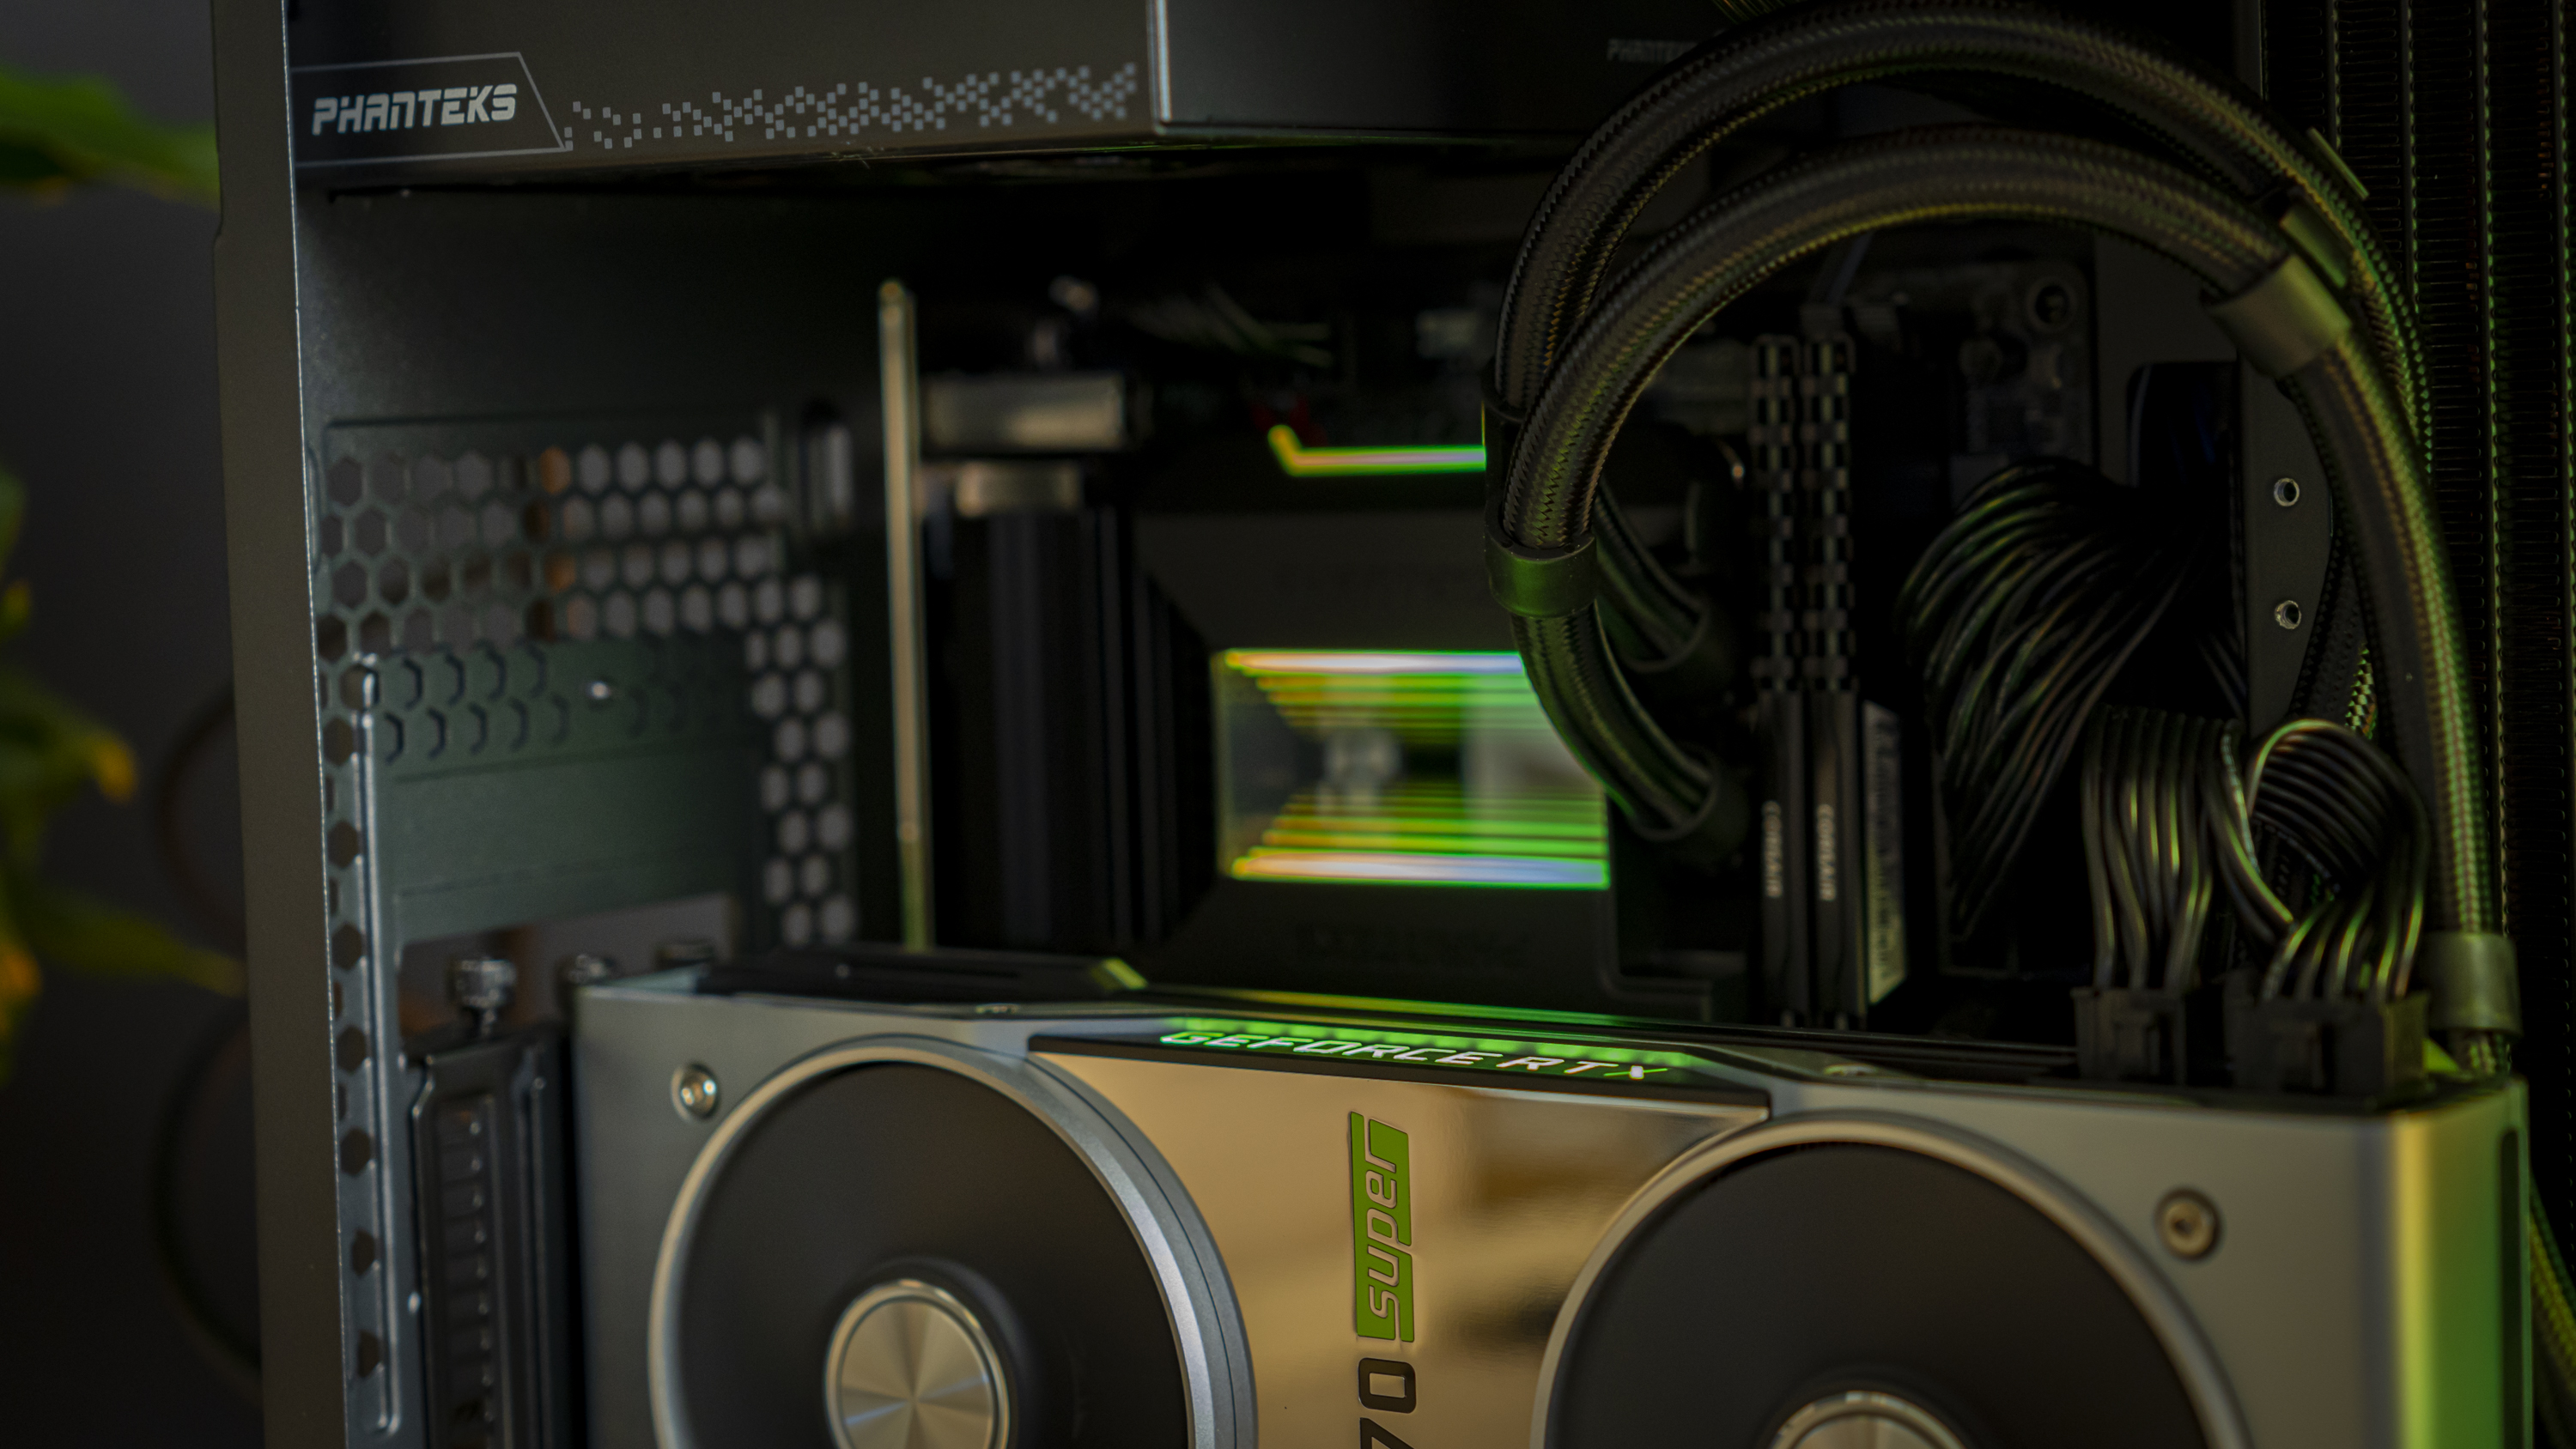
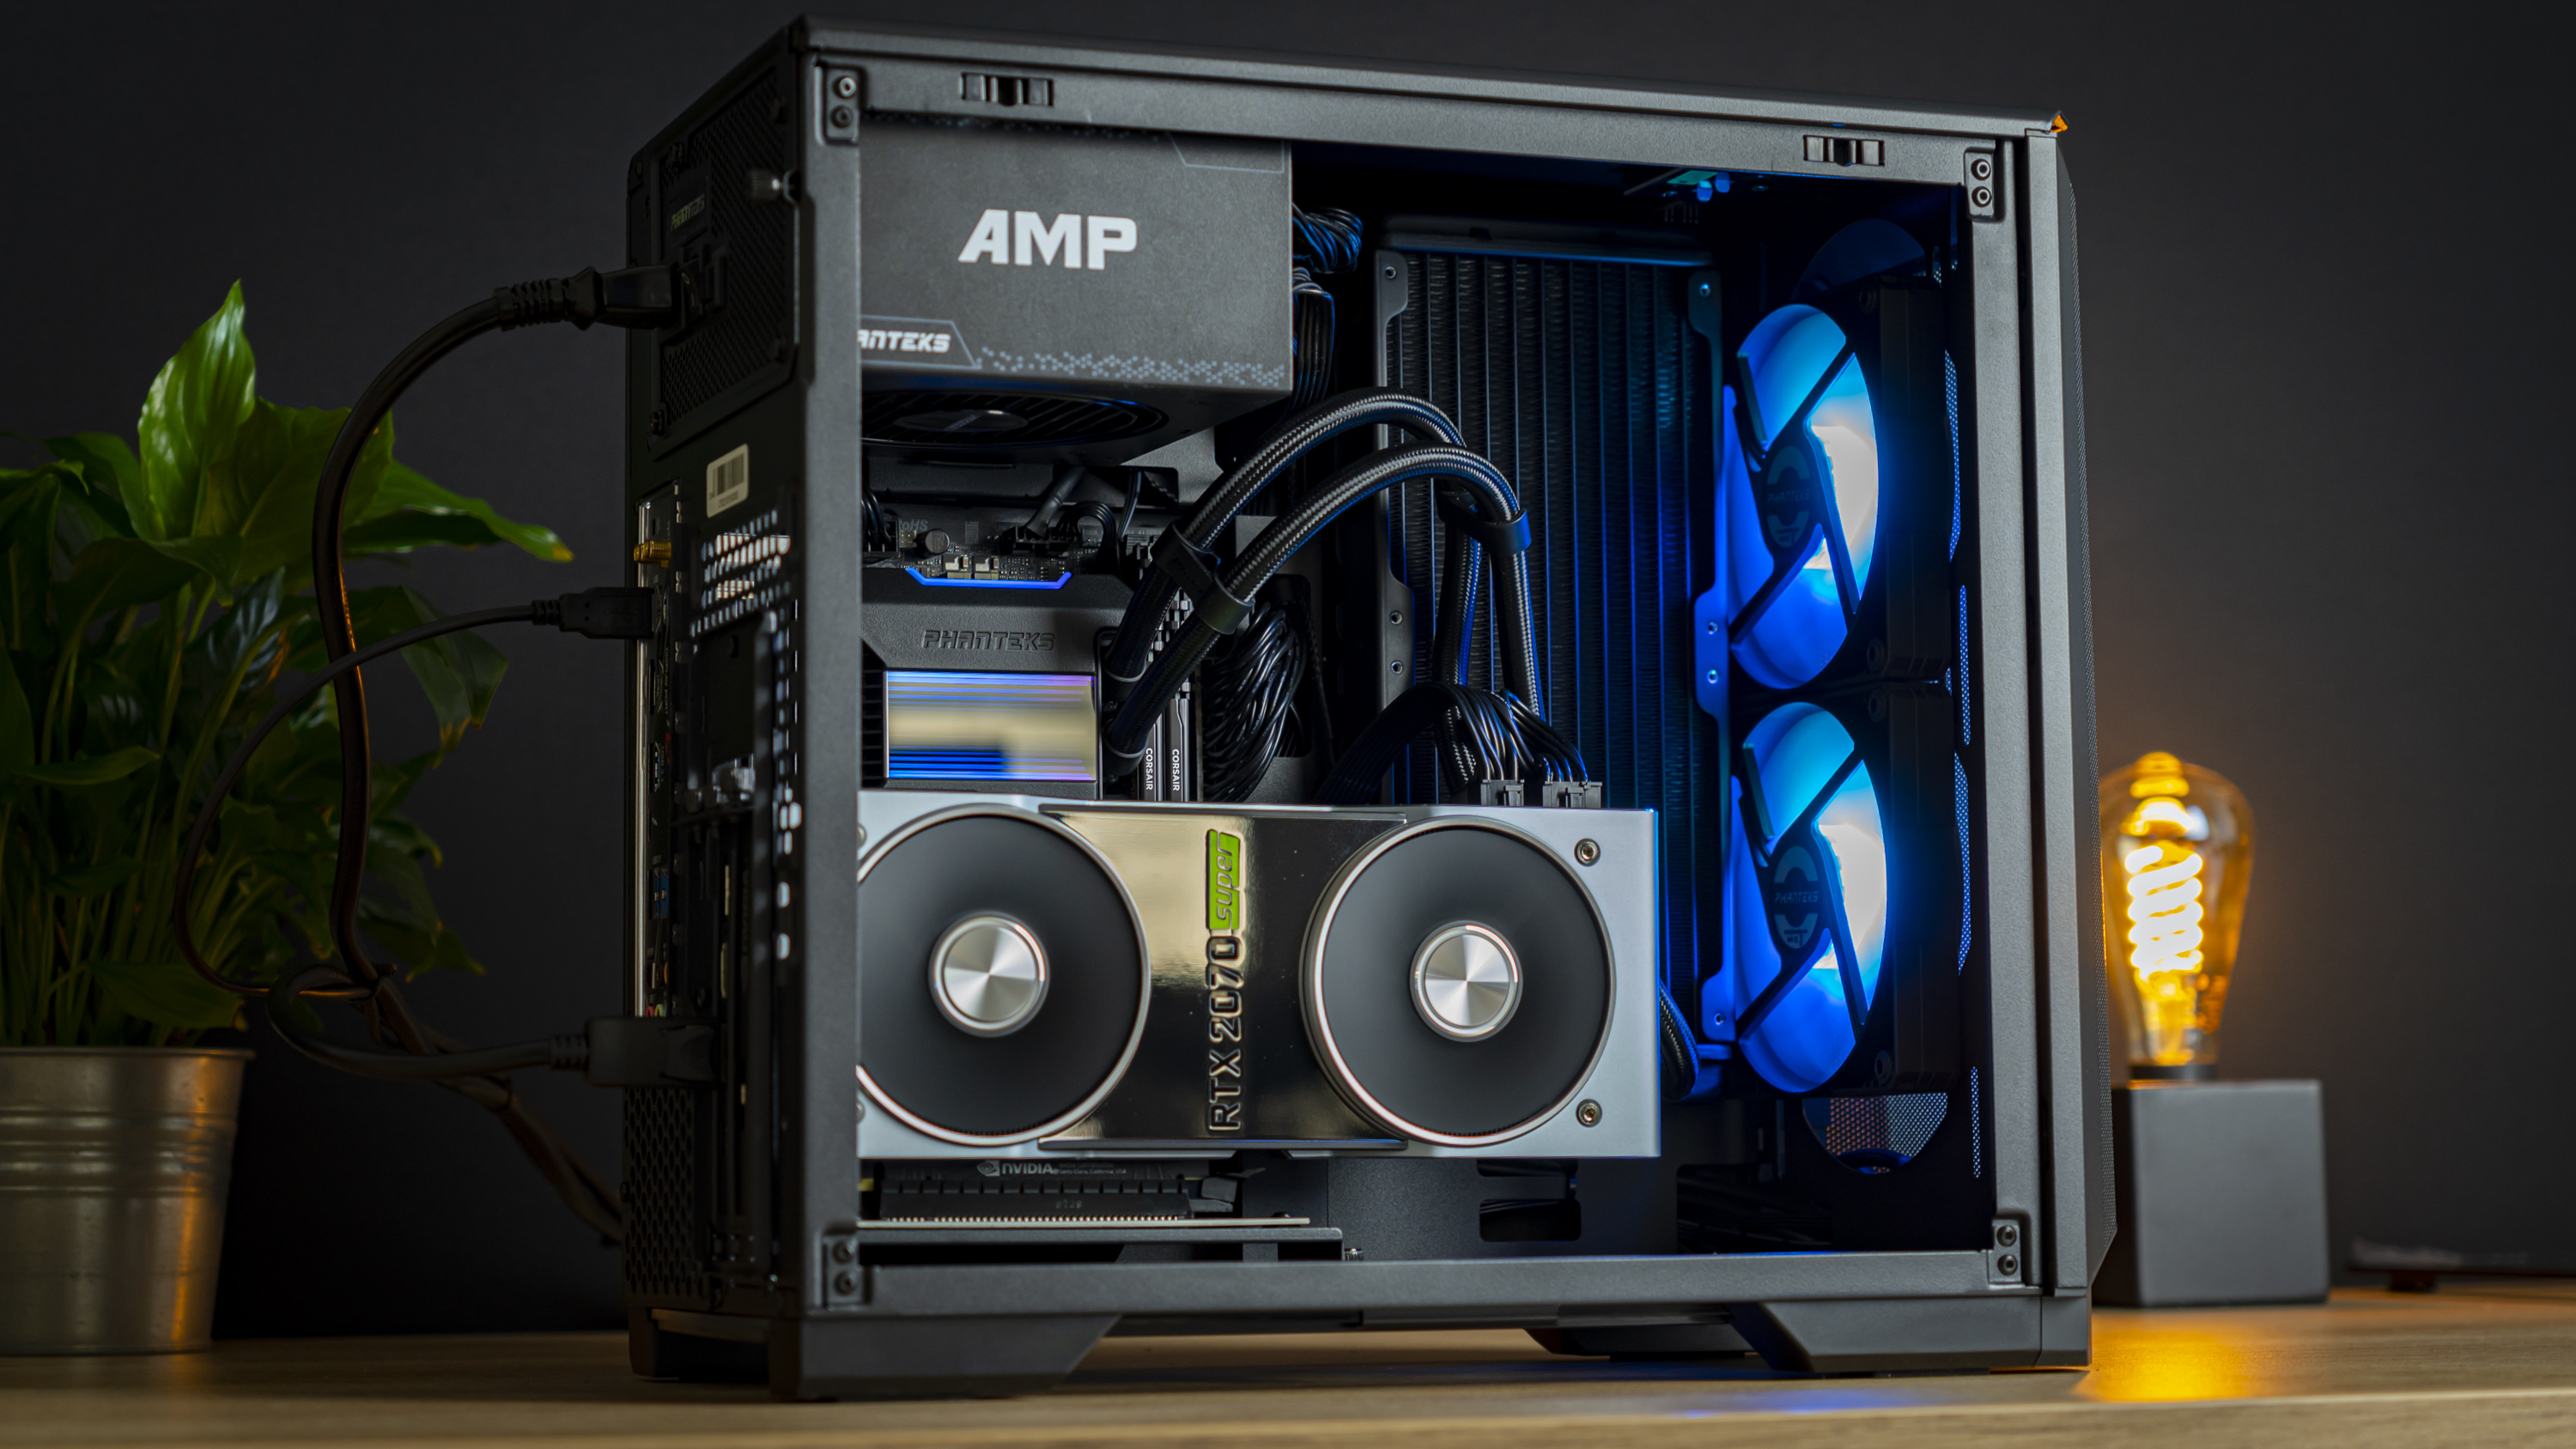
Despite being a $70 chassis, the Phanteks Eclipse P200A certainly doesn’t feel like it. Sure, the materials aren’t anything to write home about, but the design overall is quite well thought-out and it was a joy to build a system in this case. The end results were pretty, too.
Current page: Hardware Installation
Prev Page Specifications and Features Next Page Testing and ConclusionNiels Broekhuijsen is a Contributing Writer for Tom's Hardware US. He reviews cases, water cooling and pc builds.
-
gwlaw99 You are about an inch away from an matx case which can use better cheaper motherboards. I don’t see the point of mitx this sizeReply -
jkhoward Replygwlaw99 said:You are about an inch away from an matx case which can use better cheaper motherboards. I don’t see the point of mitx this size
Same, was eyeing the pictures and was like.. “Why not get a smaller mATX case and get more inputs? This has to be the same size as those.” -
State O' Maine I've been seriously eyeing this case. I'm currently in a Thermaltake Level 20 VT, and while it is a decent case, it is limited in regards to radiator support. I have a 280mm AIO which removes the possibility of adding any other additional fans to the top. Add on the fact that my EVGA 2080S Hybrid didn't fit till I moved the rad fan to the outside of the case...Reply
I'm in line for an EVGA 3080 Hybrid which is a 280mm rad. I'll be needing a new case and this P200a will fit 2x240 or a 240/280 combo. Add in that it takes a regular PSU and I'm intrigued. -
vinay2070 This pretty much looks like a mini version of my P600S. Too sad, if it was a slot taller then an mATX could be fitted in the same space like mentioned in the comments above.Reply -
JoBalz I noticed the reviewer's comment stating "Top PSU kind of weird.' I imagine there are others here, like me, who remember when a top mounted PSU was about the only placement you could find for the PSU in any type of tower case.Reply
