Qwerkytoys Qwerkywriter Mechanical Keyboard Review
Why you can trust Tom's Hardware
Teardown
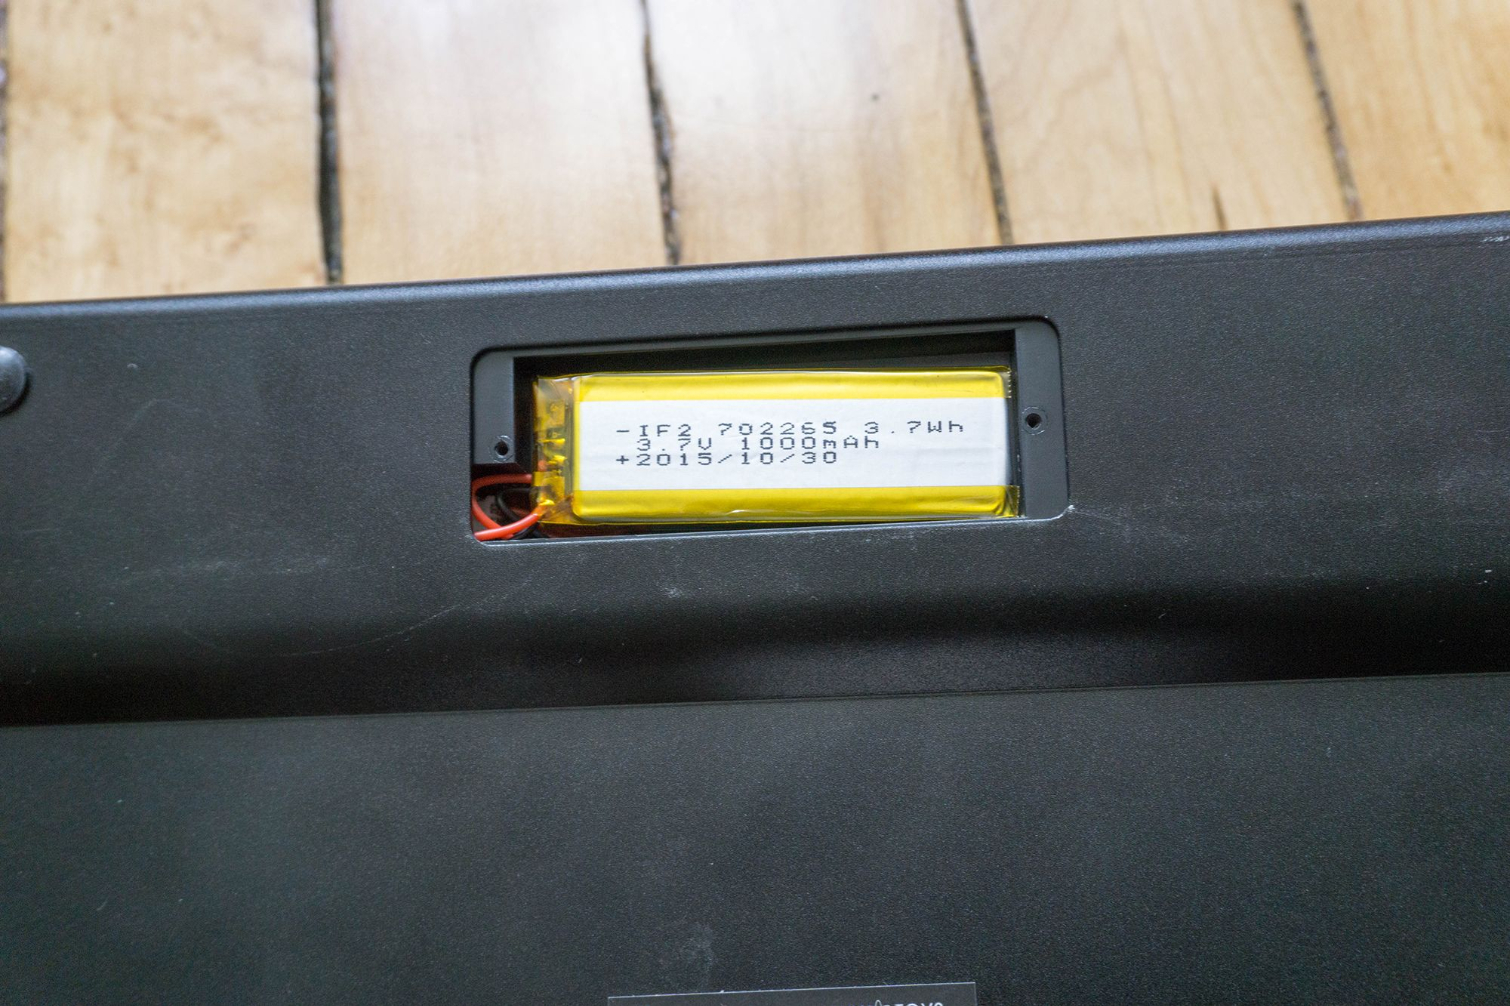
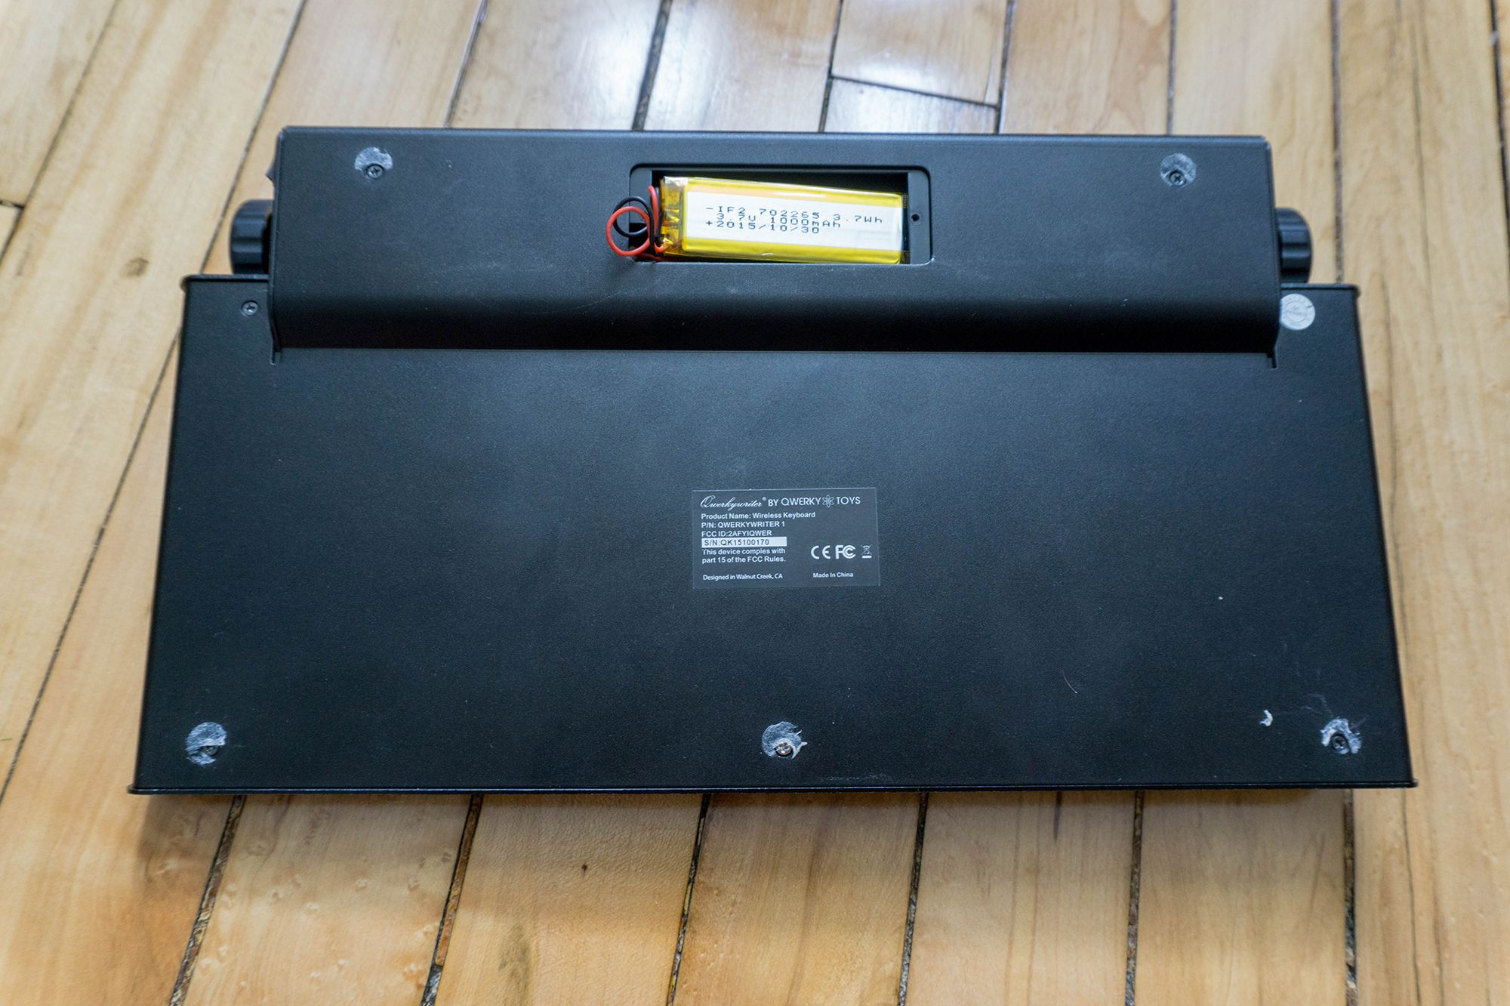
The designers of this keyboard do not intend for you to open it up—that much is clear when you even try to get inside. The battery is the only part that's easily accessible; it's under a door secured with just two screws. Everything else requires removing many, many more. The outer aluminum bottom panel is secured with eight screws, many of which are hidden under the bumpers and labels. These screws were a pain to get out, too. One stripped almost immediately, and we had to Dremel it out. Under the aluminum panel is another plastic layer, this one secured with ten more screws.
With all that out of the way, we get our first glimpse of the PCB. At this point, the top plate pops off and the faux paper carriage can be removed. To expose the bottom of the PCB, you need to remove five more screws from the switch plate. The PCB is red with a rectangular projection on top with the controller and Bluetooth module. This is also where the LEDs, battery, and Return bar wires connect. You can see that there are Cherry-style stabilizers, too.
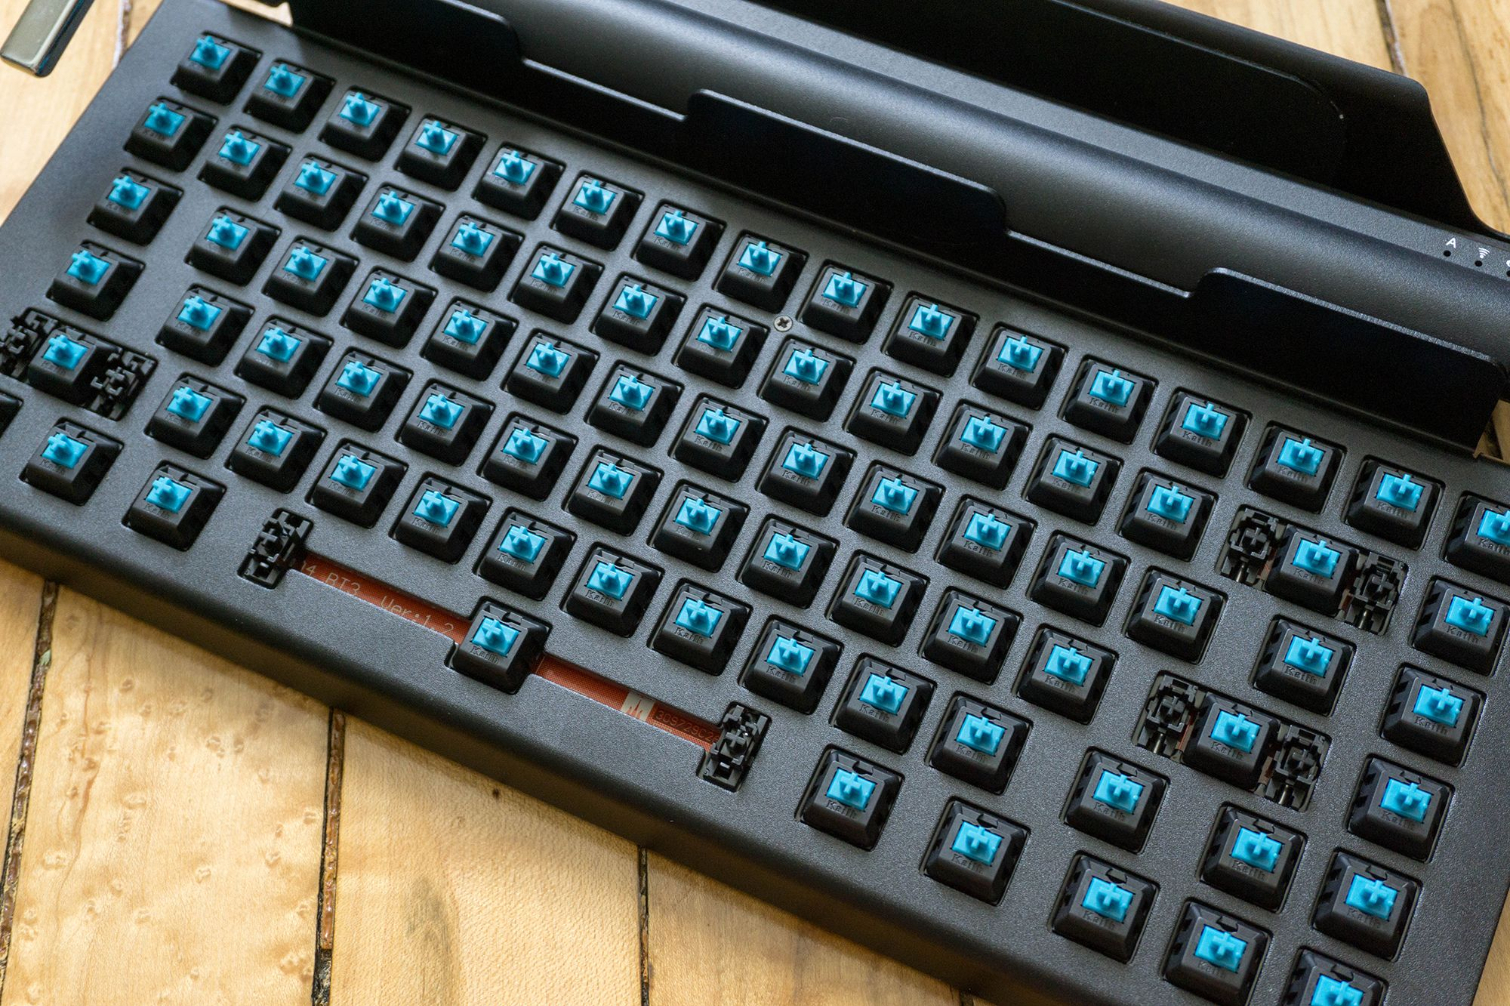
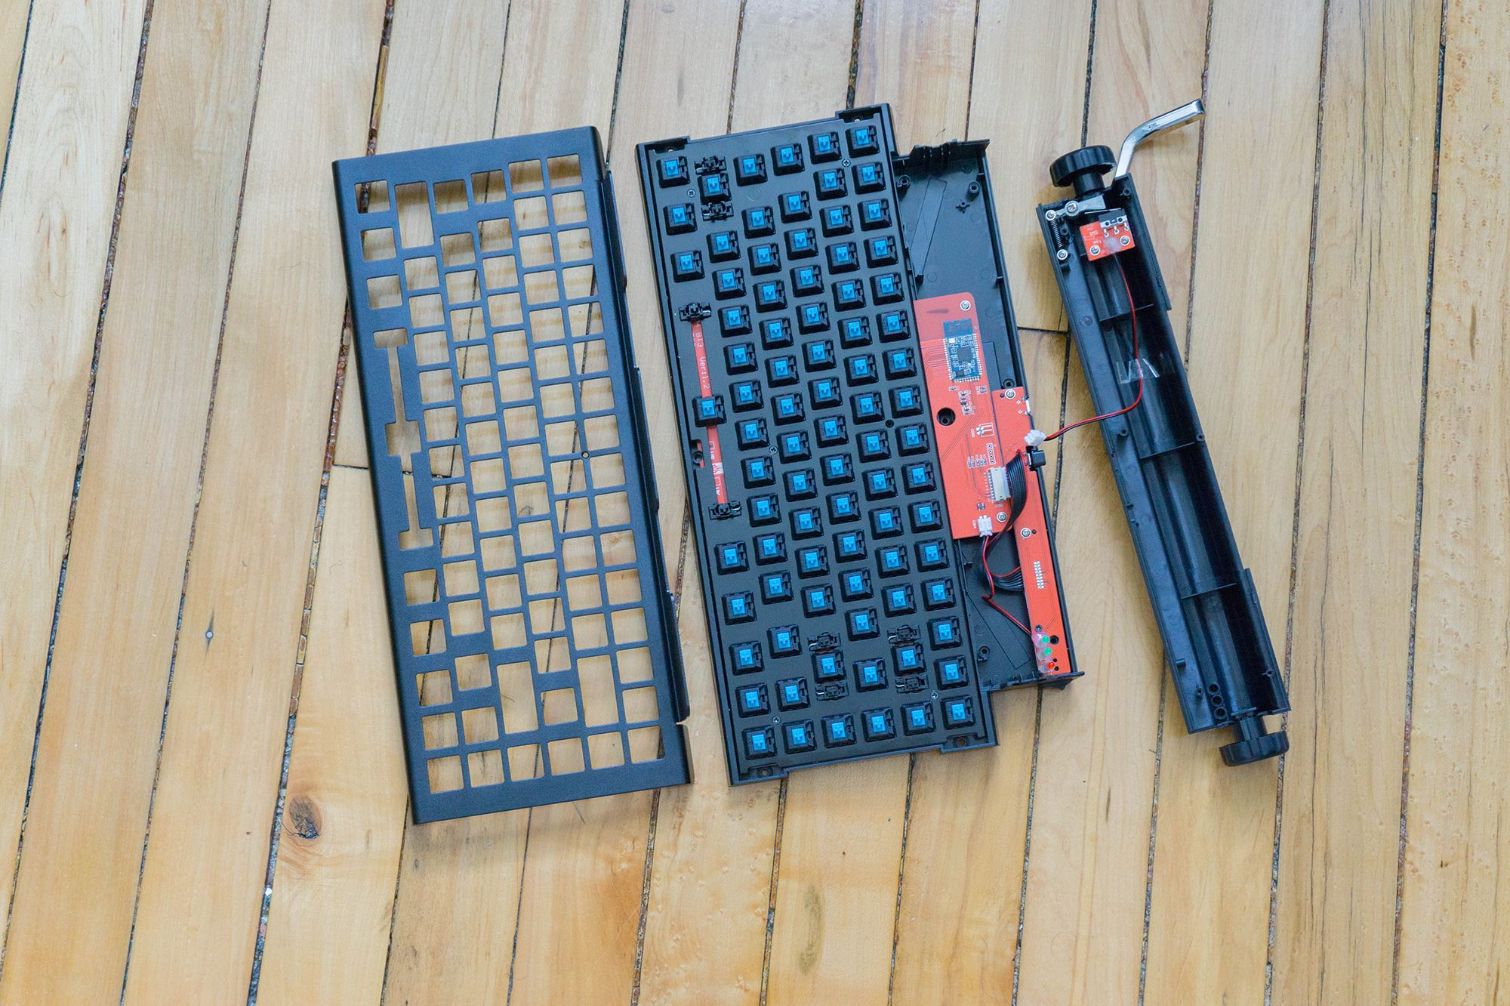
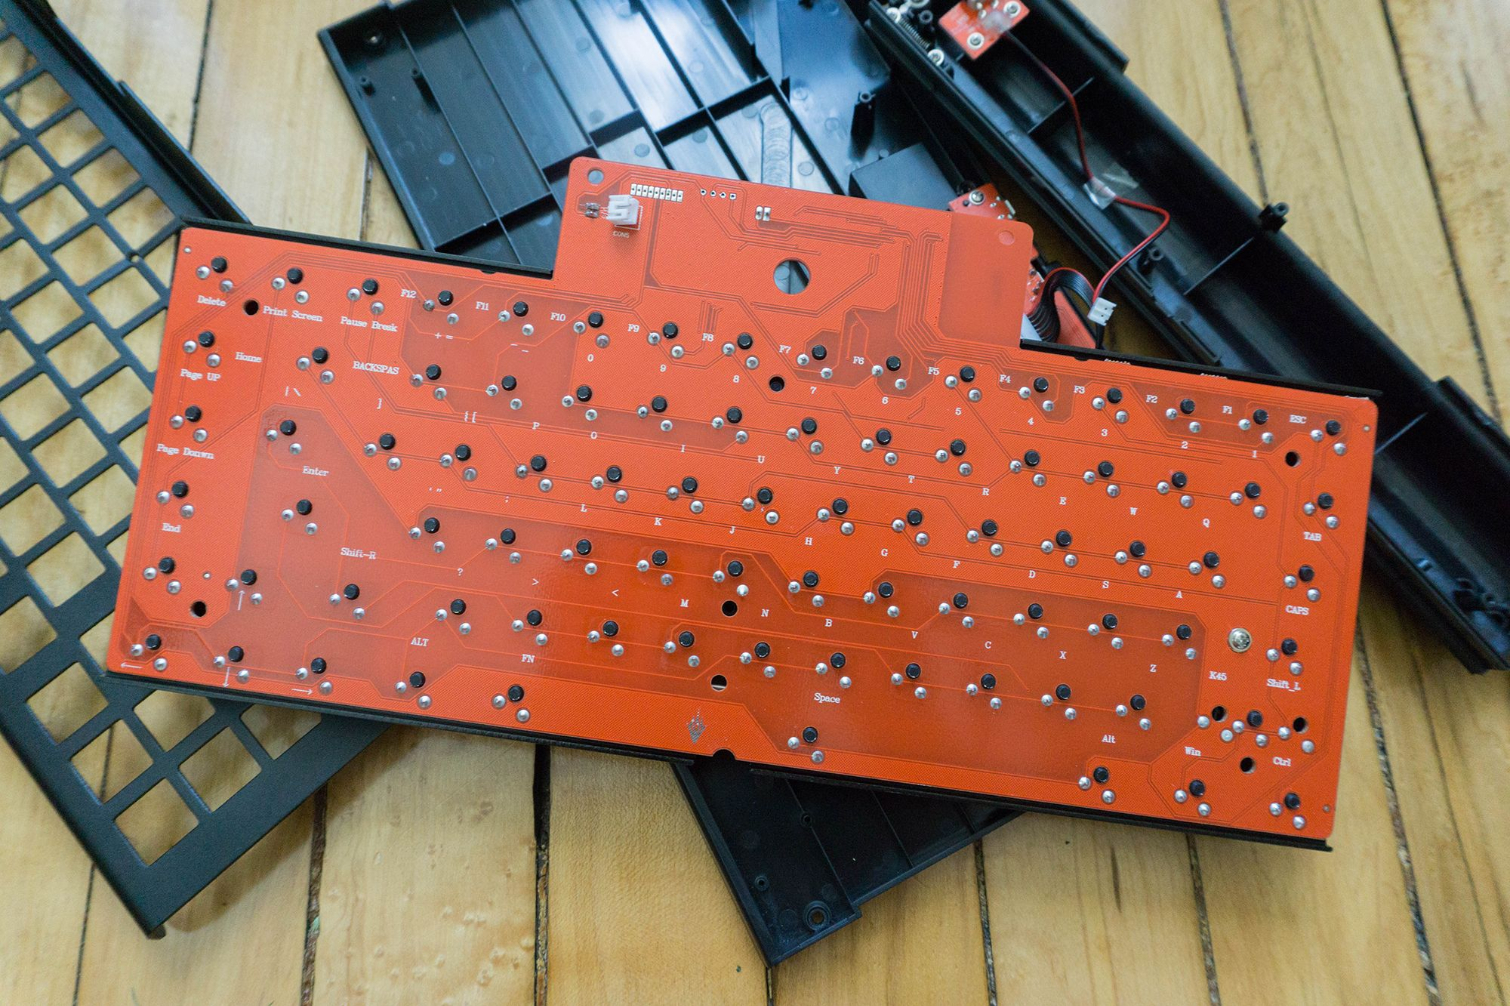
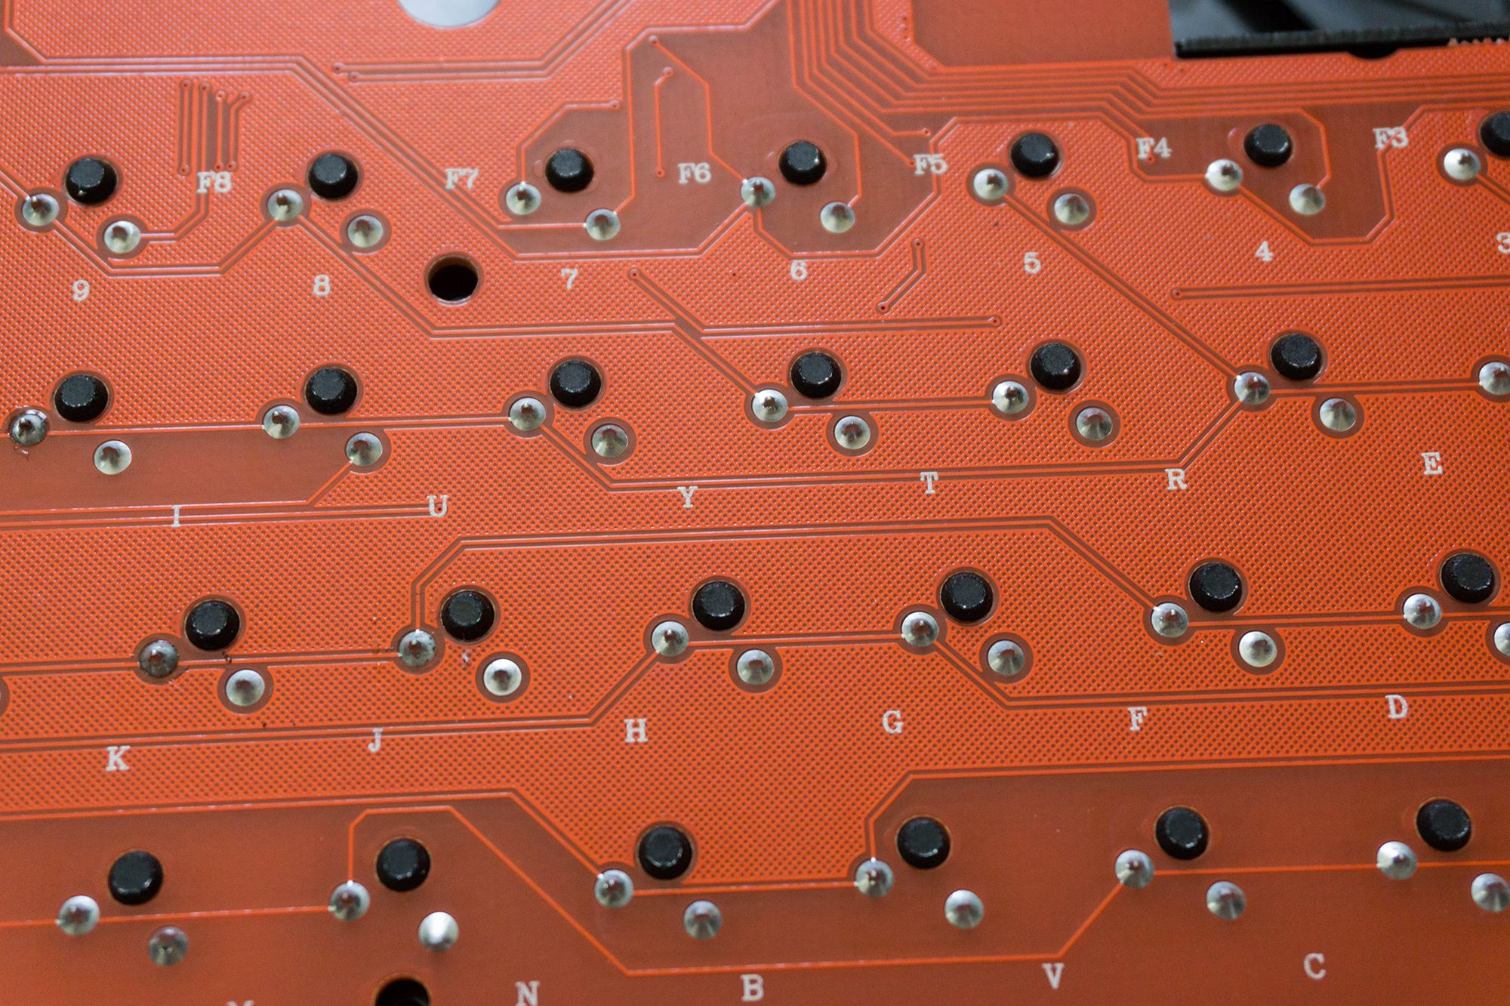
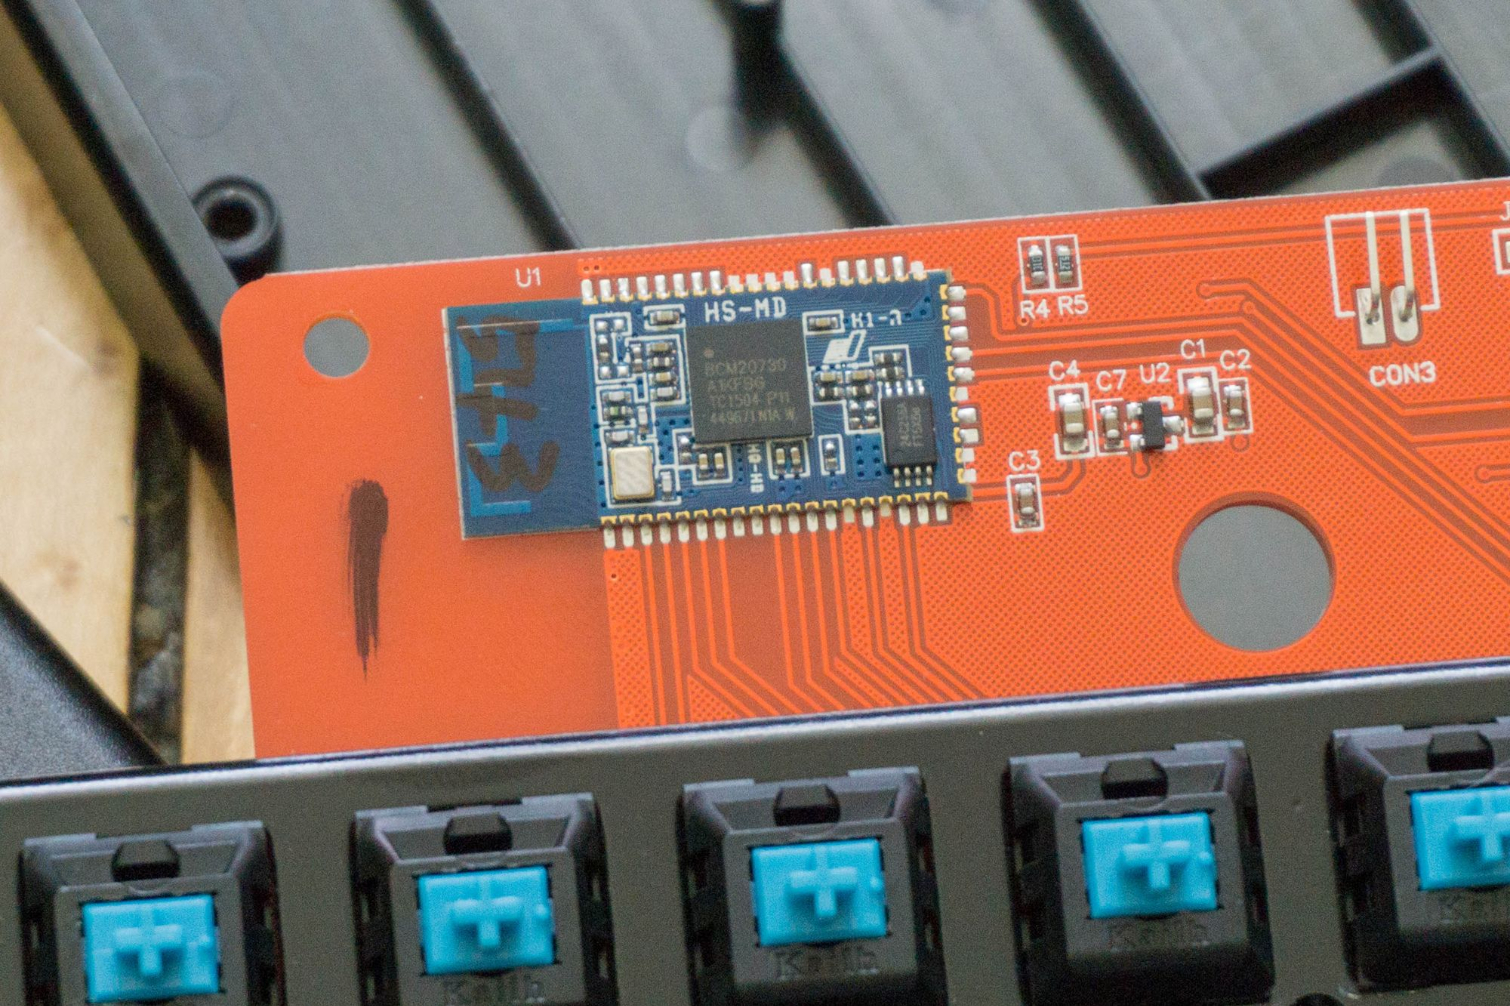
The switch soldering looks to be of acceptable quality—all the pins are secure and stable, but the welds are a little inconsistent from one to the next. That indicates to us it was assembled by a person and not a machine. At the top of the PCB is the Broadcom BCM20730 microcontroller.
MORE: Best Deals
MORE: How We Test Mechanical Keyboards
MORE: Mechanical Keyboard Switch Testing Explained
MORE: All Keyboard Content
Get Tom's Hardware's best news and in-depth reviews, straight to your inbox.
-
cryoburner ReplyIt also has a faux paper carriage, complete with vestigial knobs to complete the illusion.
It seems like a missed opportunity to not turn those knobs into volume dials or something. Maybe volume for one, and a scroll-wheel for the other?
We’re not the sort to turn our nose up at a heavy keyboard, but the added weight doesn't do the Qwerkywriter any favors. The back of the keyboard has a tablet stand, so the designers envision you pairing this keyboard with your tablet and presumably hauling it around someplace--but the keyboard is a little bulky for that.
I imagine that the extra weight could help keep everything stable when tapping and swiping on a larger tablet though. It may be a bit bulky to carry around everywhere, but as something one keeps at home, or in an office, it might not be bad.
The price is certainly a bit high though, and it would only be natural to expect a more premium build quality at that kind of price range. Compared to an actual vintage typewriter, the whole thing looks a bit plasticky, and it could have used some actual metal on its exterior. They should have also made sure it had at least full 6-key rollover. -
steve15180 I keep reading that green switches are too heavy for typing. While I'm dating myself,Reply
I get the idea that no one has ever used an actual typewriter ever. Green switches are
nothing compared to a mechanical typewriter. I guess that's why I like my unicomp
keyboard (buckling spring) better than most. -
brianmin2011 We love Tom's Hardware and we appreciate the thorough review. Unfortunately, this product is nearly 3 years old and we have a new version Qwerkywriter S www.qwerkywriter.com that address every issue brought forth. We now use Cherry MX, brand new PCB with much more robust multi-device bluetooth, NKRO USB, new Keycap design with smoother throw, and more. We are a tiny boutique company so we do our best to keep prices as low as possible. This isn't a money grab but a reality of what we need to do to stay in business - with so many copycats since 2014 when we funded via Kickstarter! Thanks! :)Reply -
scolaner Reply20645019 said:I keep reading that green switches are too heavy for typing. While I'm dating myself,
I get the idea that no one has ever used an actual typewriter ever. Green switches are
nothing compared to a mechanical typewriter. I guess that's why I like my unicomp
keyboard (buckling spring) better than most.
If they aren't too heavy *for you* for typing, then they aren't too heavy for typing. :) -
cryoburner Reply
Hey, and even volume and scrolling for the knobs. : P20648411 said:Unfortunately, this product is nearly 3 years old and we have a new version Qwerkywriter S www.qwerkywriter.com that address every issue brought forth. We now use Cherry MX, brand new PCB with much more robust multi-device bluetooth, NKRO USB, new Keycap design with smoother throw, and more.
Tom's does tend to be a bit slow with some of their reviews though. : D