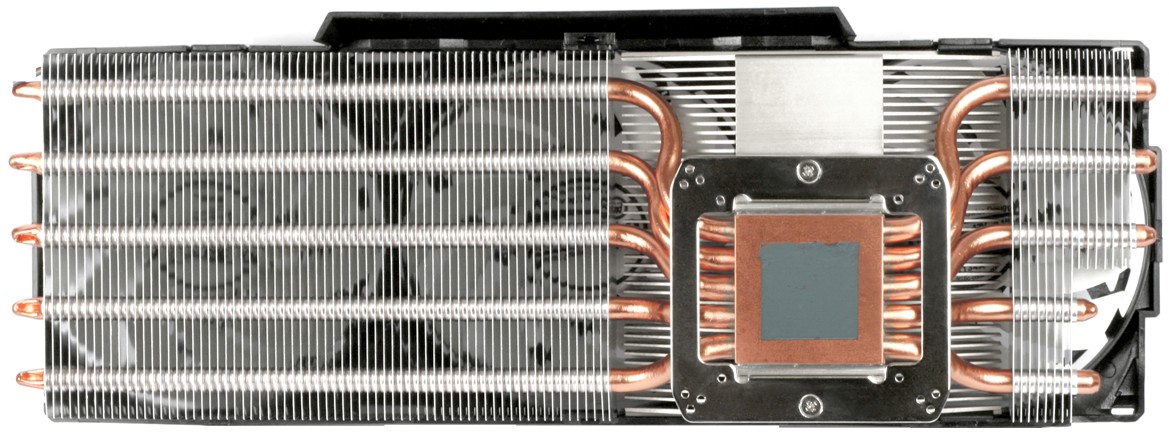
Fixing The Radeon R9 290 With Arctic's Accelero Xtreme III
One of the best things we did for our Radeon R9 290 review was pop off AMD's reference cooler and attach Arctic's Accelero Xtreme III. Today, we show you how we did this, we dive deeper into the results, and ultimately recommend the aftermarket heat sink.
Assembly And Operation
Before you start down this path, read the assembly instructions carefully!
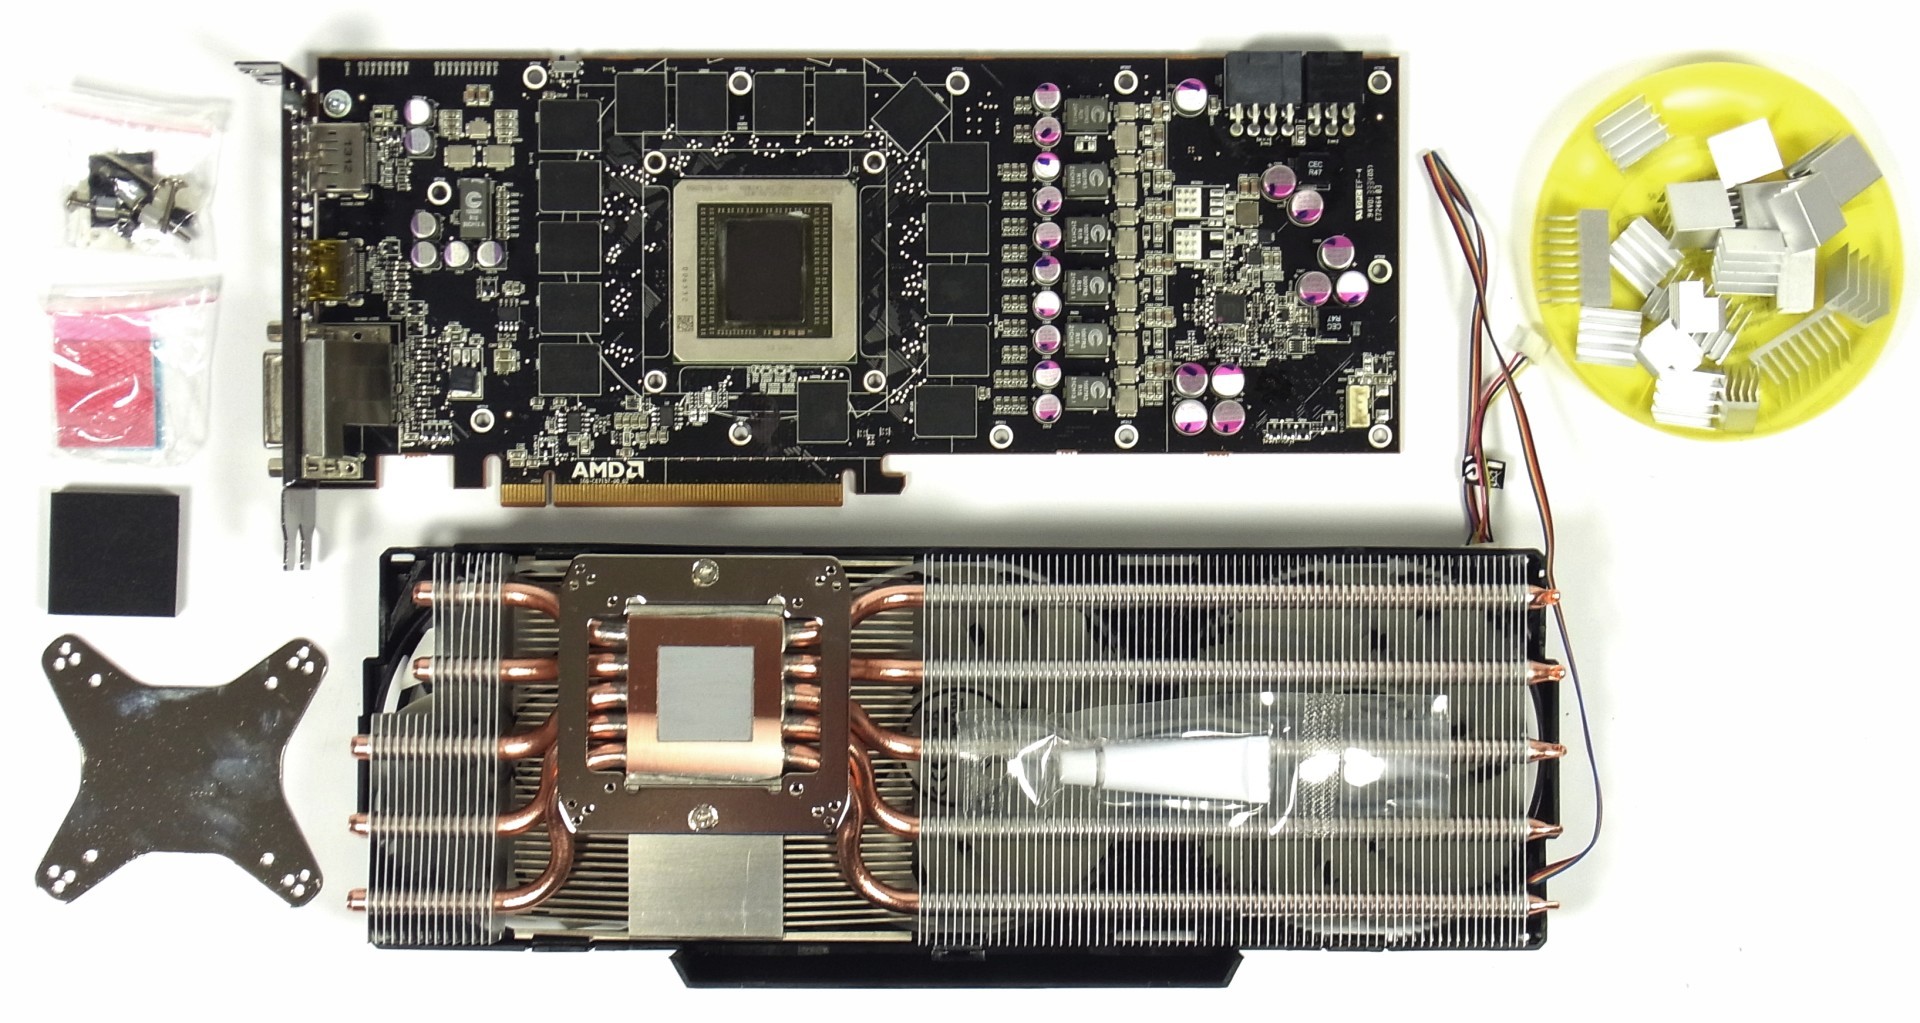
To uninstall AMD's reference heat sink and fan, you need a very small, cross-tip screwdriver. It has to be a good one. You don't want the thing's tip to round off after getting the first screw off. Keep a small container handy for the parts you take off.
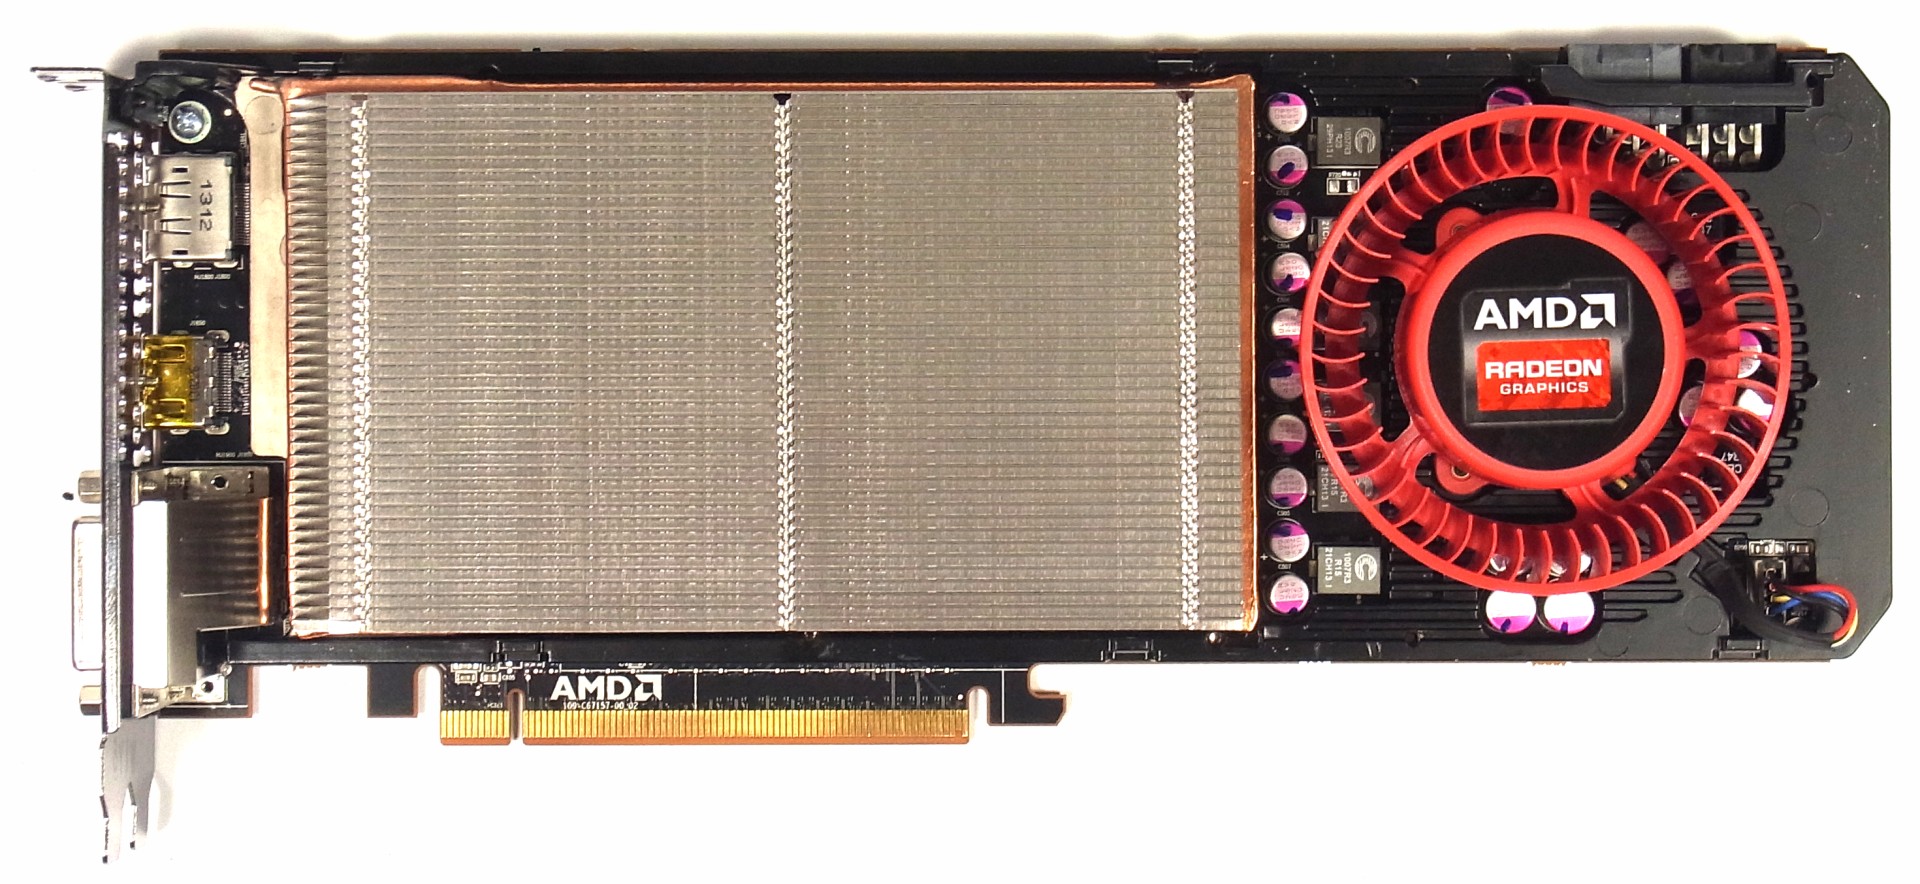
Now, start by removing the reference card's shroud. It is made of plastic and attached to the cooler's frame with a number of those tiny screws. Pull the shroud off to reveal AMD's heat sink underneath, which is secured to the back of the PCB with a handful of larger screws. There are two additional screws in the slot cover, and those also have to be removed. Finally, take off the cross-shaped back plate, remembering to back the screws out in a diagonal pattern to balance pressure on the card as much as possible.
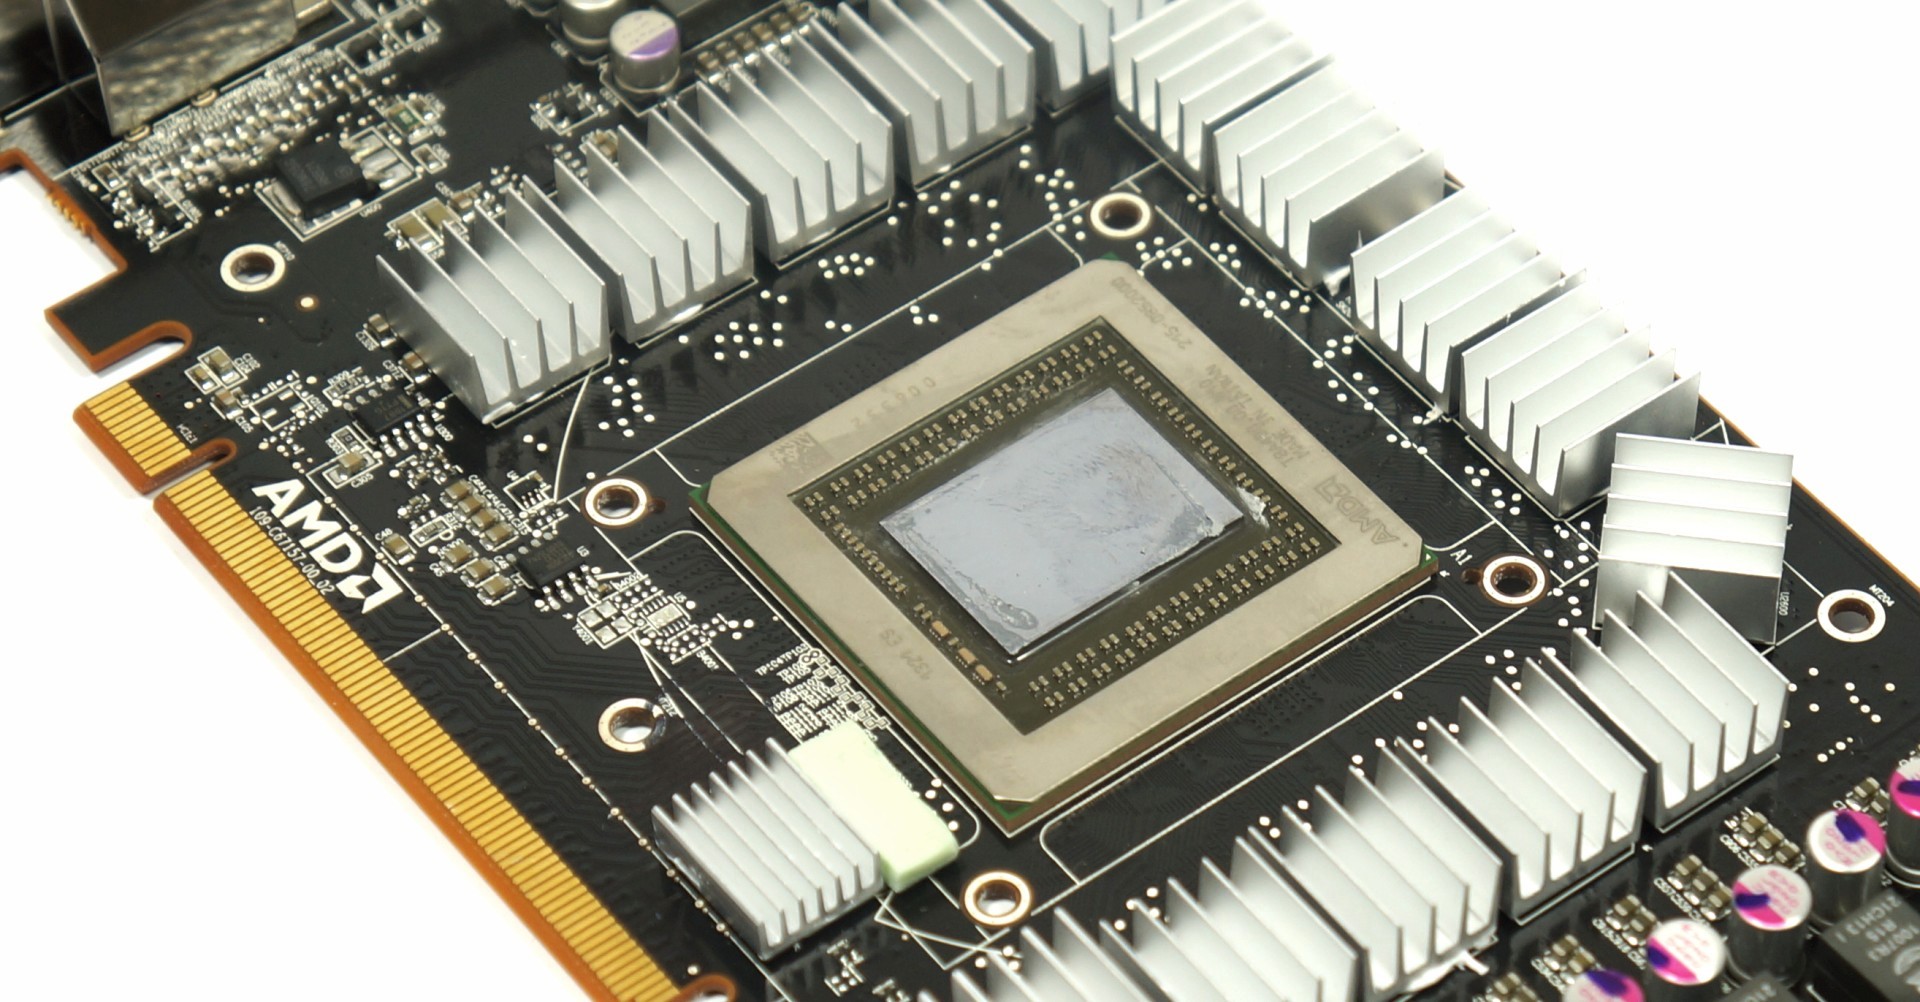
Clean the GPU's surface with isopropyl alcohol and tidy up any residual thermal grease to prepare the assembly. To avoid short circuits, apply insulating strips over the surface-mount components, since the VRM sinks are larger than they need to be and overhang.
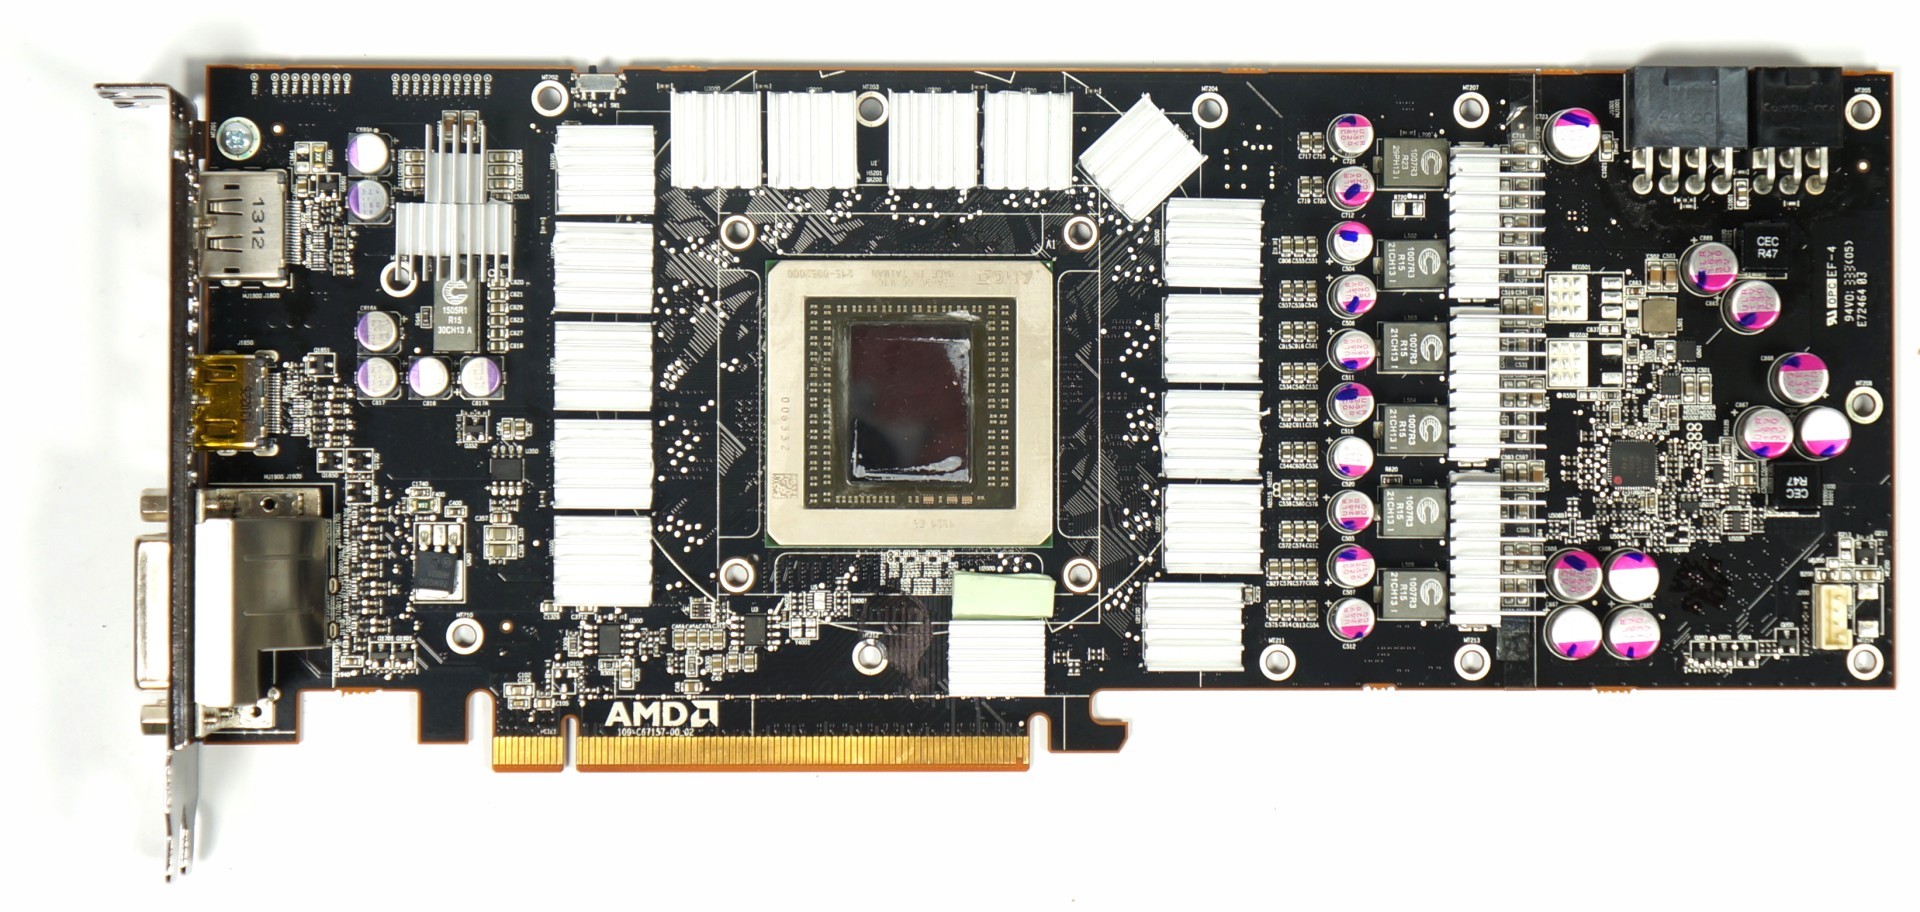
Then, cover the heat sinks with a thin, uniform layer of thermal adhesive and let them sit for a couple of minutes. Press the sinks on top of the memory package and power circuitry, maintaining constant pressure for five to 10 seconds, and don't touch them after that. This is the last time you'll be able to make minor adjustments.
I wrote previously that you can make up for the four missing memory sinks with an accessory kit. But more important is that you don't use one of the taller sinks on the bottom-most package, since it'd touch the main cooler's frame. One workaround is to use a spare heat sink from another kit on one half of the memory module, covering the rest with tape. But in our experience, the memory temperatures didn't get high enough to necessitate such extraordinary measures.
With the heat sink installation complete, you should have something comparable to the image below. Now you need to give the glue time to cure. One hour at room temperature should be enough. A burn-in session with non-cured thermal adhesive is futile, and can actually be dangerous.
Get Tom's Hardware's best news and in-depth reviews, straight to your inbox.
Once the adhesive is cured, place the cooler on the PCB as described in Arctic's manual. As a general rule, use hole two for cards with 52.5 mm hole spacing and the standard 2.5 mm spacers. Don't worry if this doesn't make sense; it's explained very well in the included documentation.
You should now have an aftermarket-cooled Radeon R9 290. Pop the card into your motherboard and plug it in. Then, connect the fan leads using the included 7 and 12 V adapter, choosing the setting you want based on your cooling requirements.
A Note On Fan Control
In theory, the cooler allows you to choose between PWM and a fixed voltage (for a constant fan speed). Unfortunately, AMD's Catalyst driver doesn't work like this any more. Maximum fan speed is now linked to a target temperature, and it doesn't make sense to dial in a 50 or 60 °C target just to make the fans spin faster. The Accelero is simply too effective; the driver's control mechanism means you'll hardly ever see Arctic's solution hit 20 to 25% duty cycle under load. Spinning that slowly, there isn't enough airflow to cool the card's voltage regulators sufficiently. We'll discuss this in more depth on the next page.
Current page: Assembly And Operation
Prev Page The Arctic Accelero Xtreme III, Detailed Next Page Temperatures, Overclocking, And Noise
Igor Wallossek wrote a wide variety of hardware articles for Tom's Hardware, with a strong focus on technical analysis and in-depth reviews. His contributions have spanned a broad spectrum of PC components, including GPUs, CPUs, workstations, and PC builds. His insightful articles provide readers with detailed knowledge to make informed decisions in the ever-evolving tech landscape
-
rolli59 I will wait and get the Gigabyte Windforce then I will not have to pay full price for the cooler. (just saying)Reply -
MauveCloud I can't find anything to confirm that you tested this inside a case, and I'm curious what it does to case and cpu temps compared to the reference card, and what it does to a second gpu running in crossfire mode.Reply -
CaptainTom I gotta say I agree with AMD's opinion that reference coolers are just there to get the job done as cheaply and consistently as possible since non-references will rule the market anyways.Reply
But at the end of the day reviewers are gonna continue to mark down cards for these silly things for whatever reason. AMD might as well just make the reference coolers at least as good as SAPPHIRE's Dual-X so that everyone shuts up... -
sha7bot I want AMD and NVIDIA to start selling their boards without a cooler. I can buy a waterblock from any number of retailers, but I can't get the damned GPU. Discount the boards and sell them OEM to us consumers.Reply
Also, try and make your layout a standard so I don't have to keep buying after-market coolers or blocks. I can just move them from board to board. -
FormatC @MauveCloudReply
I've proofed this construction in my Corsair Obsidian 900D and it works as described, I had to turn on my case fans but only @800-900 rpm. To test a crossfire setup I would have to destroy two cards - sorry, but this was too expensive for me. One modified card is ok, but I cant kill all my samples :D -
ingtar33 that 1150 clock speed is actually on the low side. on several other forums i frequent people are hitting mid 1300's pretty consistently with aftermarket air coolers, and 1400s on water.Reply
it seems the r9-290x is pretty much identical clock for clock to the 780ti... so putting a non-reference cooler onto it is almost mandatory; because when it's not temp throttling it's pacing nvidia's $700 monster. -
brainrazer I was going to say same thing as sha7bot. Overall though I hope one day we can buy a gpu and fan/cooler in drop it in the Mobo socket like a cpu. Hell even have multiple sockets in a row to take up less space at the end of the mobo to give room for pci slot devices. It always sucks having to decide between these graphics cards or "this" card and a sound card or ssd.Reply -
horaciopz Maybe, later on the road Accelero will launch a R9 290 version of this cooler as they did with the HD 7900 version.Reply
Also, look that, that cooler is barely spinning. You can squish more of it, that would be even more noticable in performance gains! -
s3anister "Obviously, if you spend $400 on a new Radeon R9 290 and immediately take it apart, your warranty is void."Reply
Are all the Vendor's cards like this? If I remember correctly Sapphire used to allow (or still does) people to take the stock cooler off to attach a waterblock without it voiding the warranty. -
bemused_fred Blimey, that is so much fuss to put together, not to mention the fact that it voids your warranty.. AMD have really, really shot themselves in the foot by not offering after-market cooling at launch.Reply
