Reader How Tos: A System To Convert VHS and 8 mm Tape To DVD
Assembling The System, Continued
10:30 AM - I unpacked and mounted 20 GB Seagate Tape Storage drive in the second slot of the middle section of the case. Unfortunately, that's going to make it difficult, if not impossible, to hook it up as the second drive of the IDE2 cable, which is where I prefer to connect it. For some unknown reason, I have always preferred to connect my hard drive(s) to IDE1 and all others (CD and tape drives) to IDE2. I may have to break that rule this time.
10:45 AM - Now I had a choice to make. Should I use one of the two 160 GB Maxtor's as my boot drive, or should I reserve them both for capturing video? I decided on the latter. I grabbed a spare Fujitsu 20 GB hard disk I had and installed it as my boot drive. It has an ATA-33/66/100 interface and should work fine for booting and holding the system/ application files. That will allow me to use the two 160 GB hard disk as video capture.
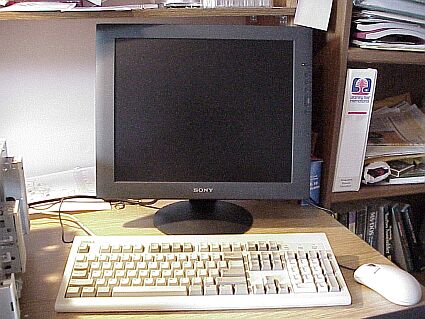
11:00 AM - I unpacked and set up the Sony LCD video monitor.
Sony SDM-S81/B 18" video monitor.
11:15 AM - I unpacked and set up the keyboard and mouse. Although I had purchased a Microsoft Office keyboard with a USB interface, I opted to use a regular PC keyboard initially, just to get things up and running. I did hook up the Microsoft Intellimouse, though.
11:30 AM - I connected and ran power cables both inside and outside the case. I decided not to hook up any of the disk drives - just the motherboard and the floppy disk.
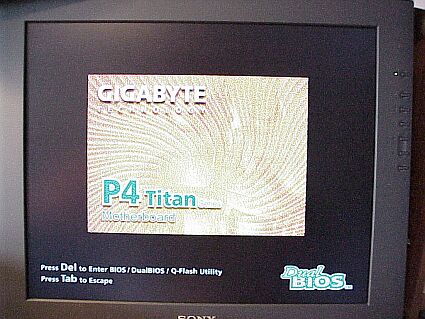
11:45 AM - The first power test worked fine. I got into the BIOS menu and set the time. I also looked around at what other things BIOS would allow me to adjust. (There were several.)
Get Tom's Hardware's best news and in-depth reviews, straight to your inbox.
Boot up logo screen.
Current page: Assembling The System, Continued
Prev Page Assembling The System, Continued Next Page Assembling The System, Continued
