Why you can trust Tom's Hardware
The Supermicro PG300F motherboard's UEFI needs a bit of work to compete with the likes of MSI or Asus' consumer products. Don't get us wrong; the UEFI is simple to navigate and is functional for base-level operation, but after digging into the options for a week, we've identified a few sore spots.
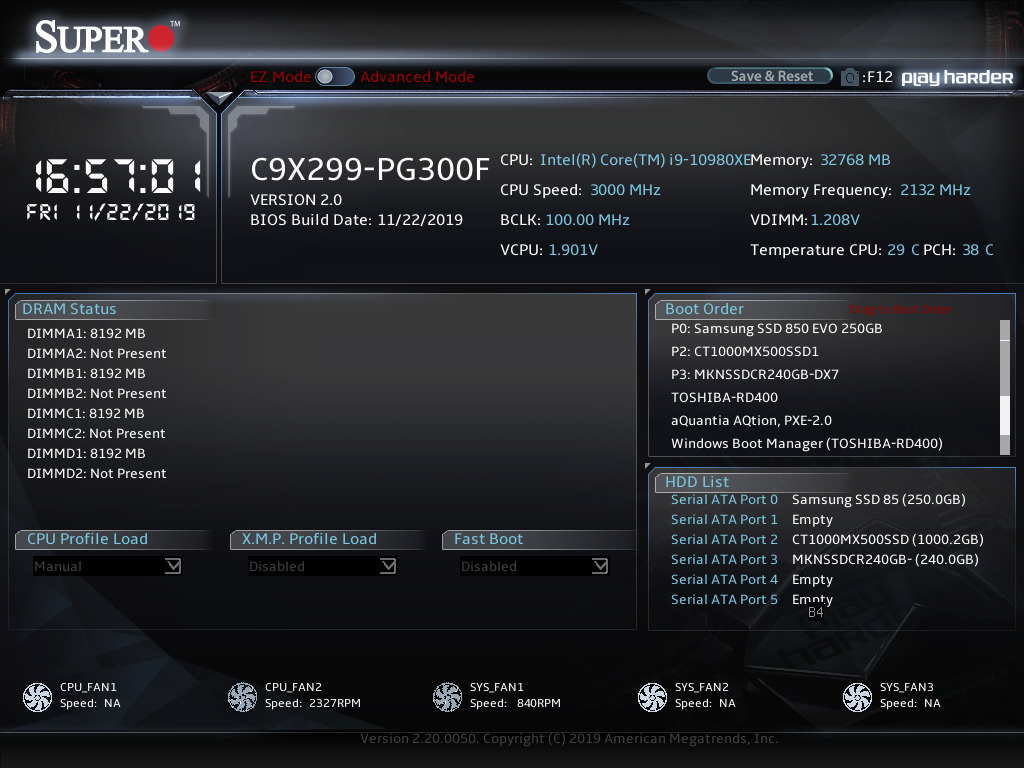
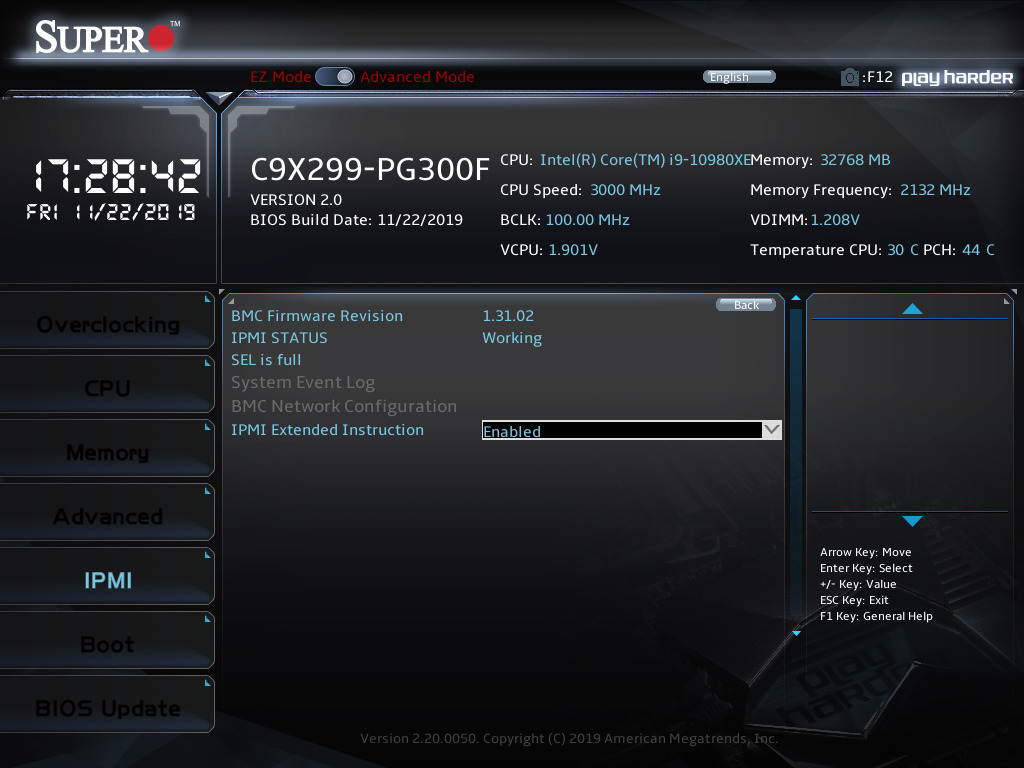
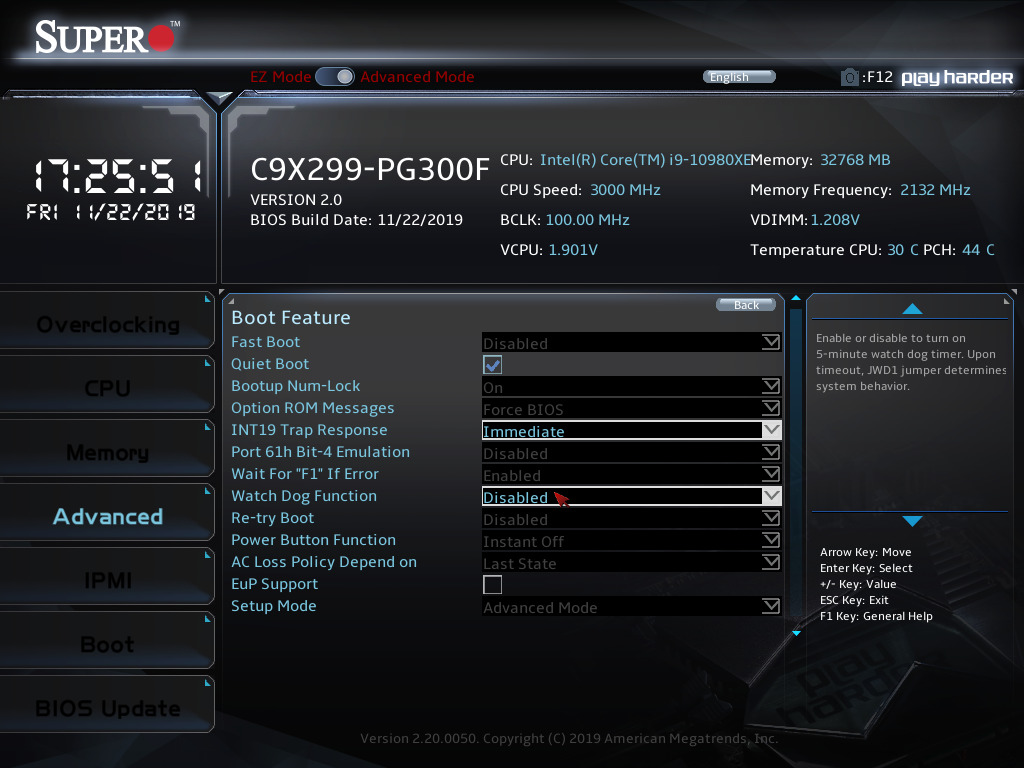
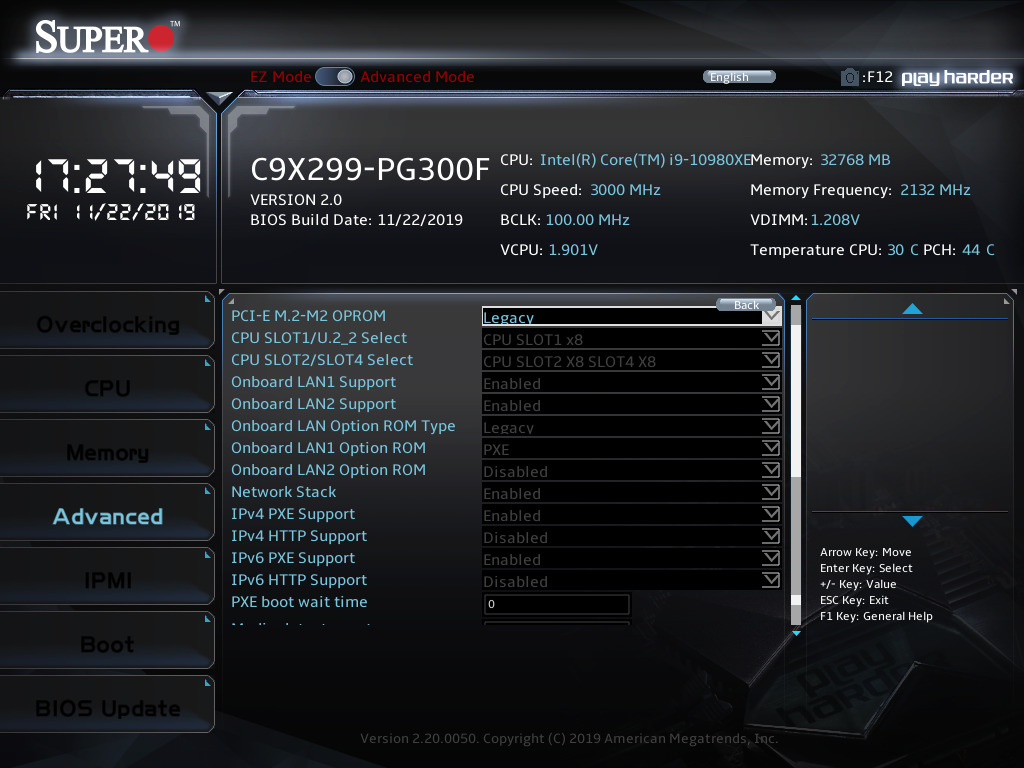
EZ Mode is the default window upon hitting the DEL key at bootup and shows us boot order, DRAM status, high-level overclocking profiles, and general processor health. After activating the Advanced mode, CPU, memory, and other advanced menus are available on the left. We briefly perused the IPMI and Advanced menus. There you’ll find IPMI configuration, TPM, PCIe slot, boot, and other options for configuring the platform to fit your specific use case.
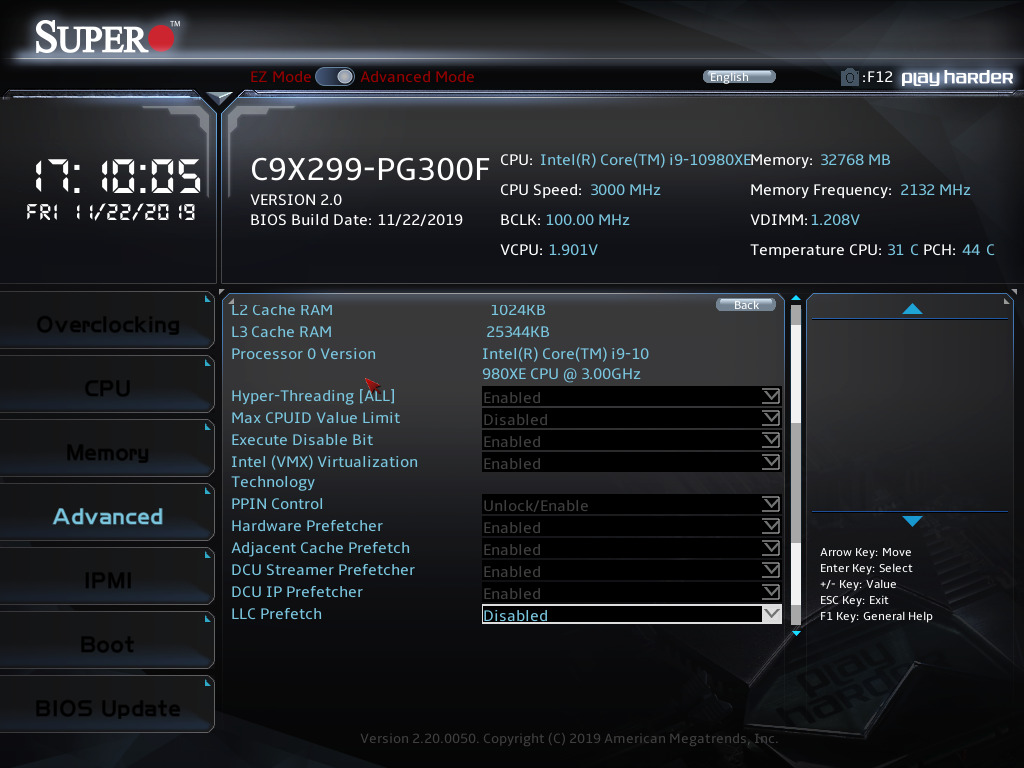
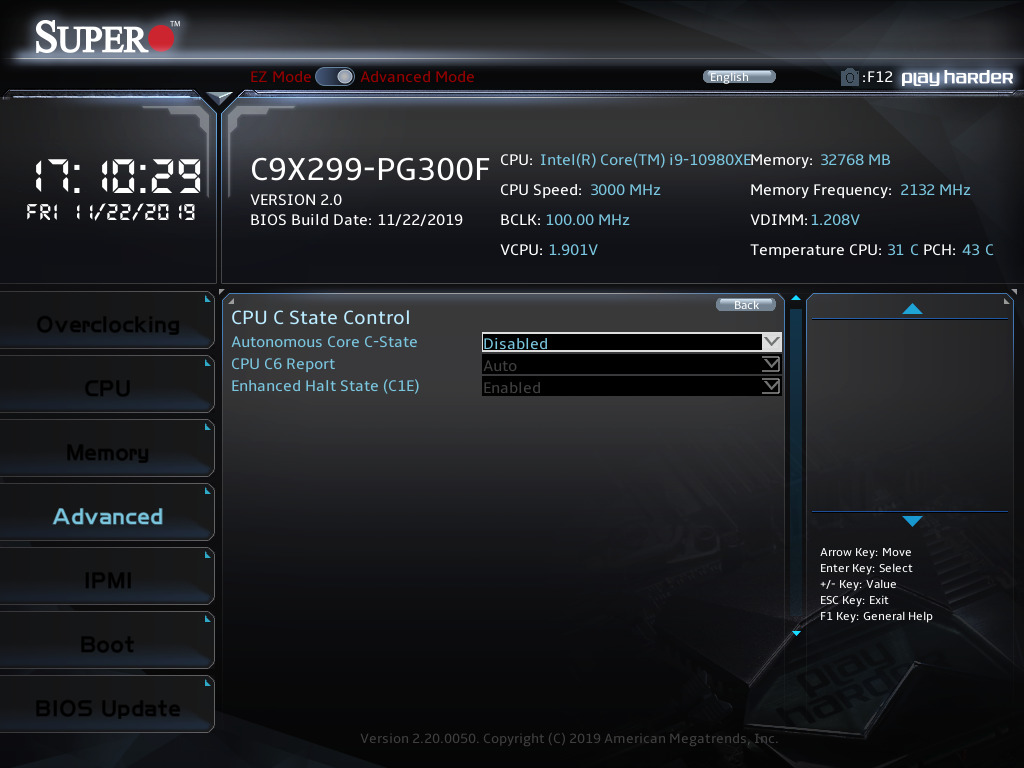
Also, the Advanced menu is where you will find most of the lower-level Intel CPU and chipset options such as CPU C States, Hyper-Threading and virtualization. We would have preferred more helpful information in the UEFI, and some of the formattings can be a bit weird.
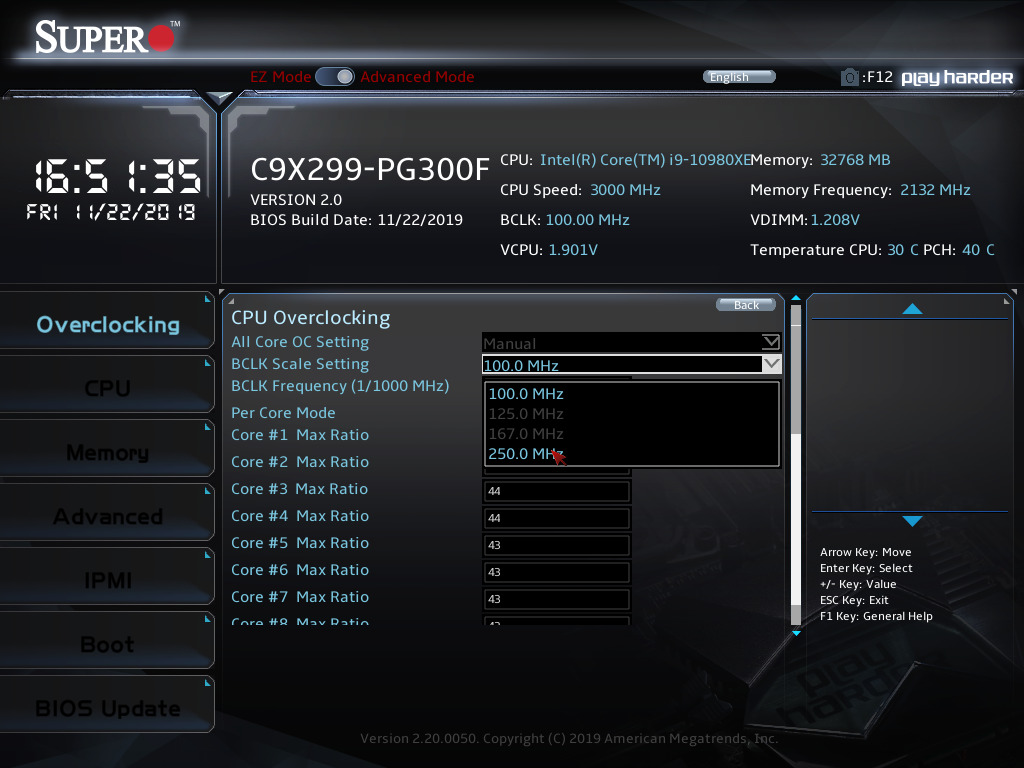
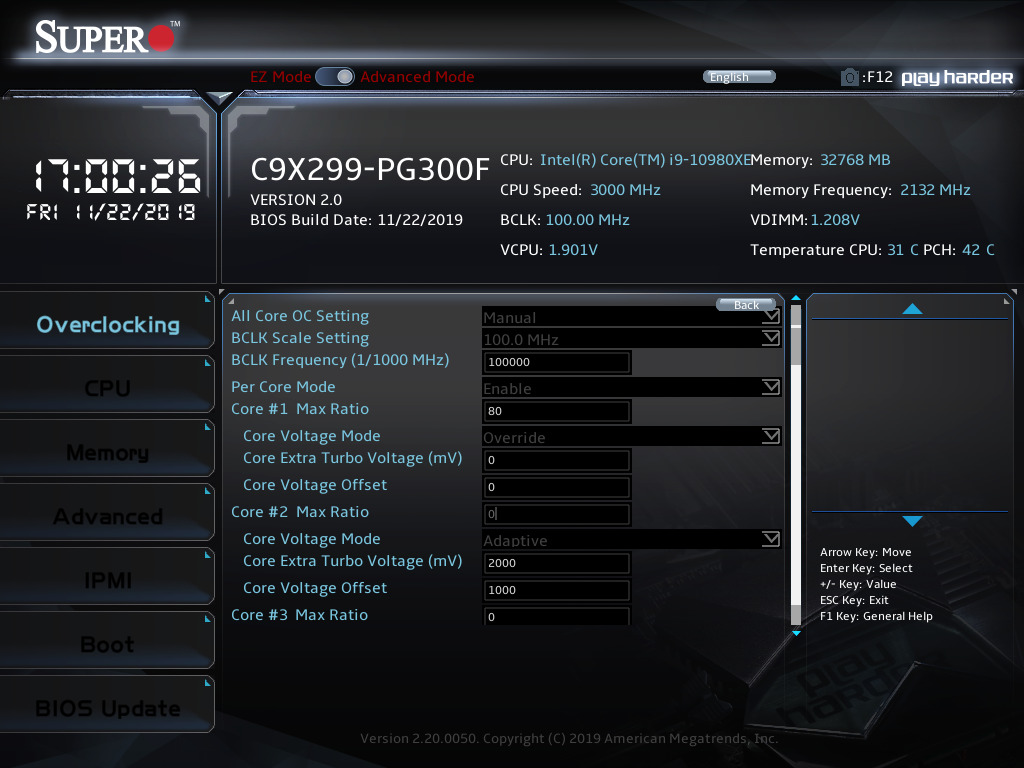
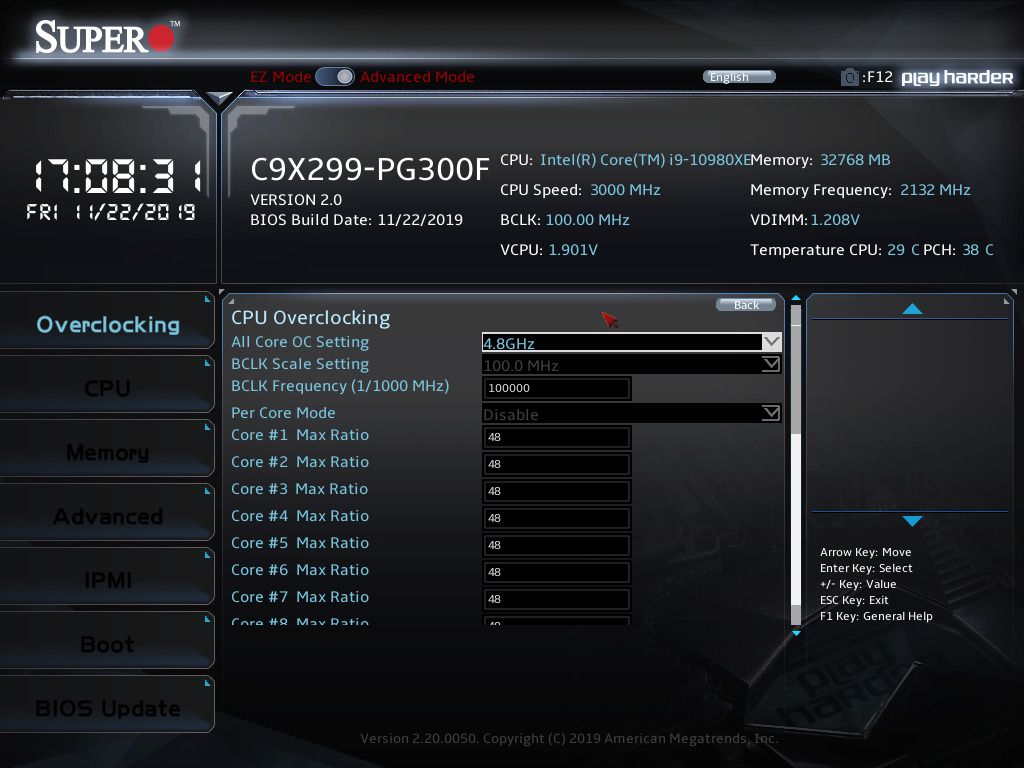
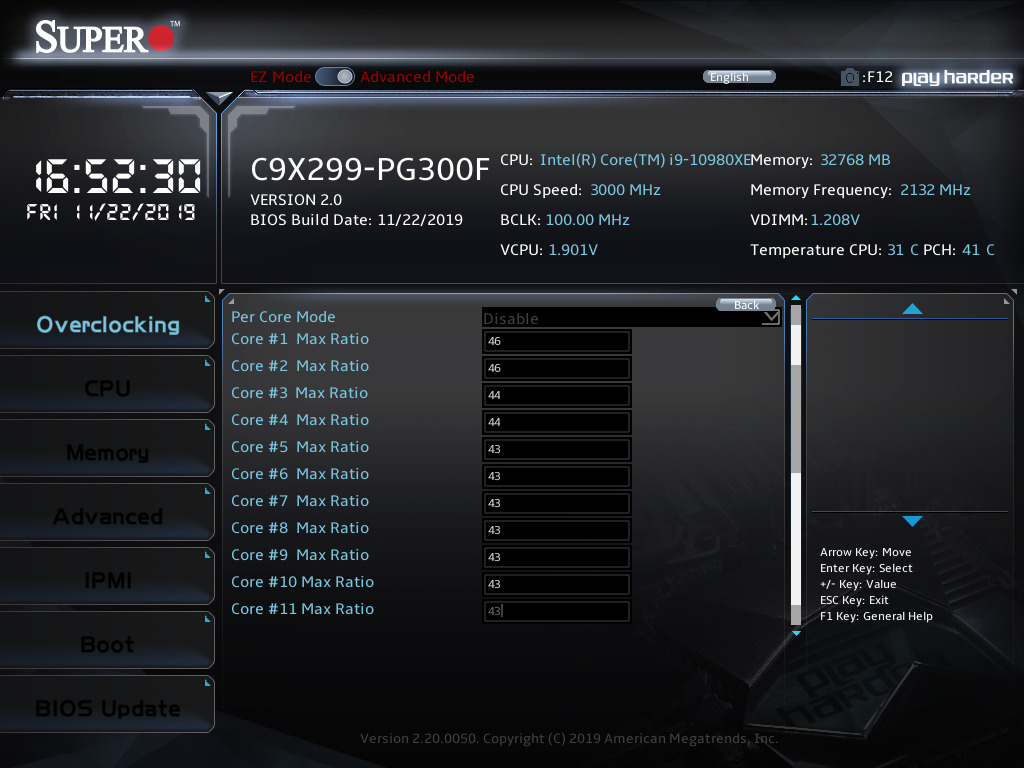
For overclocking, our first stop is the CPU overclocking segment, with options for All Core OC presets, BCLK presets, and by-core max ratio limits. For the most part, tweakers can select either adaptive or override controls over various settings. Still, it isn't exactly clear which settings override others -- for example, BCLK Frequency and the BCLK Scale setting. Also, numeric options are highly configurable, but users will find that setting a 0 max ratio for core #1 will likely cause the system not to boot. In other words, make sure your settings make sense before saving and rebooting.
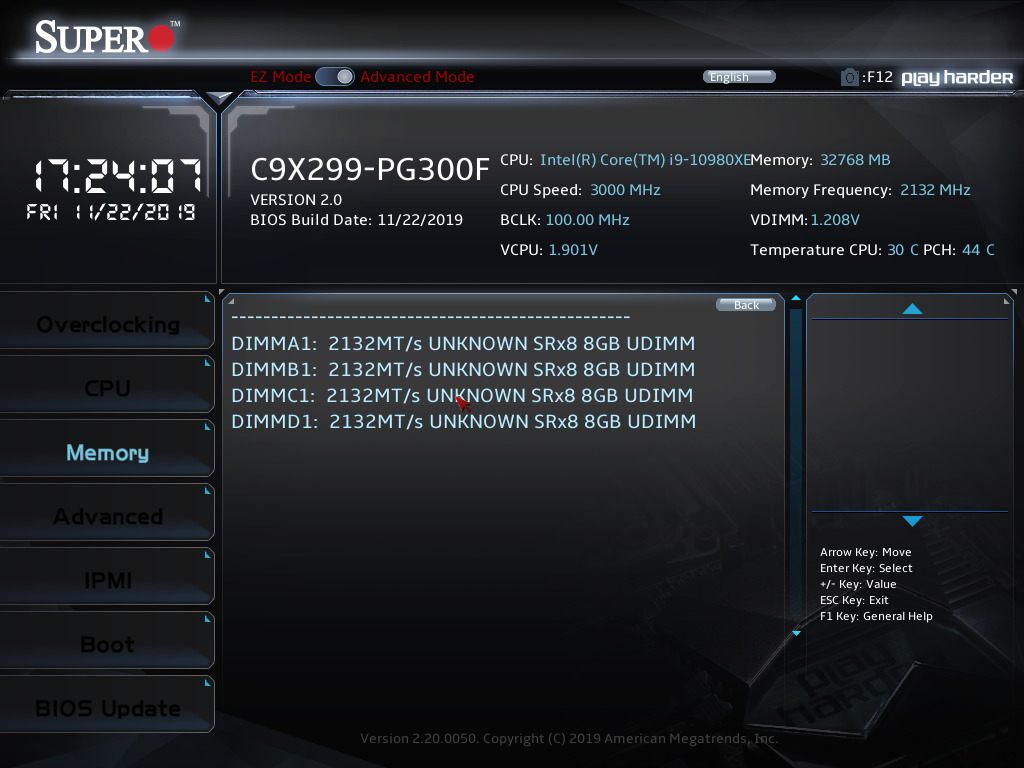
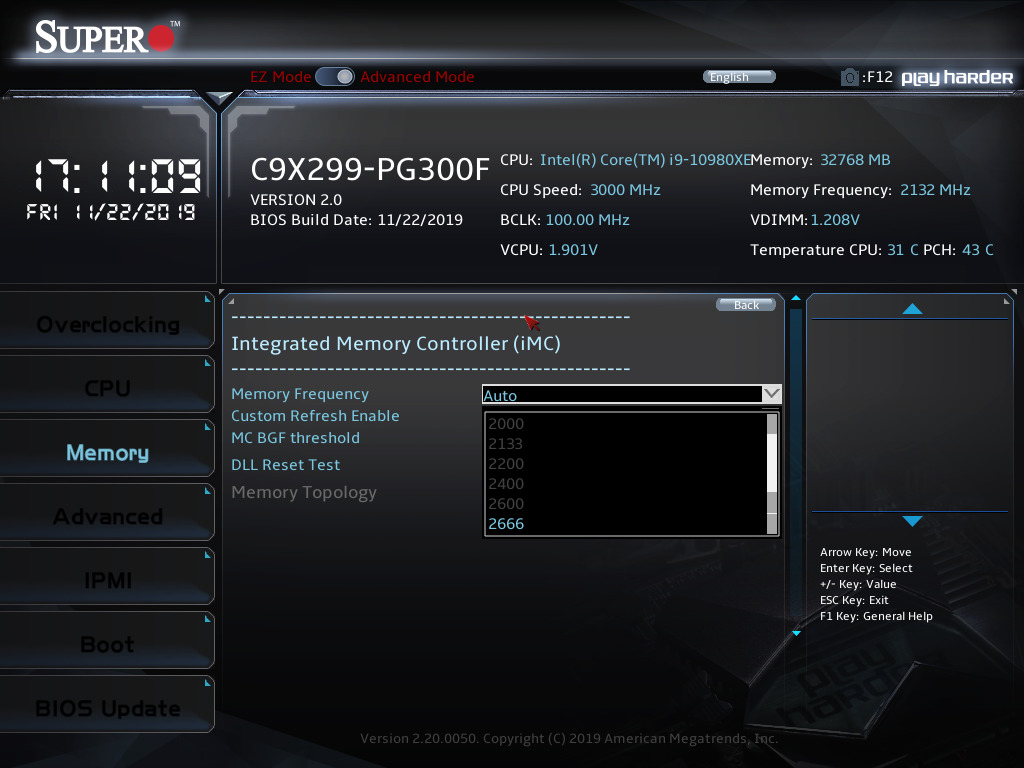
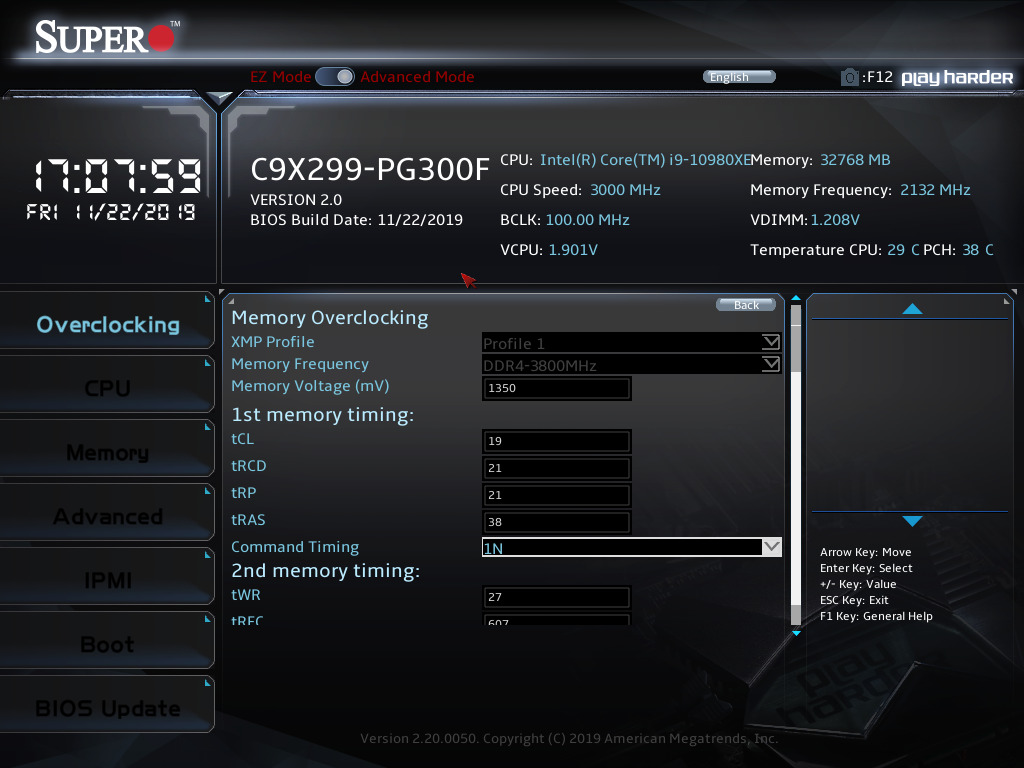
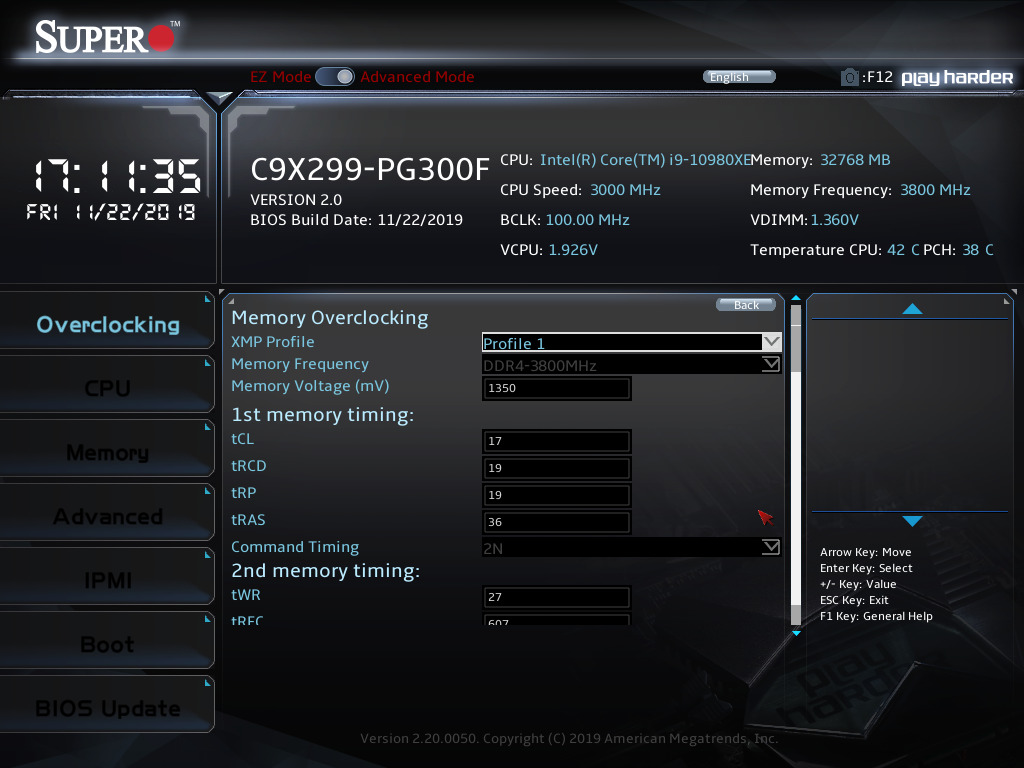
We had mixed success when tinkering in the Memory Overclocking section. XMP profiles work flawlessly, and our Corsair Dominator Platinum kit boots up with no problems. However, when tweaking timings, we noticed that subsequent reboots and entry into the UEFI wiped our previous settings. We have addressed this with Supermicro and hope to see the issue fixed in future UEFI versions.
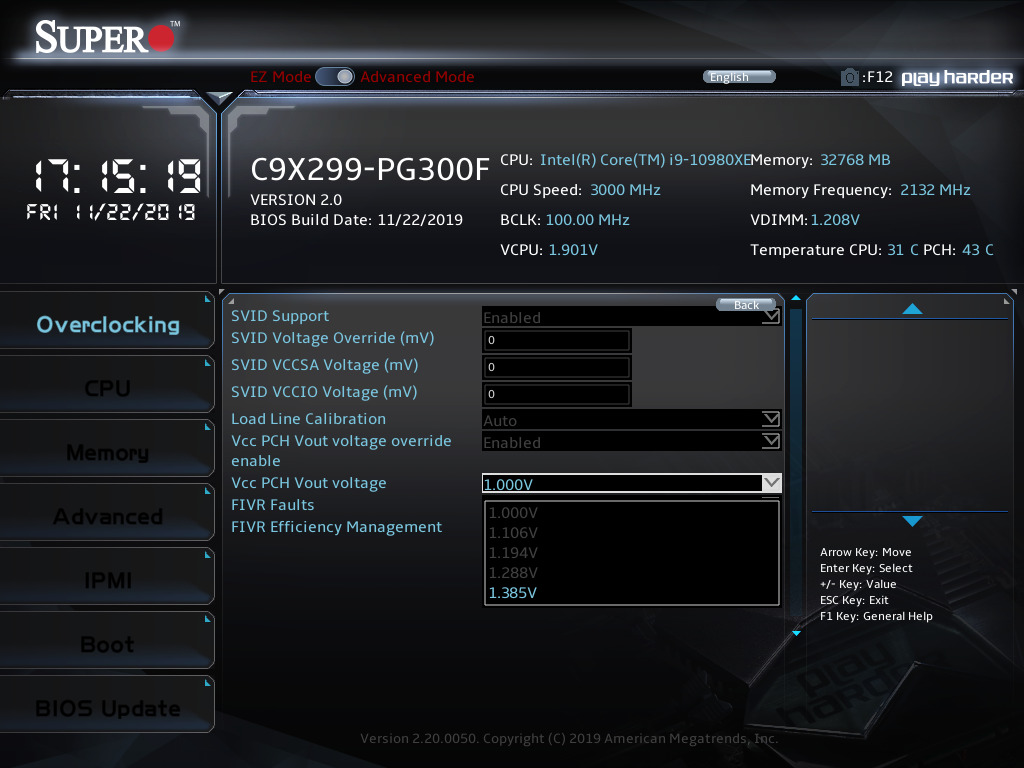
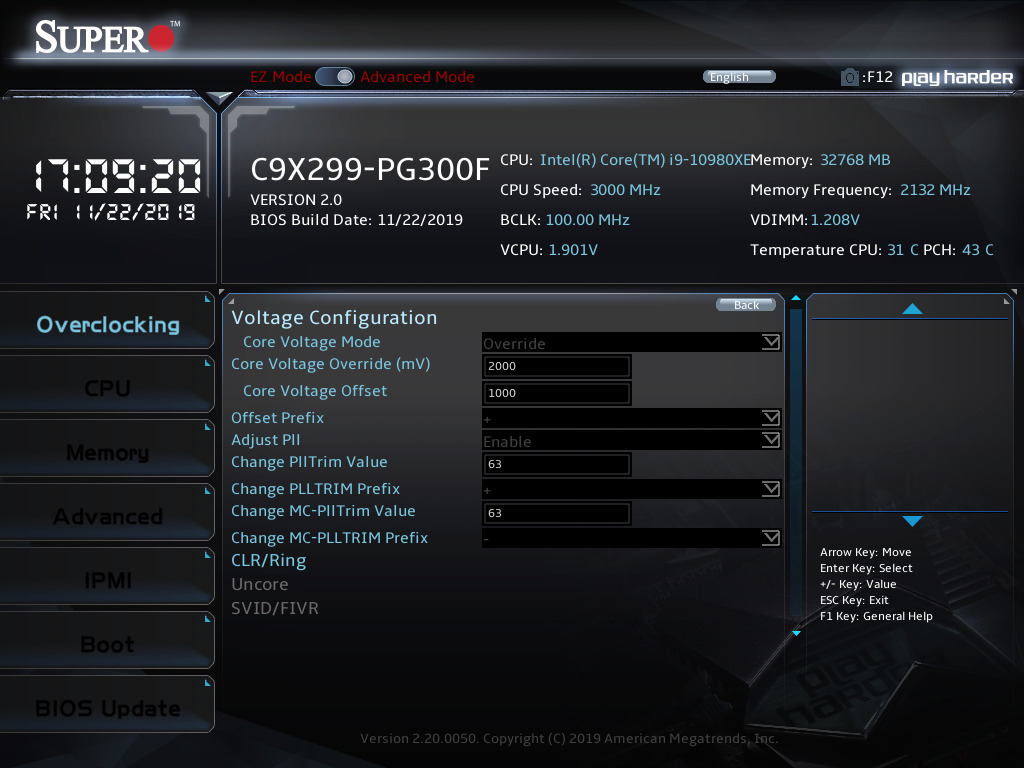
Voltage controls are our last stop in UEFI checkout, and Supermicro doesn't do much hand-holding for users in this regard. We'll cover this in more depth in the overclocking section, but voltage levels can be as low as 0V to an uncomfortable 2.5V on some rails. With this in mind, we strongly suggest reading the manual to understand each setting and its limits. The documentation is an excellent resource and well worth saving to your hard drive.
This reviewer doesn't regularly install manufacturer's software, but it is necessary to install the SuperO Booster utility to program the RGB components of the system. The patterns and color selection are straightforward and required minimal tweaking in our setup.
Get Tom's Hardware's best news and in-depth reviews, straight to your inbox.
On the CPU menu, we found that the frequency graph doesn't necessarily reflect the individual operating frequencies of our chip while running workloads bound to specific cores. Also, the overclocking functionality was less than accurate at times. When engaging single-threaded Cinebench runs, we often did not hit our desired overclocks. Again, read the manual if you intend to use this feature.
The Thermal menu is a nice feature to see while running the operating system, so that we can dial in our fan speeds while running an active workload. Beyond that, though, the voltage and memory menus aren't as attractive to us as we favor the UEFI, but they are there nonetheless.
Test Setup
| Frequency and Voltage settings | Supermicro C9X299-PG300F | Asus ROG Strix X299-E Gaming II |
|---|---|---|
| BIOS | 2.0 11/22/19 | 0504 11/29/19 |
| Base Clock | 100, 125, 167, 250MHz 0-538 (100Hz) | 80-300 (100kHz) |
| CPU Multiplier | 0-80 (1x) | 7-83 (1x) |
| DRAM Data Rates | 1000-4400 (133.3 / 200 / 266.6 MHz) | 800-4400 (200 / 266.6 MHz) |
| CPU Vcore | 2.0V (1mV) | 2.0V (1mV) |
| System Agent | 0.0 - 2.500 (1mV) | 0.700 -1.800 (5mV) |
| CPU I/O | 0.0 - 2.500 (1mV) | 0.900 - 1.800 (6.25mV) |
| PCH Voltage | 1.0, 1.106, 1.194, 1.288, 1.385V | 0.700 - 1.800 (6.25mV) |
| DRAM Voltage | 1.200 - 1.850 (5mV) | 1.000 - 2.100 (5mV) |
| CAS Latency | 0-32 cycles | 1-31 Cycles |
| tRCD | 0-32 cycles | 1-31 Cycles |
| tRP | 0-32 cycles | 1-31 Cycles |
| tRAS | 0-63 cycles | 1-63 Cycles |
Overclocking
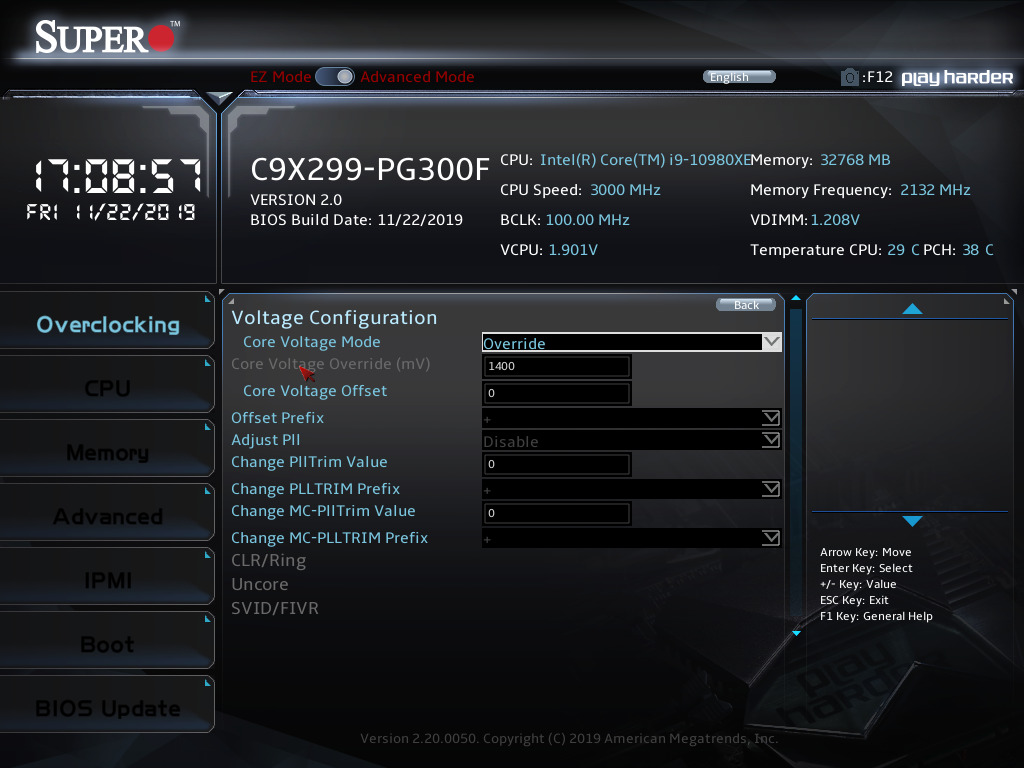
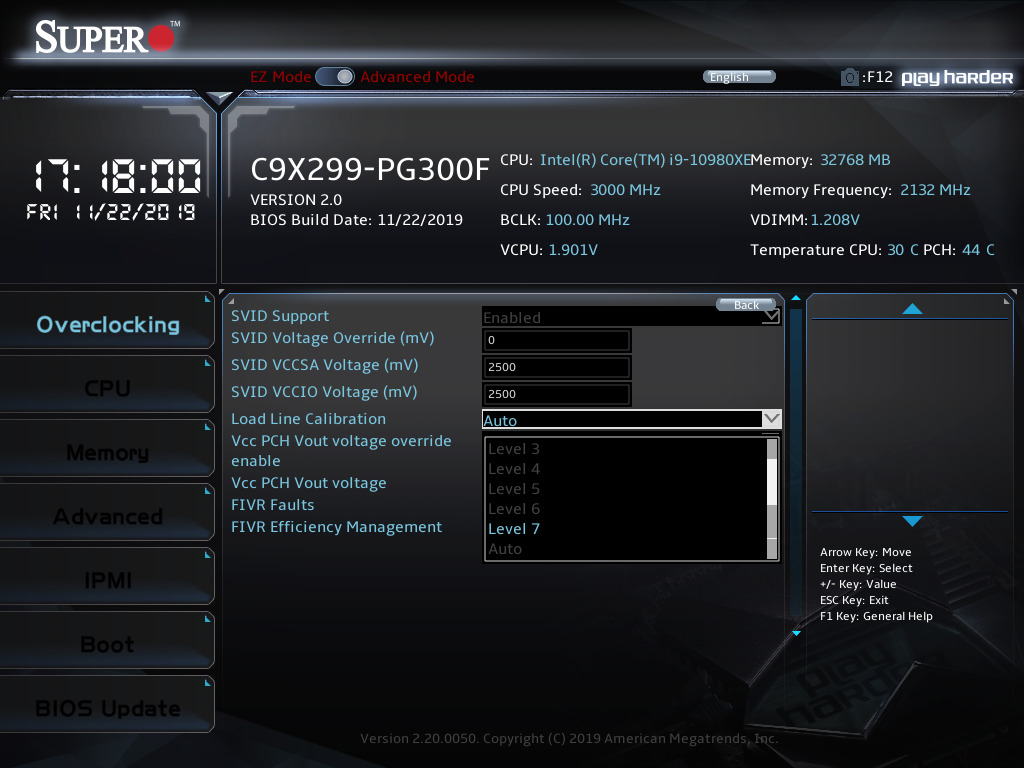
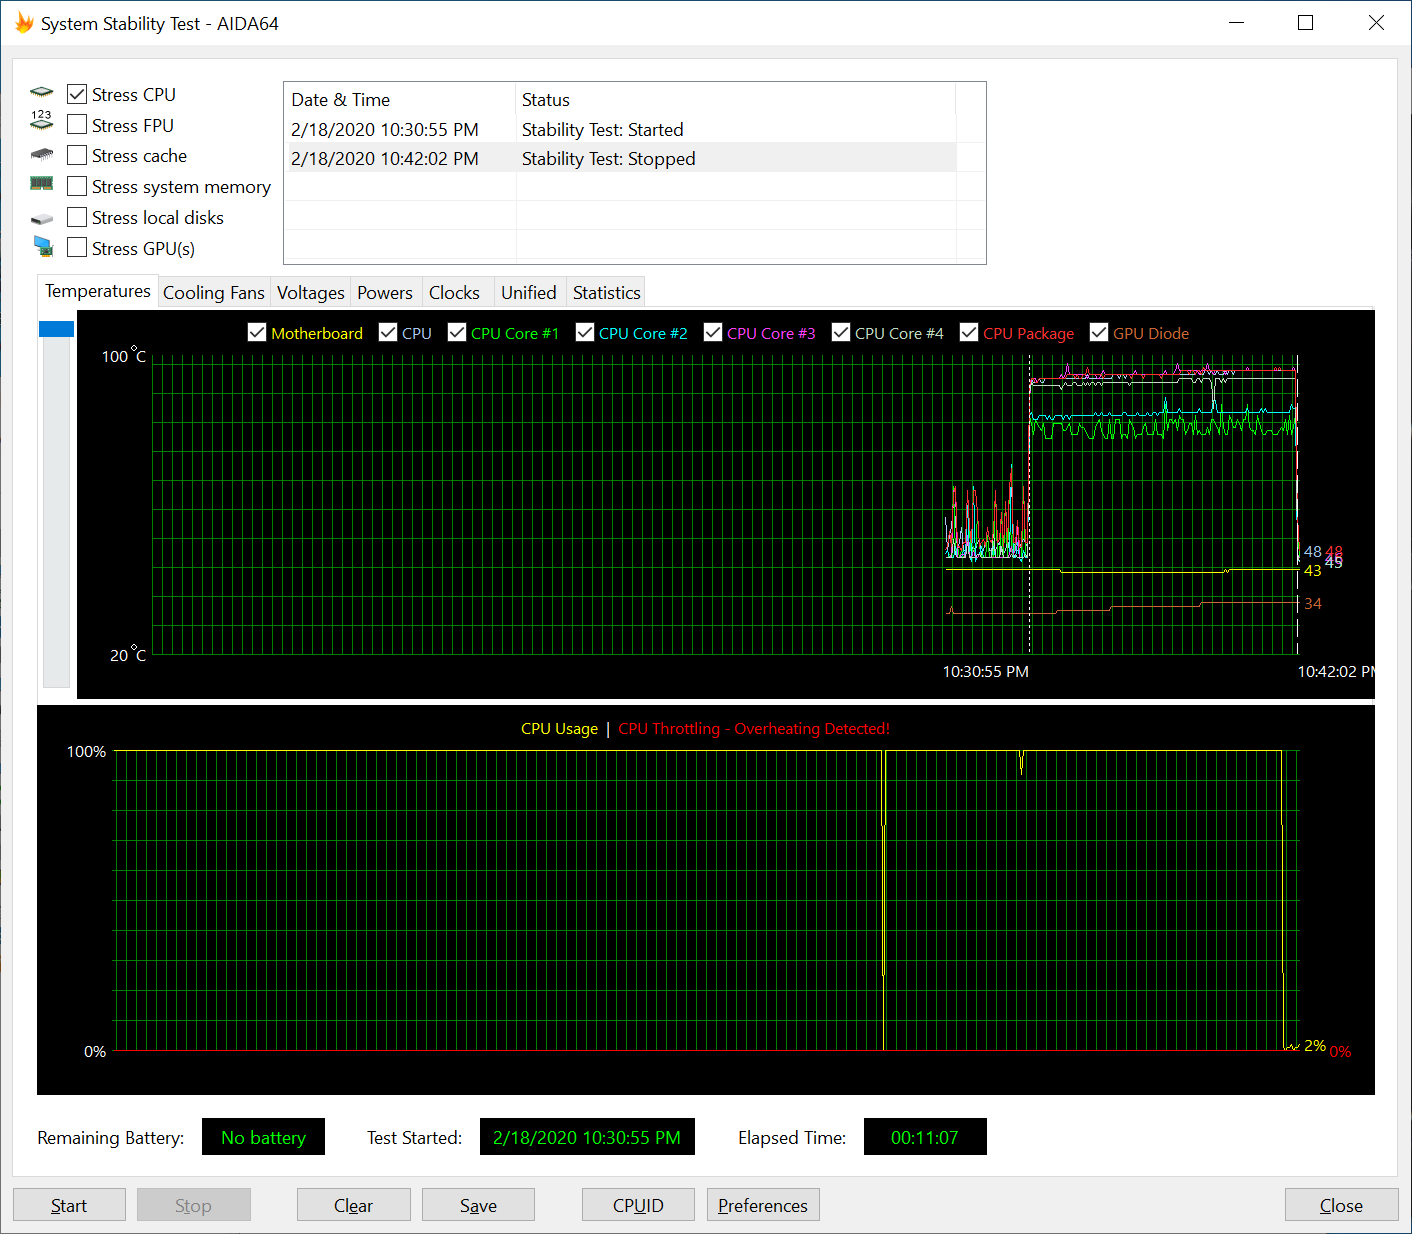
Overclocking testing is where the Supermicro C9X299-PG300F begins to lose some ground. With mild success on other motherboards, setting a straight 4.8GHz all-core to overclock is not unreasonable and is our first step in testing. Immediately upon running AIDA64 at that setting with the Supermicro board, temperatures were well above 95C, causing minor heart palpitations. Digging into the UEFI, it appears that Supermicro defaults the VCORE setting when using the frequency presets to a massive 1.4V! After consulting with Supermicro, this is indeed the default option, and we strongly advise builders to set their clock speeds AND voltages on each boot. Skipping this step might cause permanent damage to your components.
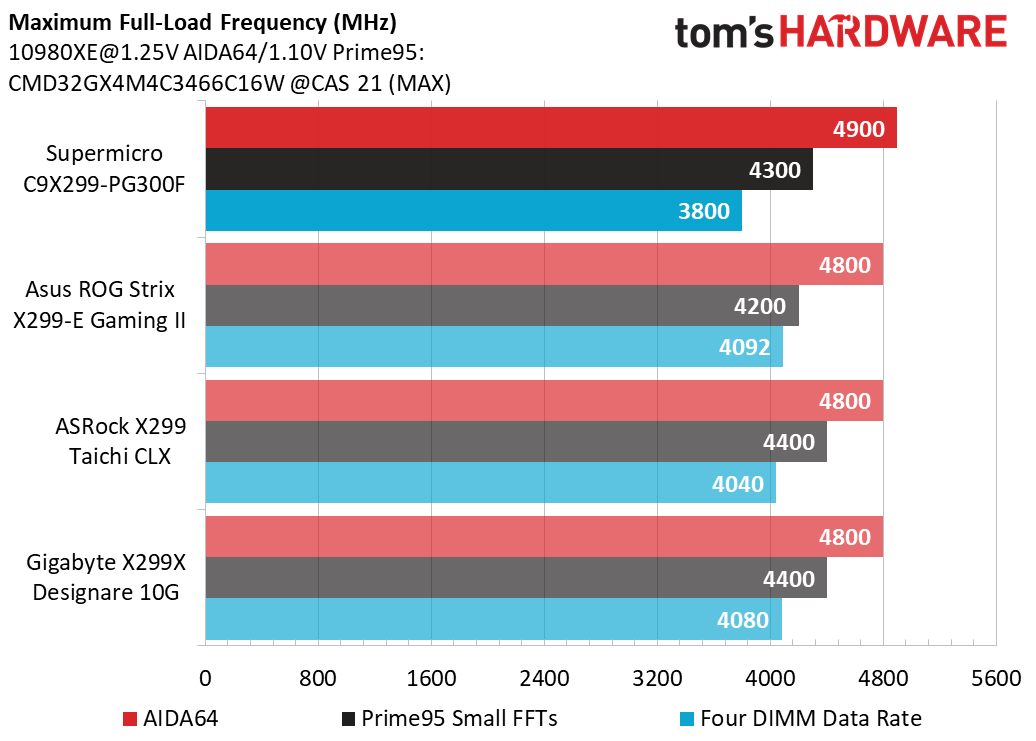
Dialing back the voltage to a reasonable 1.25V, AIDA runs comfortably at around 80C while using our Fractal Design S36 360mm AIO. With additional thermal headroom, we hit 4900MHz without extra voltage for our extended-duration verification run. Hoping to catch the elusive 5.0GHz on this cooler, we increased the voltage to 1.325V, and temperatures approached the 100C threshold that we do not recommend for extended workloads. So, officially we hit 4900MHz at 1.25V and 82C with AIDA64 (pushing 82C on the VRMs).
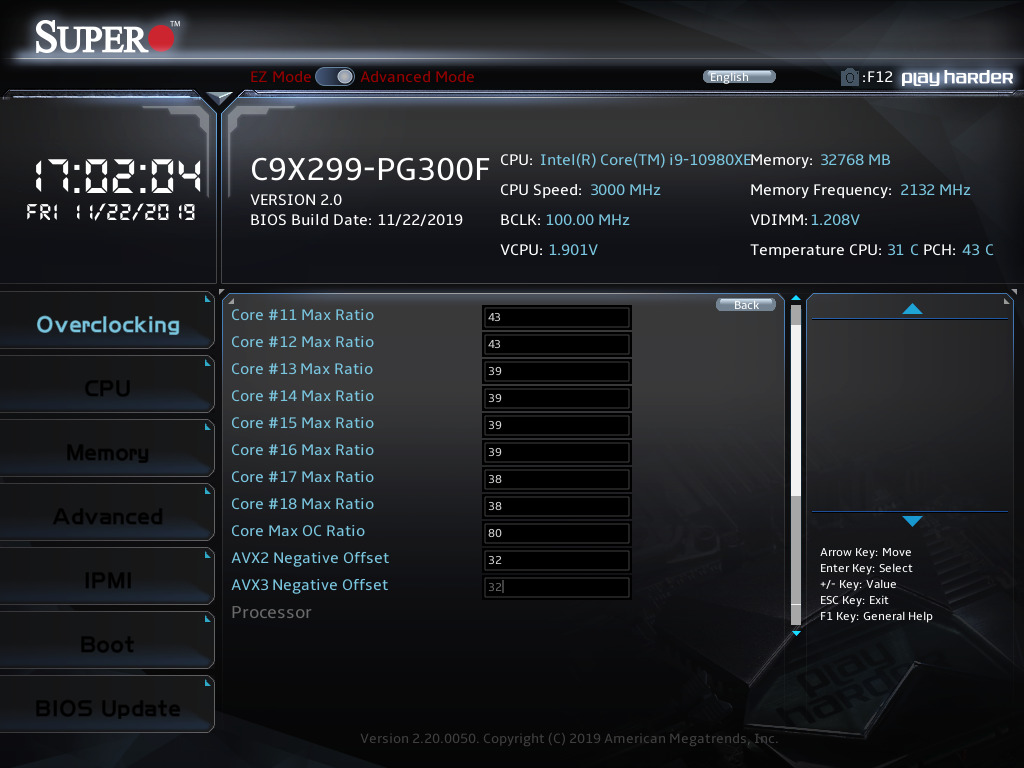
Moving to the AVX-based workloads, thermals again became a problem, and we started dialing back the multiplier and voltages to compensate. Also, to keep things consistent with previous boards, we enabled AVX offset values of 3. Prime95 runs well at 4300MHz at 1.05V, which is only 100MHz behind some competitors.
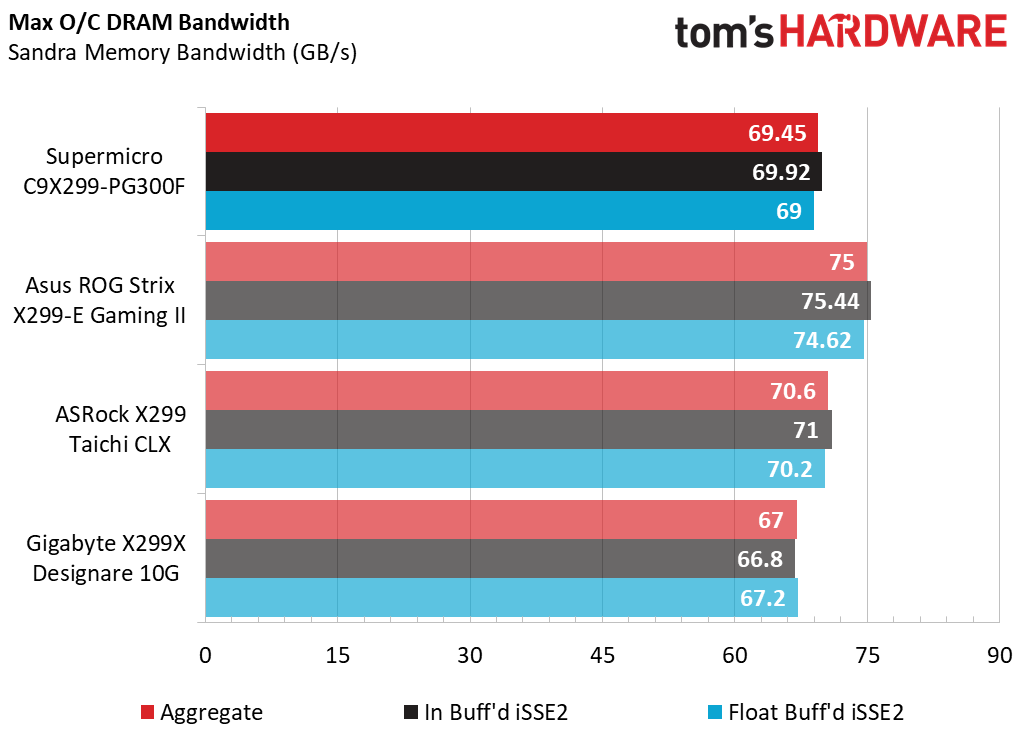
As we alluded to in the UEFI discussion, memory overclocking with this board is both annoying and straightforward. Enabling XMP was our first step and worked fine out of the box. We could increase the data rates up to DDR4-3800 without issue or tweaking, but above that, we had to adjust our timings. Again, each reboot caused the timings to reset, which made this unsustainable. Fortunately, the DDR4-3800 ran at very tight timings compared to the other overclocks, which helped keep bandwidth results in line.
MORE: Best Motherboards
MORE: How To Choose A Motherboard
MORE: All Motherboard Content
Current page: UEFI and Software
Prev Page Features and Specifications Next Page Benchmarking Results and Analysis-
mdd1963 I'm sure there are some folks buying X299 mainboards and CPUs for gaming, just like some bought Alienware's 16 core Threadripper offerings a couple years back....(both moves are/were...mistakes.)Reply