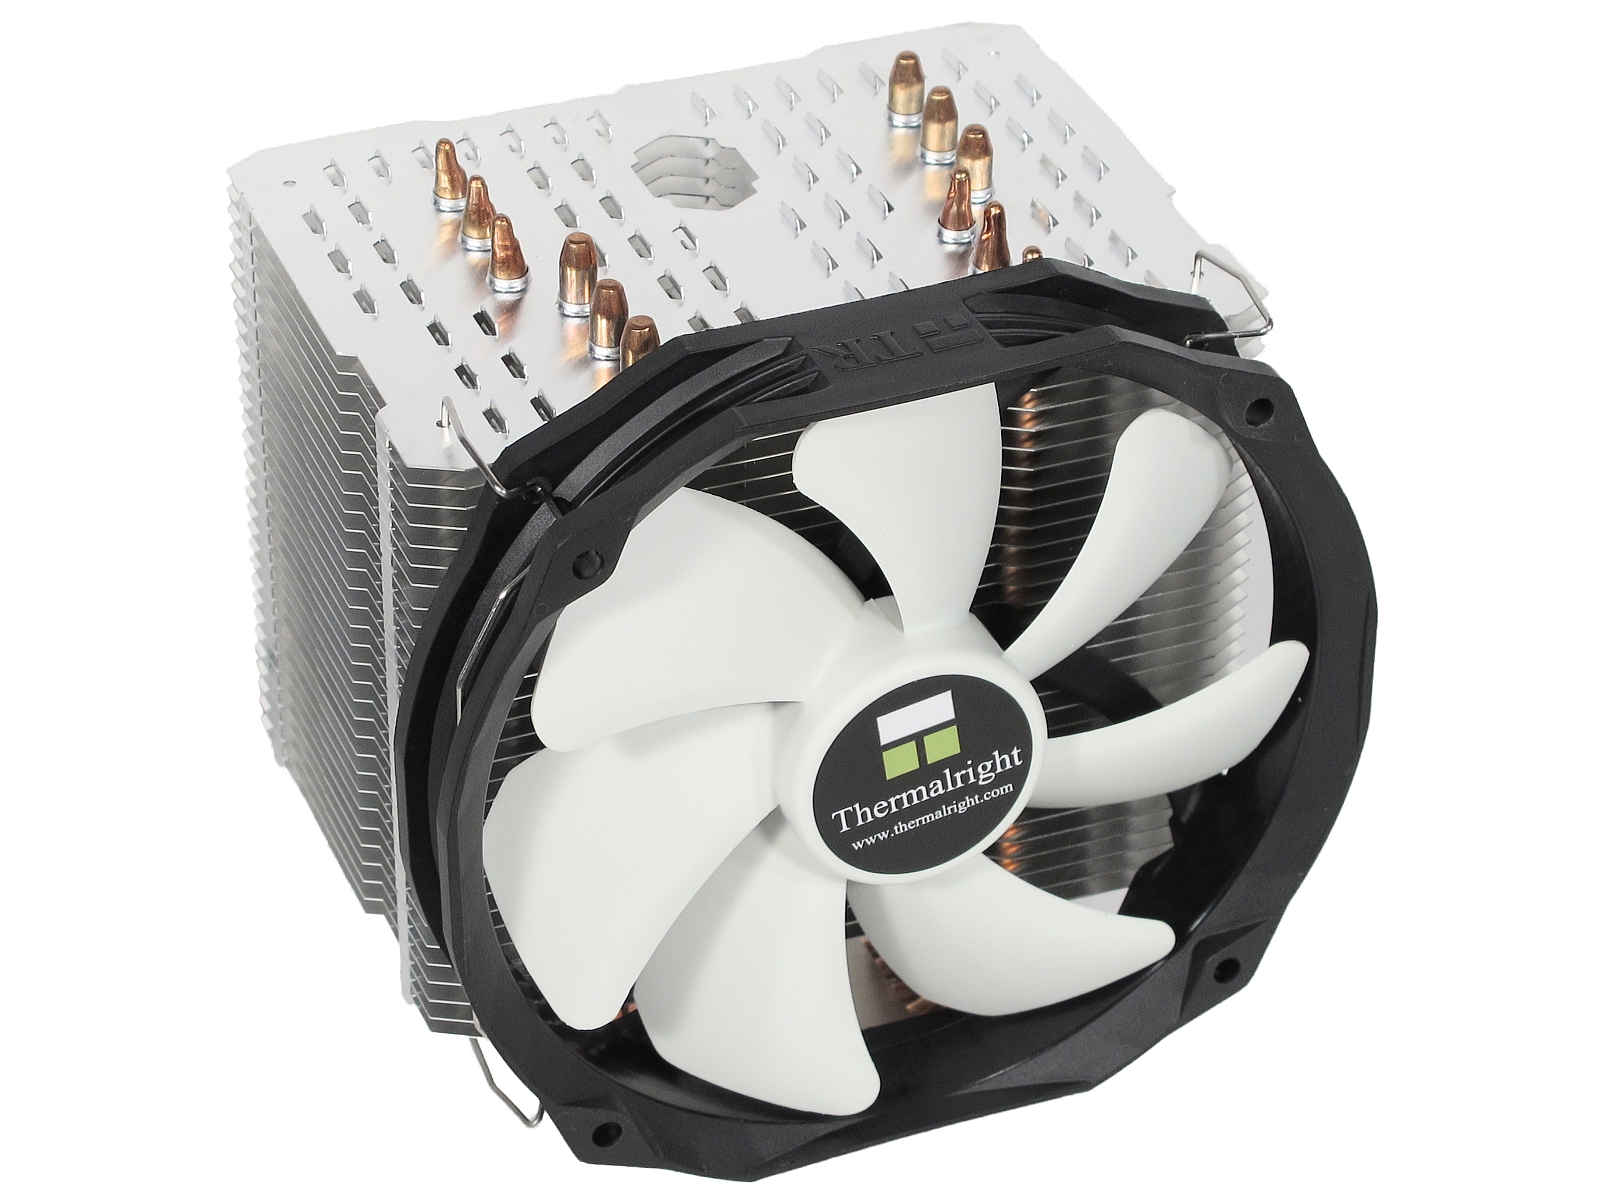
Thermalright Macho Heat Sink Family Round-Up
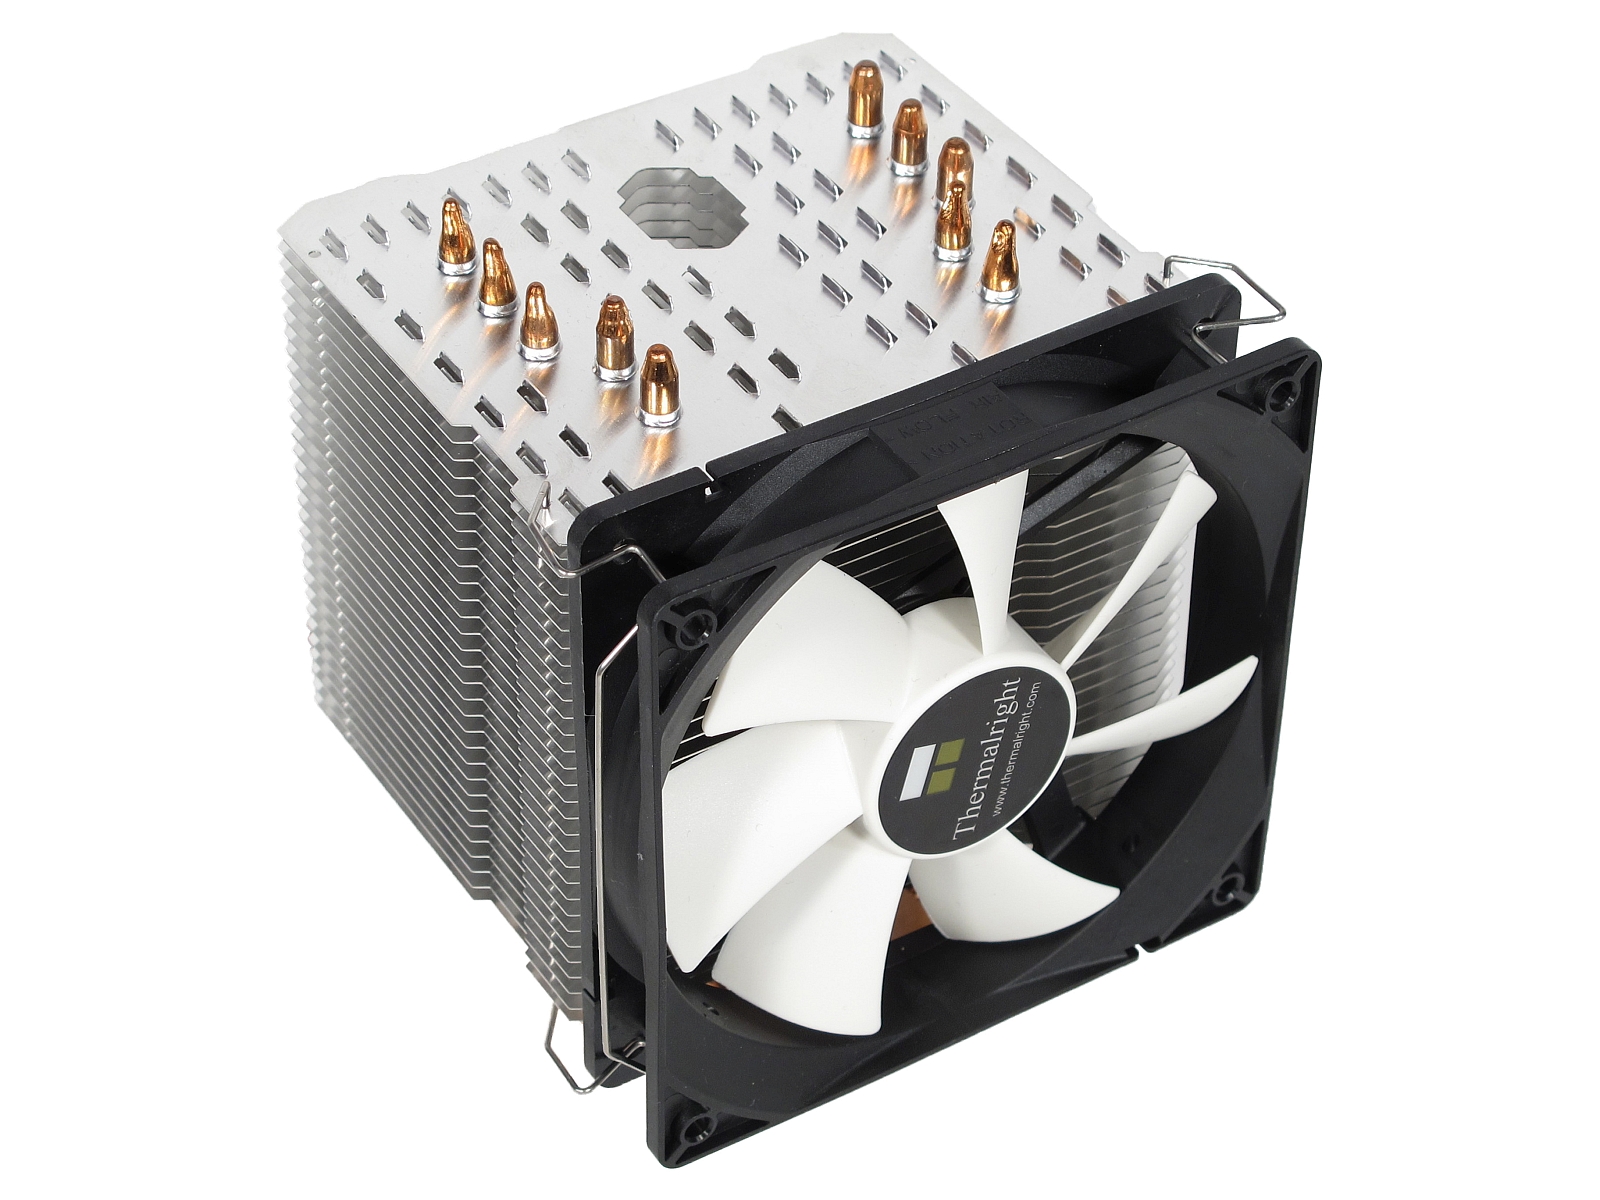
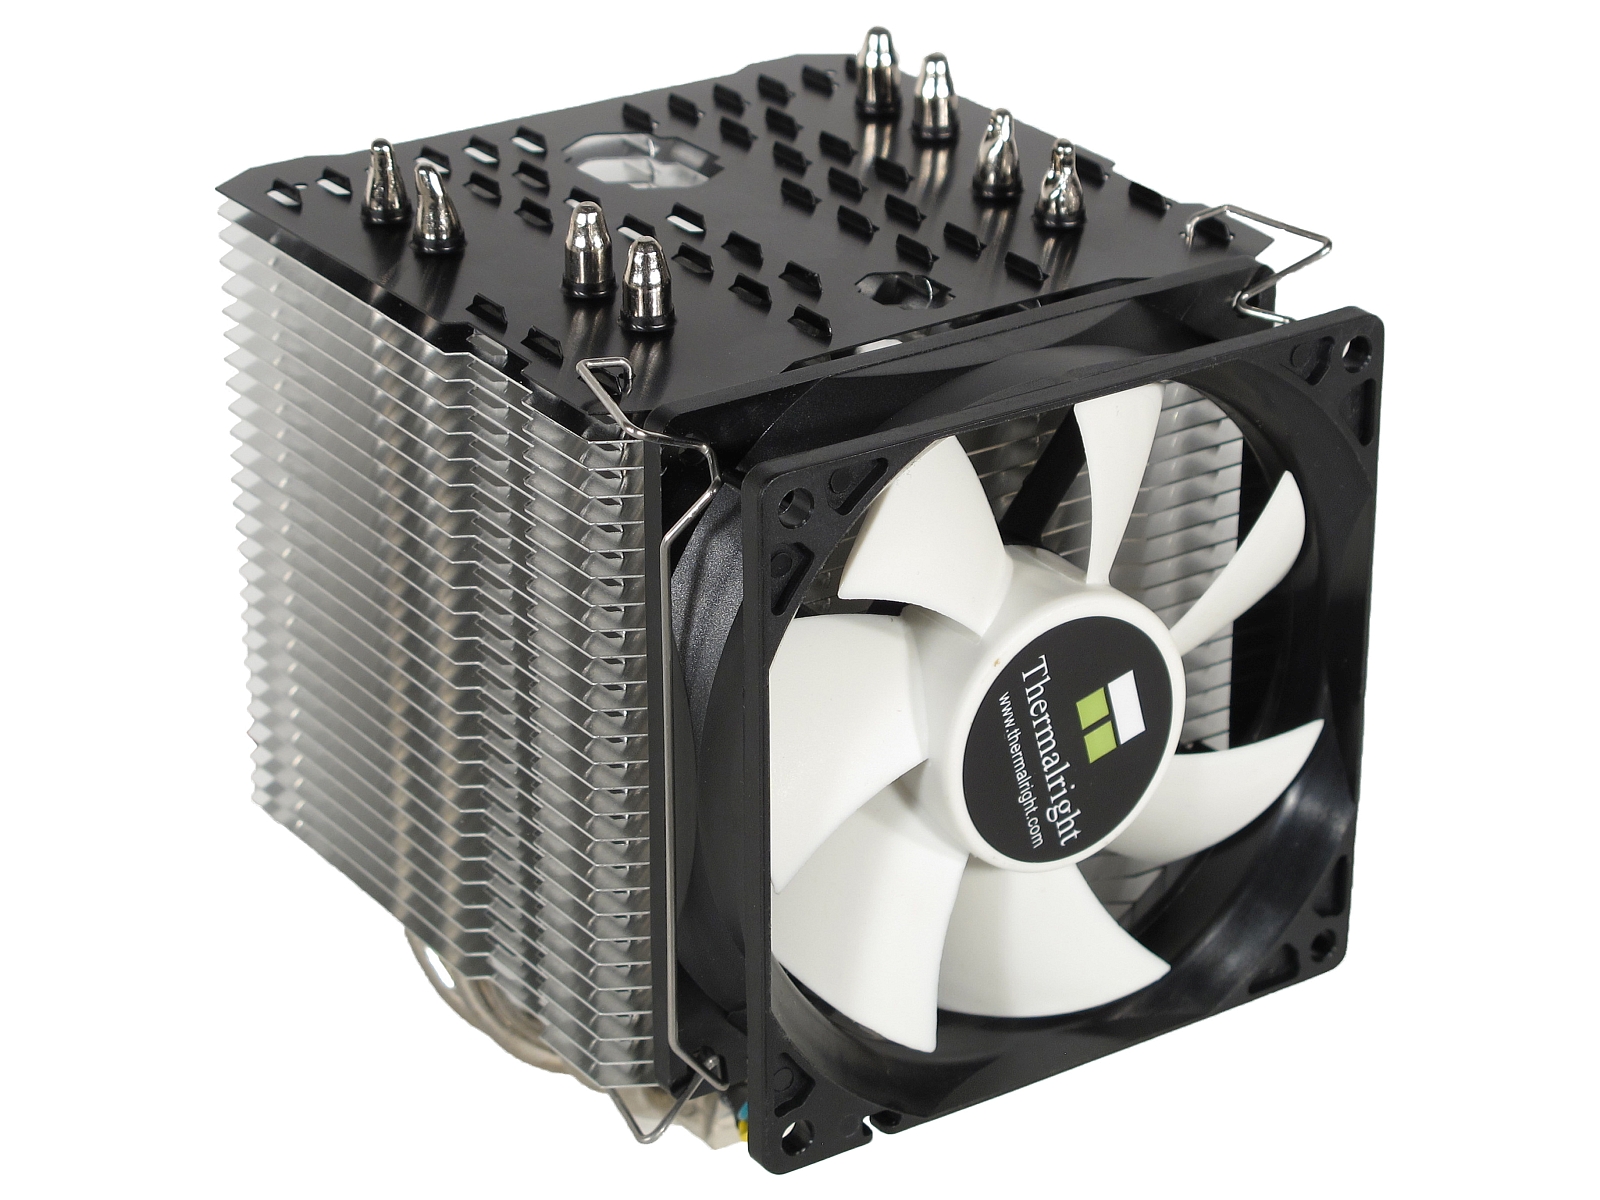
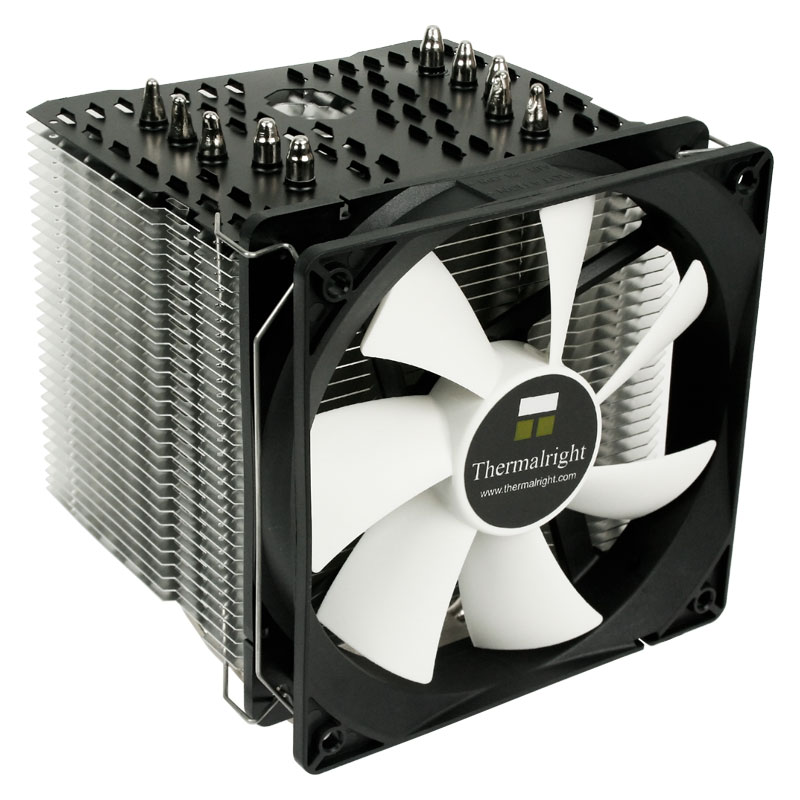
We've seen several versions of Thermalright's HR-02 Macho since 2011, including the smaller Macho 120 and the huge HR-22. We tested the latest iteration, which sports a new base plate optimized for Intel's LGA 2011-v3 interface.
Test Platform And Overview
Our (Temporary) Test System
Since one of the test’s objectives is the assessment of Thermalright's new base plate, expected to improve cooling performance on Haswell-E-class processors, we're using an X99- and LGA 2011-v3-based system.
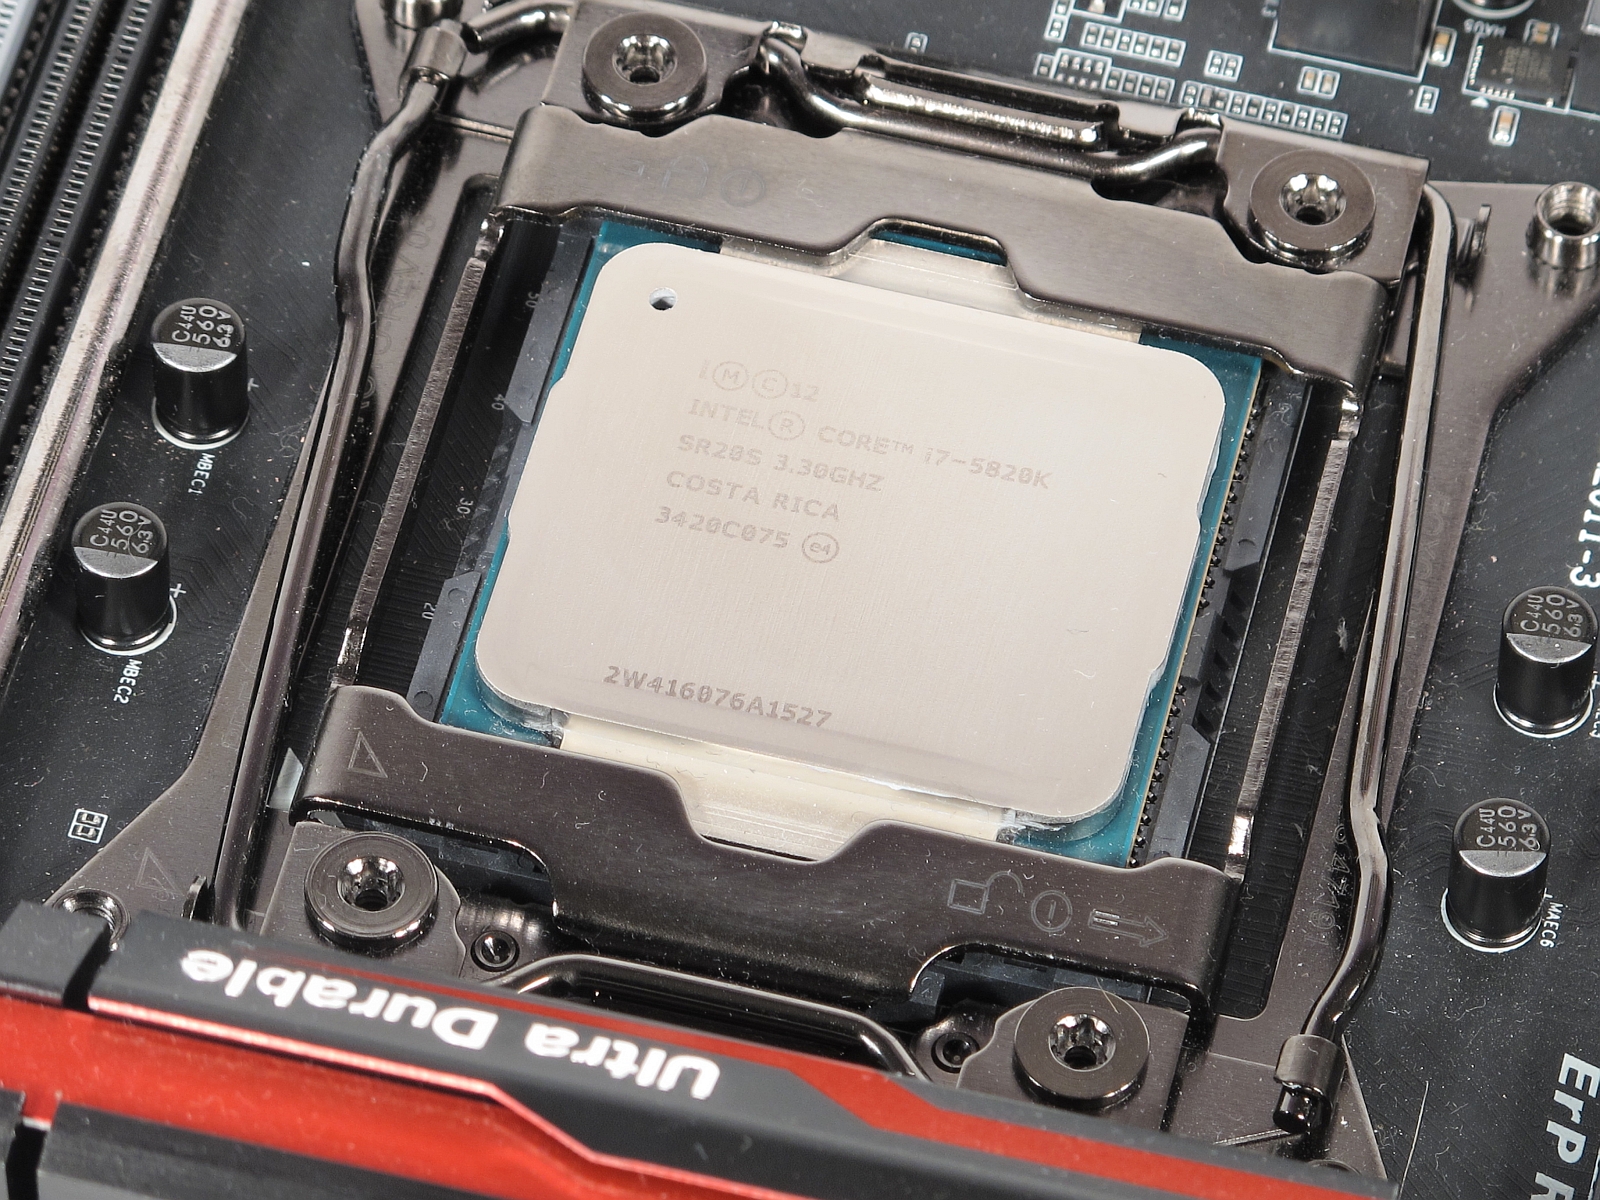
Our subject is a six-core Intel Core i7-5820K equipped with Hyper-Threading technology. Selling for around $390, it constitutes an affordable entry point into the company's highest-end platform. We expect many readers to choose this processor for price and performance reasons.
Sporting a base clock of 3.3GHz and a maximum Turbo Boost frequency of 3.6GHz, this CPU is actually slightly slower than Intel’s four-core LGA 1150 flagship, the Core i7-4790K. But for many applications outside gaming, the two extra cores improve performance markedly.
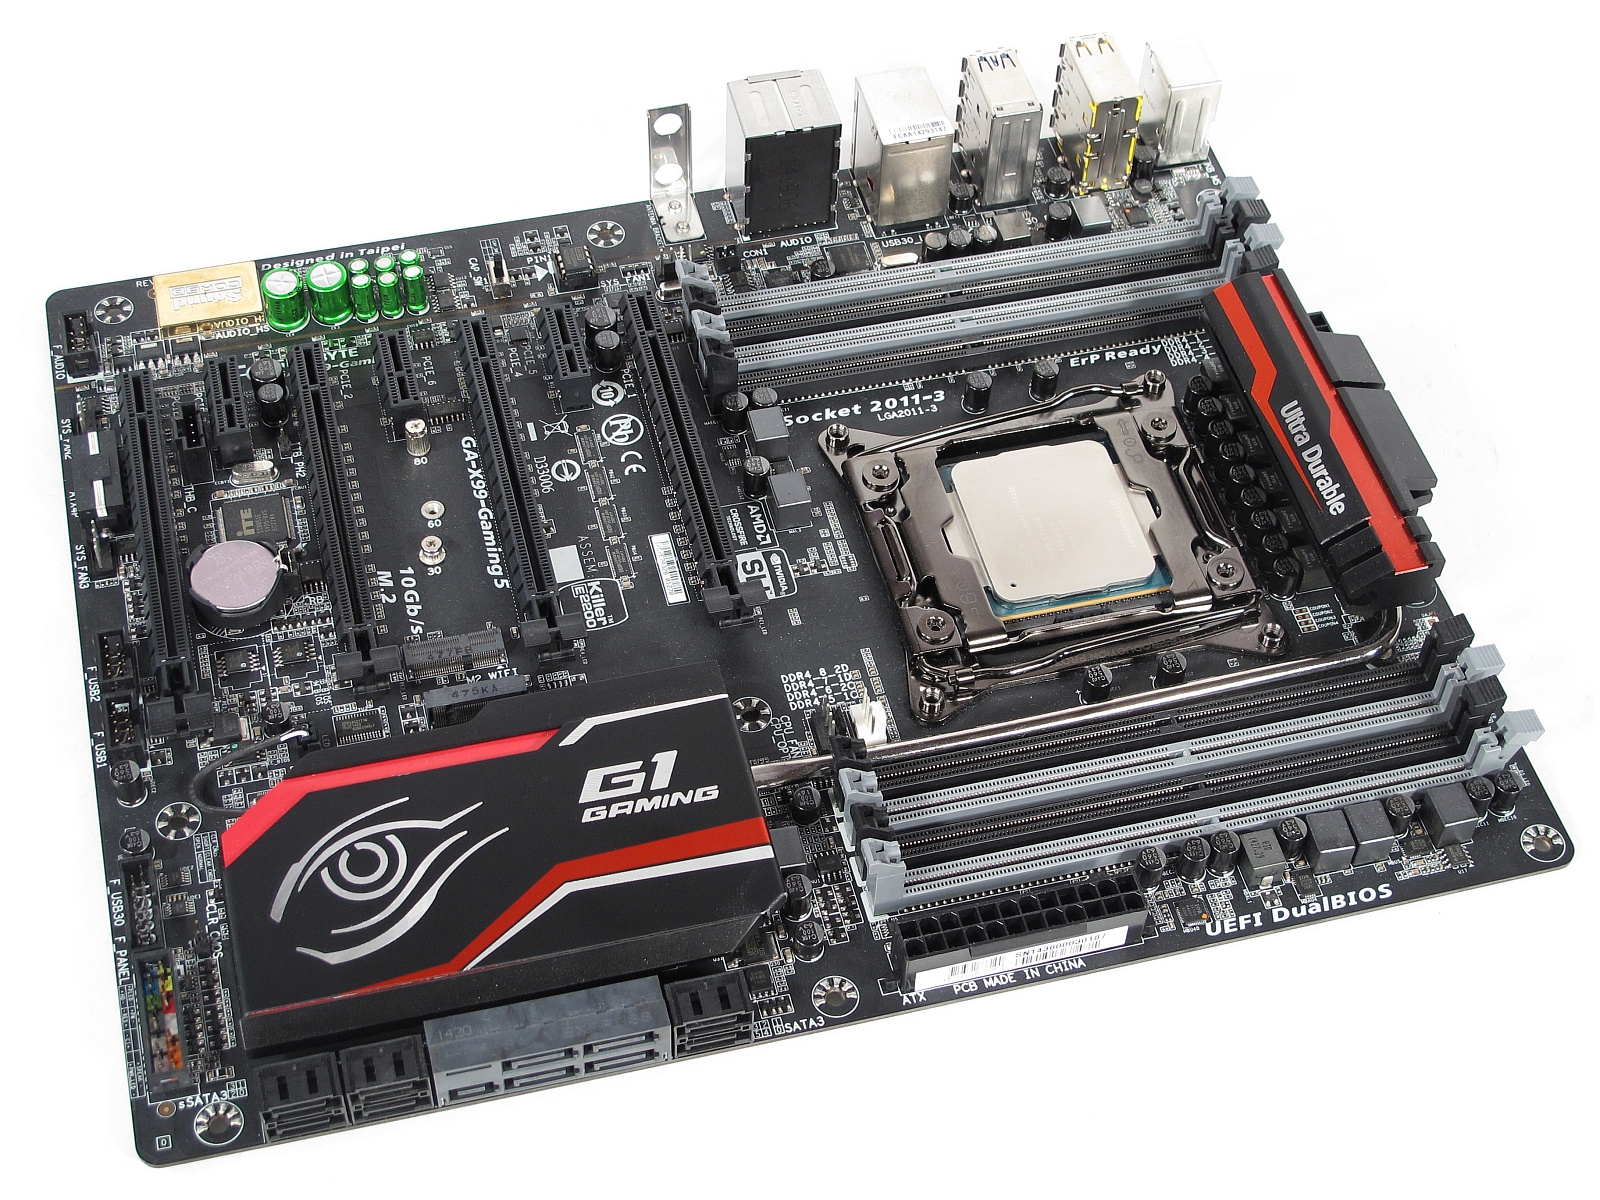
We picked Gigabyte's X99-Gaming 5 for our supporting board; it's able to handle most of the overclocking scenarios we'll throw at the processor, and it offers one distinct advantage over larger motherboards: the cooler’s heat pipe doesn’t extend over the rear RAM slot. That's a good thing, since a large heat sink's pipes dissipating thermal energy over your memory can be counterproductive.
The operating system and the test programs reside on a fast, inexpensive Transcend SSD370. Its 128GB capacity is almost overkill for this test.
Because this machine is partly the author’s personal PC, picking RAM brand was easy. We went with 32GB of Crucial DDR4-2133. While these four 8GB DIMMs are budget-priced, they're a solid choice since they can typically be overclocked to DDR4-2400, even at 1.2V. At $100 per DIMM, the Crucial RAM is an excellent choice from a price/performance perspective.
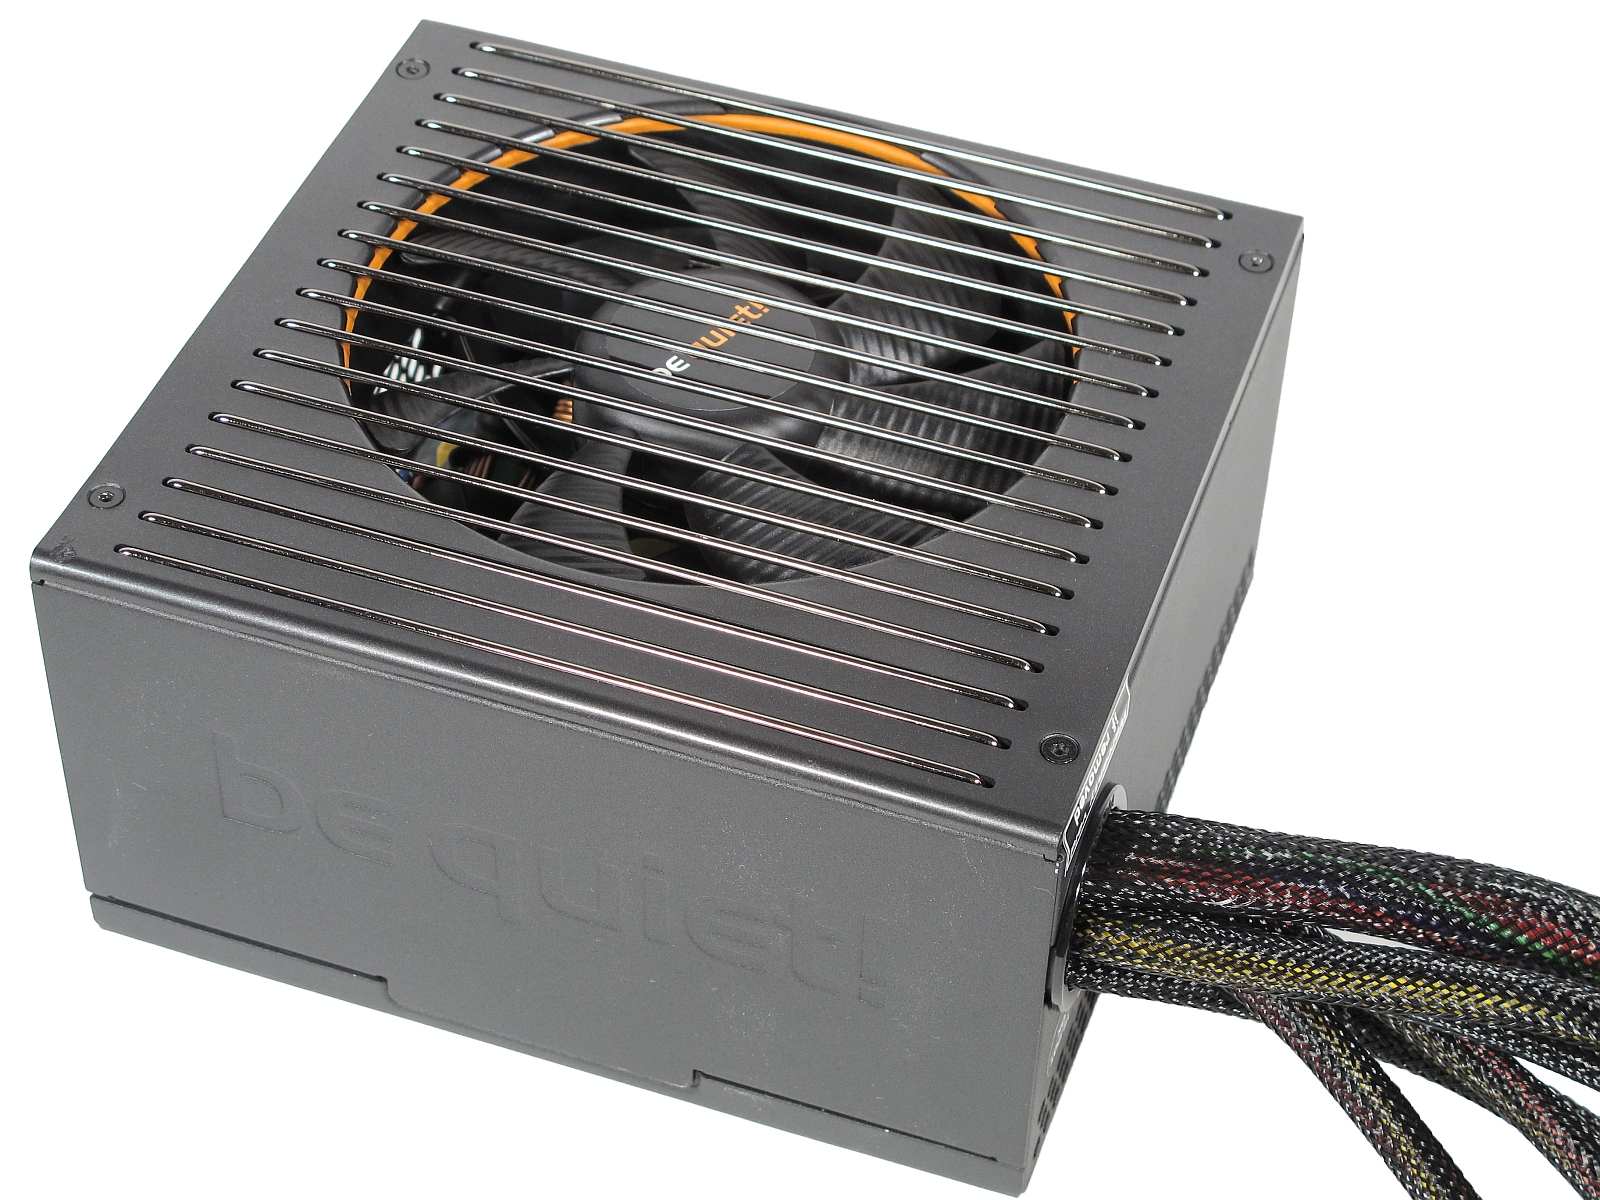
The real surprise may be our PSU choice. We went with a 400W be quiet! Straight Power E8. Since this is not a graphics-heavy story, a 400W PSU is more than sufficient, and this specific model's fan is nice and quiet.
Get Tom's Hardware's best news and in-depth reviews, straight to your inbox.
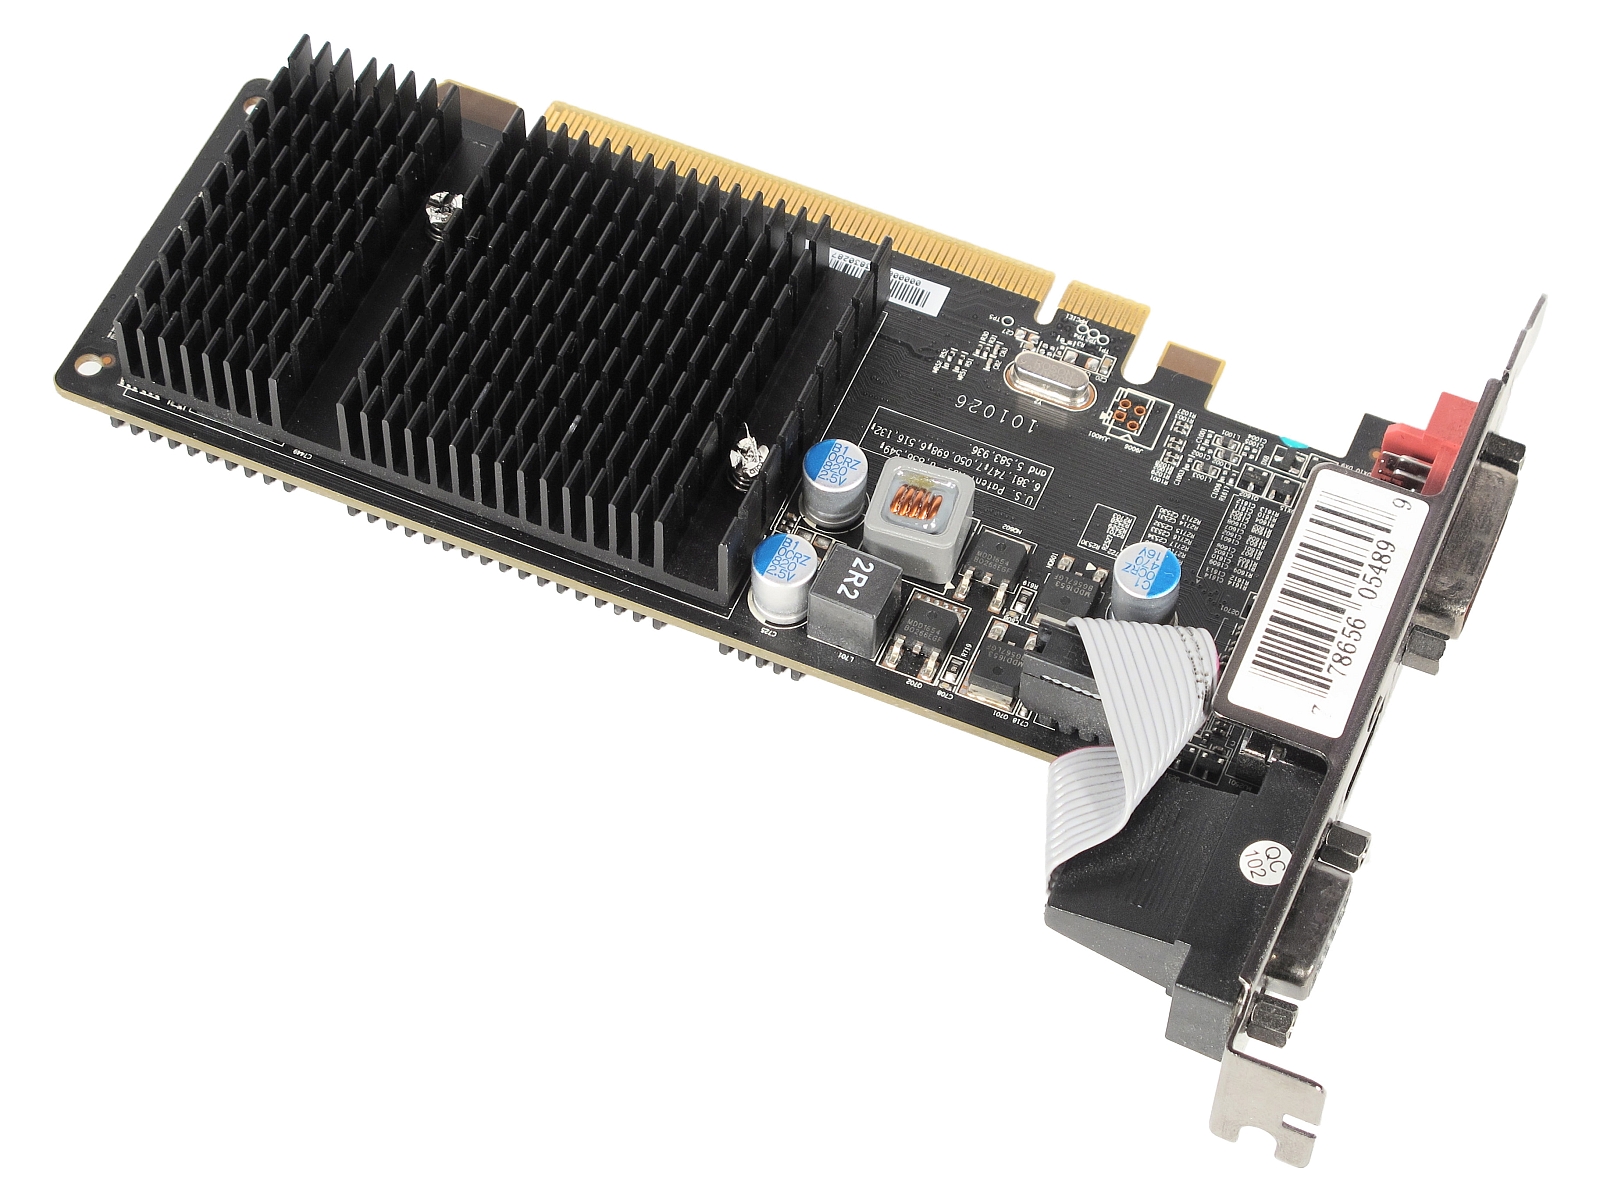
The graphics card we used, an XFX Radeon HD 5450, won’t inspire envy, either. But at least its passive cooler is completely silent, allowing us to more accurately judge the CPU fan.
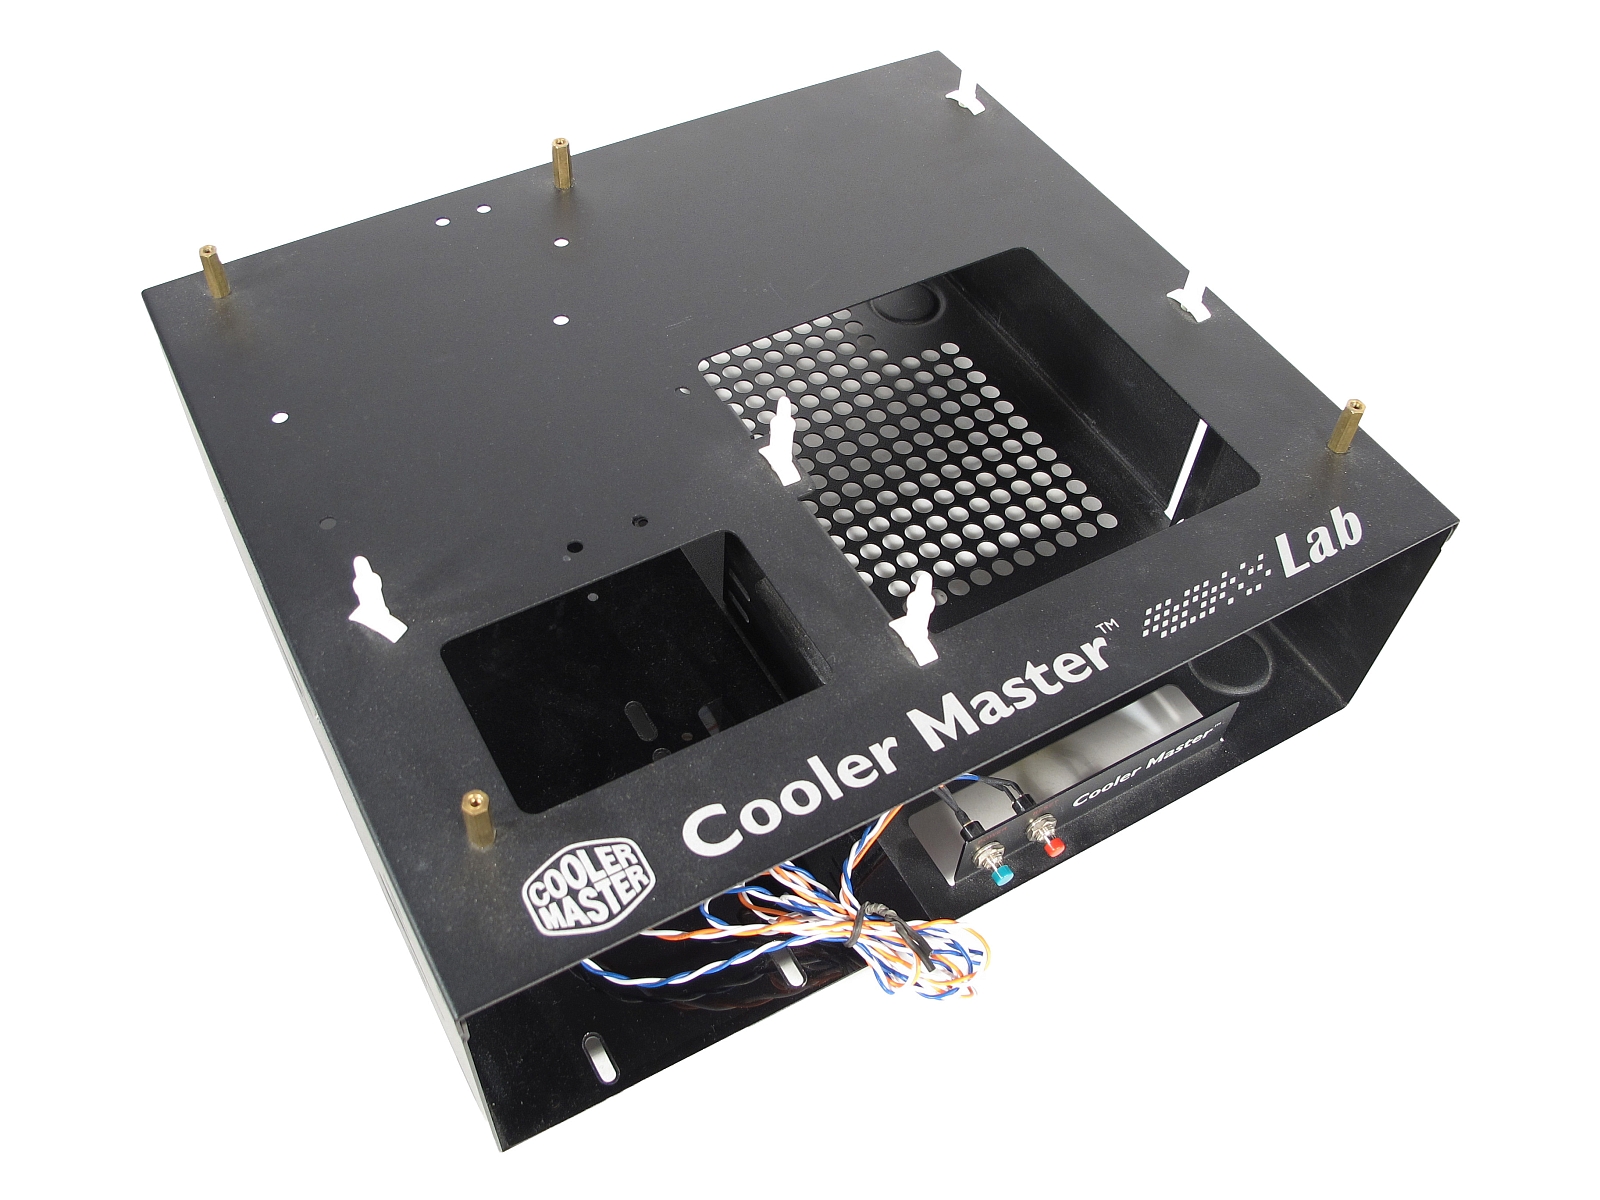
We conducted all measurements with the system mounted on a Cooler Master Test Bench.
Last but not least, we used an Aqua Computer Aquaero 6 controller to set and measure the fan speed. While most motherboards offer some kind of fan control built-in, they're not as fine-grained as the Aquaero 6. Nor are their read-outs as precise.
Overview of the Test Candidates
In order to make this Macho family comparison more exciting, we invited lots of derivatives to the table, in addition to Thermalright's brand new HR-02 Macho Rev. B. One of them is the HR-02 Macho Rev. A (BW). It offers less eye candy, a different fan and an older version of the base plate.
We could have omitted the Macho Zero, since it's basically the same as the HR-02 Macho Rev. B with black nickel plating and without the latter’s fan. However, we're including it for the sake of completeness.
The biggest and baddest participant is the huge HR-22. A few days before we started testing, we received a TY-121 fan, which now ships with the small Macho 120 Rev. A. Hence, we put the latest fan on our older Macho 120 and included it in our test.
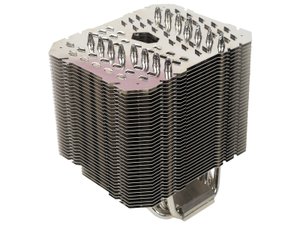
Like the Macho Zero, the HR-22 doesn’t ship with a fan. It's intended for (semi-)passive operation, after all. But in order to level the playing field and because fan mounting components are included with all of these coolers, we put a TY-147A fan on both of them.
As mentioned, we also included the Macho 120 (our Mini Macho). We had an older version in our lab and upgraded it with the fan of the current Macho 120, for fairness' sake.
Test Procedure
It takes 70 minutes to measure the CPU temperature. After a soak time of 60 minutes, the remaining 10 minutes are logged. We plot the average of the six core temperatures. Note that we report the difference to the ambient temperature, subtracting the room temperature from that average.
If you want to know what CPU temperature to expect in summer conditions, add your room temperature to our reported temperature value. Of course, this is only an approximation, since cooling performance degrades as ambient temperature increases.
We put the ambient temperature sensor 8“ in front of the CPU fan’s intake, within the top third of the fan. We took care to position the PSU in such a way that its exhaust air is not fed back into the processor fan. In fact, we reversed the PSU and put it at the bottom of the test bench. Thus, the ambient temperature sensor measures actual room temperature.
Current page: Test Platform And Overview
Prev Page Even A Macho Changes Over Time Next Page Comparison Test: Cooler And Fan-
nucas And... were is Noctua?Reply
If these coolers are the benchmark for competing brands, were are they.
-
cib24 This was a great read and very informative with regards to the Thermalright CPU coolers. I hope that the next article by Kai Tubbesing is a comparison test of CPU coolers and is written with the same attention to detail and careful testing procedures.Reply -
Onus Reply"...the updated model not only comes with a few design improvements like nickel-plated heat pipes and a black paint job for the topmost cooling fin..."
Please use the word "changes" instead of "improvements" unless you can show better cooling performance attributable to these two things.
"Indeed, the HR-02 Macho Rev. B stands out from the crowd."
With not a single other member of "the crowd" in these tests, this statement is meaningless marketing drivel, and the whole article nothing more than an advertisement. Particularly as a Moderator, I try not to be critical of the site, but this might be the worst example of misrepresentation I've ever seen here. I think you can do a LOT better.
-
mapesdhs Alas I agree, without comparisons to existing coolers (and please dear grudReply
include a normal TRUE!) the article is useless. Are any of these better than
the venerable NH-D14? The equivalent Phanteks? What about an H80? One
cannot make a purchasing decision based on the summary. I'm sure toms
wouldn't do a GPU roundup based on a single manufacturer's product line,
eg. Zotac; readers would rightly want to know how they compared to ASUS,
EVGA and all the others.
I'm glad I started doing a particular thing with cooler reviews before I invest
time reading from the start: I go straight to the results page, and if it doesn't
have coolers from other vendors then I don't bother reading. What people
want is something like this. Ditto reviews for fans, etc.
Ian.
-
jtd871 SPCR's recommended heatsinks summary provides a good comparison of heatsink performance (cooling performance/noise level) and links to the original reviews for more detailed information. It helps that SPCR has standardized on a 130W TDP CPU as the heat source in order to provide an 'apples to apples' comparison.Reply
I will credit Tom's for doing a better job of reporting on performance and noise over the range of the fan speeds recently. -
Calculatron Reply15183168 said:Alas I agree, without comparisons to existing coolers (and please dear grud
include a normal TRUE!) the article is useless. Are any of these better than
the venerable NH-D14? The equivalent Phanteks? What about an H80? One
cannot make a purchasing decision based on the summary. I'm sure toms
wouldn't do a GPU roundup based on a single manufacturer's product line,
eg. Zotac; readers would rightly want to know how they compared to ASUS,
EVGA and all the others.
I'm glad I started doing a particular thing with cooler reviews before I invest
time reading for the start: I go straight to the results page, and if it doesn't
have coolers from other vendors then I don't bother reading. What people
want is something like this. Ditto reviews for fan reviews, etc.
Ian.
Boom goes the dynamite.
http://www.tomshardware.de/cpu-kuhler-test-prozessorkuhler-cooling-cpu-cooler,testberichte-241700-7.html
The German Tom's Hardware team has been delving into cooling for the last couple months, which explains why we have been getting some of the articles we have being thrown our way. (This article was published about a month ago, I think?)
I actually hope that Tom's Hardware does more round-ups like this, and I hope that they do the testing for the True Spirit family of Thermalright heatsinks next. The more data we have that is like this, and have it in one place, the better off we all are. And the less we'll feel the need to see it as a requirement to include something like an Noctua NH-D15, or Cooler Master Hyper 212 EVO.
-
Onus Yes, but this wasn't a "round up;" it was a showcase of a single company's products. The data presented may be 100% reliable (and I hope I didn't imply that it wasn't), but without comparative results from other products, does not assist in making a buying decision or otherwise judging the merits of the coolers.Reply -
dovah-chan Well considering how many benchmarks there are including all the coolers such as the Phanteks PH_14TCPE, Noctua NH-D15, Cryorig R1 Universal, be quiet! Dark Rock Pro 3, and many others, it should be pretty obvious where/what these products stack up at.Reply
This is just a general evaluation of a lineup of coolers. Just go find another site that benches at a similar setting with a 5820K or comparable socket 2011 CPU and go look at it and stop complaining about them not having results when there are already tons out there that you can take two minutes to look up and compare to.
