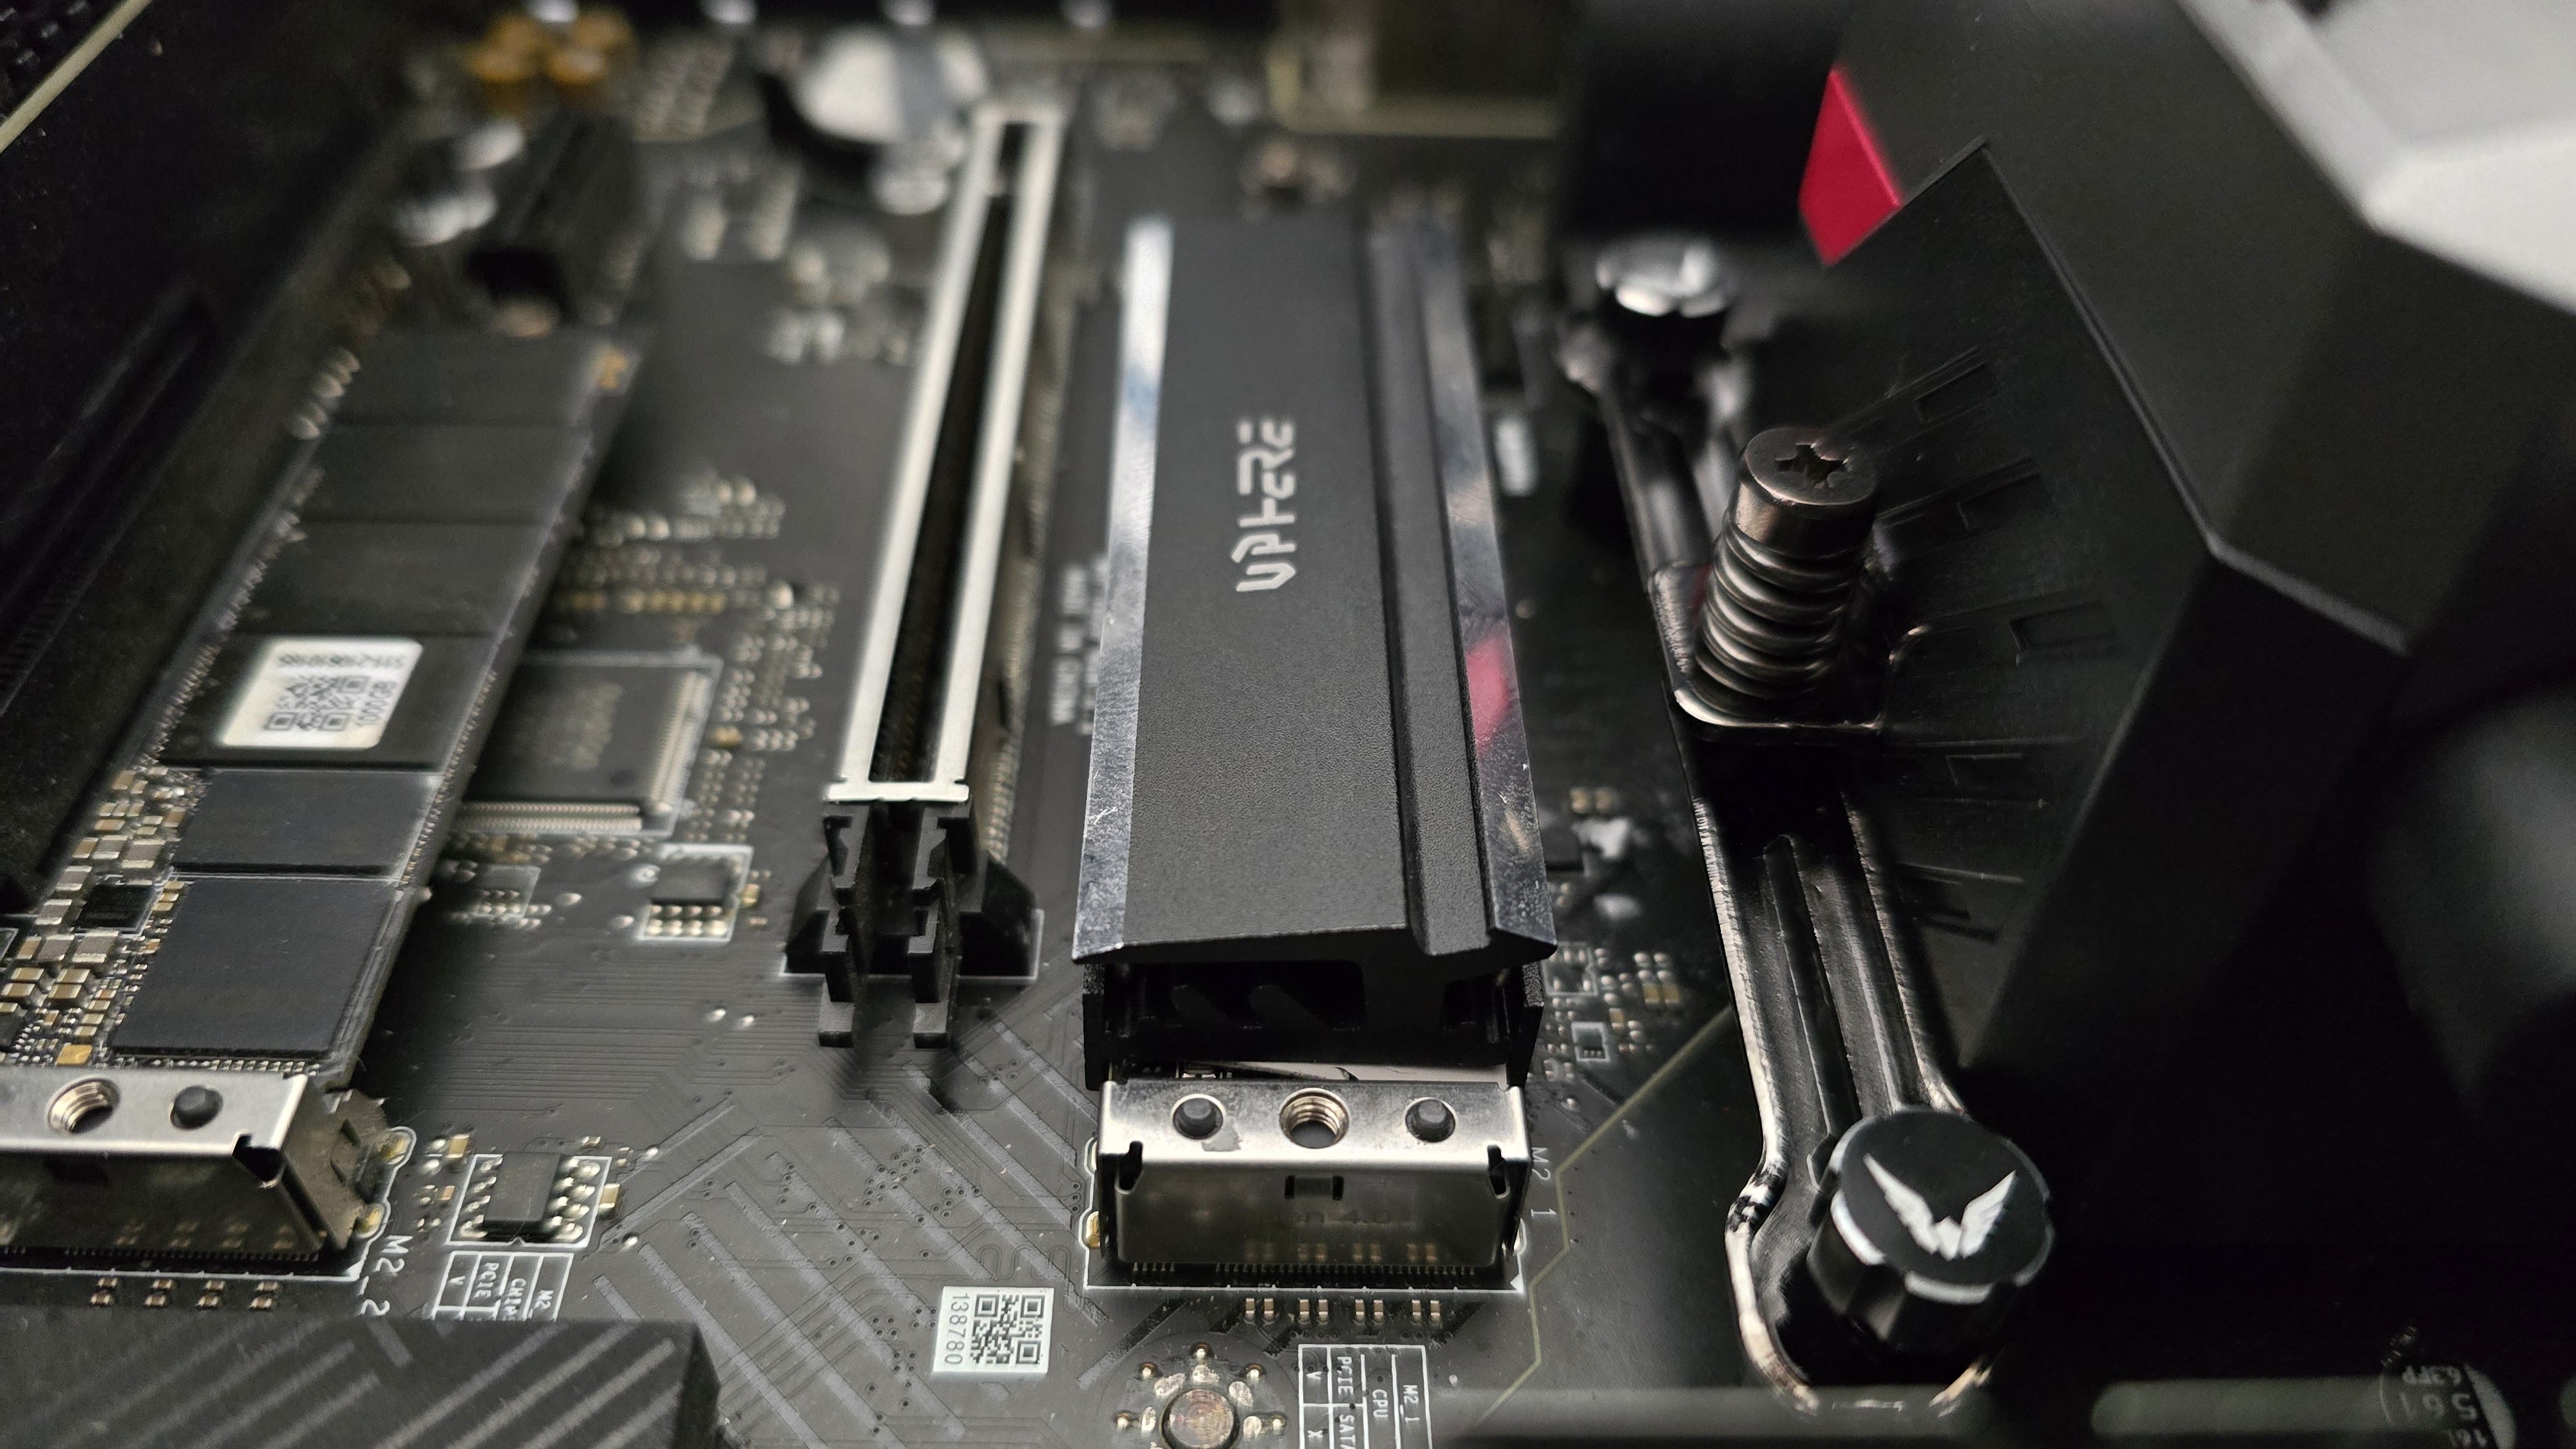
Tom's Hardware Verdict
UpHere’s M201 SSD Heatsink provides essential cooling performance for your PCIe 5 SSD, but the installation is slightly more difficult than competing products. But that can be forgiven given its low cost – at only $5 USD it's cheaper than a cup of Starbucks Coffee.
Pros
- +
Costs less than Starbucks, only $5 USD
- +
Essential cooling performance
- +
Low profile with broad compatibility
- +
Double-sided SSD support
Cons
- -
Installation is complicated by clips
- -
Less effective when used with AIOs
Why you can trust Tom's Hardware
Until recently, cooling for storage was at best an afterthought for most enthusiasts and PC builders – it really wasn’t a concern outside of servers jam-packed full of drives. But current-generation PCIe 5 SSDs can transfer more data faster than ever before, and pushing those speeds can generate a fair bit of extra heat. With these modern drives, not only is some kind of cooling recommended, but it’s generally a requirement to prevent throttling or even crashing in some instances.
Over the past few years, cooling companies have released a wide variety of heatsinks and coolers for NVMe SSDs to ensure that they can maintain their maximum speeds. Heatsinks large and small, with or without active fans (and even liquid cooling solutions) are now available for NVMe SSDs.
Our recent NVMe heatsink reviews have focused on the strongest units available on the market, suitable for users with intense storage workloads and high ambient temperatures – but the fact is most users don’t need such strong solutions. In this review, we’ll take a look at UpHere’s M201 SSD Heatsink, which is an entry-level solution aimed at mainstream users. We’ve recently tested UpHere’s C5C Air Cooler and found it one of the better low-end coolers on the market.
Cooler specifications
| Cooler | UpHere M201 NVMe Heatsink |
| MSRP | $4.99 USD |
| Heatsink Material | Aluminum |
| Rated Lifespan | Unlisted |
| Size | 72 x 24.6 x1 6mm/2.83 x 0.97 x 0.63in |
| Warranty | Unspecified (but does anyone care about a warranty on a $5 product?) |
Packing and included contents
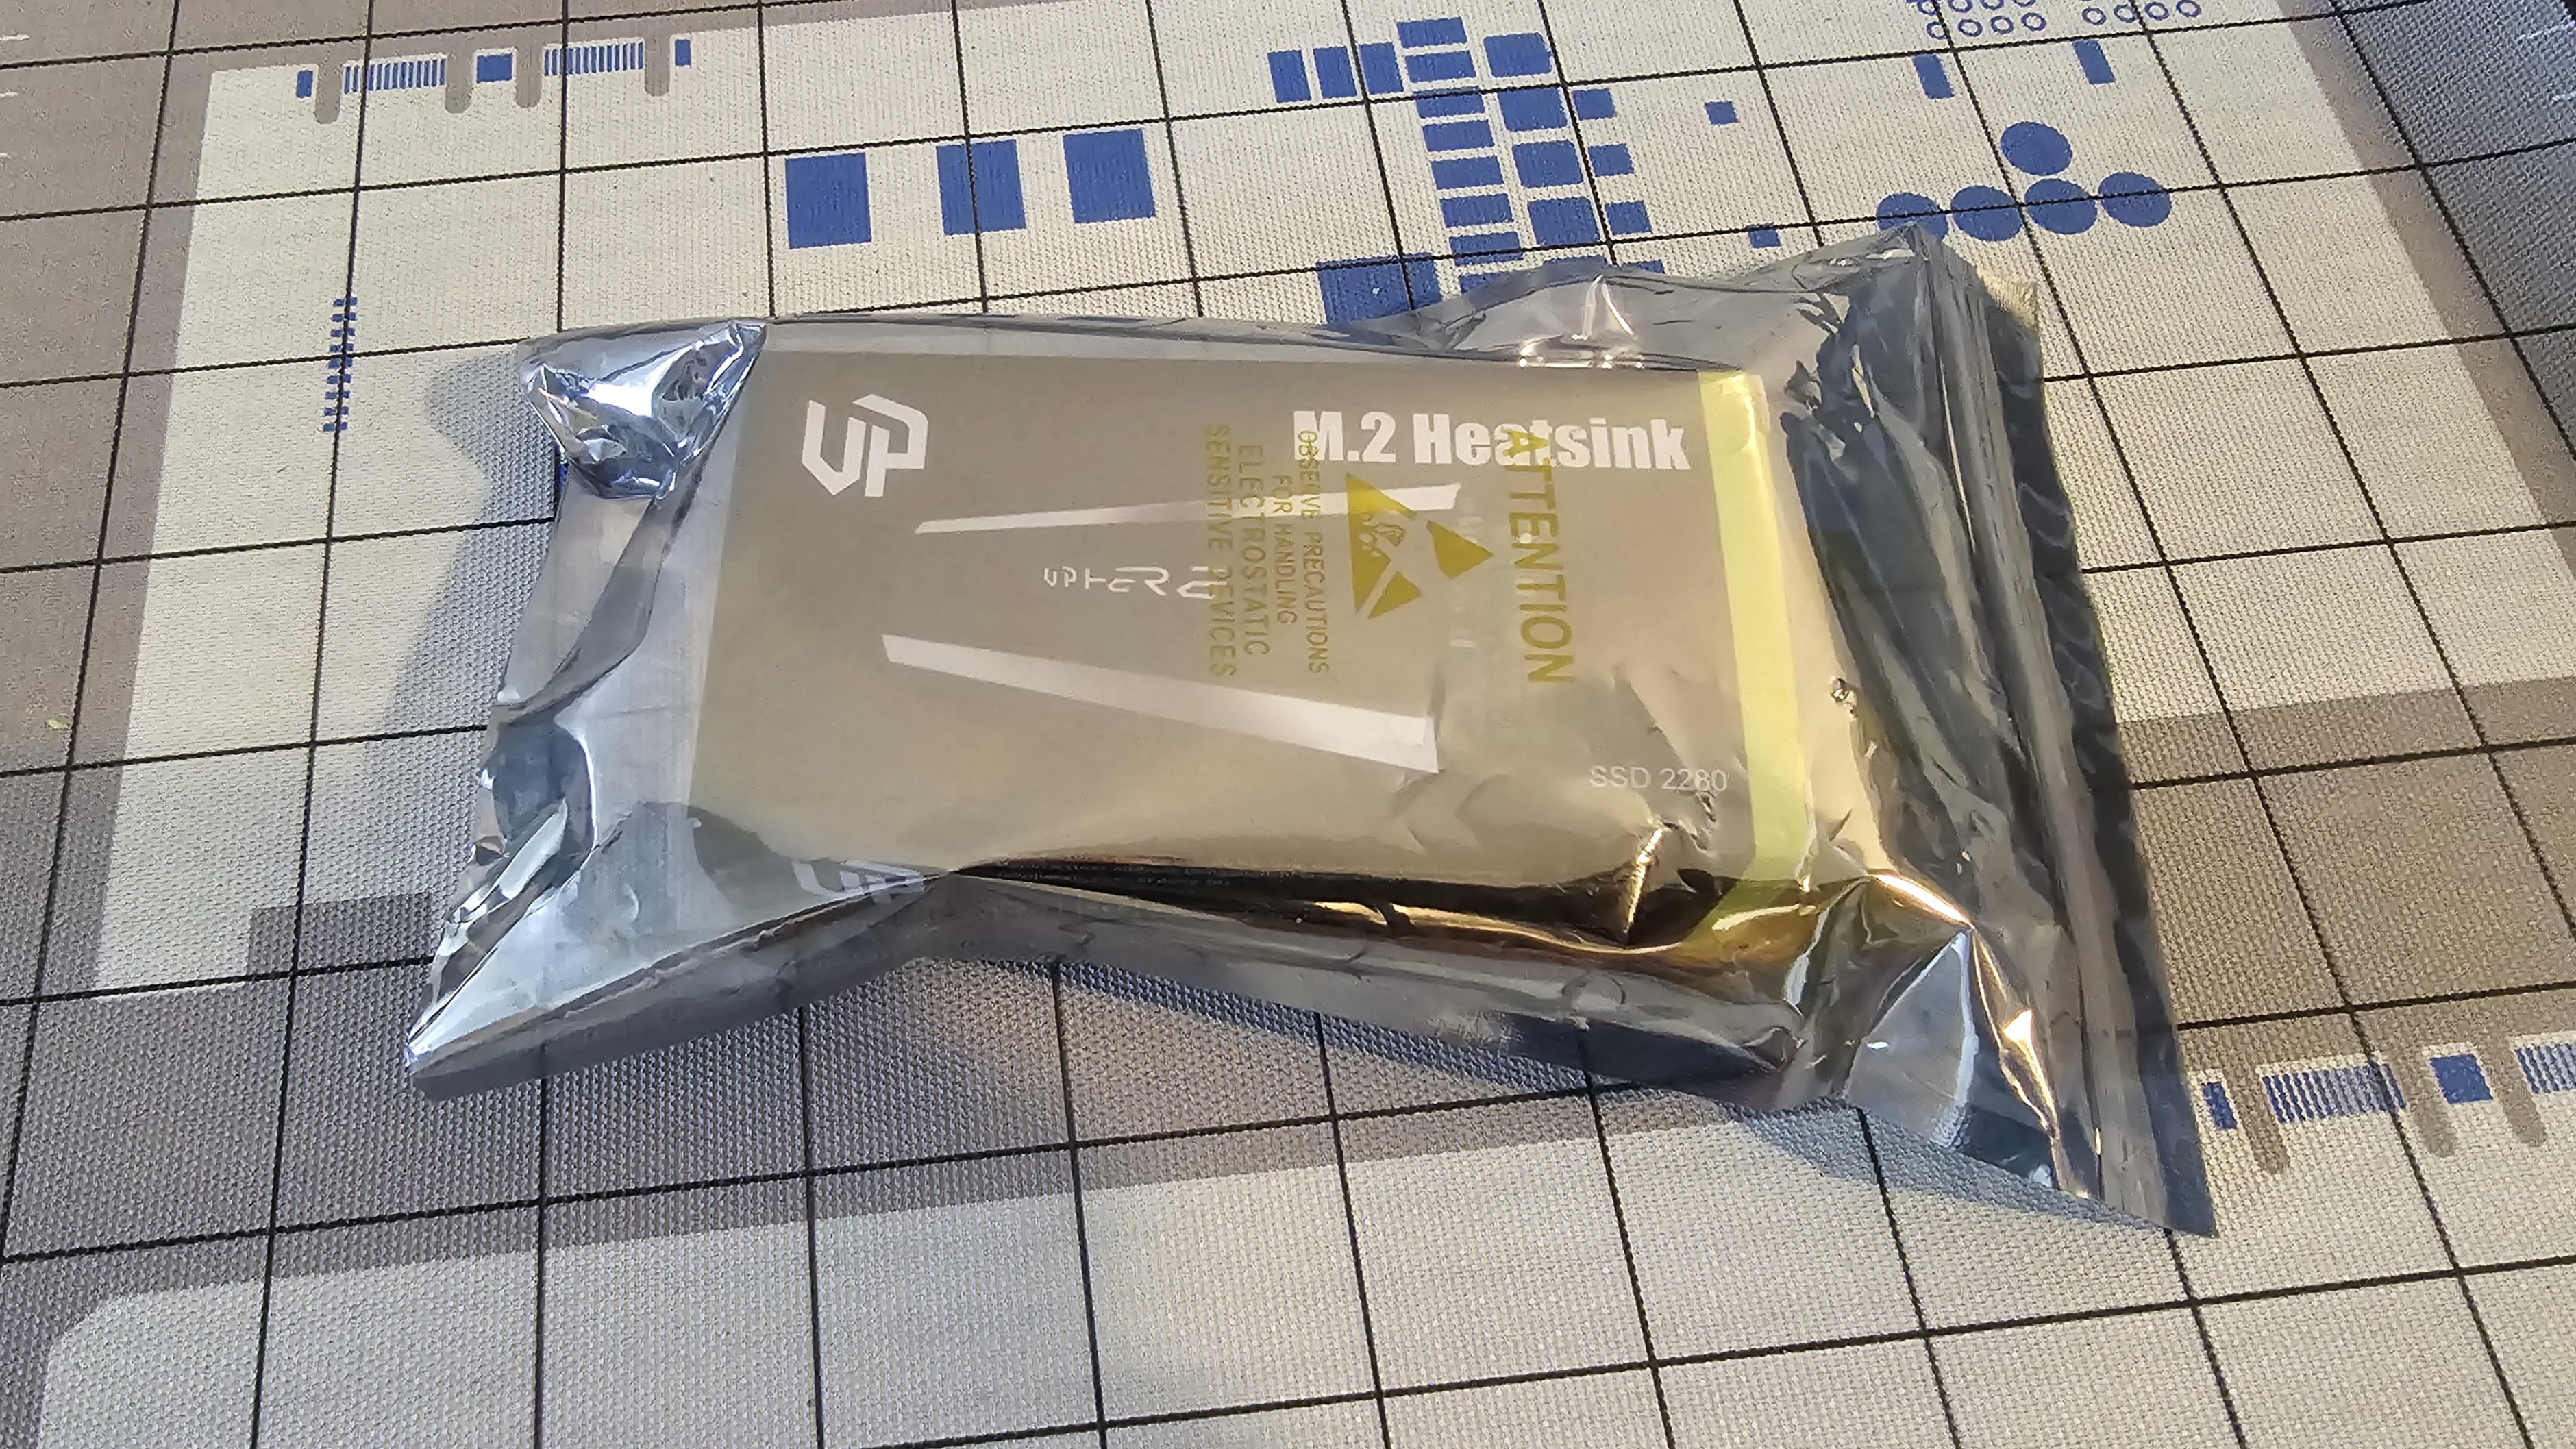
The packaging of the SSD heatsink is a bit different from similar products, with the box arriving in a resealable electrostatic shielding bag.
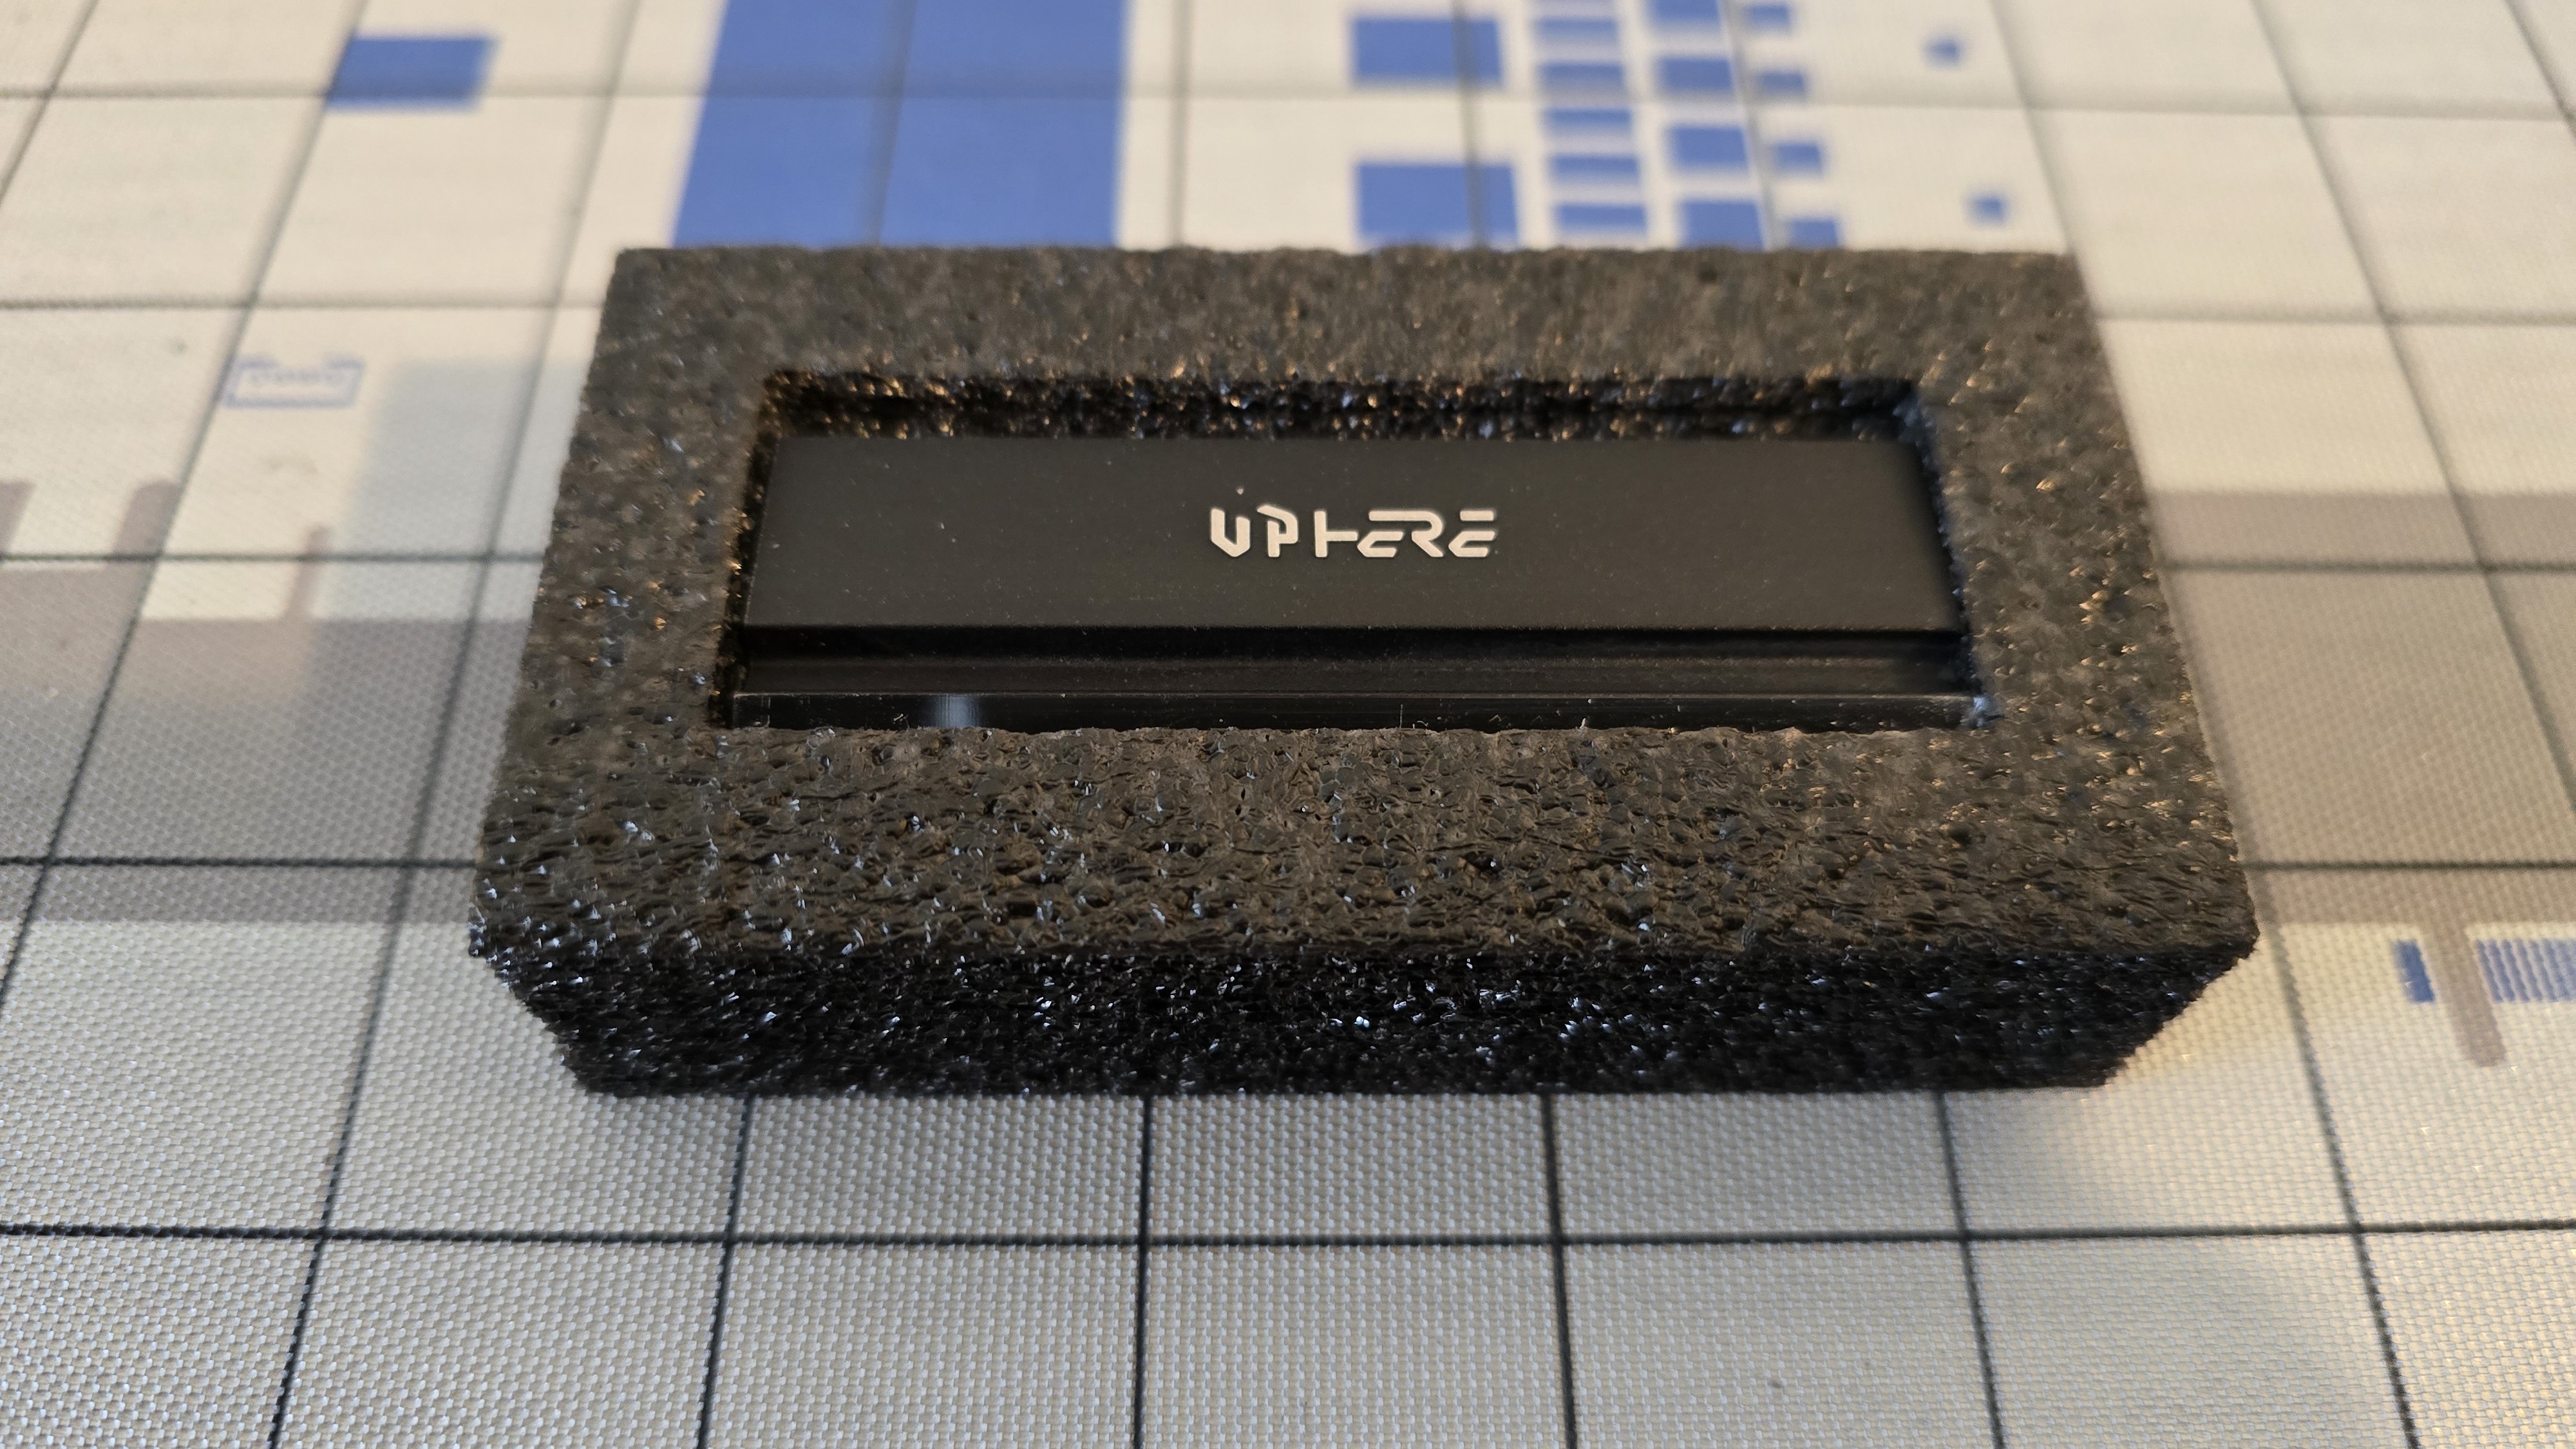
Opening the box reveals the contents, protected by molded foam.
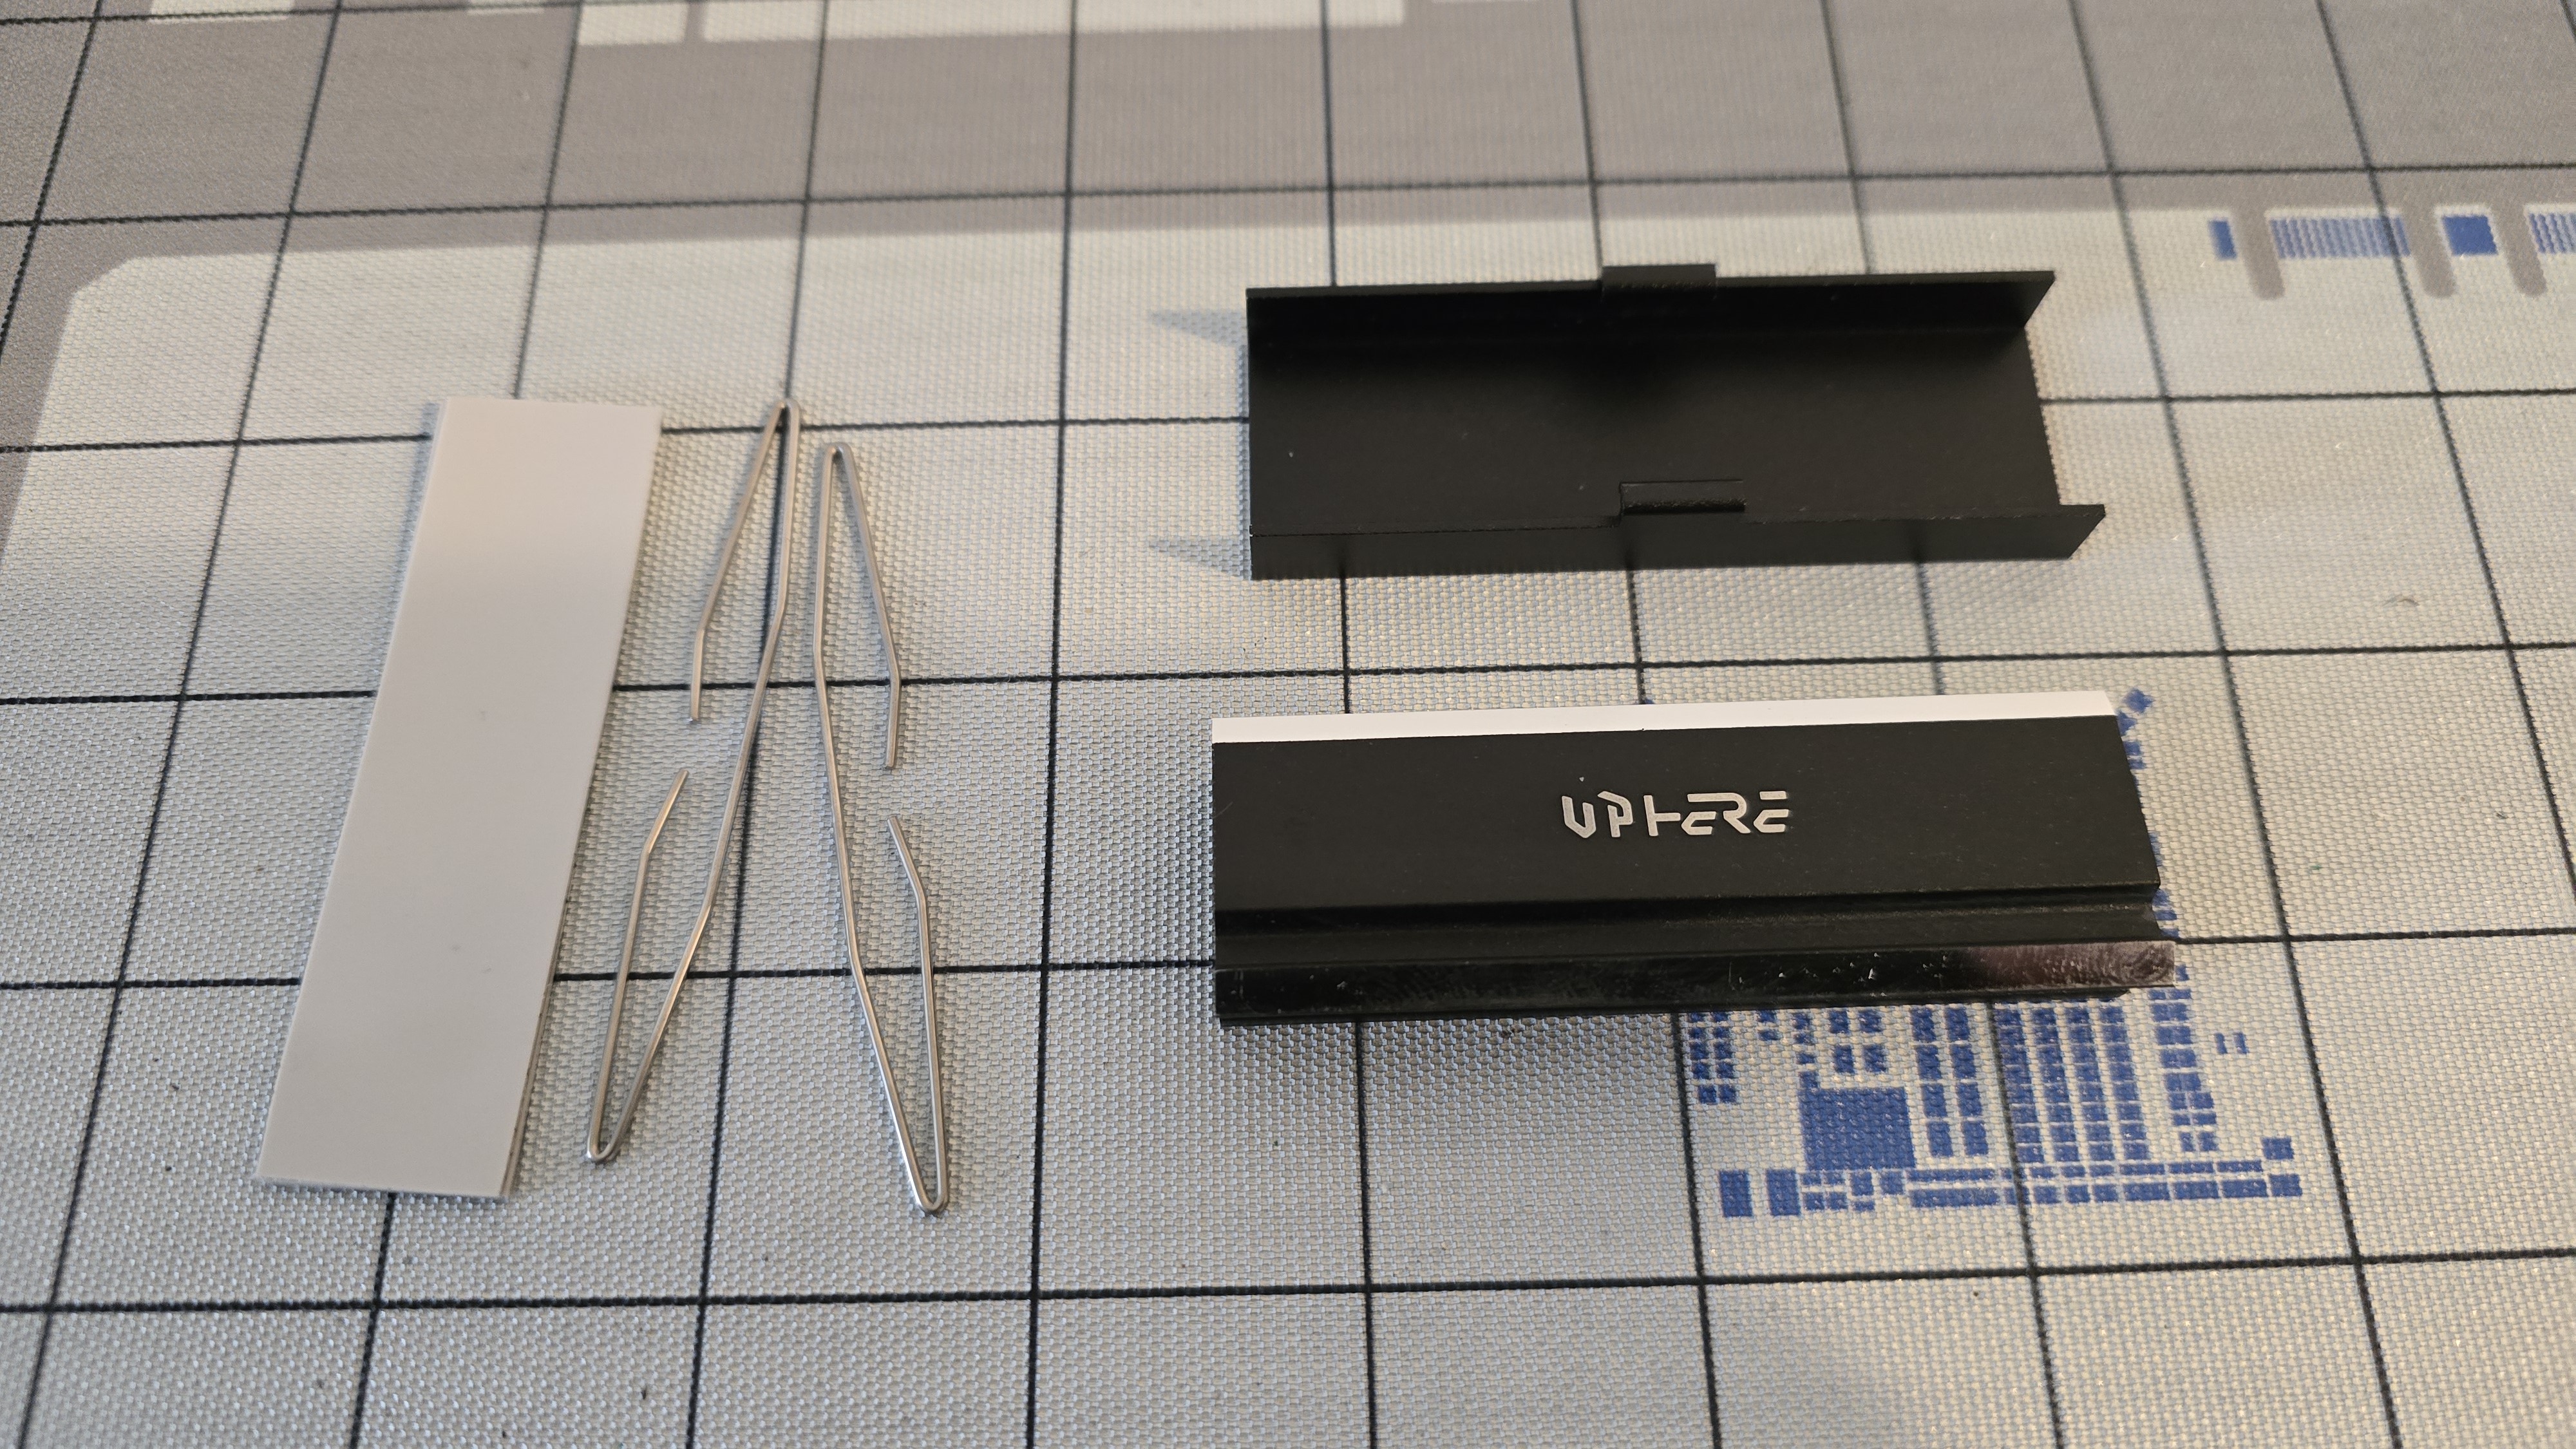
Included with the package are the following:
- Two thermal pads
- Two clips
- Top and bottom sections of the heatsink
Features of UpHere’s M201 NVMe SSD Heatsink
*️⃣ No compatibility concerns, will fit with any air cooler or dGPU
Get Tom's Hardware's best news and in-depth reviews, straight to your inbox.
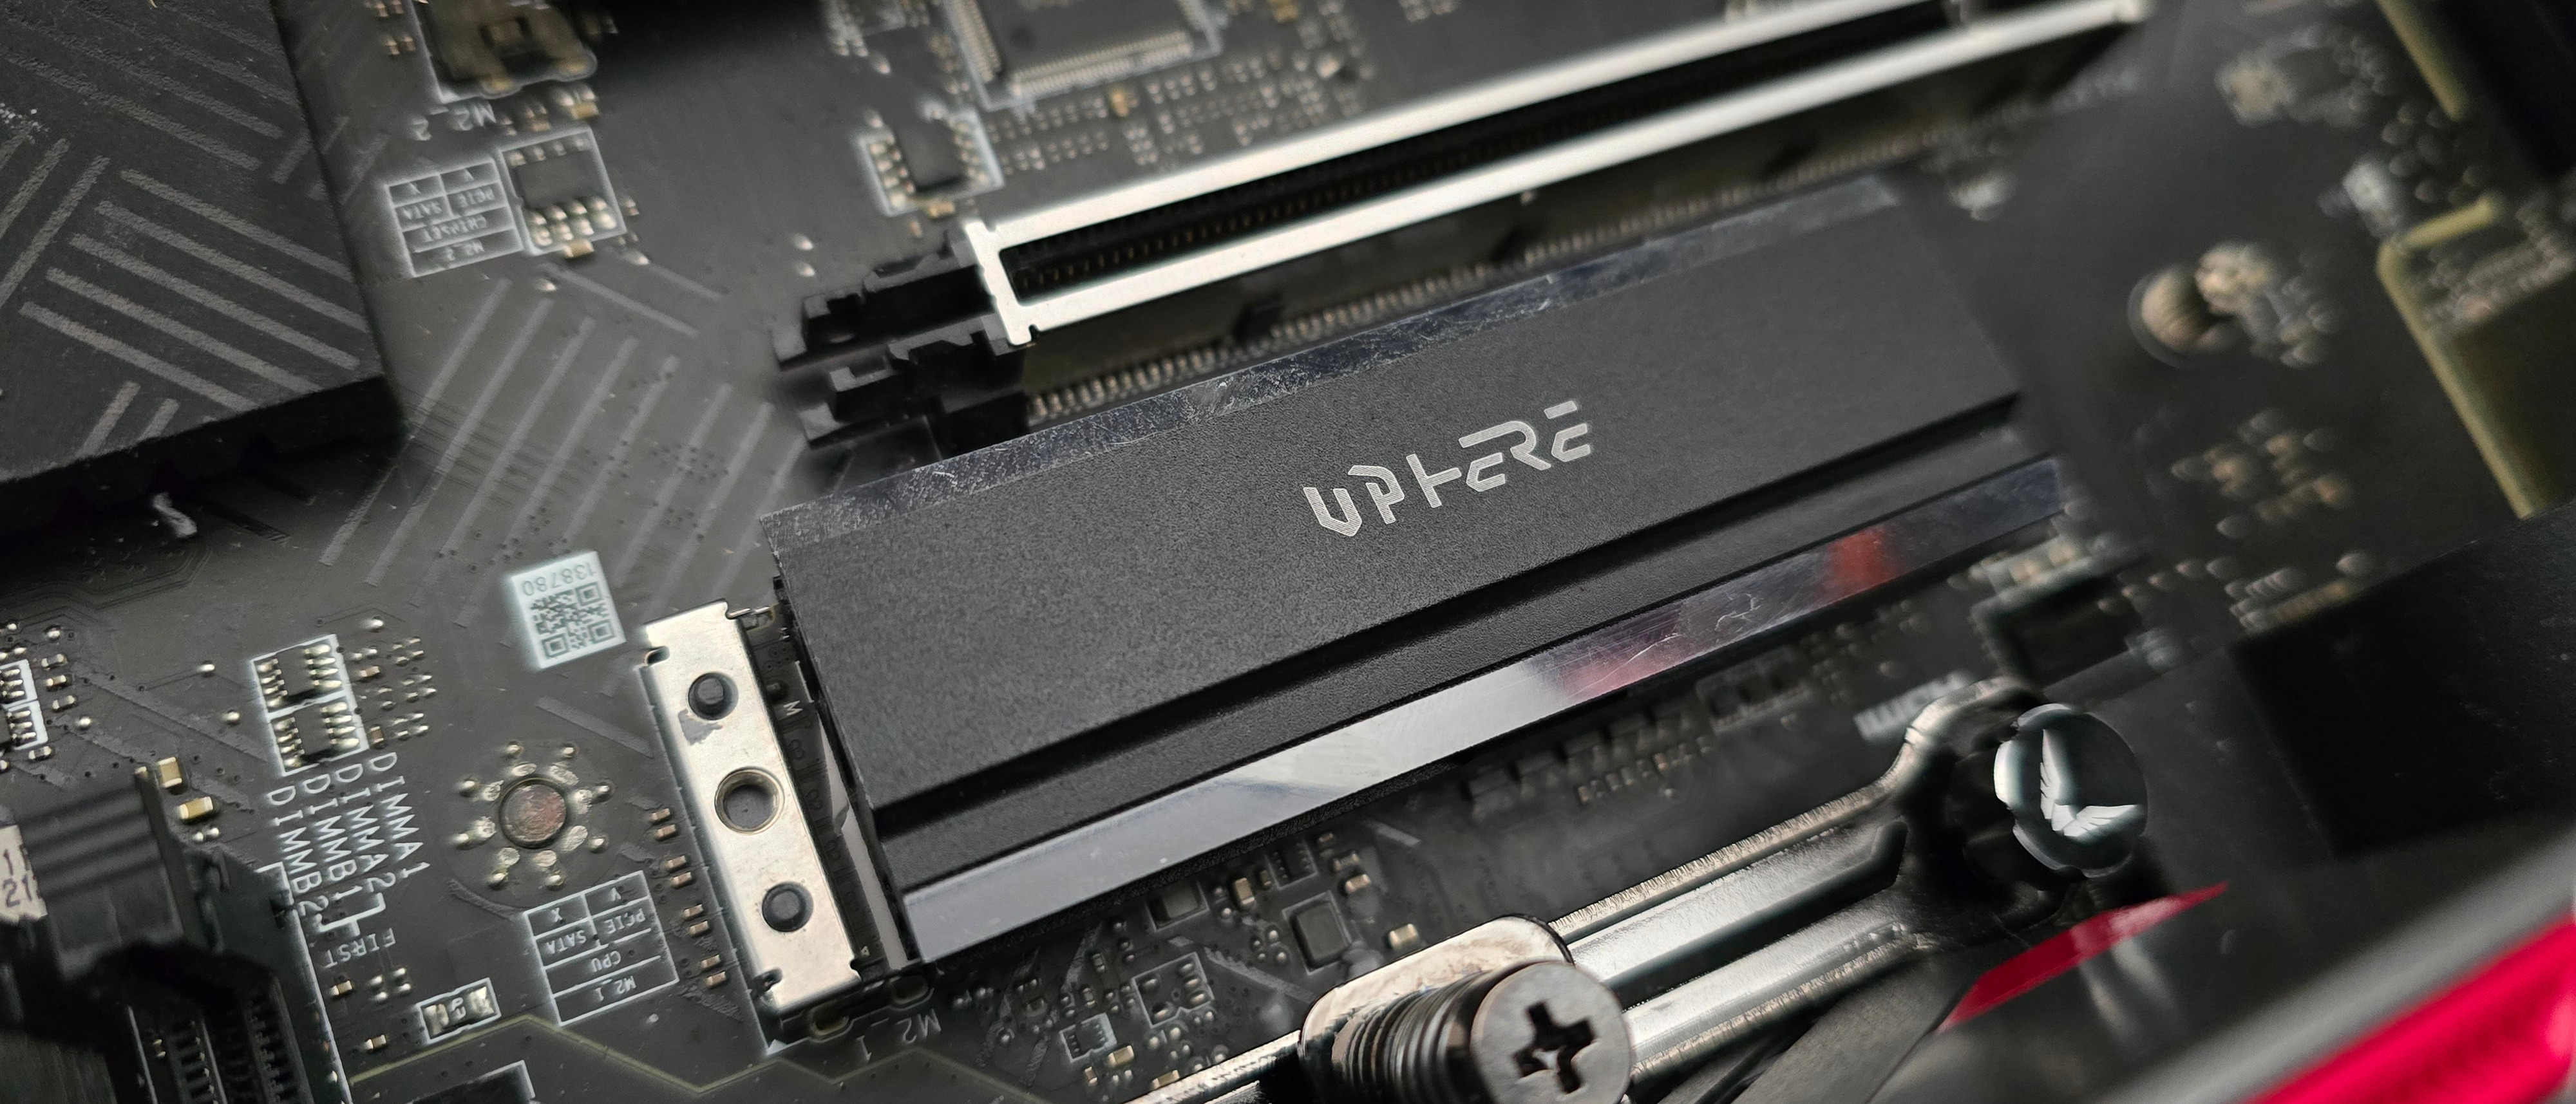
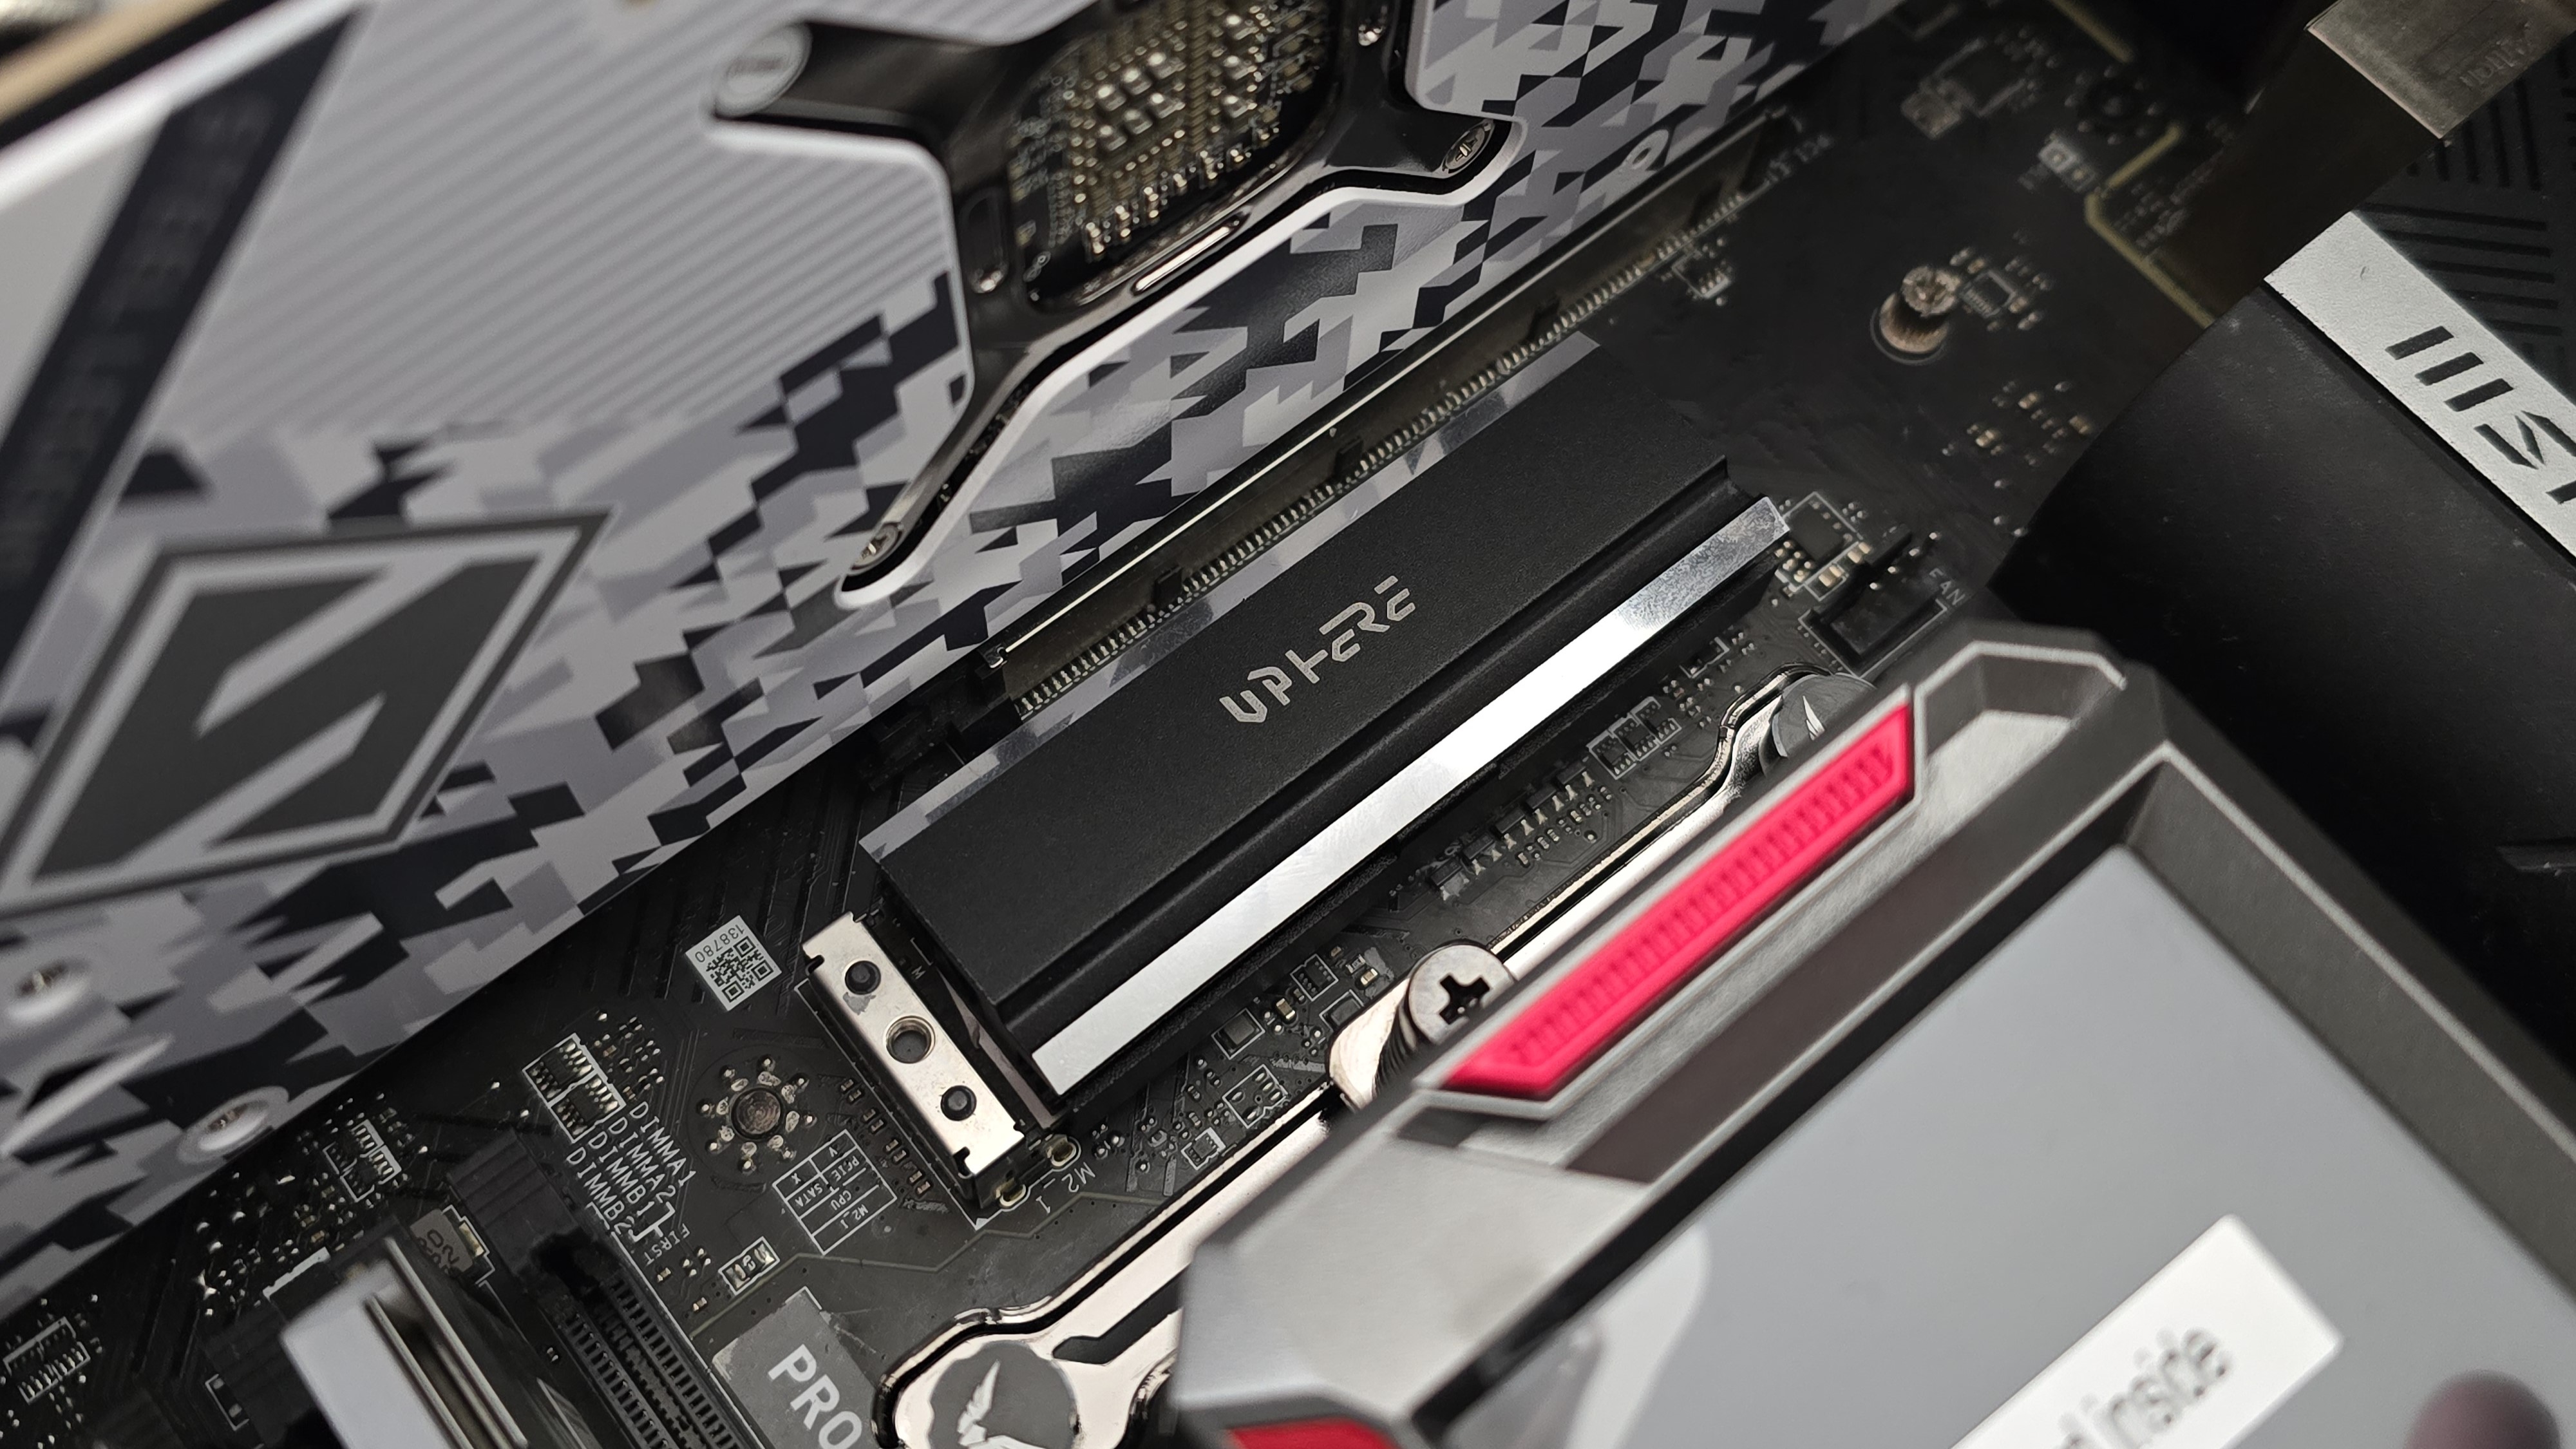
As this heatsink is roughly the same height as a PCI-e slot, it won’t cause any compatibility issues with other components. Larger NVMe SSD heatsinks often won’t fit underneath many air coolers due to their size.
*️⃣ Cheaper than Starbucks at only $4.99 USD
Most NVMe SSD heatsinks are not expensive, typically costing between $10 and $20 USD. UpHere’s M201 is about as cheap as they come, costing just $4.99 in the U.S.
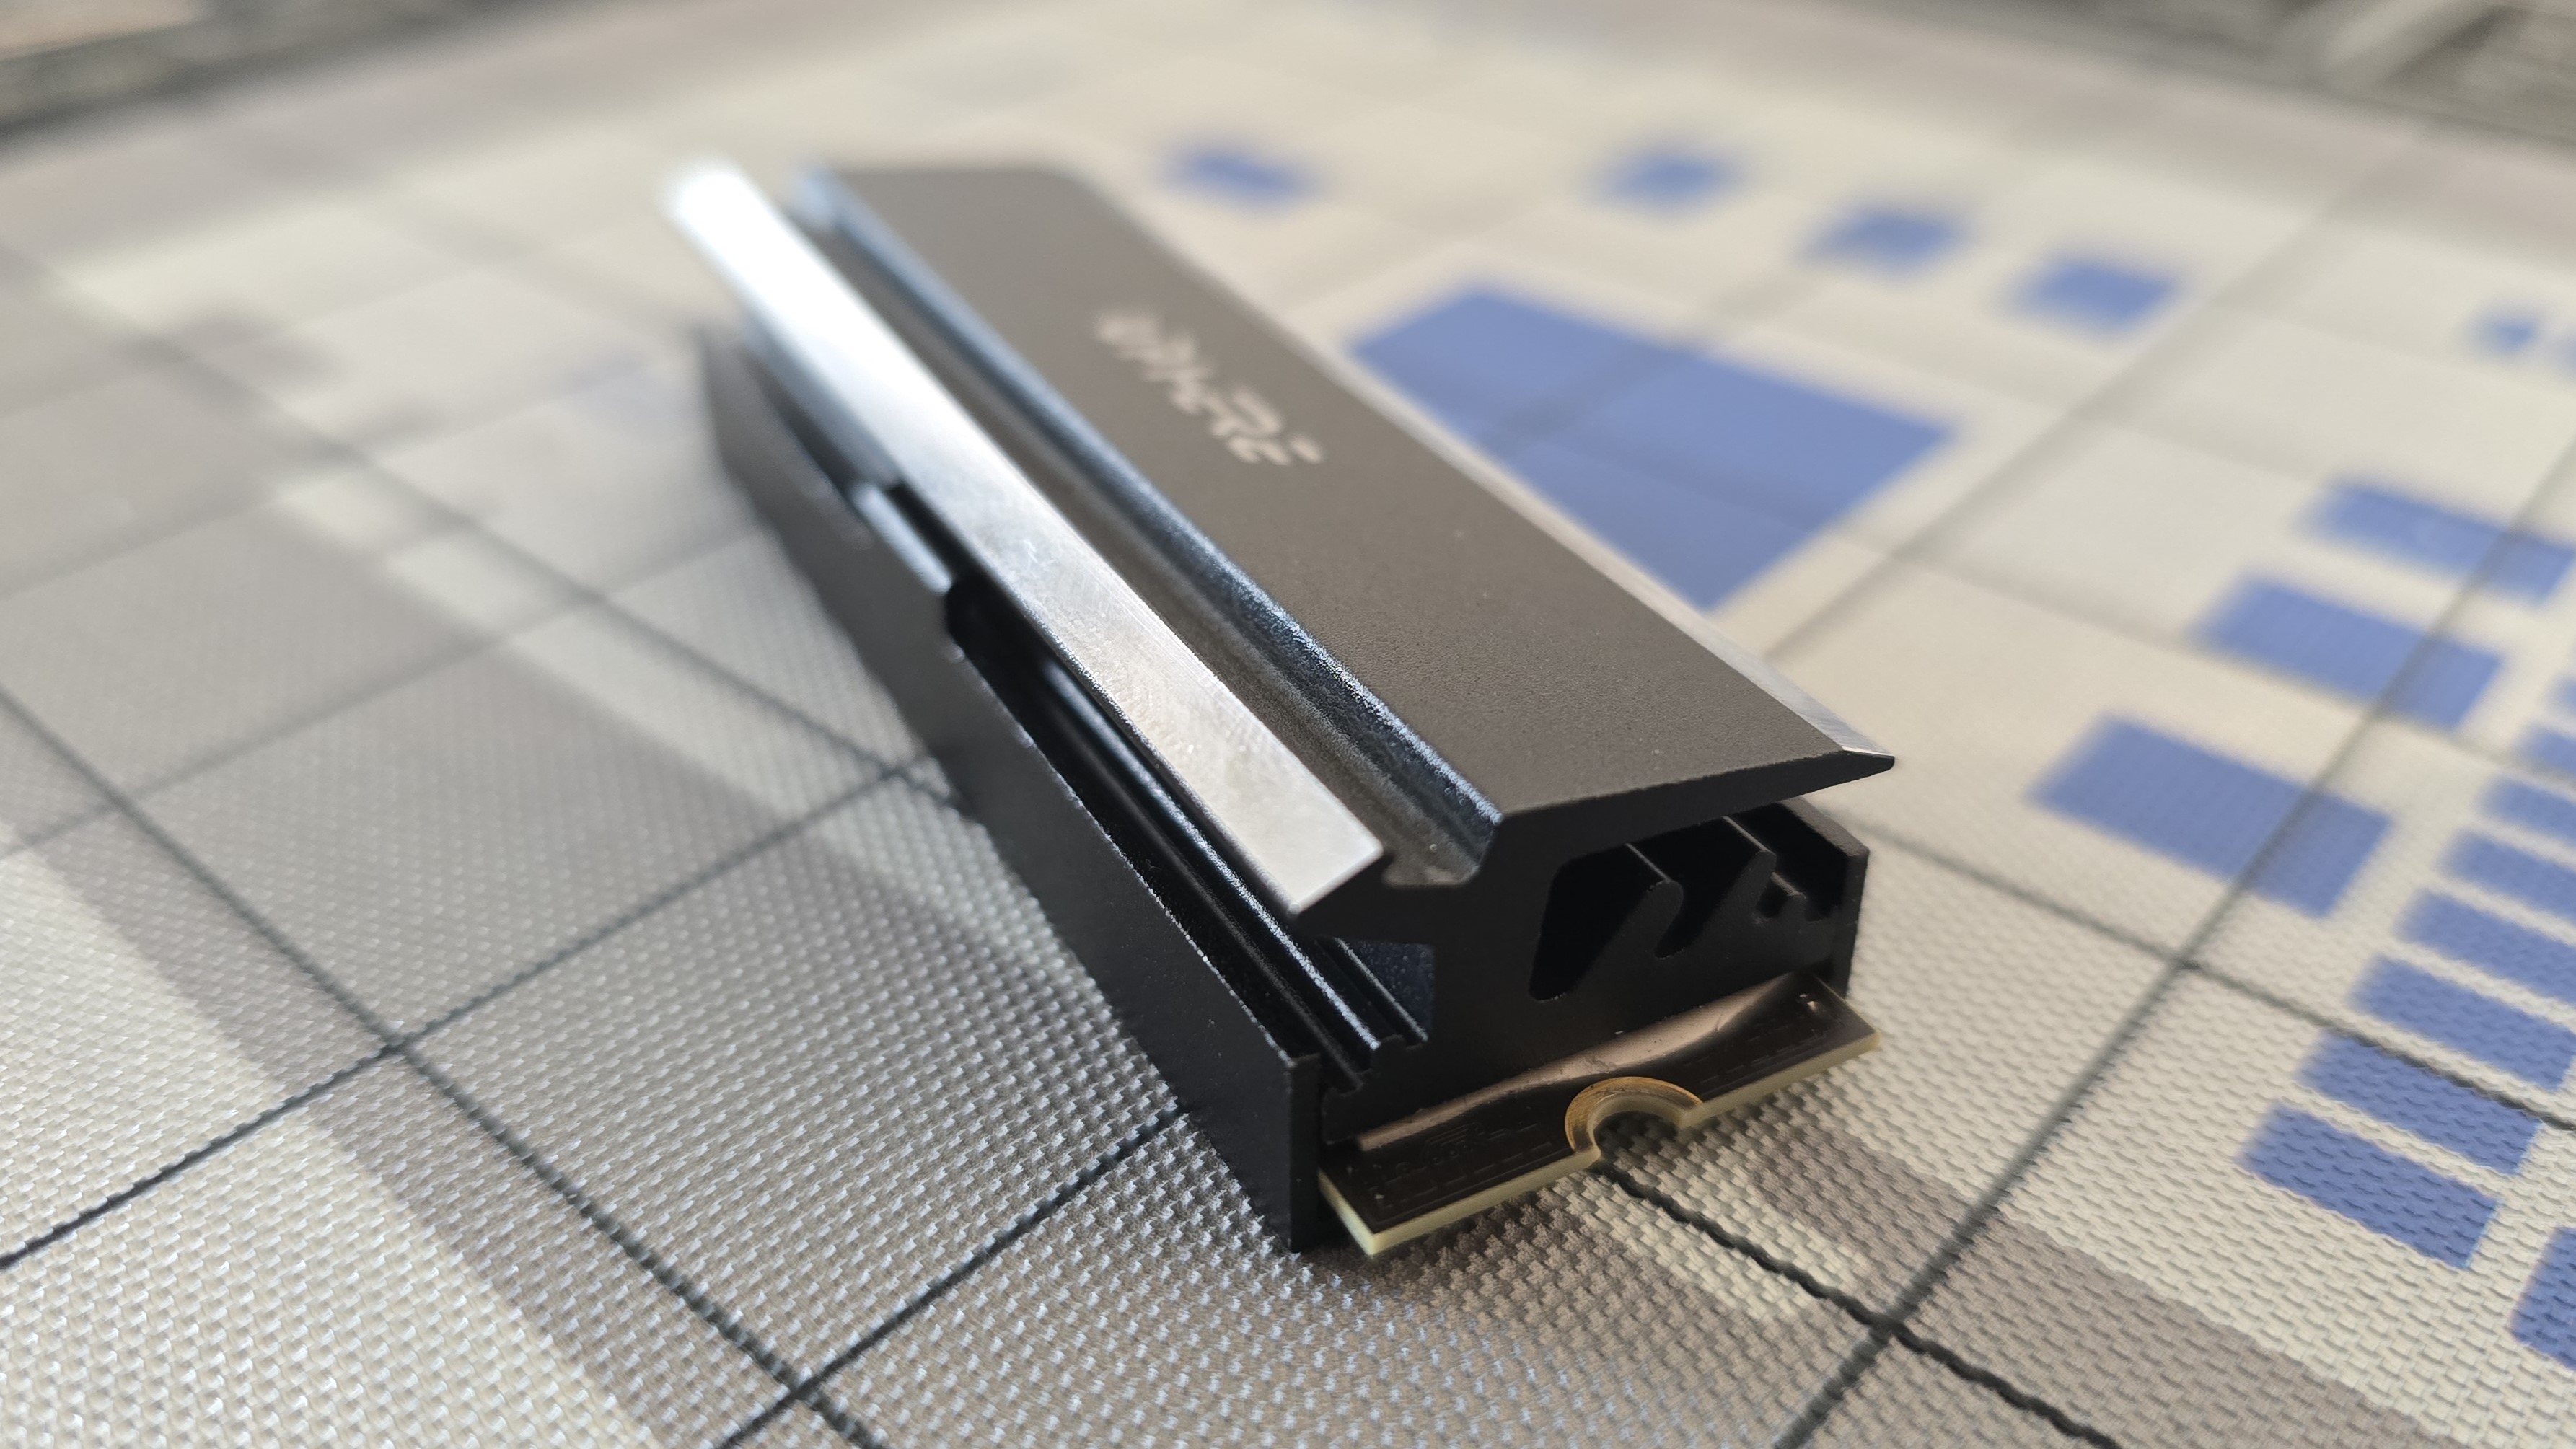
*️⃣ Jagged heatsink design takes advantage of native airflow
While the M201 doesn’t have a fan cooling the heatsink, its jagged design will take advantage of existing airflow in the case. This means that it will perform better in systems using air cooling, if installed in the M.2 slot next to your CPU. Alternatively, this also means that it would perform worse in a bottom side M.2 slot where there is less airflow or when a liquid cooler is installed instead of air cooling.
*️⃣ Double-sided SSD support
Many of the cheapest M.2 NVMe heatsinks only make contact with the top half, meaning that any NAND placed on the underside is unprotected. UpHere’s M201 features double-sided protection, ensuring peak performance for both single- sided and double-sided M.2 SSDs.
What I don’t like about the UpHere M201
*️⃣ Annoying clips during installation
The installation of the heatsink isn’t particularly difficult, but the use of clips between the heatsink’s halves might make installation difficult for novice users.
How hot is too hot? Does cooling even matter for an SSD?
With SSD heatsinks, many will understandably be asking if it really matters. And if you’re a typical user who mostly just loads a few applications and games, you probably don’t need an advanced heatsink with a fan. I’ve run a variety of tests, and for common tasks like loading a game or application, you generally don’t need more than a basic heatsink – at least not with current SSDs and workloads.
If you need heavy-duty cooling for your drives, you probably already know it. This includes users whose workloads are IO-intensive or involve high-resolution video editing.
We’re also trying to look to the future here, to an extent. Today’s common workloads might not need anything more than a basic heatsink, but this may change with PCIe 6 and future standards, which will allow for higher speeds (and probably higher power consumption) in consumer SSDs.
After consulting storage experts across the industry who work for popular storage brands, I’ve created an IOMeter script that’s specifically designed to stress an SSD’s controller and NAND, causing it to reach its maximum temperature (also known as TJ Max). The ambient temperature is maintained at 23 degrees Celsius while these tests are performed. The SSD used is Teamgroup’s Z540 SSD, which is powered by Phison’s E26 controller.
This test will cause throttling when paired with lower-end heatsinks. For those heatsinks, we’ll be looking at the IOPS of the drive during testing. The more advanced heatsinks and coolers will be capable of keeping the SSD under its peak temperature – for these units, we’ll compare the actual temperatures of the TeamGroup Z540 SSD.
If peak performance in common scenarios like gaming is your only goal, then most basic heatsinks will offer satisfactory performance. However, users with storage-intensive workloads will require a stronger heatsink in order to prevent the SSD’s performance from throttling. The impact of this potential throttling can vary; lighter loads won’t be impacted as much, but in the worst-case scenario I tested, I measured a 92% loss of performance without cooling on a PCIe 5.0 SSD.
You might think that’s the only aspect to consider when looking at a heatsink, but the thermals of an SSD also have a huge impact on a drive’s longevity. Much like other electronic components, extreme variations in temperature causes wear and tear, reducing lifespan. Now let's be real here - most users shouldn’t need to worry about longevity and instead should purchase a drive from a reliable manufacturer, with a good warranty. While this is our general recommendation, there are scenarios where this won’t apply – for instance,if you purchased a refurbished SSD at a discount, you can’t expect to have a long warranty.
Finally, there’s the matter of dealing with the hassle of a warranty. While it is nice to know that a failing drive will be replaced by the manufacturer, why create an environment where such a claim is likely to happen? I’d argue that it would be wiser to invest $10 or $15 (or just $5 in this instance) into a heatsink to extend the lifespan of your SSD so that you don’t have to worry about dealing with the paperwork and time involved in processing a warranty claim.
In theory, if your NVMe SSD arrives with a heatsink from the manufacturer, you shouldn’t need to worry about a heatsink at all. Most of the heatsinks I’ve seen paired with high-end PCIe 5 SSDs are capable of handling strong thermal loads. However, many drives do not include a heatsink and it would not be wise to run a high-speed PCIe 5 SSD entirely uncooled, as performance will suffer even in common workloads.
When it comes to heatsinks for SSDs, the important thing to take away here is that it’s best practice to minimize temperature variations for the health and longevity of your SSD. How strong of a heatsink you’ll need is another matter for debate.
Testing configuration – Intel LGA1700 platform
To test the heatsinks, I’ve created a custom IOMeter script created with input from experts in the industry. I run an initial test of 30 minutes after installing the heatsink to burn it in. After turning the system off and allowing it to cool down, I run another 30-minute test. I’ll repeat the process for verification and if there is no variance, I consider the results accurate. If there is variance, I’ll test the heatsink two more times.
Tests are performed inside of a real case, BeQuiet’s Silent Base 802. I use a 360 mm AIO to avoid having the CPU Cooler potentially impact the results, but there’s an argument to be made that the smallest heatsinks should be tested under an air cooler. We’ll investigate this further in upcoming reviews to see how much – or little – this can impact the results of lower-end heatsinks.
All testing is performed with an ambient temperature of 23 C.
Installation
The installation of this SSD heatsink isn’t hard per se, but it isn’t quite as simple as most others on the market.
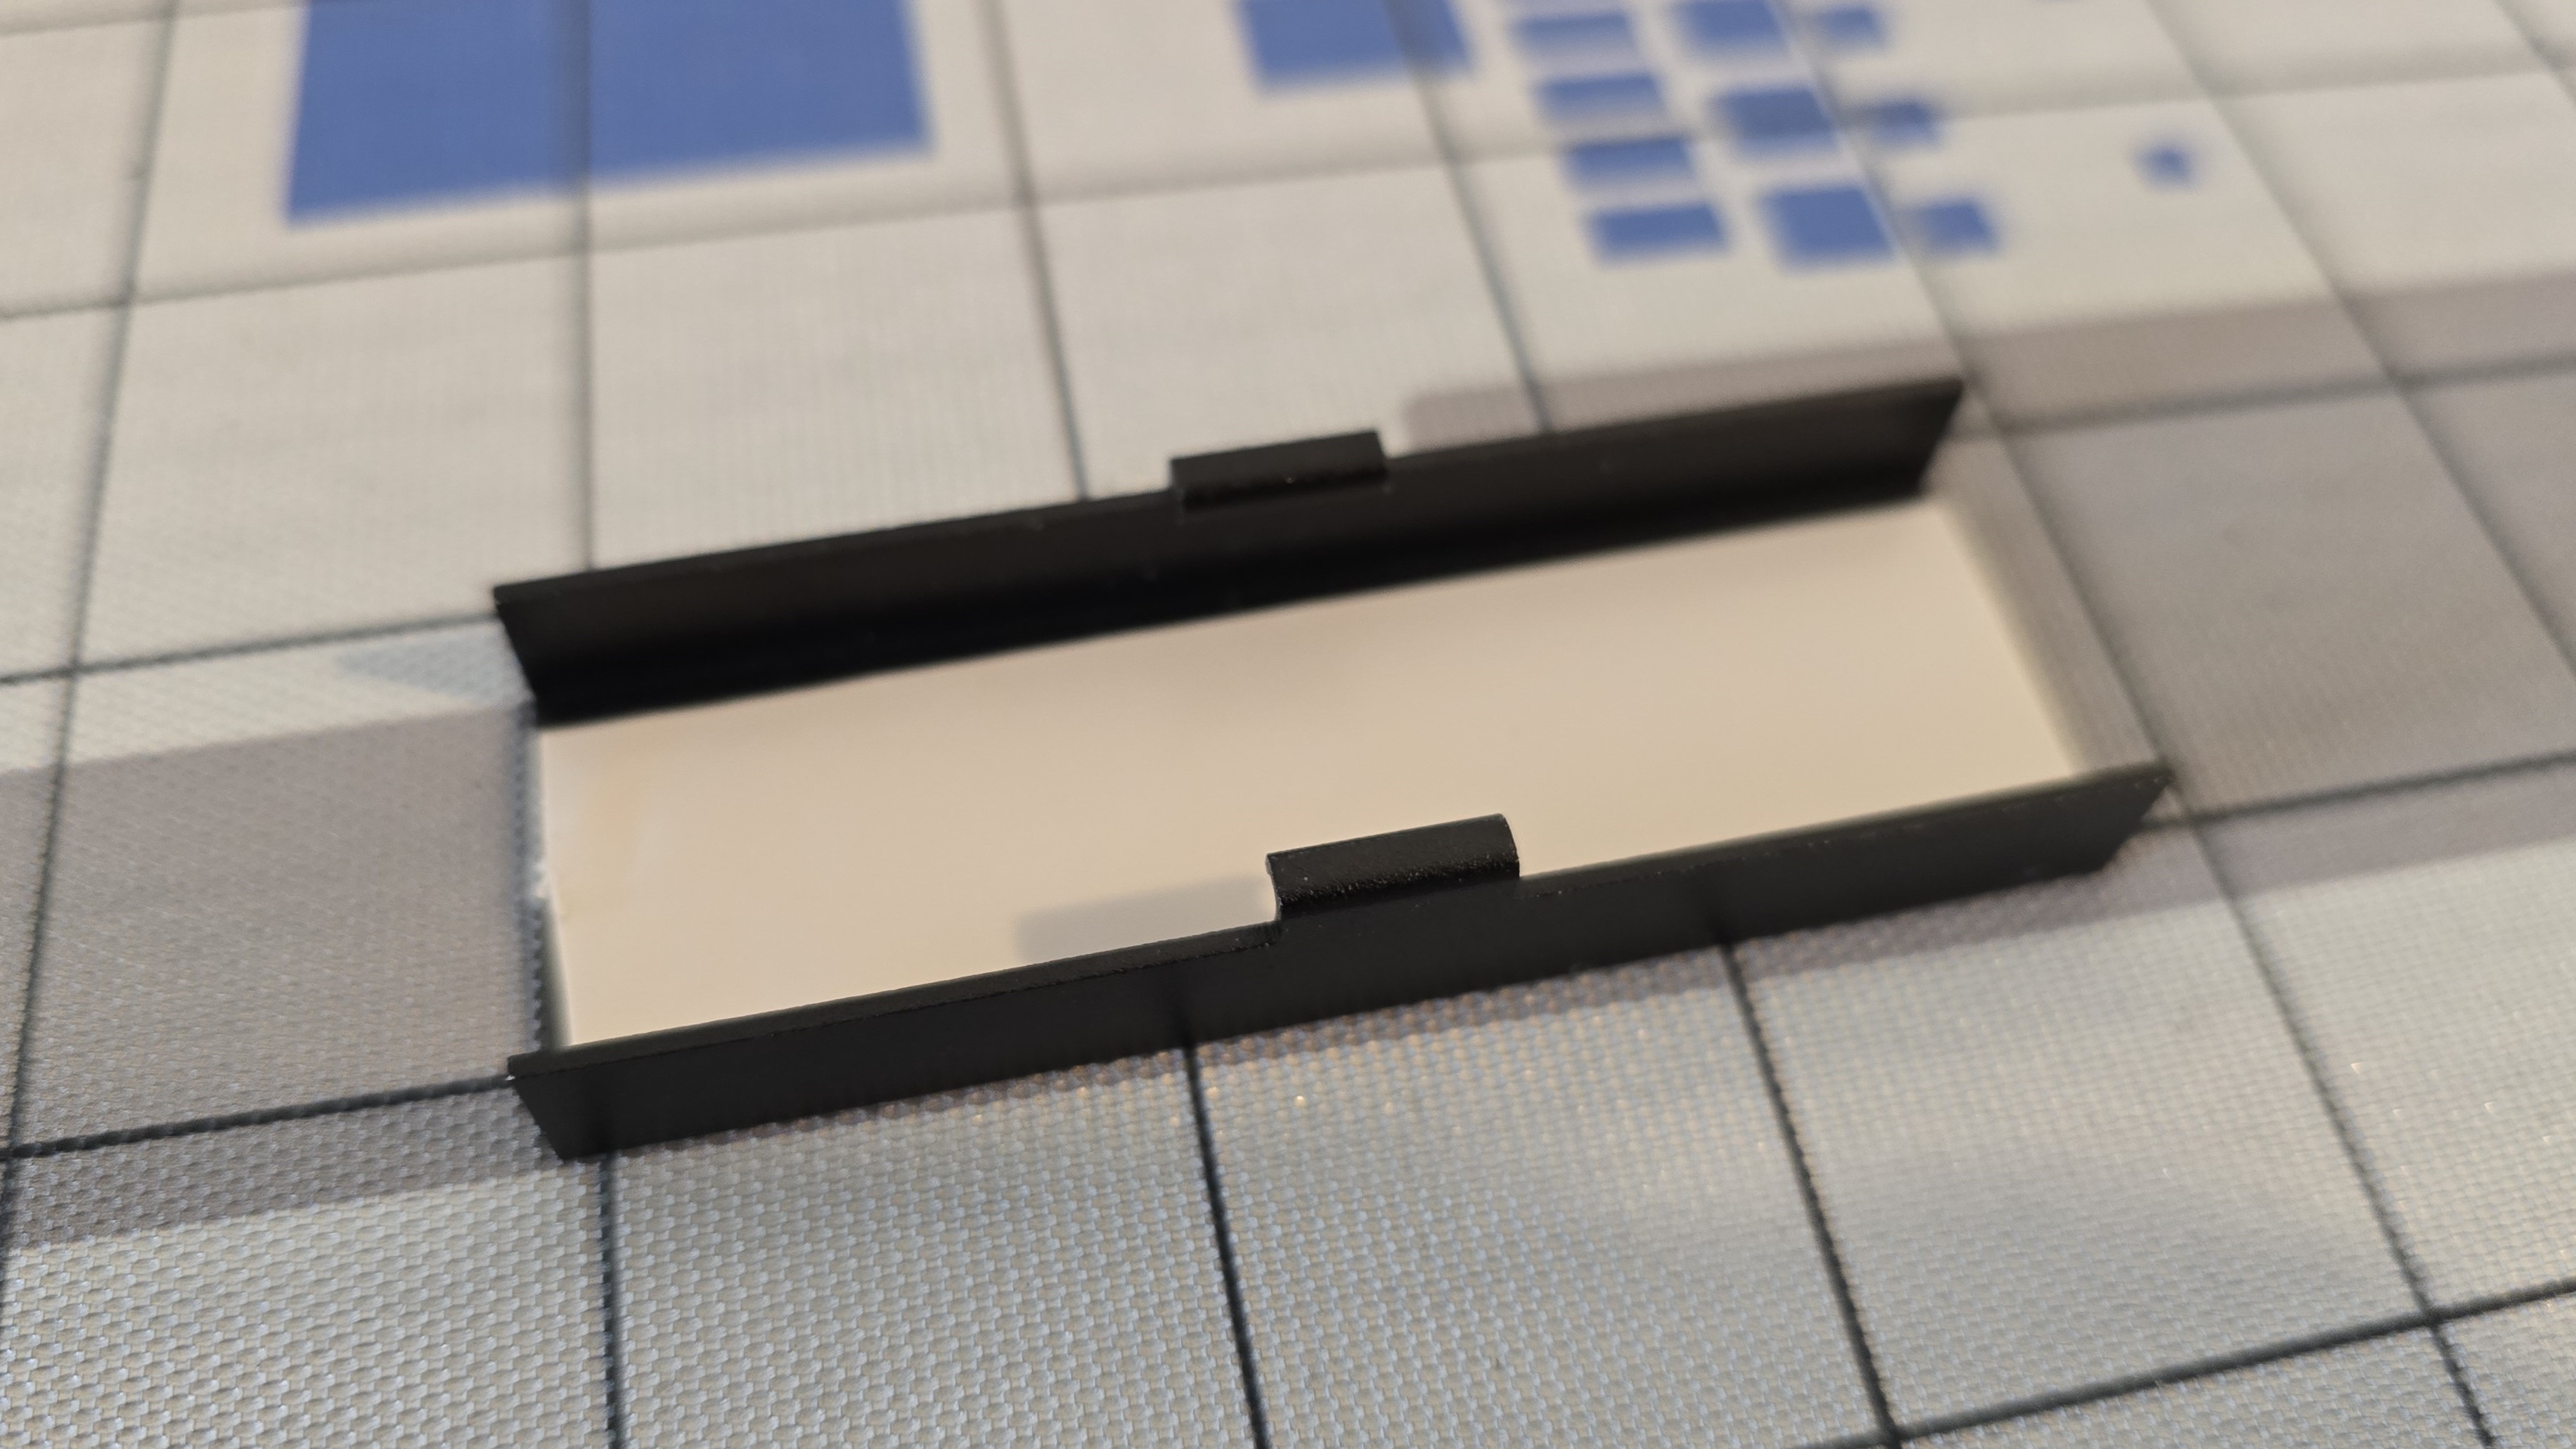
The first step is to take one of the included thermal pads and apply it to the base of the heatsink.
Next, you’ll need to place the SSD on top of the thermal pad, and then place the second thermal pad on top of the SSD. Then, slide the top half of the heatsink under the groves shown above.
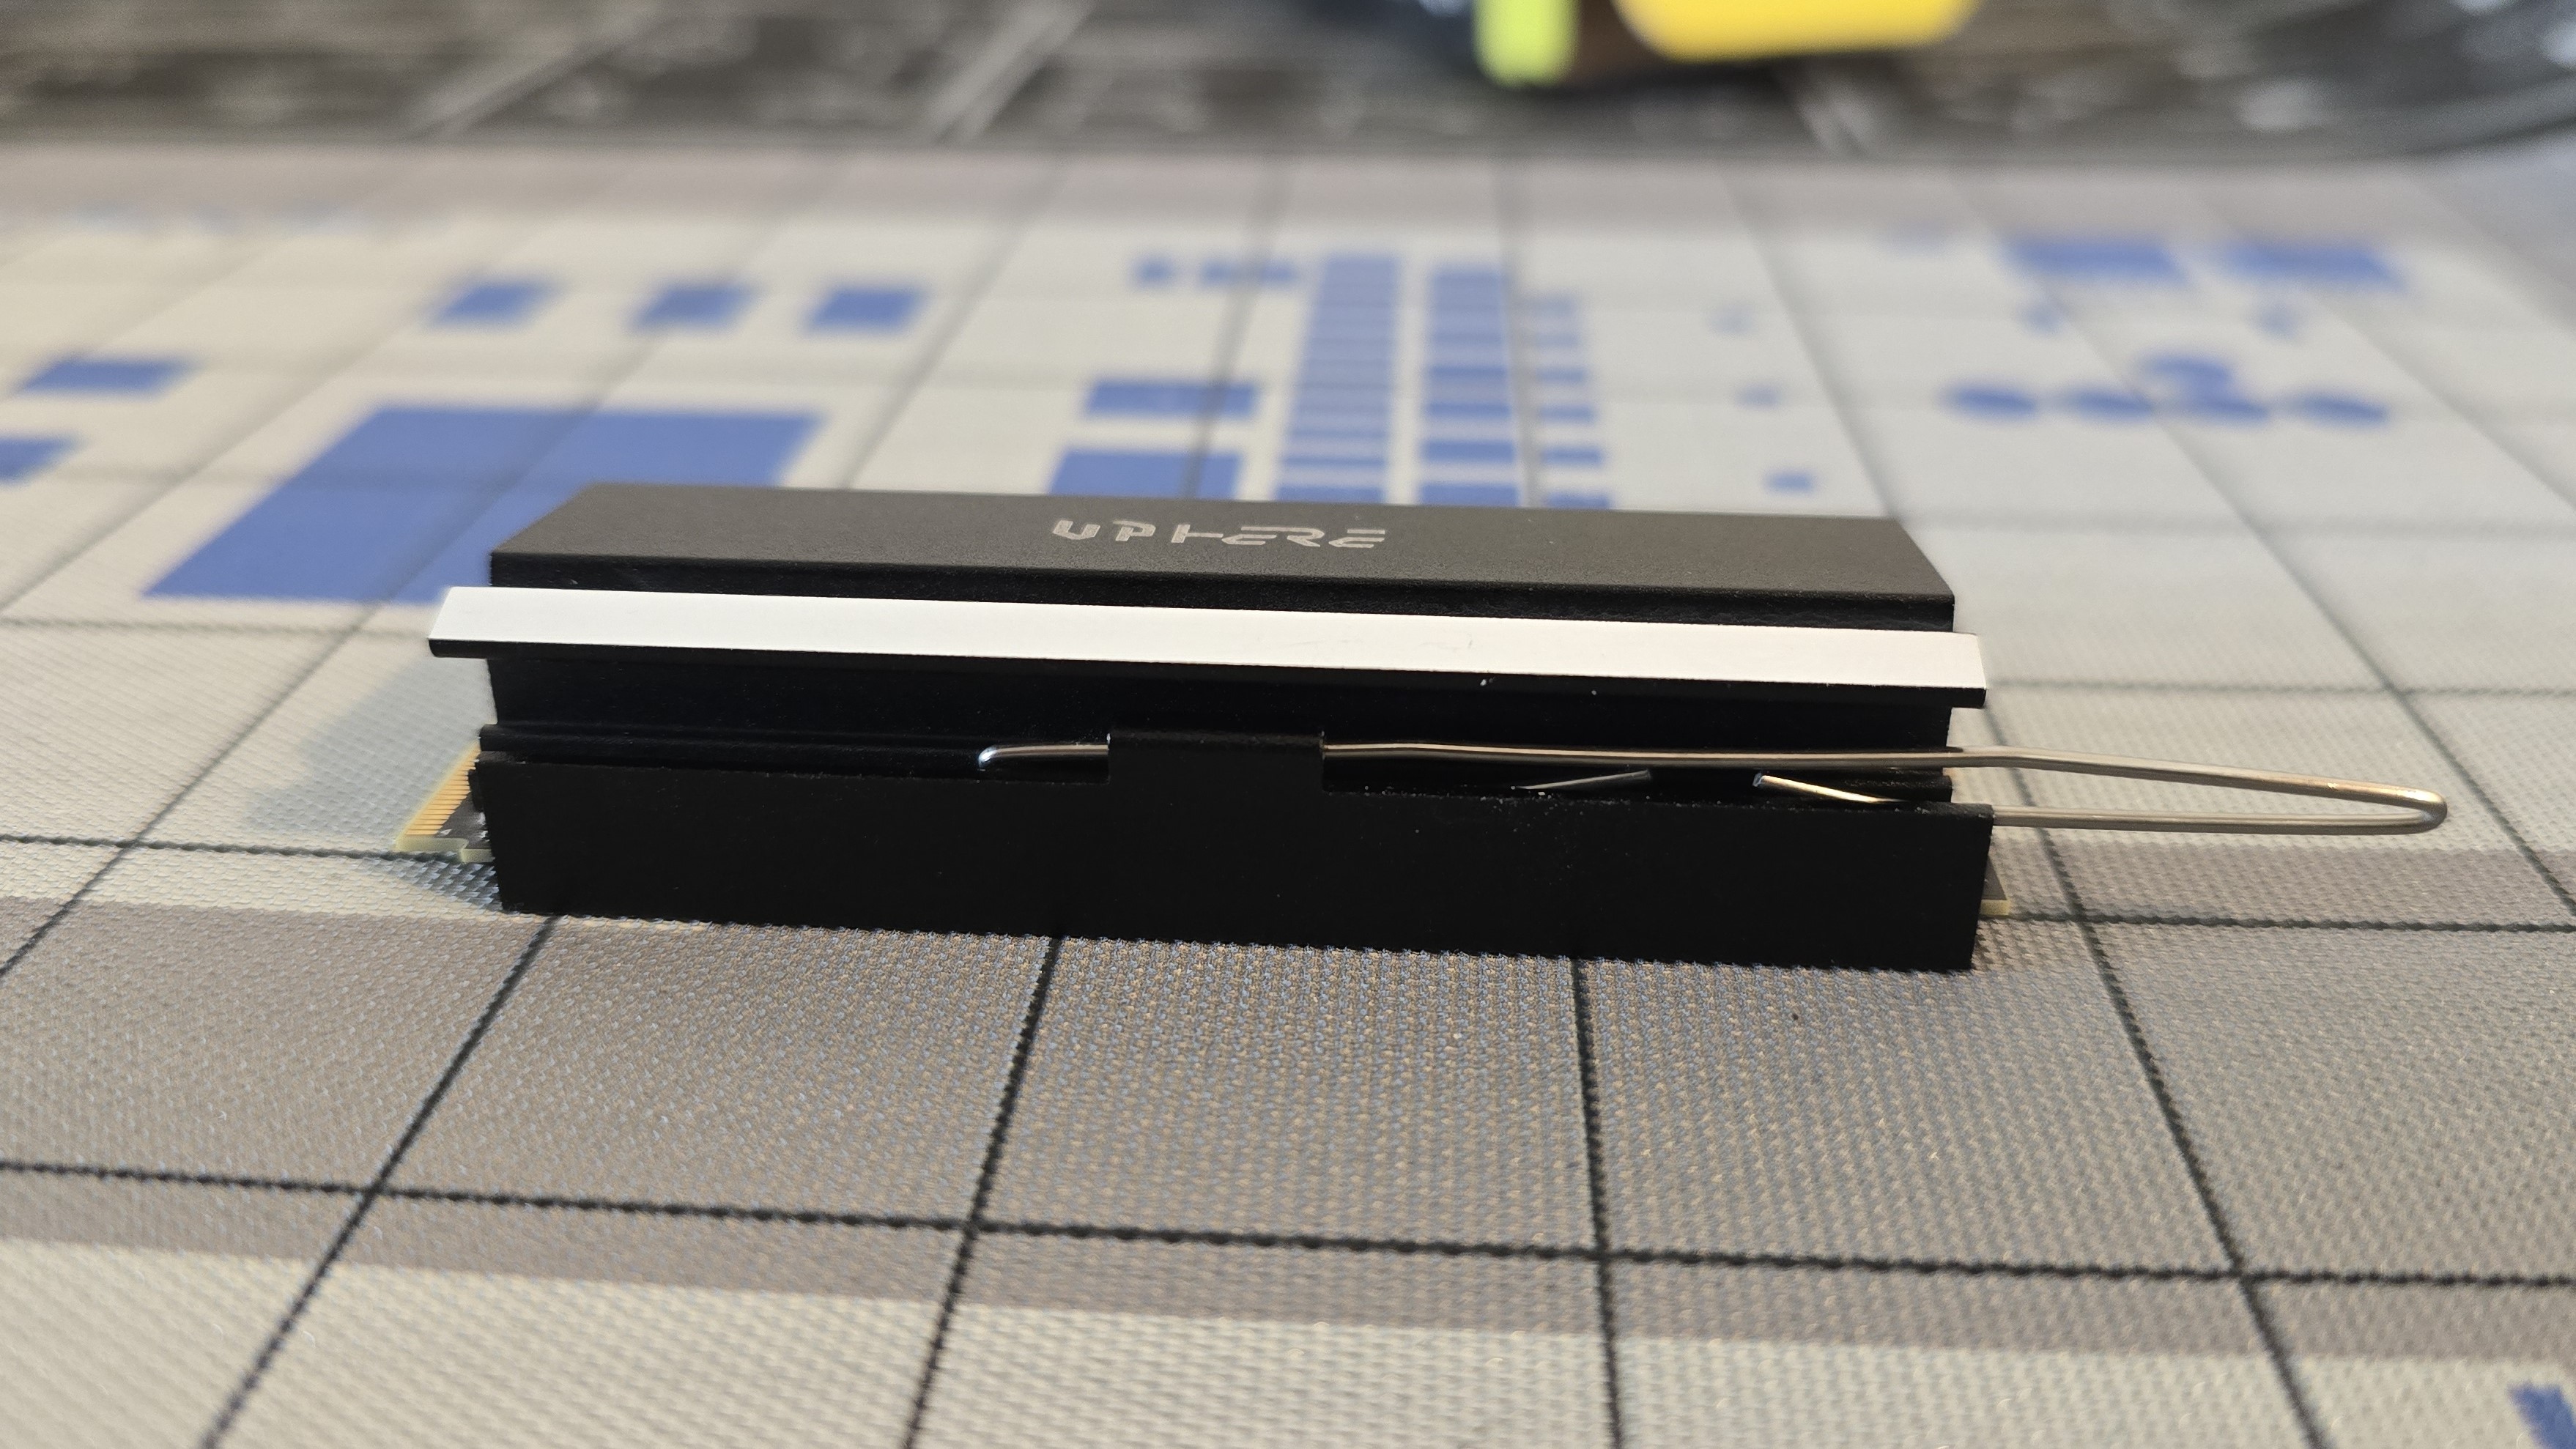
The next step can be slightly frustrating if you aren’t patient and / or don’t know what you’re doing. You’ll want to take the clip and slide it underneath the grooves shown in the picture above. Make sure the open side of the clip is facing down to maintain proper pressure.
The last step is to slide the heatsink into an available M.2 slot and secure it. Some users will have m.2 screws for this purpose; others might have sliding latches. As long as it is secure, it doesn’t matter which method you use.

Albert Thomas is a contributor for Tom’s Hardware, primarily covering CPU cooling reviews.
-
thestryker This seems like the best design I've seen for the cheap ones, but that retention mechanism makes me wonder how it would hold up over a long period of time.Reply
I've been kicking around replacing the Thermalright AB I have on my OS Optane drive as it actually runs so it's 10-12C hotter than the other ones. The problem I have is that I don't have much room height wise so I think this would be just enough taller it wouldn't fly as my NIC has a heatsink in the way. Been contemplating trying the Thermalright M.2 2280 PRO and since it's pretty cheap I may just do that, but off the reviews here I think the BeQuiet MC1 PRO is probably the only other one small enough to really consider. -
SyCoREAPER I'm using the HR09 Pro (absolute unit) from the chart for cooling and have had good results. Not because I think it's necessarily a good design but rather air can actually reach it since the RAM was blocking it before.Reply
One thing is for sure, definitely not a fan (no pun intended) of ones with fans. Those tiny things are usually loud, odd/annoying auditory frequency. -
Albert.Thomas Reply
Honestly, I'd probably recommend Iceberg Thermal's IceFLOE instead. It's slightly more expensive, but barely, and has a much better installation process.thestryker said:This seems like the best design I've seen for the cheap ones, but that retention mechanism makes me wonder how it would hold up over a long period of time.
I've been kicking around replacing the Thermalright AB I have on my OS Optane drive as it actually runs so it's 10-12C hotter than the other ones. The problem I have is that I don't have much room height wise so I think this would be just enough taller it wouldn't fly as my NIC has a heatsink in the way. Been contemplating trying the Thermalright M.2 2280 PRO and since it's pretty cheap I may just do that, but off the reviews here I think the BeQuiet MC1 PRO is probably the only other one small enough to really consider. -
Albert.Thomas Reply
Yeah, you definitely don't want or need them to run at full speed. I usually run them at 67% PWM.SyCoREAPER said:I'm using the HR09 Pro (absolute unit) from the chart for cooling and have had good results. Not because I think it's necessarily a good design but rather air can actually reach it since the RAM was blocking it before.
One thing is for sure, definitely not a fan (no pun intended) of ones with fans. Those tiny things are usually loud, odd/annoying auditory frequency. -
thestryker Reply
Ironically the terrible retention method would work better for the drives I have in addon cards as there isn't enough room to put screws in on the near sides for each drive. Those drives are all just caching drives so I've never had any temp problems there though so I'm not particularly worried about it (they have Type AB with screws on one side).Albert.Thomas said:Honestly, I'd probably recommend Iceberg Thermal's IceFLOE instead. It's slightly more expensive, but barely, and has a much better installation process.
For the P1600X I'm using as a boot drive I went ahead and got the Thermalright M.2 2280 PRO and so far it's running about 10C cooler than the Type AB it replaced. I just changed it today so it'll probably take a while to be sure how much better it is as the system is in operation. Realistically it wasn't really an issue before as it was running ~51C, but I knew the cooler was the majority of the reason there.
edit: drive seems to have stabilized at 42C and previously it was 51C, but if something changes I'll update this post. Would really like to see where the M.2 2280 PRO falls on your testing list here.
