Water March: Gainward CoolFX
The Radiator
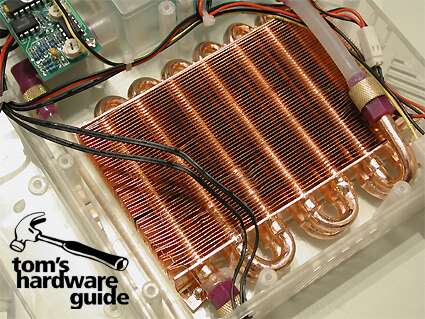
The radiator is made entirely of copper. In order to seal a hose connection, a glue gun was used (below left).
The radiator looks quite small because of the limited room in the cases. In order to enable efficient heat transfer, it is made entirely of copper. On the top, Evercool has installed an 80 mm x 80 mm fan. Here, air is sucked in from above the case and then led out through the openings at the base of the module. The fan can be set to one of three levels via a switch at the front side of the module (2500/ 3000/ 3500 rpm with 26/ 32/ 35 dBA, according to the manufacturer). When set to the lowest rotation speed, the fan can hardly be heard, but when set to the other speeds, it can be heard quite clearly.
The Front Panel
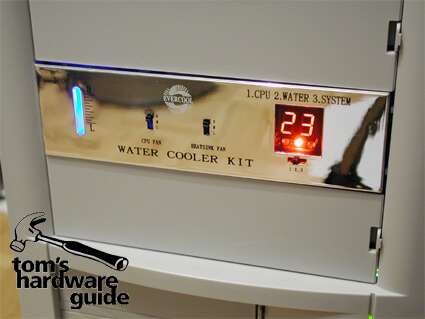
The front panel during operation. The poor fitting is due to the AOpen case, among other things. On the left is the lit-up water status display.
The front panel of the semi-transparent module is coated with a glossy varnish. At first glance, it looks rather classy, but if you look closer, the loose mounting and the use of cheap plastic is disappointing.
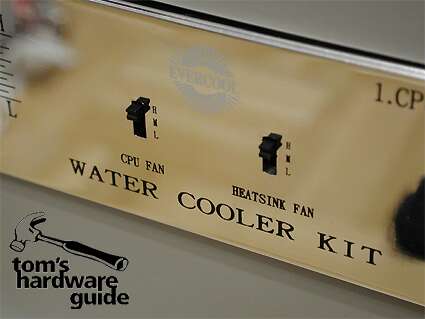
The switch for fan control. The switch for the CPU fan has no function with the CoolFX.
To the left is the display for the tank's water filling status, which is easy to read when in operation because of the blue lighting. In the middle are two control switches, although Gainward's solution only makes use of the switch on the right for controlling the radiator fan. On the right side is an LED display showing the temperature. This can be set to one of the three heat sensors using a switch.
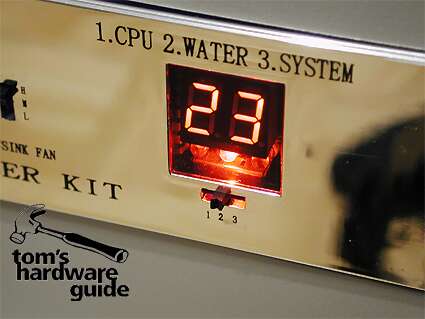
The temperature display. The switch lets you choose one of the three heat sensors. The LEDs are just a tad too light.
Get Tom's Hardware's best news and in-depth reviews, straight to your inbox.
The display shows the temperature in Celsius, and it's not possible to switch to Fahrenheit. In addition, three LEDs, which are somewhat too light, show the selected temperature sensor. If the temperature increases beyond a certain level, then the user is warned by the electronics. Unfortunately, the warning temperature cannot be set.
One of the thermic elements (thermo couple) for temperature readings.
The VGA Cooling Block
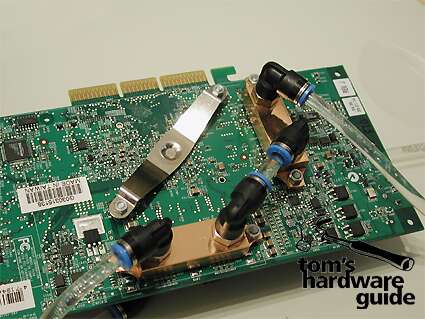
The CoolFX installed on a GeForceFX 5800 Ultra. The circulation: from the pump module, the water is first led to the memory coolers on the back of the card (top hose) and then onward to the memory coolers on the front. After that, it flows through the GPU cooler and then returns to the radiator in the pump module.
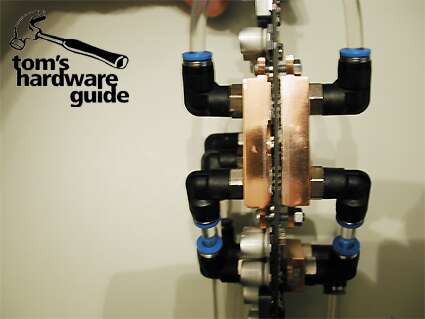
The card is cooled with efficient heat dissipating blocks, which are connected to one another and mounted on the card. Installing the tubes is easily done through the plug-in connections. However, you should be careful not to damage the card during installation. The connections can be freely rotated. With the water circuit, the user has the option of cooling the memory first and then the GPU, or vice versa.
Installation: the back of the card.
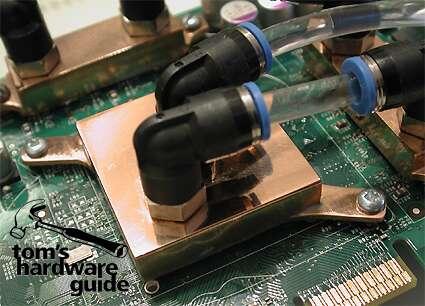
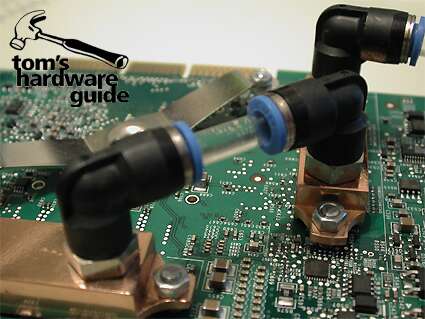
The hose connections on the cooling blocks with practical and fast plug-in connections, which can be freely rotated.
The GPU cooling block.
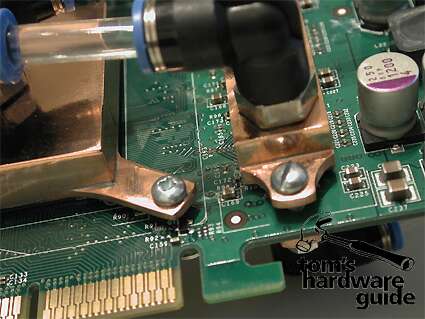
The metal screws require more care during installation.
The hose pieces between the cooling blocks must have exactly the right length.
The structure of the CoolFX is considerably high. The space between it and the motherboard (CPU/ RAM) can get very tight, depending on the model.
Gainward's CoolFX cooling solution fits on all GeForceFX 5800, 5600 and 5200 cards whose boards use the NVIDIA reference design and have the holes necessary for mounting the cooling elements.
