Turning Your Printer Into A Paper Shredder (On Purpose)
Disassembly And Preparation

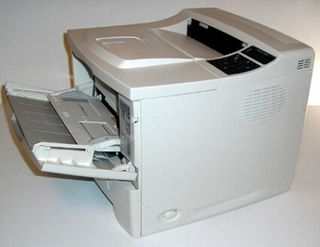
Screwdrivers at the ready! This section is meant to be somewhat conceptual as you likely won't be working with the same printer. Even so, the concepts are really universal in all printers: rollers moving paper, and relays or solenoids feeding the paper into the rollers. We liked this printer because it has a lot of room to work with, as well as being generic enough looking to be cool for the task at hand.

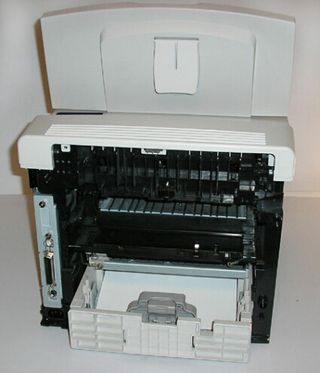
The main goal of the teardown is 2-fold. First: to remove anything we don't need so we have space to mod stuff. Second: fire prevention. Laser printers have many high-heat-generating surfaces in them capable of acting as an ignition source (as my friend learned the hard way - a $600 mistake... ouch). The best practice is to remove ALL non essential parts if possible. So we started with the basics. We have removed the rear access panel and fuser in the printer. The fuser is where the toner is bonded to the paper. This occurs under high heat. If fine paper pieces were able to accumulate, there would be a fire for sure.

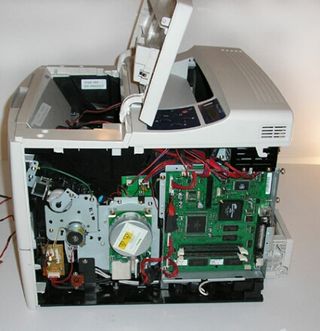
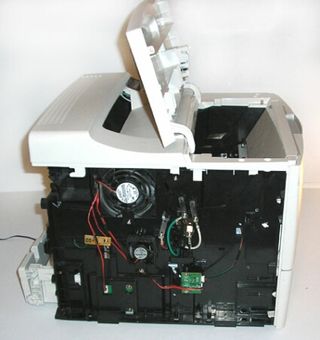
Next up, we will be removing the side panels from the unit. There are a few components to locate and remove: any form of computer processing unit, power supplies, and in this case, the stepped motors, as they would be impractical to get running independently on a budget. Items we want to watch for and keep include relays and solenoids. Our printer has three solenoids, but some other printers have only one. This part is the most important item to keep intact to make this project work.

Stay on the Cutting Edge
Join the experts who read Tom's Hardware for the inside track on enthusiast PC tech news — and have for over 25 years. We'll send breaking news and in-depth reviews of CPUs, GPUs, AI, maker hardware and more straight to your inbox.
Current page: Disassembly And Preparation
Prev Page Parts And Materials, Continued Next Page Disassembly And Preparation, ContinuedMost Popular

