Cura Fuzzy Skin Feature: How to Use it to Add a Textured Surface on 3D Prints
Add Rough Textures to the Outer Surfaces of 3D Prints
Get Tom's Hardware's best news and in-depth reviews, straight to your inbox.
You are now subscribed
Your newsletter sign-up was successful
Cura fuzzy skin is a setting in the Cura slicer that adds a rough texture to the 3D prints that mimic the appearance of fur and other materials like stones and wood. This is helpful when 3D printing organic models or designs meant to be handled like candle holders and even customized smartphone holders. It is also helpful in hiding imperfections, which are bound to happen in most prints even when you are using the best 3D printer.
When you are 3D printing decorative designs like art pieces and vases, you can also use this feature to enhance their aesthetic look.
When the Cura Fuzzy Skin feature is enabled, it modifies the outer layer of the print and introduces a pattern of extrusion, which generates a fuzzy finish as the nozzle moves back and forth and the printer changes printing direction within a short distance. The look of the textures generated depends on the size of the thickness, density, and other settings that you apply.
As you enable this feature, remember that your 3D printer might experience vibrations and produce abnormal noise as it rapidly changes direction.
Importing the File and Locating the Fuzzy Skin Feature
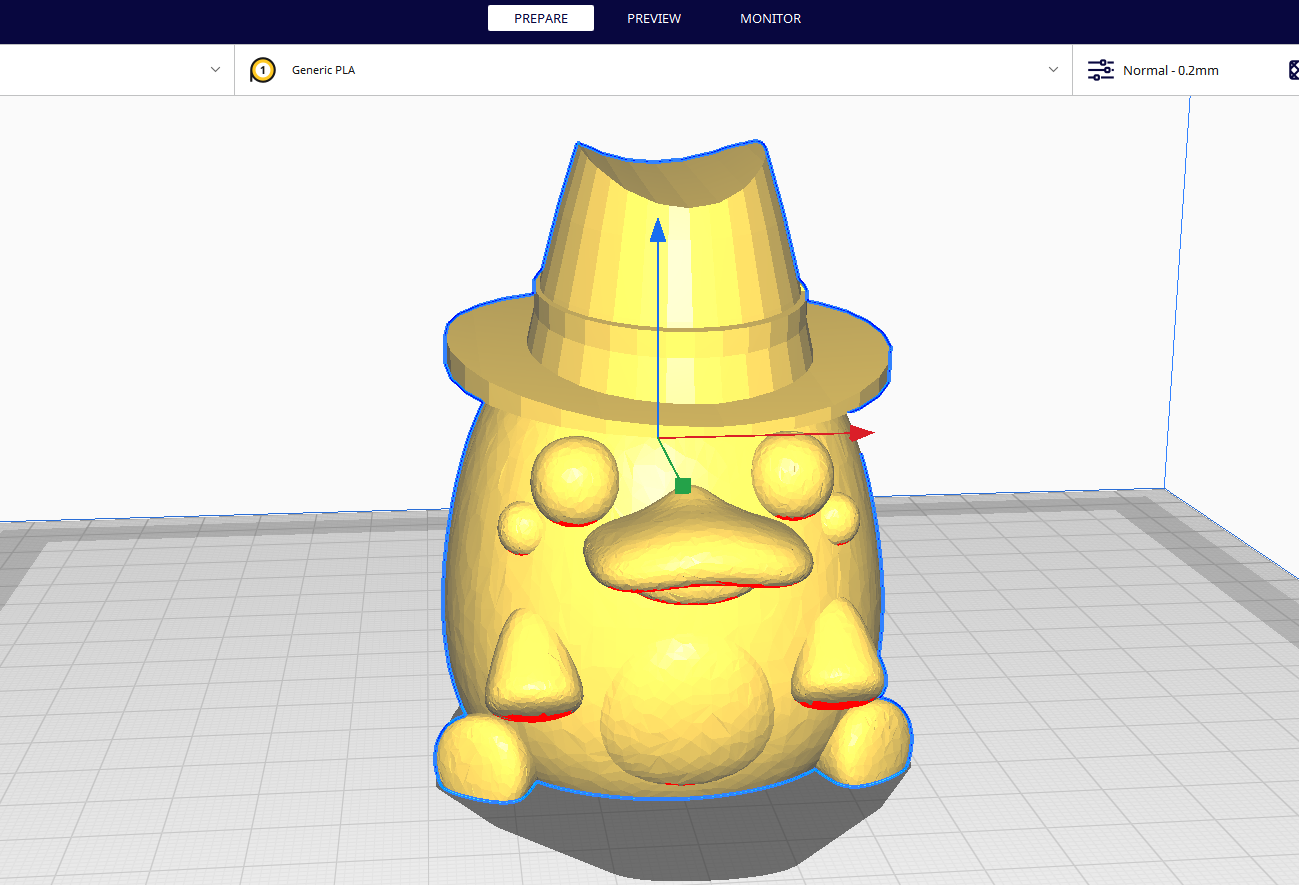
To start using this feature, begin by downloading the latest version of Cura and install it on your computer. If you already have it, ensure that it is updated then import your file to the software.
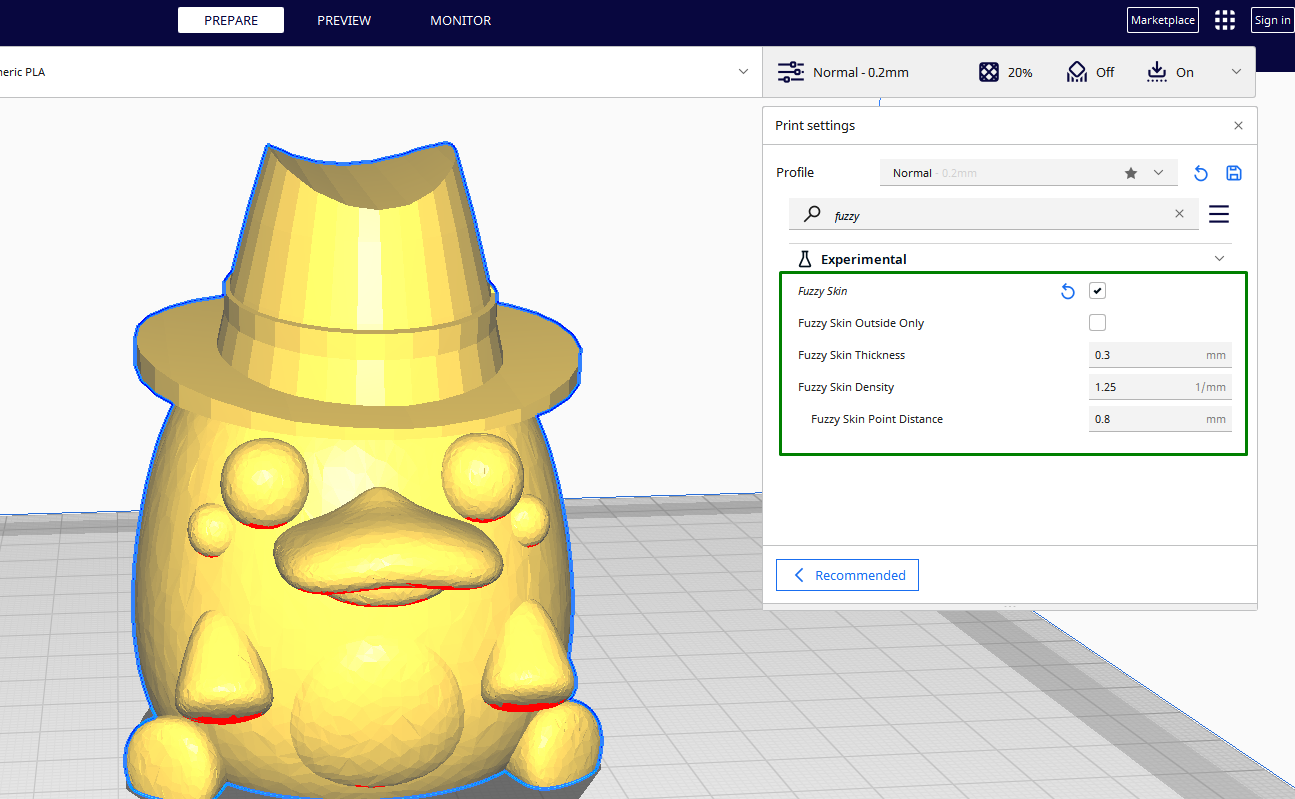
Go to the settings panel on the right-hand side of the interface and in the search option, type fuzzy skin and you will see it appear. Click on the check box to see various settings appearing on the drop-down.
The first setting you see when you enable Fuzzy Skin feature is Fuzzy Skin Outside Only, which when enabled, instructs Cura to apply the Fuzzy Skin effect only to the outermost surfaces of your print and excludes any internal or holes. This is useful when you want to add the textured appearance only on the exterior while maintaining a smoother finish on the inside.
Get Tom's Hardware's best news and in-depth reviews, straight to your inbox.
Fuzzy Skin Thickness
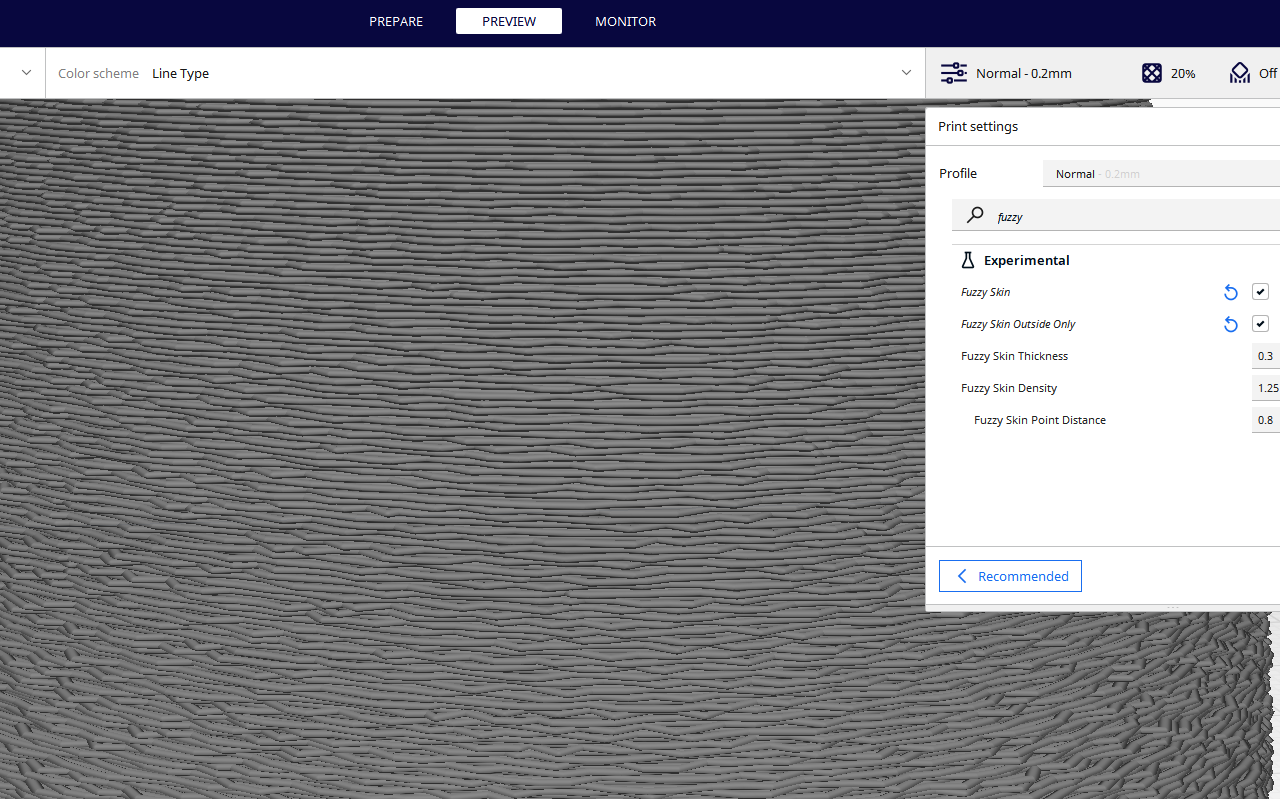
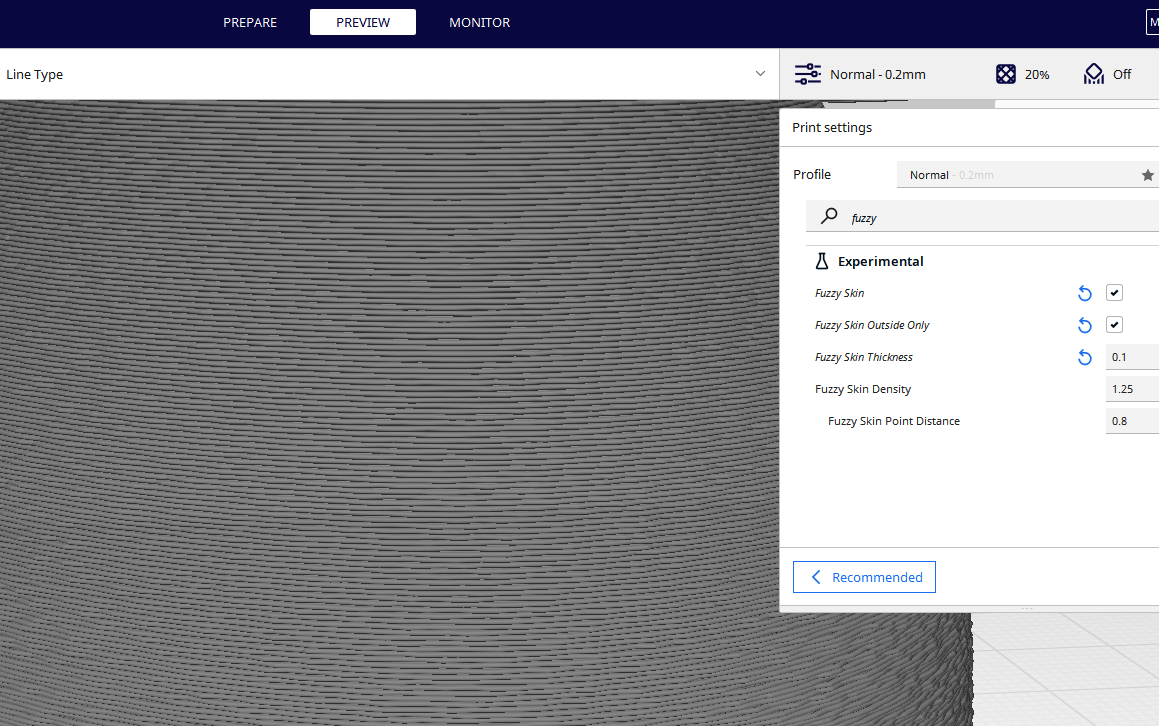
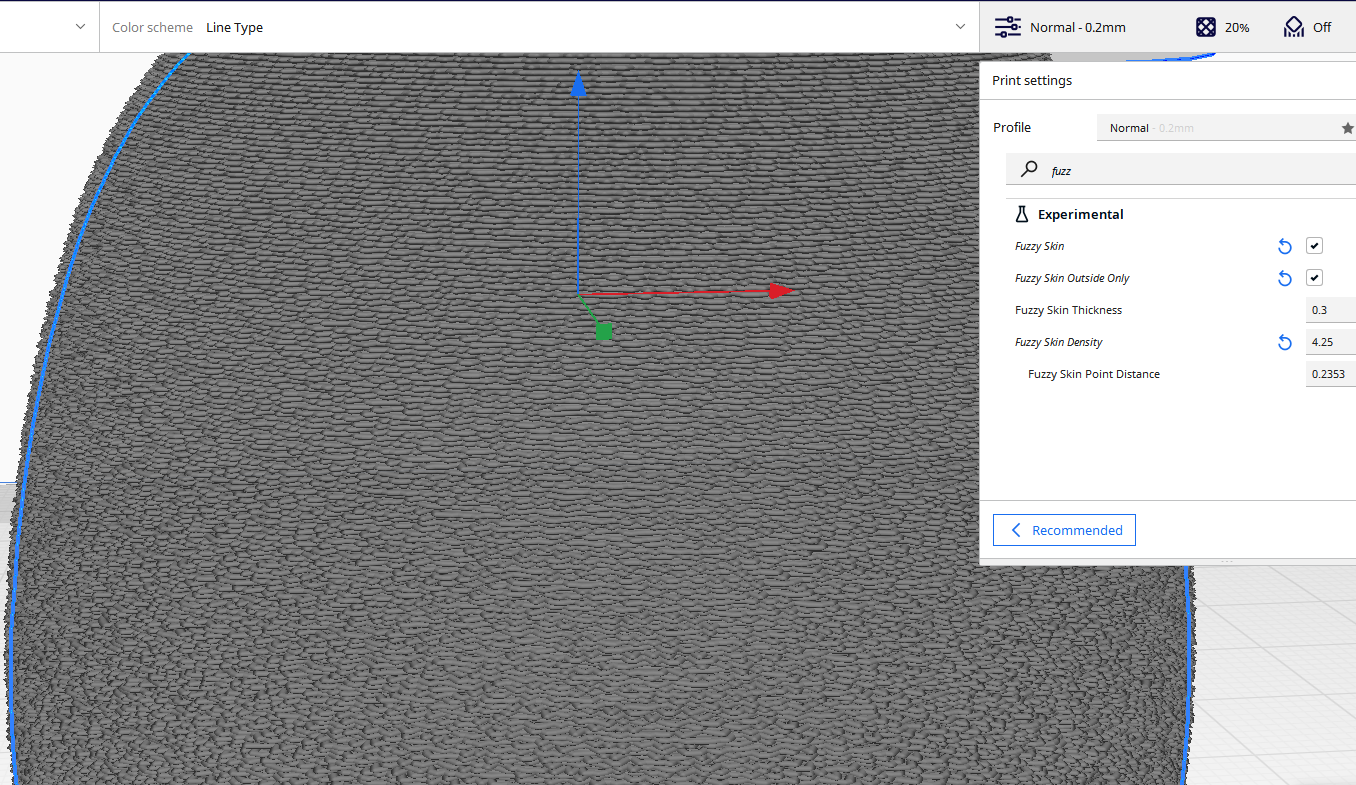
Fuzzy Skin Thickness is a parameter that you see after Fuzzy Skin Outside Only. It allows you to specify the depth or thickness of the textured layer, affecting how the fuzzy features are displayed. The default value is usually around 0.3mm. Below is what the textures on the surface look like at this value.
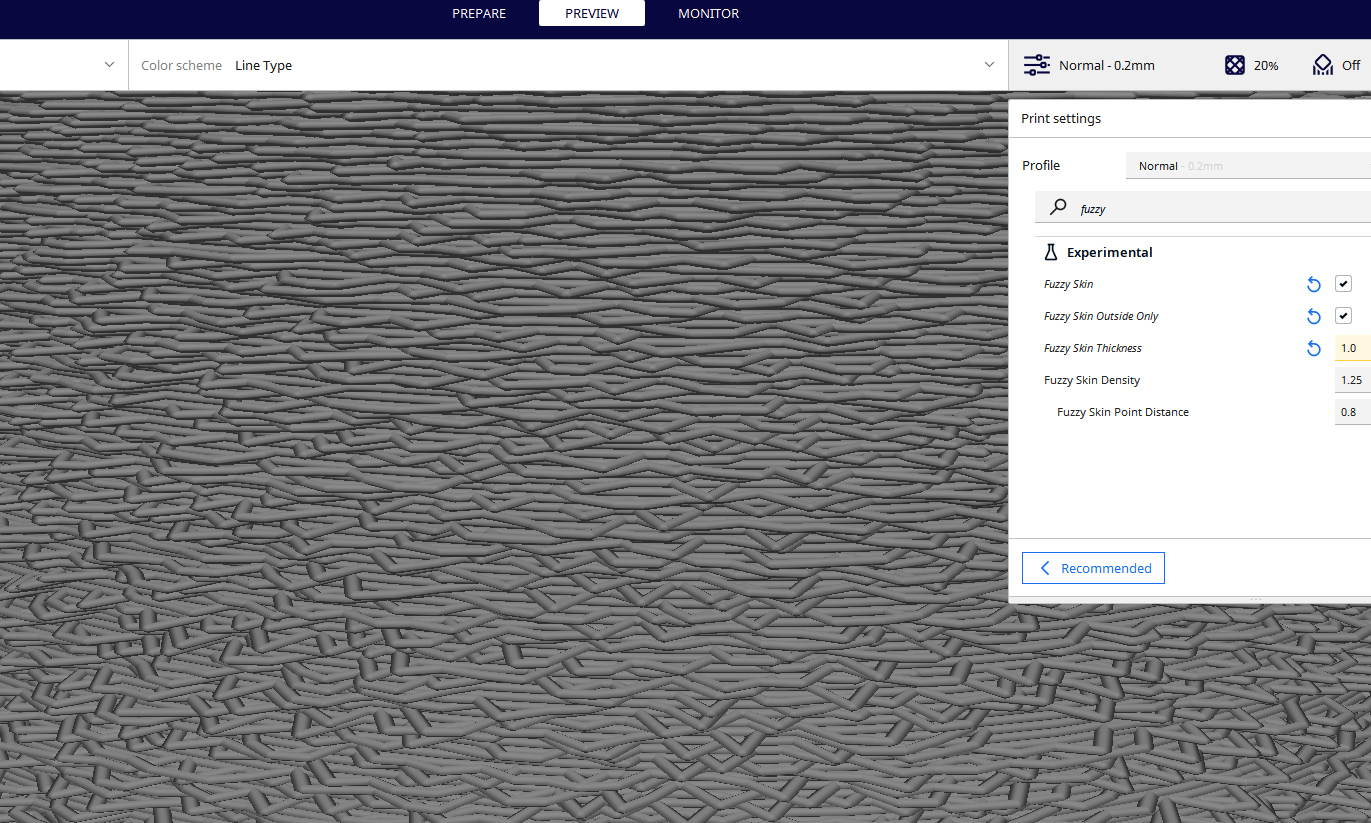
When you increase the value to around 1mm, the irregularities will extend deeper into the print, making the textures much more visible and pronounced, as shown below.
On the other hand, using a lower value will result in a thinner layer of fuzzy skin and fine textures, as shown below.
As you adjust the Fuzzy Skin Thickness value, you must ensure that your wall thickness value is higher than that value.
Fuzzy Skin Density
Fuzzy Skin Density controls the intensity or the frequency of the irregularities on the outer layers. Unlike thickness we have just seen, the Fuzzy Skin Density setting determines how densely packed the variations in extrusion are. A higher value will make the irregularities much crowded, resulting in a pronounced textured appearance.
A lower Fuzzy Skin Density leads to a sparser distribution of the extrusion variations and produces a less pronounced fuzzy effect. You have to experiment and see which works best for your print. You can adjust the value, preview it and see how it appears before sending it to your 3D printer.
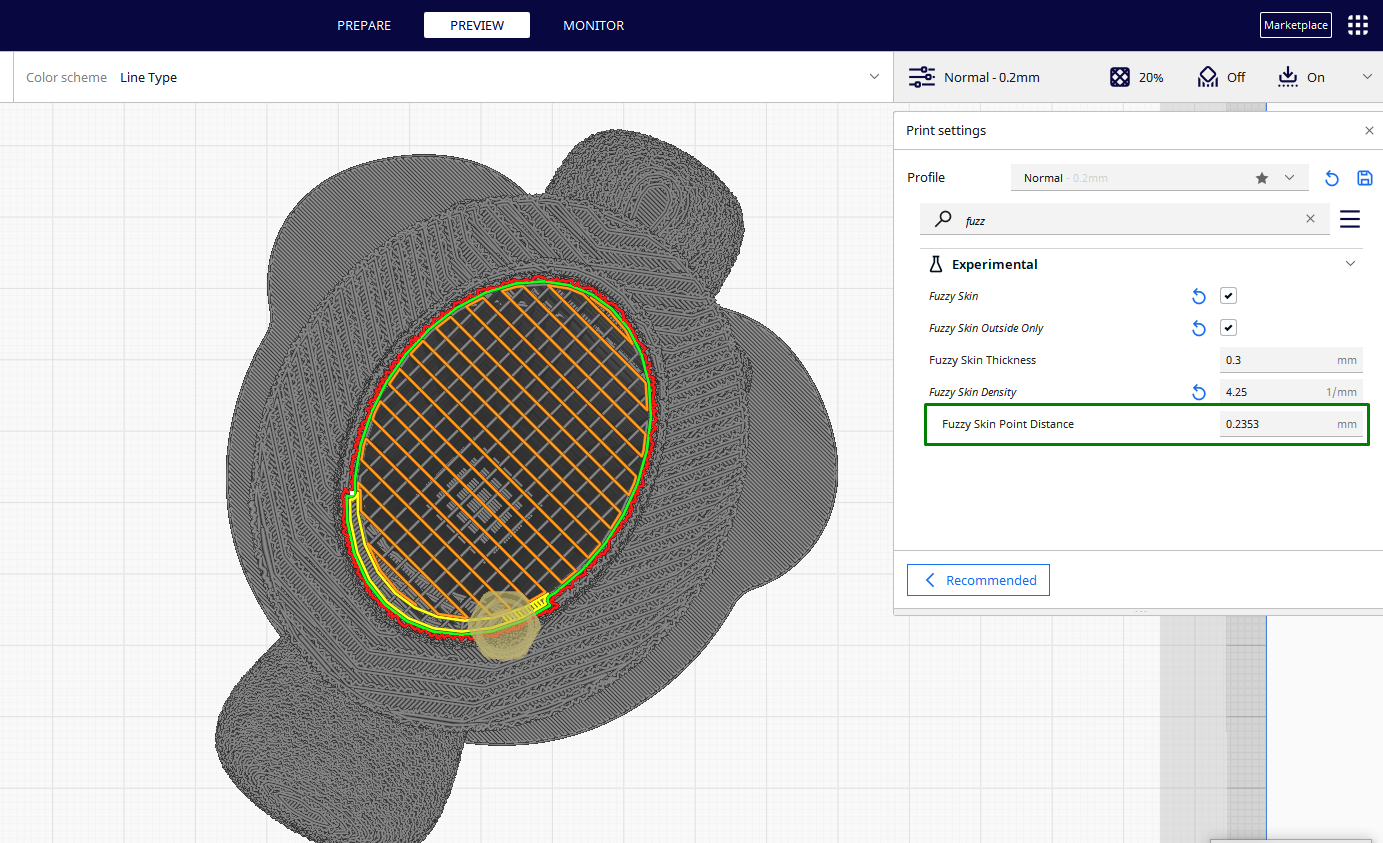
Fuzzy Skin Point Distance
This setting controls the distance between the points where irregularities are applied and influences the texture pattern's scale. Just like the skin density, you can use this parameter too to customize how closely or sparsely the variations in the extrusion are distributed on the print's surface.
A smaller point distance results in more closely spaced irregularities, leading to finer textures. Alternatively, a larger point distance results in less frequent and more widely spaced extrusions, producing large texture patterns.
Preview and Generate the G-code
Cura provides an easy way to preview and visualize how your prints will be 3D printed before sending them to your 3D printer. After applying the fuzzy skin settings, click the Slice button and go to the Preview option. You will then use the sliders on the right and bottom to preview how the fuzzy effects appear as the 3D printing process is visualized.
You can inspect the surface texture, and when you identify any issues, you can make additional adjustments. I also recommend downloading and 3D printing Fuzzy Skin test print from Thingiverse and using it to find the optimal value. You can also check the file shared by a Reddit user to see what the final outcome should look like.
When you are satisfied with the results and have made the necessary adjustments, you can slice the design, save the G-code file, and then send it to your 3D printer.
Though the Fuzzy Skin Feature is an important setting, especially when 3D printing specific designs as described in this article, it’s essential to know that this feature can lead to a slight increase in the overall size of the print. This is because the outer layers usually become thicker because of the irregularities.
So, for parts that need to be accurate, especially if intended to interlock with other components or be joined with other pieces, you should avoid activating this feature. But if you must use it, you need to adjust the Fuzzy Skin Thickness and Density to minimize the impact on the dimensions of your print while still achieving the textured effect.
More 3D Printer Tutorials
- How to Use PrusaSlicer: A Beginners Guide
- 5 Ways Fix Z Banding in 3D Printing
- How to Use FreeCAD for 3D Printing
- How to Convert OBJ Files to STL Files for 3D Printing
- How to Clean and Cure Resin Prints
Sammy Ekaran is a freelancer writer for Tom's Hardware. He specializes in writing about 3D printing tutorials and guides. You can find more of his work on various publications, including Makeuseof, All3dp, and 3Dsourced.
-
edzieba "Fuzzy Skin" is also available in Slic3r-derived slicers (Orca Slicer, Bambu Slicer, PrusaSlicer).Reply
