How to Fix 3D Printer Thermal Runaway
Resolve heating problems in your 3D printer
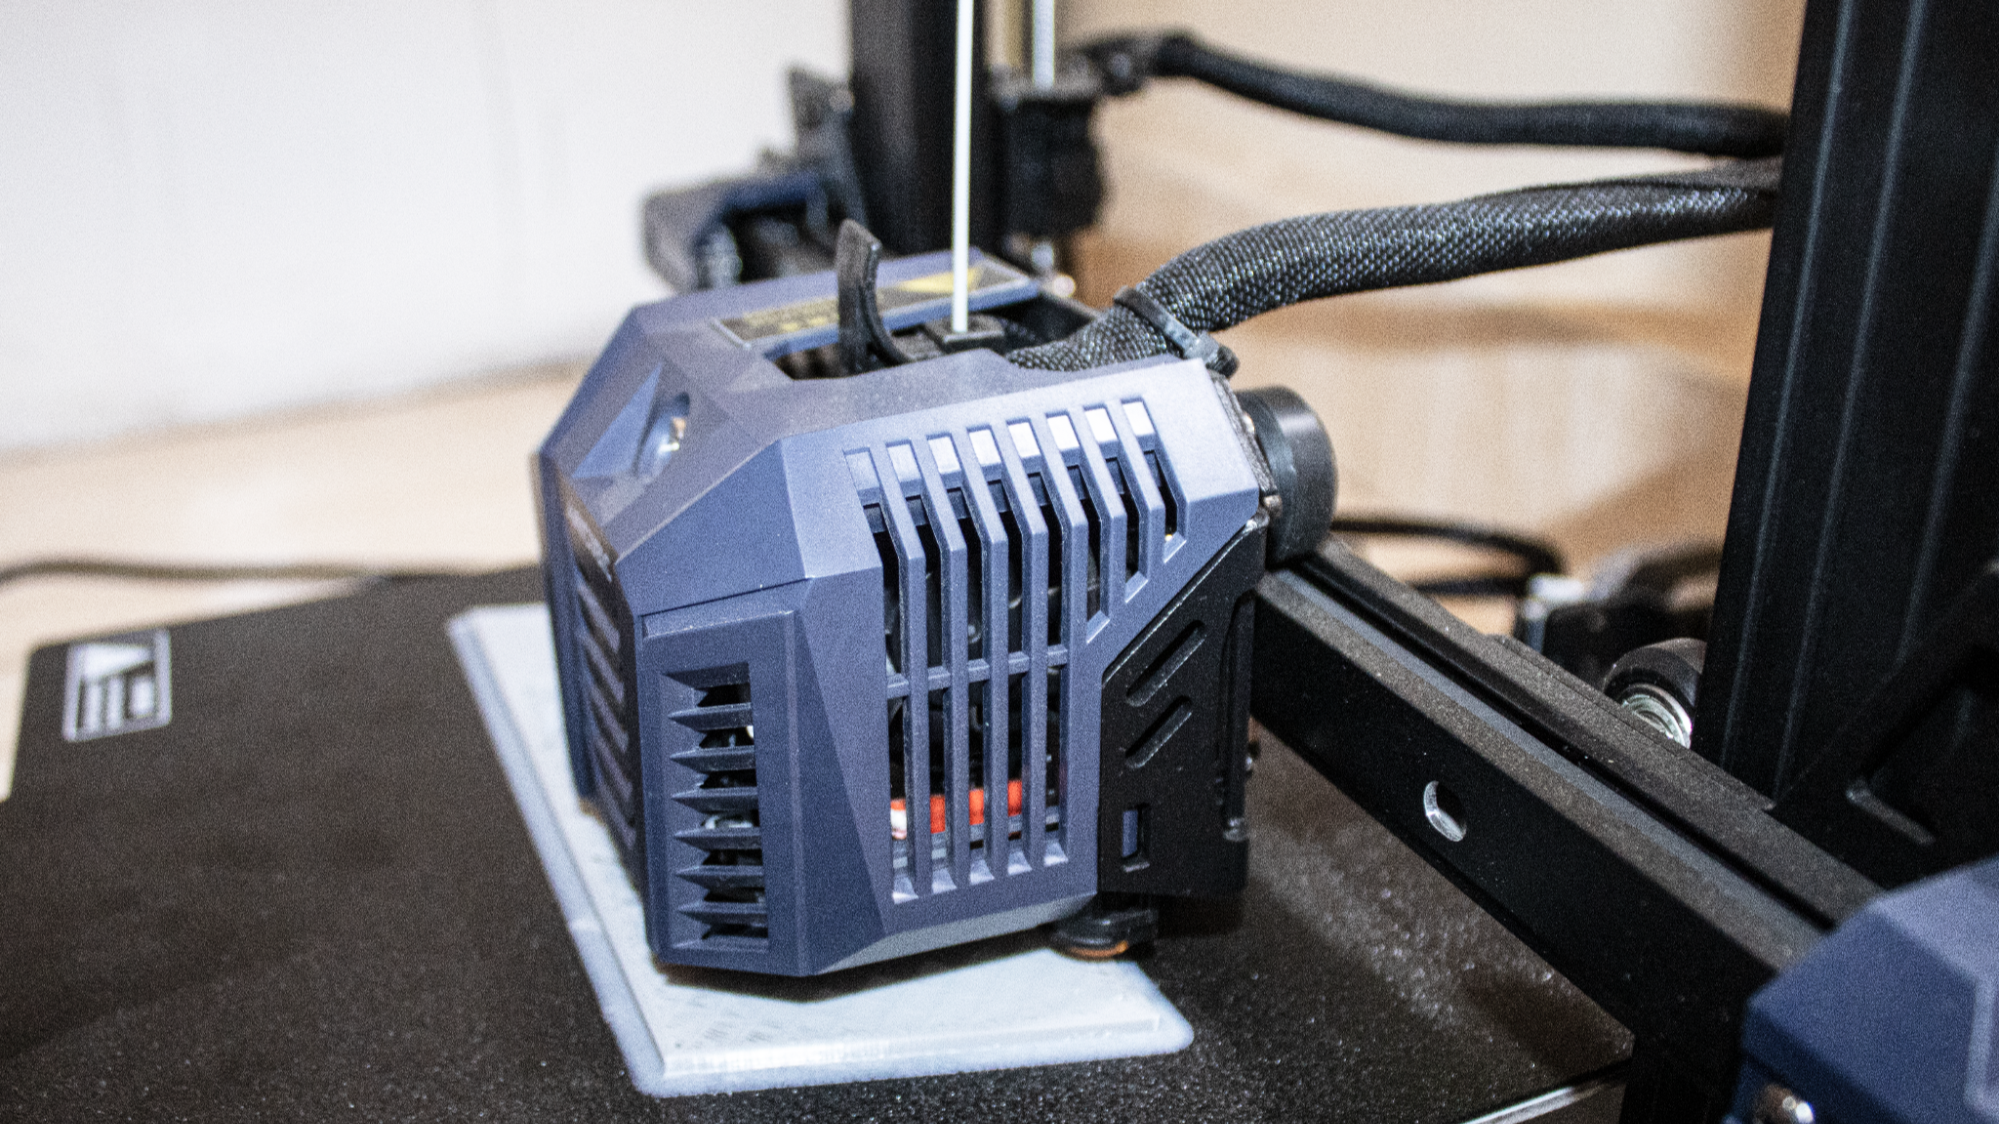
If you have ever encountered an issue where your 3D printer overheats, produces a strange sound and suddenly stops, or the heating elements show signs of damage, it means that you have encountered a thermal runaway problem. Some 3D printers, like Ender 3, even display the error “Therma Runaway: Printer halted, please reset” on the screen to show a critical problem with the 3D printer's temperature.
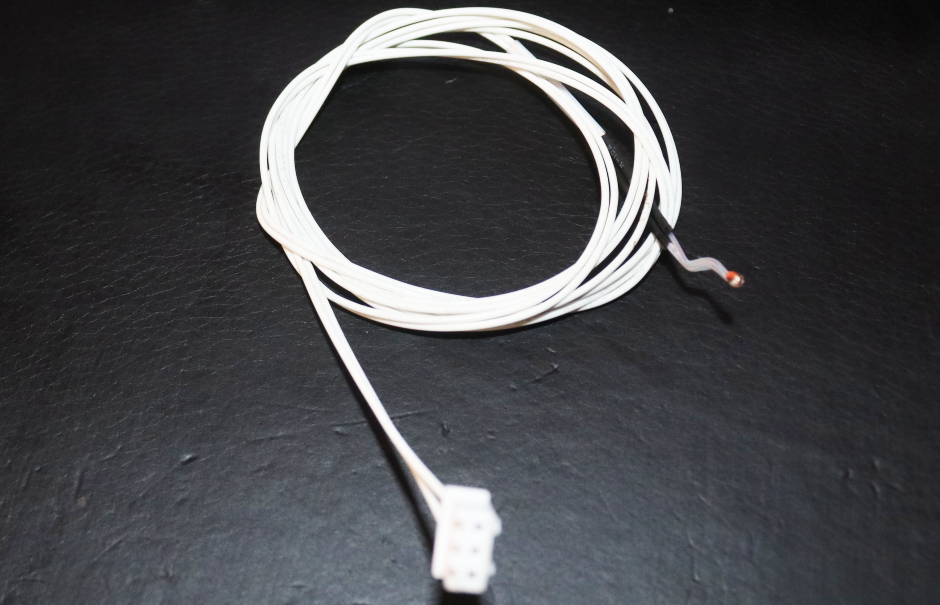
Thermal runaway results from various factors, one of which is a faulty or dislodged thermistor. The thermistor, found in all the best 3D printers plays a critical role in maintaining and controlling a consistent temperature in the 3D printer by providing feedback to the control board. If it senses that the temperature is higher than intended, the control board reduces or cuts off power to the heating elements. So, if the thermistor is affected, the temperature can surpass the target without signals being sent to the control board of your printer. This results in a thermal runaway.
Damaged wires, firmware issues, and improperly installed cooling fan can also result in the issue. Like any other 3D printing issue, this problem is fixable, and we have discussed what you need to do to fix the problem below.
1. Check the Thermistor and Ensure it’s not loose or Damaged
The thermistor is the first thing you must check when encountering a thermal runaway. If it is not seated well on the heater block or not correctly connected to the motherboard, it will result in inaccurate temperature readings, leading to thermal runaway. So you should carefully inspect it and ensure it hasn’t slipped out.
Also, if you have changed or installed a new hotend, you should do a PID auto-tune. This is where you calibrate PID values in the firmware to help accurately maintain the temperature and avoid fluctuations. You should also check the thermistor itself for any signs of damage or damage to the wires on it, and if it’s damaged, you will need to replace it. You can follow the steps below to do the replacement.
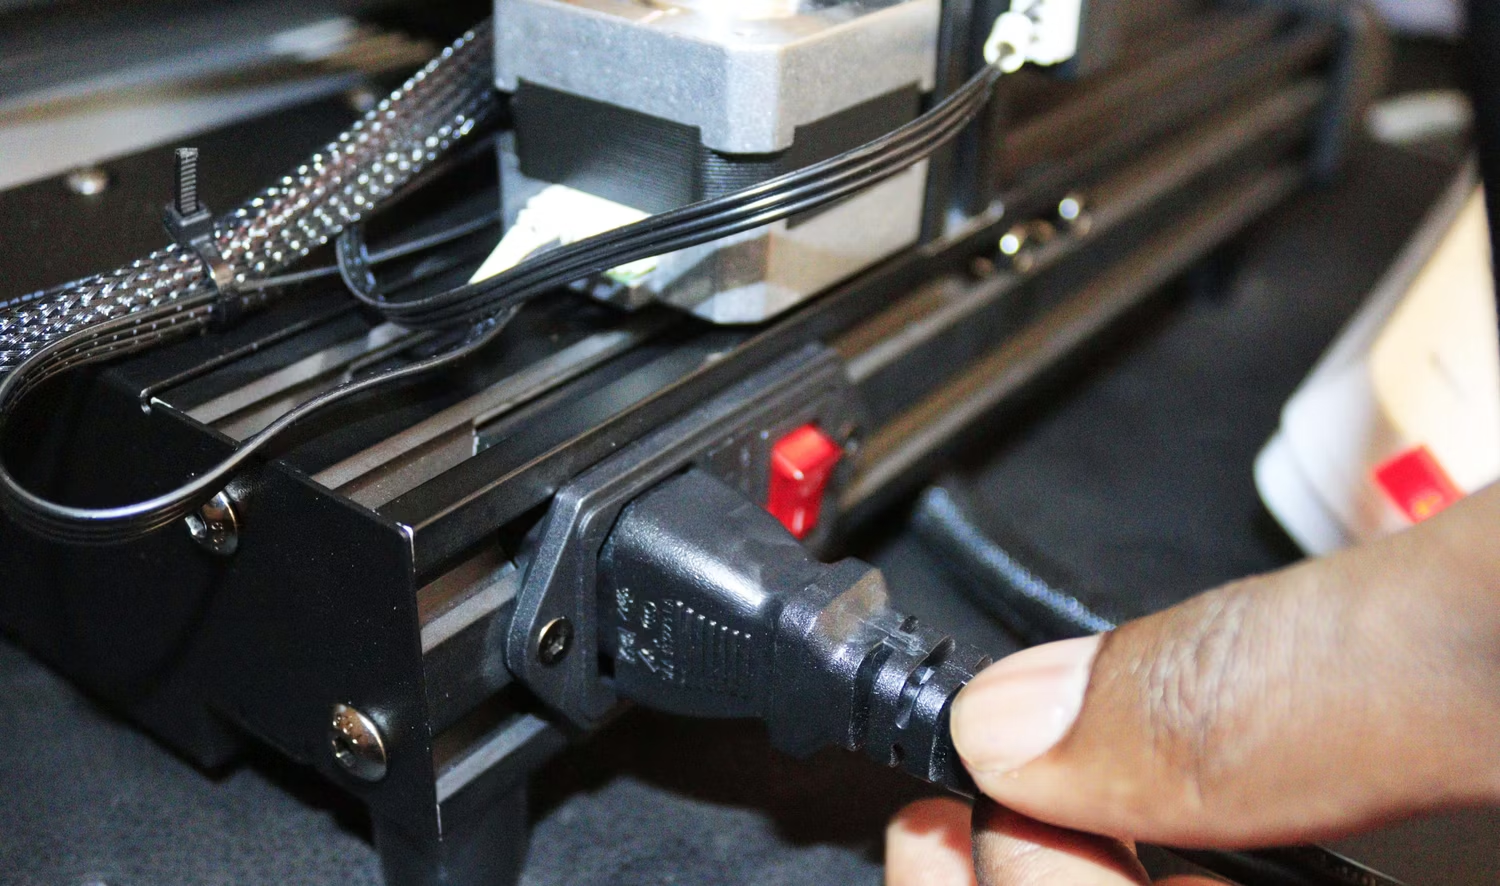
1. Turn off your 3D printer, disconnect it from the power supply, and ensure the hotend has cooled enough.
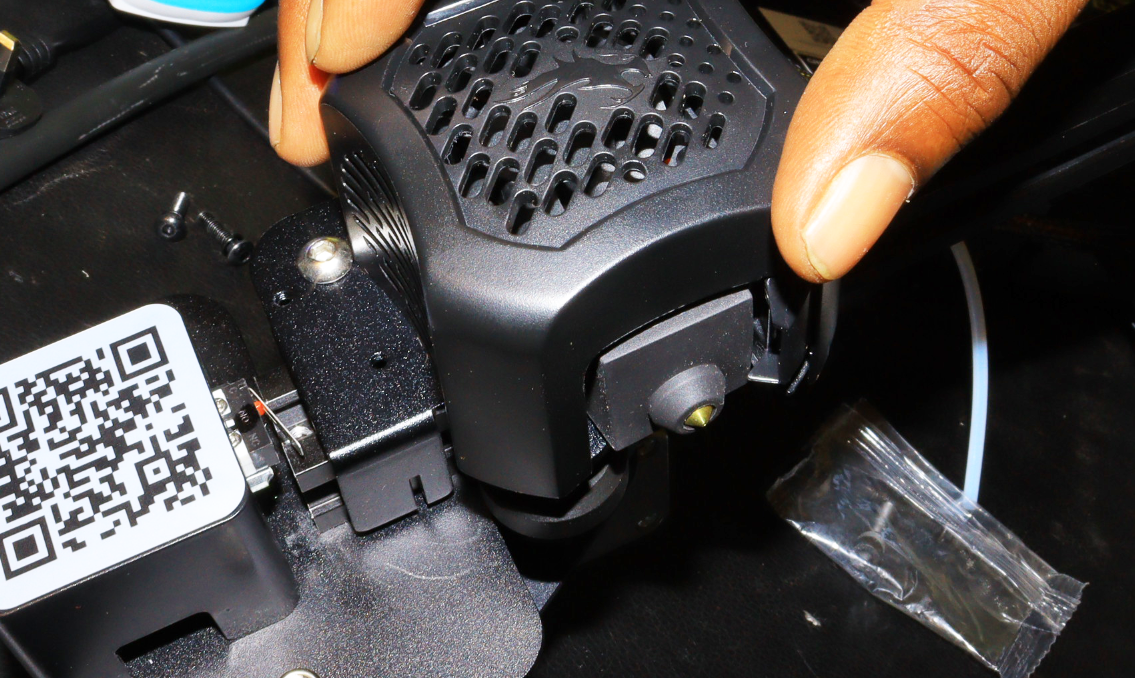
2. Access the heat block which hosts the thermistor by unscrewing the extruder casing.
Get Tom's Hardware's best news and in-depth reviews, straight to your inbox.
For other 3D printers, the heat block could be exposed and you don’t need to remove the extruder casing. You can also opt to unscrew the entire extruder from the frame to work comfortably.
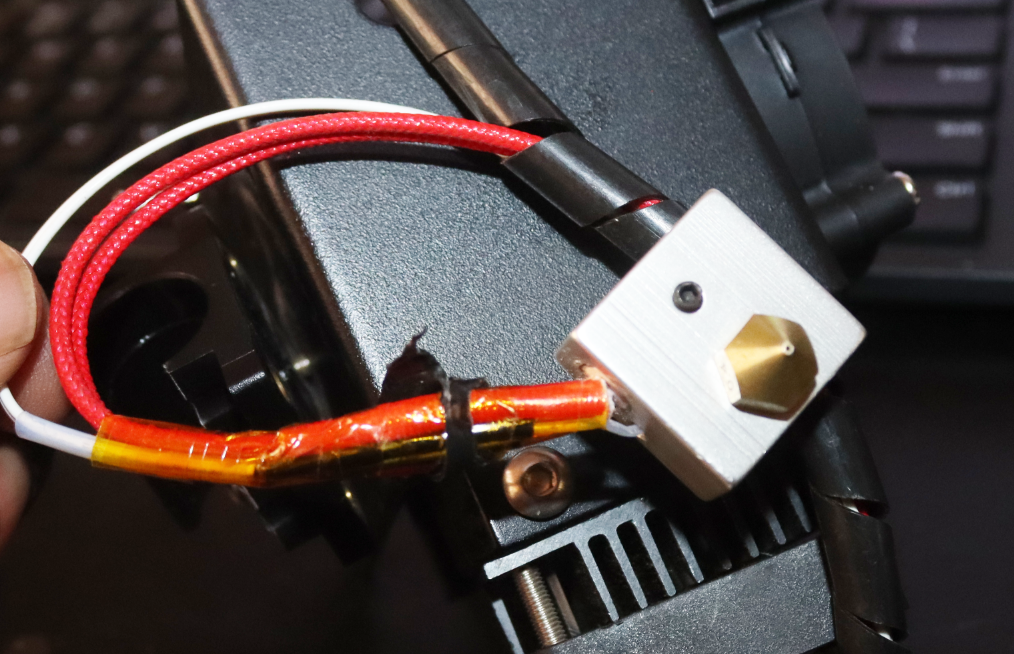
3. Remove the wires on the heat block, and you will see the thermistor (the one in white).
4. Remove the spiral wrap on the thermistor to expose the wires. You can then inspect to see if there is any issue with them. Remove the thermistor entirely from the hot end by pulling it out gently. You will see a sensor at the end of it.
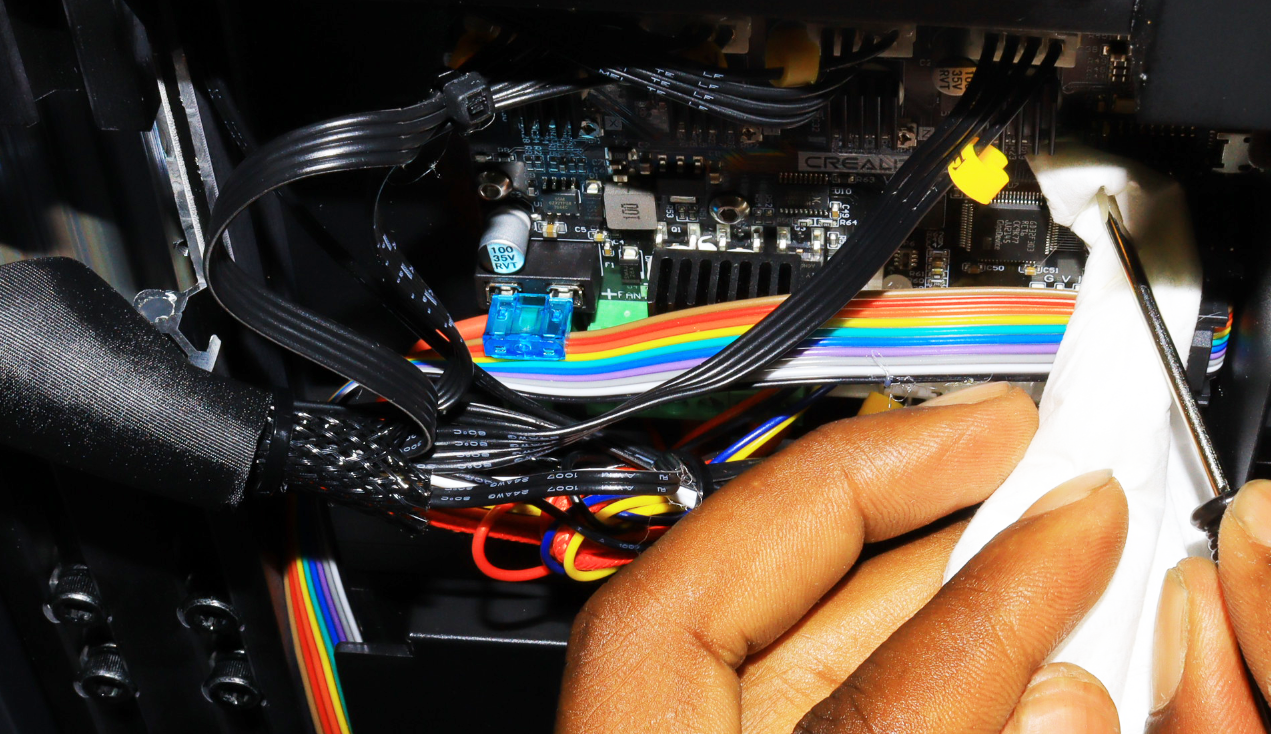
5. Follow the thermistor wire to the microcontroller of your 3D printer and inspect it to see if it might have snapped or if any section is broken before you remove it.
The exact location will depend on the type of 3D printer you use. You can buy a replacement from Amazon after you have removed that.
2. Ensure Thermal Runaway Protection is Activated in the Firmware
Most 3D printers use Marlin firmware, and the thermal runaway feature is usually activated by default. You can check to ensure the feature functions as intended by removing the thermistor from the 3D printer and then heating the printer hotend to the standard temperature. Wait for a few minutes after the temperature has reached the standard value, and you will see the thermal runaway error on the screen, or the printer will stop functioning. However, if the printer doesn’t stop and there is no error displayed on the screen, it means that the feature is not activated. You need to enable it on the firmware, or you can change it completely.
3. Check the Heater Cartridge
A heater cartridge is a tube-shaped component that is within the hotend of your 3D printer. When the electric current passes through it, it converts the electricity into heat, raising the temperature of the hotend to the desired value. This helps ensure that the correct temperature is maintained in the nozzle.
A common issue is a loose connection between the heater cartridge and the control board, which results in heating or complete failure to regulate the temperature in the nozzle. Also, if it is dislodged from the hotend, it can fail to heat the nozzle effectively, which can cause the readings on the thermistor to be inaccurate. The control system, on the other hand, will continuously power the heater to reach the desired temperature, which can cause the heater cartridge to overheat. So you must check it and ensure everything is secured and all electrical connections are stable. Also, you can check for any signs of wear or burns; if you notice them, you need to change them.
4. Inspect the Cooling Fan
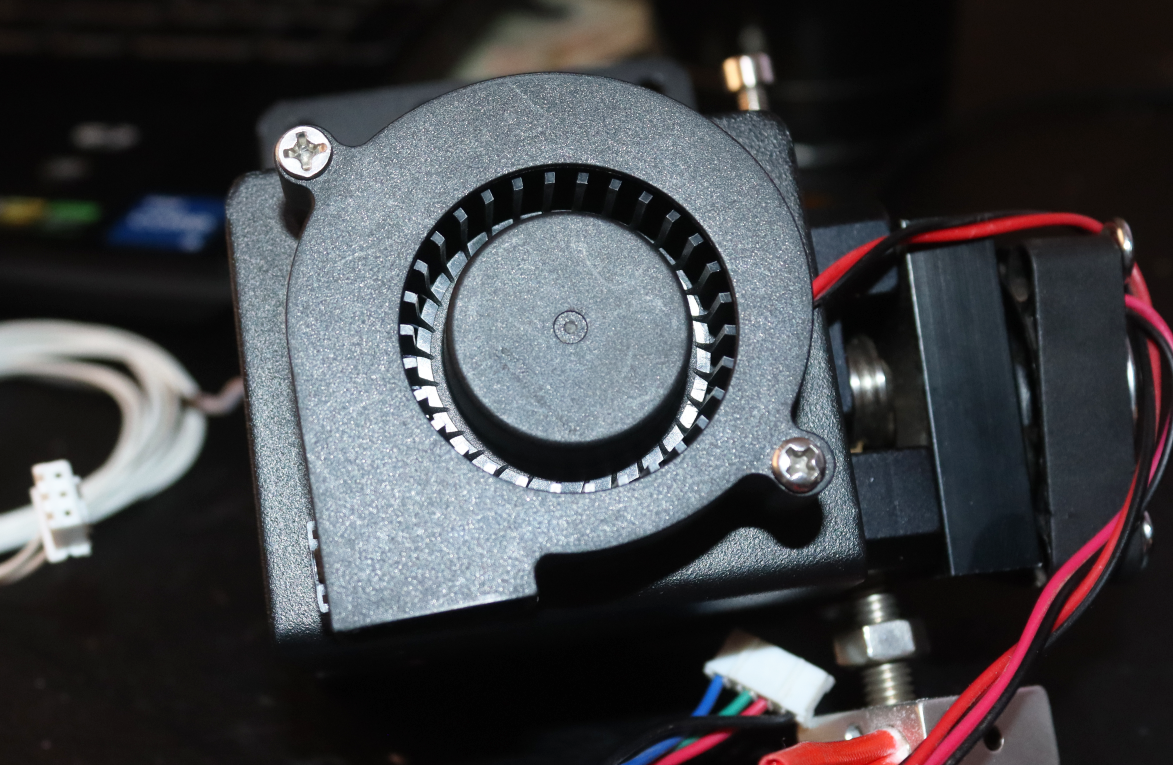
As the heater cartridge produces high temperatures to be distributed on the nozzle and heater block, the rest of the hot end should maintain their temperature. The fan in the hotend ensures that the temperature generated by the heater cartridge is regulated and doesn’t spread in unwanted areas.
Also, in addition to the fan, you should ensure that the heat break, a small metal tube connecting the heat block to the heatsink, is set correctly. This helps prevent heat creep or too much heat from moving into the heatsink, which can trigger a thermal runaway. Also, if
If the cooling fan fails or airflow is obstructed, the heat from the heater cartridge can build up in the hotend. Without proper cooling, the heat sink cannot effectively dissipate the excess thermal energy, leading to an overall increase in temperature throughout the hotend assembly, triggering thermal runaway. This can affect even the thermistor readings, causing it to fail to regulate the temperature.
5. Power Supply Issues
The heater cartridge may struggle to maintain a consistent temperature if the power fluctuates. This can lead to the heater working harder to reach the desired temperature, which results in overheating or unexpected cooling, disrupting the printer’s control system and causing the thermistor to misbehave.
Unstable power can also affect the cooling fan in the print head, which might not be able to regulate the temperature properly, resulting in heat buildup in the hotend. So, you need to ensure that there is a stable and reliable power supply so that proper temperature control is maintained and hence prevents thermal runaway issues.
6. Check the Wiring
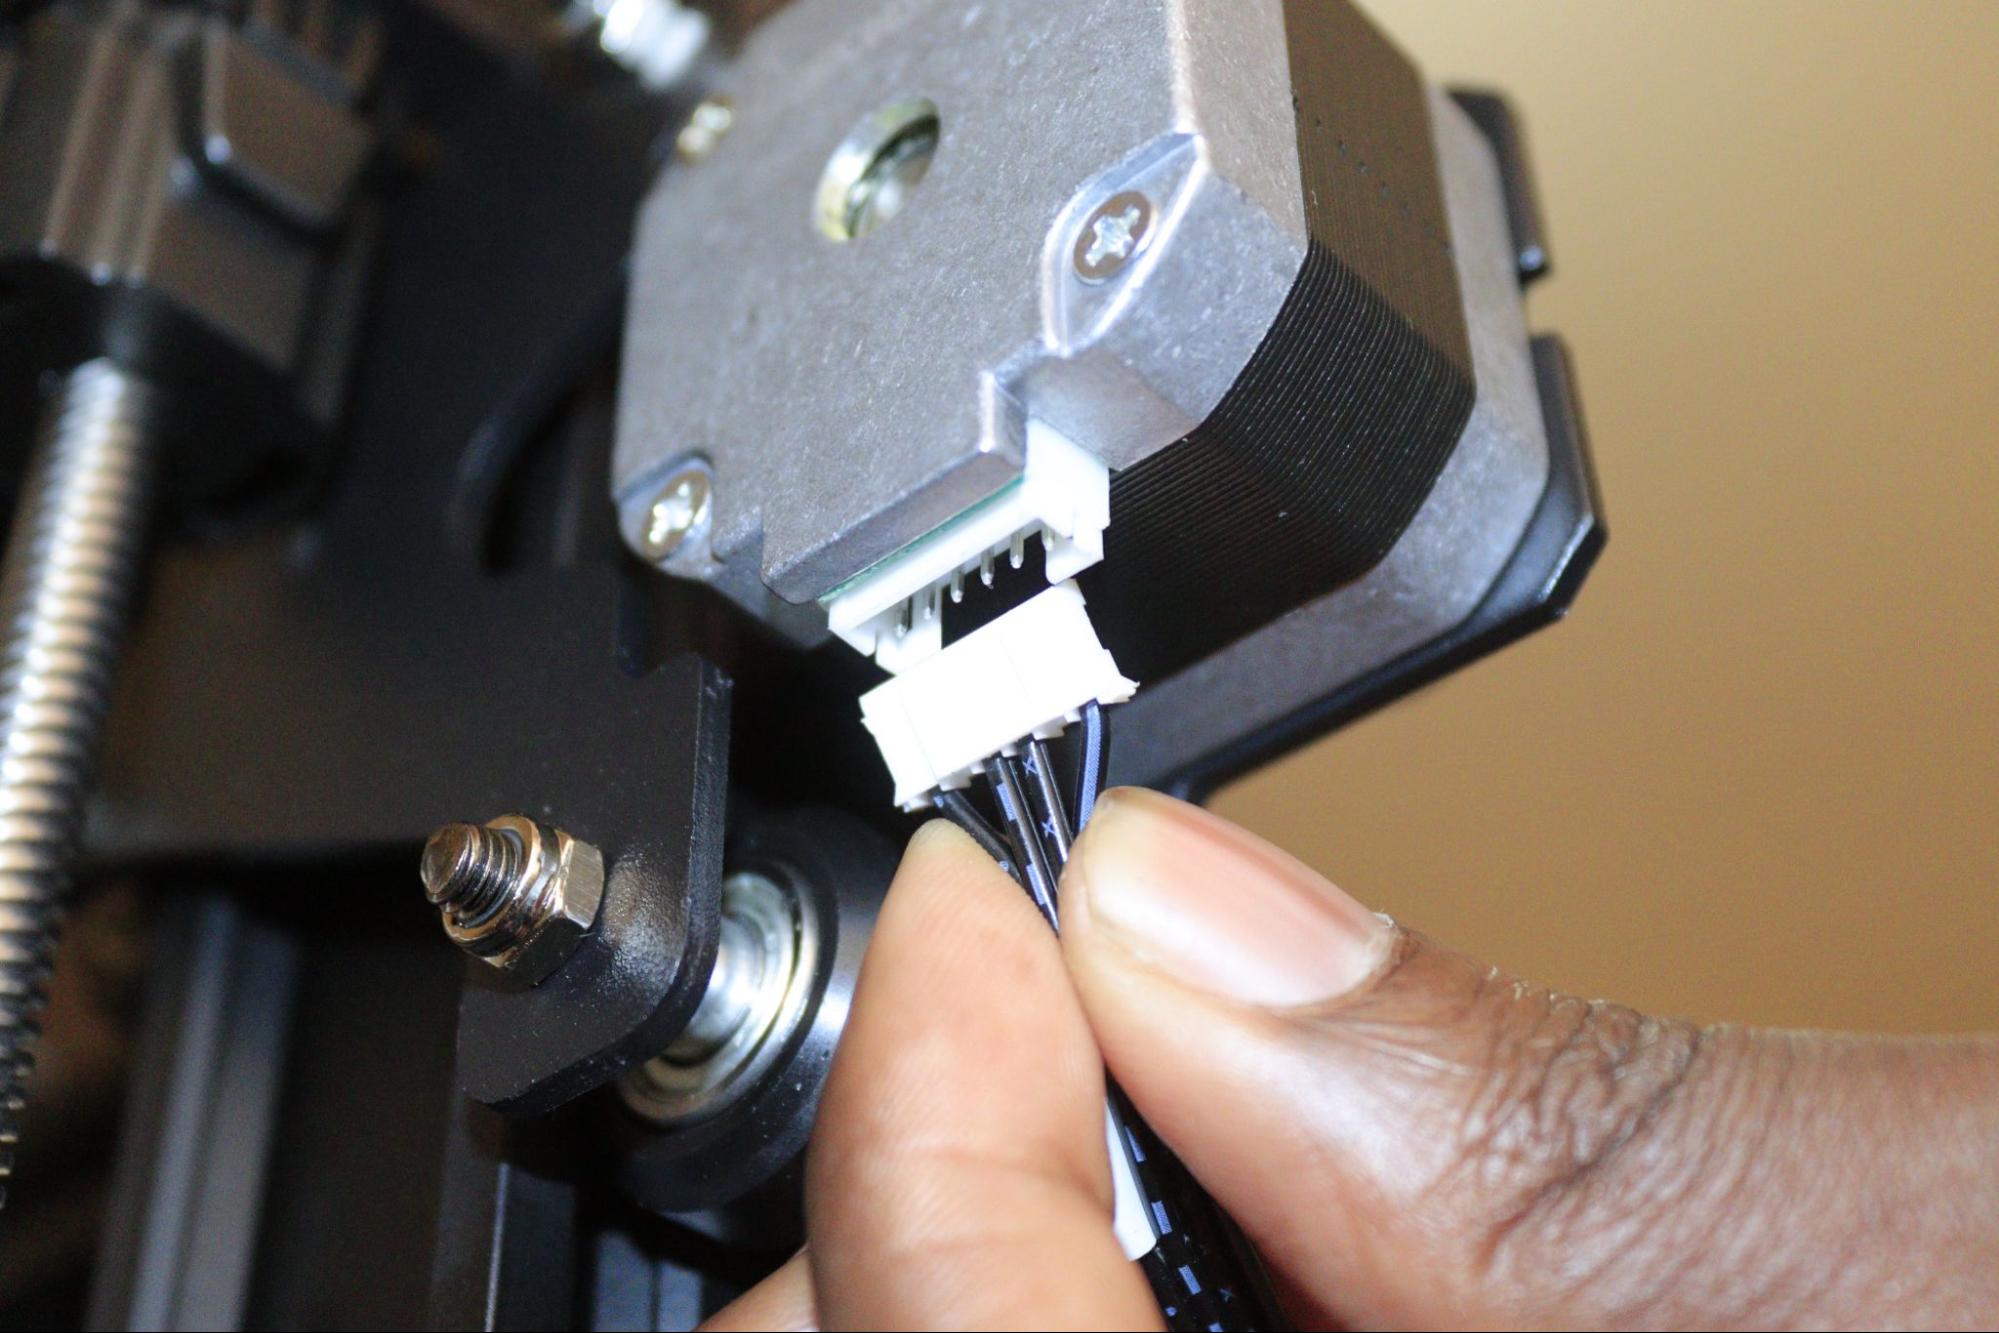
If wires are faulty or loose, they can contribute to an inconsistent power supply to the heating elements, leading to short-circuiting or temperature fluctuations and a potential thermal runaway. So, you need to thoroughly inspect all the wires and see if there are any signs of damage, loose connections, or even corrosion. Pay attention to the wiring connecting the hotend and thermistor to the control board and ensure they are adequately secured and no signs of damage and if you find any, you need to replace or properly secure them.
In addition to the visible wires, you can also inspect the internal wiring of your 3D printer and ensure none are loose or damaged. If the wires are not connecting correctly to the control board, there will be no proper communication between the heating elements and the control board, and they can continue heating without regulation.
More Tutorials
Sammy Ekaran is a freelancer writer for Tom's Hardware. He specializes in writing about 3D printing tutorials and guides. You can find more of his work on various publications, including Makeuseof, All3dp, and 3Dsourced.
