One of the common issues 3D printer users face is 3D prints not sticking to the bed properly, which ruins the first layer. If the first layer has issues, it means the whole print won’t be successful, as it serves as the foundation of the entire object and determines how subsequent layers adhere to each other. Even if you have one of the best 3D printers, if there are settings not set correctly, it can bring issues, and your print can fail. Below, we highlight some crucial things you need to do to fix 3D prints not sticking properly to the bed.
1. Clean Your 3D Printer Bed

If the 3D printer bed has debris, oil residues, or even leftover filament stuck on it, it can cause the print not to stick properly. You should frequently clean your 3D printer before and after 3D printing. You can use a lint-free cloth or a soft brush to wipe away any particles on the bed.
If you notice any oil residues, you can use isopropyl alcohol to clean it. For stubborn filament residue that remains, scrub it off using a spatula that came with your printer, and after that, wipe it using a soft cloth. If there are more remaining, you can use masking tape to remove them. To do this, take a sheet of tape and place it on the bed from one end to the other, and make sure to press the edges down firmly so that it sticks properly. Then peel it off slowly, and it should be able to remove light, tiny debris from the bed. After cleaning, ensure the bed is dry before you start 3D printing.
2. Properly Level Your 3D Printer Bed

A 3D printer bed that is not well-leveled is always one of the primary culprit when issues arise during the 3D printing process. If you have not leveled it well, the distance between the nozzle and the bed may vary across different parts, resulting in an uneven first layer and poor adhesion. You can either manually level your 3D printer or use the automatic bed leveling option if your 3D printer supports it.
After leveling the bed, you must also ensure that the nozzle height is at the correct place from the bed. It should not be too far or too close. You can adjust the z offset to set this correctly.
3. Adjust the Temperature Settings
You need to fine-tune the bed and nozzle temperatures in case they are the ones you suspect to lead to poor bed adhesion. When the bed is heated to the appropriate temperature before 3D, and after the first layer, it ensures that the print adheres firmly to the surface. Different 3D printer materials require different temperatures. You need to know the specific printing temperature requirements of the material you are using and also adjust it on the slicer. In Cura, you can search temperature settings and set it accordingly.

Also, when you add your machine to the 3D slicer, it usually comes with pre-configured profiles, and you won’t need to adjust many settings. You only need to confirm that the material and printing temperature are as intended. You can also 3D print a temperature calibration tower, especially if you are using a new filament and find the perfect settings.

As you adjust the temperature, ensure that the initial fan speed is at its lowest, which is 0.

A lower initial fan speed ensures that there is no too much cooling of the initial layers, which can result in warping and other issues.
4. Lower the Printing Speed of the First Layer
You can reduce the speed of the first layer to give the design enough time to adhere more firmly to the bed. This reduces warping and the risk of displacement of the 3D print. You can use a speed of between 20-25 mm/s if your 3D printing speed is about 50-60 mm/s. If you are using Cura slicer, you can find the settings in the speed section.

Also, you should be mindful of the initial layer travel speed, which determines how the nozzle moves when not extruding during the first layer. You should also use a lower value to prevent the layers already printed from being pulled away from the bed.
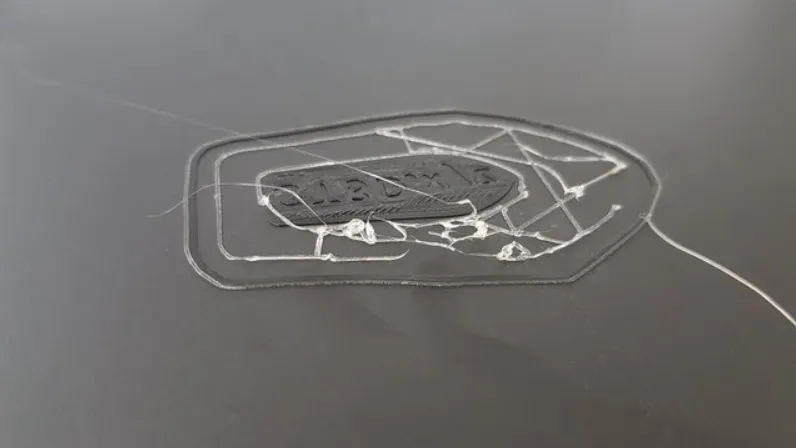
5. Use an Adhesive

Adhesives come in different forms, but you should choose the one that is easy to apply and clean up, and it should not firmly hold to the bed to the point of damaging it when it’s being removed. A good example of an adhesive that you can use is the Magigoo glue stick. It comes in different forms for different materials, and it works on various surfaces too. To apply it, you only shake and then press it.
In addition to a glue stick, you can also use a blue painter's tape. It is easy to remove from the build plate once you finish 3D printing, but the only downside with this option is that it can leave an imprint on the bottom of the print, which might not look good, especially on prints that require a perfect smooth finish on the first layer. Hairspray like Paul Mitchell as it works on different materials. You only need to be careful when using it as it’s flammable.
6. Use a Brim and a Raft

A 3D printing brim is a thin layer of filament that goes around your print to provide a large surface area for the first layer to hold firmly to the bed. It also helps prevent curling and warping in the edges of your print when it cools. A raft on the other hand, is almost similar to the brim, but it is printed underneath the model instead of around it, and consists of several layers of material that serve as the foundation of the print. It compensates for the irregularities on the bed or when printing with materials prone to warping, like ABS, and ensures that the first layers stick correctly.
You can add these in the Build Plate Adhesion section if you are using Cura.

7. Change the Build Plate

If all the above doesn’t work, you should consider replacing the build platform and using one with a better adhesion like the smooth double-sided PEI sheet. It is coated with polyetherimide which helps provide excellent adhesion, and it is flexible too, making it easier to remove the print when you finish 3D printing. It is also magnetic for quick bed attachment, and its smooth nature ensures that you get a print that has a shiny finish on the bottom section.
Another great option is the Garolite G10 3D printer bed. It grips PETG and PLA filament well without adhesive, and cleaning is easy too.
Resin 3D Prints Not Sticking to the Bed
You could also have adhesion issues even when using one of the best resin 3D printers around. To avoid this problem, you should start by ensuring that the build plate is parallel to the FEP sheet. That is, simply leveling it. Additionally, you need to make adjustments to the exposure time settings.

You need to use a longer exposure time for the initial layers to give the print enough time to adhere. If prints get detached as the printing continues, it's usually caused by insufficient bottom exposure, and you need to increase it a little. But in case you see that the print holds too much to the bed such that it becomes difficult to remove, you will need to reduce the exposure time. The exact values vary depending on the resin you are using and the 3D printer too. You can do several tests till you find the perfect one for your 3D printer and resin. You also need to consider the lift distance and speed of the build plate. These values too will depend on your 3D printer, but you should adjust them and ensure the lifting distance isn’t too large or too small, and the speed should not be too fast or slow for a successful print.
Related Tutorials
More: How to Use PrusaSlicer: A Beginners Guide
More: 5 Ways Fix Z Banding in 3D Printing
More: How to Use FreeCAD for 3D Printing