3D Printing Brims: How and When Should You Use Them?
Improve adhesion and stability, and prevent warping in your prints
Even with proper bed leveling and one of the best 3D printers, sometimes you can experience issues with your 3D prints not sticking well to the 3D printer bed either because of the nature of the design you are printing or the type of material you are using. One of the ways to address this issue is by using a brim.
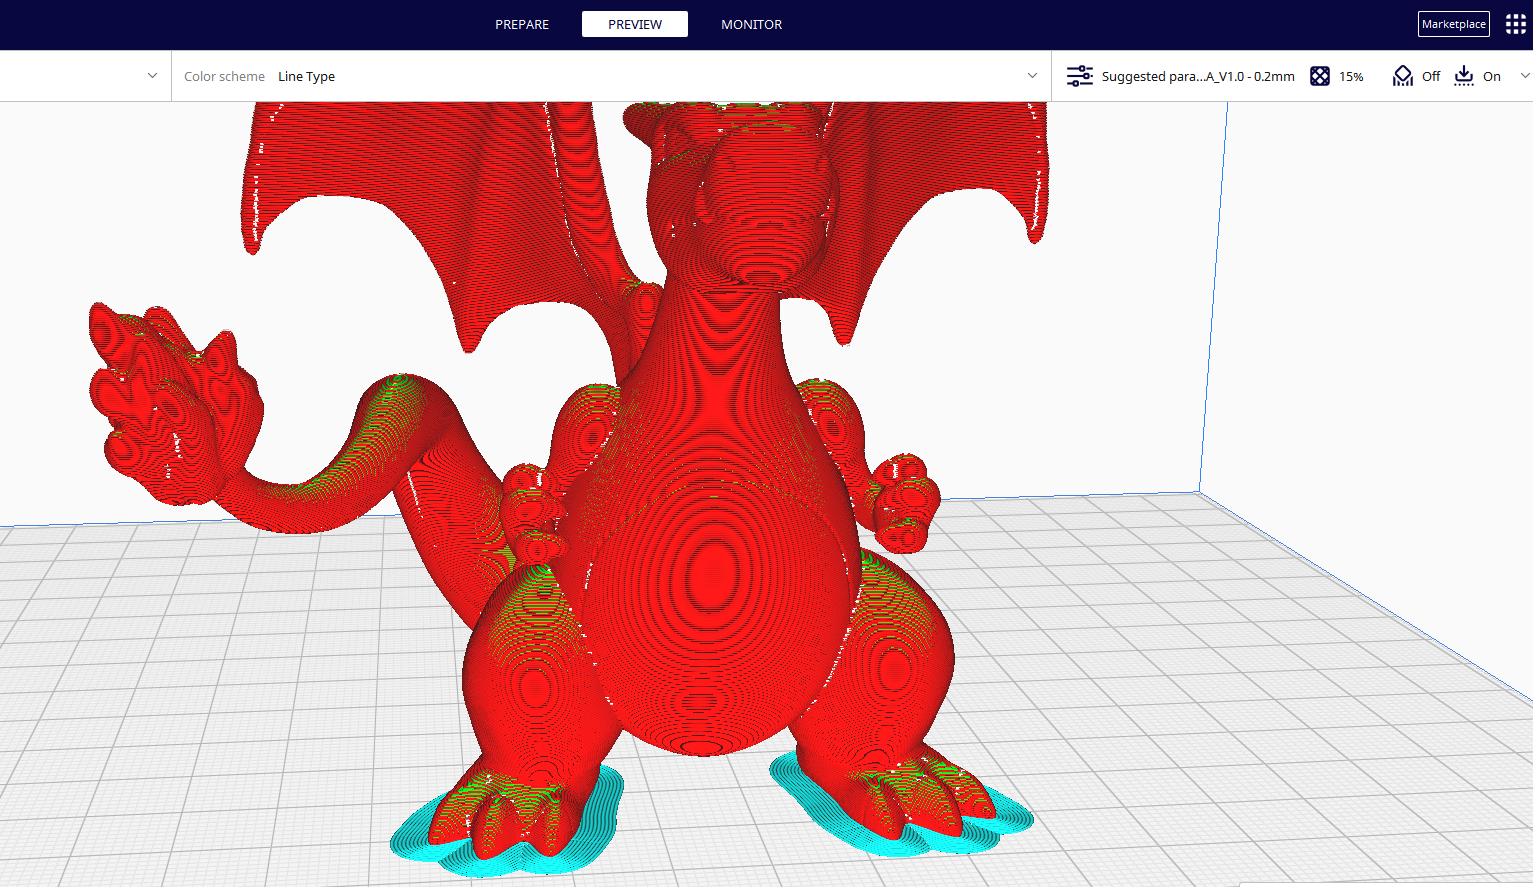
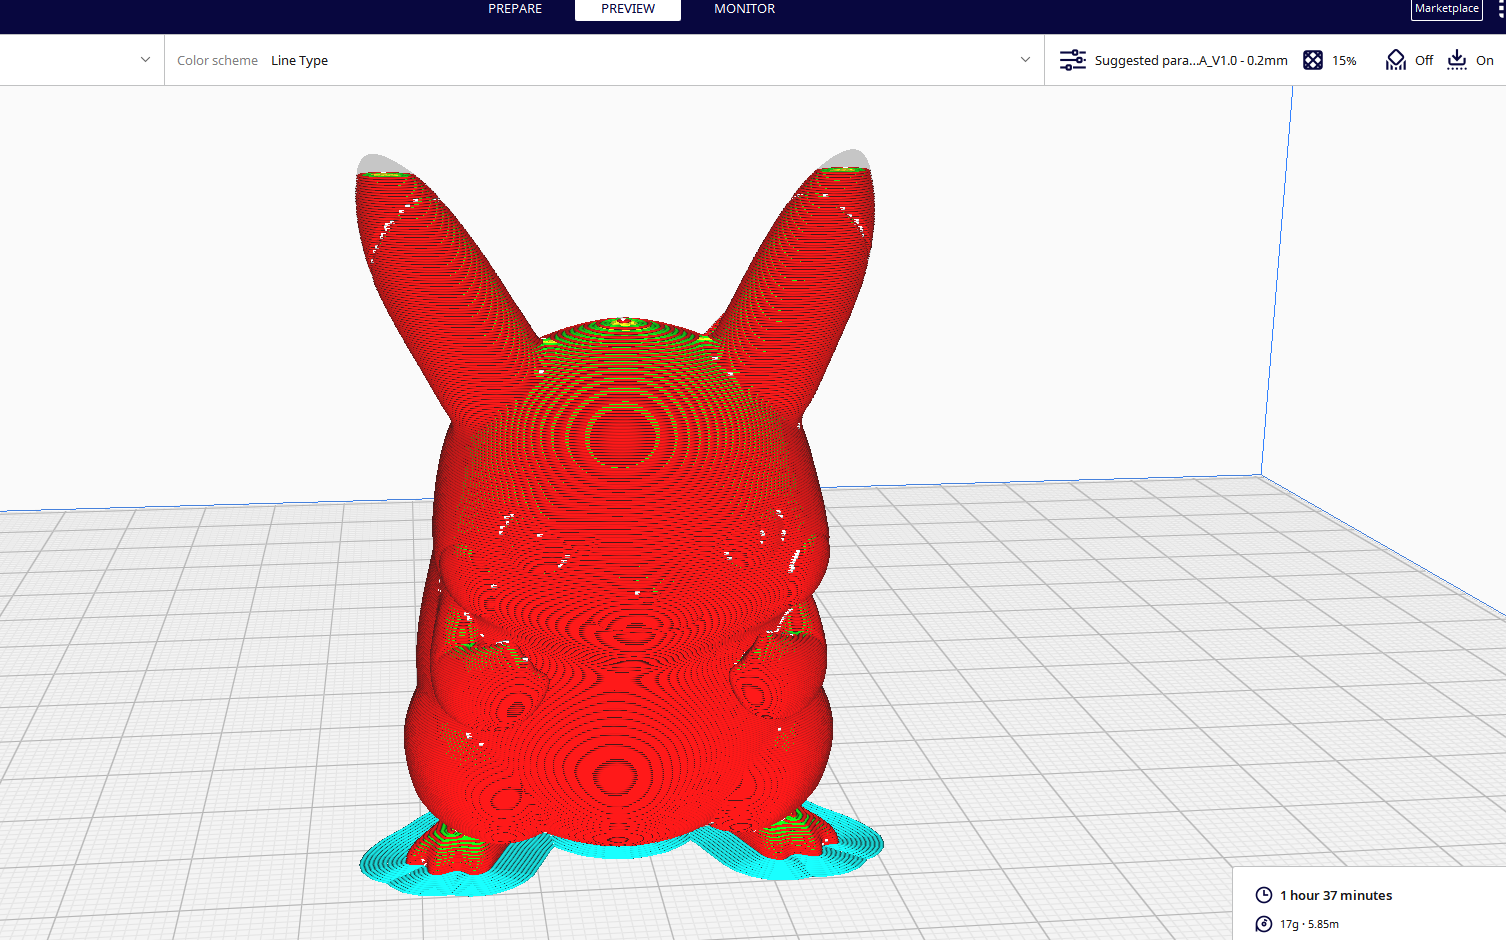
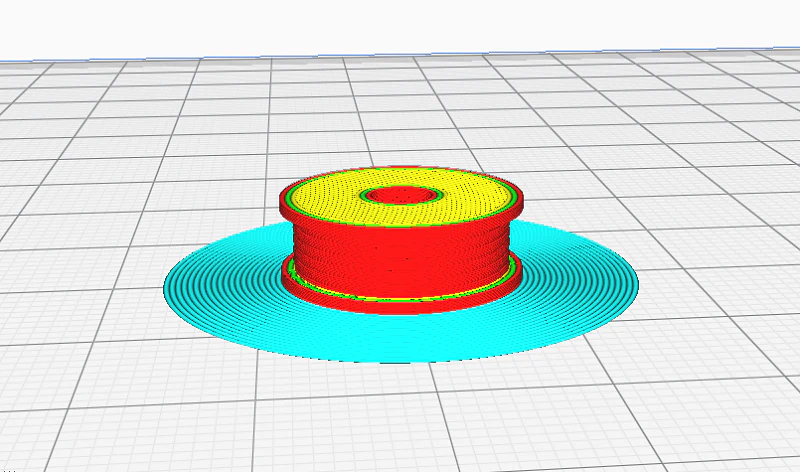
A brim is an additional thin material you add to your design in the slicer to improve adhesion between the printed object and the 3D printer bed. It achieves this by increasing the contact area between the object and the build plate, providing better stability and preventing warping or detachment during printing. A brim is not intended to be a permanent part of the final 3D printed object. Once you finish 3D printing, you can remove it.
Benefits of 3D Printing Brim
Some of the benefits of a brim in your designs include:
- Improved adhesion: As we have mentioned above, the primary purpose of a brim is to enhance adhesion between the print and the build platform, reducing the likelihood of issues resulting from poor adhesion. Also, you will not need adhesion aids like glue sticks or hairspray to help the print attach to the bed.
- Stability: For objects with complex geometries and overhangs, adding the brim will act as an anchor, preventing those parts from detaching or becoming misaligned.
- Minimized warping: A brim helps counteract the effects of differential cooling, which can cause warping in materials like ABS. The extended surface area improves bonding, reducing the risk of warping.
- Adaptability to print speeds: A brim is particularly valuable when printing at higher speeds, as it helps counteract the increased forces that can make the print more prone to lifting or shifting.
- Cleaning up the design is easier: Post-processing your 3D prints, especially on the bottom section, is easier as you can peel away or trim the brim easily without affecting the design itself. Also, you can easily clean any remaining traces on the object without affecting the part itself, unlike when it was 3D printed without it.
Not all 3D prints require a brim, but there are specific situations where its use is essential. You need it when:
1. 3D Printing With Materials That Are Prone to Warping
Some materials like ABS are prone to warping due to its thermal properties, specifically, the rate at which it cools and contracts. The temperature differences cause the corners of the print to lift, leading to a failed or distorted object, and sometimes the design can completely detach from the bed. If you are using such a material, you should consider using a 3D printing brim, as it provides an extra adhesion around the base of the print.
2. When 3D Printing Objects With Overhangs
If your 3D print has overhangs or other delicate parts in the initial layers, you should use a brim, as those parts tend to detach from the build plate. A brim will extend the contact area of these sections and make them stable.
3. 3D Printing Parts With Small Base Areas
Parts with small base areas might have issues adhering properly to the build plate as the 3D printer operates and vibrates. So adding a brim can make a big difference as it will increase the contact surface between the print and the platform and distribute adhesion forces more evenly.
Get Tom's Hardware's best news and in-depth reviews, straight to your inbox.
So even if forces are applied to the design from the nozzle, especially when it reaches the top areas, it will be difficult for it to detach. You can also adjust the thickness of the brim so that it can be thicker and hold your design firmly.
4. 3D Printing at High Speeds
When printing at higher speeds, the increased forces acting on the design can make it detach from the bed, particularly during the initial layers. Using a 3D printing brim in such scenarios is a valuable strategy as it will provide an additional surface area for adhesion, distributing the forces more evenly and reducing the chances of lifting.
5. Multiple Small Objects
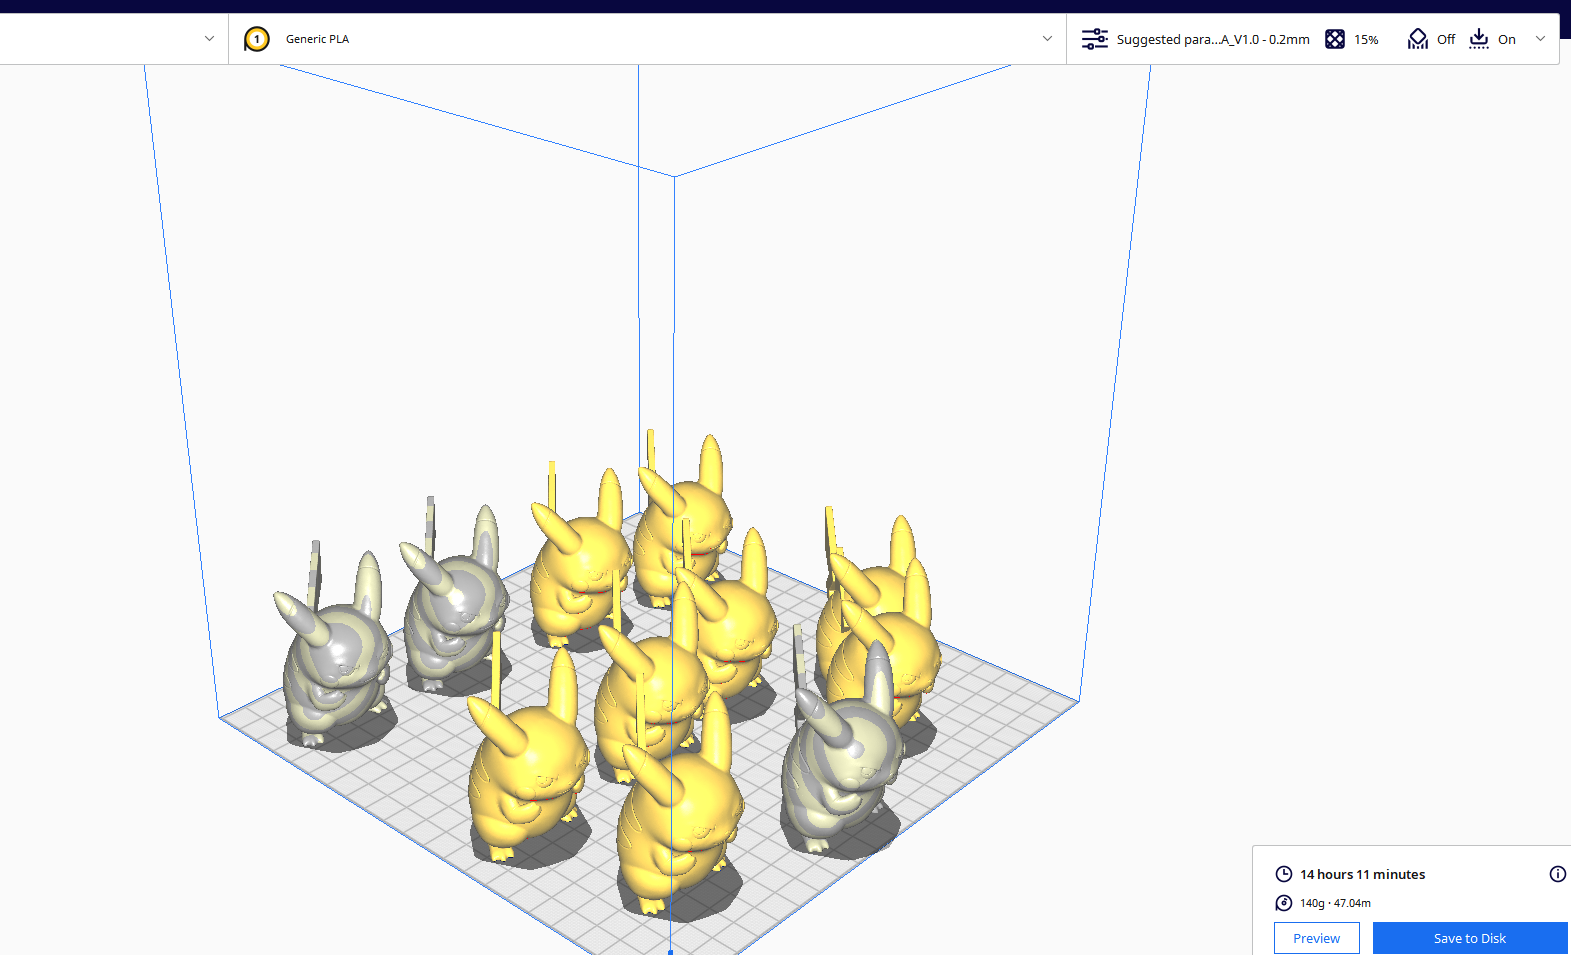
When 3D printing multiple small objects, there's a higher risk of them detaching because of the forces that act on them during the print. A brim provides additional adhesion points for each object, improving stability.
Also, a brim can help ensure uniformity in the first layer of each small object, which is important for achieving consistent quality across all objects in the print. This is particularly beneficial when printing objects that require precise dimensions or alignment.
How to Add a Brim to Your 3D Prints
You can use any 3D printer slicer to add the brim to your 3D prints. If you are using Cura slicer, you can follow the steps below.
1. Import the 3D model you want to print.
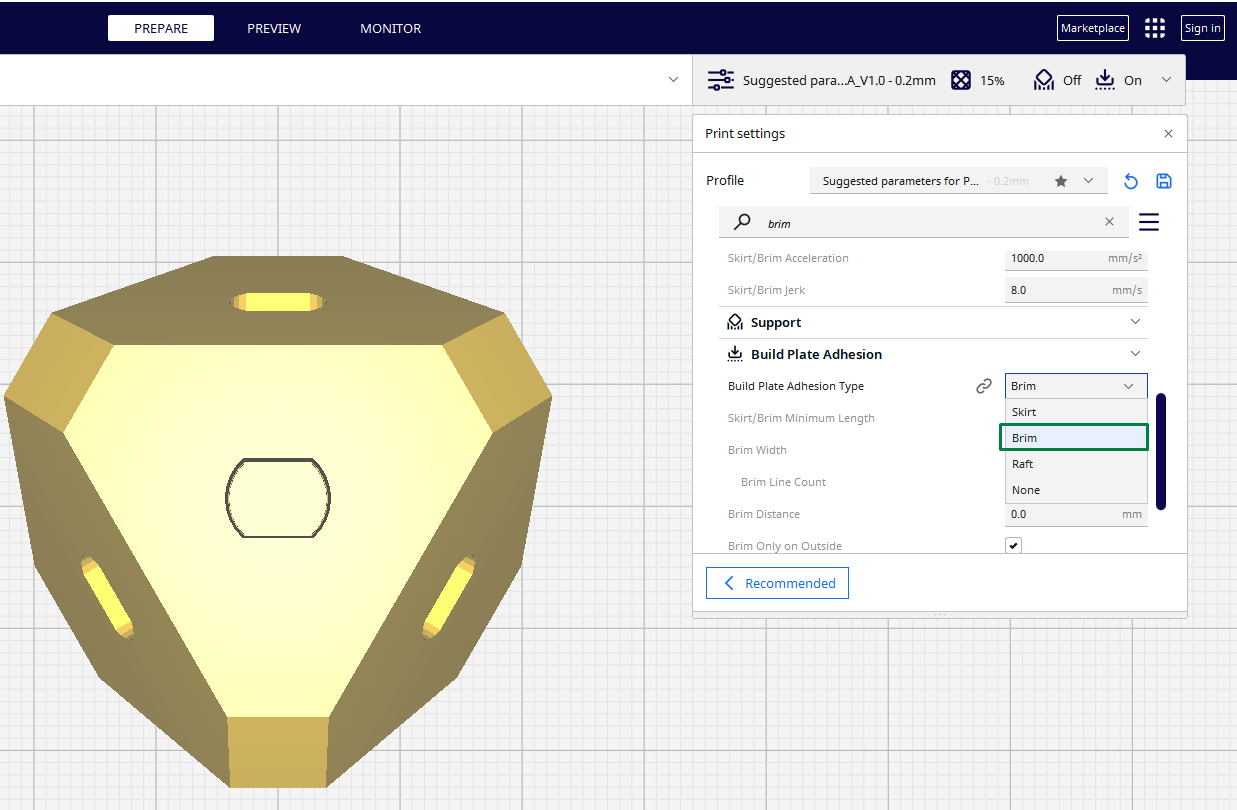
2. Navigate to build plate adhesion from the print settings section and choose Brim.
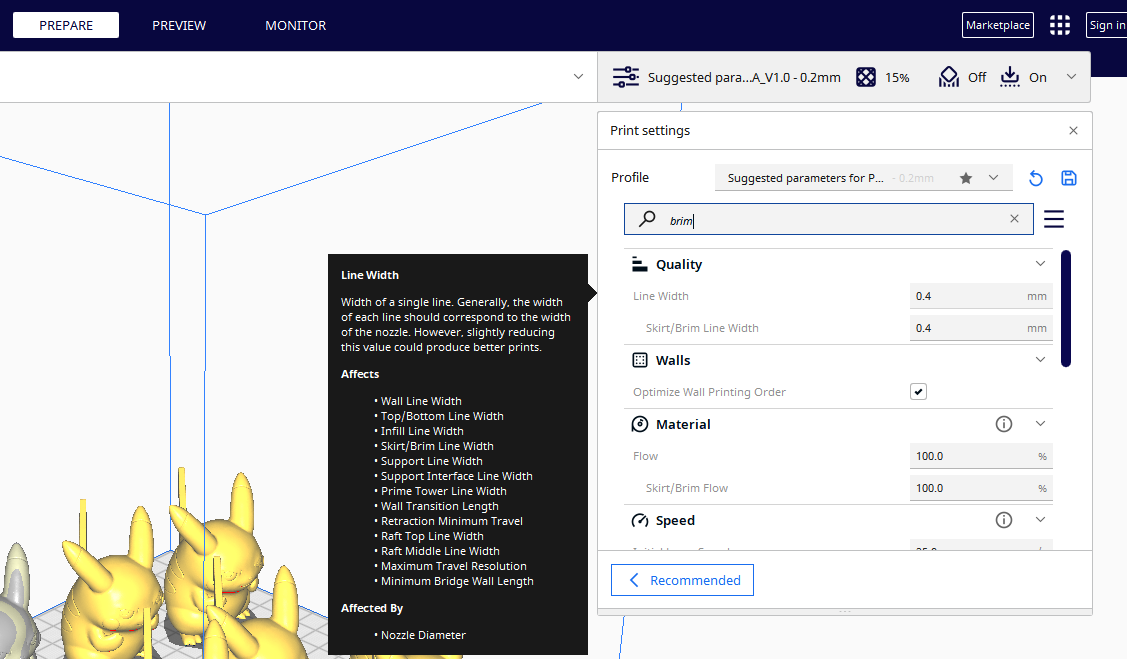
3. Adjust brim settings to customize it further to fit your needs. The following settings are available:
- Brim minimum width: This determines the minimum length of the filament that will be used when 3D printing the brim. The default value is always 250mm, and it is always enough.
- Brim width: Determine how wide the brim should be in millimeters. A wider brim adheres more to the printer bed.
- Brim line count: You choose how many lines of the brim will be printed around the base of the model. This setting also affects the width of the brim.
- Brim distance: It determines the horizontal distance between the first layer of the print outline and the first brim line. You should always retain it at 0mm.
- Brim only on outside: You can enable this option so that the brim can be printed on the outside of the model to make it easier to remove it after 3D printing, as it reduces the amount to be removed.
- Brim inside avoid margin: This setting determines the distance of the brim that will be removed from the outer brim that touches the internal of the other part. You should retain the default value, 2.5mm, and see if it works for your design. If not, you can adjust it.
- Smart brim: When you enable it, it improves brim removal by swapping the print order of the innermost and second innermost brim lines.
4. Review and slice: Review all your settings, including the brim settings, and ensure everything is okay before exporting your G-code file after slicing.
How to Achieve a Good 3D Printing Brim
Sometimes your brim might have issues like not correctly sticking to the bed, or even it can be challenging to remove from the print because it is either too thick or too thin. You can consider doing the following to solve those issues.
1. Use Appropriate Brim Settings
You can adjust the settings highlighted above until you get the most appropriate one for your 3D prints. For example, you can choose a brim width that provides sufficient adhesion while not being excessive.
If there are adhesion issues, you can consider increasing the brim line count to provide more support by printing more lines around the object. However, you should not add too many as it can make the removal process challenging. Additionally, ensure that the smart brim settings are selected, too, as it makes it easier to remove the brim.
2. Properly Level Your 3D Printer Bed
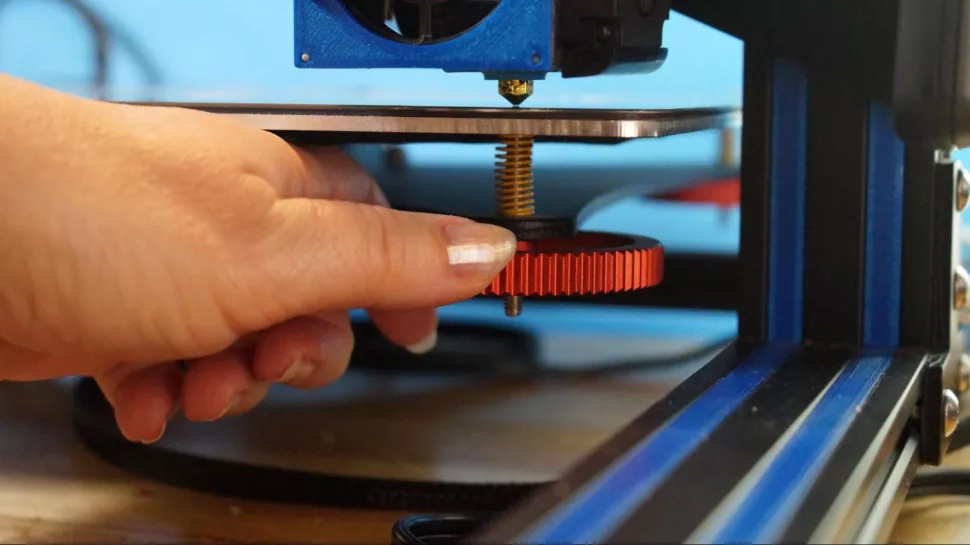
Bed leveling is often the first culprit most of us consider when facing any 3D printer issue, as it plays a crucial role in the quality and success of the first layer. If it isn't level, some areas might be too close to the nozzle, while other areas might be too far away, leading to poor adhesion or even detachment of the brim. So before you start 3D printing, you should properly level your 3D printer bed.
3. 3D Printer Material You Use
Different materials may require adjustments to brim settings. Materials like ABS are prone to warping and need a wider brim or increased line count for it to be printed well. A wider brim involves adding more lines to the edges of the part to help create a stronger, more stable part. For other materials like PLA, you can lower the brim settings.
4. Use the Correct Temperature
If you are using too high or too low temperatures, it can affect your brim. Too high bed temperatures can cause the brim to adhere too firmly to the build surface, making the removal process more challenging and increasing the risk of damaging the main print when trying to detach it.
Also, high temperatures can cause the filament to be heated much, and become fluid, which can result in the deformation of the brim, causing it to lose its intended shape and compromise the accuracy of the first layers.
If the temperature is too low, it can cause insufficient bed temperatures resulting in weak adhesion between the brim and the build surface. So it’s important to choose the optimal 3D printing temperature for your specific filament to achieve the perfect print.
MORE: Best 3D Printers
MORE: Best Budget 3D Printers
MORE: Best Resin 3D Printers
Sammy Ekaran is a freelancer writer for Tom's Hardware. He specializes in writing about 3D printing tutorials and guides. You can find more of his work on various publications, including Makeuseof, All3dp, and 3Dsourced.
-
USAFRet Might be useful to include the 'raft' in there as well.Reply
Highlight the differences between brim and raft, and the pros and cons of each.
