How to Fix a 3D Printer Bed Not Heating
Solve 3D printer bed heating issues with these simple methods

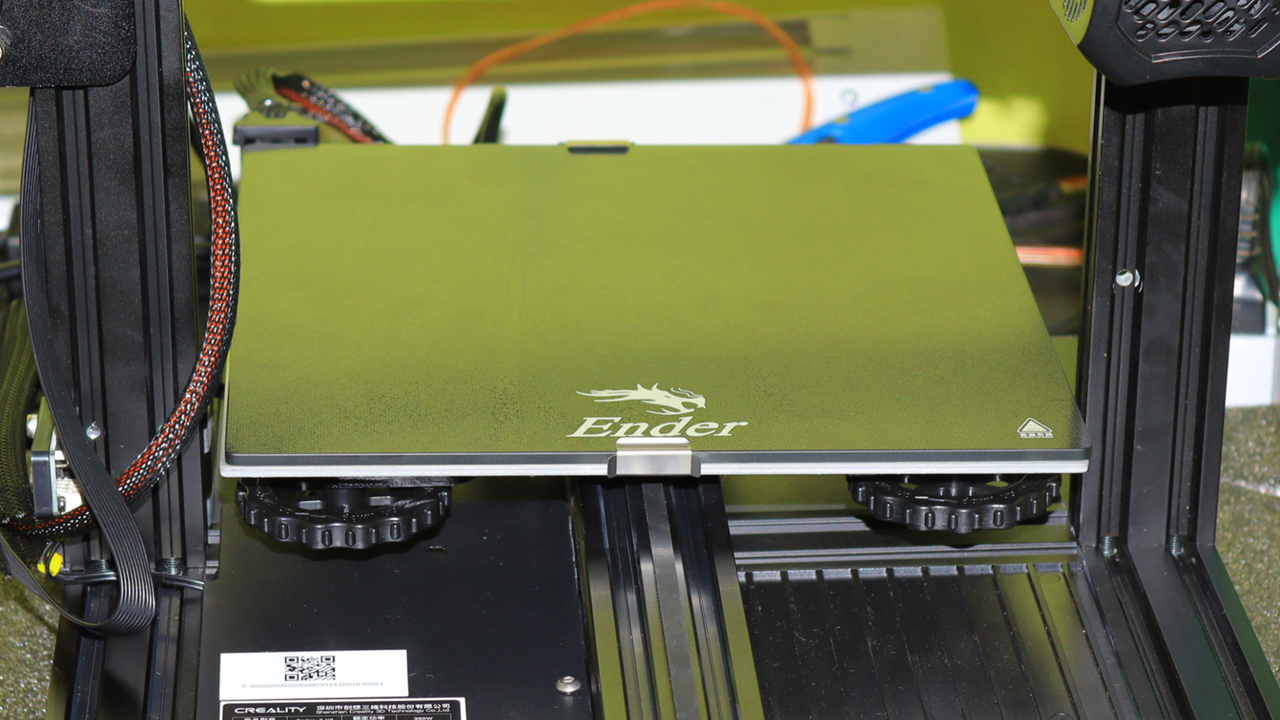
A 3D printer bed failing to heat up when you initiate the printing process is frustrating. When the bed is not heating properly, the initial layers of the print might not adhere properly, and it will cause the whole print to fail even if you are using one of the best 3D printers, as the first layers are the most important during the printing process.
The issue can result from many factors, including thermal runaway, poor cable connections, or even burnt or broken components in the motherboard. Like any other 3D printing issue, you need to diagnose thoroughly before initiating any solution. Below, we break down the main solutions to a 3D printer bed not heating.
1. Check the Power Supply and Other Connections
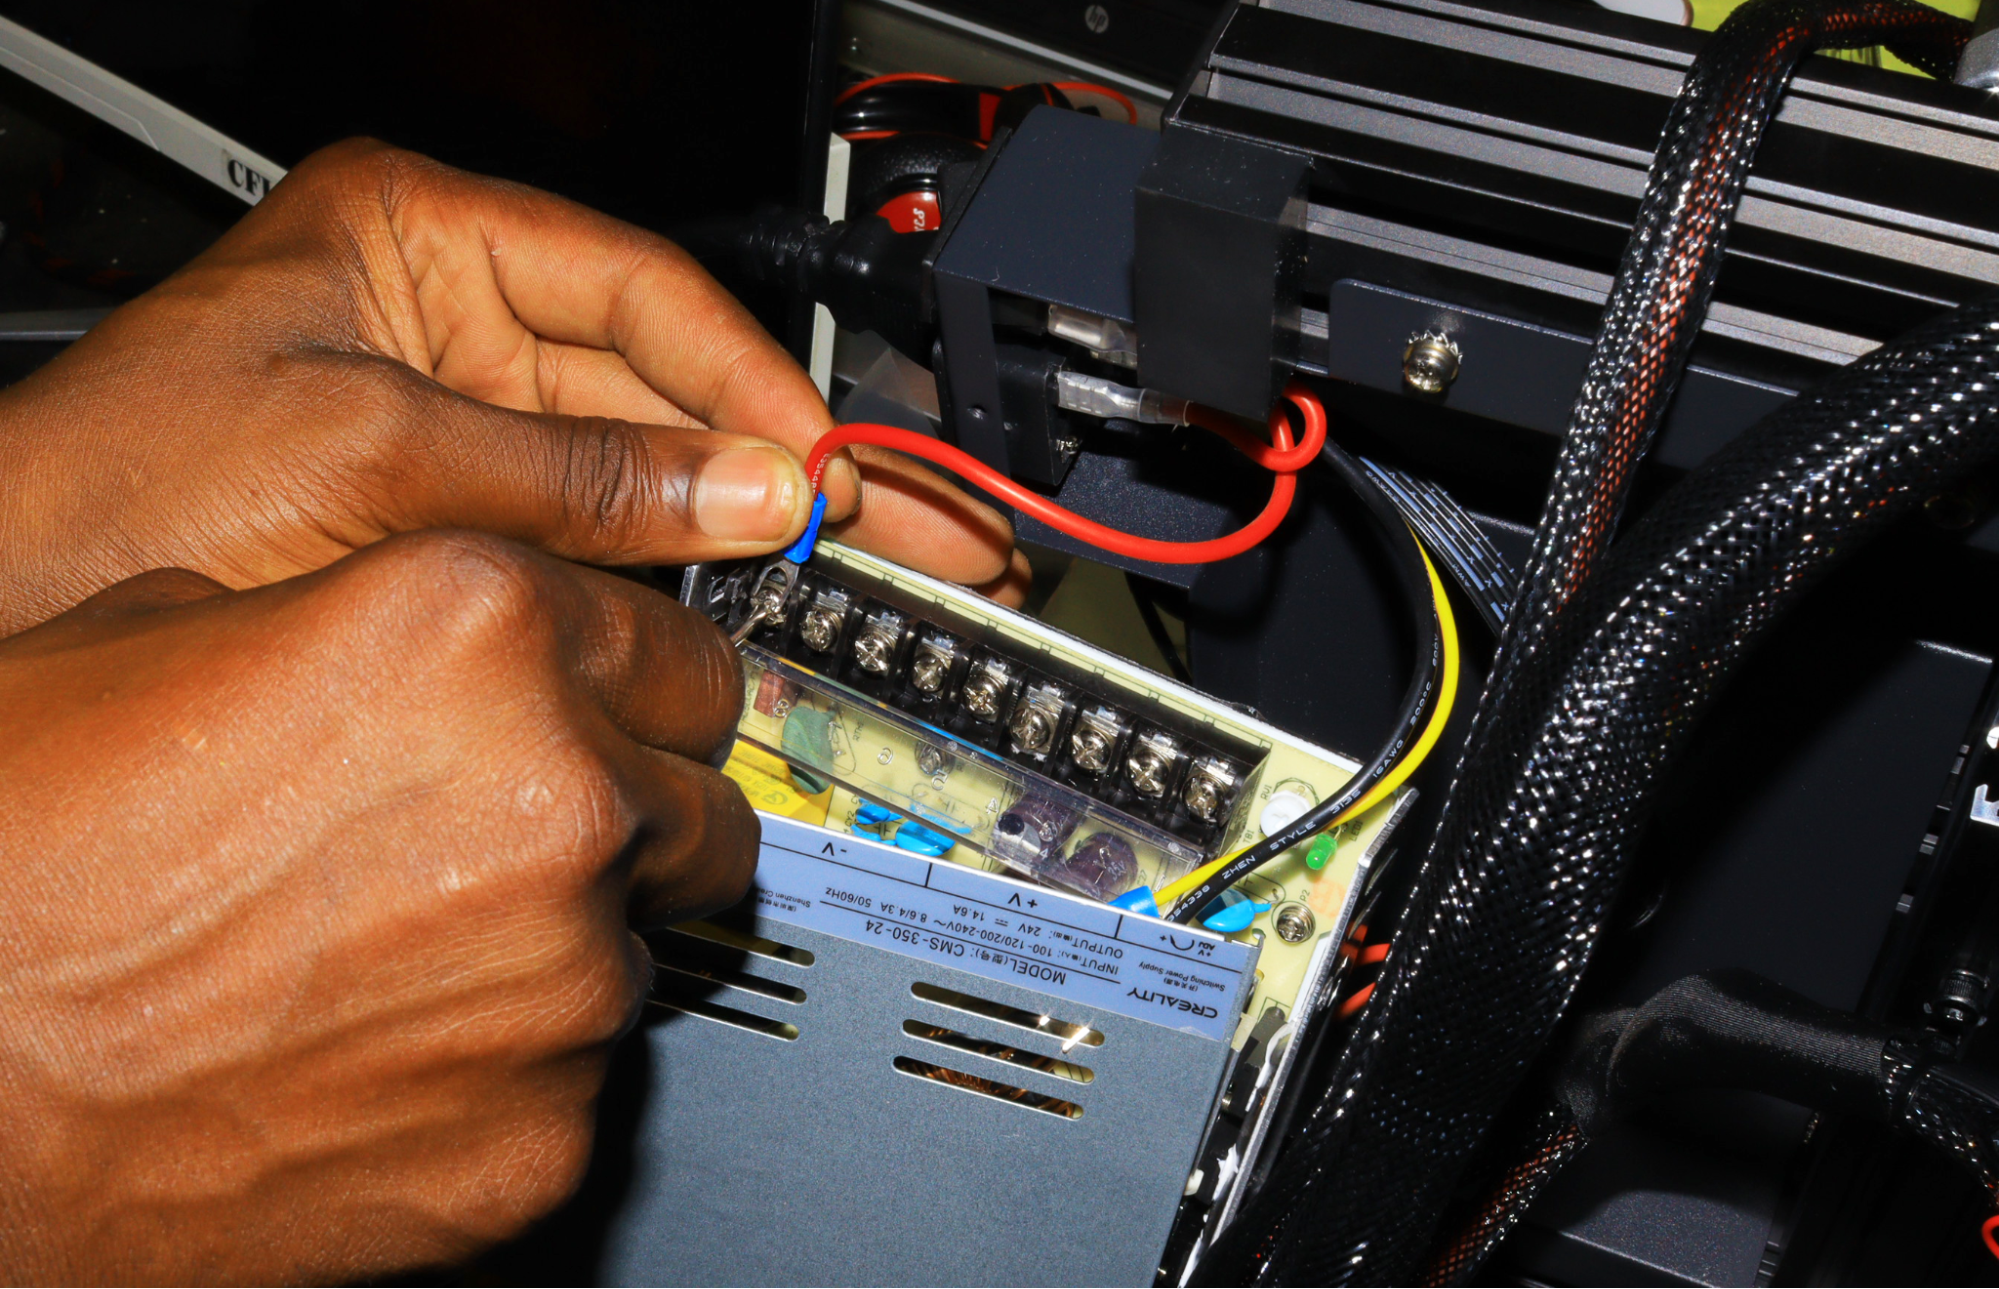
Start by properly plugging the 3D printer into a stable power source and observe. Any fluctuations or interruptions in the power supply can lead to inconsistent heating or even complete failure of the bed to reach the desired temperature. Ensure that you have done the wiring on the power supply appropriately.
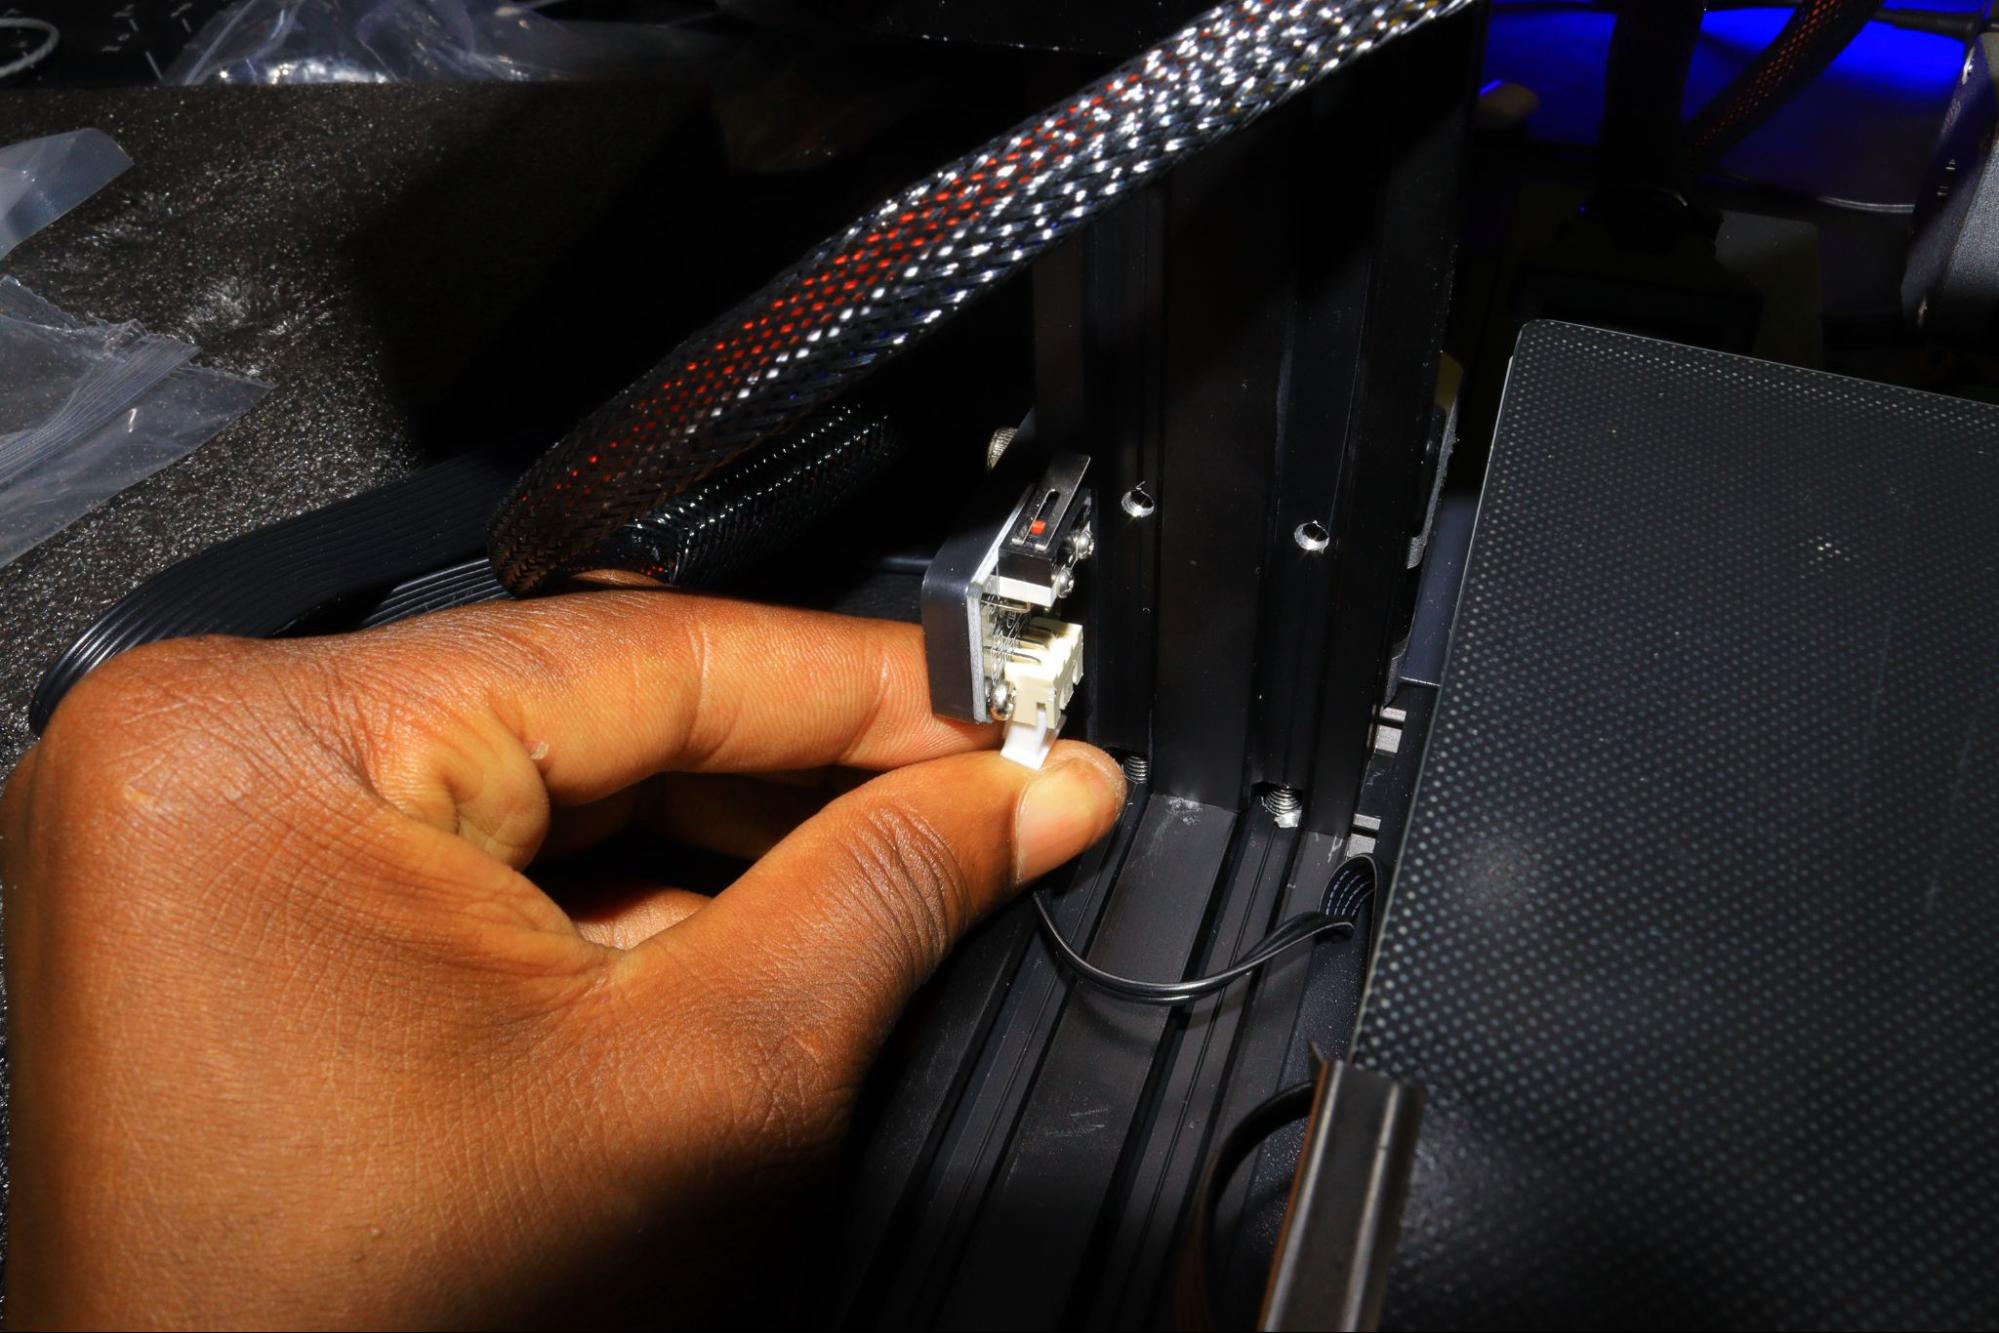
Also, inspect all the wires and connections from the bed to other parts of the 3D printer and ensure they are correctly secured. Loose or damaged connections can lead to a lack of power reaching the bed.
As you inspect them, pay close attention to the slots where each wire is inserted from the bed to the controller board and ensure they are correctly secured. You should check the wiring for any points of strain or damage, especially in the sections where the wires bend during 3D printer movements.
You should also inspect the connectors at both ends of the wires of the bed and check for signs of damage, as that could also hinder the flow of electricity. Also, check for any debris and clean it correctly or replace them if they are damaged.
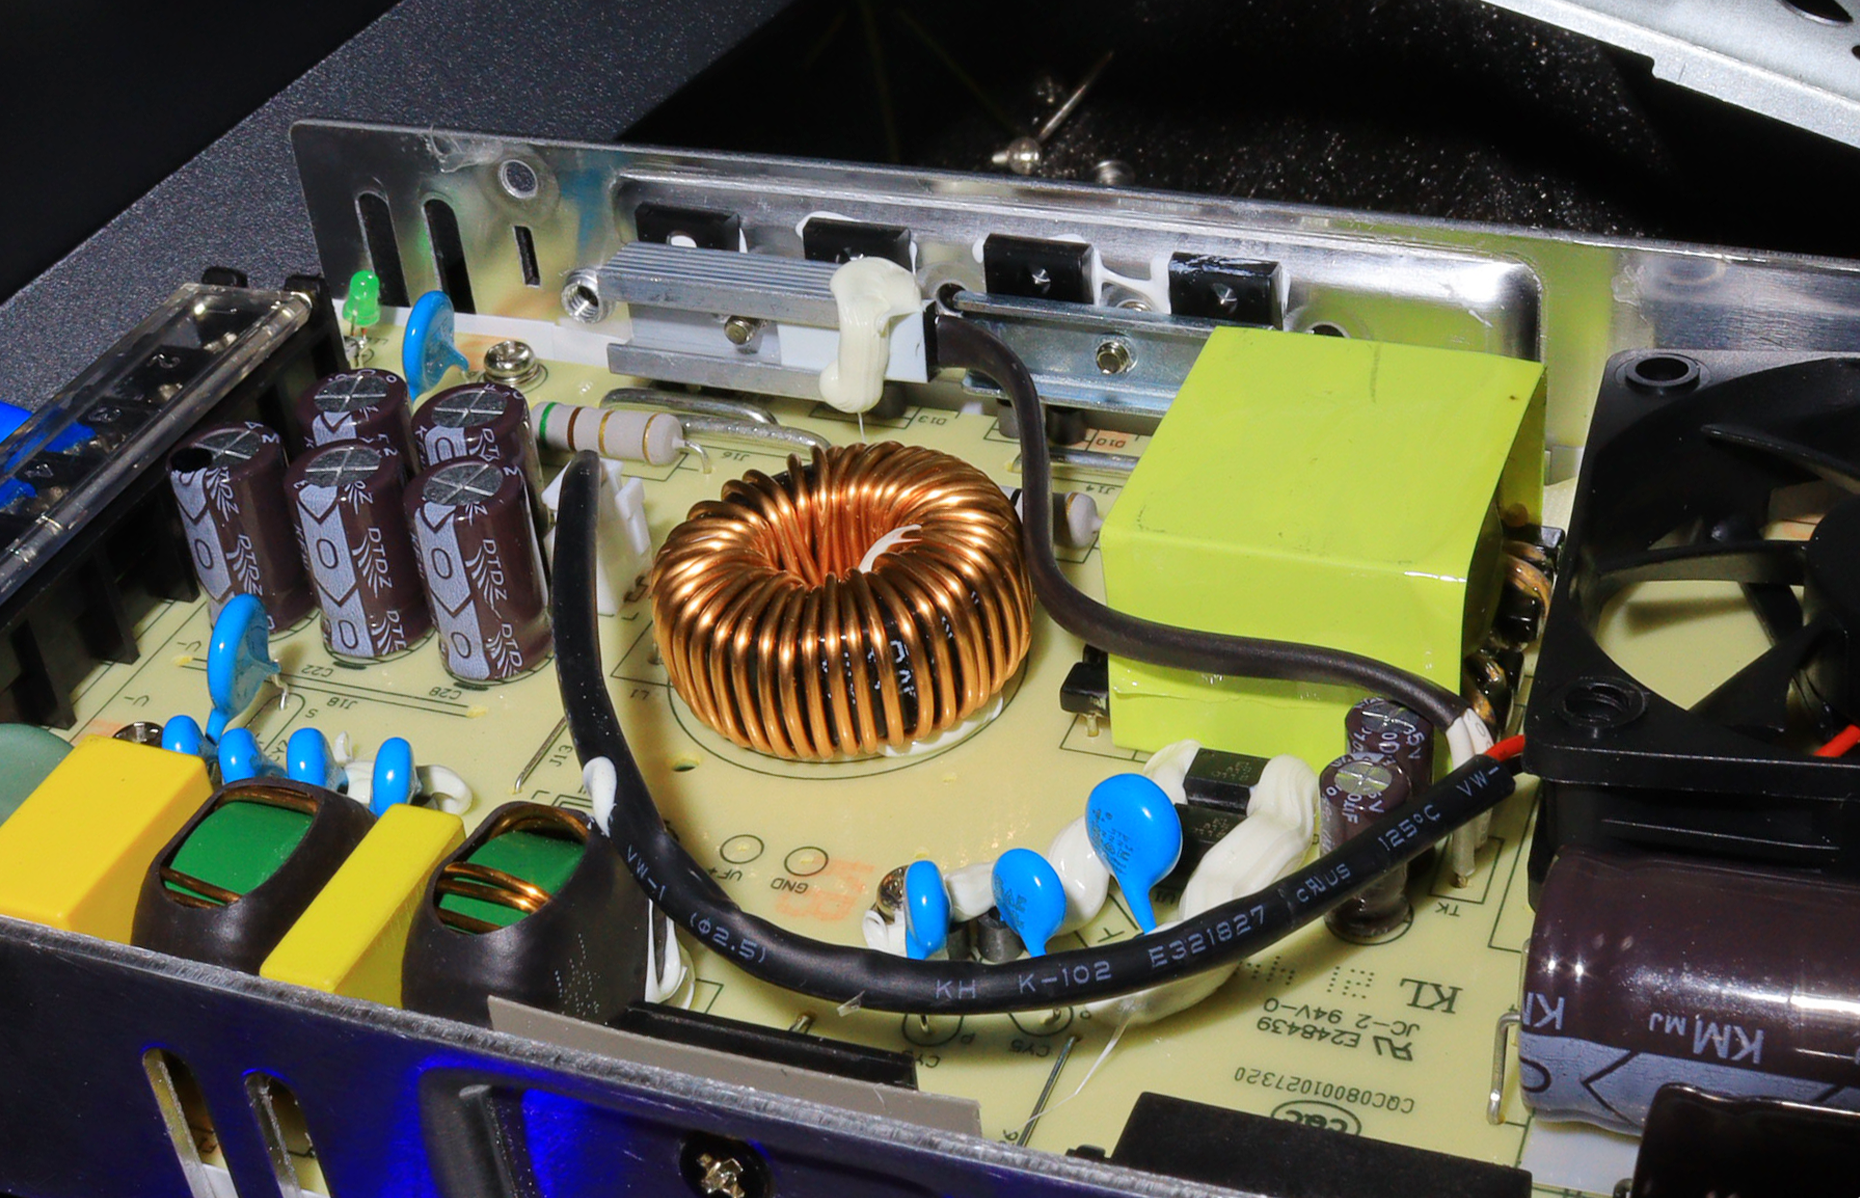
If the physical wires are in good condition, you should open the main board, inspect all the cables, including the heated bed wire, and ensure it is not damaged.
Get Tom's Hardware's best news and in-depth reviews, straight to your inbox.
This is mostly the main culprit when the bed is not heating.
2. Check the Relay or MOSFET
Some 3D printers utilize MOSFET to regulate the heating element of the bed by acting as the intermediary between the heated bed and the control board, and it controls the flow of power to the bed.
If the MOSFET malfunctions, it will disrupt the heating process, leading to insufficient bed temperatures. You need to inspect it for potential faults and ensure that the wiring from the MOSFET to the controller is secure and properly aligned.
You can use a multimeter to measure the continuity of power and ensure all the components work as expected, and if you find any issue, you can buy and replace it. You can find replacements on Amazon, eBay, or any other place, but you must ensure that the one you buy is compatible with your 3D printer.
3. Check the Condition of the Thermistor
A thermistor acts as a temperature sensor, providing important data to the control system of the 3D printer. The thermistor on the printer bed is usually located between the print surface and the heating element, and there are wires connecting it to the control board. Its ability to gauge the temperature allows the 3D printer to make real-time adjustments, ensuring optimal values are maintained. When it has issues, it can affect the ability of the 3D printer to regulate and maintain the temperature on the bed, preventing it from reaching the intended temperature.
To inspect the thermistor, you can start by unscrewing the bed and then checking for any sign of physical damage or frayed wires. You also need to ensure that it is properly fastened. Then, you can use a multimeter to measure the resistance across the terminals of the thermistor to confirm that it falls within the expected range.
4. Insulate the 3D Printer Bed
3D printer bed heating problems can be caused by heat loss, especially if you are using a 3D printer with an open frame in which the underside of the bed is exposed, like in the coreXY 3D printer.
To deal with this, you must properly insulate the bed to act as a thermal shield, preventing heat from escaping and ensuring the temperature is stable. You can use several materials for insulation, including high-temperature-resistant lightweight foils and even bed insulation cotton.
5. Update the Firmware
Updating the firmware can sometimes fix the issue of the 3D printer bed not heating. The firmware controls the hardware components of the printer, including the heated bed, and updating it also means improving temperature algorithms and ensuring proper regulation.
Updating the firmware also helps fix bugs related to temperature sensor calibration, as these can also cause discrepancies and later heating issues. Updating it corrects these calibration parameters, ensuring that they align with the specifications of your printer model and ensure accurate readings.
6. Check for Signs of Thermal Runaway
Thermal runaway is where the temperature of the heated bed or other components experiences rapid changes due to an imbalance between the heating and cooling processes, which makes the temperature go out of control. When it occurs, it can damage the various parts of the printer, and you need to ensure that you avoid anything that could trigger this issue in your 3D printer.
One of the leading causes of thermal runaway is the malfunctioning of the temperature control system and sensors like the thermistor. When it fails to provide accurate temperature readings, the printer won’t be able to regulate the temperature properly, leading to a rapid increase in temperature.
Loose wires can disrupt the connection between the temperature sensors and the control board of the printer, and if they are damaged, they can cause short circuits that lead to a thermal runaway. So you must examine the wiring connections and heating elements and ensure they are all properly set.
More 3D Printer Tutorials
- How to Use PrusaSlicer: A Beginners Guide
- 5 Ways Fix Z Banding in 3D Printing
- How to Use FreeCAD for 3D Printing
- How to Convert OBJ Files to STL Files for 3D Printing
- How to Clean and Cure Resin Prints
Sammy Ekaran is a freelancer writer for Tom's Hardware. He specializes in writing about 3D printing tutorials and guides. You can find more of his work on various publications, including Makeuseof, All3dp, and 3Dsourced.


