How to Avoid Layer Separation in Your 3D Prints
Avoid gaps and cracks when 3D printing.
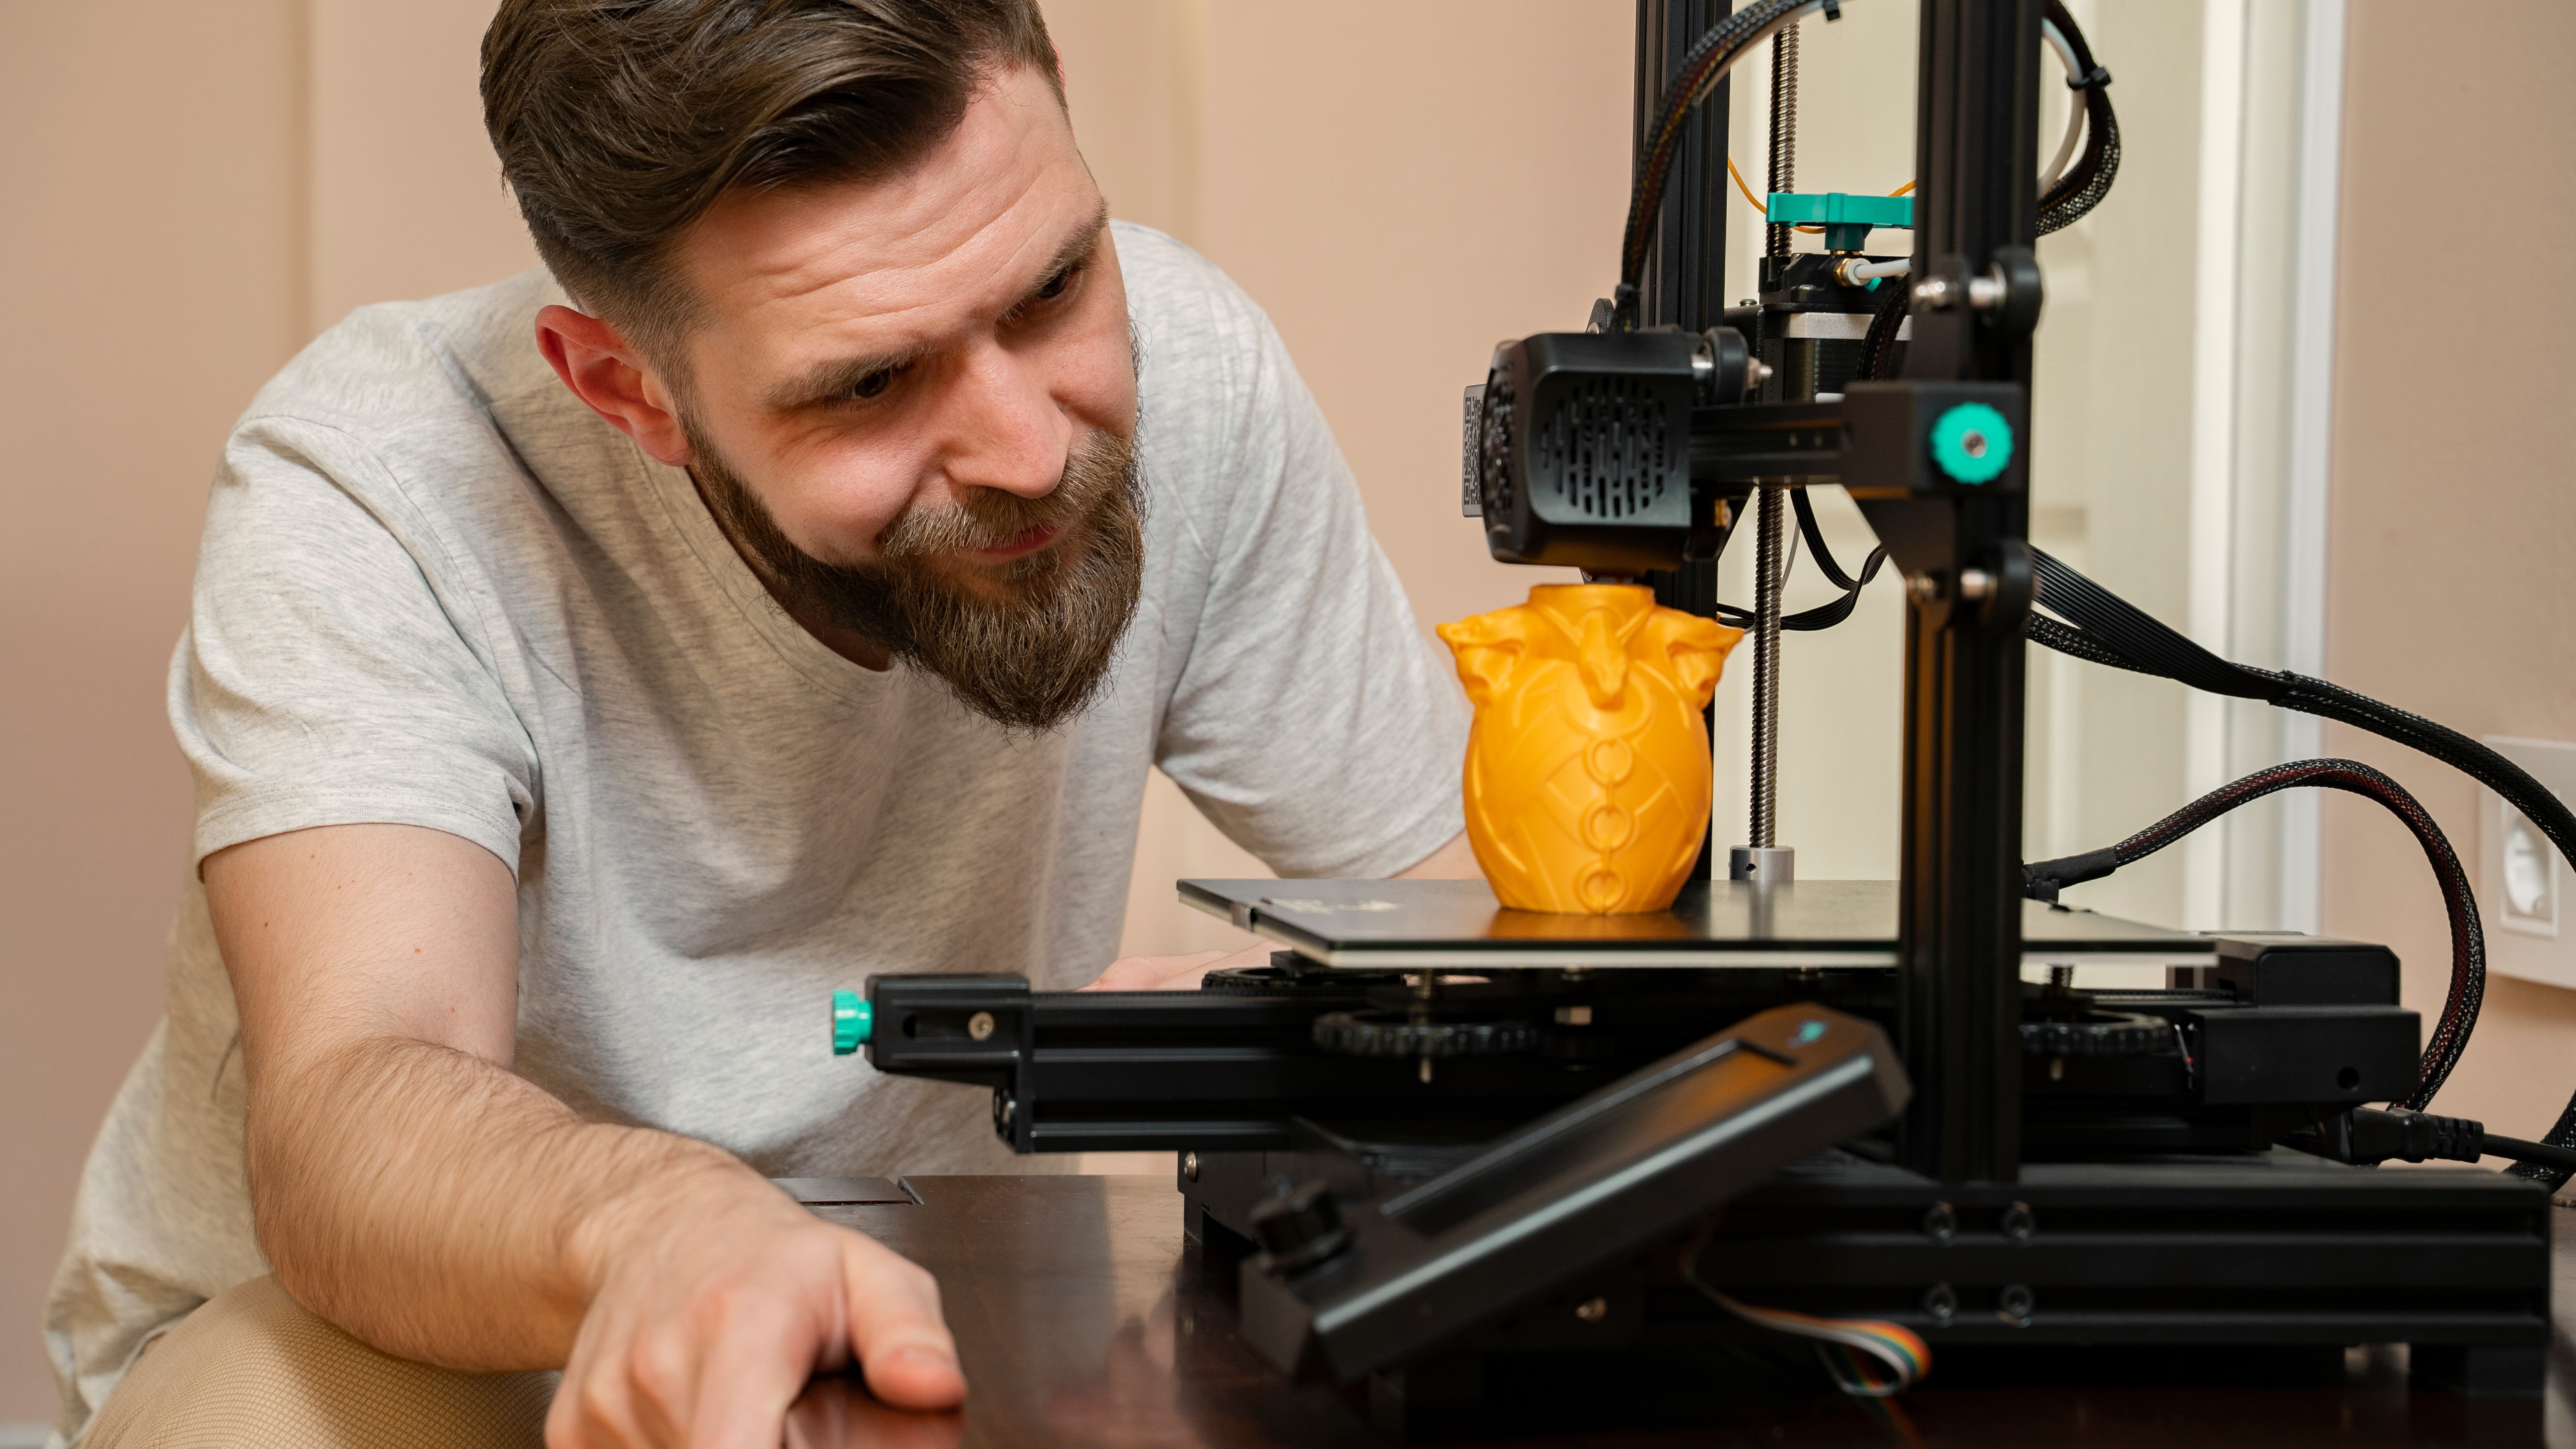
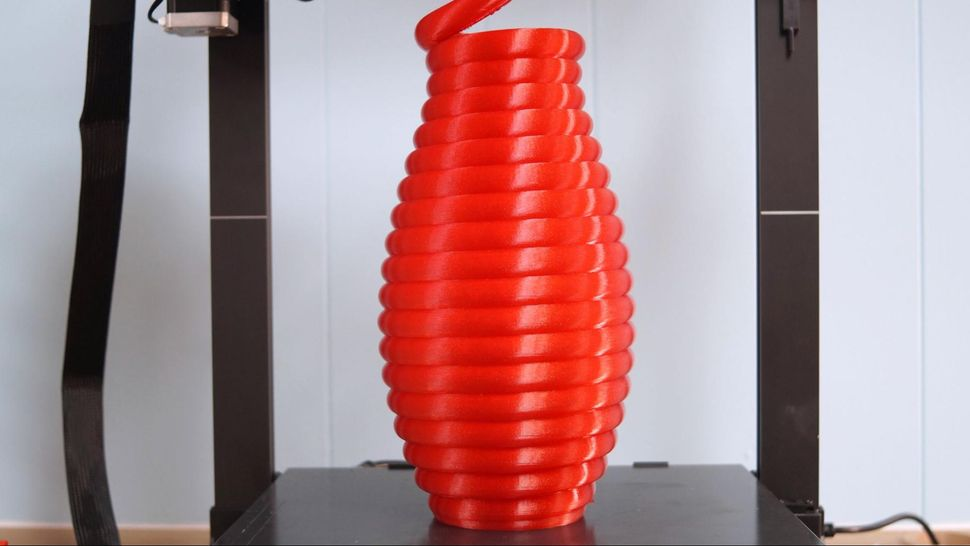
Layer separation or delamination is an issue where the layers of your print fail to stick correctly, causing them to separate from each other, resulting in prints with visible gaps and horizontal cracks in between them. When it happens, the print becomes weak such that you can even easily pull the various layers apart, especially in severe cases.
The issue can be caused by many factors, especially poor layer adhesion, using a wet filament, and not using the proper settings in your slicer, like layer height and speed. The issue can occur even in the best 3D printers, but thankfully, just like any other 3D printing issue, there are crucial things you need to do to fix the problem, and we have described it in detail below.
1. Properly Configure Cooling System
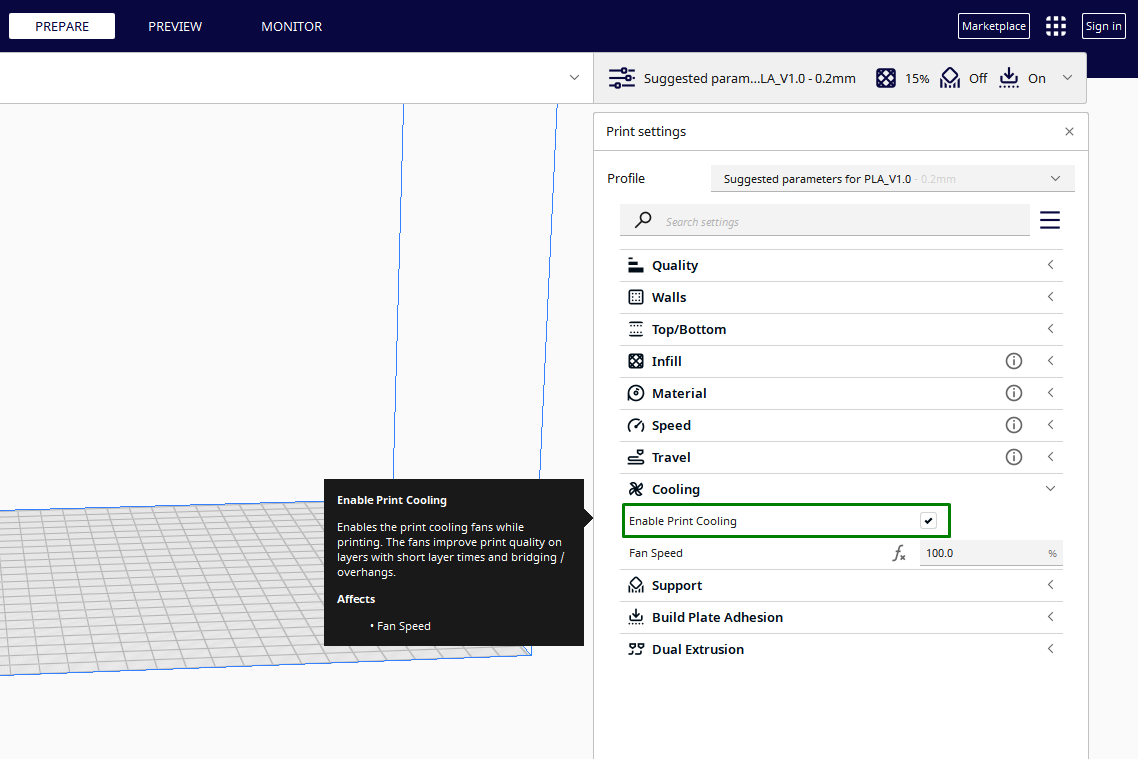
If the layers cool at different rates, they can warp, especially at the edges, resulting in layer separation. Most printers have cooling fans that you can adjust the settings in one in the 3D slicer to help cool extruded layers. If you are using Cura, you can access the cooling settings in the Cooling section. The first thing you need to do is to ensure that you select the Enable Print Cooling box.
You should also set the Fan speed to an appropriate value. For 3D printing filament like PLA, 100% is suitable for ensuring that the layers cool adequately. However, if you still face issues, you can reduce and see if it fixes the issue. ABS doesn’t need a cooling fan, and it’s better to turn it off or keep the fan speed low, as it can cause print failure.
However, if you are printing a model with overhangs and complex 3D printing supports and your 3D printer has an enclosure, you can turn it on and use a speed of about 30% to ensure that those areas are printed correctly. If you are 3D printing with PETG, you should also use a very low cooling setting as a higher value causes issues.
In addition to settings, I also recommend 3D printing an upgrade like a fan duct to help ensure that the cooling is uniform, or you can consider buying a 3D printer enclosure if your 3D printer doesn’t have one. The enclosure stabilizes the temperature inside to ensure the layers don’t cool faster and cause issues.
2. Increase the Flow Rate
Flow rate is the rate at which the extruder of the 3D printer deposits filament to create each layer of the object. Adjusting and fine-tuning the flow rate means controlling the amount and thickness of filament coming out of the nozzle during the 3D printing process. When the flow rate value is low, insufficient filament is deposited from the nozzle, leading to under-extrusion, which results in visible gaps in the layers as the printer cannot lay sufficient material.
Get Tom's Hardware's best news and in-depth reviews, straight to your inbox.
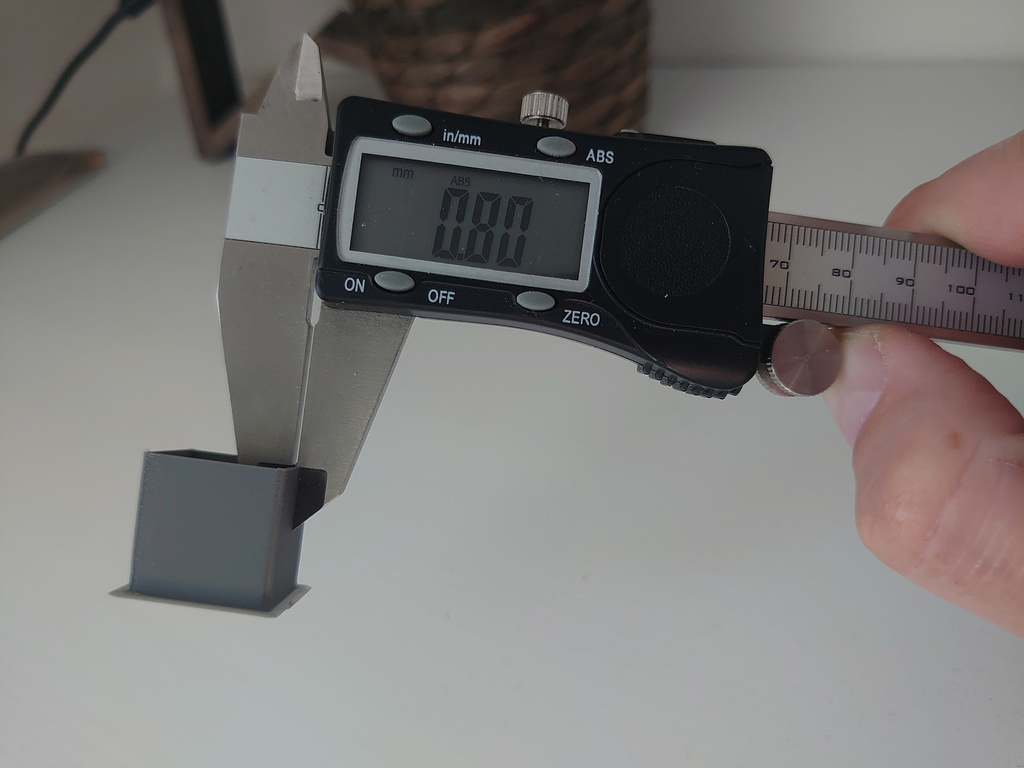
This can weaken the structure of your design, leading to layer separation. Also, the weak layers created because of under-extrusion make the material not bond properly, and the design may have a rough surface. So, it’s essential to increase it so that more material can be deposited as this improves bonding. As you increase, be careful not to increase it much as it can cause other issues like over-extrusion. I recommend increasing it with small values like 5-10% until you get the correct value, depending on the nozzle diameter you are using. You can find the flow rate setting in the Material section if you are using Cura. I also recommend 3D printing a flow calibration cube to help you find the optimal value for your 3D printer nozzle.
3. Properly Clean Your Nozzle
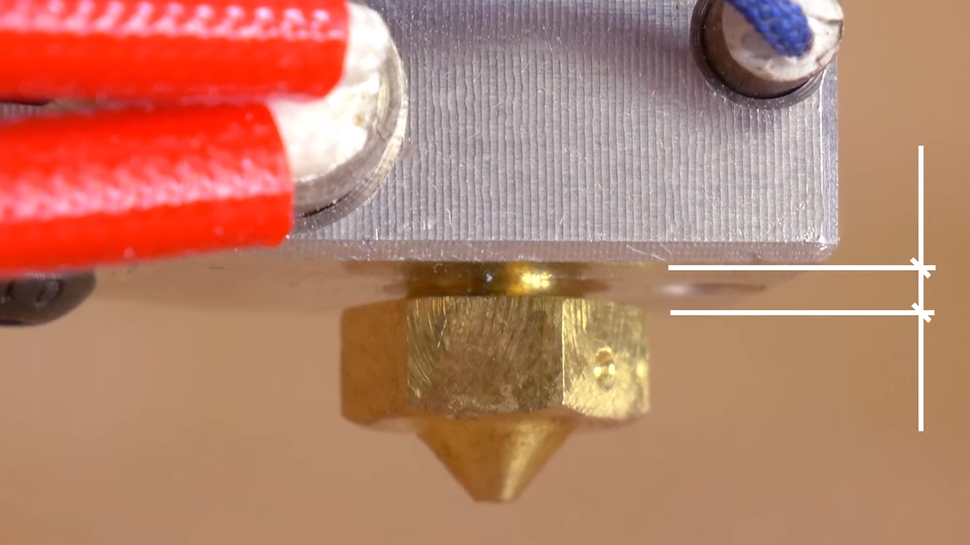
Over time, the nozzle can become clogged with filament residue, which might restrict the flow of filament, resulting in under-extrusion and gaps between layers. To avoid this, you should properly clean and unclog the nozzle and ensure that nothing hinders the flow of filament. You can use a sharp needle or a wire brush to remove any debris stuck inside.
If there is stubborn debris inside, you can use the cold pull method. In this method, you cut a small piece of filament from the spool you are using, then heat the nozzle to the temperature of your filament. After that, insert the filament and observe until it starts flowing through the nozzle. Then, push the filament and apply pressure on it so that it touches all the sides. Let the printer cool down as you keep the pressure on the filament, and then remove it quickly and check if you can see black spots on it. Cut off the dirty part and repeat the process until the filament comes out clean. If you have tried everything and still have issues, I recommend removing and replacing the nozzle.
4. Use a Dry Filament
3D printer filaments are hygroscopic, even though they are made of thermoplastic. This means they naturally absorb moisture from the surroundings if left in an open environment. When the wet filament is heated during the 3D printing process, the moisture inside turns into steam, resulting in a pressure build-up in the nozzle, and this disrupts the smooth flow of the filament, resulting in issues. Also, moisture tends to degrade the overall quality of the filament, so it’s important to always use a dry filament. You can also store it in a filament dryer.
5. Use a Lower Layer Height
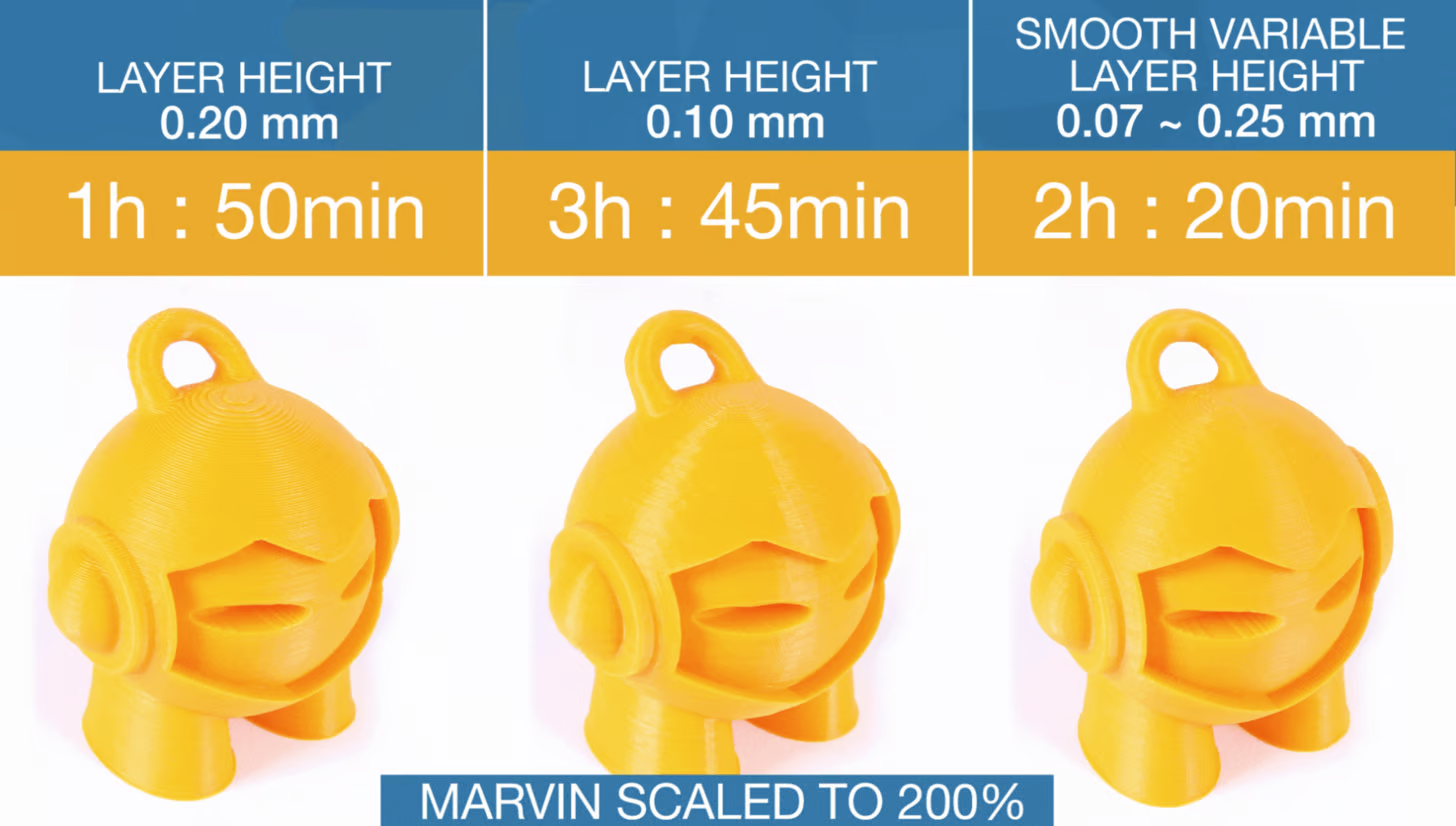
A layer height or layer thickness is the distance between each successive layer of filament deposited during 3D printing. The standard layer height of most FDM 3D printers is around 0.2mm, as it strikes a balance between quality and speed. You can use a value lower than 0.2mm if you want very smooth surfaces, but remember that it will take longer to print.
When you increase the value, it results in rough surfaces, and it takes less time. A moderately higher value is recommended for large prints in which printing time is more important than the quality of the print. However, if you increase the layer height too much, it means that there is less surface area between the layers of filament, and this makes it more difficult for them to fuse and bond together during cooling, resulting in layer separation. So it’s essential to fine-tune the layer height to find the optimal value that will produce good results while using less time.
6. Reduce the Printing Speed
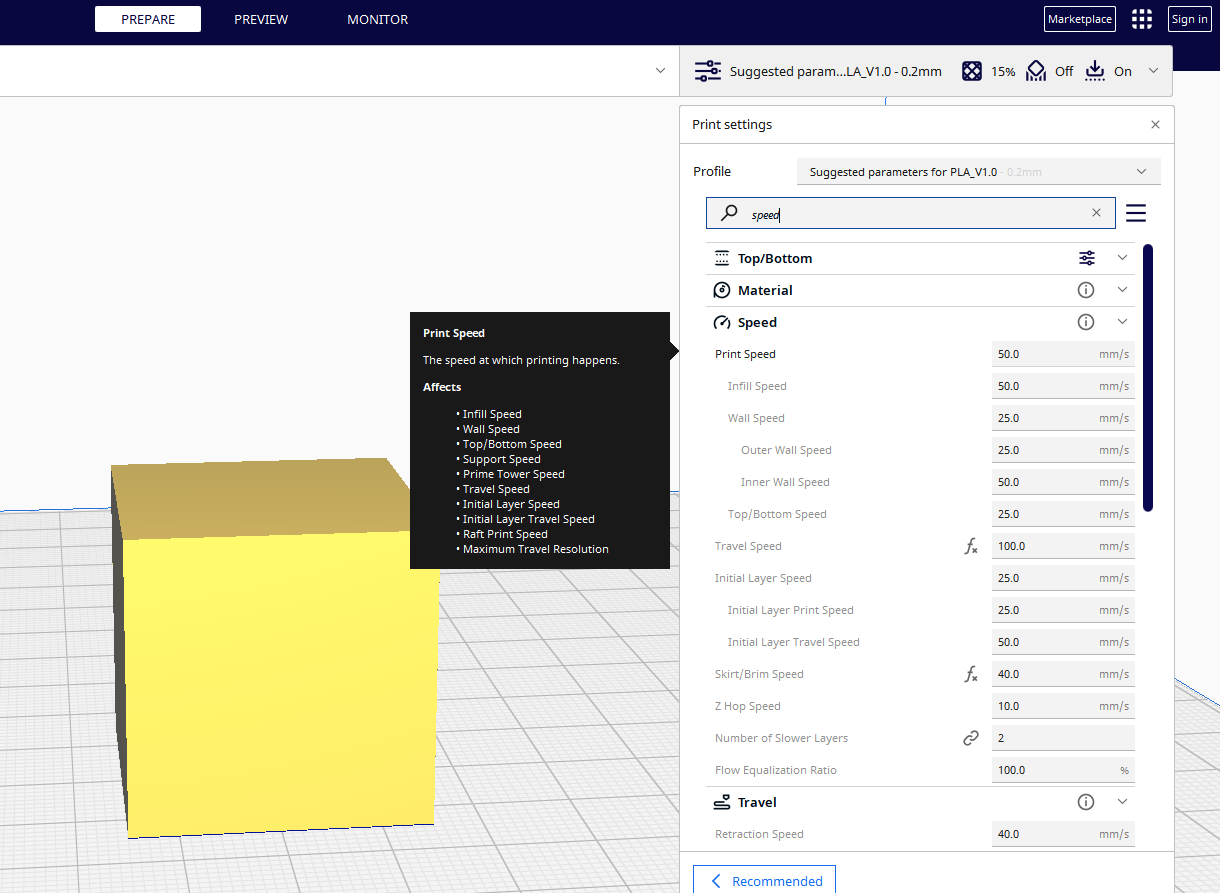
Another method to use to avoid layer separation is by reducing the printing speed to give the filament more time to melt and adequately adhere to the previous layer. Even though high speed ensures that you use a short time to print your design, it’s one of the leading causes of layer separation.
Using a low speed ensures that each layer cools slowly and uniformly, which helps prevent warping issues that lead to delamination. You can start with a lower speed and increase it gradually until you find the optimal speed for good prints.
The methods we have described above can help you fix layer separation issues. But if you still face the problem, you can change the nozzle and use a wider one as it deposits large layers, increasing the surface area for the subsequent layers, hence providing better adhesion.
Related Tutorials
More: How to Use PrusaSlicer: A Beginners Guide
More: 5 Ways Fix Z Banding in 3D Printing
More: How to Use FreeCAD for 3D Printing
More: How to Convert OBJ Files to STL Files for 3D Printing
More: How to Clean and Cure Resin Prints
Sammy Ekaran is a freelancer writer for Tom's Hardware. He specializes in writing about 3D printing tutorials and guides. You can find more of his work on various publications, including Makeuseof, All3dp, and 3Dsourced.
