How to Clean and Unclog Your 3D Printer Nozzle
3D print with a nozzle that is extruding appropriately
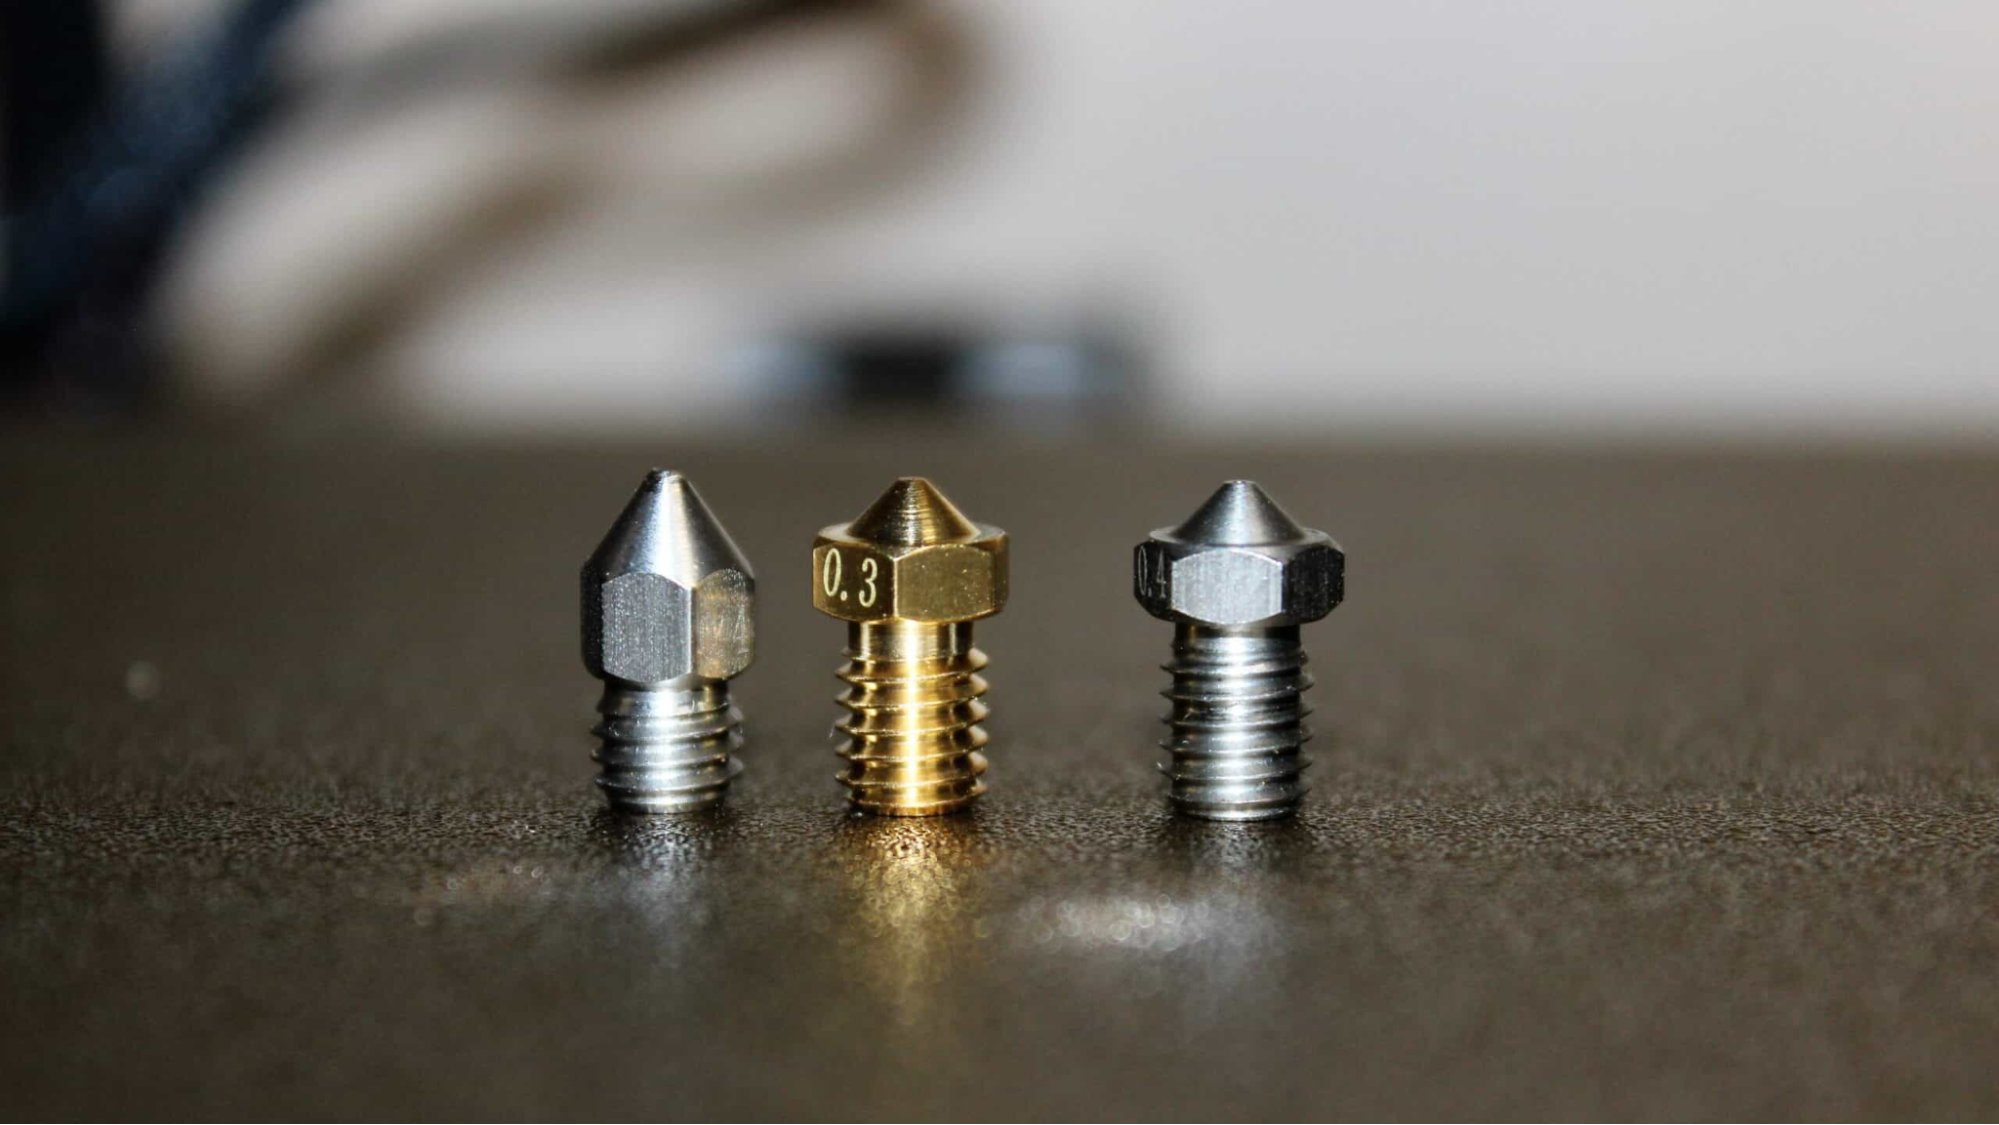
It can be frustrating when your nozzle is not extruding properly due to accumulated dirt and filament remains. This issue can occur even in the best 3D printers, and you can notice it when you see uneven or complete disruption of the flow of filament which affects the quality of the print. Sometimes, you can even start a print, but you don’t see any filament coming out, or you see inconsistent extrusion. Even though other factors can lead to these issues, you need to be sure it’s the nozzle that has a problem and not other parts before you proceed to the next steps. There are various techniques that you can use to clean the nozzle, and each of them is described below. But before that, it’s essential to look at the tools you need to have before you start the process.
(Lead image courtesy of https://3dprintmentor.com.)
What You Need to Have
You need the following to clean your nozzle correctly.
- Sharp needle, tweezers, or pin for removing debris inside the nozzle
- Wire brush for cleaning the exterior of the nozzle
- Cutting nippers or a sharp knife for cutting filament when performing cold pull.
- Isopropyl alcohol for removing stubborn filament inside the nozzle.
- Lint-free cloth for wiping the nozzle.
Once you have the above tools, do the following:
Inspect the Nozzle and Remove Any Visible Debris
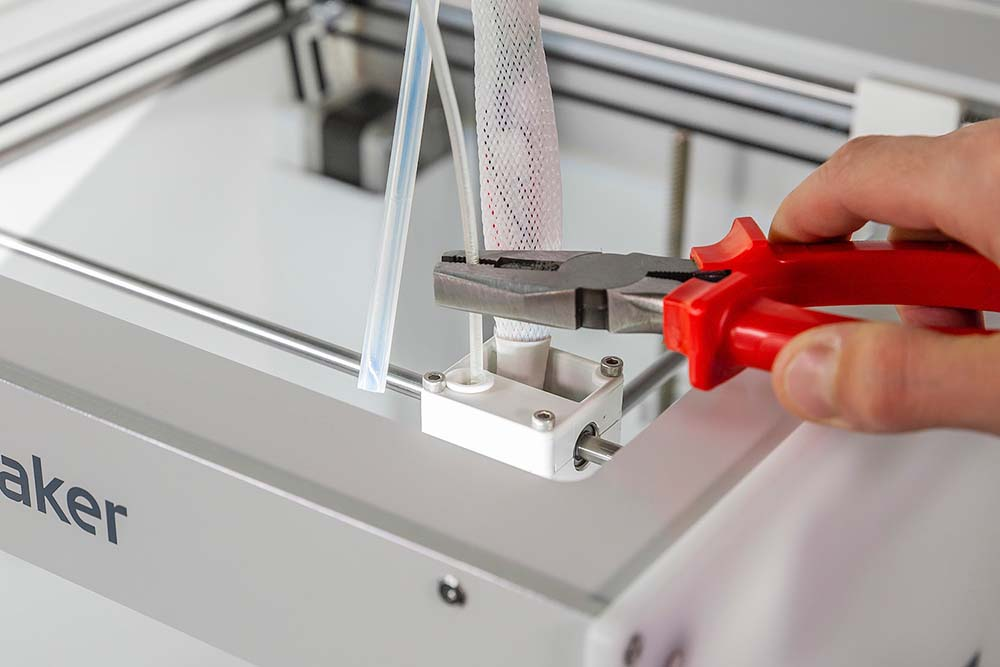
Before you start, ensure that you turn off your 3D printer and wait until it cools down completely, then unload the filament. You can then check the nozzle and remove any visible debris or filament remains on the nozzle using cutting nippers.
After that, you can use a wire brush to firmly scrub the outer surface of the nozzle and remove any residual filament on it. Do it in a circular manner and avoid excessive force, as you might damage other parts in the process.
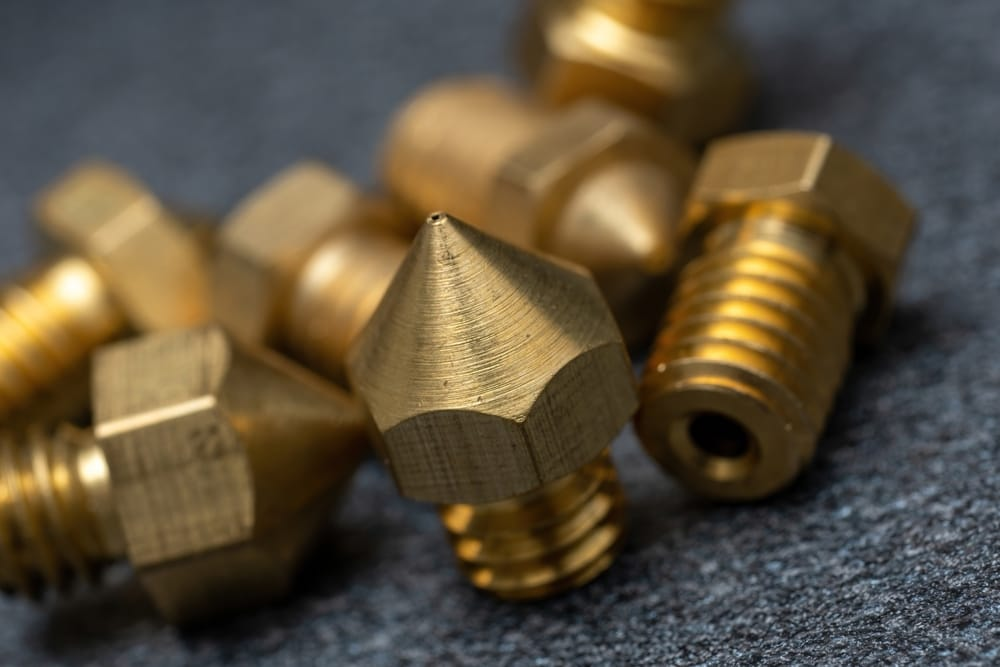
After removing the visible filaments and debris, use a sharp needle or pin to remove any clog inside. If you still feel there are clogs stacked inside, you can proceed to the next steps of using the cold pull method.
Get Tom's Hardware's best news and in-depth reviews, straight to your inbox.
Using the Cold Pull Method to Clean the Nozzle
In this method, you heat the nozzle to the printing temperature, then insert a small filament, cool down the printer as the filament is inside, then pull it out, and it should be able to remove any clogs inside. You can follow the steps below to perform a cold pull.
1. Move the print head a little up in the Z-axis so that you have enough space to work on. Then, heat the nozzle to the appropriate temperature for the 3D printer filament that you are using. For PLA, it is usually between 200-220 °C, and ABS prints at a value between 220-260 °C.
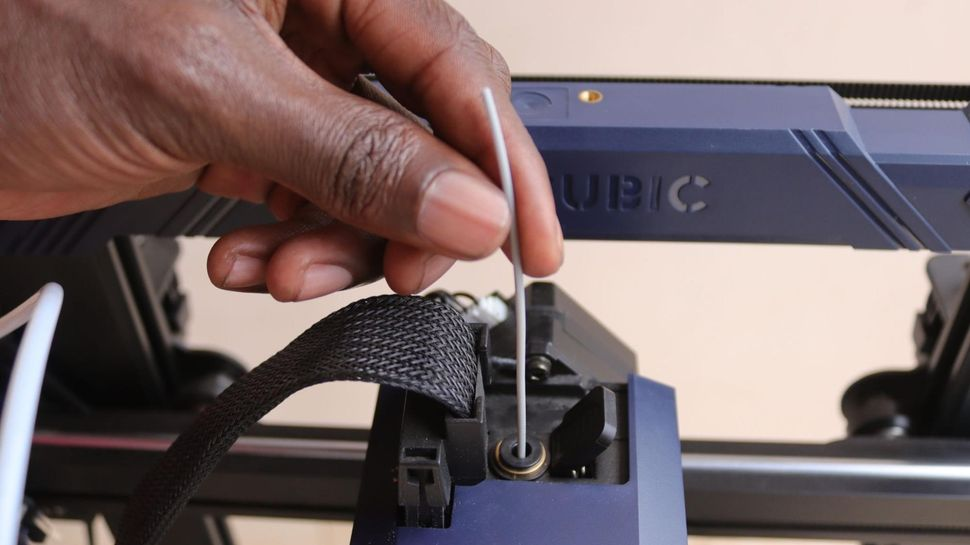
2. Cut a small piece of filament that you use for 3D printing and load it on the nozzle after removing the bowden tube and wait until you see it start oozing out.
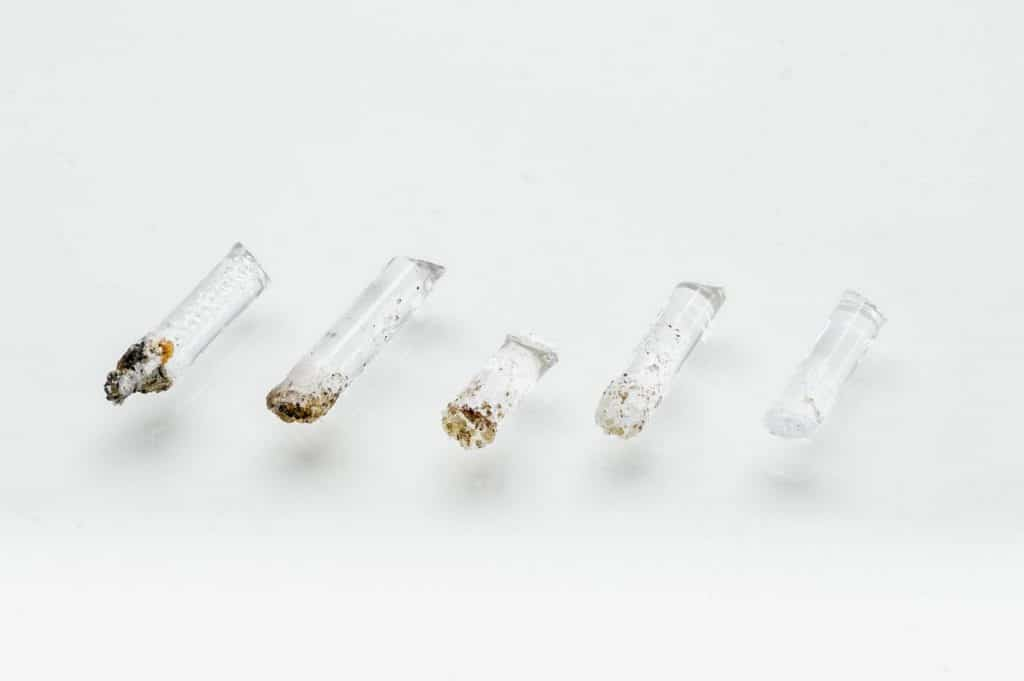
3. Lower the temperature until it reaches around 60-90 °C, and then gently apply a little pressure to the filament and pull it out quickly. Ensure that you pull it upwards and not sideways, and if it breaks inside, you can heat it again until it comes out. As the filament comes into contact with the walls of the nozzle, it comes out with any debris inside. If the filament contains debris, it will show that you successfully removed any clogs. Recheck the nozzle and see if there is any debris remaining, and repeat the process.
If you try that method and there is still stubborn debris inside, you should proceed to the next step.
Remove and Soak the Nozzle
Before unmounting the filament, heat the nozzle to its typical printing temperature so that it may expand slightly. This expansion makes it easier to unscrew the nozzle without much resistance and damage. In many 3D printer designs, the extruder assembly is attached to the hotend. So you will need to disconnect it by loosening the screws that secure it to the hotend so that you can remove the nozzle. You may also want to disconnect any wires that might be attached to it.
After removing the nozzle, take a basin, put Isopropyl alcohol, and soak the nozzle in it. Wait for a few minutes for the alcohol to dissolve and loosen any filament residue before you remove it.
After soaking, remove and insert a sharp needle to clear any softened debris that might have remained inside. Then, take a lint-free cloth and use it to wipe it and reassemble and test it to see if it works. You will need to completely replace your 3D printer nozzle If it still has issues. In fact, if you start seeing your nozzle having issues, replacing it is the best approach instead of the hustle of trying to fix it.
How to Maintain Your 3D Printer Nozzle
Just like any other component of any machine, the nozzle may experience wear and tear over time that renders it unusable; however, there are measures that you can take to avoid issues like clogging and even increase its lifespan, and these are described below.
- Regularly clean the nozzle: You should check it regularly for any signs of filament buildup or clogs and clean it early instead of waiting until you bring issues.
- Use a good-quality filament: Low-quality filament can leave residue inside the nozzle. So you need to ensure that the one you use is of high quality. Also, make sure that it is dry, as moisture can also cause clogs. The filament should also be ideal for your nozzle size because if it’s too large, it might have issues extruding, and some can remain inside.
- Properly set the Z-axis and bed: If the bed is not well leveled and the Z-axis is too low that the nozzle is too close to the bed, it will drag on the bed, and this will damage the tip and might not extrude the first layer appropri
ately and this results to a build-up of filament on the nozzle leading to clogging. - Use a proper temperature: If the temperature is too low, the filament might not extrude correctly, and it might cause clogs. If it’s too high, the heat from the nozzle might extend up the extruder, and the filament might start being heated even before it reaches the hot end. So, you always need to use the correct temperature for your specific filament.
Related Tutorials
More: How to Use PrusaSlicer: A Beginners Guide
More: 5 Ways Fix Z Banding in 3D Printing
More: How to Use FreeCAD for 3D Printing
More: How to Convert OBJ Files to STL Files for 3D Printing
More: How to Clean and Cure Resin Prints
Sammy Ekaran is a freelancer writer for Tom's Hardware. He specializes in writing about 3D printing tutorials and guides. You can find more of his work on various publications, including Makeuseof, All3dp, and 3Dsourced.
-
RobMilliken Easier. Put nozzle in oven. Set oven to clean. Wait until clean mode is done and cooled down. Clean any residue from nozzle and replace.Reply
Easy peasy, lemon squeezy.
