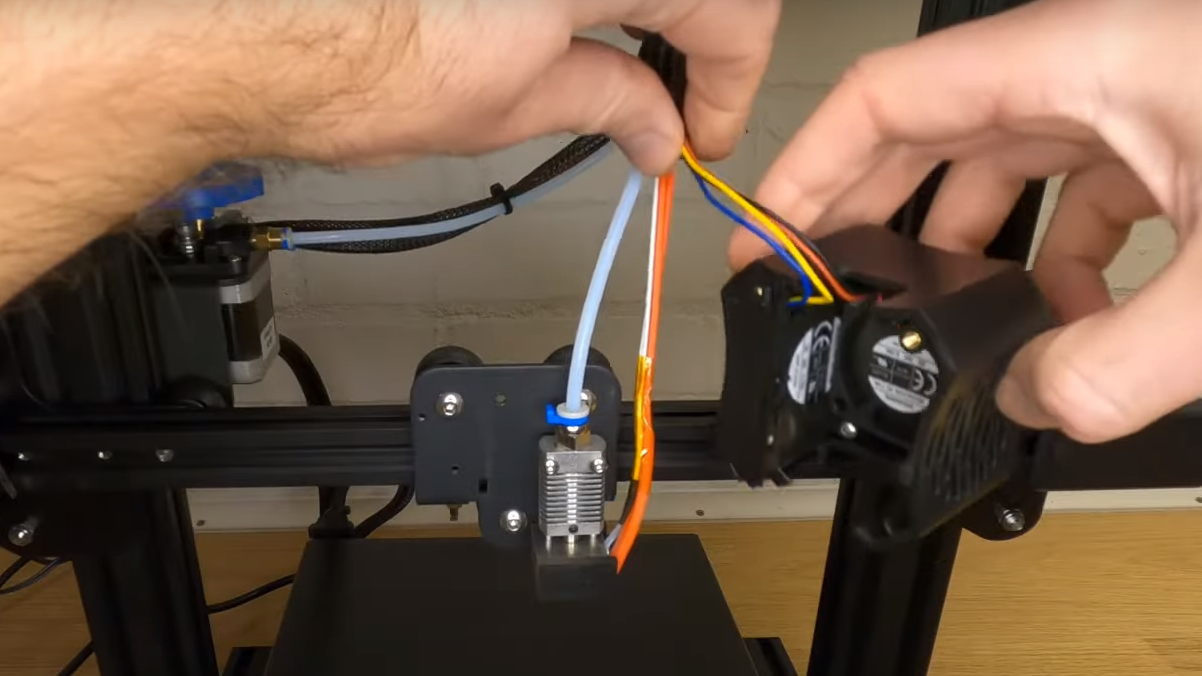
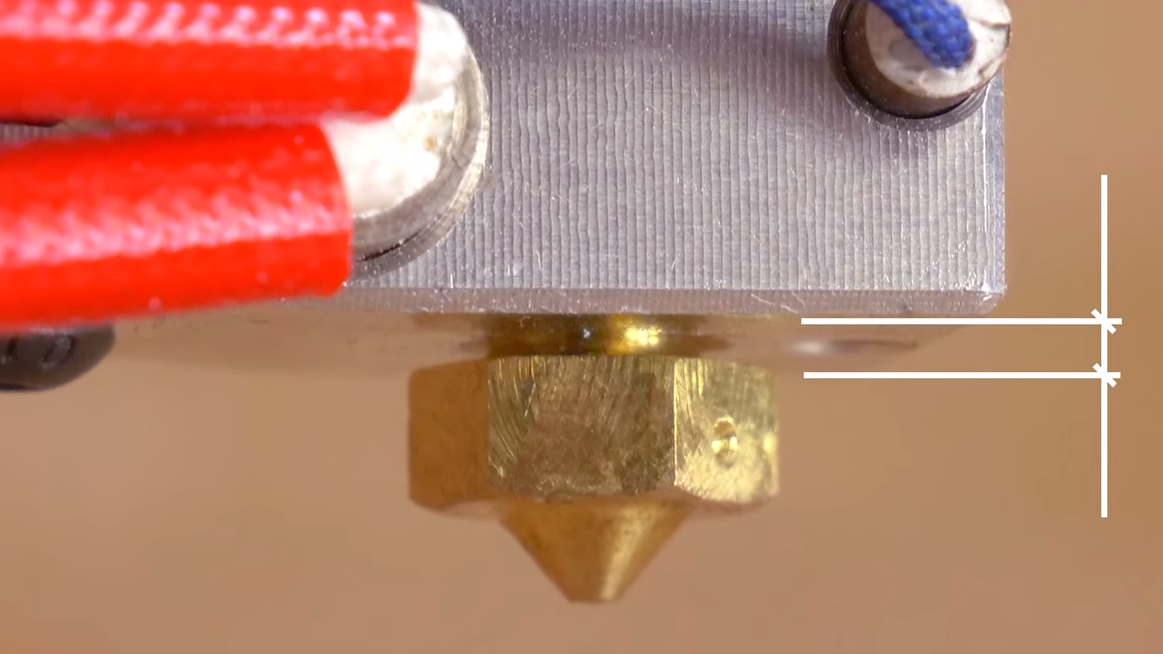
How to Replace the Nozzle of Your 3D Printer
Sometimes your nozzle breaks or you just need a different size.
Get Tom's Hardware's best news and in-depth reviews, straight to your inbox.
You are now subscribed
Your newsletter sign-up was successful
If your nozzle isn't functioning correctly and no matter how much you try to fix it, it’s not just working, it might be damaged beyond repair, and the only solution is replacing it. If you have never thought of doing a replacement, at one point in your 3D printing journey you will have to do it even if you are using one of the best 3D printers available. When the time comes and you have the replacement nozzle with you, there are some key steps you need to follow to ensure that the process is smooth and effective. But before we look at that, let’s see the reasons that might force you to replace your nozzle.
Reasons Why You Might Need to Change Your Nozzle
- Worn-out nozzle: With time, your nozzle can wear out from the constant heat and friction, and you might notice this when you see poor quality prints and need to replace it.
- Blocked or clogged nozzle: Sometimes, regardless of how much you try to clean and unclog your nozzle, you can still have some filament stack inside that you can't get out.
- Printing with different materials: If you want to 3D print with a material with a diameter different from the one you usually use, you will need to replace it.
- 3D print at high speeds without changing the settings: You can use a bigger nozzle when you want to print a bit faster without changing the settings, as it extrudes a lot of filament within a short time. The only challenge with this is that the print quality might not be as fine as the one printed in a small nozzle.
- Inconsistent extrusion: If you notice this, it means there is a problem with the nozzle (if all the other factors are kept constant), and you need to replace it.
What You Need to Replace Your Nozzle
You need the following to replace your nozzle properly.
- New nozzle. You can get it in your local store, or buy it online on platforms like Amazon.
- Wrench for removing the old nozzle and replacing the new one. They usually come in different sizes and shapes, but I recommend using the L-shaped socket wrench. It comes in different sizes too, and you can buy them all.
- Pliers for holding the various components in place while removing or attaching the nozzle.
- Gloves. You need these to protect your hands as you do the replacement.
Once you have all the above tools, follow the steps below. Note that the steps may be slightly different depending on the type of printer you have, though these will apply to most. Some more-enclosed printers like the Bambu Lab line will have the nozzle and hotend as one piece that can't be changed in this way.
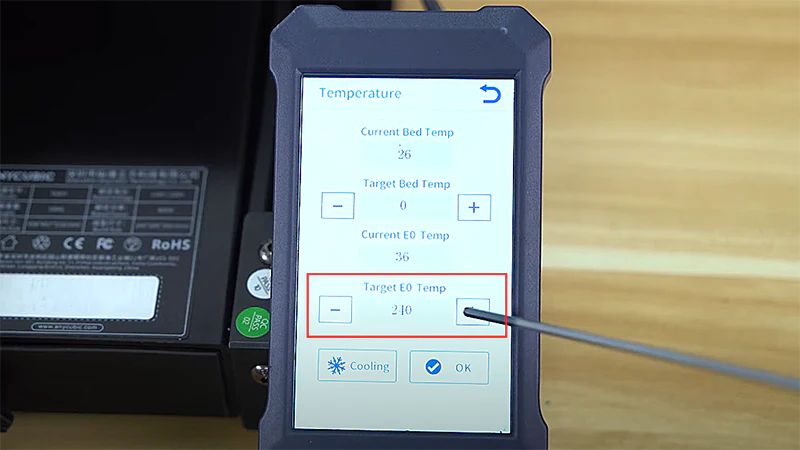
1. Heat the hotend.
(Image credit: Anycubic)
You need to heat the hotend until it reaches the temperature that you have been 3D printing with or the temperature of your material. This is key as it helps to soften any filament that might be inside because if you try to remove the nozzle when there is any filament that has solidified inside, it can be challenging to unscrew it. Also, when you heat it, the metal parts expand slightly, making it easier to unscrew, unlike when cold which can have issues when removing.
To heat the nozzle, navigate to the temperature settings on the LCD screen. This varies depending on the 3D printer you are using. Once you find the temperature option, set the nozzle temperature to that of the melting point of your filament.
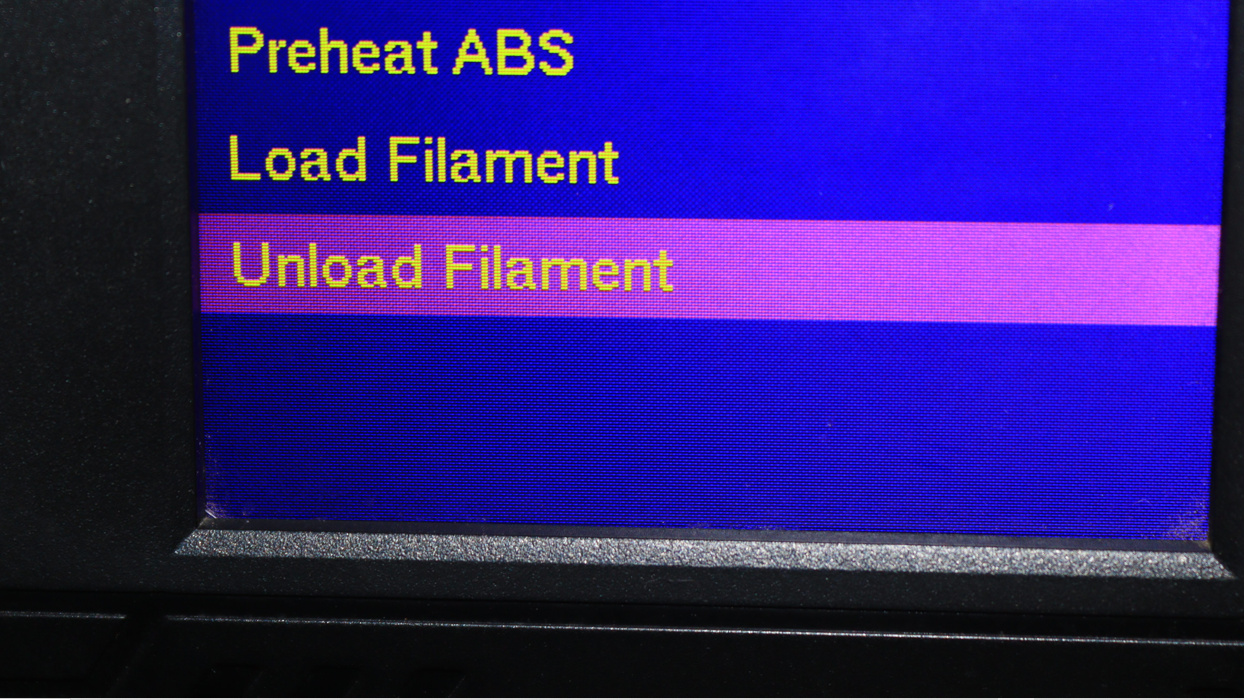
2. Unload the filament.
As the nozzle is heating, you need to unload the filament. You can find the option to do this in the LCD screen of your 3D printer; the process varies depending on the type of your machine. Unloading the filament is crucial in helping you remove the nozzle without obstructions or bending the filament. Once the nozzle is hot enough and you have unloaded the filament, you can go to the next step of removing the nozzle.
Get Tom's Hardware's best news and in-depth reviews, straight to your inbox.
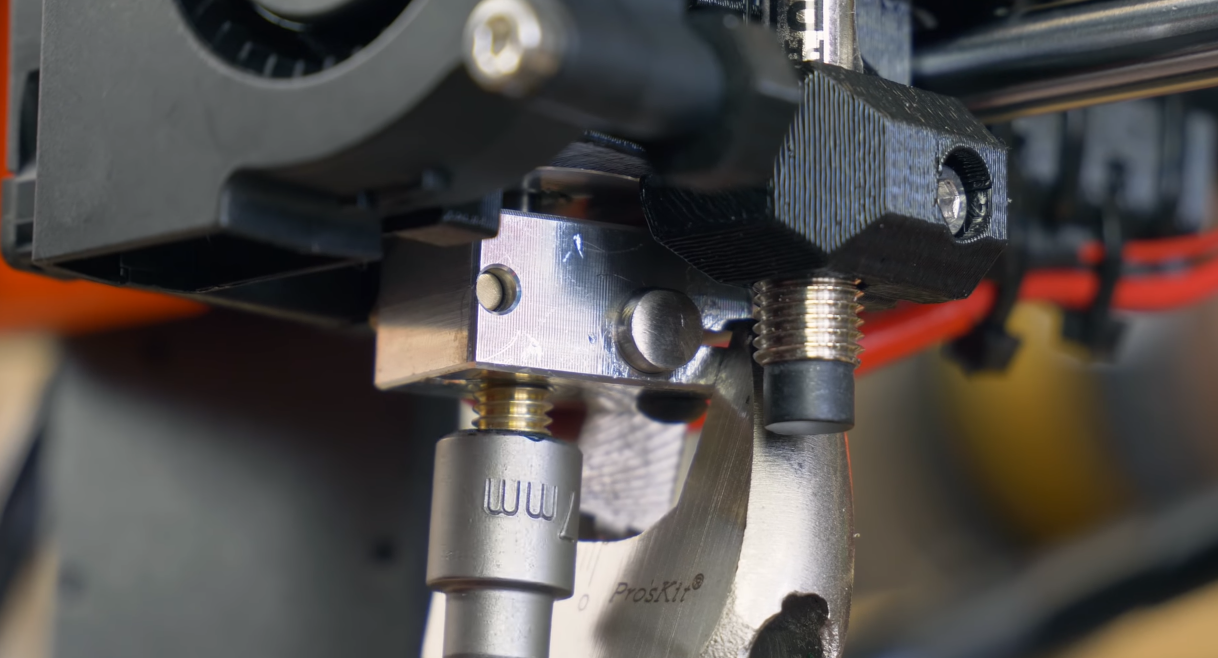
3. Remove the nozzle.
Move the Z-axis slightly up so you have enough space to remove the nozzle easily.
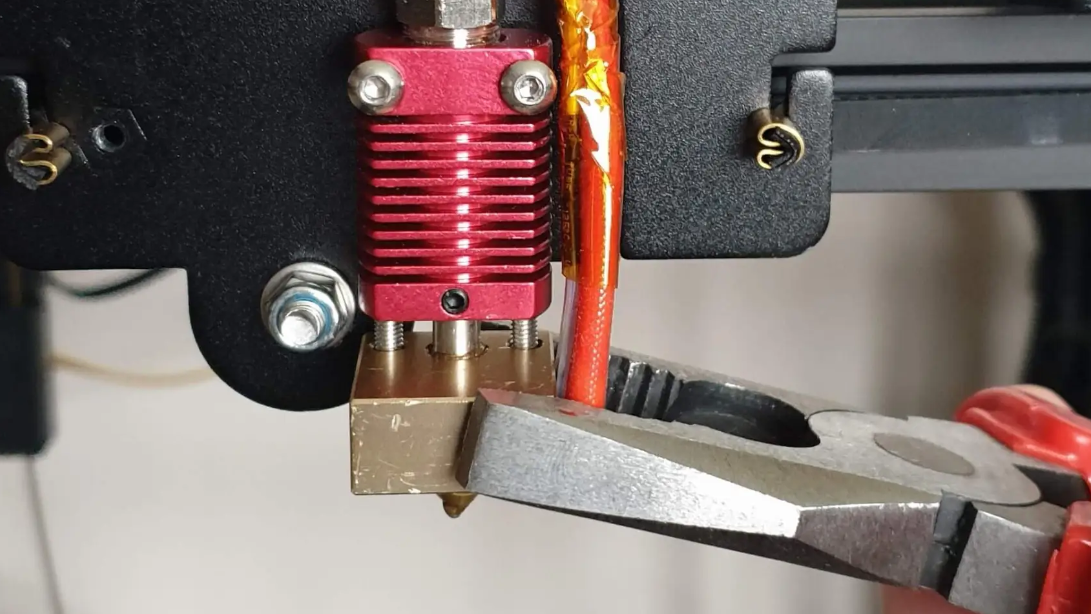
Put on your gloves, position the wrench to the nozzle, and rotate it to unscrew. If you don’t have the socket wrench, you can use a spanner that comes with your 3D printer. Use the pliers to hold the other components as you unscrew. Be careful not to touch the nozzle with your hands as it can burn your hand. You should also use moderate force to avoid damaging other parts.
If you are using a 3D printer like Ender 3 V2, you must first remove the outer nozzle casing before removing the nozzle, as shown below.
After removing the nozzle, you will not be ready to install the new one.
4. Install the new nozzle.
You can follow the same process when removing the nozzle from the heat block. You start by placing the nozzle in the wrench, then putting it on the hotend and turning it. If you don’t have a socket wrench, you will need to put it manually before turning it to tighten, and because the heat block area is still hot, you will need to wait a few minutes until it cools. This ensures that it is not too hot to handle safely.
You can also check the temperature on the LCD screen to see if it has cooled enough. After cooling, you can attach it by hand and before you start tightening, ensure that you heat the hotend again so that you install it when it’s still hot. If you install it and tighten when it is cold, it may be loose and not contact properly when it is hot. As you tighten, just make sure that you hold the heat block using a pliers so that it may not move around while you twist the nozzle as this can cause damage to the wires.
What to do After Changing Your 3D Printer Nozzle
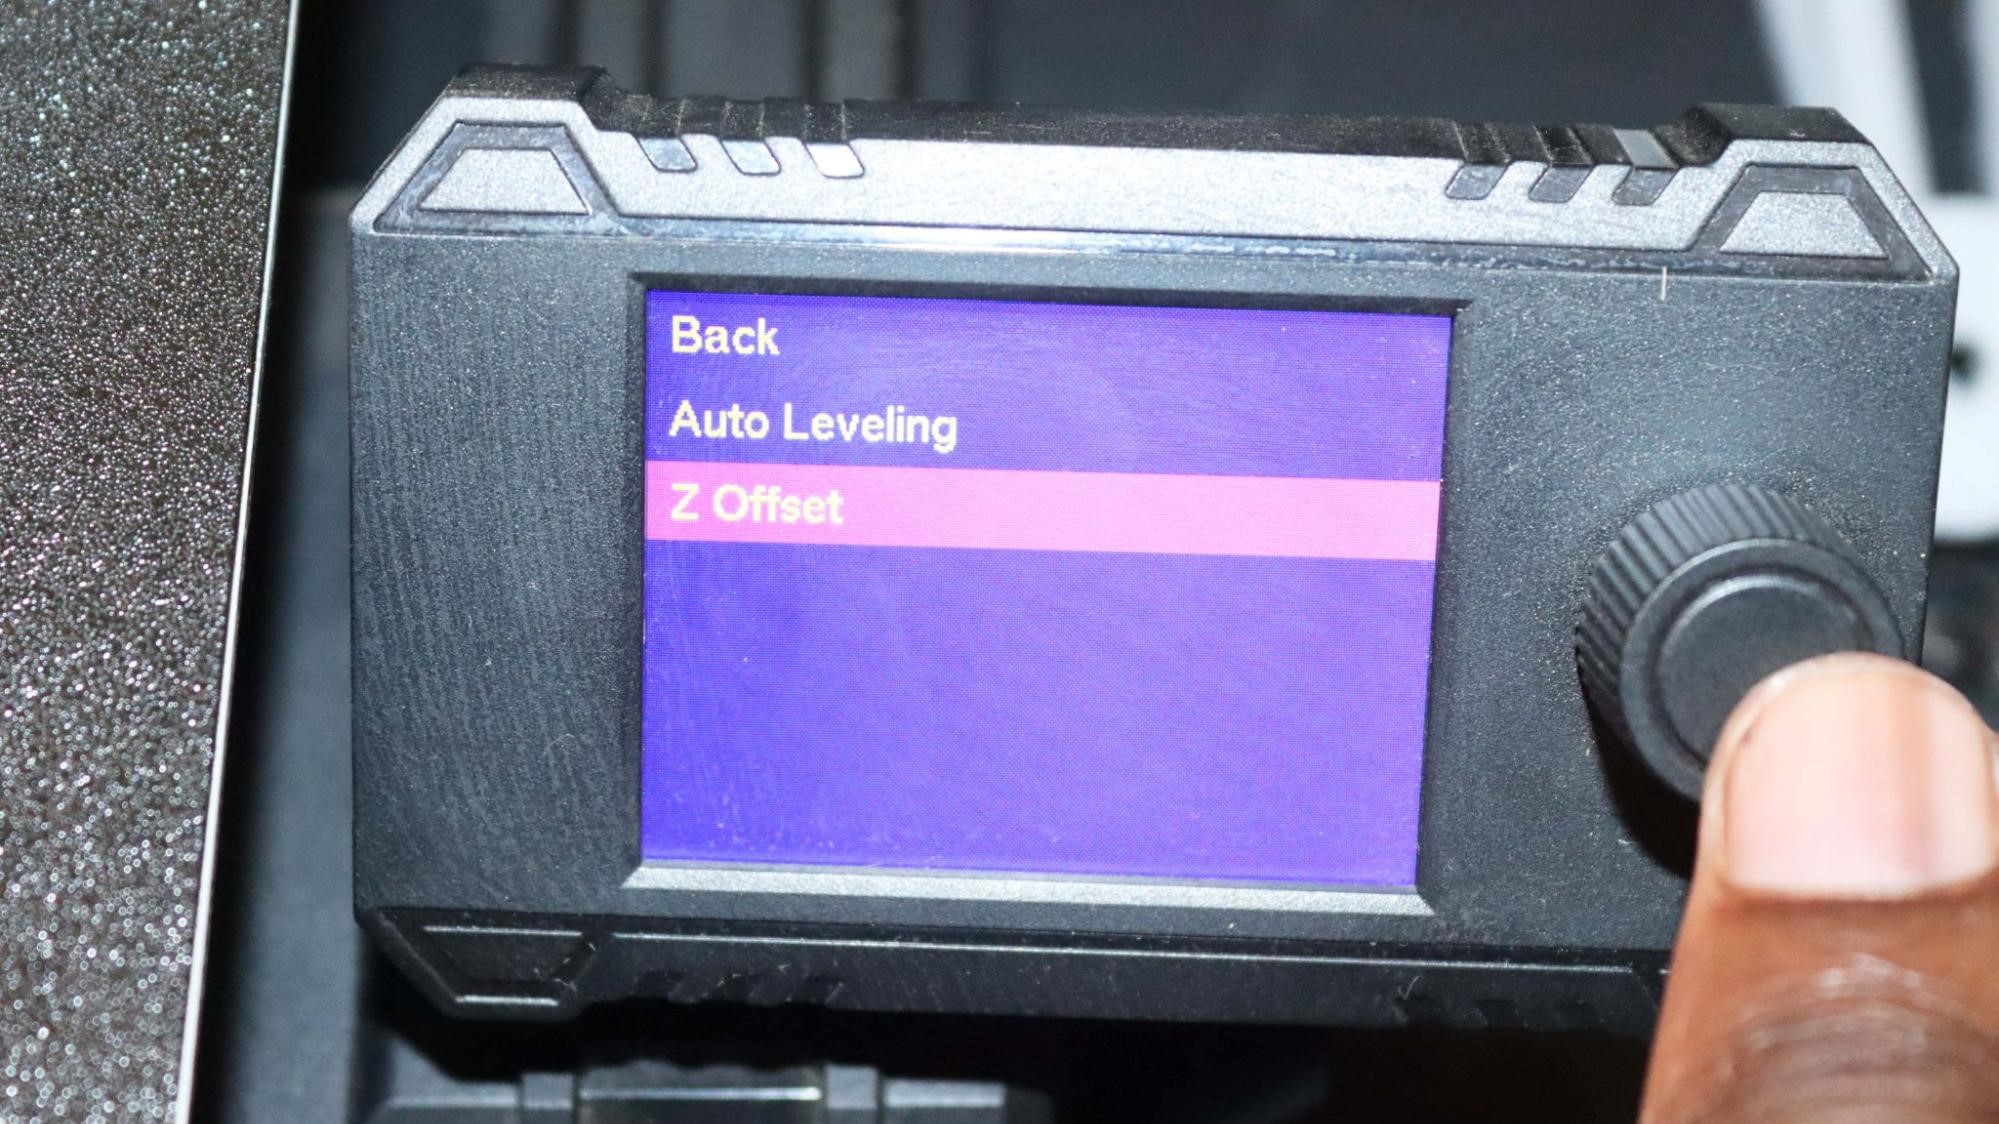
Before you hit that print button after changing your nozzle, there are a few things you need to set to ensure that your prints comes out well. First of all, you need to level your 3D printer bed. Even if you had done it before, you need to do it again so that the nozzle can be at the correct position with the bed on all sides.
You also need to check and adjust the Z height so that it can be at the same correct height. Additionally, you need to change the nozzle diameter settings in your 3D printer slicer to reflect the new one that you have installed. After that, load the filament and do a test print to check if the nozzle works well.
Related Tutorials
More: How to Use PrusaSlicer: A Beginners Guide
More: 5 Ways Fix Z Banding in 3D Printing
More: How to Use FreeCAD for 3D Printing
More: How to Convert OBJ Files to STL Files for 3D Printing
More: How to Clean and Cure Resin Prints
Sammy Ekaran is a freelancer writer for Tom's Hardware. He specializes in writing about 3D printing tutorials and guides. You can find more of his work on various publications, including Makeuseof, All3dp, and 3Dsourced.
