Hands On With DeepCool’s CG560: Compact but Roomy
Four fans and lots of cable space for $85.
DeepCool has made a name for itself with products like its Assassin III CPU air cooler that earned a well-deserved spot on our Best CPU Coolers list. But the company also keeps busy making interesting PC cases, the latest of which is the CG560 mid-tower we’re looking at here. It aims for a fair bit of value, coming equipped with three 120 mm aRGB fans and one 140 mm exhaust fan, plus the requisite glass side panel.
But at $85, the CG560 is marching into a very competitive budget case market while delivering mostly familiar features, like stated motherboard support up to E-ATX, SSD mounting points, a hard drive cage underneath the PSU shroud and a lot of cooling options.
As PC hardware becomes more powerful (and power hungry), cooling becomes increasingly important. With three RGB-lit fans on its perforated front, plus a 140 mm exhaust spinner, does the CG560 deserve a spot on our Best PC cases page, garning the same praise as its CPU cooler cousin? Let’s dive into the case’s details and specs to find out.
Specifications
| Type | ATX Mid-Tower |
| Motherboard | Mini-ITX, Micro-ATX, ATX, E-ATX |
| Support | |
| Dimensions (HxWxD) | 18.50 x 9.06 x 17.80 inches |
| Max GPU Length | 15.7 inches |
| CPU Cooler Height | 6.89 inches |
| External Bays | X |
| Internal Bays | 2x 2.5-inch, 2x 3.5-inch |
| Expansion Slots | 7 |
| Front I/O | 2x USB 3.2 Gen 1 Type-A |
| 3.5mm headset jack | |
| Other | Tempered Glass Side Panel |
| Front Fans | 3x 120mm aRGB |
| Rear Fans | 1x 140mm |
| Top Fans | None |
| Bottom Fans | None |
| Weight | 15.43 pounds |
| Warranty | 2 years |
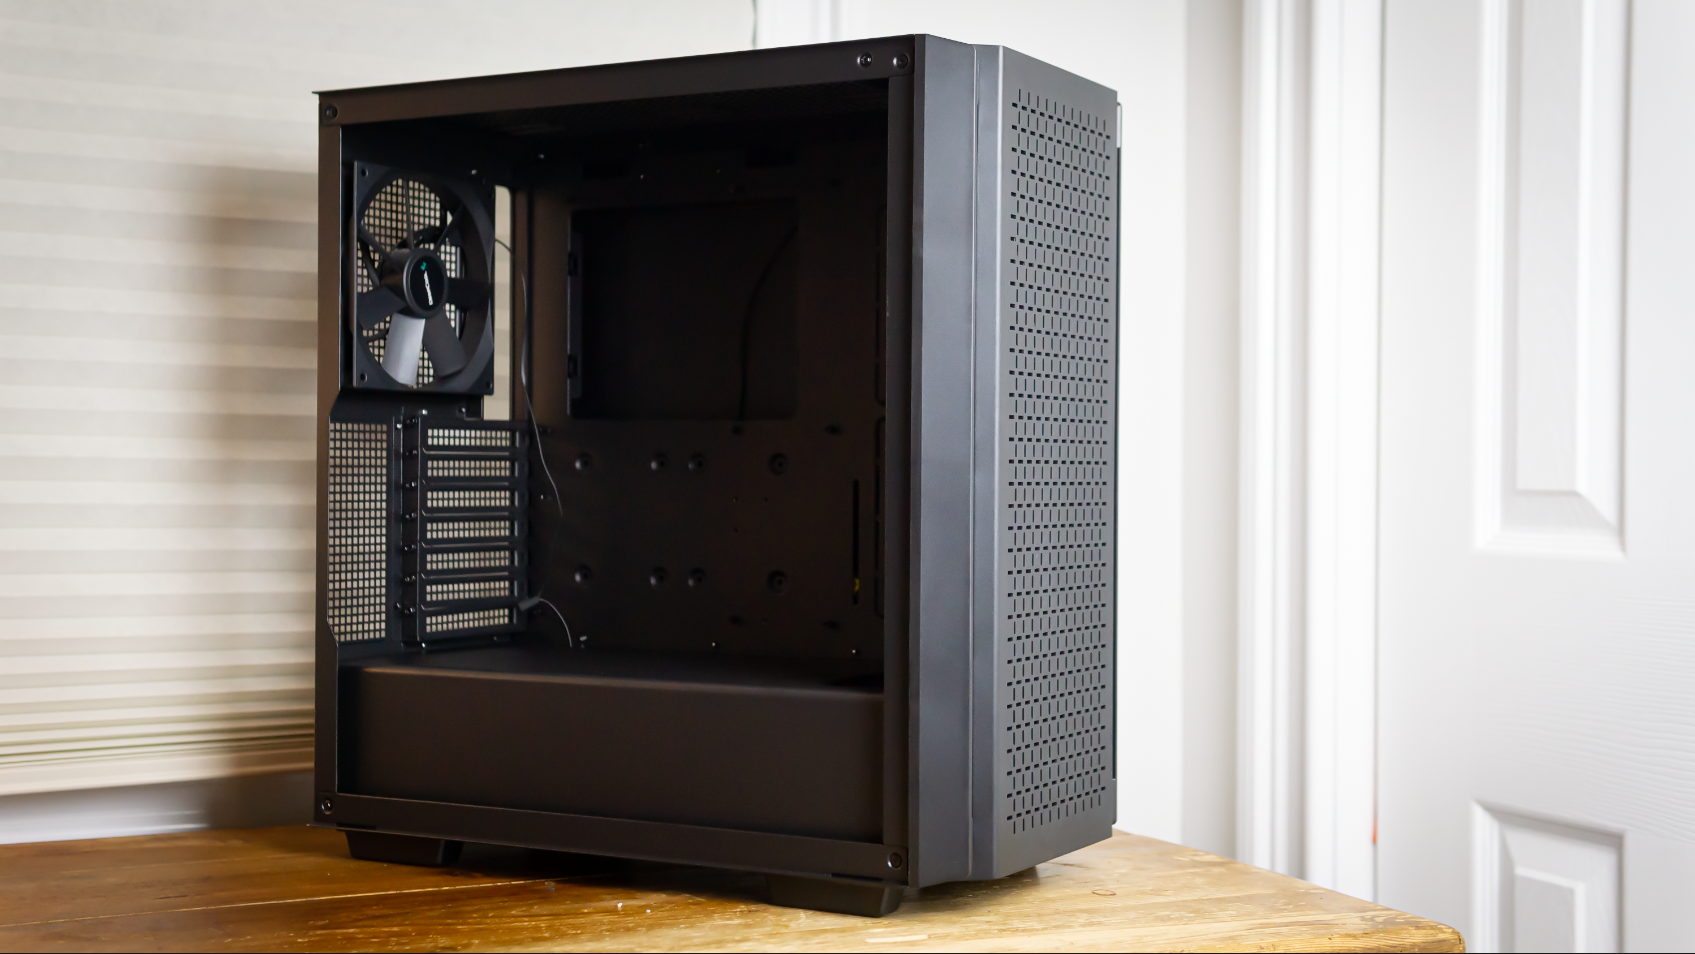
At 18.50 x 9.06 x 17.80 inches, the DeepCool CG560 isn’t very big. In fact, its size is close to the well-received Corsair 400x. Even though the CG560 isn’t the biggest, it’s roomy inside, especially when it comes to fan options. The front of the case can support up to three 120 mm or two 140 mm spinners. Two 120 mm or two 140 mm fans can live up top and one 120 mm or 140 mm fan fits in the rear.
DeepCool is best known for cooling (obviously), and with support for vertical cooling clearance up to 175 mm (6.89 inches), most CPU tower coolers will fit here. AIOs are also supported. But our Corsair H100i sprung a leak after years of use, so I wound up using a stock AMD cooler for the build in this case.
The CG560’s seven expansion slots means I was able to comfortably install my EVGA RTX 2080 TI XC Ultra graphics card without issue (the case supports GPUs up to 15.7 inches long), and I could have installed much more in the other slots.
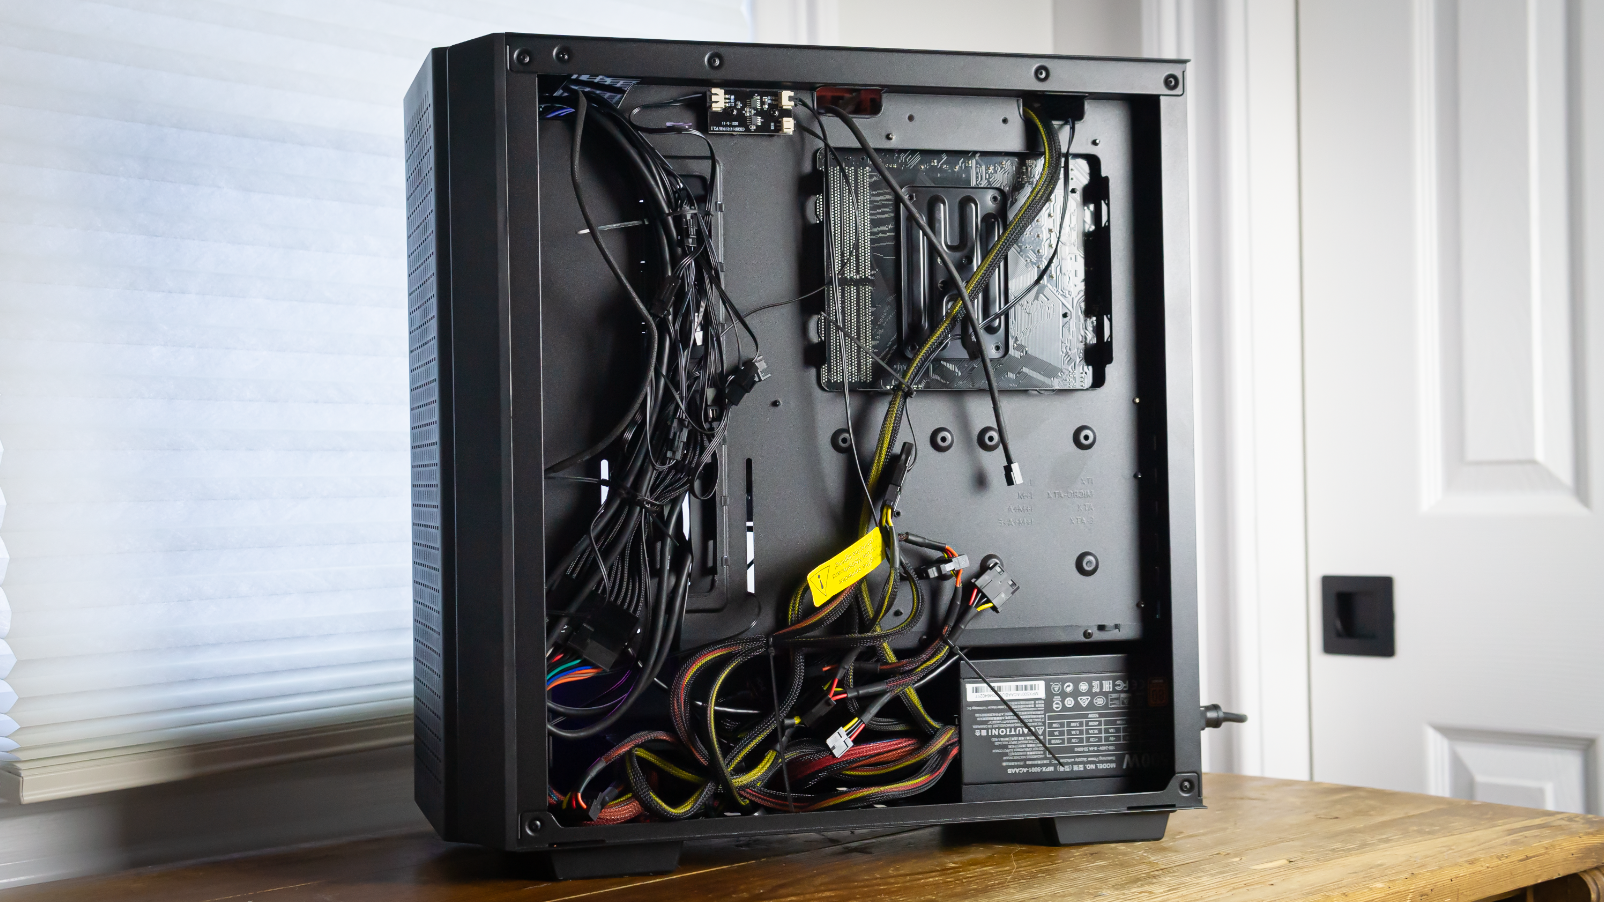
When it comes to cable management, you won’t find any built-in cable routing lanes, but that’s fine. The CG560 instead just has a ton of cable tie points and rubber grommets to keep things looking clean, and lots of room behind the motherboard area.
Get Tom's Hardware's best news and in-depth reviews, straight to your inbox.
Design
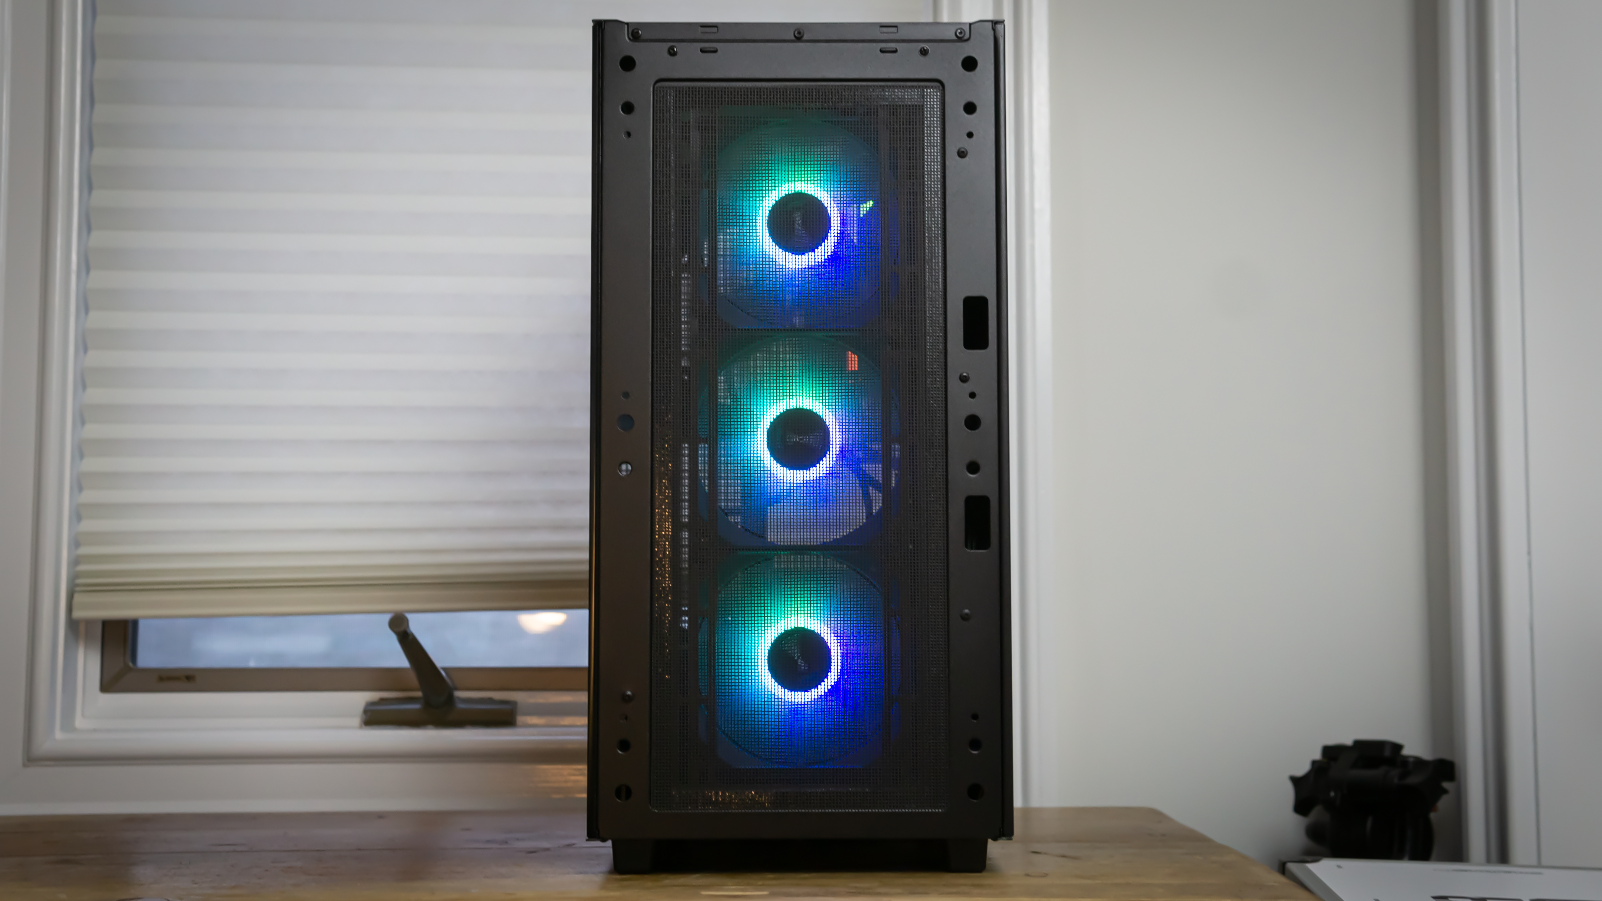
I was slightly concerned with this case at first, because the reticle-like front panel perforation didn’t look that promising–and there’s no denying it’s not ideal for airflow. However, the three fans in the front, plus one for exhaust, were enough for me to feel confident that this case would perform well enough.
The design of the front panel isn’t exactly inspiring. It reminds me a lot of the Corsair iCUE 220T, in that there’s a lot of wasted space. Specifically, there’s about an inch of unperforated area around the edges of the front panel that doesn’t make the case look any better, and also means less airflow. And in my opinion, you can never have too much airflow.
But then, the case does come with four fans. The 140mm exhaust fan has both a molex connector and a 3-pin connector. This feels clunky and oddly outdated. That said, I opted to connect the fan via molex instead of using the three-pin connector because if I were to connect the fan via the three-pin, the molex connector would just be hanging there–because I’m not using a modular PSU for this build. That said, this also complicated my cable management now that I had to deal with a connected molex cable.
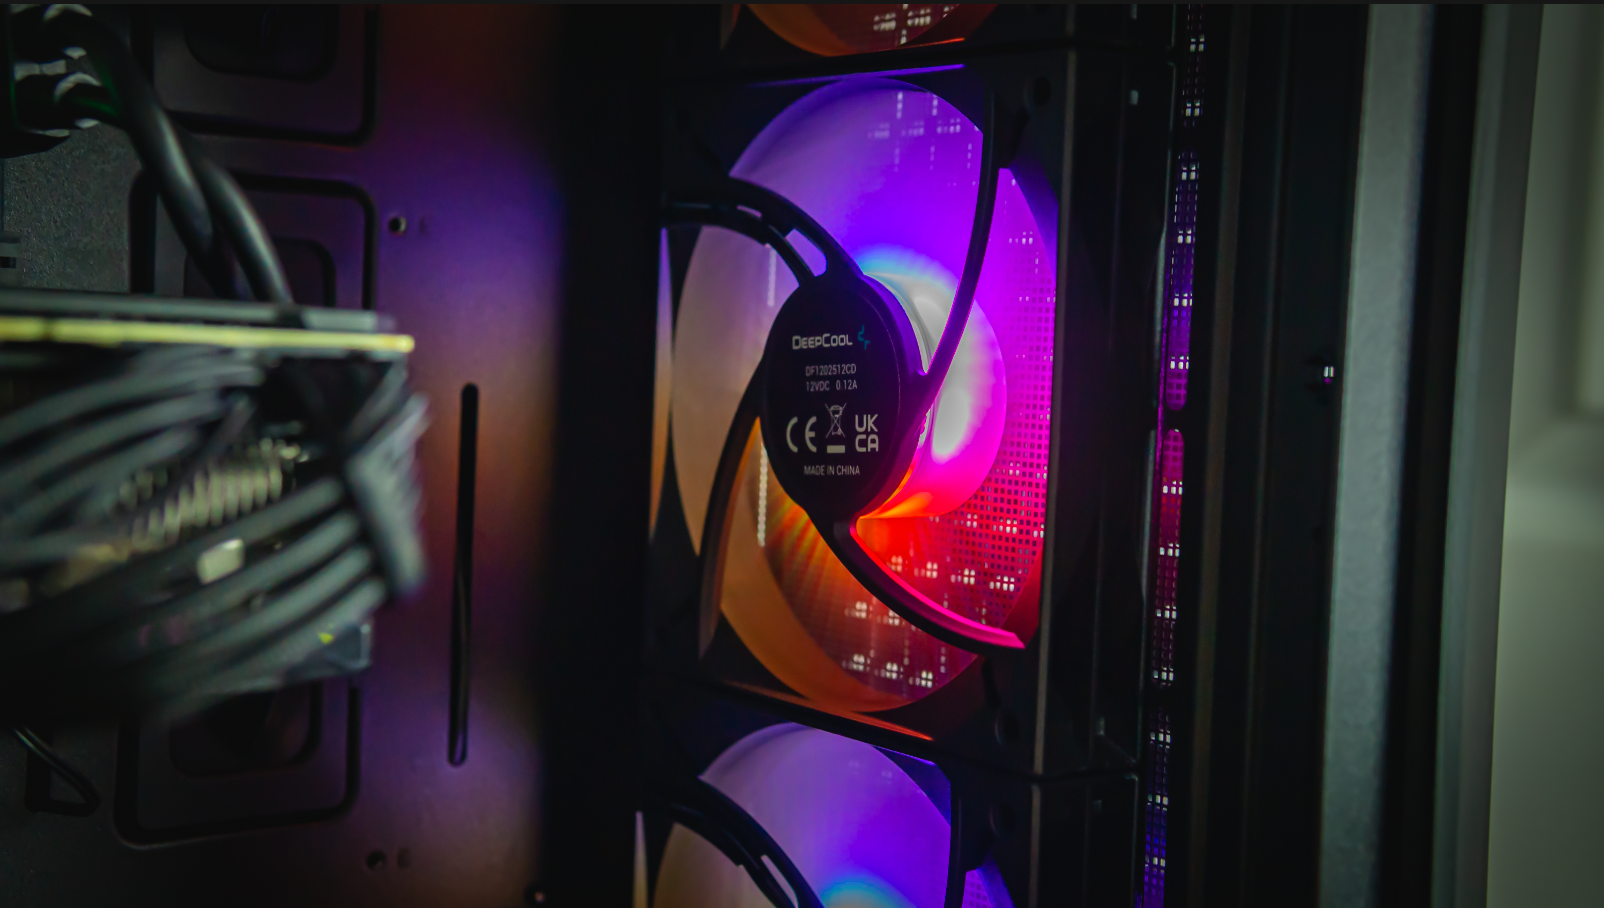
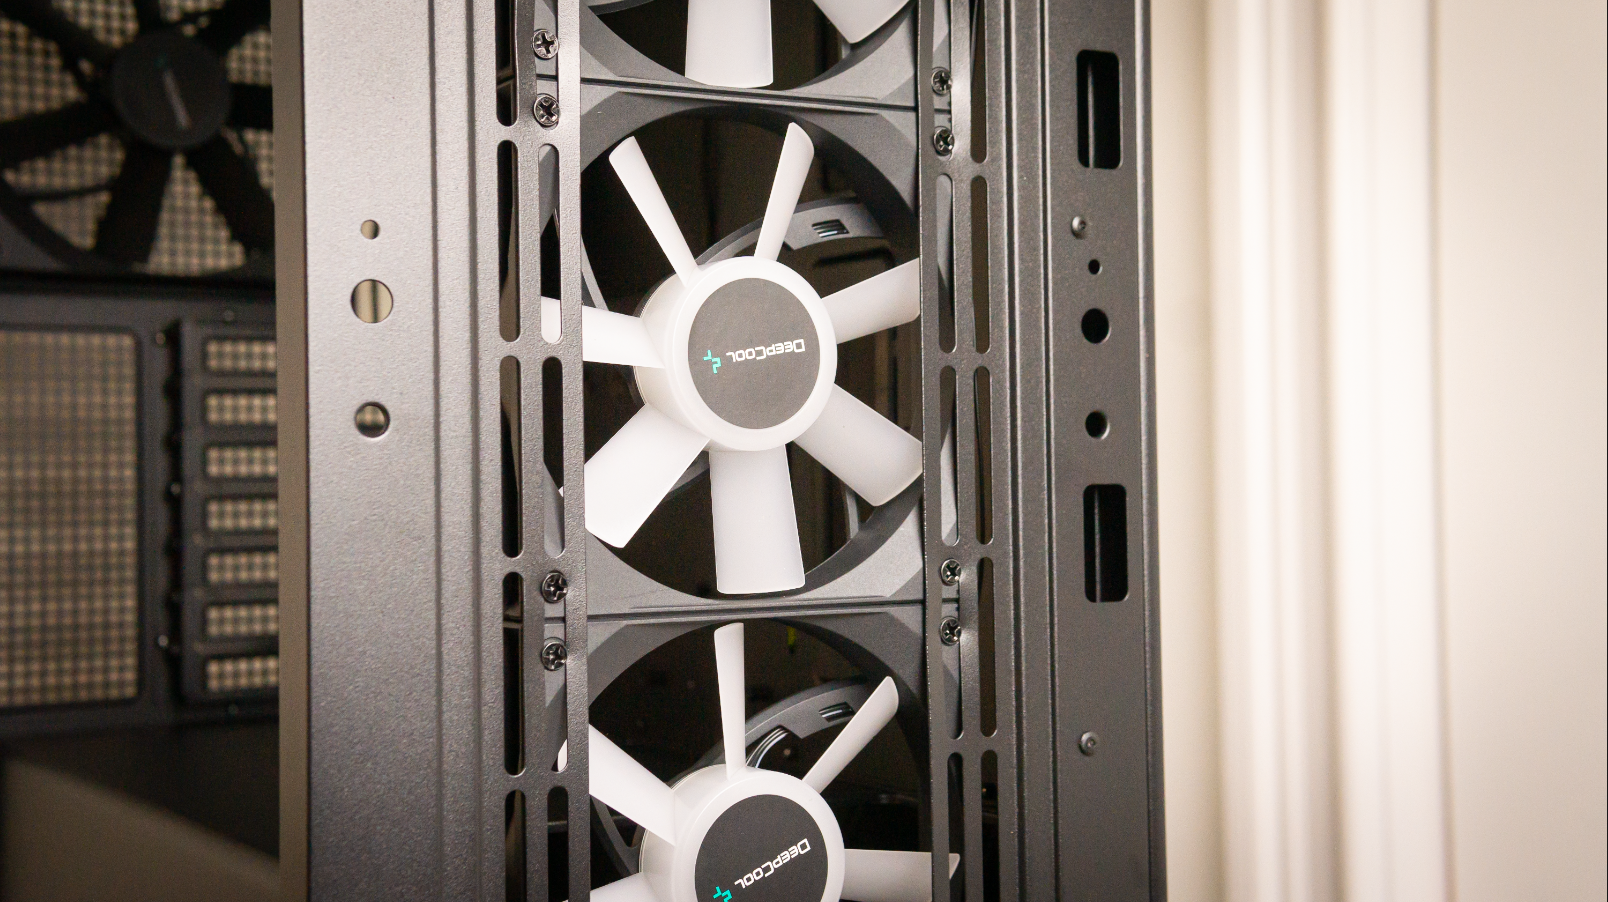
All three of the front fans connect to just one four-pin fan connector, which is then flanked by lots of RGB connectors. The lights here can be controlled via the LED button on the front of the case (thanks to a simple RGB controller that comes pre-installed behind the motherboard), or by your motherboard’s RGB software when connected to the included aRGB cable.
Speaking of the front IO, along with the LED button, there’s a power switch (of course), two USB-A ports that match DeepCool’s Tiffany-blue accent color and a mic/audio combo jack. Both the power and LED switch make a satisfying click to let you know that they’ve been pressed, which is nice to see at this price.
For $85, this case is constructed quite well. Most of the chassis, aside from the front panel, is made of steel and it doesn’t feel at all flimsy. I installed two Noctua NF-P12 fans at the top of the case and there was minimal to no flexing from the top panel. The front panel is plastic, but doesn’t feel or look cheap; I was never afraid of breaking the tabs off when taking the front panel off.
Behind the front panel is the usual magnetic dust filter, but this is the first time where I feel like the case actually looks better with the front panel off. I’m not 100% sure why I like the look of just the mesh filter, but this made me wish that DeepCool would make this exact case again, but with a fine mesh front panel rather than the patterns of slits.
There are other ways to go, though. Cases like the Phanteks P360A or the Lian Li 011D EVO (with its mesh front kit) have a front panel that’s all mesh. This isn’t bad, but it makes me appreciate the Corsair 7000D Airflow much more because it provides fantastic airflow while deviating from the copy and paste airflow design. I would have liked to see DeepCoool take this route by just opening up the reticle pattern a bit wider, providing more airflow while still delivering an interesting front pattern.
A couple of extra things worth noting before we get to the build process: The CG560 uses regular screws to secure the PCIe covers to the case instead of thumbscrews. That means you’ll be using a screwdriver quite a bit. But thumbscrews do work as well if you have some handy.
And in a design choice reminiscent of the early days of glass side panels, the bottom of the tempered glass panel on the CG560 has to be properly seated first before the rest of the panel can be screwed in via captive thumbscrews. The push-pin attachments we’ve seen on a few more premium cases this year are much easier to use, and can be similarly secure when there’s also a mounting hole for an optional screw. Still, given the sub-$100 price, it’s not a surprise to see DeepCool use the simpler panel-mounting method here.
Building in the DeepCool CG560
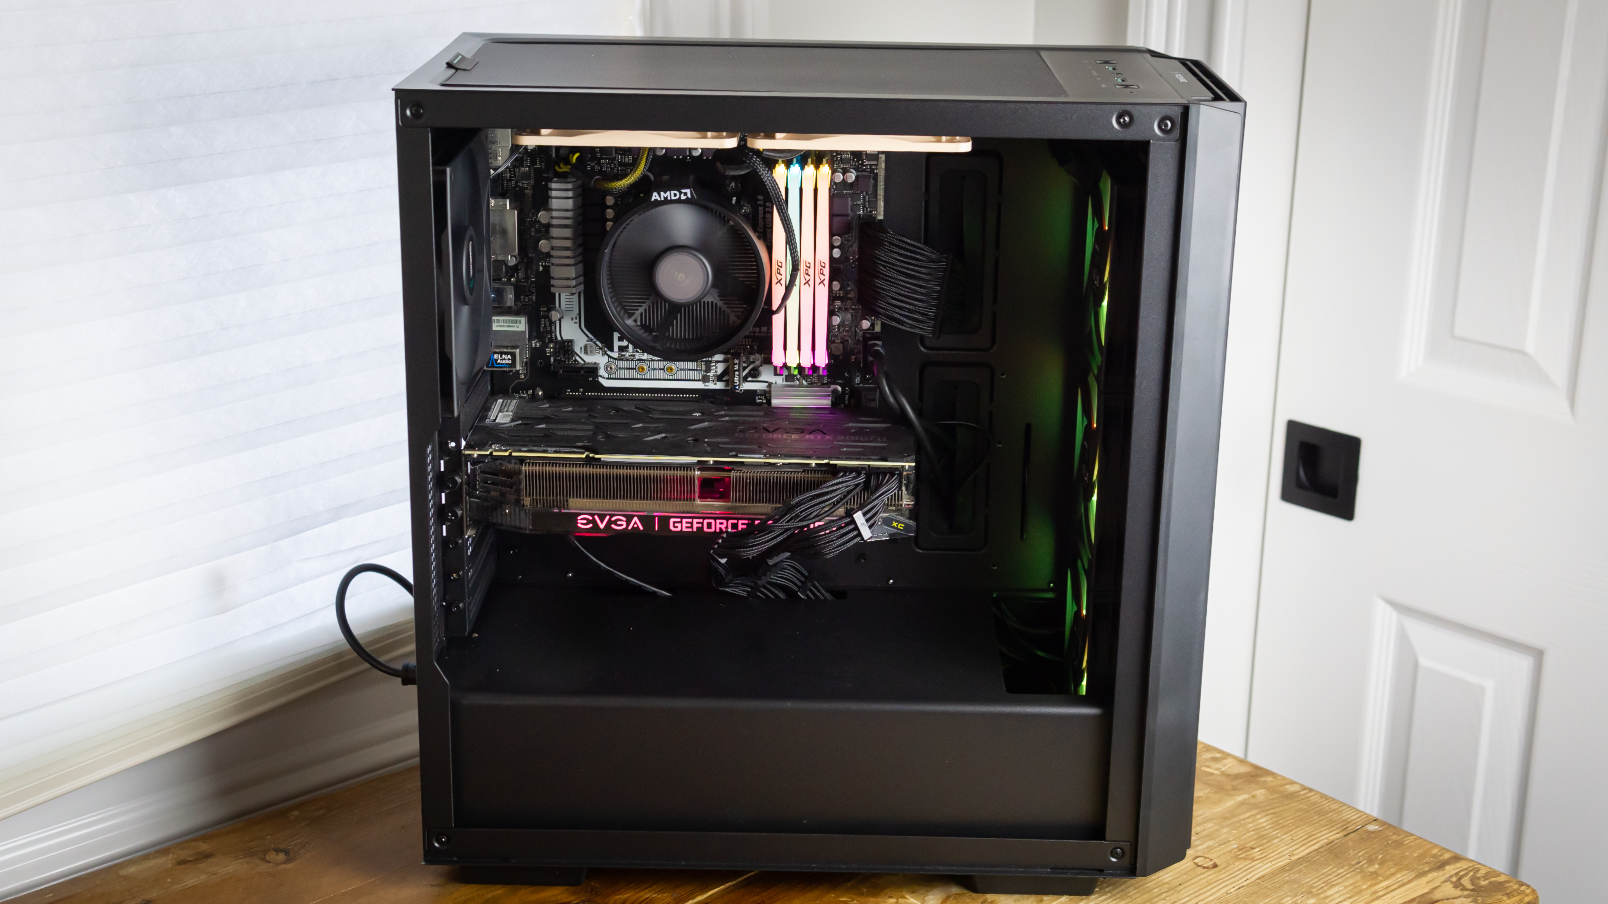
Building in the CG560 was a joy, and that has a lot to do with cable management space. Since I was using a non-modular PSU, I had a lot of extra cables that needed to be hidden. There was so much room behind the motherboard, though, that I decided to use sleeved extension cables and shove all the ugly wires behind the motherboard tray and under the PSU shroud. Even with all that, I didn’t have any issues putting the side panel back on.
To help fill the case out a bit more, I installed two Noctua NF-P12 120 mm fans up top and, again, there was barely any flex when screwing the fans in. Shout out to DeepCool for this because even in higher-quality cases like my $200 Phanteks Ethoo 719, there’s often noticeable flex when installing fans. Might I remind you that this case is $85.
Installing my big EVGA RTX 2080 TI XC Ultra was easy enough, but I decided to use thumbscrews instead of the standard Phillips screws that came with the case.
I hate dealing with RGB wires, especially on fans, because there are so many extra cables (especially when using multiple fans) that end up getting tangled, and it’s just not fun to deal with all that. Fortunately, DeepCool made this bit easy by connecting all of the fans together out of the box. All I had to do was connect the one four-pin fan cable to my motherboard.
You can link the fans to your motherboard and control the lighting that way by using the included aRGB connector. But since my motherboard didn’t have a 3-pin connector, I just let the case control the lighting via the front-panel button.
Cable Management
Proper cable management is for me the hardest part when it comes to building a PC, but the CG560 made it almost effortless. There isn’t anything special, but that’s fine. I’ve been using a non-modular power supply with ugly mustard and ketchup cables that look ugly, no thanks to the excess cables clogging up the case. However, even with sleeved cable extensions, a fat 24-pin cable and everything else, I was able to zip tie the cables and slack to the back of the case and then easily close the rear side panel without having to do much to make things look tidy.
Cooling
As I said earlier, I’m not a fan of the front panel design on the CG560, but DeepCool made room in the case for many different cooling configurations and included a generous amount of fans ready to move some serious air out of the box.
Unless you like the molex connector,I do recommend that you change out the rear exhaust fan for something less clunky, like the Phanteks T30-T120 we tested, or my personal favorites, some mag lev Corsair ML120 fans. But feel free to experiment with cooling here. Both the front and the top support either three 120 mm fans or two 140 mm spinners.
Finished Build and Conclusion
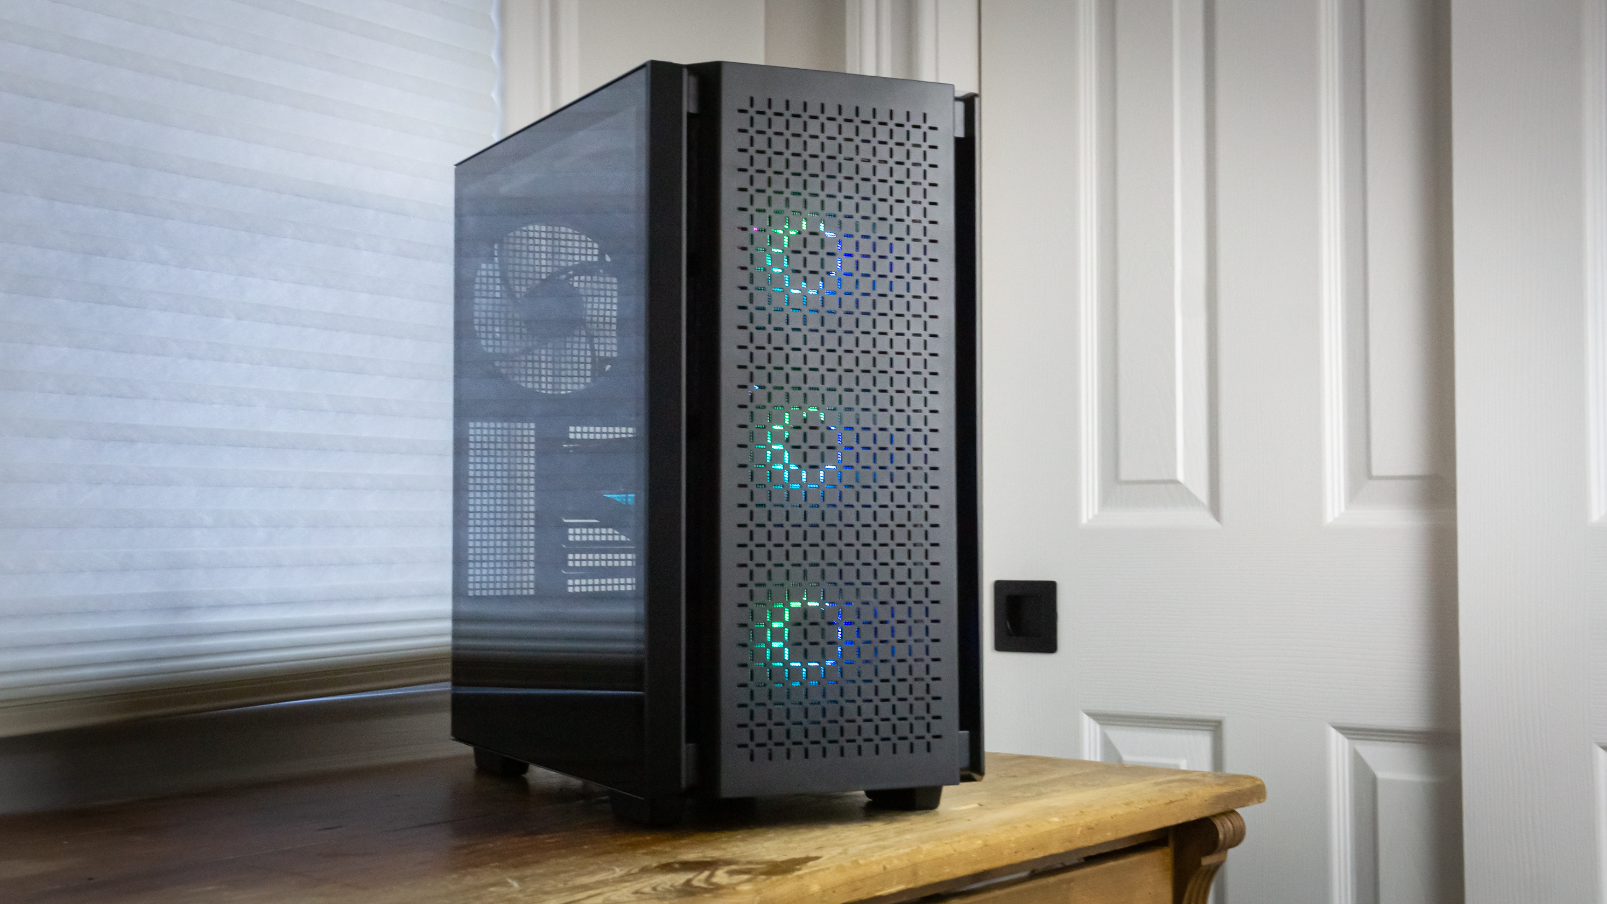
The DeepCool CG560 is a great case overall for the price. There’s an ample amount of cable management room behind the motherboard and lots of cooling options. It was also fun to work with–even with sleeved extensions and a non-modular power supply I didn’t have any issues putting the metal side panel on at the end of the build.
Still, as with almost any budget chassis, there’s room for improvement. The front panel design disappoints me because there’s too much empty space around the edges and the pattern could’ve been more open for better airflow. However, I do appreciate how DeepCool tried to do something different, rather than creating another mesh- covered front. The inclusion of three front fans (a rarity at this price point) no doubt makes up for some of the front panel’s airflow issues.
The budget case market is a tough place to be in, especially with PC builders wanting to save as much money as possible for other high-priced components. But at $85, the DeepCool CG560 delivers a roomy interior and cooling versatility in a fairly small, affordable package.

Myles Goldman is a freelance writer for Tom's Hardware US. He reviews keyboards and cases.
