The Mirror Maze PC: Building an Ultra-Quiet, Liquid-Cooled PC to Get Lost In
Get lost in a silent labyrinth of mirrors, nickel and chrome.
There are a couple approaches you can take to building a PC. By far the most common is a rather pragmatic one, where you build a machine that’s solely meant as a means to a specific end (say, for gaming, or some other specific task, or within a set budget), keeping looks in the back of your head, but mostly as a side concern. But with this build we decided to take a whole different approach.
Today we’re not building a PC that’s not meant to squeeze as much power out of each dollar spent, but rather one that tries to offer the most refined experience -- not just beautiful looks or record-breaking performance. Naturally, when tackling a build like this, custom liquid cooling is a must, as this will help keep the components cool and quiet.
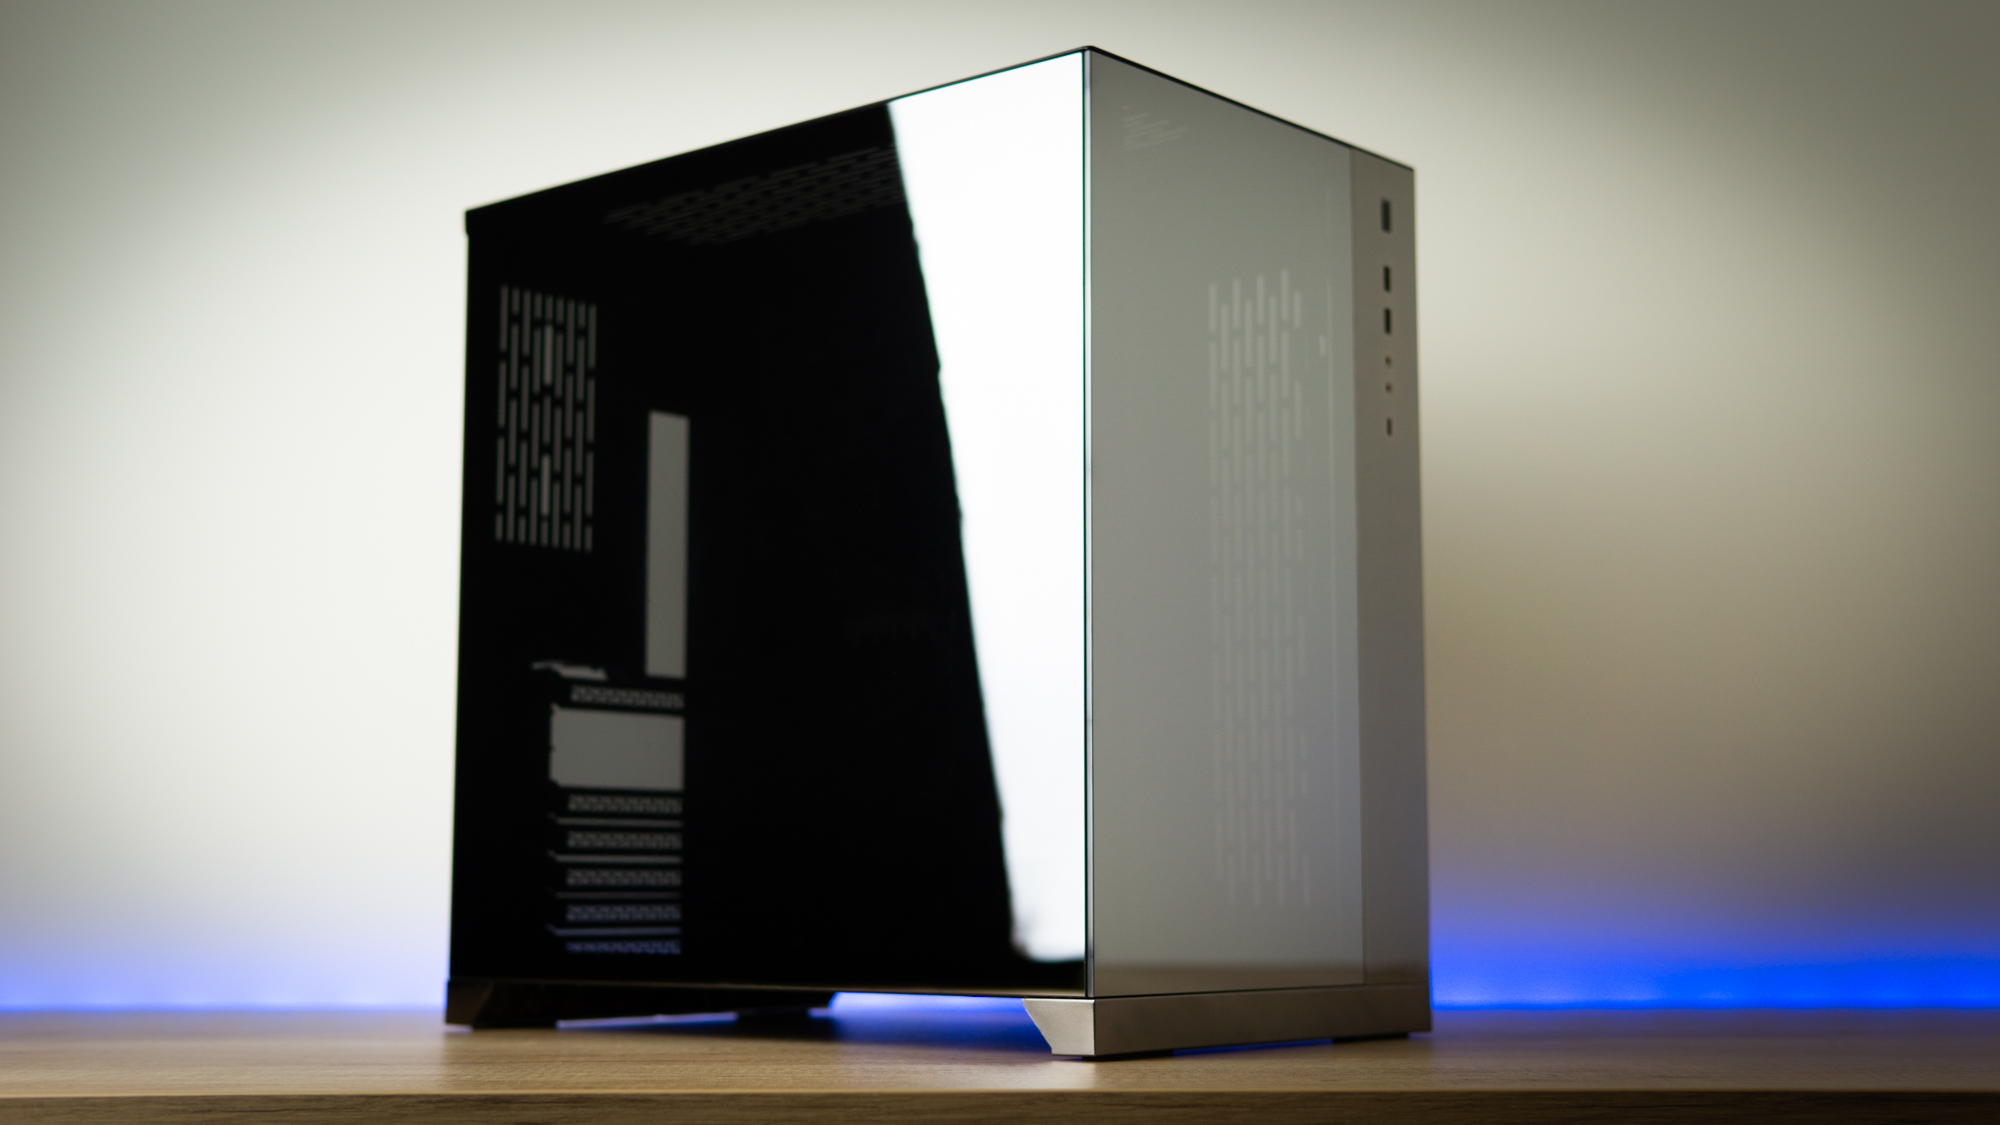
But the whole idea for this build started when Lian Li announced the PC-O11 Dynamic in the special Space Gray Edition. We knew this chassis could be the start of something great, and thus was born what we're calling the Mirror Maze build, a system with tons of reflective, shiny components designed to pump out frames and churn though productivity tasks, but be quiet enough so that you'd barely notice its presence, even when running at peak performance.
Component Selection
To start off with, we’ll guide you through the component selection of this system, detailing the reasoning that went into the choices made for this build, starting with the initial inspiration.
Case: Lian Li PC-O11 Dynamic, Space Gray Special Edition
The choice for the PC-O11 Dynamic was an easy one. This chassis is among the most popular water-cooling cases out there, and it brings with it a robust platform of third-party hardware that you can pack into it. But the standard model is common and a little plain, so we’re spicing it up with the special Space Gray edition, a chassis built in collaboration with the PCMR community. It comes with mirrored tempered glass panels that, while making it a major pain to photograph, also make it perfect for the mirror maze theme we’re going for.
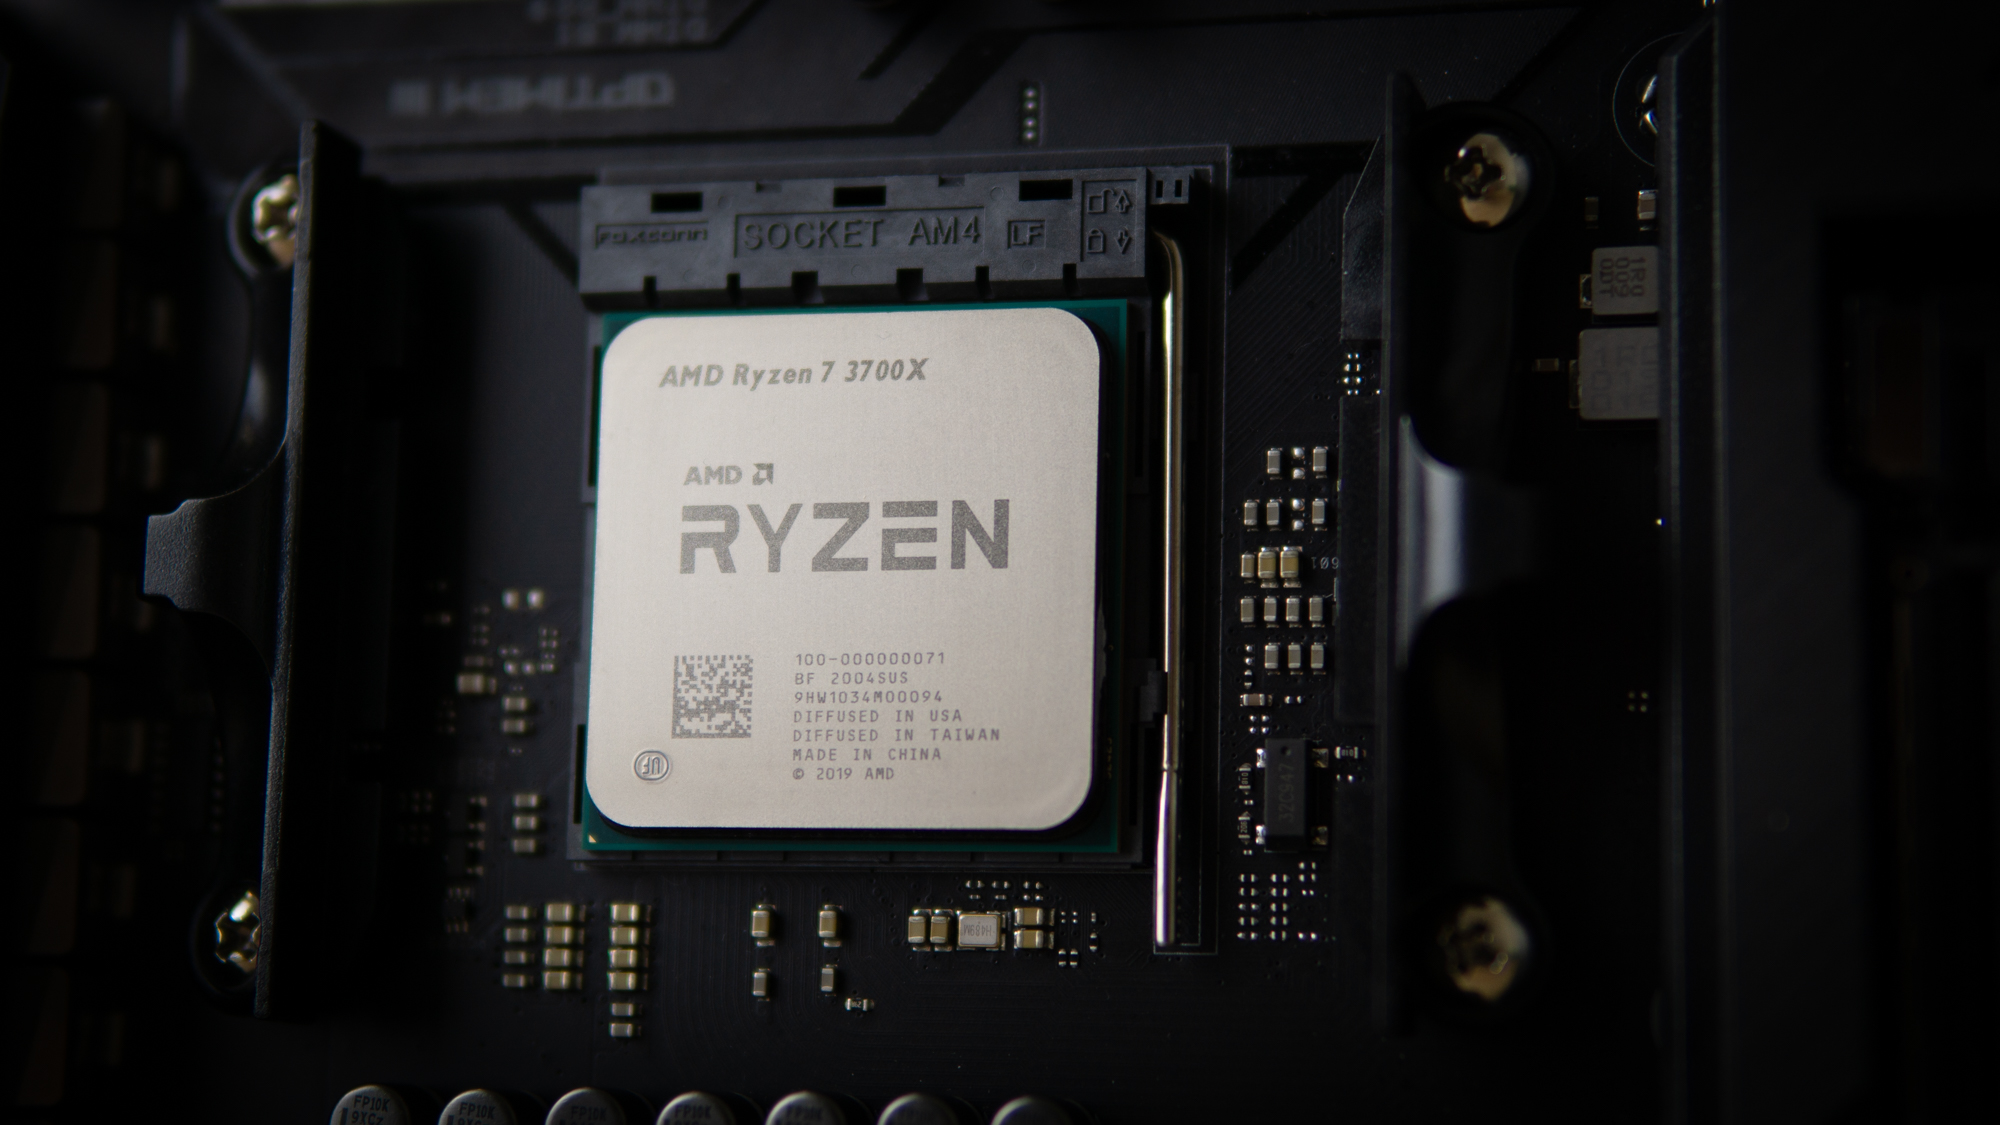
CPU: AMD Ryzen 7 3700X
Get Tom's Hardware's best news and in-depth reviews, straight to your inbox.
You would think that for a system of this caliber, we would opt for the most expensive CPU, packing it with either the latest Intel Core i9-10900K or AMD’s stunning 16-core Ryzen 9 3950X. But, we don’t need that kind of CPU power for gaming or most productivity tasks. AMD’s 8-core Ryzen 7 3700X, on the other hand, offers all the performance you really need for high-end mainstream computing. It comes in at about $300, making it a very approachable starting point for this system. Besides, AMD promises support for Zen 3 CPUs on the X570 platform, so there will be plenty of upgrade options in the future.
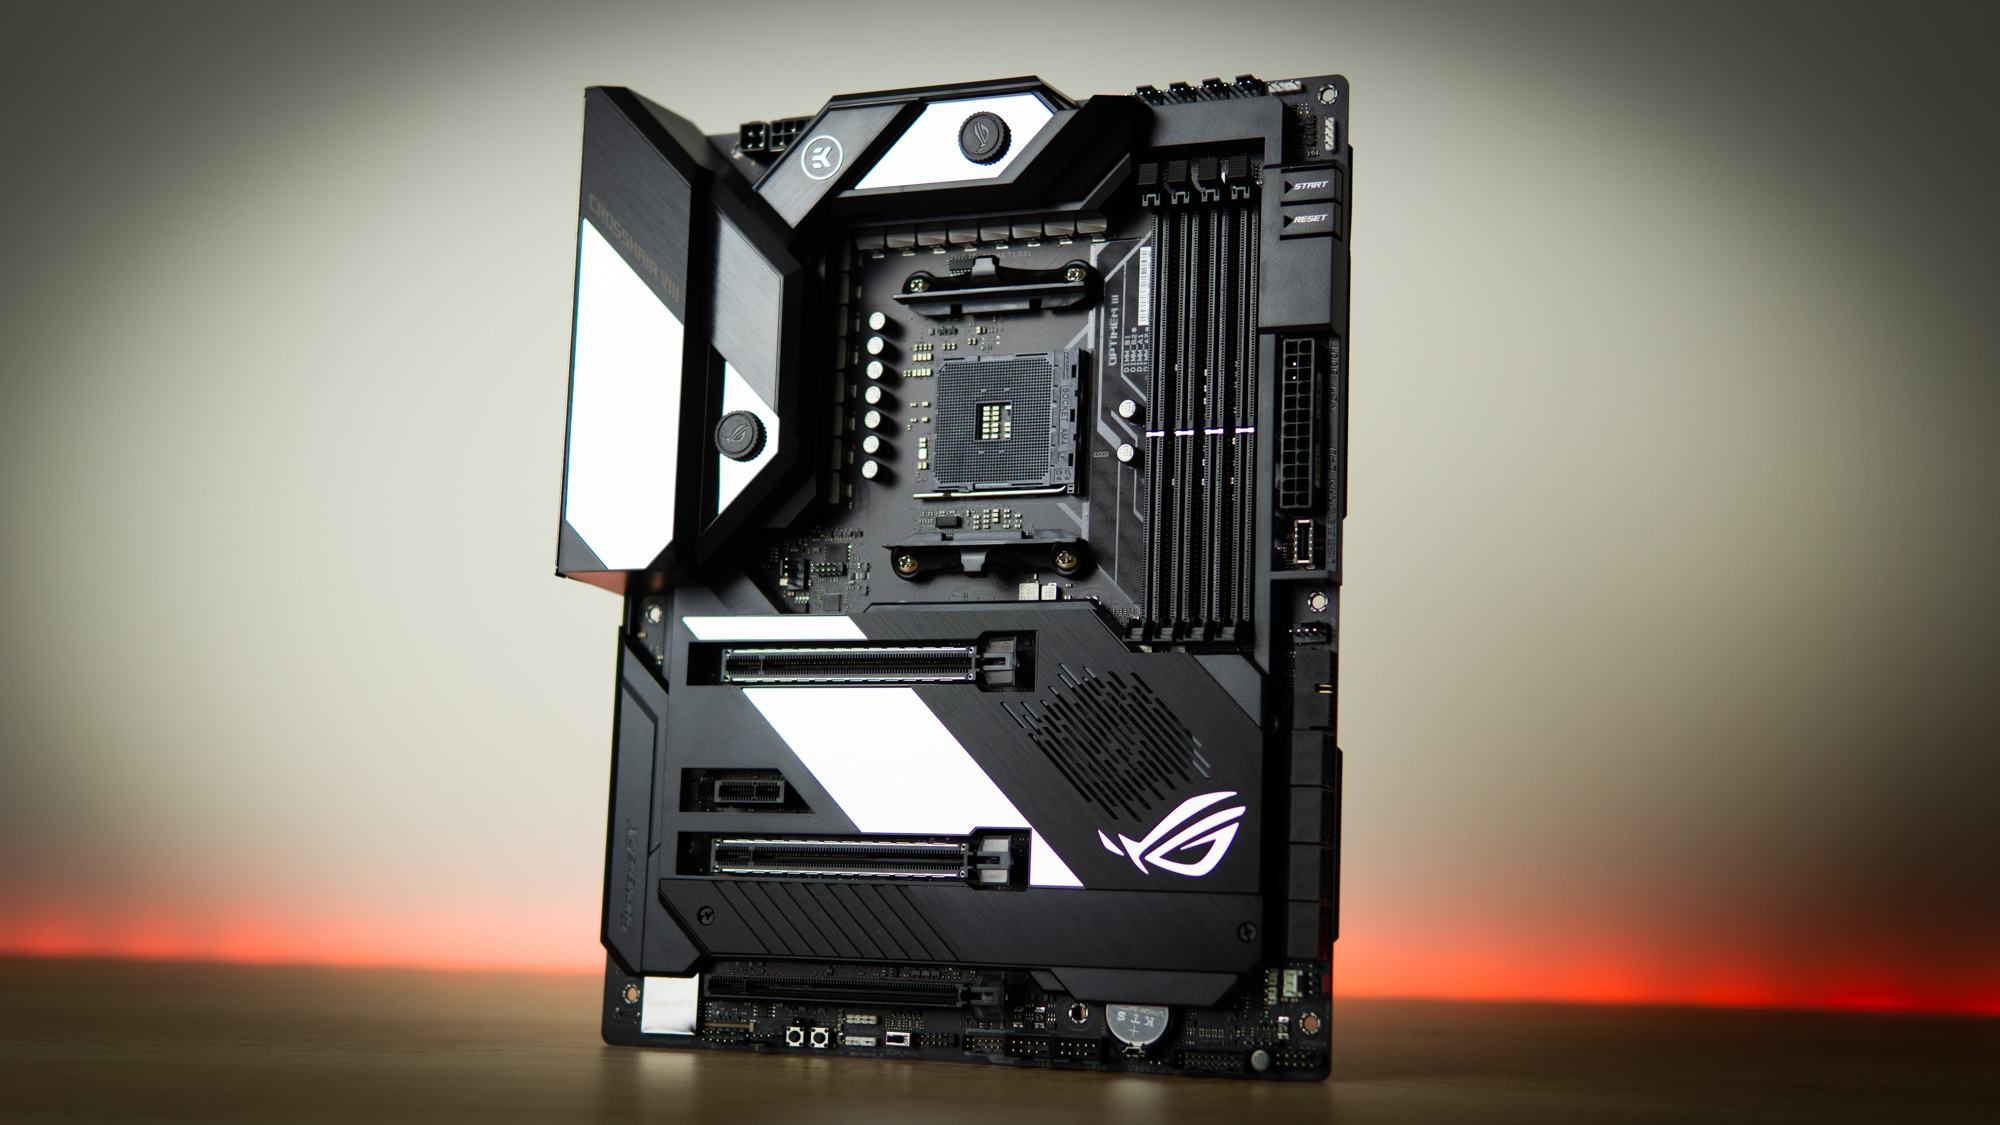
Motherboard: Asus Crosshair VIII Formula
The roughly $600 price will make this an unpopular option for some, but the VIII Formula is among the top X570 motherboards money can buy, and it comes with an integrated EKWB waterblock for the VRM circuitry. This block isn’t something you expressly need. And yes, I’m aware that this is going to make my cooling runs much more complicated and difficult, but I’m ready to take on that challenge -- or at least I thought I was at the beginning. Note: If you’re considering a build like this, do yourself a favor and skip including the VRMs in the loop. Other than aesthetics, it doesn’t add much value.
What really makes this board great for a build like this is that it’s absolutely smothered in fan headers, RGB headers, sensor headers, and just about every case accessory you could need. It even has a dedicated header for the water pump – though we’ll only be using that header for the PWM signal and RPM readout.
Memory: G.Skill Trident Z Royal, 4x 8GB, 3600 MHz, CL18
Given the theme of this build, logically we went with some very, very shiny memory modules to match. Arguably, it would have made more sense to go for two 16 GB modules for a 32 GB memory configuration, both from a cost and performance perspective, but four modules simply looks better and more complete. At 3600 MHz and CL18 timings, these DIMMs are speedy, too.
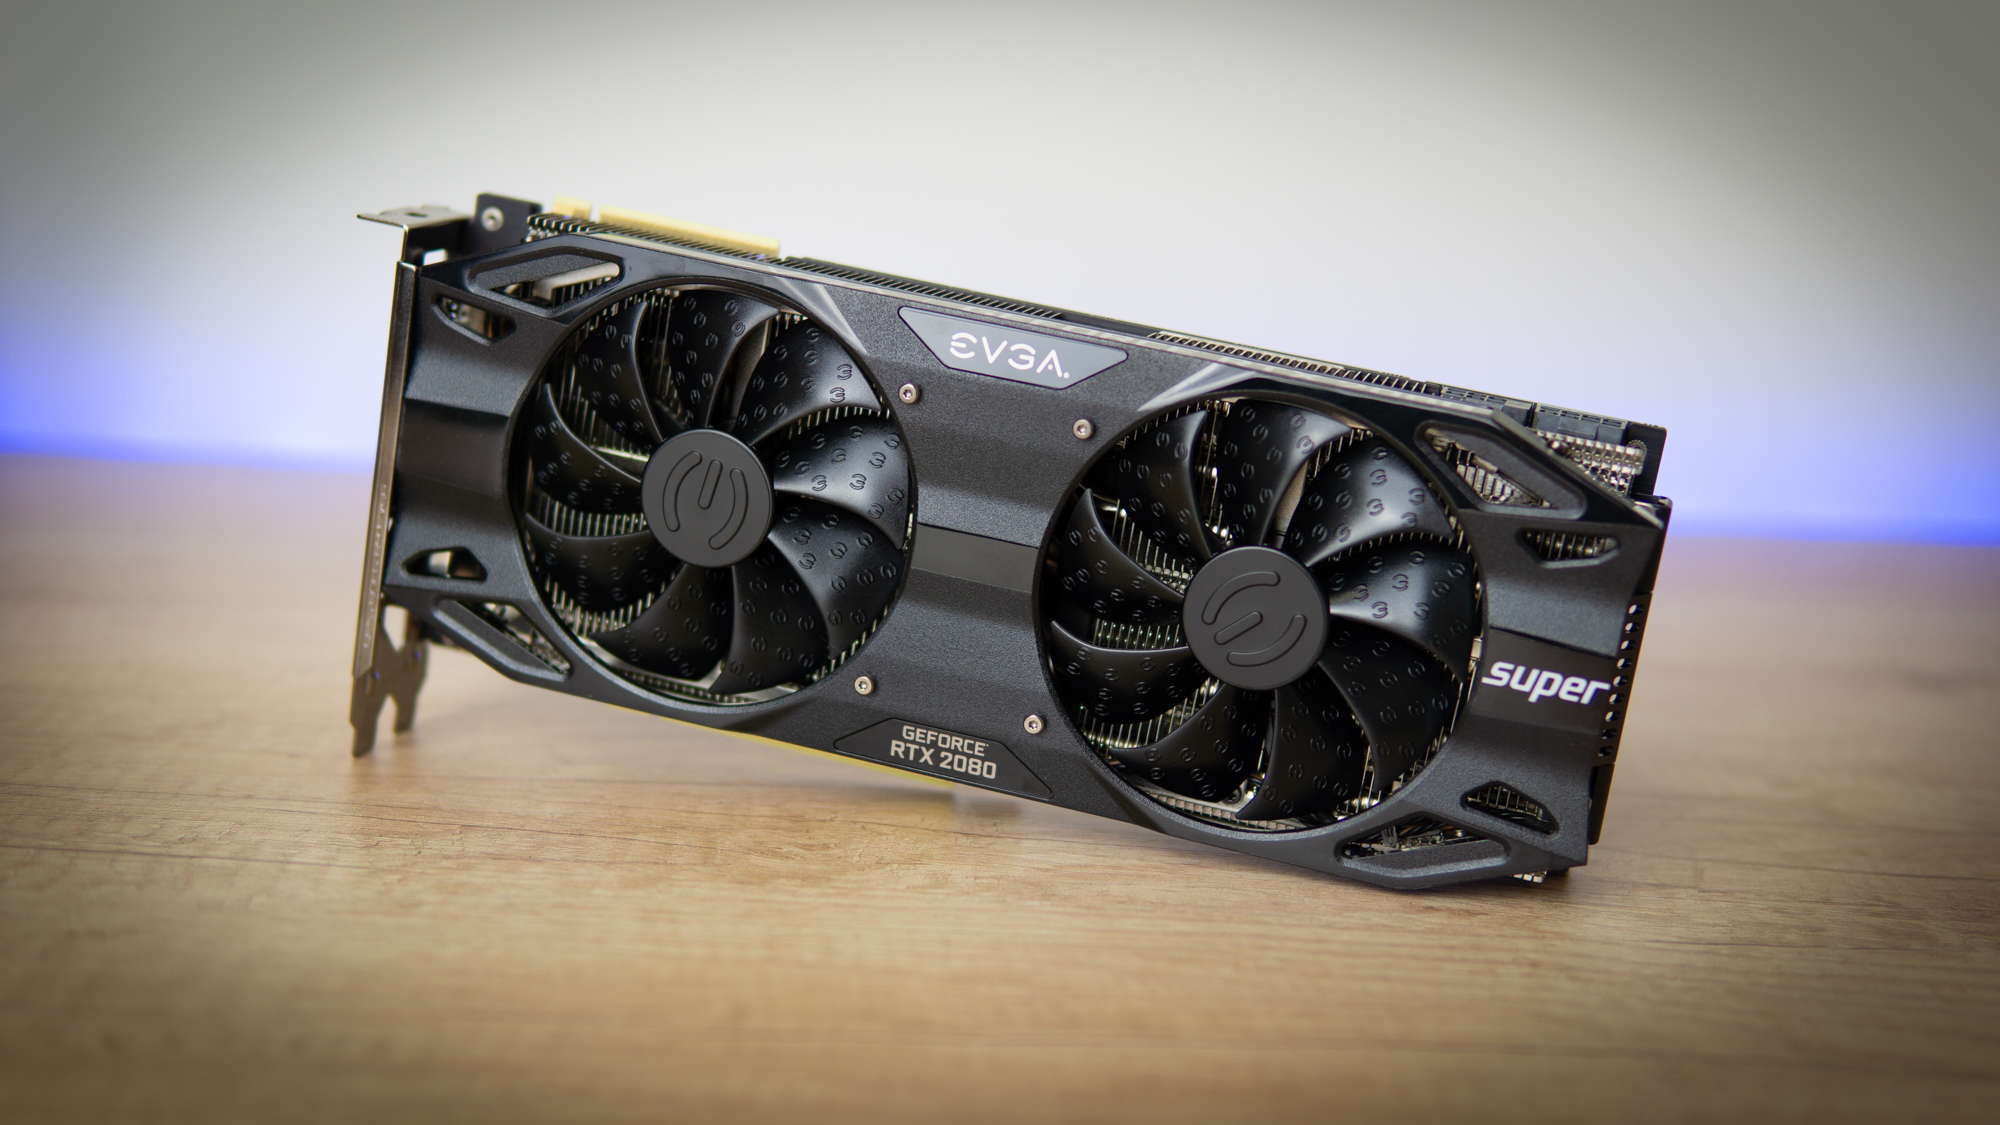
Graphics Card: EVGA Nvidia GeForce RTX 2080 Super Gaming Black
We decided not to mount the GPU vertically in this build, which meant that we needed a reference-design GPU, since the PC-O11 Dynamic doesn’t support wide cards horizontally. But, Nvidia’s Founders Edition cards are pricey with their fancy coolers, so we’re turning to EVGA for its RTX 2080 Super Gaming Black.
This card still has a great cooler on it already, but it isn’t as costly, and with no fancy PCB design with elaborate VRM circuitry or RGB flashiness, you’re not paying for any goodies on this card that you don’t need. Features like a fancy cooler or RGB can’t be appreciated here since we’re replacing the cooler anyway, so no point in paying for them.
Although the RTX 2080 Super doesn’t make total sense from a value perspective over the RTX 2070 Super when looking at the GPUs alone, the added 10 percent performance it offers (give or take) is in-line with the added 10% of budget spent on the system cost as a whole, so all in all we figured this was the sweet spot: The most GPU without any bells or whistles. Sure, Nvidia’s Ampere GPUs are around the corner, but for now this is what we have to work with.
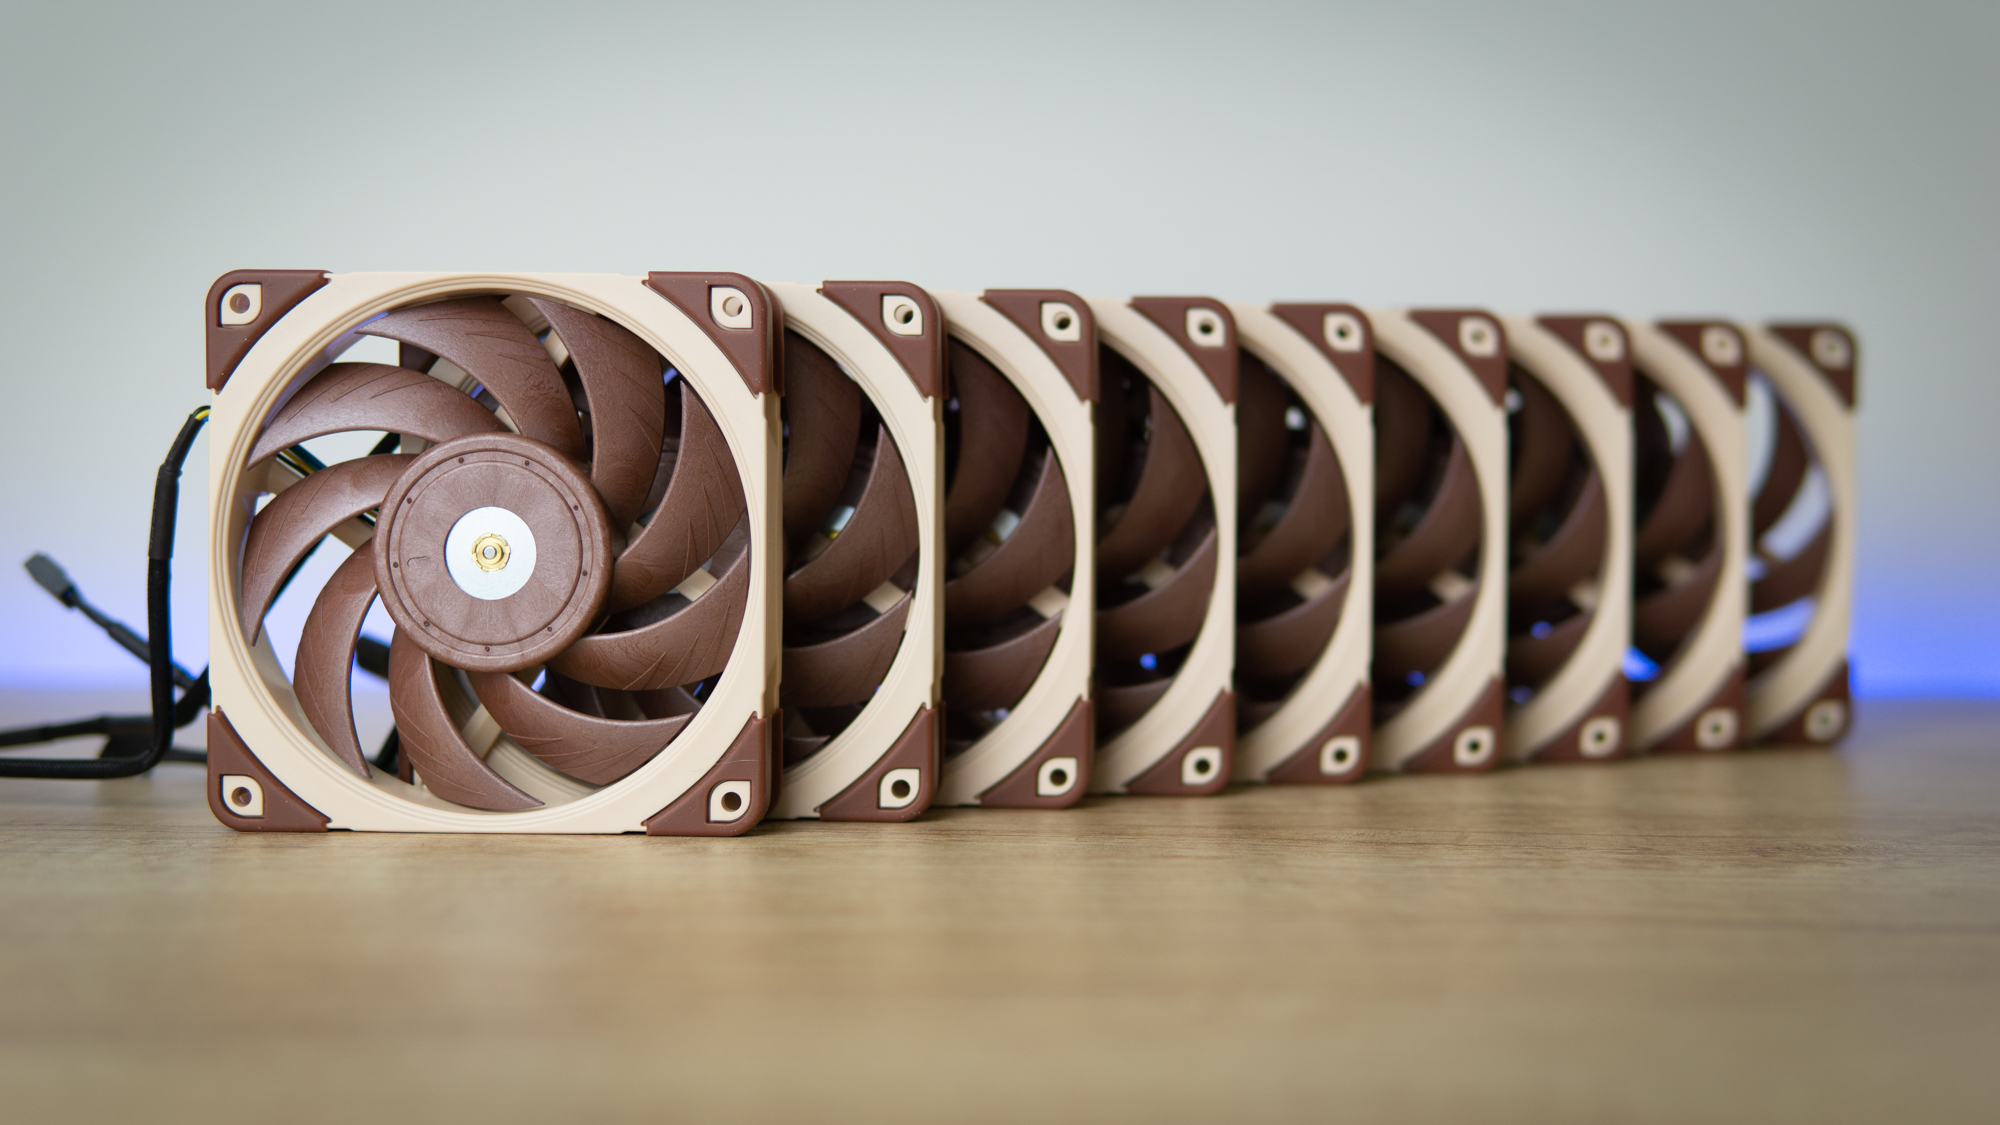
Fans: 9x Noctua NF-A12x25
You may not be a fan of the classic Noctua brown-and-beige color scheme, but from a pure performance perspective, the NF-A12x25 is one of best fans currently on the market. It’s coming out in black next year, but for now brown is what you get, and we're fine with that.
Before you worry that the fans are going to overpower the system's looks, let me entertain you with my theory: Three of the fans are in a spot where you won’t see them, and the remaining six will have Phanteks Halos Lux light rings installed on them for some wicked RGB. For the other fans, the case has panels with mirrored glass, so what isn’t lit up you won’t see it anyway. Read on to see how this theory pans out.
Fan Accessory: Phanteks Halos Lux
We’re using Phanteks’ Halos Lux to turn the Noctua fans into killer RGB spinners.
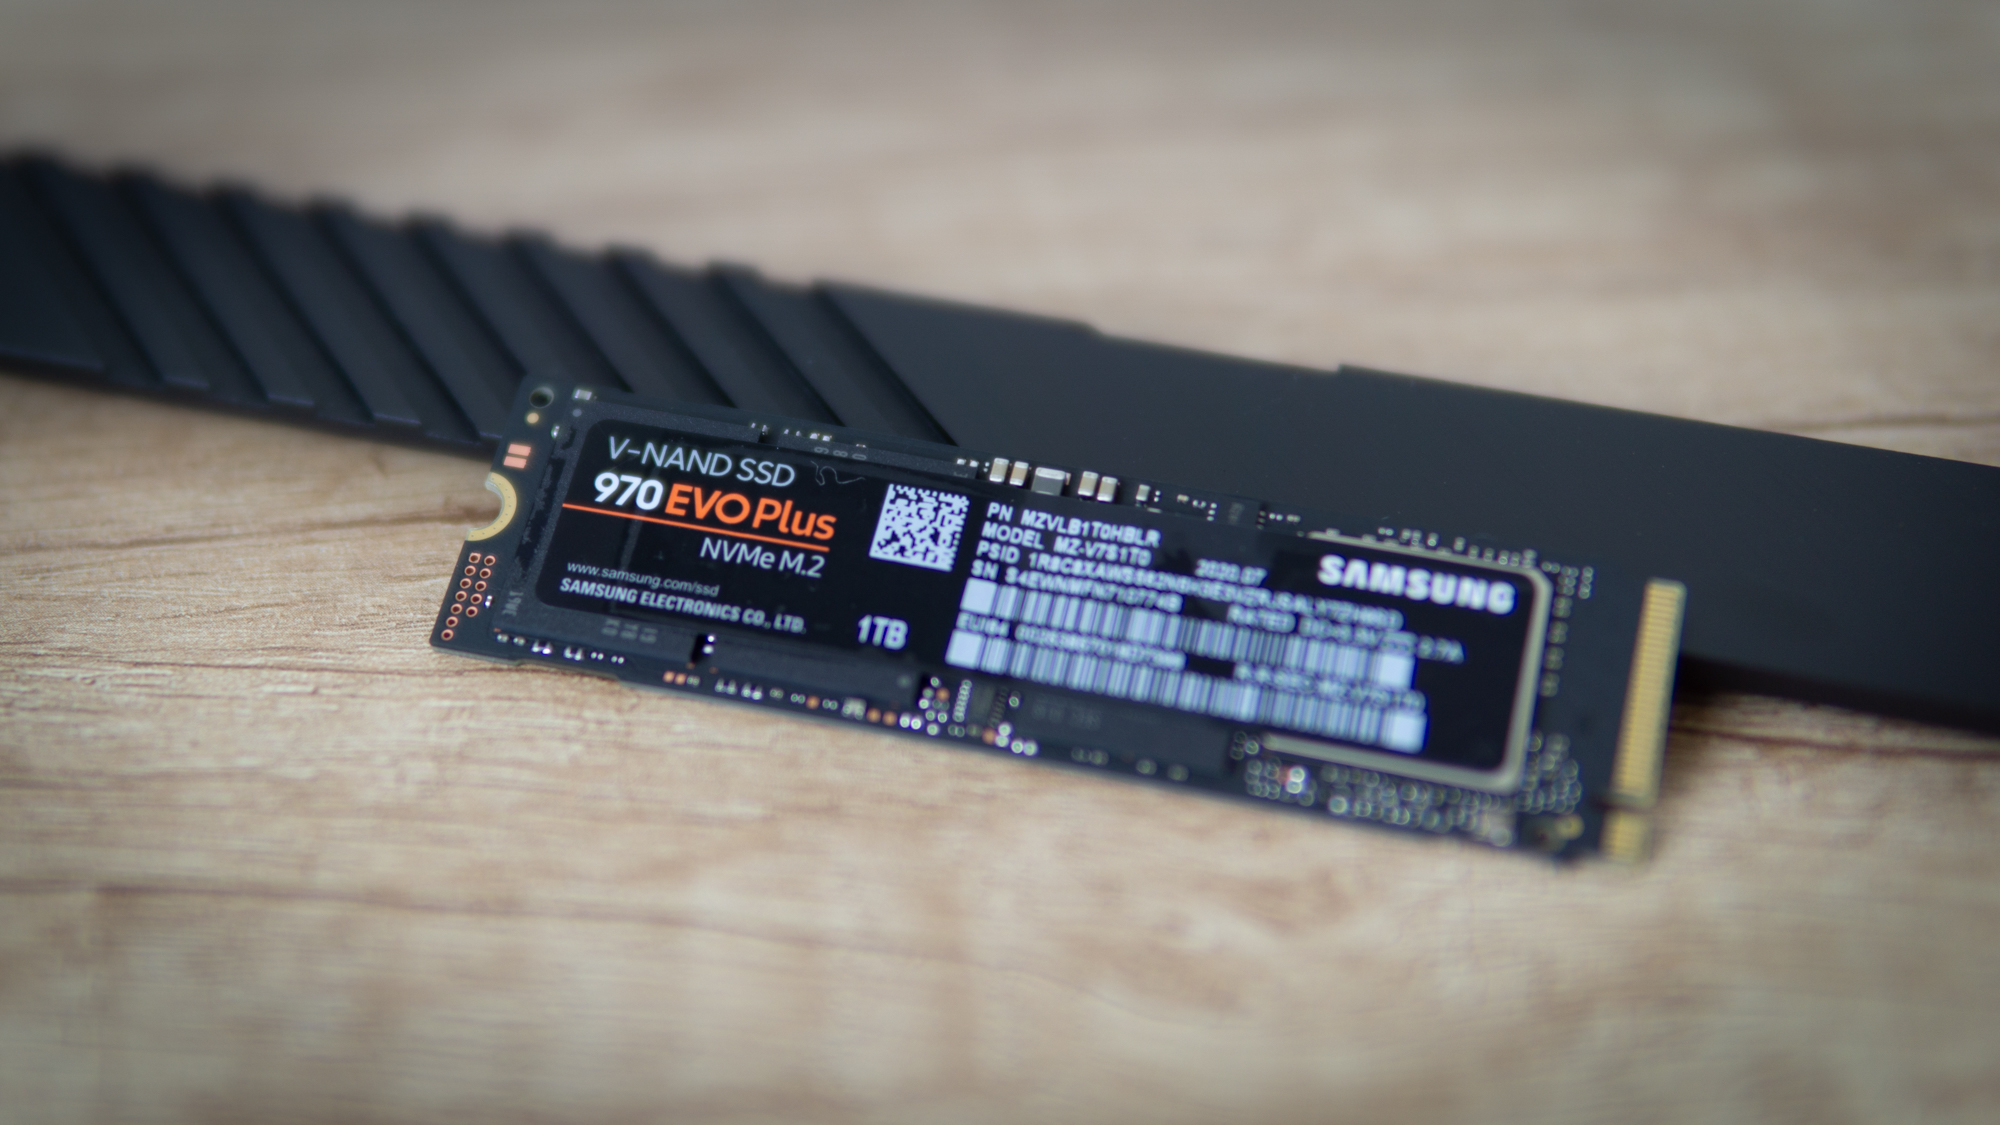
Storage: Samsung 970 Evo Plus 1TB
Although you could argue it’s a shame not to use the PCI-Express 4.0 that the Ryzen 7 3700X and X570 motherboard supports, the speed gains for PCIe 4.0 in games are negligible, making price and reliability the winning factor here. I needed a drive that I can trust for many years and builds to come, and the 970 EVO Plus is plenty fast at 3500 MB/s read and 3300 MB/s write.
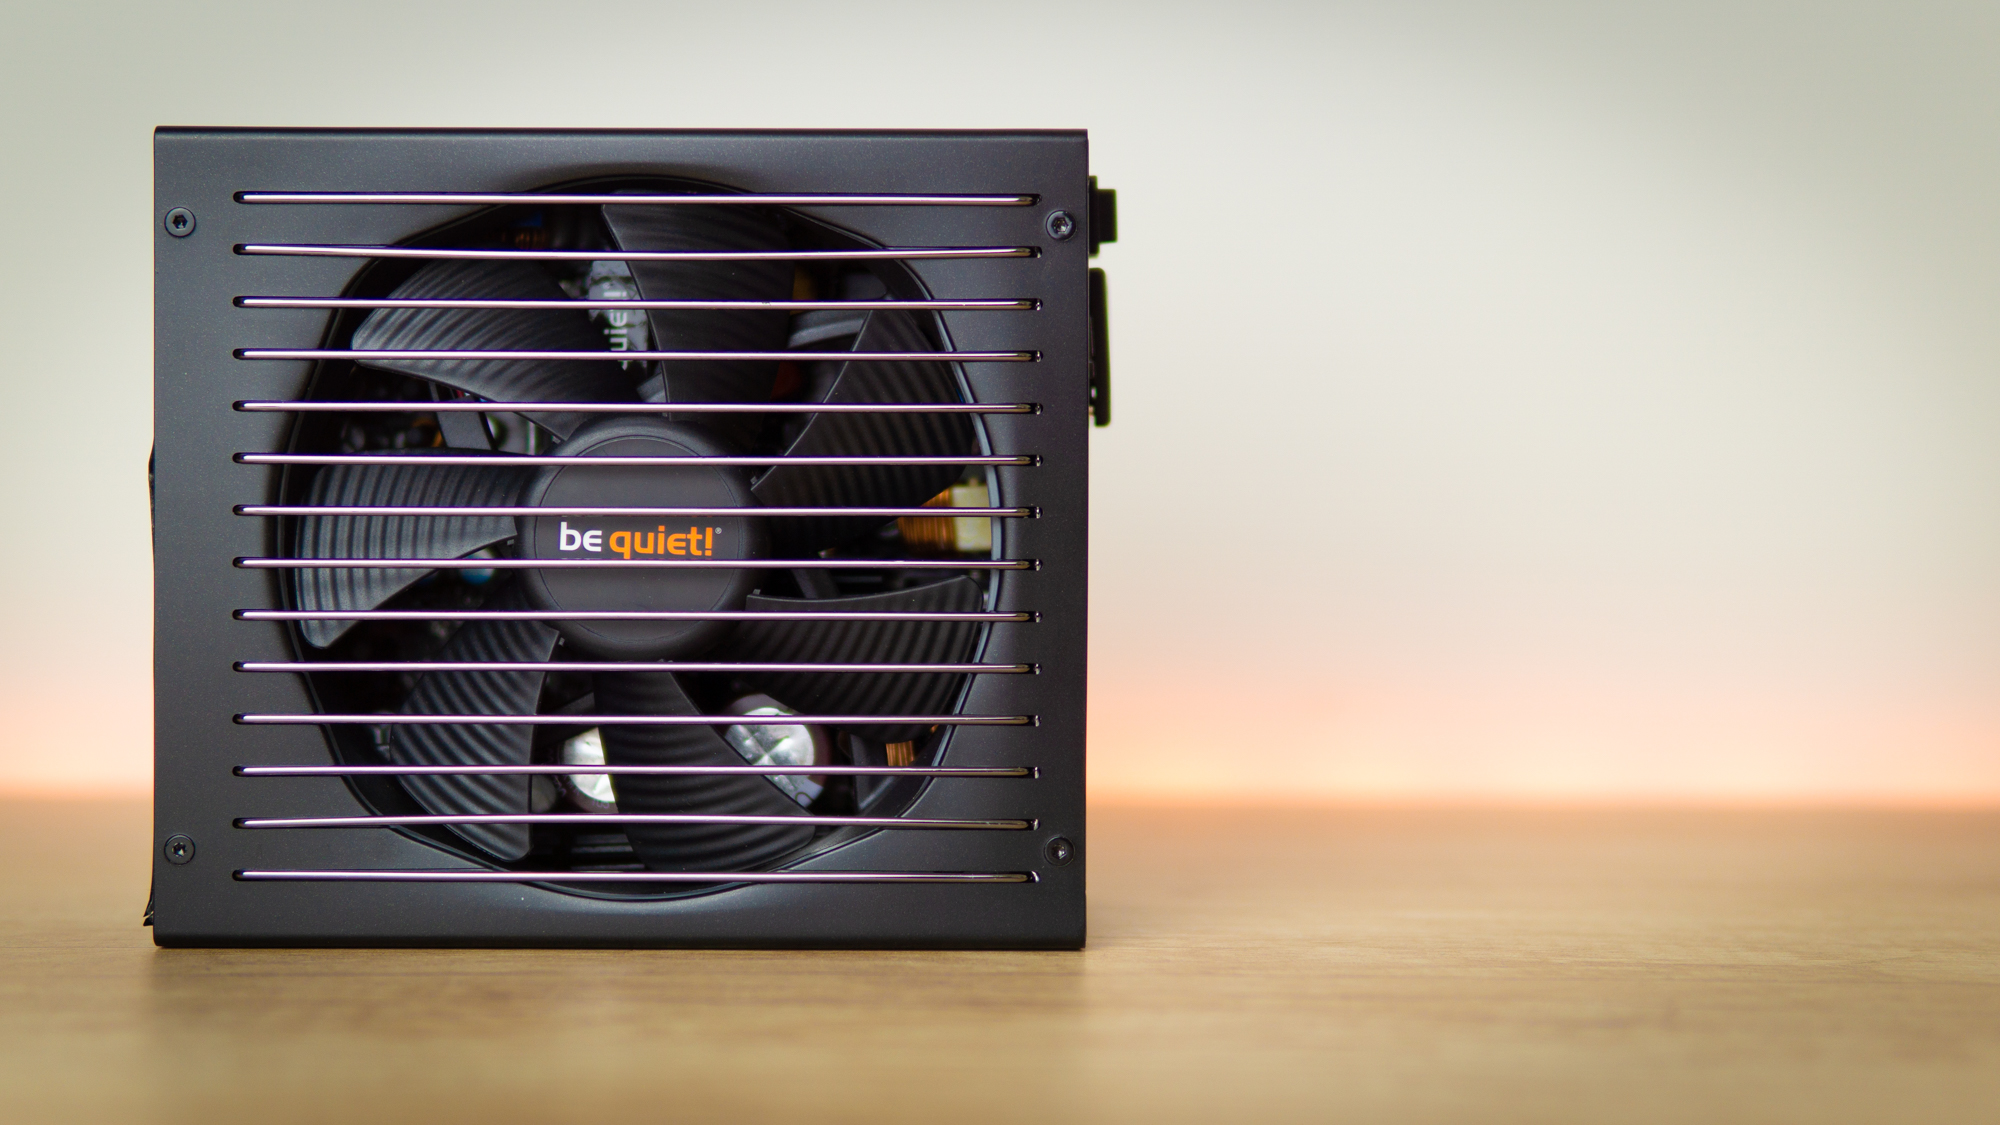
Power Supply: be quiet! Straight Power 11 850W Platinum
It’s German, it’s quiet, it’s modular, and it’s efficient. The Straight Power 11 850W Platinum is a PSU that simply does the job without drawing too much attention to itself, and its modular connectivity is perfect for pairing with our custom cables.
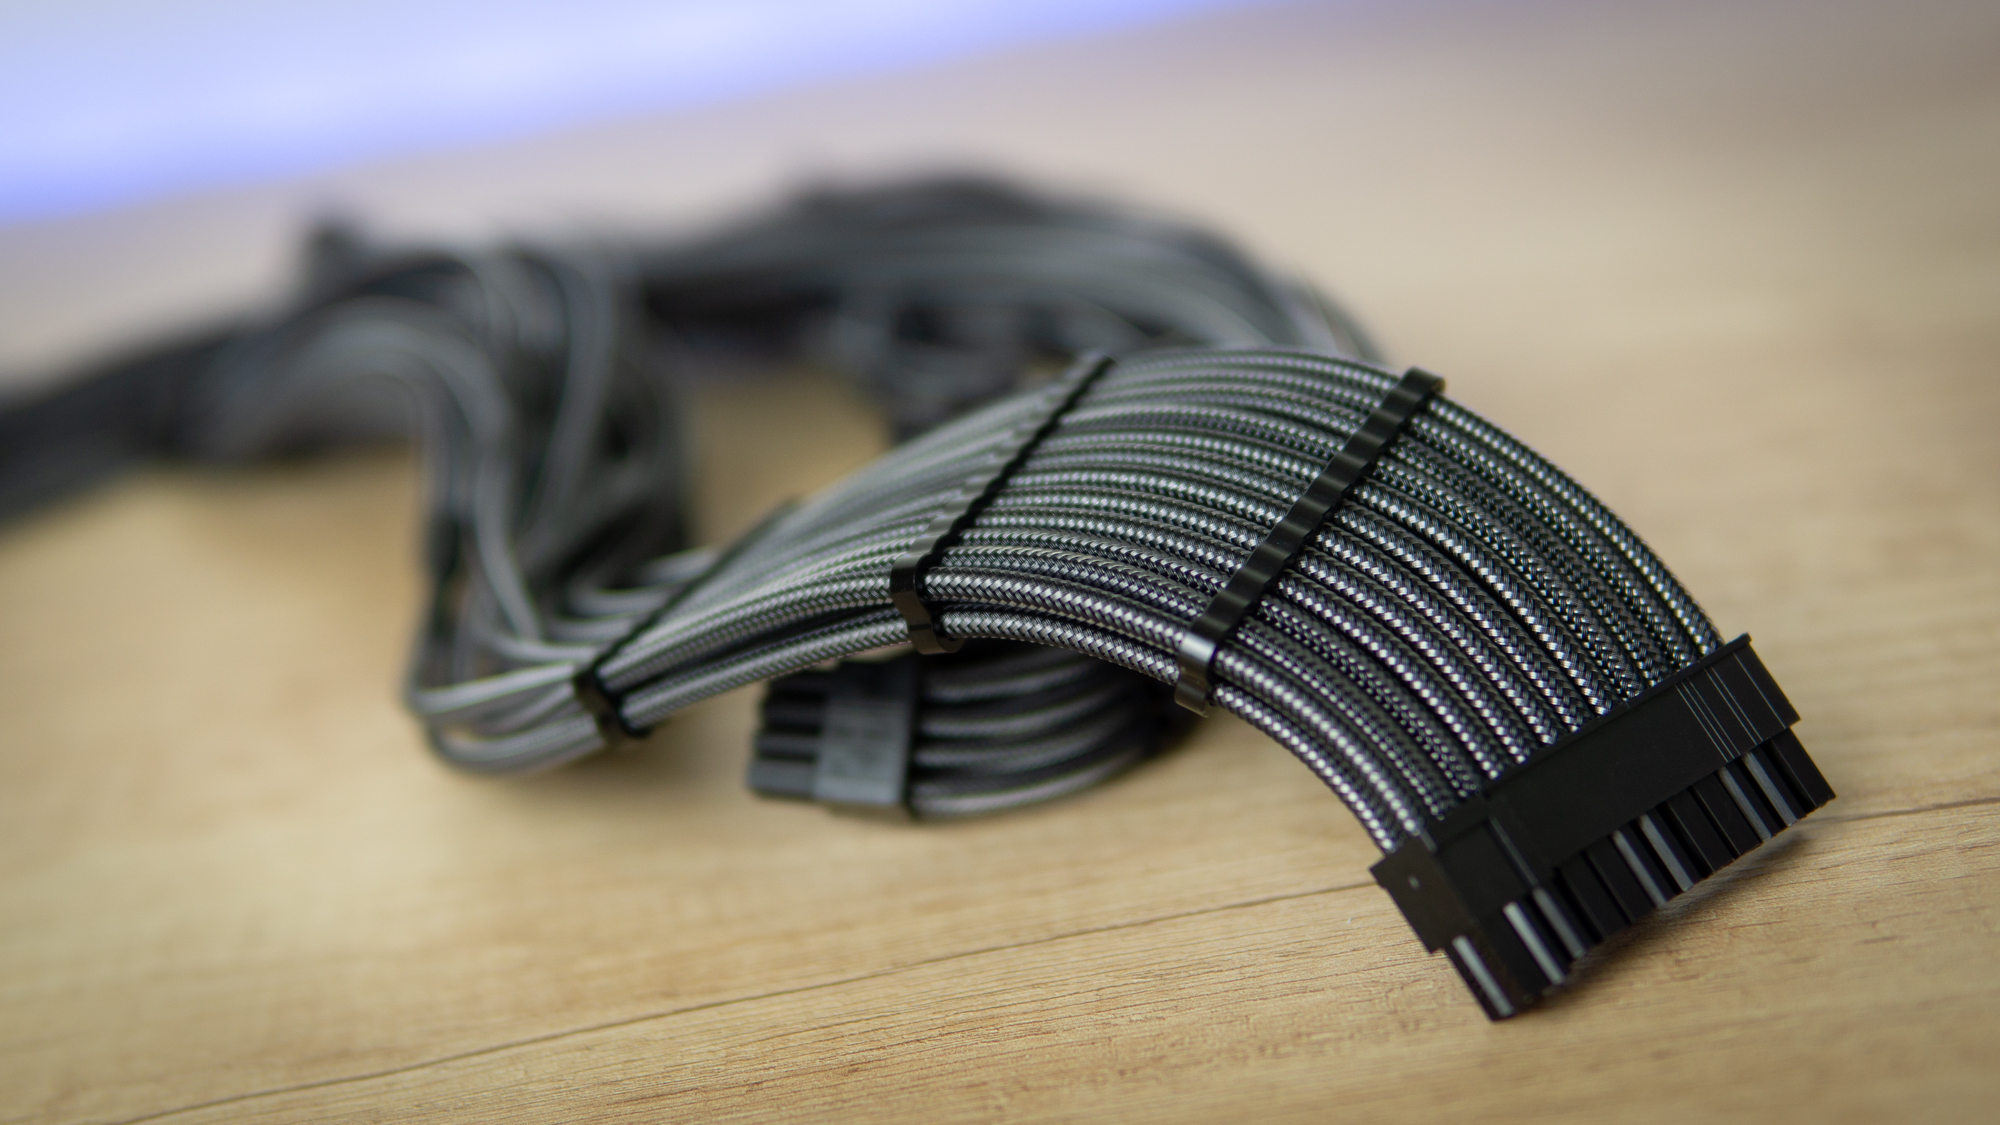
Cables: CableMod ModMesh Pro
We’re using CableMod’s ModMesh custom cables with Carbon-colored sleeving and black, anodized aluminum combs. This combo yields a cable that looks strong and industrial, which fits the theme perfectly. The combs keep everything tidy, and the sleeving is quite strong, making these cables very good at staying in the exact position you want them in – but you’ll want to measure the exact lengths carefully, as excess length can get difficult to manage.
Water-cooling Components: All-EKWB
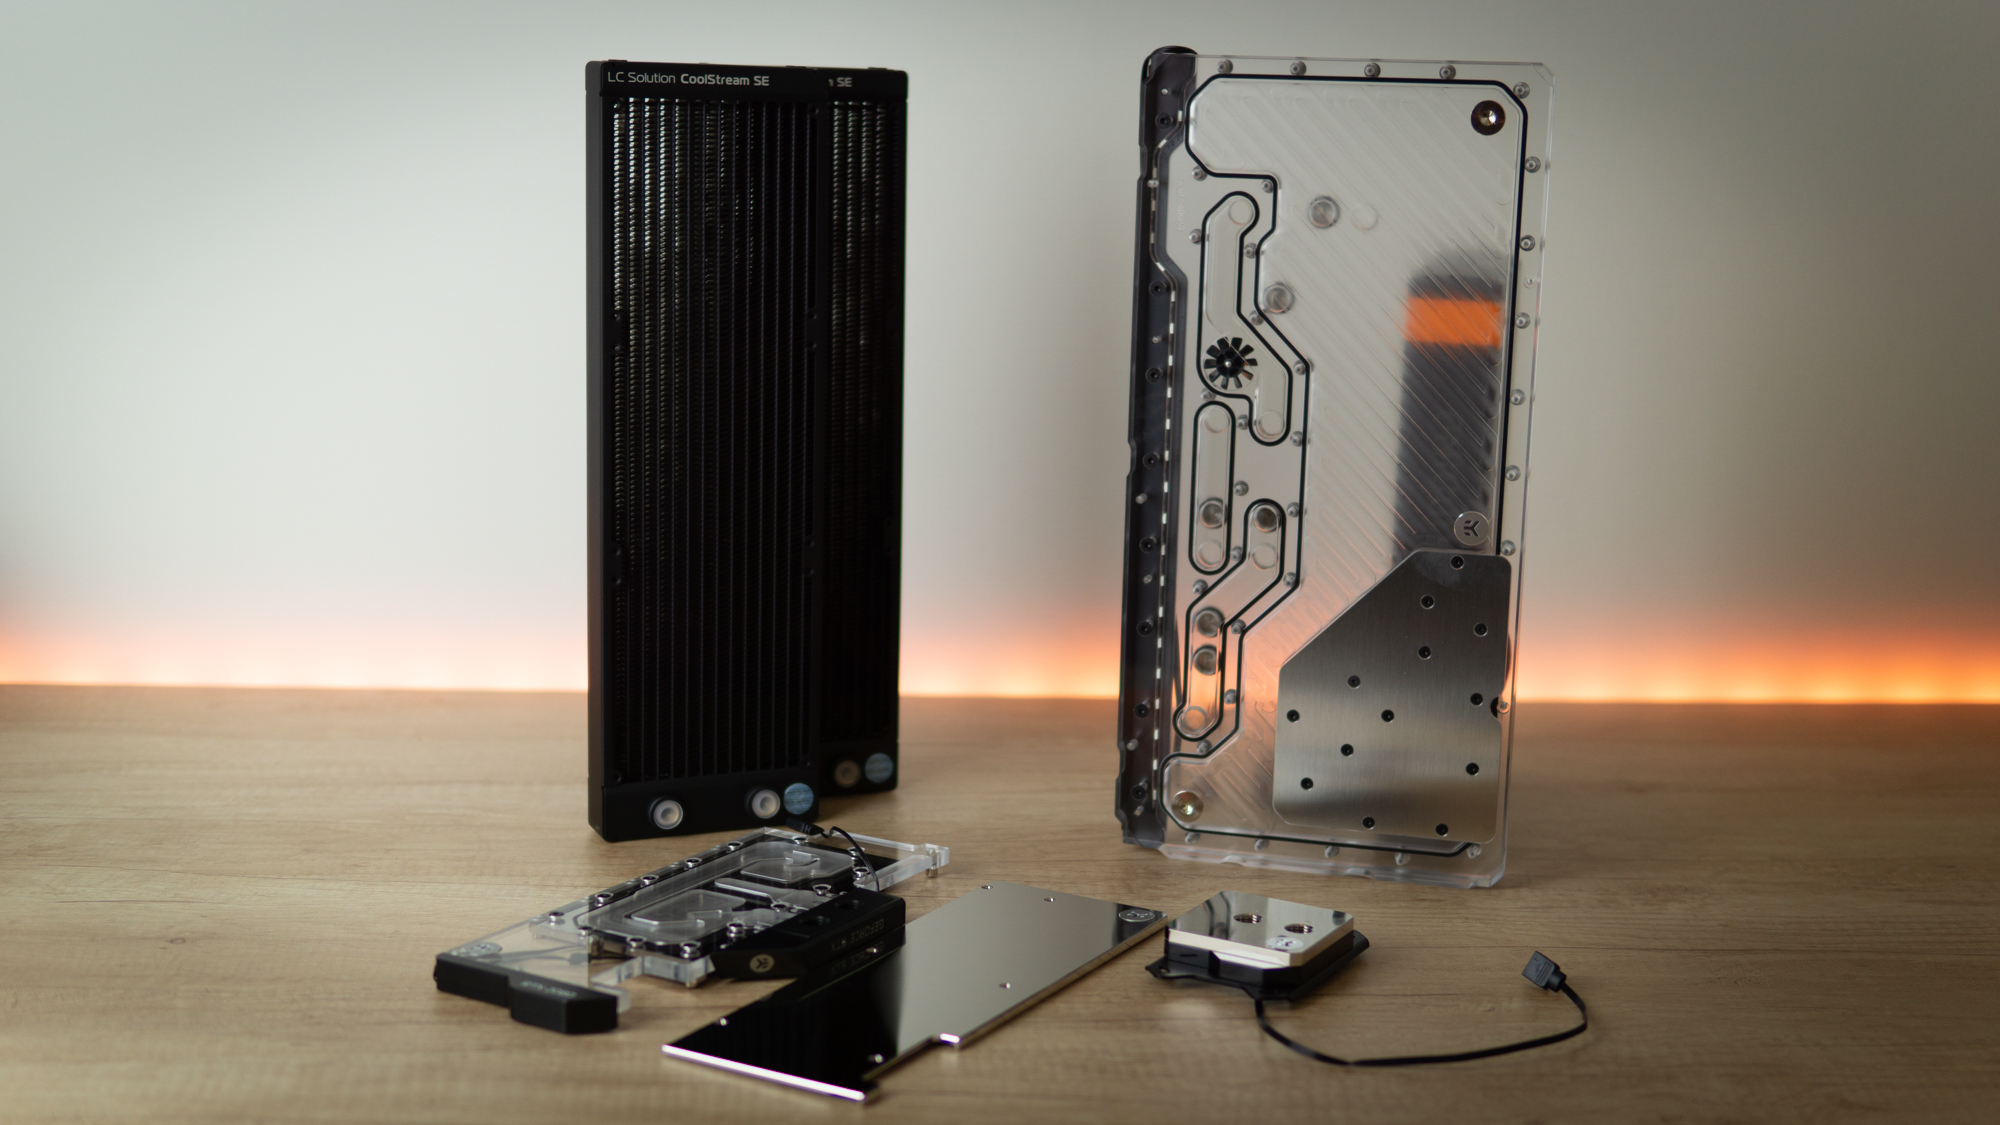
To match the clean, simplistic, and reflective aesthetic we’re going for, EKWB makes some of the most fitting (no pun intended) waterblocks and fittings. These parts match the styling of the Asus motherboard and the case very well.
Best of all, EKWB just released a distribution plate, the EK-Quantum Reflection PC-011D D5 PWM D-RGB, and we’re using it for this build. This is a distribution plate that is custom-made for the Lian Li PC-011D, and it acts as the reservoir and pump, and has fitting ports at all the right spots to make tubing runs a breeze (unless you’re stubborn like me and decide to deviate from the intended layout).
To go with this, we chose the Velocity CPU block with a nickel-plated top finish, an acrylic GPU block with a matching backplate that is nickel-plated, and a huge number of -- you guessed it -- nickel-plated fittings.
In this loop we’ll be using clear fluid by simply mixing EK-CryoFuel with distilled water. Boring? Perhaps, but it’s part of the reflective theme as far as I’m concerned, and doesn’t define a set color theme, allowing you to take the RGB goodness in any direction you fancy.
| Qty | Part |
|---|---|
| 1 | EK-Quantum Reflection PC-O11D D5 PWM D-RGB - Plexi |
| 1 | EK-Velocity RGB - AMD Full Nickel |
| 1 | EK-Quantum Vector RTX RE D-RGB - Nickel + Plexi |
| 1 | EK-Quantum Vector RTX Backplate - Nickel |
| 18 | EK-Torque HTC-14 - Nickel |
| 8 | EK-Torque Angled 90° - Nickel |
| 7 | EK-Torque Angled 45° - Nickel |
| 3 | EK-Cable Y-Splitter 3-Fan PWM (10cm) |
| 2 | EK-CoolStream SE 360 (Slim Triple) |
| 1 | EK-Loop Modulus Hard Tube Bending Tool - 14mm |
| 5 | EK-HD Tube 10/14mm 500mm (2pcs) |
| 1 | EK-HD Tube Reamer |
| 1 | EK-HD Tube D.I.Y. Kit 10&12mm |
| 1 | Filling Bottle (1000mL) |
| 2 | EK-Quantum Torque Extender Static MF 28 - Nickel |
| 1 | EK-Quantum Torque Extender Static MF 7 - Nickel |
| 4 | EK-Quantum Torque Extender Static MF 14 - Nickel |
| 1 | EK-CryoFuel Clear (Concentrate 100mL) |
Niels Broekhuijsen is a Contributing Writer for Tom's Hardware US. He reviews cases, water cooling and pc builds.
-
Endymio >" It comes with mirrored tempered glass panels that, while making it a major pain to photograph, also make it perfect for the mirror maze theme we’re going for...."Reply
Is that Niels' face reflecting off the glass in frame #2? :) -
eklipz330 Nice build, minus the fans. Totally undoes the entire build, should have went with a neutral color.Reply
And before you use the "it's the best performing fan" argument, you could have used the money saved by getting cheaper fans to upgrading to a better CPU. You would have had a better performing computer. Or just get fans with LEDs already. White fans with nice LEDs would have complimented the chrome finish very nicely. -
trance77 Great build except for the fans, don't care how good they are would never use them in that colour.Reply -
everettfsargent Such a waste of time and money. I spent less then $500US (including tax) and get to 90% of what you get on the CPU side of things (same 3700X). Pre-built system to boot. No time and almost no money.Reply -
everettfsargent Oh and in just another three days you can be the prideful owner of last year's GPU!Reply -
nofanneeded This Guy gave all the idea 5 years ago (all SELF ENGINEERED DIY)Reply
Project R40 2015
-OwB5al5KXgView: https://www.youtube.com/watch?v=-OwB5al5KXg
Project R80 2016
KrsfkTXDpisView: https://www.youtube.com/watch?v=KrsfkTXDpis
Project Auros 2017
ozOm9NuSEQ0View: https://www.youtube.com/watch?v=ozOm9NuSEQ0 -
w_o_t_q First Mb is total overkill and they don't use water cooling capabilities ... No sense to buy if not use VRM water cooling ... especially in Halo build ... Second vents they look ugly in this case use Lian Li ones ... with RGB they would look much better ... or go with nice RGB form EK or Corsair system ... Lazy job ... ;)Reply -
elli0t_ This build is sweet. Don't mind the fans either, especially with the reflective glass. If going with the Halos though I'd prob just get Arctic P12's.Reply
I'd really like to see more photos of the top fittings of the side rad, and how much clearance there is up there. I'm considering a similar setup but with a 54mm top radiator. Any idea if that would work with this distro plate? I also won't be doing VRM in the loop. Just CPU, GPU, 54mm top and 30mm side rads. Cheers
