 Join Tom’s Hardware today


1. Side Radiator Install
Normally in a build, you’d start with chucking the motherboard in, but we’re starting in a different place. Because the top radiator can only go in once the distribution panel is installed, and the side radiator (which isn’t strictly supposed to be used with this distro panel) only fits if the distro panel isn’t installed yet, we’re starting there. A 360mm radiator doesn’t neatly fit in the bottom of the chassis without modification, and much like leaving empty RAM slots, I don’t like the 'incomplete' look that would result from a 240mm rad in this case.

We measured it out carefully and though we'd prefer the ports at the bottom, that wasn’t going to work. But with a bit of a squeeze, the EKWB 360mm SE radiator fit in just fine with the ports at the top.

We then installed the Noctua fans with their included radiator gaskets, which ensure no air leaks between the fan housing and the radiator. Believe it or not, the side panel still goes on smoothly, even with the filter, but there’s hardly any room to spare.
2. Distribution Panel Installation


First, we had to drill some holes in the chassis where screws need to go through to secure the distro panel. A 4mm metal bit did the job nicely. I did immediately reach for the vacuum, as I didn’t want any of the metal filings getting to places where they don’t belong.
After this, the distribution panel slid in smoothly, fitting perfectly into place – as if it was made for it (because it was).
At this point, I could sense incoming issues, so I decided it might be best to install two 90-degree angled fittings on the side radiator early. The top radiator would make this extremely difficult once in place.
3. Top Radiator Installation

First, we prepared the top radiator by installing the fans onto it, along with the Phanteks Halo light rings. The long screws that came with the radiator were… too short. But, Phanteks knew this was going to happen, which is why the Halos come with slightly longer screws that were a perfect for reaching a radiator.

The top radiator then went in smoothly, and all the cables were tucked away to the rear to deal with later.
4. Motherboard Preparation

To make the installation easier, we installed the 3700X, Samsung 970 Evo Plus M.2 SSD, G.Skill Trident Z Royal memory, CPU, and EKWB EK-Velocity CPU block all before installing the motherboard. The memory drops right in, and so does the M.2 SSD, below the cover.
Installing the EKWB Quantum Velocity waterblock was also a breeze. First, we removed the stock AMD mounting bracket, including its backplate. The EKWB backplate together with its rubber gasket was then installed at the rear. Then, four thumbscrews are placed at the front end, a dab of Thermal Grizzly paste was applied to the CPU, the block dropped on, and secured with more thumbscrews. EKWB’s Precision Mount system really makes the CPU block installation a breeze – I’d go as far as saying this step is easier than installing many big air-coolers.
However, during this installation process, my cat decided to pick the moment I was lowering the CPU block into place to jump up from my lap, causing me to drop it, denting the heatspreader. Next to the dent is also a small outward bump. It’s not major, but I doubt it will do us any favors for thermals later on in the build. Fingers crossed.
5. Placing the Motherboard


As much as it’s easier to install things onto the motherboard before installing it in the system, it does lead to one issue: the board becomes quite heavy. So be sure your cat is nowhere to be found before hefting the whole setup into place. After checking in all the usual hiding spots, I carefully placed the board and its components into place, secured it, and finally the system was starting to look like something.
However, at this point I noticed another issue: The CPU block's water ports sat about 1 cm lower than the ports on the distribution panel -- I would have to get creative to solve this.
Fortunately, I had some extra 45-degree fittings, so I grabbed four of these, along with one 14mm extender. This allowed me to get the ports at the correct height for lining up with the CPU block, making sure that the tubes would only need a single 90-degree bend later along in the build.
6. Waterblocking the Graphics Card

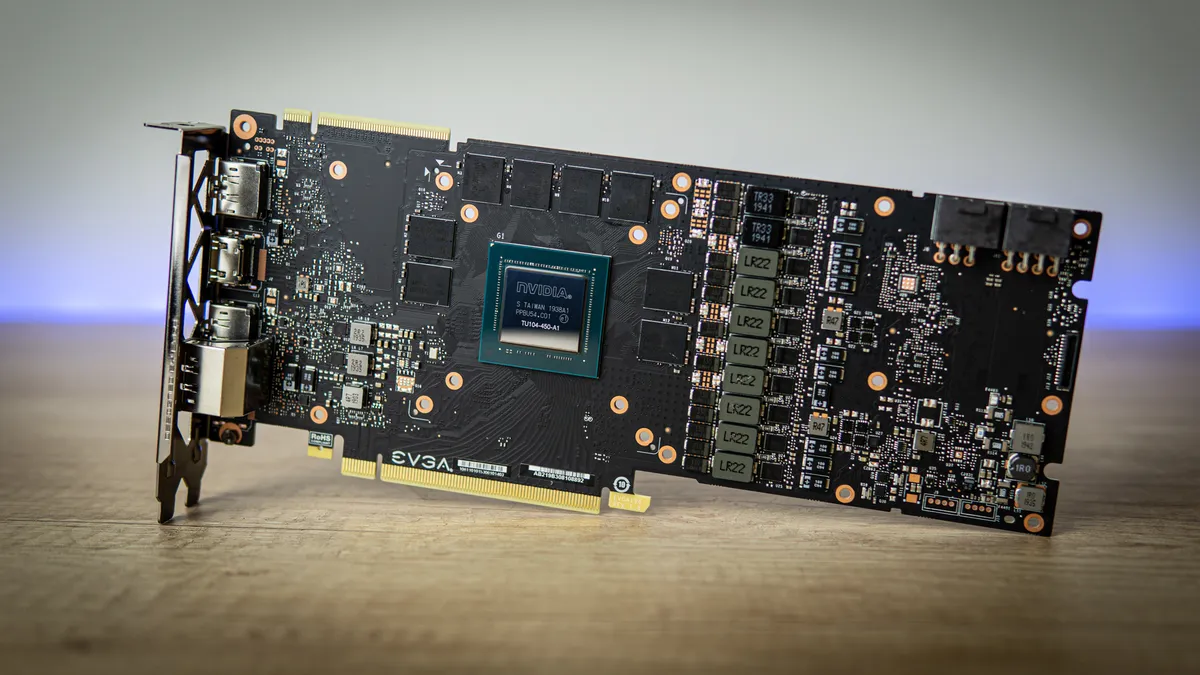


Installing the waterblock on the graphics card was less precarious than you would think. It’s certainly a task to sit down and take your time with, but as long as you’re patient with your tweezers while placing the thermal pads and you're carefully with each step of the disassembly, cleaning, and re-assembly with the waterblock on, it’s really not all that scary. For more on this process, see our How to Install a Waterblock on a GPU feature.
About an hour and a half after starting, the EVGA RTX 2080 Super Gaming Black was converted into a shiny, thin, water-cooled GPU. We routed the D-RGB cable that leads to the lit-up ‘GeForce RTX’ on the side terminal under the acrylic part of the block that doesn’t actually cool. If you look carefully, you can spot its connector, but we doubt anyone will spot it once it’s installed, face-down in the system.
7. Figuring out the loop runs


At this stage, we’re almost ready to begin our tubing runs, but because some of the parts didn’t fit quite as we had planned, we needed to spend some time thinking about future steps. This build has taught me that no matter how much you plan ahead when configuring your system, you’re still going to run into issues along the way and you’ll have to adapt.
At EKWB’s advice, we got more fittings than we thought we needed, and thank goodness for that. The adjustment for the CPU’s ports already ate up four 45-degree angled fittings, and incorporating our VRM block used up another two 90-degree angled fittings and a 45-degree fitting on the radiator at the top. Not counting the 14 mm extenders to line the ports up nicely. The GPU also didn’t line up nicely with the distro plate, despite being a reference card, so we used two more 45-degree angled fittings, along with two 90-degree fittings to line these up well.
To reach the side radiator’s ports at the top, we had to use the lower ports on the distribution panel. There is one port that's the outlet from the pump, which you naturally have to use. We chucked two 28-mm extenders on this one, along with a 90-degree angled fitting, which lined it up precisely with the angled fitting we had placed on the side radiator earlier, albeit with a long tubing run with one 90-degree bend in it. We placed the return line on the distribution panel at the top of a channel that would lead to the inlet of the GPU block, relying on another long tubing run with a 90-degree bend.
All in all, while it was certainly complicated, we’d call this stage a big success: With enough fittings, everything lined up such that each tubing run would require only one 90 degree or 45-degree bend, which is key to a successful hard-tube build if you’re a beginner.
8. Tubing
It might come as a surprise, but bending the tubing and fitting it into place was much easier than we expected. The GPU’s tubes were the easiest, requiring no bends at all, and the remaining tubes all required a maximum of one bend. These bends were also exactly 45 degrees or 90 degrees, meaning we could use the EK-Modulus tool to get them exactly right.
So we wet the silicon noodle insert, inserted it into the tubes, and warmed them up using a heat gun. Once they started giving way, we gave them a little extra time to soften up, careful to keep rotating them as we went along. For the side radiator, we bent the tubes too soon, which lead to light kinking, but those corners aren’t visible anyway – so they were good to learn on.
Once bent, we simply cut the ends off the tubes where needed, de-burred and sanded them down so they wouldn’t damage the o-rings, wet them with some soapy water, and test-fit them. In the end, it took a full day to get all the bits of tubing right, but we didn’t ruin a single piece –- it was easy enough, but required lots of patience.
9. Pressure testing, Installing Remaining Bits and Filling


The genius/crazy person in me thought it would be a good idea to pressure test while I installed the last fans and took care of cable management on the other side, but I couldn’t have been more wrong. It turns out, the pressure tester works, but it’s an extremely finicky device. The needle will move at the slightest bump on the desk, which led me to believe my loop was leaky -- It wasn’t, though.
The trick to the pressure tester is to pump up the loop, close the valve, remove the pump, tap the pressure tester a few times to make the needle drop as much as it was going to by external force, and note down where it is on the dial. Then, close the door to the room, and leave. Do not touch the system. Don’t even breathe near it.
We checked on it periodically, and once it hadn’t dropped after two hours under pressure I was confident my loop was good. So, I unplugged all the cables on the PSU but the pump, jumped the ATX connector, and in the fluid went.
10. All done!


