Z490 Mini ITX Motherboard Roundup: Four Tiny Boards do Battle
Small in size, but similar in features and performance to ATX motherboards
Specifications - Gigabyte Z490I Aorus Ultra
Last in our roundup is the Gigabyte Z490I Aorus Ultra. As above, we’ll list the specifications first, then cover the board in more detail below the table.
| Socket | LGA 1200 |
|---|---|
| Chipset | Z490 |
| Form Factor | Mini-ITX |
| Voltage Regulator | 9 Phase (8+1) |
| Video Ports | ✗ |
| USB Ports | (1) USB 3.2 Gen 2, Type-C (10 Gbps), (1) USB 3.2 Gen 2, Type-A (10 Gbps), (4) USB 3.2 Gen 1, Type-A (5 Gbps), (2) USB 2.0 |
| Network Jacks | (1) 2.5 GbE |
| Audio Jacks | (3) Analog |
| Legacy Ports/Jacks | ✗ |
| Other Ports/Jack | ✗ |
| PCIe x16 | (1) v3.0 (x16) |
| PCIe x8 | ✗ |
| PCIe x4 | ✗ |
| PCIe x1 | ✗ |
| CrossFire/SLI | ✗ |
| DIMM slots | (2) DDR4 - DDR4 5000(OC) |
| M.2 sockets | (2) PCIe 3.0 x4 / SATA + PCIe (up to 80mm) |
| U.2 Ports | ✗ |
| SATA Ports | (4) SATA3 6 Gbps |
| USB Headers | (1) USB v3.2 Gen 1, Type-C, (1) USB v3.2 Gen 1, Type-A, (1) USB 2.0 |
| Fan/Pump Headers | (4) 4-Pin |
| RGB Headers | (1) aRGB (3-pin), (1) RGB LED (4-pin) |
| Legacy Interfaces | ✗ |
| Other Interfaces | FP-Audio, Speaker |
| Diagnostics Panel | ✗ |
| Internal Button/Switch | ✗ |
| SATA Controllers | ✗ |
| Ethernet Controllers | Intel I225-V (2.5 GbE) |
| Wi-Fi / Bluetooth | Intel Wi-Fi 6 AX201 (802.11ax, MU-MIMO, 160 MHz) / BT 5.1 |
| USB Controllers | ✗ |
| HD Audio Codec | Realtek ALC1220-VB |
| DDL/DTS Connect | ✗ / Yes (DTS:X Ultra) |
| Warranty | 3 Years |
Gigabyte’s accessory stack for the Z490I Aorus Ultra includes what you need to get started. To save space, the Z490I Aorus Ultra doesn’t use the typical 3/4-pin headers for most fan headers and the USB header is shrunk down as well, but does include the necessary adapters. Here is a list of all the accessories included in the box.
- User's manual
- Aorus logo plate sticker
- (1) M.2 Screw Package
- Driver Disk
- RGB extension cable
- (2) SATA cables
- (3) fan header adapters
- (1) USB 2.0 header adapter
- Wi-Fi antenna
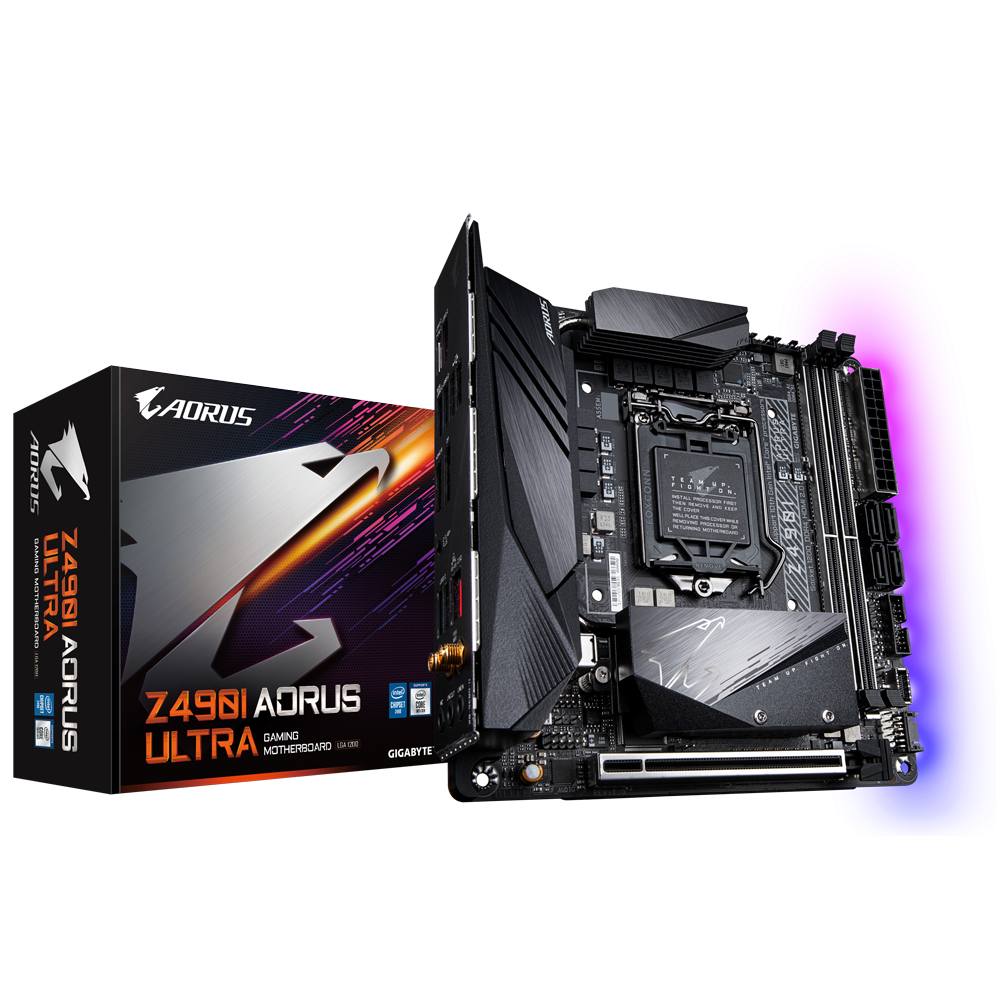
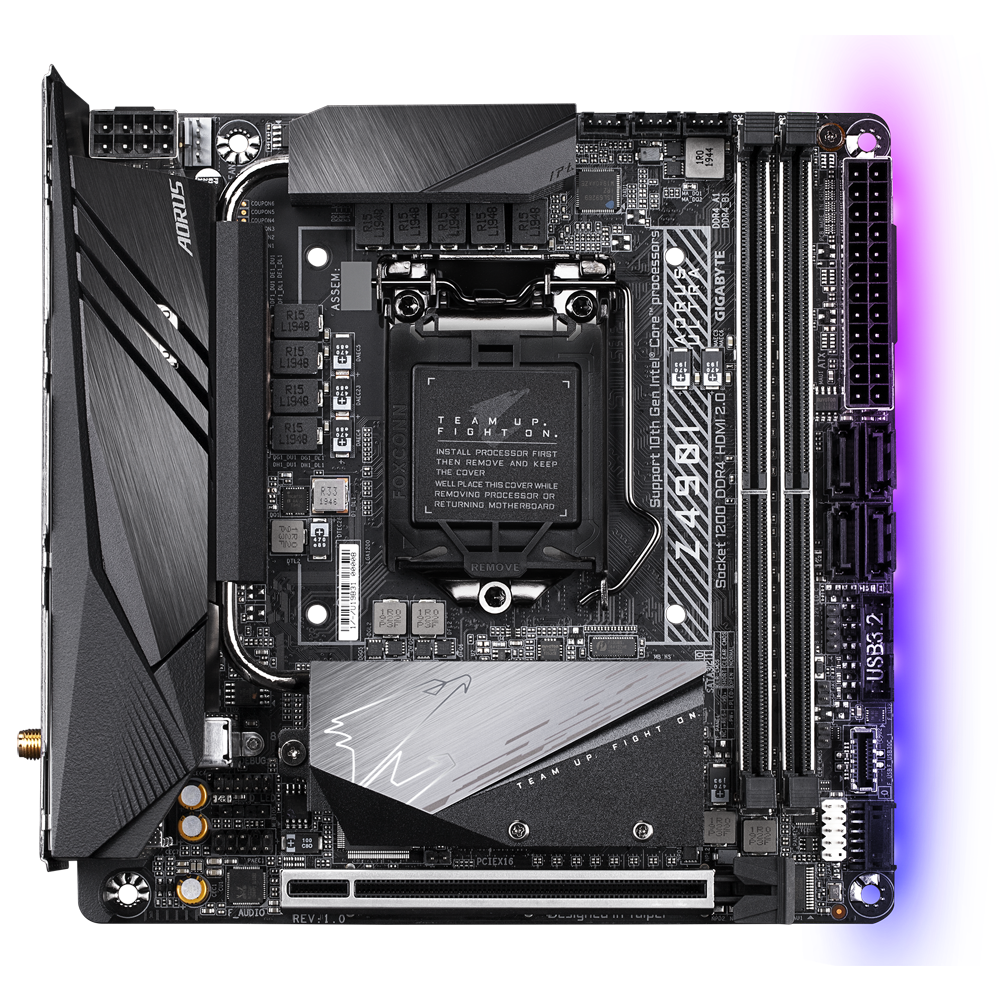
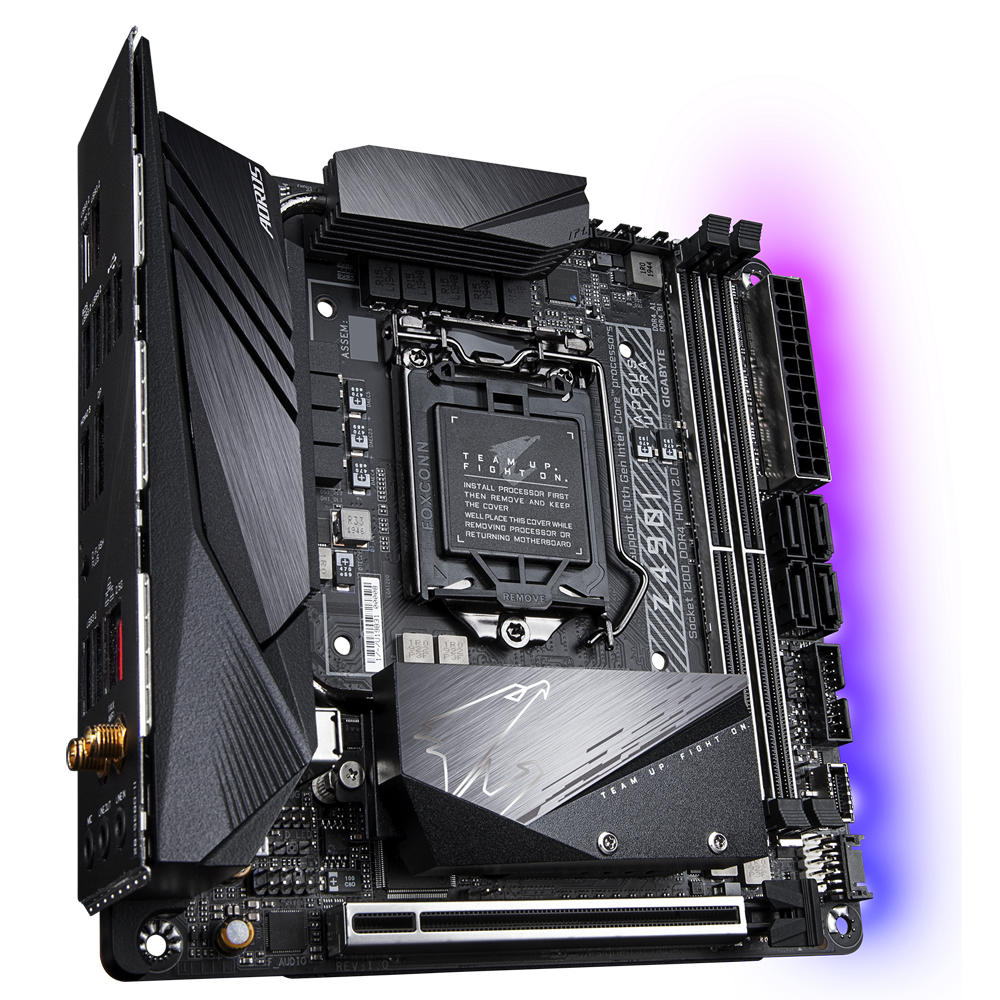
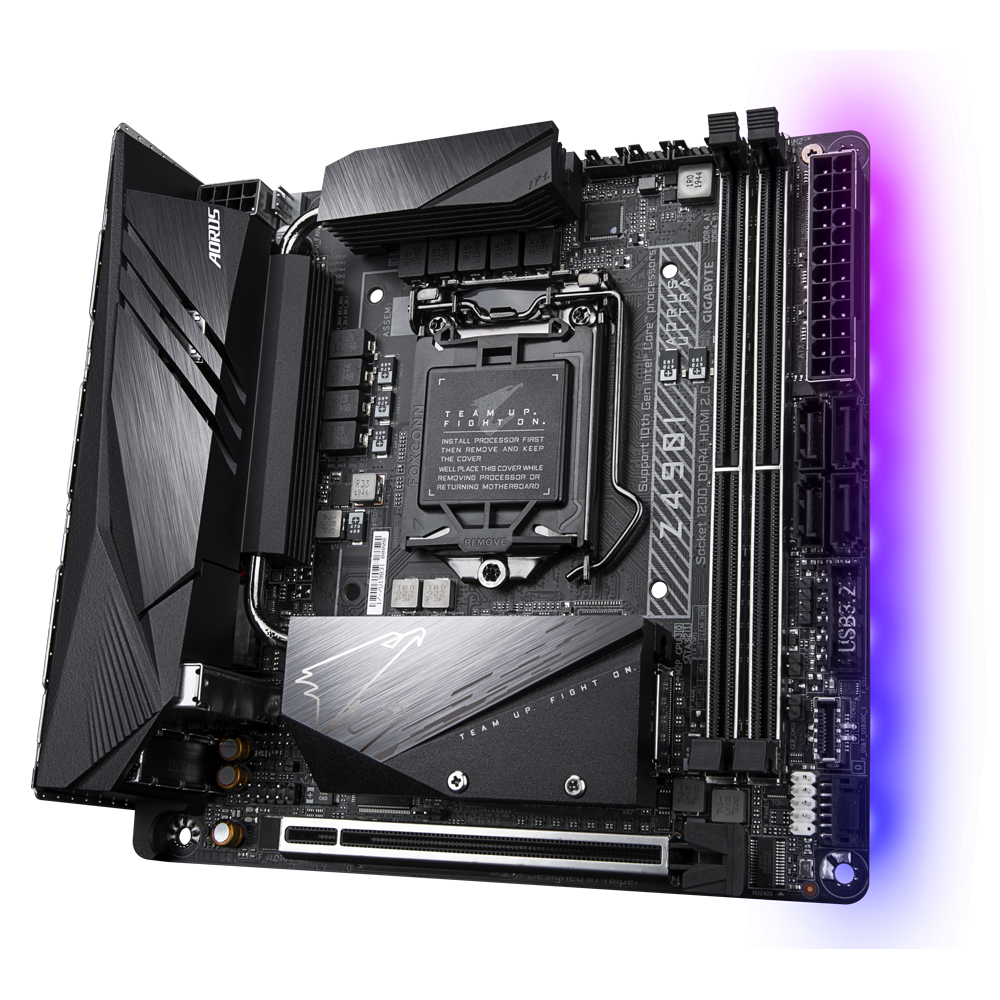
The Z490I Aorus Ultra is a good-looking little board with clean lines and a theme that fits in well with almost any build theme. The PCB is all black, outside of some gray stenciling that displays branding. The VRM heatsinks, rear IO shroud and chipset/M.2 heatsink are connected via a heatpipe to share the thermal load. The bottom heatsink is unique in that it cools the chipset as well as an M.2 module. The RGB lighting is integrated on the far right edge of the board (the only location with integrated lighting) and gives off a nice glow with saturated colors.
Starting at the top edge, the Aorus Ultra uses a reinforced 8-pin EPS connector to send power to the VRMs. To the right of it is the only standard 4-pin PWM/DC fan header found on the board. Skipping over the top VRM heatsinks are three 4-pin headers for fans (for a total of four fan headers). However, these are much smaller than the standard header and require adapters (included) that have the smaller 4-pin connector at the end. We’ll assume these support up to 1A/12W each, as the manual doesn’t list any details on that point.
To the right of the miniature fan headers are the two reinforced DIMM slots with locking mechanisms on both sides. Although the reinforcement isn’t needed on these slots, they do provide an improved aesthetic, offering a contrast from the all-black board. The board supports up to 64GB of RAM at speeds listed to DDR4 5000(OC). As always, your mileage may vary depending on the quality of your integrated memory controller (IMC) and the kit used.
The far-right edge on this motherboard has a lot going on. From the top down we see a reinforced 24-pin ATX connector for board power, four SATA ports (support RAID0, 1, 5 and 10) and front-panel USB 3.2 Gen 2 Type-C and 3.2 Gen 1 headers. Closer to the DIMM slots is a 4-pin RGB header, as well. In white is the front-panel header, while angled 90 degrees in front of it is a USB 2.0 header, which again requires the included adapter for a full-size header.
On the bottom edge, there isn’t too much to speak of. There’s a single reinforced full-length PCIe slot and the stacked chipset/M.2 heatsink module above it. The second M.2 socket is on the back. with both supporting SATA and NVMe modules up to 80mm in length. I like the creative thinking and stacking of heatsinks and m.2 socket. I’m thankful we don’t see the vertical mounts in past generation motherboards. To the left of the PCIe slot is a 3-pin RGB header and front-panel audio.
Get Tom's Hardware's best news and in-depth reviews, straight to your inbox.
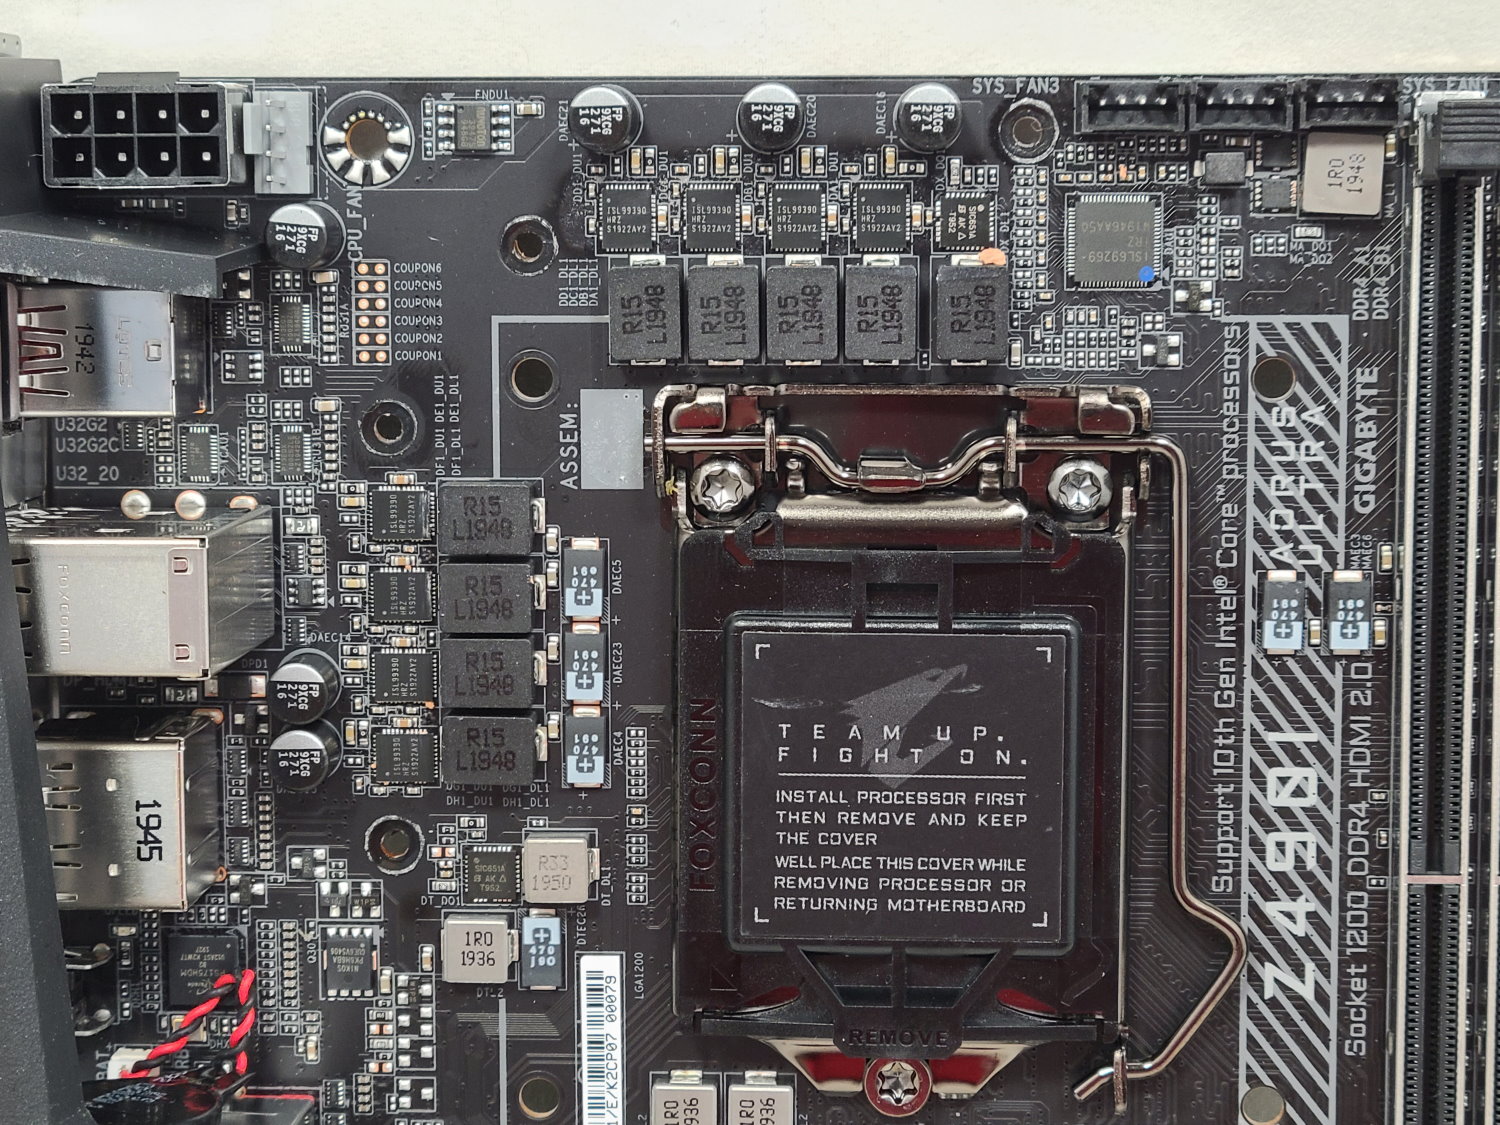
Our Gigabyte Z490I Aorus Ultra comes with a 9-phase VRM in an 8+1 configuration. Managing power is a premium Intersil ISL69269 PWM controller able to drive a total of 12 channels. The controller distributes power to eight 90A Intersil ISL99390 MOSFETs -- the same found on Gigabyte’s flagship Z490 Aorus Xtreme and Aorus Master. This configuration yields 720A for vCore which is plenty to handle the current Intel i9-10900K flagship part at stock and overclocked operations. You’ll be limited by CPU temperatures and ambient cooling before this beefy VRM will hold you back.
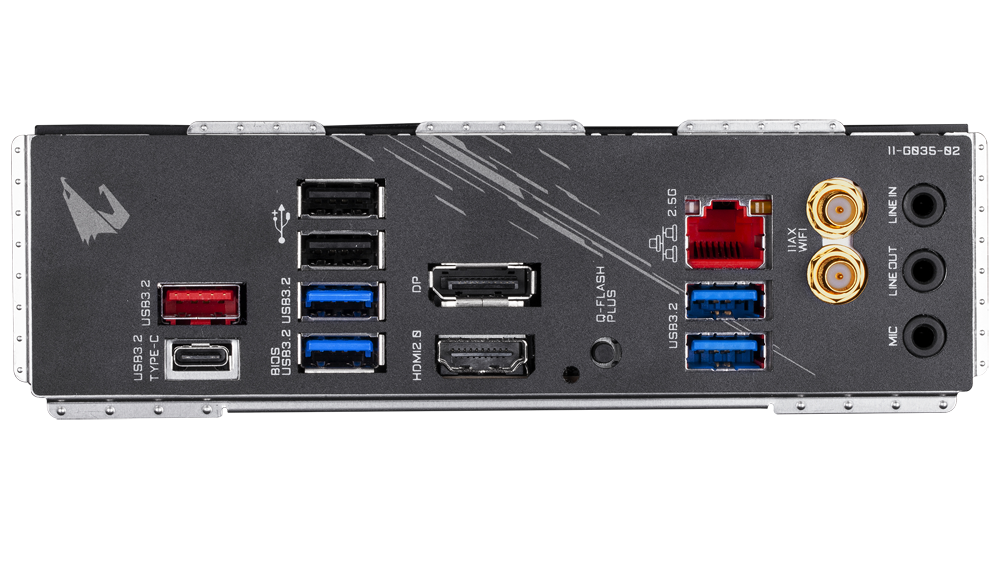
Swinging around to the rear IO, Gigabyte uses an integrated IO plate, as do the Asus and ASRock. Starting on the left-hand side is a USB 3.2 Gen 2 Type-C and Type-A port (red) followed by two USB 3.2 Gen 1 ports (blue) and two USB 2.0 ports (black). Further to the right are two more USB 3.2 Gen 1 ports for a total of eight -- this should be enough for most users. Video outputs consist of a DisplayPort and single HDMI (v2.0) port. Next is a Q-Flash Plus button for flashing the BIOS without a CPU. To the right is the 2.5 GbE port, Intel Wi-Fi antenna connectors and another 3-plug audio stack.
Software
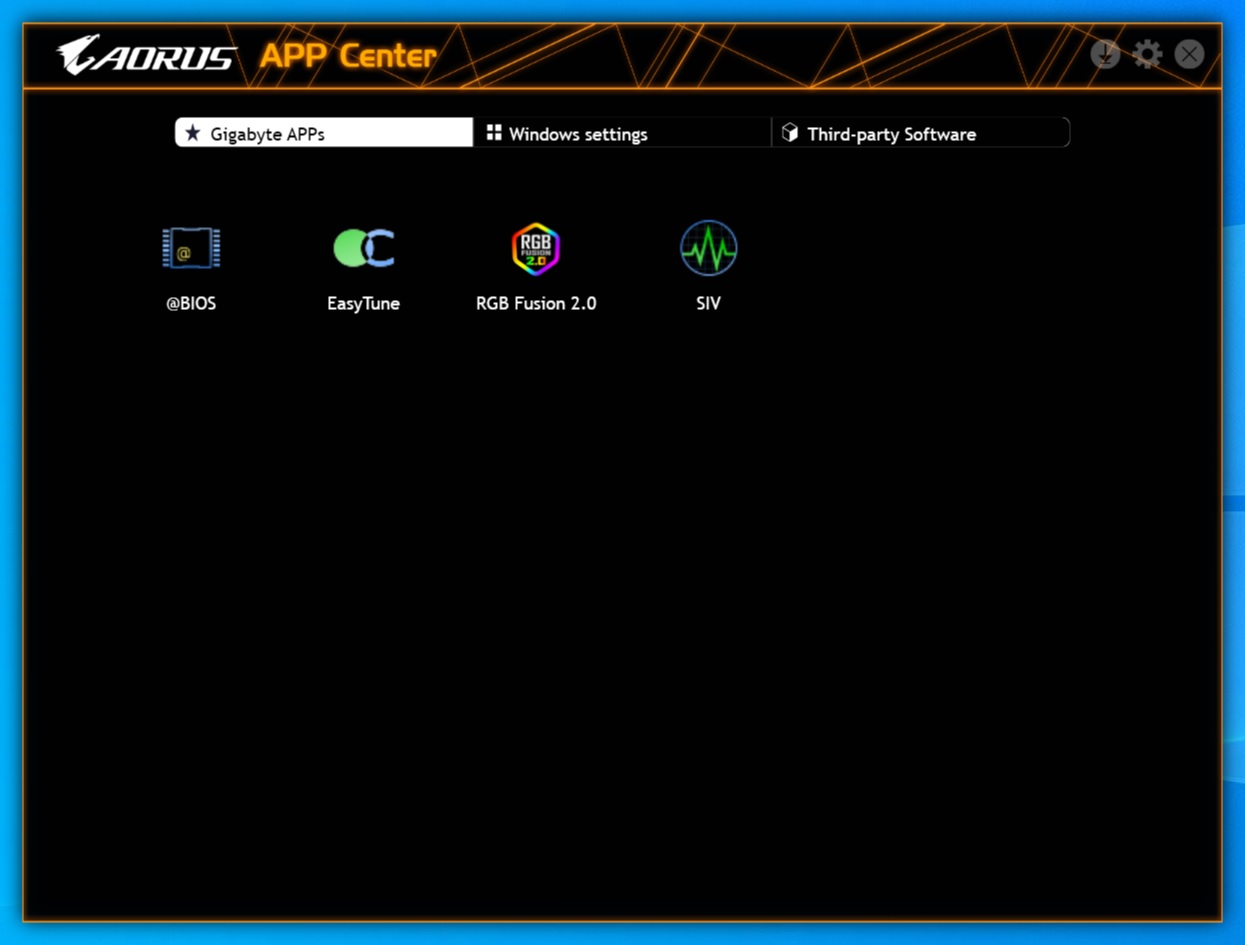
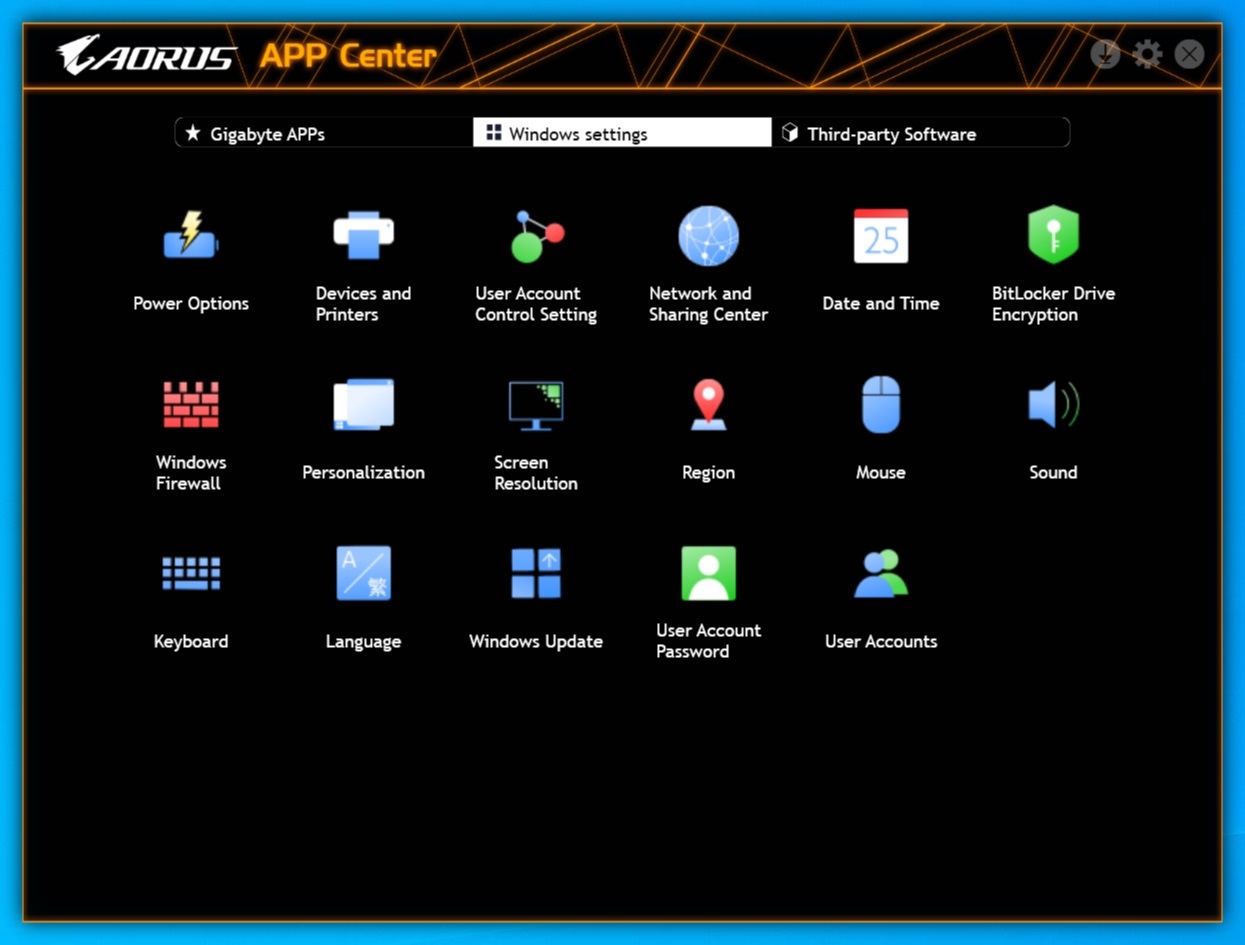
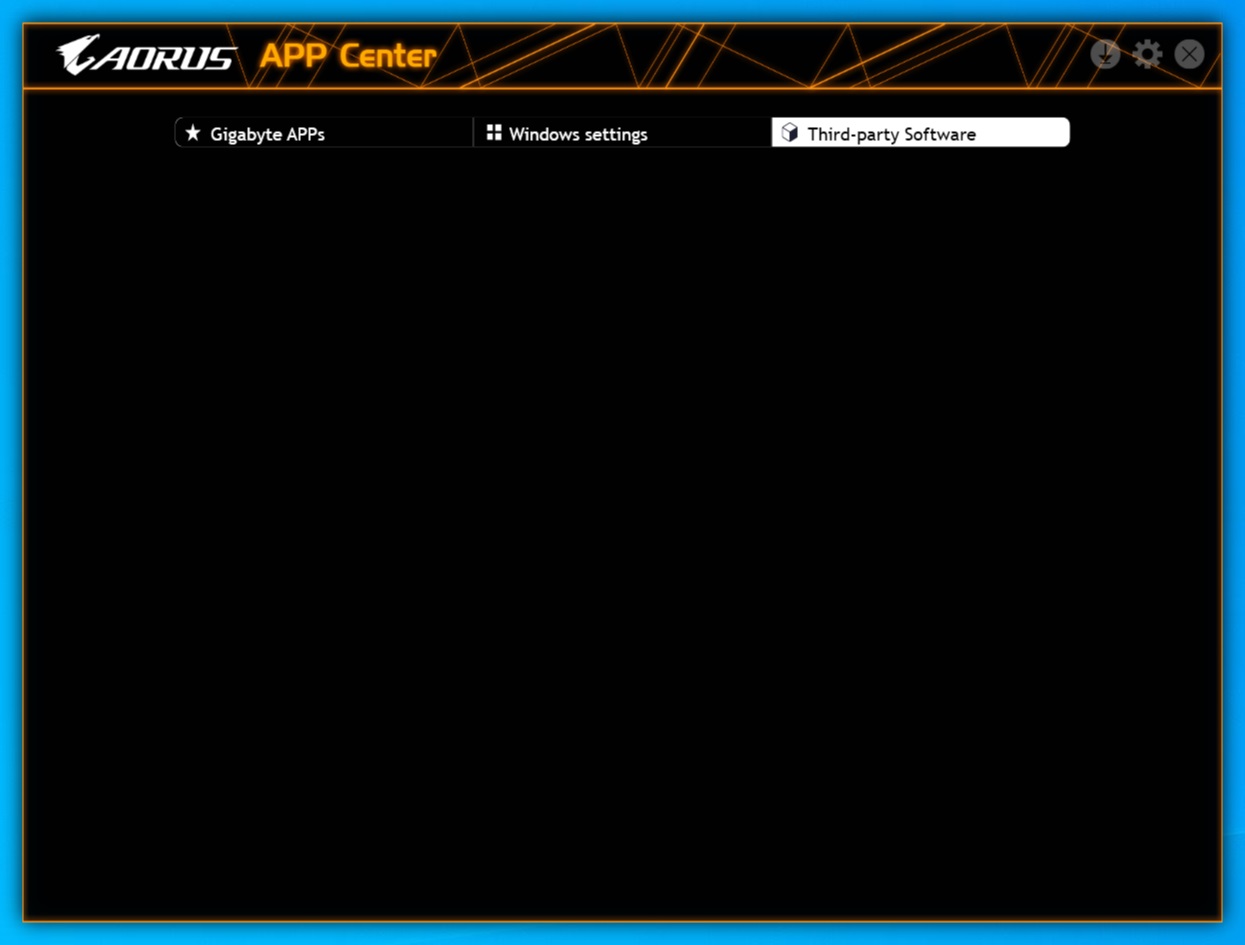
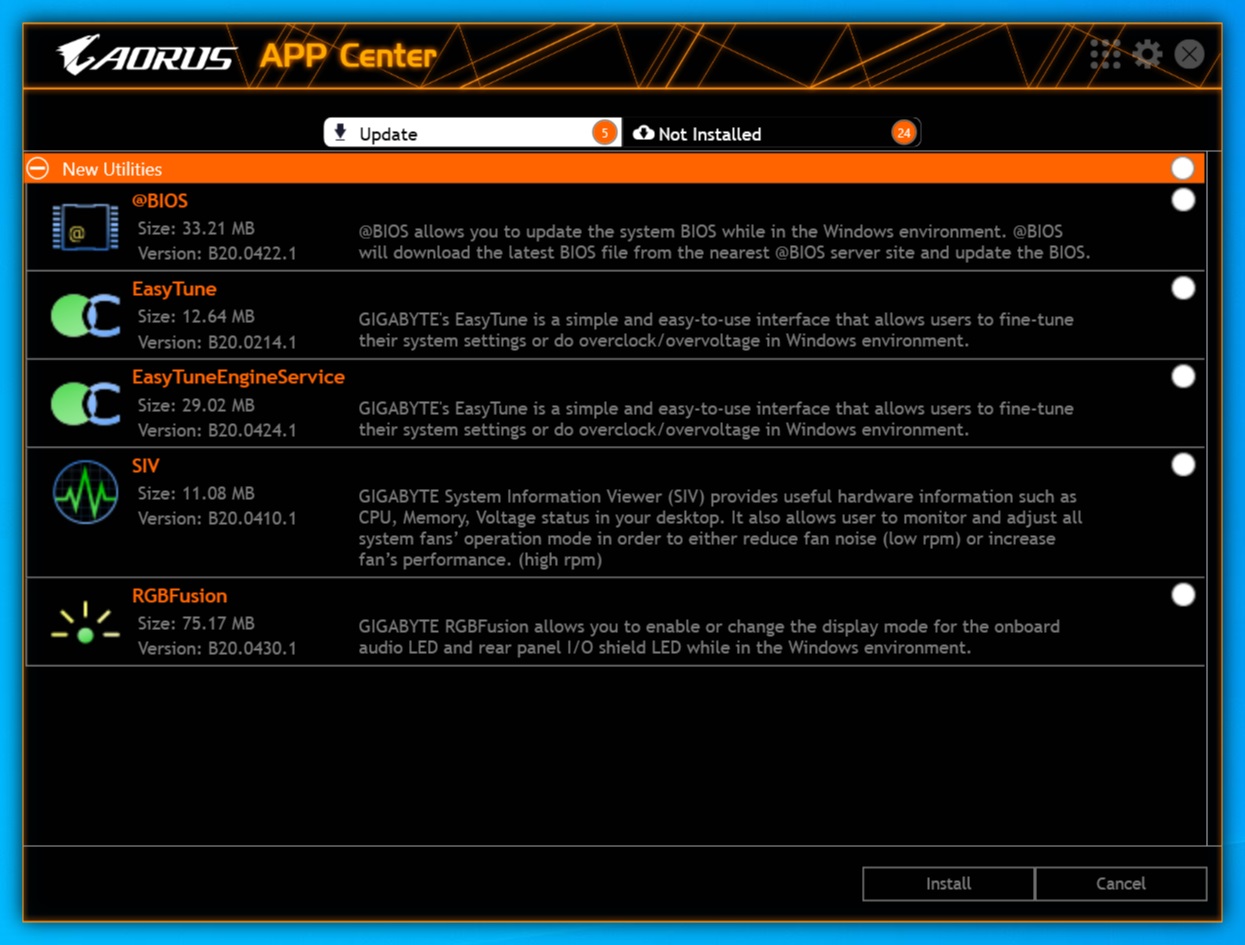
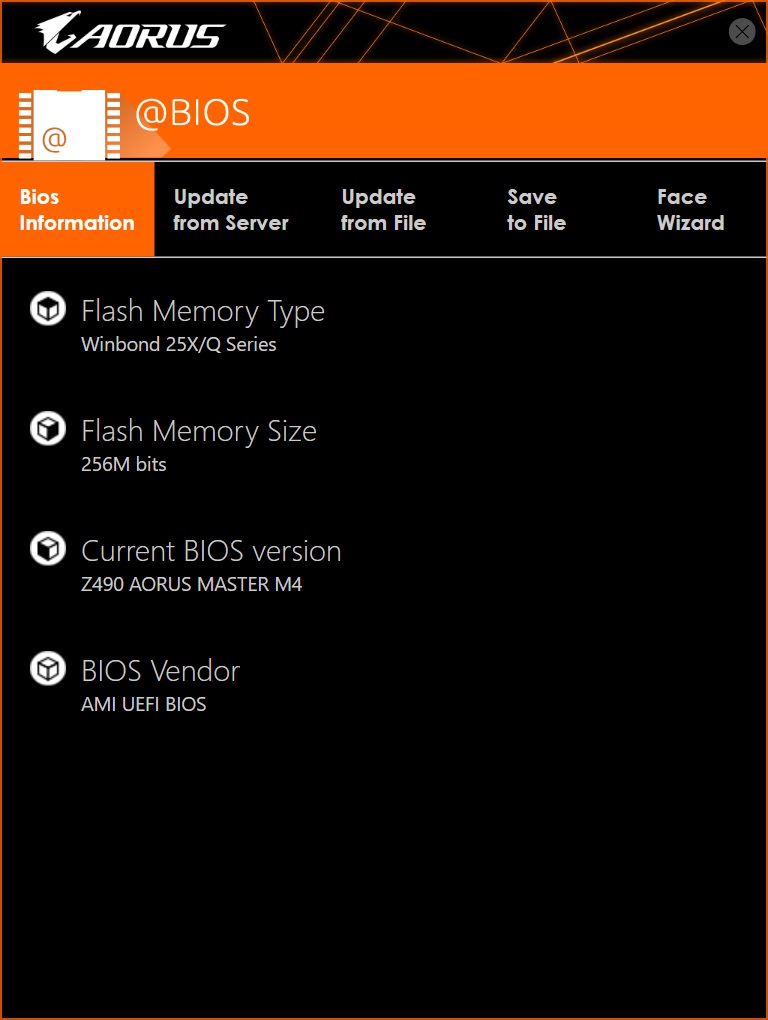
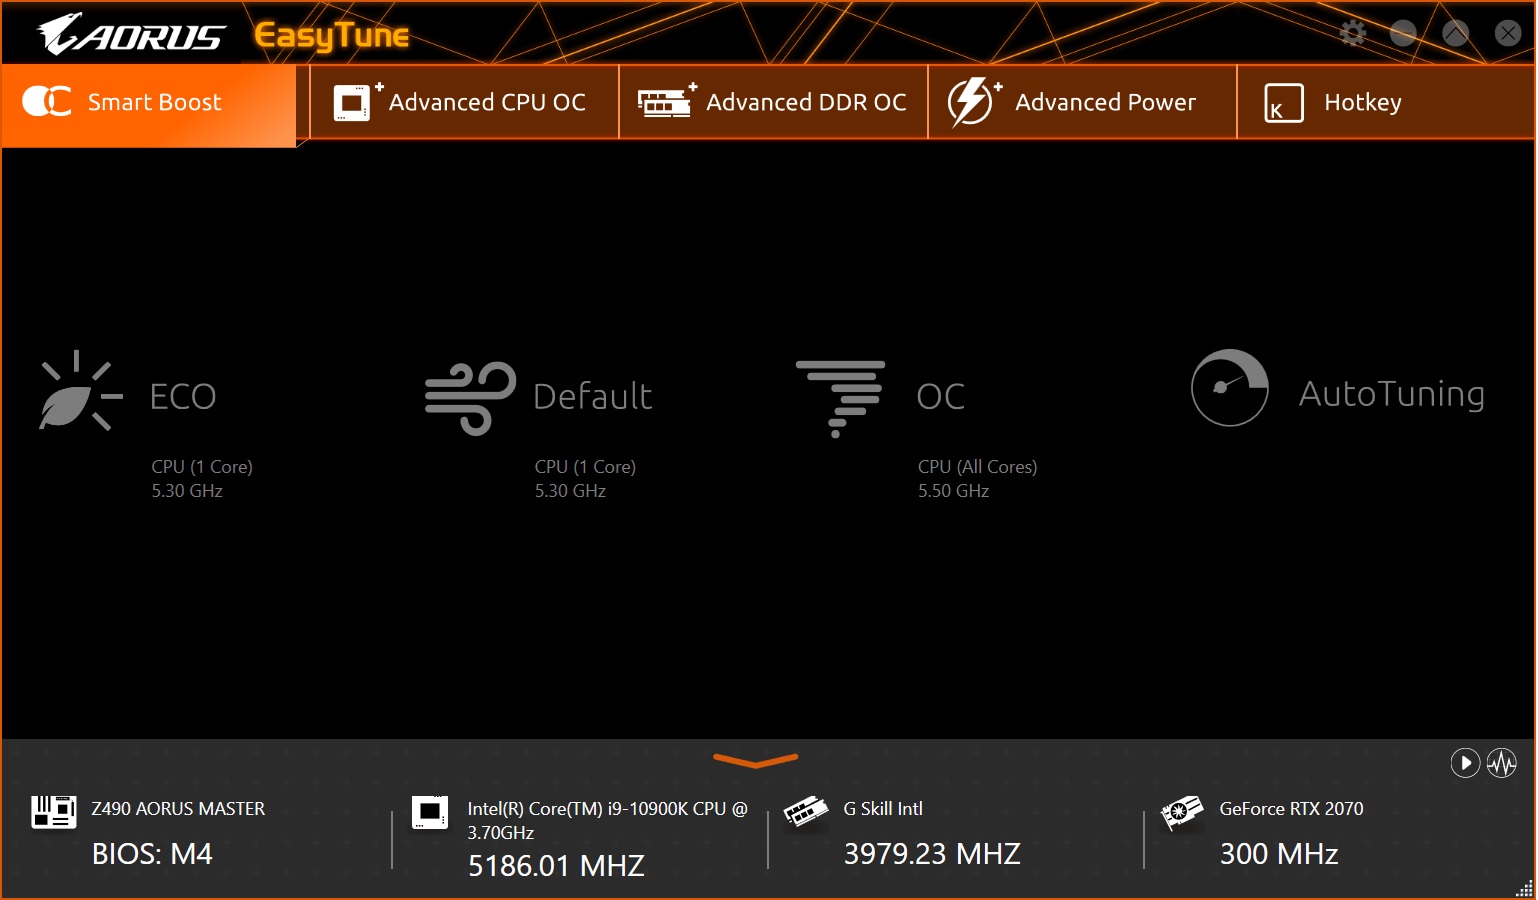
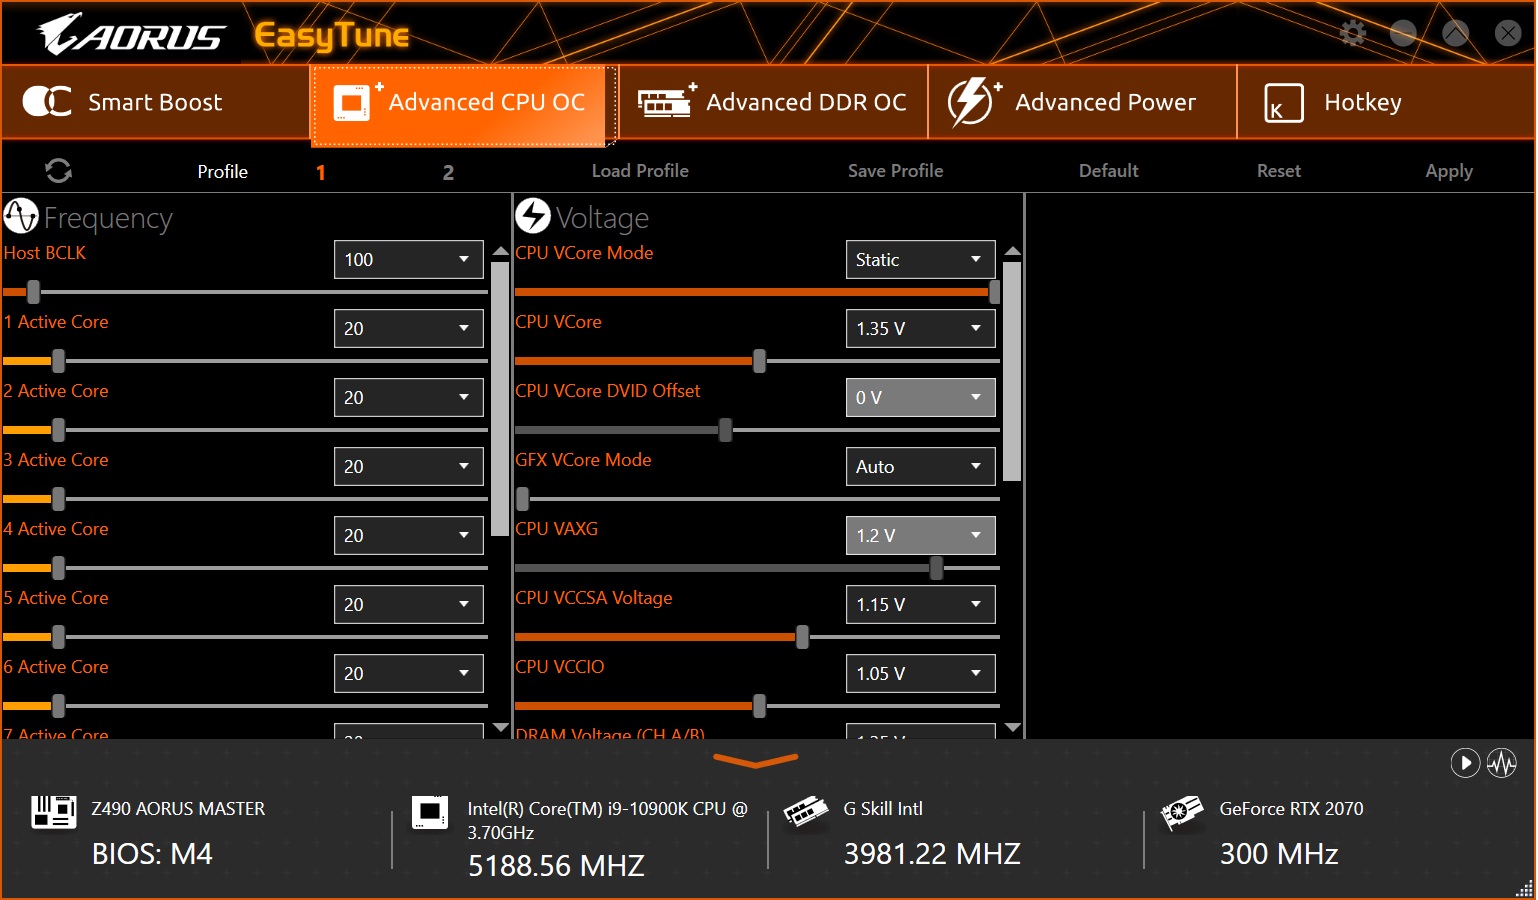
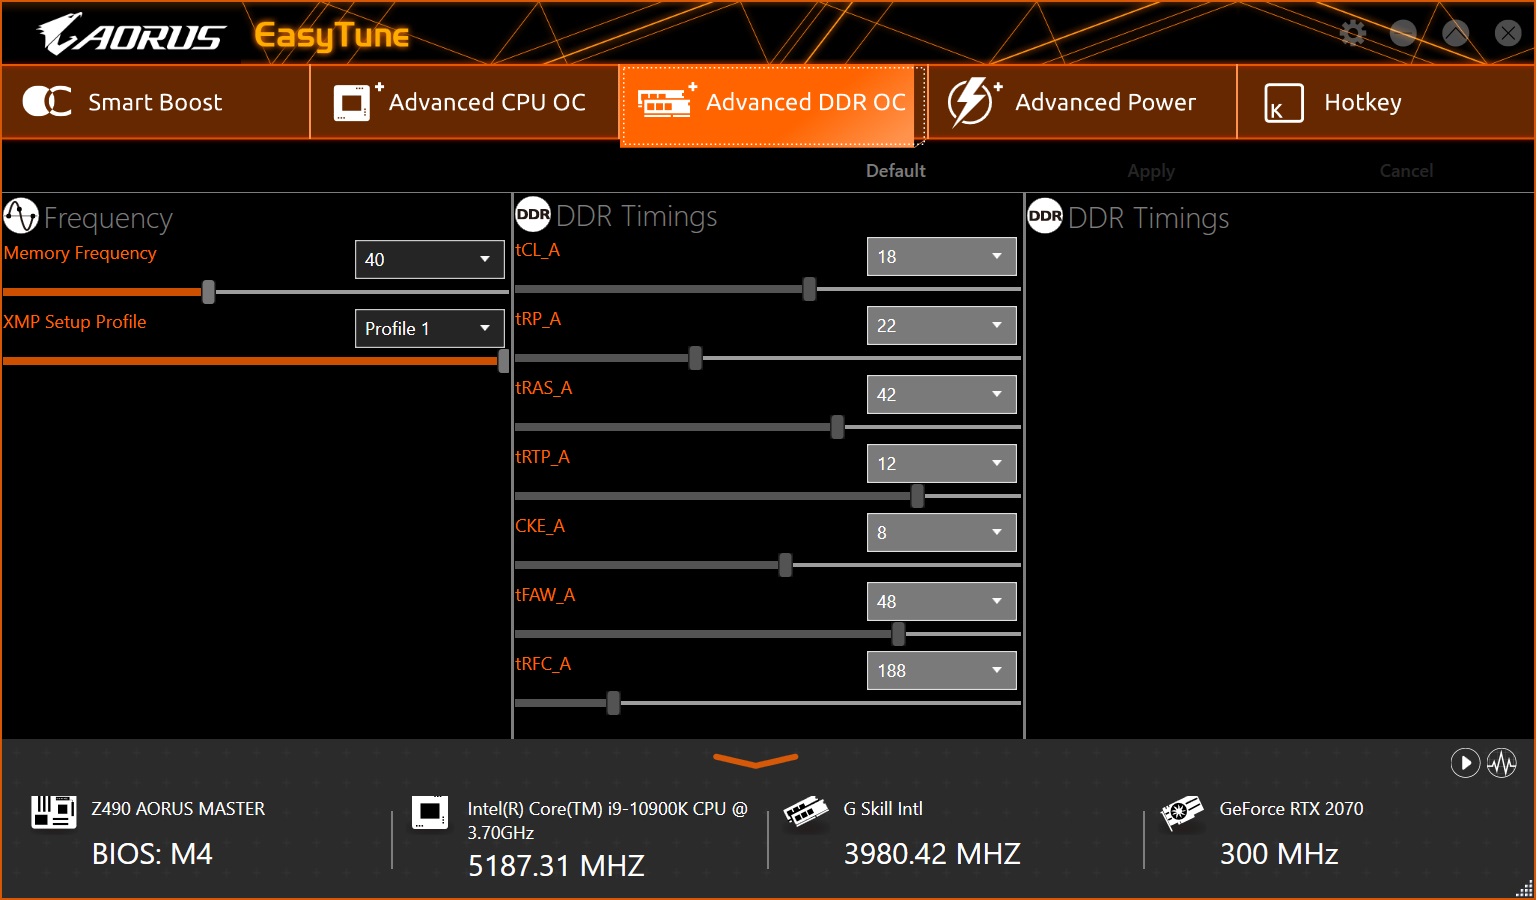
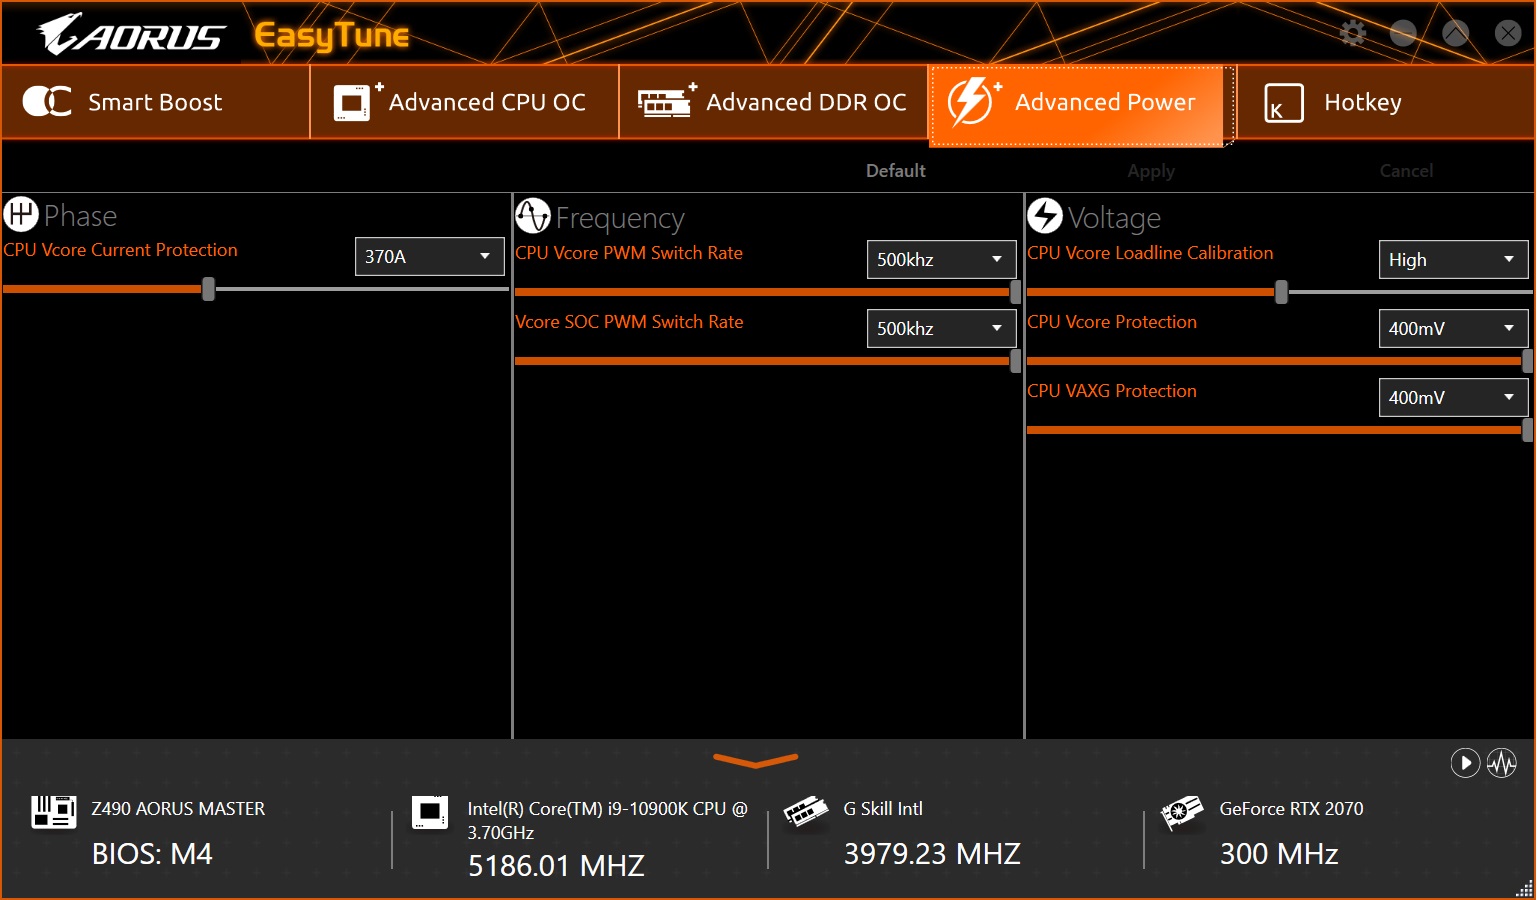
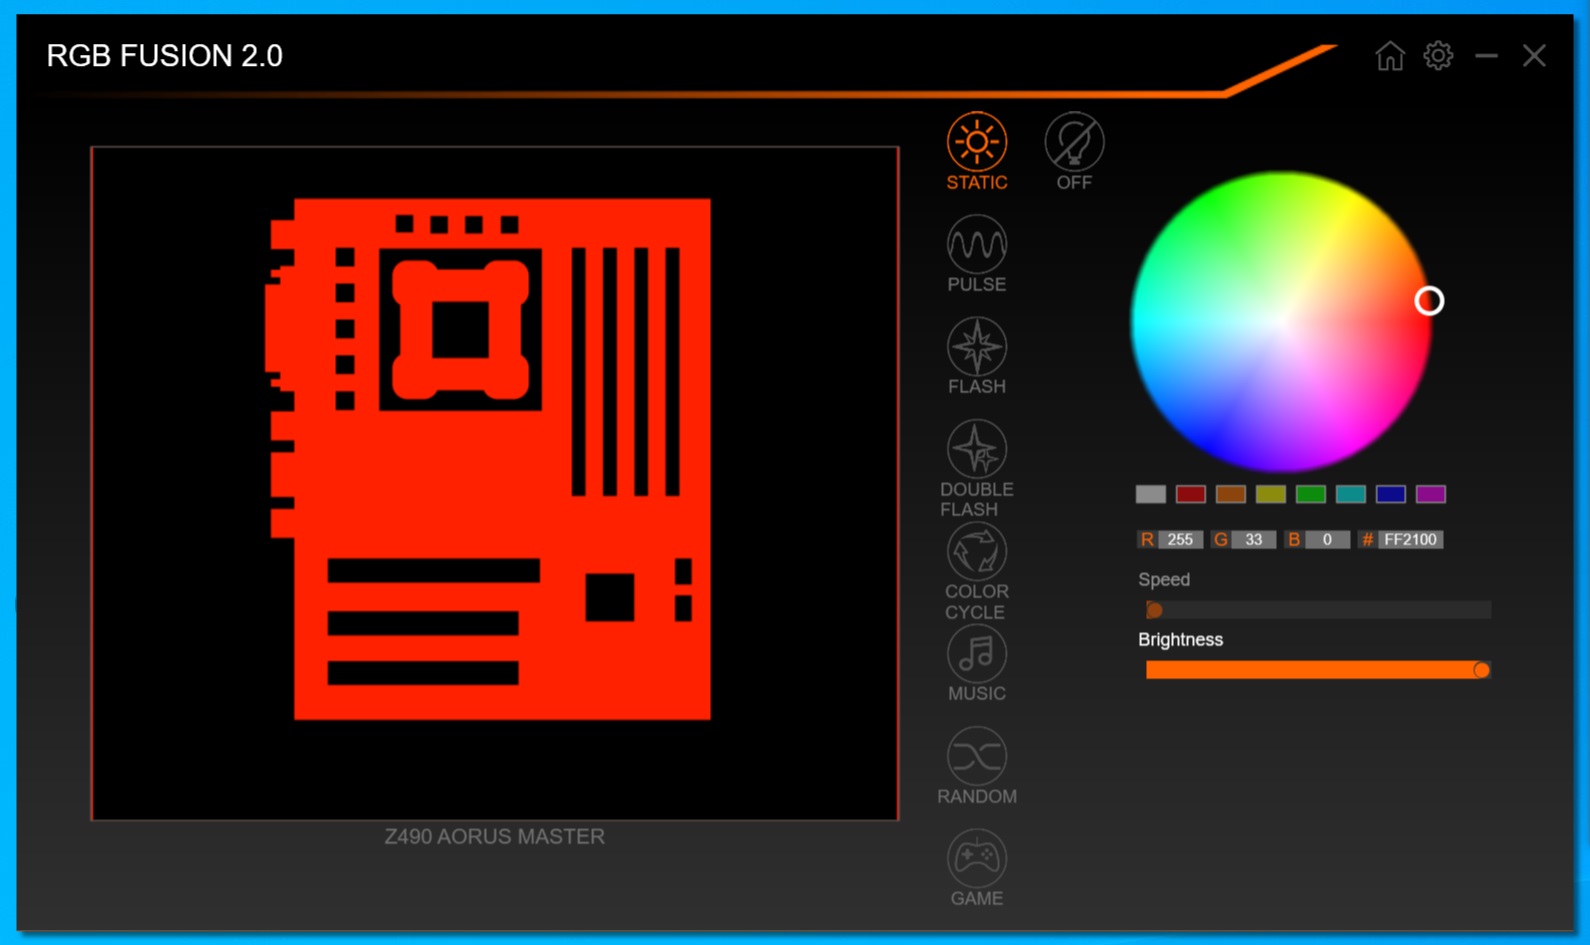
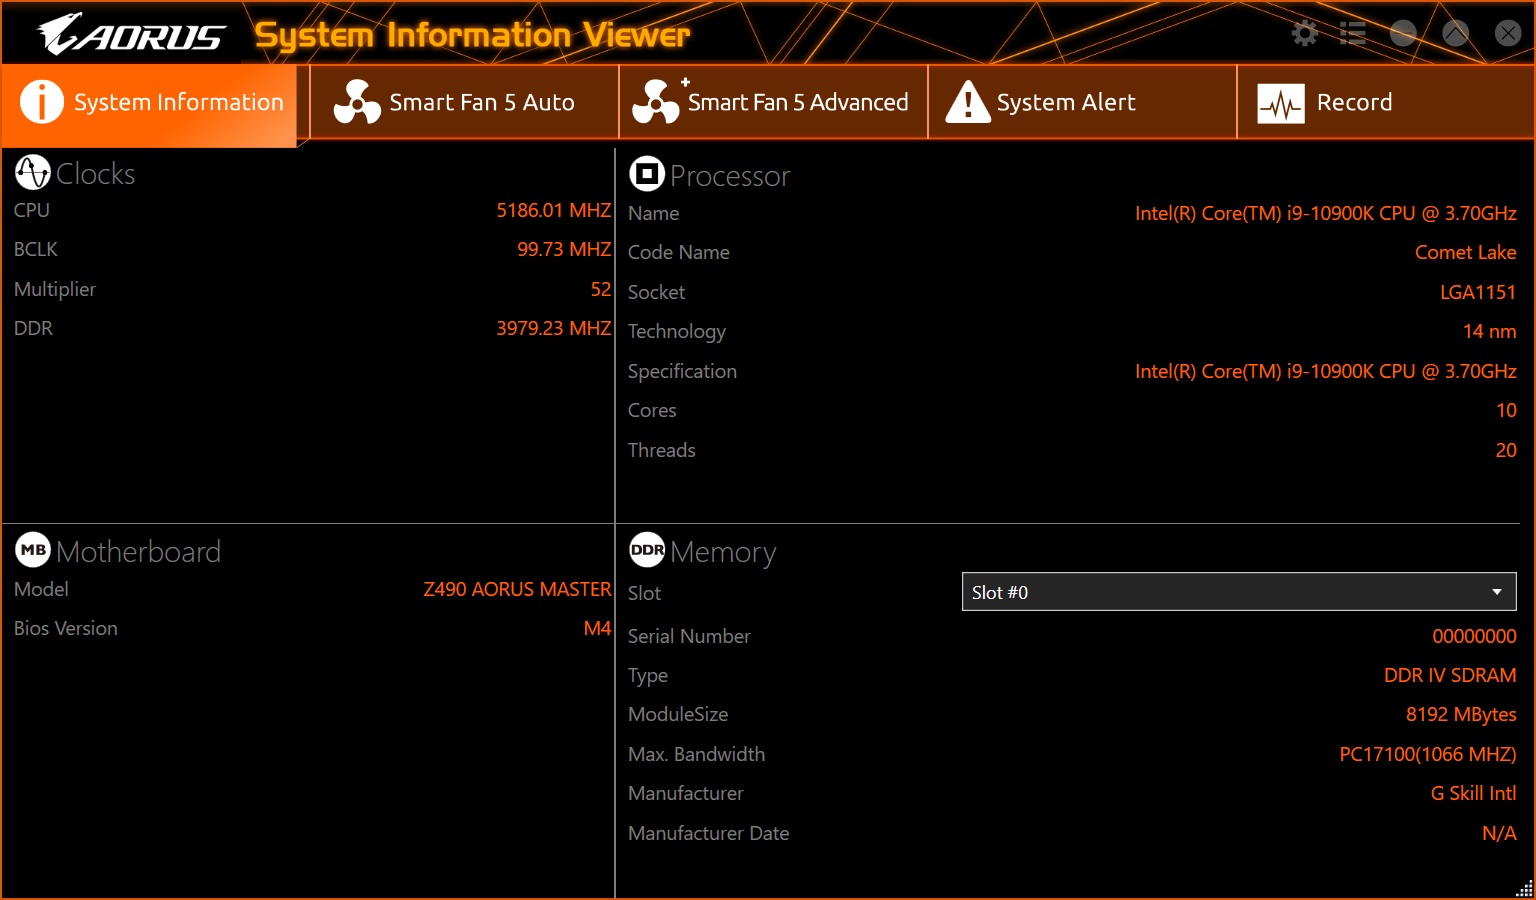
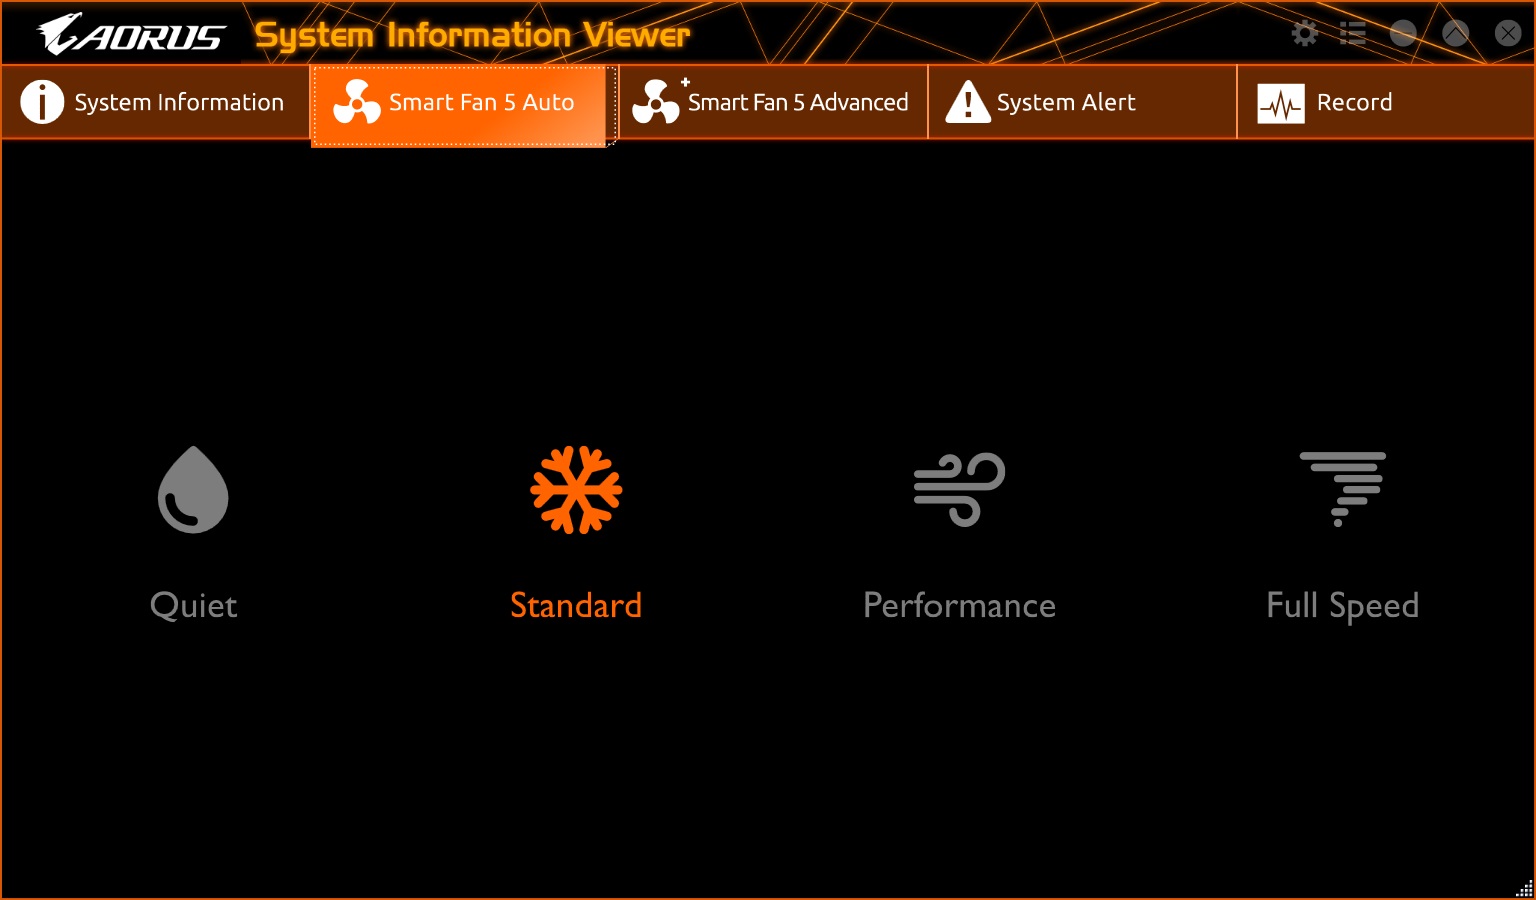
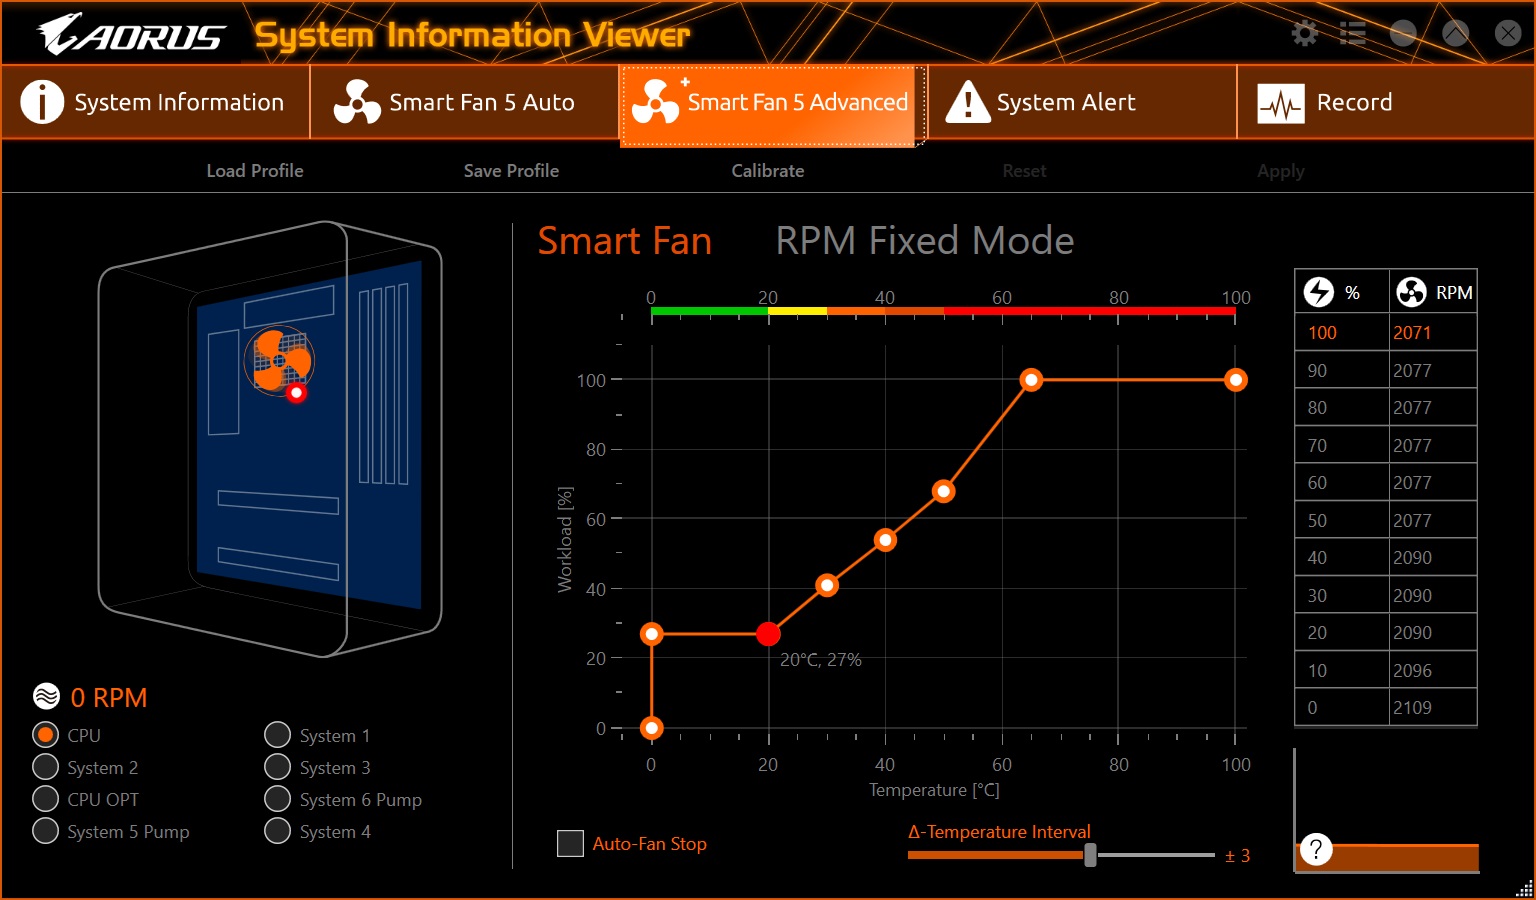
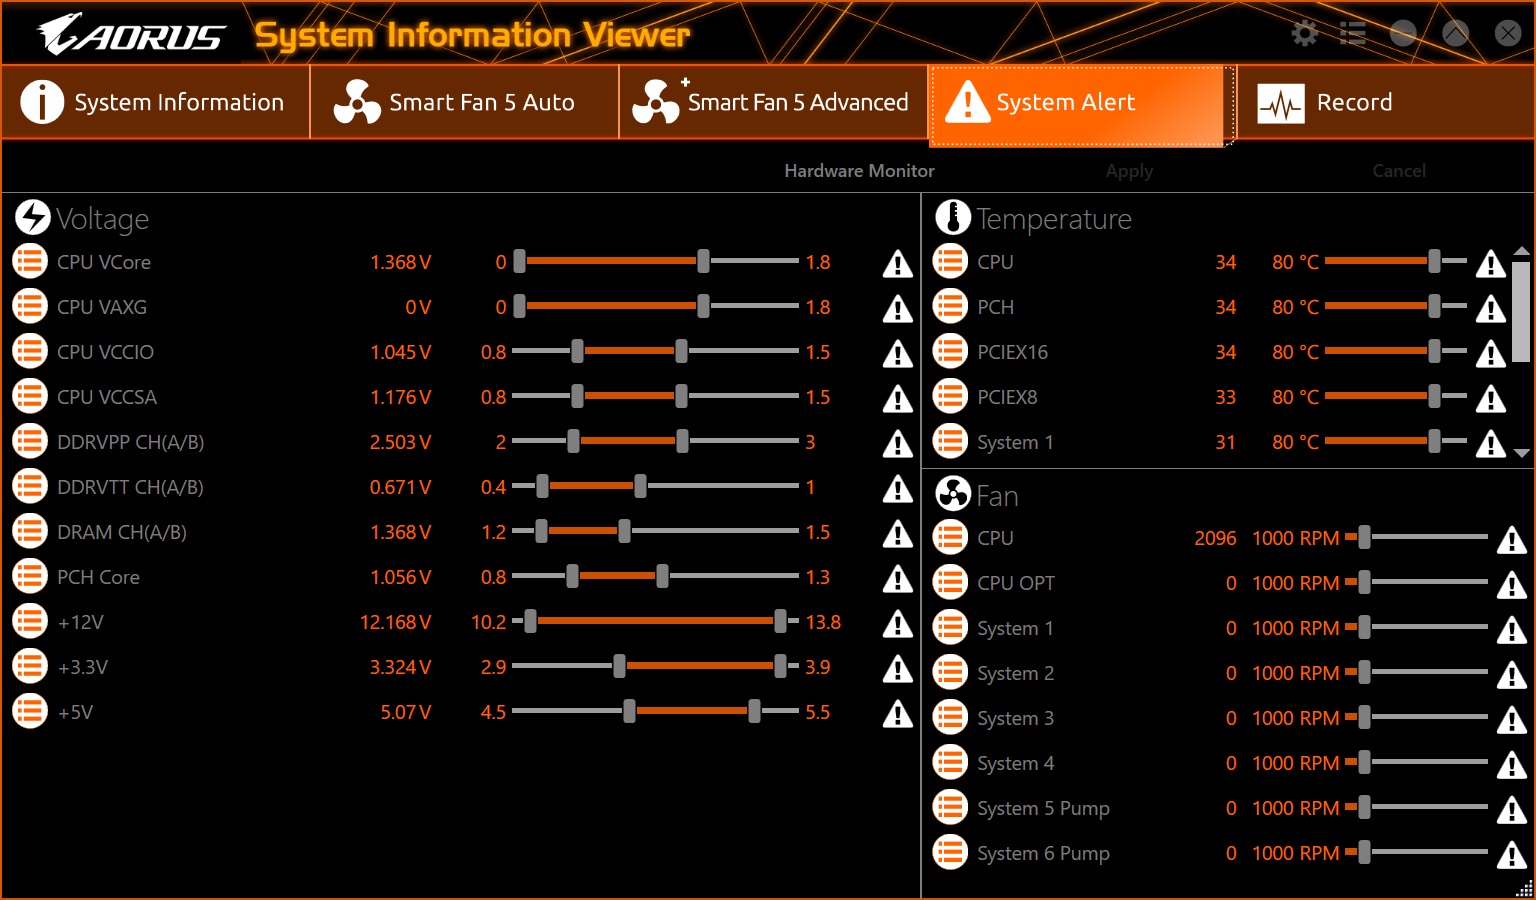
Gigabyte’s utilities are more of a piecemeal situation than MSI or Asus, who both use more of a single software, multi-function approach. The most commonly used applications are Easy Tune (tweaking/monitoring), @BIOS (BIOS flashing), RGB Fusion 2.0 (RGB LED control), and SIV (Monitoring). The App Center program does put the programs all in one location. But at this point, I prefer one piece of software to handle all of these functions as opposed to multiple programs.
We’ve captured several screenshots of the aforementioned applications so you can get a better idea of what they look like and do.
Firmware
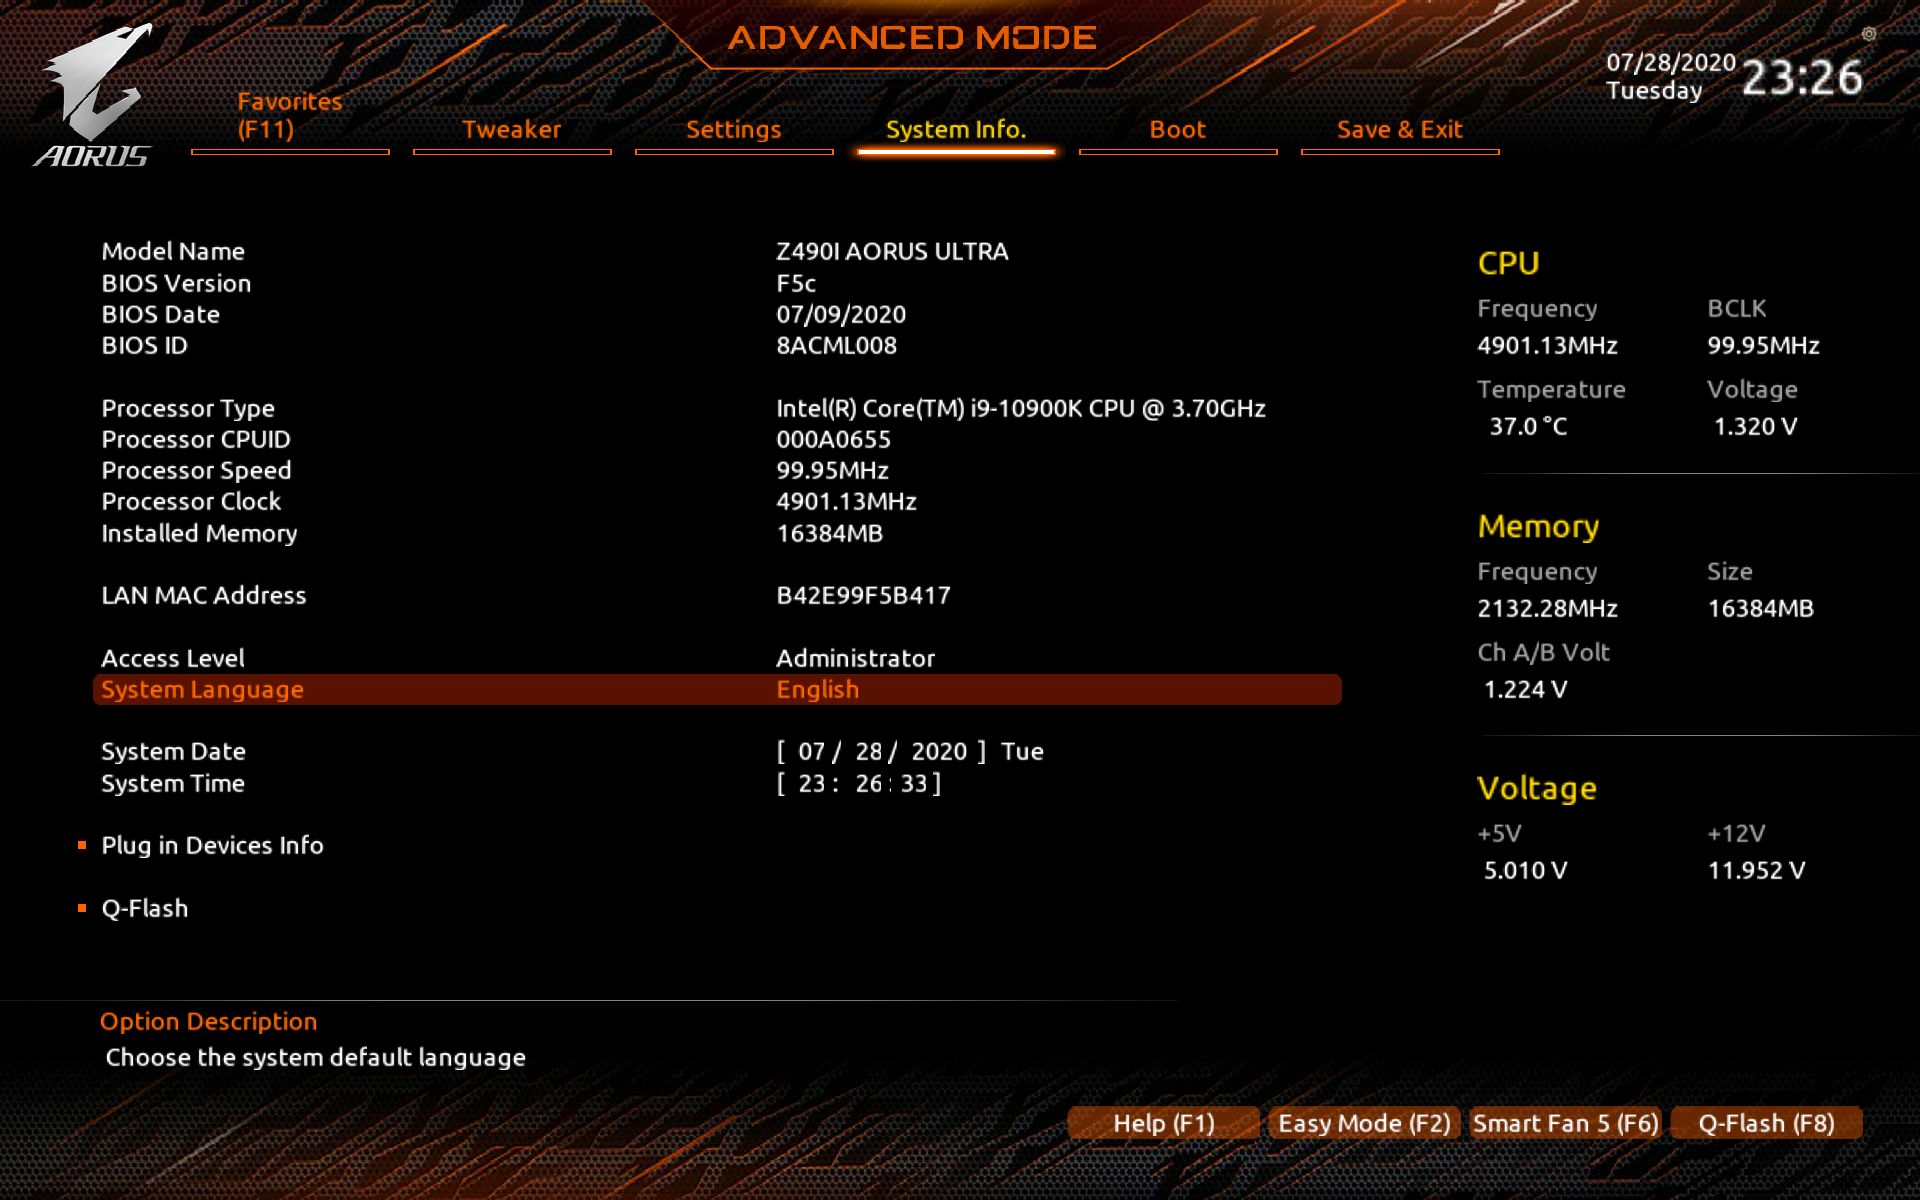
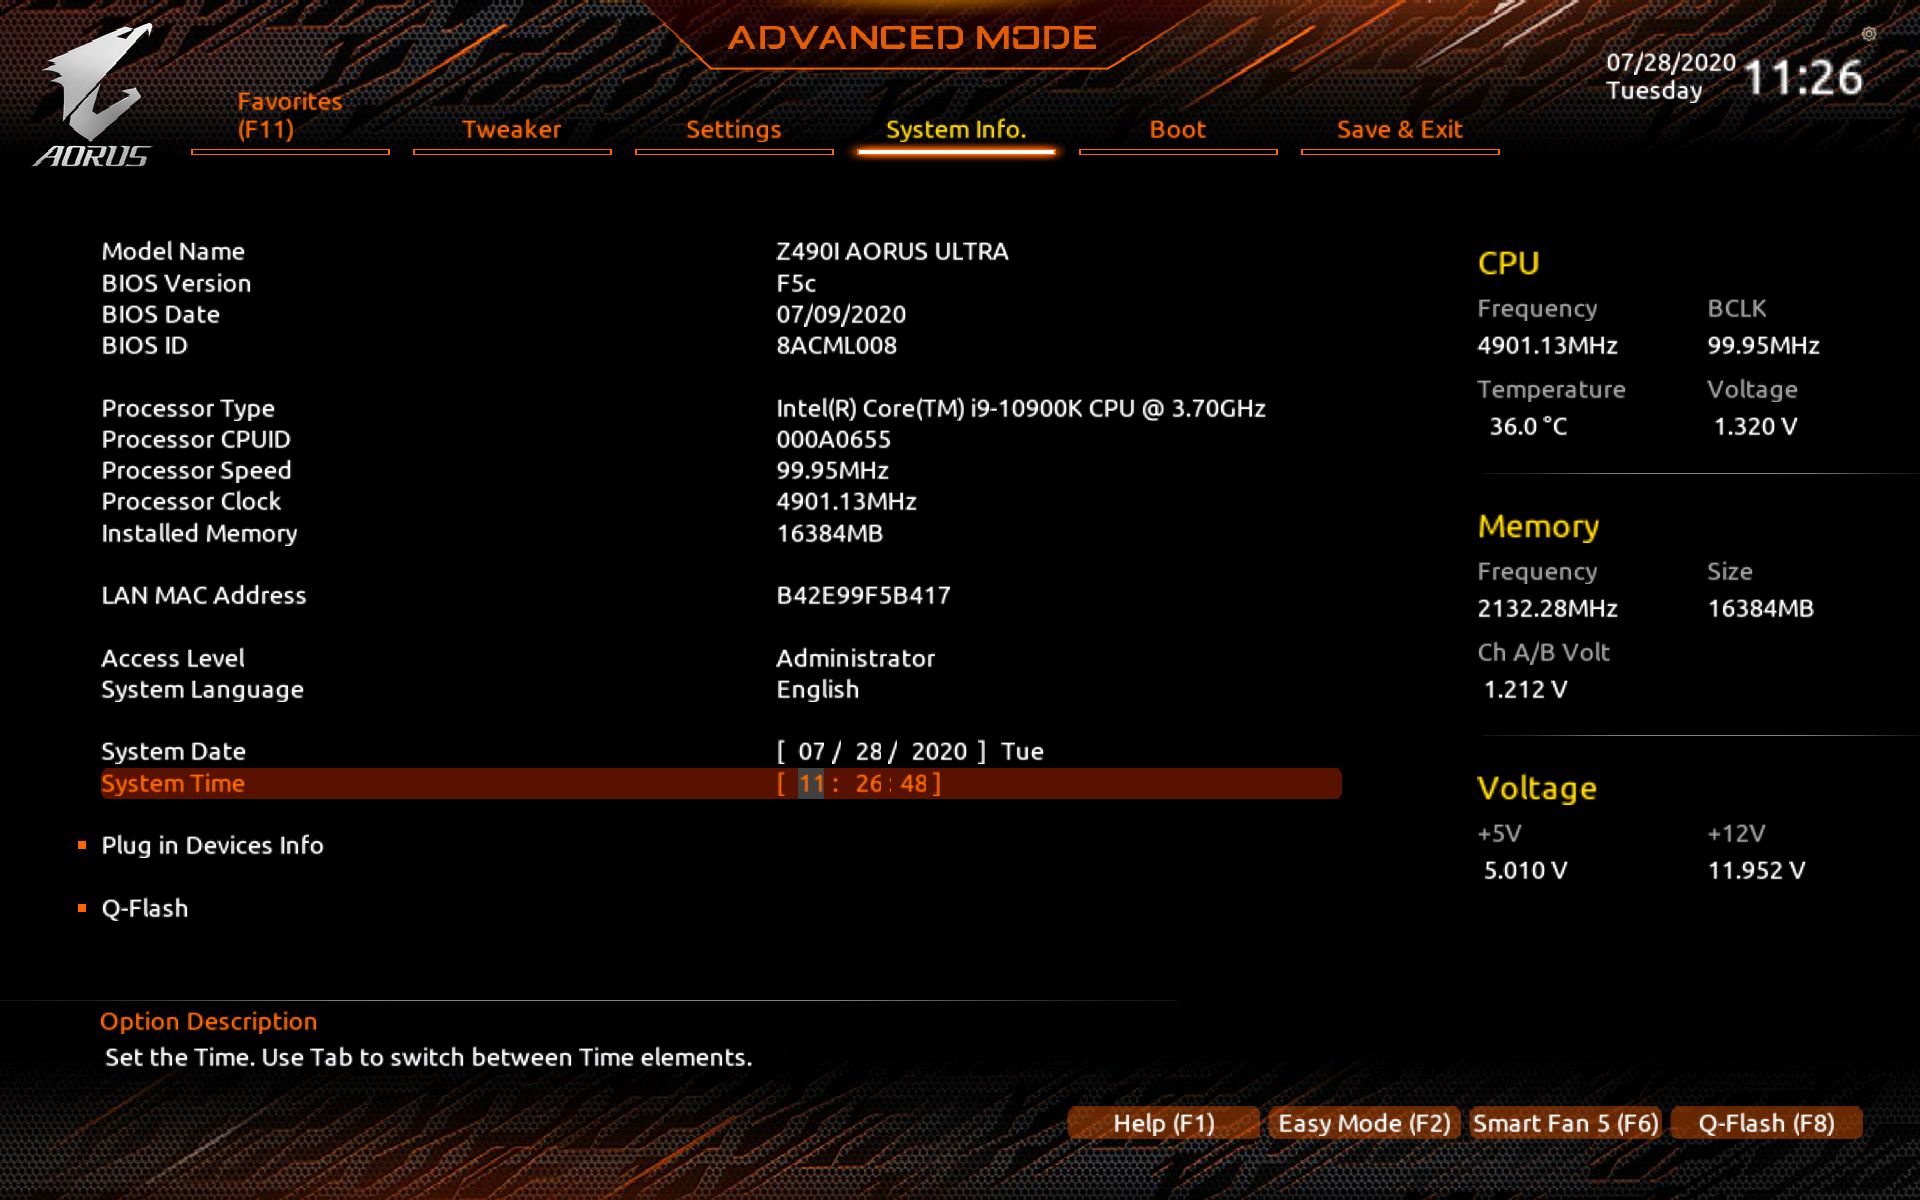
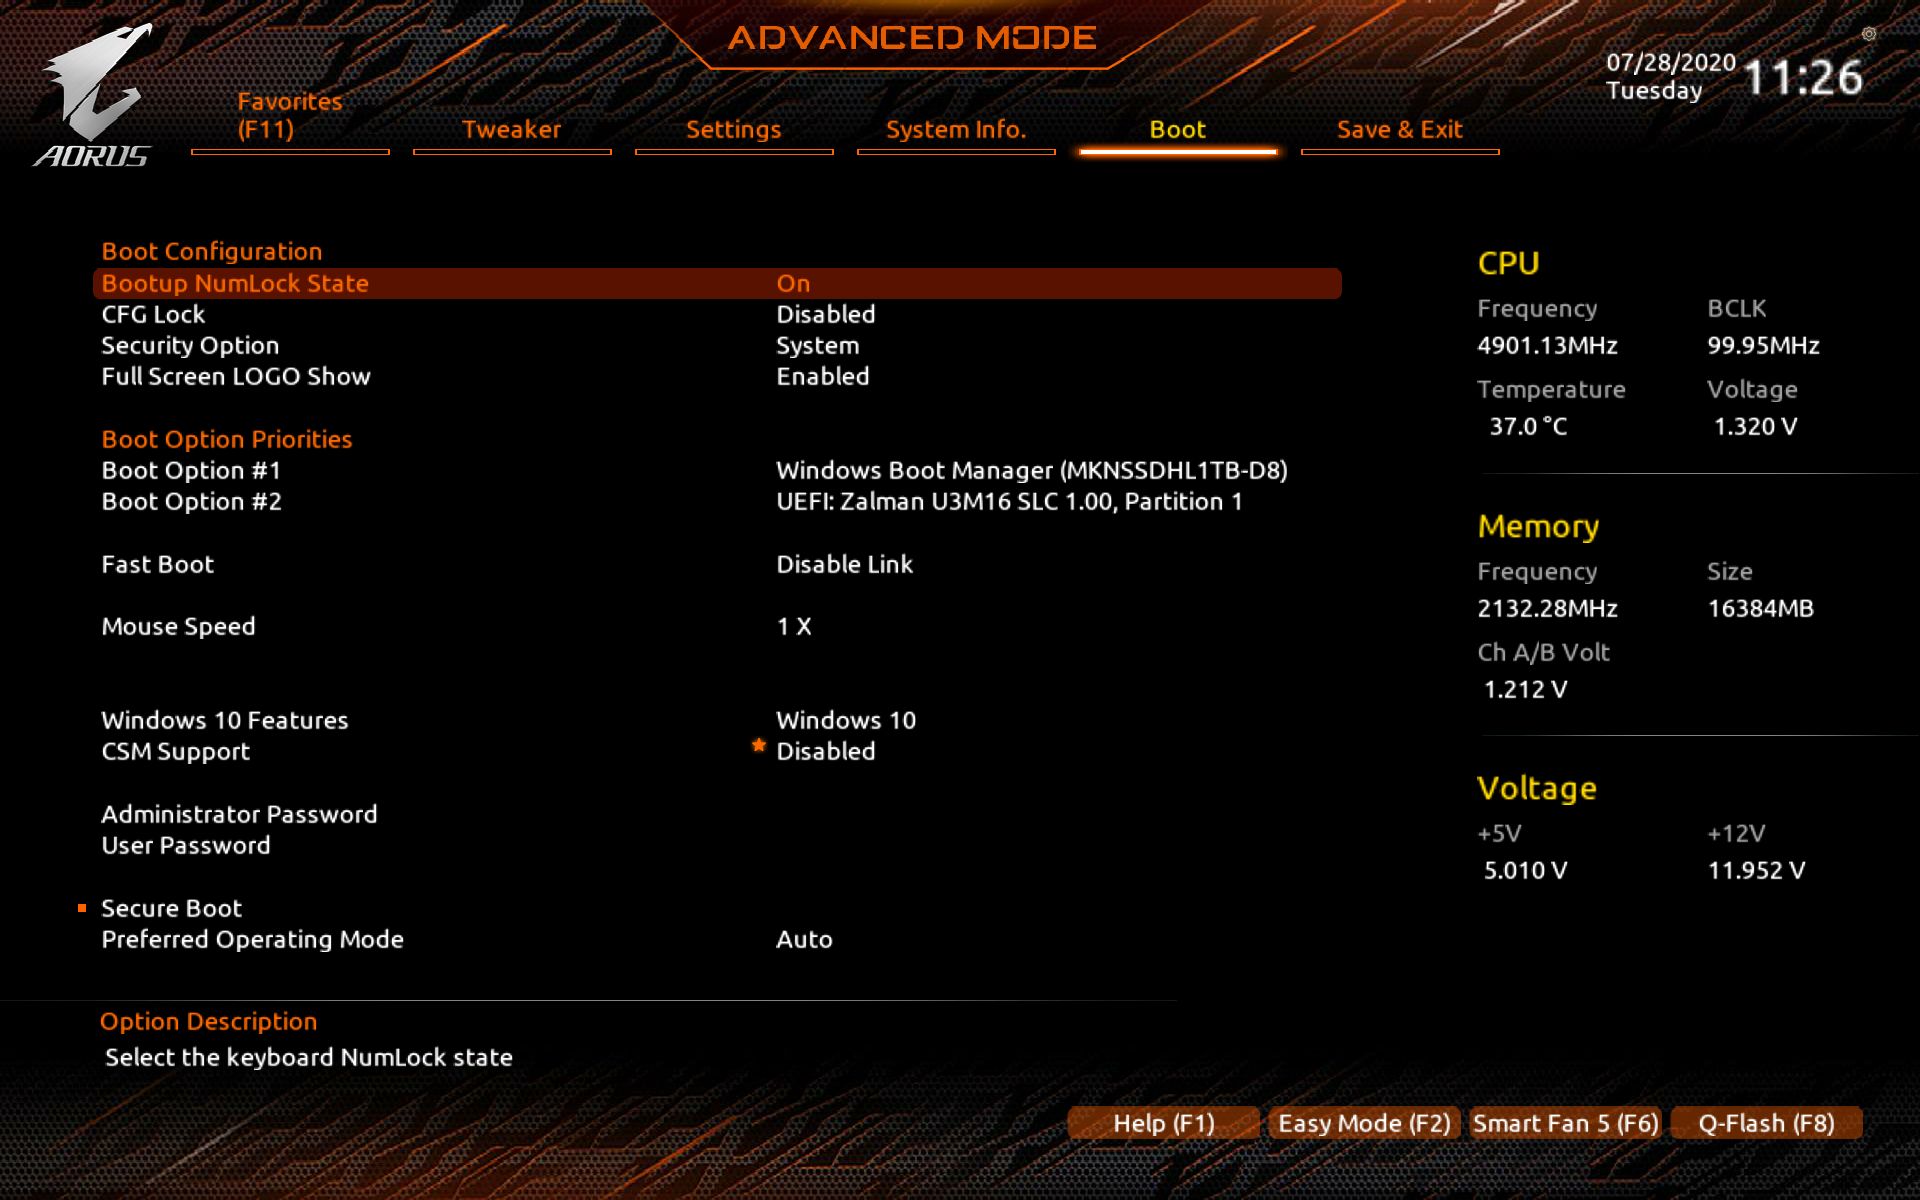
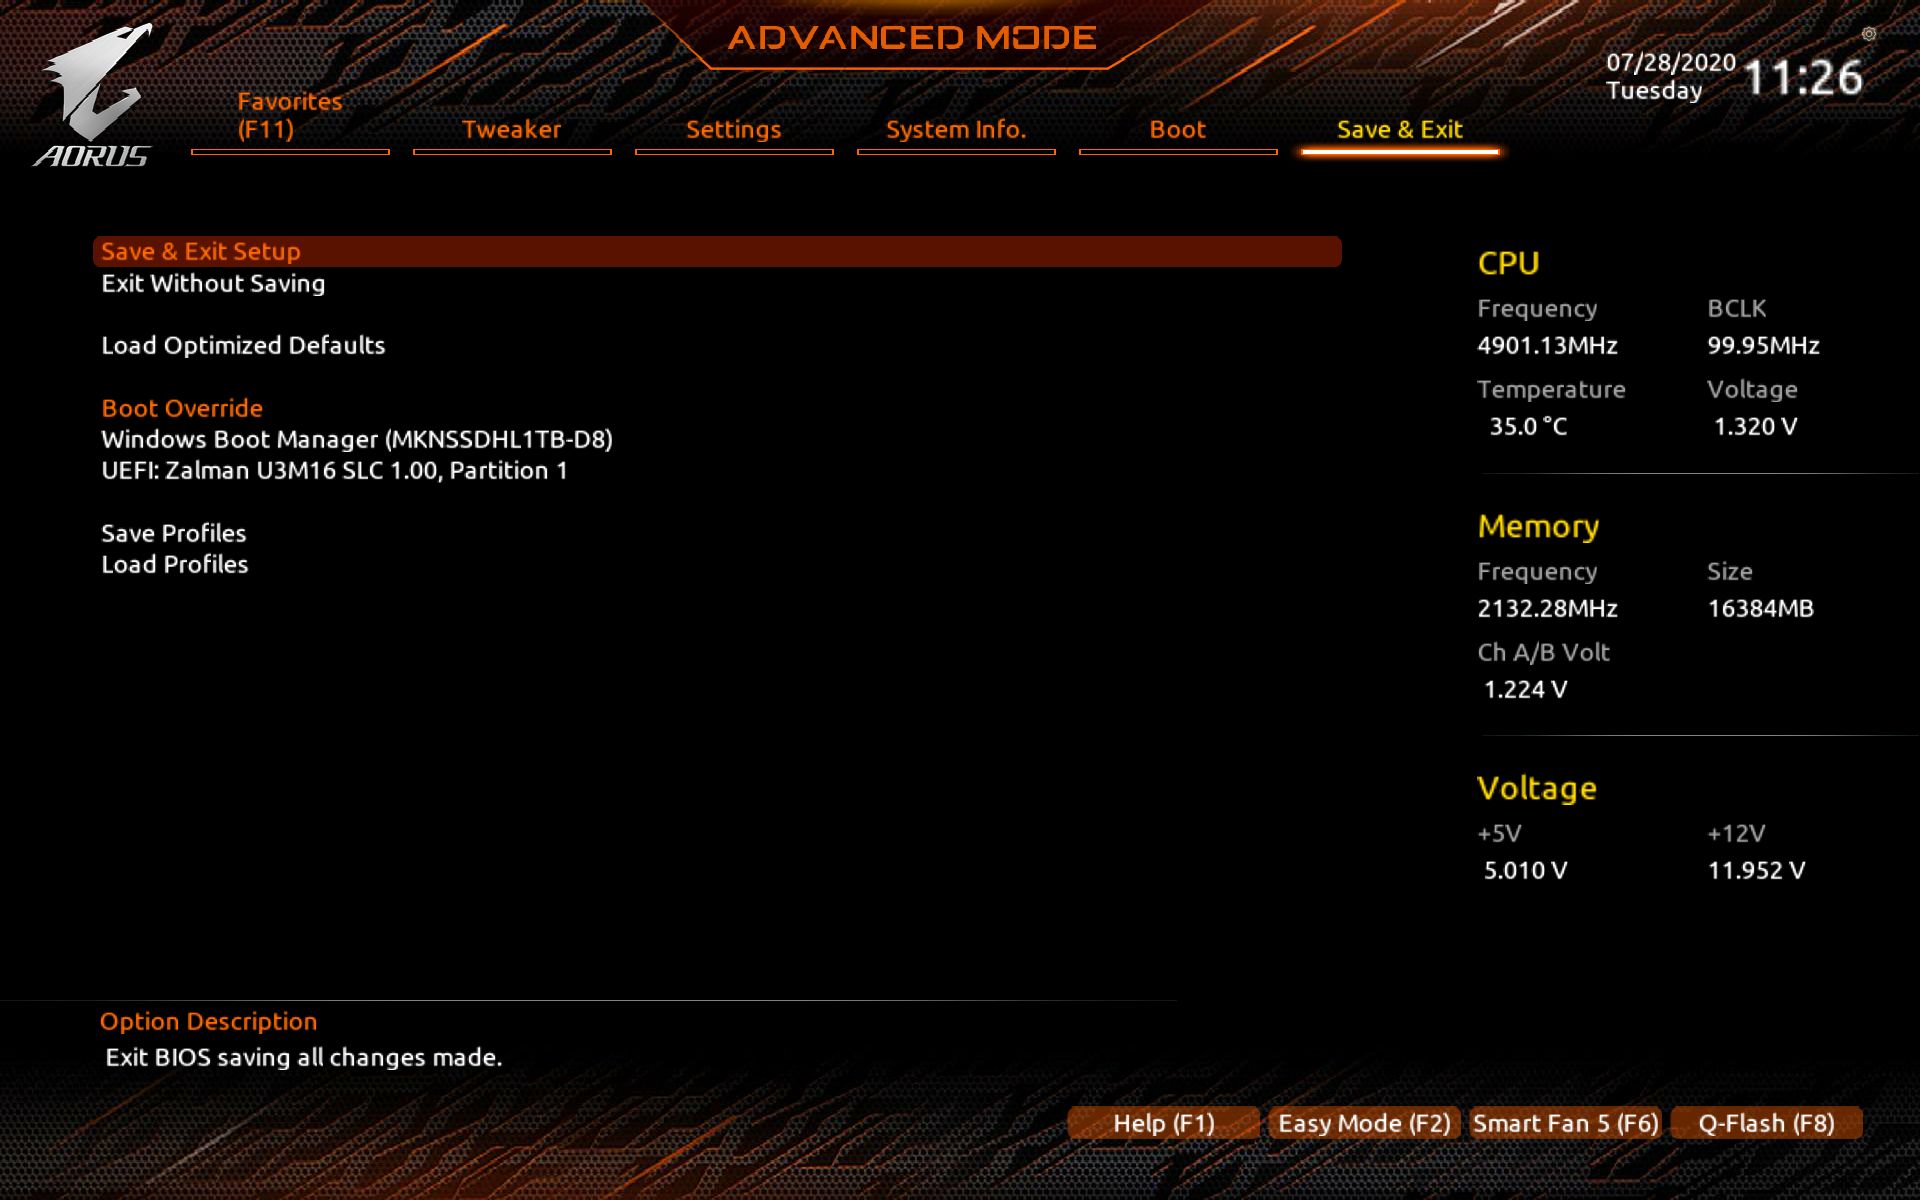
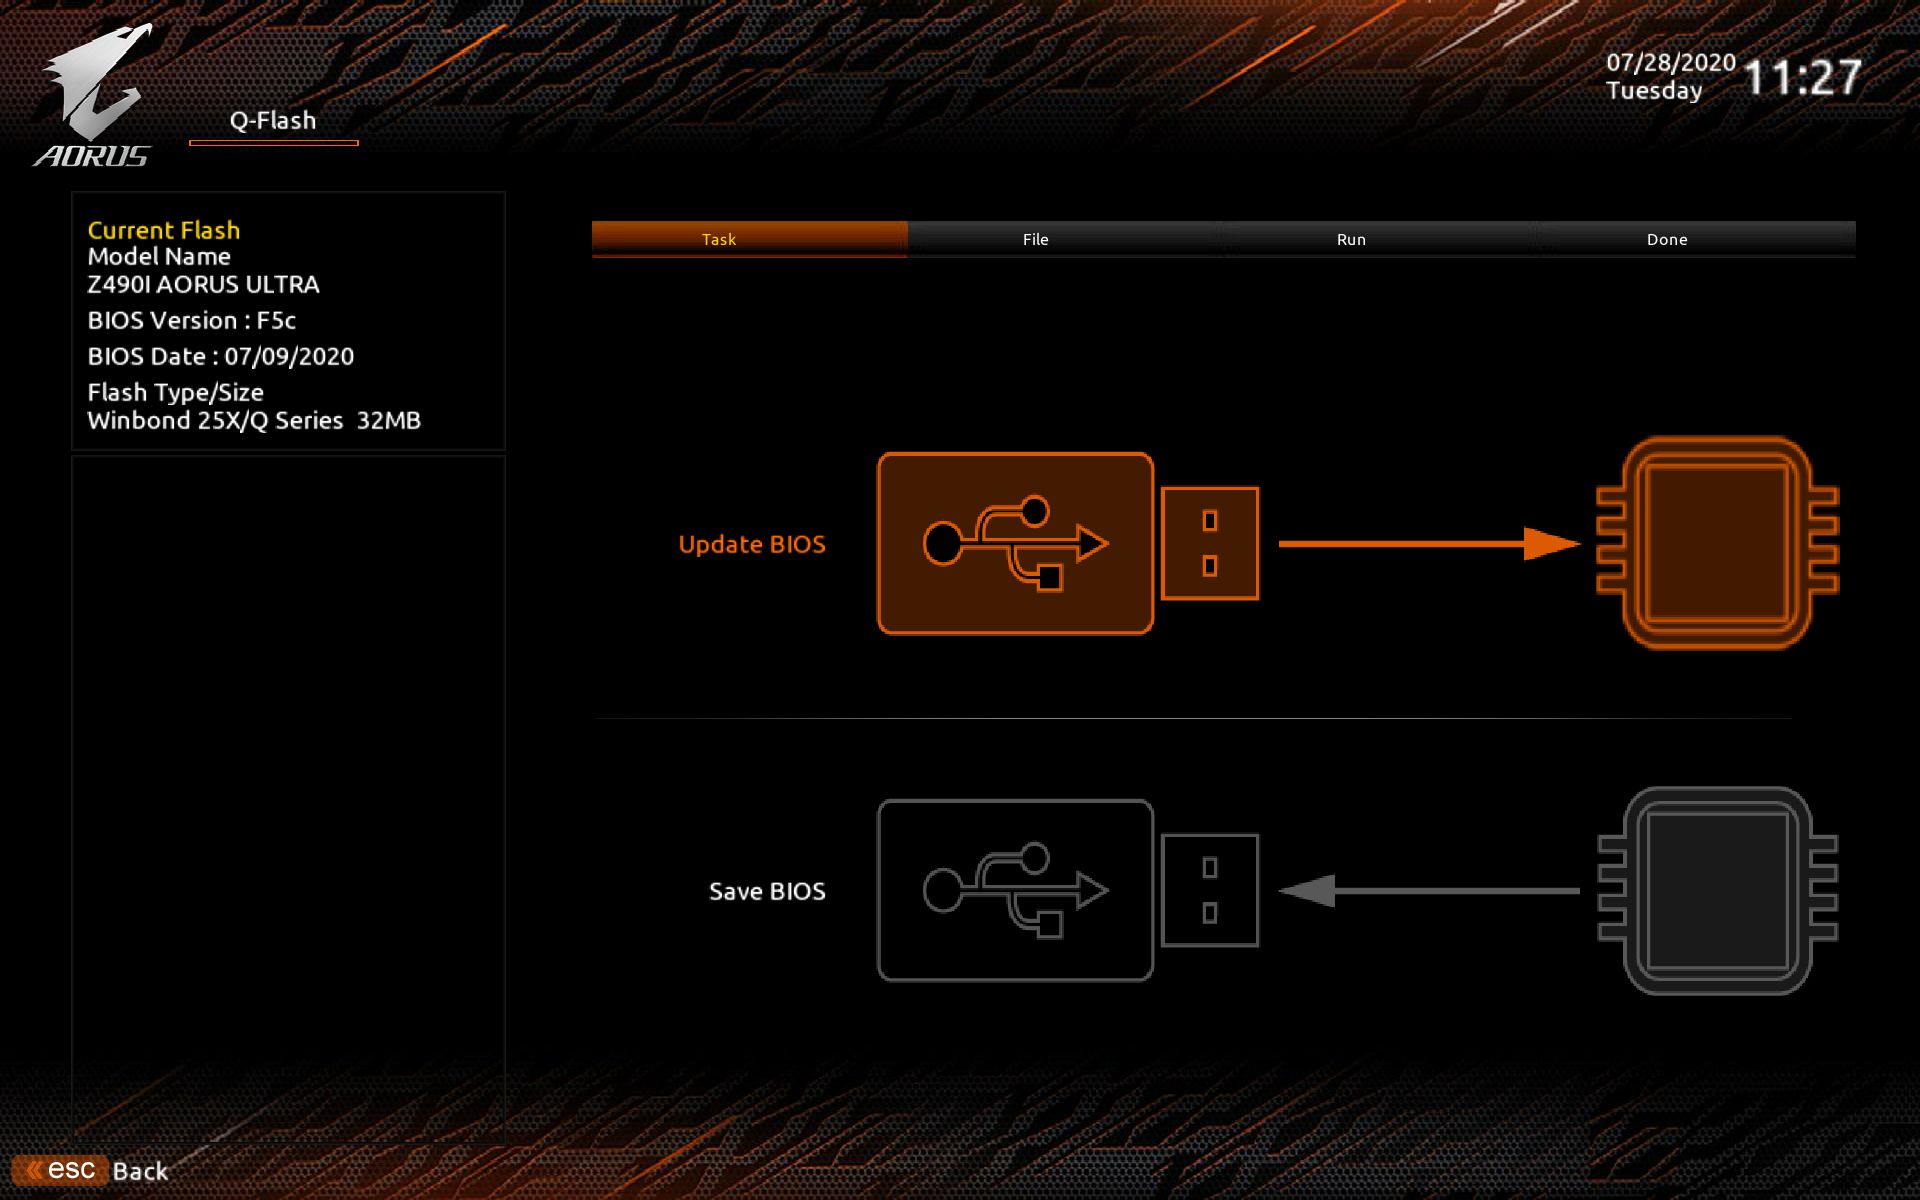
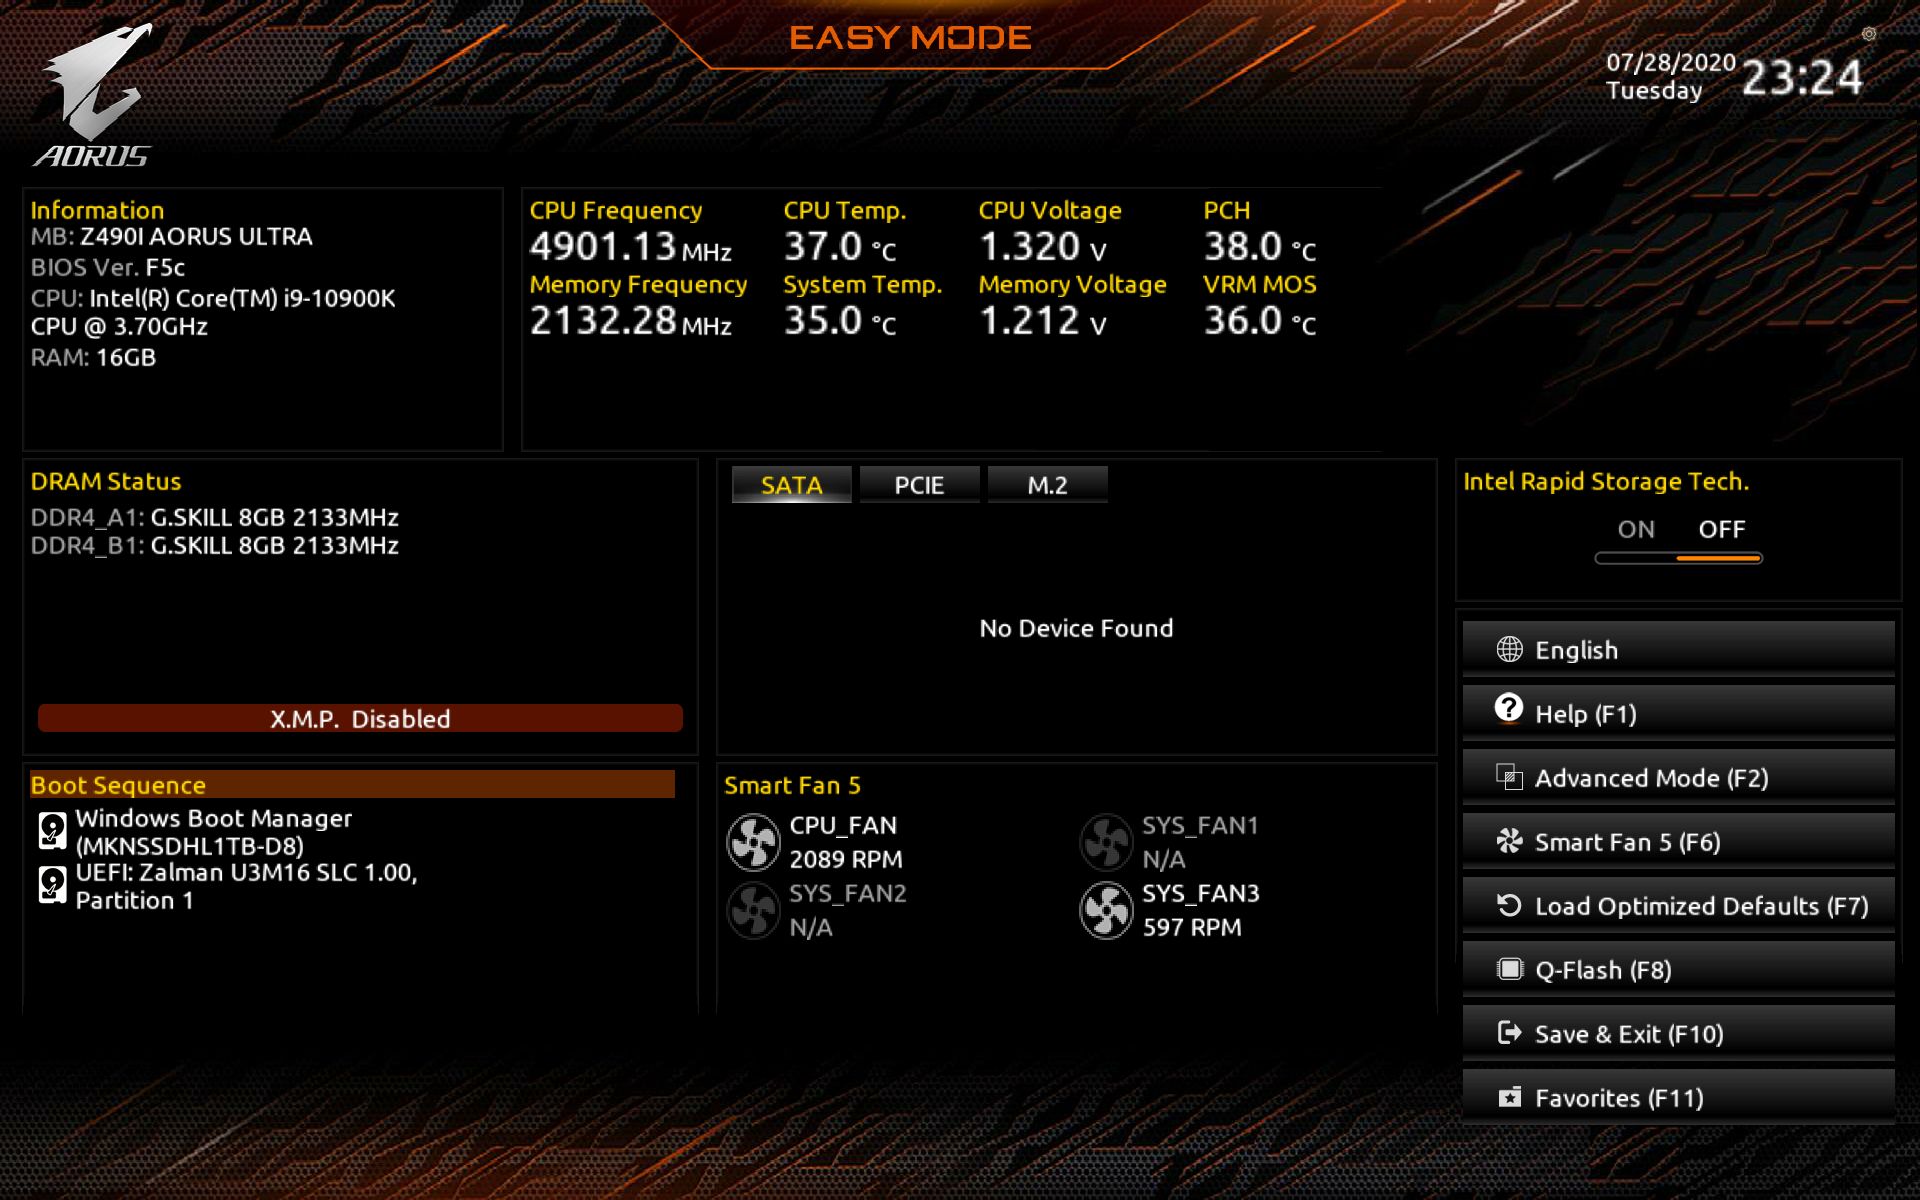
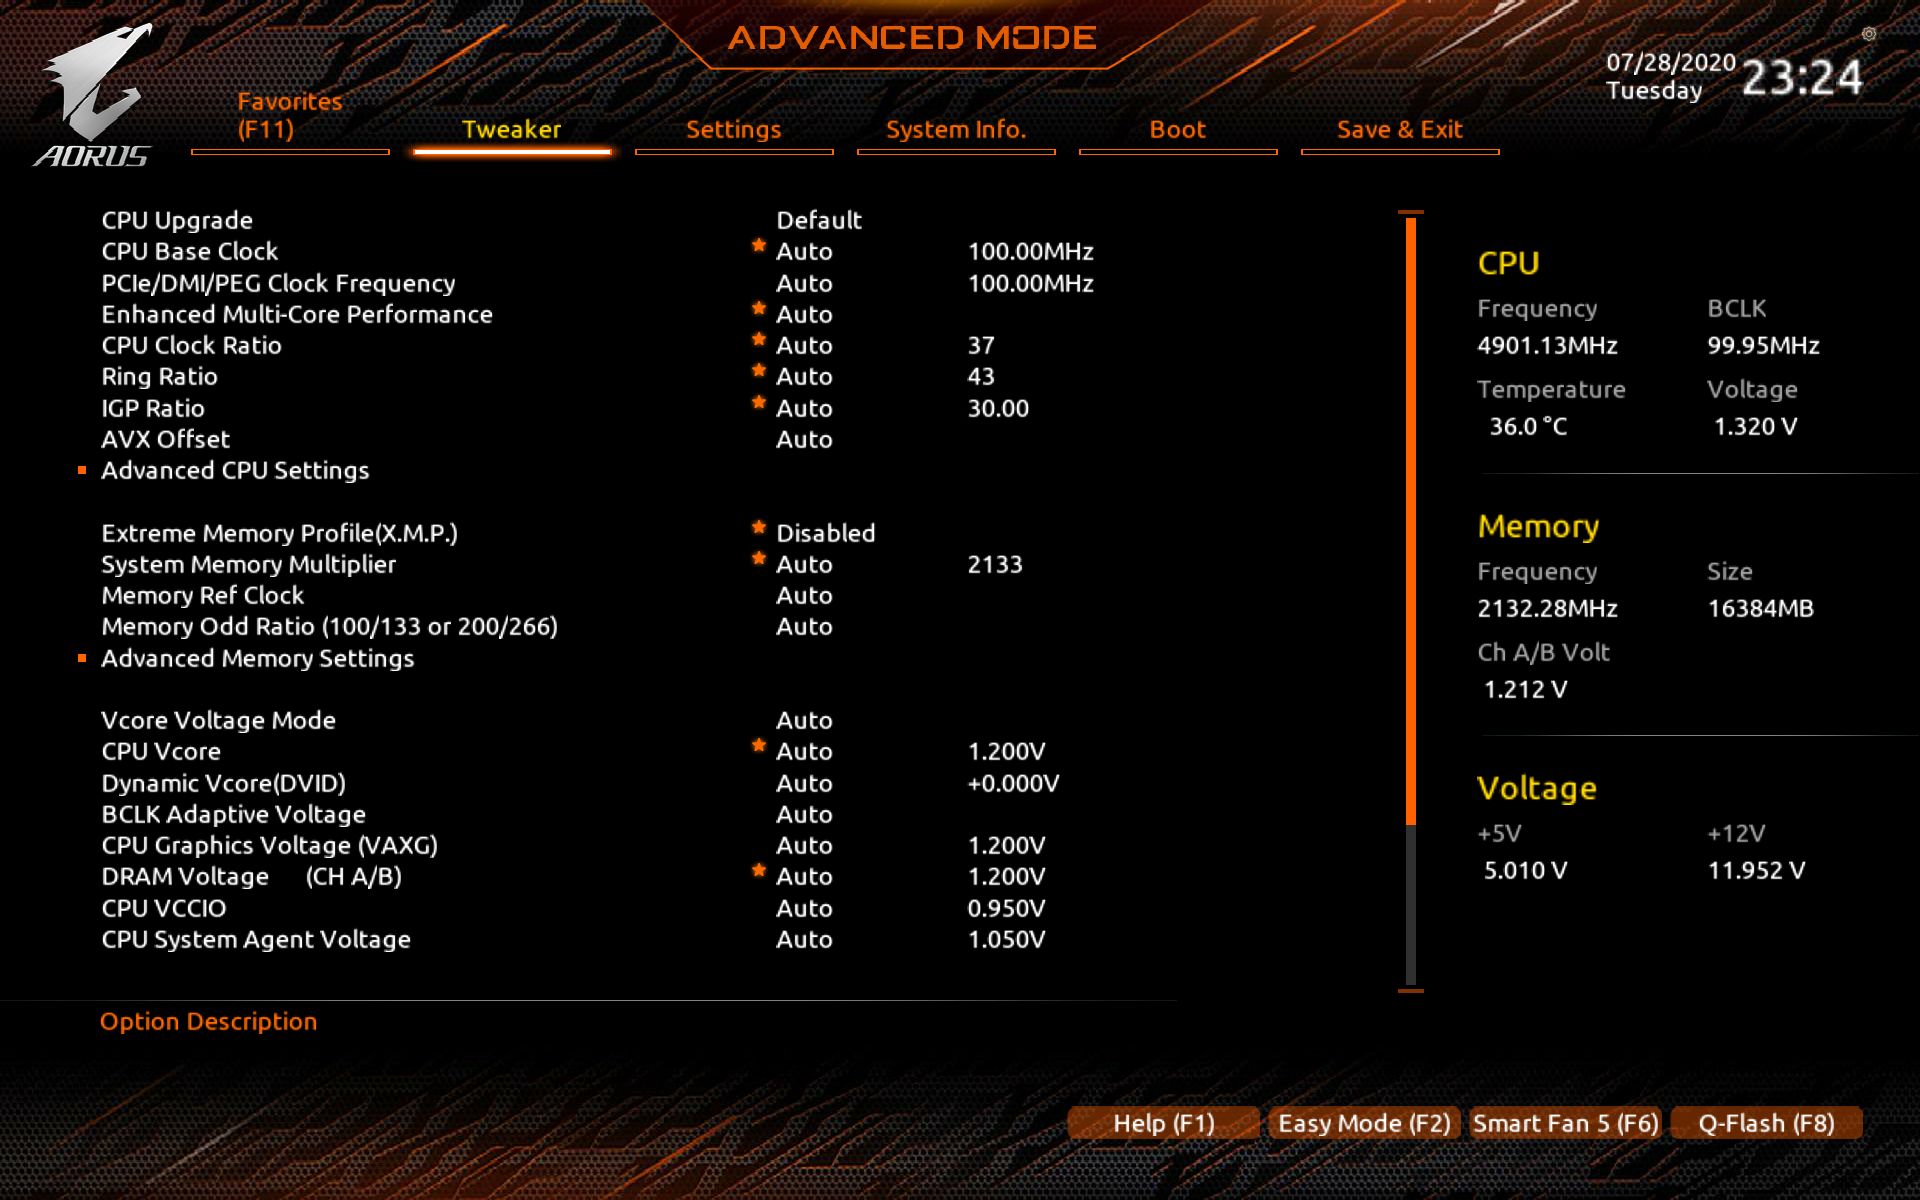
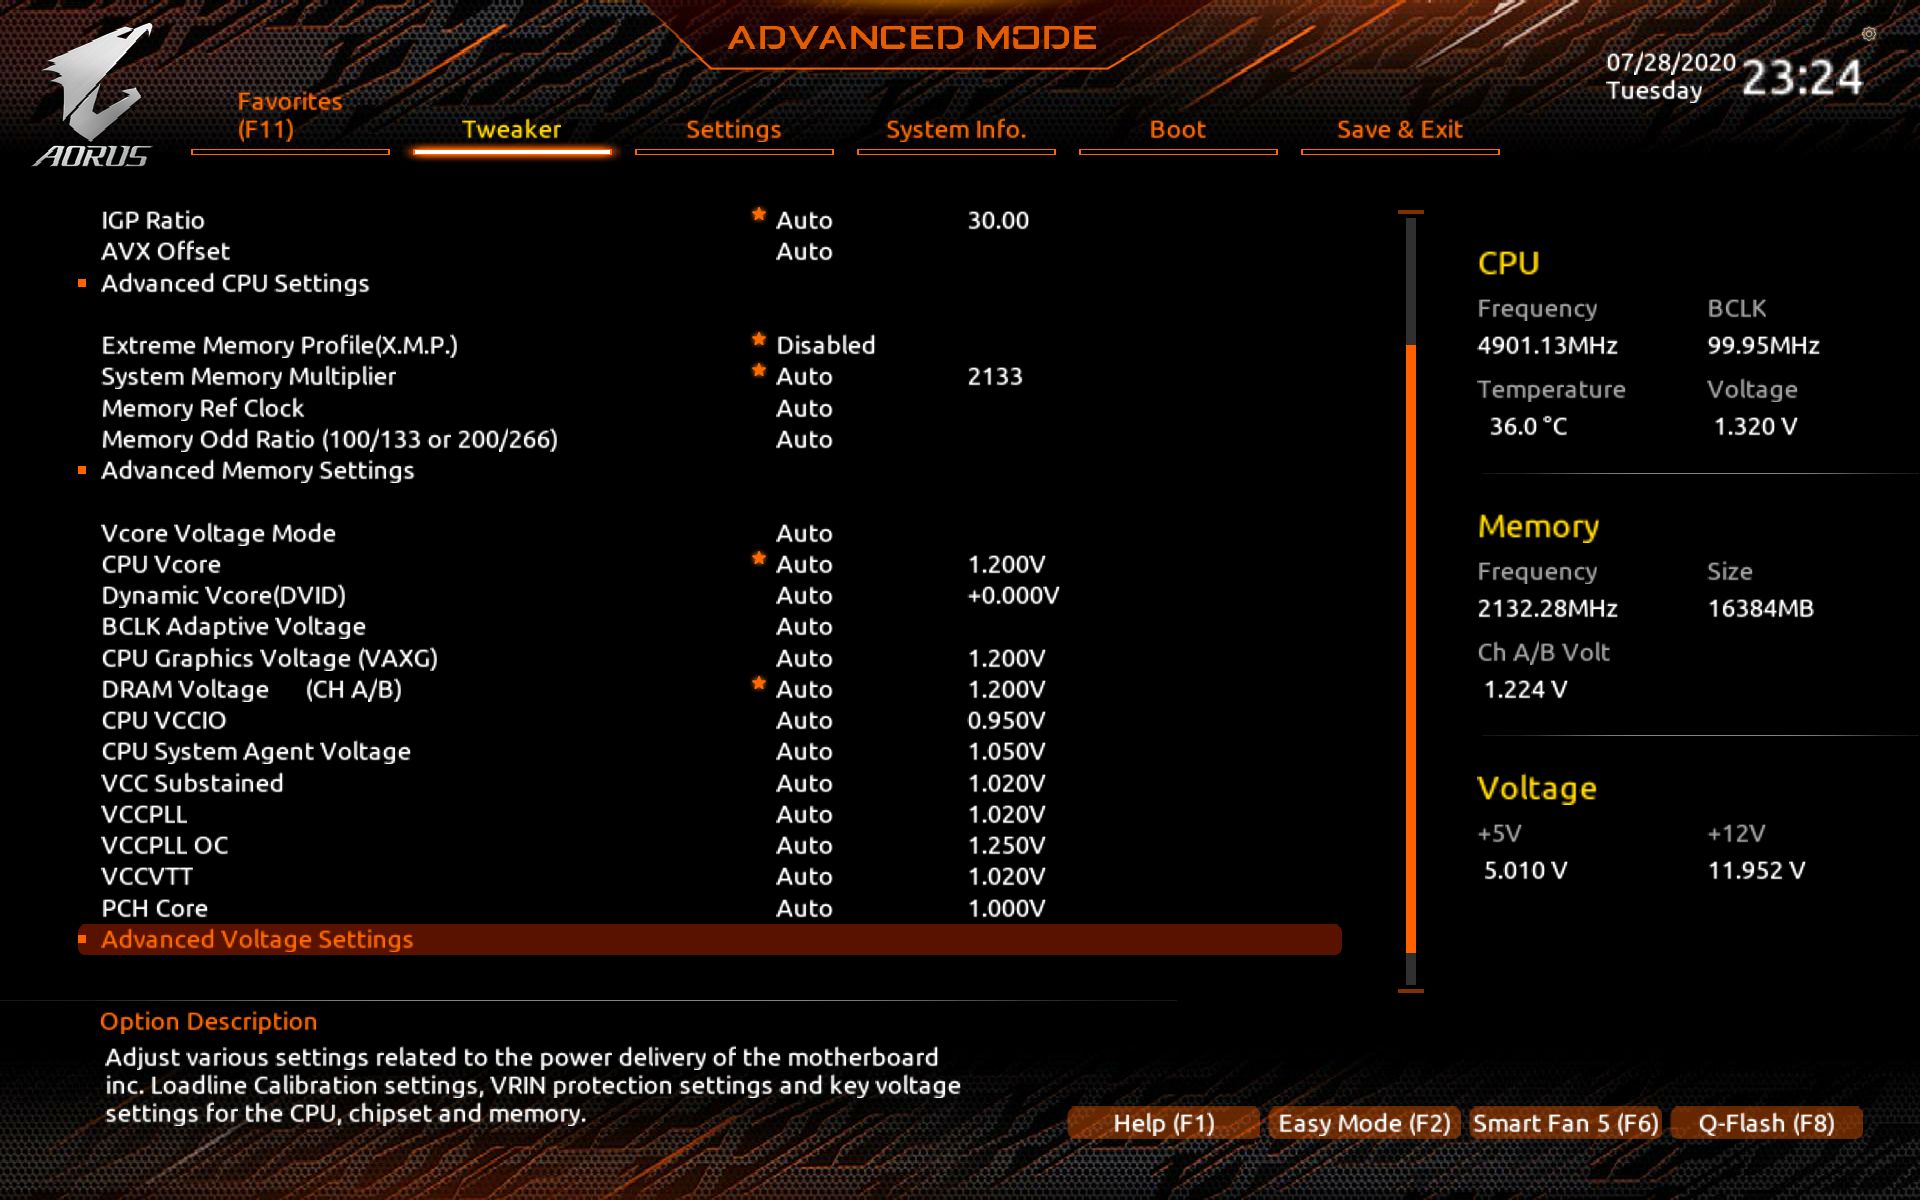
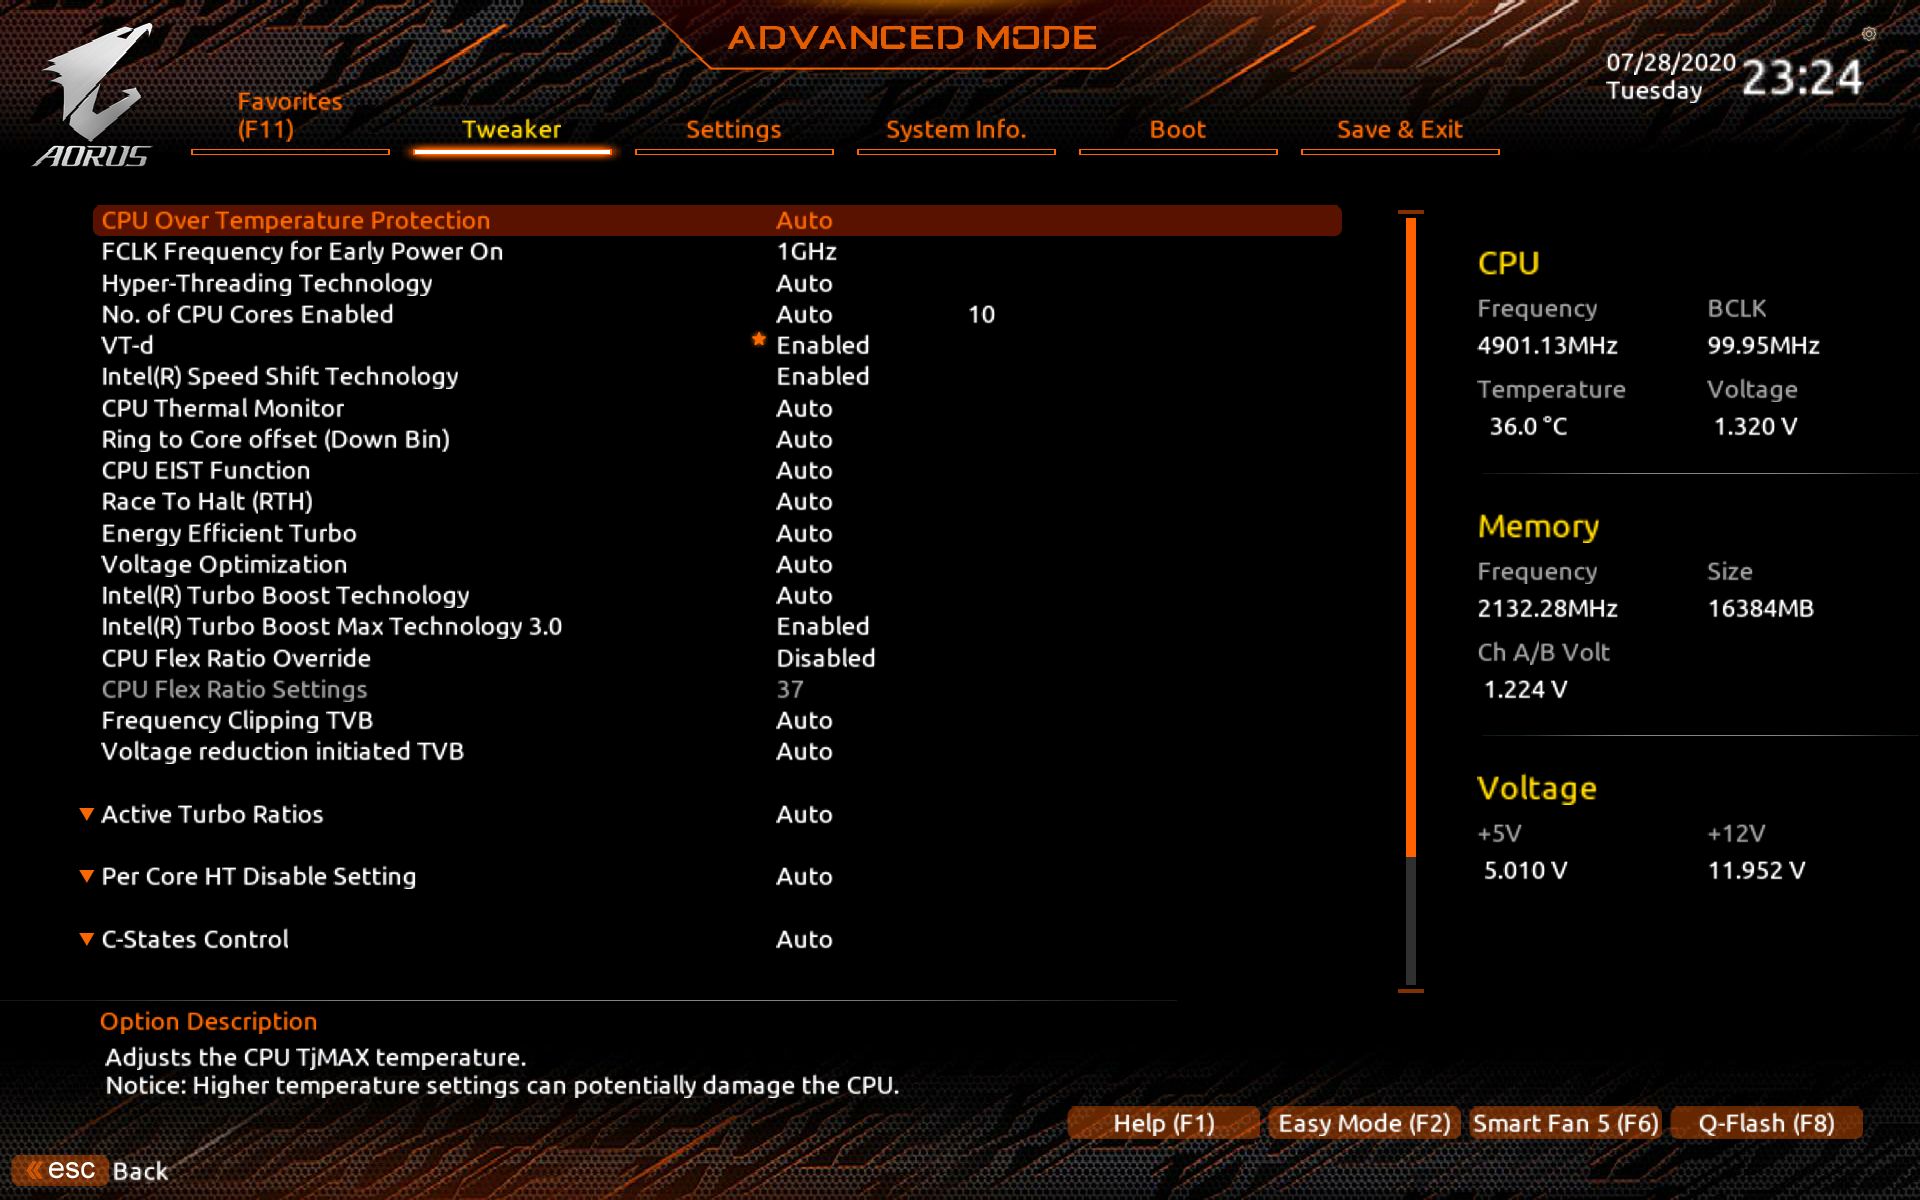
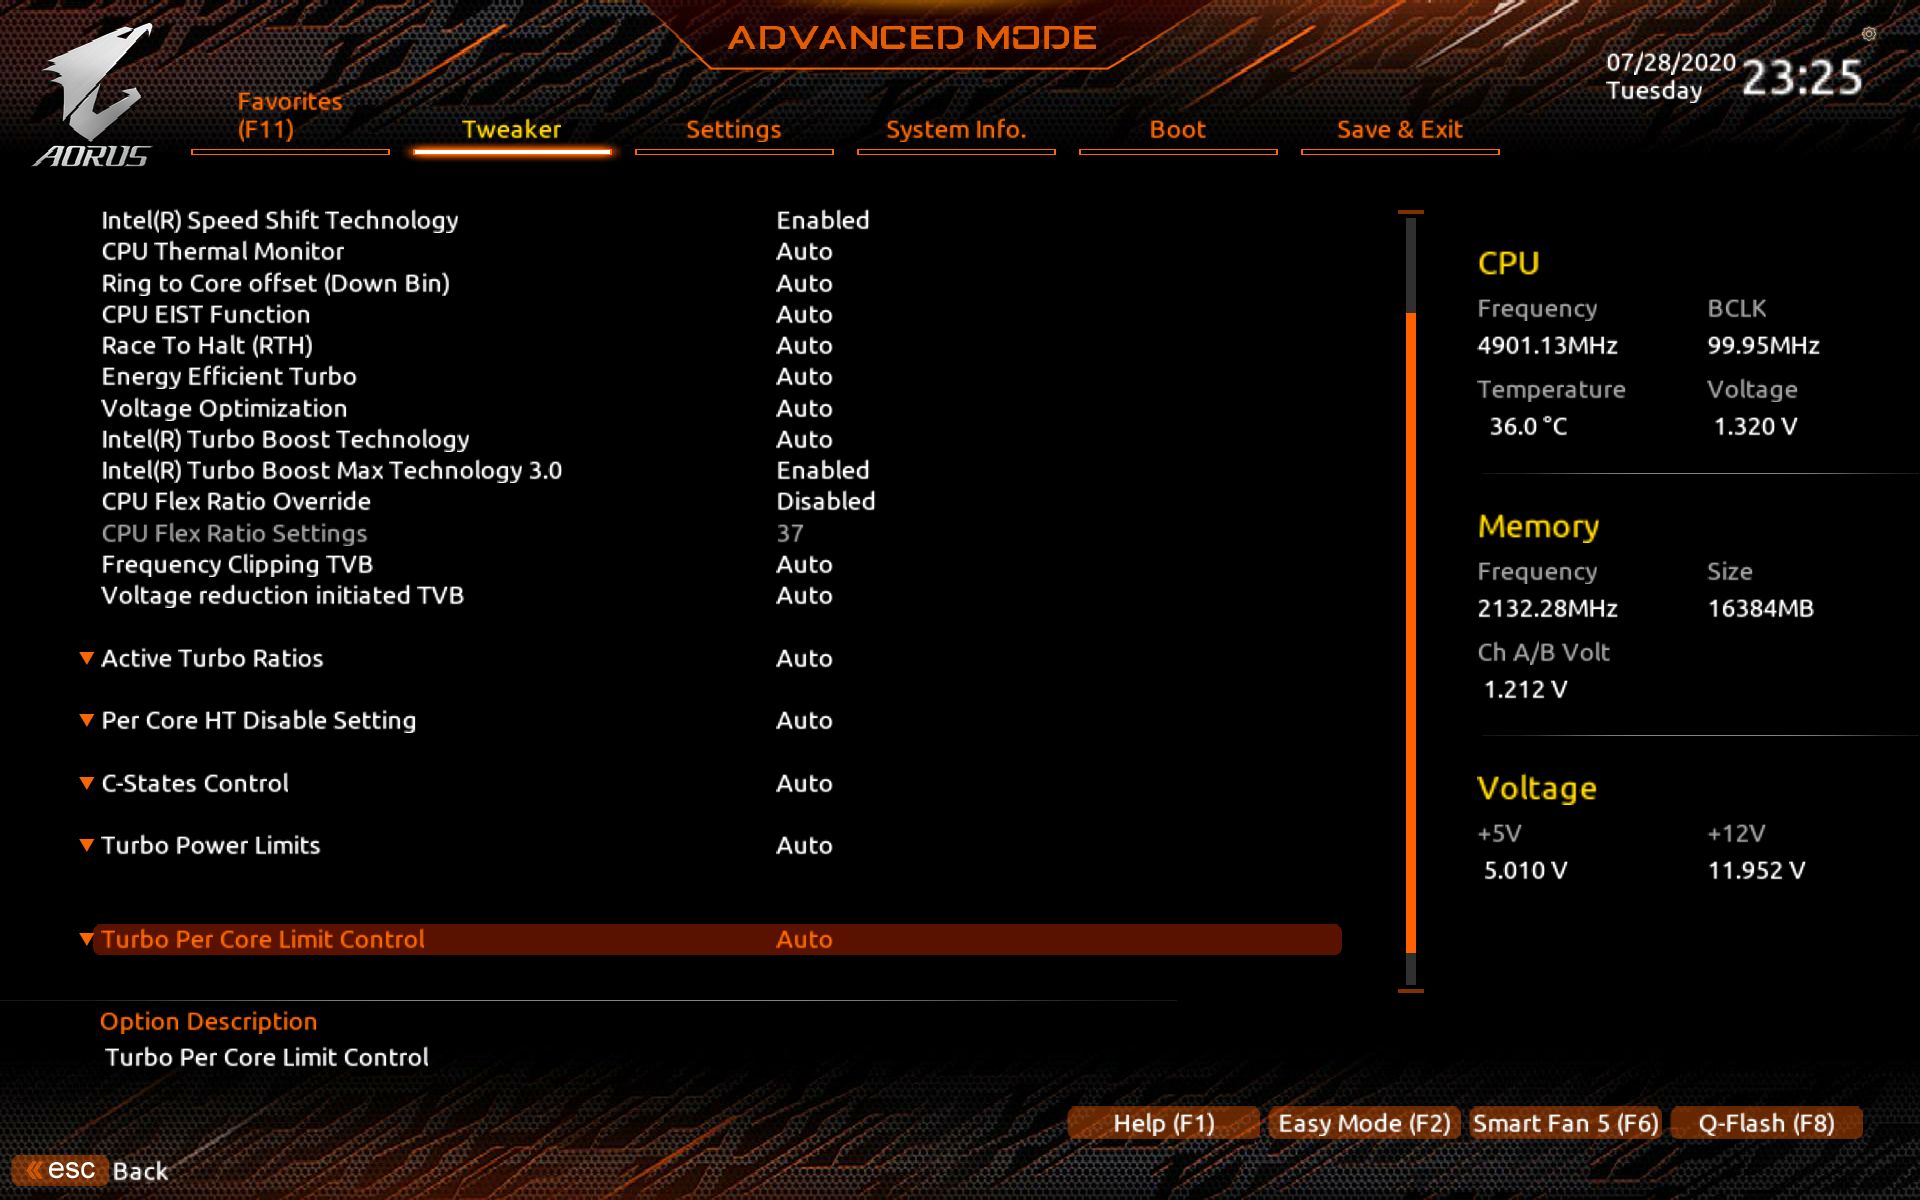
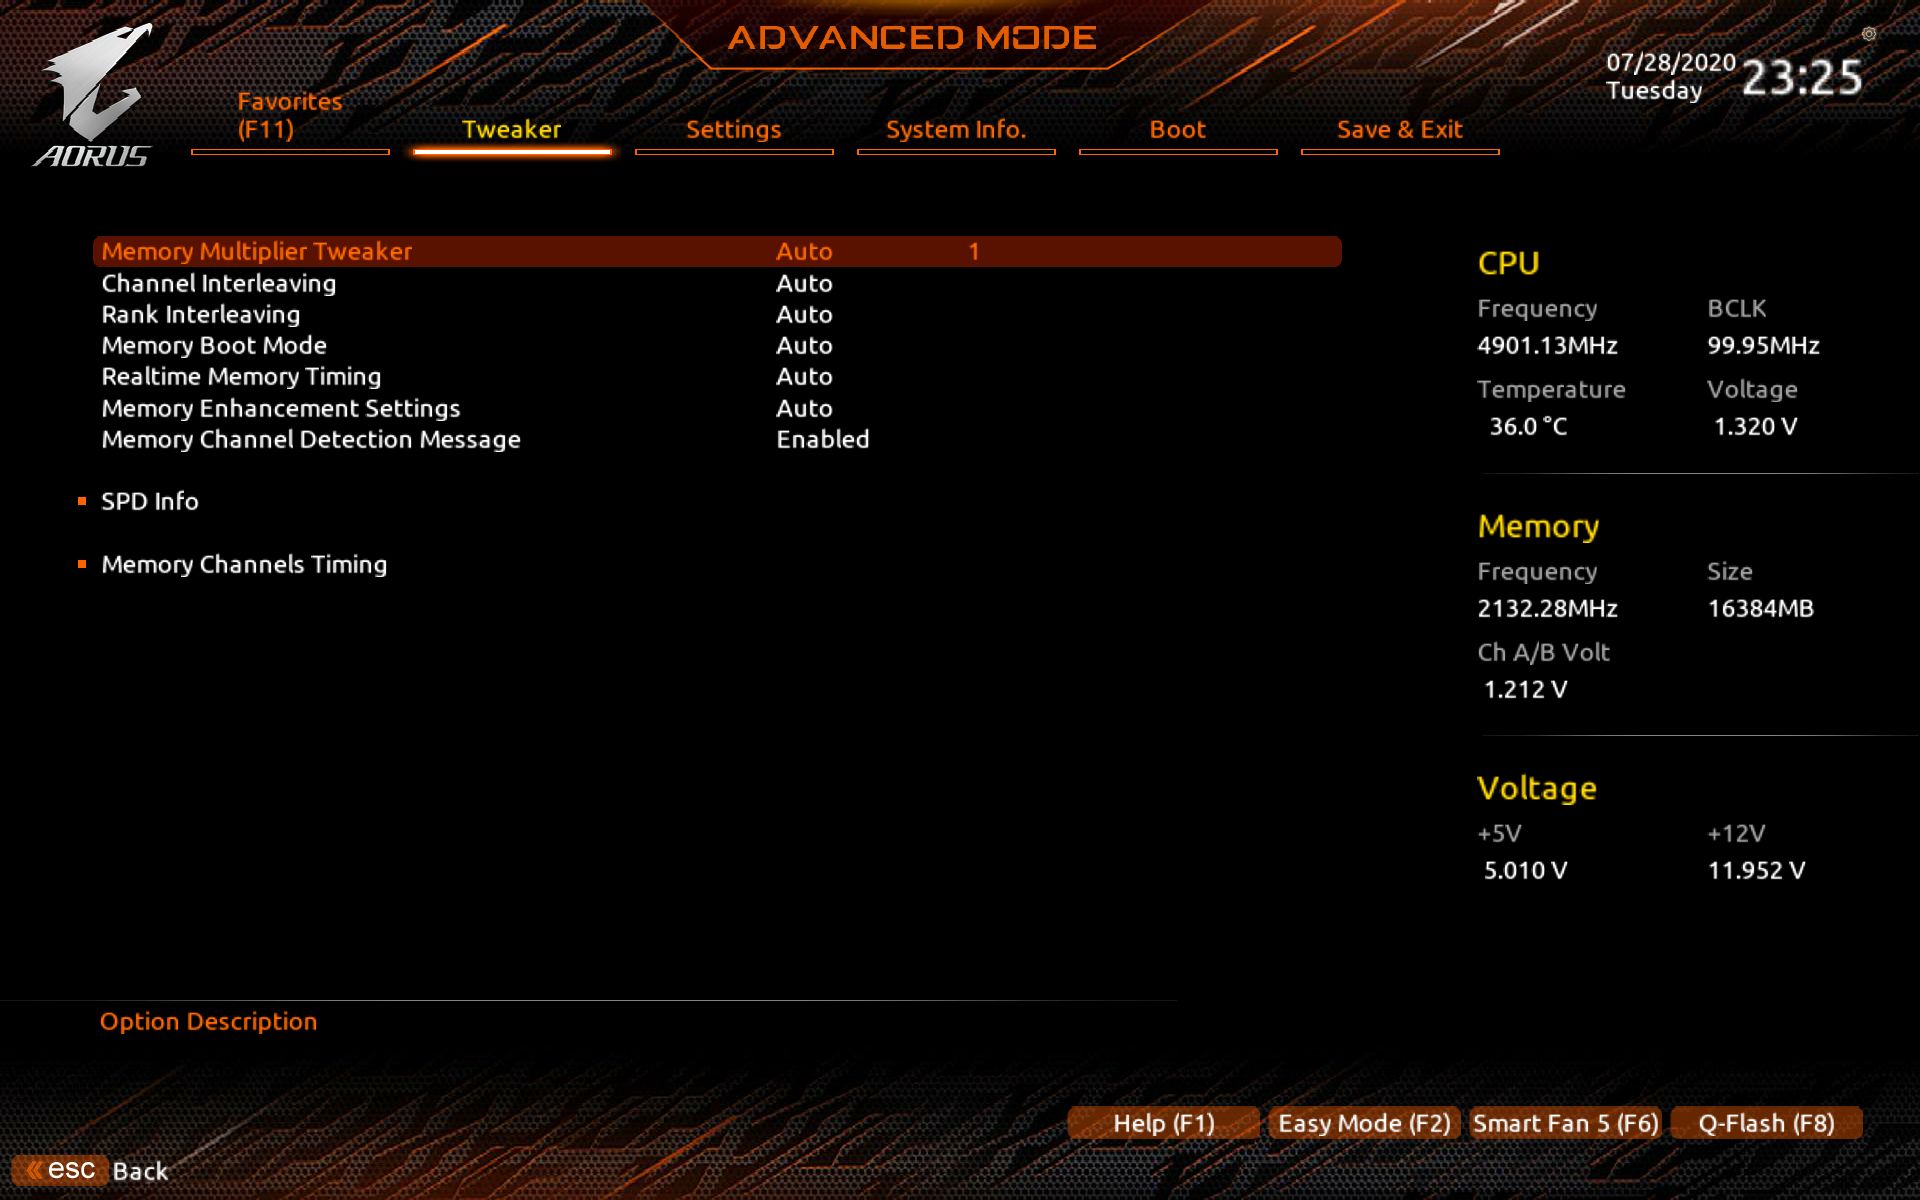
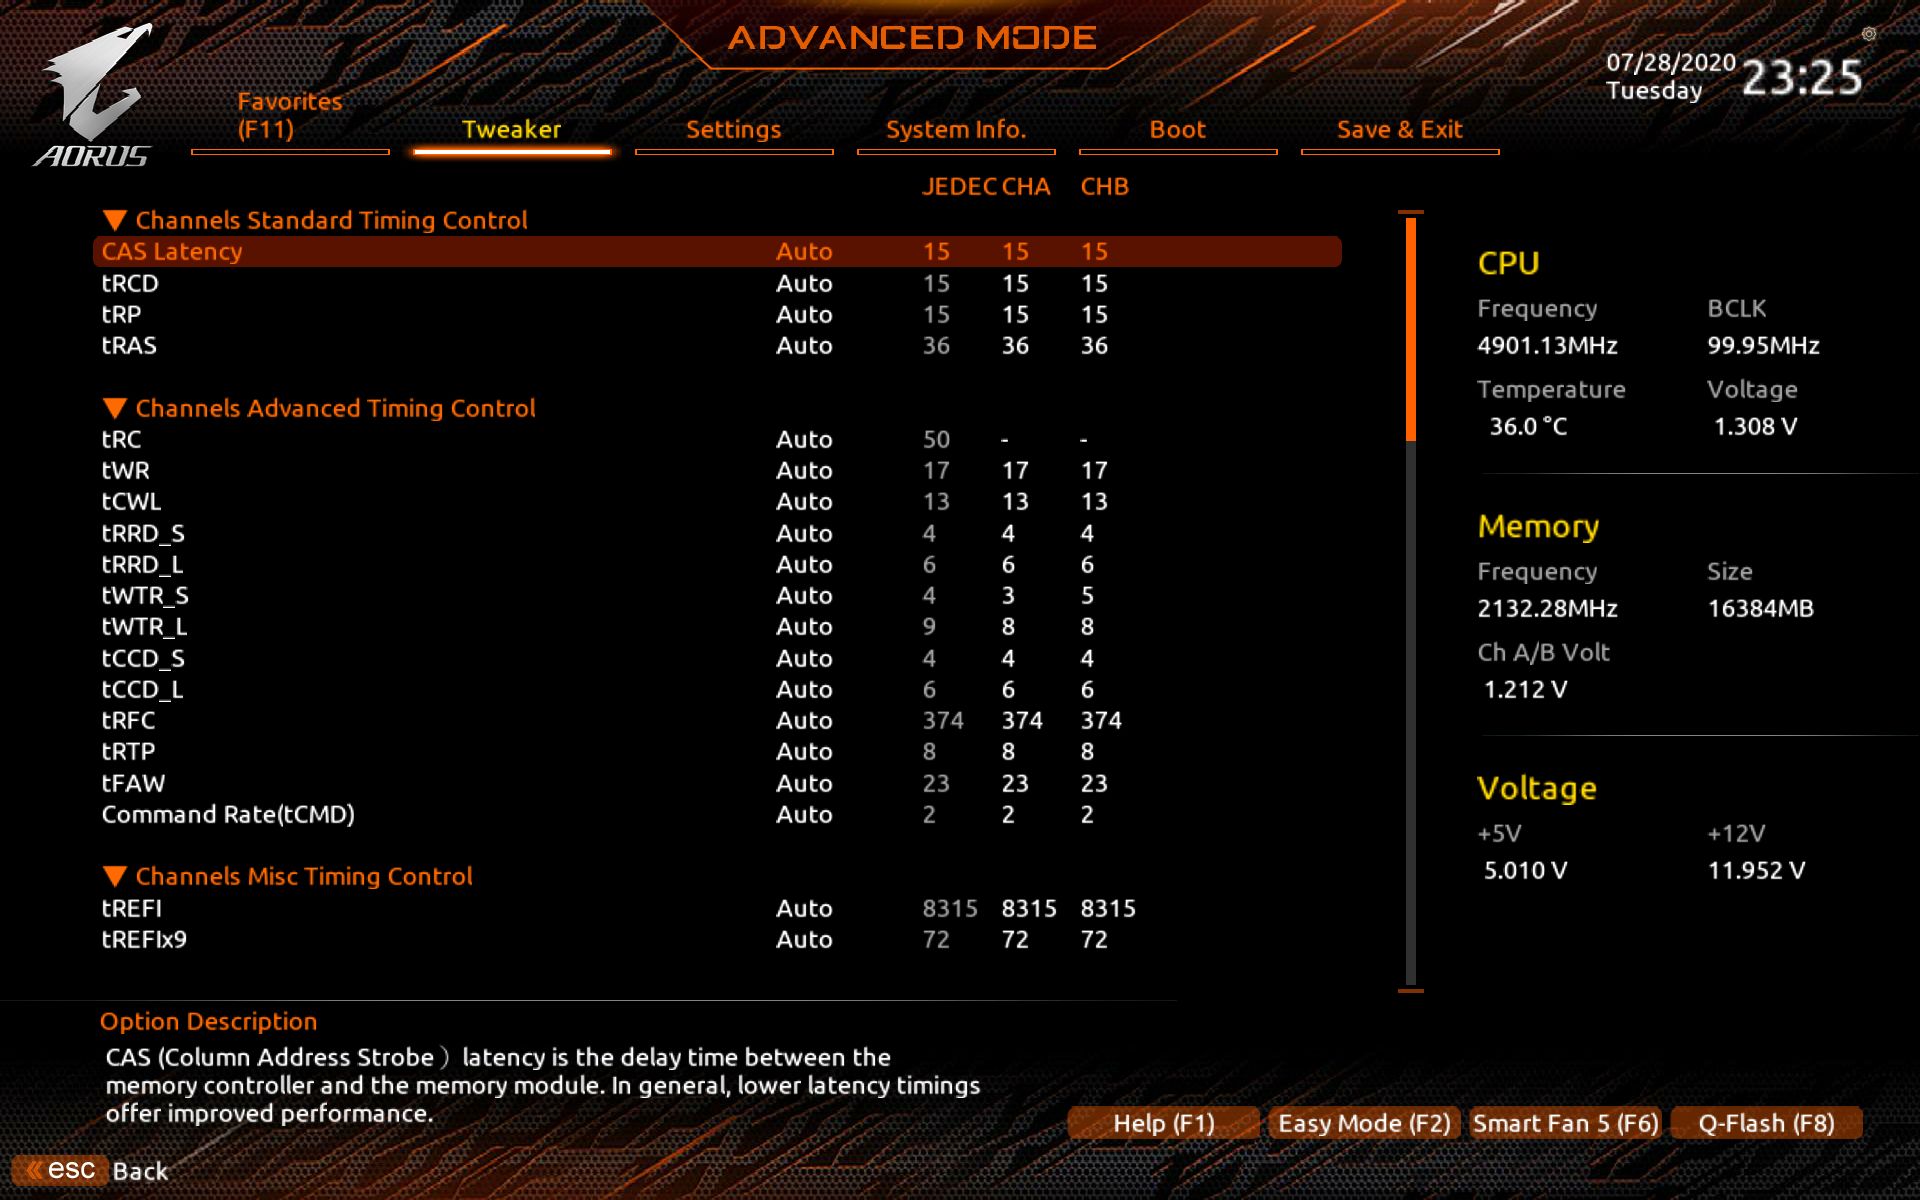
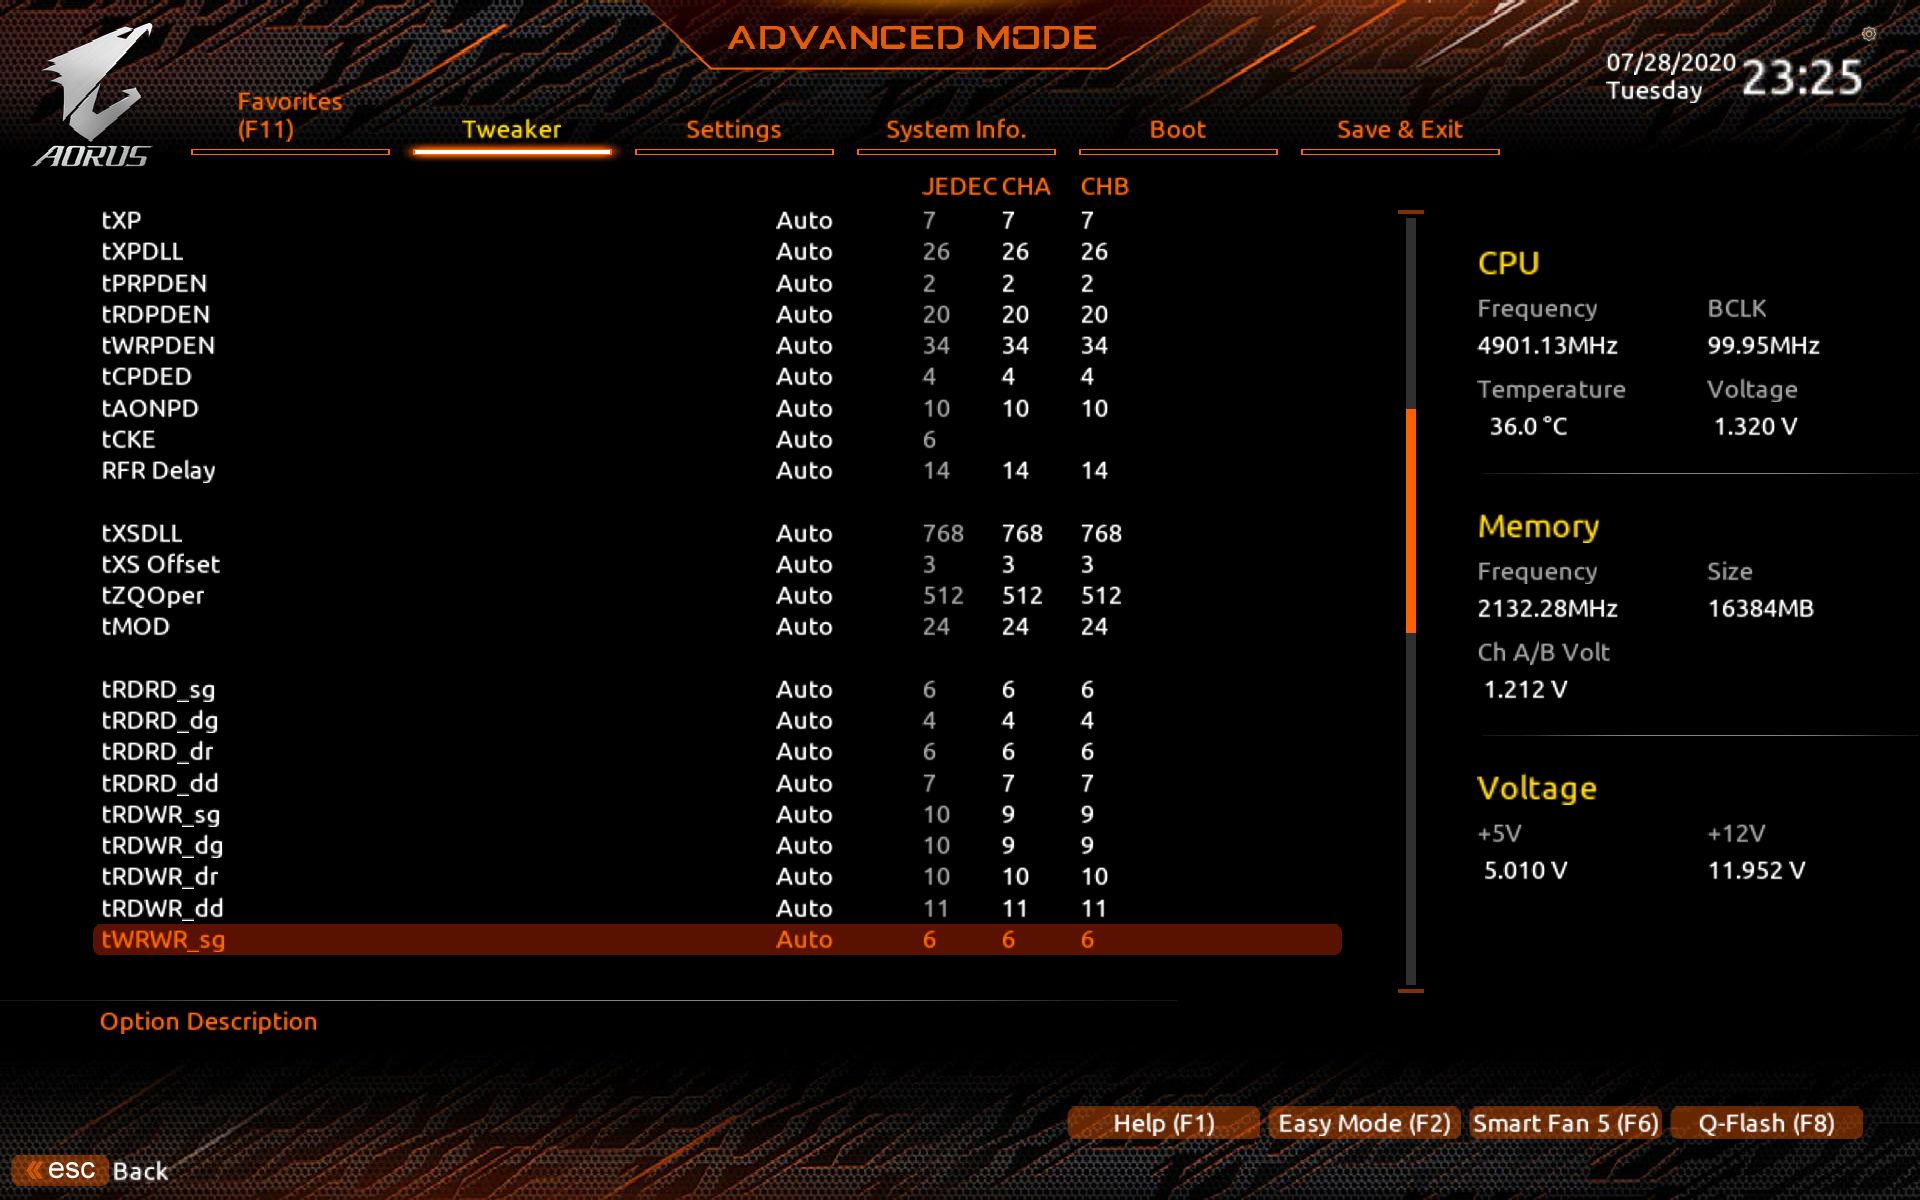
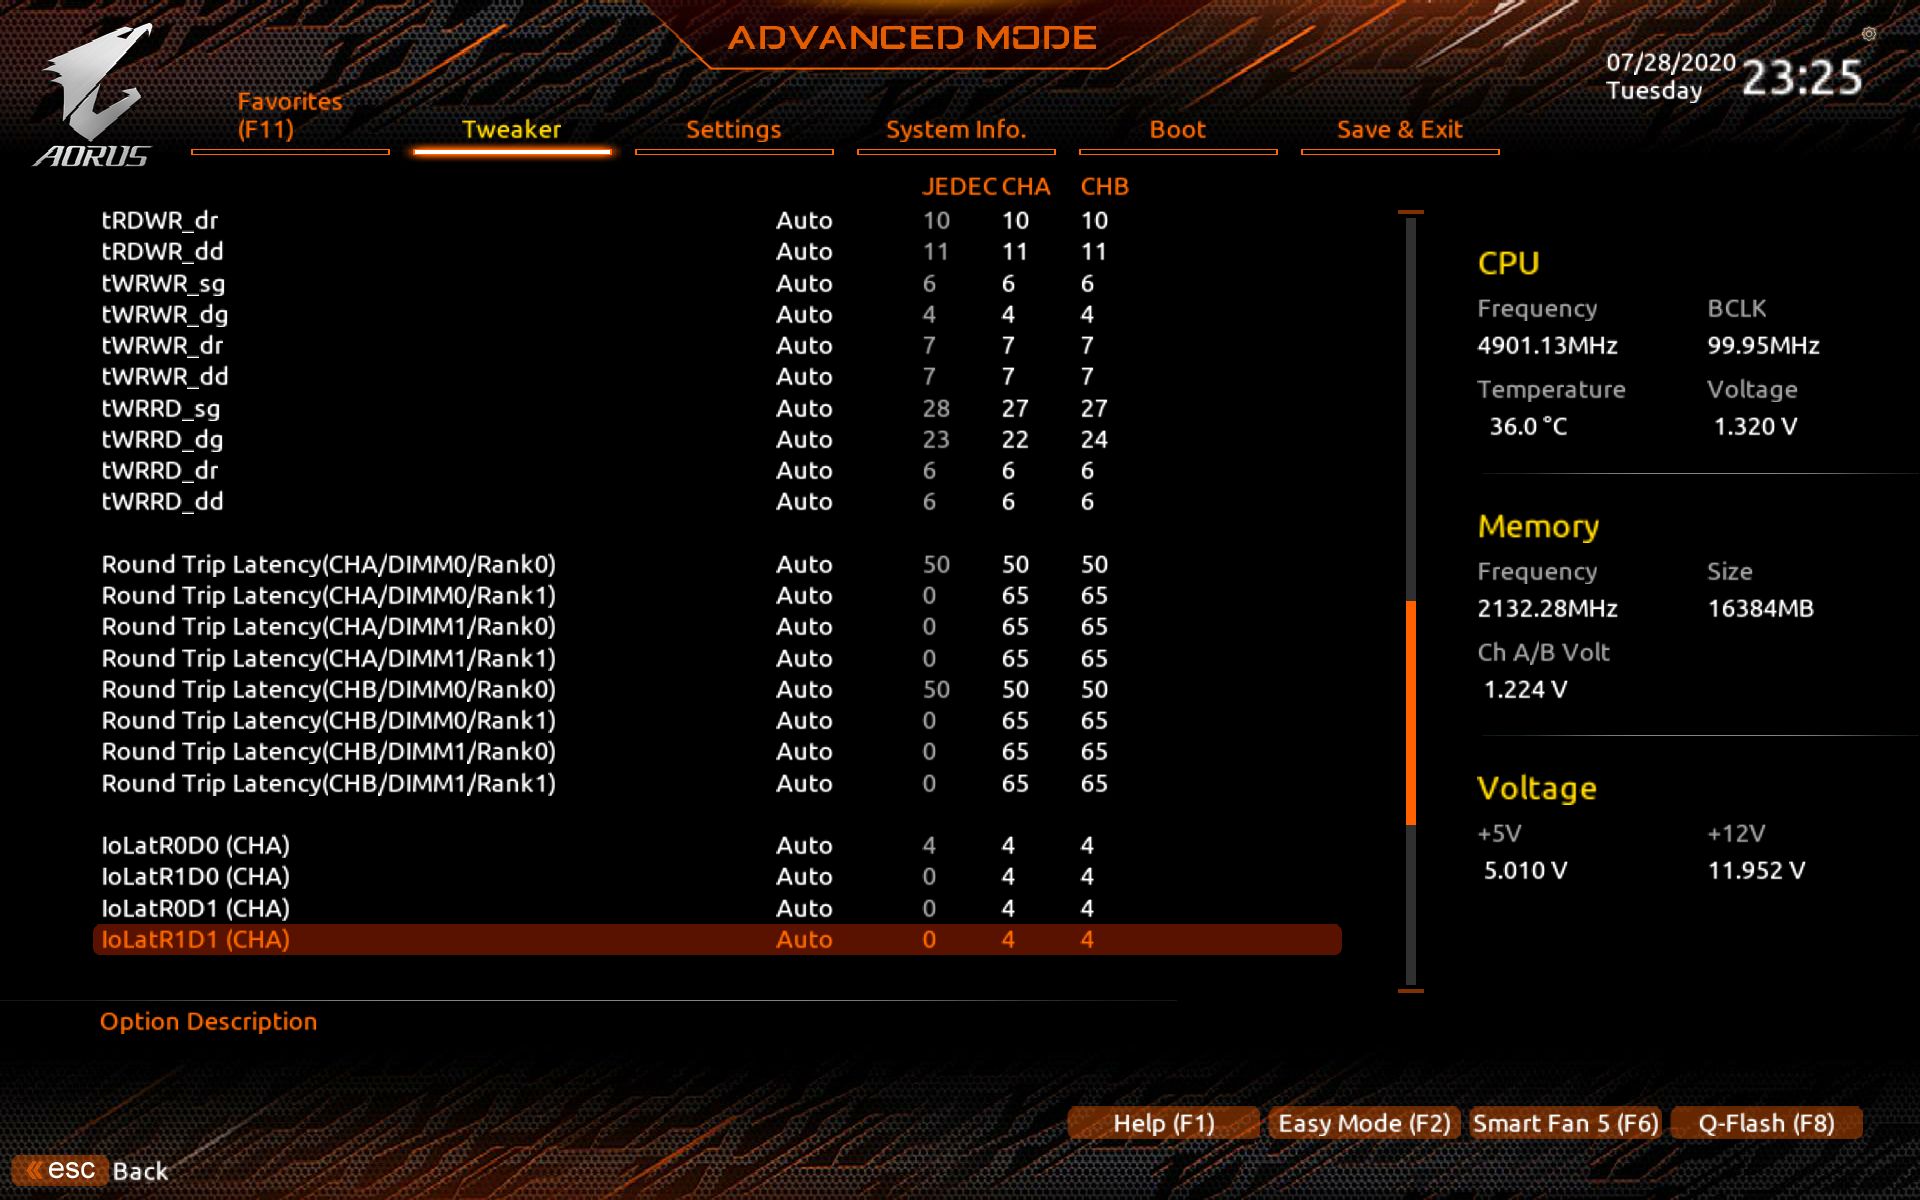
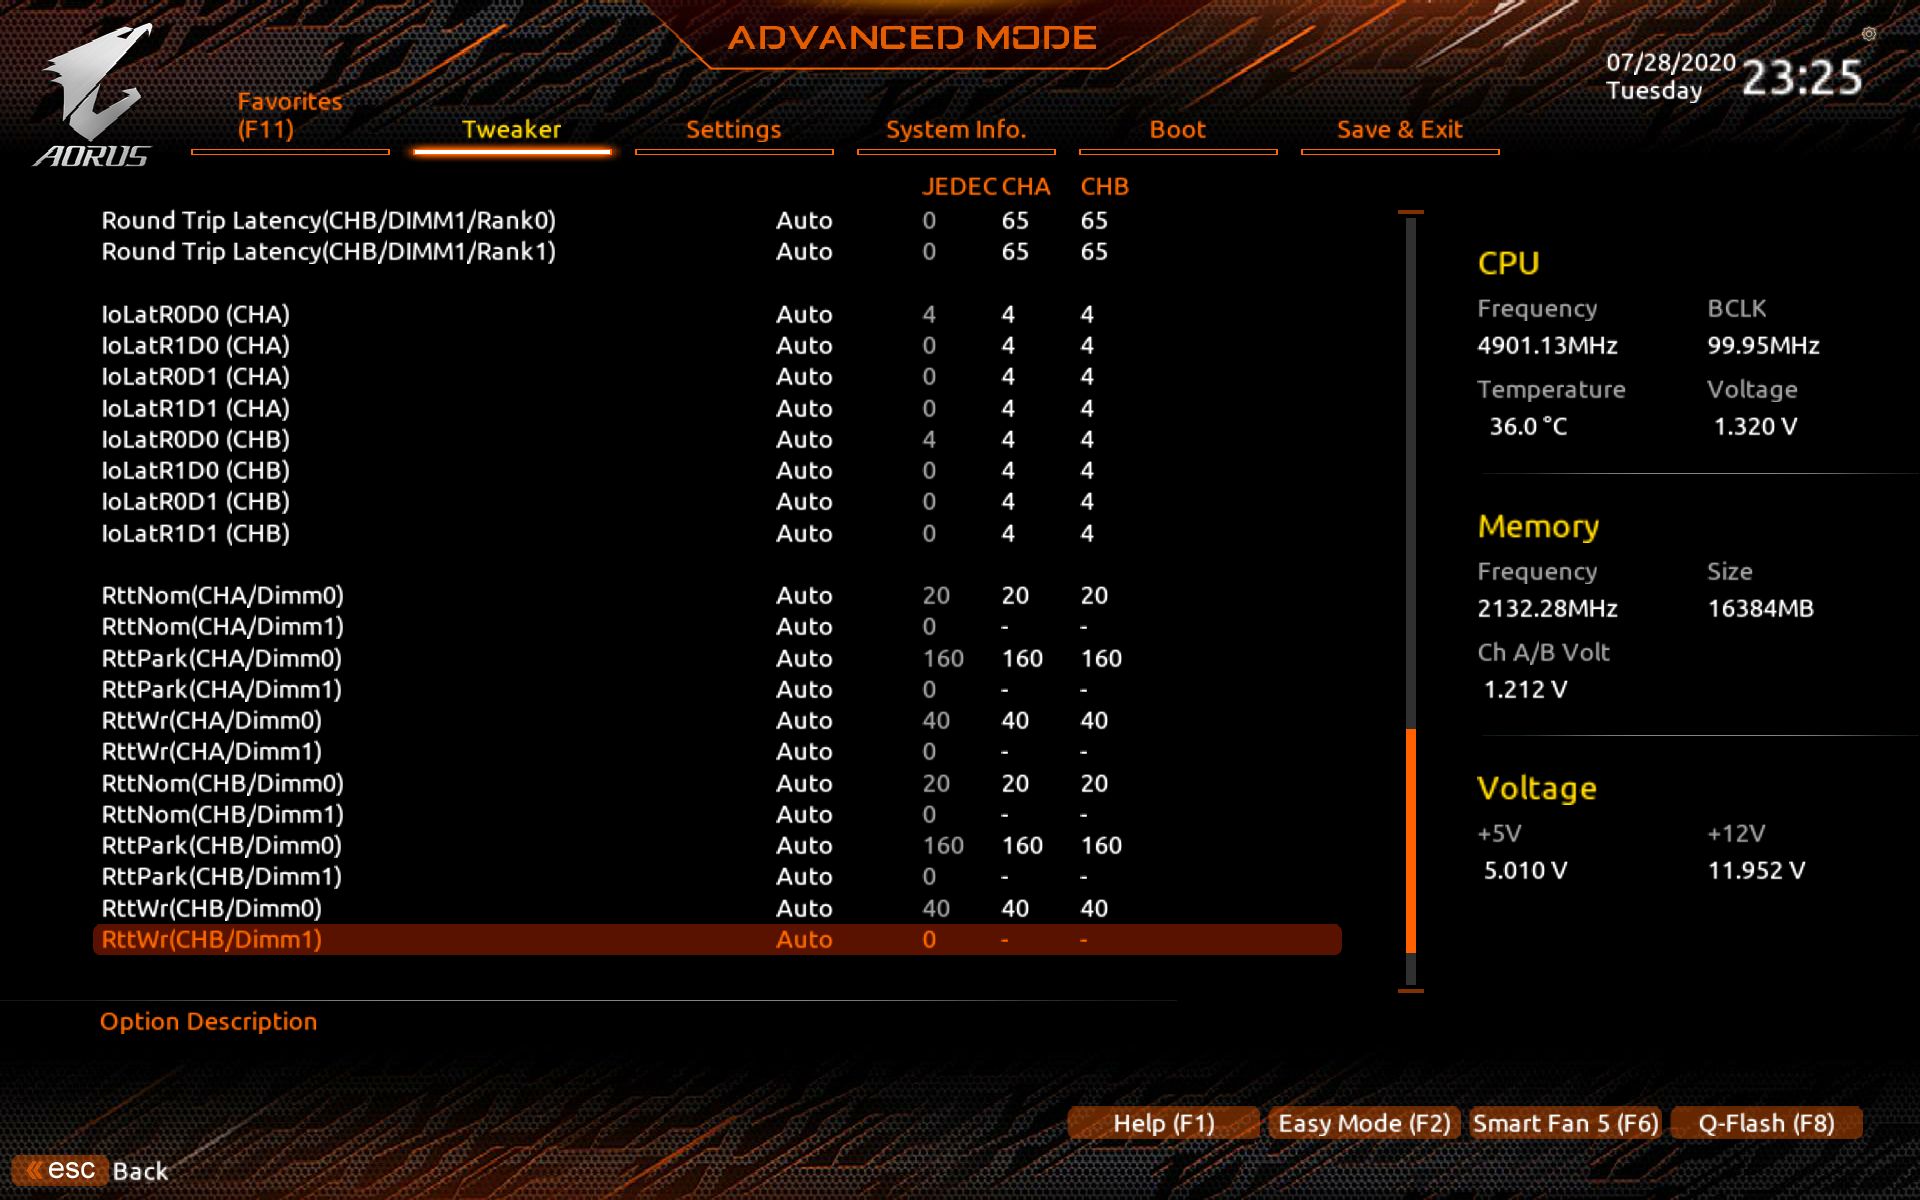
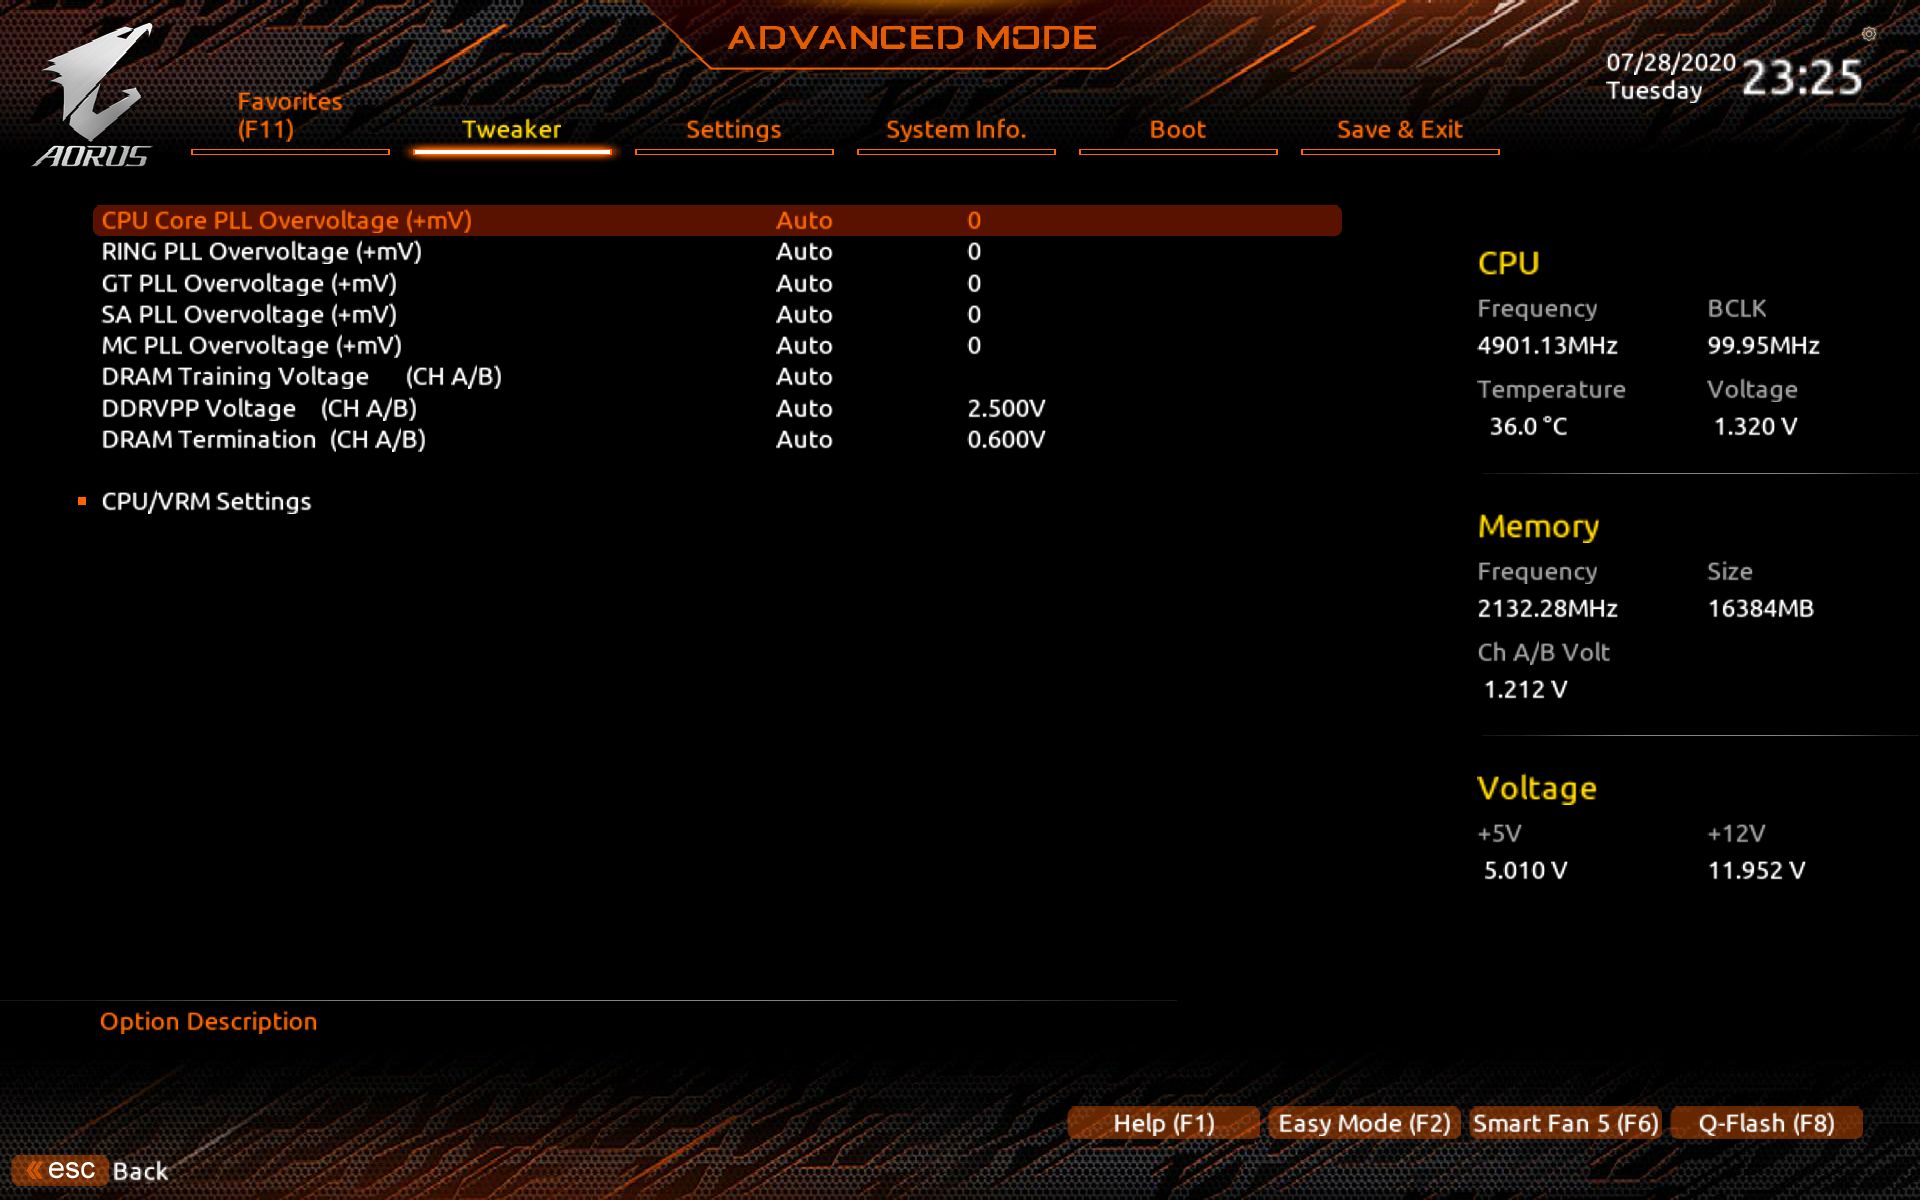
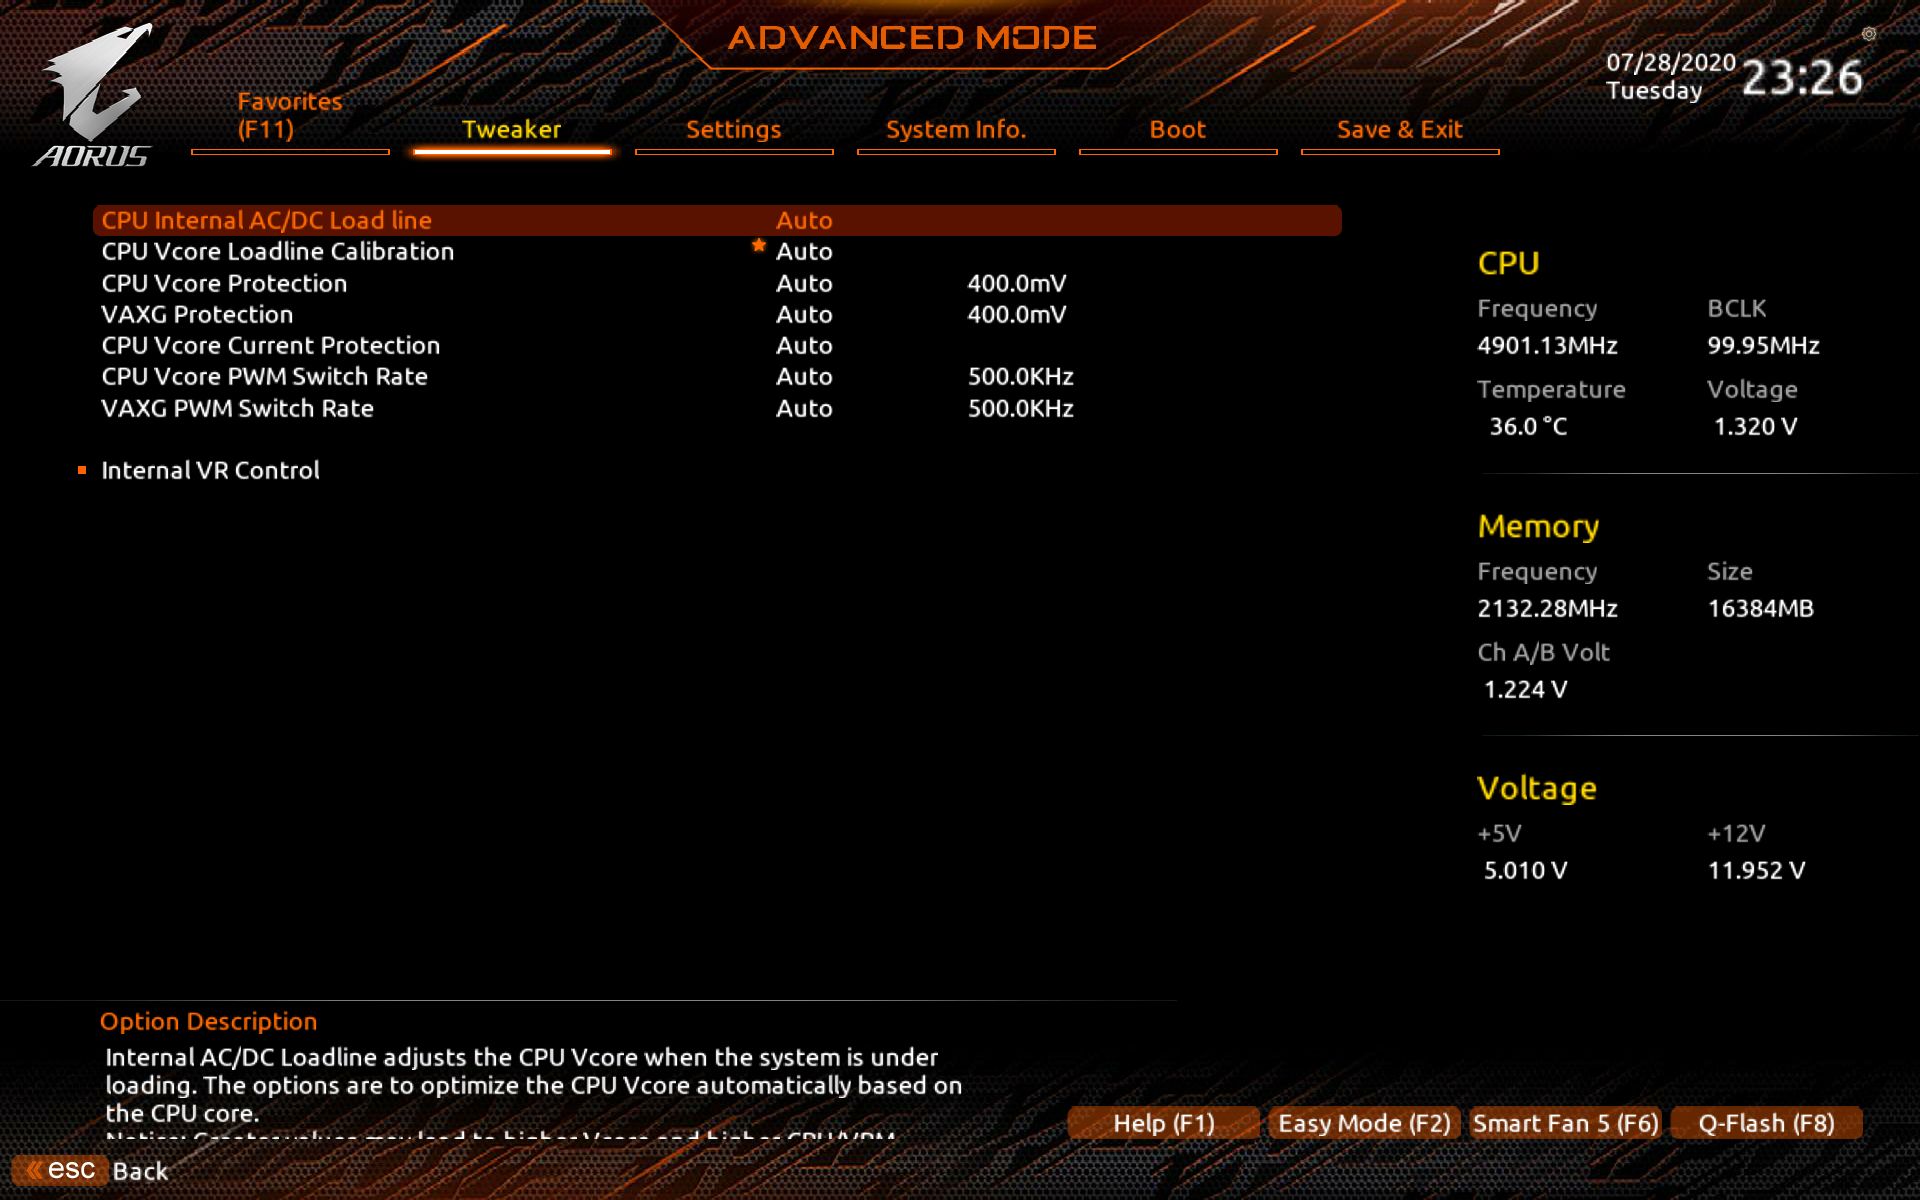
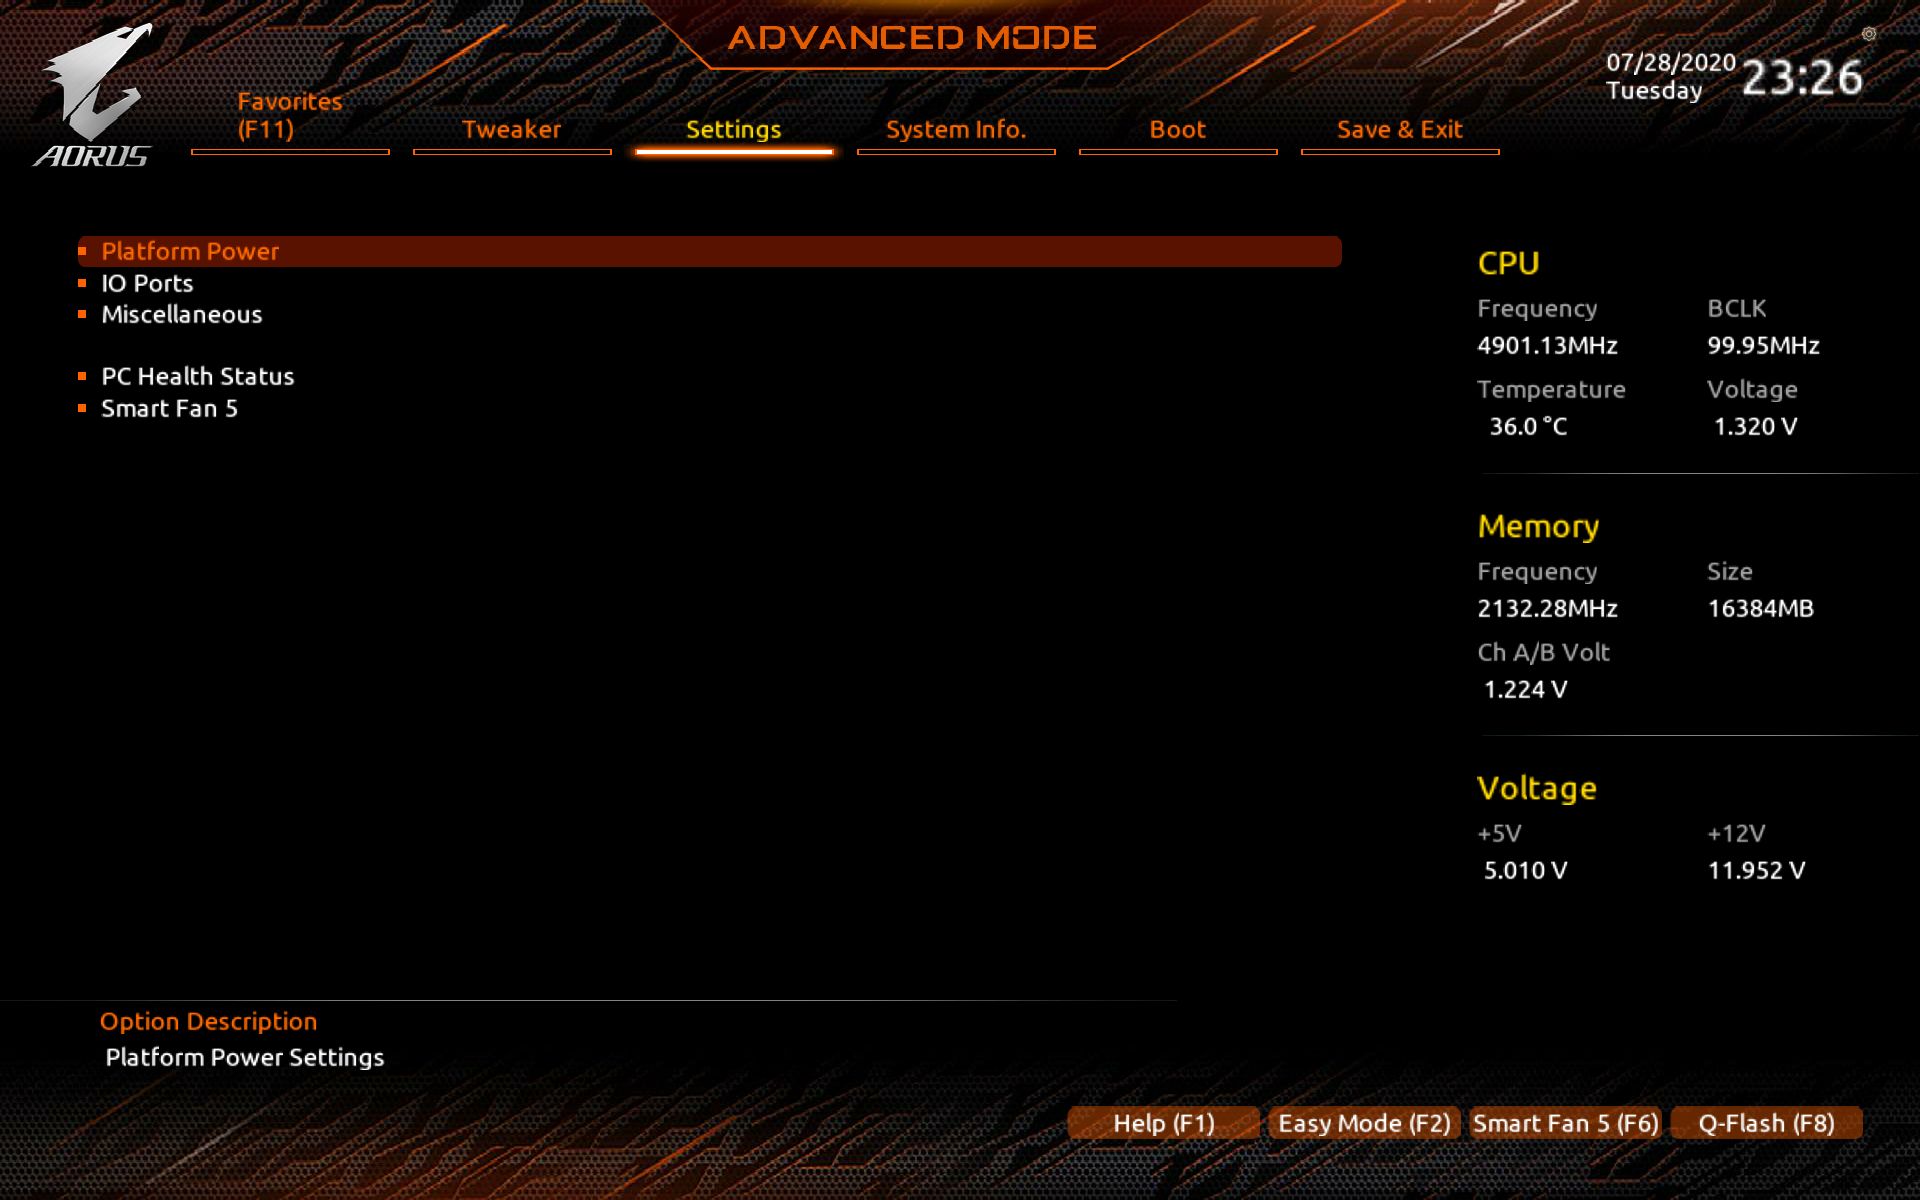
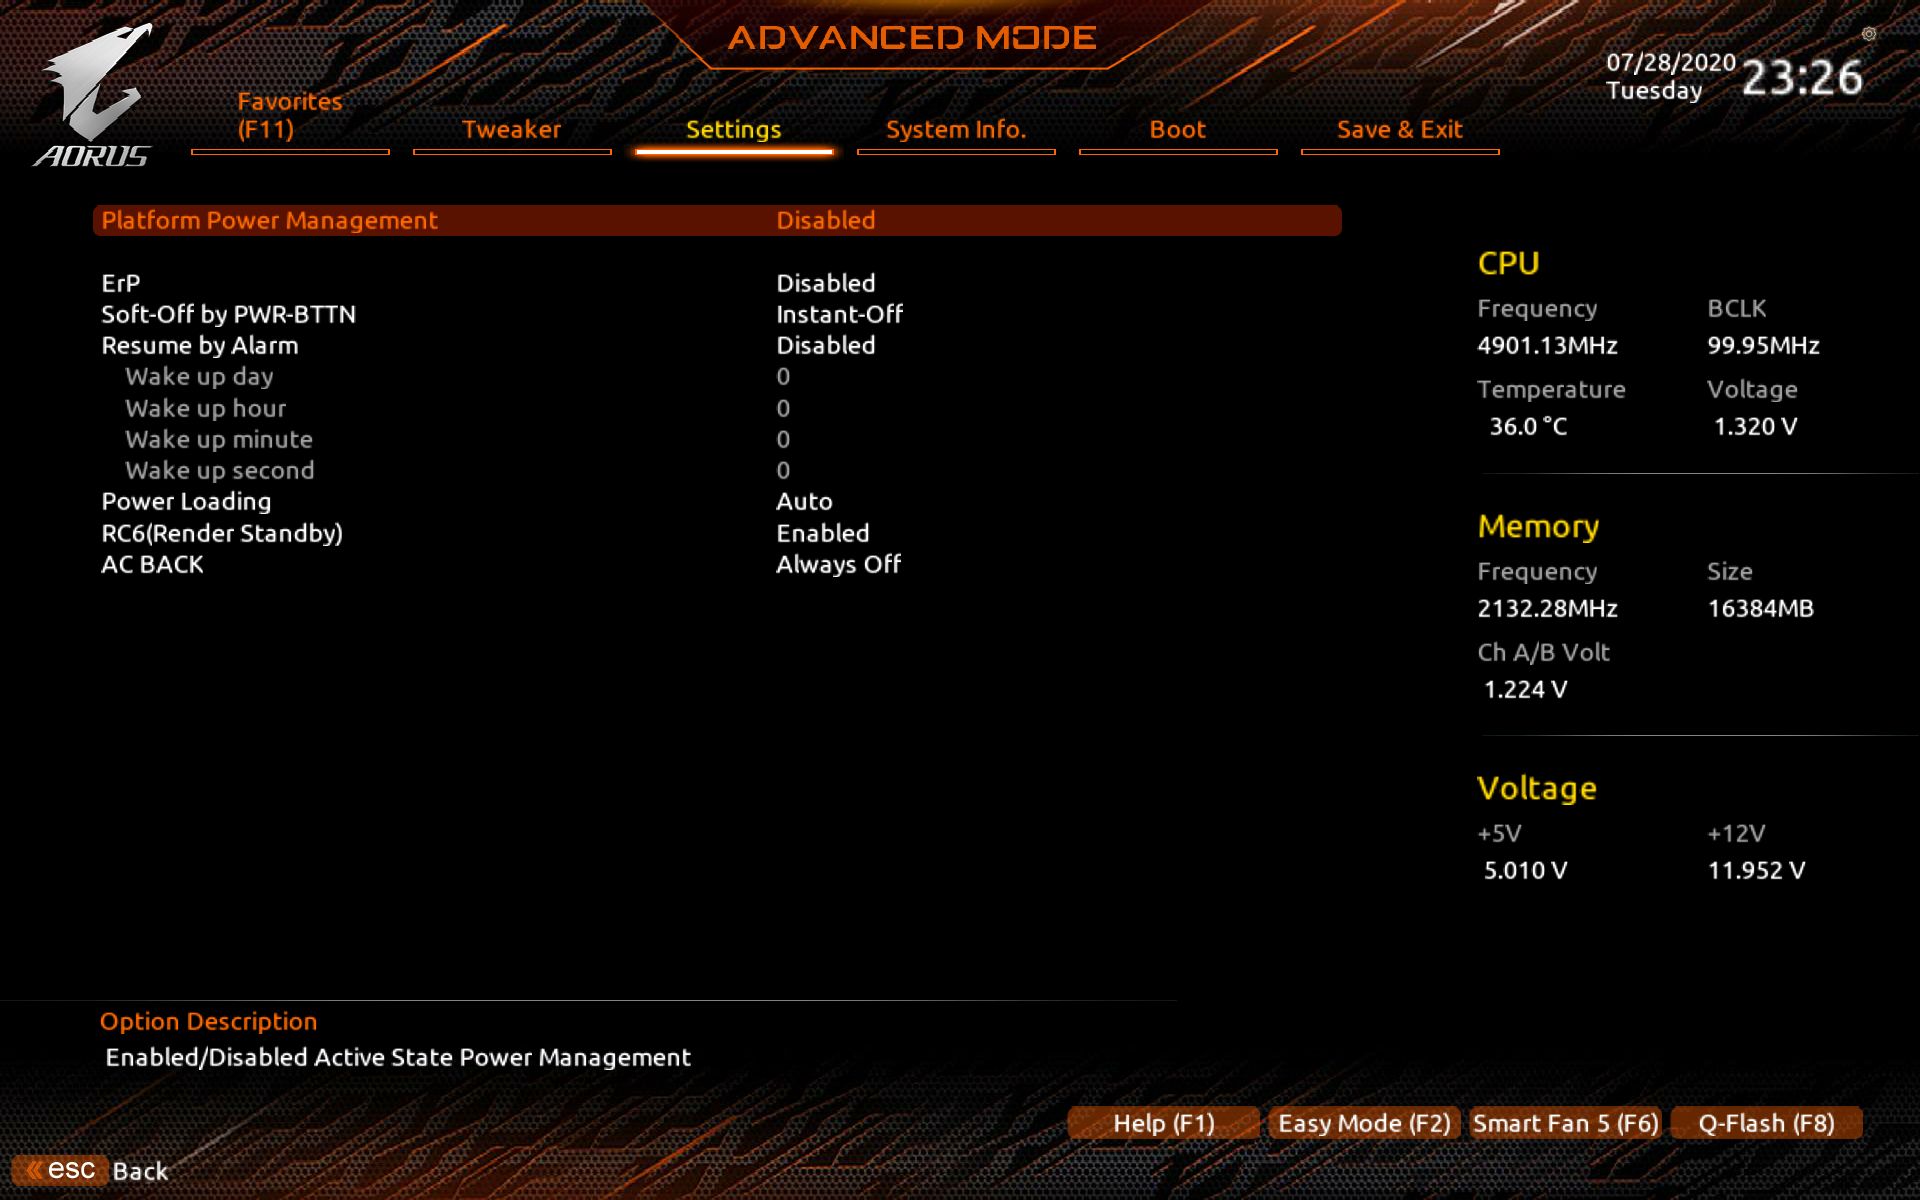
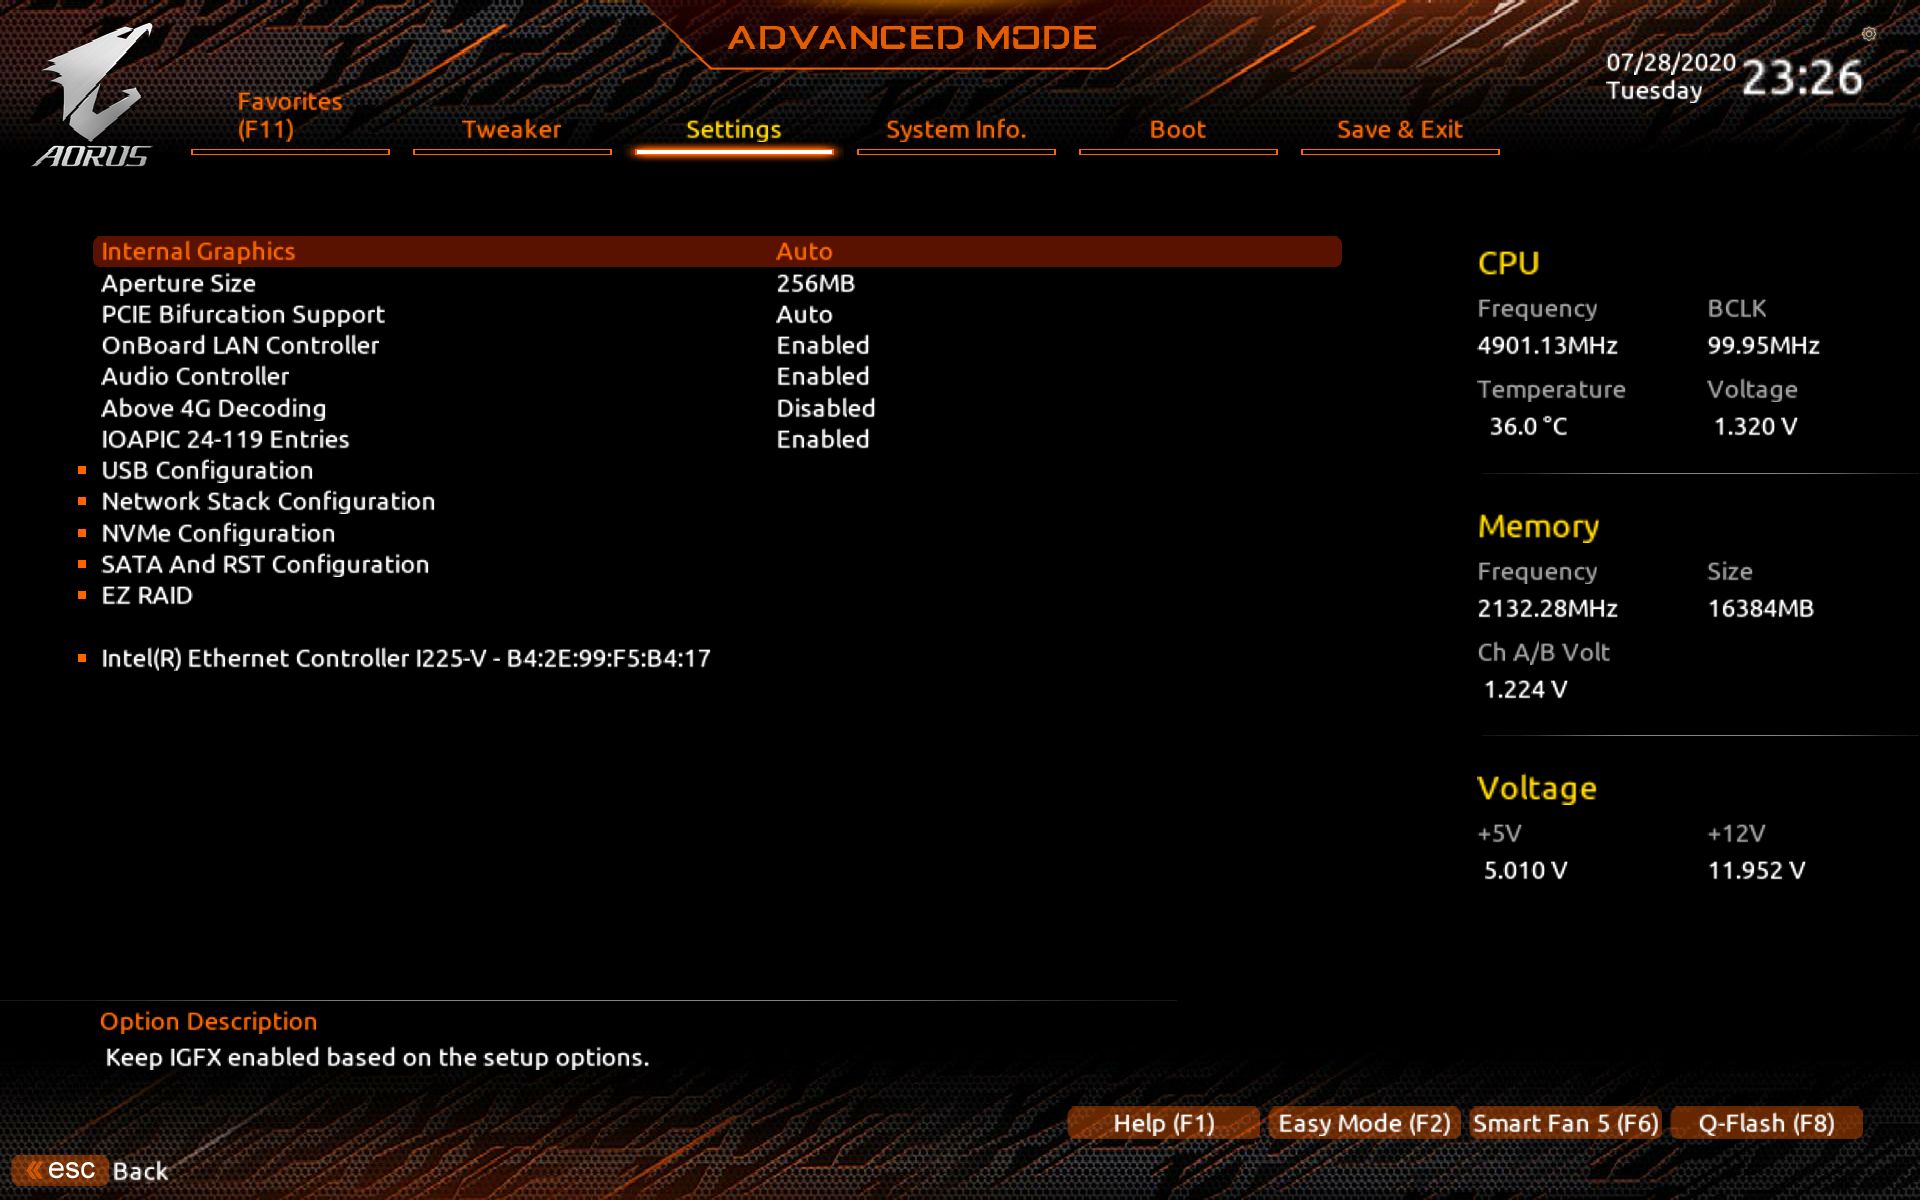
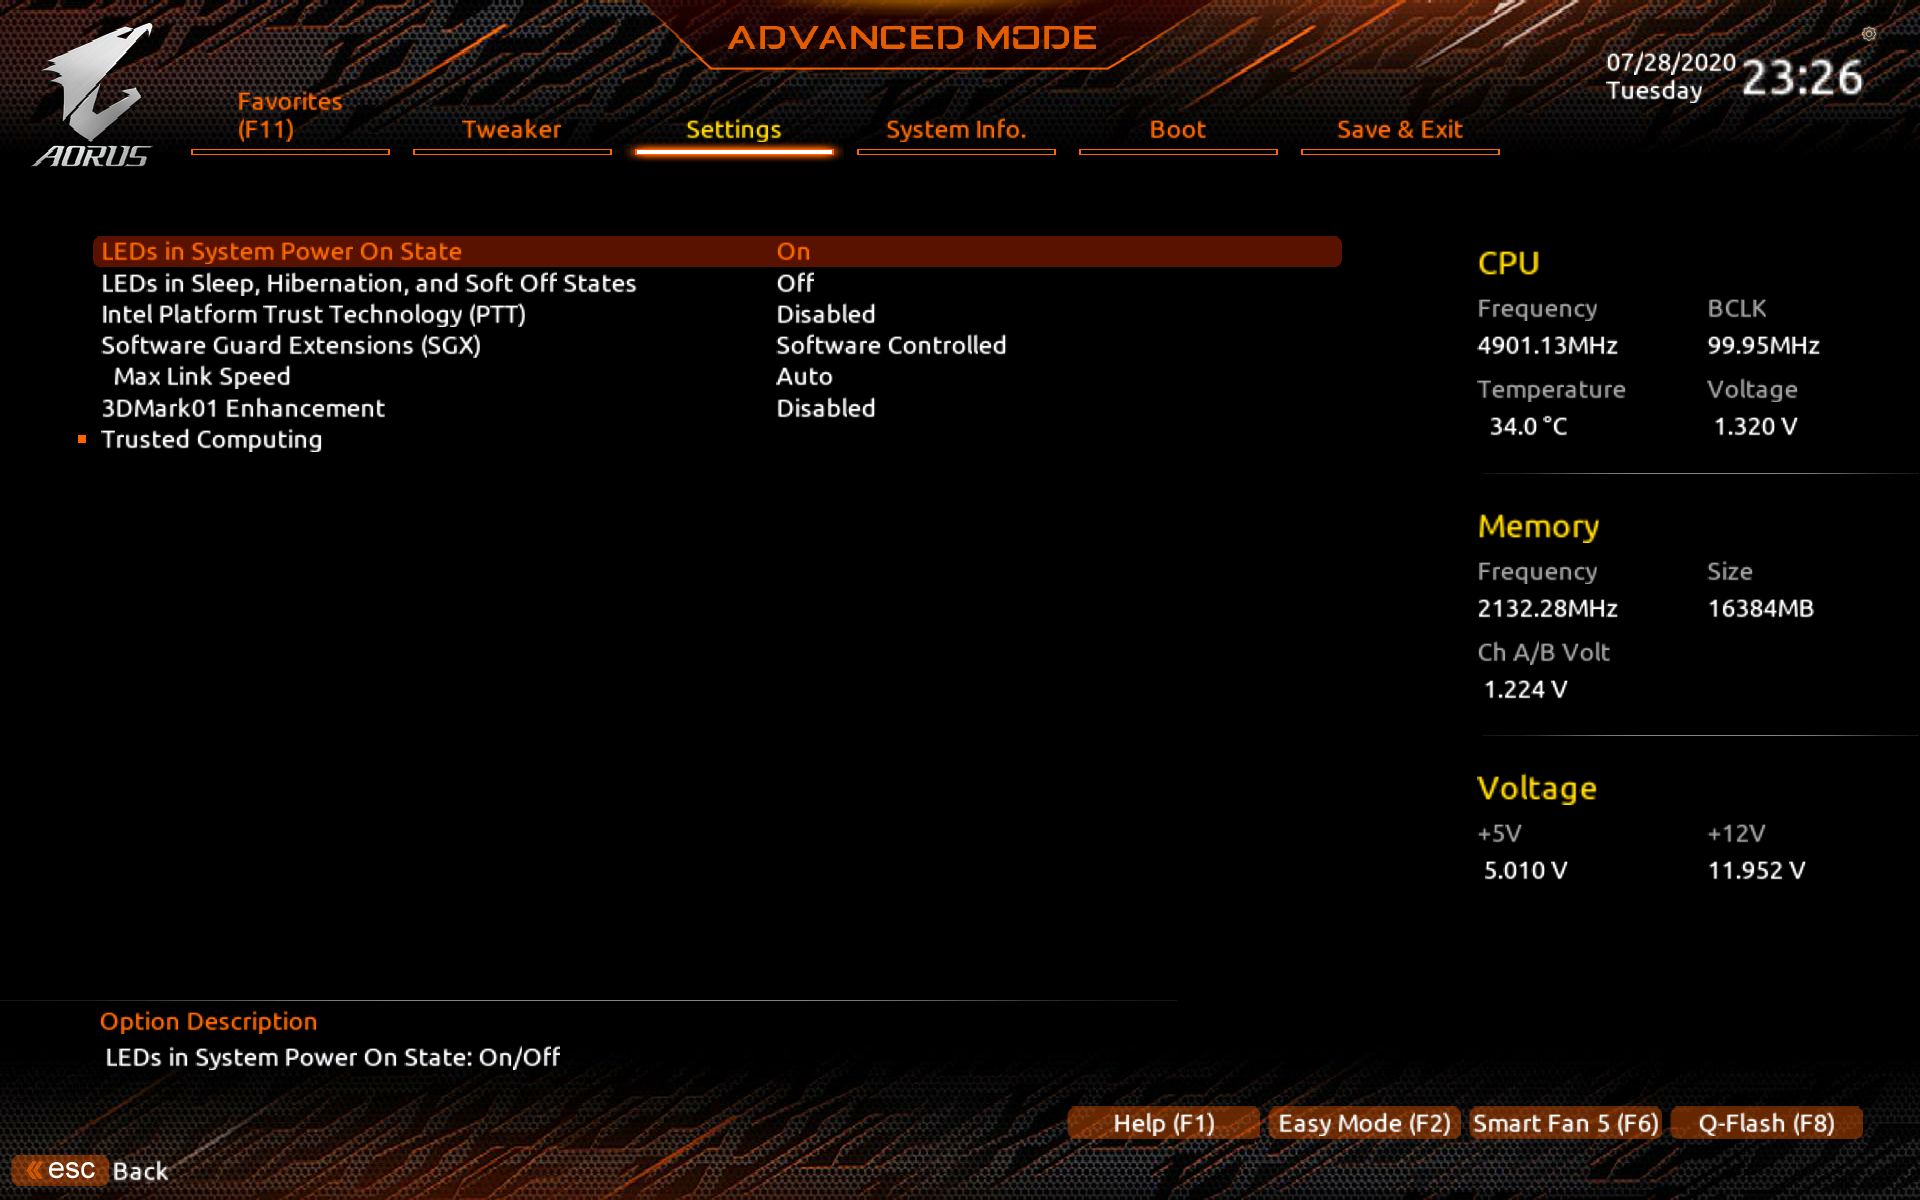
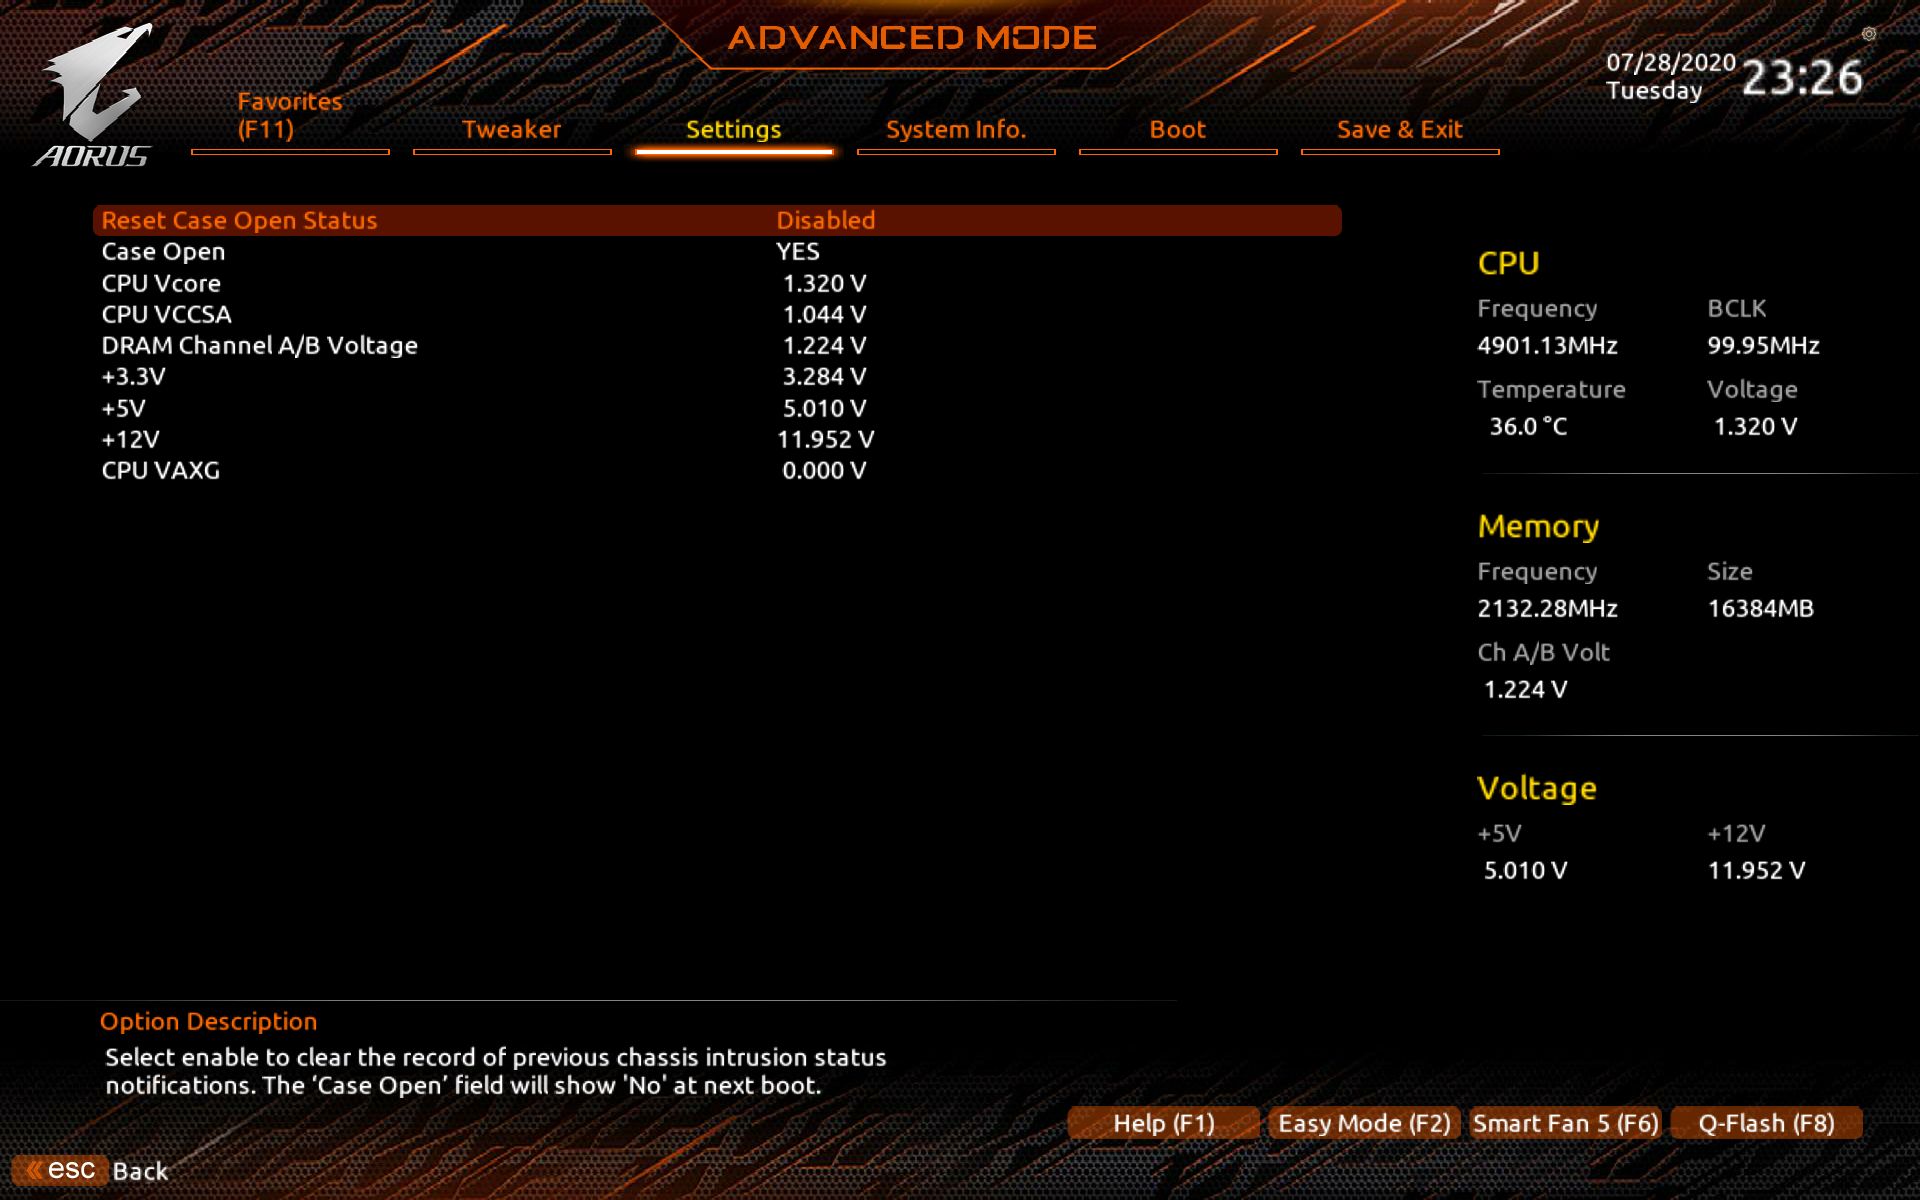
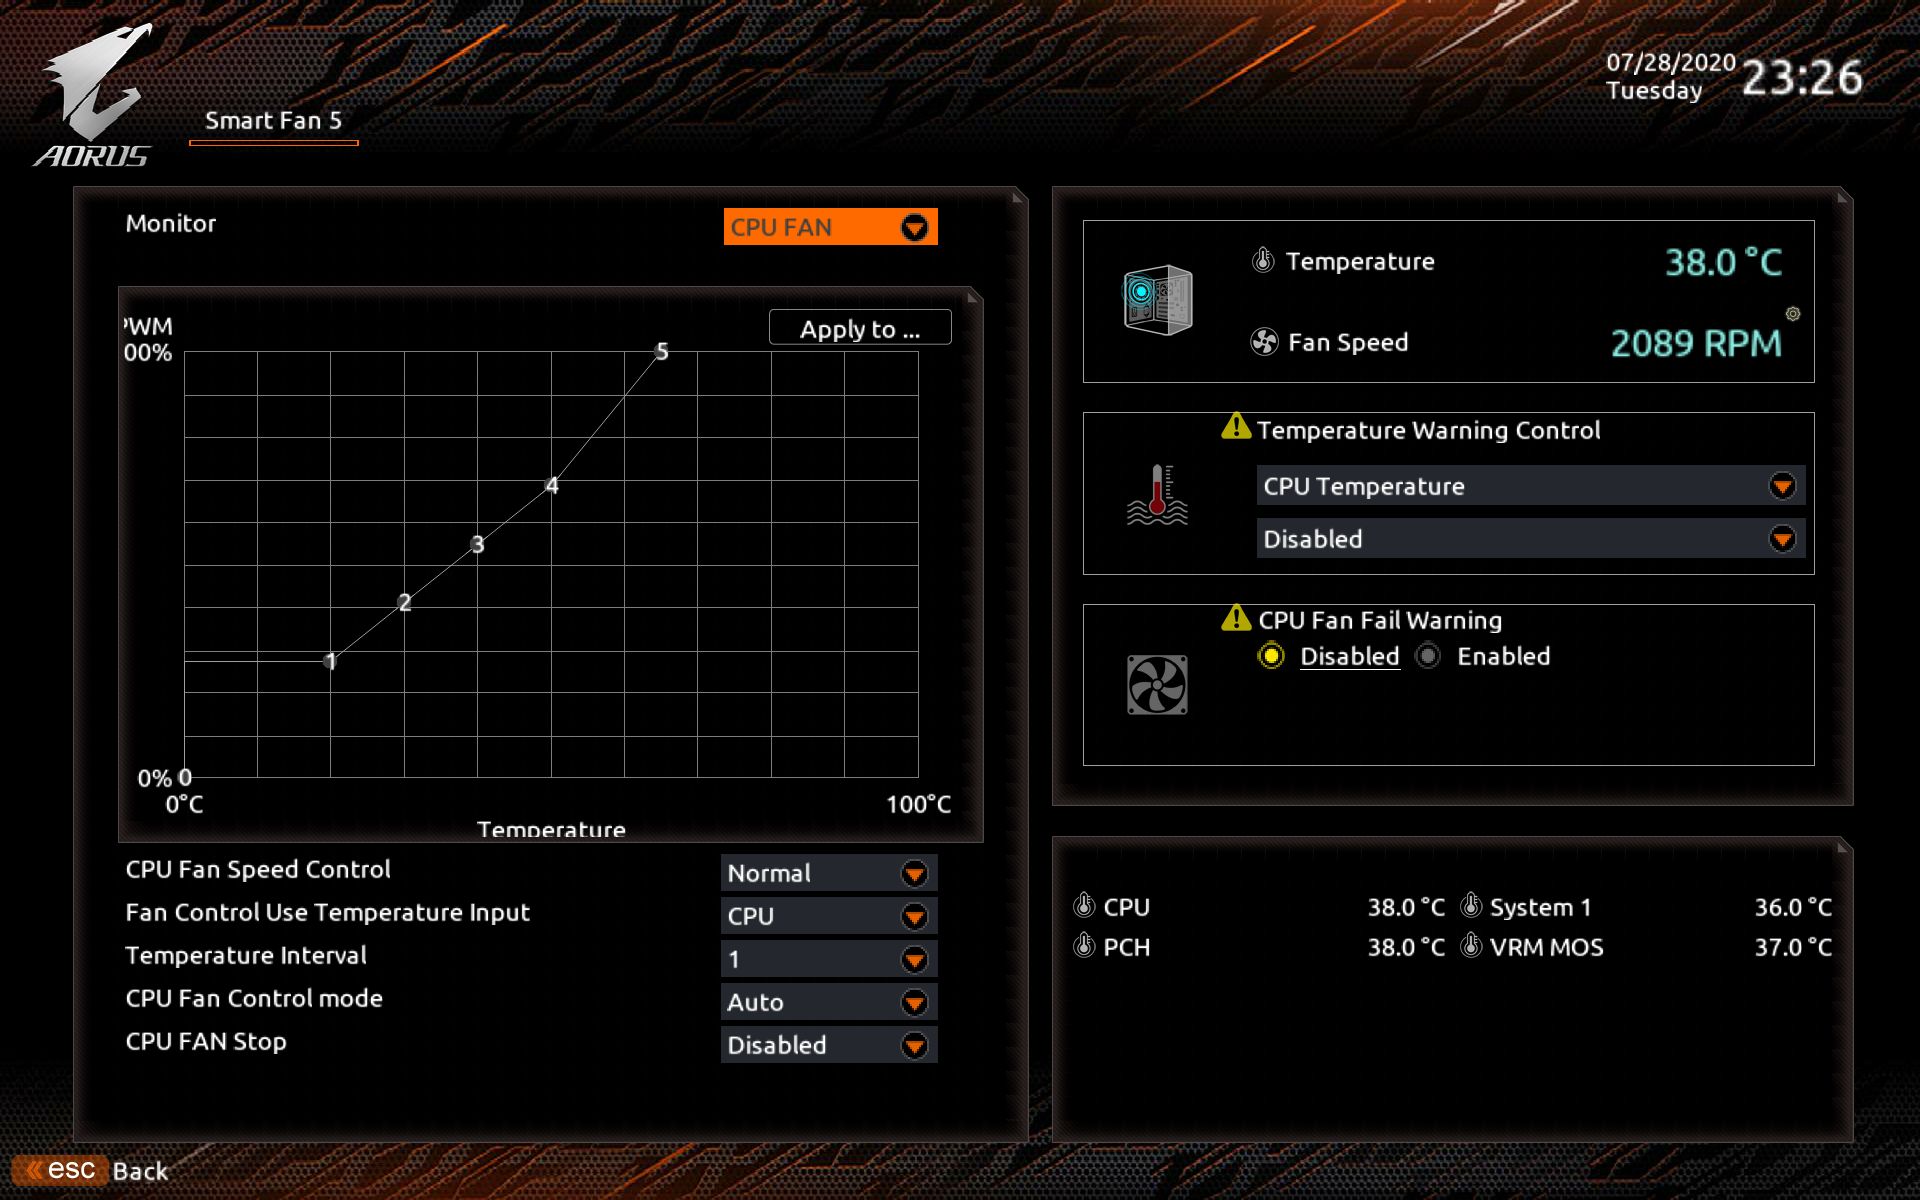
To give you a sense of the Firmware, we’ve gathered screenshots showing a majority of the BIOS screens.
Gigabyte’s BIOS has come a long way from just a few years ago. It includes an Easy Mode as well as Advanced mode which is typical of today’s UEFIs. Once in the Advanced section, there are headings across the top for easy navigation to whatever functionality you are looking for. The text is easy to read and most options, in particular for overclocking, are not buried deep within menus. While this isn’t my favorite BIOS to work in, it is laid out logically and easy to navigate, though it does look a bit dated compared to the Asus and MSI alternatives.
MORE: Best Motherboards
MORE: How To Choose A Motherboard
MORE: All Motherboard Content
Current page: Gigabyte Z490I Aorus Ultra
Prev Page Asus ROG Strix Z490-I Gaming Next Page Test System, Benchmarks and Conclusion
Joe Shields is a staff writer at Tom’s Hardware. He reviews motherboards and PC components.
