Z490 Mini ITX Motherboard Roundup: Four Tiny Boards do Battle
Small in size, but similar in features and performance to ATX motherboards
Specifications - ASRock Z490 Phantom Gaming-ITX/TB3
| Socket | LGA 1200 |
|---|---|
| Chipset | Z490 |
| Form Factor | Mini-ITX |
| Voltage Regulator | 9 Phase (6+2+1) |
| Video Ports | (1) HDMI, (1) DisplayPort, (1) Thunderbolt 3 |
| USB Ports | (1) USB 3.2 Gen 2, Thunderbolt Type-C (40 Gbps / 10 Gbps), (3) USB 3.2 Gen 2, Type-A (10 Gbps), (2) USB 3.2 Gen 1, Type-A (5 Gbps) |
| Network Jacks | (1) 2.5 GbE |
| Audio Jacks | (3) Analog |
| Legacy Ports/Jacks | ✗ |
| Other Ports/Jack | Wi-Fi Antenna |
| PCIe x16 | (1) v3.0 (x16) |
| PCIe x8 | ✗ |
| PCIe x4 | ✗ |
| PCIe x1 | ✗ |
| CrossFire/SLI | ✗ |
| DIMM slots | (2) DDR4 - DDR4 4666+(OC) |
| M.2 sockets | (2) PCIe 3.0 x4 / SATA + PCIe (up to 80mm) |
| U.2 Ports | ✗ |
| SATA Ports | (4) SATA3 6 Gbps (RAID0, 1, 5 and 10) |
| USB Headers | (1) USB v2.0 |
| Fan/Pump Headers | (3) 4-Pin |
| RGB Headers | (1) 3-pin addressable RGB, (1) 4-pin RGB |
| Legacy Interfaces | ✗ |
| Other Interfaces | FP-Audio, Speaker |
| Diagnostics Panel | ✗ |
| Internal Button/Switch | ✗ |
| SATA Controllers | ✗ |
| Ethernet Controllers | (1) Realtek Dragon RTL8125BG (2.5 GbE) |
| Wi-Fi / Bluetooth | Intel Wi-Fi 6 (802.11ax, MU-MIMO, 160 MHz) / BT 5.1 |
| USB Controllers | ✗ |
| HD Audio Codec | Realtek ALC1220 |
| DDL/DTS Connect | ✗ / ✗ |
| Warranty | 3 Years |
ASRock, like Biostar, doesn’t include a lot of accessories with this small motherboard, but does include a bit more of you need to get the board up and running. Below is a list of what ships in the box, along with the board.
- Installation Guide /Software Setup Guide
- Driver Disk
- ASRock Sticker
- Phantom Gaming Postcard
- (4) SATA Cables
- Velcro Cable Straps
- Wi-Fi Antenna
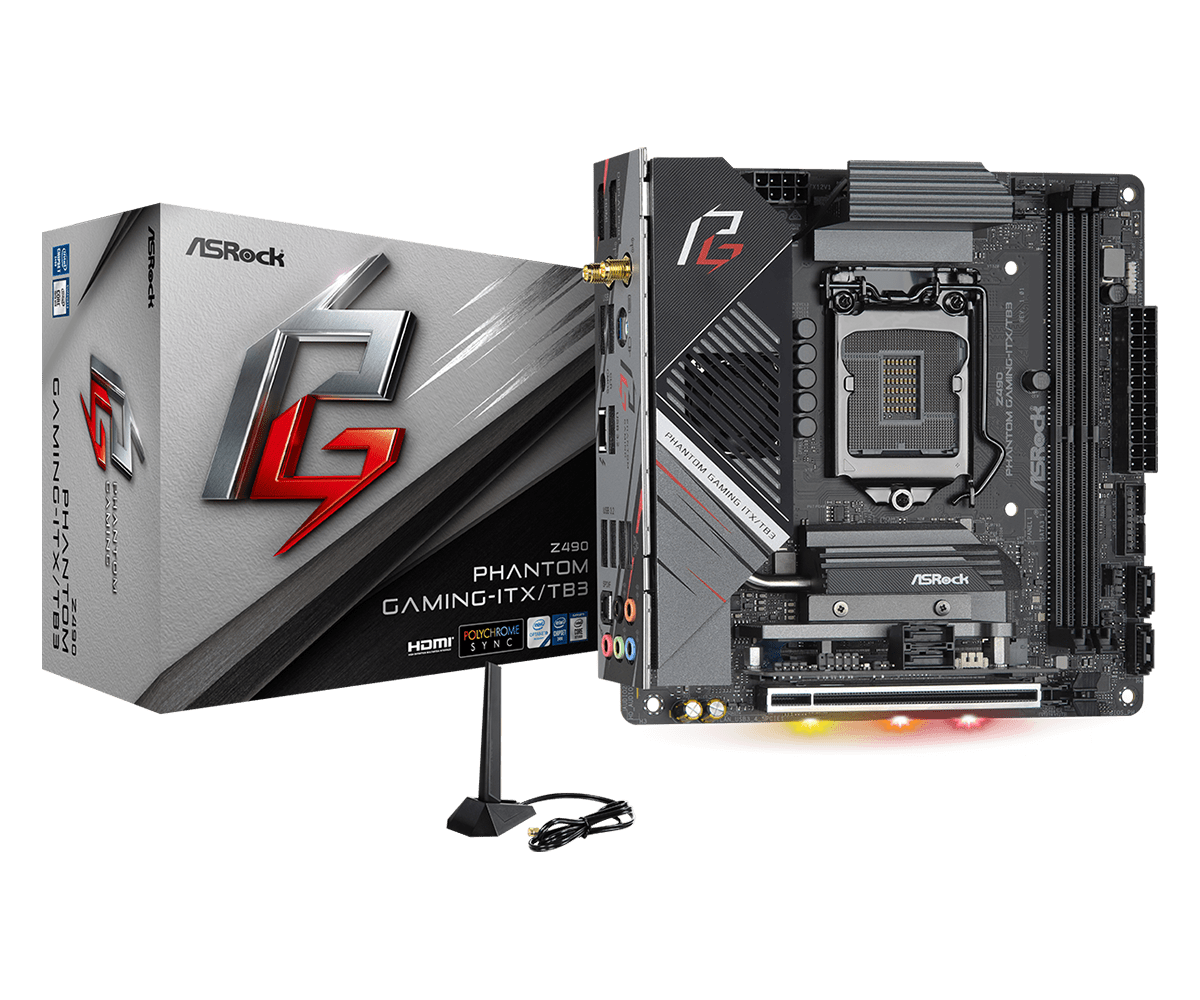
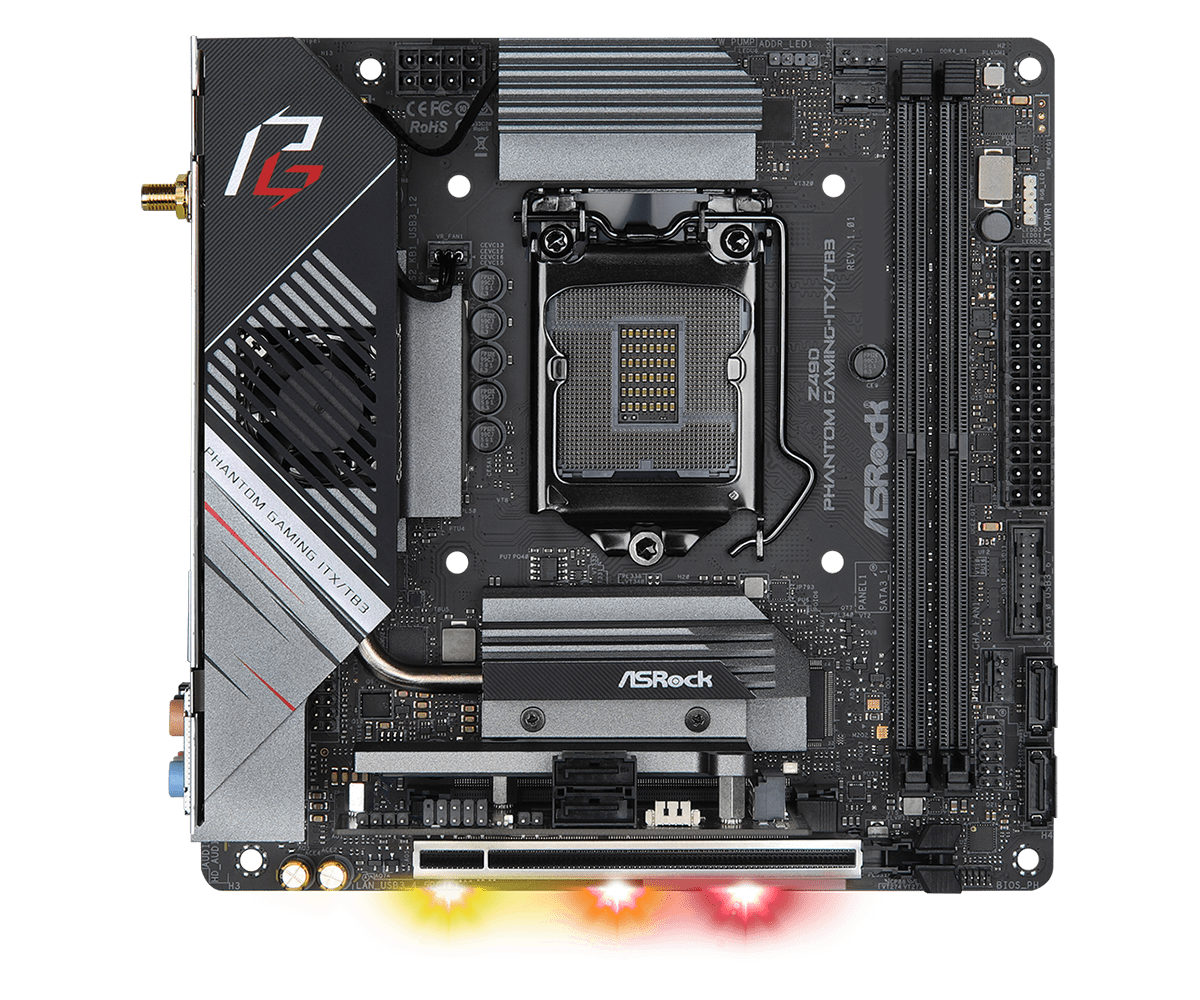
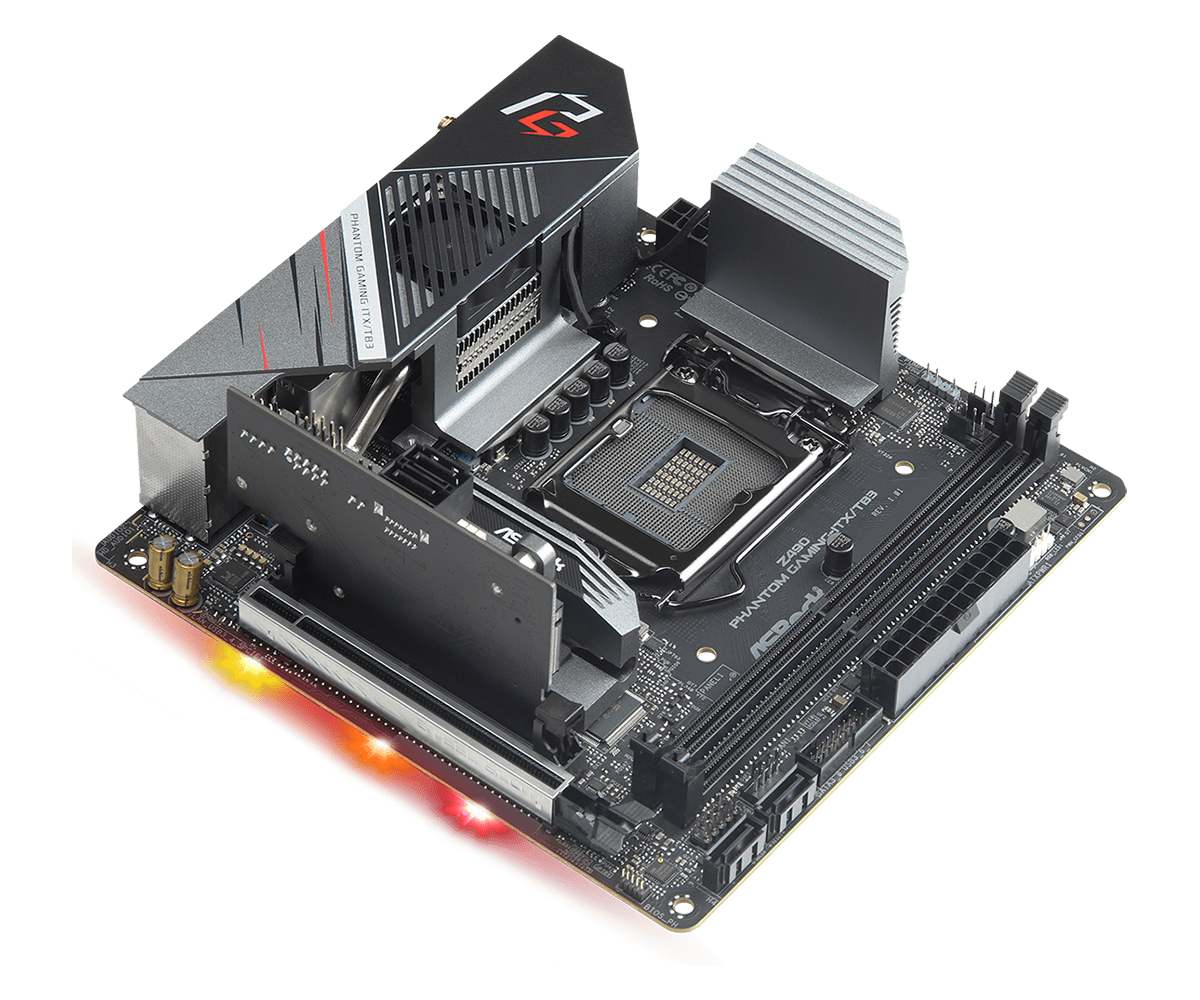
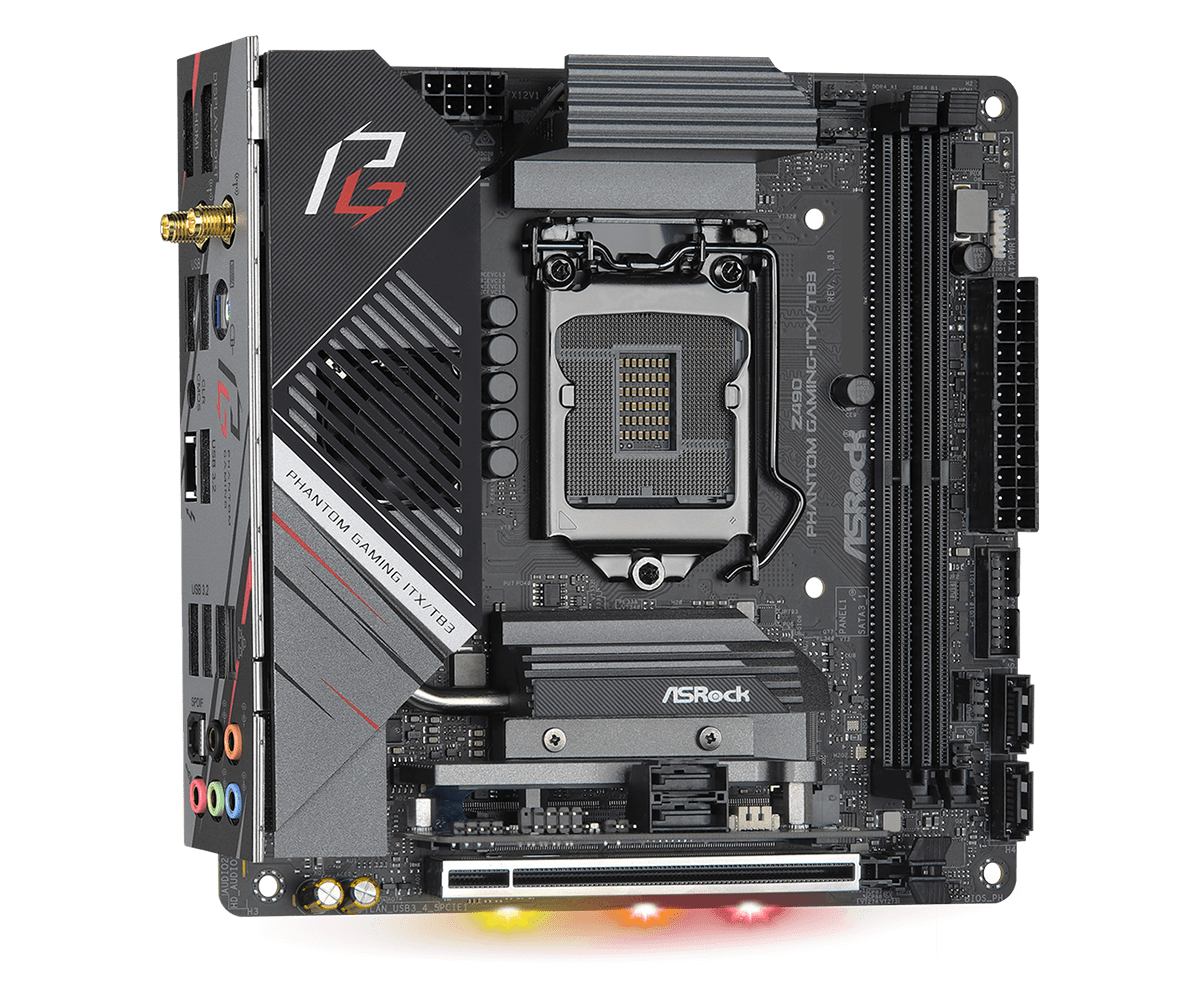
Looking at this diminutive ASRock ITX board, we see shrouds, heatsinks and a riser card as the dominant features. The PCB is black, along with the DIMM slots, while the shroud covering the IO area sports the Phantom Gaming symbol and name in the familiar gray, red and black theme. The heatsinks covering the VRMs and chipset are gray to match part of the shroud. Both VRM heatsinks each use a small fan that blows down through the fins, helping to keep the MOSFETs underneath running cool. At the bottom of the board, on the underside, is some integrated RGB lighting.
Just above the PCIe slot is a multifunction riser card that holds an 80mm M.2 module, two SATA ports, and a USB 2.0 header. While others can squeeze this functionality on the board, ASRock chose to go the riser route. About the only negatives I can see with this type of setup is the wire management side of things, as just below the riser card is the PCIe slot, so the wires would have to all be routed on the other side, extending across the board. In short, it would be tough to make this look tidy.
Starting at the top edge of the motherboard on the left side is a required 8-pin EPS connector that sends power to the CPU. On the other side of the VRM heatsink is a 3-pin addressable RGB header, along with two (of three) 4-pin PWM/DC fan headers. Immediately to the right of those are two DIMM slots that lock the memory down on the top side, away from the video card. I prefer the single side locking mechanism, especially on smaller boards. The ITX/TB3 supports up to 64GB of memory at speeds up to DDR4 4666+(OC).
Moving to the far-right edge of the board in the upper right-hand corner is the second RGB header, this time a 4-pin. Next is the 24-pin ATX connector, front panel USB 3.2 Gen 1 header, a 4-pin fan header and front panel audio. Two (of four) SATA3/6 Gbps ports are also located here. Towards the bottom right corner is another 4-pin chassis fan header and front panel audio header.
The bottom edge of the board sports a reinforced (ASRock calls this Steel Slot) full-length PCIe slot, and to its left is the premium Realtek ALC1220 audio codec. Above that in a proprietary slot and attached to the chipset heatsink is the riser card. The riser card holds a second M.2 slot (the other is on the back of the board), two more SATA ports (the board supports RAID0, 1, 5 and 10), a USB 2.0 header and speaker header.
Additionally, the IO expansion card also has four Debug LEDs labeled Boot, VGA, DRAM, and CPU. During the POST process, these LEDs will light up and disappear if all is normal. If there is a problem in one of these areas causing the board not to complete POST, the light will stay lit identifying the problem area. This is a great value add that none of the other ITX boards we tested have.
Get Tom's Hardware's best news and in-depth reviews, straight to your inbox.
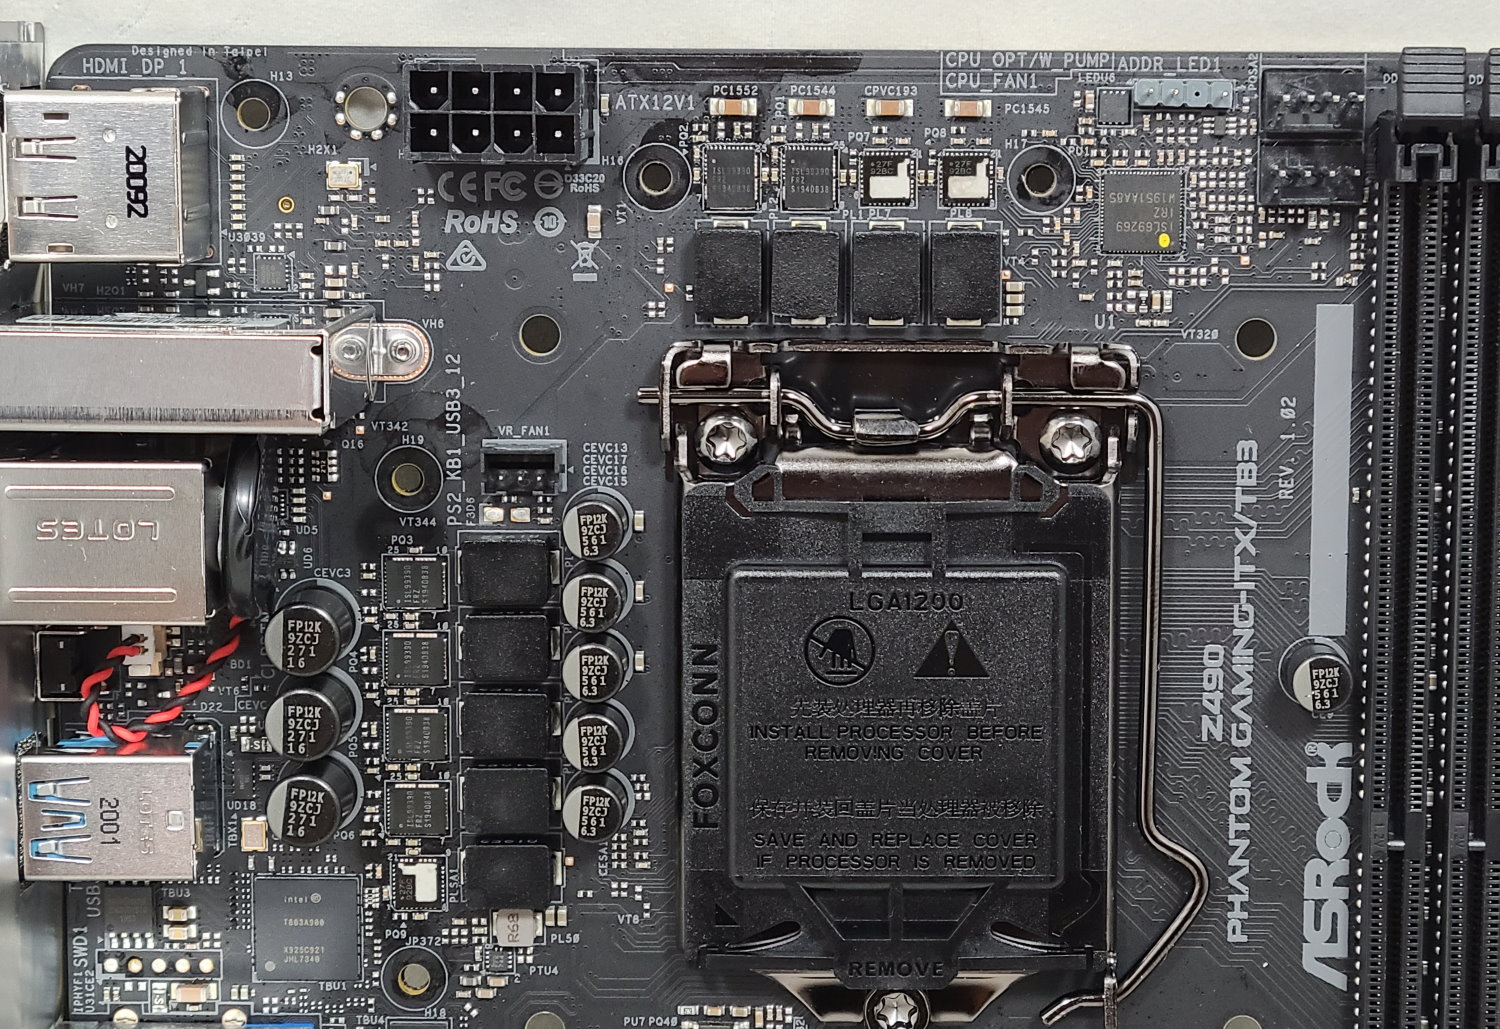
ASRock’s VRM features 9-phases in a 6+2+1 configuration (Vcore + VccIO + VccSA). Managing the power sent to the VRMs is a high-end Intersil ISL69269 PWM controller capable of driving up to 12 unique phases. On the Vcore side, premium 90A Intersil ISL99390 MOSFETs support Vcore, while the SOC uses 60A Intersil ISL99228 MOSFETs. This hardware setup has a maximum output of 540A for Vcore, which is plenty of capacity to support our i9-10900K at stock speeds and overclocked to 5.2 GHz.
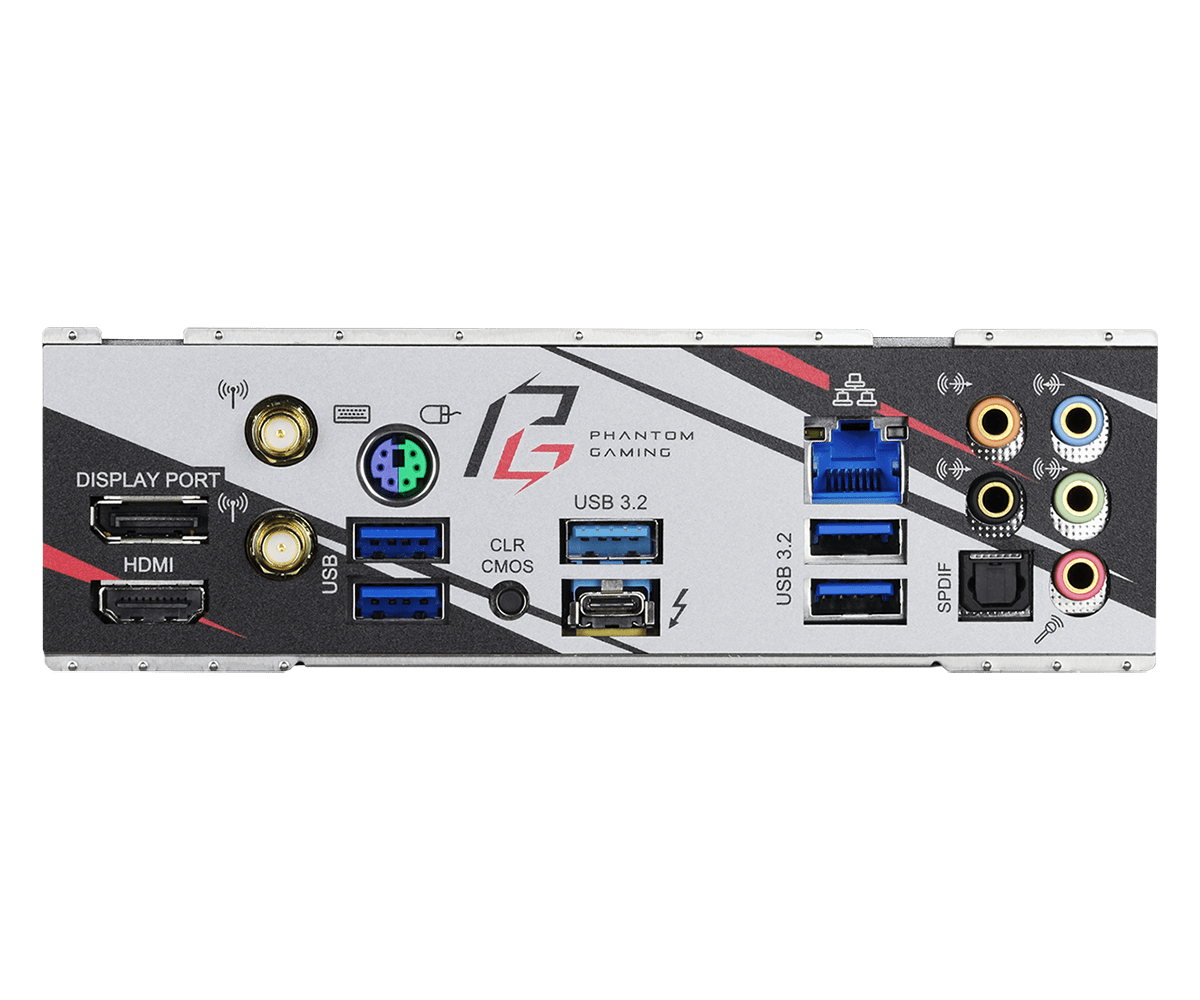
The rear IO on the ITX/TB3 is full of ports and buttons. Working from left to right we see the HDMI and DisplayPort outputs for video, Wi-Fi antenna connections and a PS/2 port. Below the PS/2 port are the first two of four USB 3.2 Gen 1 ports. Between them is the Thunderbolt USB-C port, a USB 3.2 Gen 2 port, and a clear CMOS button. Last is the Realtek Dragon 2.5 GbE port and the 5-plug plus SPDIF port (the only 5-plug audio stack of our tested boards). The only concern I have with the rear IO is the six USB ports, which may not be enough for some users.
Software
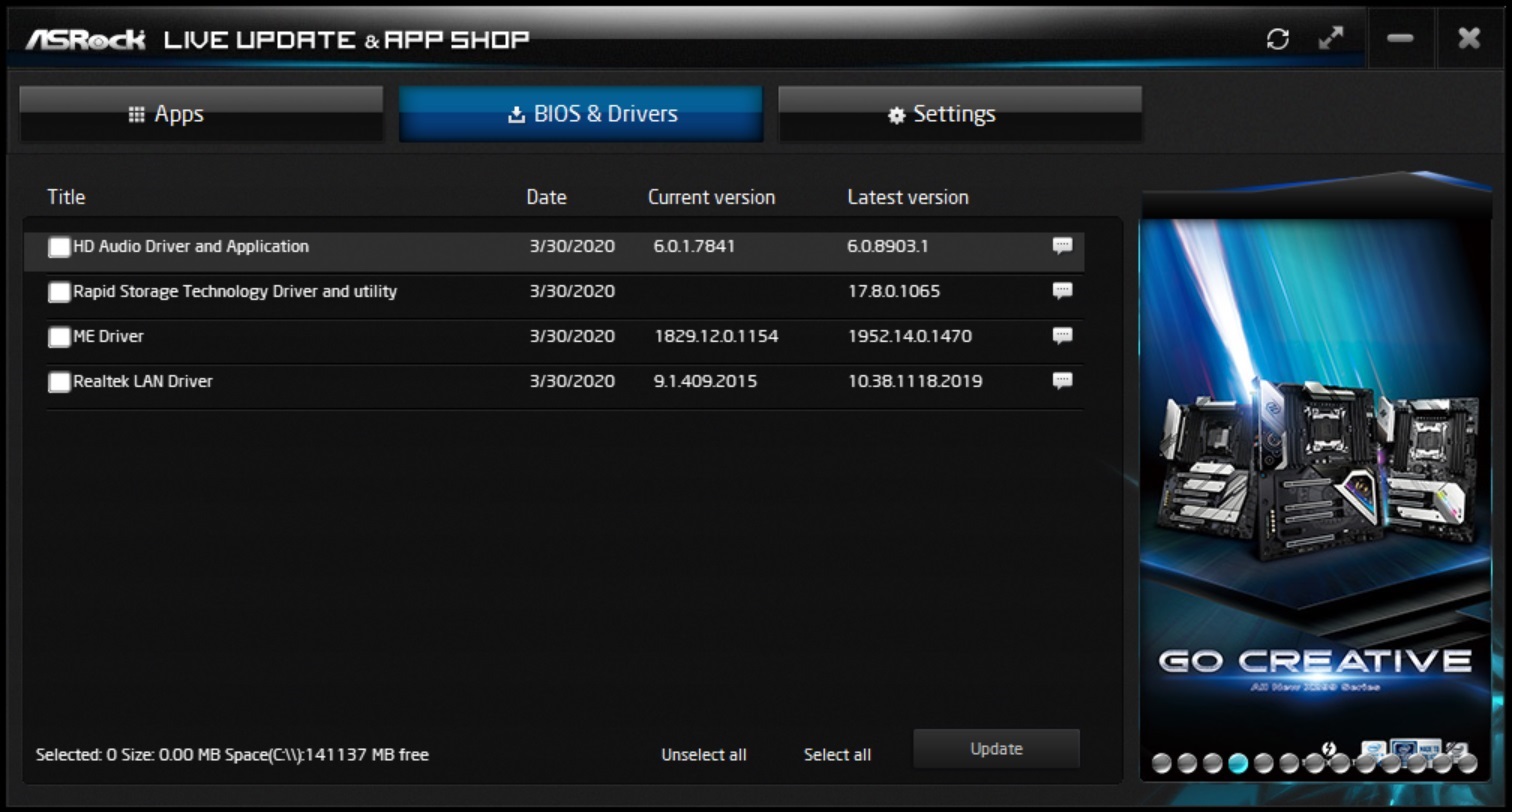
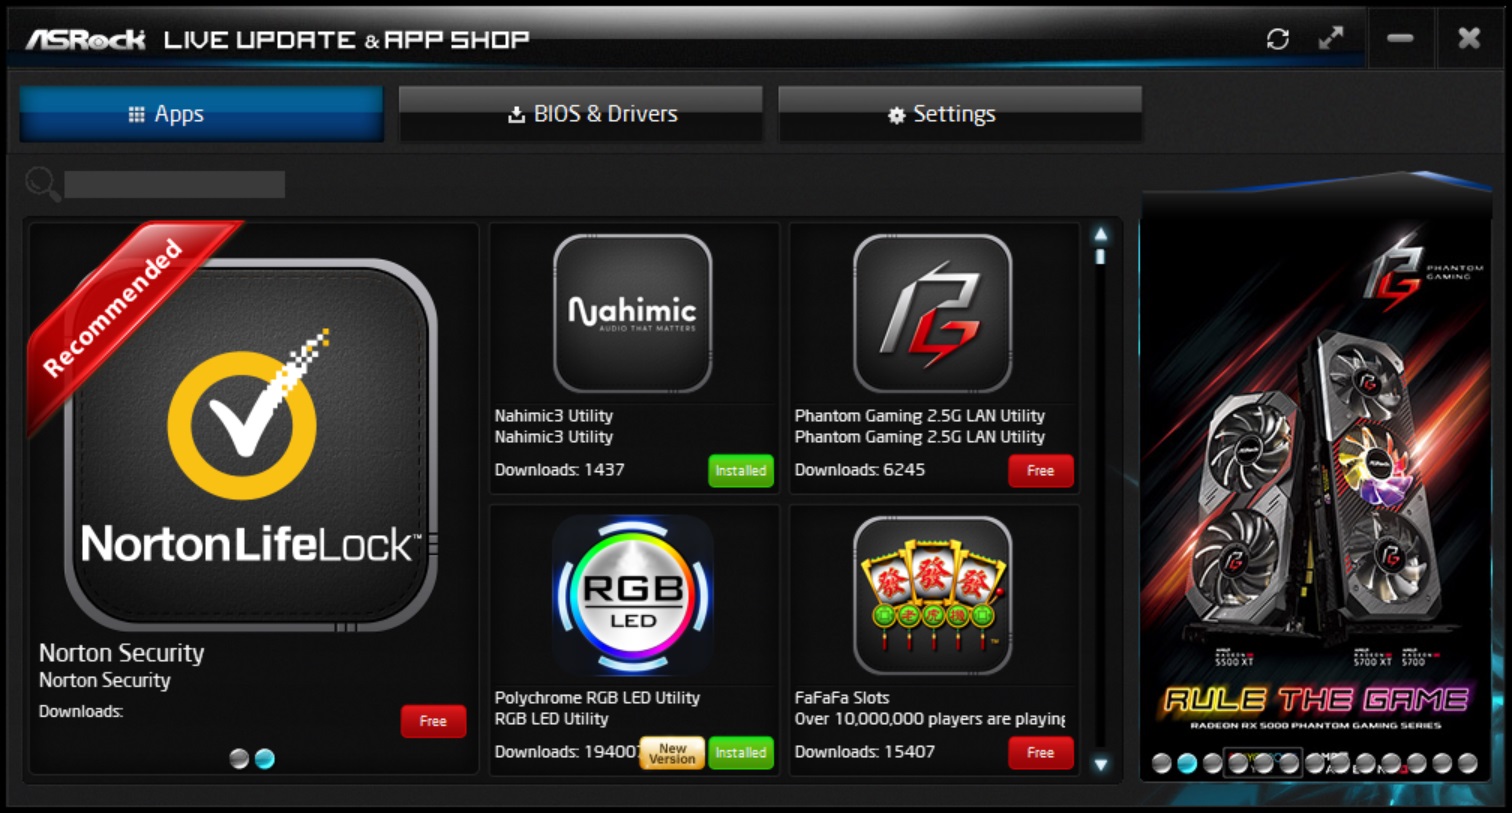
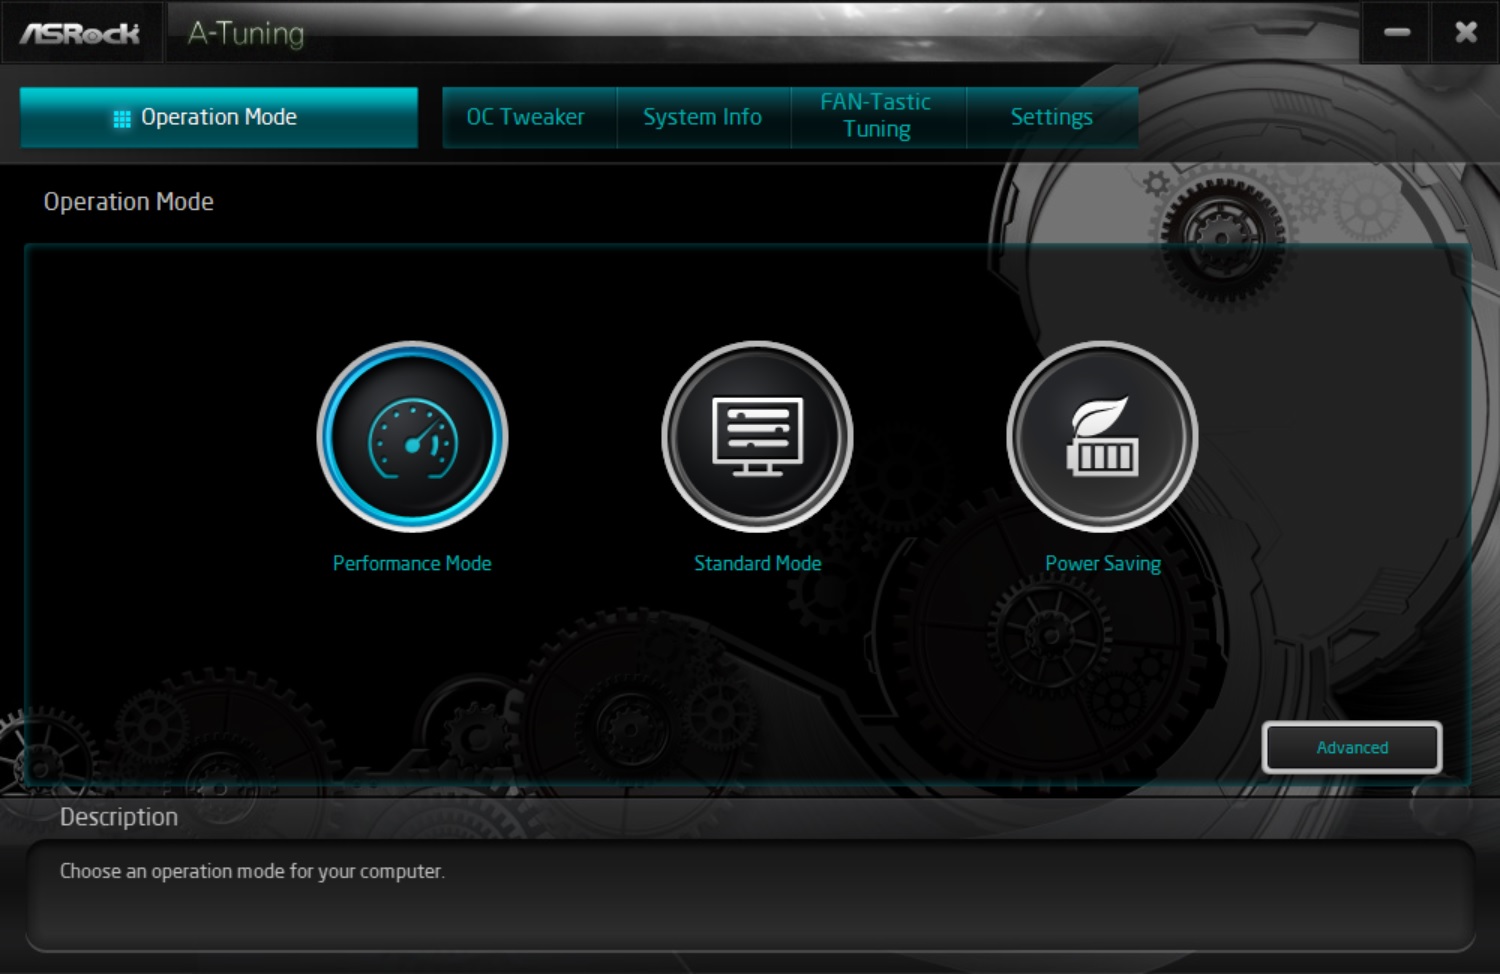
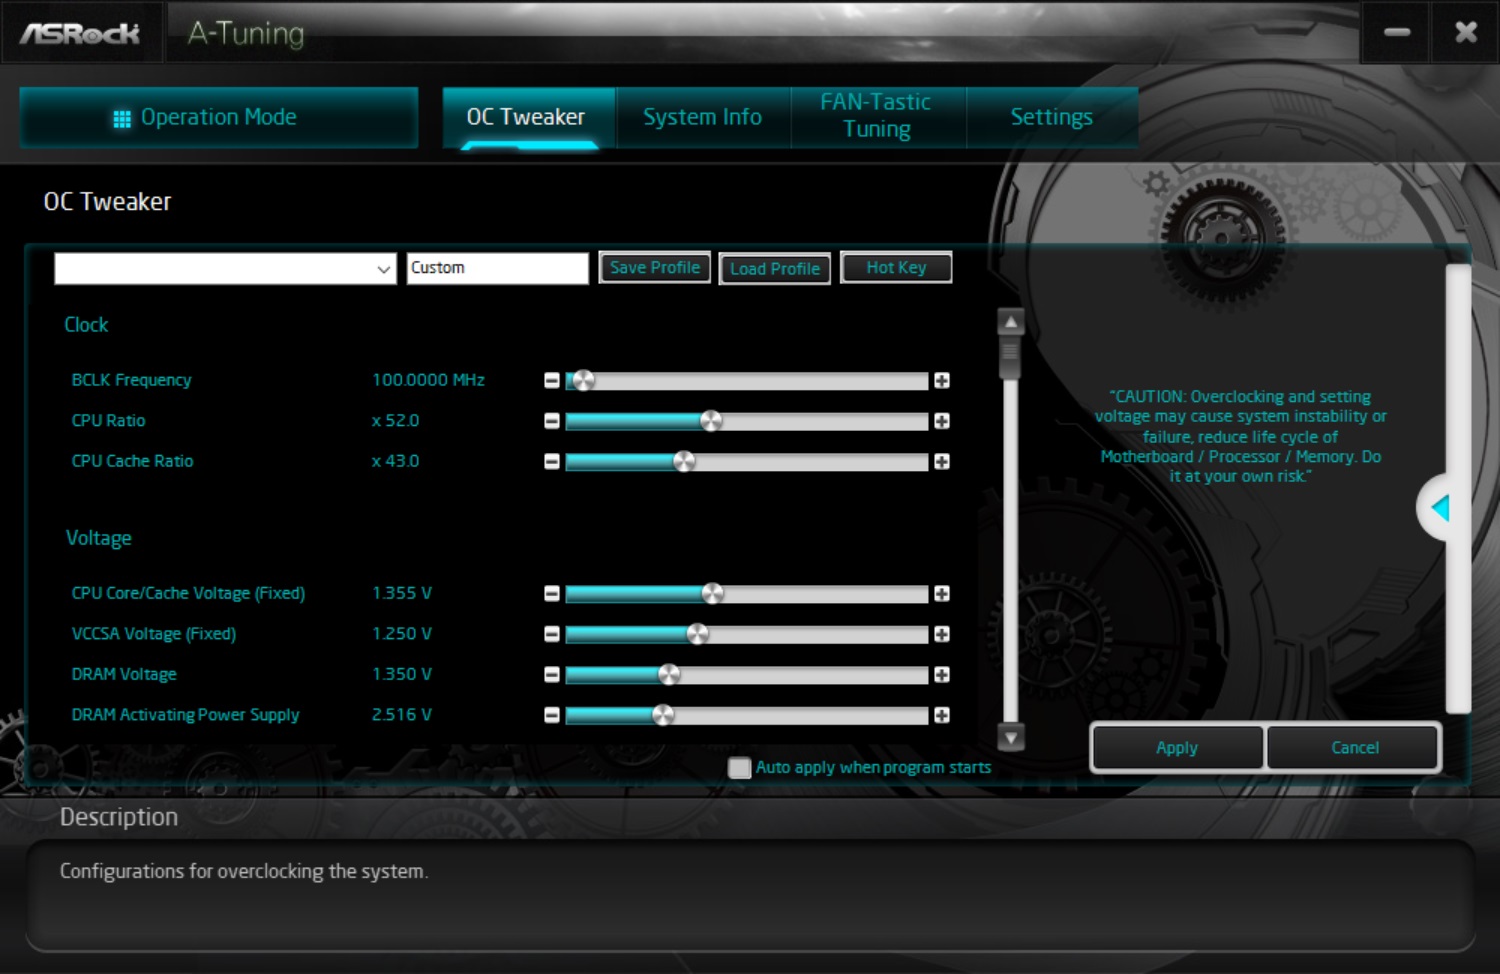
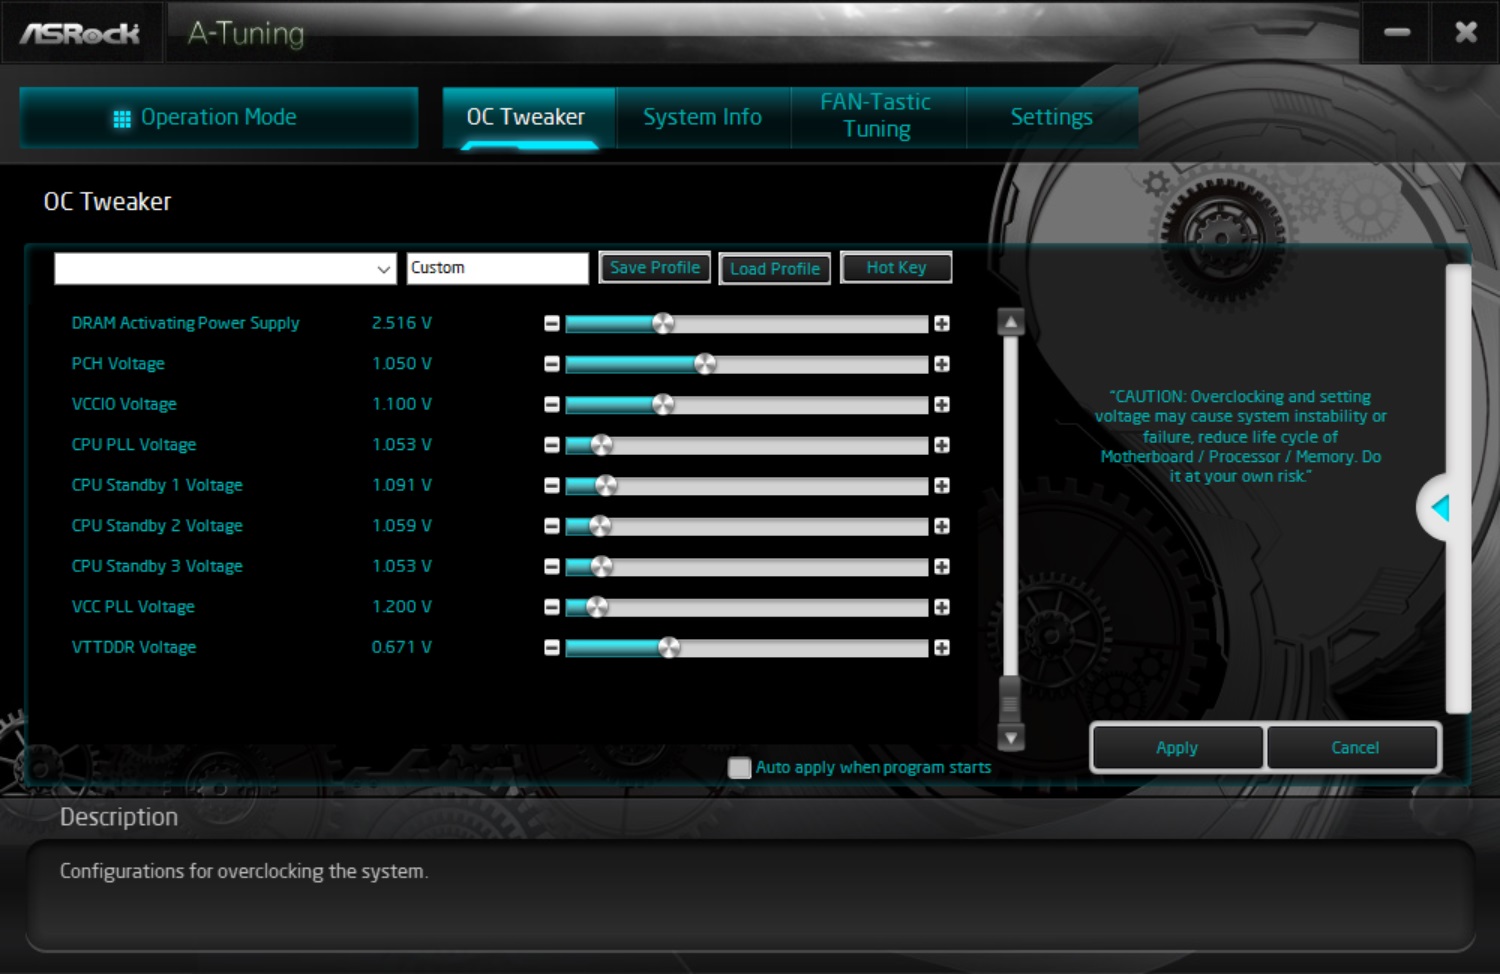
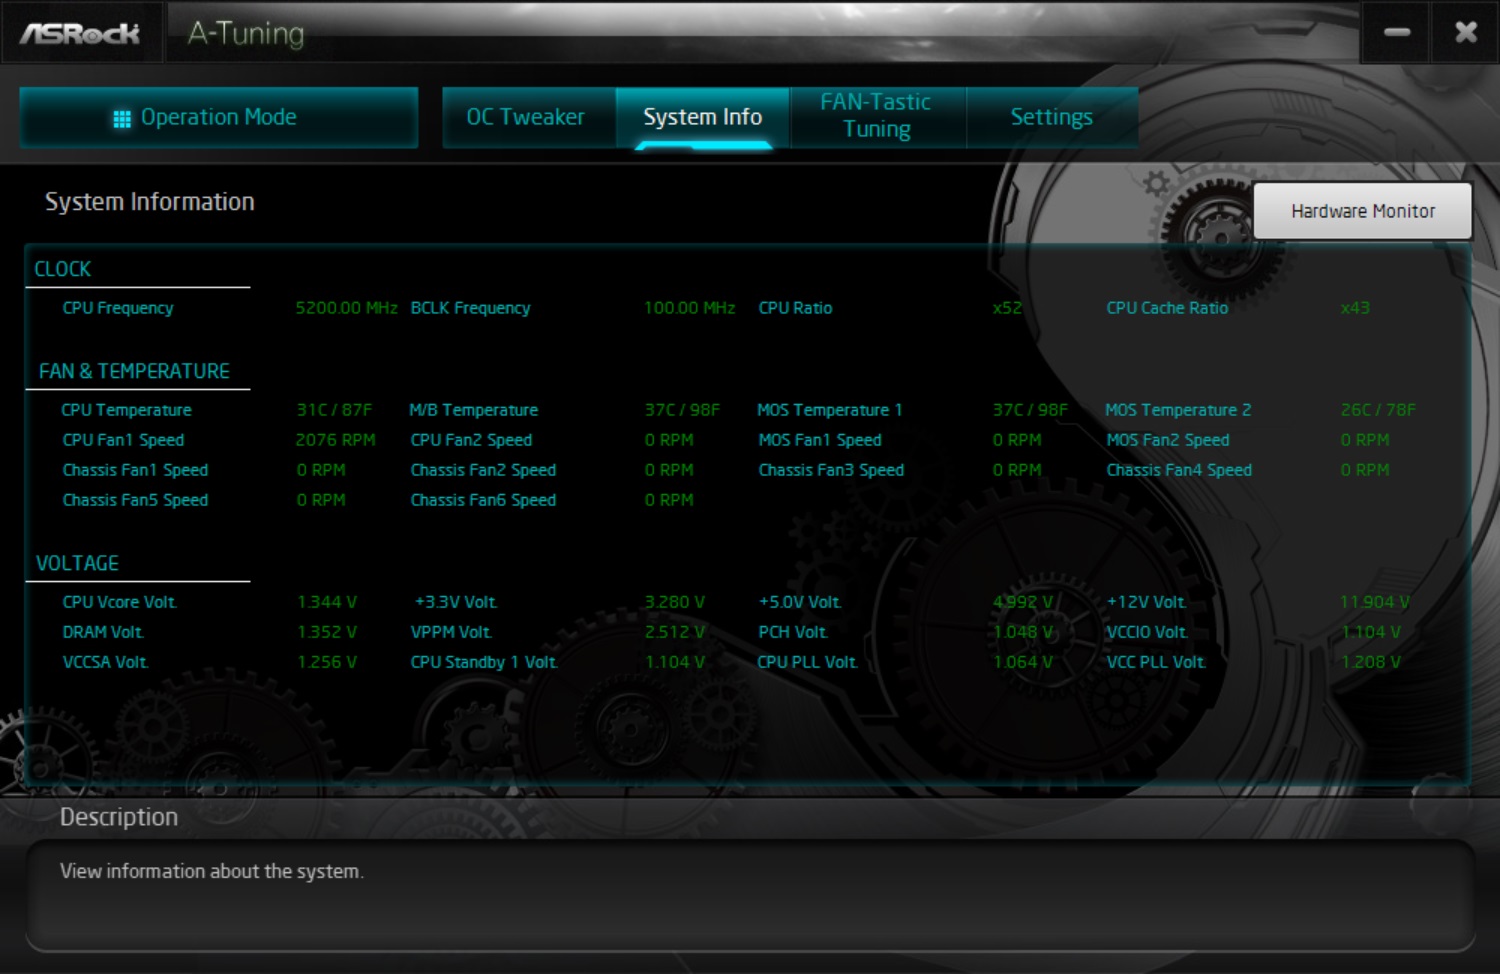
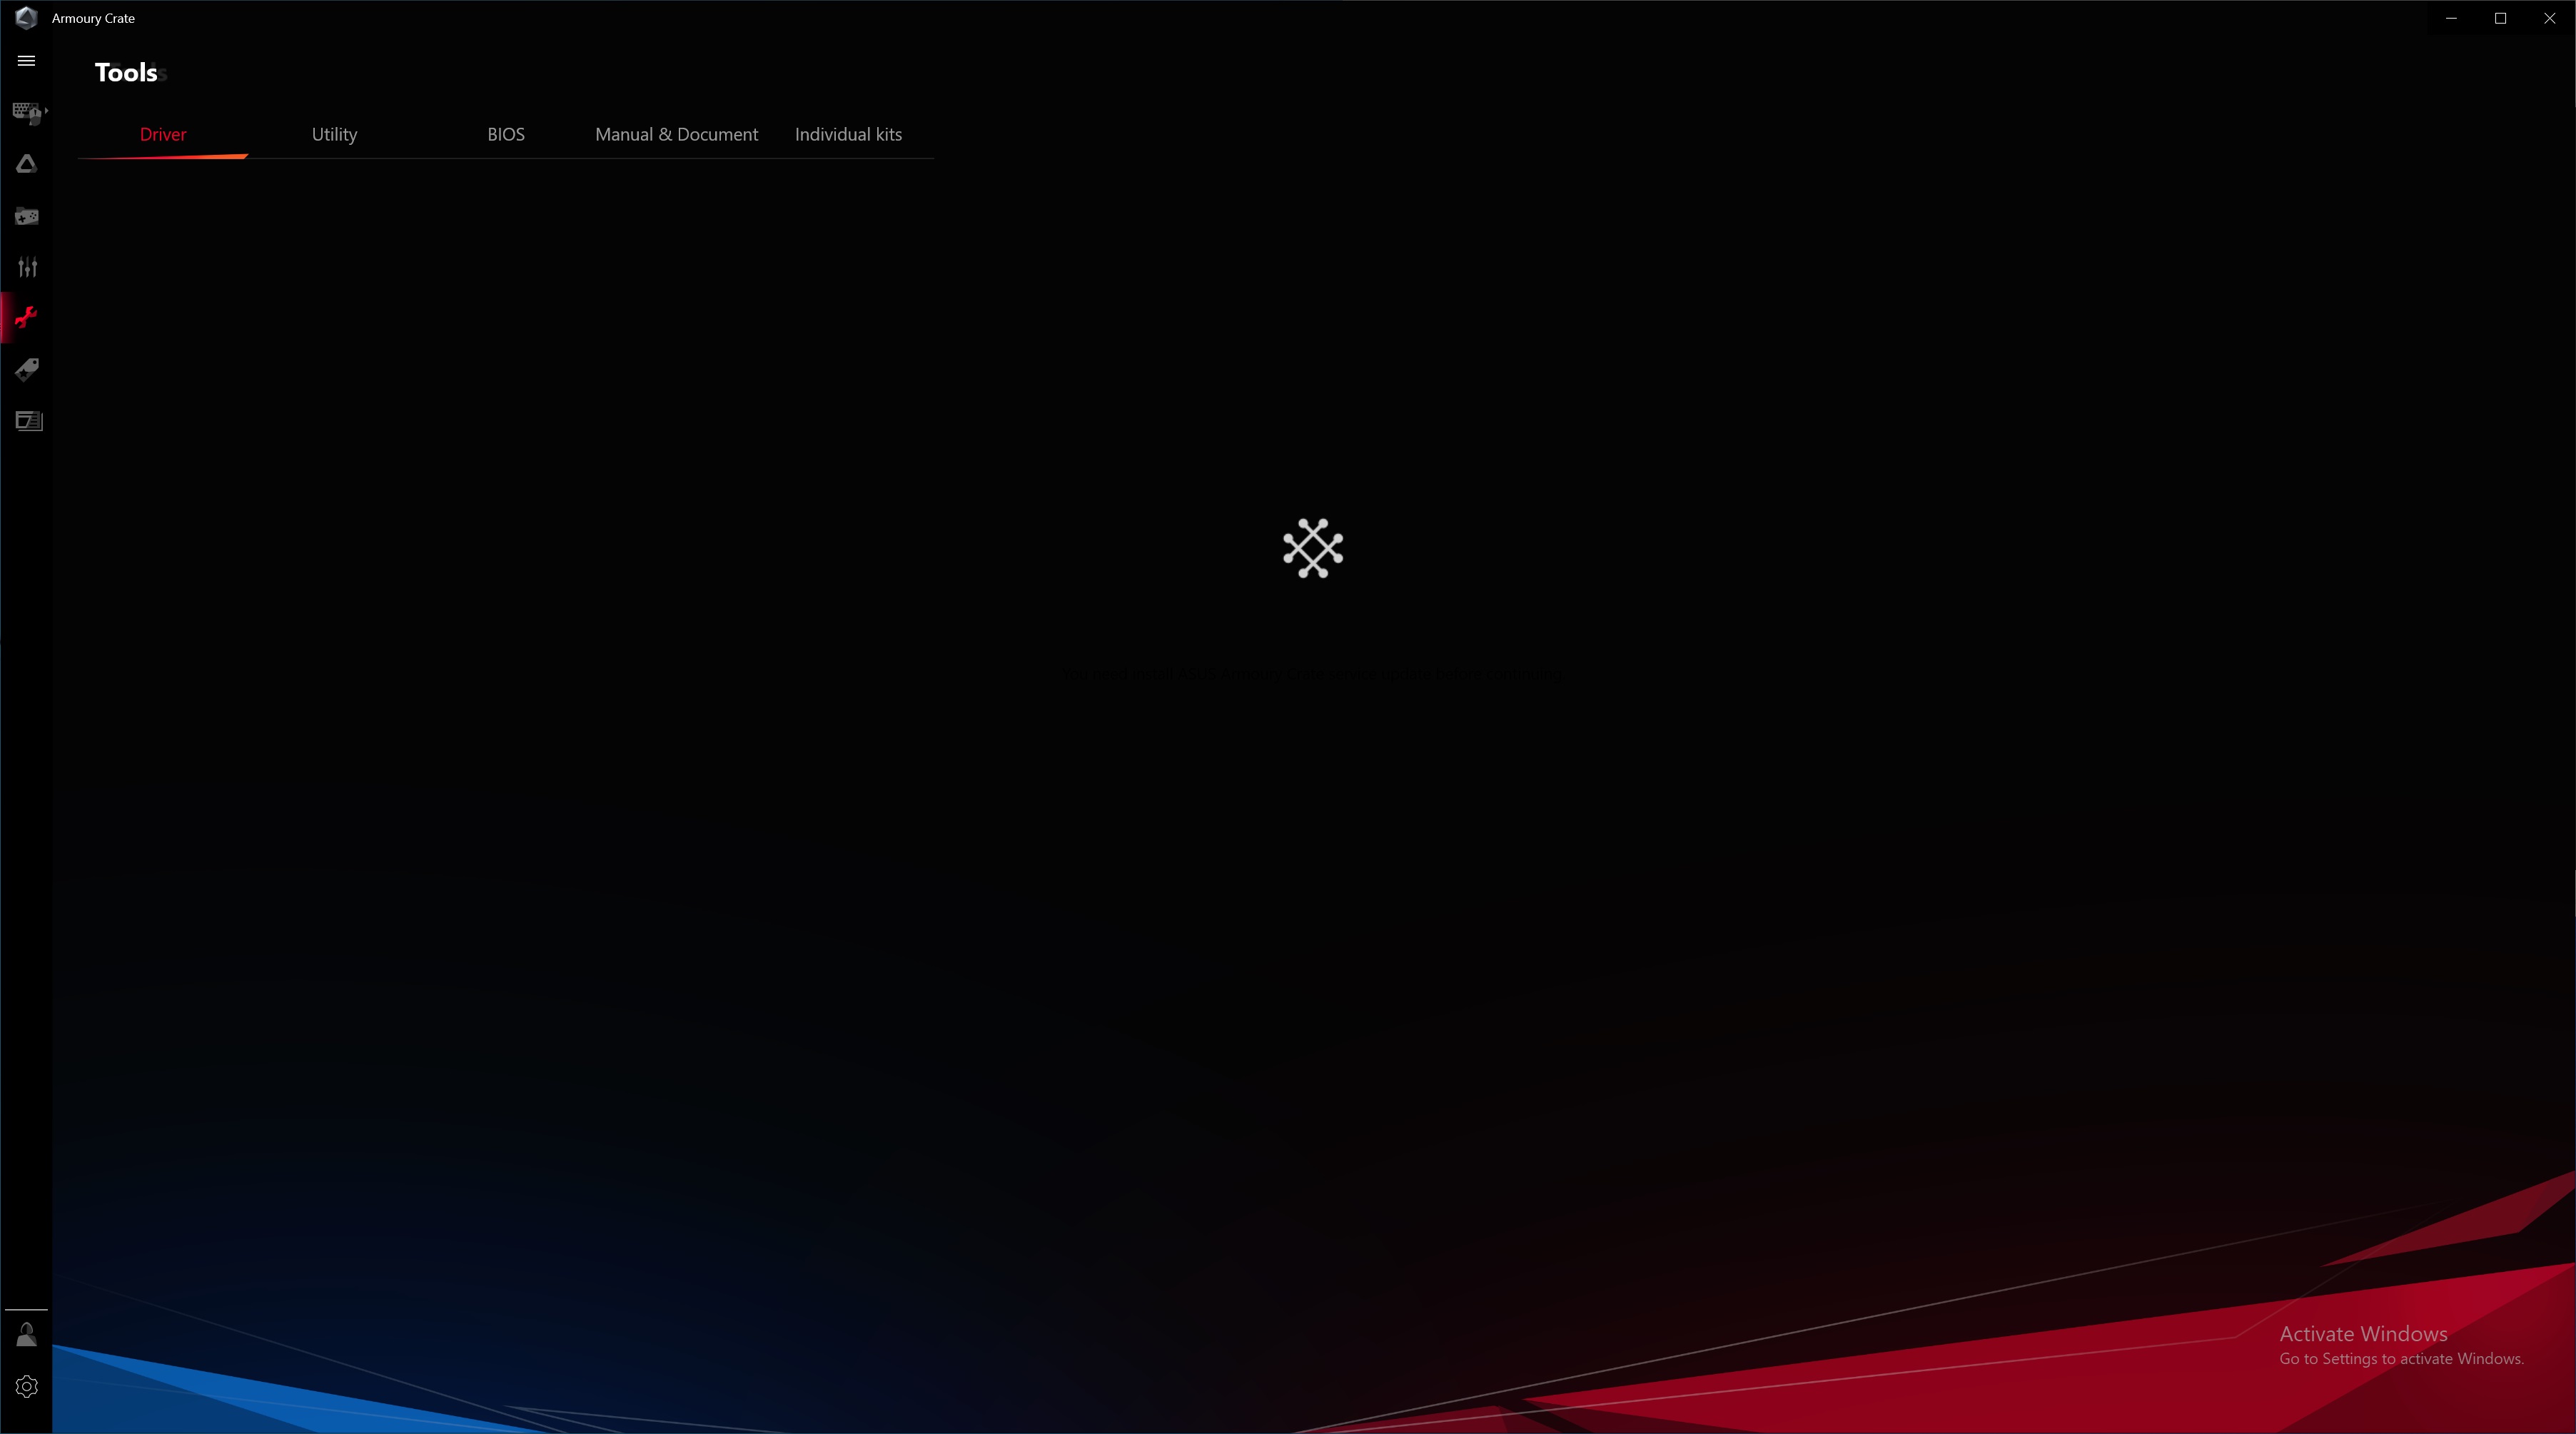
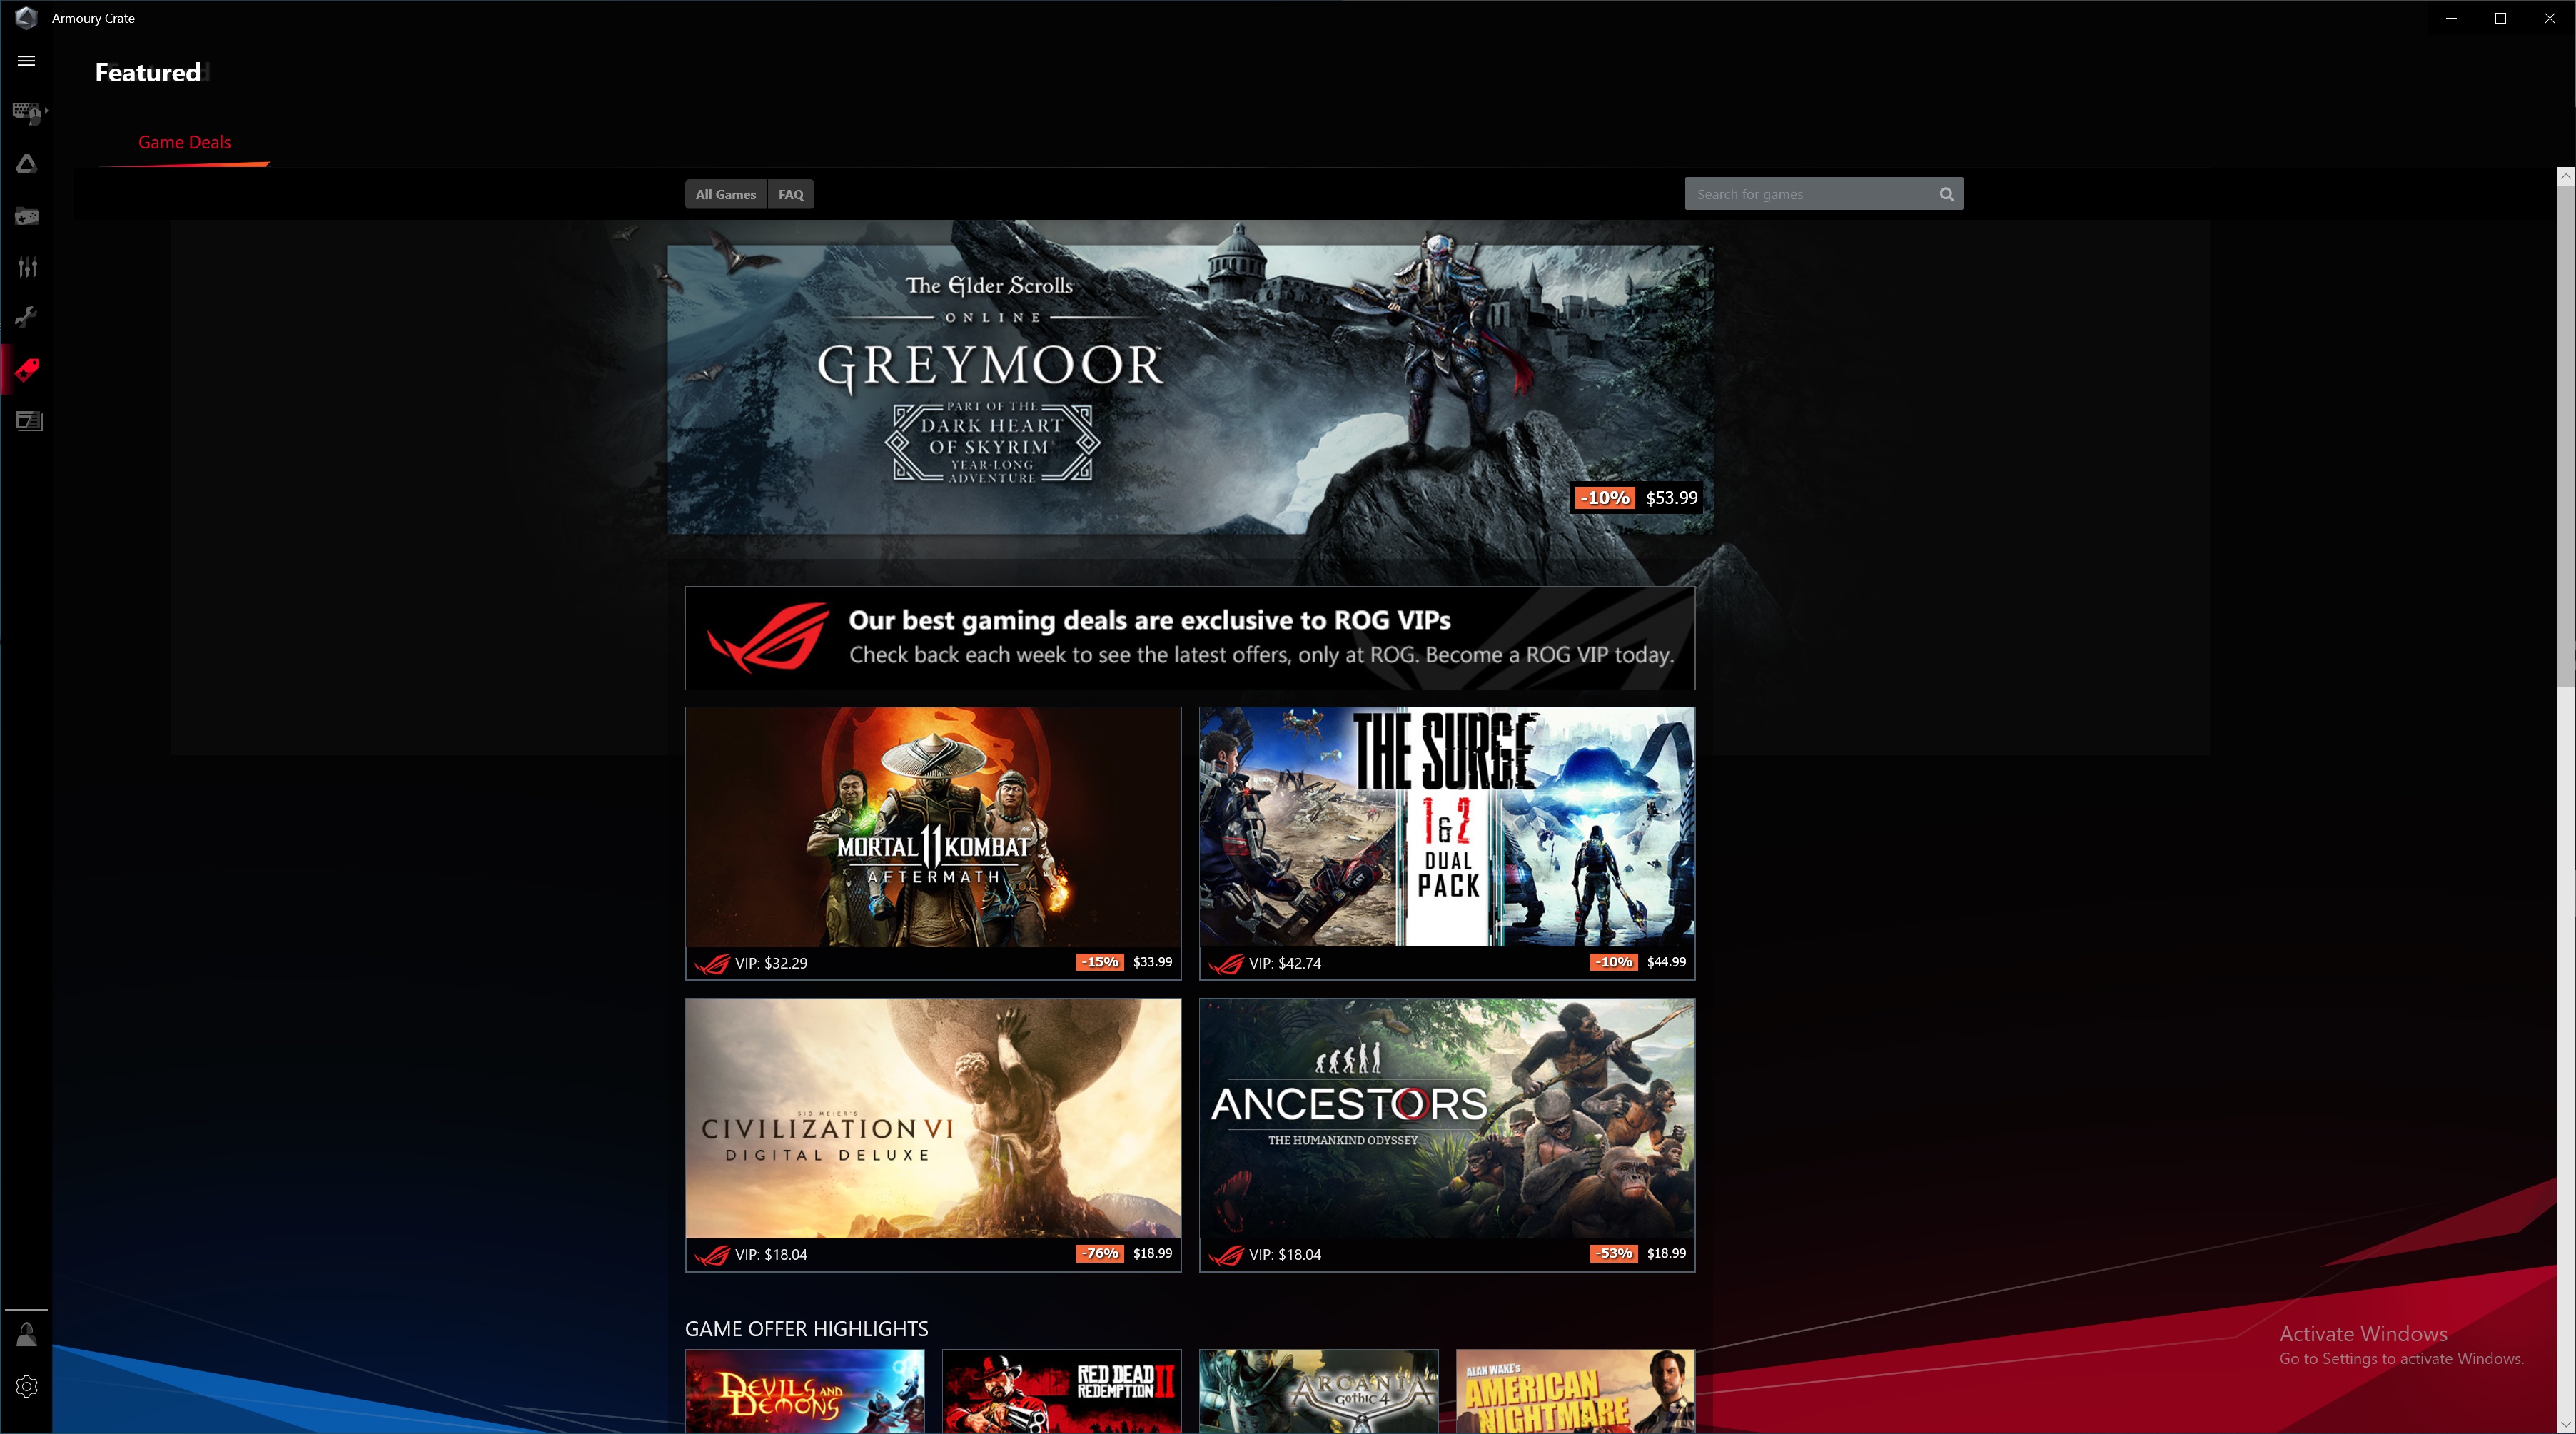
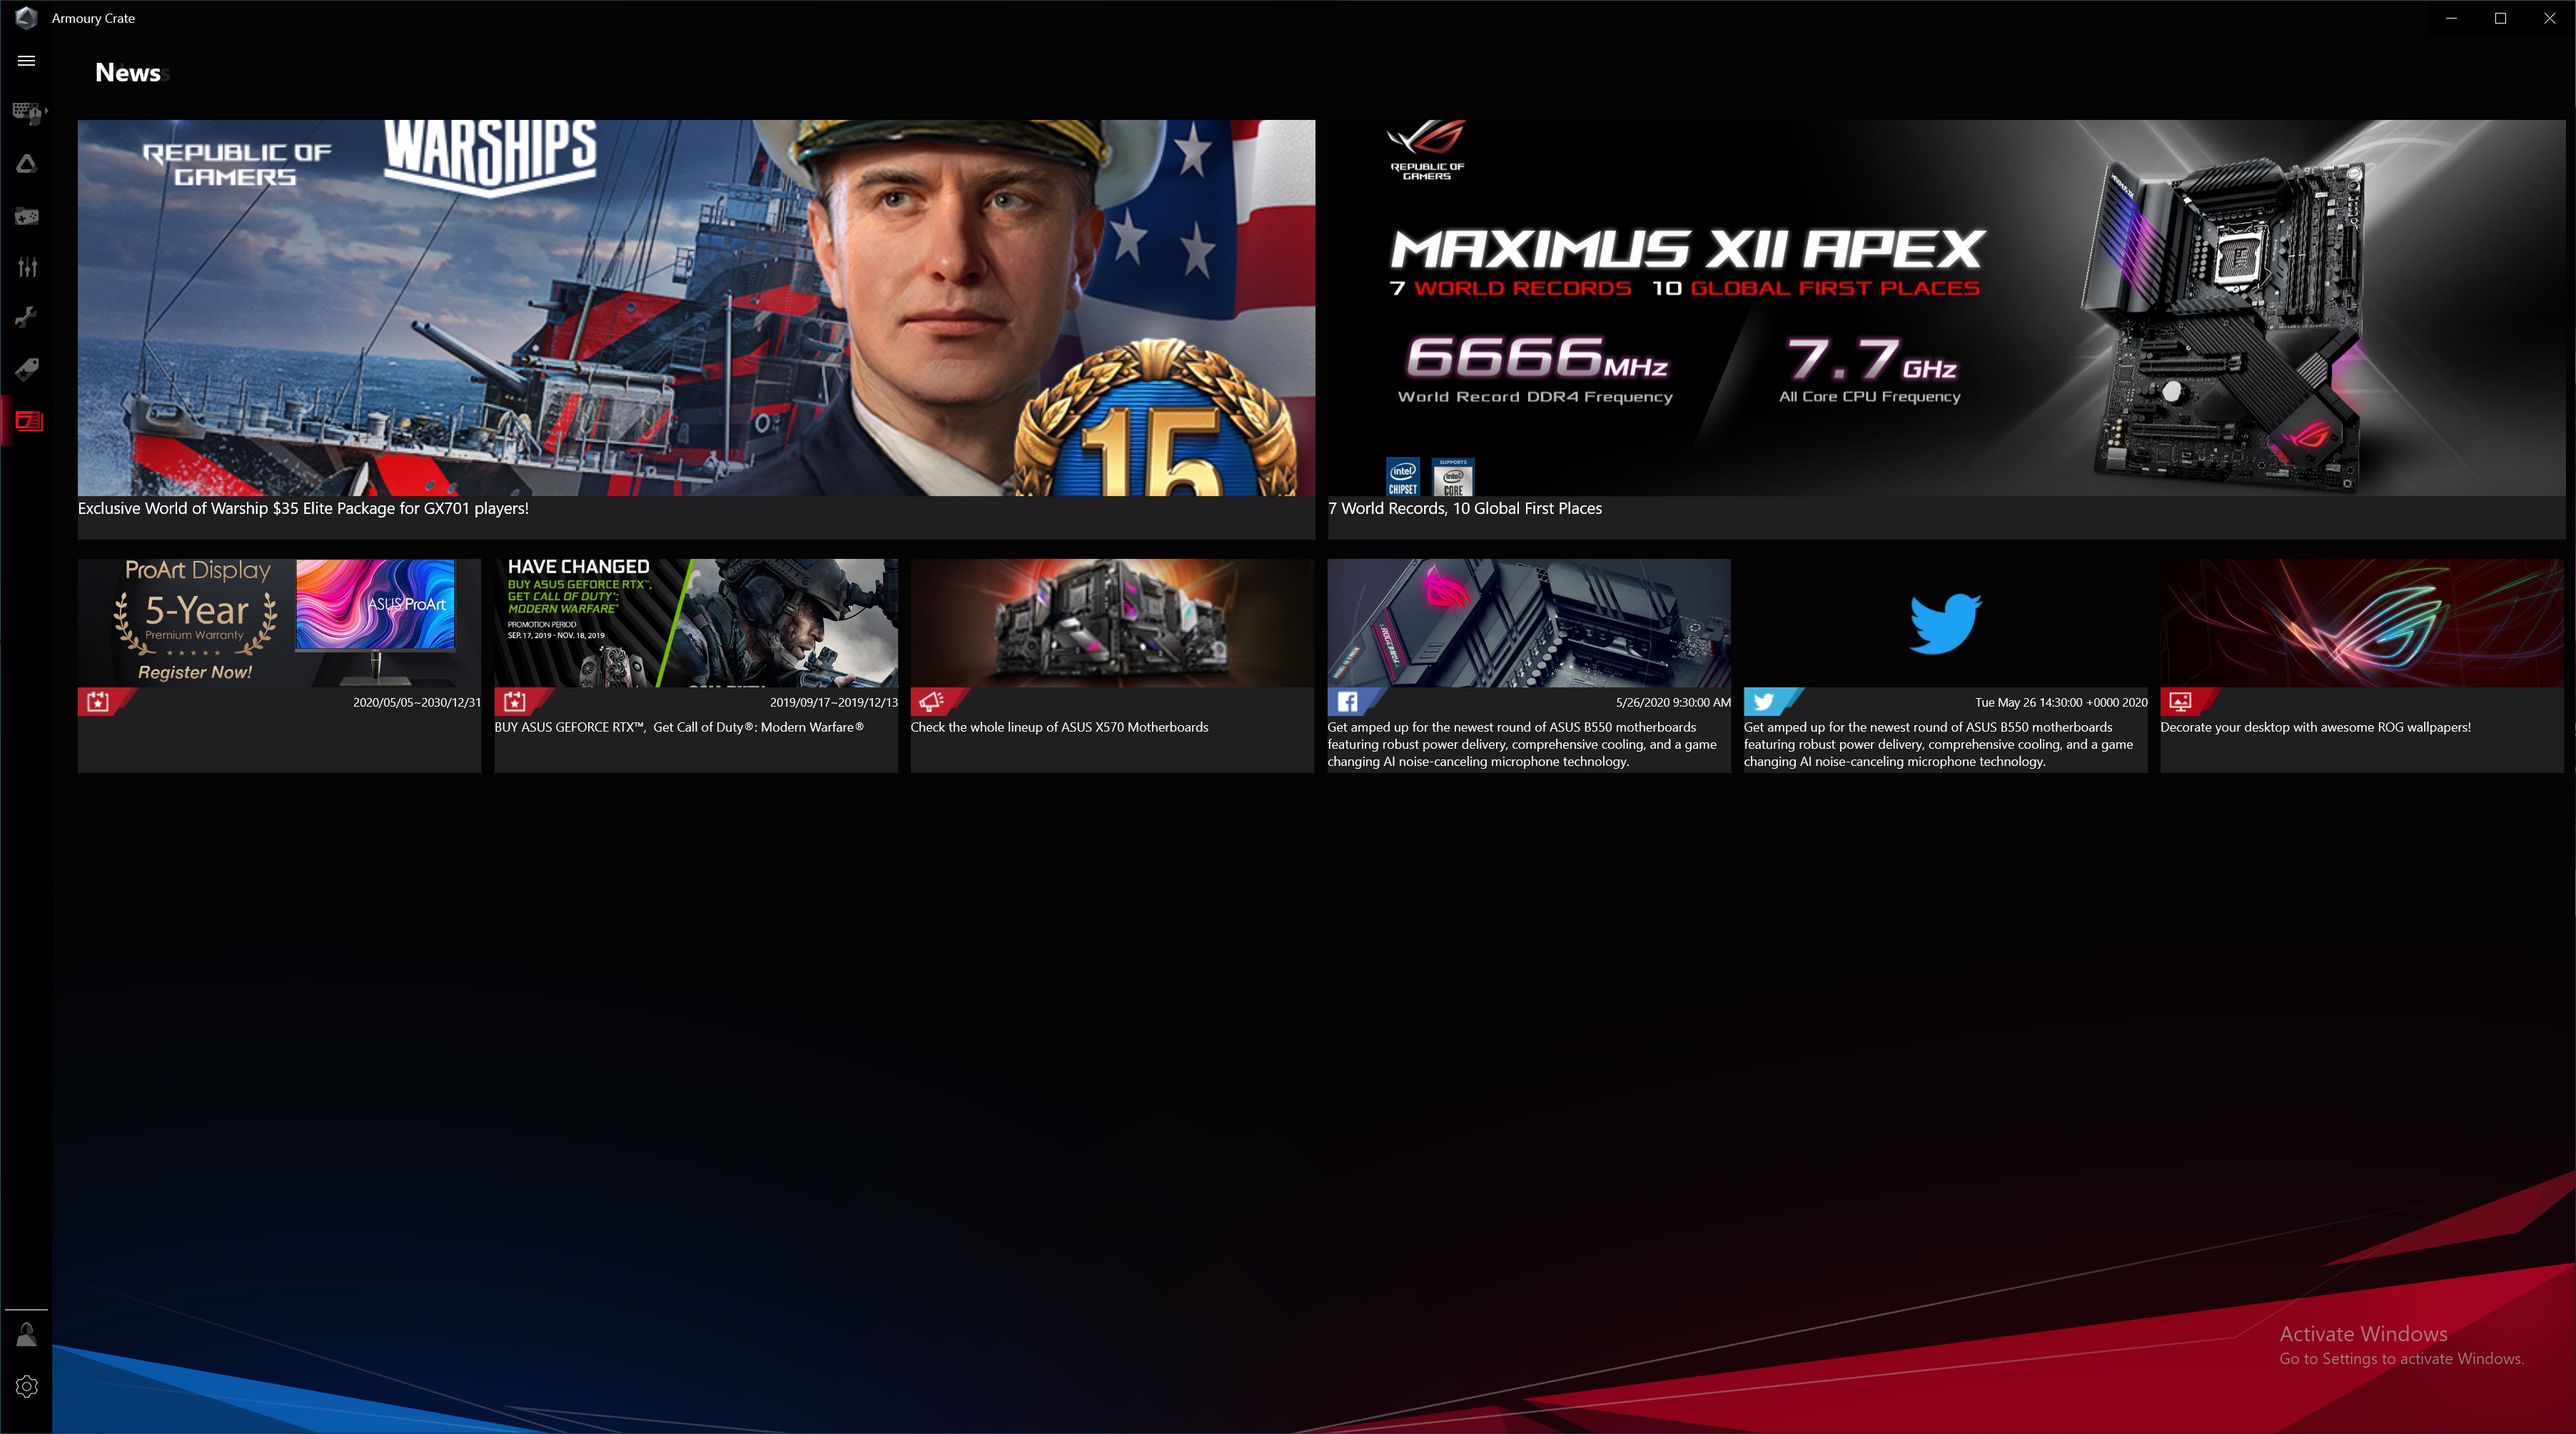
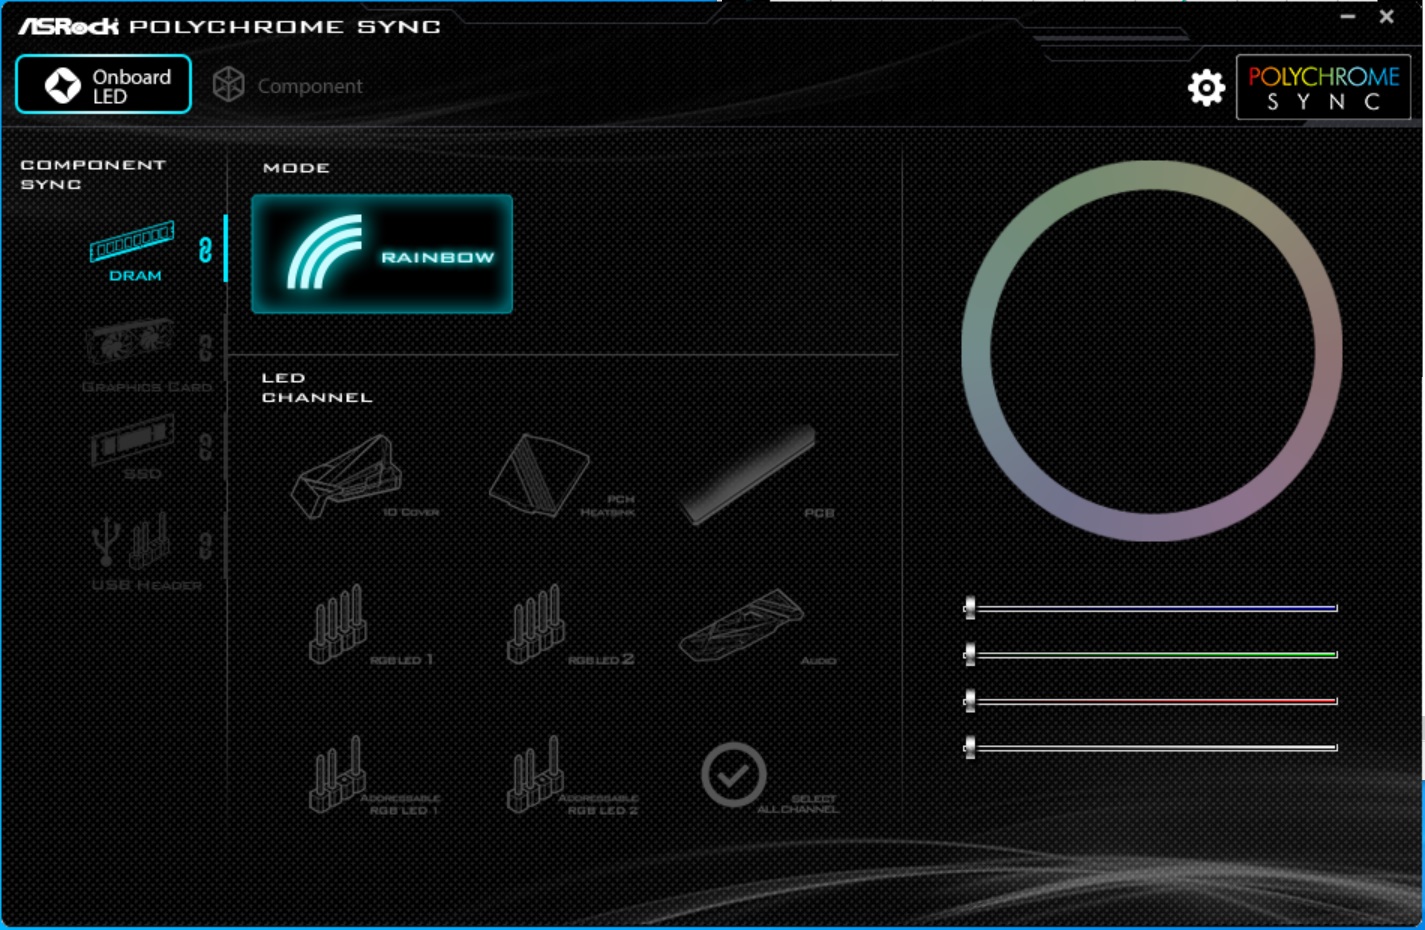
On the software side, ASRock includes programs for a variety of applications, including RGB lighting control, an App Shop for managing/updating drivers, ASRock applications and overclocking. ASRock doesn’t use a single program to house all of these applications, so you will have to download them separately. Below we’ve captured several screenshots of the App Shop, A-Tune, Polychrome Sync, A-Tune, and the Nahimic 3 audio program.
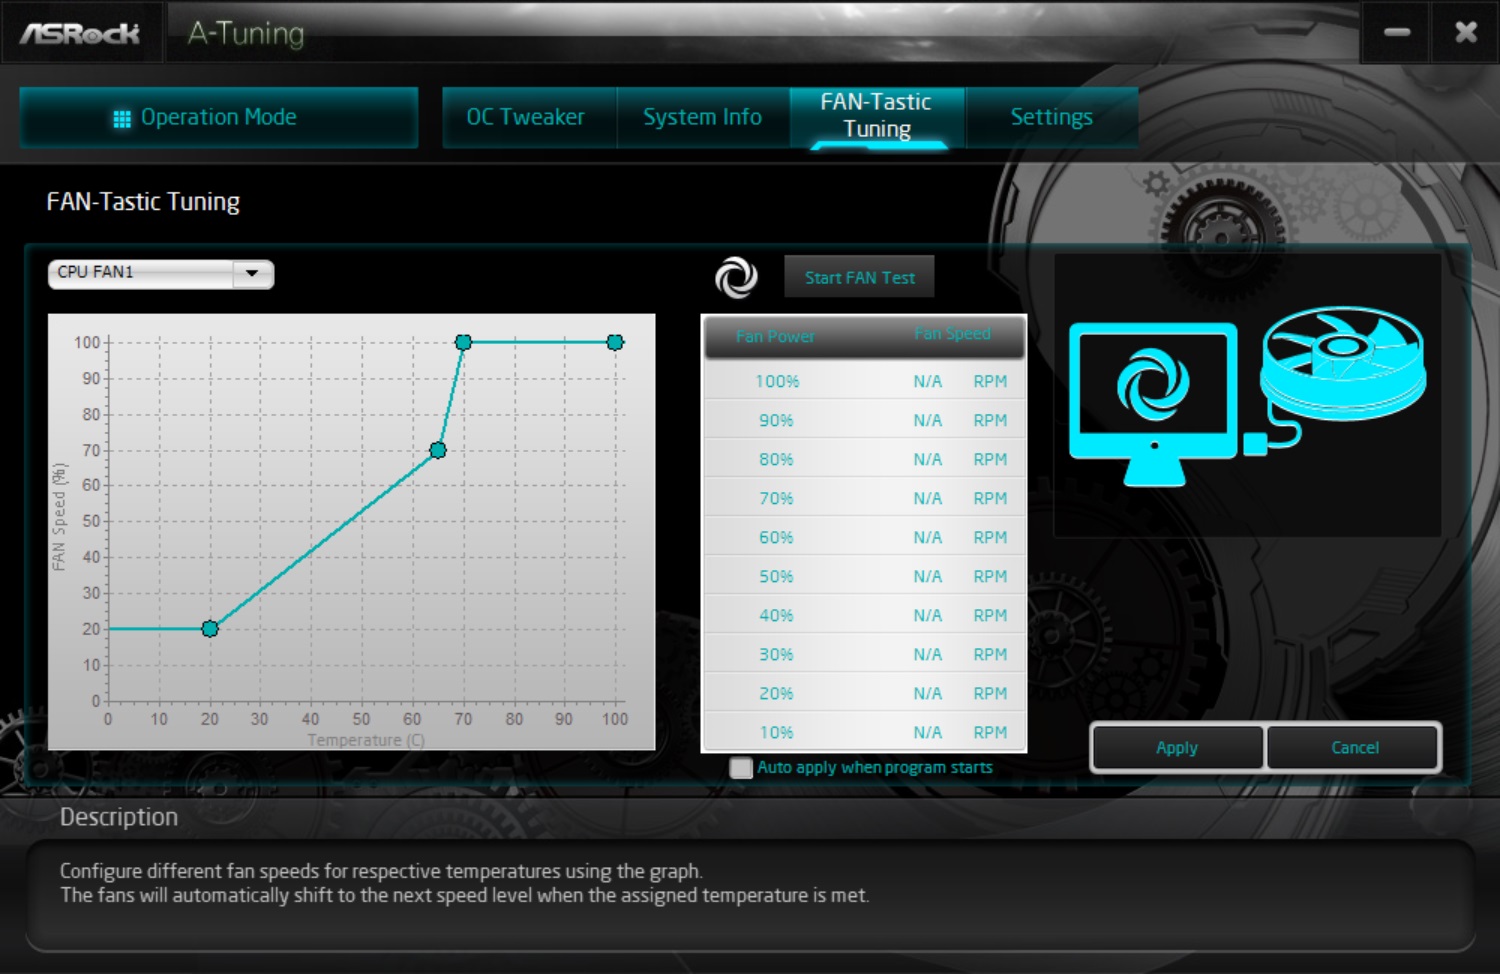
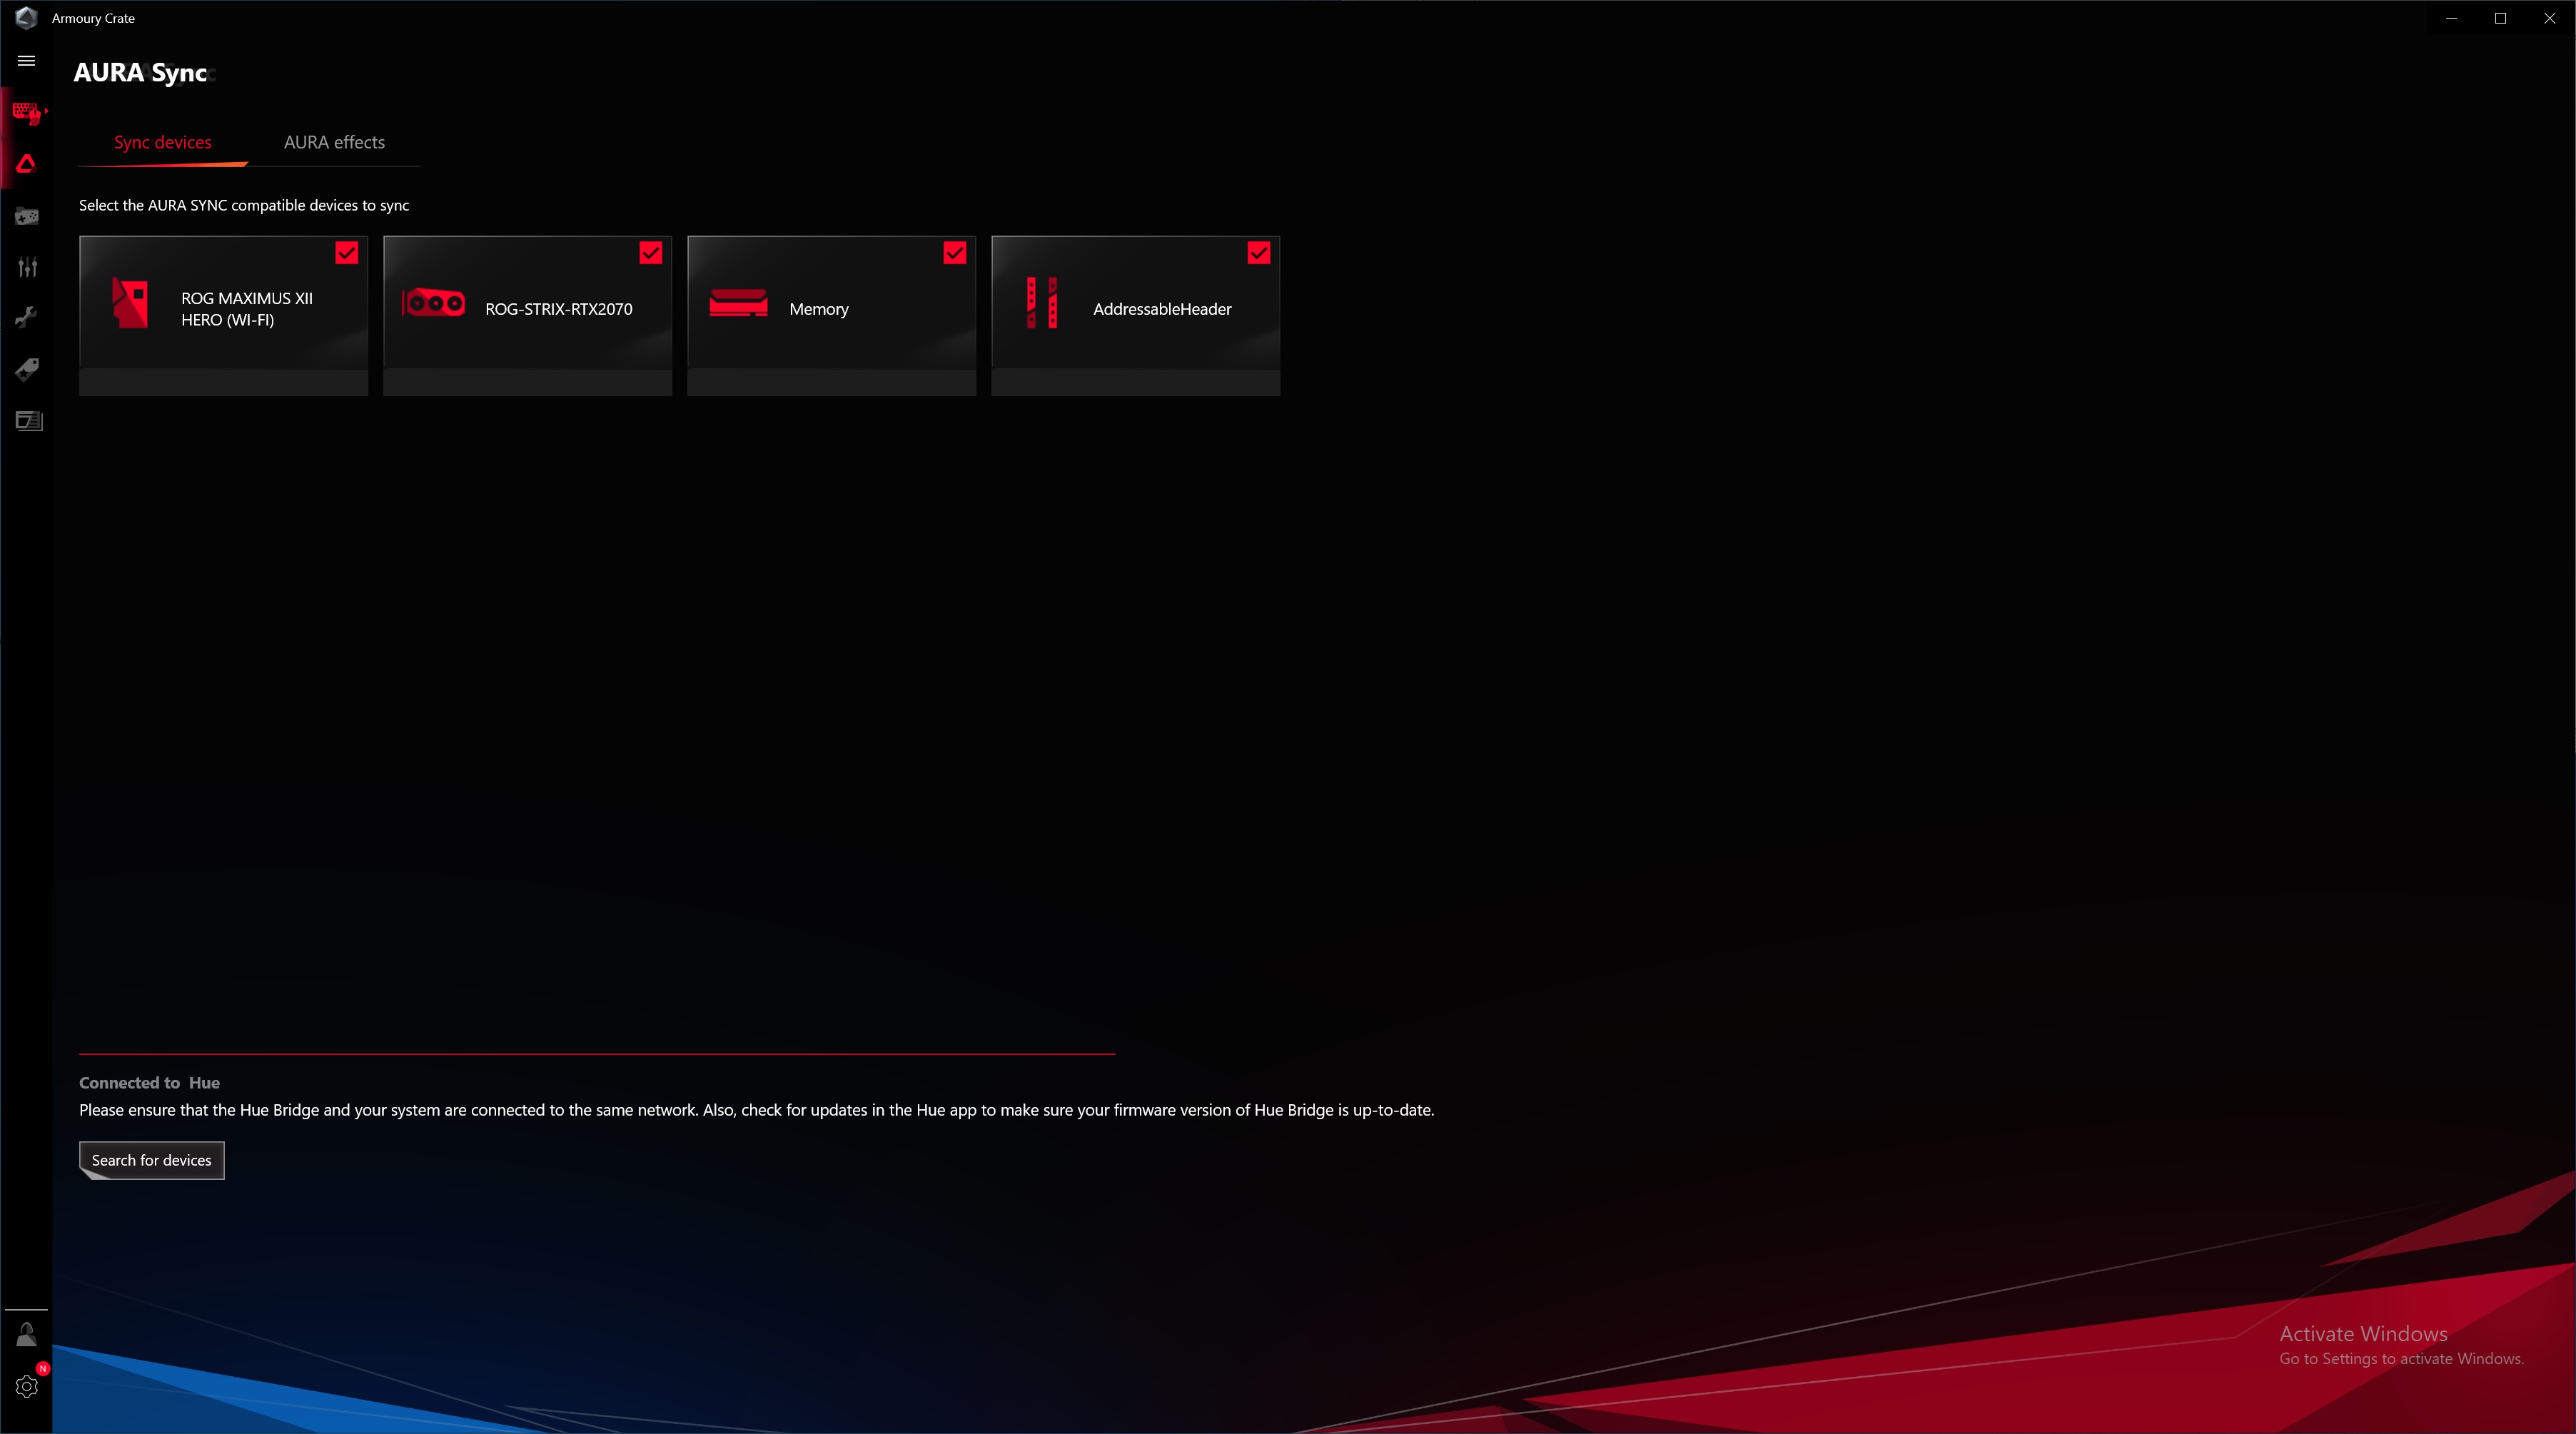
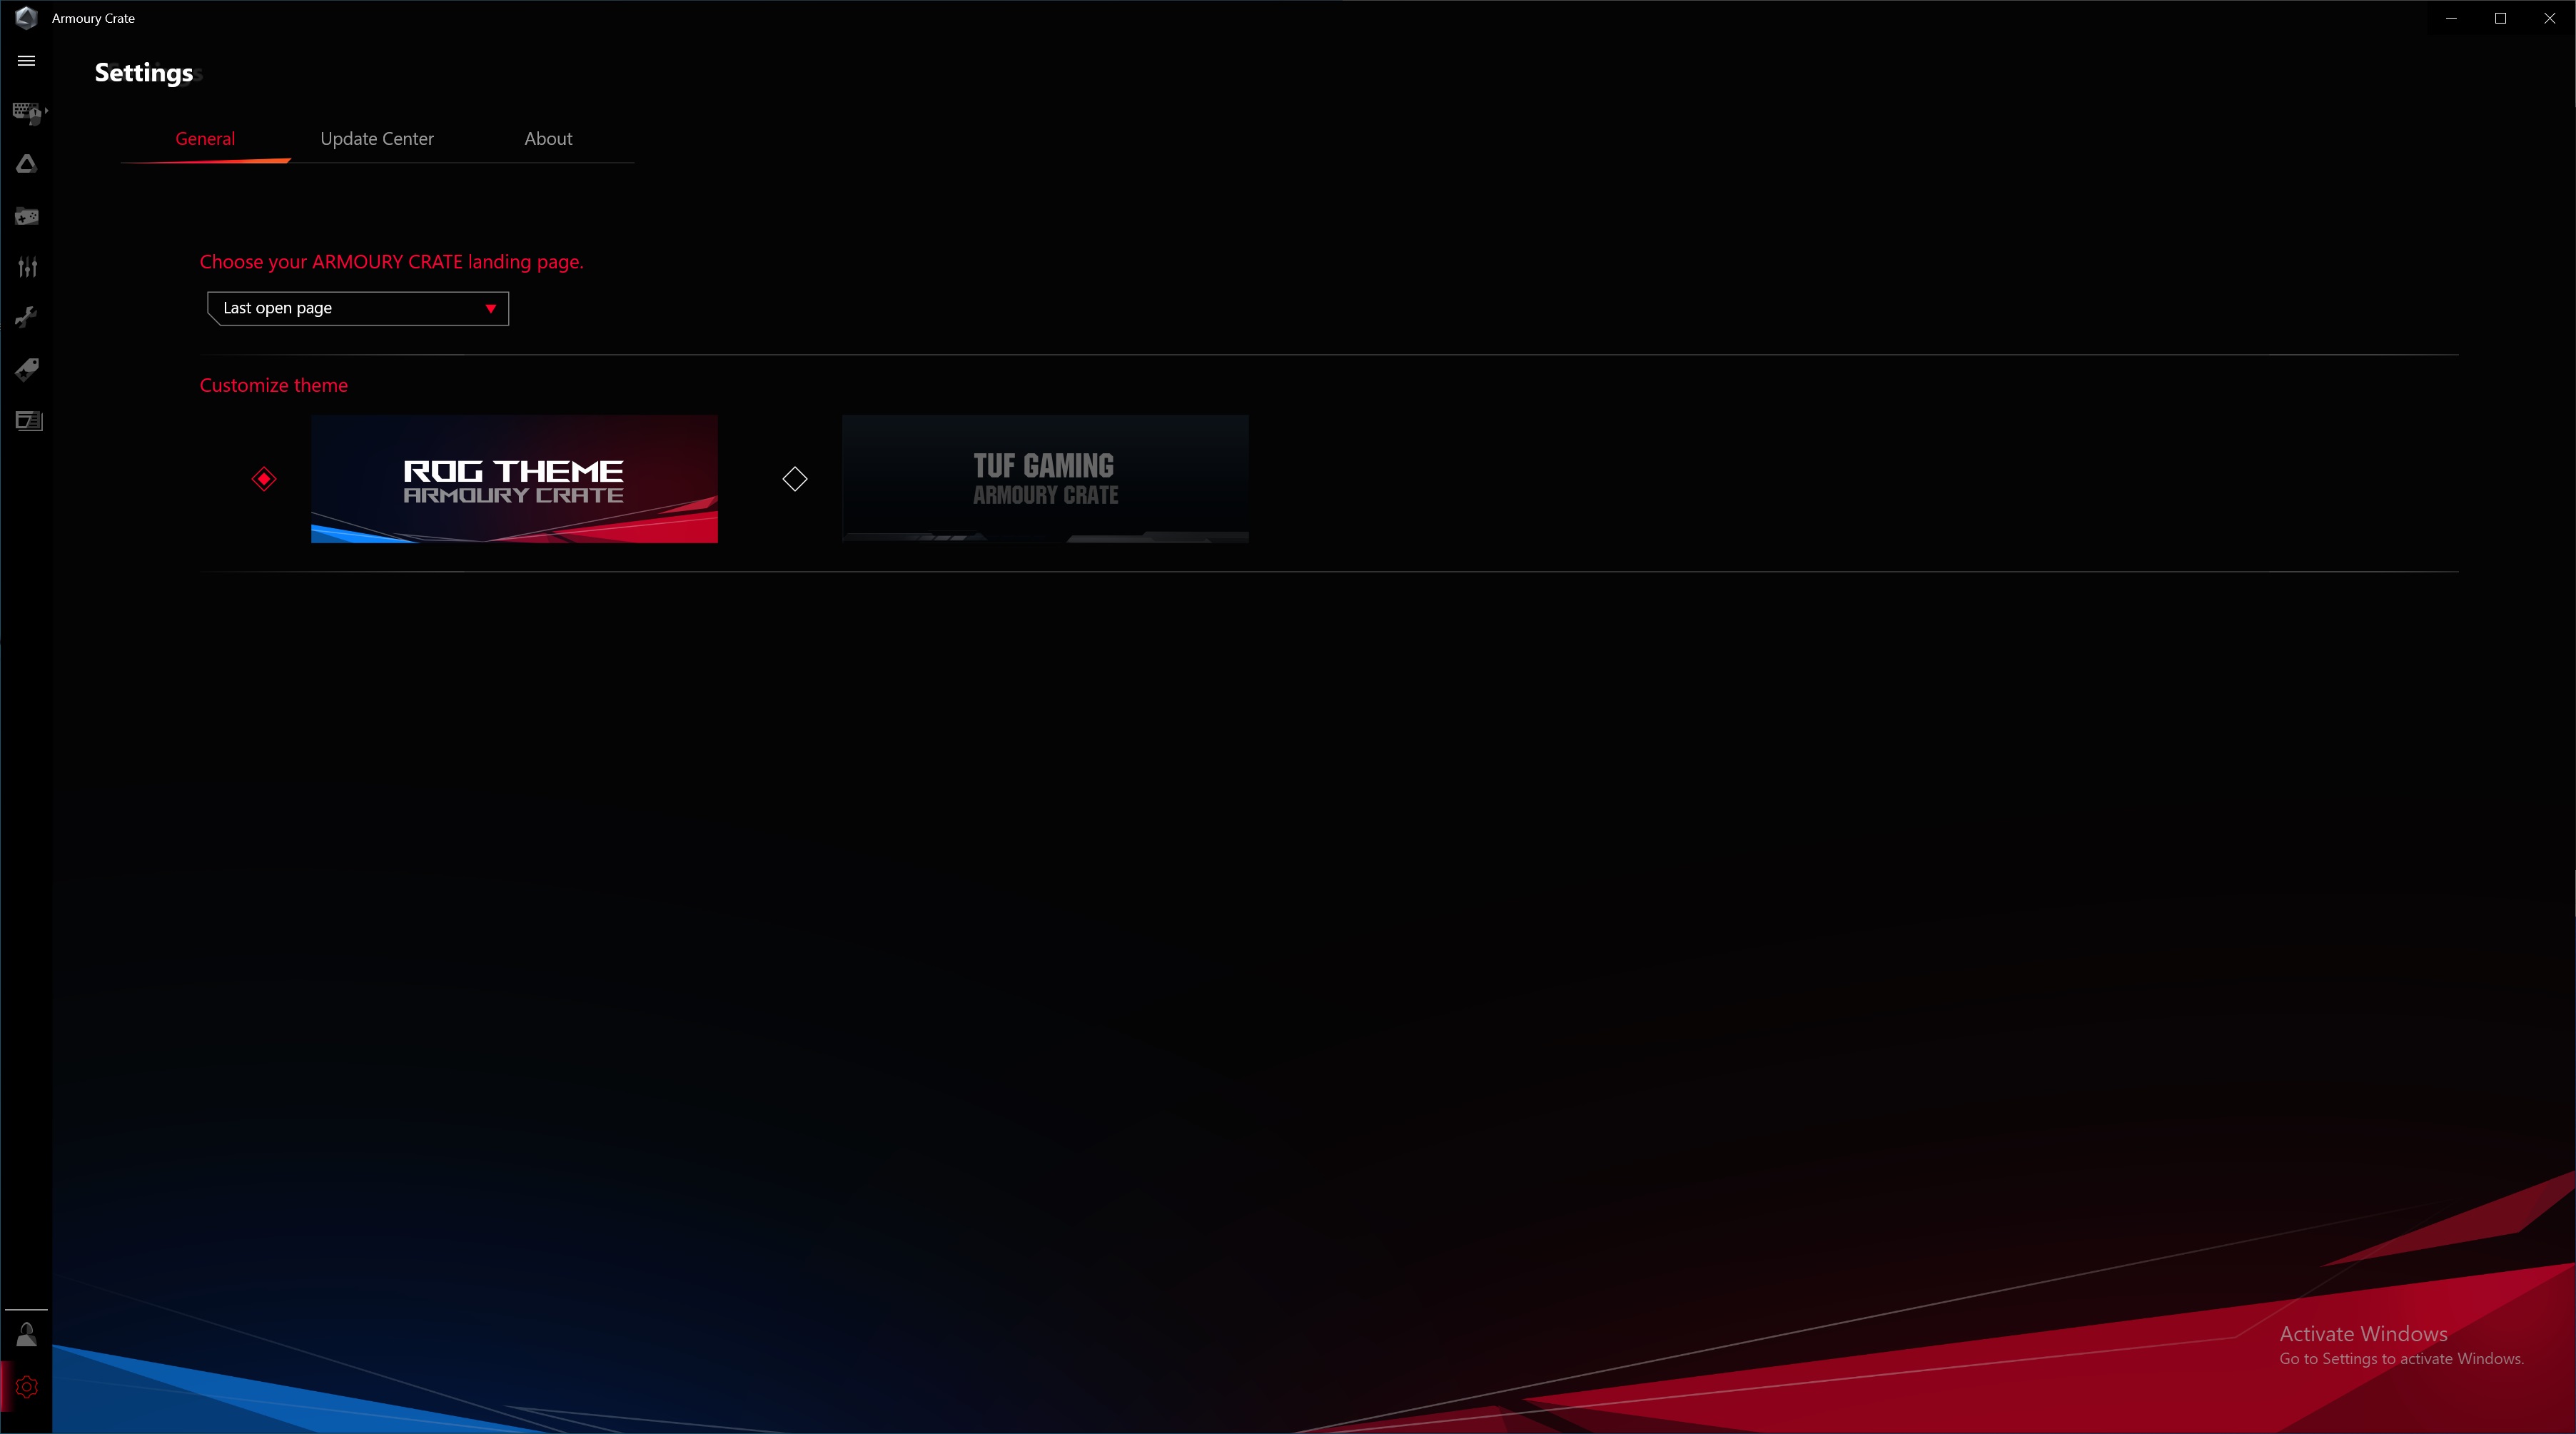
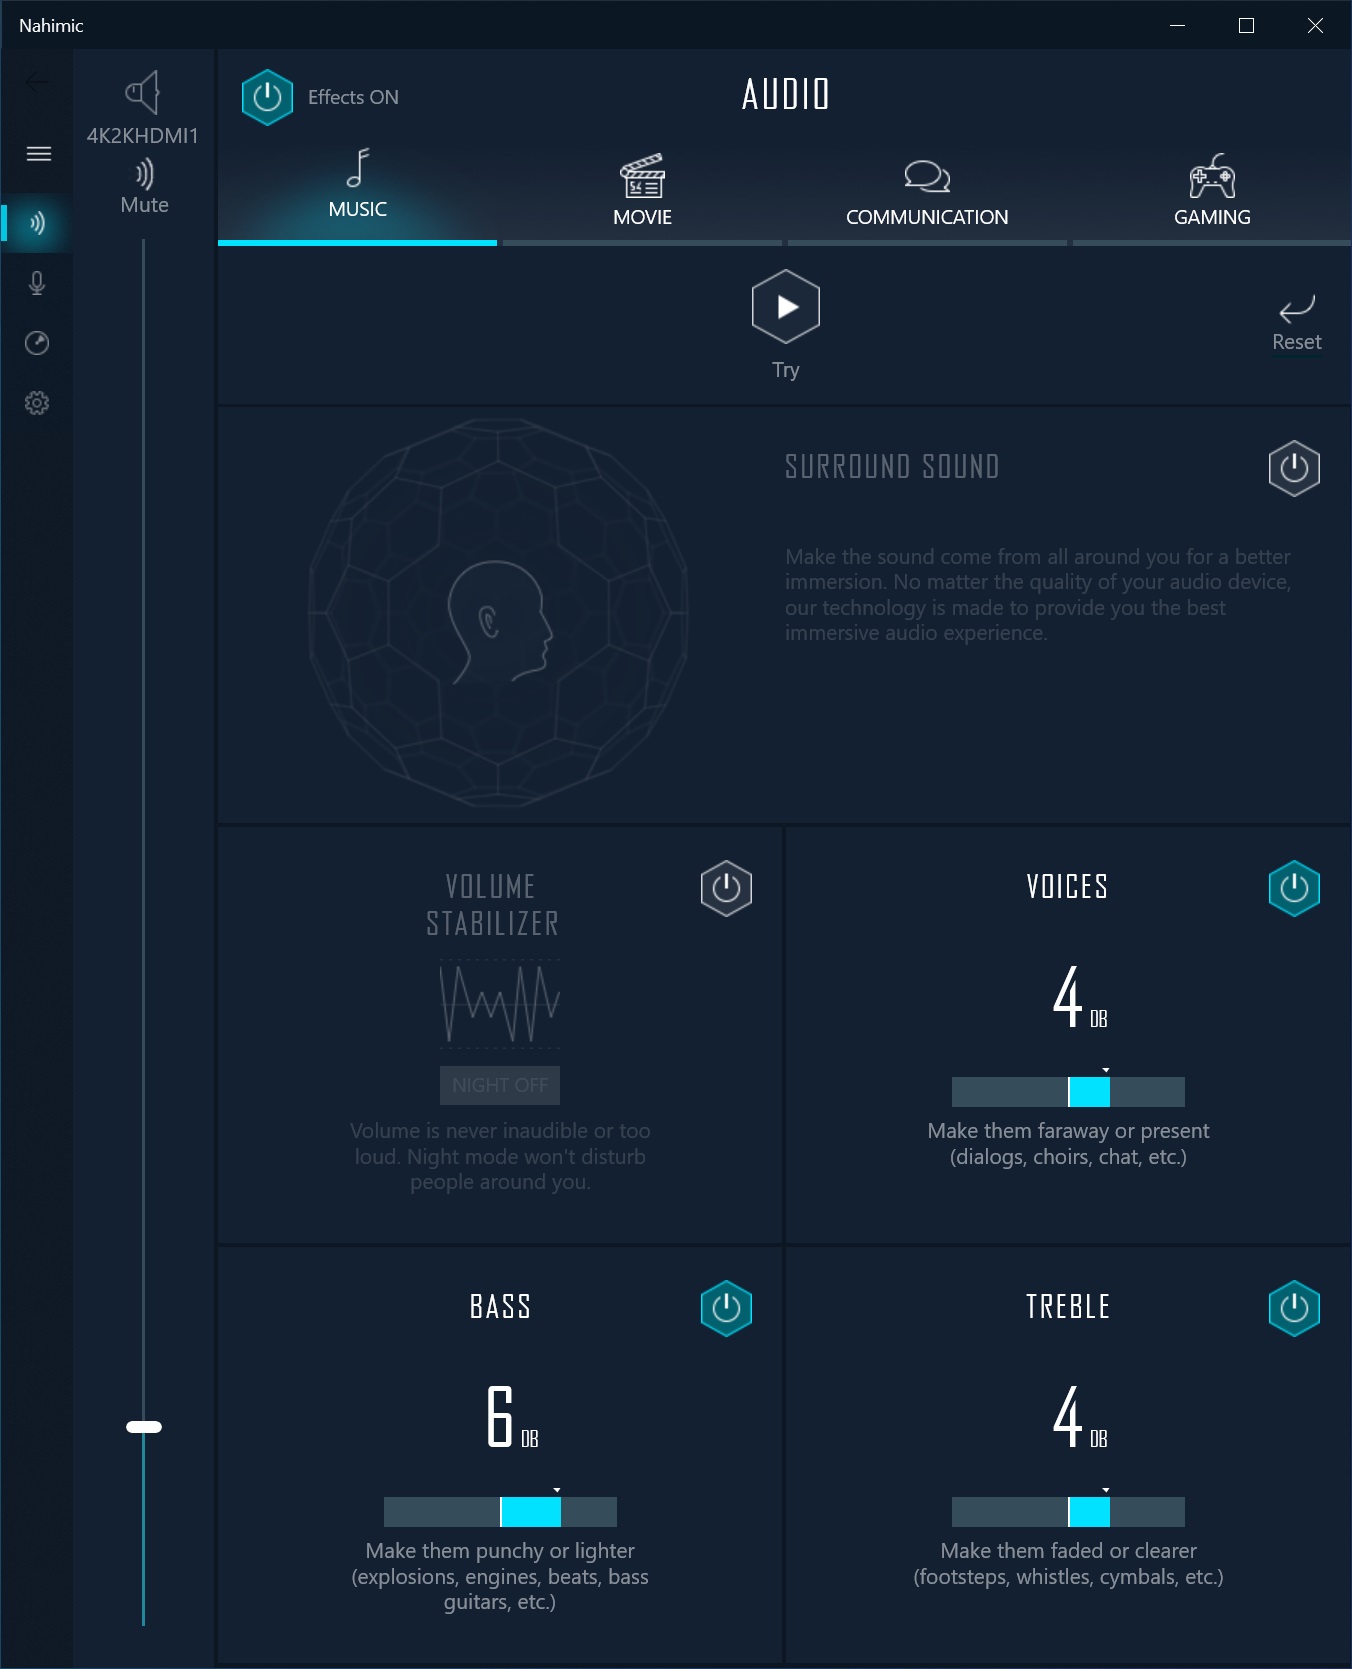
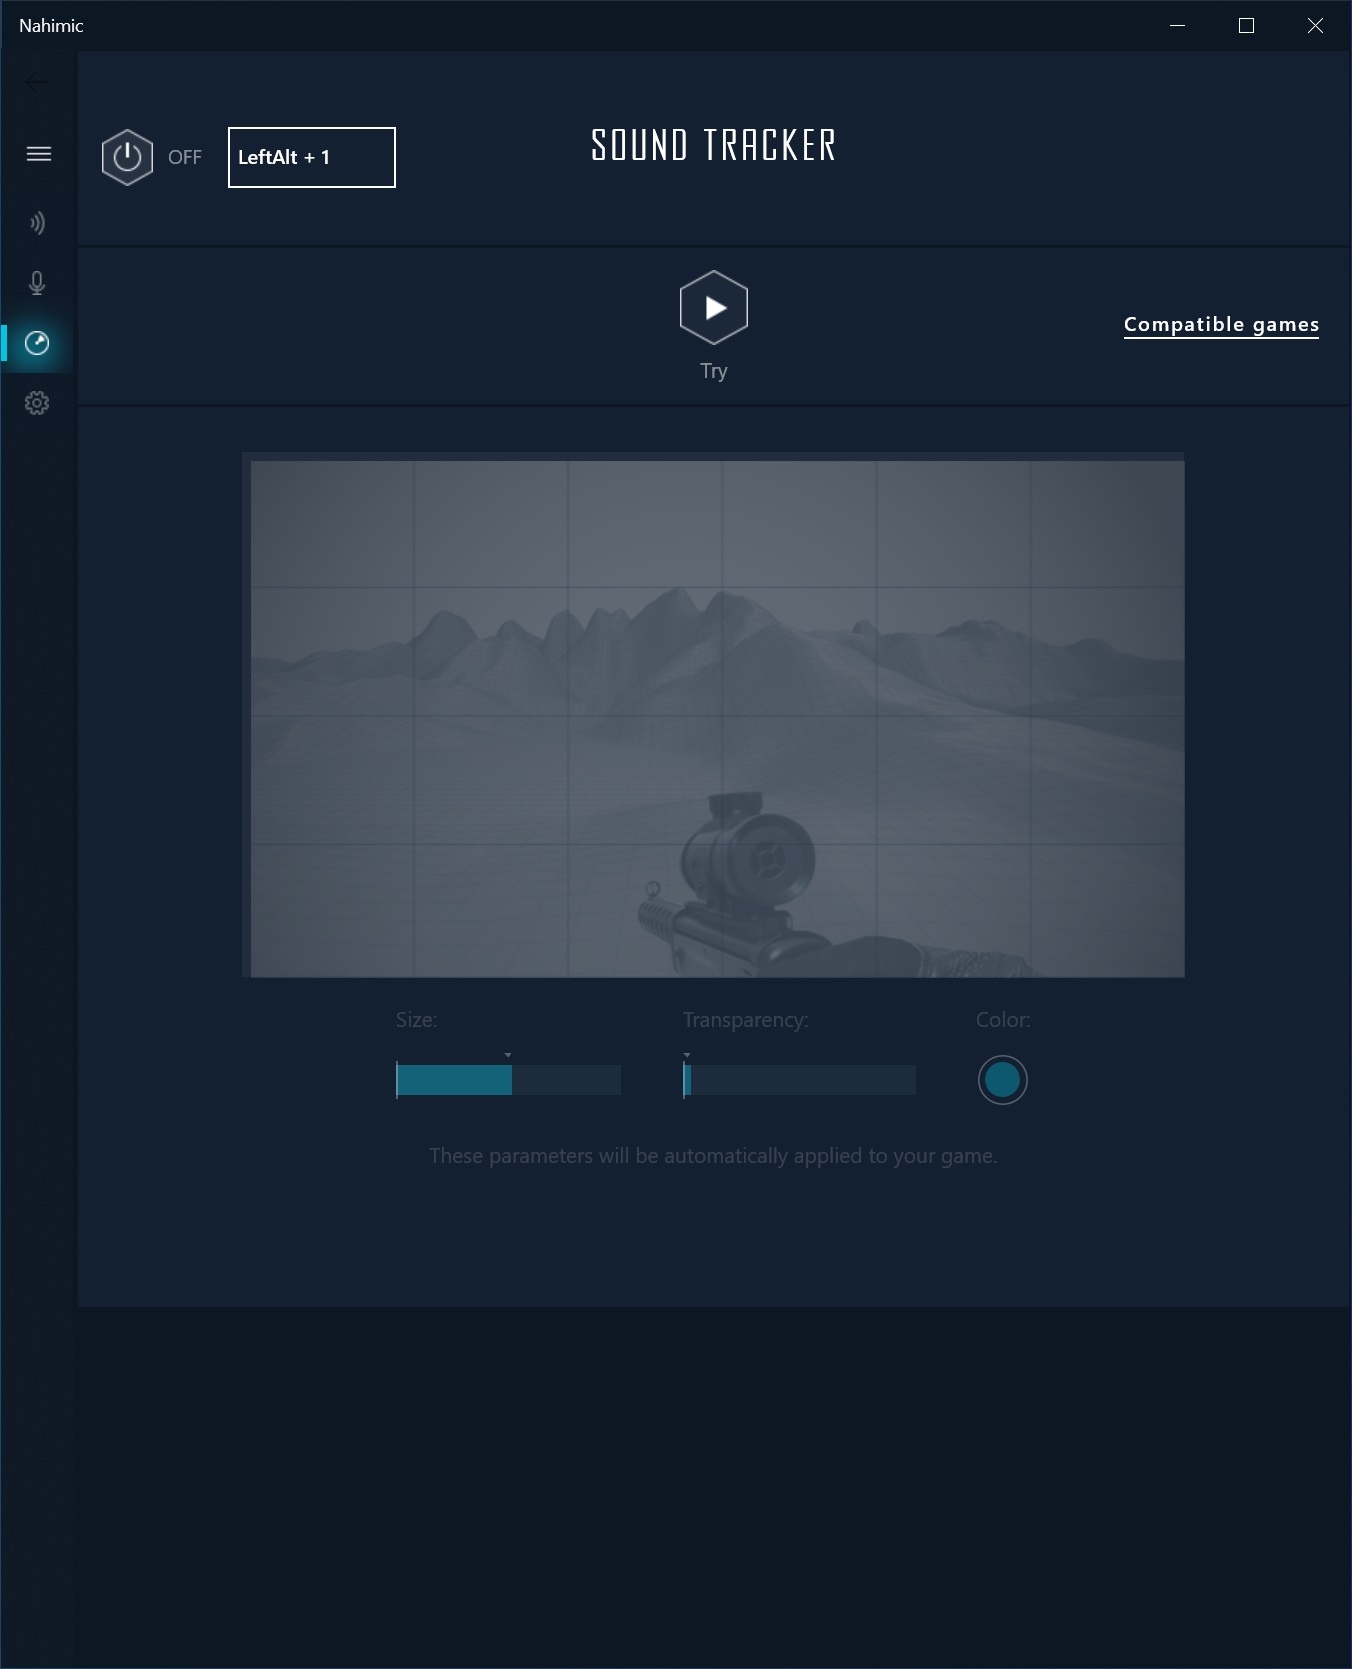
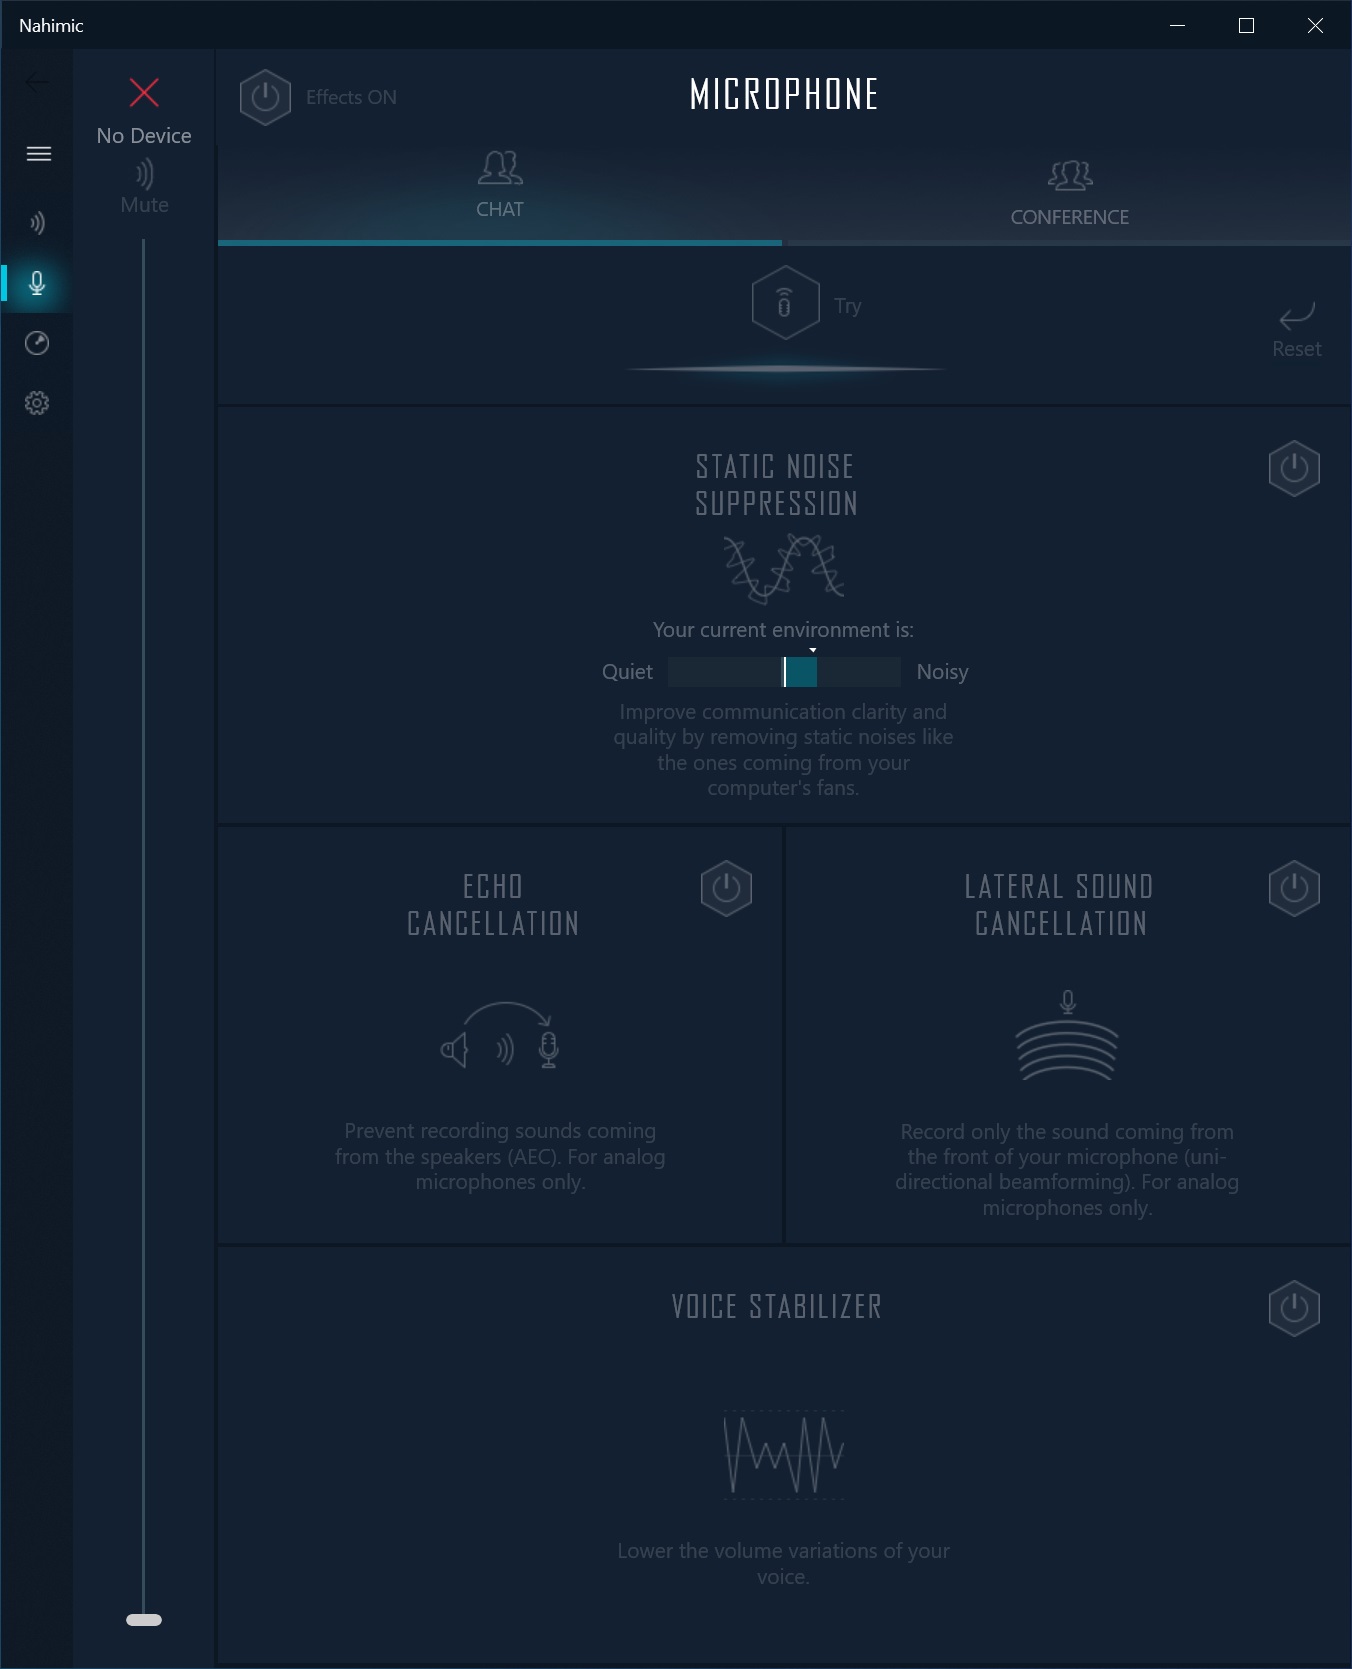
Firmware
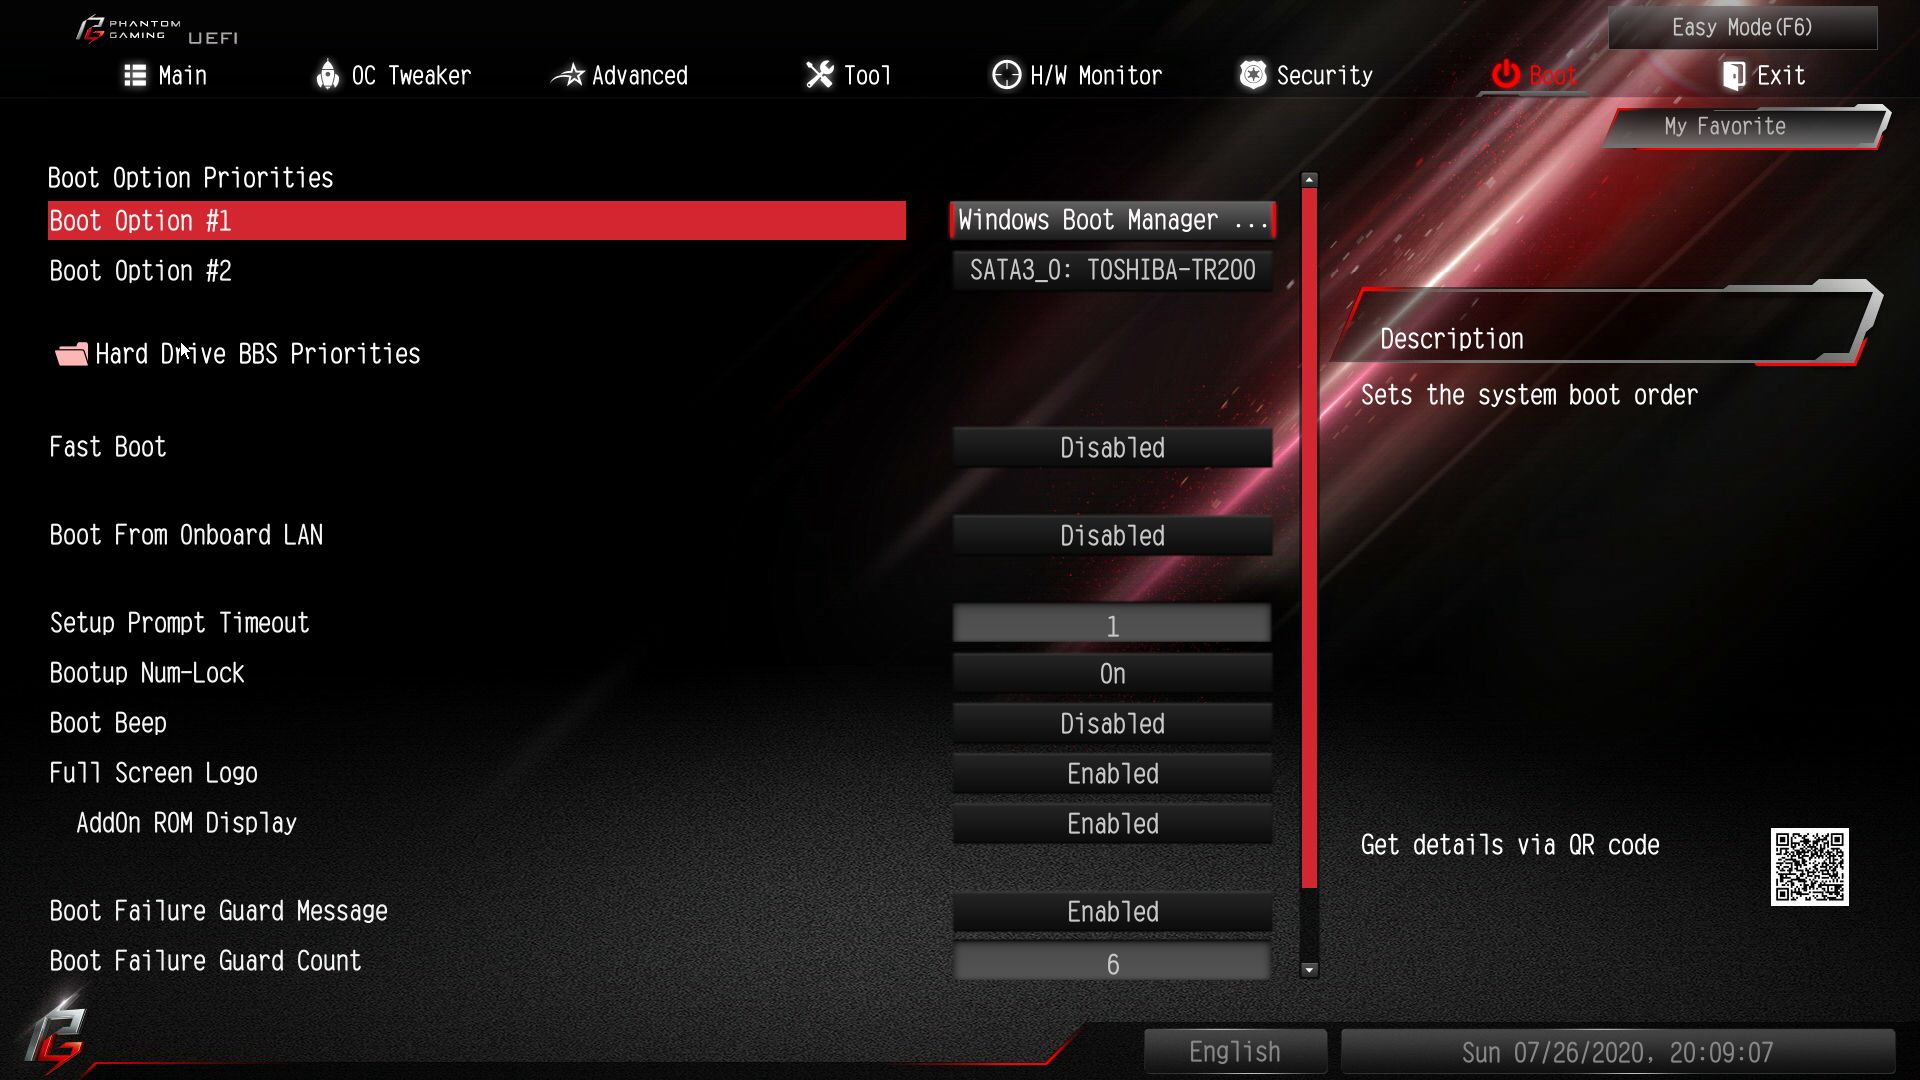
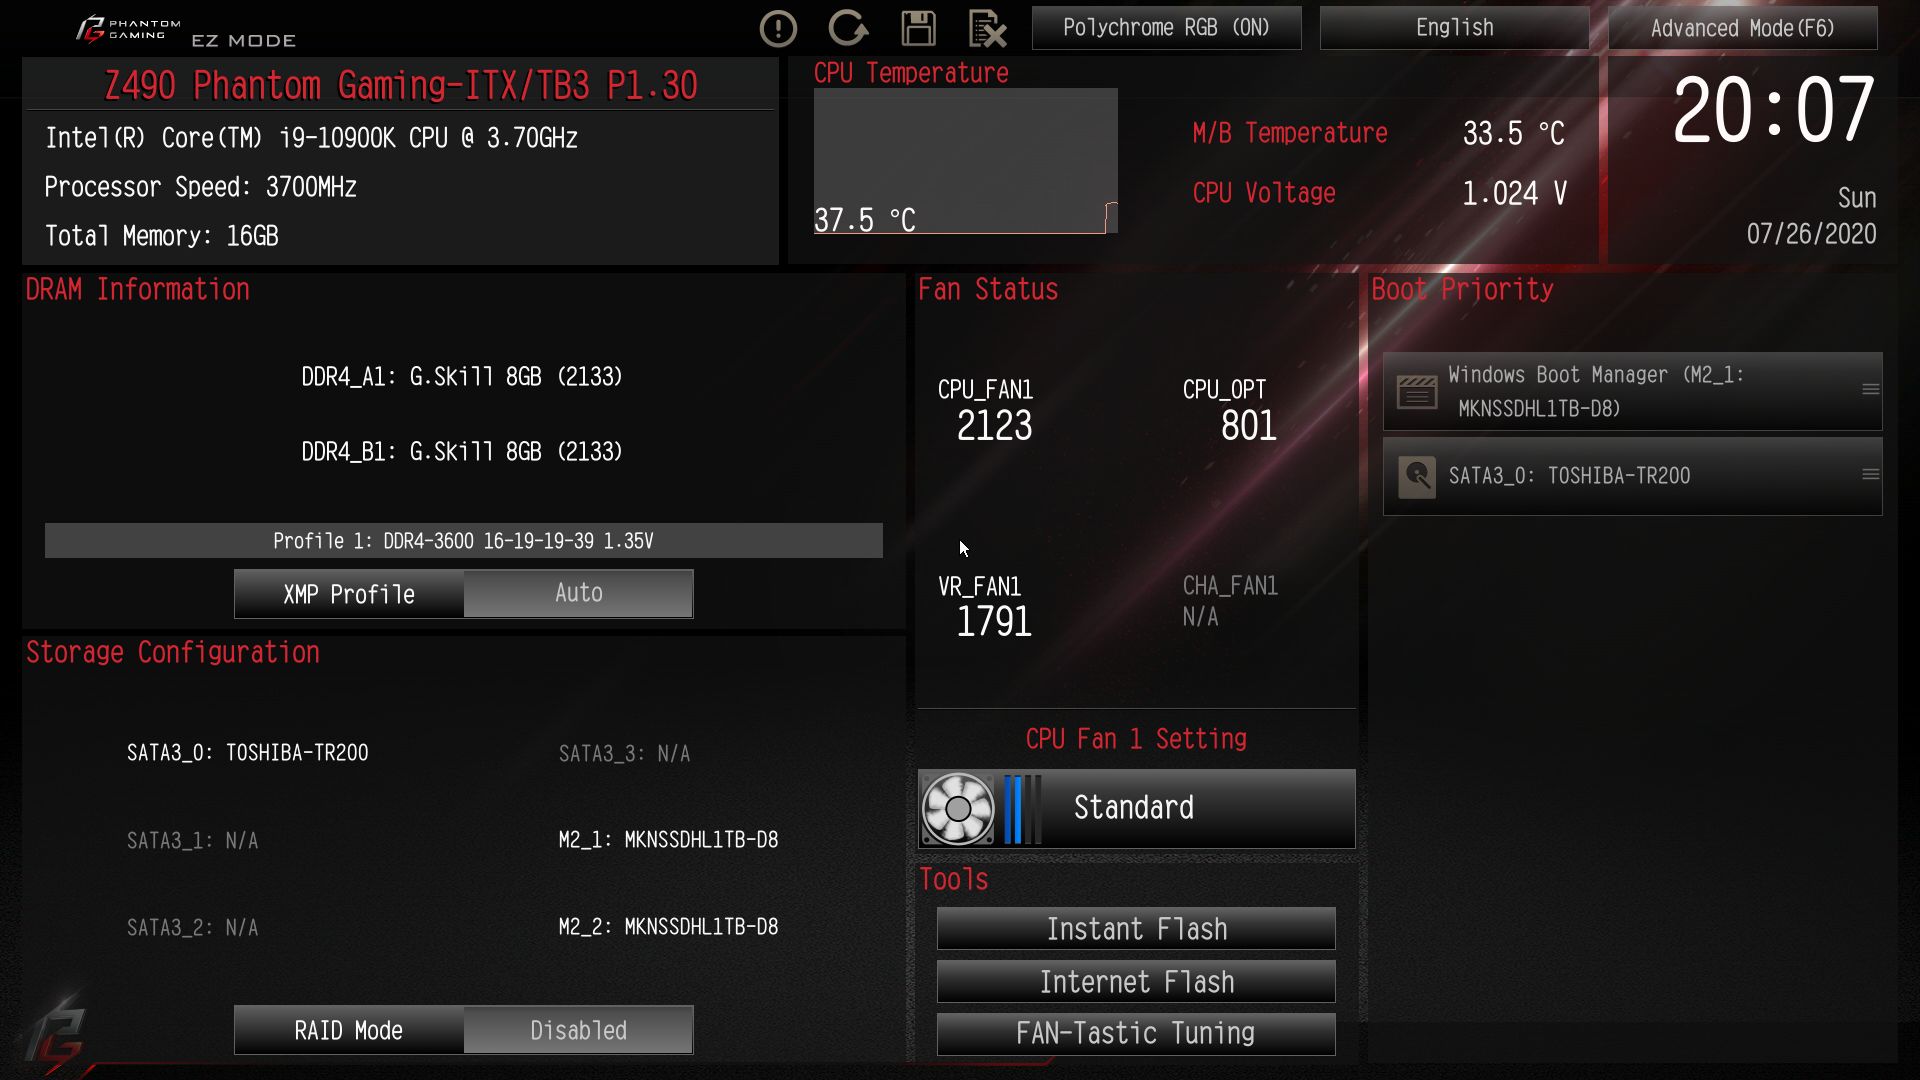
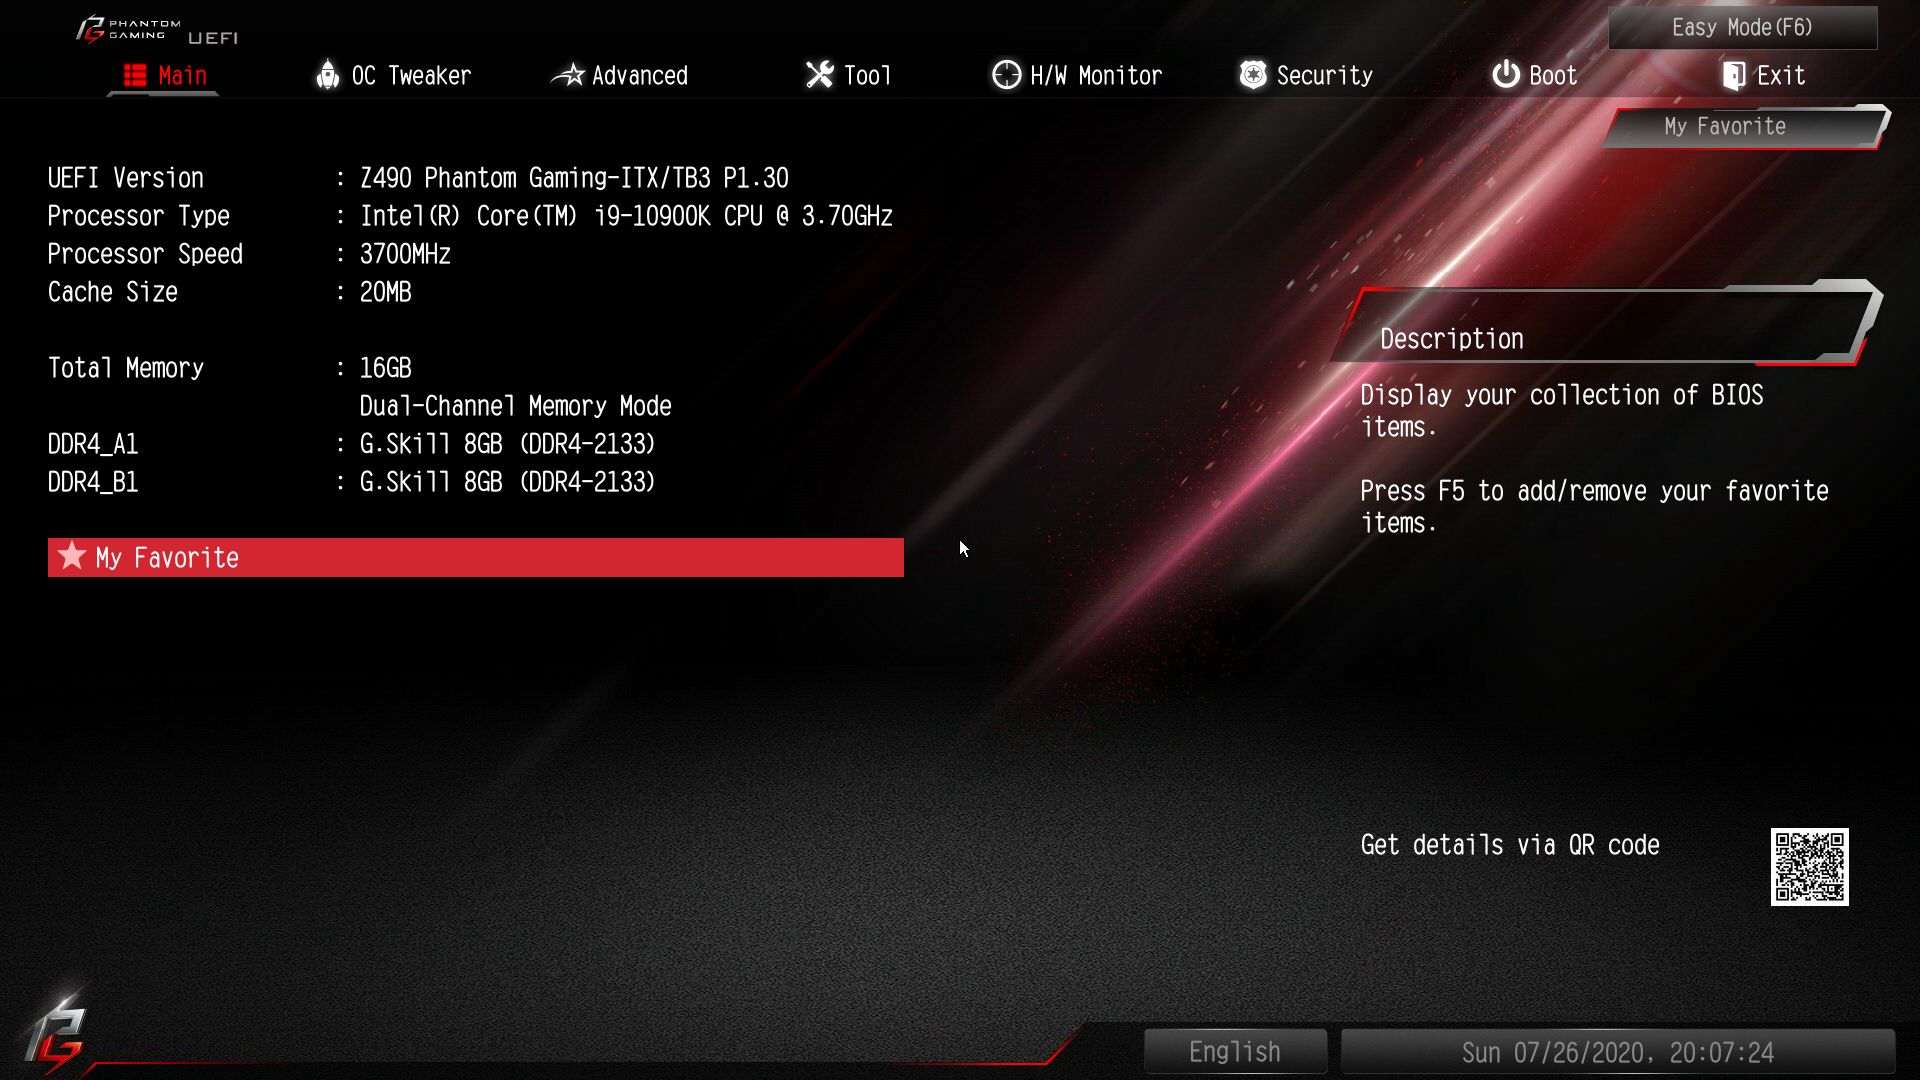
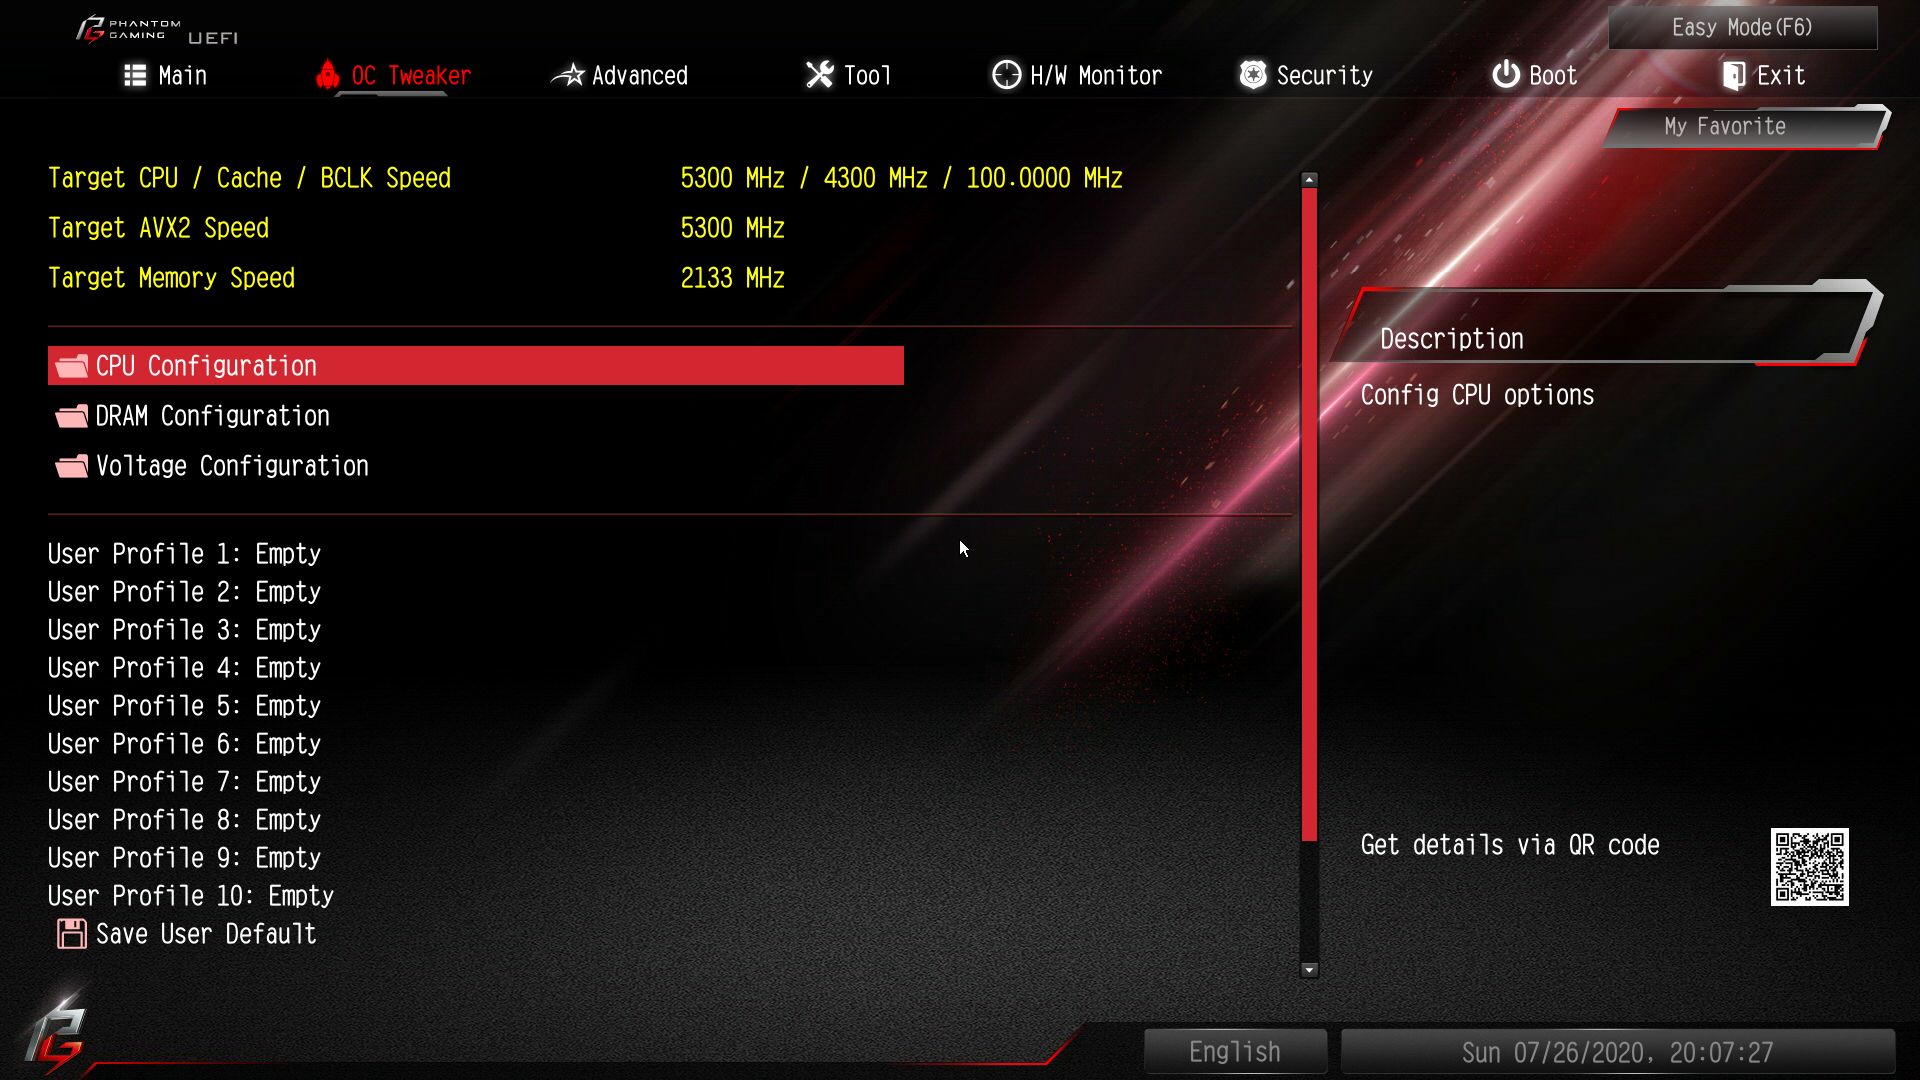
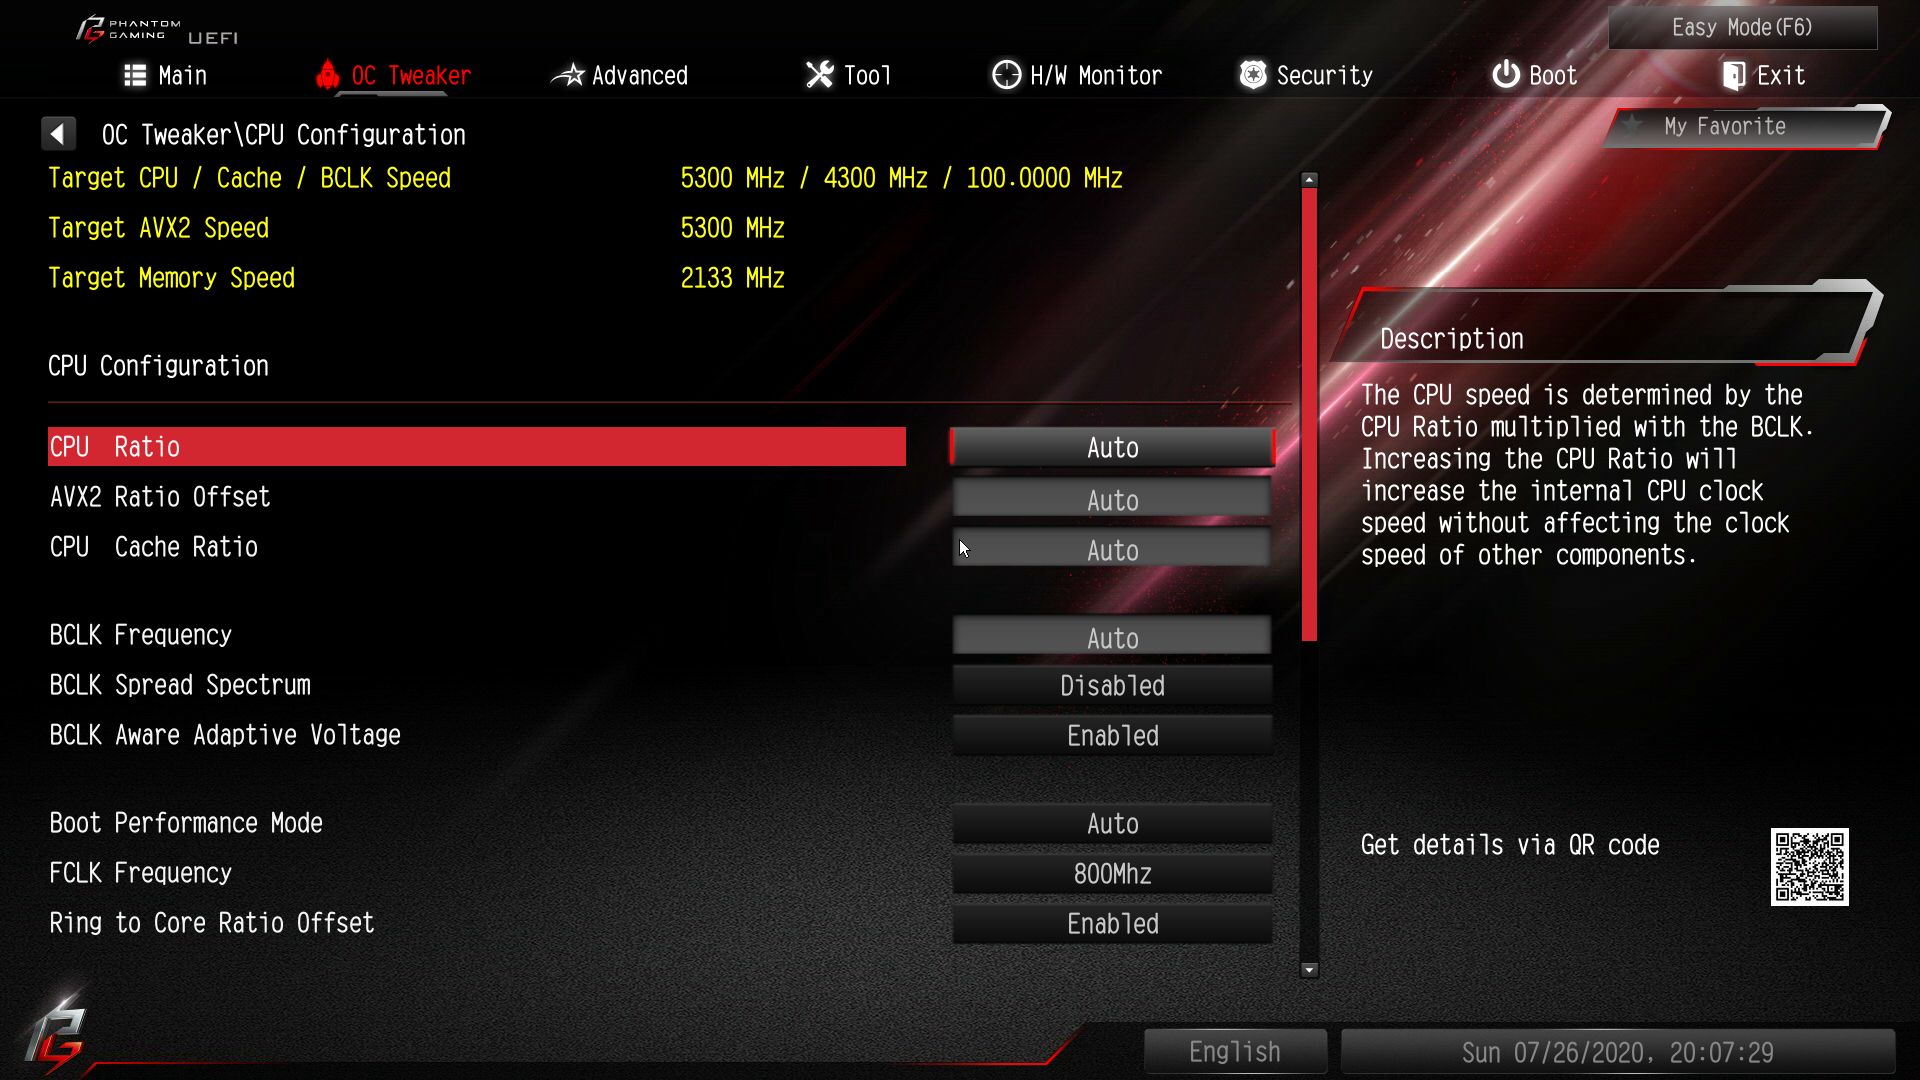
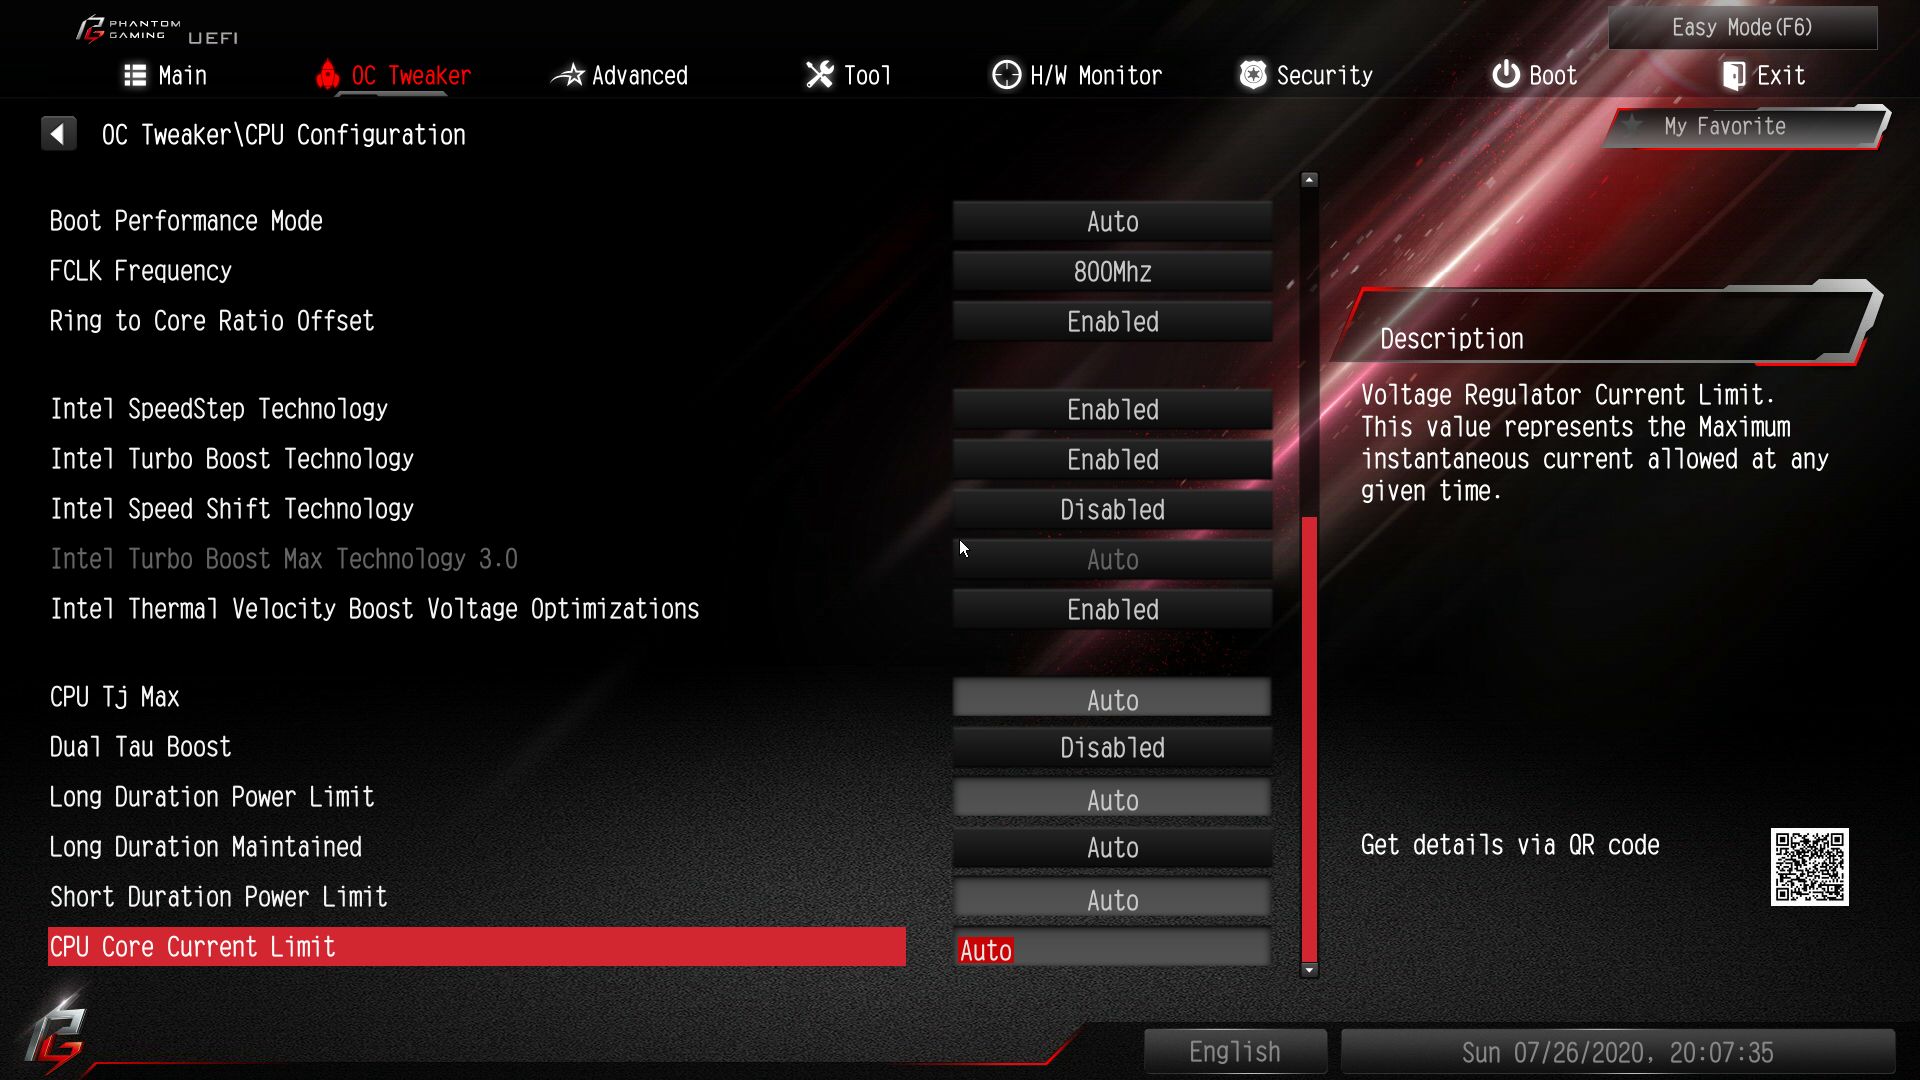
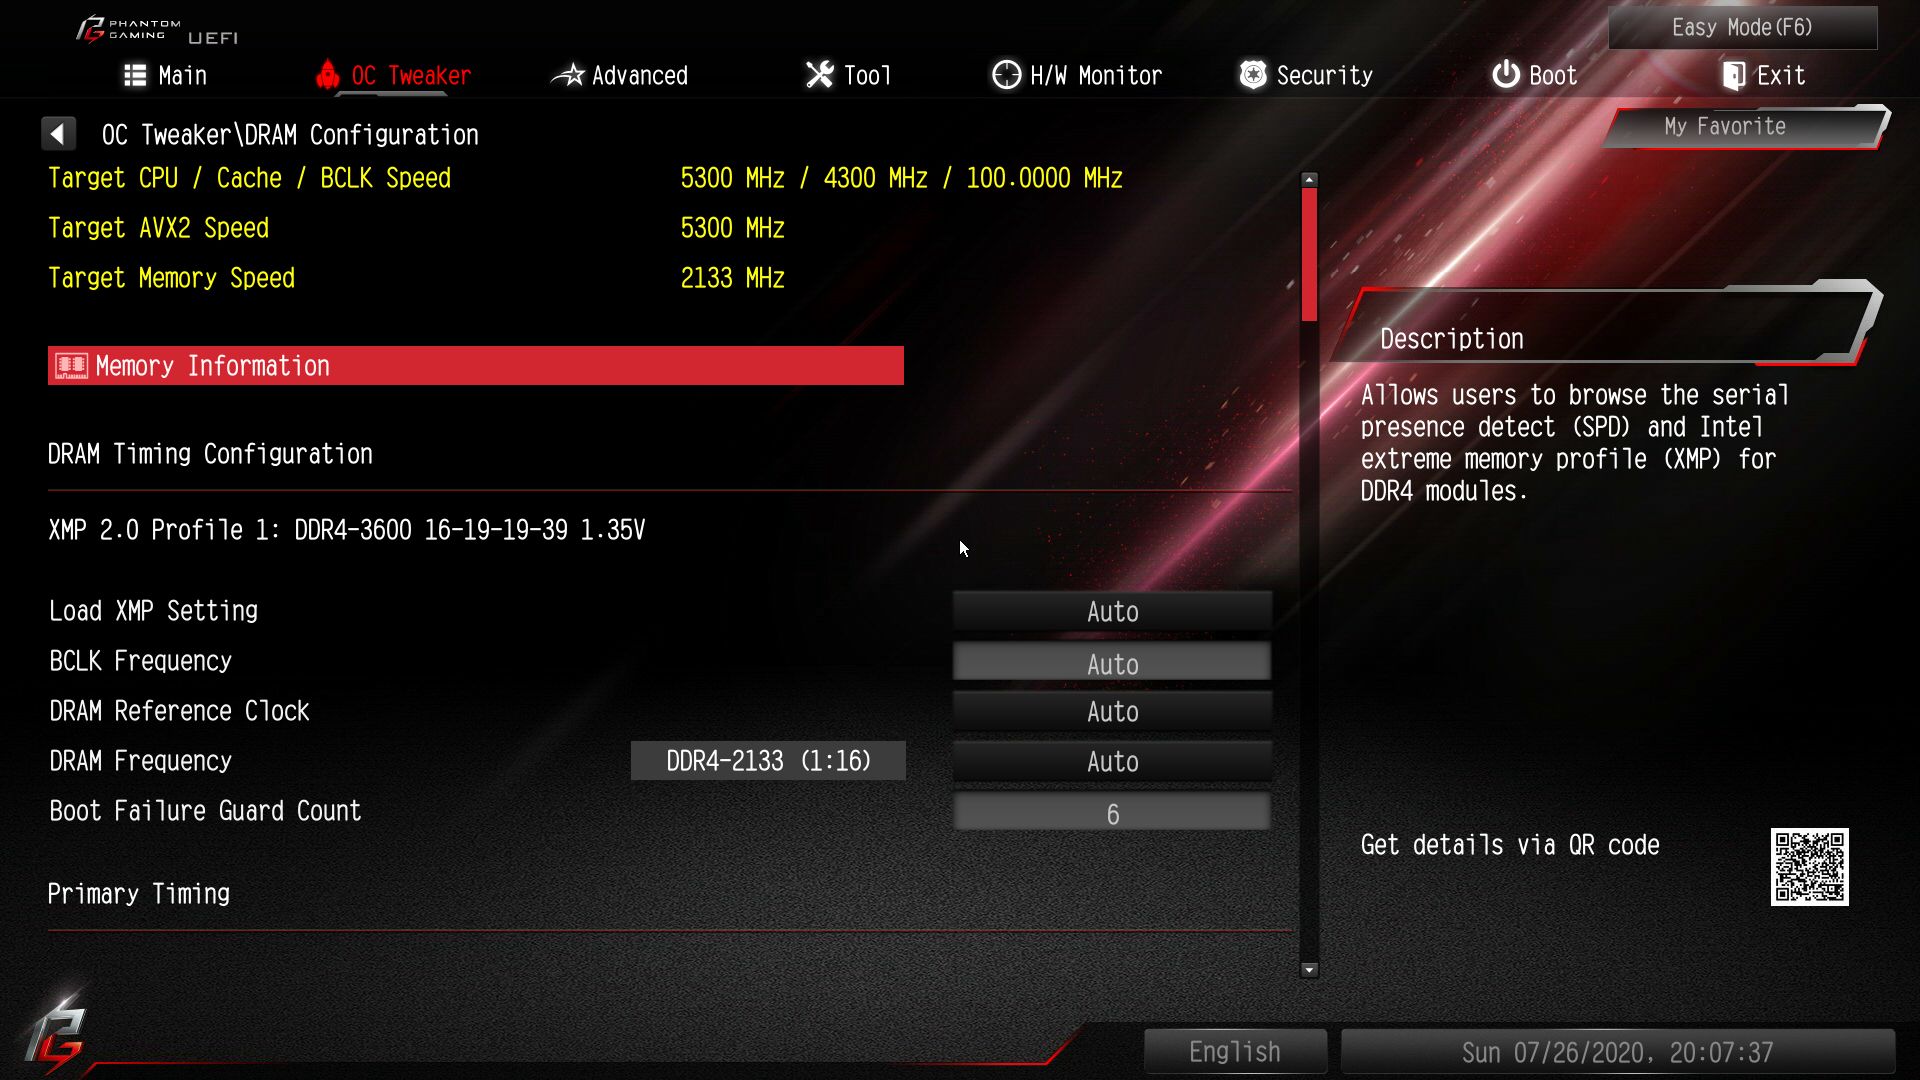
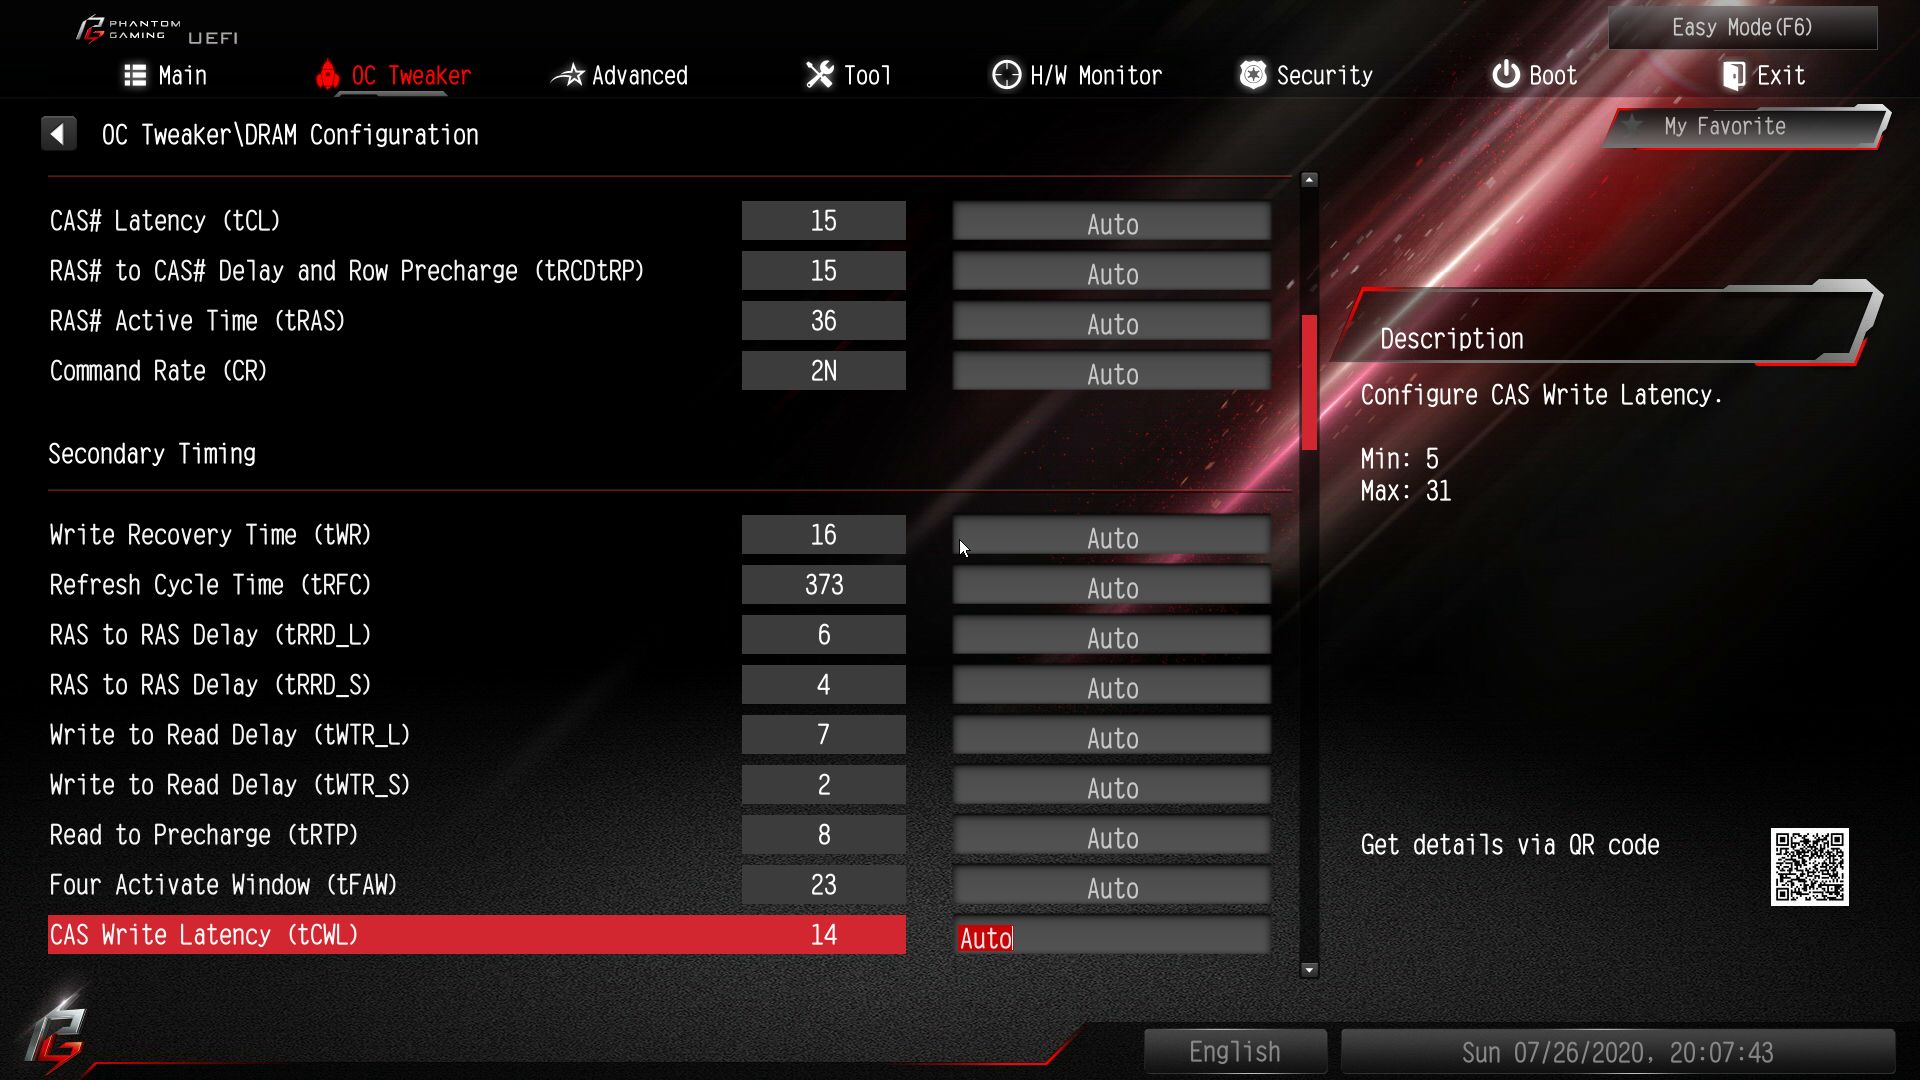
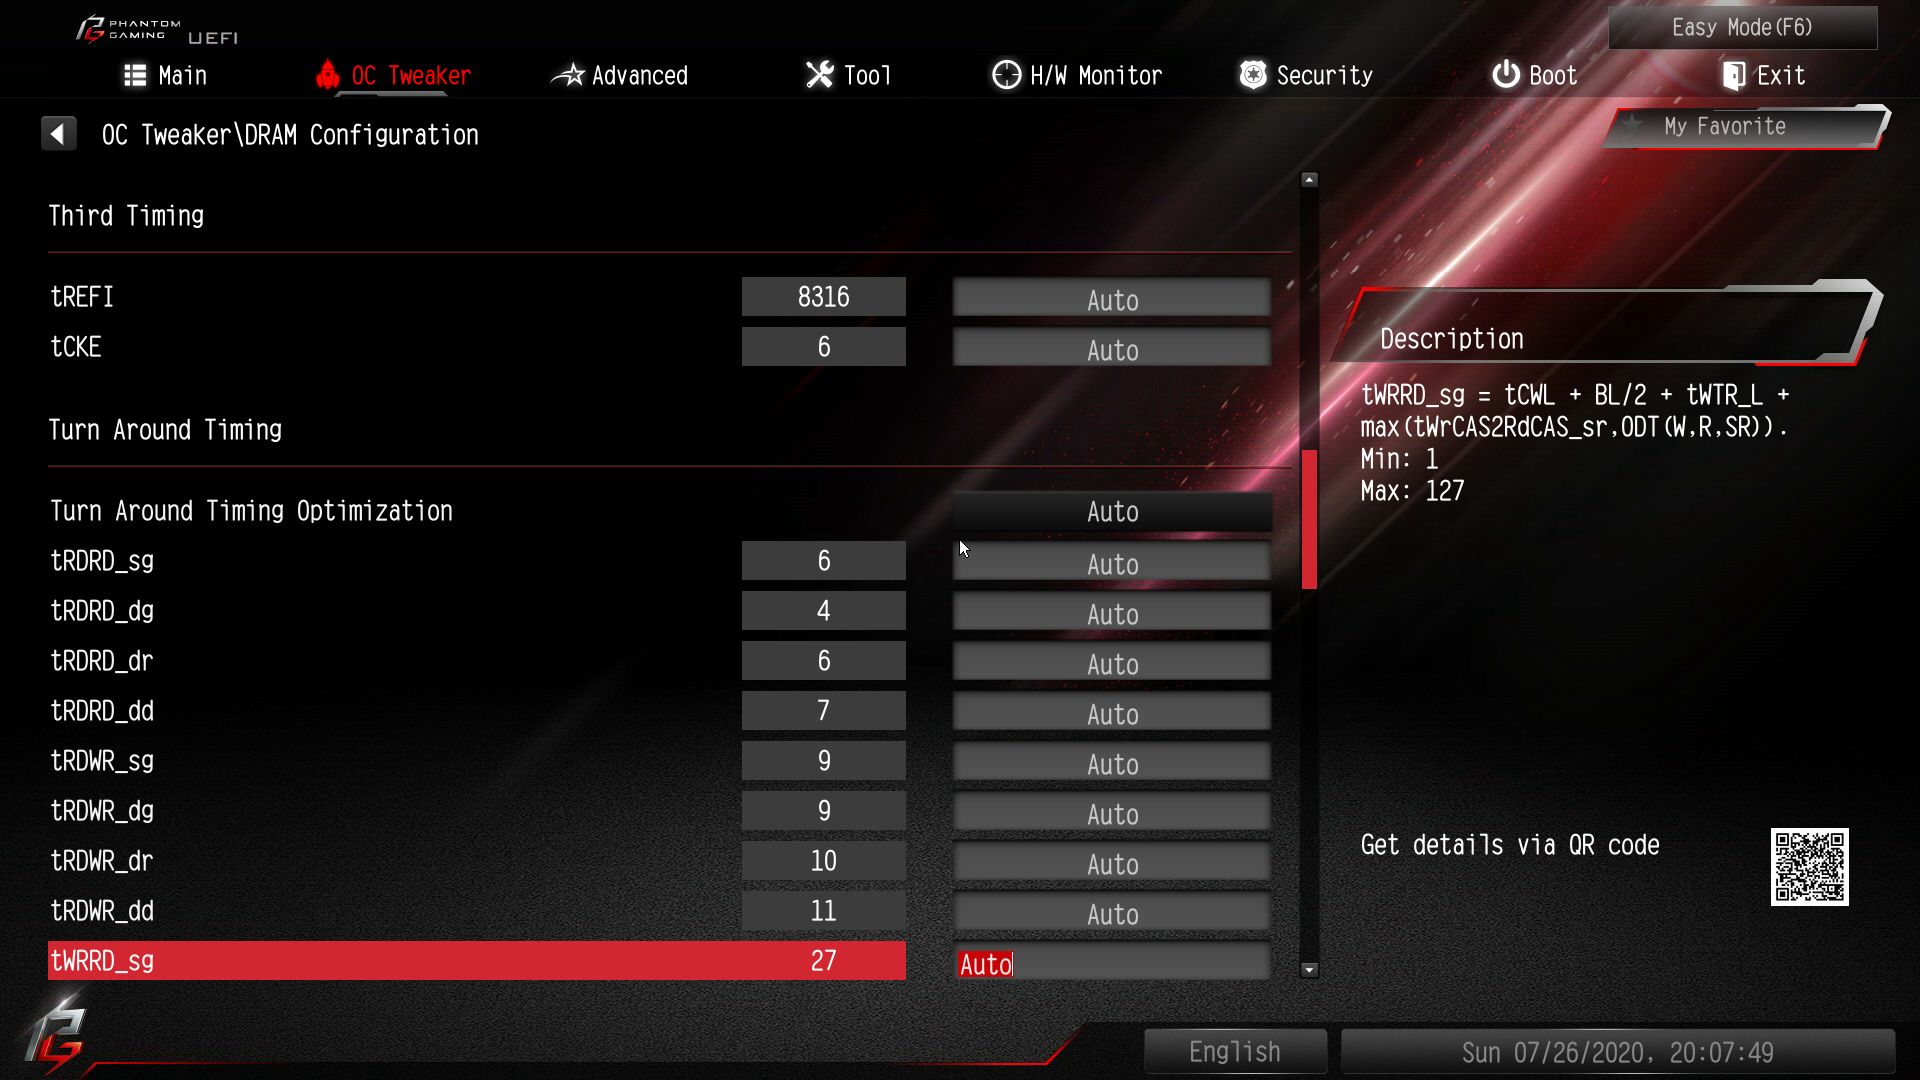
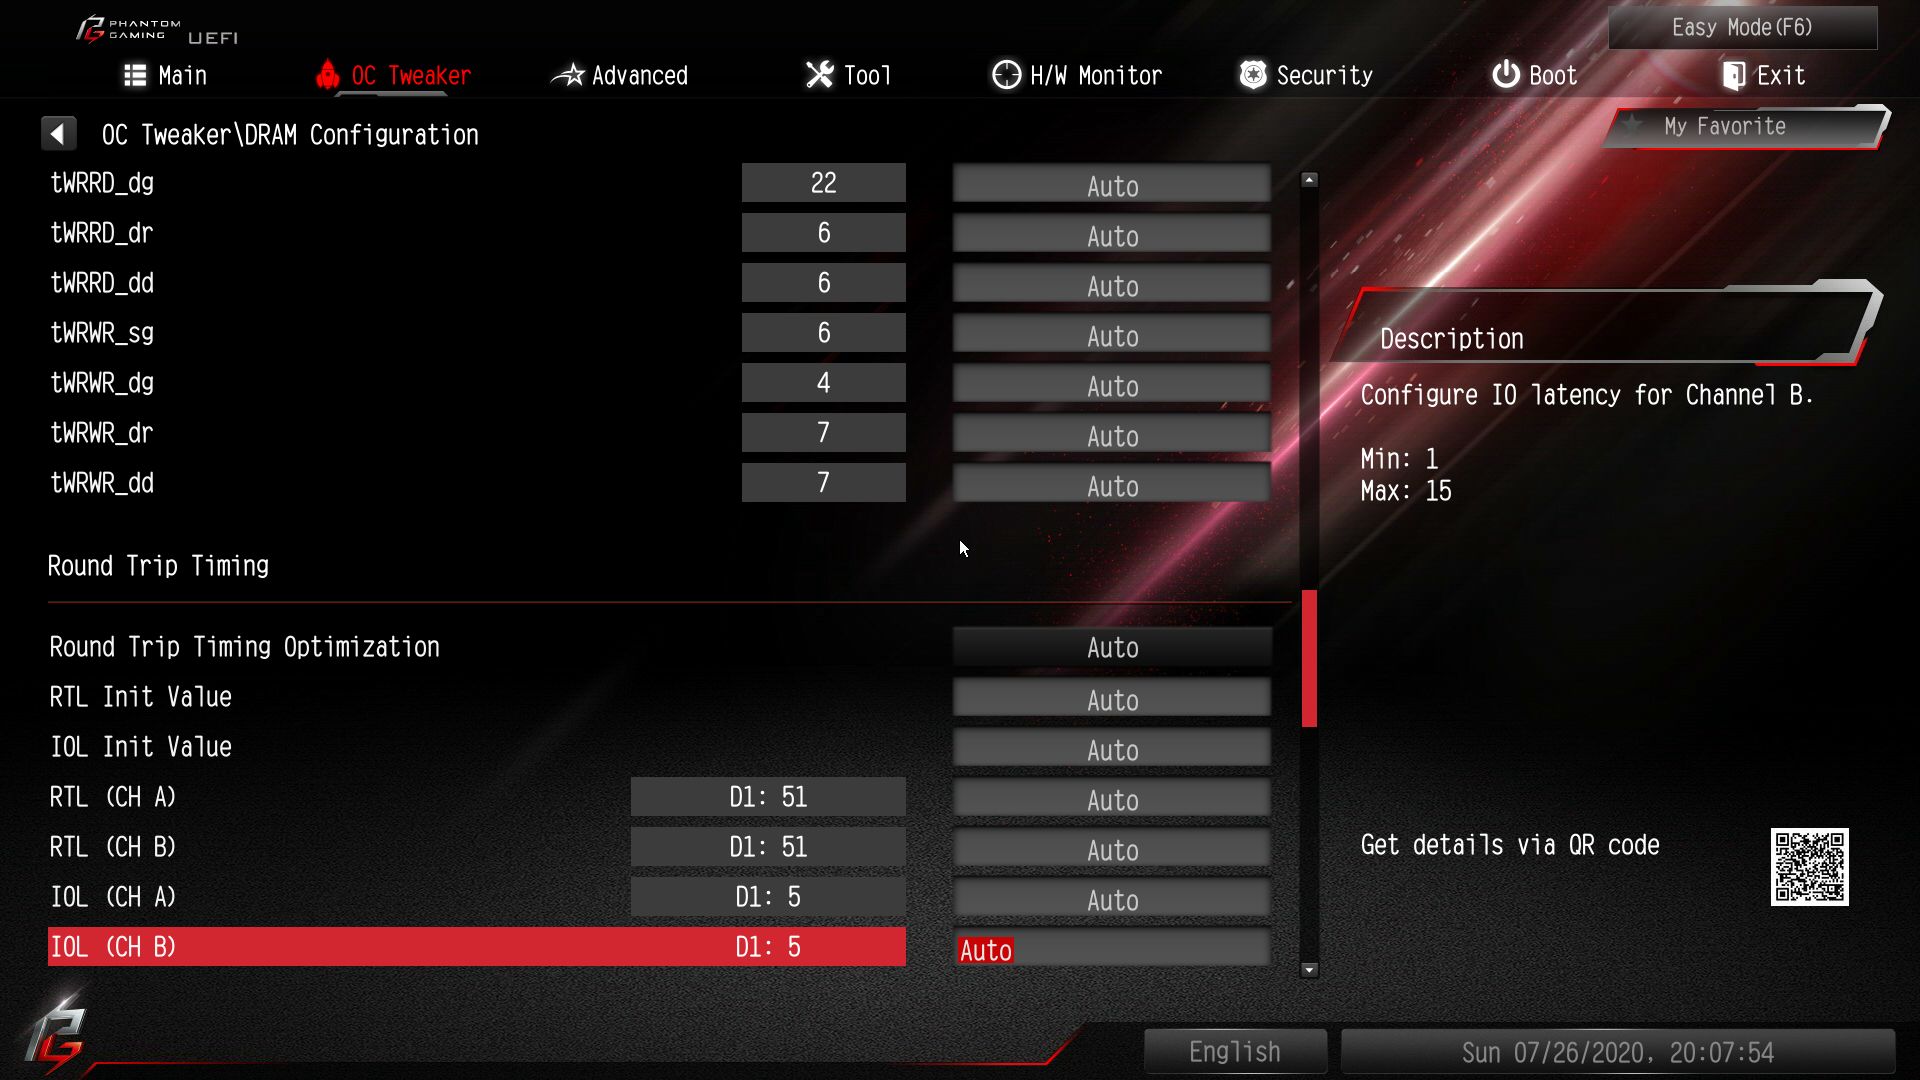
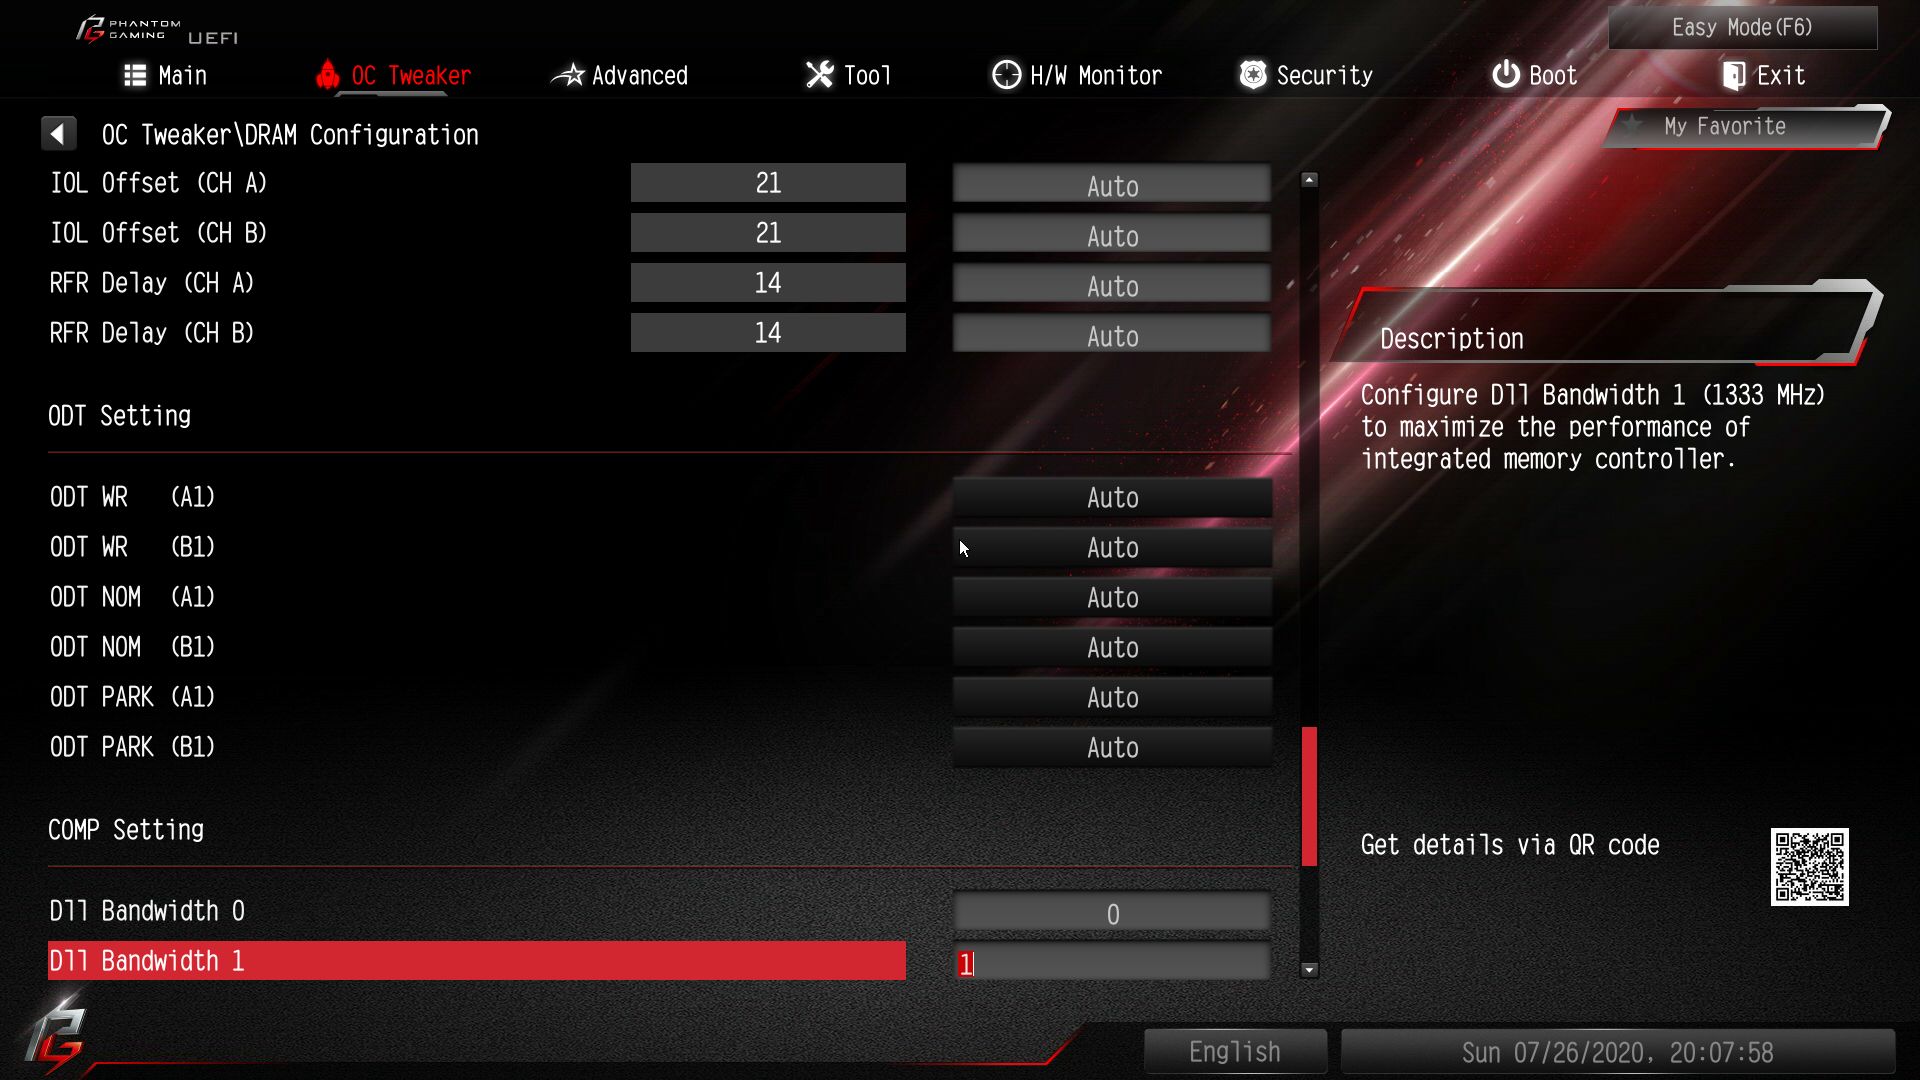
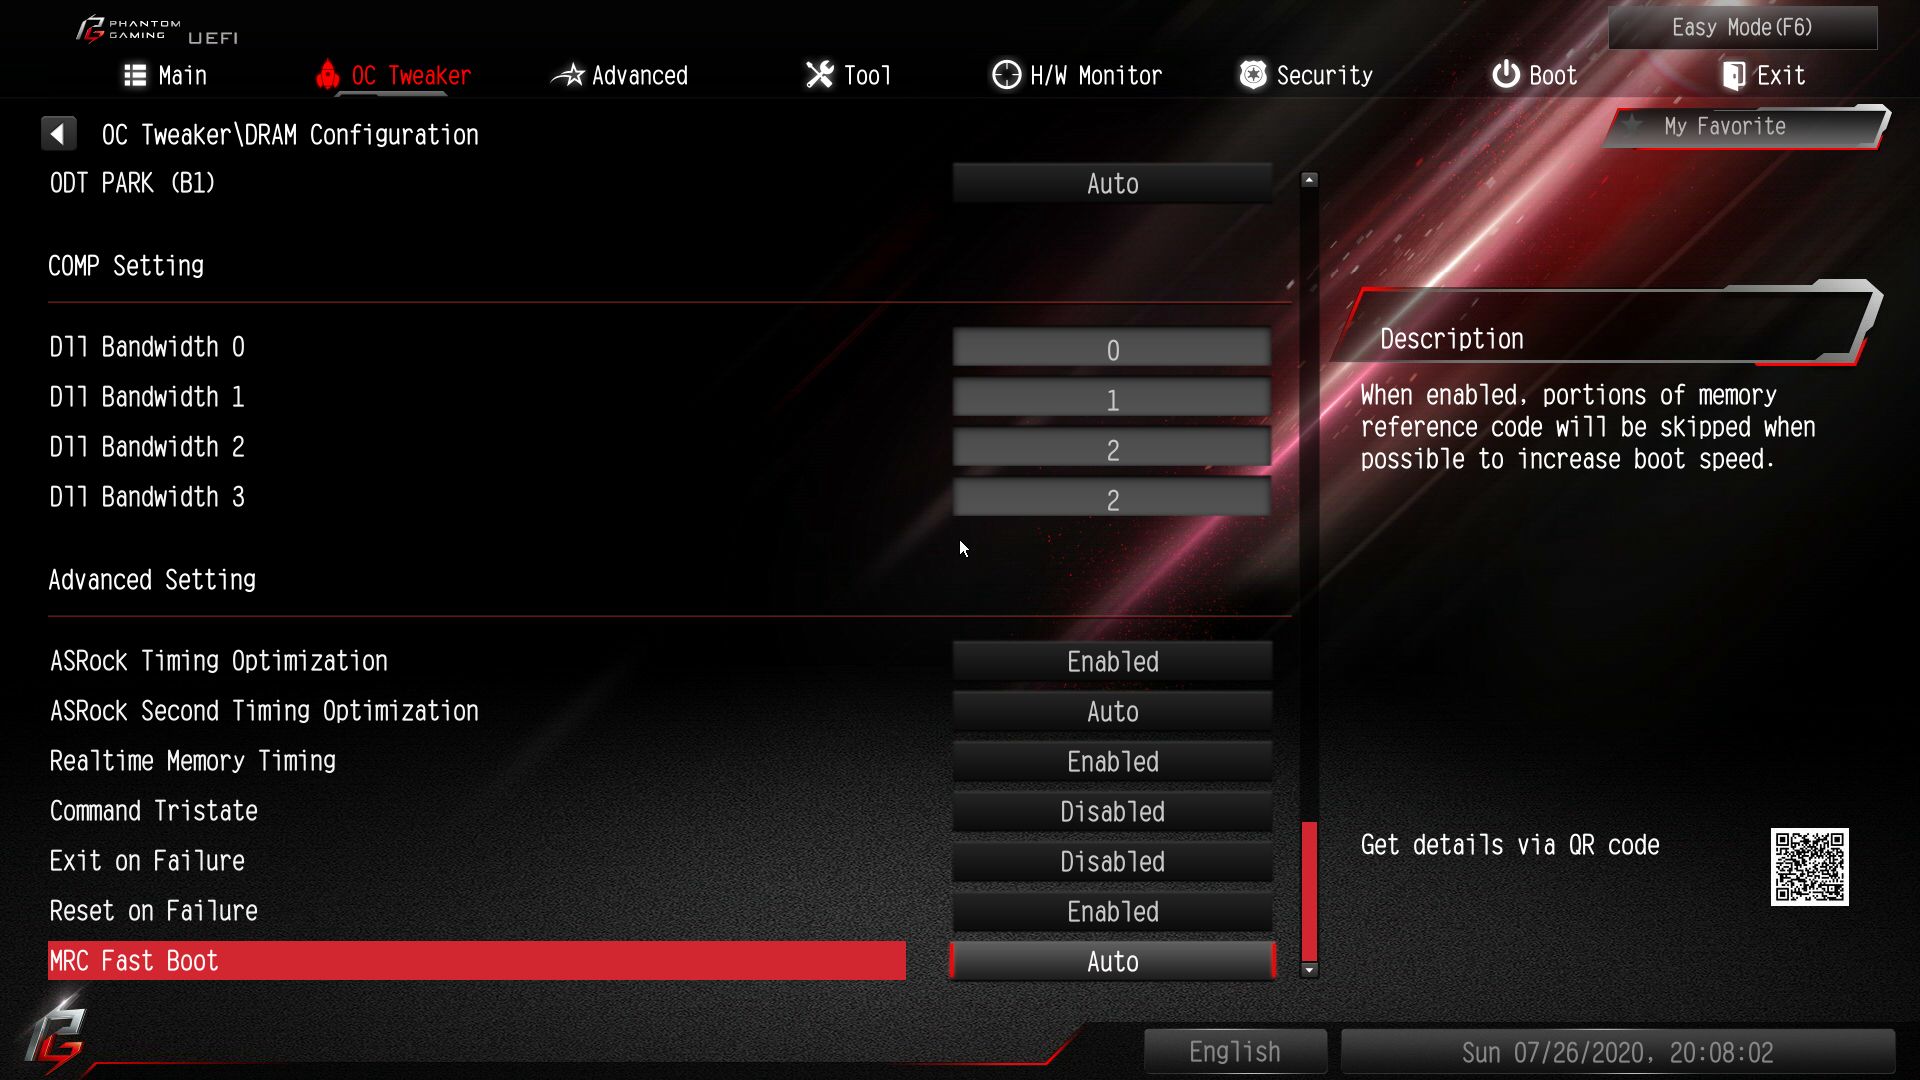
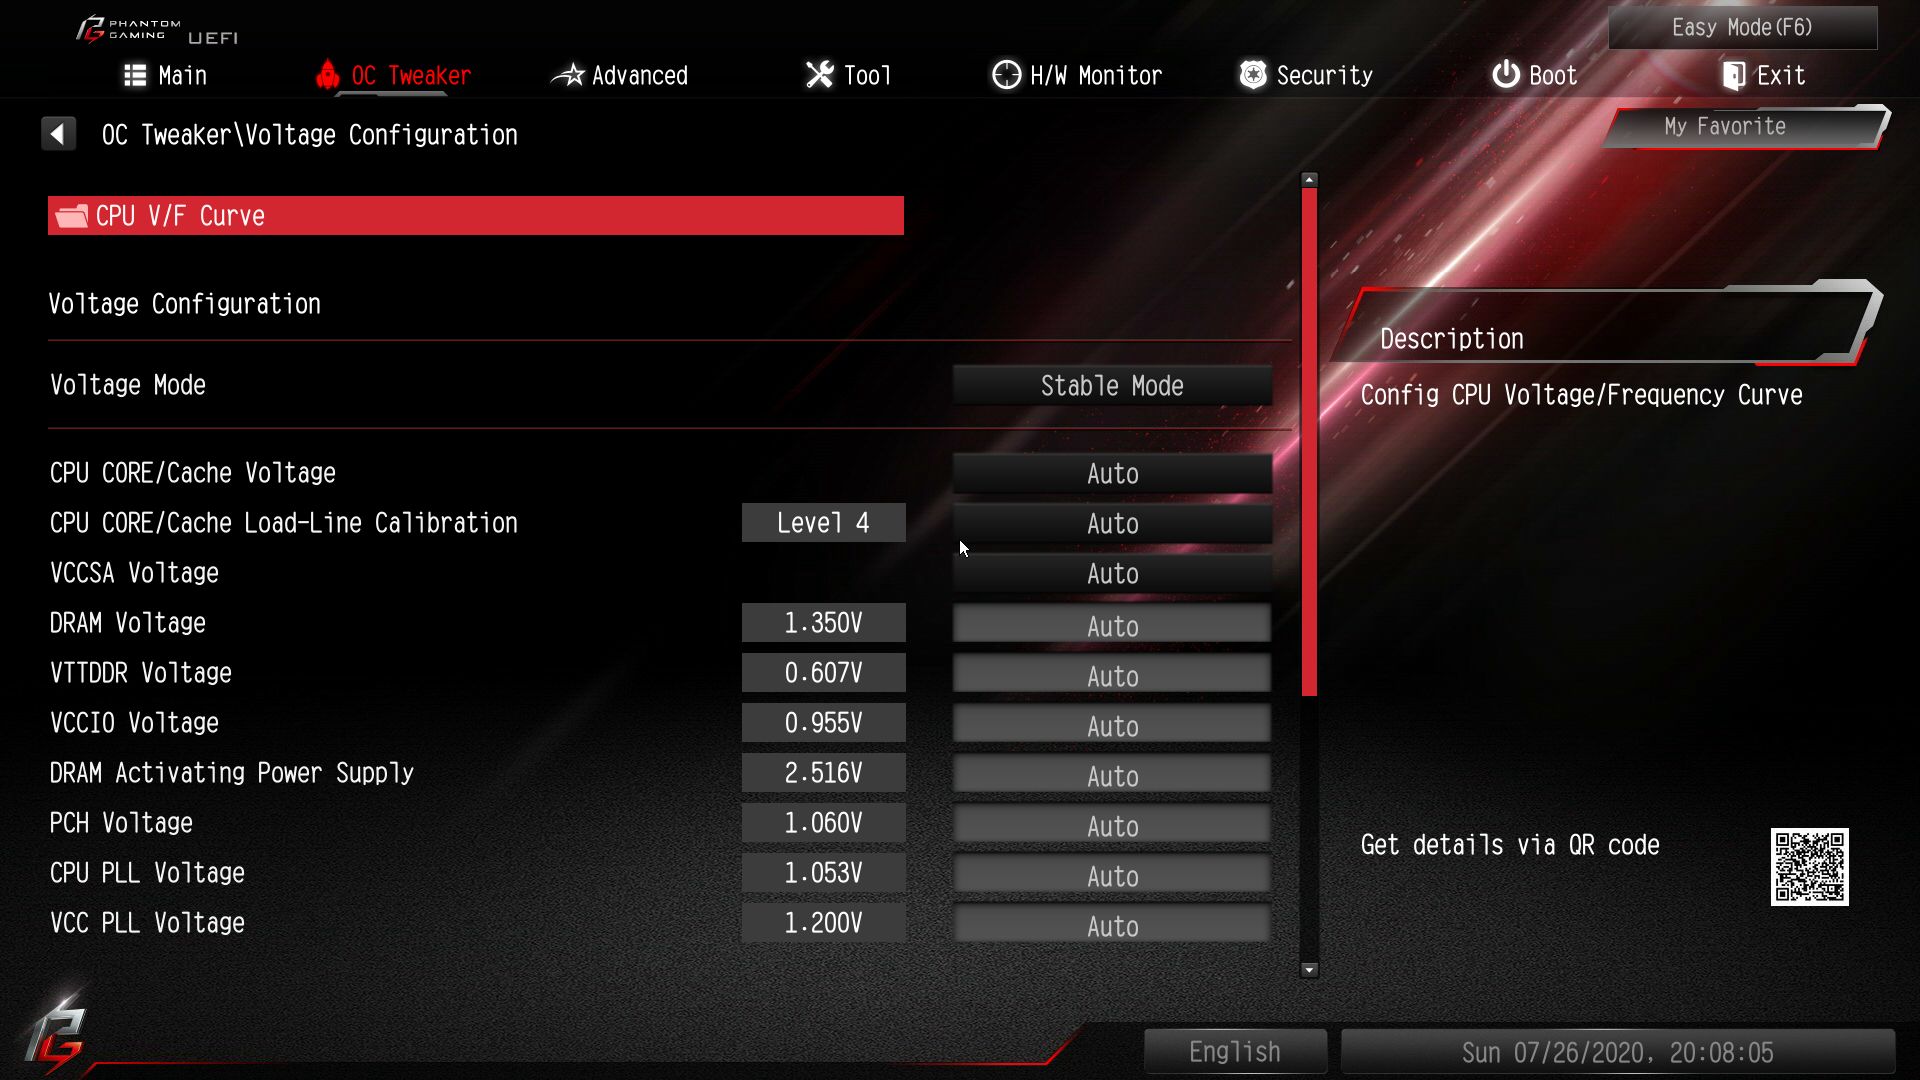
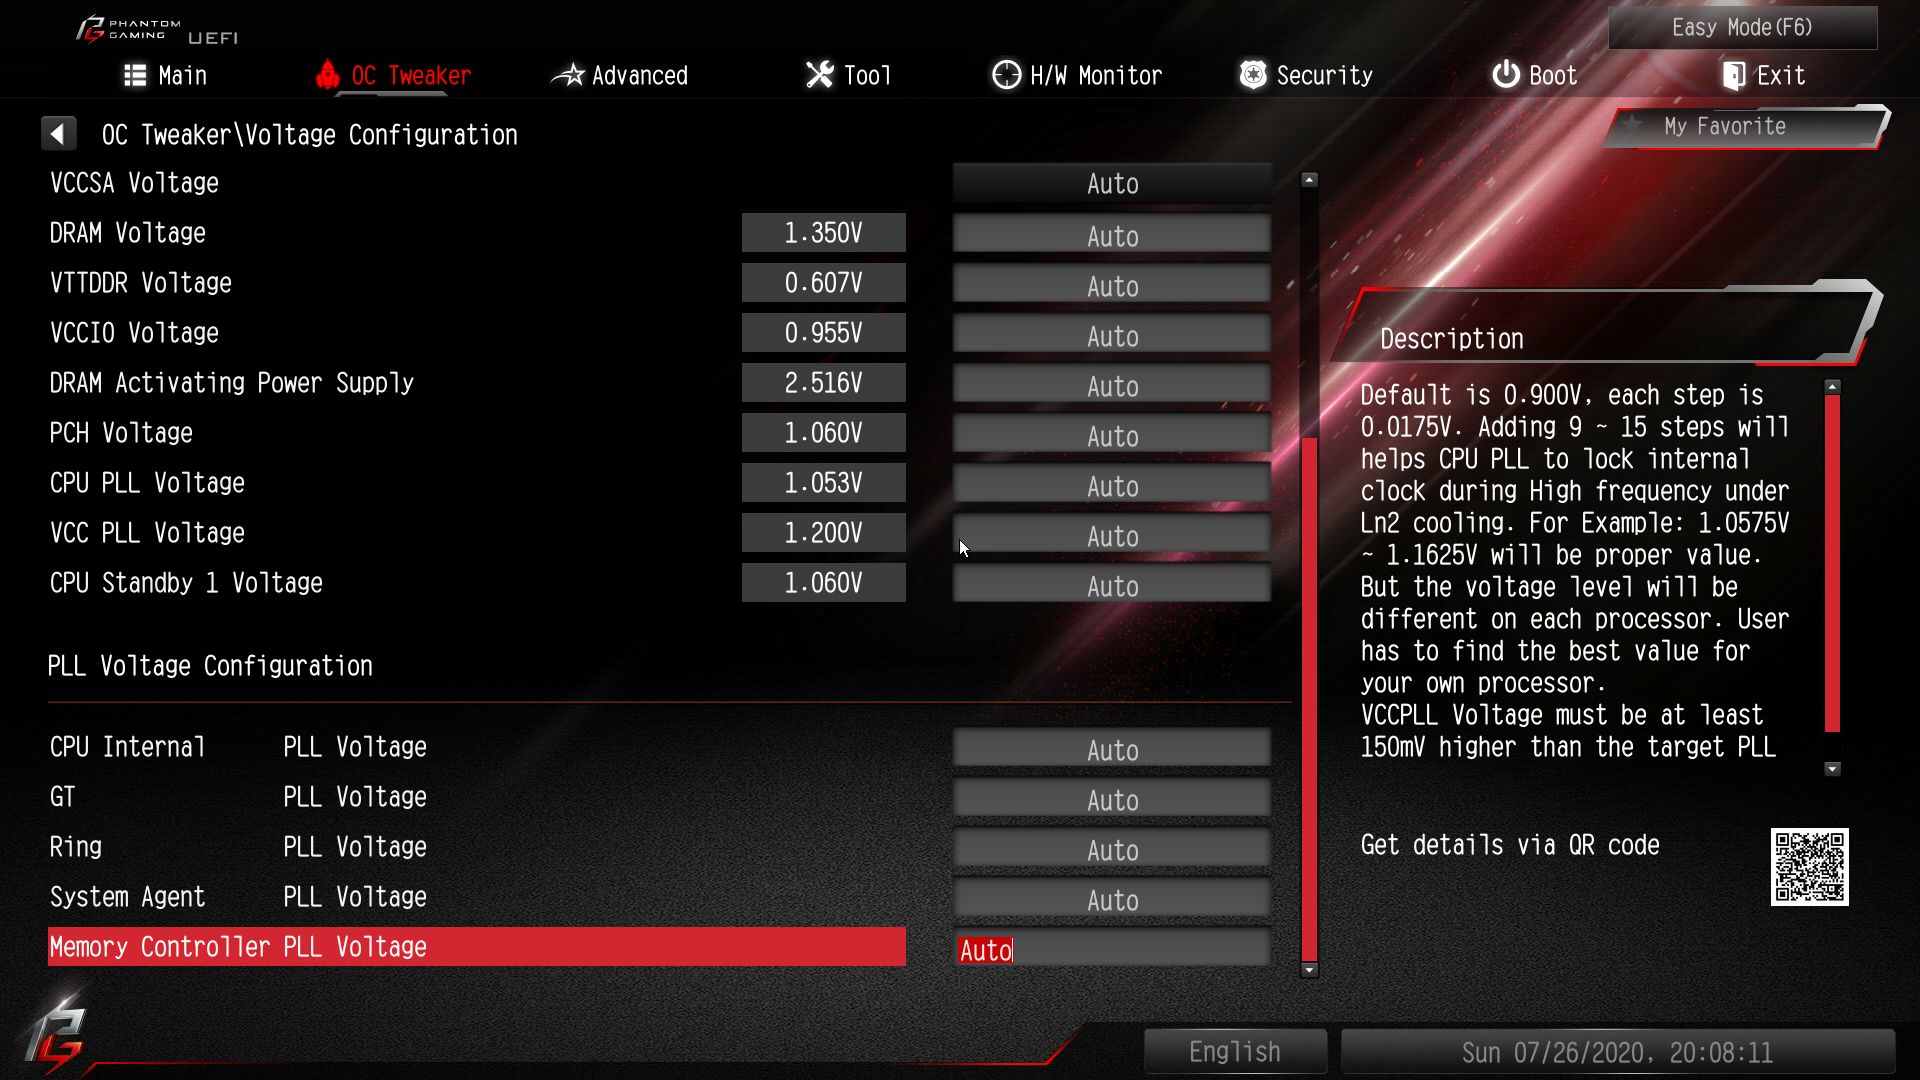
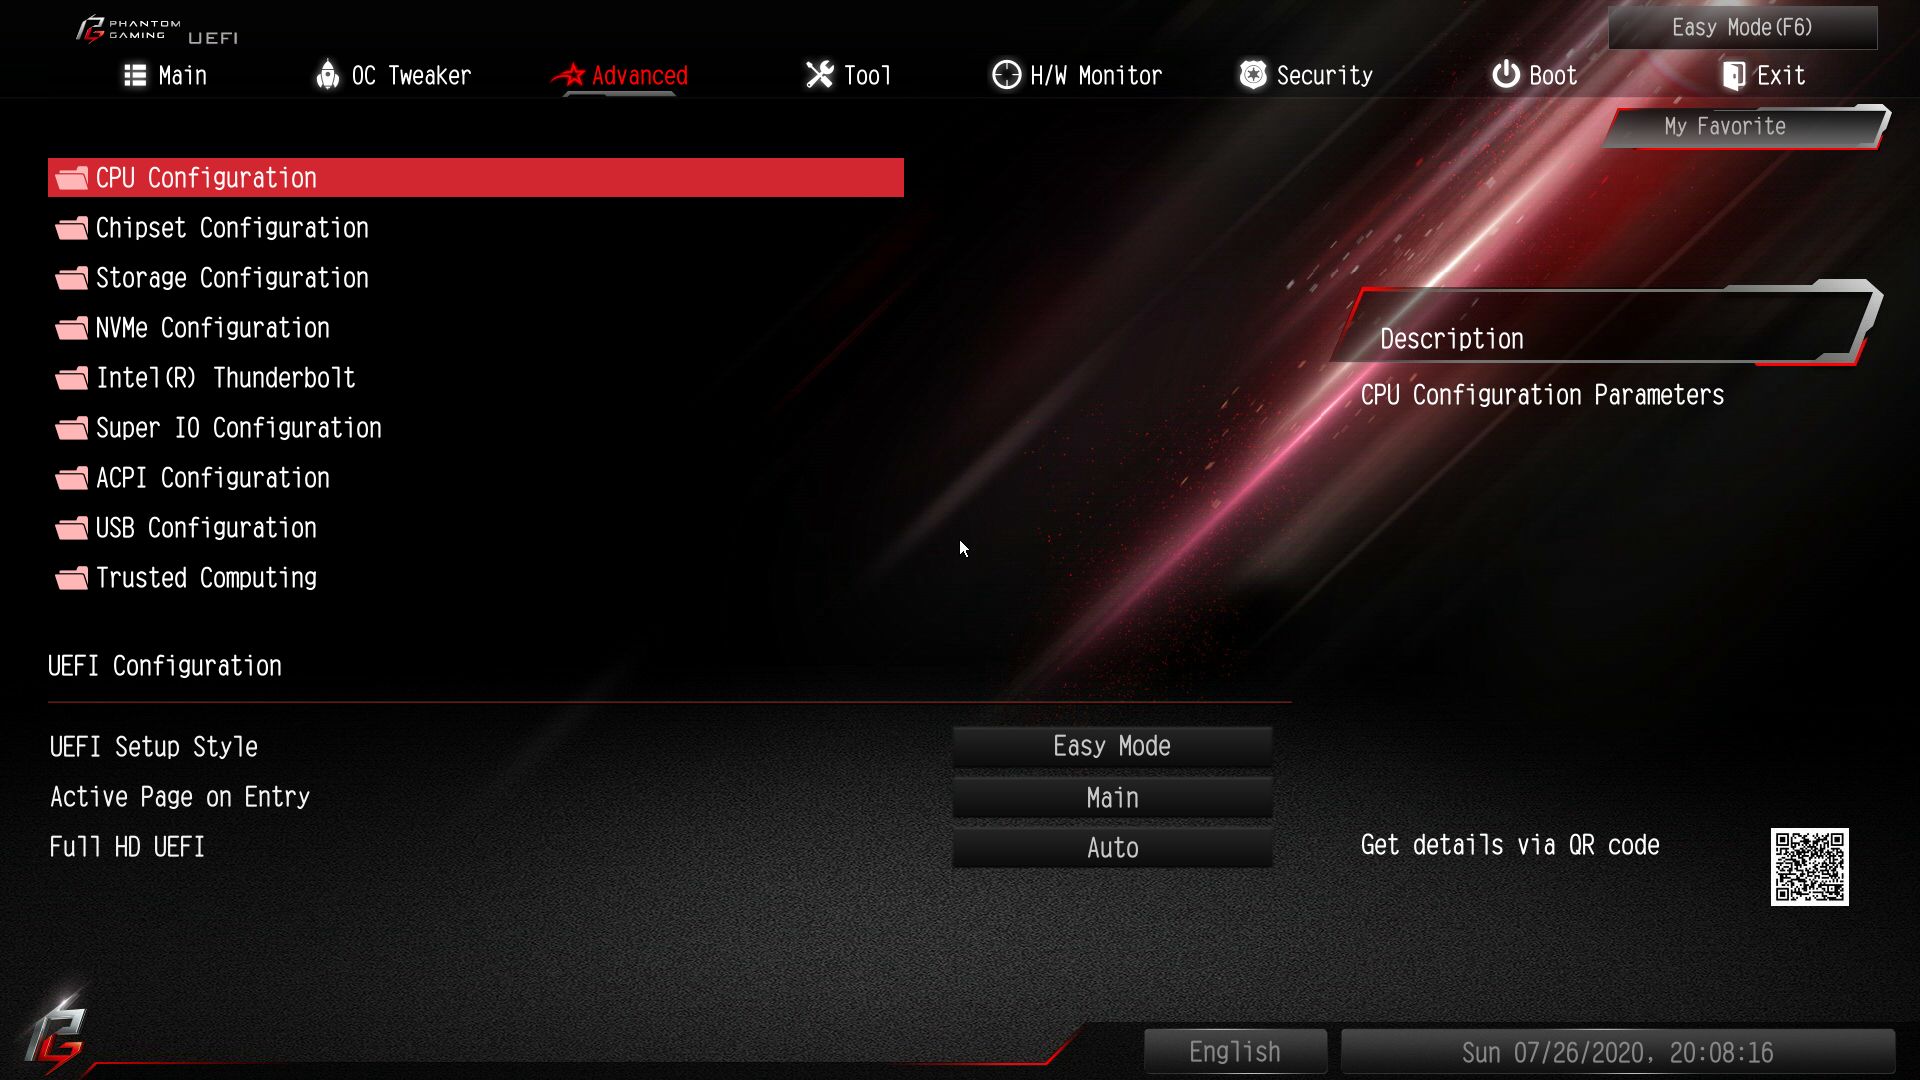
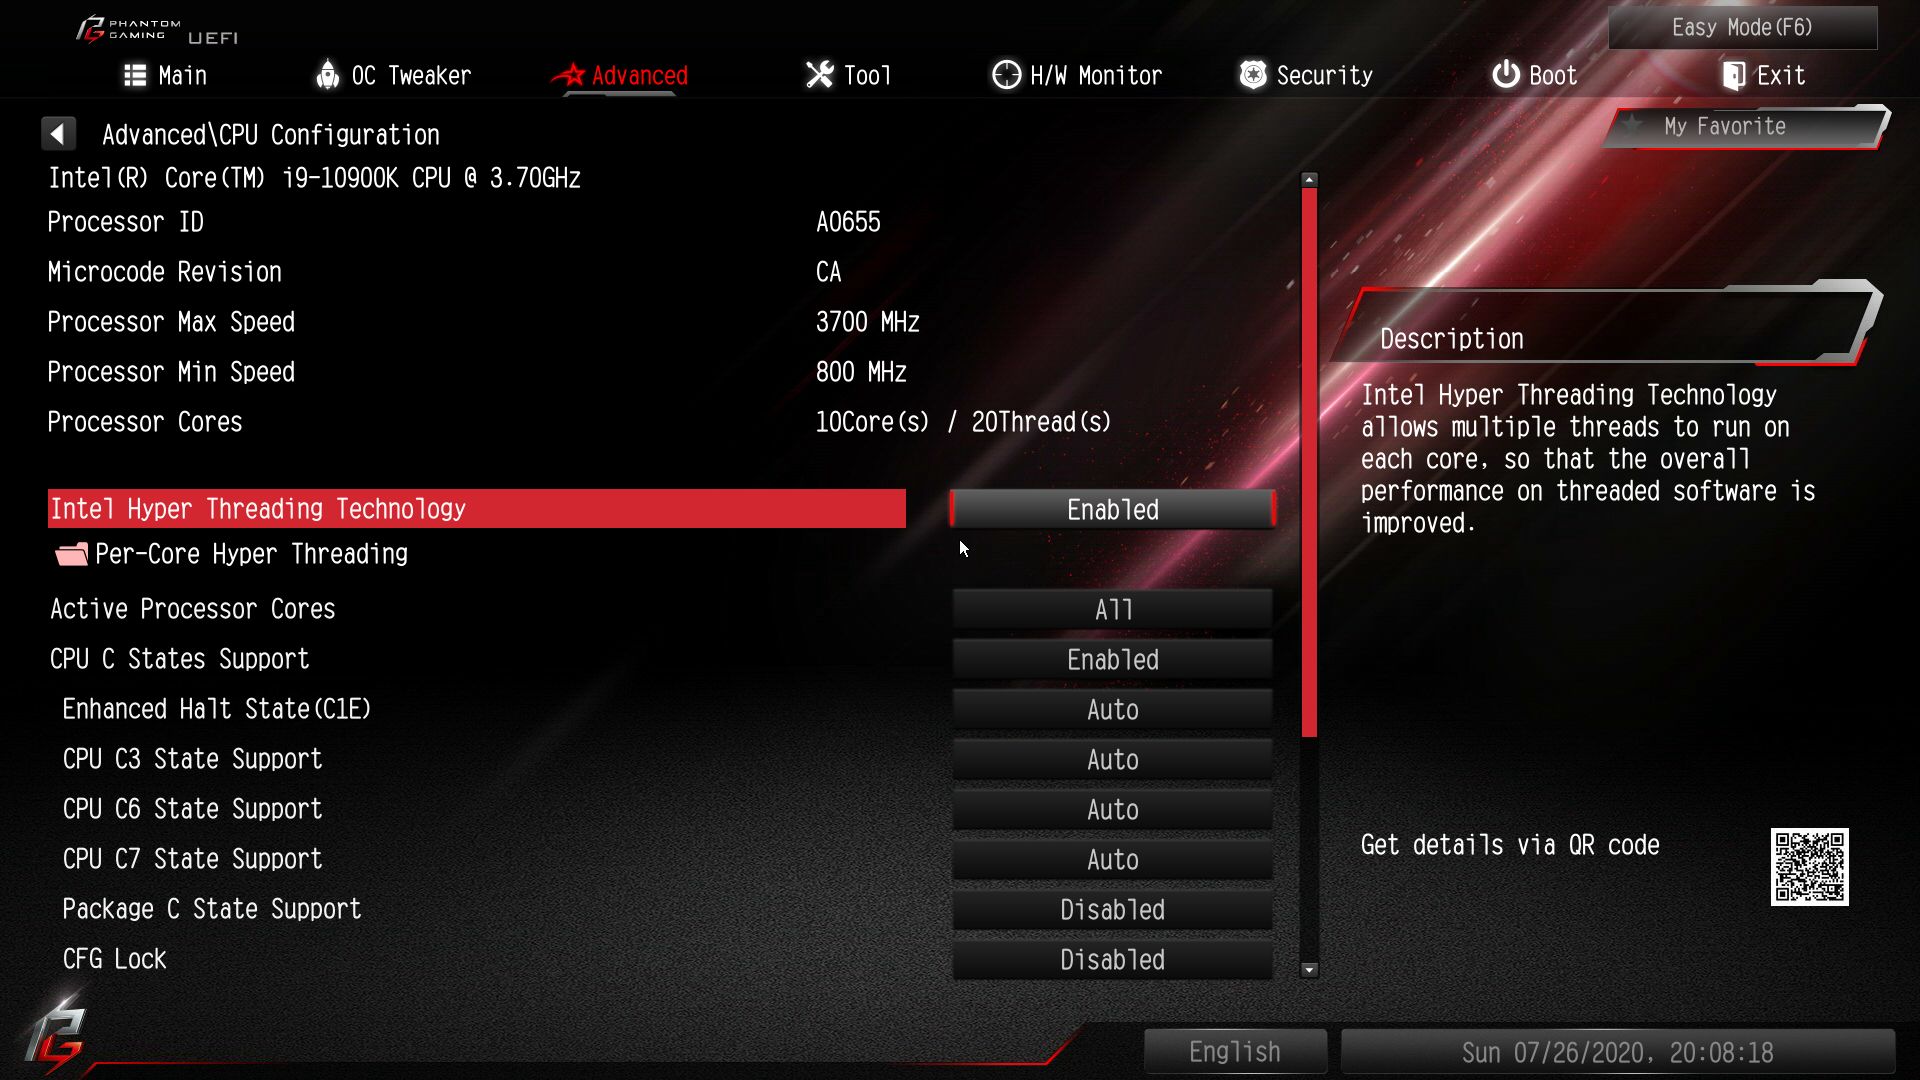
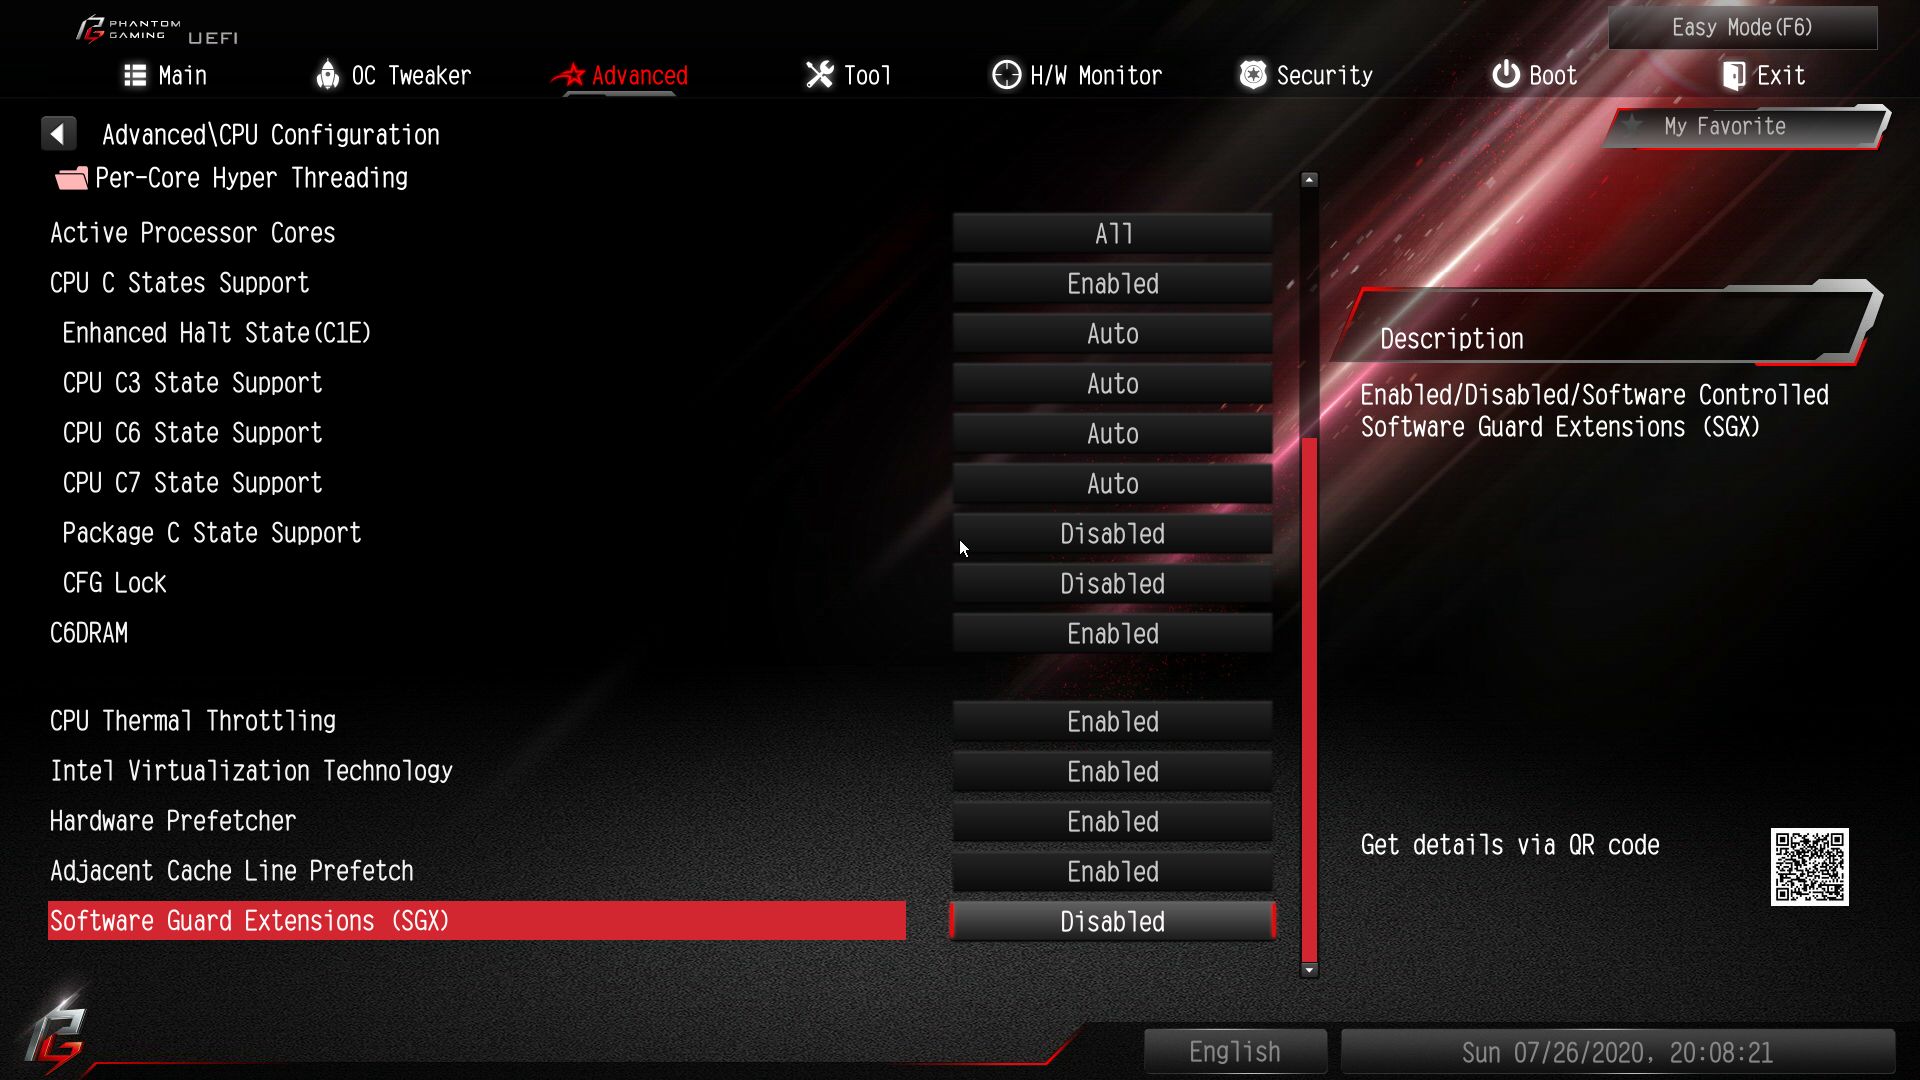
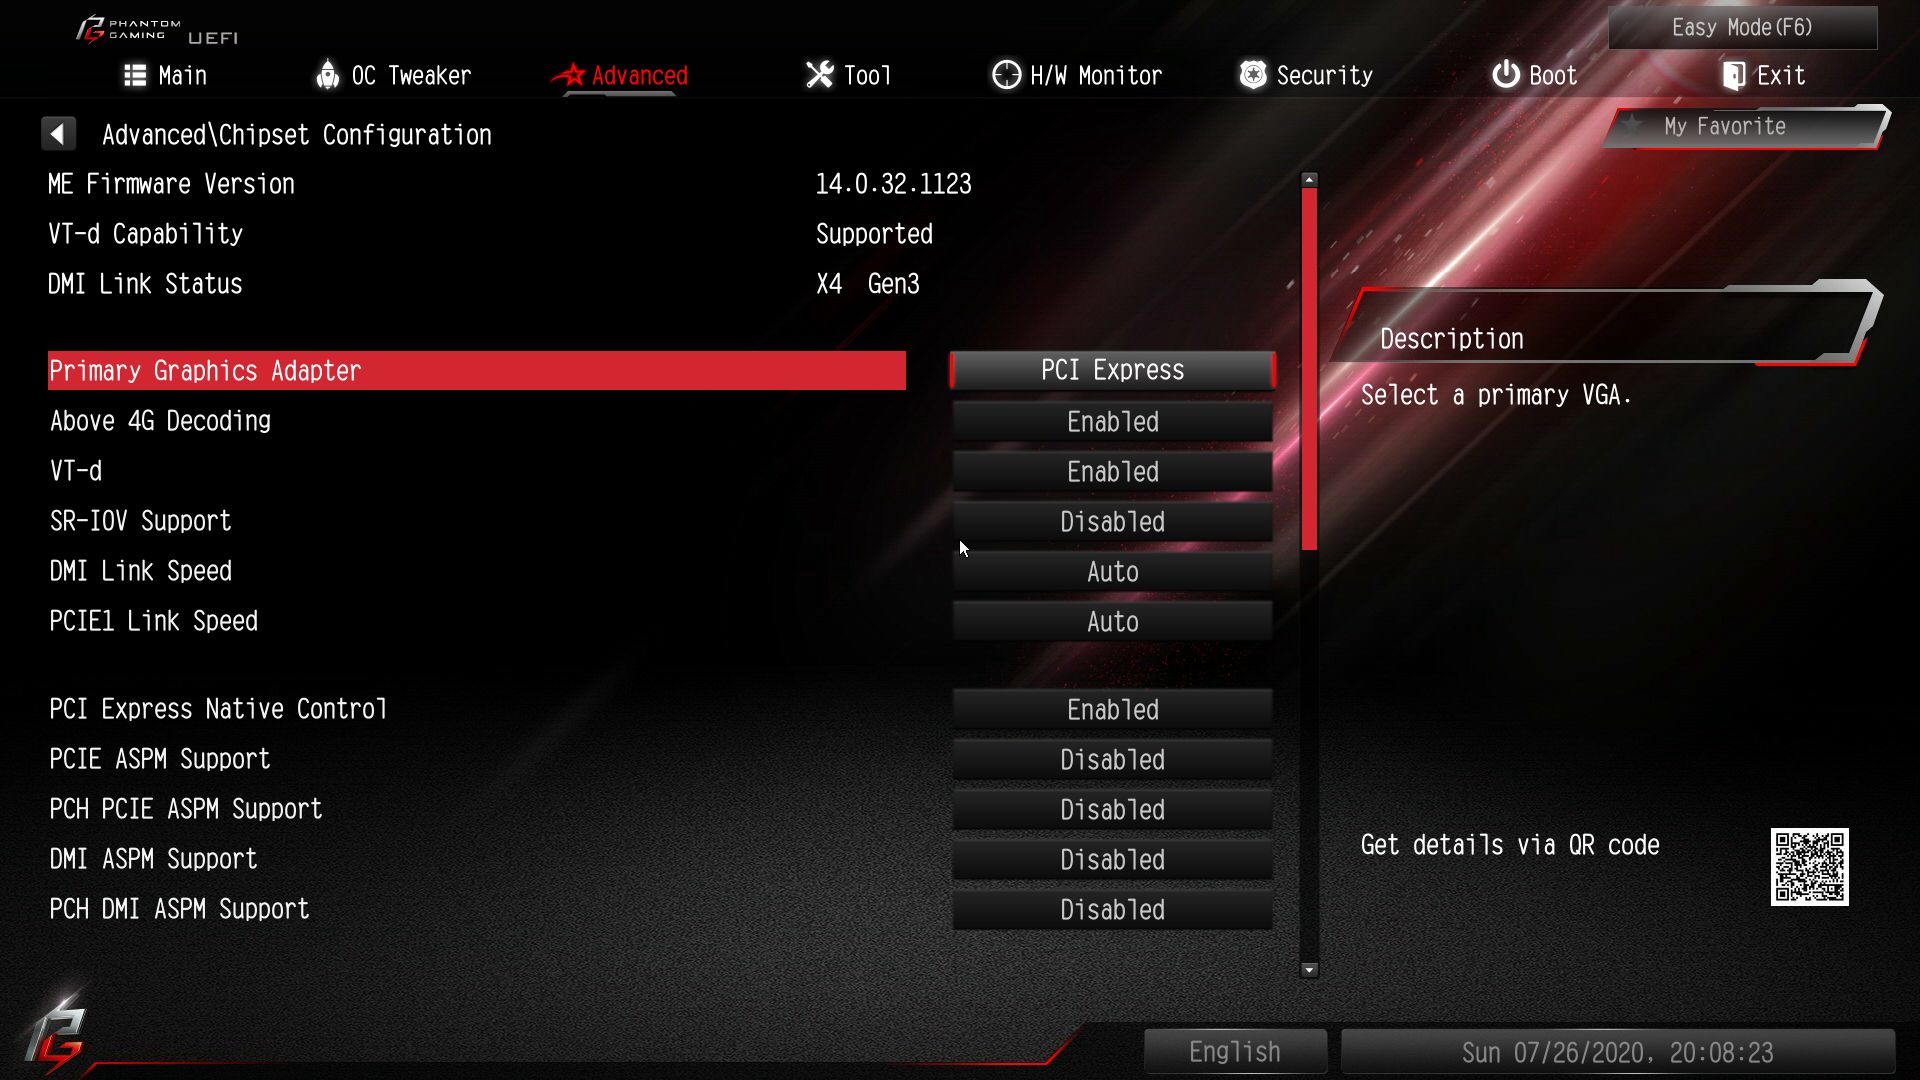
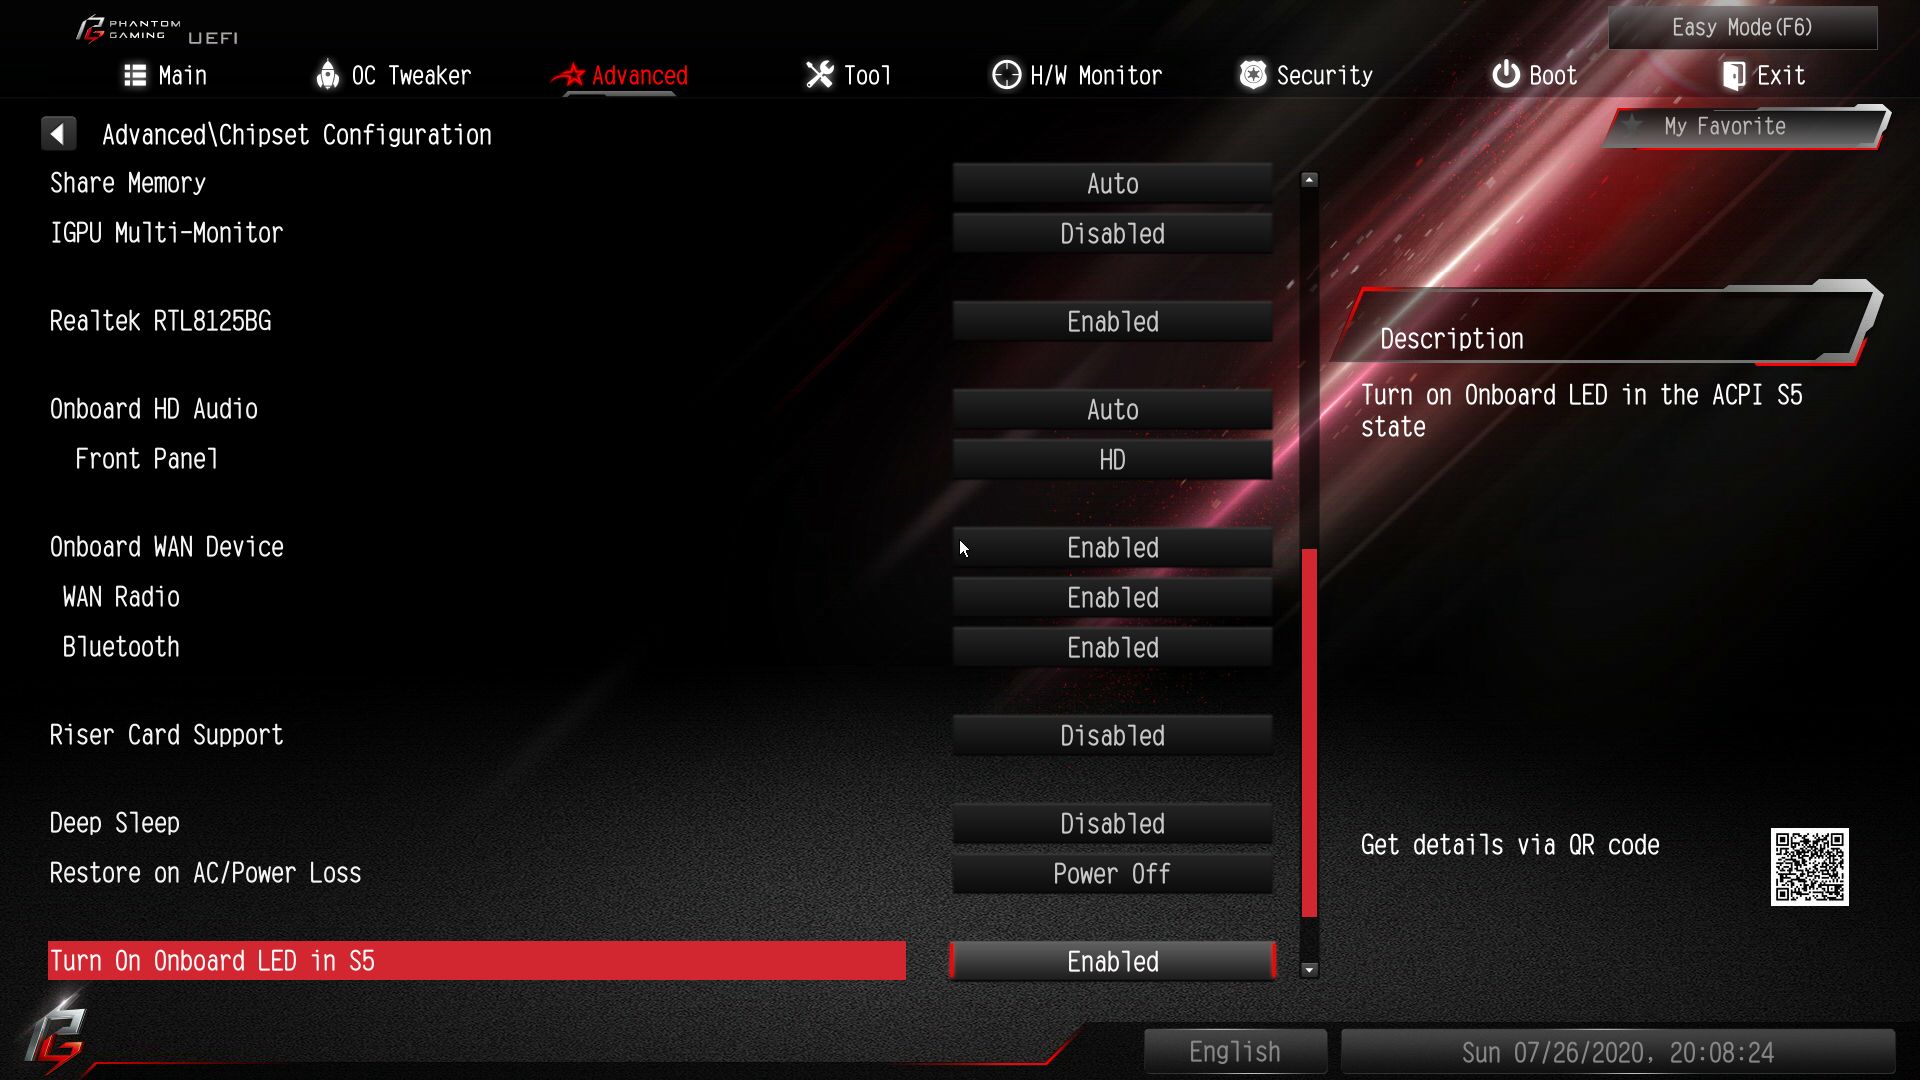
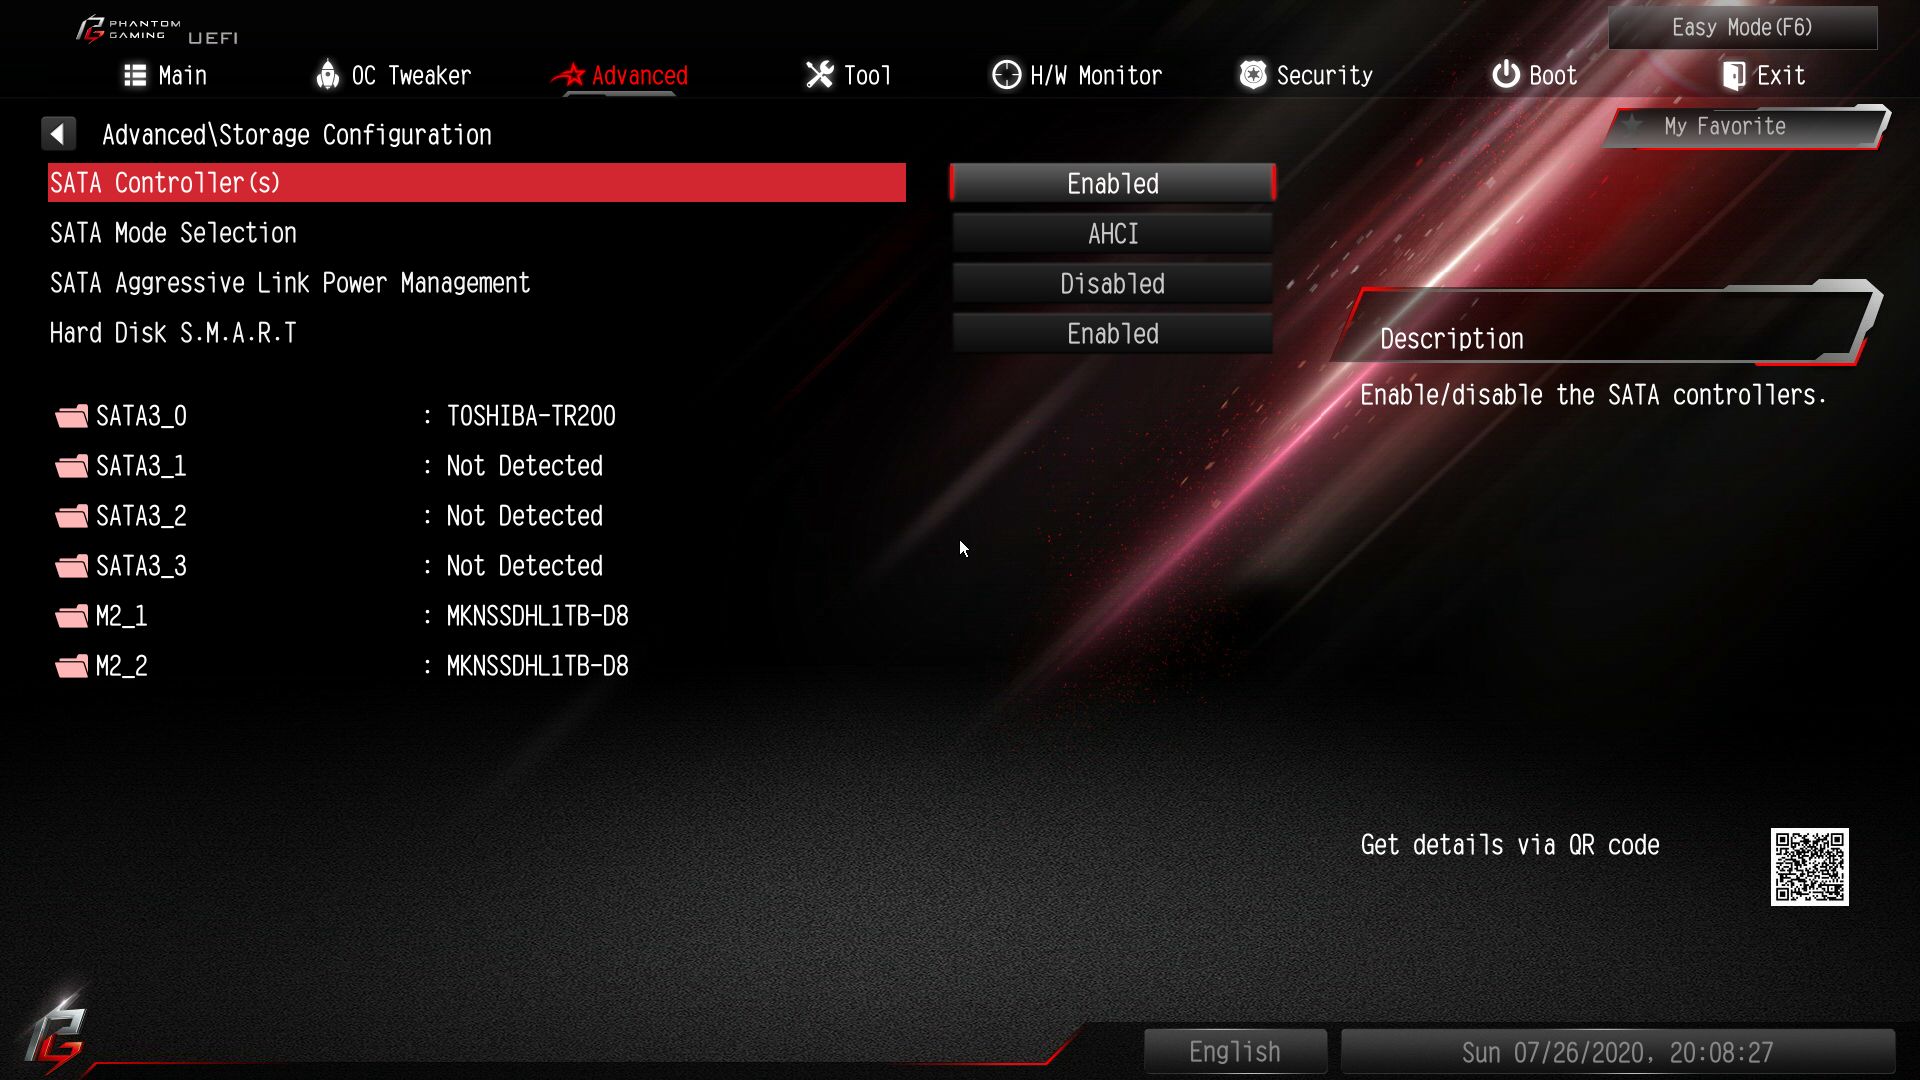
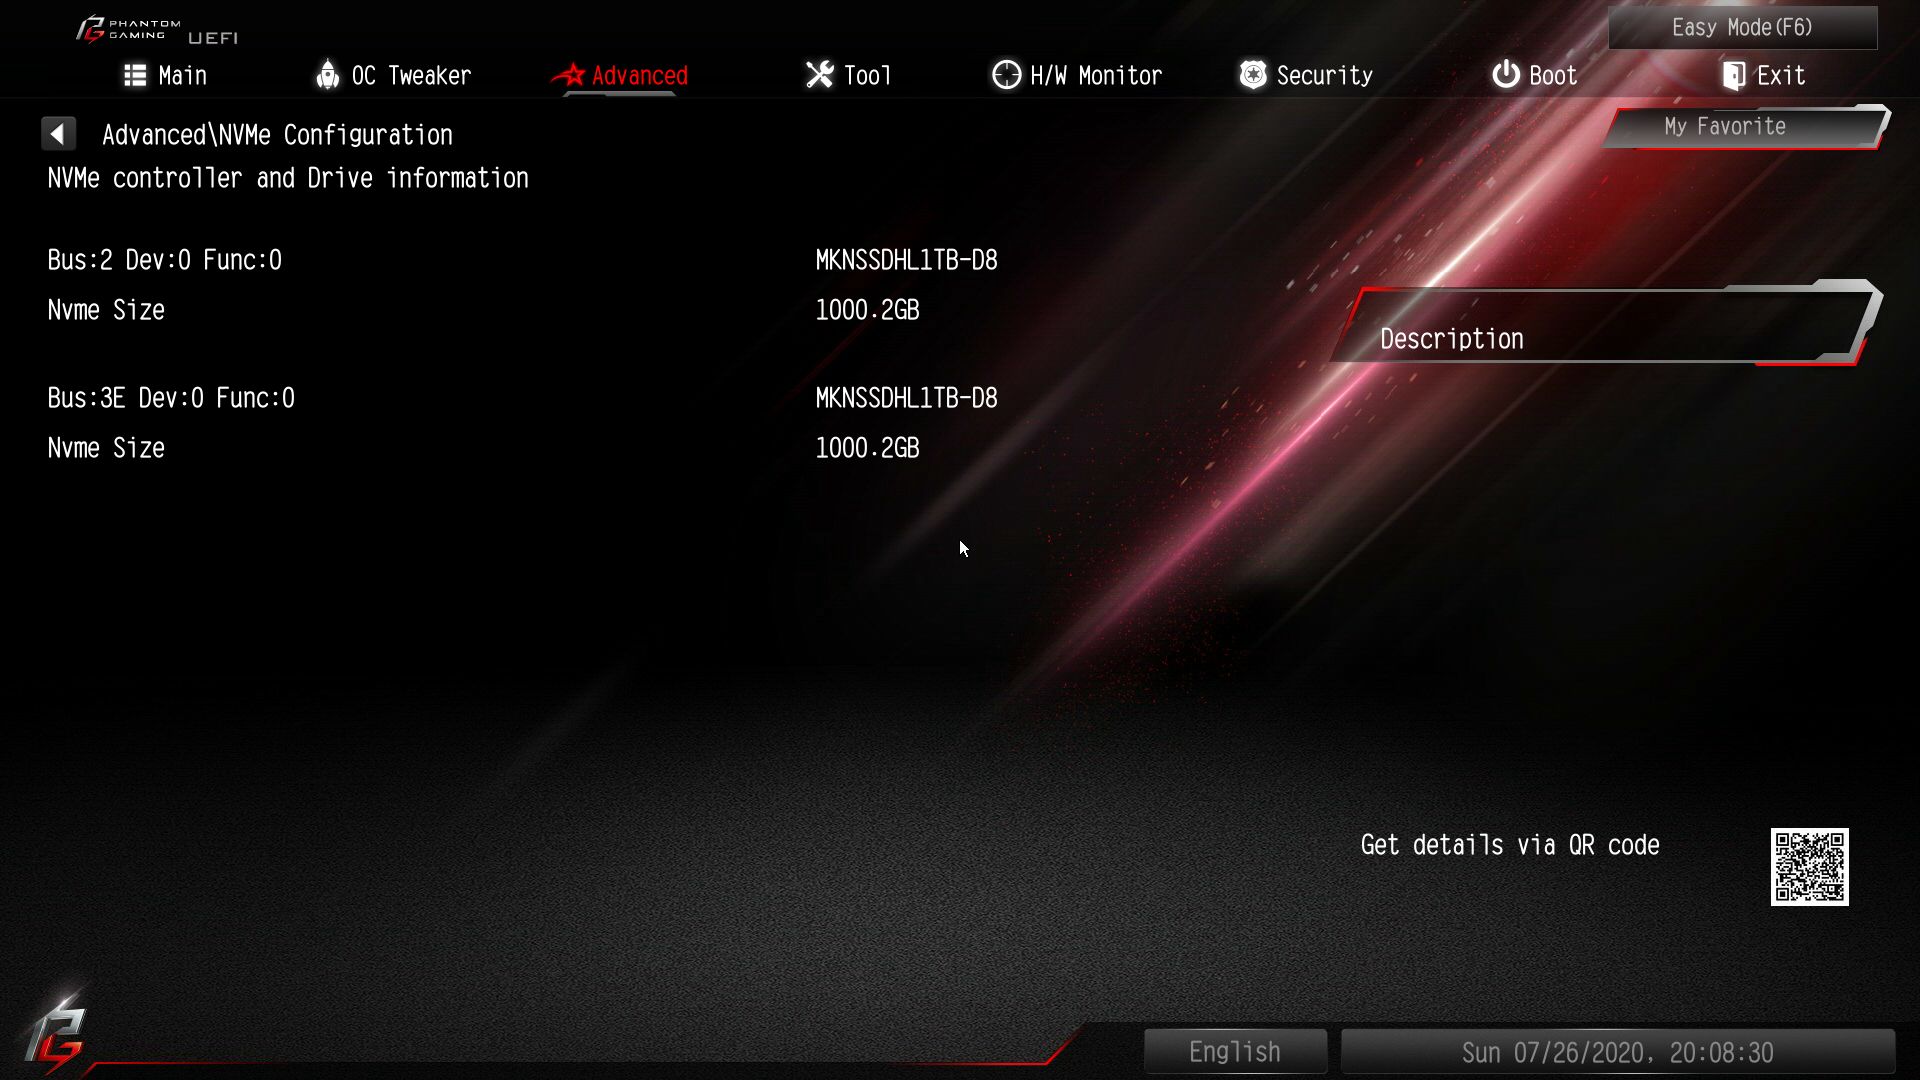
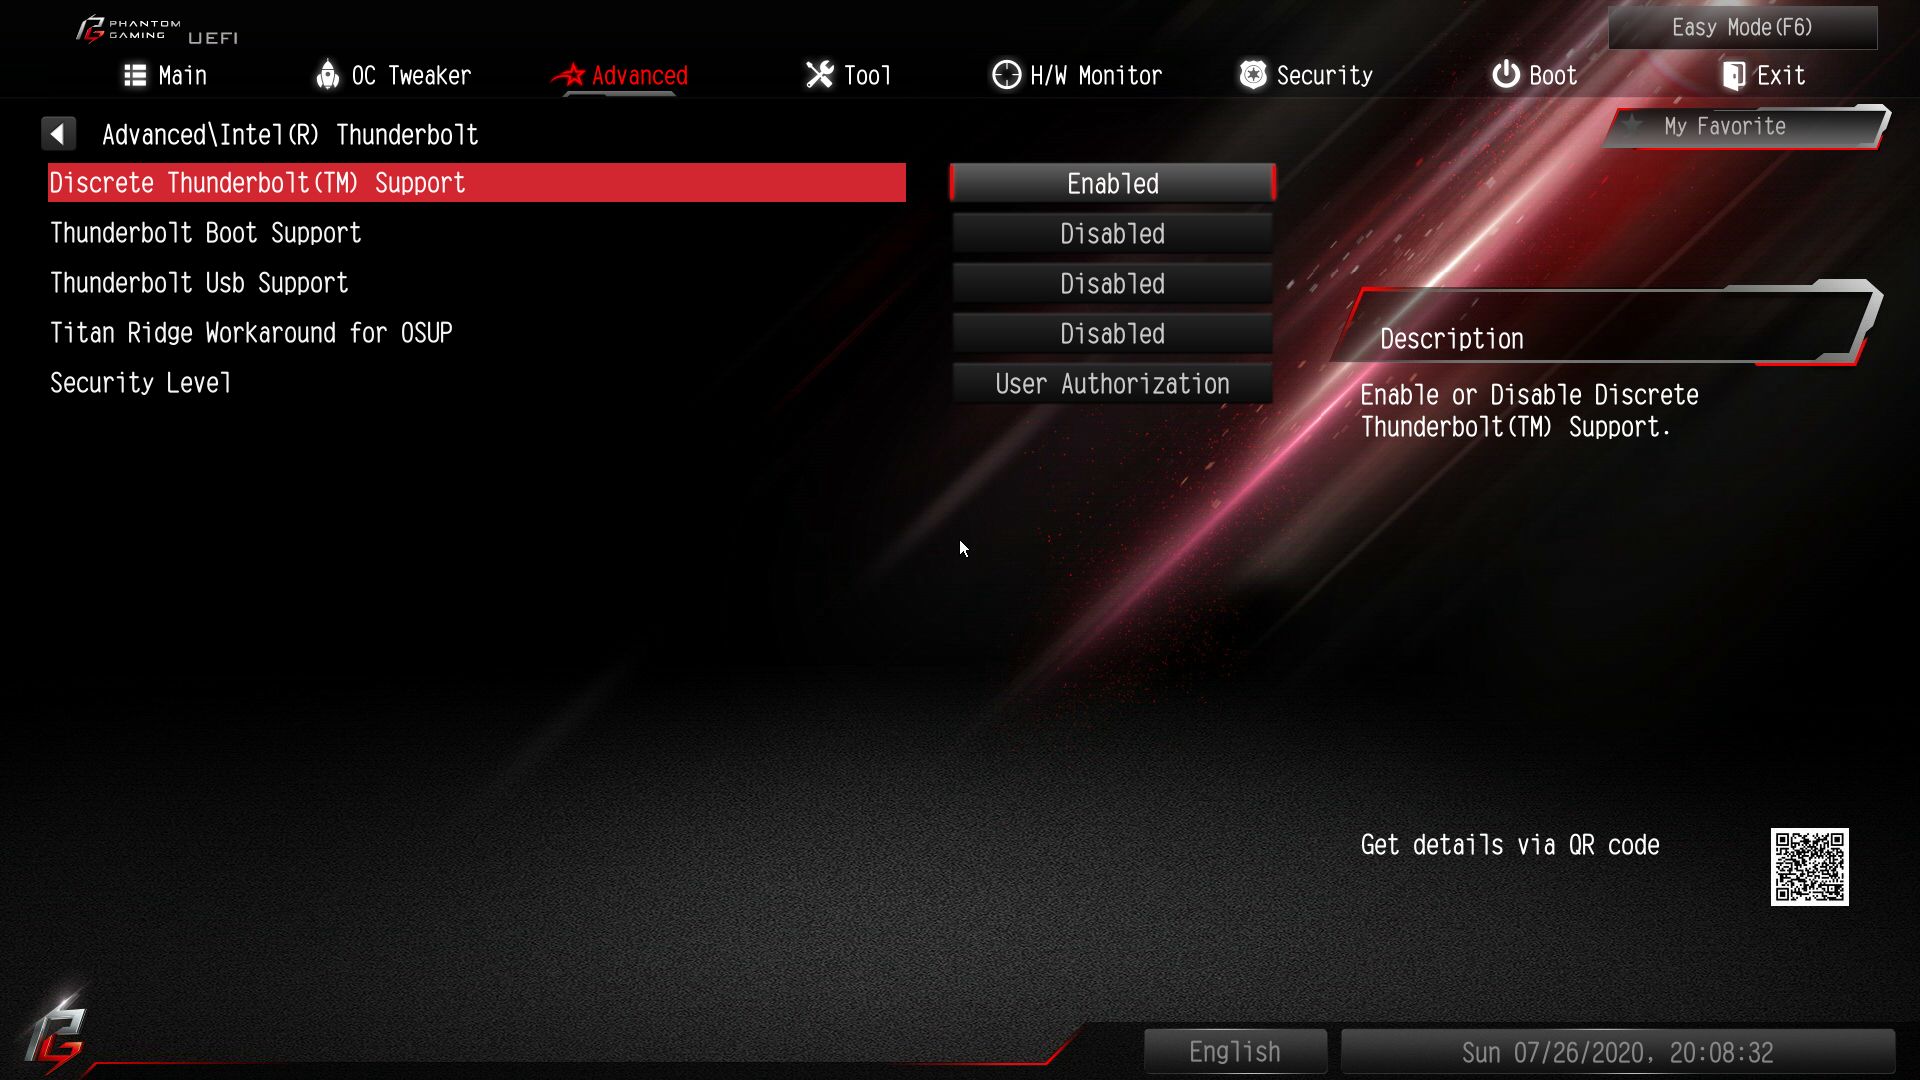
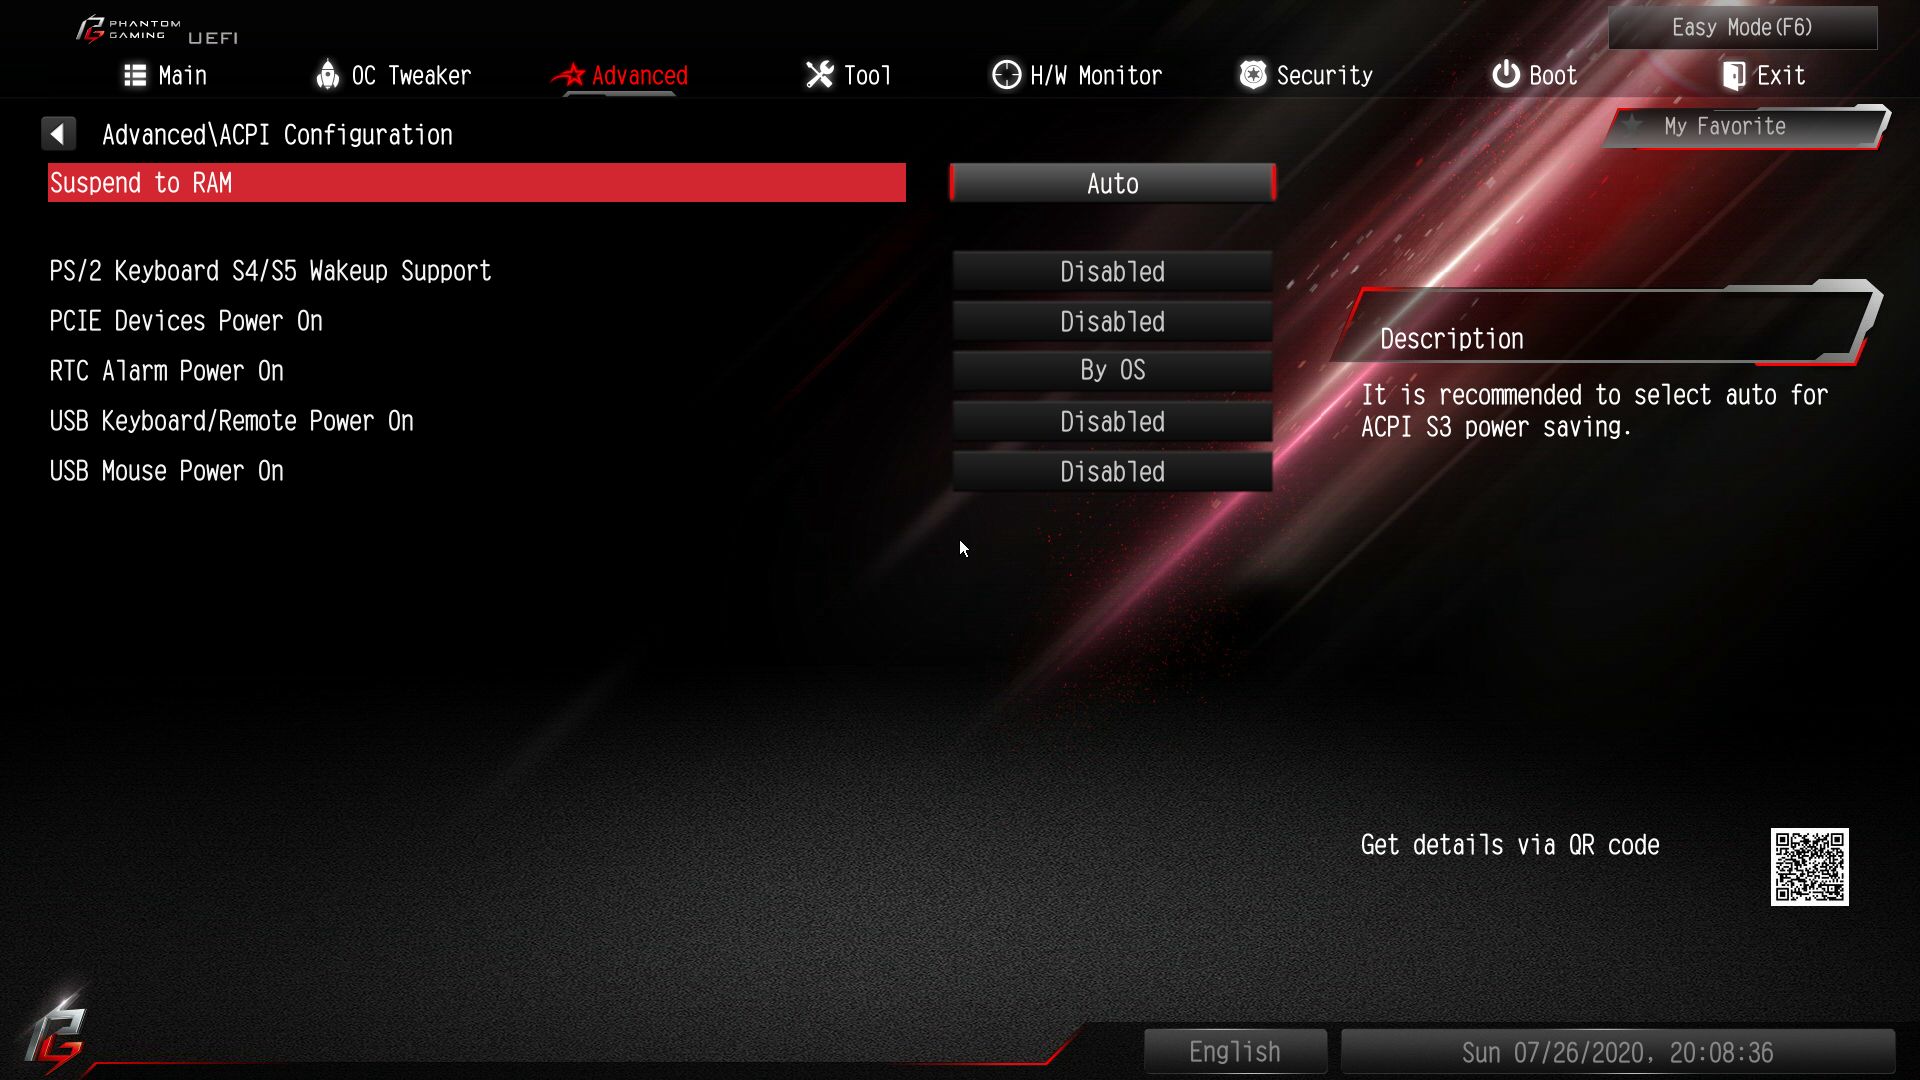
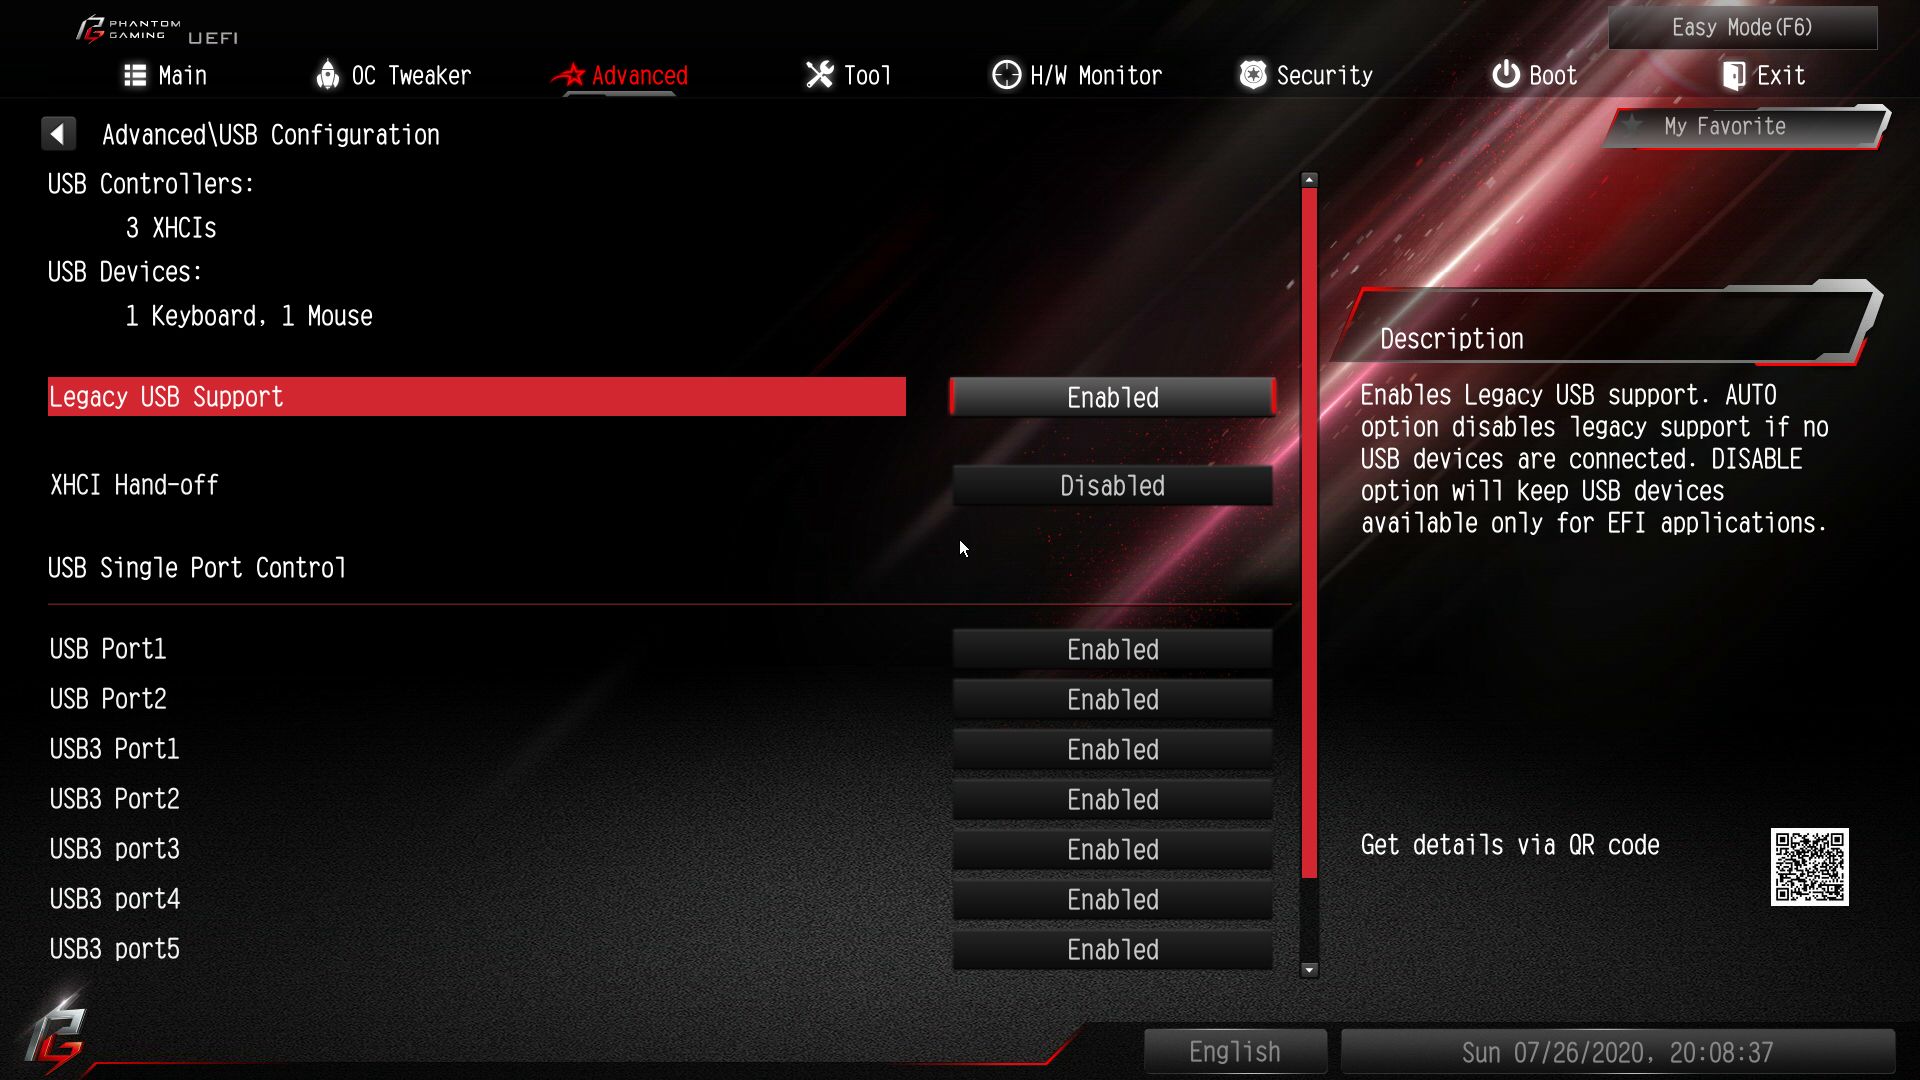
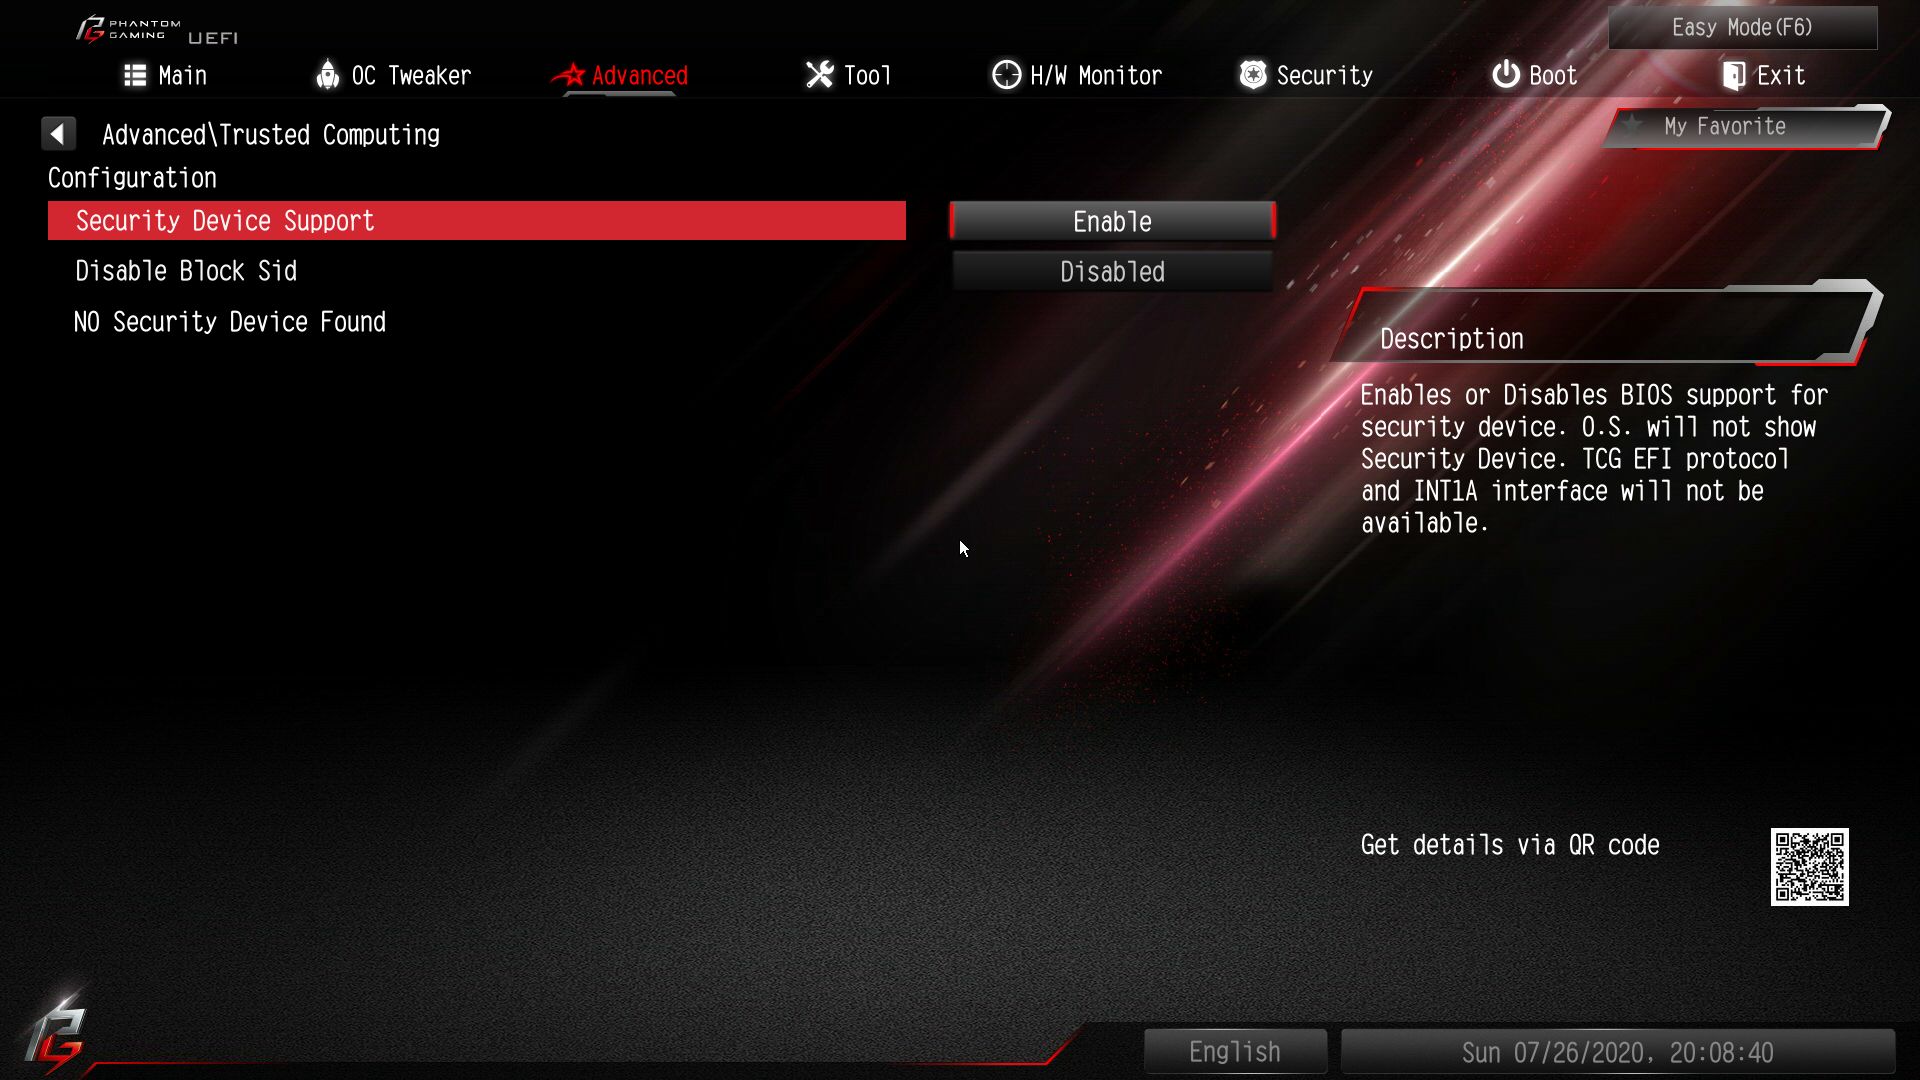
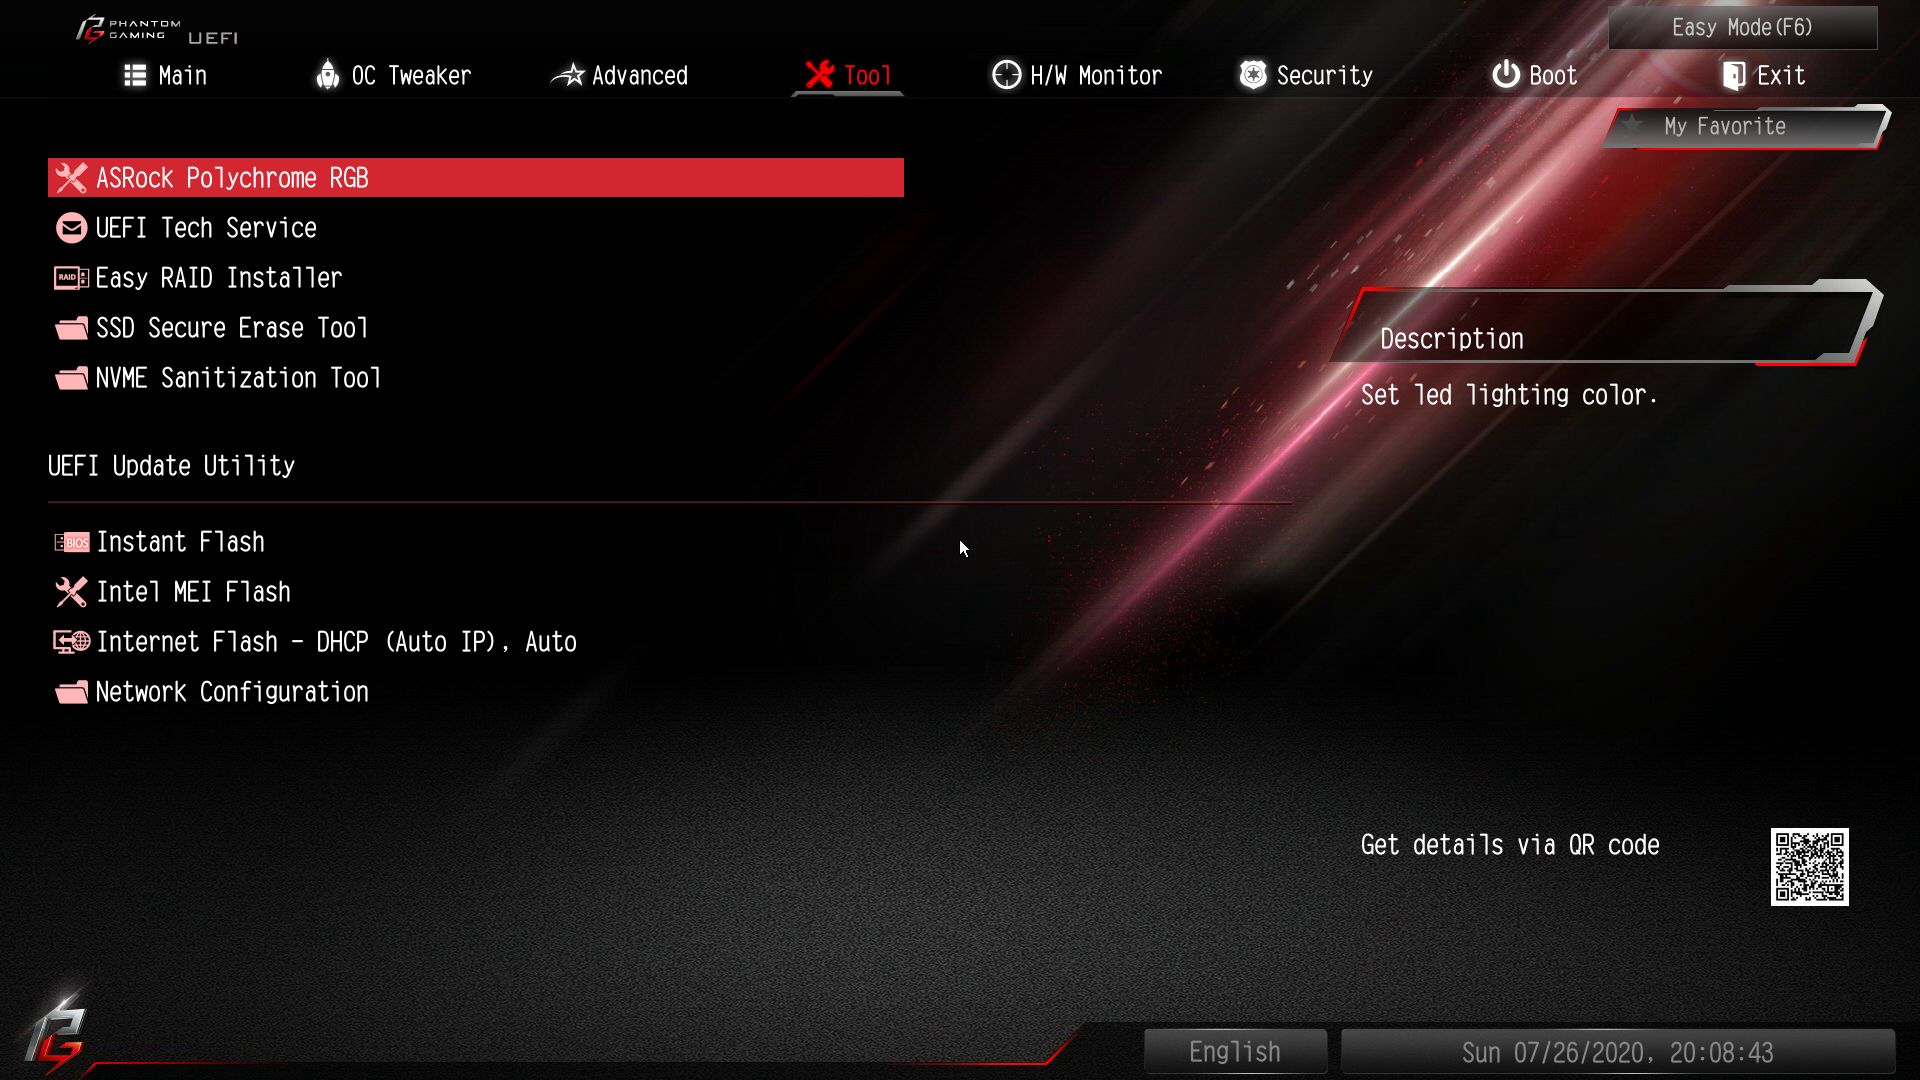
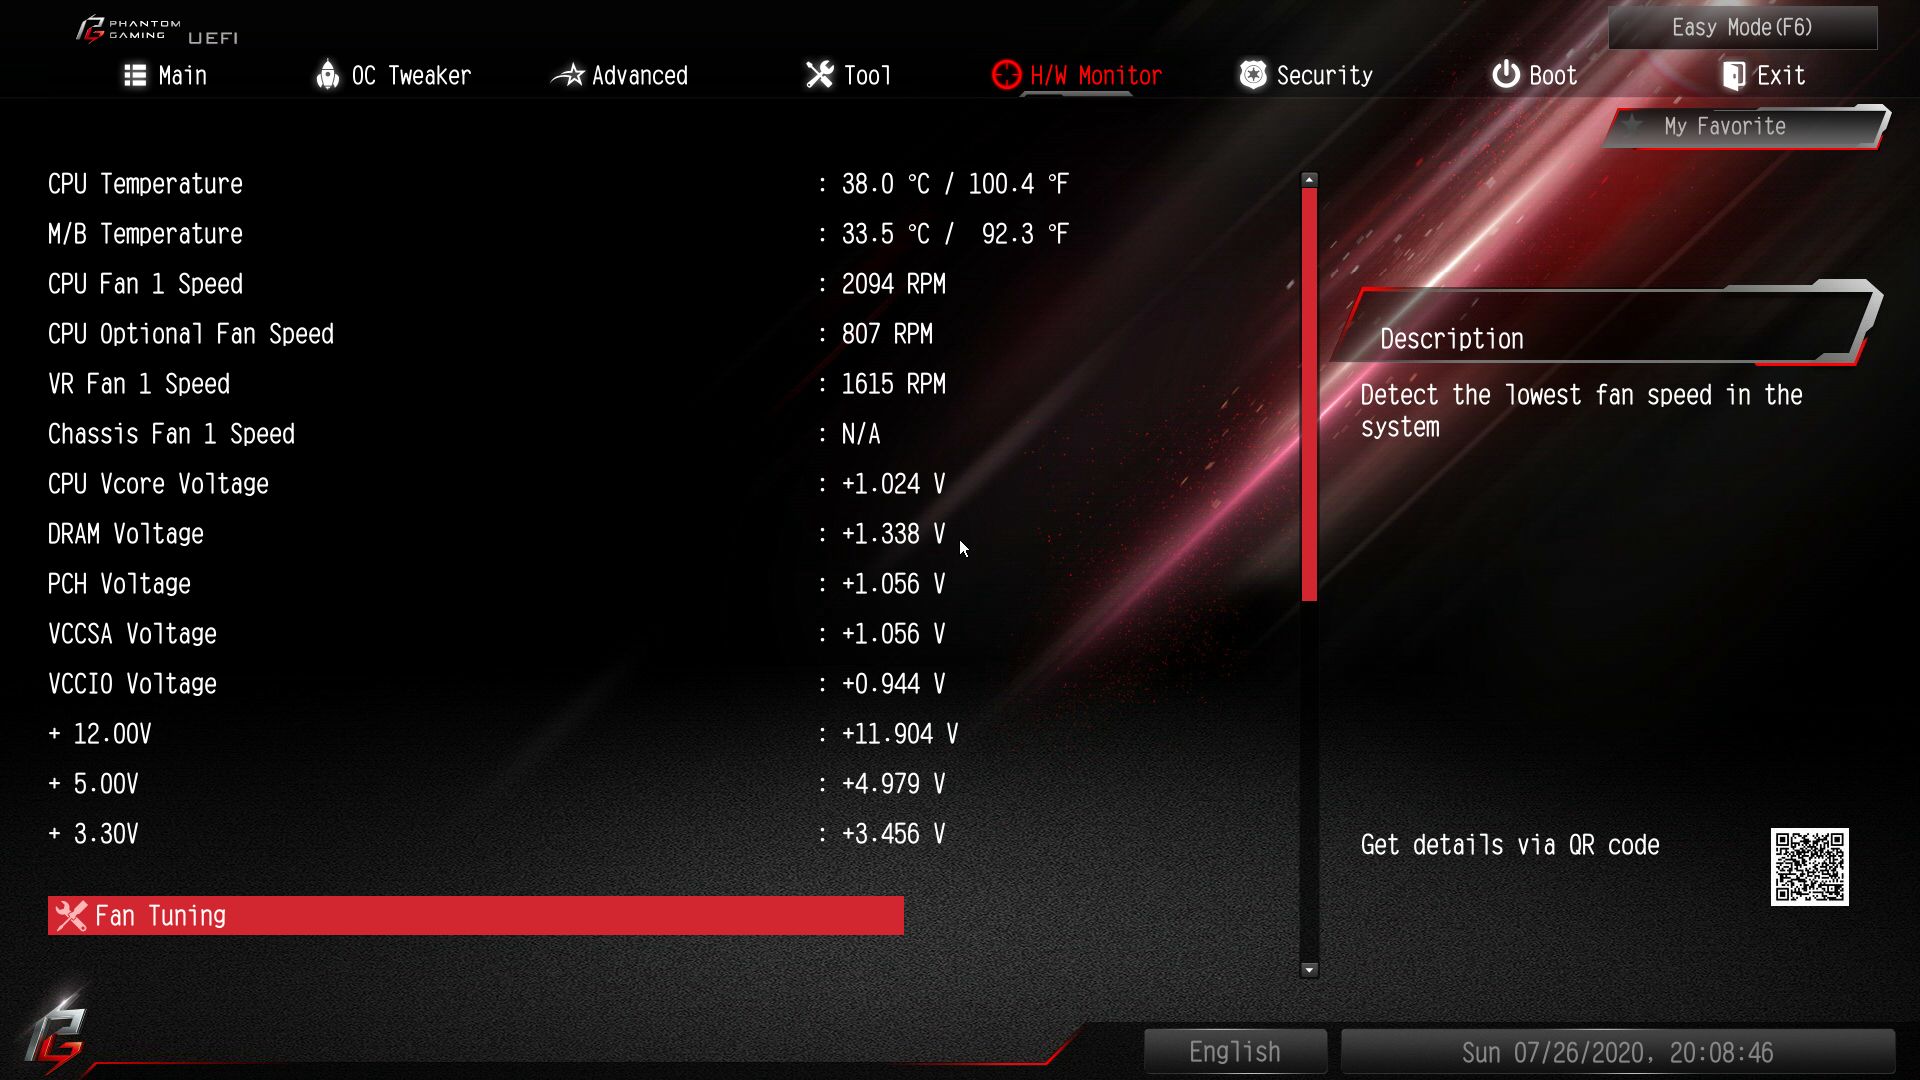
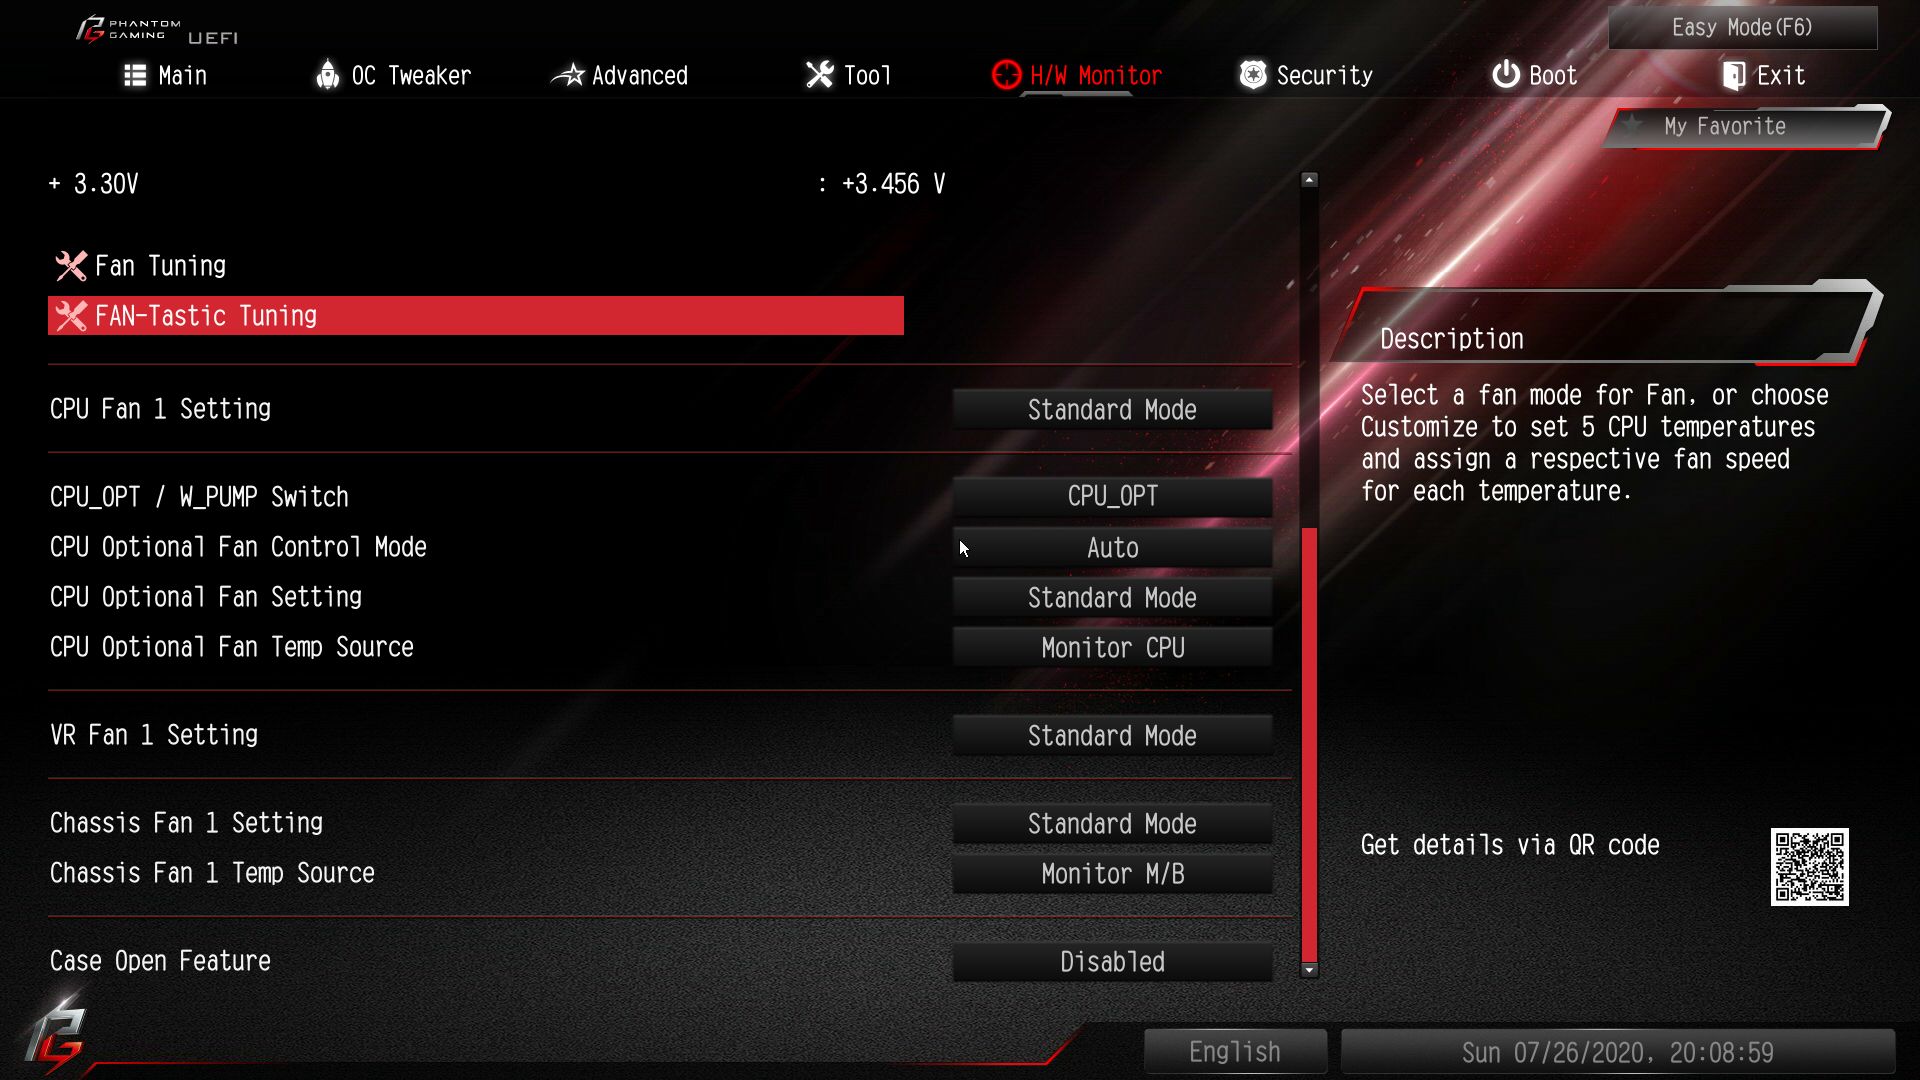
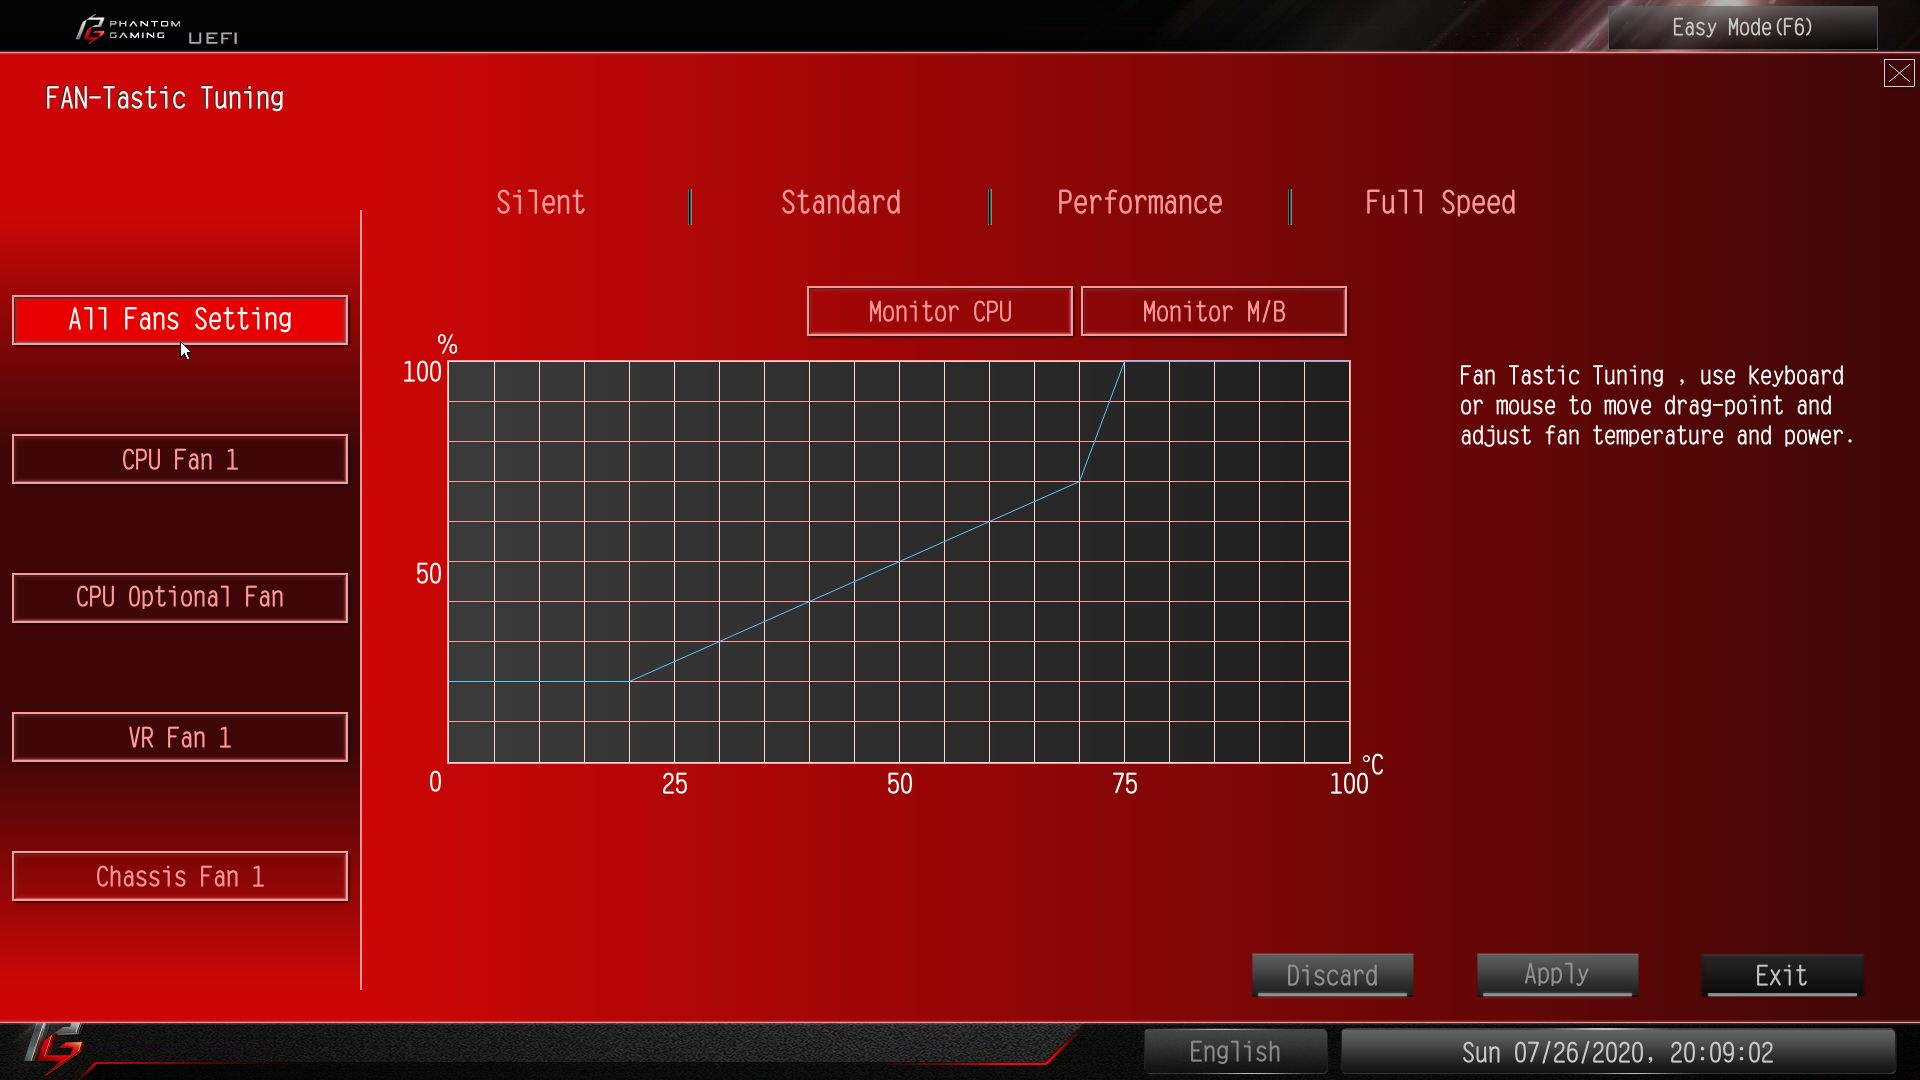
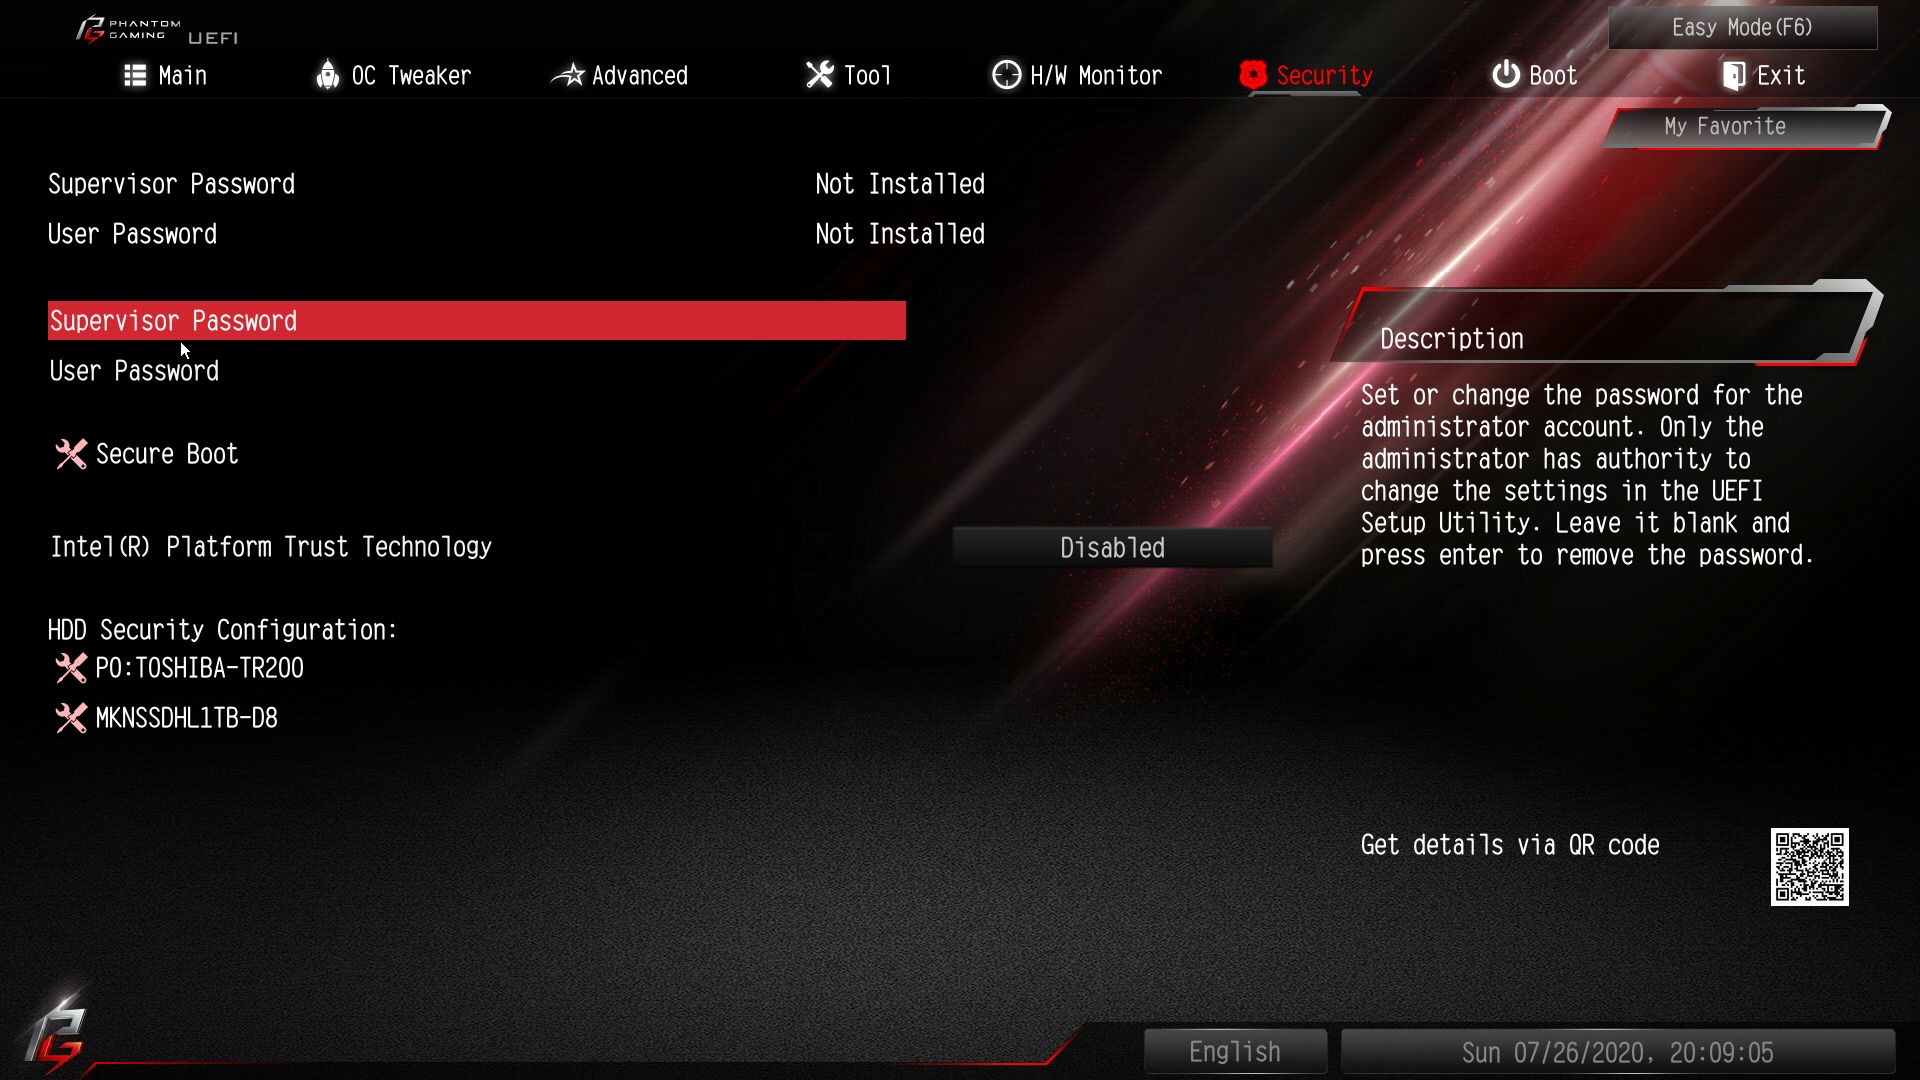
To give you a sense of the Firmware, we’ve gathered screenshots showing a majority of the BIOS screens.
ASRock’s BIOS is one of the more user-friendly and good-looking UEFIs out of the major brands. The Phantom Gaming theme makes its way into the BIOS with black, white, gray and red used throughou, so it is easy to read.
At first boot, we’re greeted by the Easy Mode, a more information-based page than it is for tweaking, though you can adjust some things (Canned fan settings, XMP profiles, etc). Going into the Advanced Mode, we see several headings across the top, with sub-headings hidden below. This BIOS is deep and includes a lot of functionality, with the most frequently used items easily accessible.
MORE: Best Motherboards
MORE: How To Choose A Motherboard
MORE: All Motherboard Content
Current page: ASRock Z490 Phantom Gaming-ITX/TB3
Prev Page Biostar Z490GTN Next Page Asus ROG Strix Z490-I Gaming
Joe Shields is a staff writer at Tom’s Hardware. He reviews motherboards and PC components.
