Defender 410, A Sweet Star Wars: The Old Republic Case Mod
At this year's Consumer Electronics Show in Las Vegas, iBuyPower raffled off a special Star Wars: The Old Republic-themed case mod. Today we take you through this epic build, all the way from designer sketches to the trade show floor.
Top Panel: Dome Layout
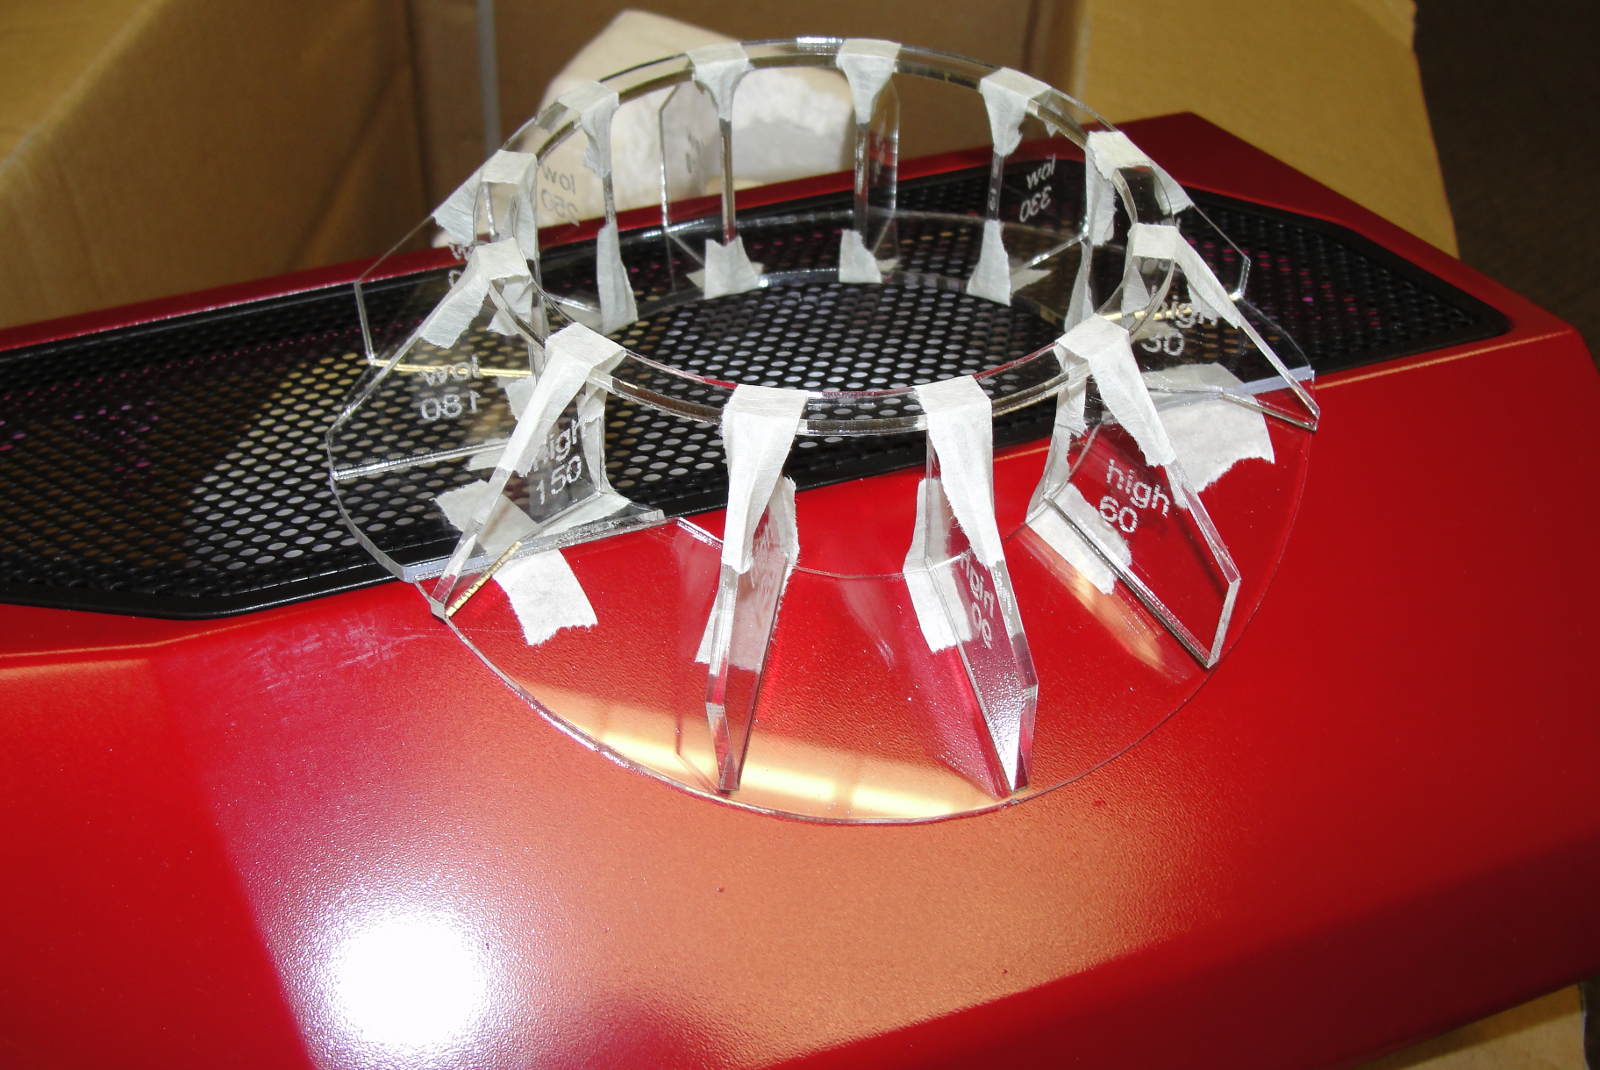
Lining up the frame of the dome to make sure it fits properly over the top fan grille.
Top Panel: Dome Rails And Braces
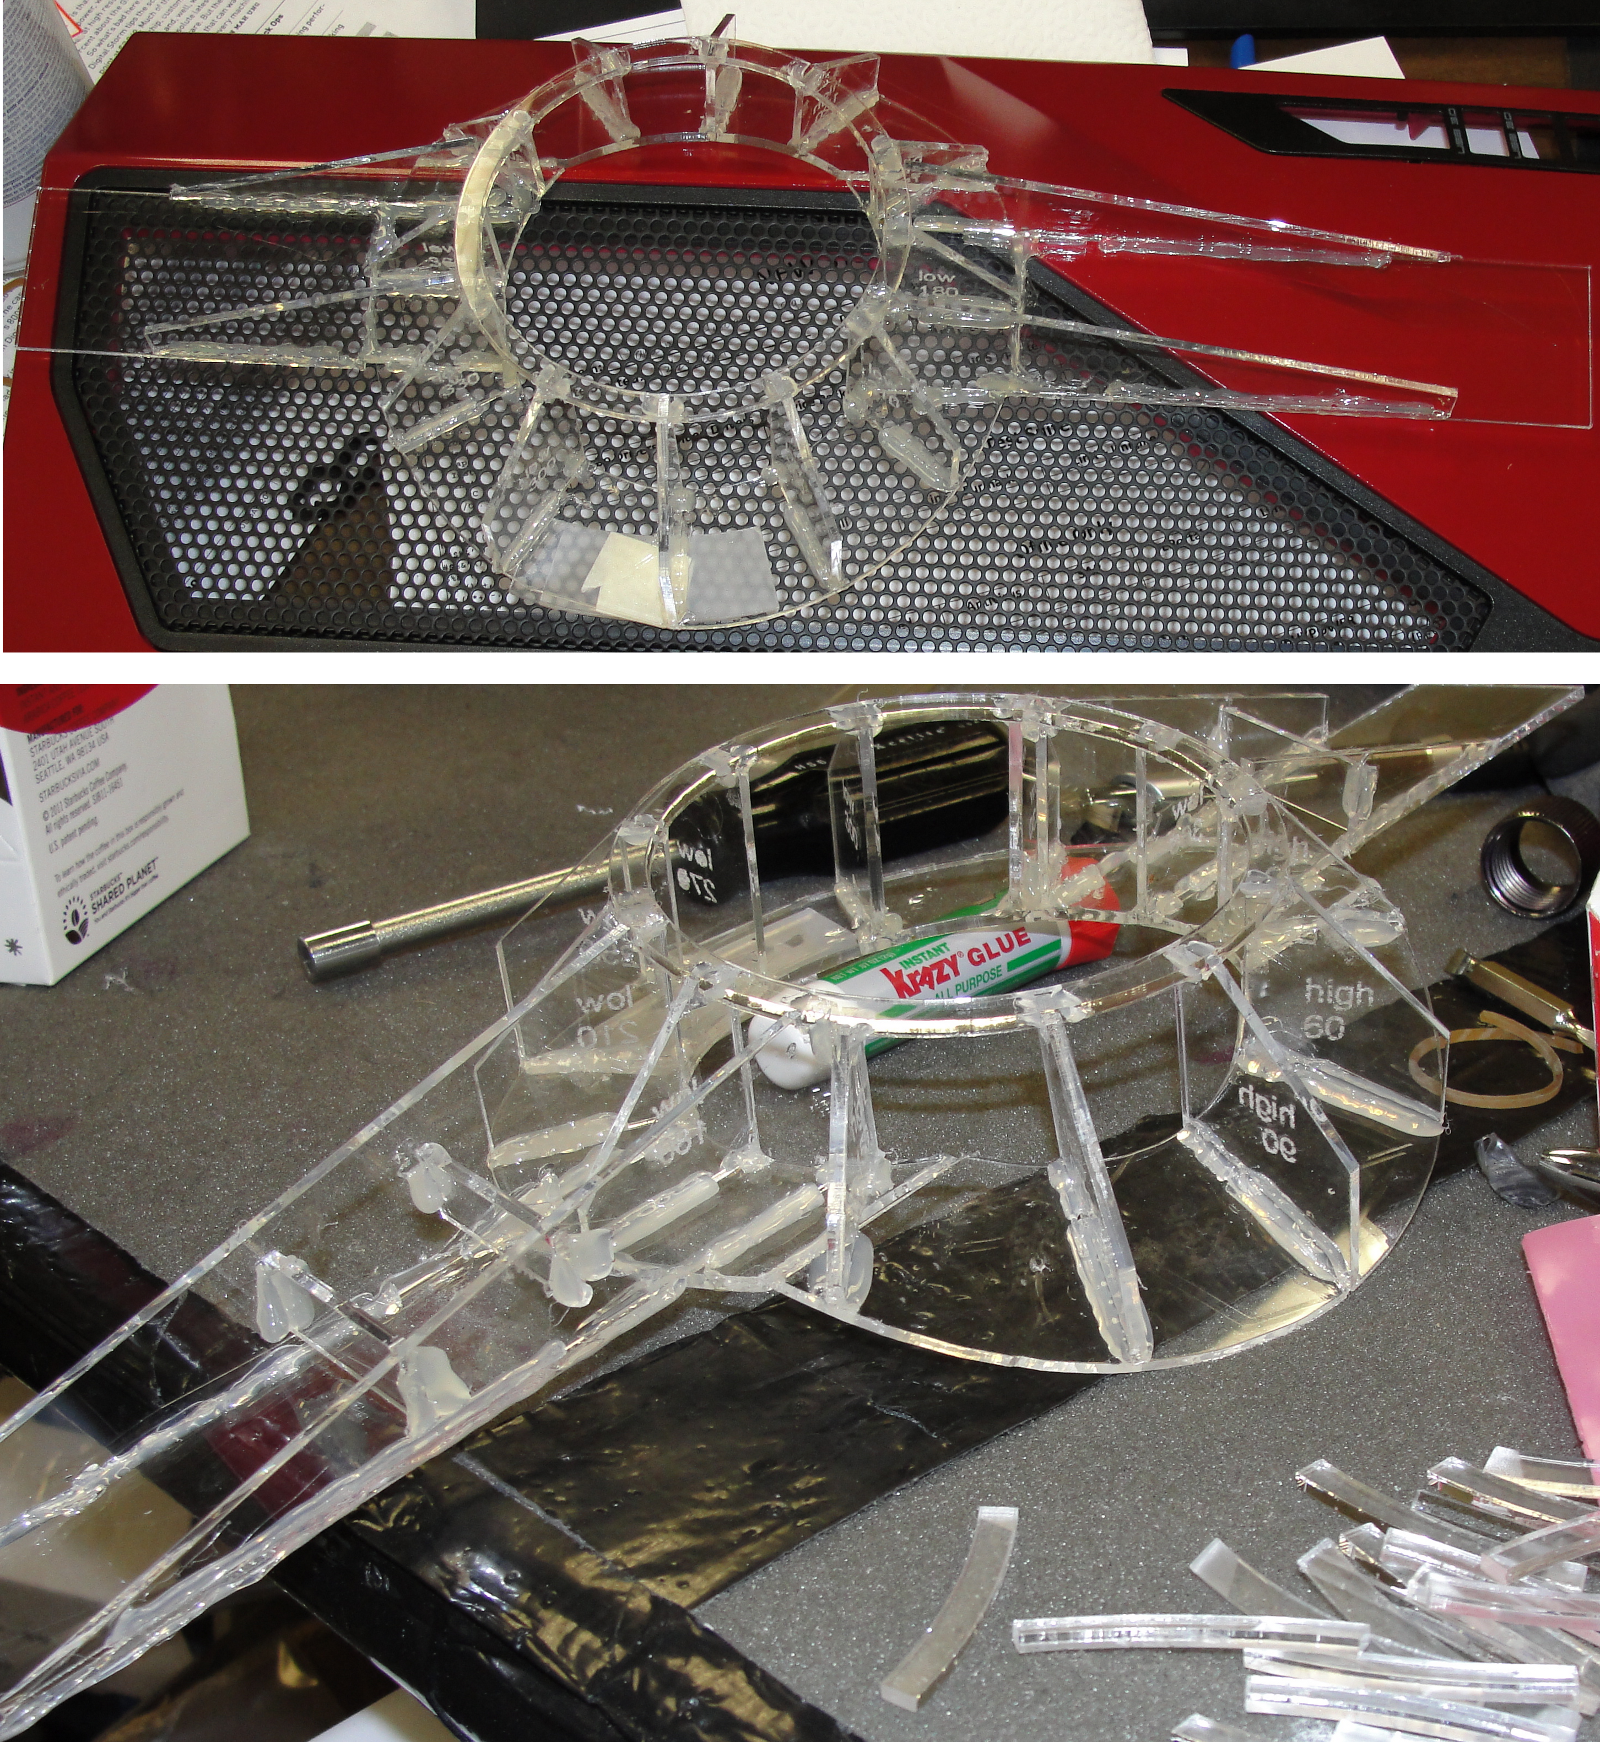
The rails are added to the dome and the entire top frame begins to take shape. Support braces were also added, connecting the two sides of the frame for more structural integrity.
Top Panel: Side Skirts
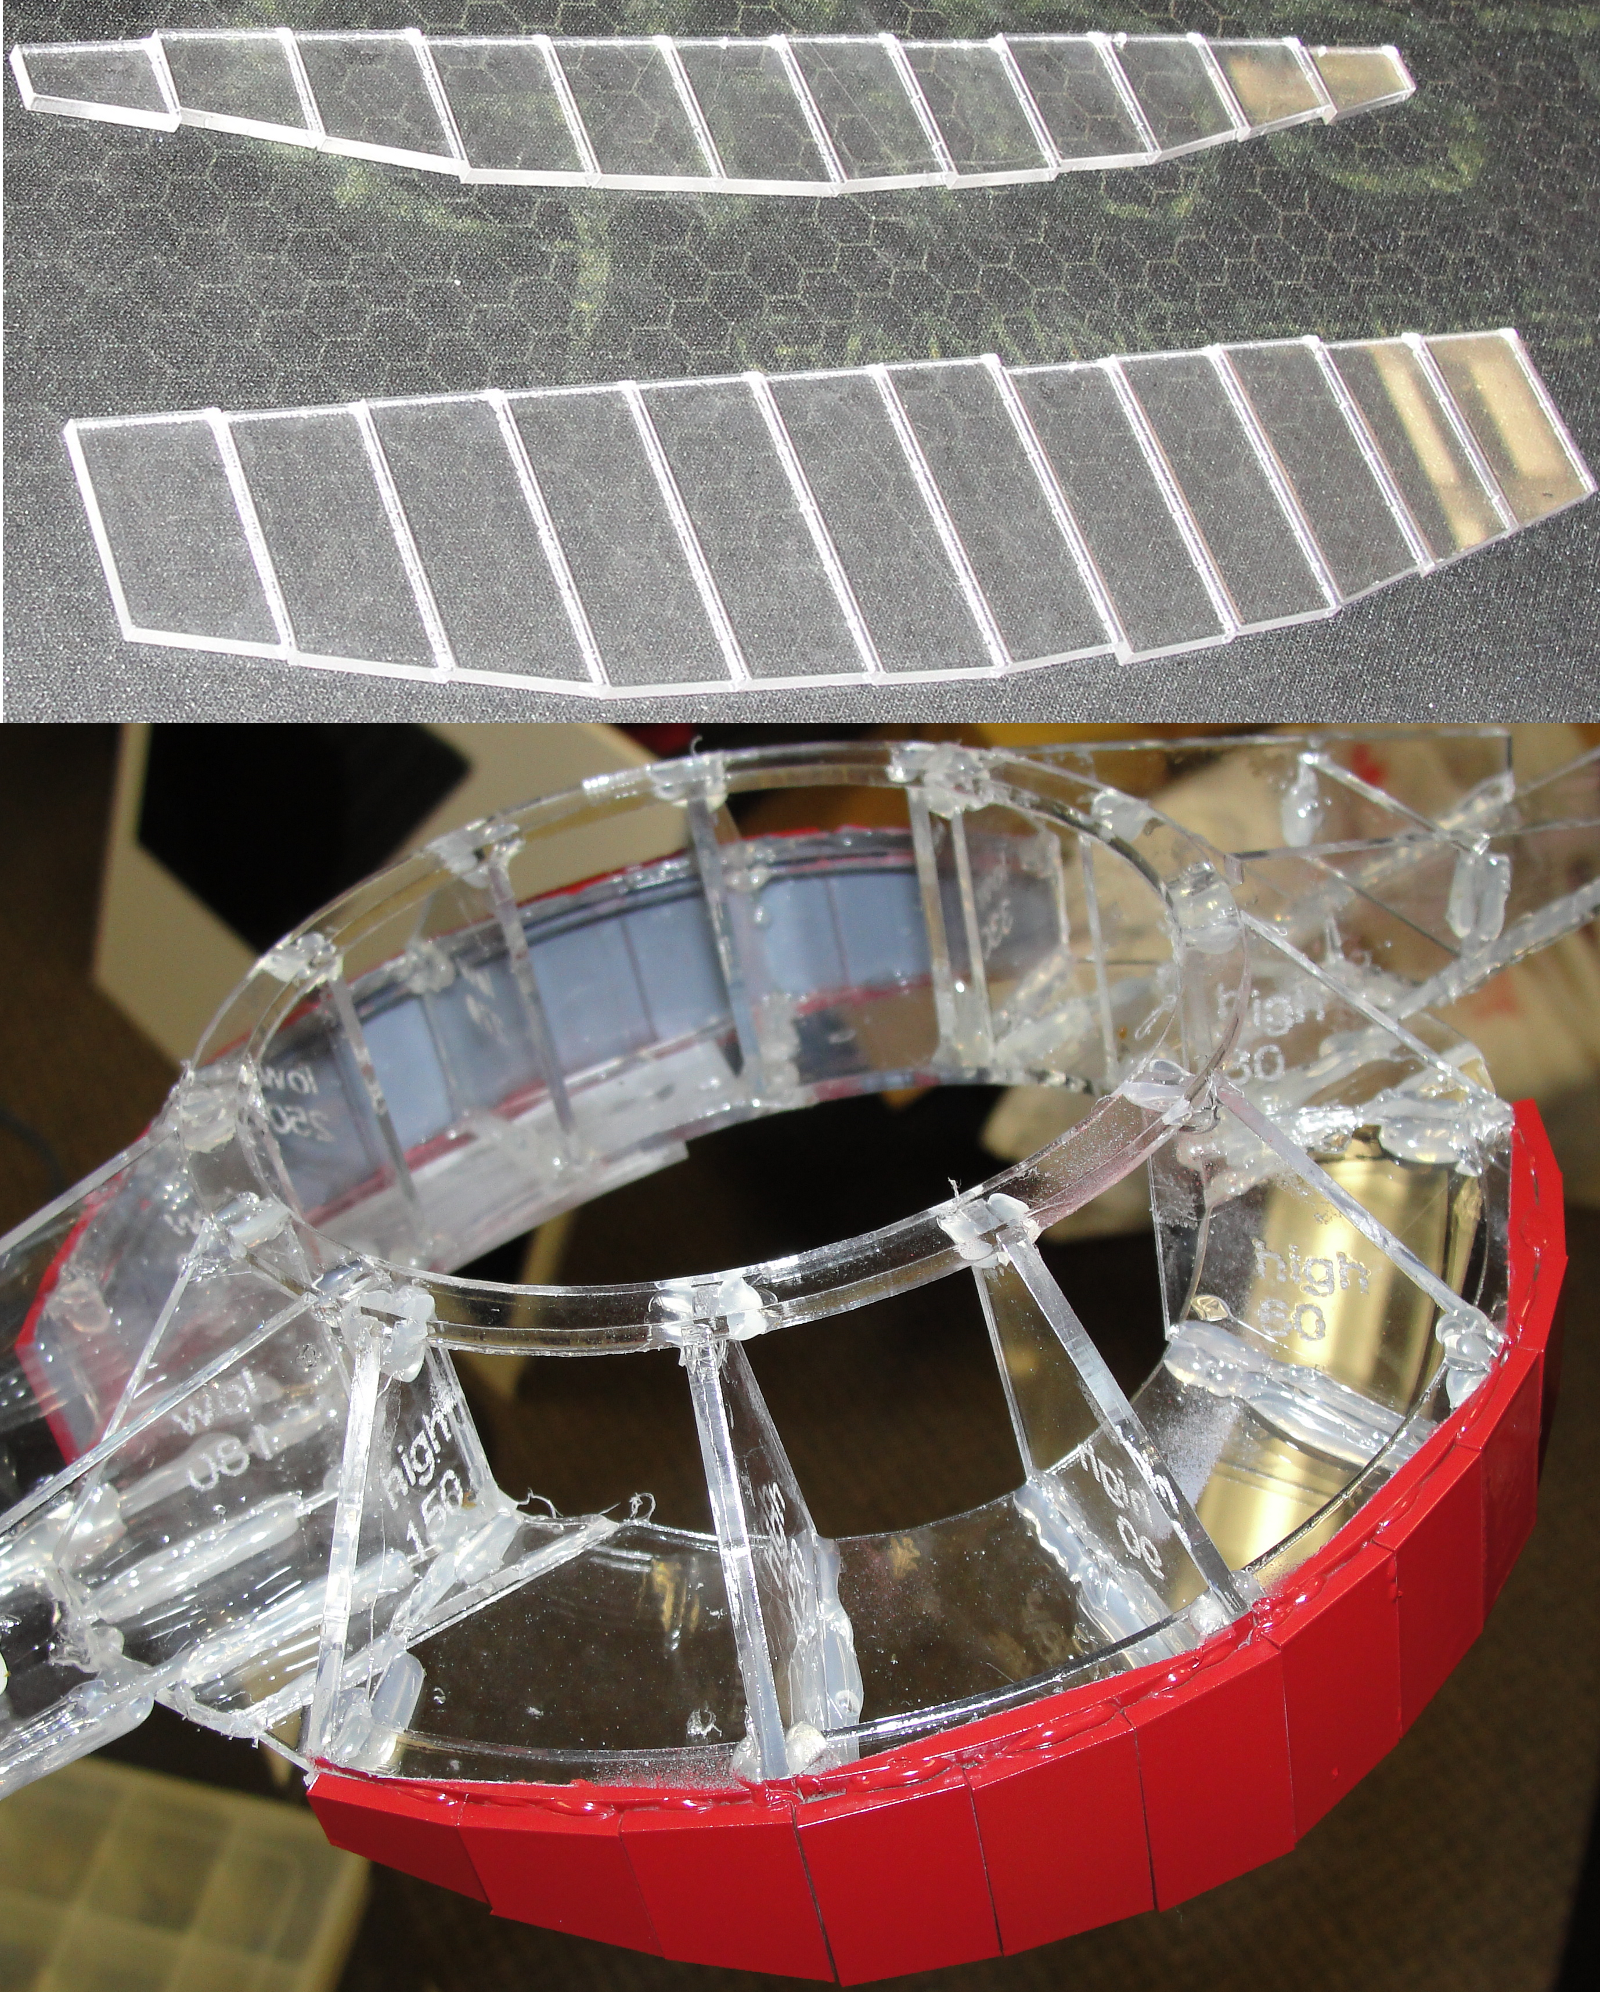
More acrylic is cut for the lower side skirts of the dome. The skirt pieces first receive a coat of primer, then a coat of red paint. The skirt is then assembled and glued to the bottom of the dome.
Top Panel: Window Modules
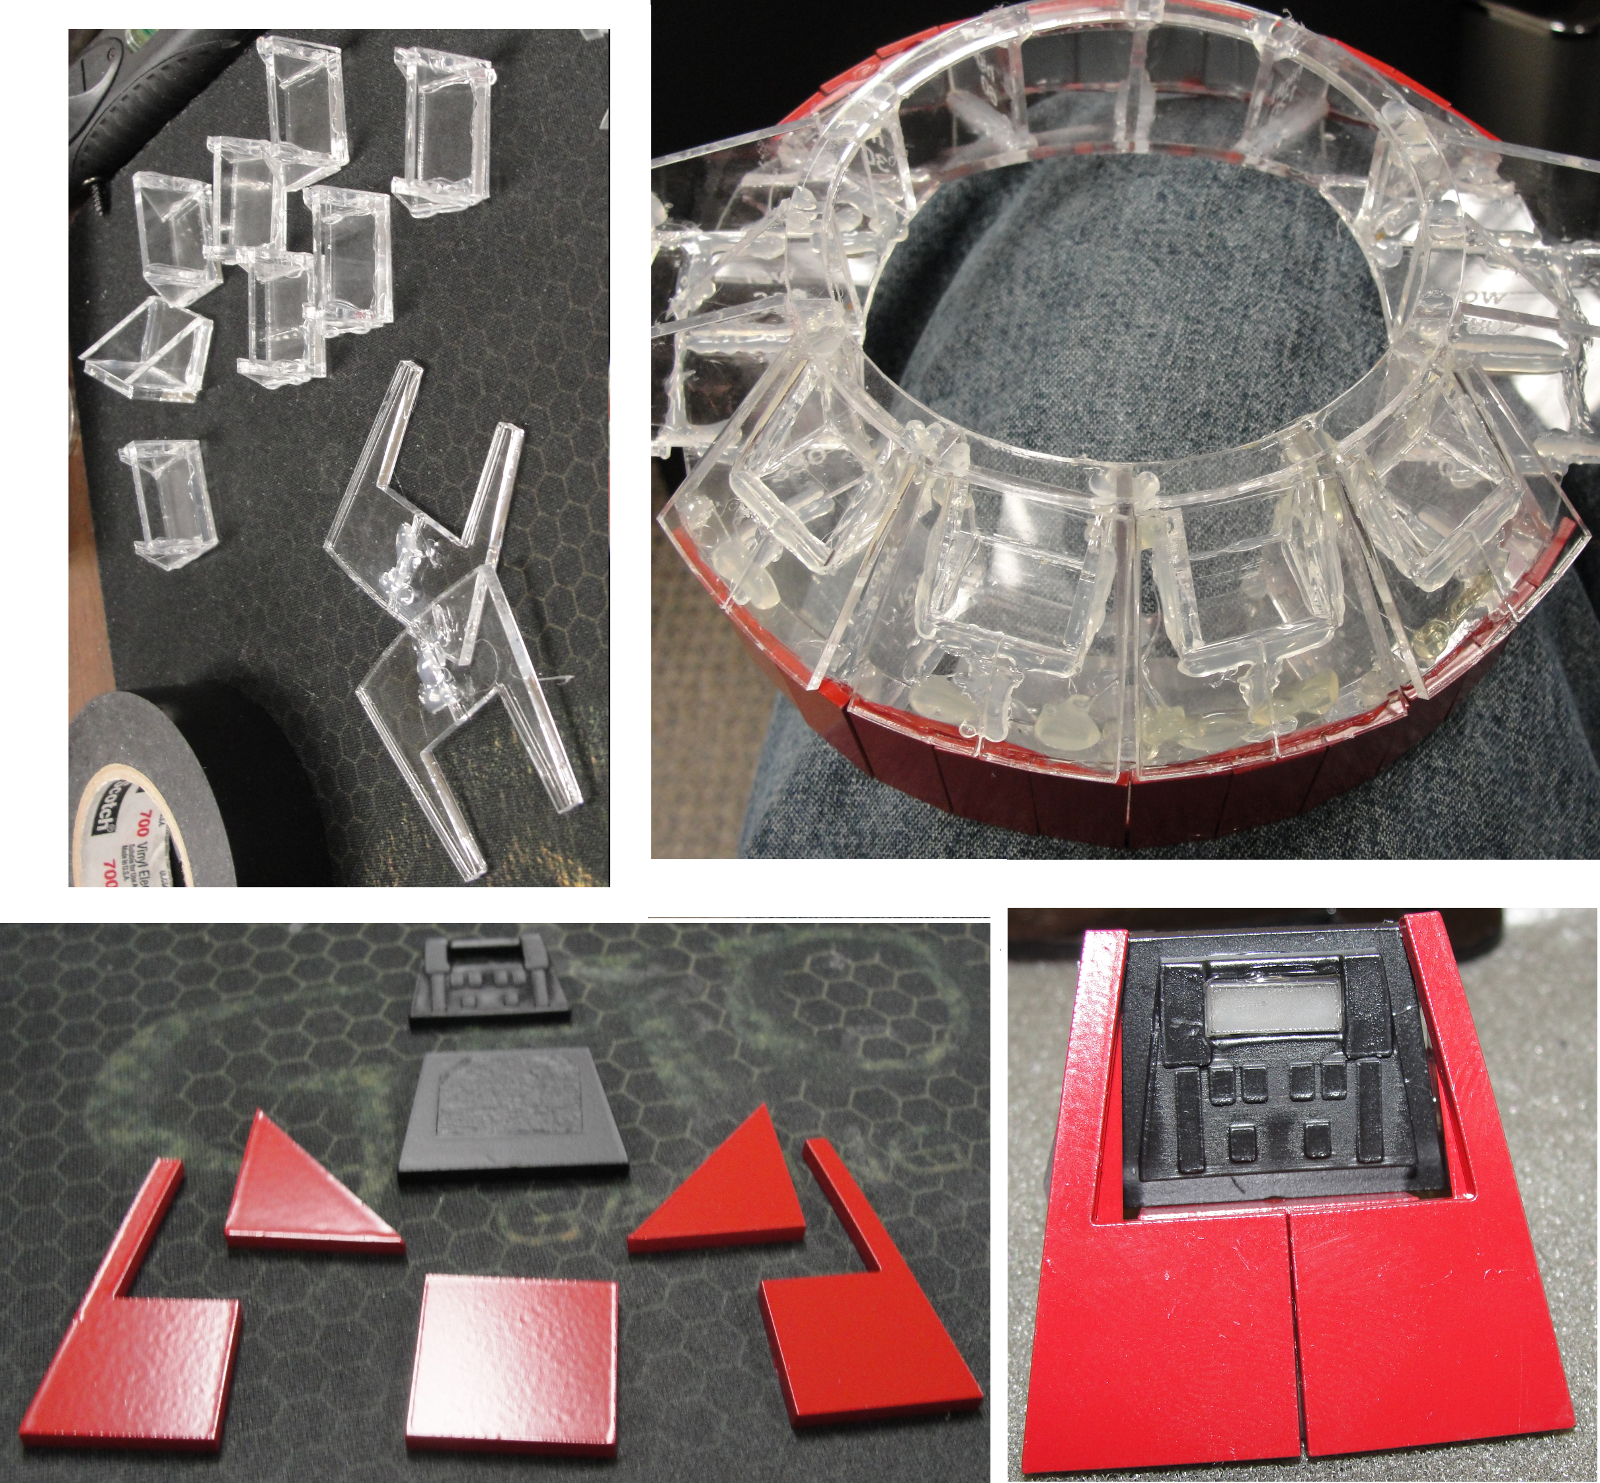
The next step is to create lighted "window" modules for the dome. You can see the individual pieces next to a complete, but unpainted dome. Below that are the painted pieces of a single window module next to a competed module. Eight of these are needed to finish the dome.
Top Panel: Chasing Lights And Wiring
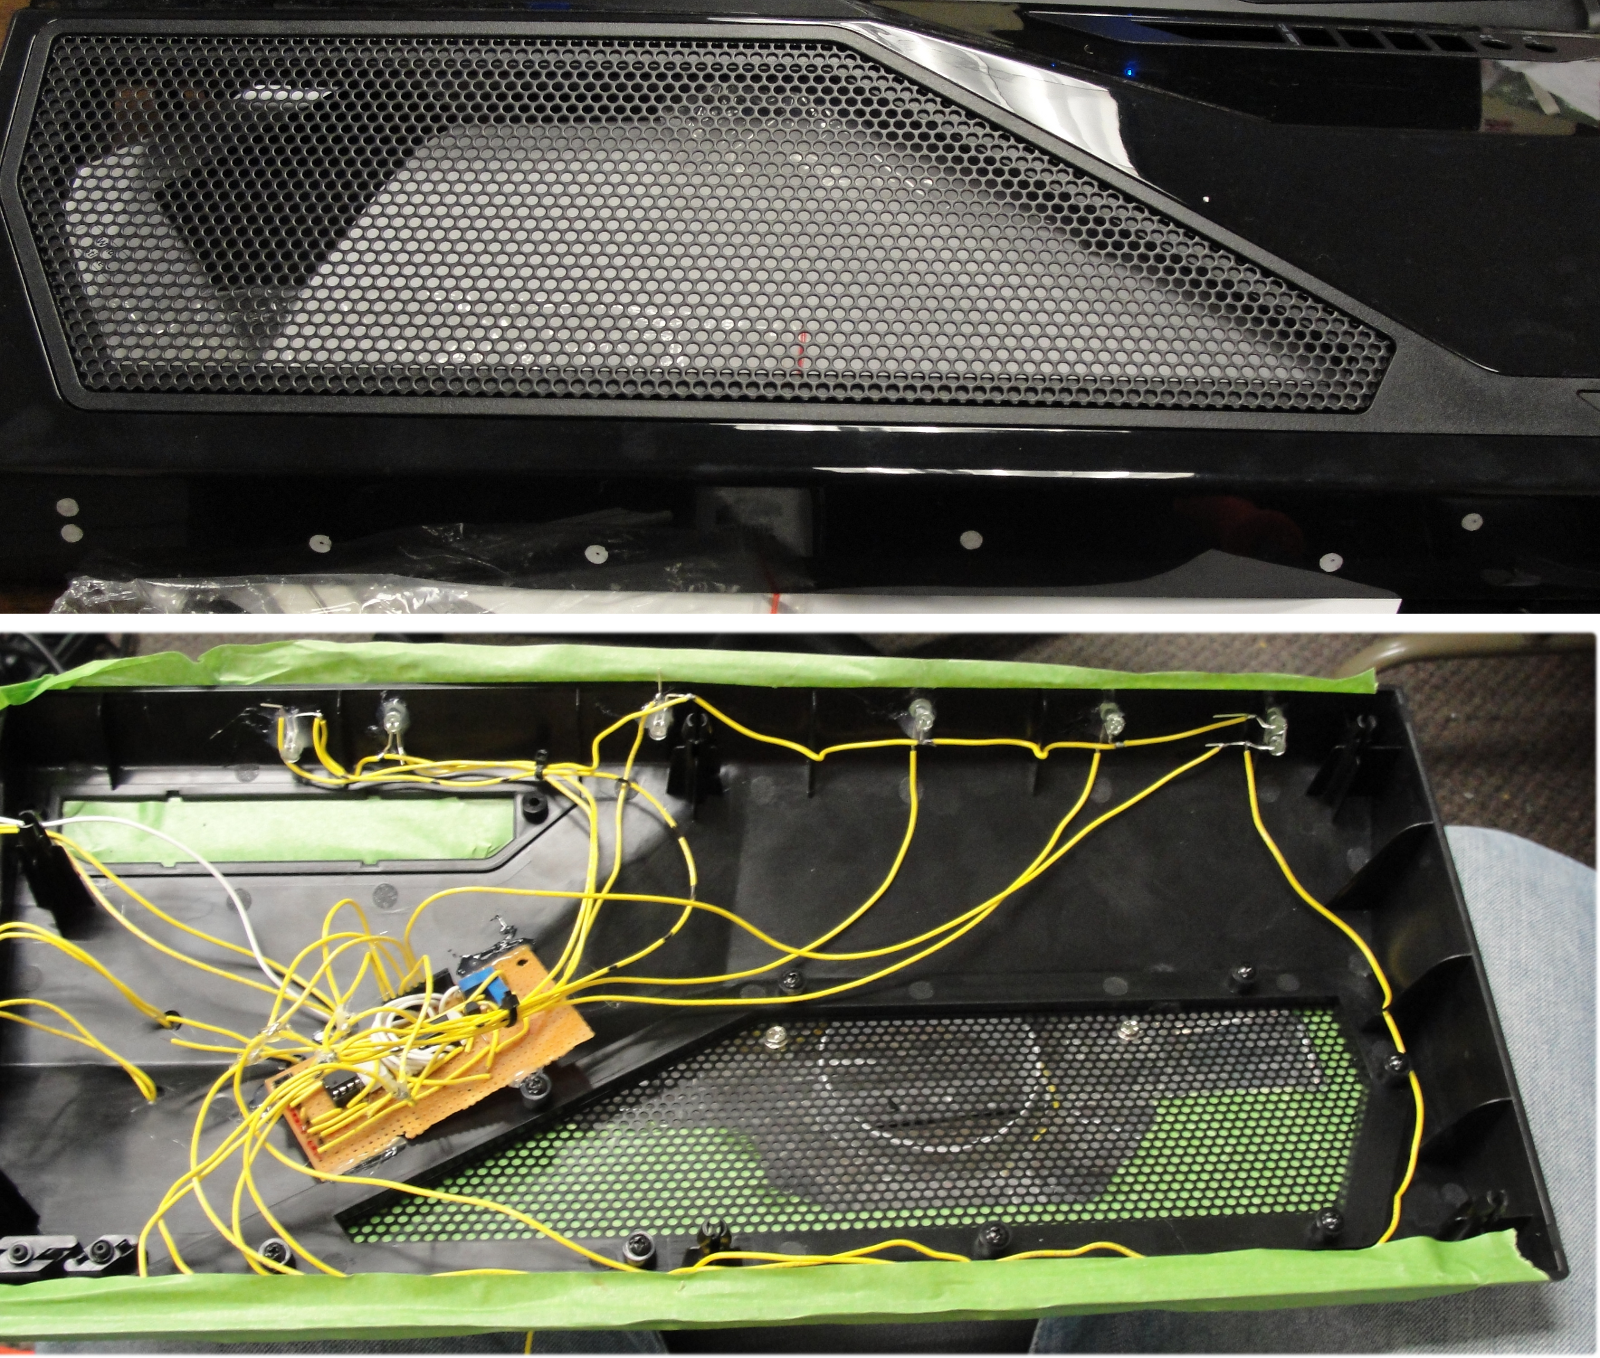
Above, small holes are drilled on both sides of the top panel and then fitted with opaque plastic bits to become chasing lights. Below that, we see the process of wiring the chase lighting and installing the controller board.
Top Panel: Progress And Another Mock-Up
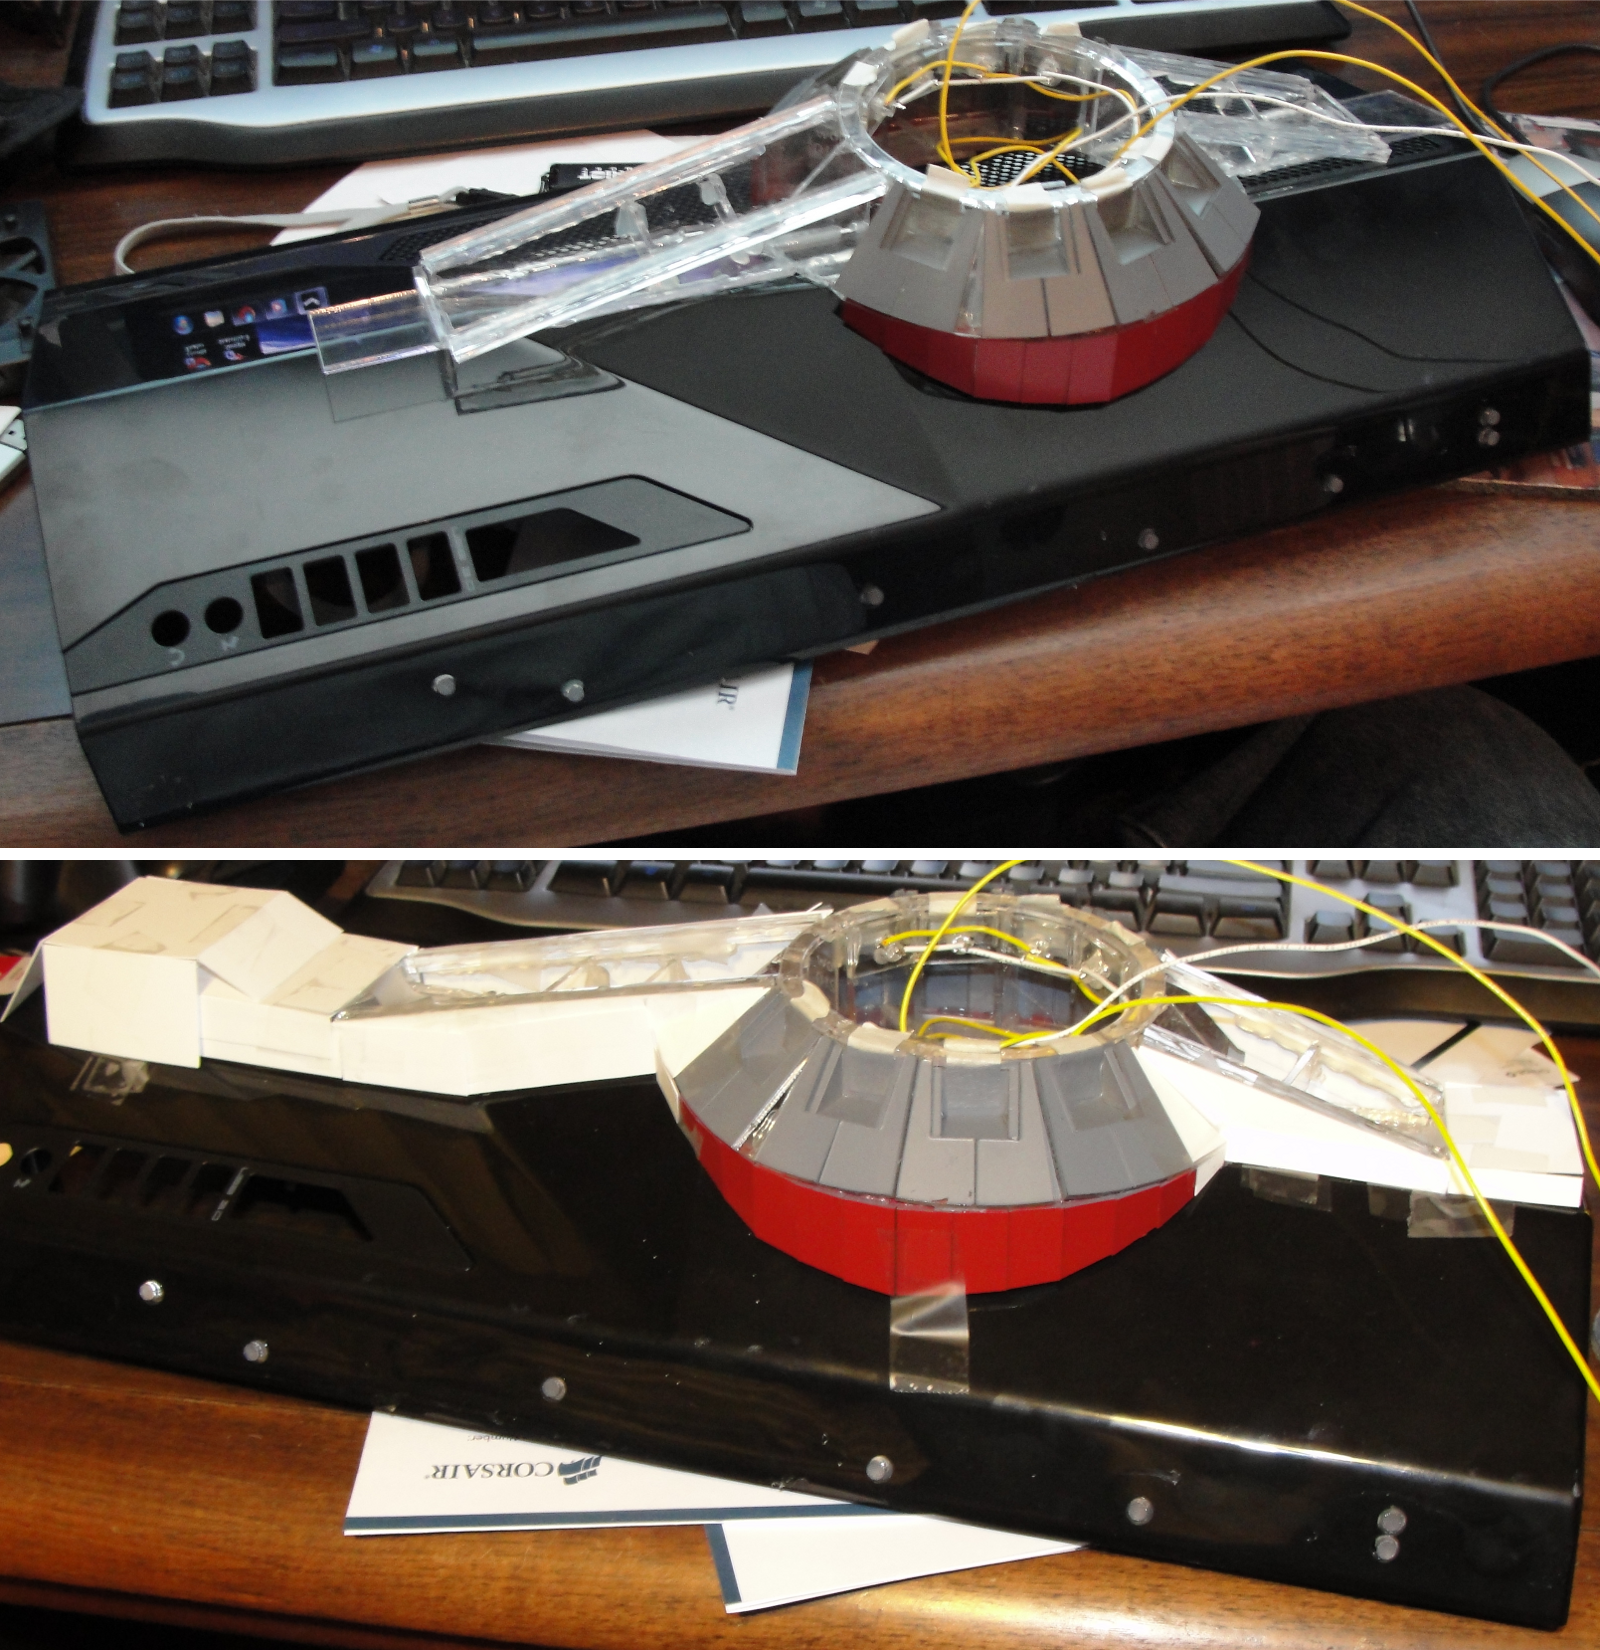
This is what the top panel looks like so far, fitted with chasing lights, the dome, window modules, rails, and some wiring. Below that, a mock-up of the finished top panel is made by adding paper to the existing structure.
Top Panel: Extending The Structure
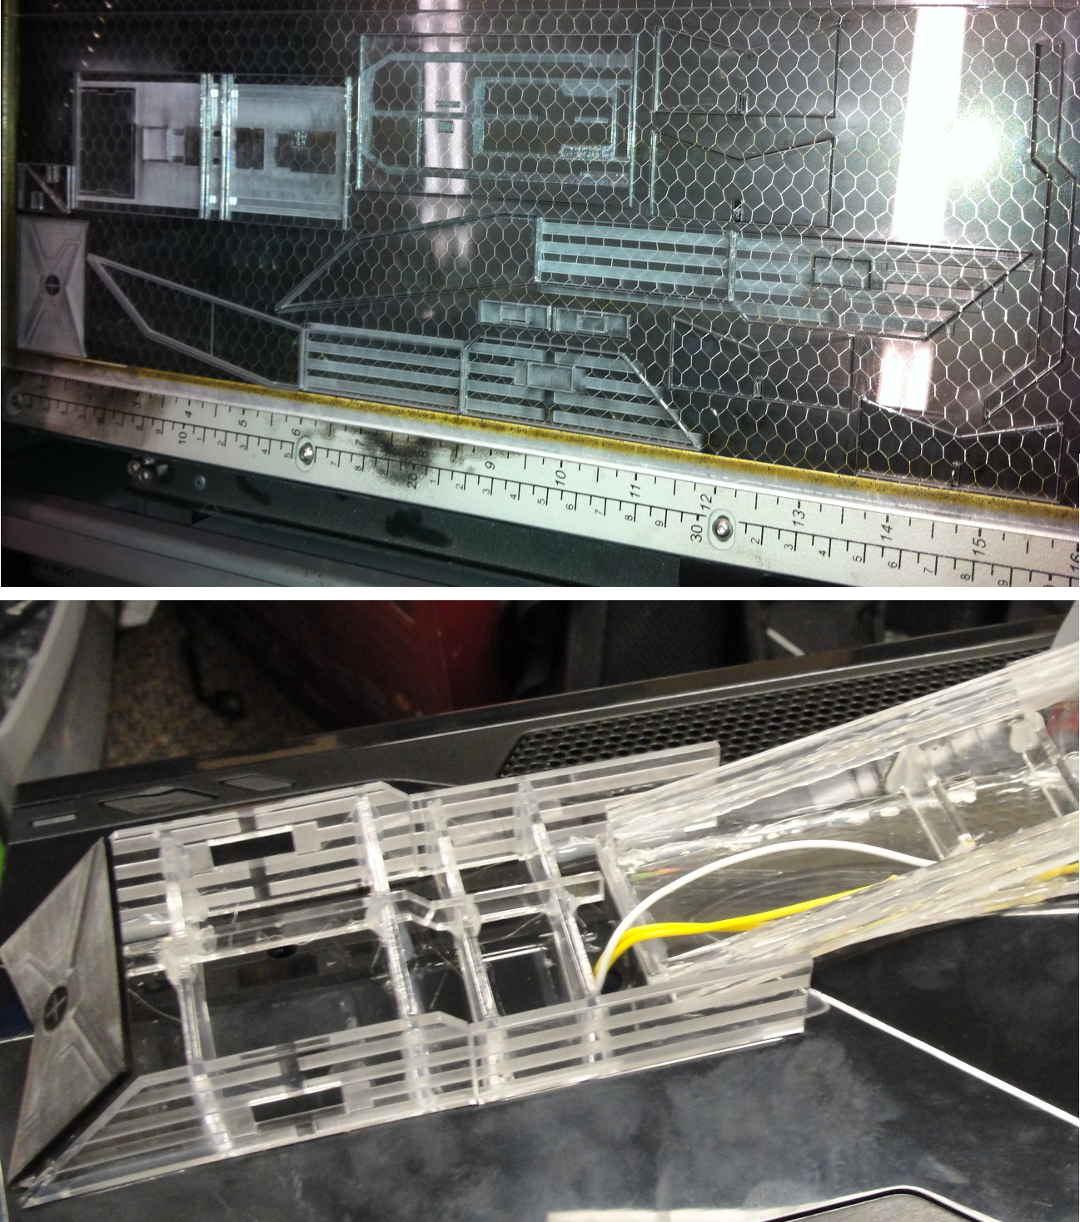
Using the paper mock-ups as a template, more plastic is cut and added to the frame rails, fleshing out the entire structure.
Get Tom's Hardware's best news and in-depth reviews, straight to your inbox.
Top Panel: Lighting Switches
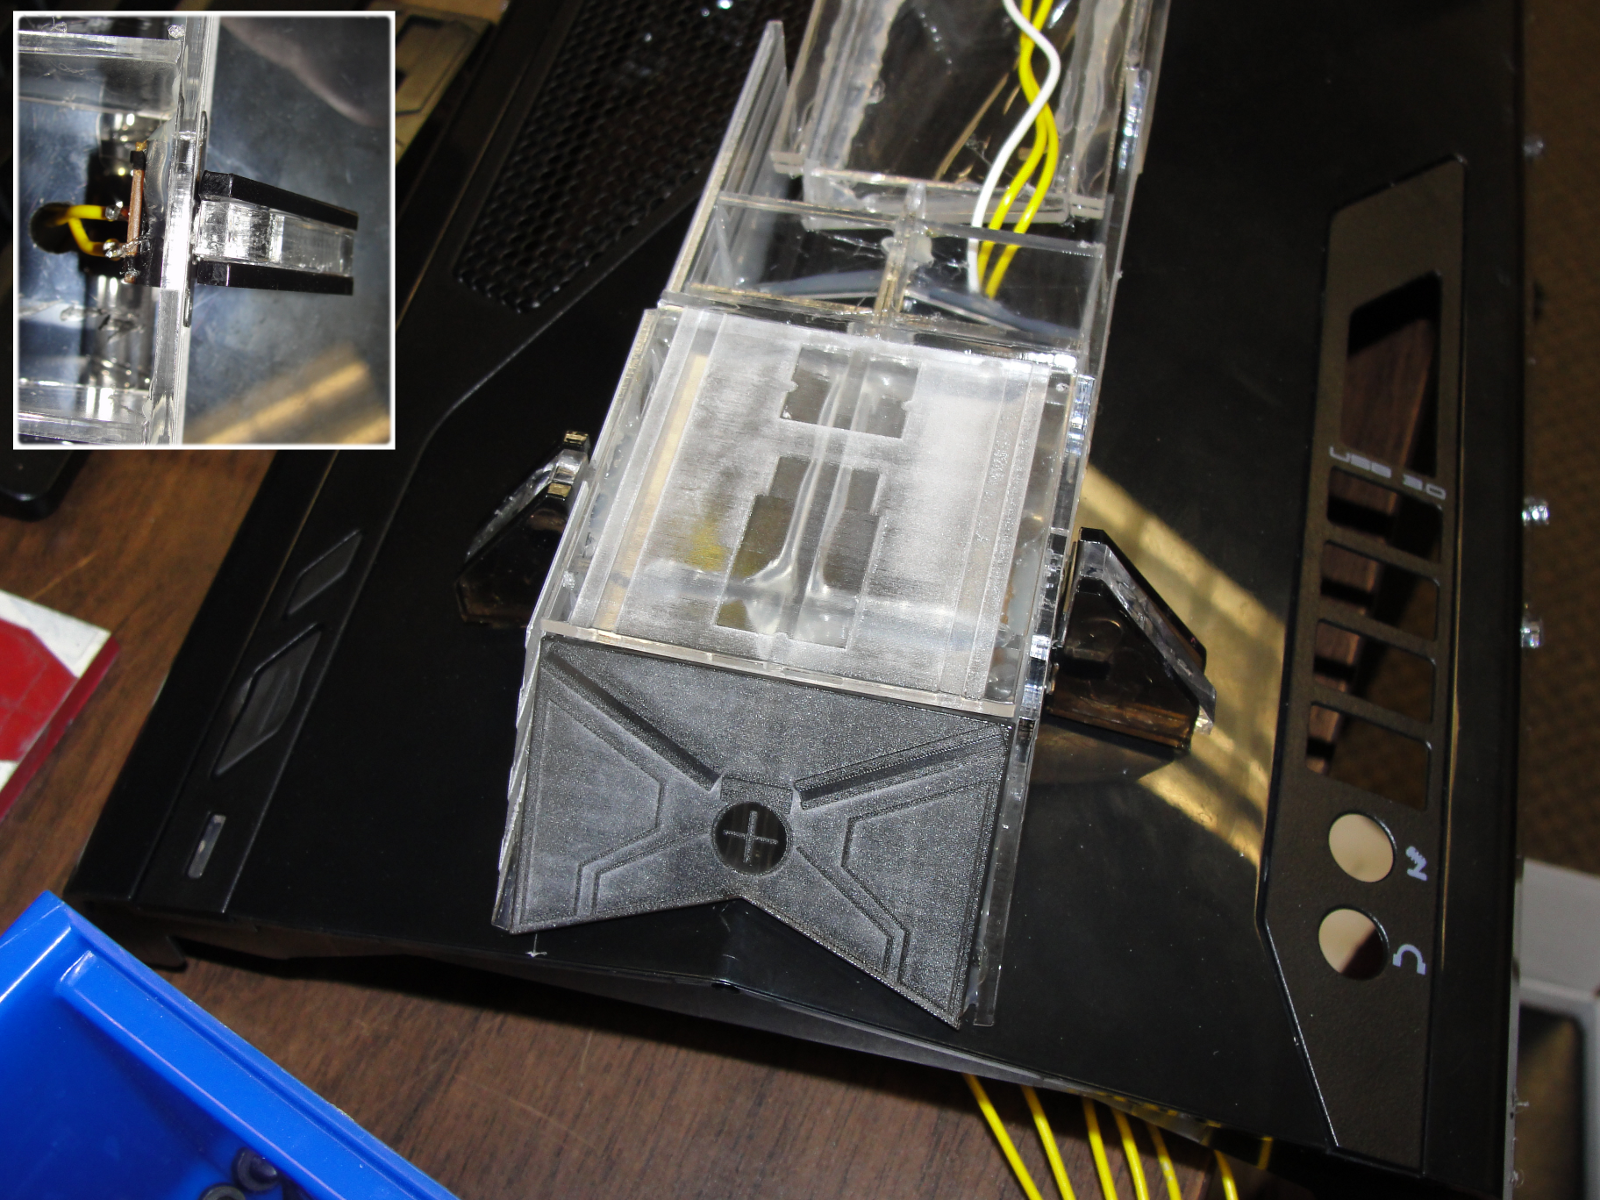
Switches are mounted to either side of the top assembly. One is the master on/off switch for all the case lighting, while the other controls the flicker of the LEDs.
Top Panel: Assembly
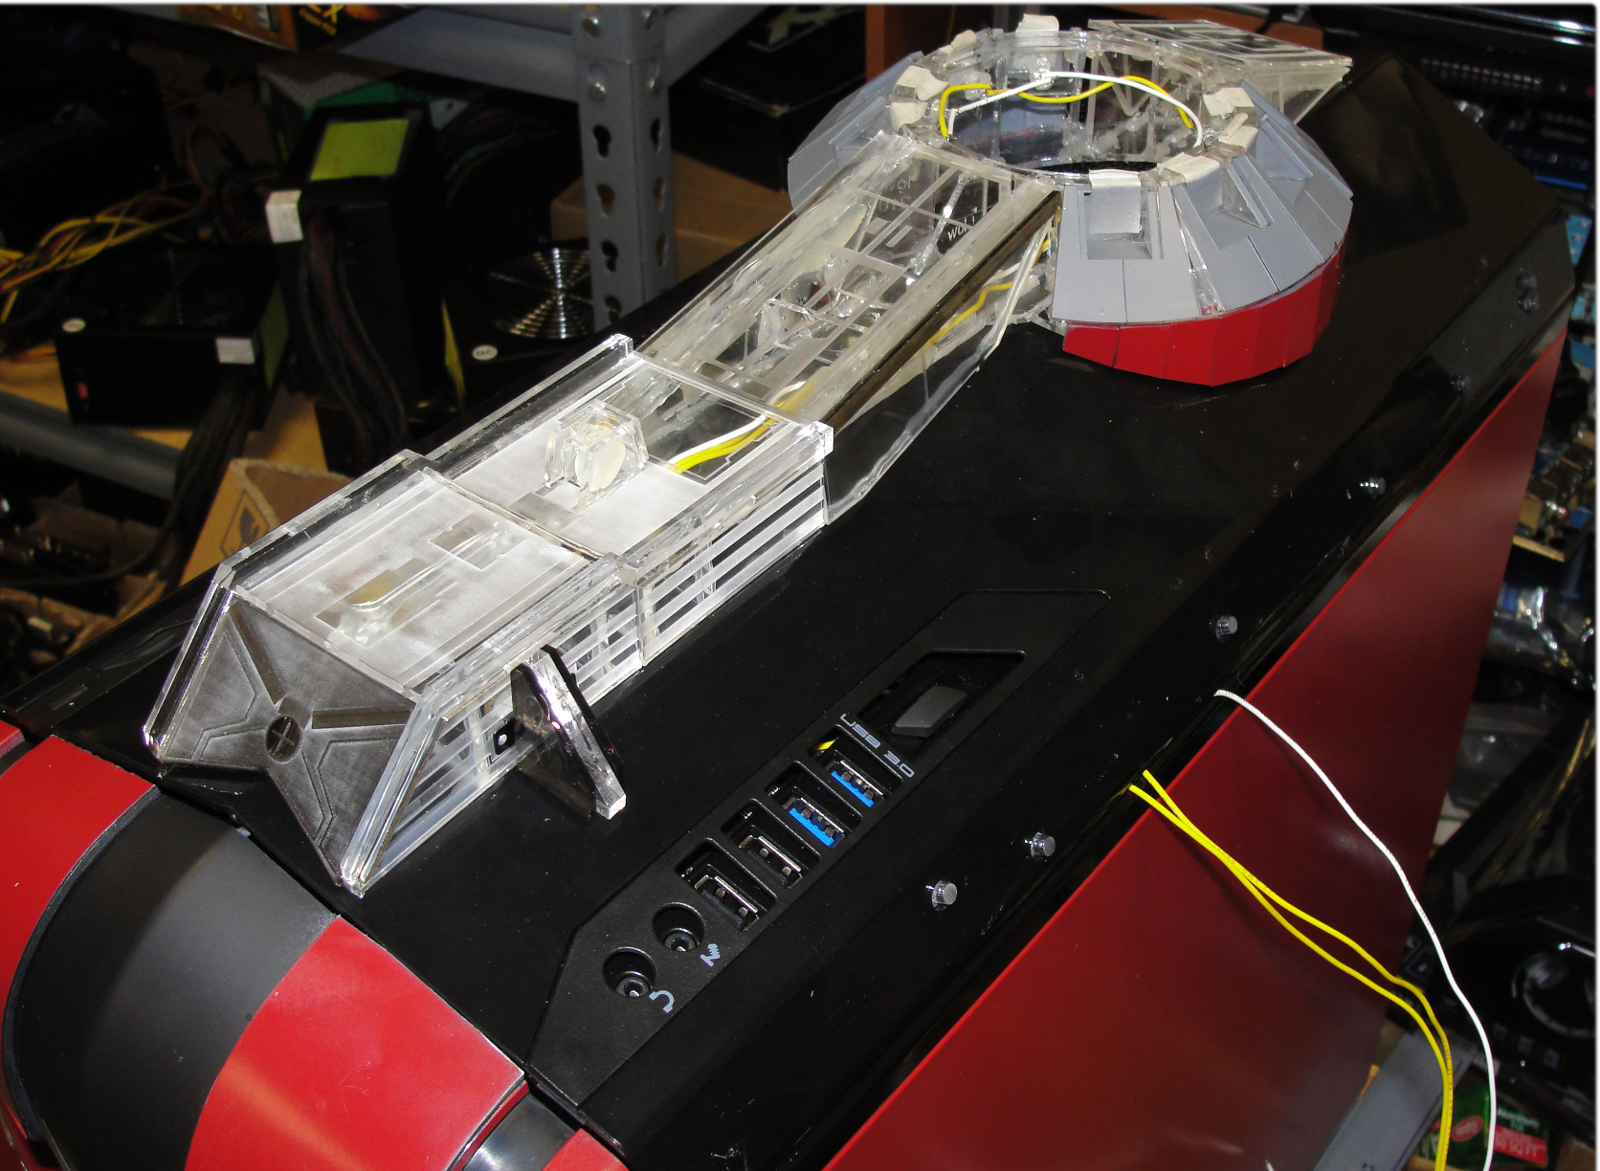
The top panel is fully assembled and ready for final wiring and paint.
Top Panel: Paint
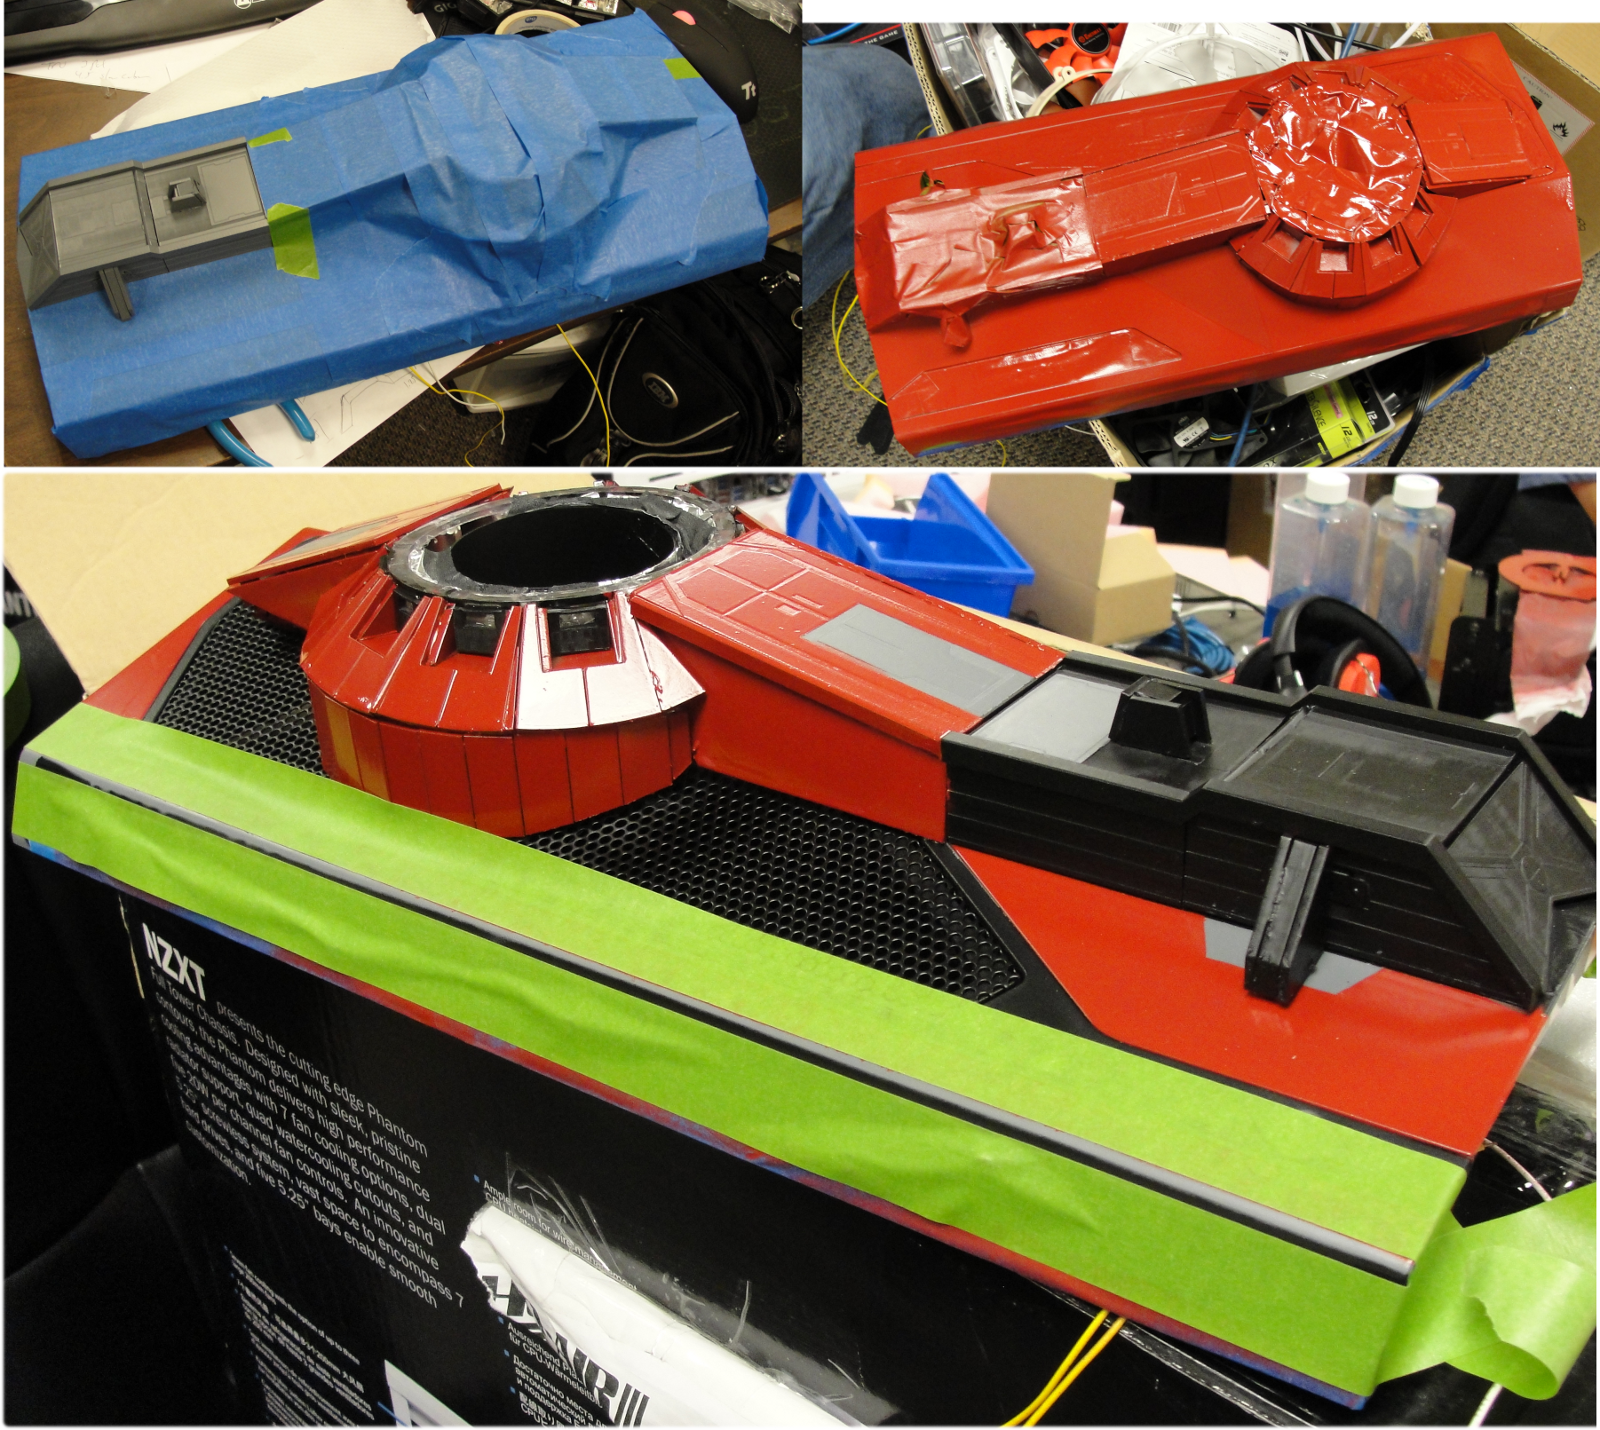
With all fabrication, assembly, and wiring complete, the entire top panel is masked off for painting. After applying coats of primer, black, and red, only white highlights and detail work remains.
Tom's Hardware is the leading destination for hardcore computer enthusiasts. We cover everything from processors to 3D printers, single-board computers, SSDs and high-end gaming rigs, empowering readers to make the most of the tech they love, keep up on the latest developments and buy the right gear. Our staff has more than 100 years of combined experience covering news, solving tech problems and reviewing components and systems.
-
Pedrovsky It's a fancy looking horrible mod thats what it is...they just took a awesome looking case and transformed it into something you would never buy =SReply -
horaciopz I love the exhaust engine at the back, looks awesome! But the color, that red its not that appealing... I would painted it in red a little more dark/opaque ... But it still looks pretty good...Reply
