Building a Compact Monster PC: Threadripper Meets Micro-ATX and Custom Liquid Cooling
Features and Specifications
Extreme high-end desktop (HEDT) builds have for decades been relegated to the realm of huge--and often loud-- towers. After all, if you’re loading a system up with the most powerful CPU (or CPUs if you’ve snagged a server board), doing extreme overclocking, and adding in loads of other powerful components, you need both the space to house those parts, clearance for airflow, and probably plenty of fans.
But the HEDT landscape has changed a lot recently. AMD’s Threadripper processors--like the 32-core/64-thread 2990WX--have delivered the kinds of core counts that were once only available in multi-socket server systems priced at tens of thousands of dollars. And the three- and four-card graphics setups that used to be the norm for extreme gamers and enthusiasts have fallen out of favor due to spotty AAA game compatibility and declining support from chip makers Nvidia and AMD.
With all that in mind, we set out to build a powerful and quiet desktop beast that lives in a relatively svelte form factor while still packing enough high-end performance to push through today’s most-demanding computing workloads like a snow plow through a pile of greased-up marshmallows.
Of course, living as we do in the midst of peak RGB and tempered glass, we also wanted our compact monster PC to look good, without going overboard and building a rig that glows like an eye-searing quasar. We wanted our mini power PC to give off more of a pleasant glow, like the moon on a bright, crisp night--or your phone screen in the dark when you’re trying to fumble your way to an unfamiliar bathroom.
With all that in mind, we gathered our parts, including the above-mentioned 32-core Threadripper chip, ASRock’s impressively designed Mico-ATX X399M Taichi motherboard, and a custom cooling loop powerful enough to keep our overclocked CPU’s thermals under control while also chilling our Gigabyte GTX 1080. The latter means we’re also eliminating the graphics card fans, which are often the loudest parts in a high-end rig.
Below we’ll discuss our part choices and cooling design in detail, see how it all fits together, and do extensive noise testing to see just how quiet a modern compact monster machine can be with carefully chosen hardware. What you do with a system like this is of course up to you. But with AMD’s most powerful consumer-class CPU, a high-end graphics card (we used a GTX 1080, but you could just as easily opt for a more powerful Turing alternative), and ample custom cooling, this would make for an excellent 4K video editing rig that can also handle 4K gaming during your down time.
If you’re interested in a deep dive of exactly the kind of performance you can expect from a rig like this, check out our ASrock X399M Taichi review, where we tested the board we’re using here along with our CPU of choice, the Ryzen Threadripper 2990WX.
Get Tom's Hardware's best news and in-depth reviews, straight to your inbox.
Features and Specifications
When we reviewed the ASRock X399M Taichi, we learned that this Micro-ATX board is fully capable of driving some serious hardware. But then we wondered how to take things to the next level? Having fought through thermal throttling and the unique form factor, we wanted to drop this board in a build suitable for a mini-monster.
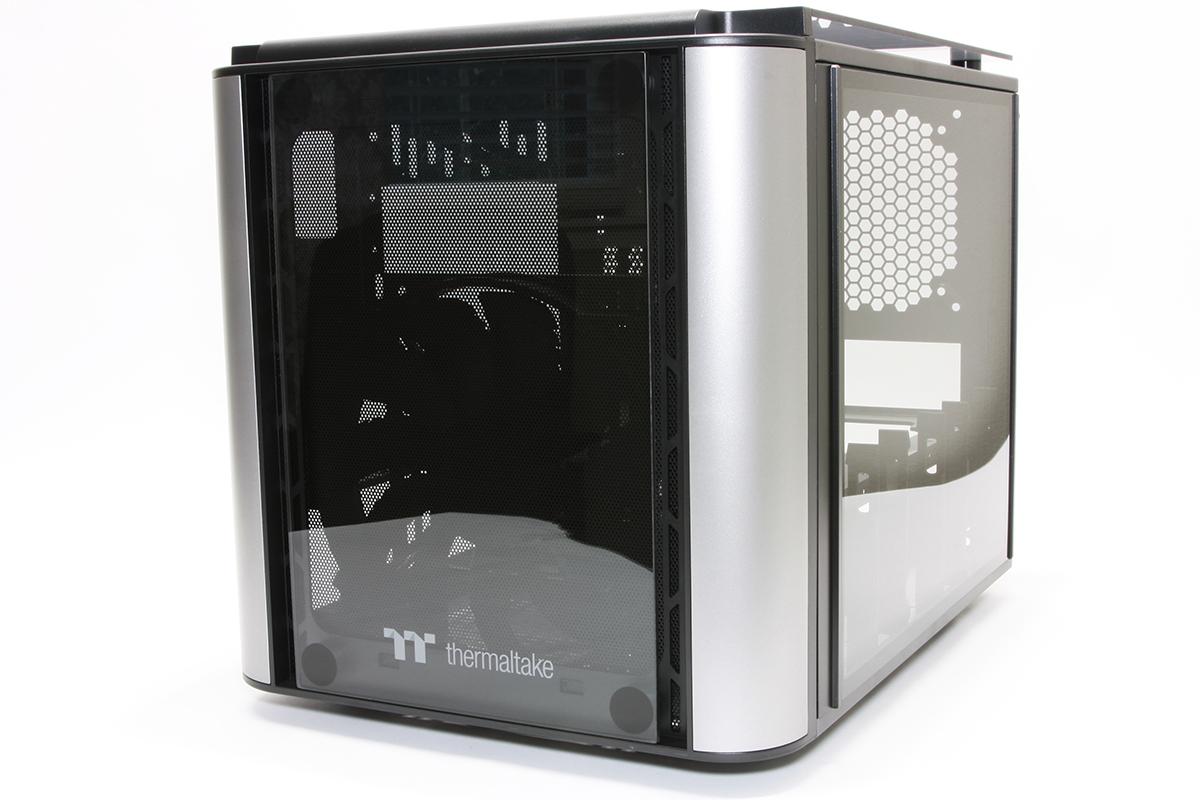
Meet the Tom’s Hardware AMD 2990WX monster cube – a high-performance mini-workstation outfitted with a flagship 32-core Threadripper 2990WX CPU overclocked to 4.0 Ghz, planted firmly atop the ASRock X399M Taichi motherboard, cooled by top-tier watercooling components from EK and Bitspower and nestled comfortably inside a Thermaltake Level 20 VT chassis. Onward to the examination of our parts!
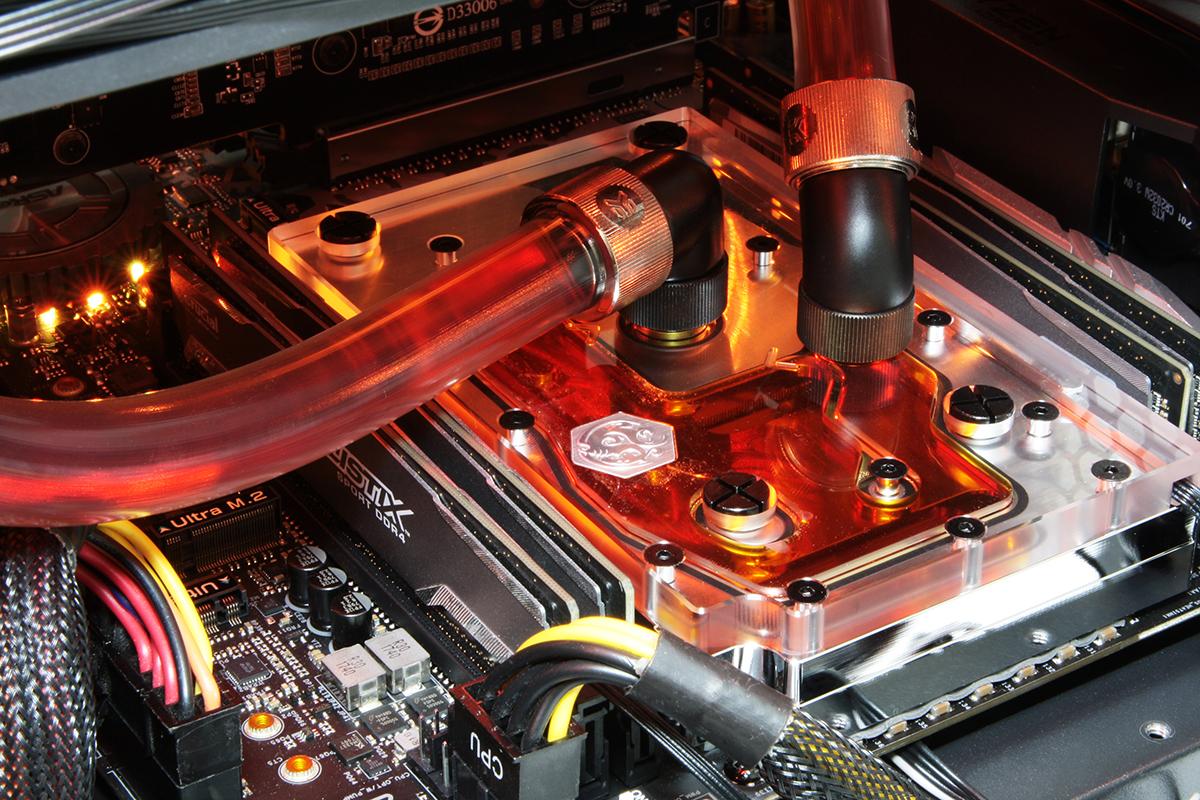
For our ASRock X399M Taichi, we wanted a monoblock to fully cover the entirety of the massive Threadripper CPU itself, as well as the motherboard power delivery components normally cooled by a passive two-piece heatsink. At stock, the system runs fine, but under overclocked load, the VReg could use a little help.
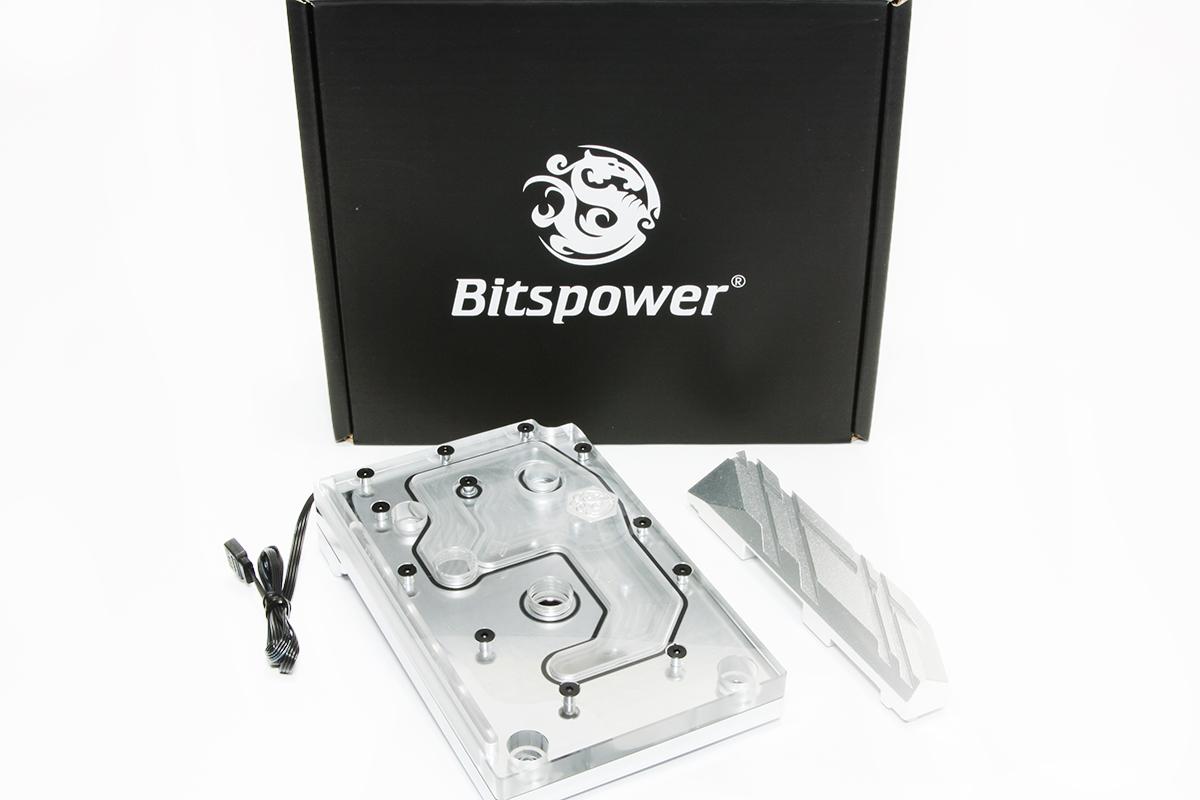
Since monoblocks themselves are typically designed for a specific motherboard, we found the Bitspower ASRX399MTX RGB-Nickel block was exactly what we were looking for, although direct shipment from Bitspower in Taiwan would have taken longer than we hoped. Due to some time constraints on build completion, we turned to our friends at Performance-PCs.com who had the block in-stock and were able to get it to our door within 3 days of dropping it unto our virtual shopping cart.
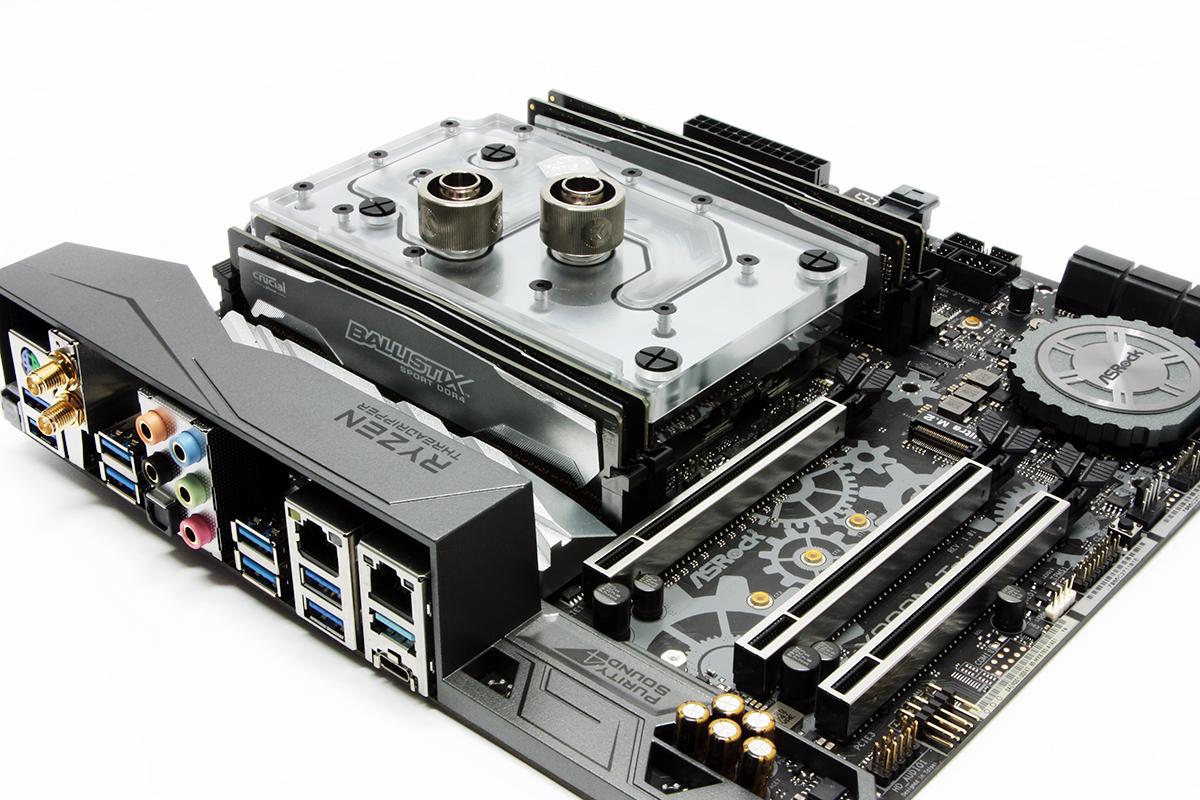
Weighing in at a very healthy 2.2 lbs (1 kg), the Bitspower monoblock completely hides our 32-core 2990WX CPU and sits snugly between our memory DIMMs. The central port is the block inlet and is directly over the middle of the Threadripper heat spreader. The water channels disperse the inbound flow onto the dispersion field below, before snaking around the block to the exit port slightly above and left of the inlet port. Mounting bolts secure the massive cooling block to the ASRock X399M Taichi board using the standard TR4 mount locations.
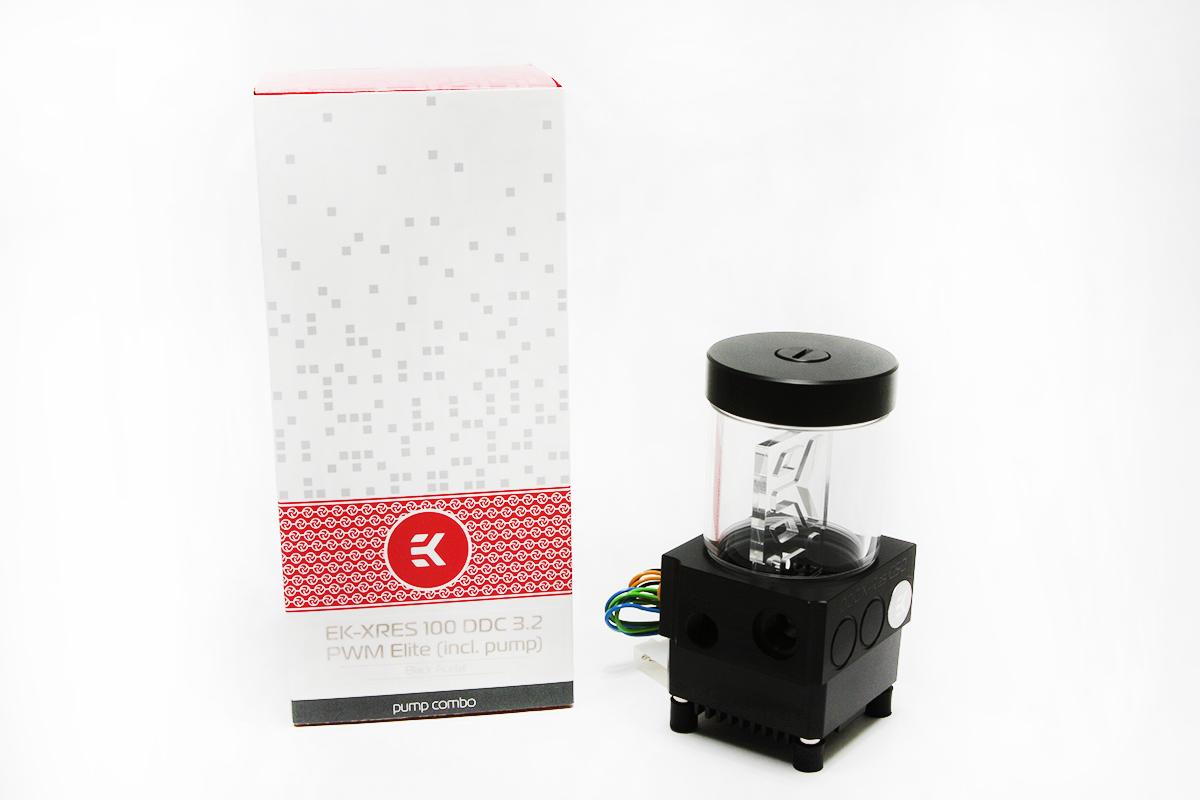
The folks at EK Waterblocks were shipped us some professional grade watercooling components in order to round out the rest of the cooling build, including the beating heart of the watercooling system, an EK-XRES 100 DDC 3.2 PWM Elite pump and reservoir combo. Built around the compact juggernaut DDC 3.2 pump, EK have also thought well to cool the unit with a stout, all-metal heatsink built into the pump base and a very handsome and utilitarian acrylic reservoir with anti-cyclone EK logo center baffle and standard G1/4 ports.
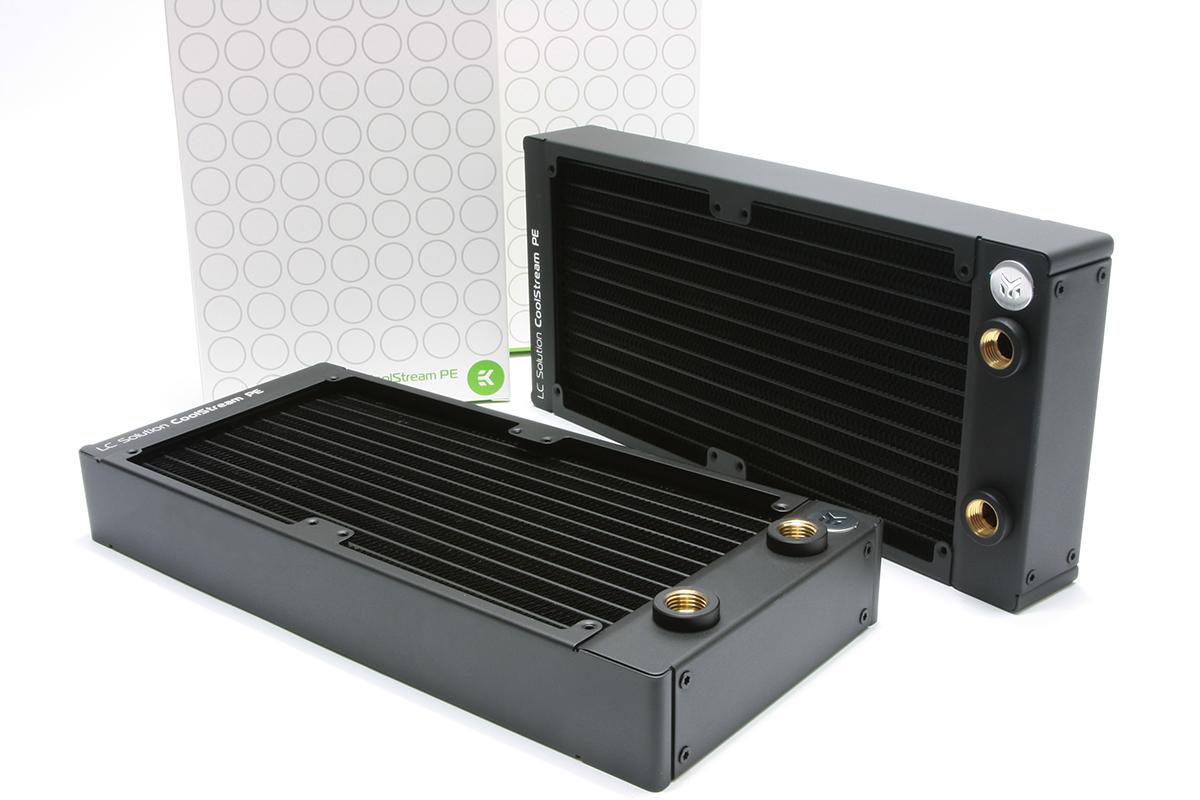
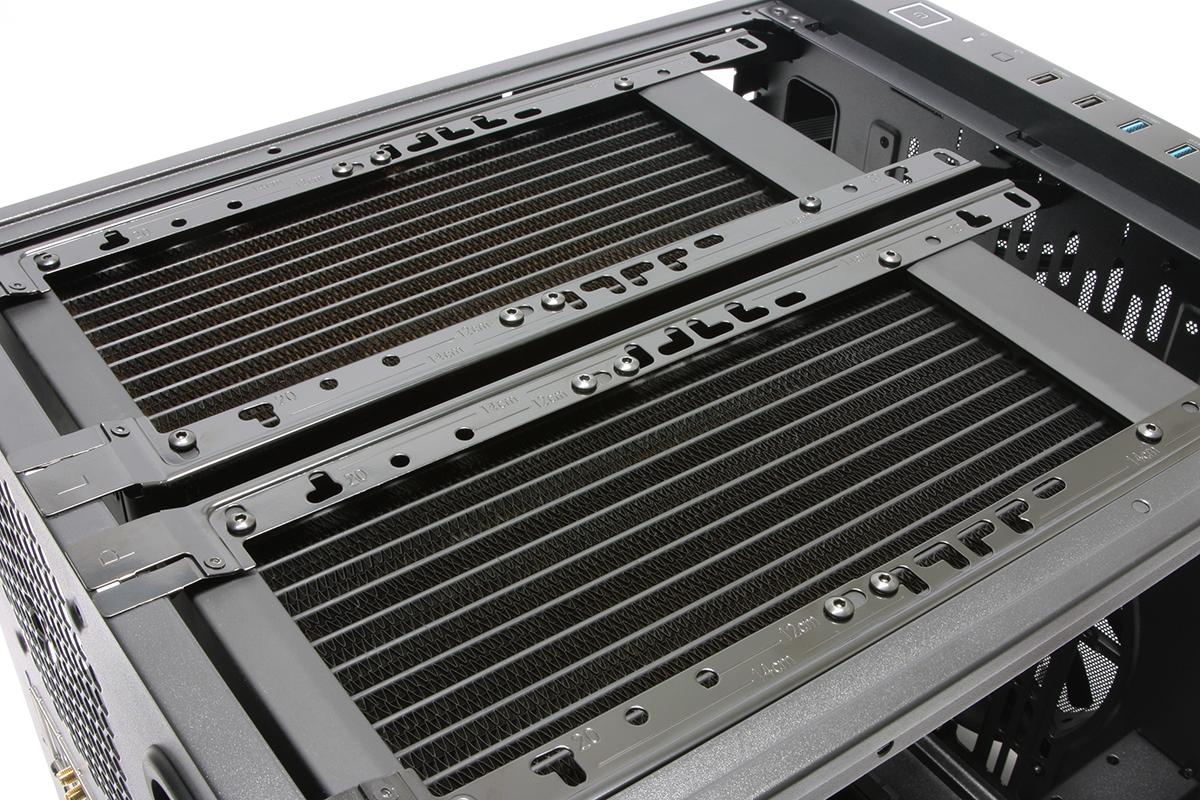
EK also shipped us a pair of high-performance Coolstream PE 240 radiators built with brass chambers, copper fins and tubes with a handsomely finished black aluminum housing to protect the cooler cores. Closer inspection of the cooling fins shows a dual-interlock pattern with 19 FPI density for high surface area and low airflow resistance.
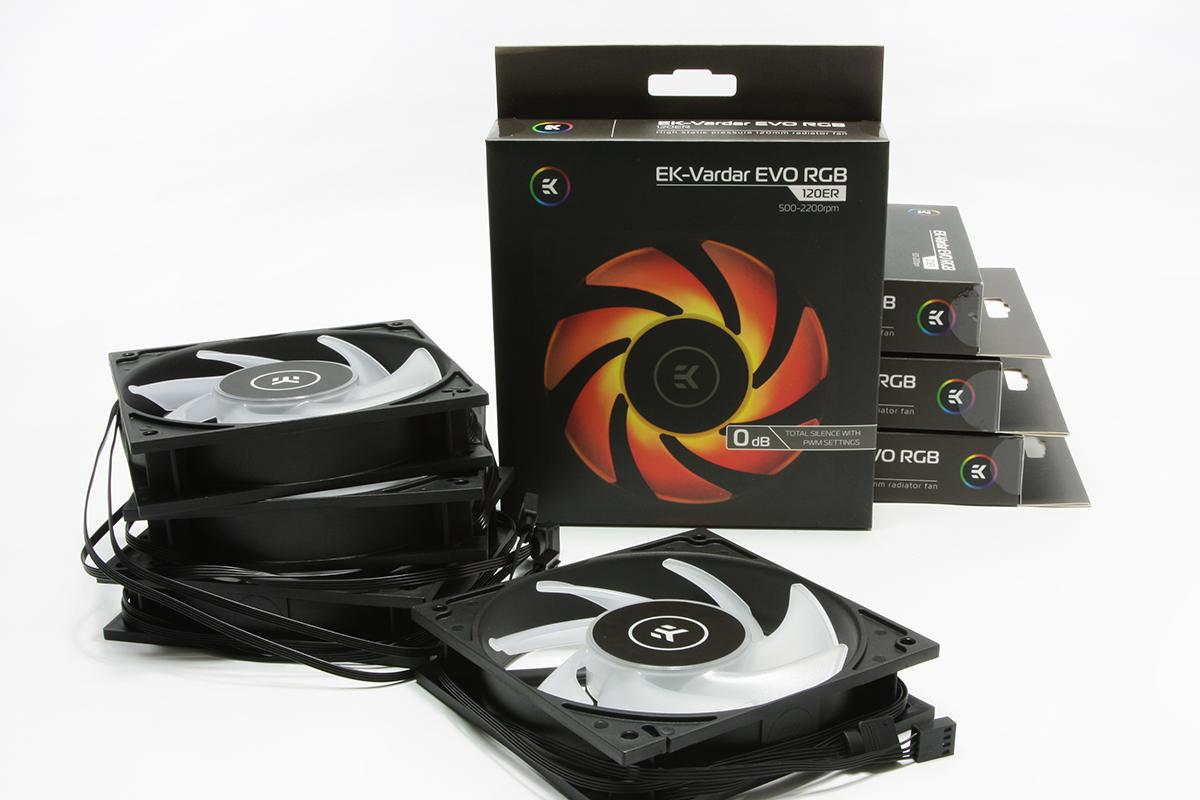
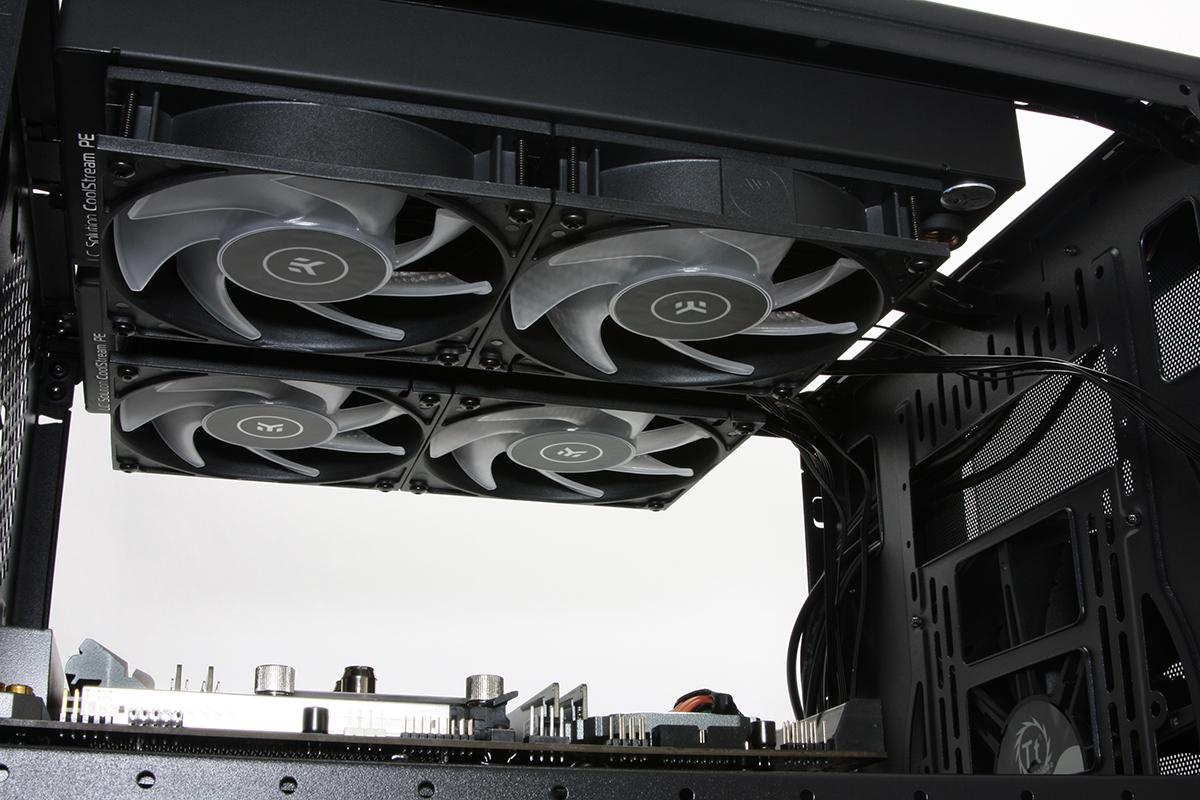
The thermal load of those Coolstream PE radiators is wrangled by a quartet of EK-Vardar EVO RGB 120ER fans. Each fan is rated up to a maximum of 77 CFM at 2200 RPM and is capable of the full 16.7+ million color spectrum using 4-pin RGB motherboard connectivitym, or with your favorite RGB standalone controller. Developed as high static pressure radiator fans, the EK-Vardars are designed to quietly push large volumes of air through radiator cooling channels.
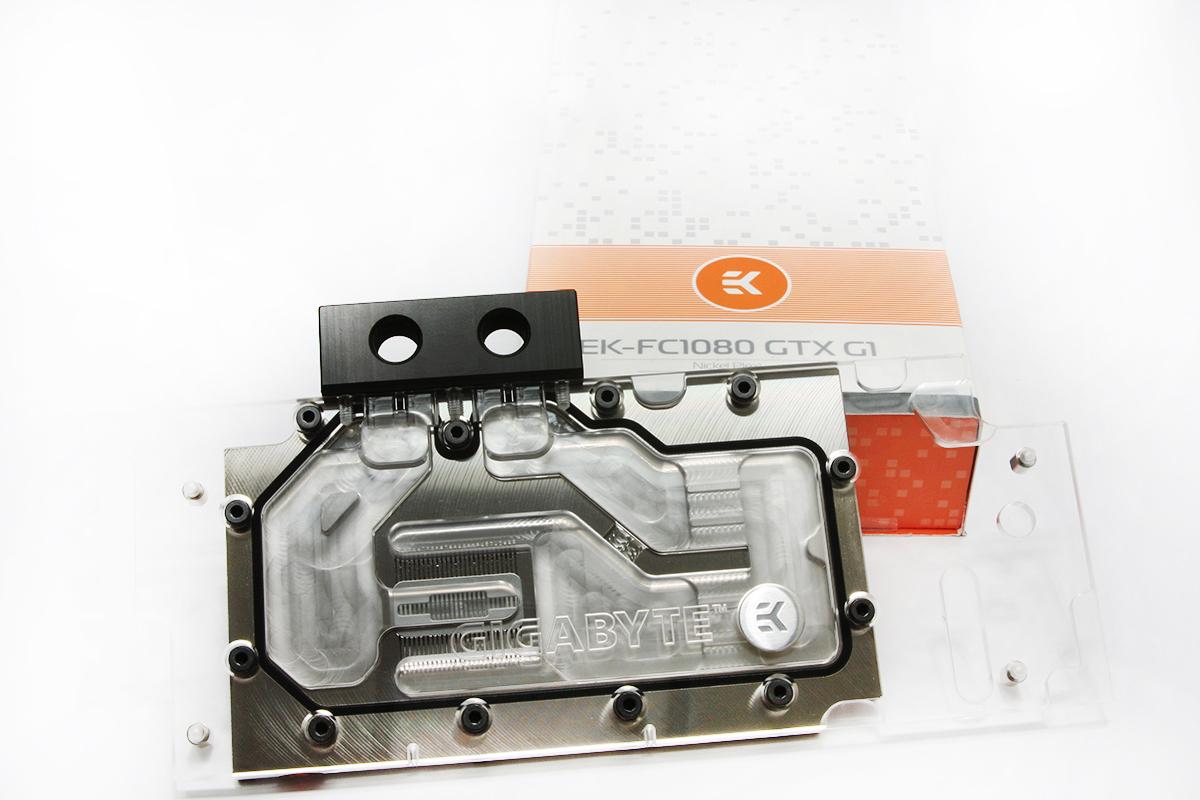
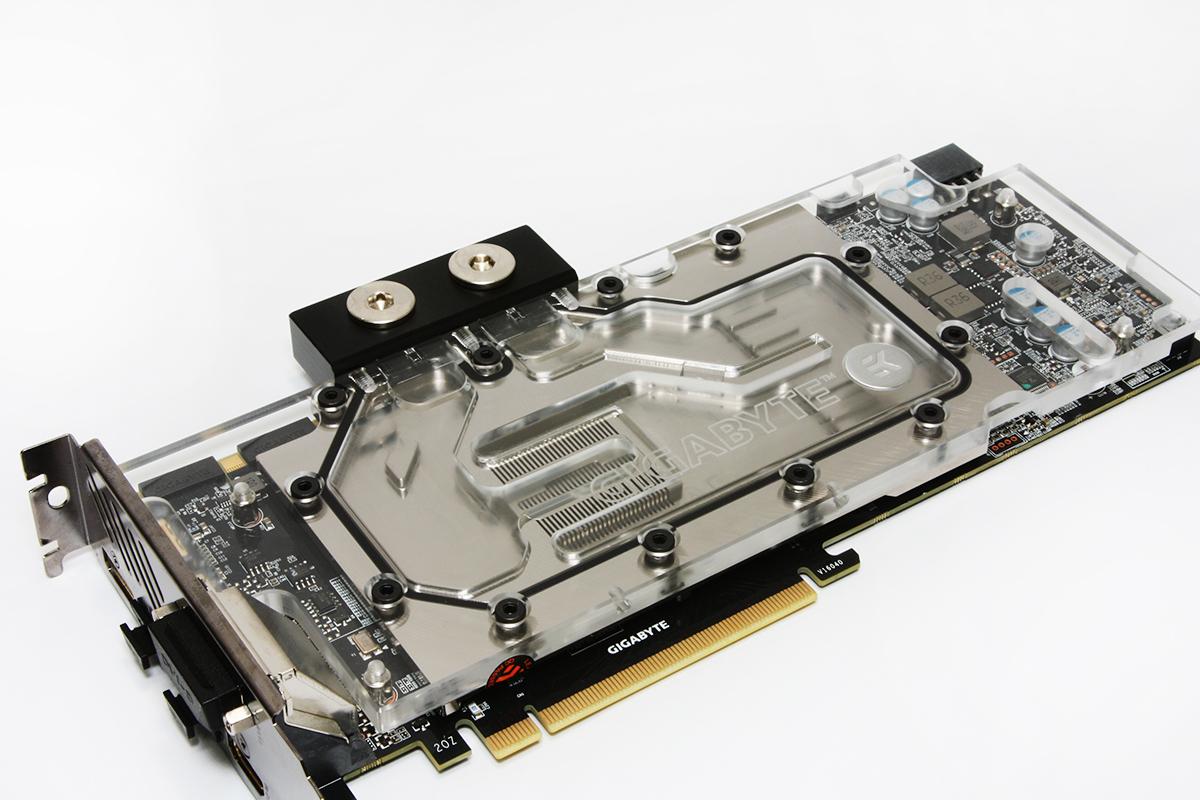
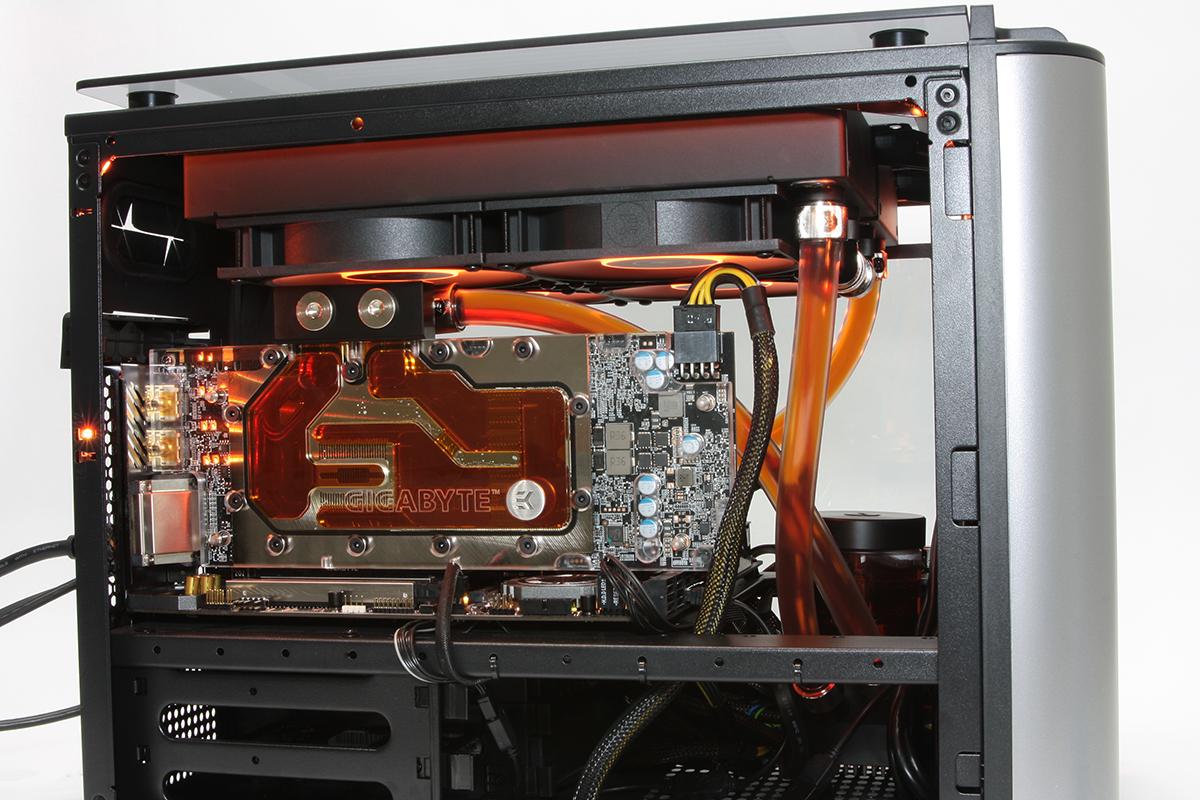
Our graphics card setup consists of a Gigabtye GTX 1080, and we wanted to include it in the cooling build to showcase a complete, high-performance workstation/gaming PC. EKWB provided a highly polished, nickel-plated full cover waterblock for the GTX1080 in the EK-FC1080 GTX G1.
Now, you might question the use of an Nvidia 10-series card for our build when the 20-series RTX line is now available. But when we started building this rig, Turing GPUs were just hittings the market--and suffering from spotty availability and inflated prices. So we decided to opt for an older card here, but you can of course opt for whatever card you want if you’re building your own compact power rig similar to what we’re assembling here.
With the factory Gigabyte cooler removed and the EKWB block installed, the now slim-waisted GTX 1080 is ready to take part in the cooling plunge.
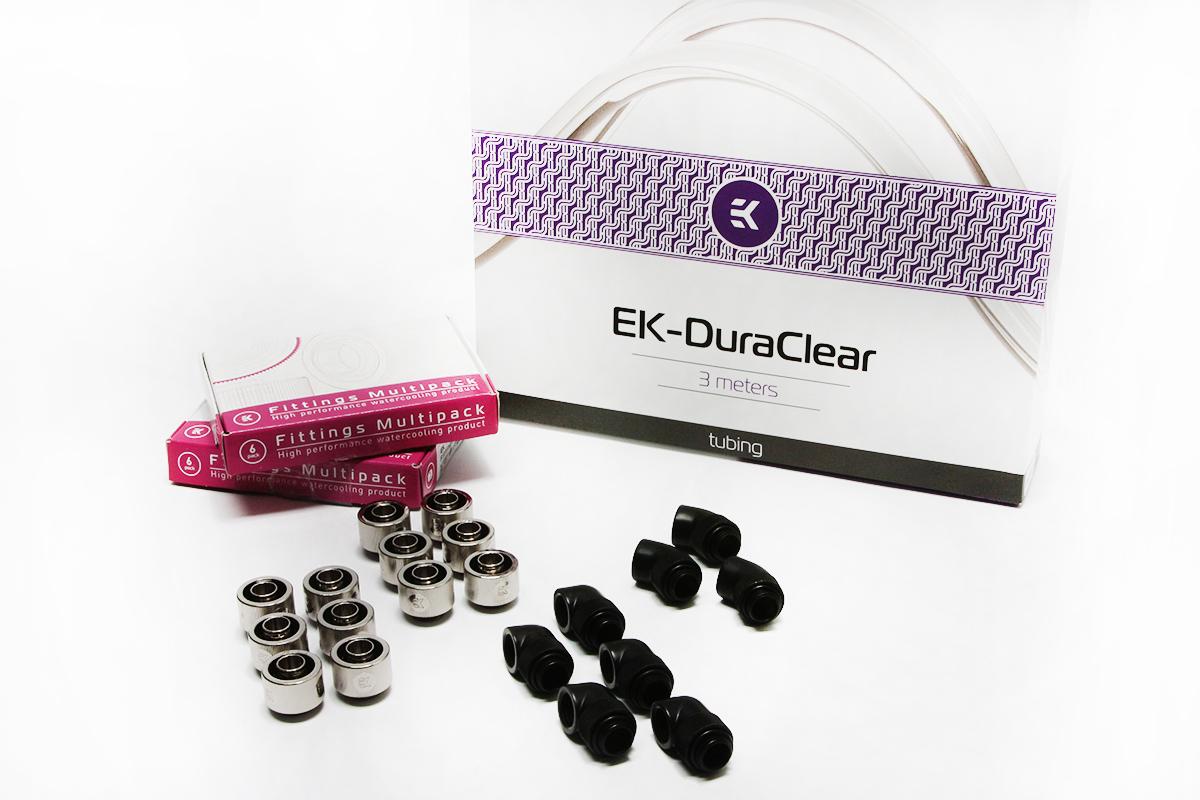
The job of carrying coolant to the various components in the loop is managed by EK-DuraClear 3/8”ID and 5/8”OD (9.5mm ID and 15.9 OD) tubing and EK compression fittings and rotary elbows of the 90- and 45-degree flavor.
Our chassis of choice is the Thermaltake Level 20 VT, with tempered-glass panels on the front, top and sides allowing an excellent view to the hardware tucked neatly inside while lending a bright, reflective twinkle to the overall aesthetics. The case supports motherboards of both mATX and mITX form factors--or ASRock Z399M is the former variety.
The top of the Level 20 VT has removable radiator storage rails, which fit our pair of Coolstream PE 240 radiators perfectly. Multiple mounting holes allow for adjustable offsets based on your specific need.
The view below the EK Coolstream PE 240’s shows the Vardar fans paired up and ready to be wired into the appropriate controls for PWM and RGB.
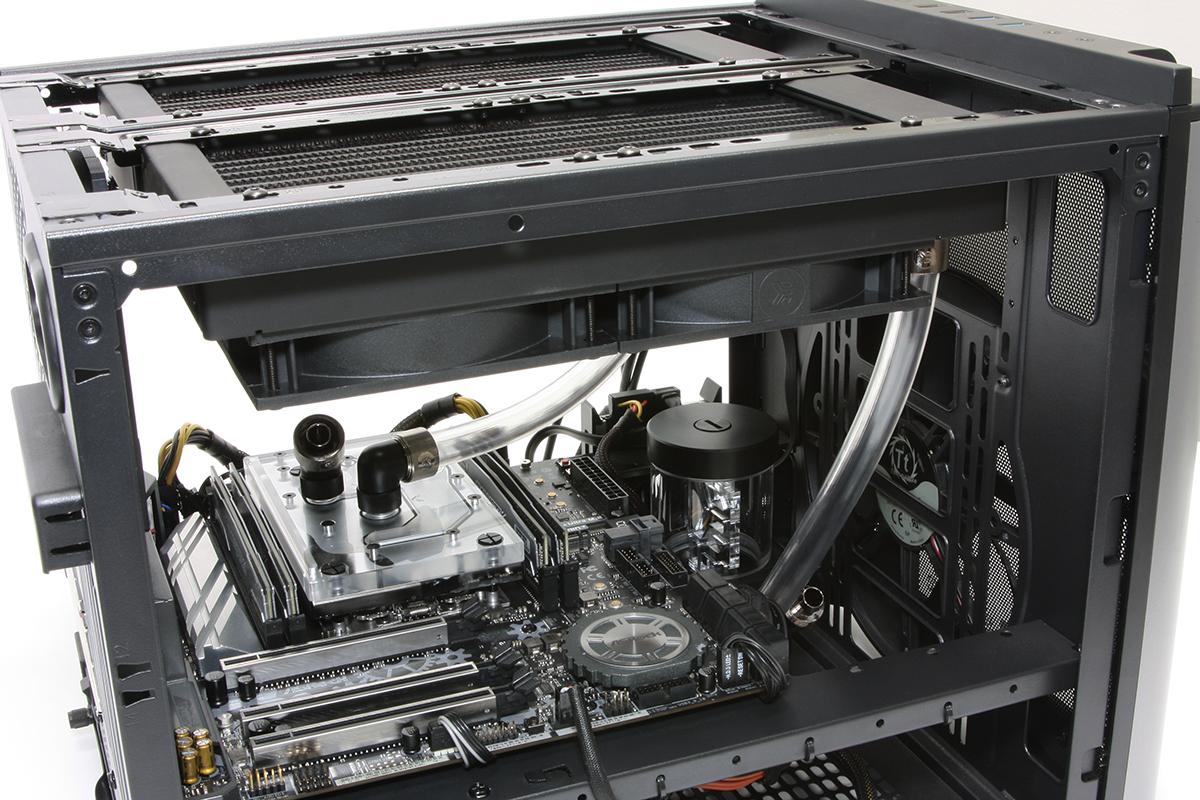
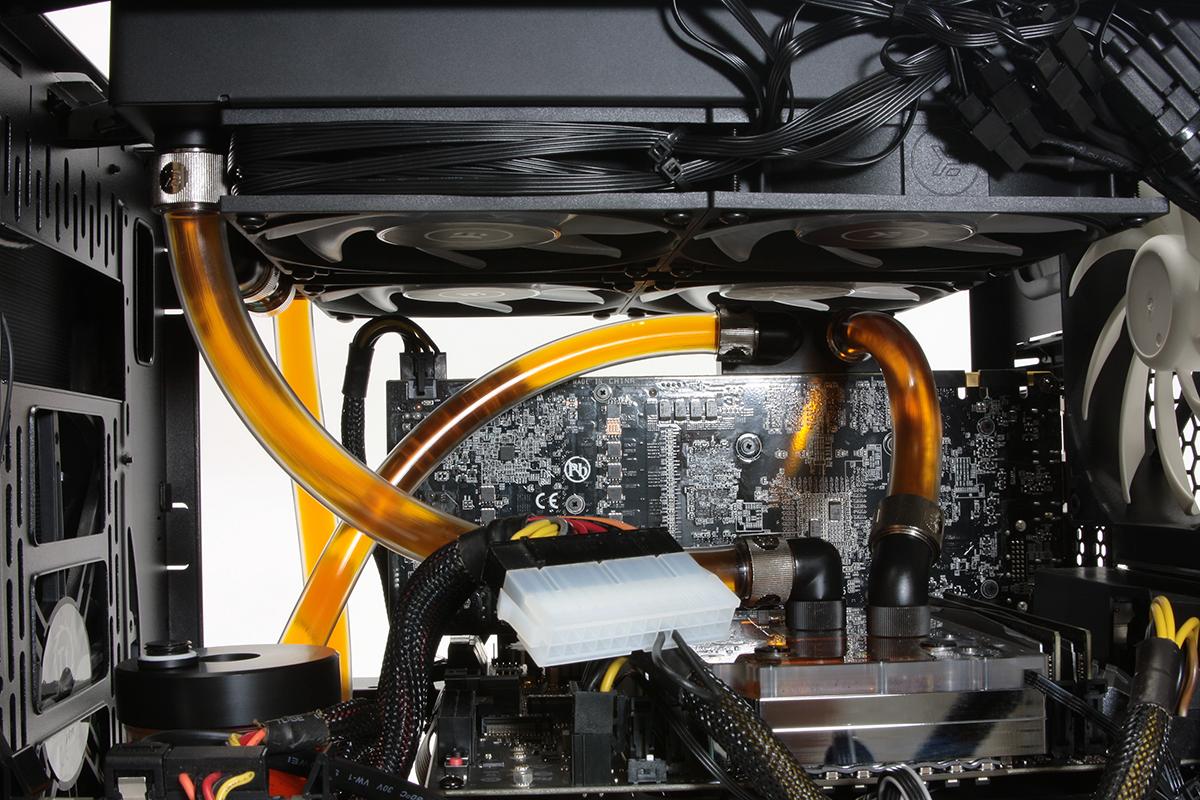
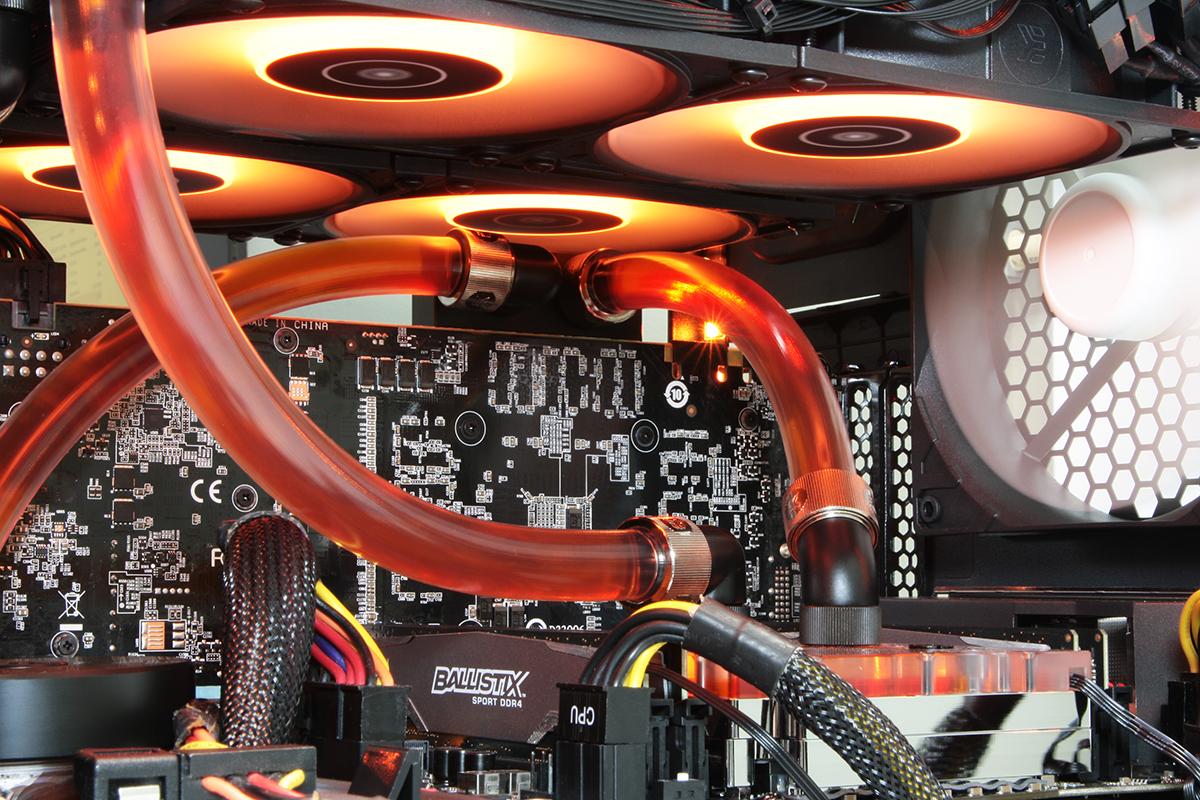
Having the motherboard mounted prior to installing the radiators makes for a slightly easier workflow. The pump outlet is being routed into the nearest Coolstream PE 240 radiator, which will then direct coolant into the adjacent radiator before being routed to the 90-degree swivel fitting in the center of the CPU monoblock. The 45-degree fitting will then direct coolant to the GTX 1080 block and finally back to the pump reservoir.
With the tubing completely routed and all fittings secured, we turn our attention to priming and filling the cooling loop. The 24-pin ATX motherboard cable cluster is disconnected from the ASRock X399M Taichi motherboard and the jumper is snapped into place, allowing the 12v system to power on without the system going into its boot sequence and allowing power to most of the system.
This allows us the ability to easily control the cycling of the pump on and off as needed to refill with coolant as well as acting as an anti-shorting preventative measure should any leaks occur. Several on/off cycles are usually needed when filling a loop for the first time, primarily due to the fact that most watercooling pumps use a wet bearing. This design requires that the pump itself only function with the bearing completely submerged in coolant, otherwise permanent bearing damage can occur very quickly.
Once the cooling loop is filled and allowed to run to purge the remaining air, the 24-pin ATX connector is seated in its rightful place and normal boot-up can occur. Very small, almost microscopic air bubbles might still be seen, but will work their way out of the cooling components where they will be captured in the reservoir. The reservoir can be vented and topped off to displace excess air that will migrate out of the system over the next several hours or even days.
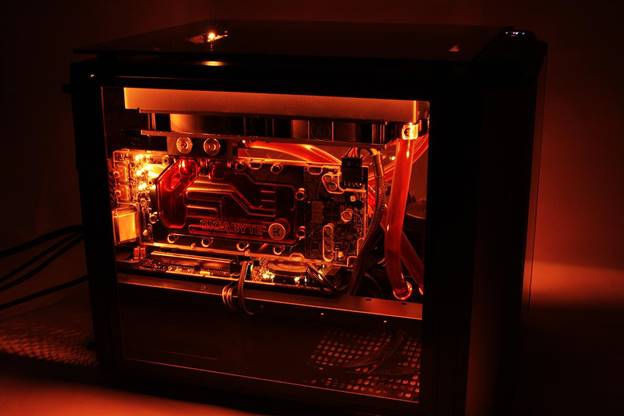
Our cooling loop setup, build and filling resulted in very short, well-placed tubing runs that limit flow restriction for a tidy presentation. All of this, and we didn’t lose a drop of coolant lost to leaks or spills!
MORE: Best CPU Cooling
MORE: How To Choose A CPU Cooler
MORE: All Cooling Content

Garrett Carver is a contributor for Tom’s Hardware, primarily covering thermal compound comparisons and CPU cooling reviews; both air and liquid, including multiple variations of each.
