Tom's Hardware Verdict
The Anycubic Photon M3 is an entry level machine with excellent quality and a build volume that’s roomy enough for most makers.
Pros
- +
Detailed 4K+ prints
- +
Easy setup
- +
Effortless print removal
- +
Roomy build volume for a small printer
Cons
- -
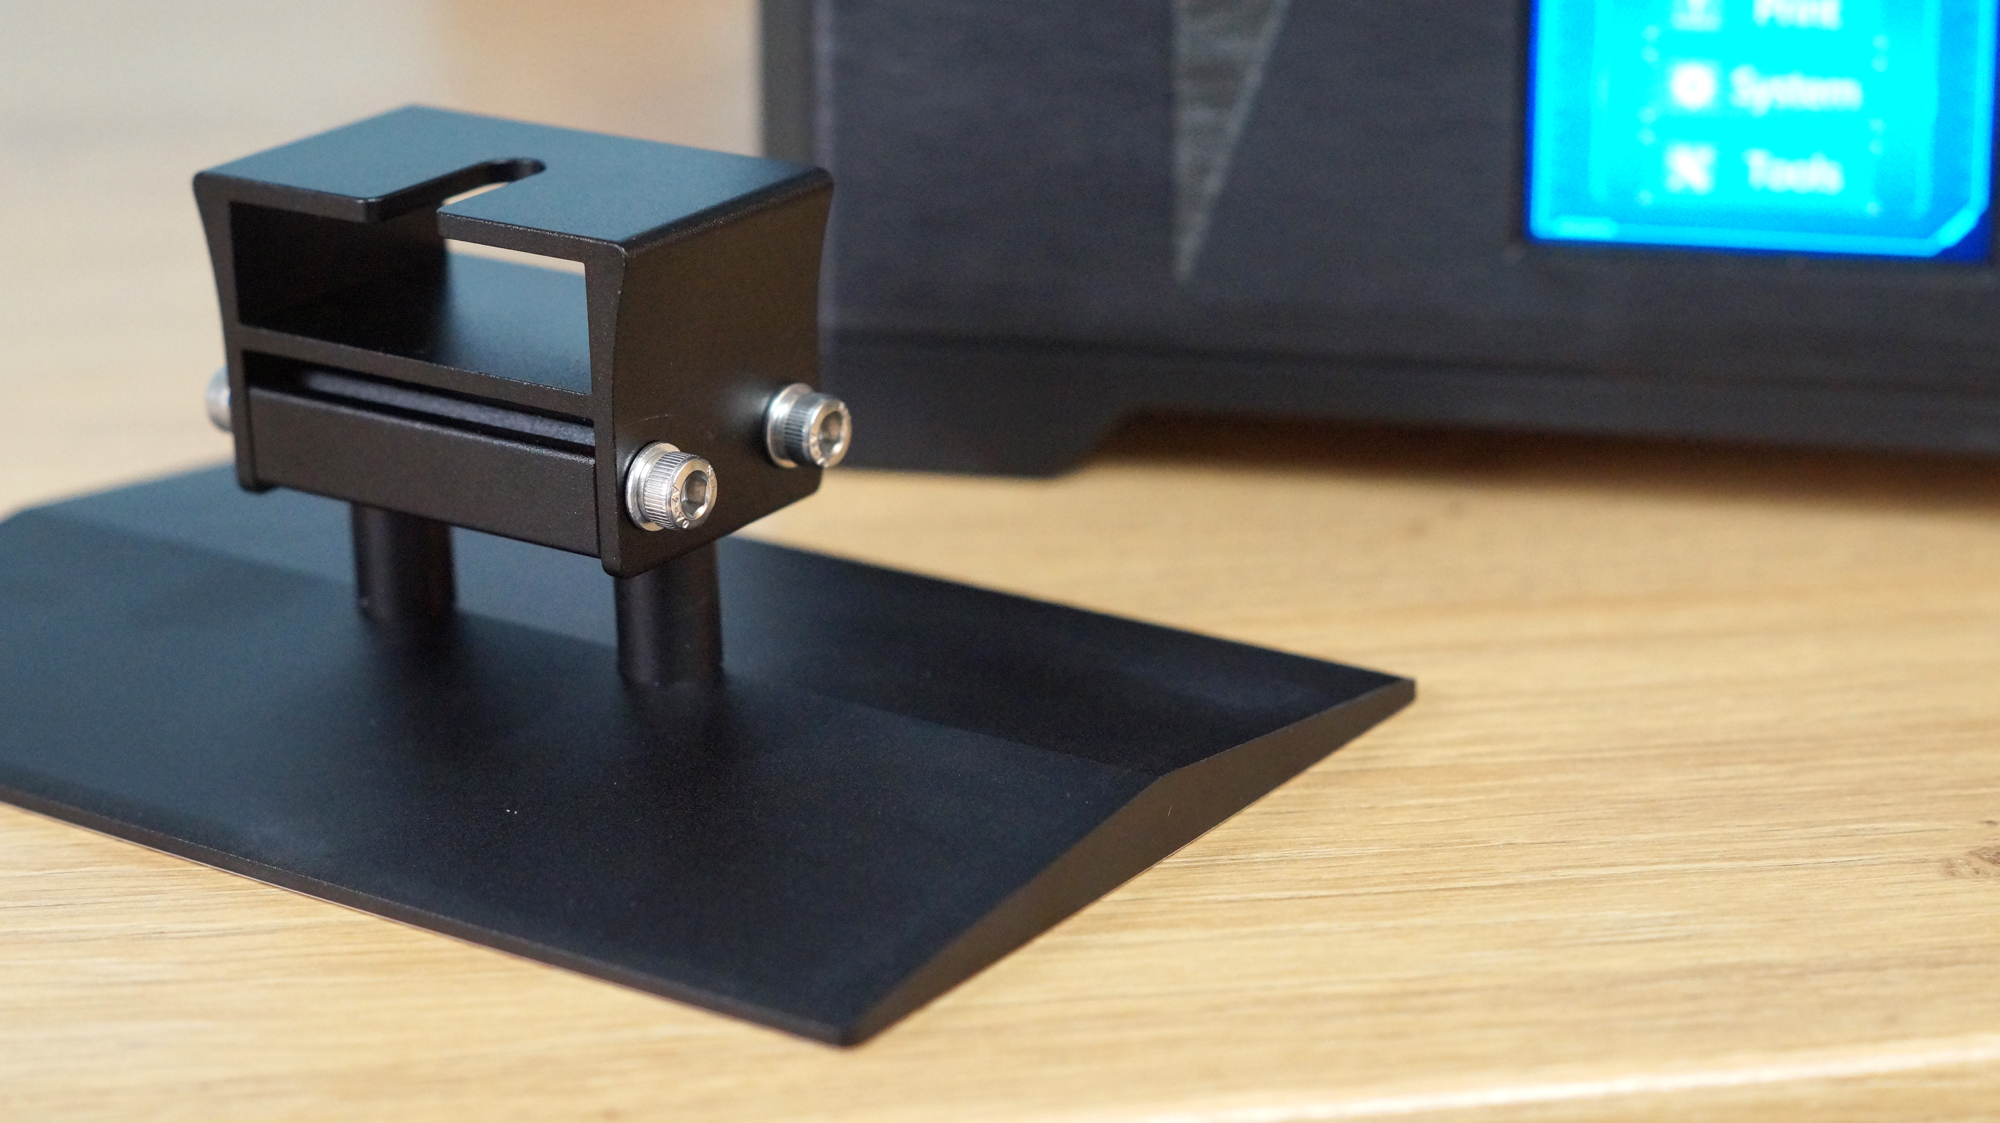
4 Bolt leveling platform
- -
Limited slicers on release
- -
Photon Workshop has poor auto supports
Why you can trust Tom's Hardware
Anycubic’s new Photon M3 is an entry level resin 3D printer that doesn’t skimp on quality. It’s a little larger, little brighter and has a bit more resolution than Anycubic’s previous beginner machine: the Photon Mono 4K.
Priced at $299, the Anycubic Photon M3 pairs a super bright 7.6” LighTurbo LED matrix with true 4K+ resolution, producing spectacular prints that rival more expensive machines. One of the best resin 3D printers, the Photon M3 is easy to use with a simple interface, sturdy metal vat with a pour spout and an anti-scratch screen protector to keep your glass clean in case of accidental spills.
Specifications of Anycubic Photon M3
| Machine Footprint | 10.6 x 10.1 x 16.7 inches (269 x 256 x 425mm) |
| Build Volume | 6.4 x 4.0 x 7.1 inches (163 x 102 x 180mm) |
| LCD Screen | 7.6 in Monochrome |
| Light Source | LighTurbo with 28 LEDs in a matrix |
| XY Axis Resolution | 40 microns |
| LCD Resolution | 4,098 x 2,560 pixels |
| Normal Exposure Time | 2 seconds |
| Interface | 2.8 inch Touch Screen |
| Machine Weight | 7kg (15.4 lbs) |
Included in the Box: Anycubic Photon M3
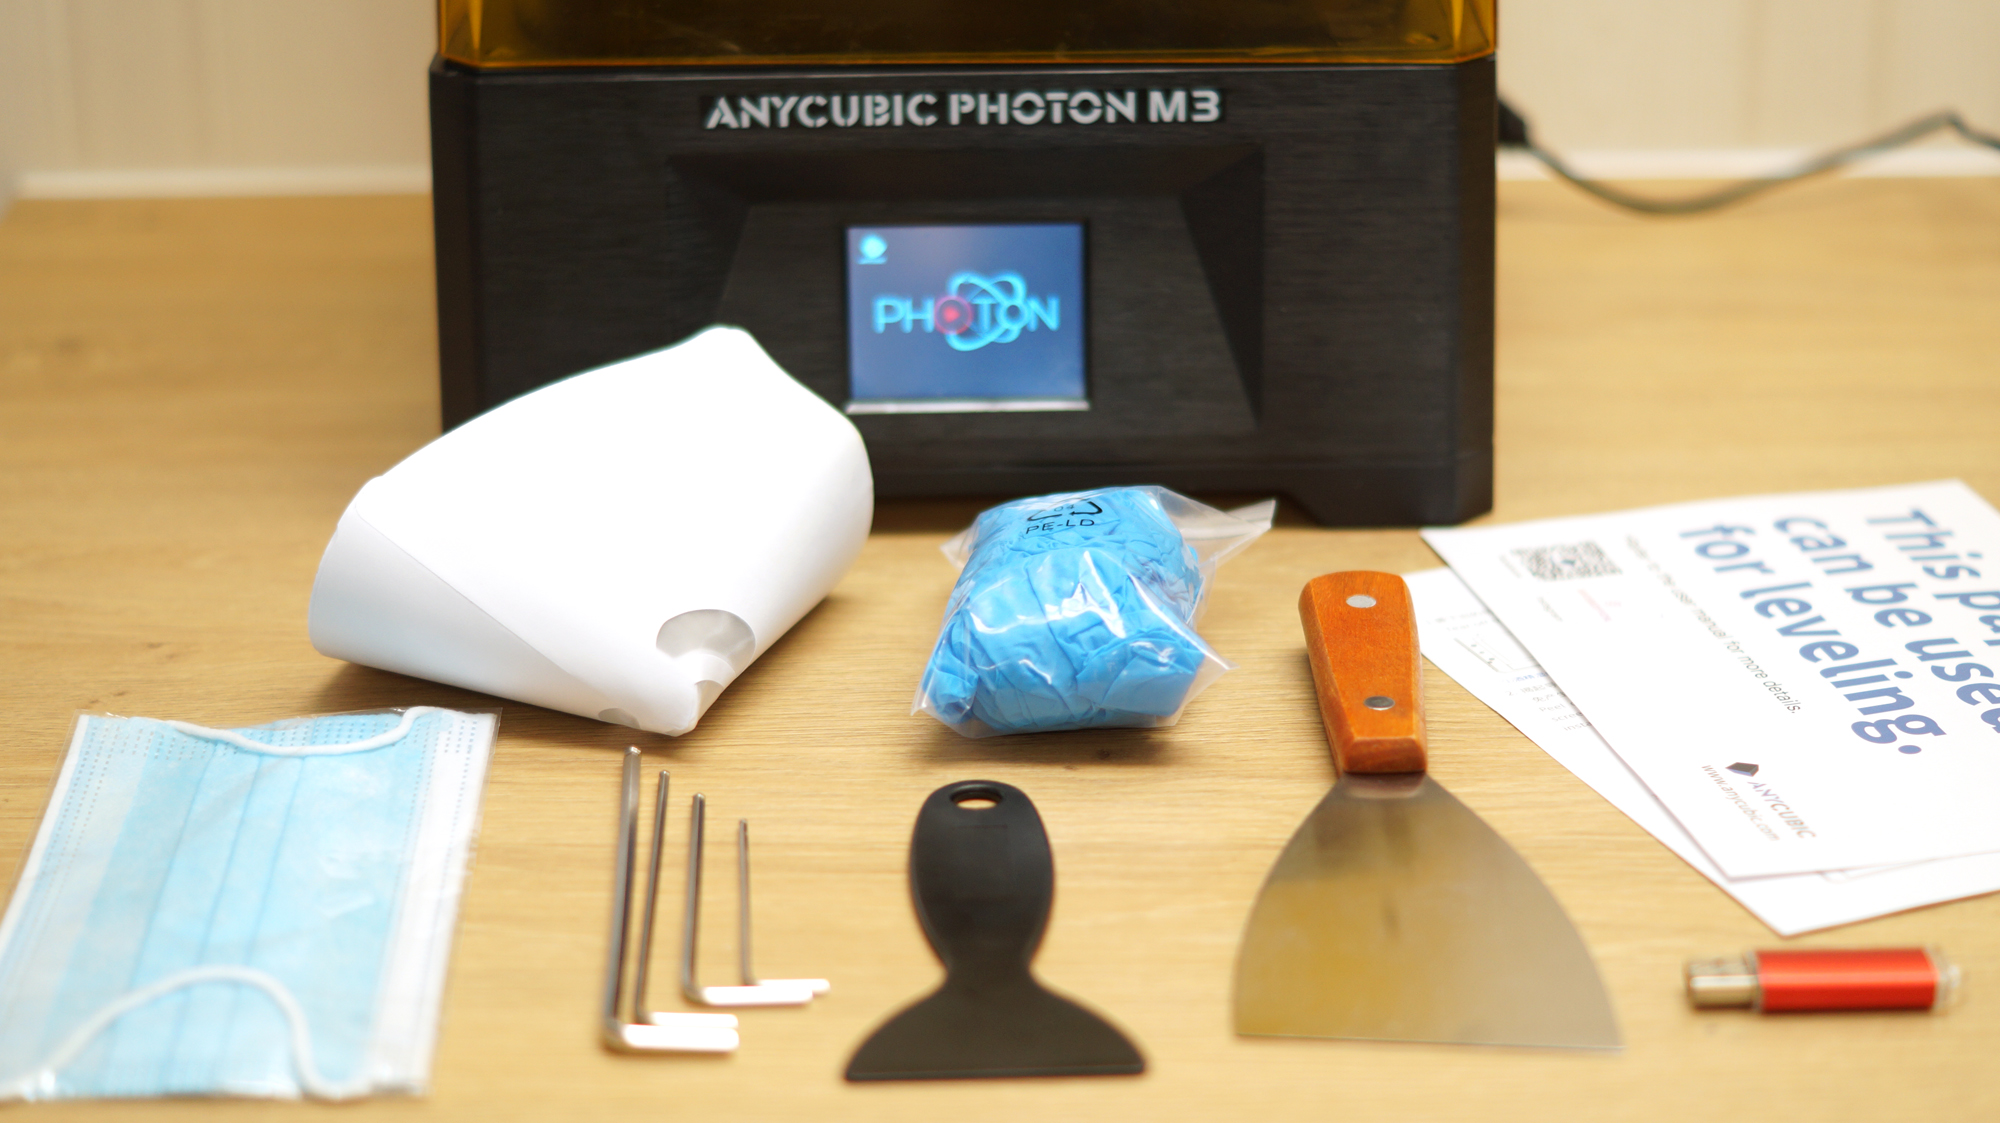
The Anycubic Photon M3 includes everything you need to get started as soon as you unbox the printer. You get a metal scraper for the build plate, a cheap plastic scraper for the FEP film, a screen protector (not shown), paper funnels, disposable gloves, disposable masks, a set of Allen keys, a power cord with adapter and a printed manual.
Also in the box is a 4GB USB thumb drive preloaded with Anycubic’s Photon Workshop slicing software, a PDF of the manual and a pre-sliced test print.
Printing Safety with Anycubic Photon M3
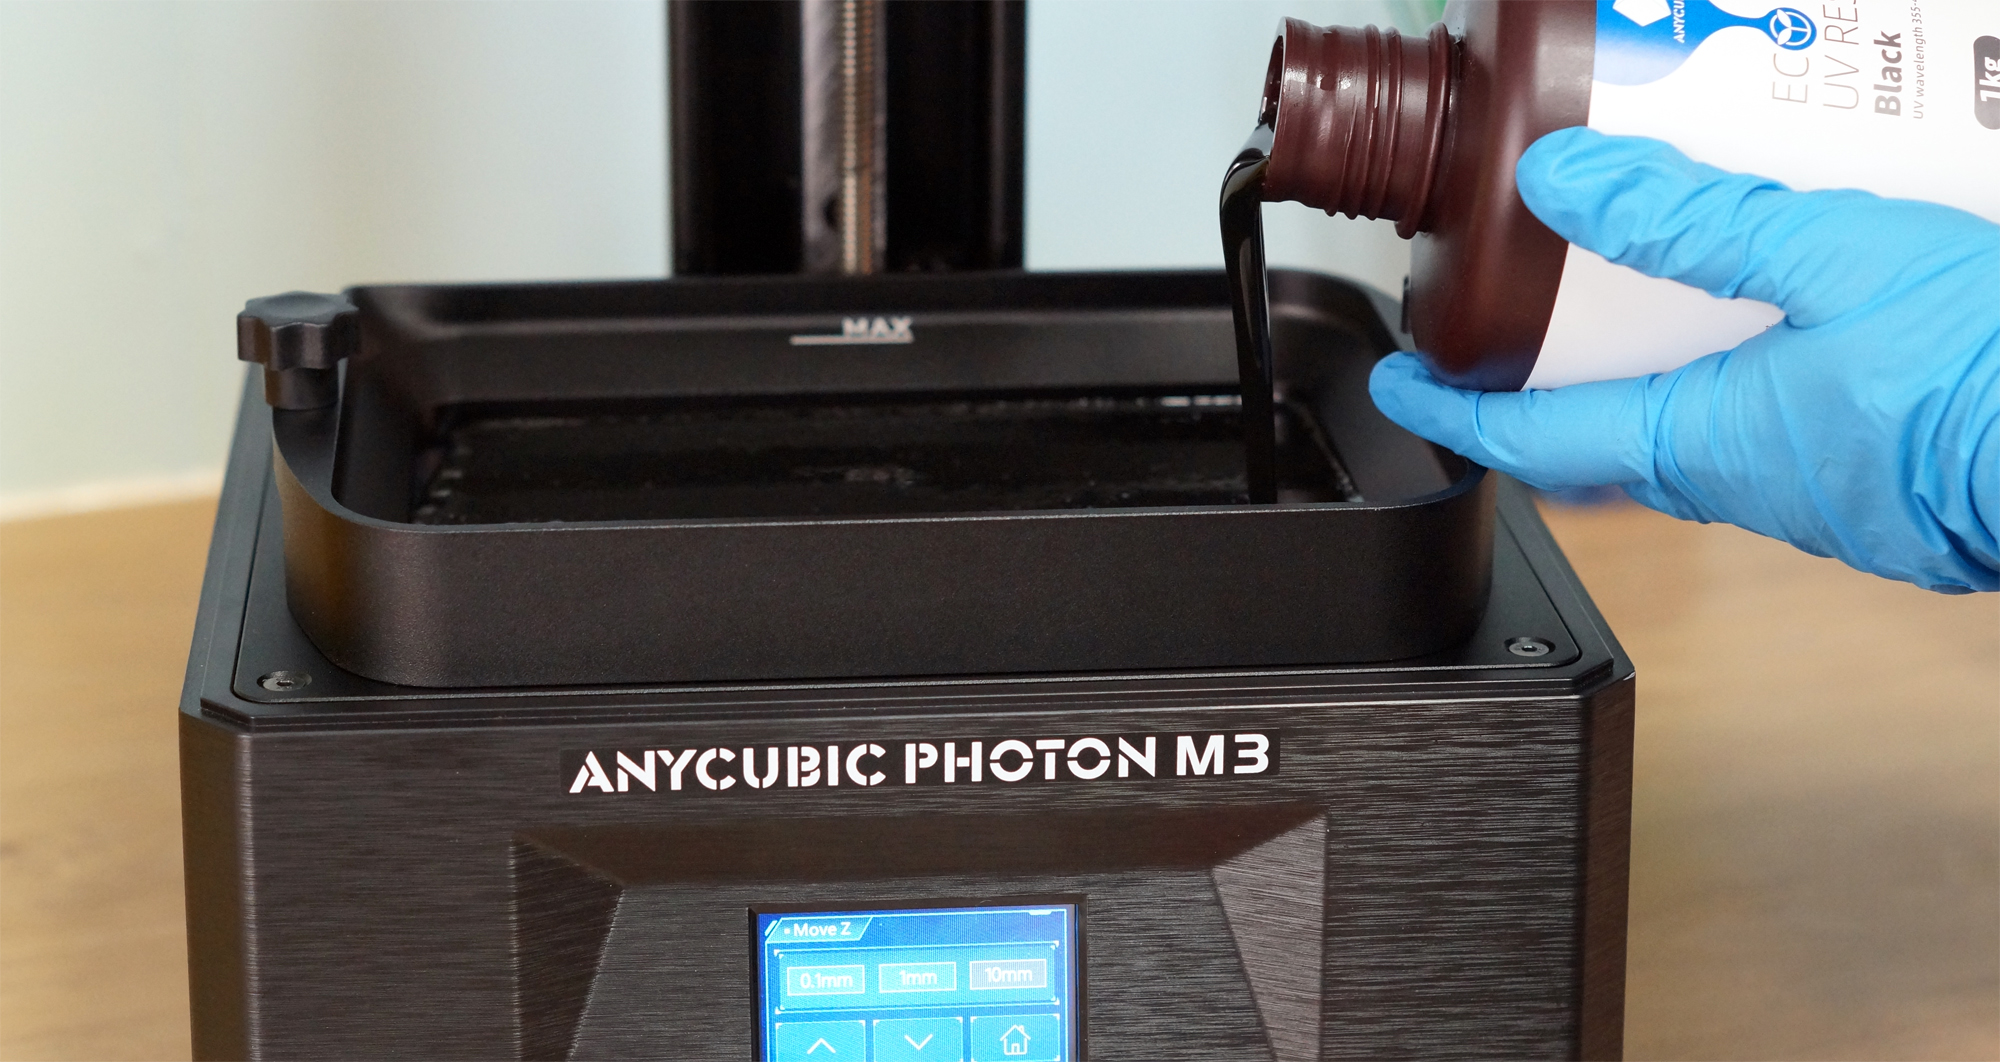
The Anycubic Photon M3 requires the same safety precautions as other resin printers. Uncured resin is dangerous, and the solvents used to clean your prints can be irritating to the skin. Use gloves and safety glasses when pouring resin and handling uncured prints.
Make sure the room you use your resin printer in is well-ventilated to avoid inhaling fumes. Spilled or dripped resin should be immediately cleaned with 99% isopropyl alcohol. After printing, make sure to wipe down your printer and bottles to remove smudges of uncured resin. Always keep your resin tightly sealed and safely stored out of reach of pets and children.
Assembling the Anycubic Photon M3
The printer comes mostly assembled. You only need to remove the LED screen protector used for shipping and apply the fresh one provided. Screw in the vat and build plate and you’re ready for calibration.
Get Tom's Hardware's best news and in-depth reviews, straight to your inbox.
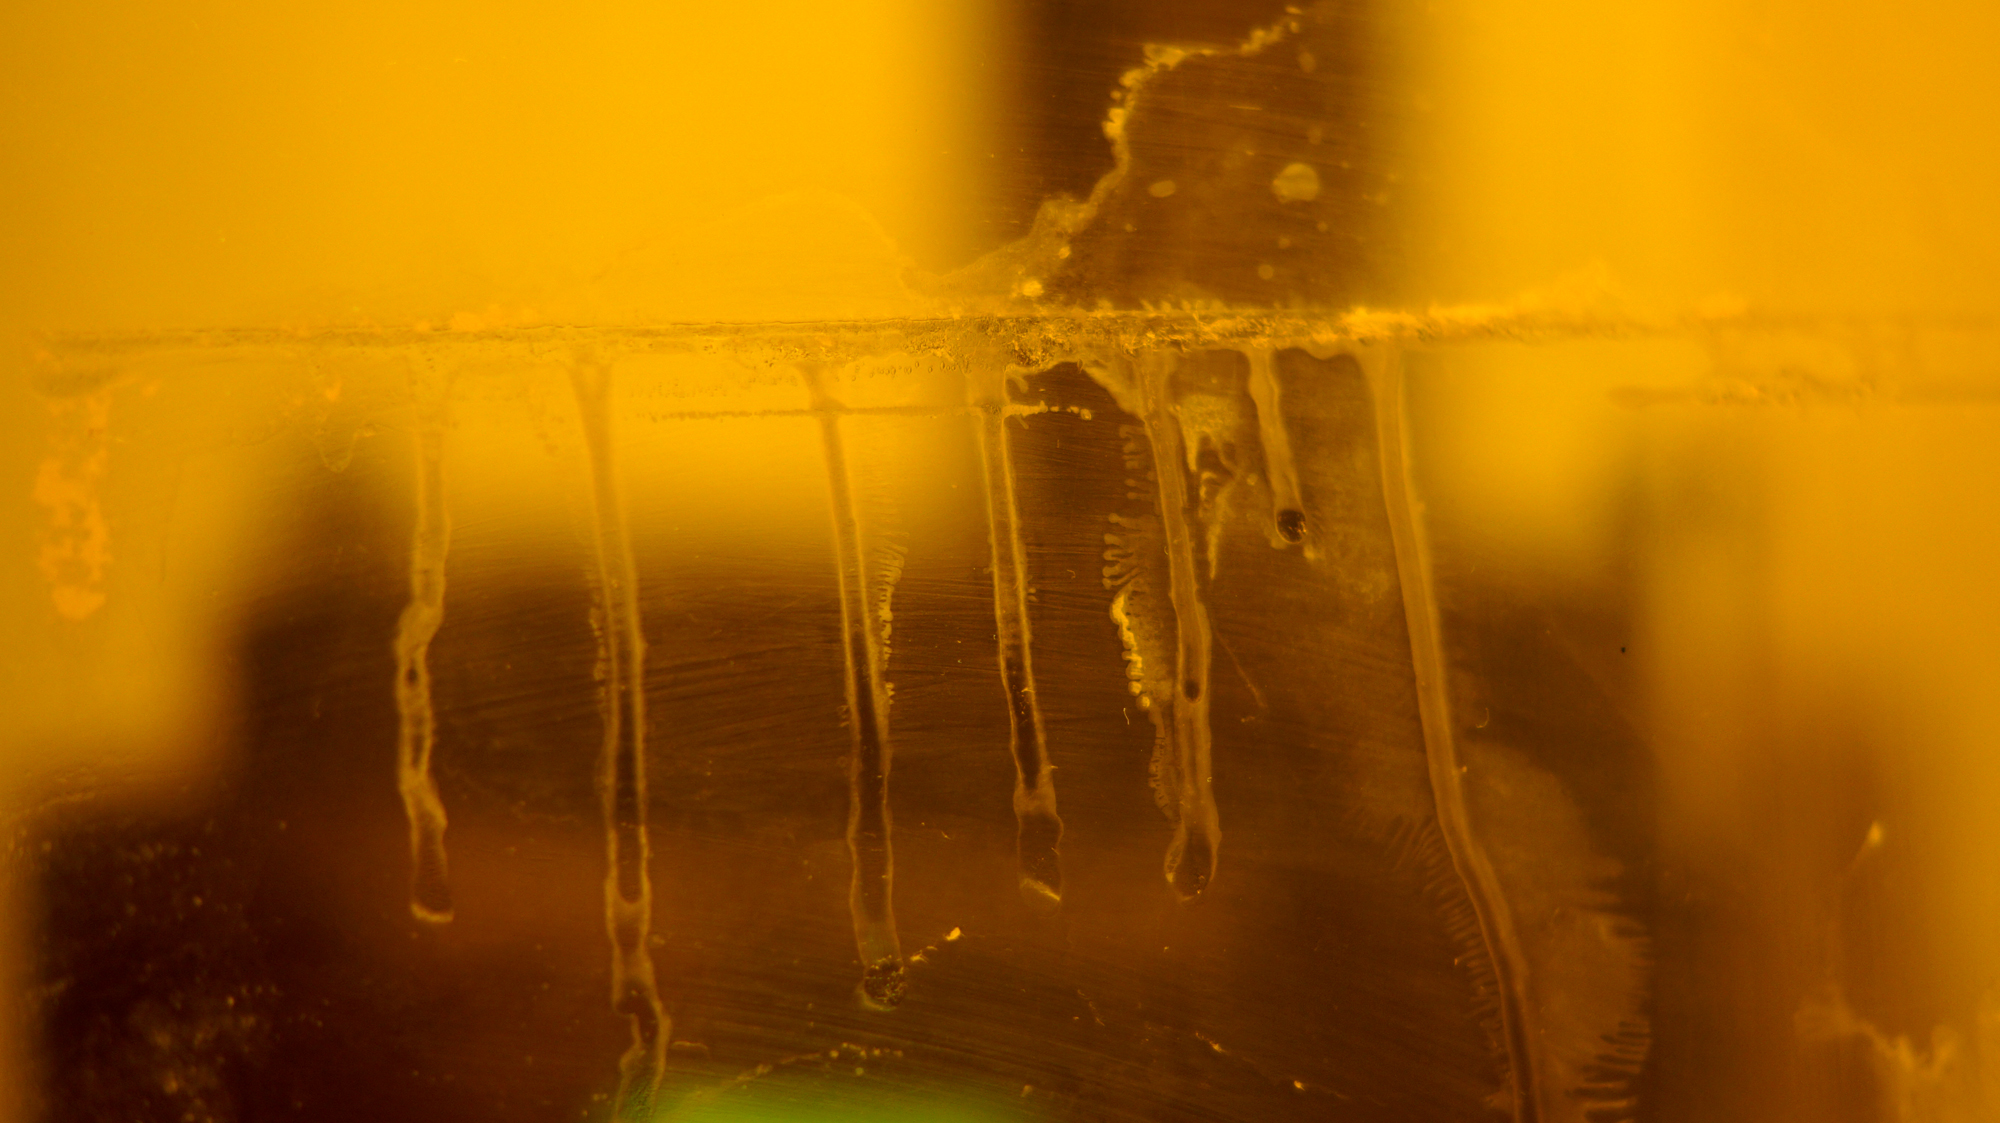
Before using your Anycubic Photon M3 for the first time, head over to the Anycubic website to download the latest firmware. A flaw in the initial firmware allowed the build plate to touch the cover after printing, leaving a resin mark on the cover. Our review machine had this issue – don’t let it happen to you.
Calibrating the Build Plate on the Anycubic Photon M3
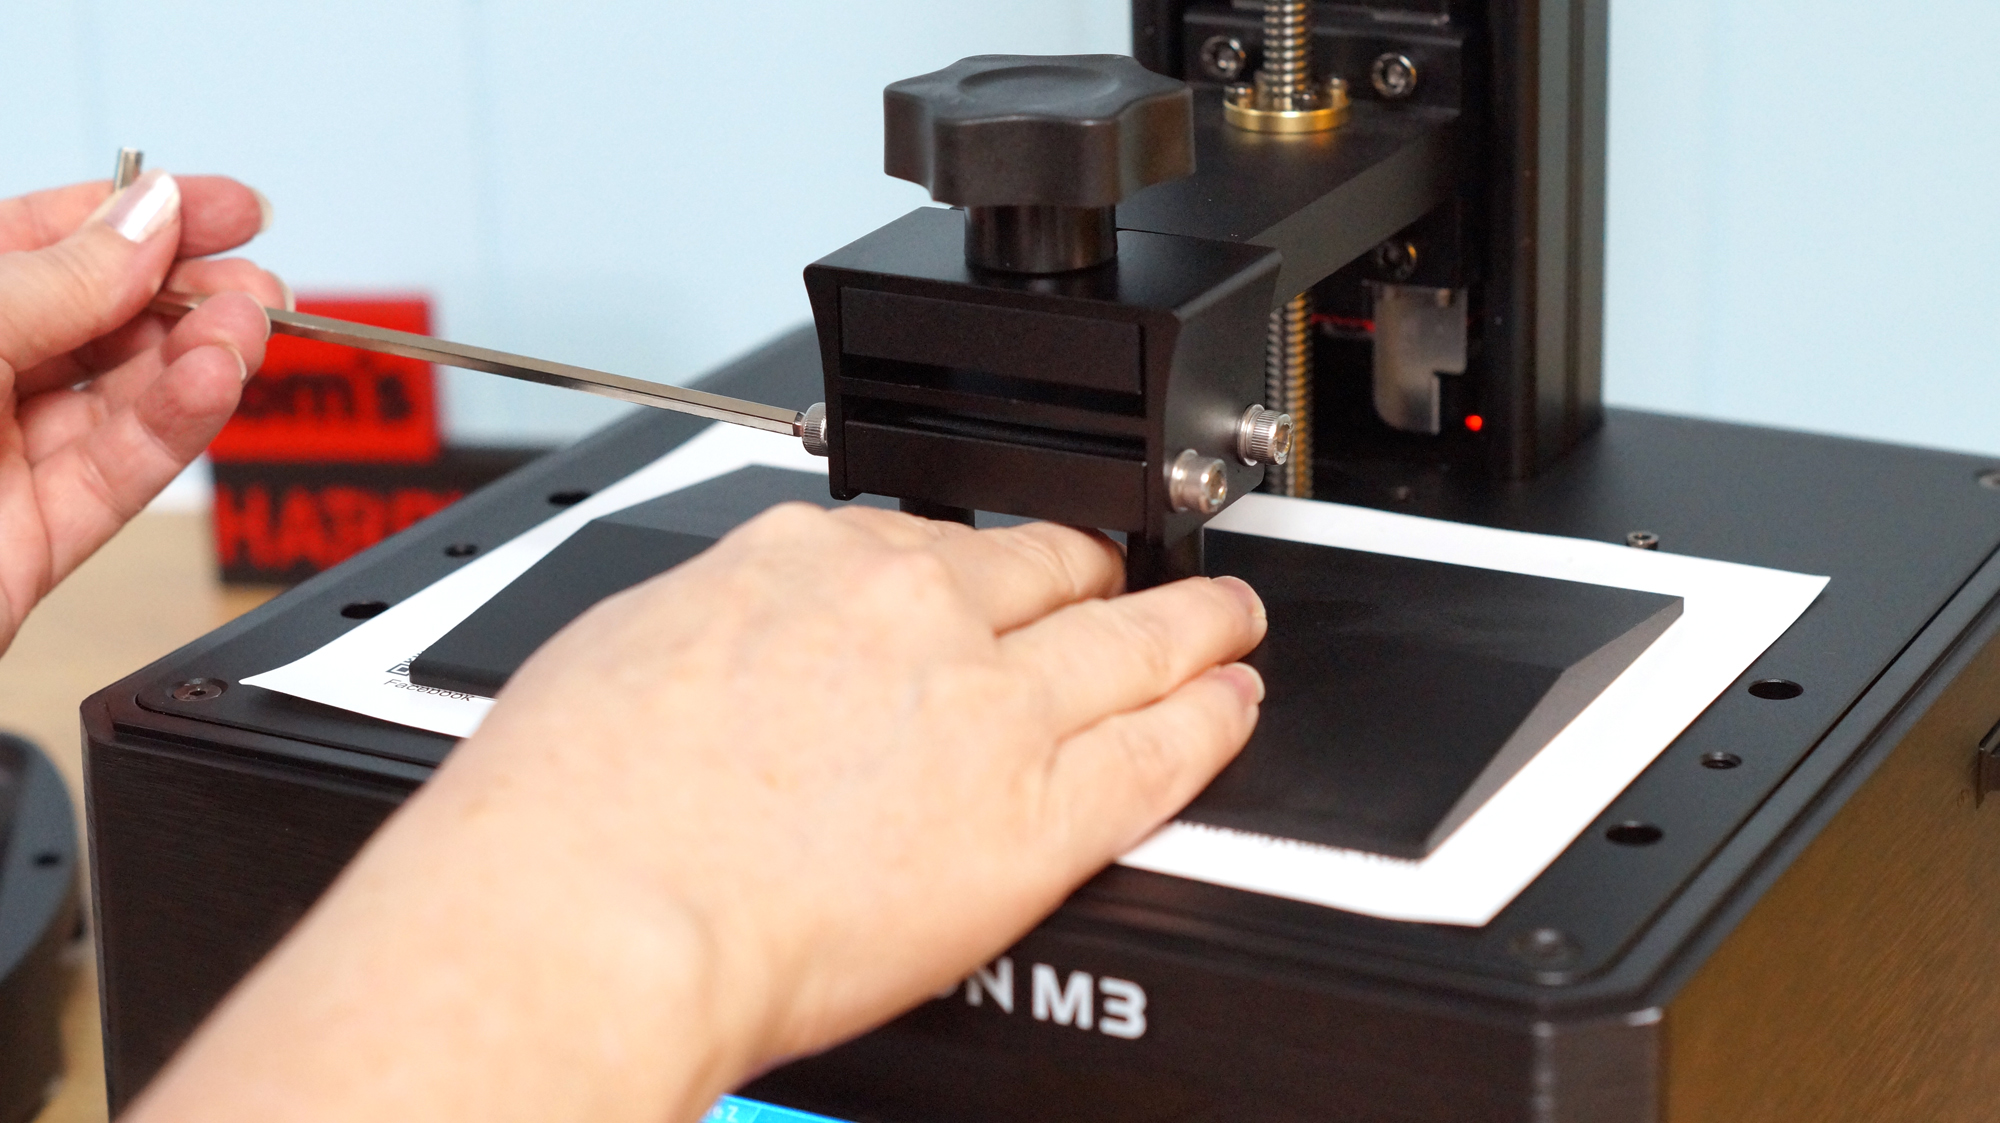
Like all 3D printers, the Anycubic Photon M3 requires calibration before its first print. Leveling the build plate is fairly straightforward and only takes a piece of paper and an Allen wrench.
To level the machine, remove the vat and then place the piece of paper provided by Anycubic on the LCD screen. Loosen the four adjustment screws on the sides of the build plate. The build plate should wiggle freely.
Place the build plate on the Z axis and tighten the top knob.Click the Home symbol on the touch screen. The Z axis will lower and stop automatically.
Press the build plate firm and evenly to the glass. Now tighten the screws.
Click Tools → Z=0 on the touch screen. This sets the Z height. Press Enter and exit the menu.
Next, test the UV light. Raise the build plate up (Move Z) until you can see the LED lights inside the machine. Press Tools → Detection → and select an image and the amount of time it should flash. Press next and you should see the image. If, for any reason, you don’t see the full image, contact service for help.
If you haven’t installed the provided screen protector, now is a good time to do it.
Design of the Anycubic Photon M3
The Anycubic Photon M3 has a design typical of smaller desktop resin printers. It has a square base made of dark plastic and a brightly-colored transparent plastic cover. The machine feels solid and is made of metal where it counts – on the Z axis and around the LED screen.
It has a single yet sturdy Z axis rail and makes a pleasant hum when traveling up and down the rail. Otherwise the printer and fan are remarkably quiet.
The build plate is laser etched for just the right amount of grip, and I had no problems removing prints with the metal scrapper provided. The top of the plate sloped without any crevices to catch stray resin.
It comes with a screen protector for the LED glass, which is a nice touch.
Unlike its FDM printer cousins, the Anycubic Photon M3 reads files from a USB stick rather than a microSD card. The port is located on the side with the power switch, situated where you’re unlikely to drip resin.
Navigating the menus on the color touch screen is easy because there are only three sub menus: Print, System and Tools. The Print menu displays thumbnails of all your models on the USB stick. System is for selecting language and displaying information you might need for service. Tools is where you move the Z axis, test the LEDs and level the bed.
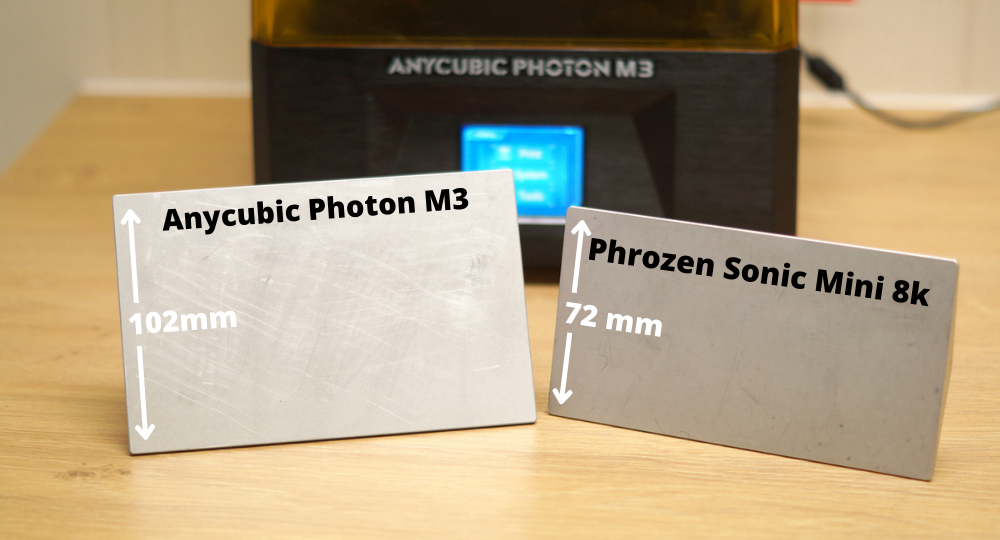
One thing I find truly refreshing about the Anycubic Photon M3 is its build size. This printer might be the smallest of the M3 line, but the build size is larger than other entry-level printers from other manufacturers due to its generous width.
| Anycubic Photon M3 | 163 x 102 x 180 mm | Row 0 - Cell 2 |
| Elegoo Mars 3 | 143 x 89.6 x 175 mm | Row 1 - Cell 2 |
| Prusa SL1s | 127x 80 x 150 mm | Row 2 - Cell 2 |
| Creality Halot One | 127 x 80 x 160 mm | Row 3 - Cell 2 |
| Voxelab Proxima 6.0 | 130 x 76 x 155 mm | Row 4 - Cell 2 |
| Phrozen Sonic Mini 8K | 165 x 72 x 180 mm | Row 5 - Cell 2 |
Slicers Compatible with the Anycubic Photon M3
The Anycubic Photon M3 ships with a copy of Photon Workshop, its custom slicer. The printer can only read .pm3 files which can be made with Photon Workshop and Lychee Slicer, which has three tiers: free, pro and premium.
Anycubic plans to share profiles for use with Chitubox three months after the release date.
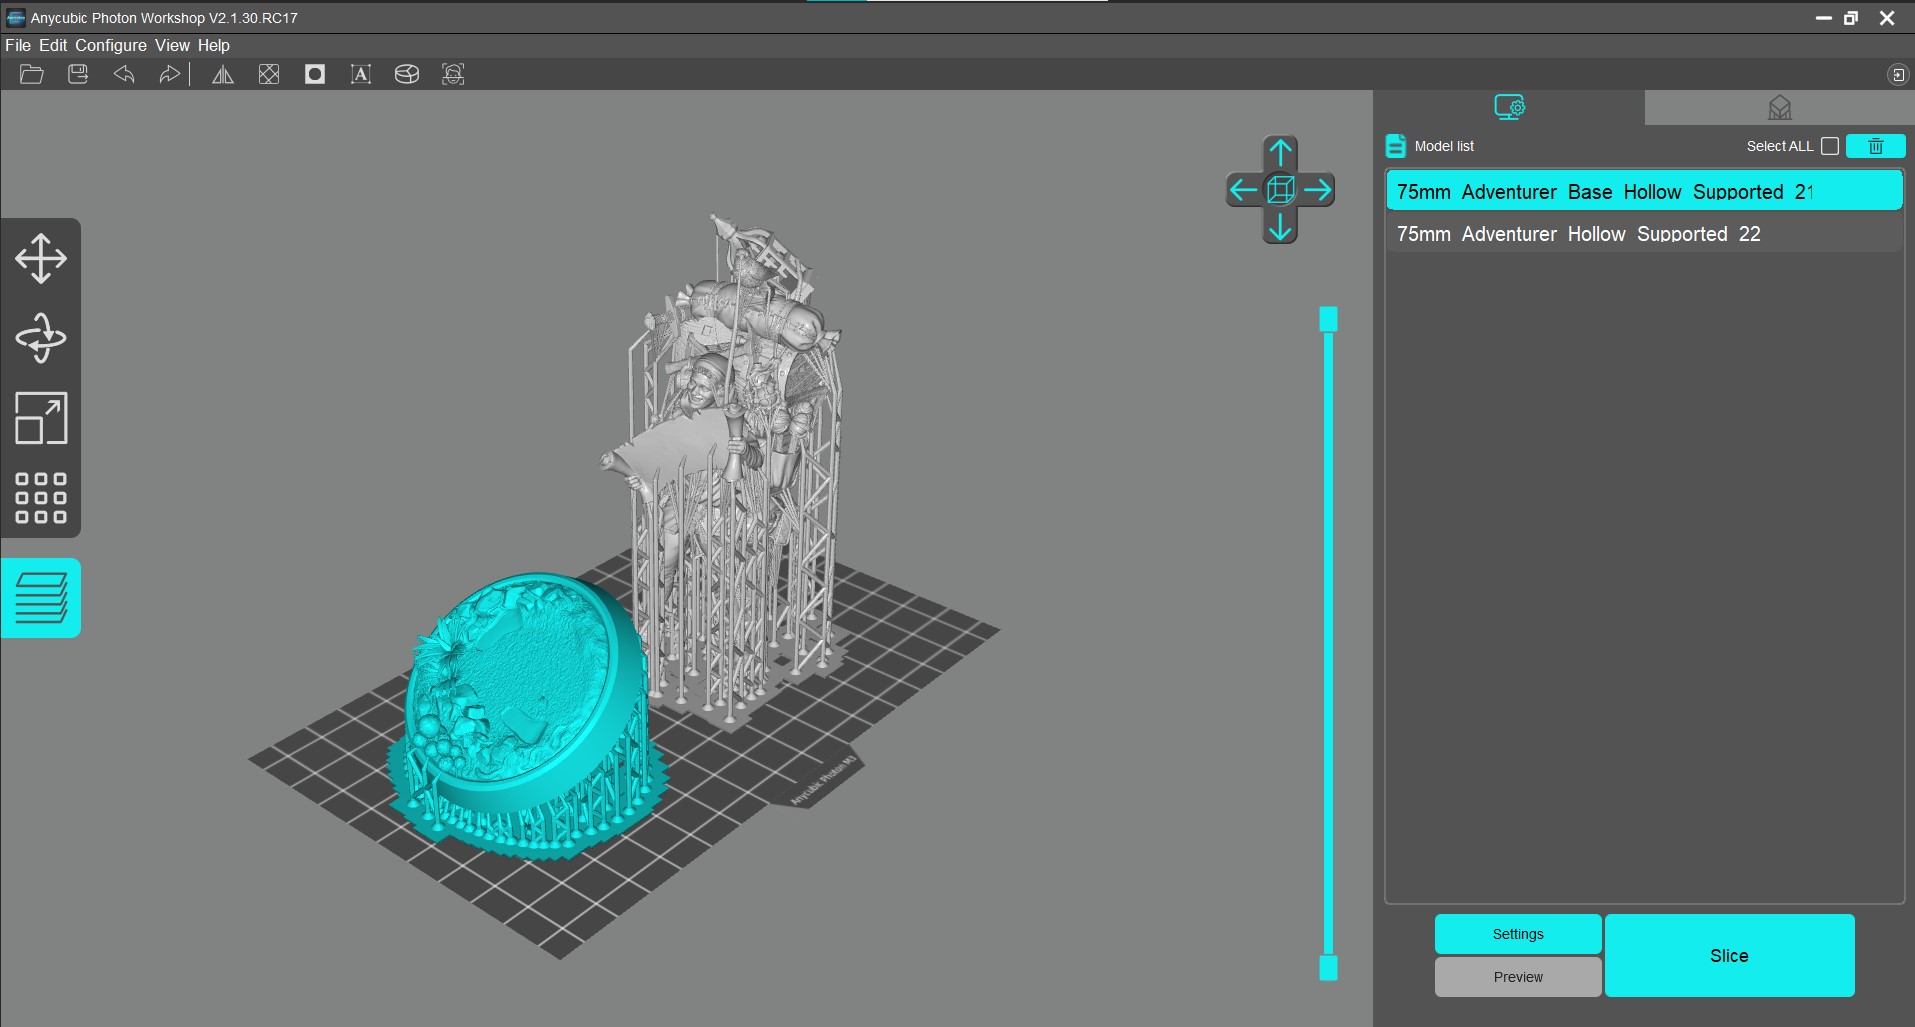
Photon Workshop is the only weak point for this printer. The auto supports don’t always give you full coverage, risking failed prints. Personally, I find the Magic Supports of Lychee Slicer, a free app that works witht he Anycubic Photon M3, more useful.
Printing Workflow on the Anycubic Photon M3
All slicing software for resin 3D printers gives you the ability to add supports, hollow your model and add drain holes – which is much needed to save on expensive resin.
Always run an exposure test to find the best settings for your printer setup as brand and type of resin, plus room temperature are all variables. A good test can be found at Siraya Tech’s website.
Once sliced, .pm3 files can be loaded on the provided USB thumb drive and plugged into the port on the side of the machine. Touch the Print button, select your file and then press go.
Washing and Curing Your Prints
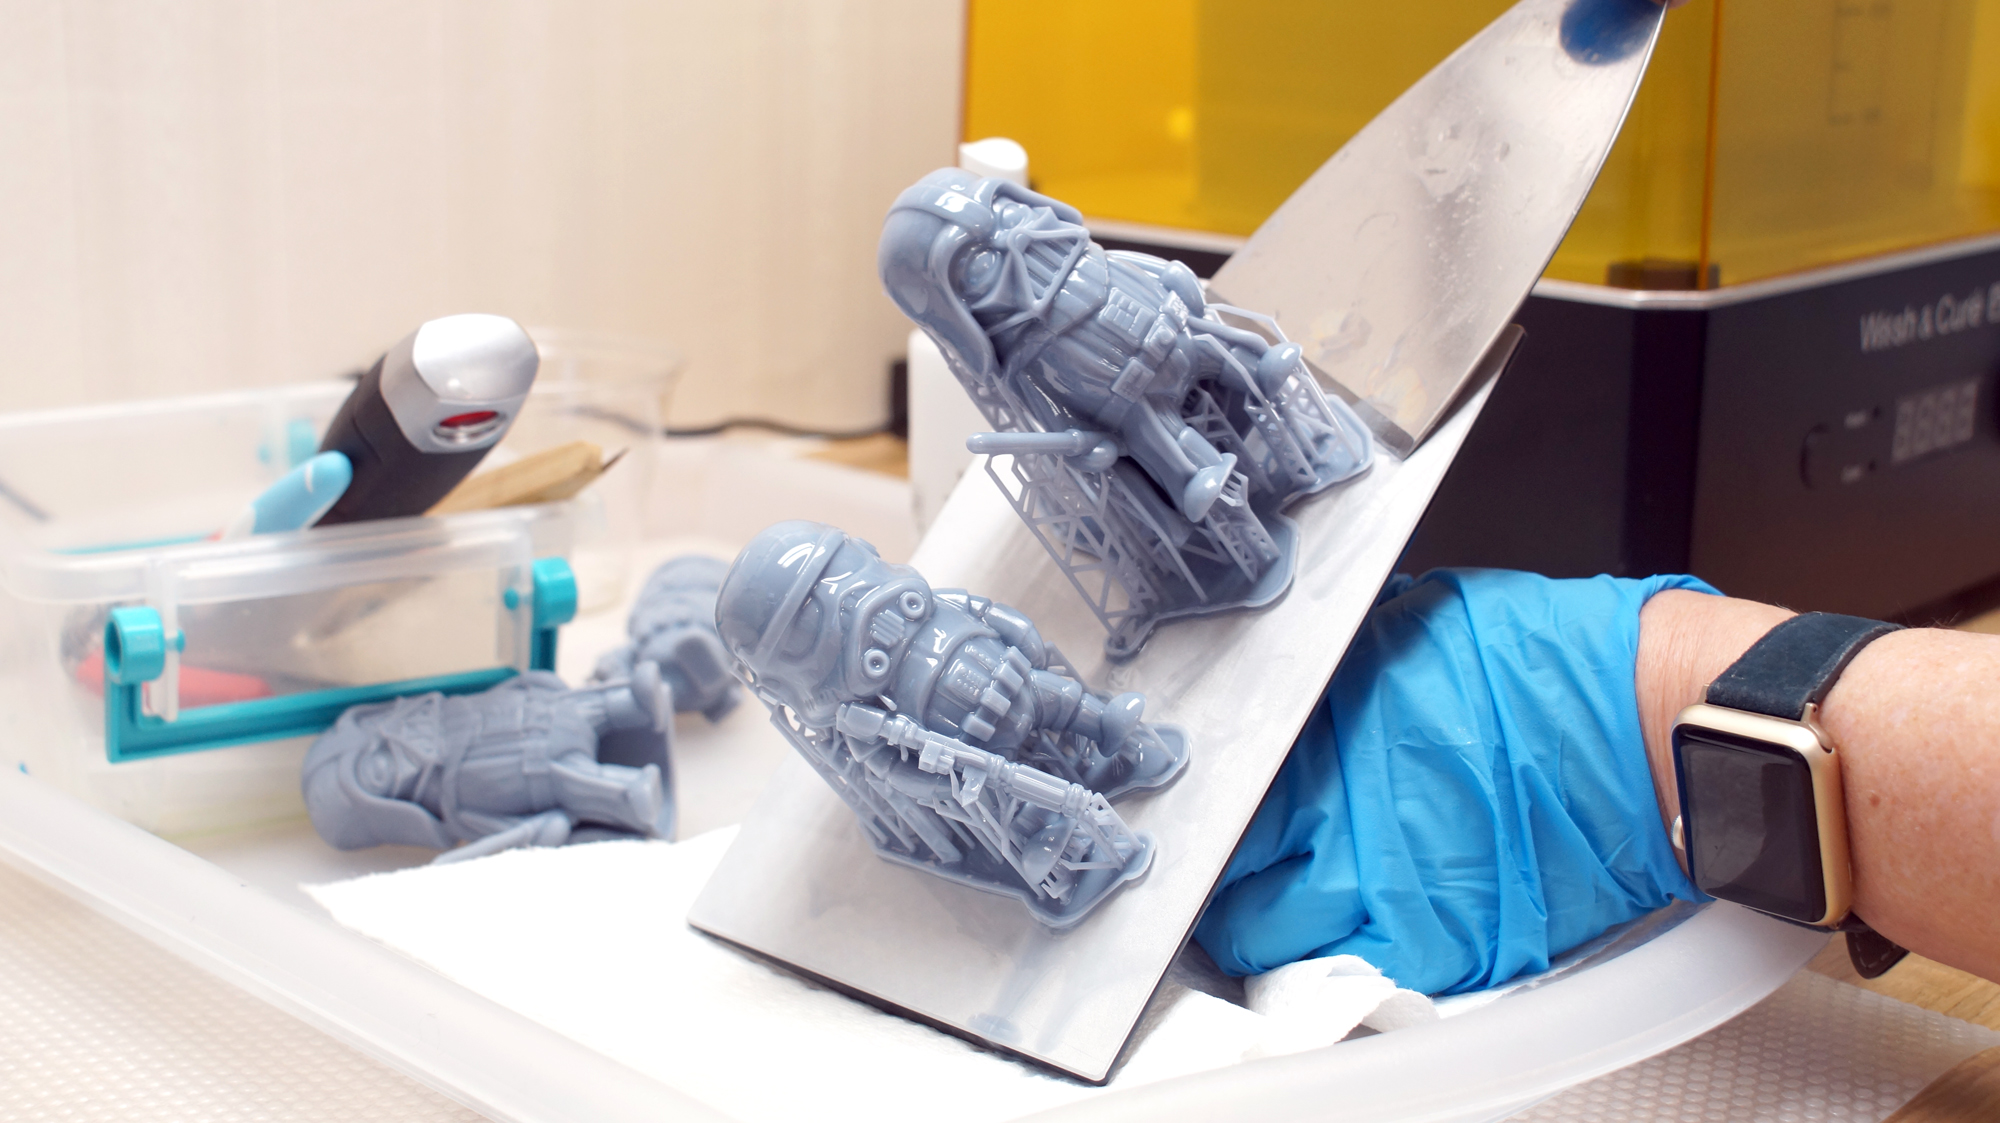
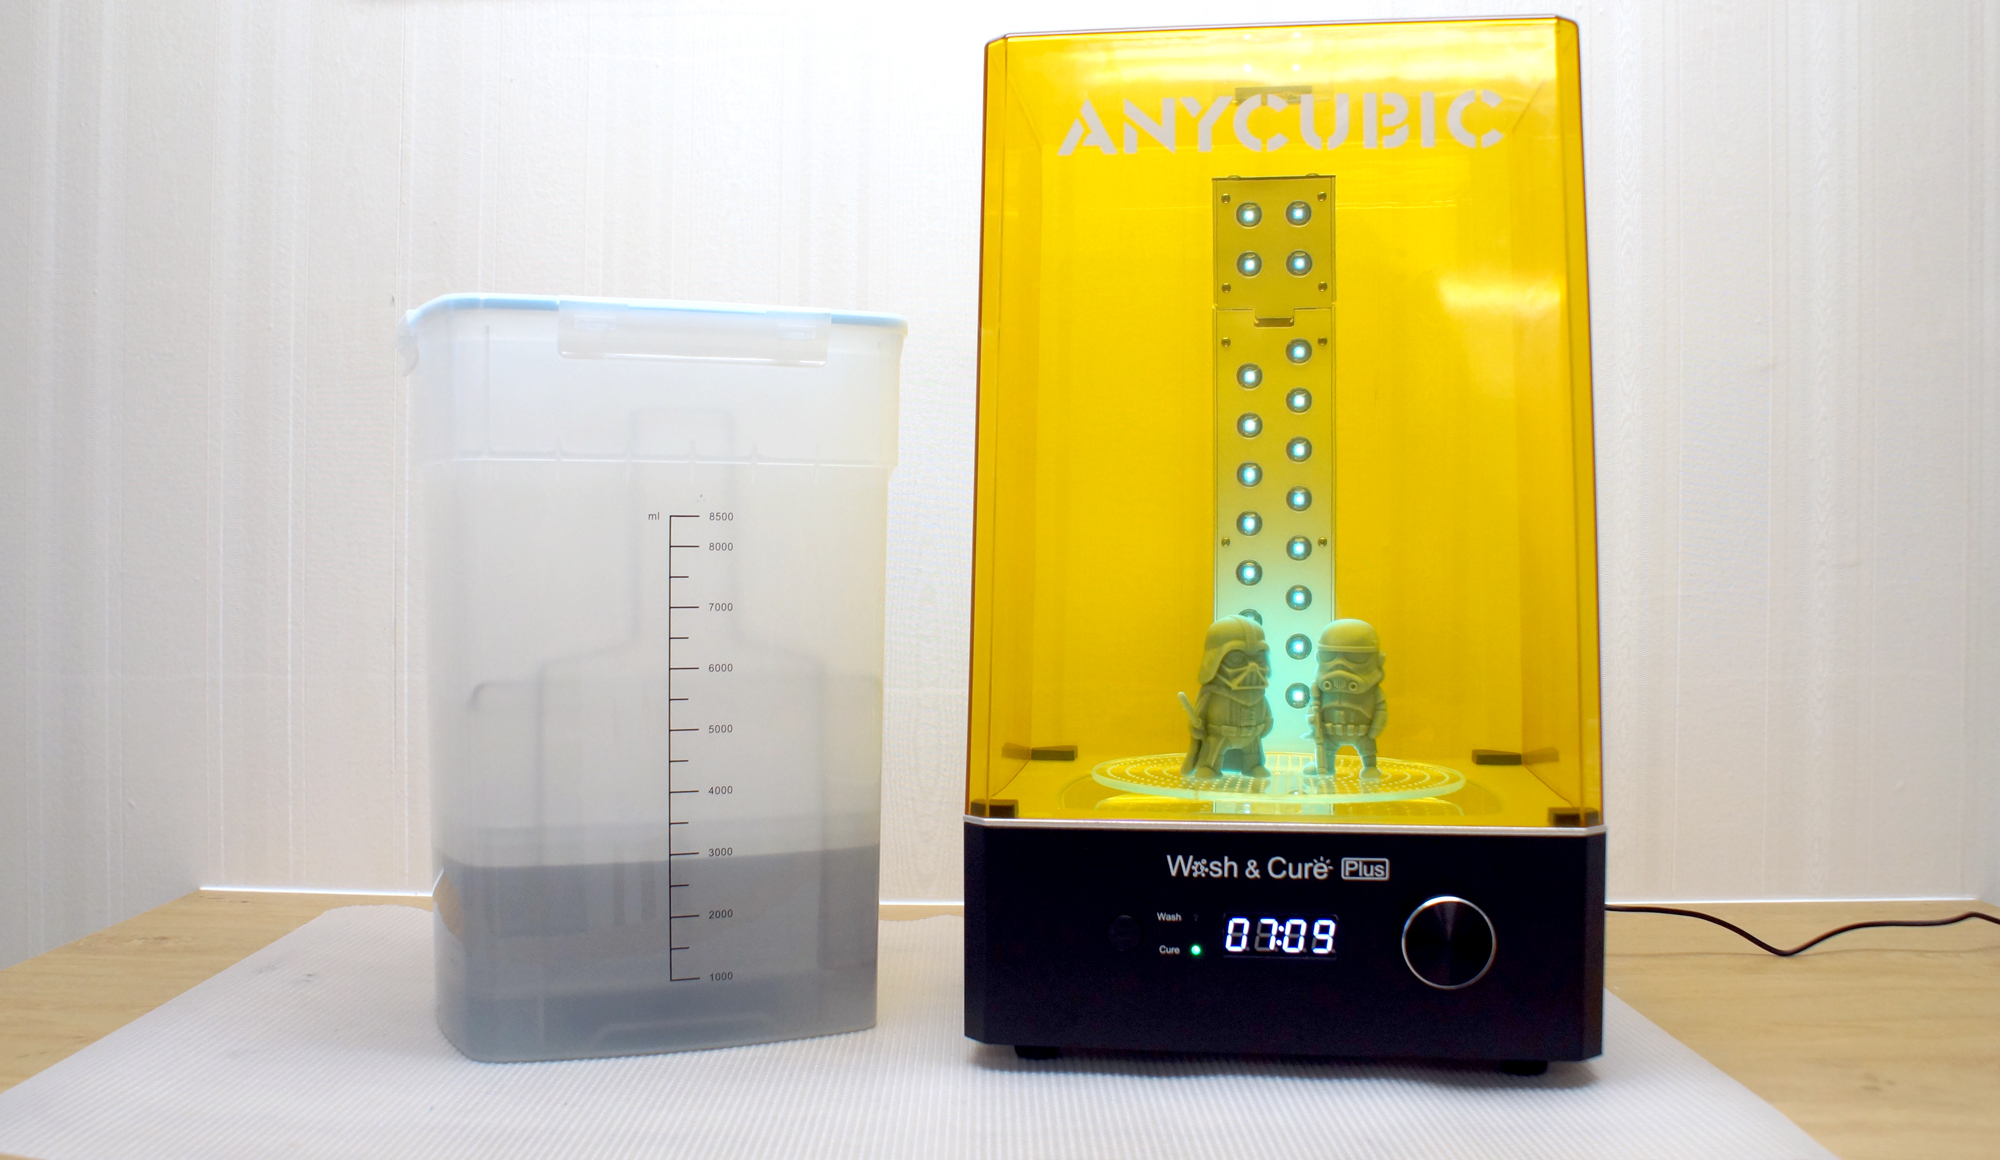
Before you can admire your prints, you’ll need to wash them with Isopropyl alcohol and cure with UV light. I like to give prints a 30 second hand rinse in a container of 95% Isopropyl alcohol, then a 2 minute rinse in the Anycubic Wash and Cure, which is sold separately, and retails for $249 at Anycubic.com.
Completely dry the print with a hair dryer on cool – IPA left on the print will turn white. You can also let the print air dry in a place away from sunlight.
Supports are easier to remove before curing because they are softer. Clip the supports off with side cutters and use tweezers to remove stubborn supports. Remember to always wear gloves while handling uncured prints.
Then place the print in a UV curing station for 15 minutes, or outside in bright sunlight for a few hours.
Your IPA should never be flushed down the drain, especially after being contaminated with uncured resin. Instead, keep using the resin until it’s too dirty, then leave the container open to evaporate. The remaining sludge can be cured with UV light or the sun before being thrown away.
Supports should also be cured before being thrown away.
Sample Prints on the Anycubic Photon M3
I ran several prints in different kinds of resin to test the Anycubic Photon M3. The machine produced excellent prints with crisp details.
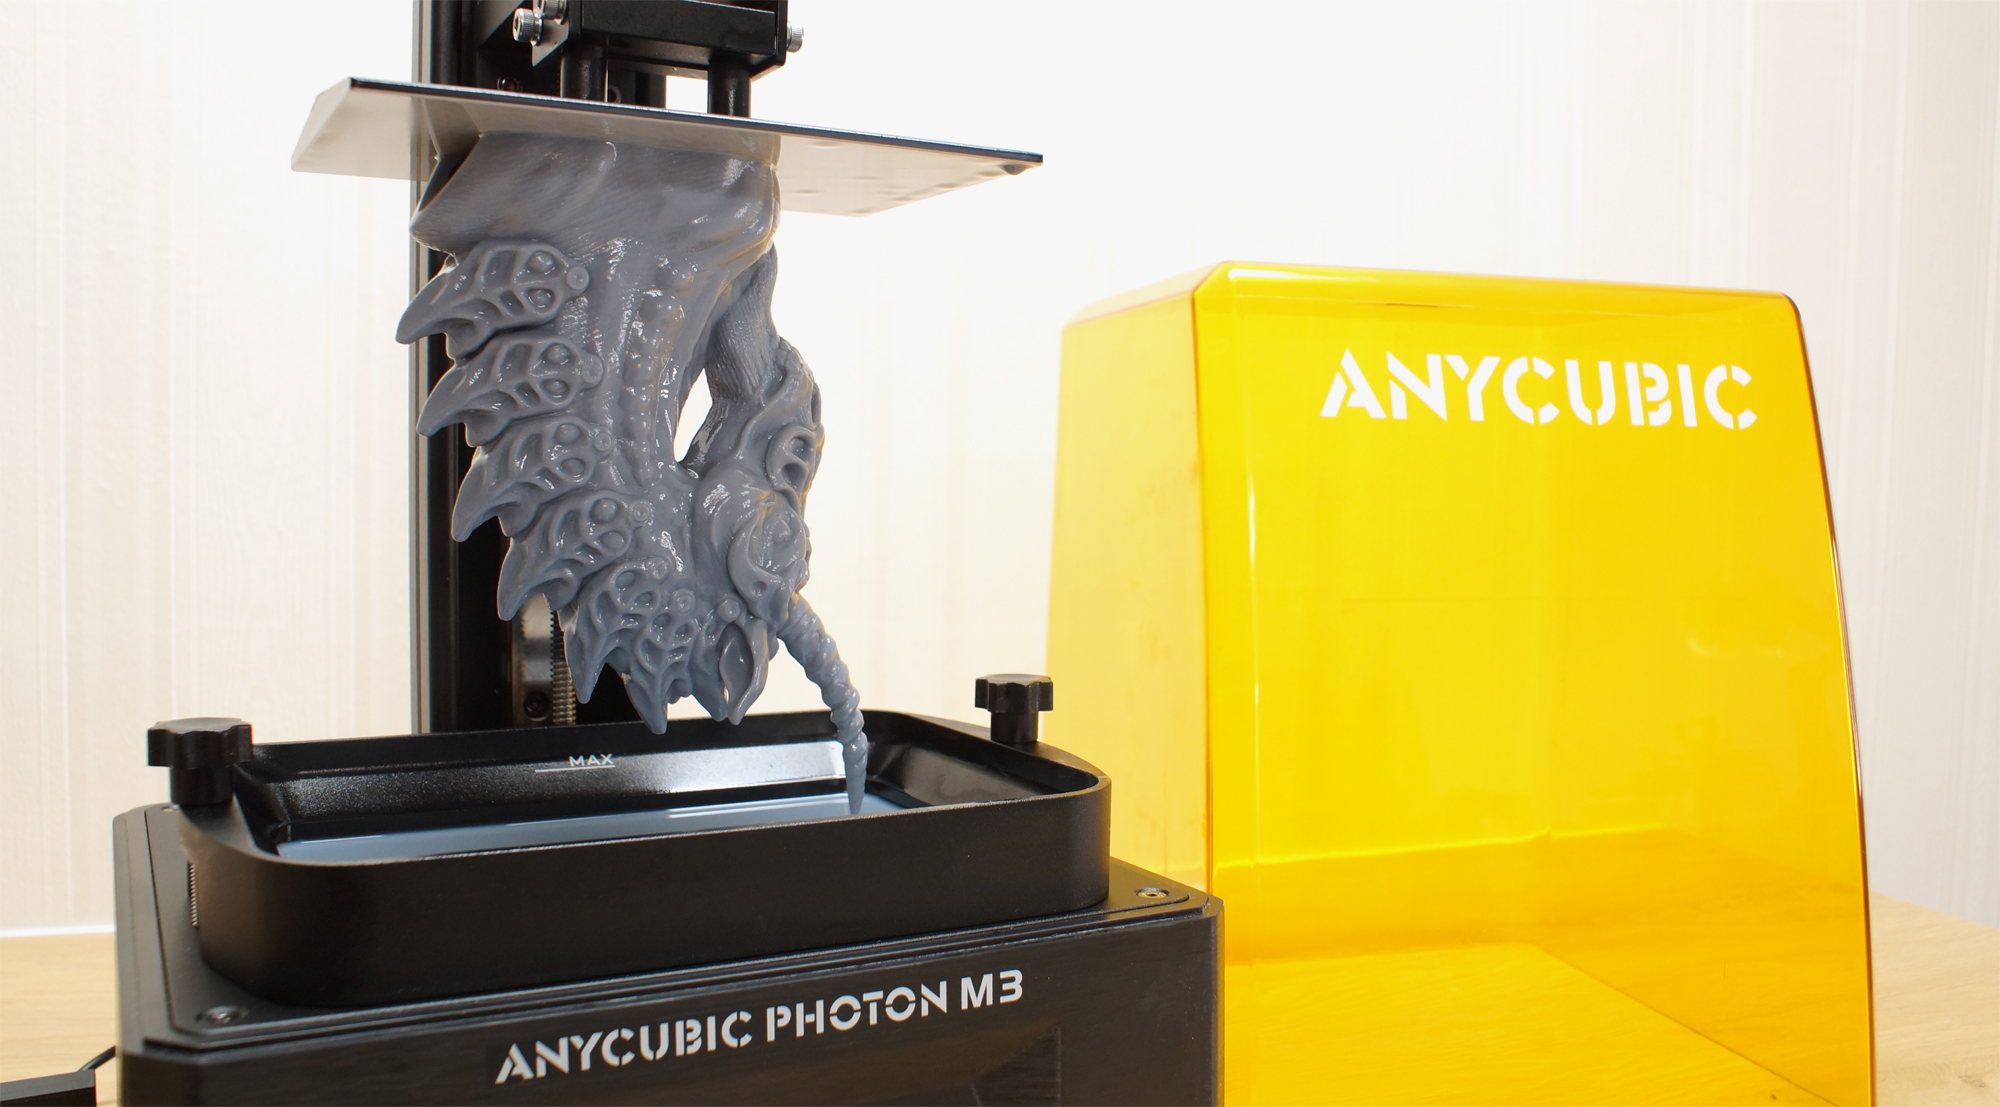
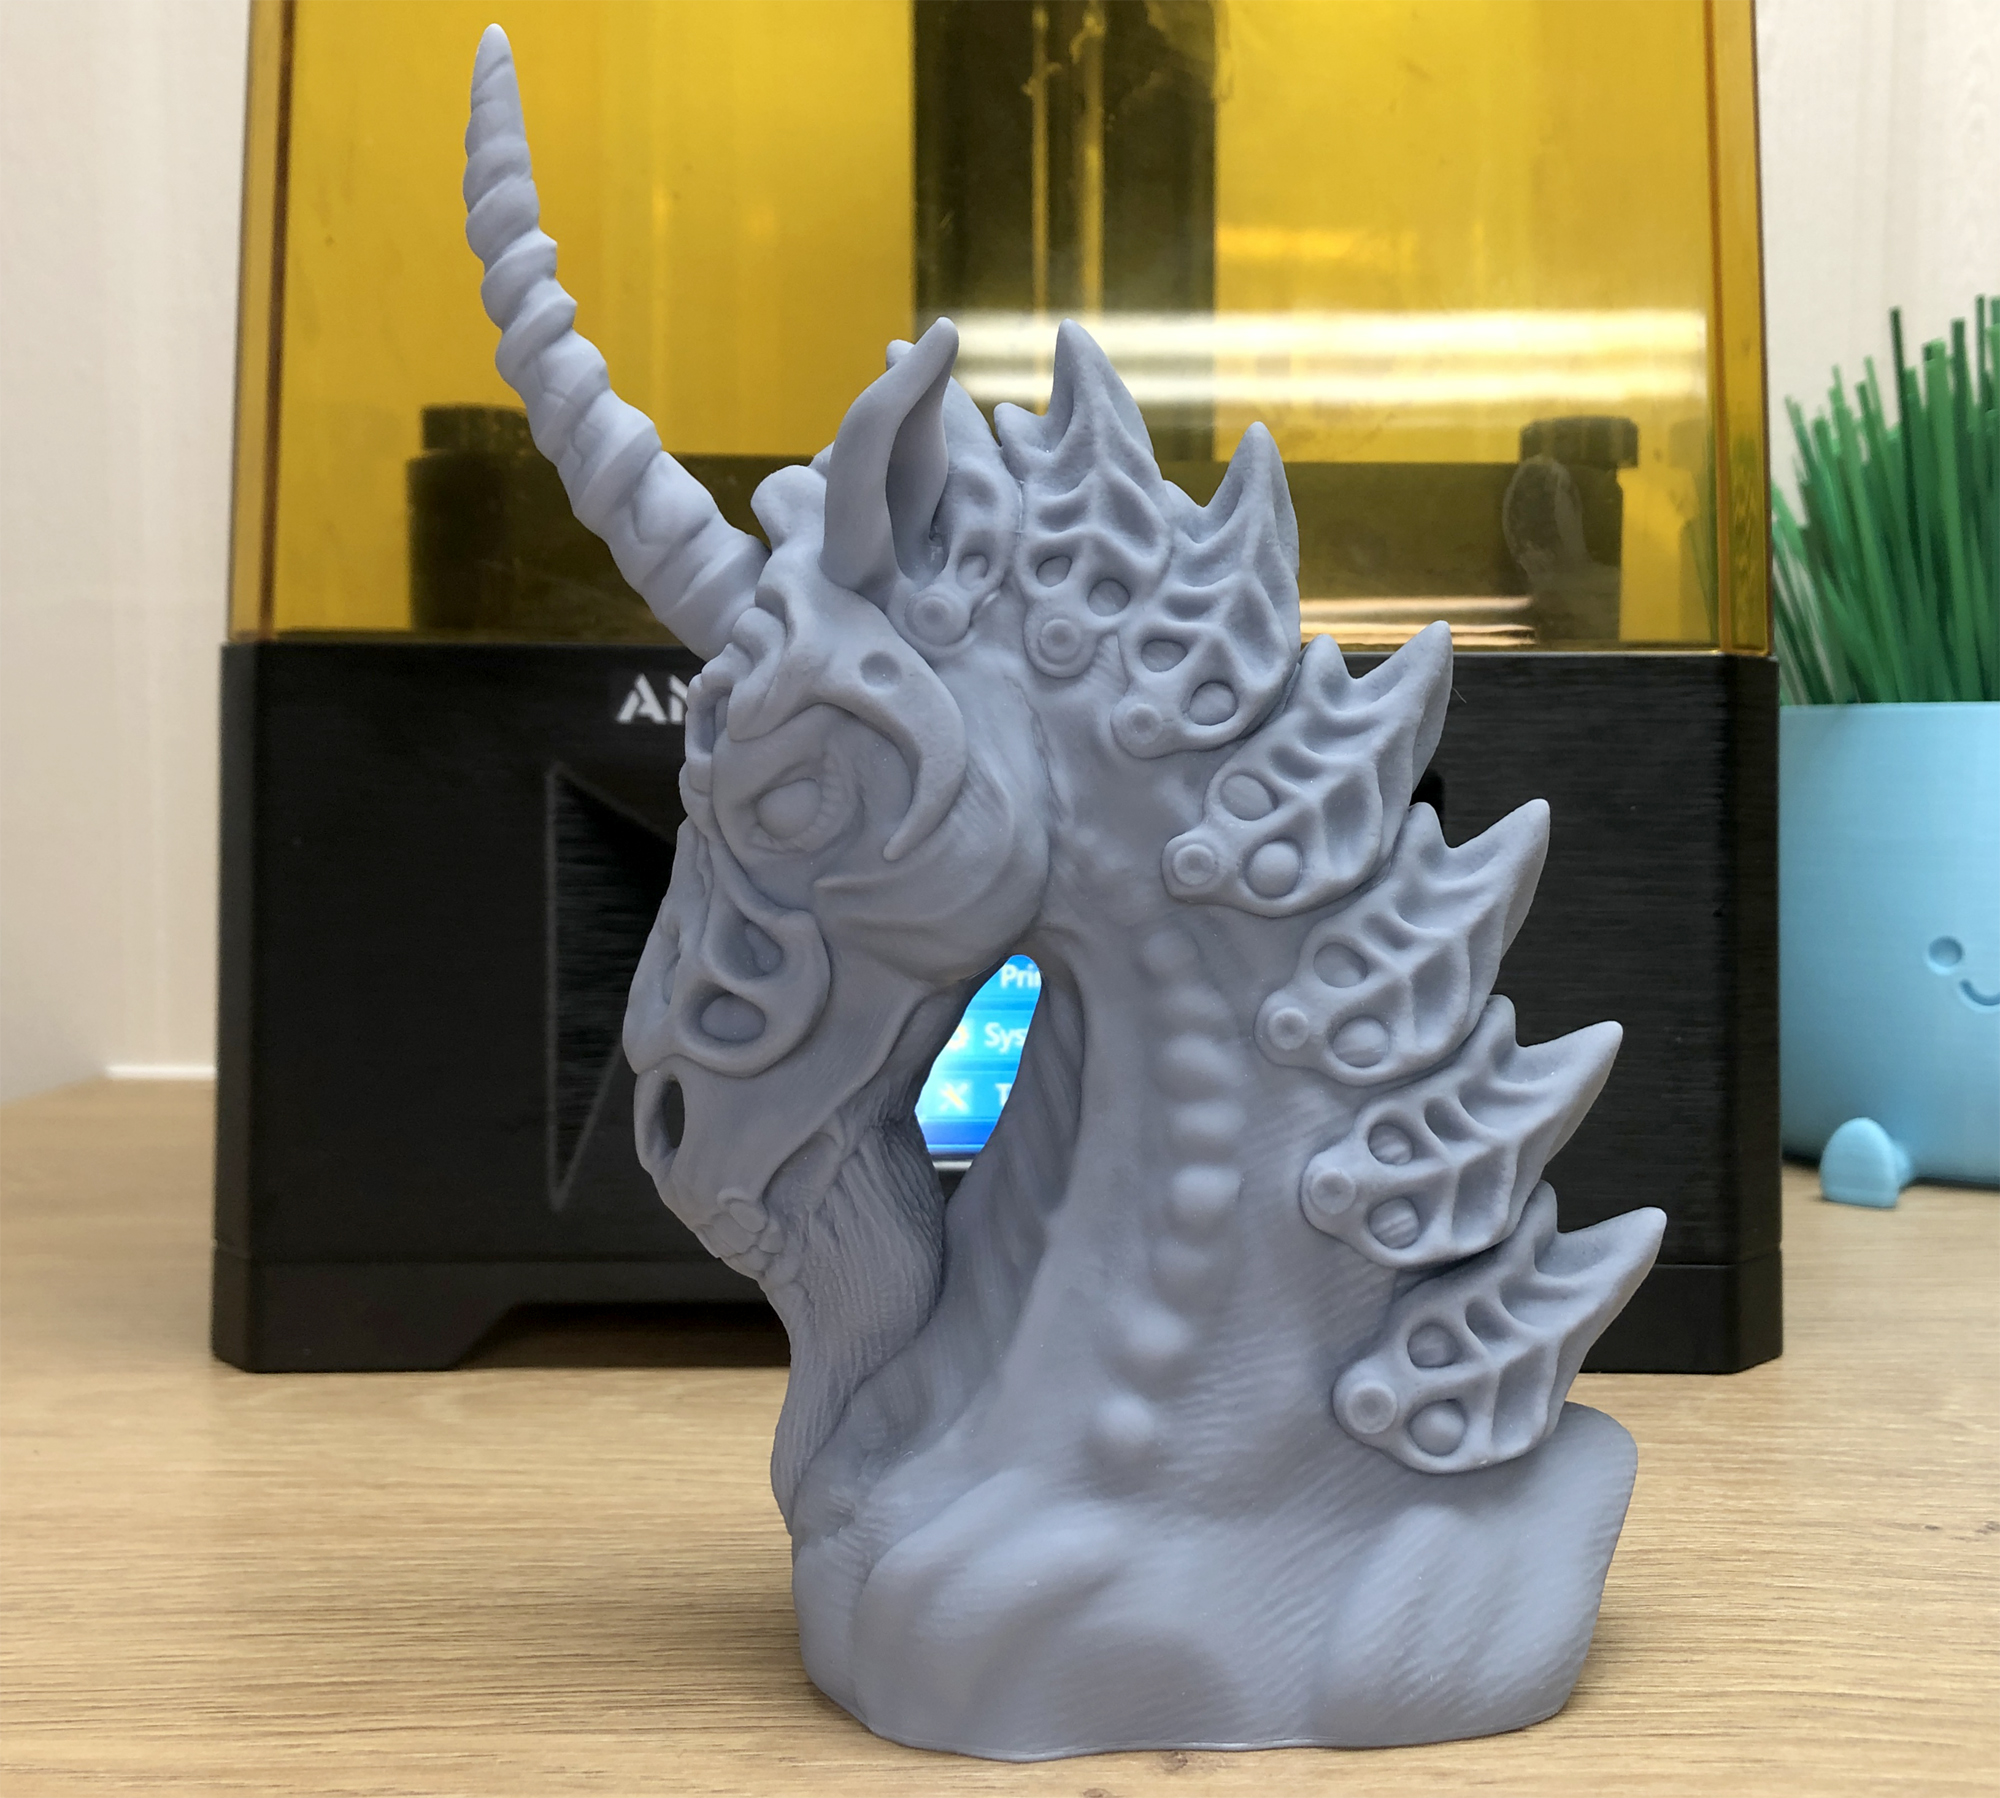
Here is Louise Driggers’s Unicorn of Darkness, printed in Anycubic’s gray Craftsman Resin. This is Anycubic’s high precision resin, great for sculptures and jewelry with fine detail. The print is 180mm tall, maxing out the vertical print area, and took 10 hours and 24 minutes to print at a 2 second per layer exposure.
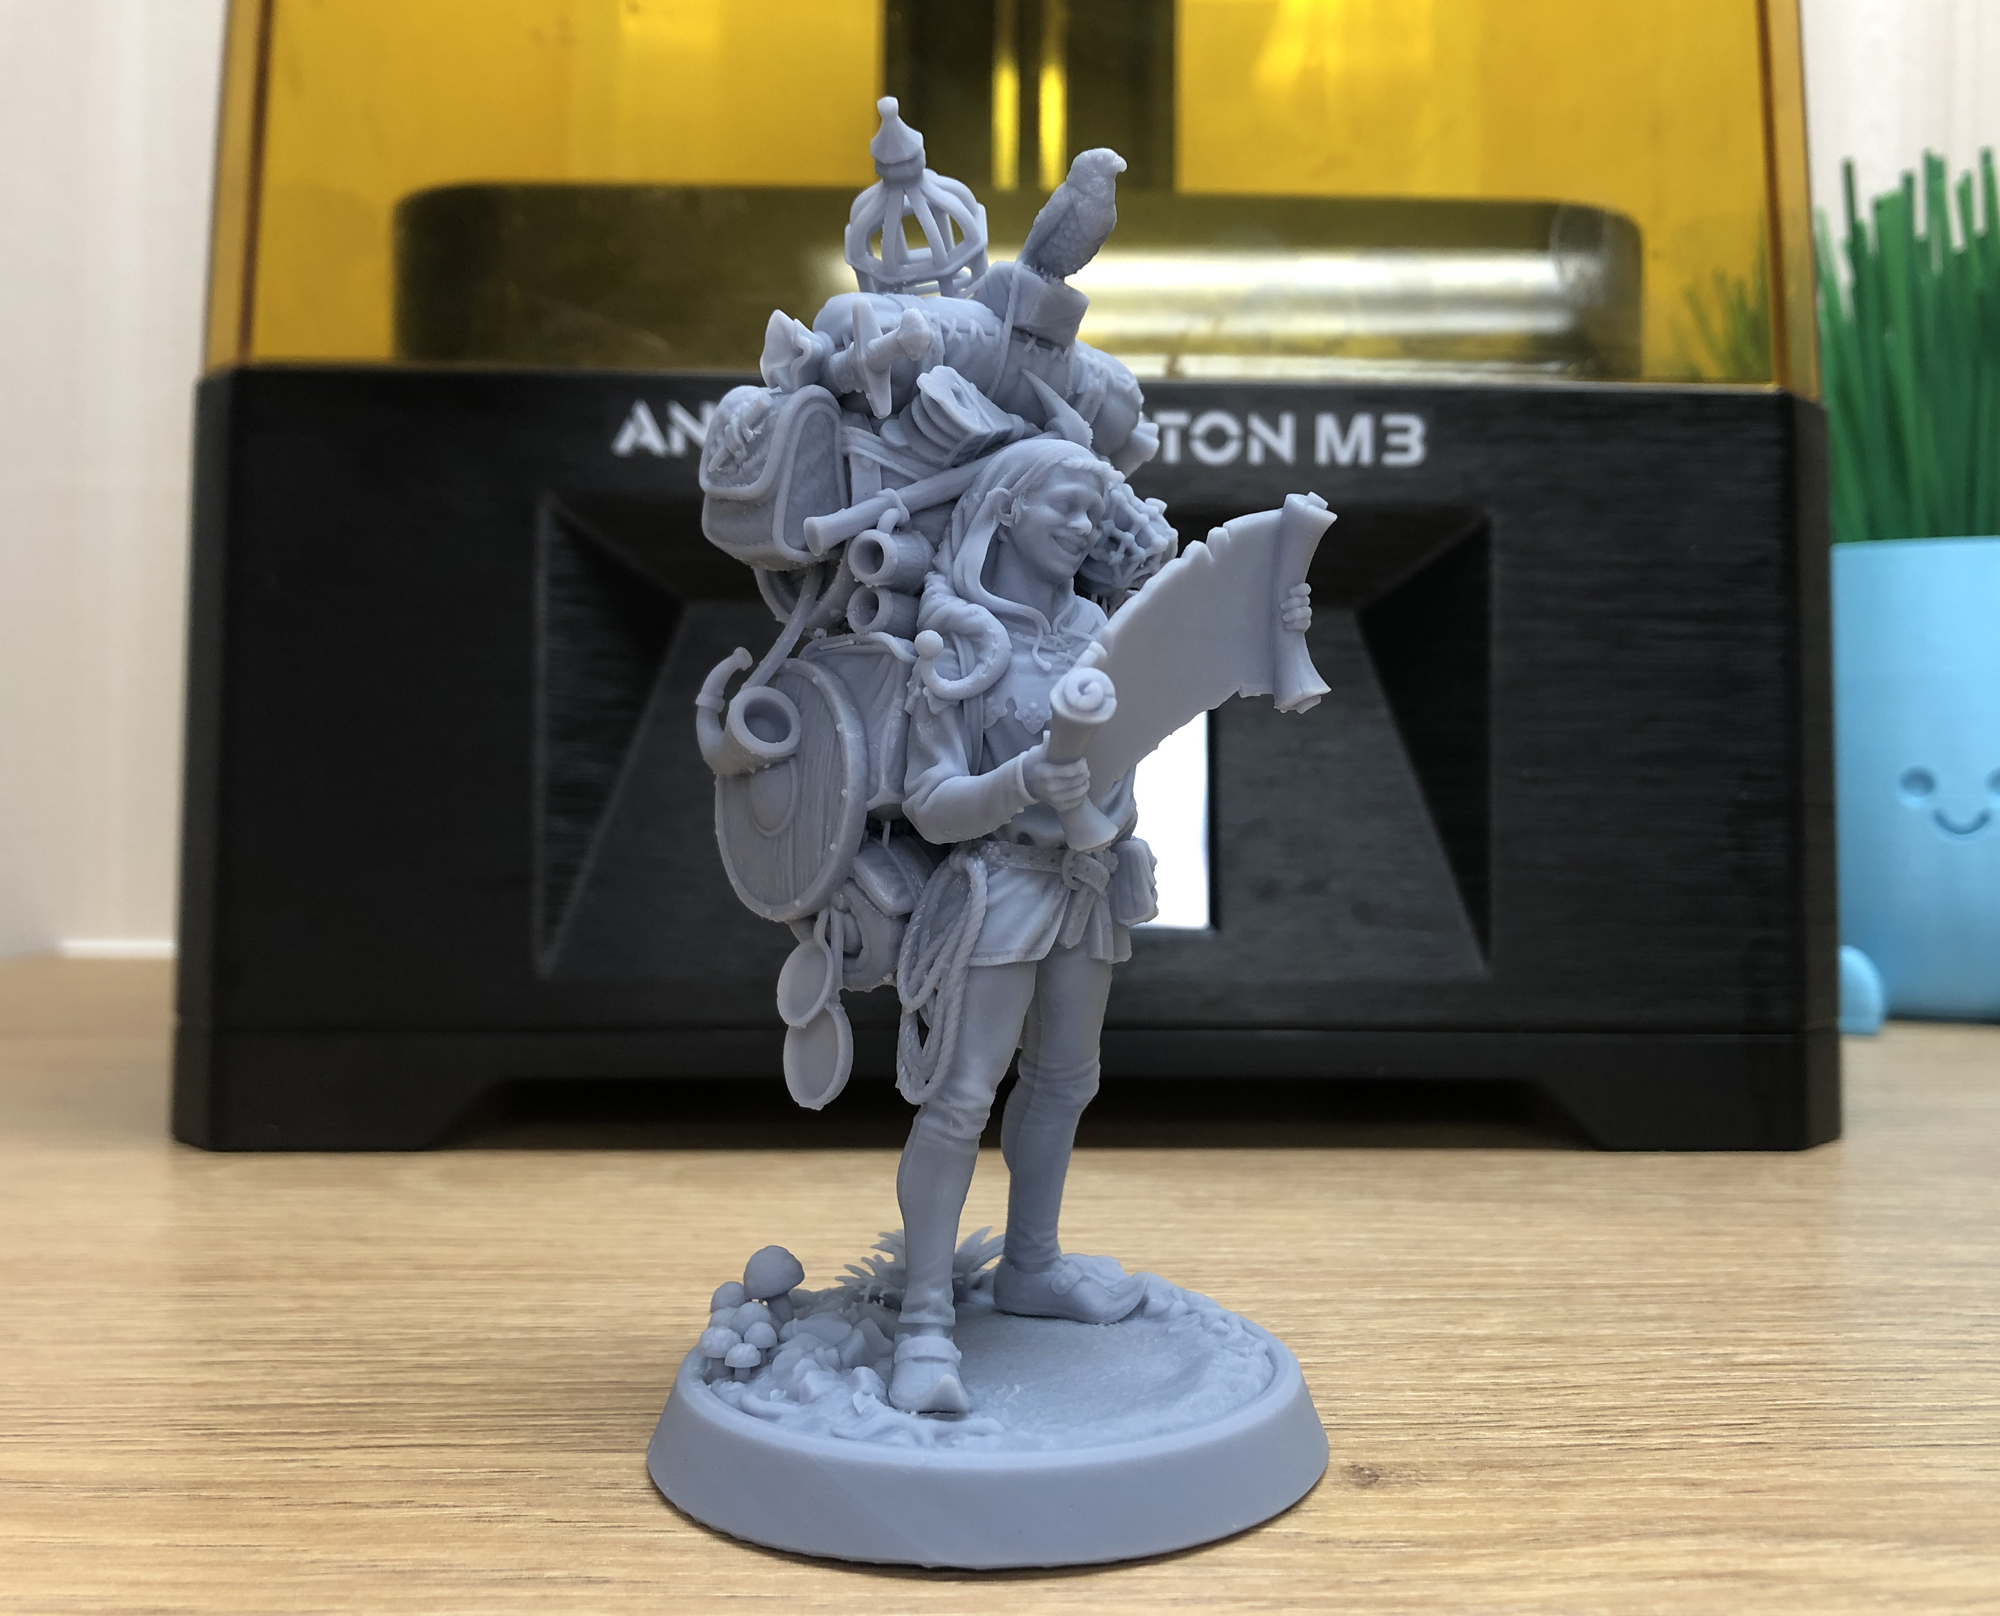
I was looking for a model with tons of fine detail, and I found it at Loot Studios. This is their free sample model, the Adventurer, which I also printed in Anycubic’s gray Craftsman Resin. Standing 75mm tall, this crazy model is packed with tiny details. This print took 6 hours and 29 minutes to print at a 2second-perlayer exposure.
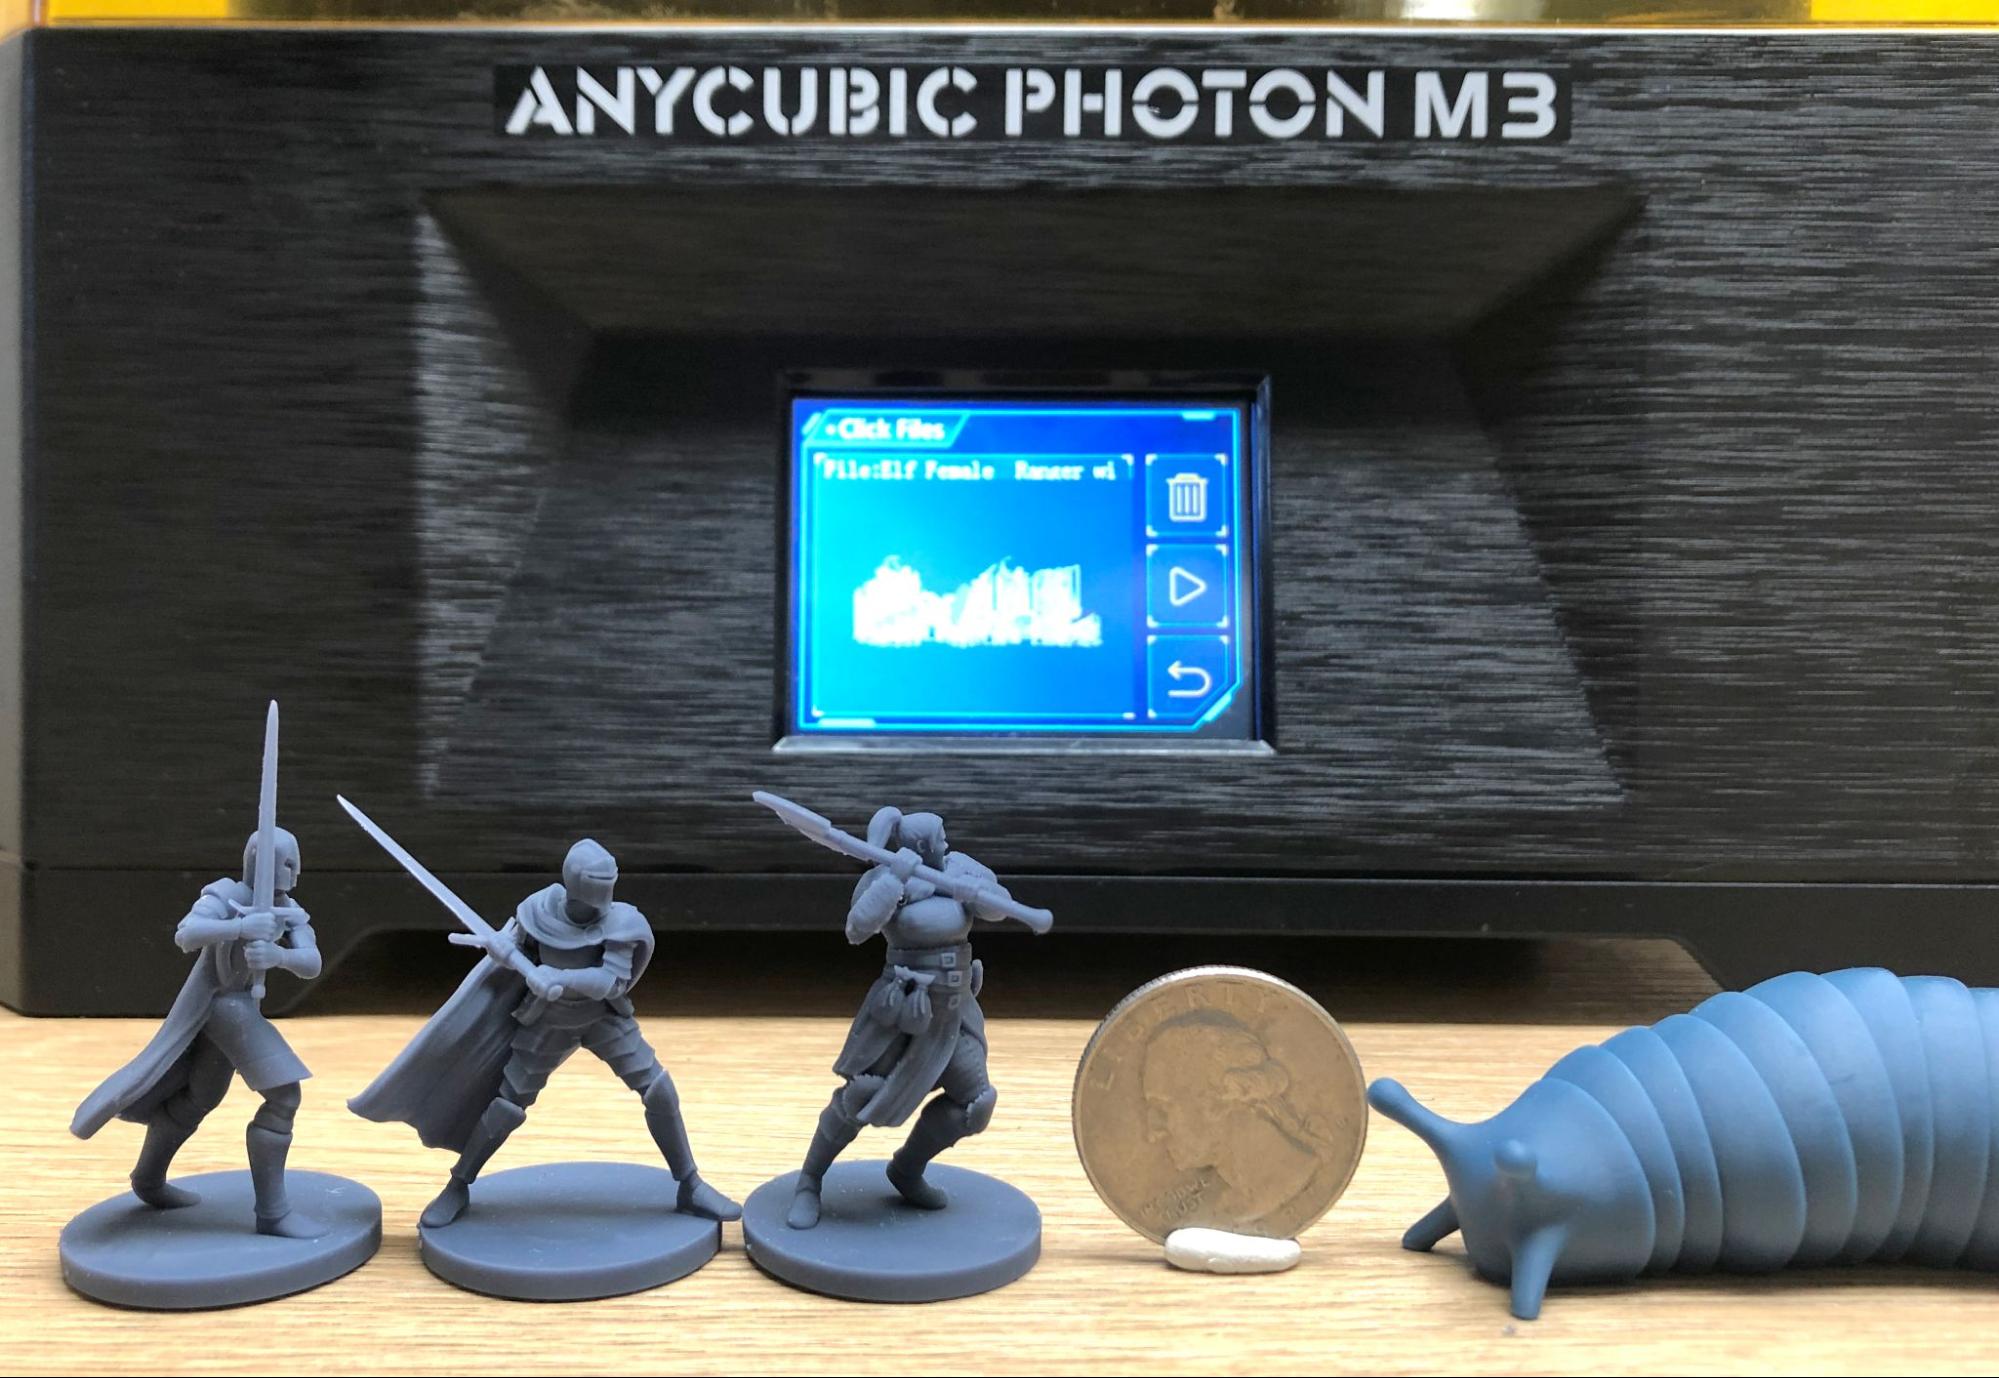
Finally, here are some D&D type miniatures I printed in Siraya Tech Fast, in Navy Grey. We have three Elf Rangers from MZ4250, available for free on Printables.com. They took 2 hours and 41 minutes to print at a 2 second per layer exposure. They are super detailed, right down to the knuckles on their hands.
The rangers are facing the famous Friendly Articulated Slug from _Isaiah_ on Thingiverse. The slug was printed at 100%, flat on the bed and took 1 hour and 21 minutes to print at a 2 second per layer exposure. He’s a little blue because I mixed Inland Water Washable blue resin with Siraya Tech Fast Navy. It was a little tricky getting all the resin rinsed and dried from his cavities, but the print wiggles just like it should.
Bottom Line
The Anycubic Photon M3 is a well-built resin printer with excellent, 4K print quality. Its smaller size makes it easy to handle while taking up less space on your workbench. It has the widest build plate of any hobby level resin printer, giving you more room for printing beefy models.
Priced at $299, the Anycubic Photon M3 is proof that high resolution resin printers are getting more attainable for the average maker. When I compared test prints from this machine and the $599 Phrozen Sonic Mini 8K, I was hard-pressed to tell the difference without breaking out a magnifying glass. The Anycubic Photon M3 has enough fine detail to make impressive gaming miniatures, art prints or Etsy shop wares.
I can’t really recommend Anycubic’s Photon Workshop to beginners, especially with Lychee Slicer and its Magic Supports available for free. But, if you buy the printer, you can always use this alternative software.
If you want to spend a bit less money on a machine that has an easier leveling system, full metal body and integrated air filter, but lower resolution check out the Elegoo Mars 2 Pro, which is one of our favorites. However, if you want high-quality resin prints at a very reasonable price, the Anycubic Photon M3 is hard to beat.

Denise Bertacchi is a Contributing Writer for Tom’s Hardware US, covering 3D printing. Denise has been crafting with PCs since she discovered Print Shop had clip art on her Apple IIe. She loves reviewing 3D printers because she can mix all her passions: printing, photography, and writing.
