Tom's Hardware Verdict
The Phrozen Sonic Mini 8K resin 3D printer offers amazing details and easy setup for a premium price.
Pros
- +
Highest resolution on the market
- +
Pre-built, unbox, calibrate and go
- +
Prints adhere with a passion
Cons
- -
Twice the price as competitors with a similar build volume
- -
Build plate difficult to clean
Why you can trust Tom's Hardware
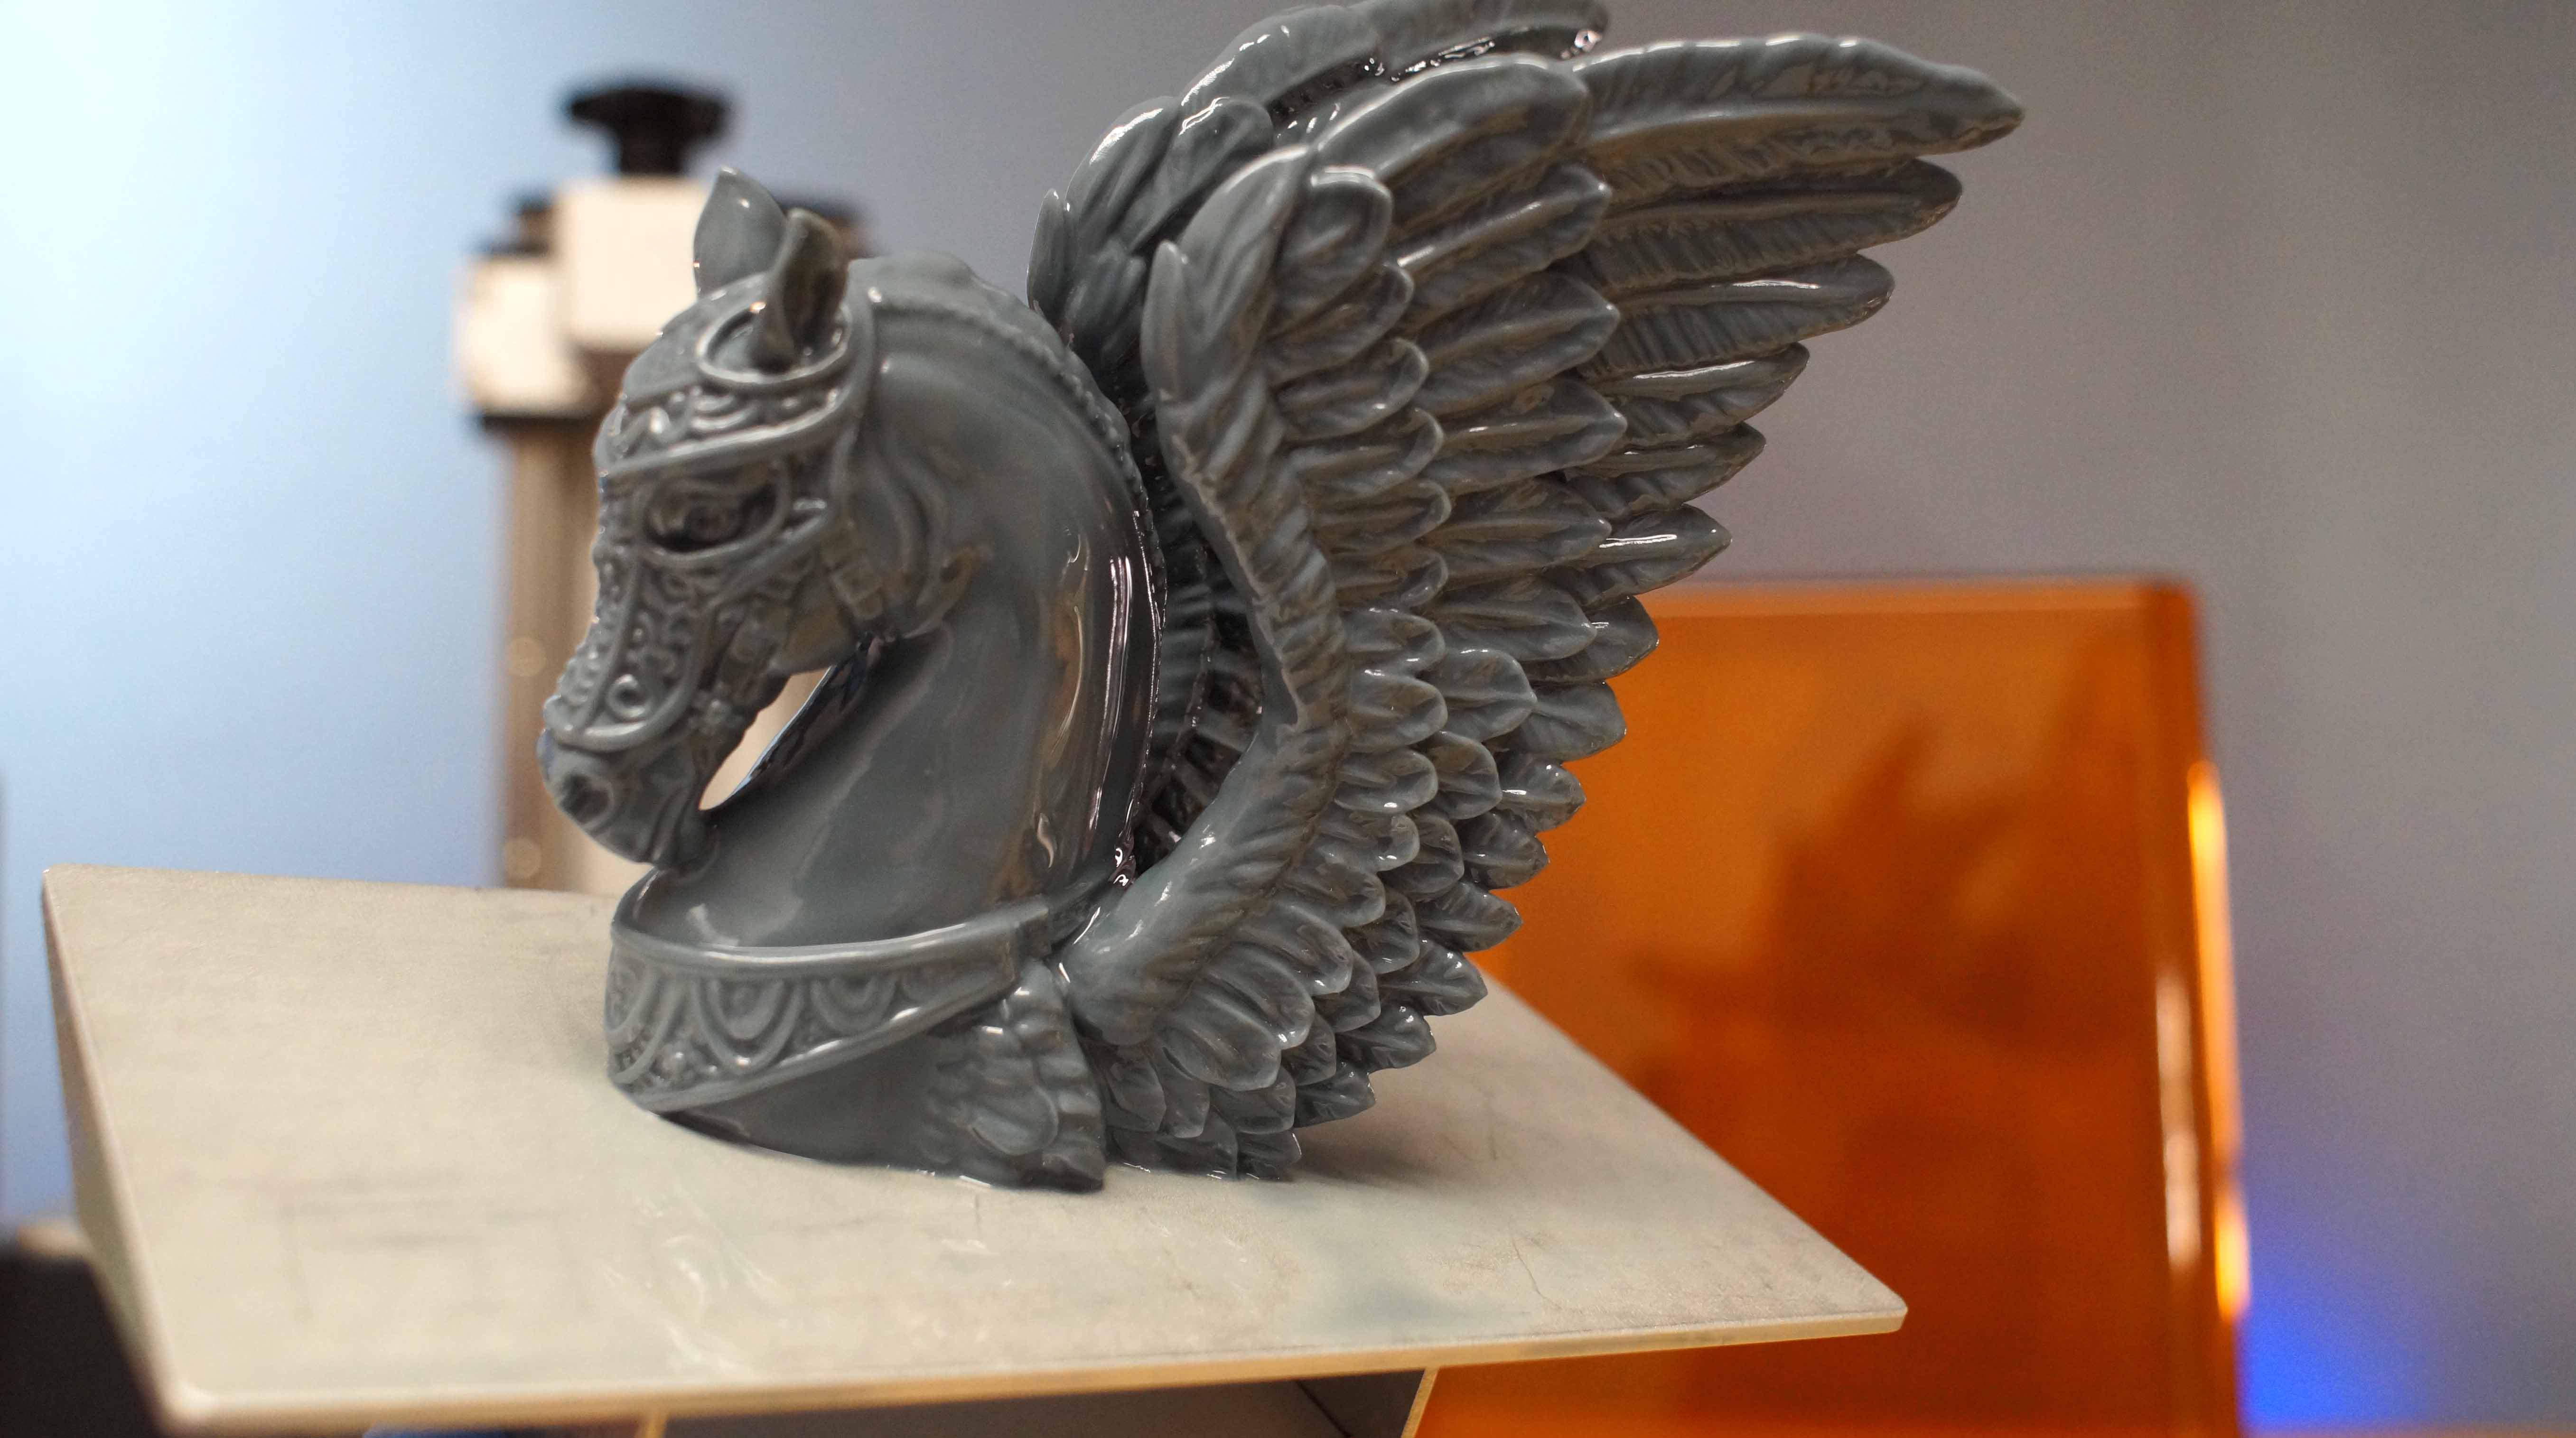
The best resin 3D printers can deliver more fine detail than their filament-powered competitors, but even amongst SLA printers, Phrozen’s Sonic Mini 8K stands out. The Sonic Mini 8K has 7500 X 3240 pixels on its LCD module, more than any competitor on the market, allowing it to create some of the most intricate models we’ve ever seen, especially if you use the company’s own 8K resin. By contrast, the top-rated Prusa SL1S only has 2560 x 1620 pixels on its LCD and Phrozen’s own Sonic Mini 4K, another leading resin 3D printer, has 3840 x 2160.
The Sonic Mini 8K not only provides great output, but also comes prebuilt and is easy to calibrate, providing a great out-of-the-box experience. However, at $599, you’re paying double the price of lower-res competitors with similar build volumes so you need to really want the better output quality to justify the price.
Specifications - Phrozen Sonic Mini 8K
| Machine Footprint | 11.4" x 11.4" x 16.5" ( 29cm x 29cm x 42cm) |
| Build Volume | 6.5" x 2.8" x 7" (16.5cm x 7.2cm x 18cm) |
| Resin | DLP Photopolymer Resin |
| UV Light | Linear Projection LED Module |
| Masking LCD Resolution | 7500 x 3240 |
| Masking LCD Size | 7.1" |
| Screen | 3.5" Touch Screen |
| XY Axis Resolution | 0.022 |
Included in the Box: Phrozen Sonic Mini 8K
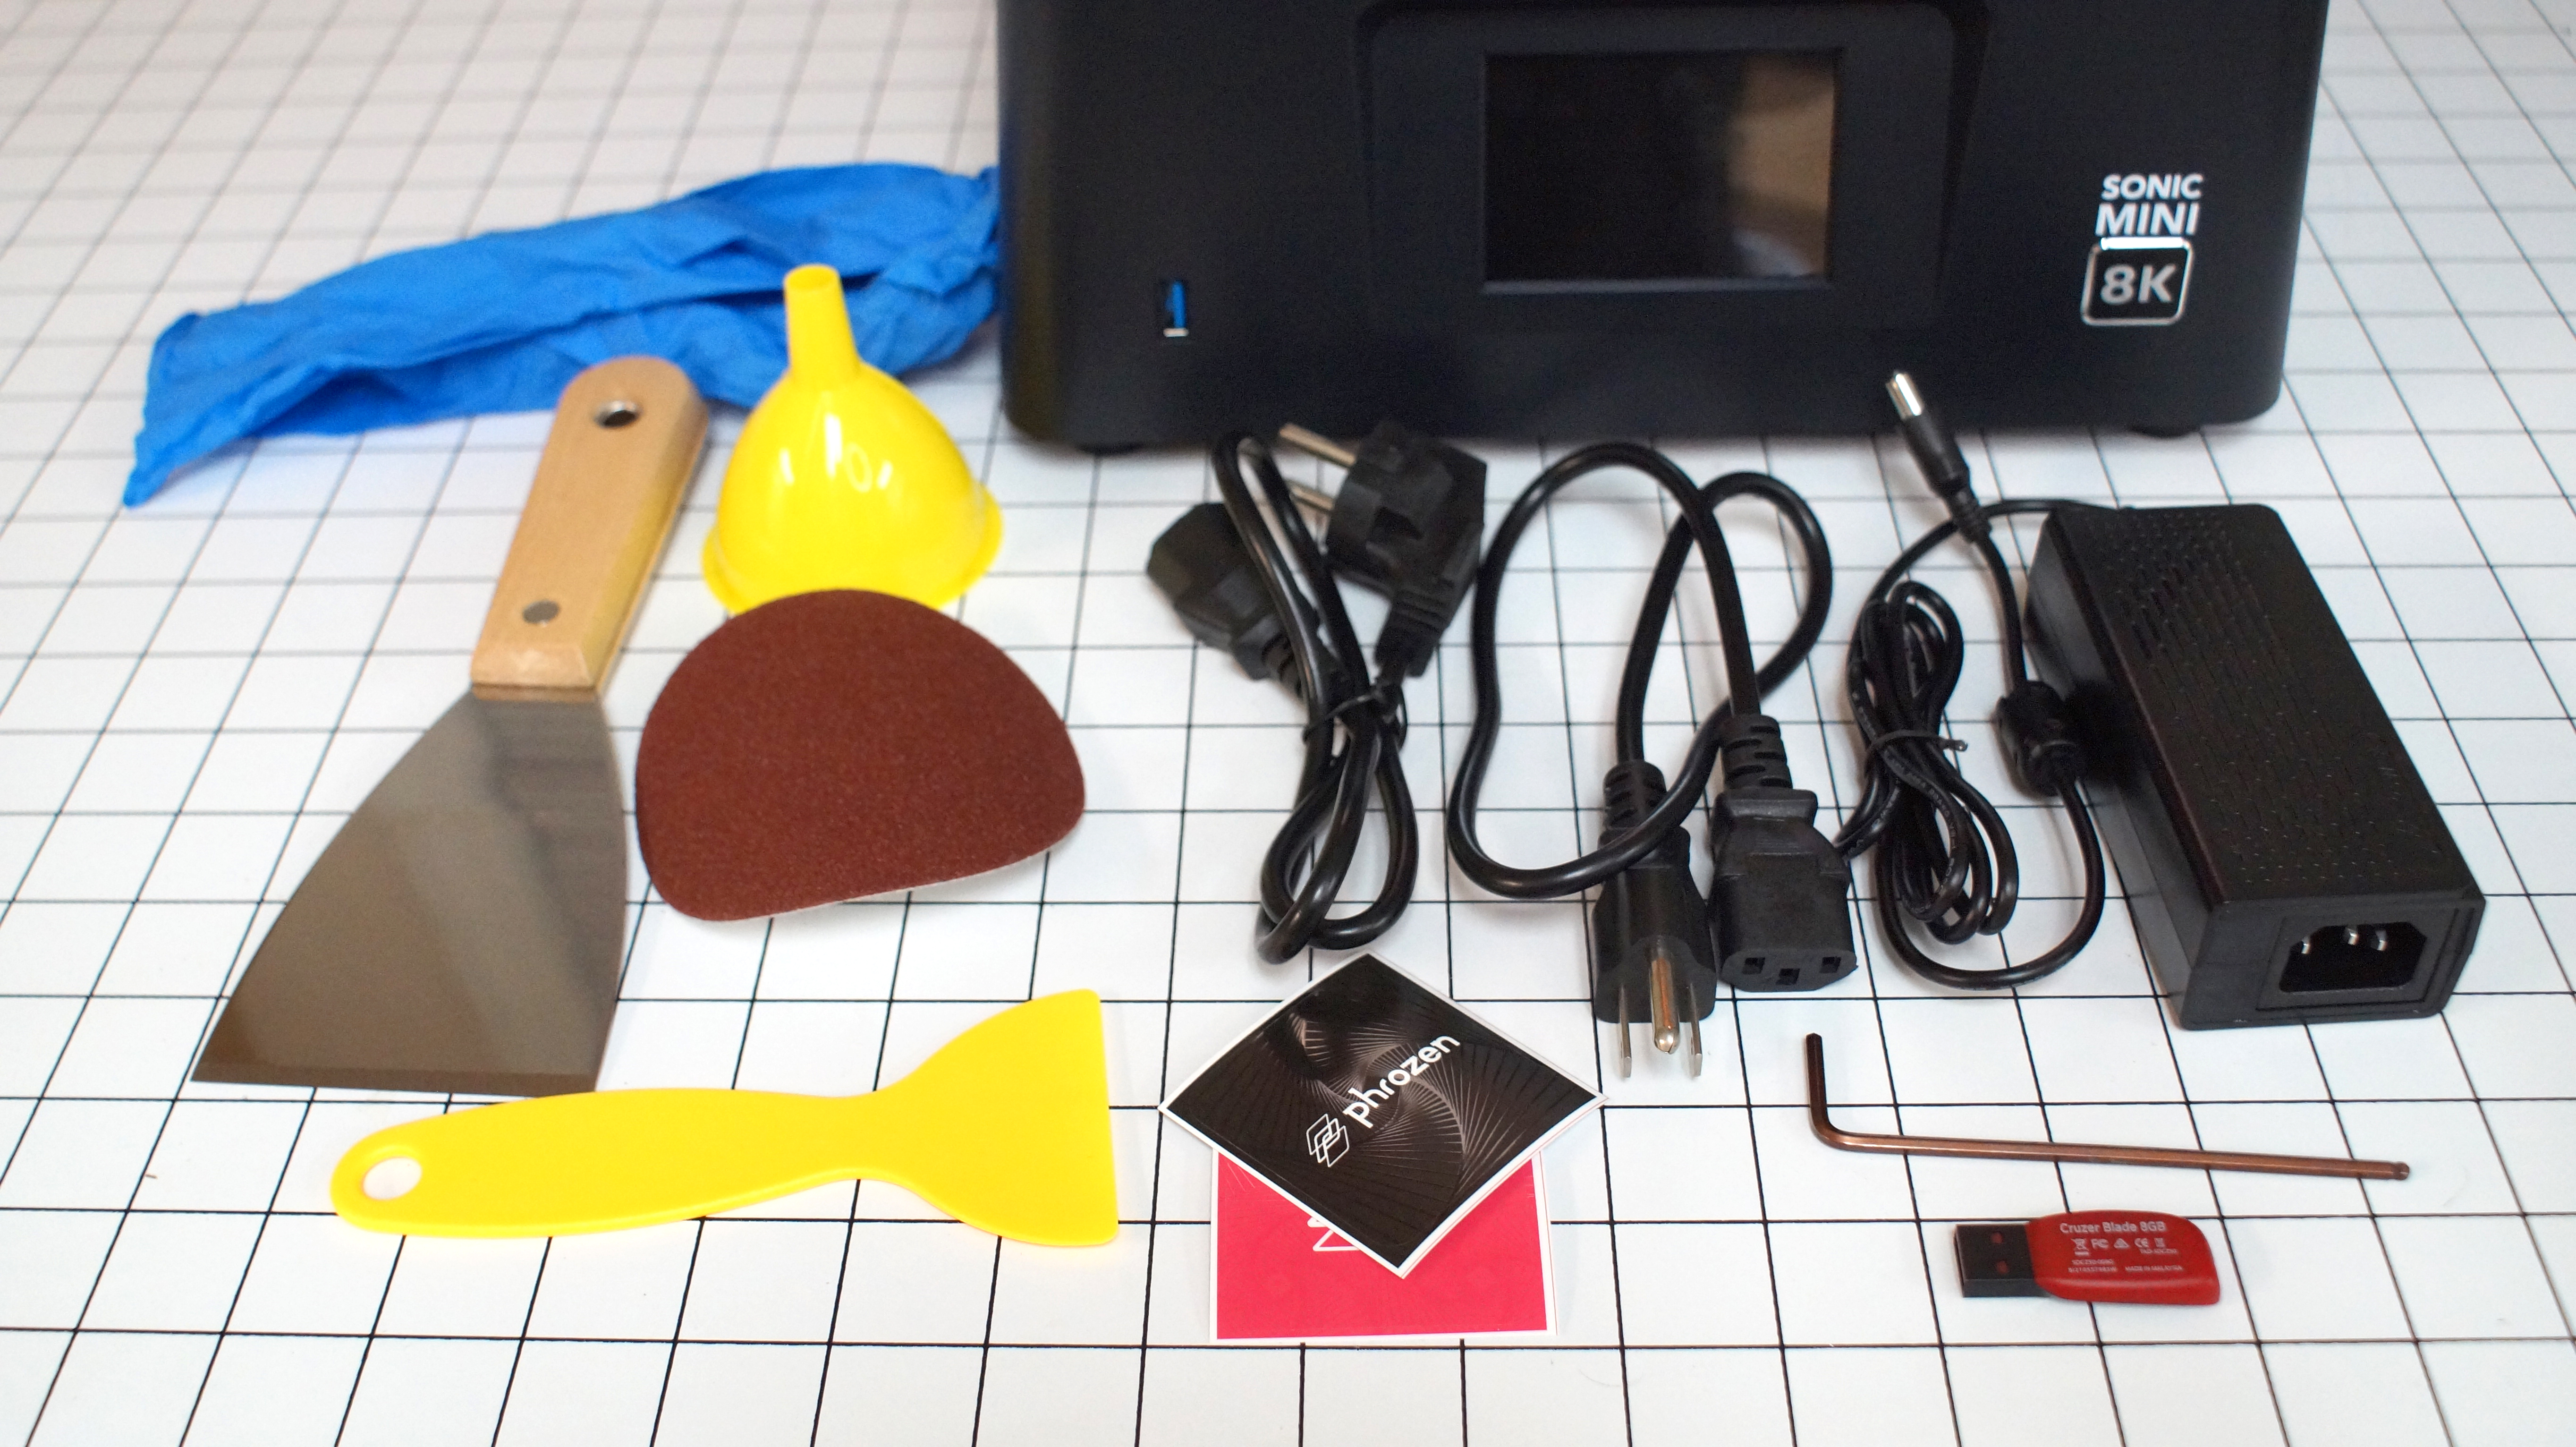
The Phrozen Sonic Mini 8K includes everything you need to get started as soon as you unbox the printer. You get a sturdy logo-engraved metal scraper for the build plate, a cheap plastic scraper for the FEP film, a funnel, disposable gloves, an Allen key, and both North American and European adapters for the power cord. 80 grit Sandpaper is also included to freshen up the build plate.
Also in the box is an 8GB USB thumb drive preloaded with ChituBox Basic 1.9.0 slicer software, a profile for the Mini Sonic 8K, a Quick Start Guide, and two pre-sliced test prints. A paper Quick Start Guide is also included in the kit.
Links to a series of video tutorials appear on the USB drive and in the form of QR codes. At the time of this review, the videos are only for the Sonic Mini 4K.
Printing Safety with Phrozen Sonic Mini 8K
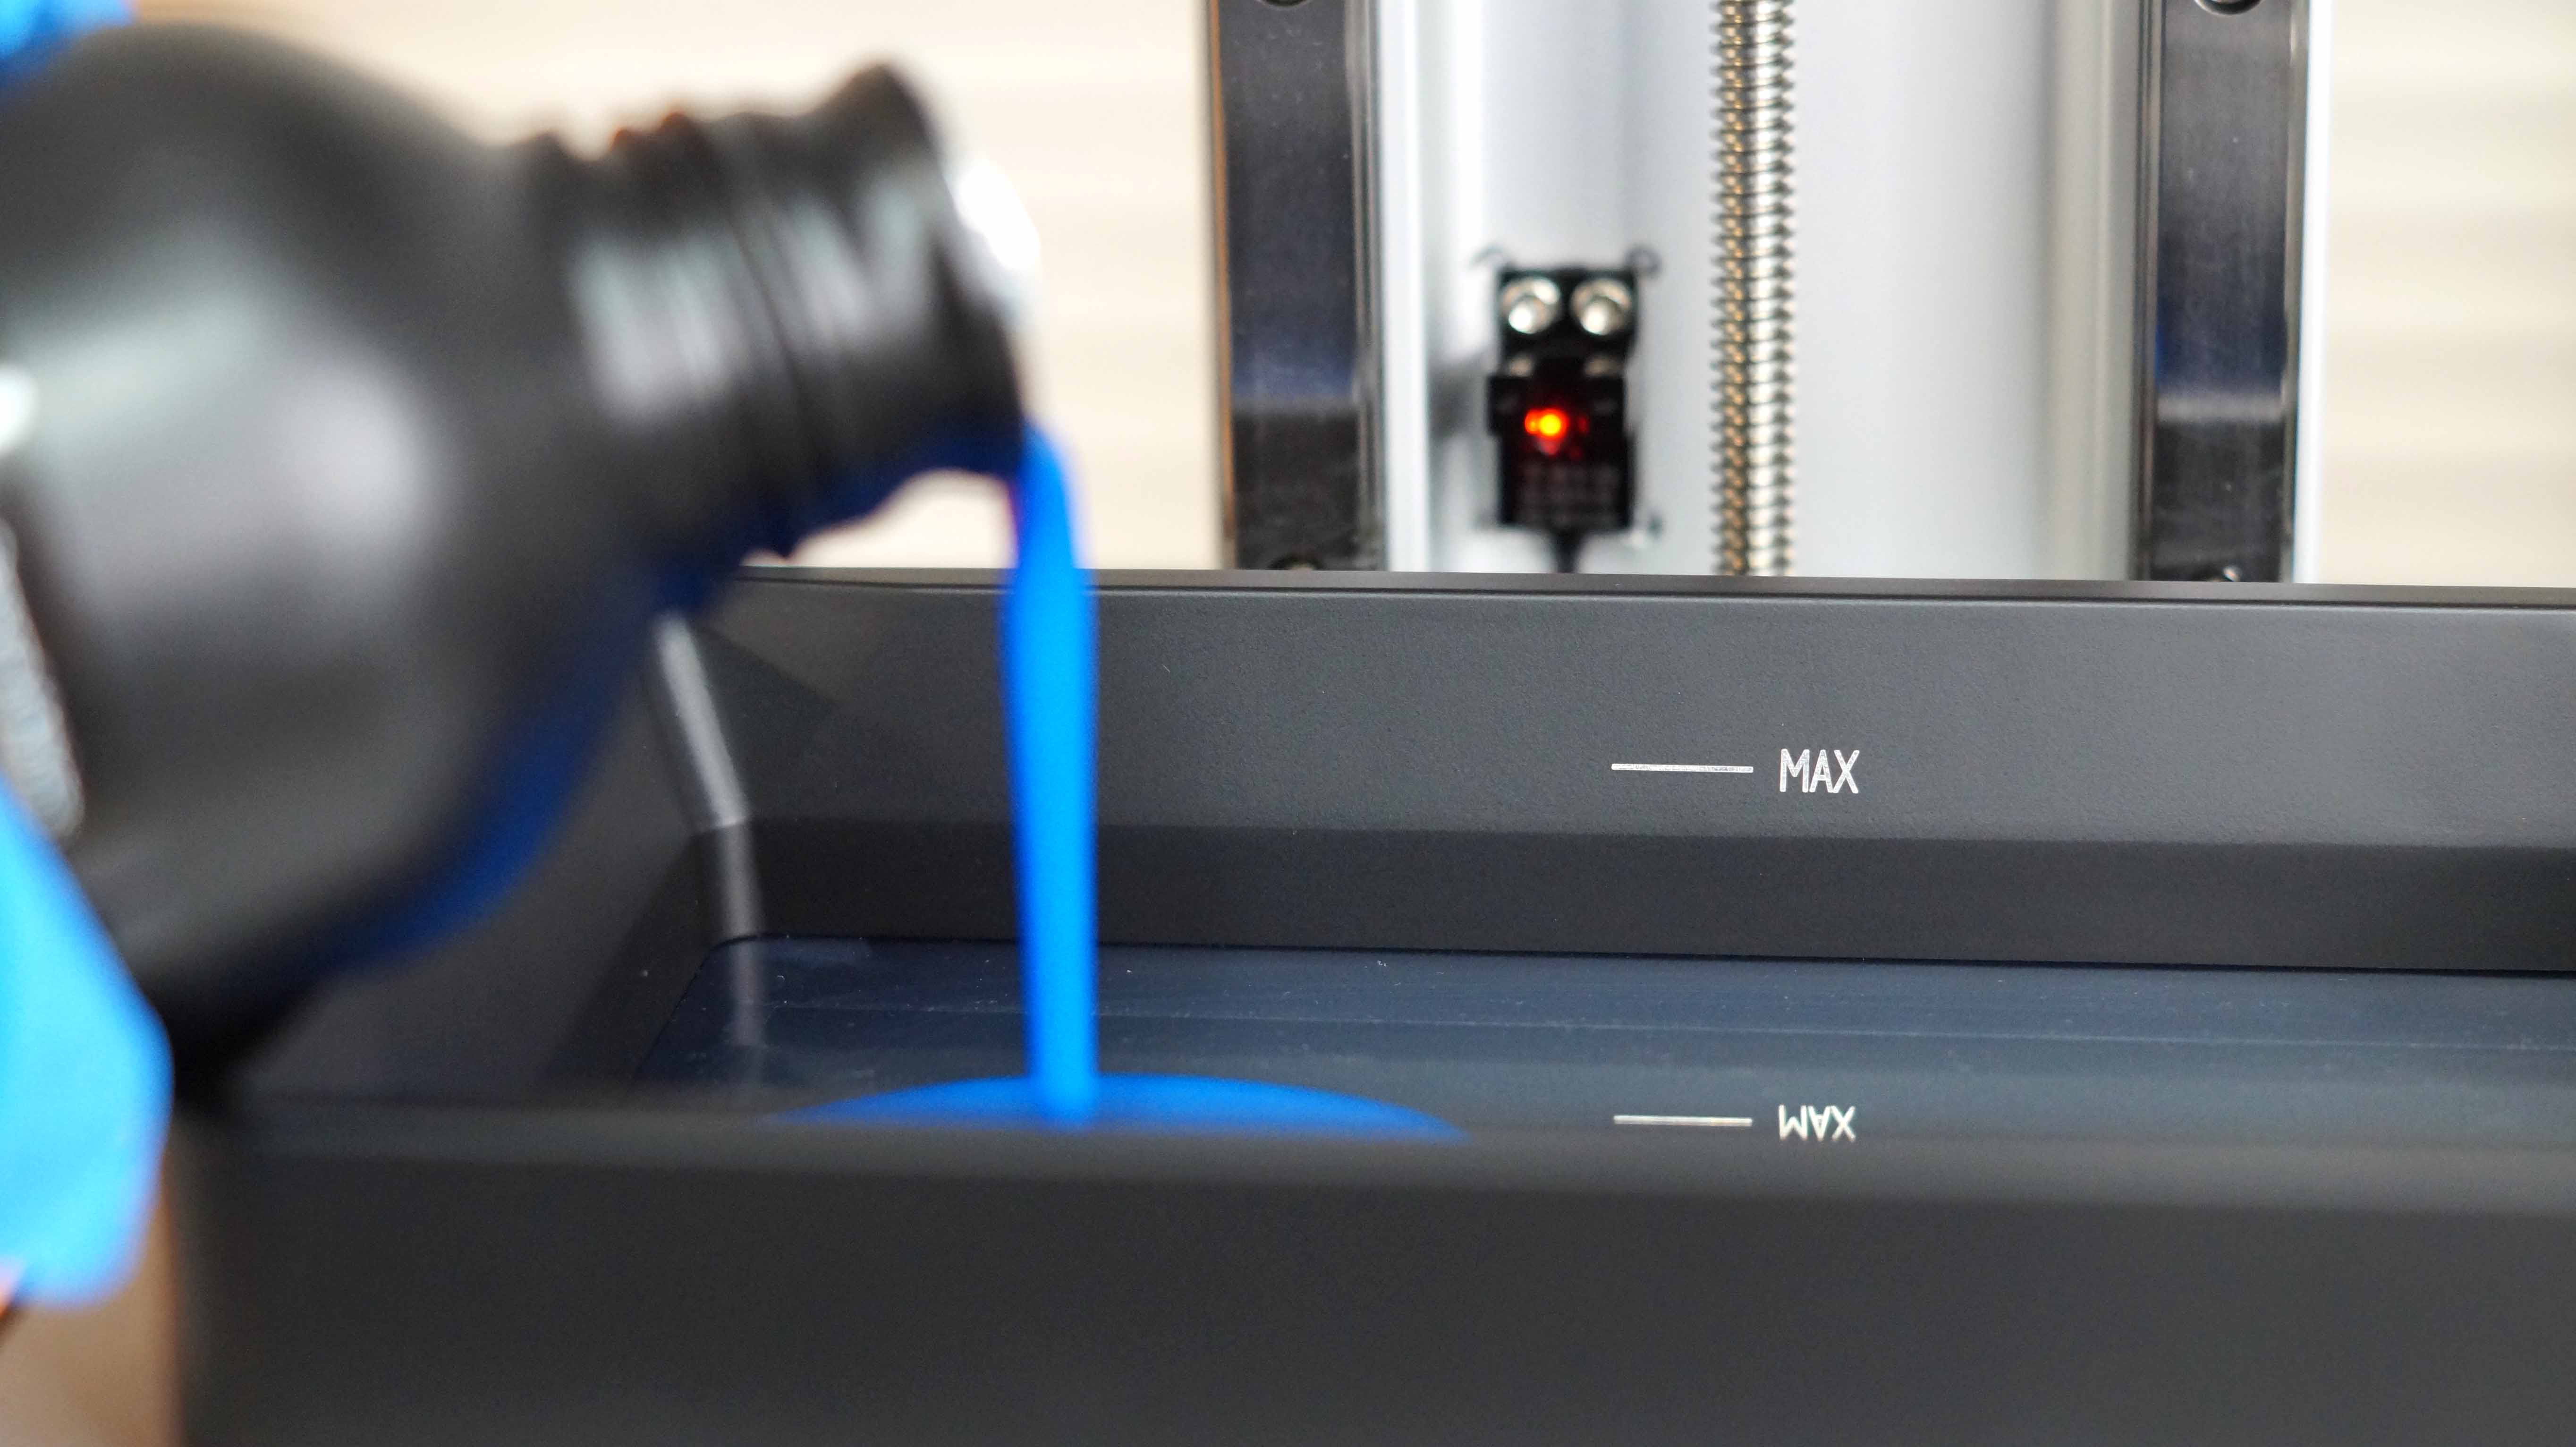
The Phrozen Sonic Mini 8K requires the same safety precautions as other resin printers. Uncured resin is dangerous and the solvents used to clean your prints can be irritating to the skin. Use gloves and safety glasses when pouring resin and handling uncured prints.
Make sure the room you use your resin printer is well-ventilated to avoid inhaling fumes. Spilled or dripped resin should be immediately cleaned with 99% isopropyl alcohol. After printing, make sure to wipe down your printer and bottles to remove smudges of uncured resin. Always keep your resin tightly sealed and safely stored out of reach of pets and children.
Get Tom's Hardware's best news and in-depth reviews, straight to your inbox.
Assembling the Phrozen Sonic Mini 8K
The printer comes fully assembled with both vat and build plate screwed into place. Once the abundant packing material was removed, it was ready to plug in and calibrate.
Calibrating the Build Plate on the Phrozen Sonic Mini 8K
Like all 3D printers, the Sonic Mini 8K requires calibration before its first print. Leveling the build plate is fairly straightforward and only takes a few pieces of paper and the provided Allen wrench.
There is very little play in the build plate and I was able to level it on the first go. Note: the directions recommend a single sheet of paper, but I found that using 3 or 4 sheets and a gentle touch results in a bed that is level without squished first layers.
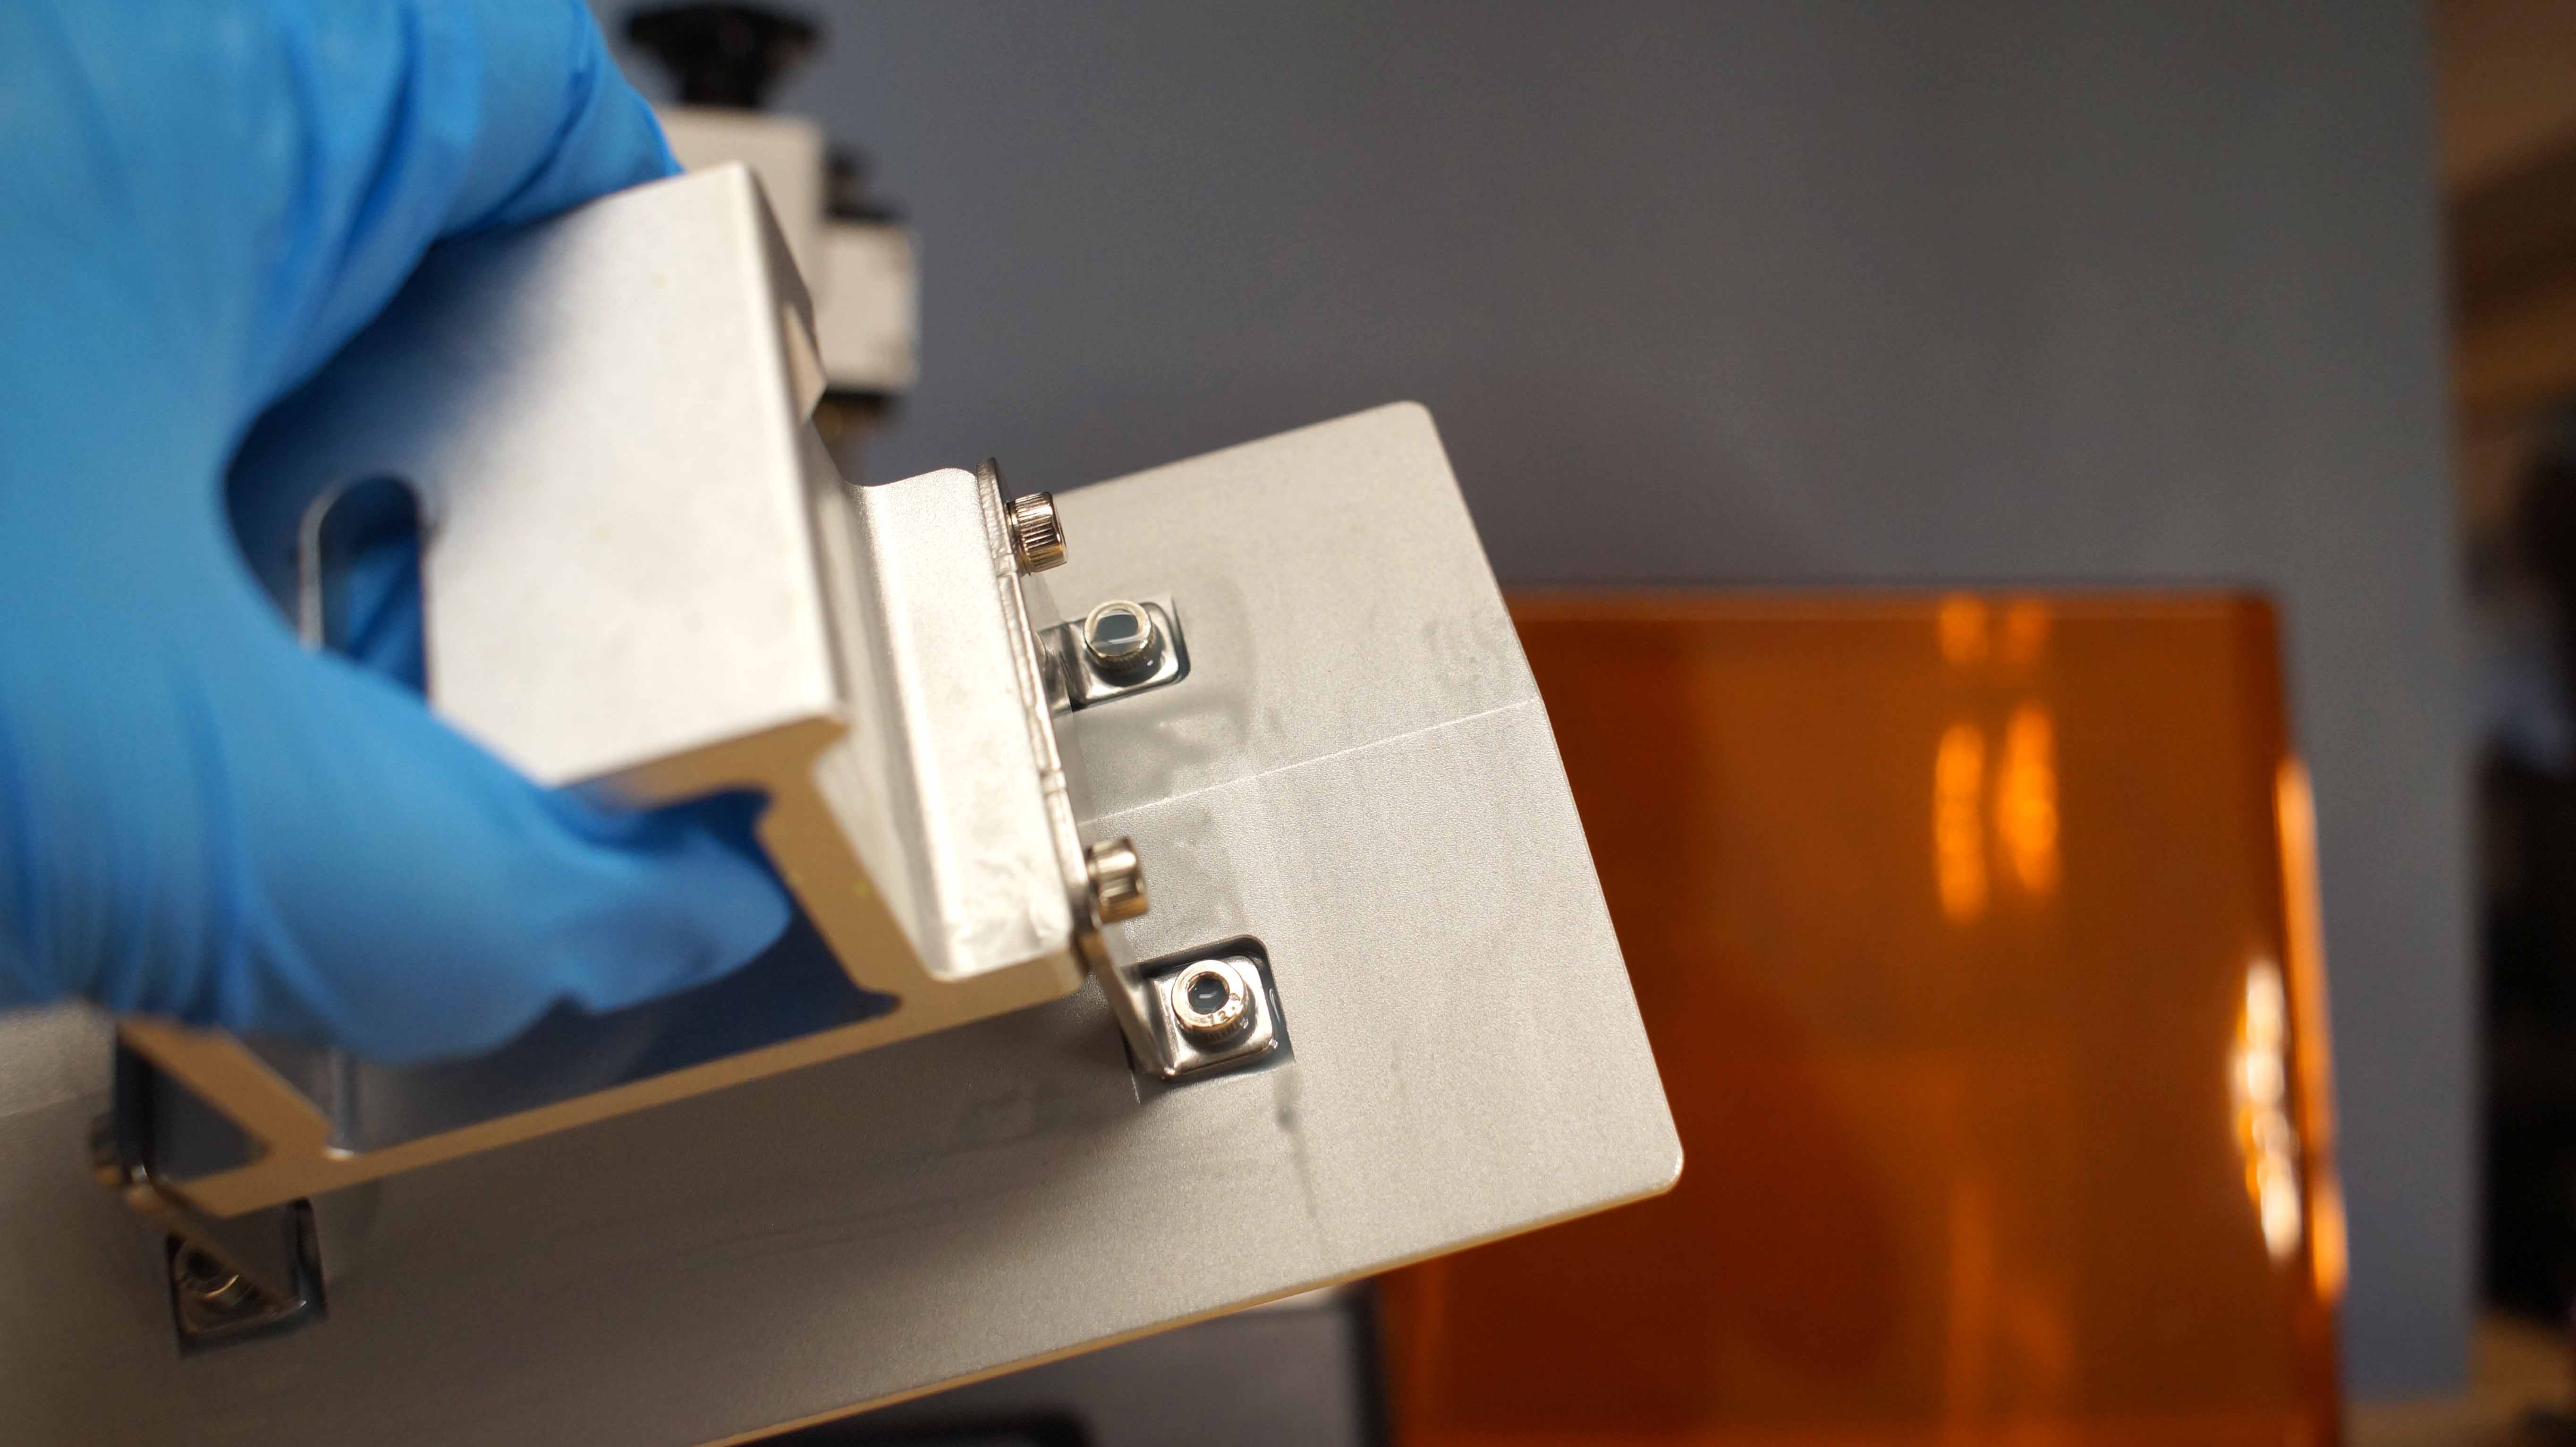
To level the machine, remove the vat and then place three pieces of paper on the LCD screen. Loosen the four adjustment screws on the sides (not the top!) of the build plate. The build plate should wiggle freely.
Press Tools, then Z Calib on the touch screen and wait for the plate to lower to the LCD screen.
There’s no need to hold down the build plate – it’s quite heavy enough. Tighten the screws with the Allen wrench, working in a crisscross pattern. The paper should be snug when you’re done.
In addition, you should wipe down the Z axis and apply a general lubrication with a paper towel to insure a smooth run.
Design of Phrozen Sonic Mini 8K
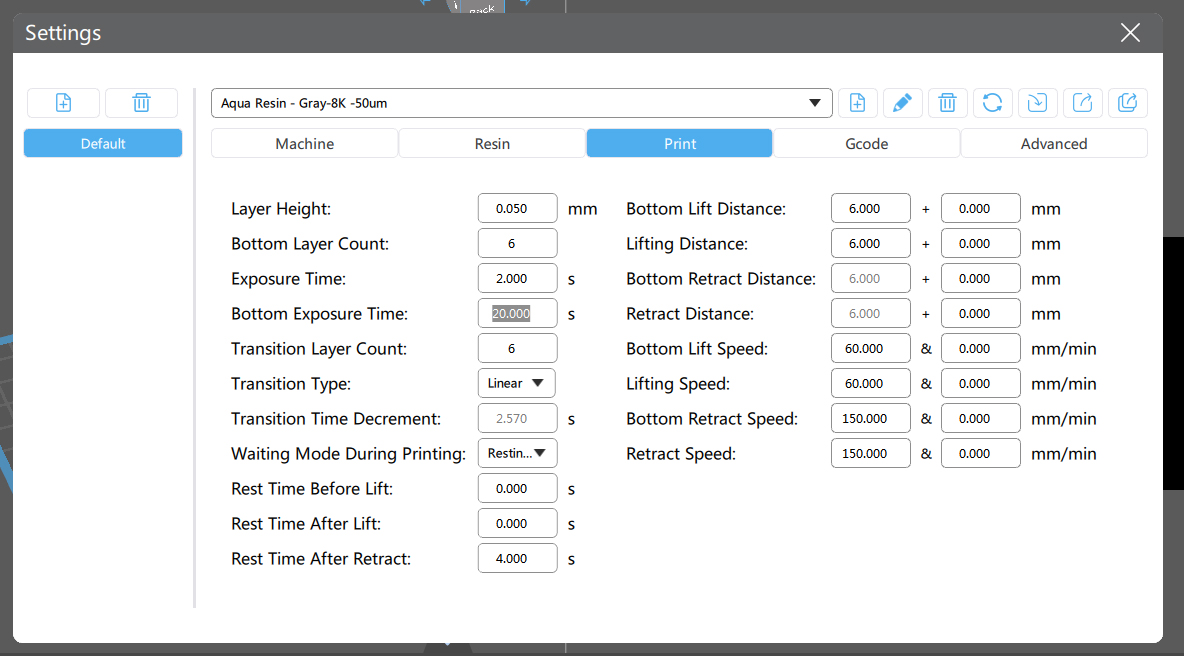
The Phrozen Sonic Mini 8K is no lightweight, tipping the scales at 22 pounds thanks to its mostly-metal construction. It has a sturdy build plate, metal vat and dual rails for a rock solid Z axis. The build plate is laser etched for extra grabbing power – a little too much if you’re not careful. I had to dial back the suggested Bottom Exposure Time, otherwise a hammer was needed to chisel models off the plate.
The plastic cover looks much like other desktop resin printers. It does a fine job of shielding the resin and your model from ambient sunlight and unwanted UV radiation. The cover isn’t sealed, so you’ll still smell the resin while in use. The cover is impossible to keep clean and once a smudge goes unnoticed, it will get cured and become a permanent part of the decor. Handles would be a nice addition.
The top of the build plate is nicely angled and allows nearly all the resin to drip back into the vat when the print is finished.
One flaw in the Phrozen Sonic Mini 8K’s design is the presence of recessed screws on the top of the build plate. This area collects resin every time the plate is dunked and is difficult to clean when changing materials. I had to put the plate in a large tub and use a syringe of isopropyl alcohol to flush the crevices clean.
Slicers Compatible with the Phrozen Sonic Mini 8K
The Phrozen Sonic Mini 8K is out of the box compatible with the most recent versions of both ChituBox and Lychee Slicer. Our printer came with ChituBox Basic 1.9.0 and a separate printer profile to download. Version 1.9.1, which includes the Phrozen Sonic Mini 8K profile, was released after our testing was completed.
Printing Workflow on the Phrozen Sonic Mini 8K
Slicing software for resin 3D printers give you the ability to add supports, hollow your model and add drain holes – which is much needed to save on expensive resin. I used ChituBox for this review. Phrozen has a good slicer tutorial in its help center for customers new to resin printing.
Please Note: I had to lower the Bottom Exposure Time to 20 seconds, as the prints were impossible to remove from the plate without breaking at Phrozen’s recommended time of 40 seconds.
You will want to run your own exposure tests to find the best settings for your printer setup as brand and type of resin, plus room temperature are all variables. Phrozen includes an exposure test .STL file on the USB thumb drive.
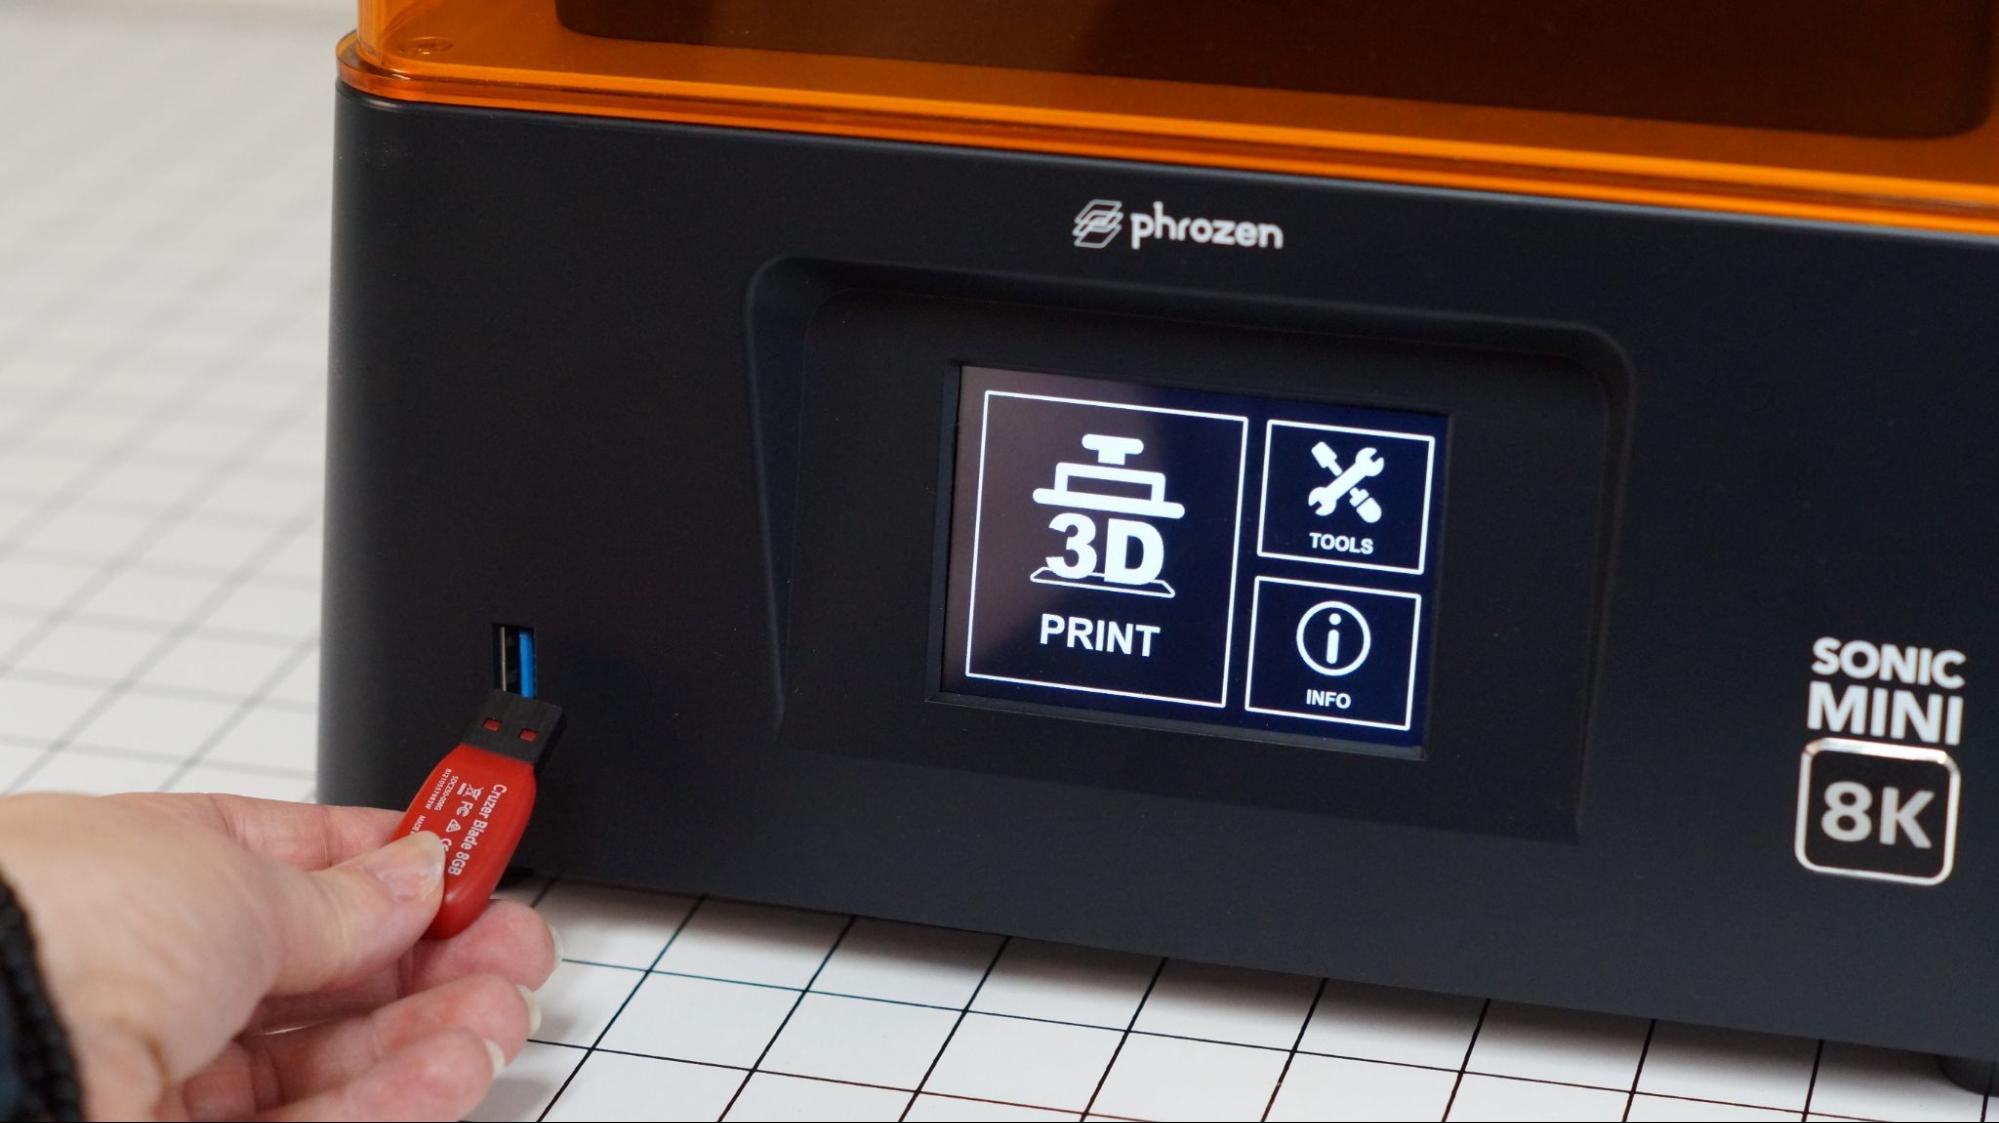
Once sliced, CTB files can be loaded on the provided USB thumb drive and plugged into the slot on the front of the machine. Touch the Print button, select your file, then press go.
Phrozen Aqua Gray 8K Resin and Sample Prints
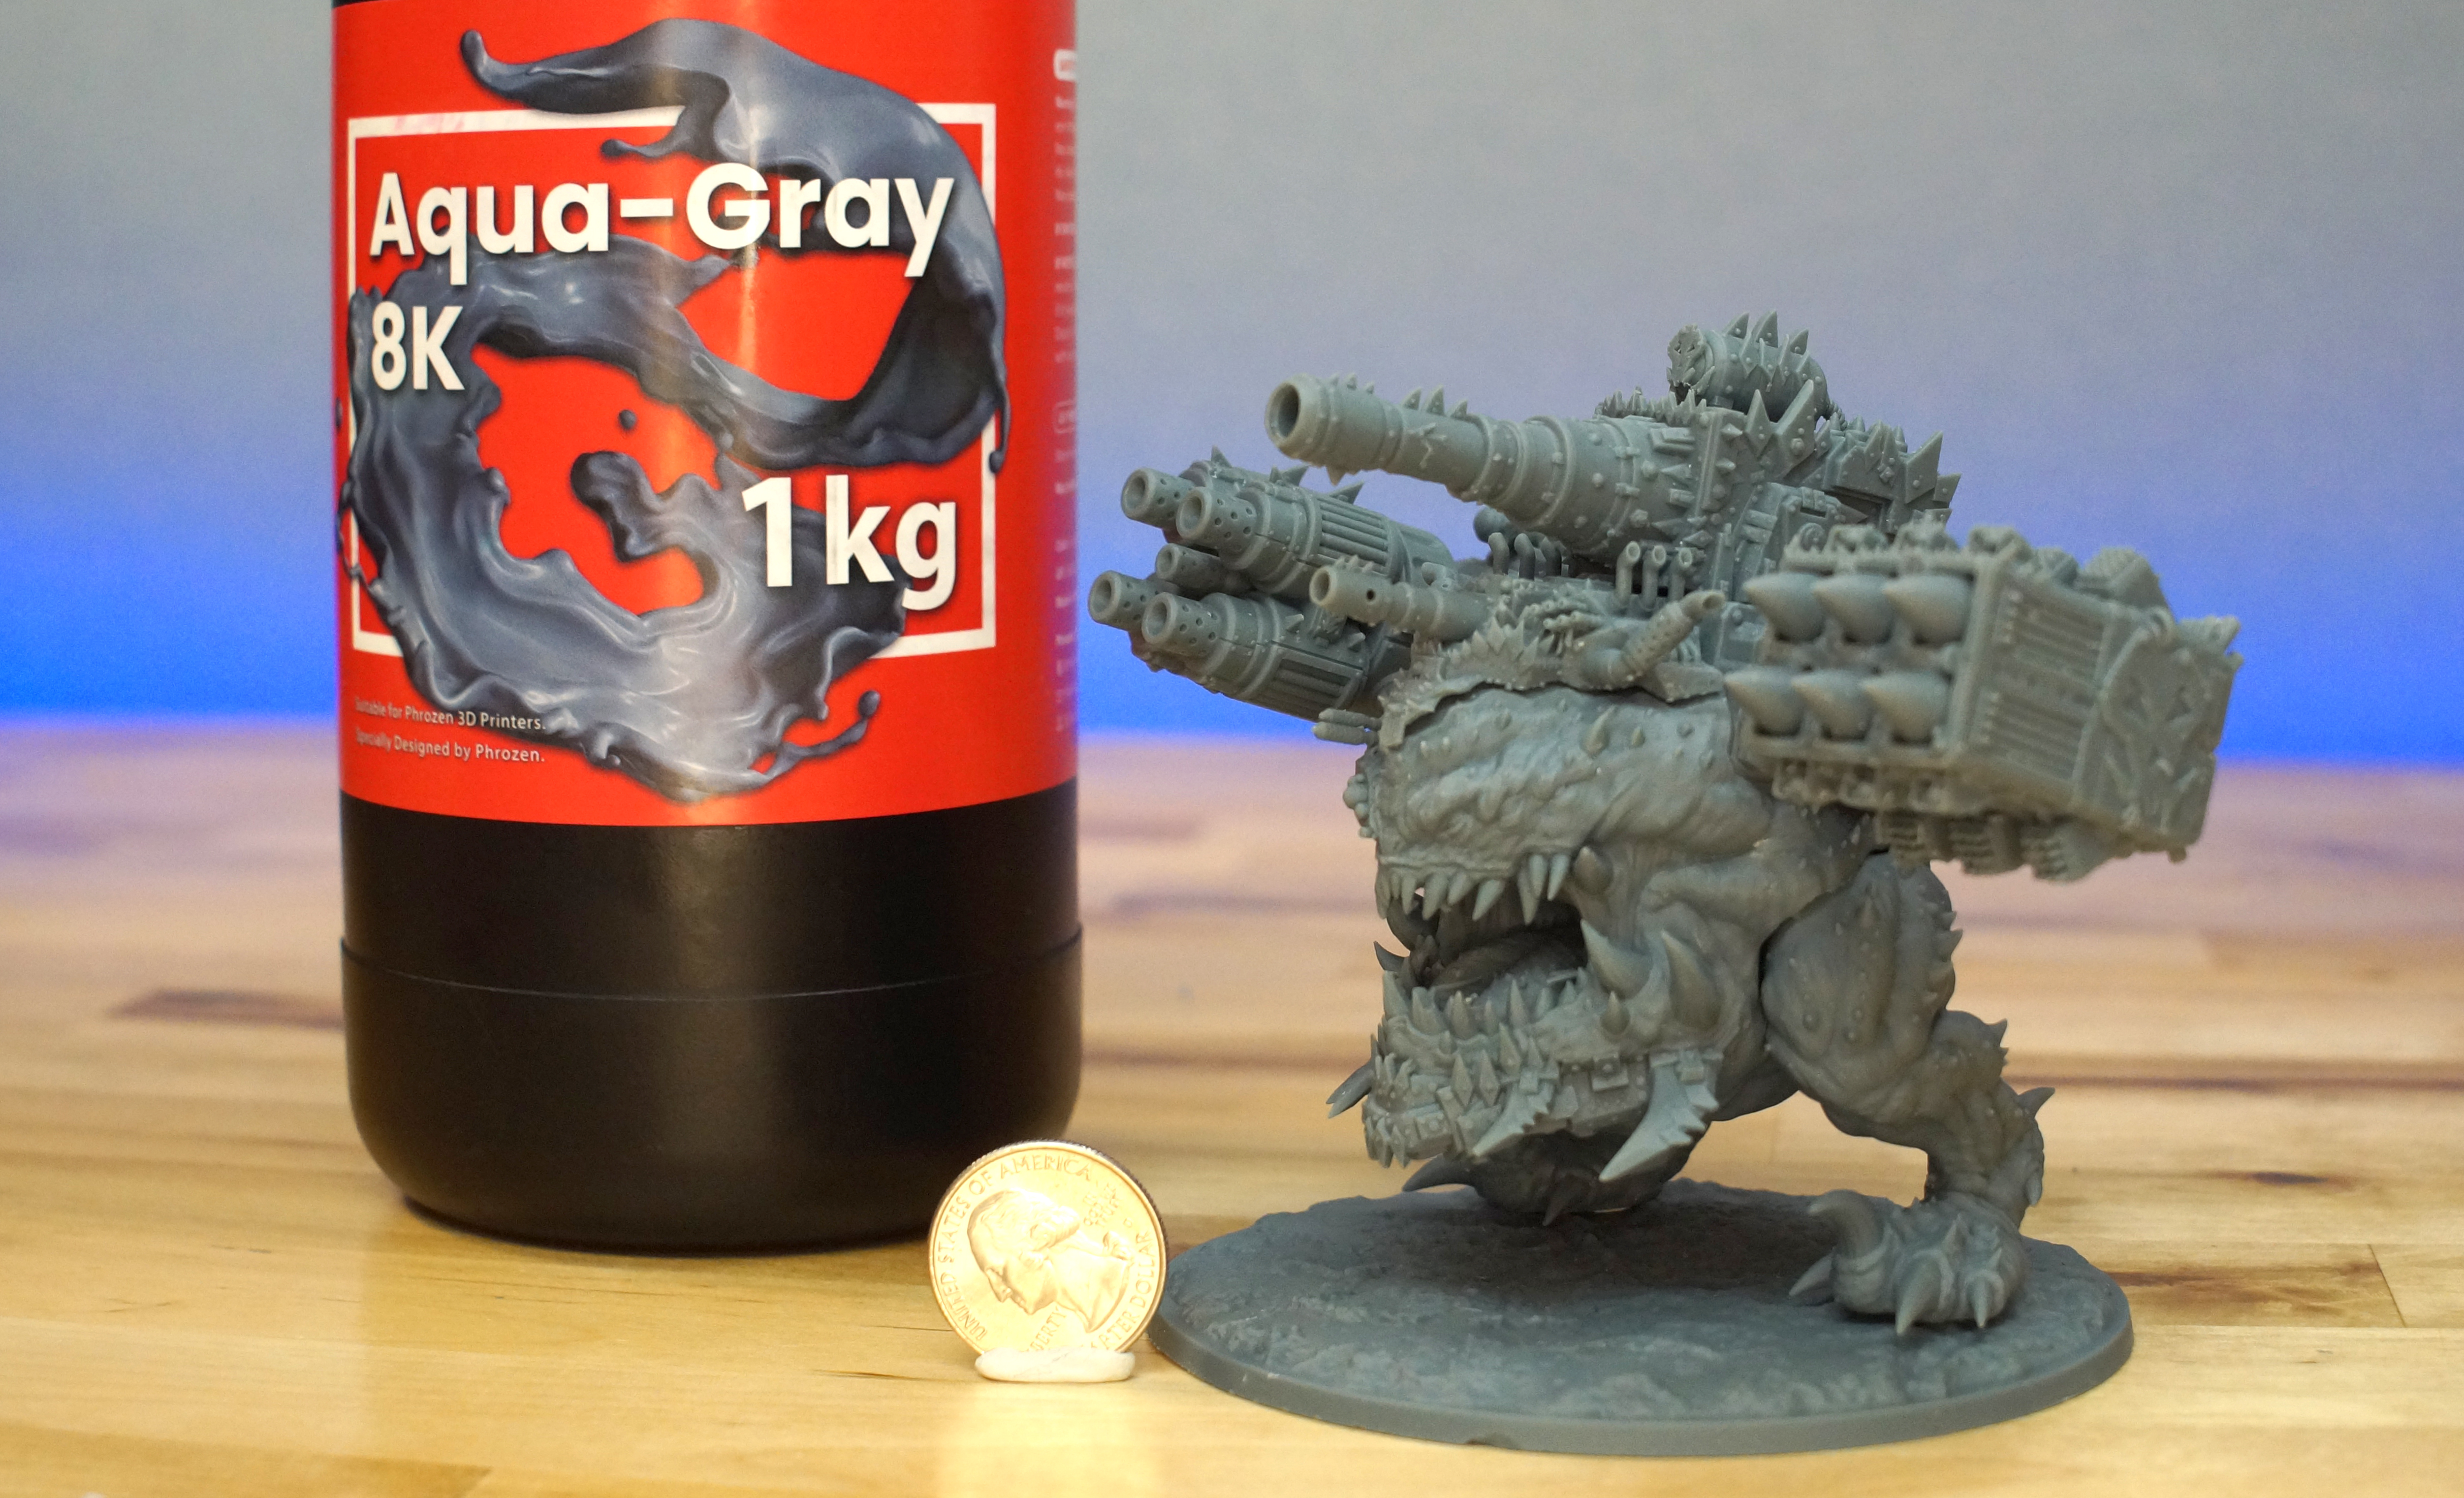
Phrozen has created a special 8K formula resin to bring out the details on its new high resolution machines. The low-odor resin is more viscous and only requires a 2 second exposure time per layer, as opposed to 3 seconds for ordinary resins.
Most designers aren’t creating models specifically for ultra high resolution printers, so you may have to search for designs that really take advantage of the Sonic Mini 8K capabilities. But even when given models designed for 2K printers, the Sonic Mini 8K reveals hidden details that older printers glossed over.
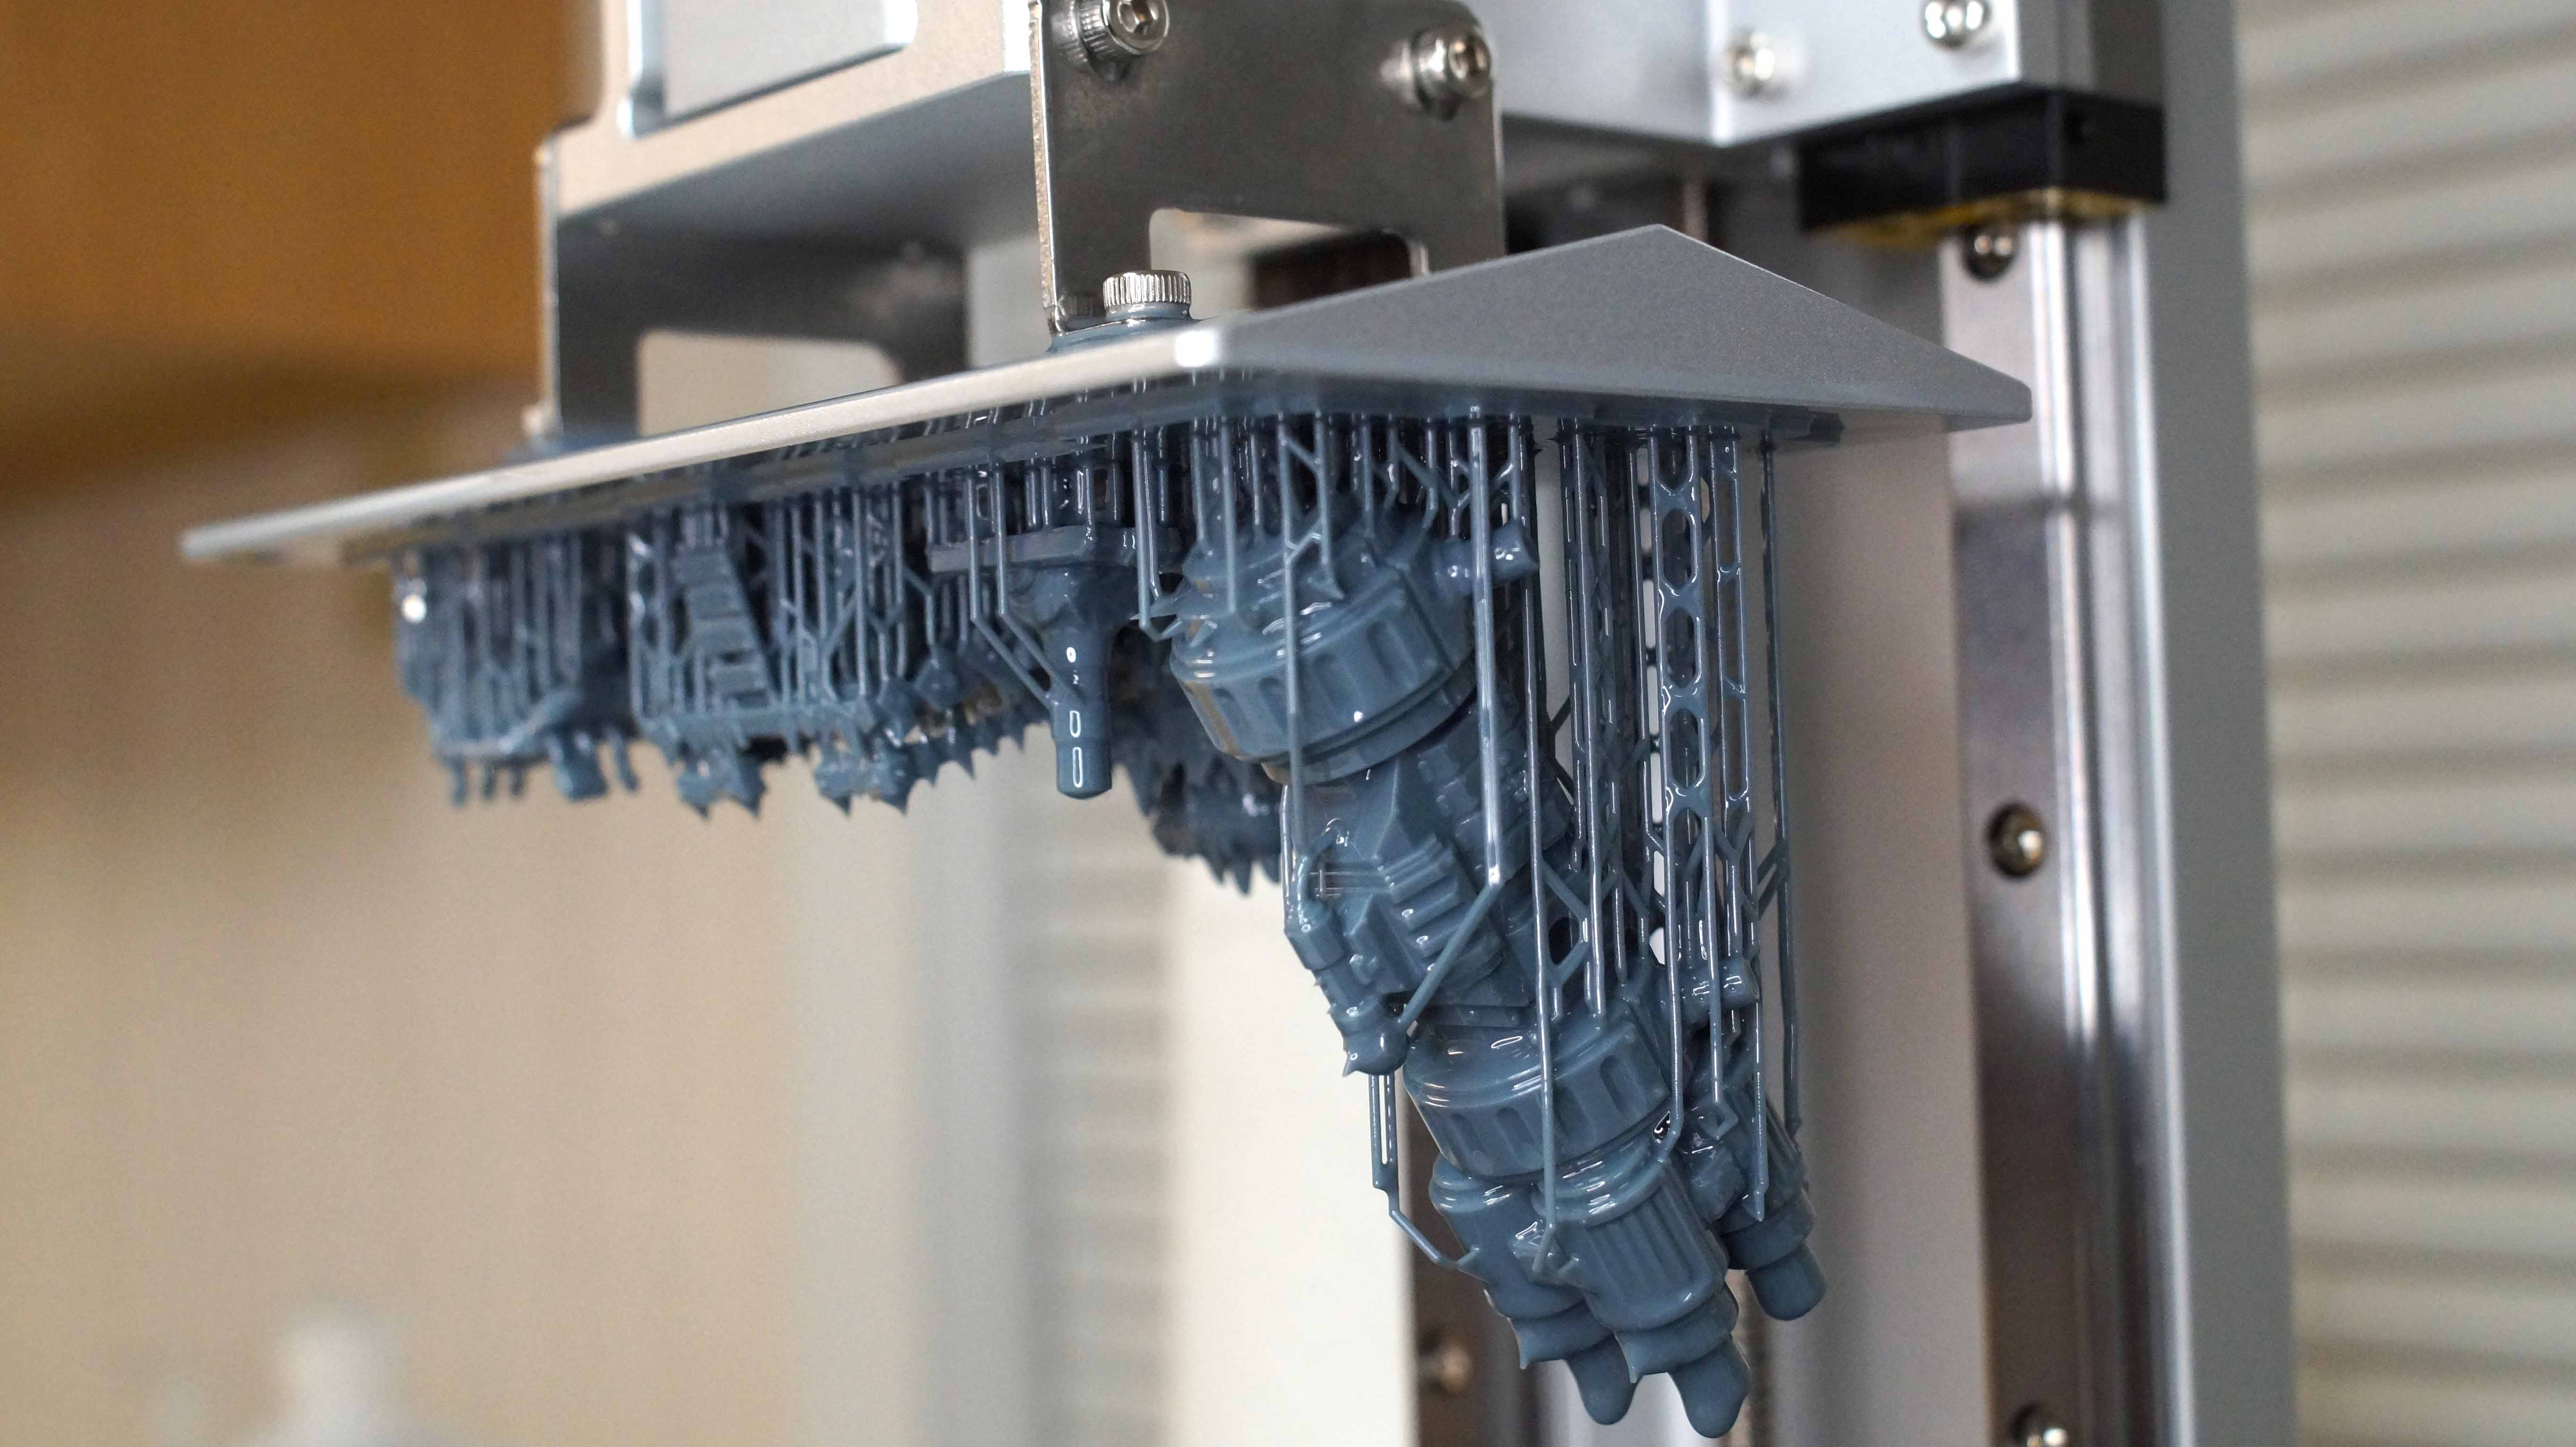
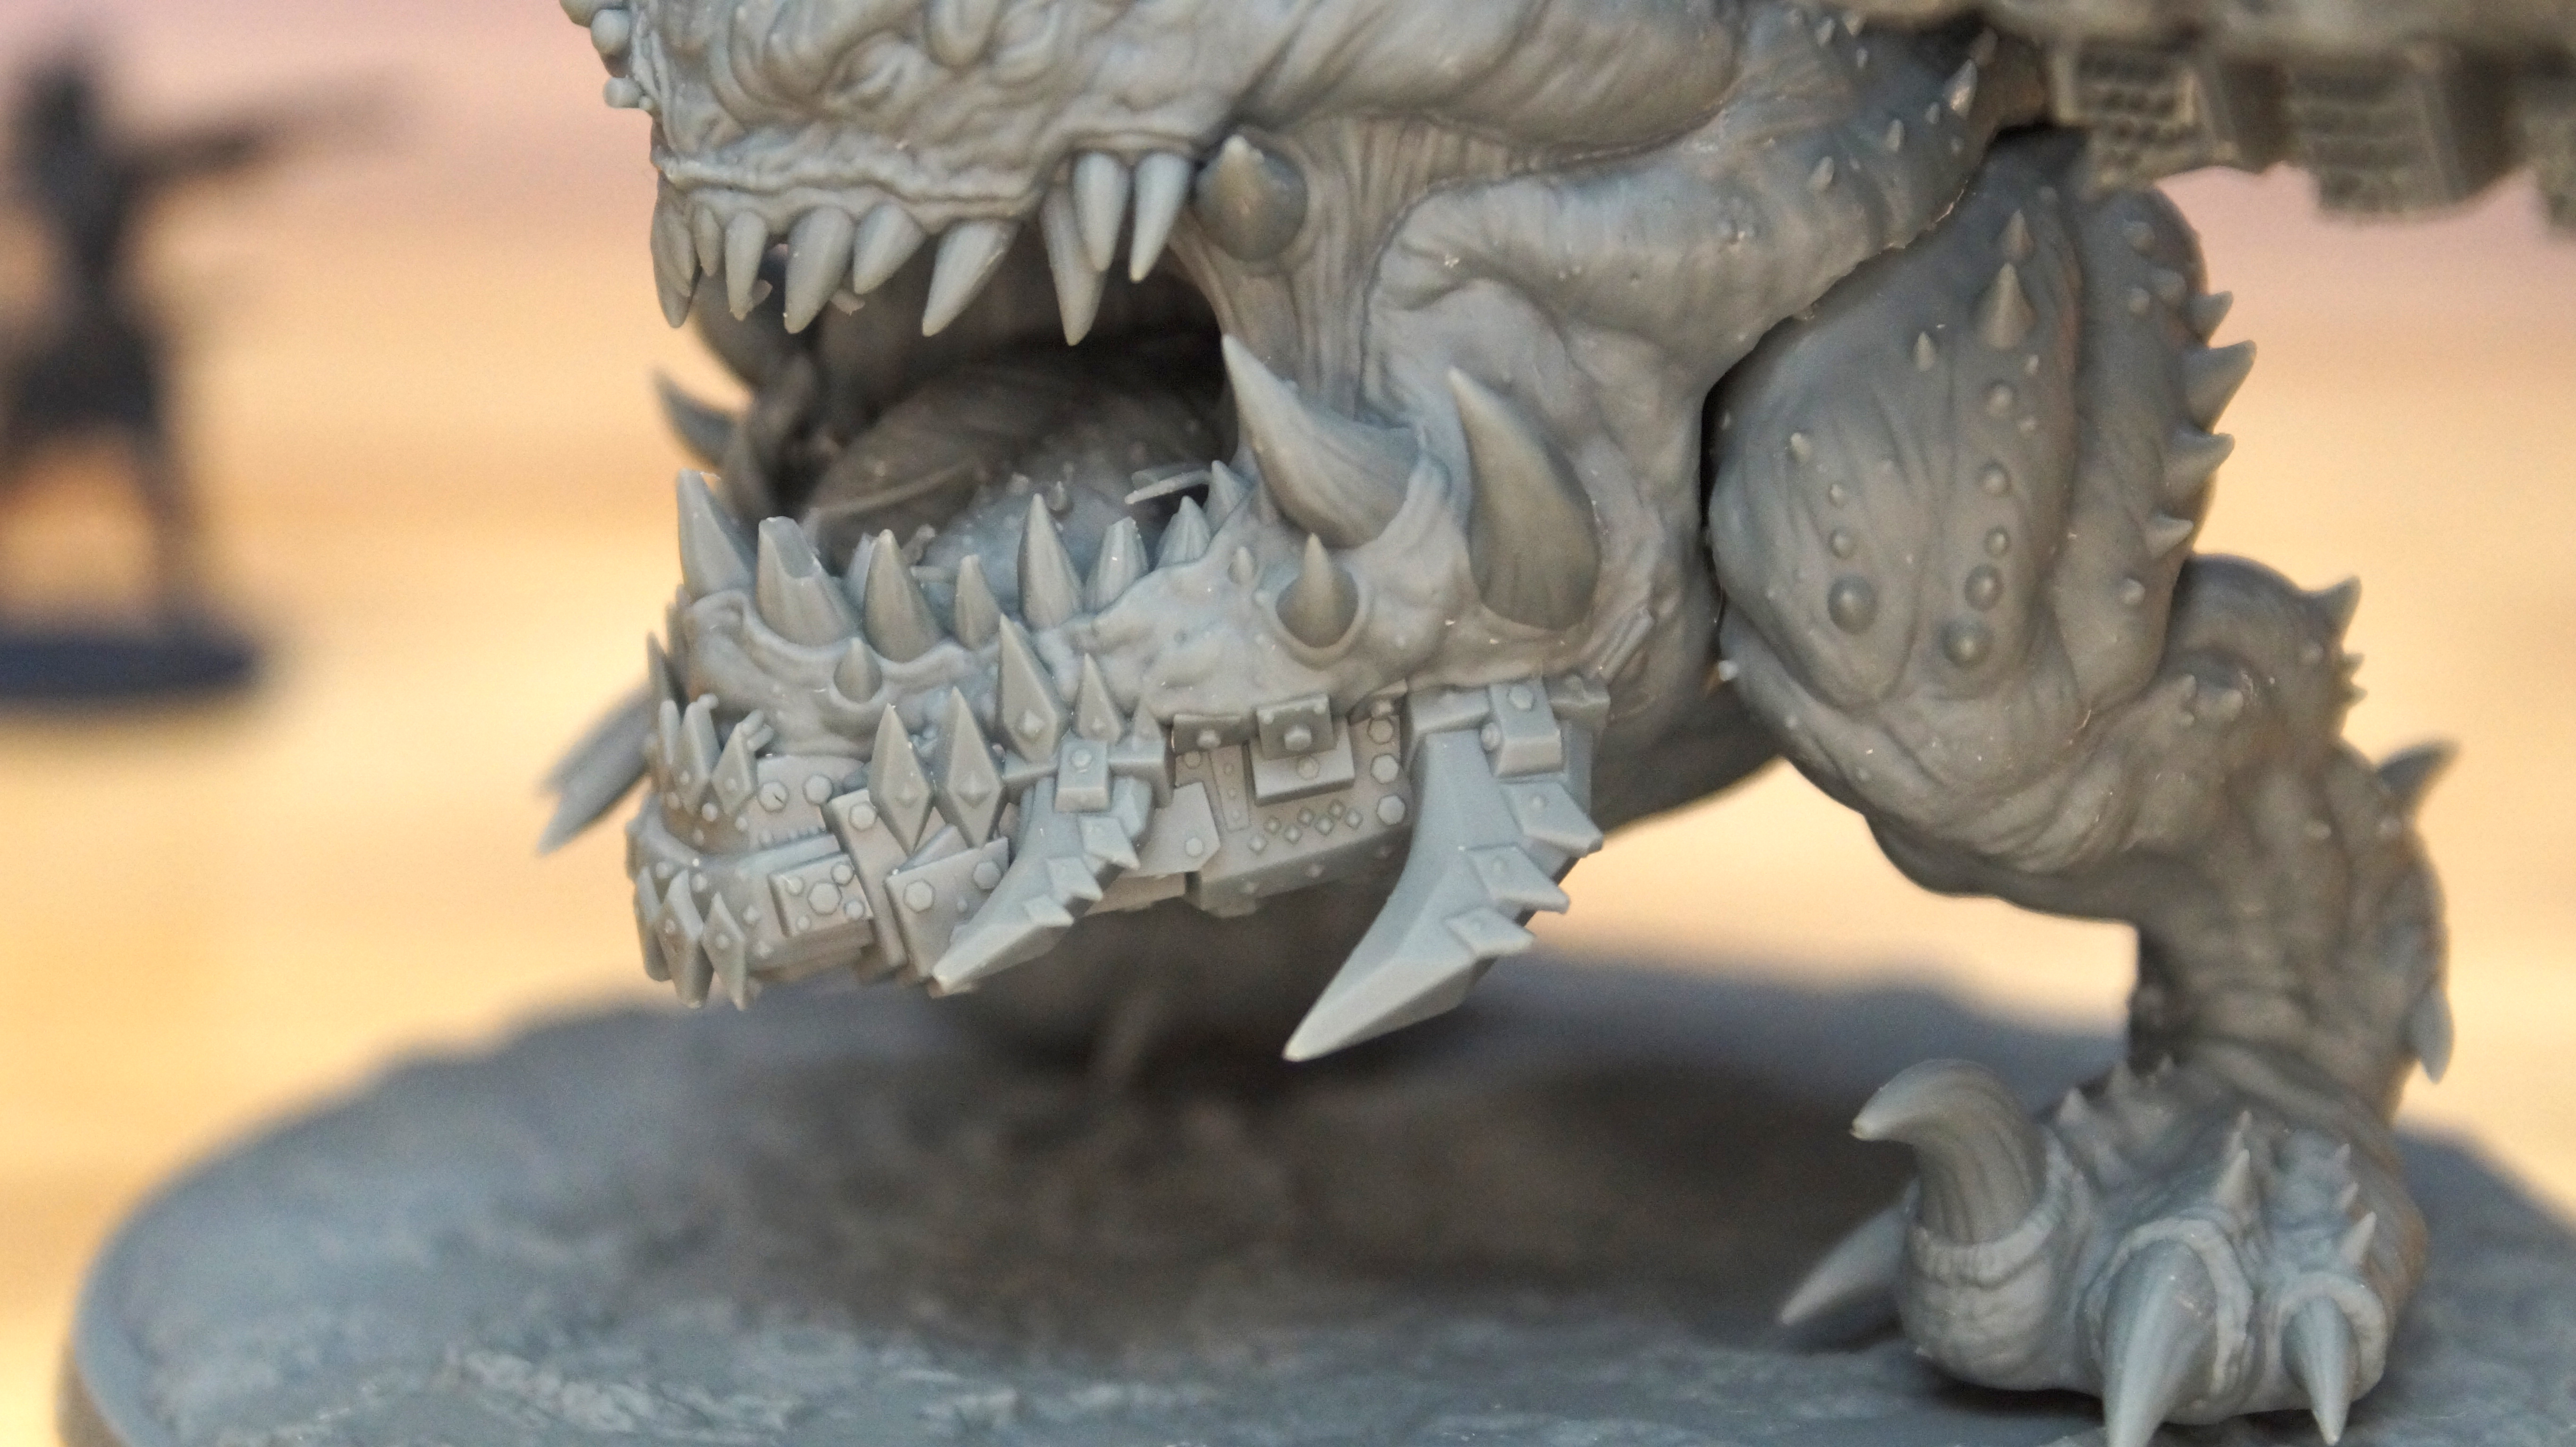
I printed this model of RipJaws from Dark Gods Eternal, available with Phrozen’s Epic Bundle during the pre-sale. The model was sliced at a .03 mm layer height and split into several parts. It took more than two days to print and all the tiny spikes made it literally painful to assemble. However, the quality really is amazing. You can see every tiny bolt, spike and wrinkle on the monster’s hide.
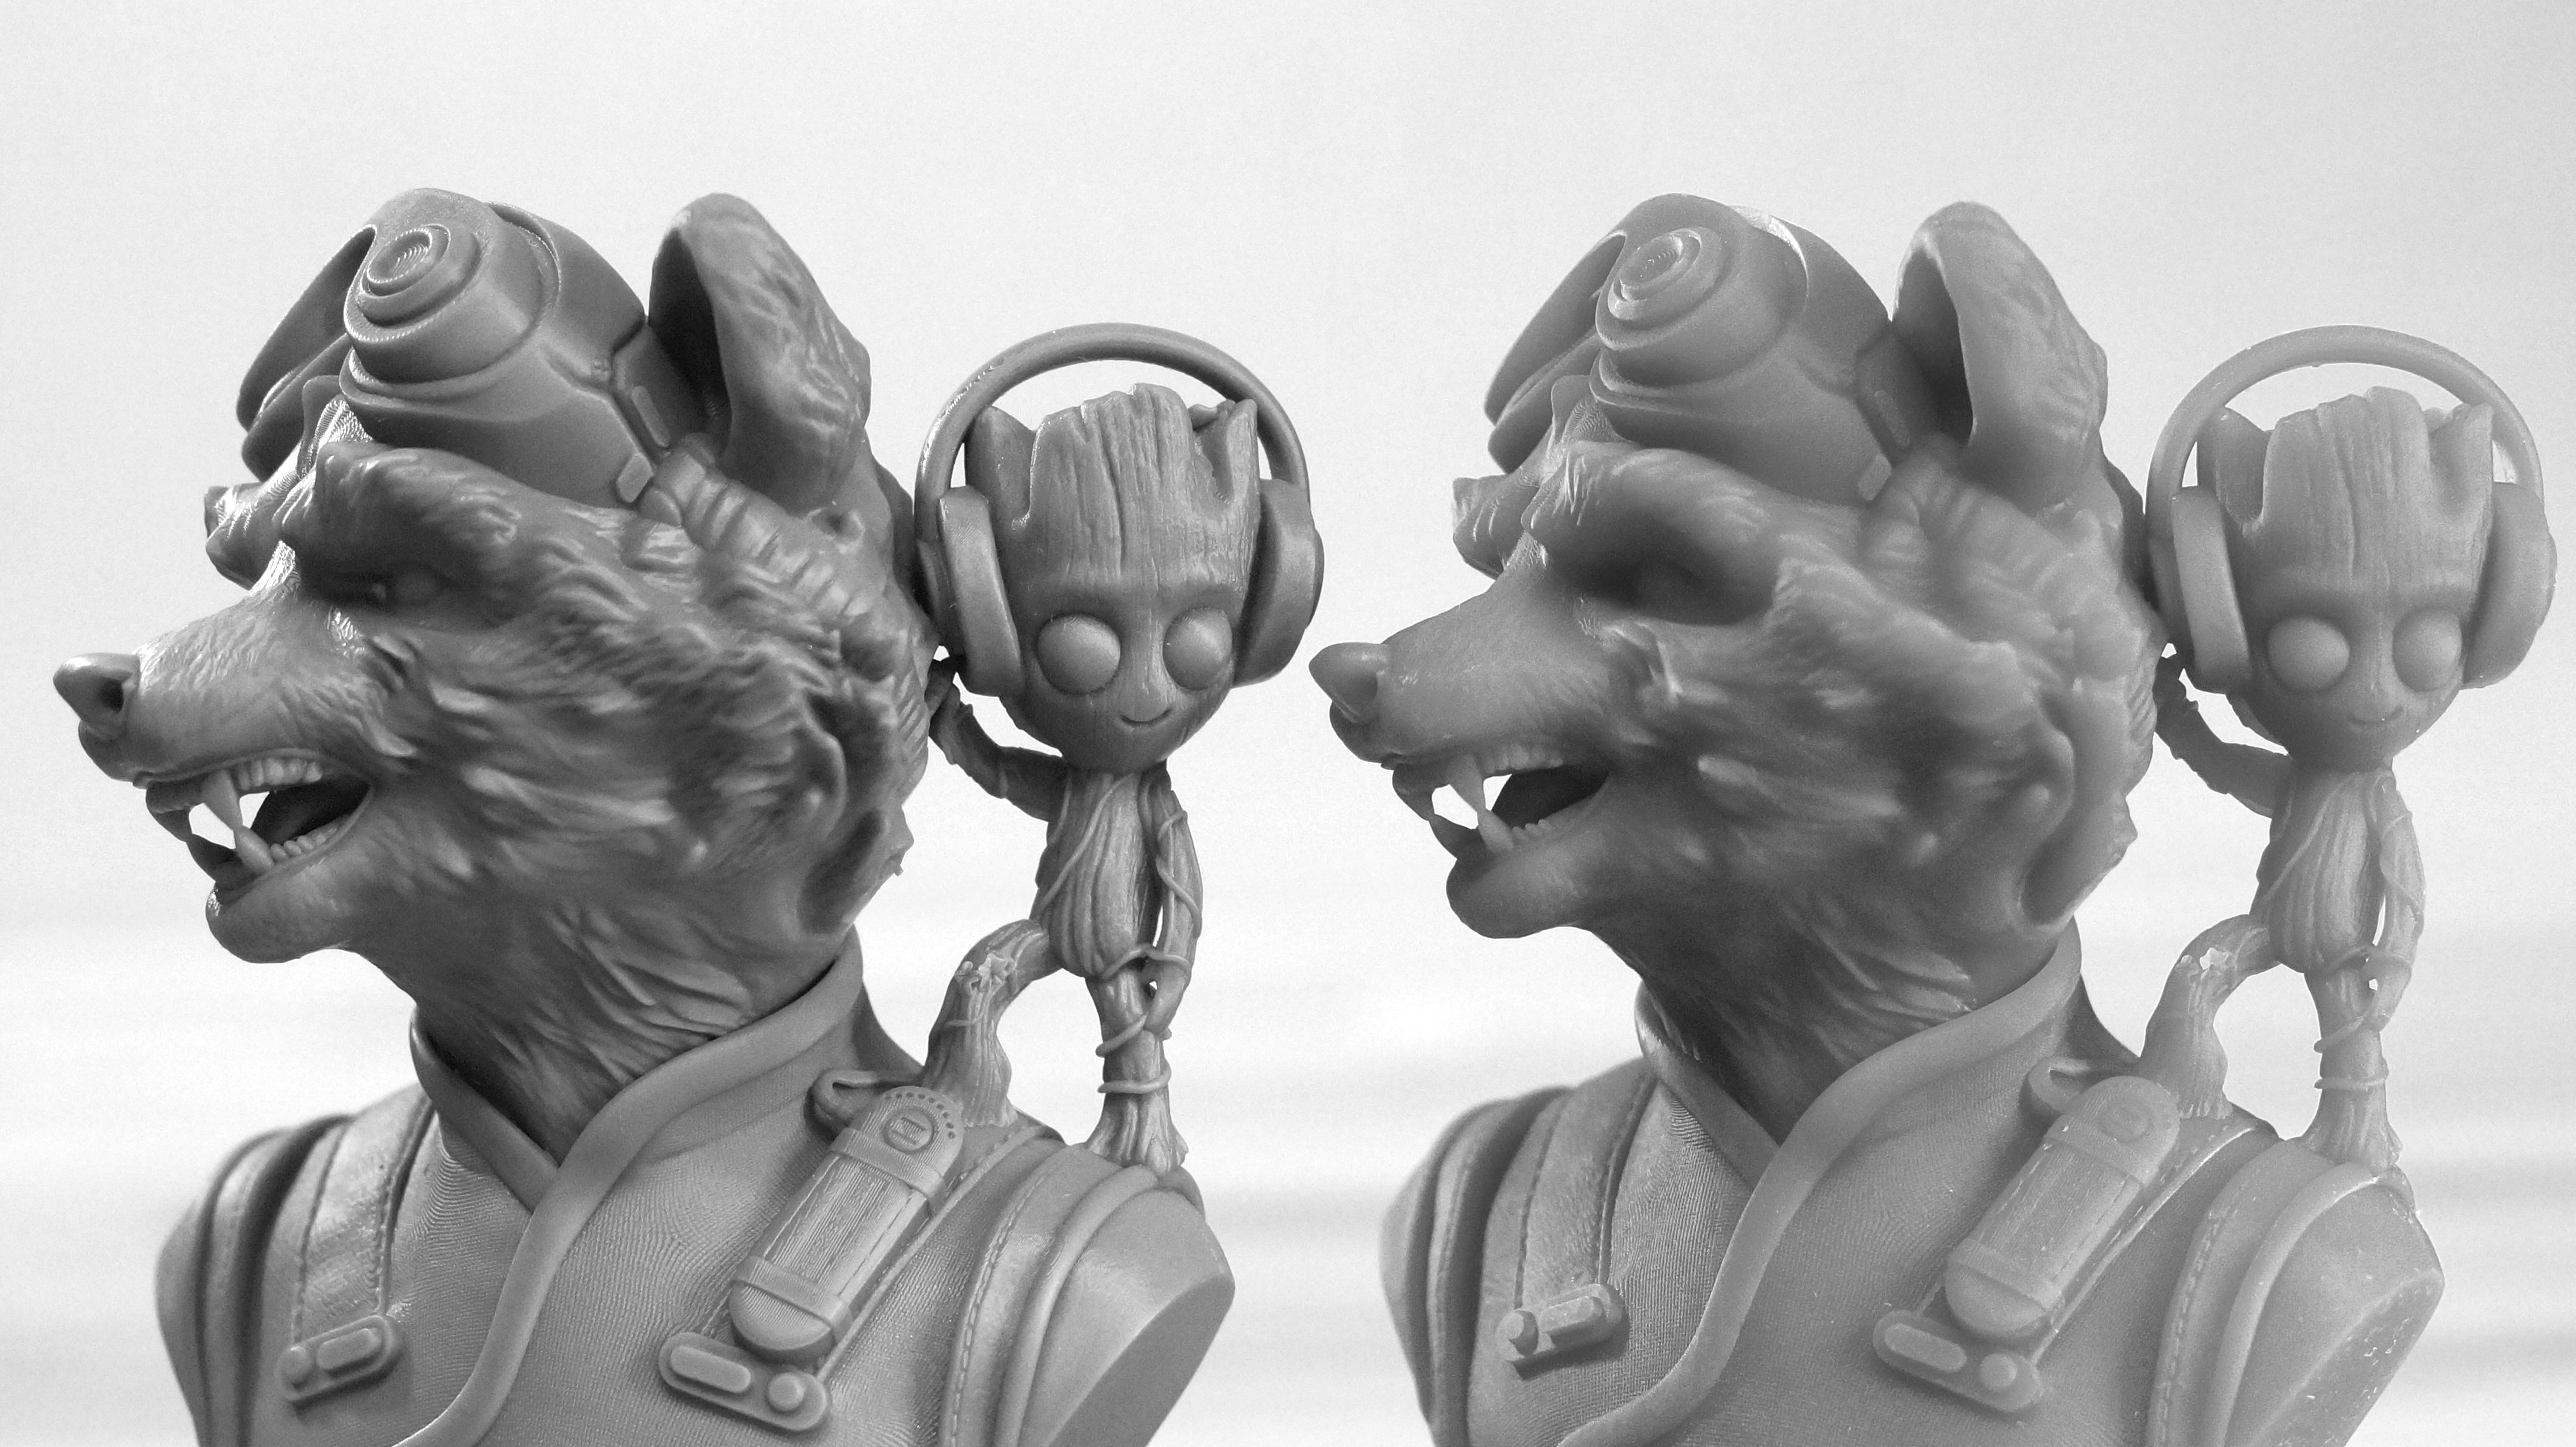
I wanted to see how the Sonic Mini 8K handles budget resin, so I printed a Wekster bust in both the Phrozen Aqua Gray 8K and blue Inland Water Washable resin. Both models were printed with a .05 layer height and tilted back at a 45° angle to make the most of the XY resolution. Each model took 7 hours and 13 minutes to print, with an exposure time of 2 seconds per layer.
Here I’ve converted the image to black and white for a better comparison. They’re both quite good, but the 8K resin on the left shows crisper details in the fur and teeth. Note the leather grain in Rocket’s jacket, and the wood grain in Groot’s forehead.
This close up of Loubie3D’s Sky Warrior was printed in Phrozen Aqua Gray 8K resin at .05 layer height and shows no layer lines at all. The model is 120 mm tall and made up of 2401 layers, which took 9 hours and 55 minutes to print at a 2 second per layer exposure time.
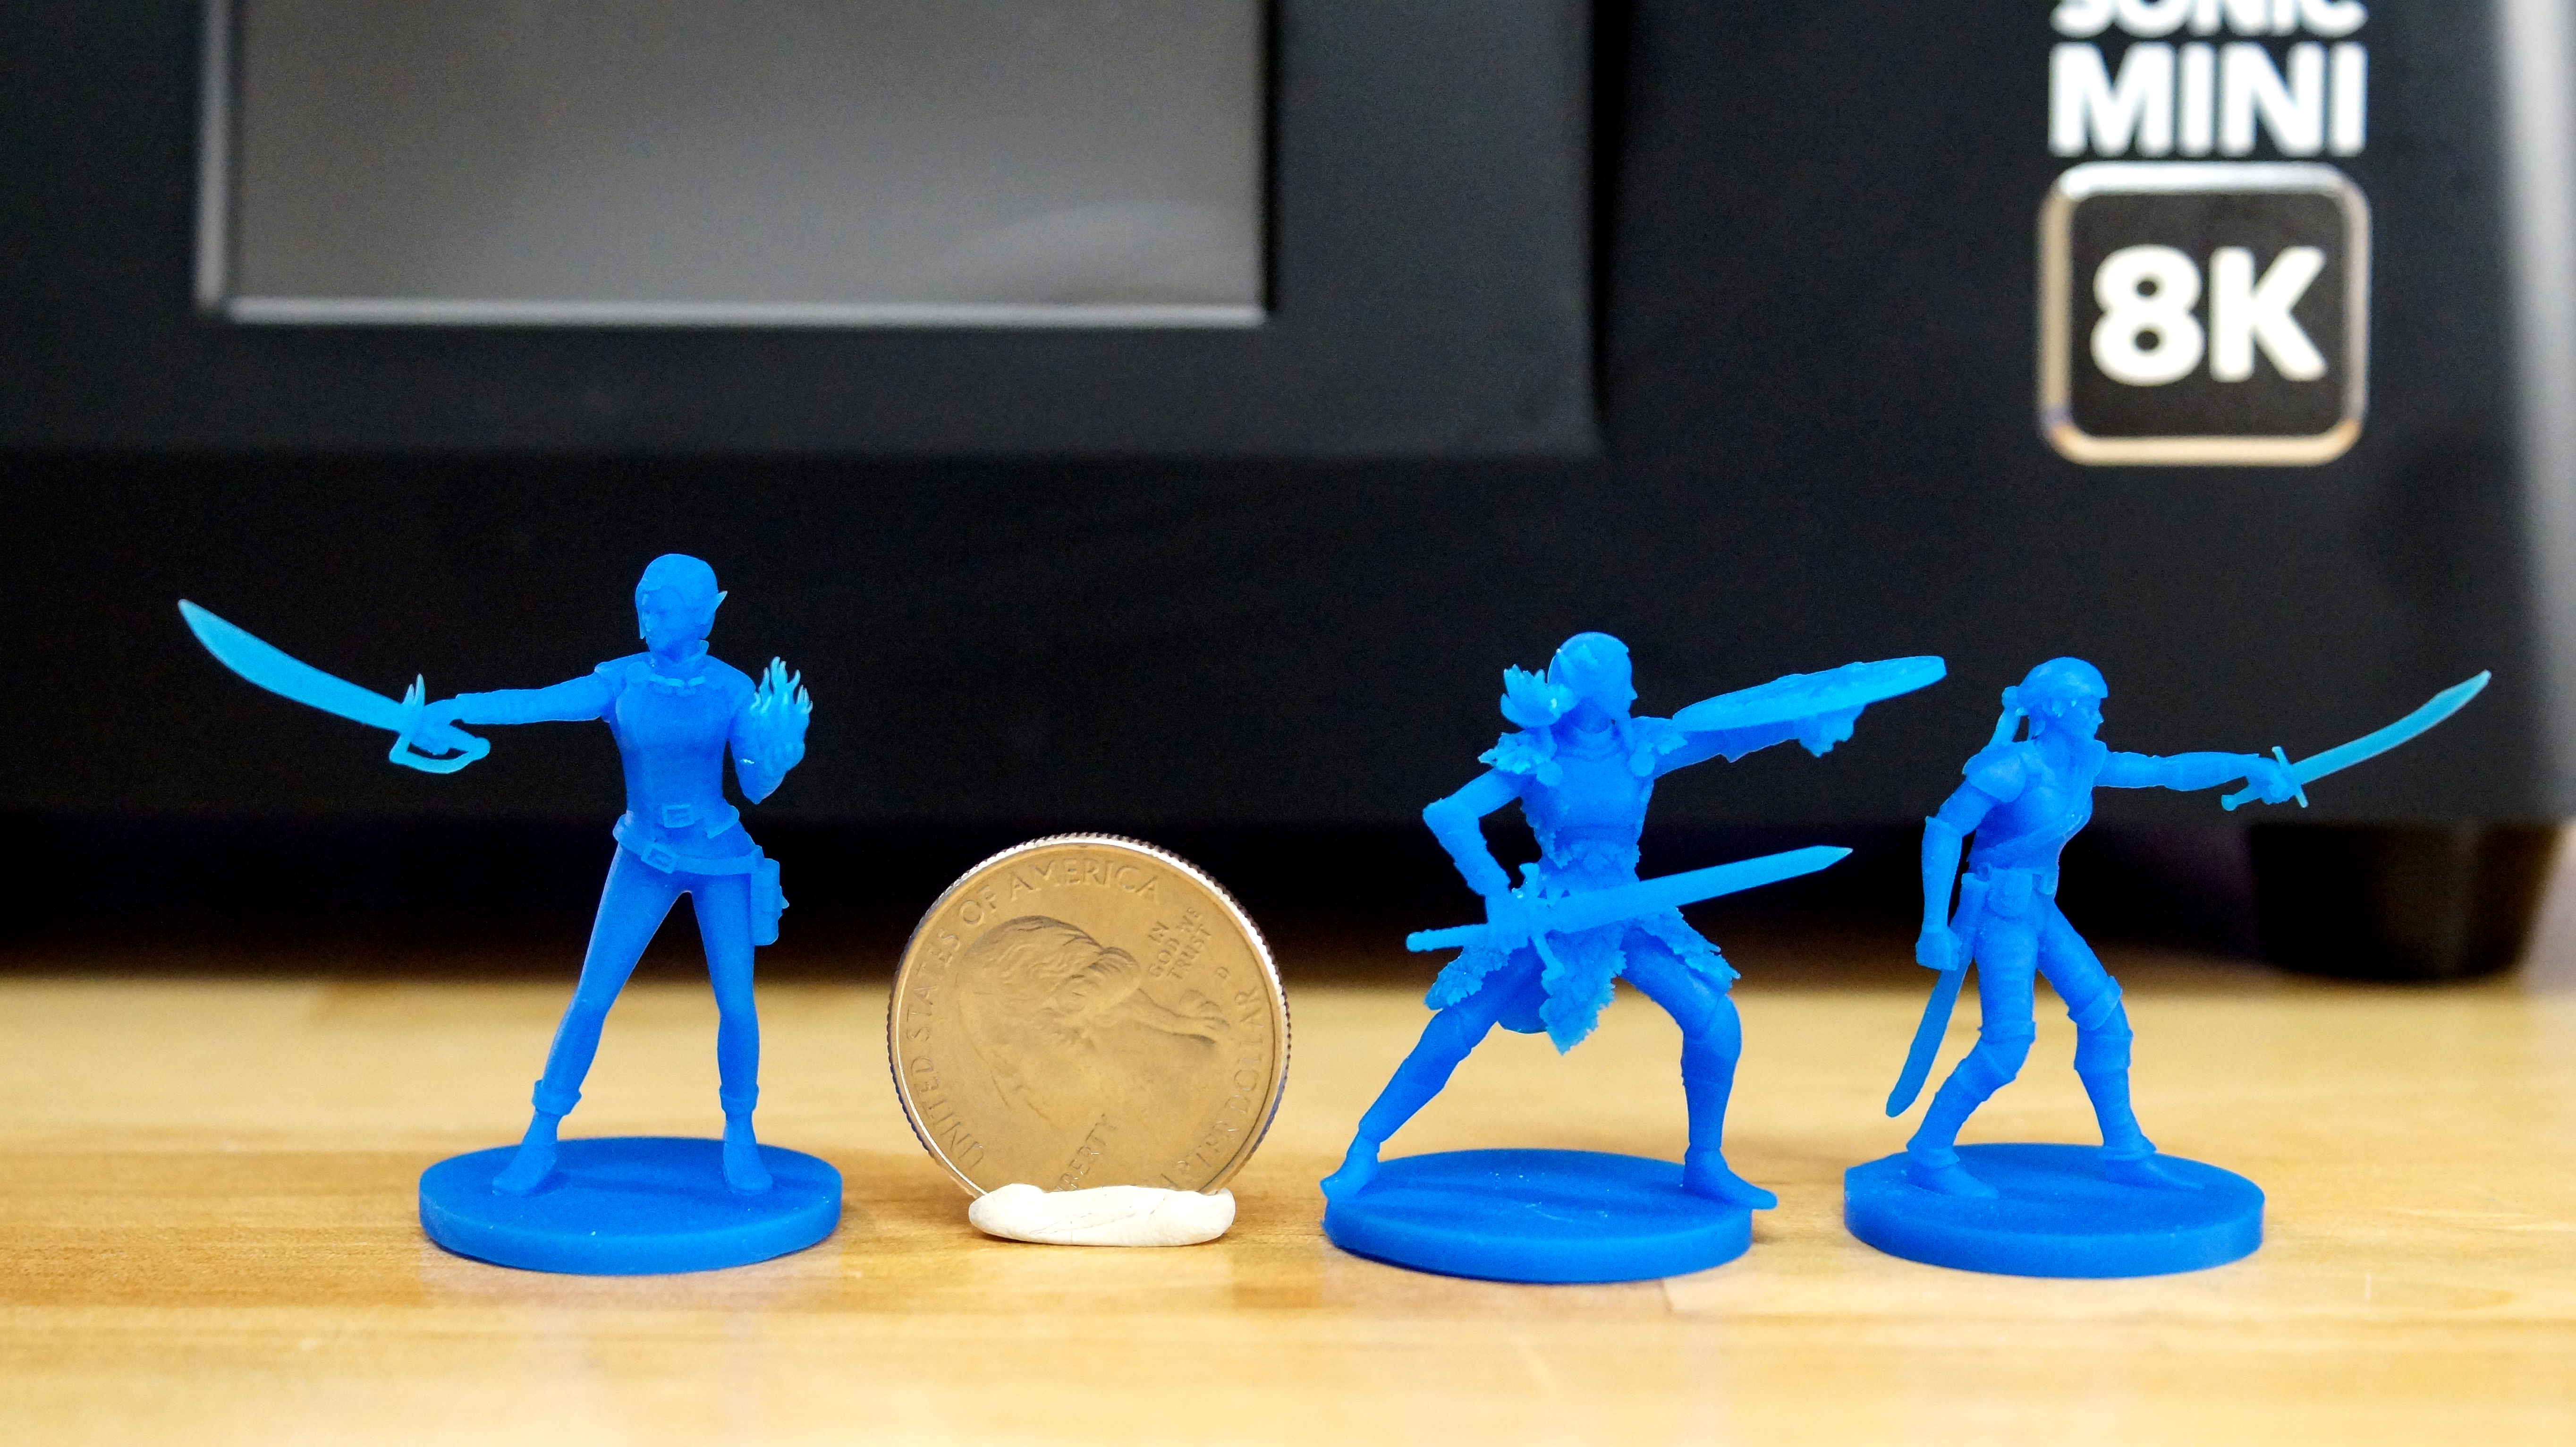
Miniatures for tabletop gaming are equally stunning when printed on the Phrozen Sonic Mini 8K, even without using Phrozen’s premium resin. Tiny details in the armor and sword hilts are quite clear. The figures shown below were printed at a .05 layer height and 3 second exposure time, taking 4 hours and 36 minutes to print. These fighters are available for free at Prusa Printers.
Washing and Curing
Before you can admire your prints, you’ll need to wash and cure. Phrozen suggests a 30 second wash in 95% Isopropyl alcohol, then a second dip in another container of cleaner IPA. A soft brush can be used to get the nooks and crannies clean.
Completely dry the print with a hair dryer on cool – IPA left on the print will turn white. You can also let the print air dry in a place away from sunlight.
Remove supports before UV curing the print as they’re much softer. Use side cutters and tweezers to remove the supports. Remember to always wear gloves while handling uncured prints.
Then place the print in a UV curing station for a minute or two, or outside in bright sunlight for a few hours.
Your IPA should never be flushed down the drain, especially after being contaminated with uncured resin. Instead, keep using the resin until it’s too dirty, then leave the container open to evaporate. The remaining sludge can be cured with UV light or the sun before being thrown away.
Supports should also be cured before being thrown away.
Bottom Line
The Phrozen Sonic Mini 8K is an amazing machine that delivers incredibly detailed prints right out of the box. Yet, like the ever increasing resolution on our big screen TVs and handheld devices, you have to wonder if you really need 7500 dpi on a resin 3D printer? Maybe not, but you will certainly enjoy the results.
The Phrozen Sonic Mini 8K is the first in the market to use this level of resolution, which means few designers are creating models that truly take advantage of its capabilities. But even when printing ordinary models, the Sonic Mini 8K reveals hidden details that would be lost on a low resolution printer.
The Phrozen Sonic Mini 8K currently lists at $600, the same price as Phrozen’s Mighty 4K with a much larger build plate. Makers wanting to save a little cash should check out the Elegoo Mars 2 Pro, which has a self-leveling build plate at nearly half the price, but a significantly lower resolution.

Denise Bertacchi is a Contributing Writer for Tom’s Hardware US, covering 3D printing. Denise has been crafting with PCs since she discovered Print Shop had clip art on her Apple IIe. She loves reviewing 3D printers because she can mix all her passions: printing, photography, and writing.

