Tom's Hardware Verdict
Anycubic’s latest resin 3D printer has astounding resolution, high speed and auto bed leveling, making it a delight to use.
Pros
- +
Eye-popping 12K prints
- +
Auto leveling
- +
High speed printing
- +
Smart sensors
Cons
- -
Release film has short life span
- -
Specialty resin is pricey
Why you can trust Tom's Hardware
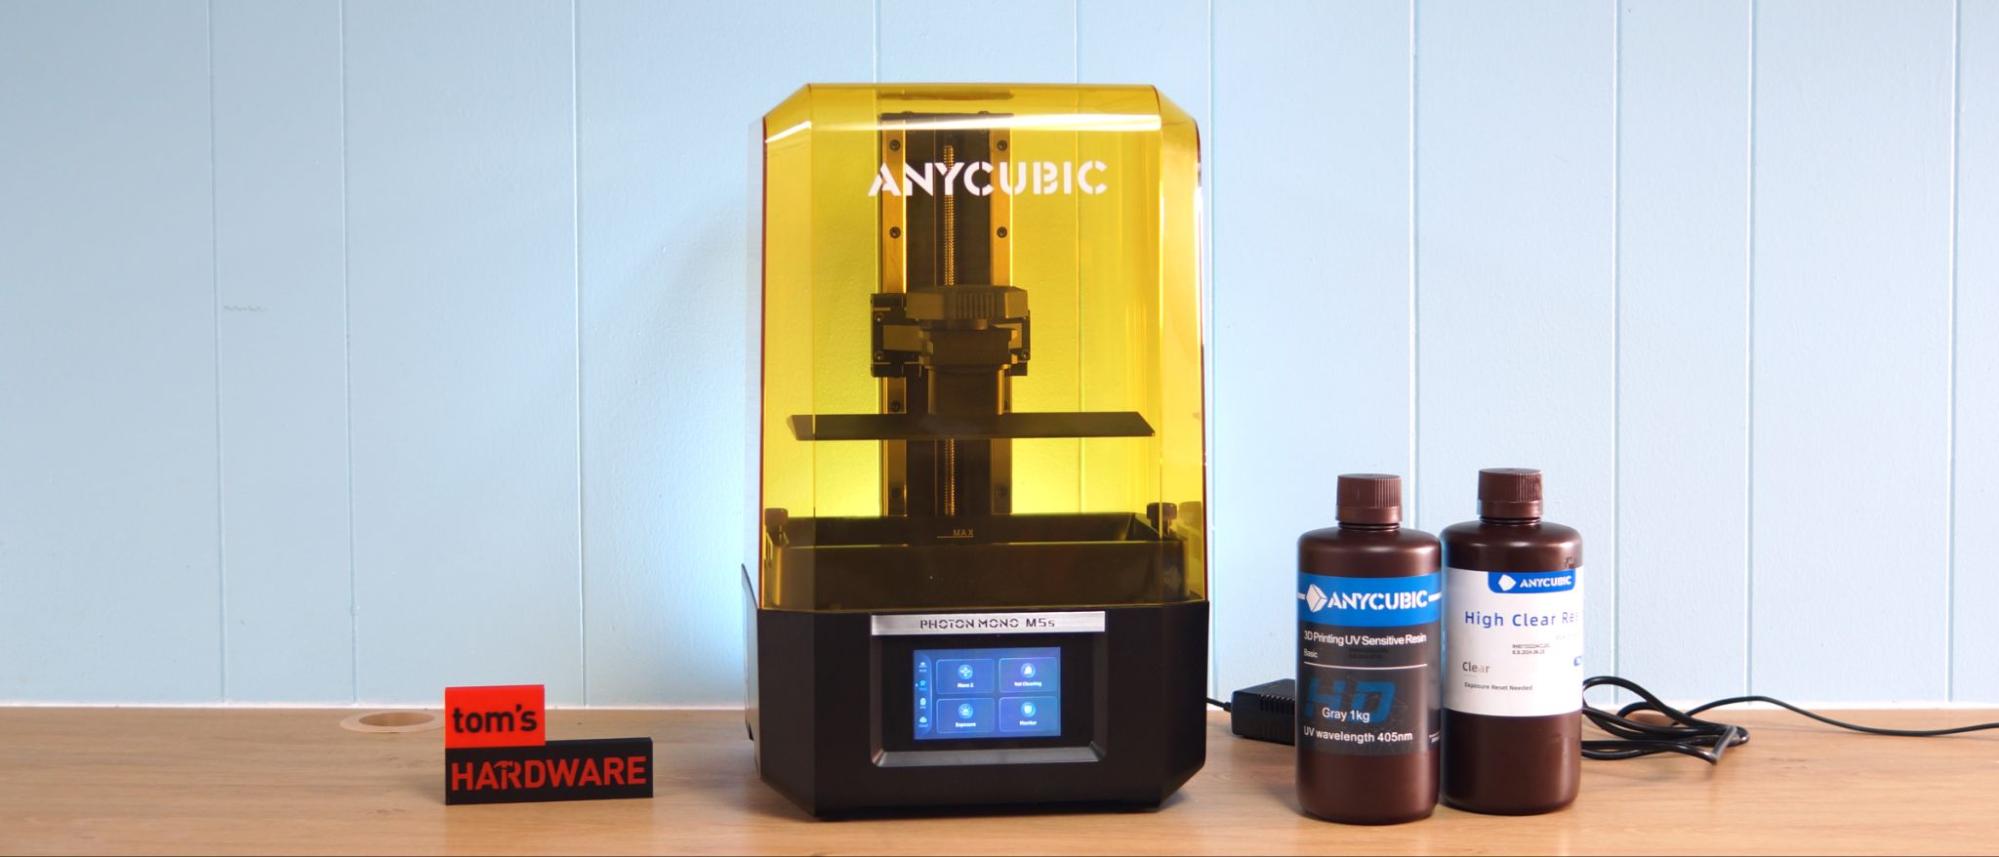
Anycubic’s newest Photon Mono M5s is a smarter, faster, medium format resin 3D printer bursting with 12K worth of pixels. Yes, that’s a whopping 11,530 pixels on the X axis. Anycubic is also saying it's three times faster than ordinary printers, capable of reaching an average print speed of 105 mm/hour. During testing, the machine printed a 3.5 inch tall figure in under an hour.
It’s the first auto leveling resin printer we’ve seen, and it uses a combination of sensors and hidden springs to calculate its own level. This is a pretty amazing feature, as anyone who’s ever set up a resin printer with an Allen key and sheet of paper knows.
Anycubic has produced a special, extremely thin, high speed resin to compliment this printer. But even if you stick to standard resin you’ll get remarkably swift prints due to the special release film attached to the bottom of the vat. The film is also delicate, so it won’t last as long as normal FEP, only about 30,000 layers. To put that into perspective, my Rocket test print is 1742 layers tall, so six rounds of testing may have used up a third of the film’s usefulness. Anycubic states the new release film will cost $42 each and comes pre-mounted on an easy-to-install frame. You have the option of reverting to less expensive films, but would need to use a slower, less stressful, print speed.
Launching with a pre-sale price of $499 on AnyCubic’s site, the Photon Mono M5s is an excellent deal for a high resolution, mid-size printer and one of the best resin 3D printers and best 3D printers overall.
Specifications: Anycubic Photon Mono M5s
| Build Volume | 218 x 123 x 200 mm (8.6 x 4.8 x 7.9 inches) |
| LCD Screen | 10.1" Monochrome |
| Light Source | Parallel matrix |
| X/Y Axis Resolution | 19x24 microns |
| Normal Exposure Time | 1.4/2.8 seconds |
| Interface | 4.3" Touch Panel |
| Connectivity | USB Type A 2.0 |
| Machine Footprint | 460 x 256 x 285 mm (18.1 x 11.2 x 10 inches) |
| Machine Weight | 9 kg (19.8 lbs) |
Included in the Box: Anycubic Photon Mono M5s
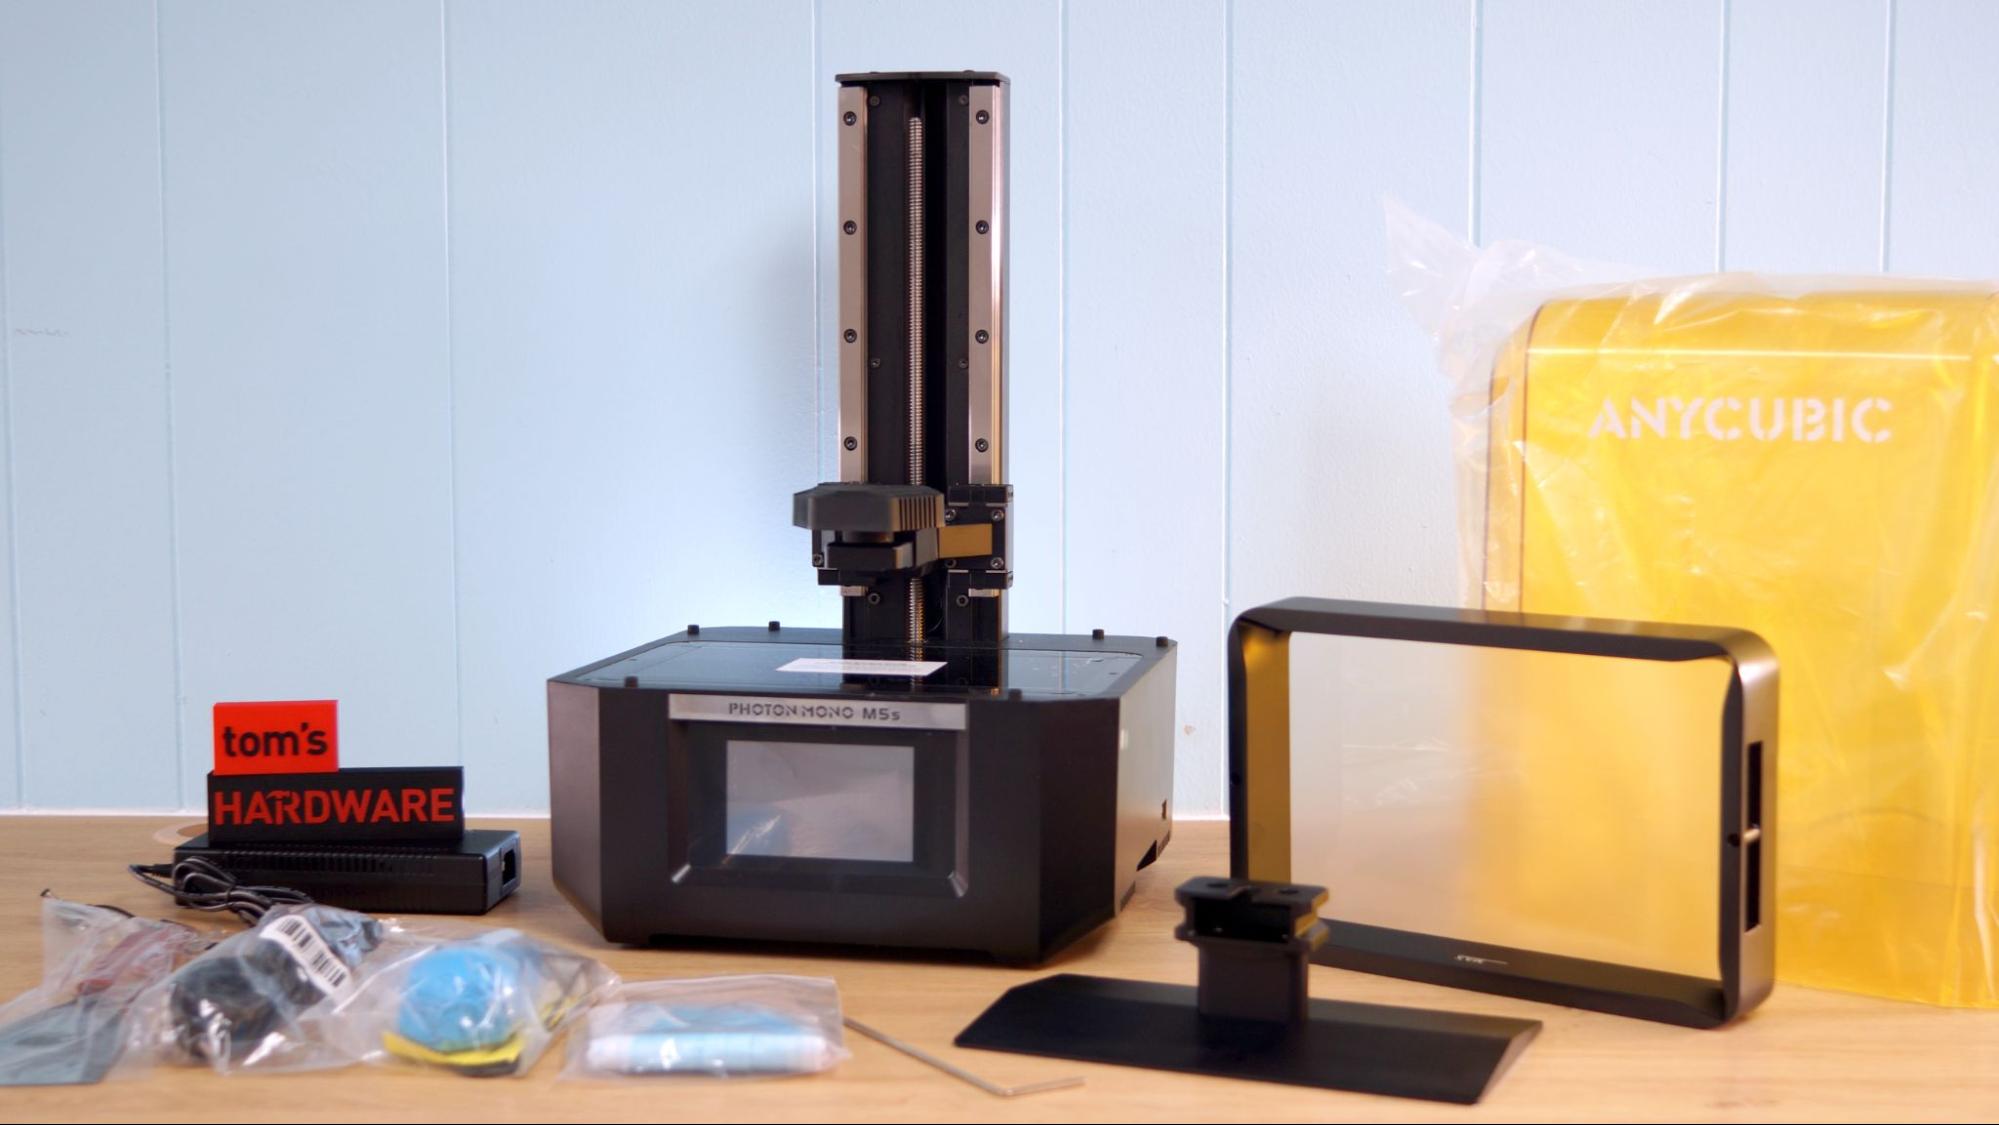
The Anycubic Photon Mono M5s includes everything you need to get started as soon as you unbox the printer. You get a metal scraper for the build plate, a plastic scraper for the release film, a large screen protector, paper funnels, disposable gloves, disposable masks, a set of Allen keys, a power cord with adapter and a printed manual.
Also in the box is a USB thumb drive preloaded with Anycubic’s Photon Workshop slicing software, a PDF of the manual and two pre-sliced test prints.
Printing Safety with Anycubic Photon Mono M5s
The Anycubic Photon Mono M5s requires the same safety precautions as other resin printers. Uncured resin is dangerous, and the solvents used to clean your prints can be irritating to the skin. Use gloves and safety glasses when pouring resin and handling uncured prints.
Get Tom's Hardware's best news and in-depth reviews, straight to your inbox.
Make sure the room you use your resin printer in is well-ventilated to avoid inhaling fumes. Spilled or dripped resin should be immediately cleaned with 99% isopropyl alcohol. After printing, make sure to wipe down your printer and bottles to remove smudges of uncured resin. Always keep your resin tightly sealed and safely stored out of reach of pets and children.
Assembling the Anycubic Photon Mono M5s
The printer comes fully assembled. You only need to remove the LED screen protector used for shipping and apply the fresh one provided. Screw in the vat and build plate and you’re ready to start printing.
Calibrating the Build Plate on the Anycubic Photon Mono M5s
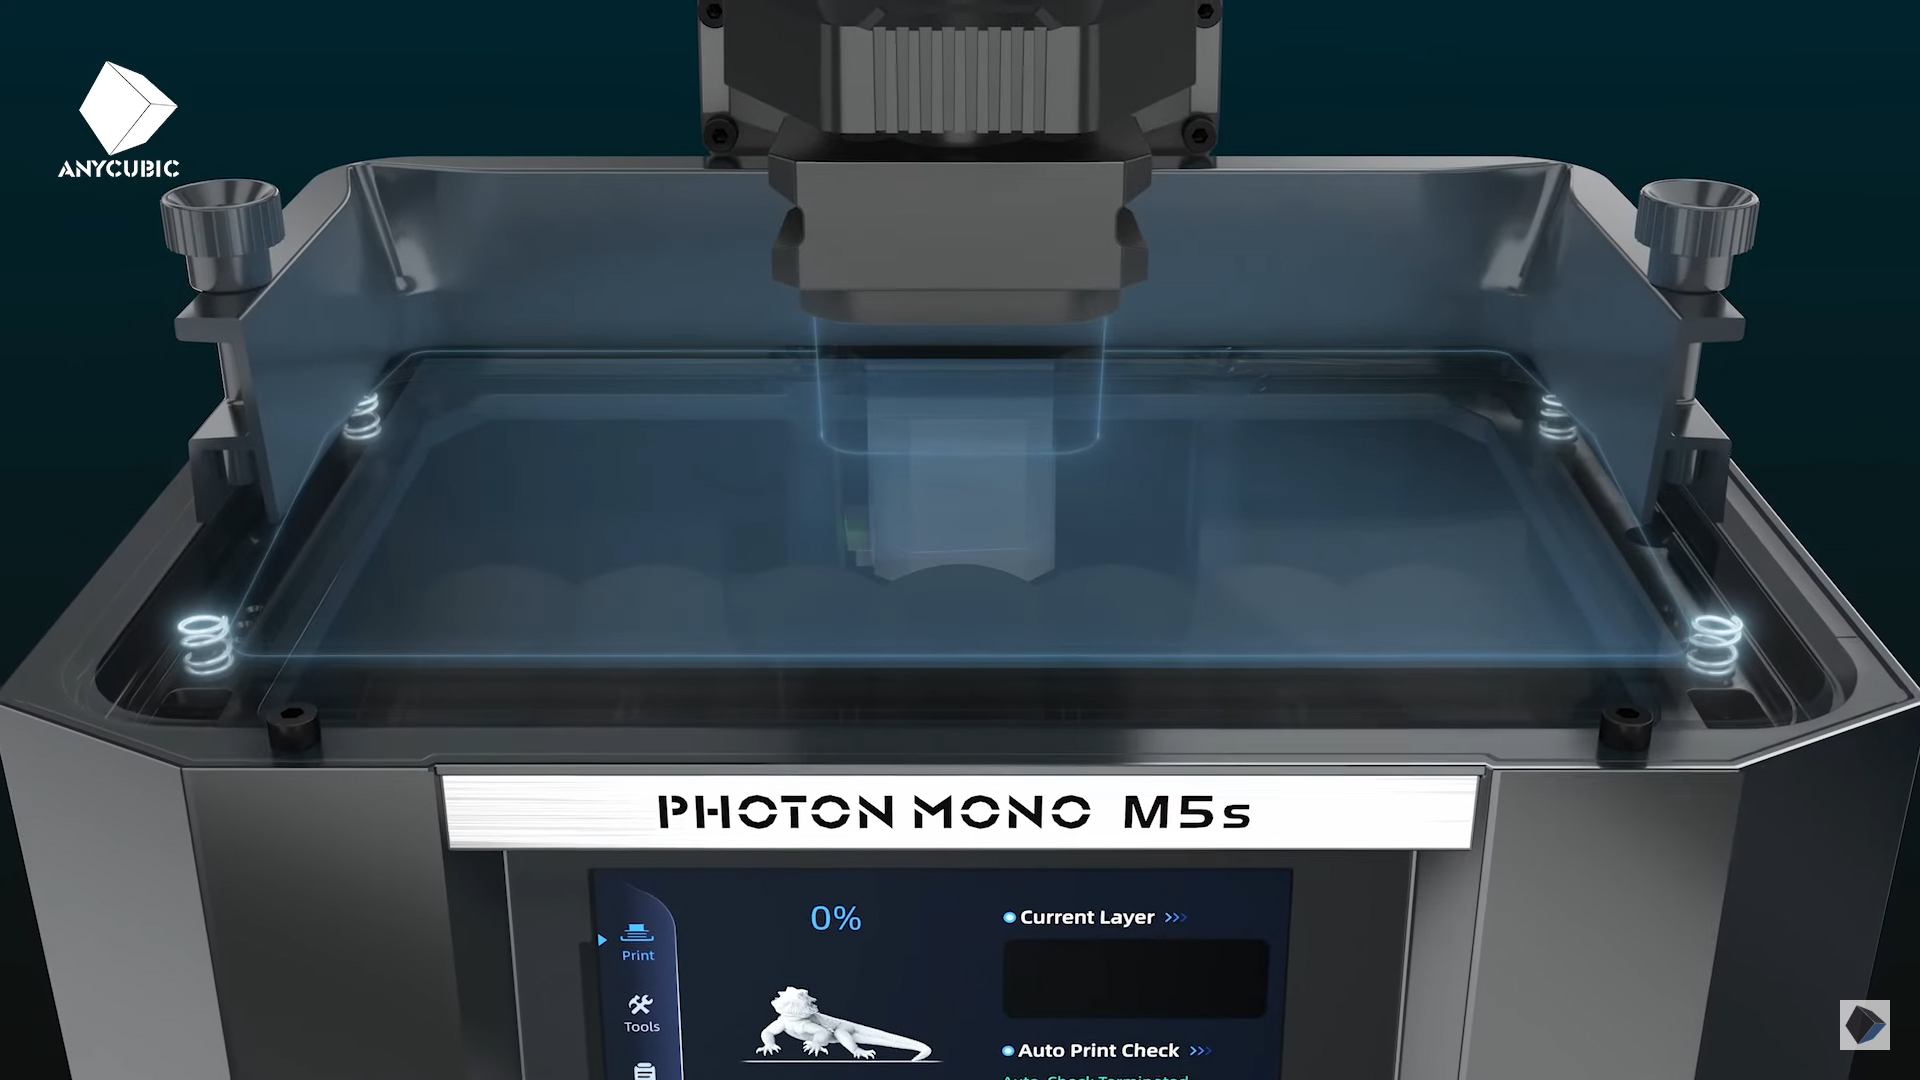
Unlike other resin printers, the Photon Mono M5s doesn’t require manual calibration. It has a mechanical sensor on the arm holding a plate that detects how well the plate and glass are fitting together. It can make adjustments on its own – the glass actually floats on stiff springs – to assure perfect prints. All you need to do is screw the plate into the arm and press print.
This cutaway illustration from Anycubic shows the glass floating on springs underneath the case. The glass is quite firm when not in use – I wasn’t able to move the glass at all by poking it.
Design of the Anycubic Photon Mono M5s
The Photon Mono M5s is a mid-sized resin printer with the traditional Anycubic black and gold color scheme. It has a prism shaped hood and clean lines in the base. It feels sturdy and solid, with a nice metal vat and dual rails on the z for steady motion.
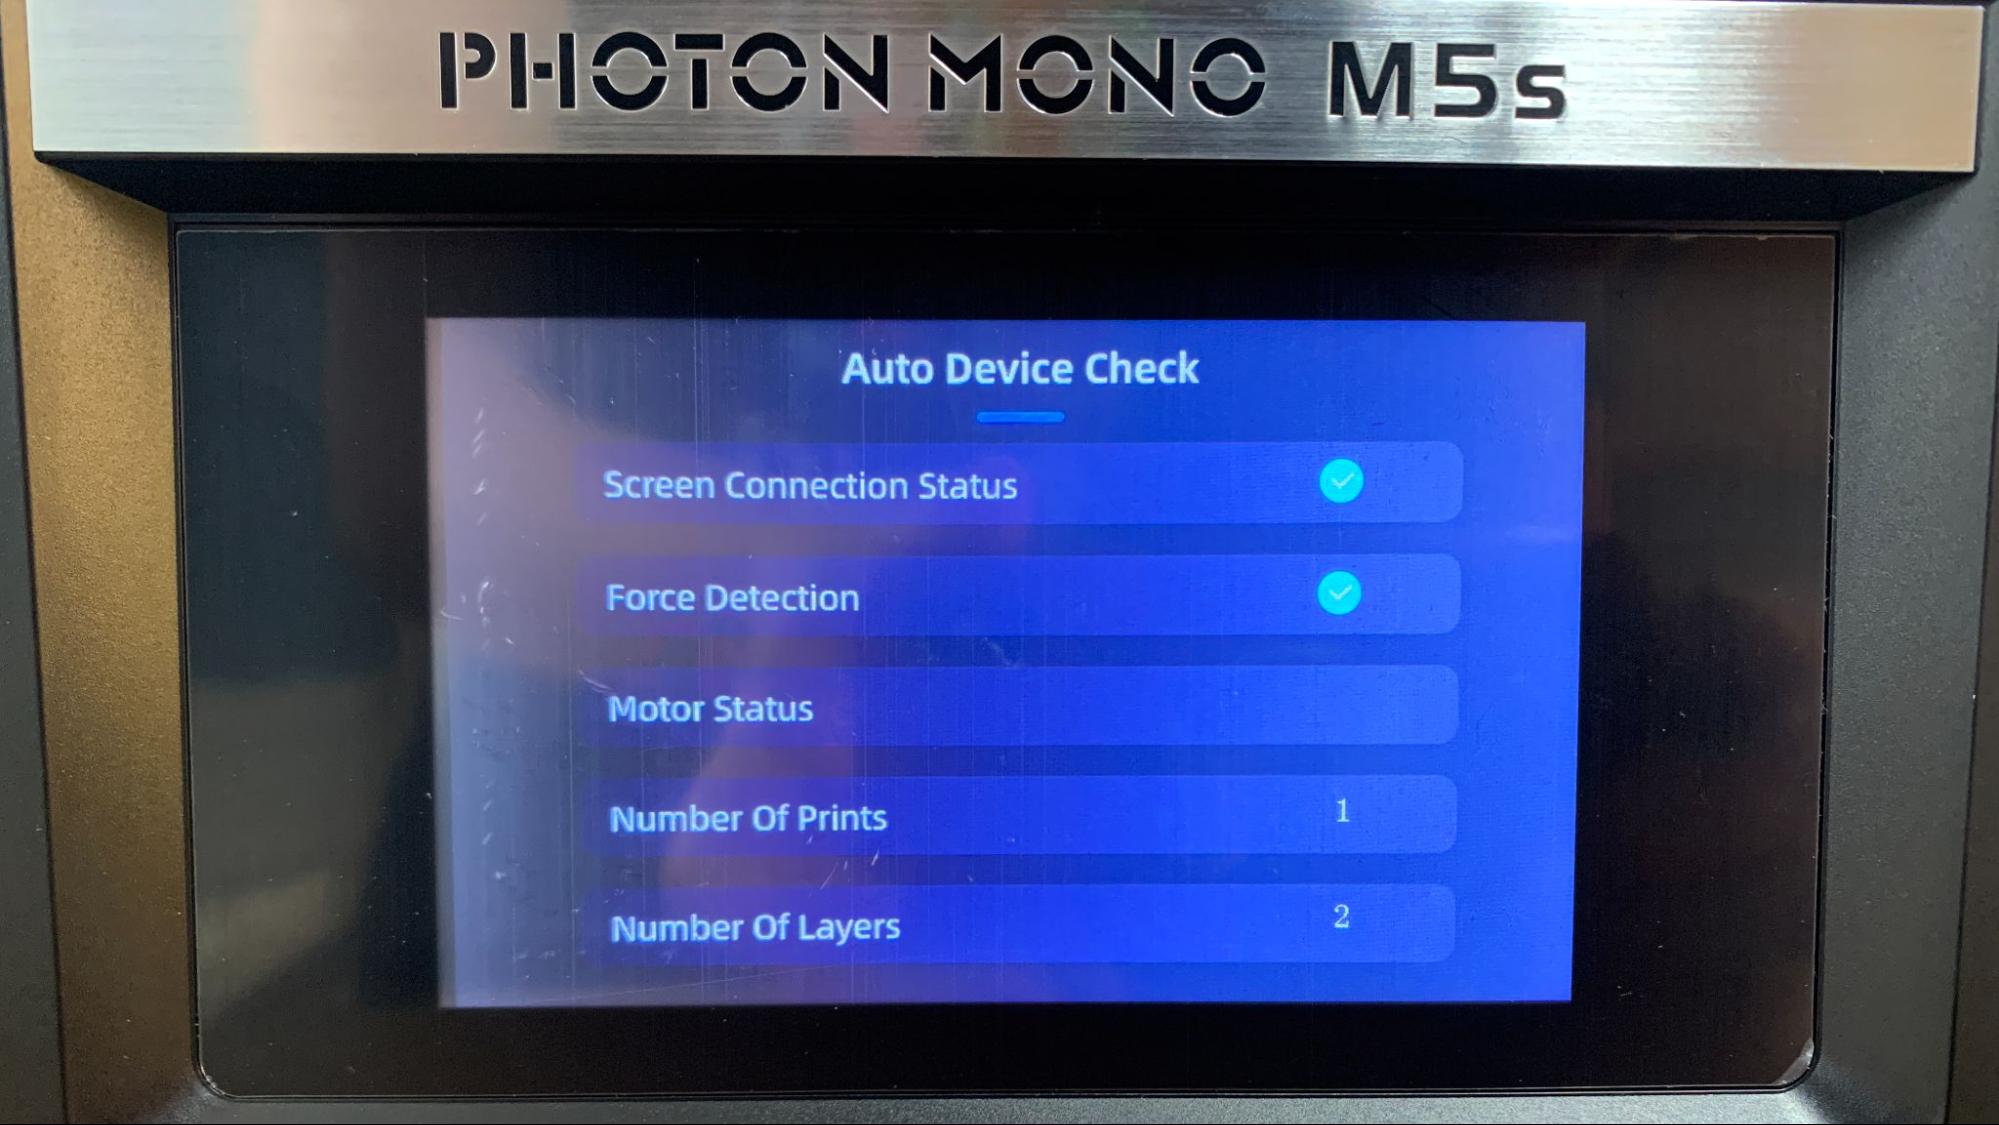
The M5s is a “smart” printer with a number of auto features to assist you. Besides the self leveling print bed, it also can detect the amount of resin in the vat and whether a print fail has occurred. It also runs a hardware check when it’s powered on and tracks how many models and layers you’ve printed. Knowing how many layers you’ve printed is very handy and helps you monitor wear and tear on the plastic release film on the bottom of the vat.
Anycubic’s Photon Mono M5s is breaking ground on two fronts – it is both a high speed printer and a high resolution printer. It can print at 105mm/s while using optimized parameters and has an unheard of 12k resolution.
The secret to its speed is a combination of a new AFC release film paired with super thin high speed resin. The film is more elastic than ordinary film and needs less force to pop the print off the glass between layers. Less force allows the M5s to make short, quick Z axis moves of only 3mm between each layer. The high speed resin needs a mere 1.4 second exposure per layer – half the time needed for standard resin.
The Photon Mono M5s has 12K resolution (11,520 x 5120) on a 10.1 inch monochrome LCD screen. This overwhelming number of pixels achieves a 19 micron accuracy on the X axis, which is incredibly crisp, especially when you consider that a human hair averages 70 microns.
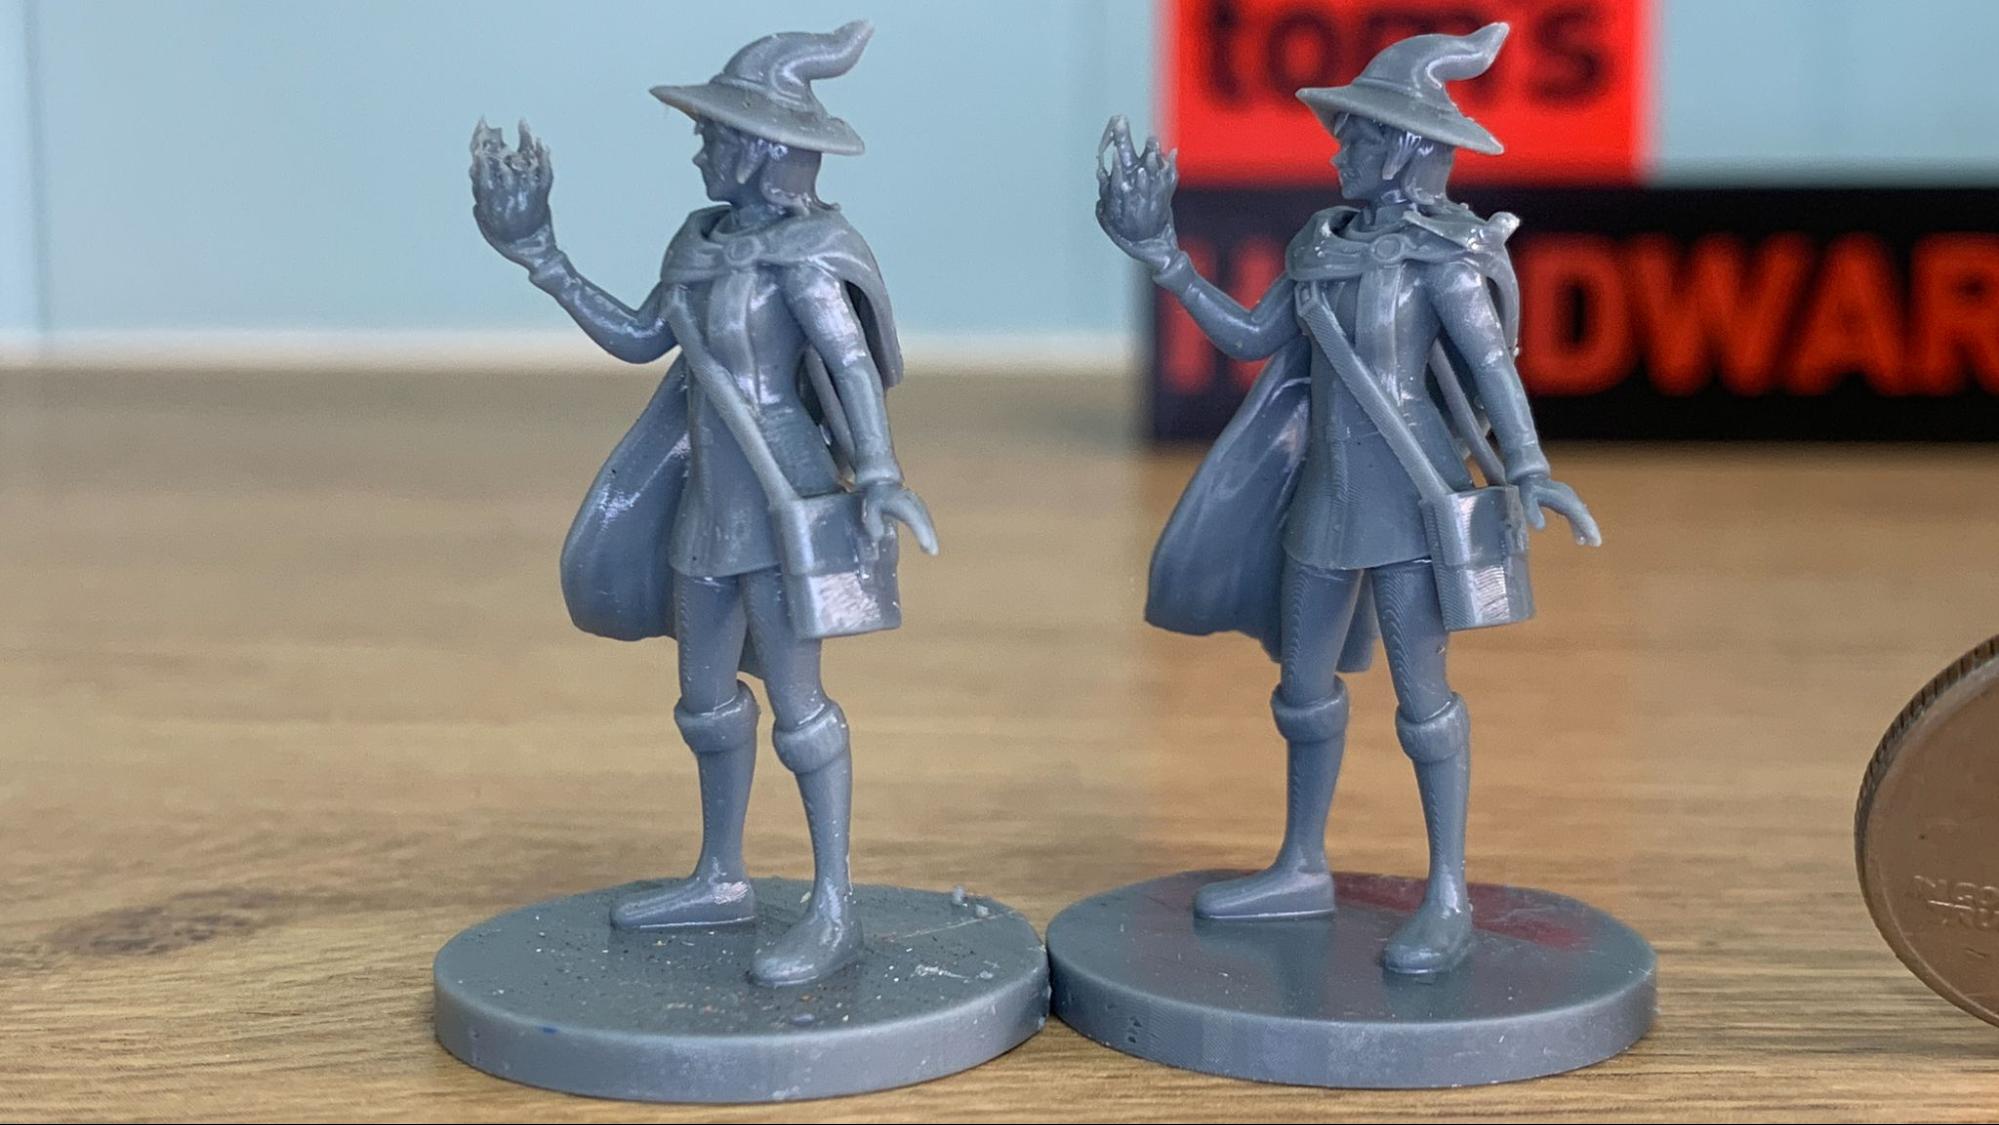
I would like to point out that when you get into these insane amounts of resolution, you’re only going to get out as much detail as you put in. For example, below are two gaming figures I found for free on Printables. These have a moderate amount of detail, and were designed when 2K printers were all the rage. One of these figures was printed on the Photon Mono M5s with its 12K glory…the other on a beginner level 4K printer. Can you tell the difference?
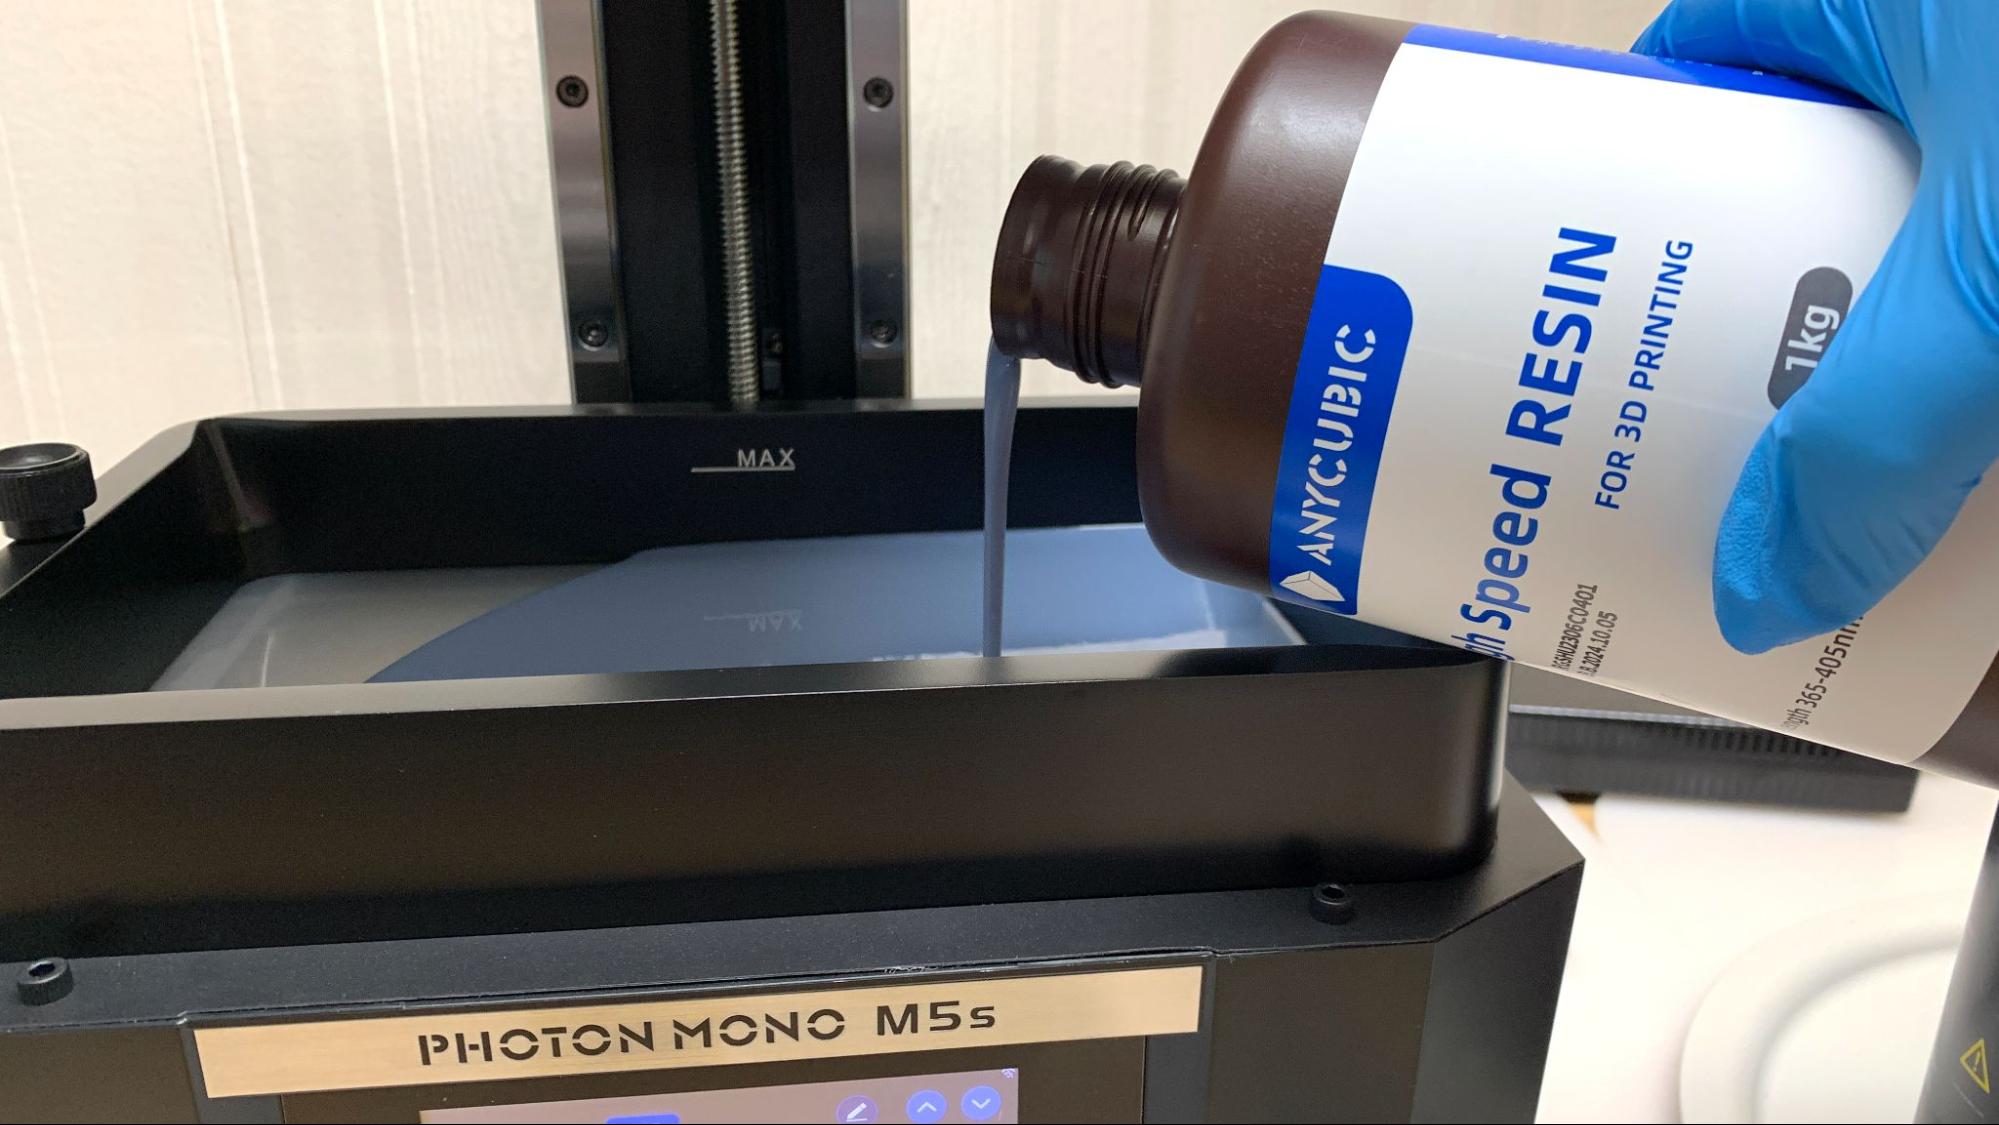
The build plate on the M5s is laser-etched, which grabs onto prints to keep them safe, but isn’t too difficult to scrape off. The top of the plate has enough slope to allow most of the resin to drain back into the vat. The vat itself also has a handy pour spout to help drain resin back into the bottle.
The M5s comes with a generously sized screen protector for the LCD glass, which protects it from scratches or dreaded resin drips.
It’s able to read files from a USB stick rather than a microSD card. The port is located on the side with the power switch, situated where you’re unlikely to drip resin. It also has WIFI through the Anycubic app. The app wasn’t ready at the time of testing, so I’m unable to say if it works well.
The touch screen is similar to other Anycubic resin printers. It is well thought out and easy to use.
Slicers Compatible with the Anycubic Photon Mono M5s
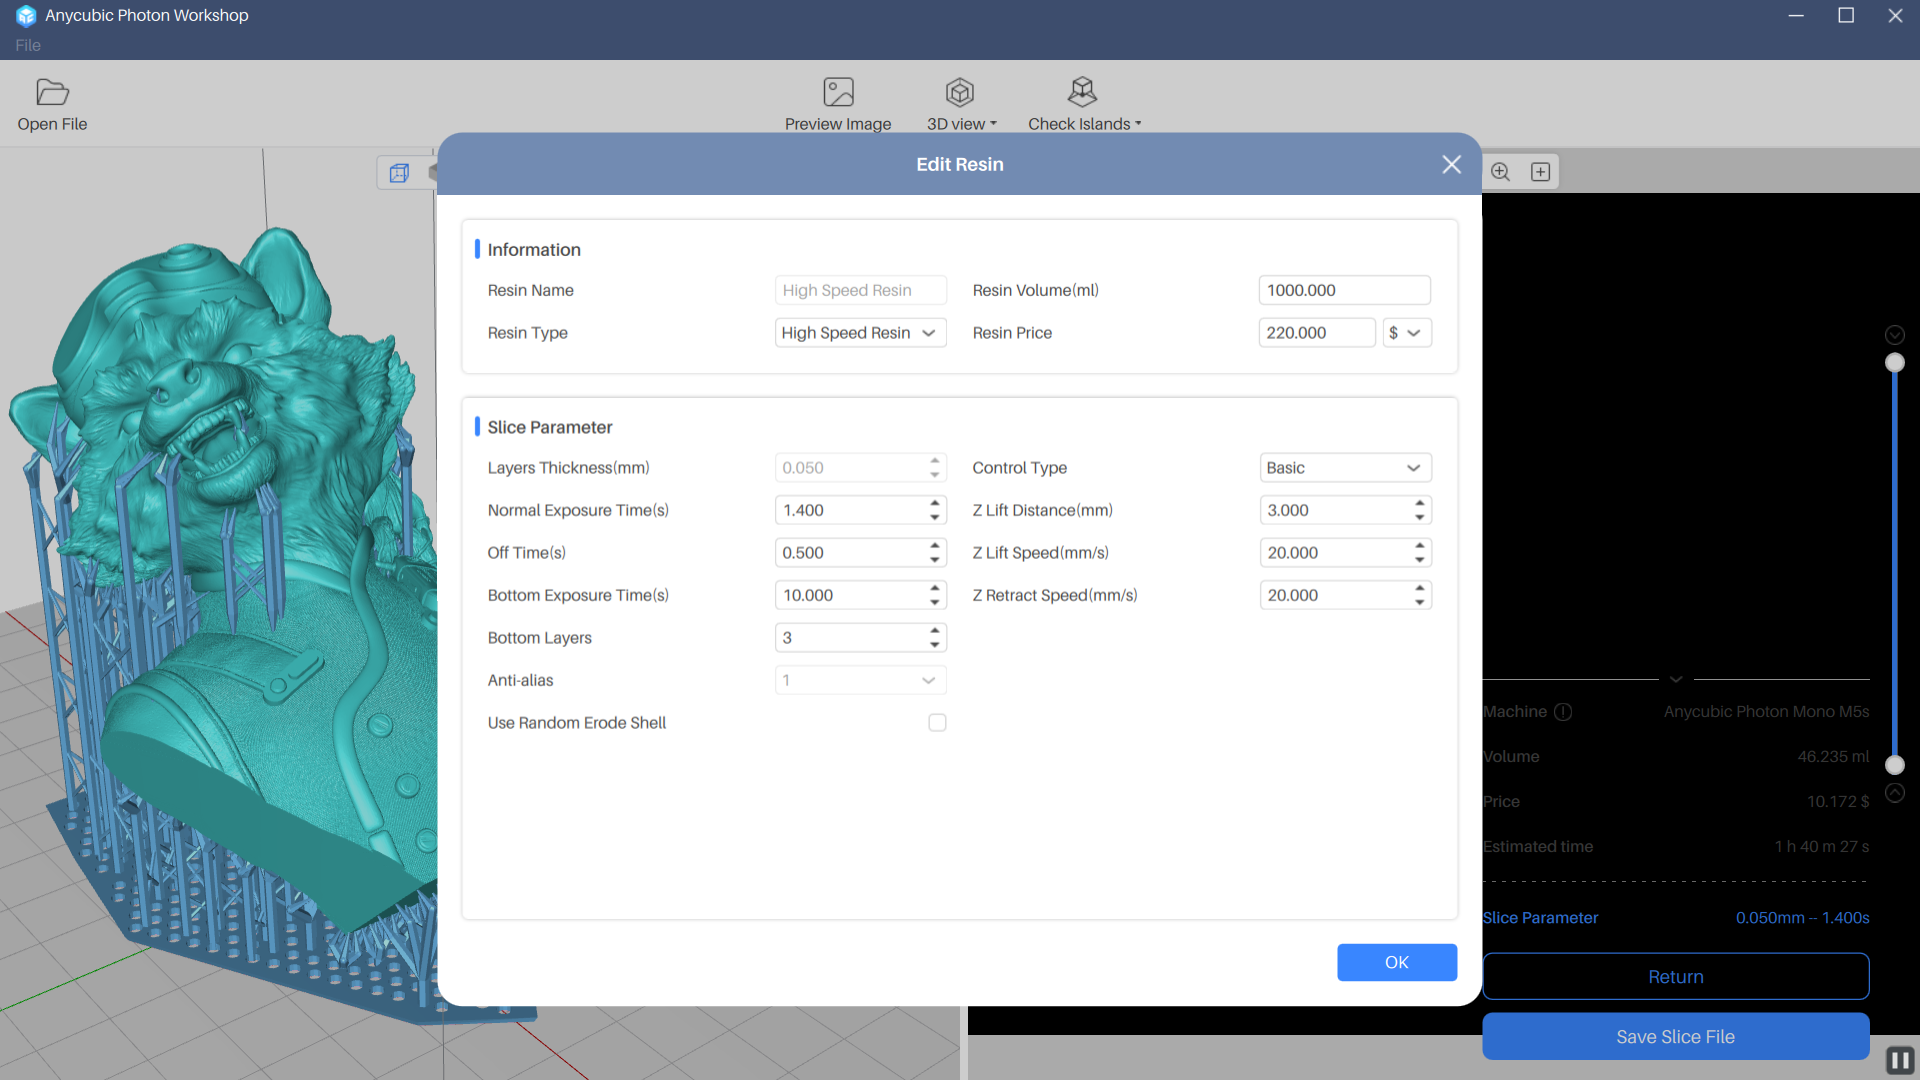
The Anycubic Photon Mono M5s ships with a copy of Photon Workshop V3, its custom slicer. The slicer has improved greatly and I didn’t have any problems using it. It handles supports well automatically and manually. It also has tools for hollowing the model and adding a drainage hole so you can conserve resin.
The new slicer has an "intelligent mode" used with standard resin settings, which analyzes the model’s size and level of detail. It then adjusts the print settings to reduce the risk of printing failures. This is an incredibly helpful addition to Photon Workshop, especially for inexperienced users.
The Mono M5s is so new, there are no profiles currently available for Lychee Slicer or Chitubox.
Washing and Curing Your Prints
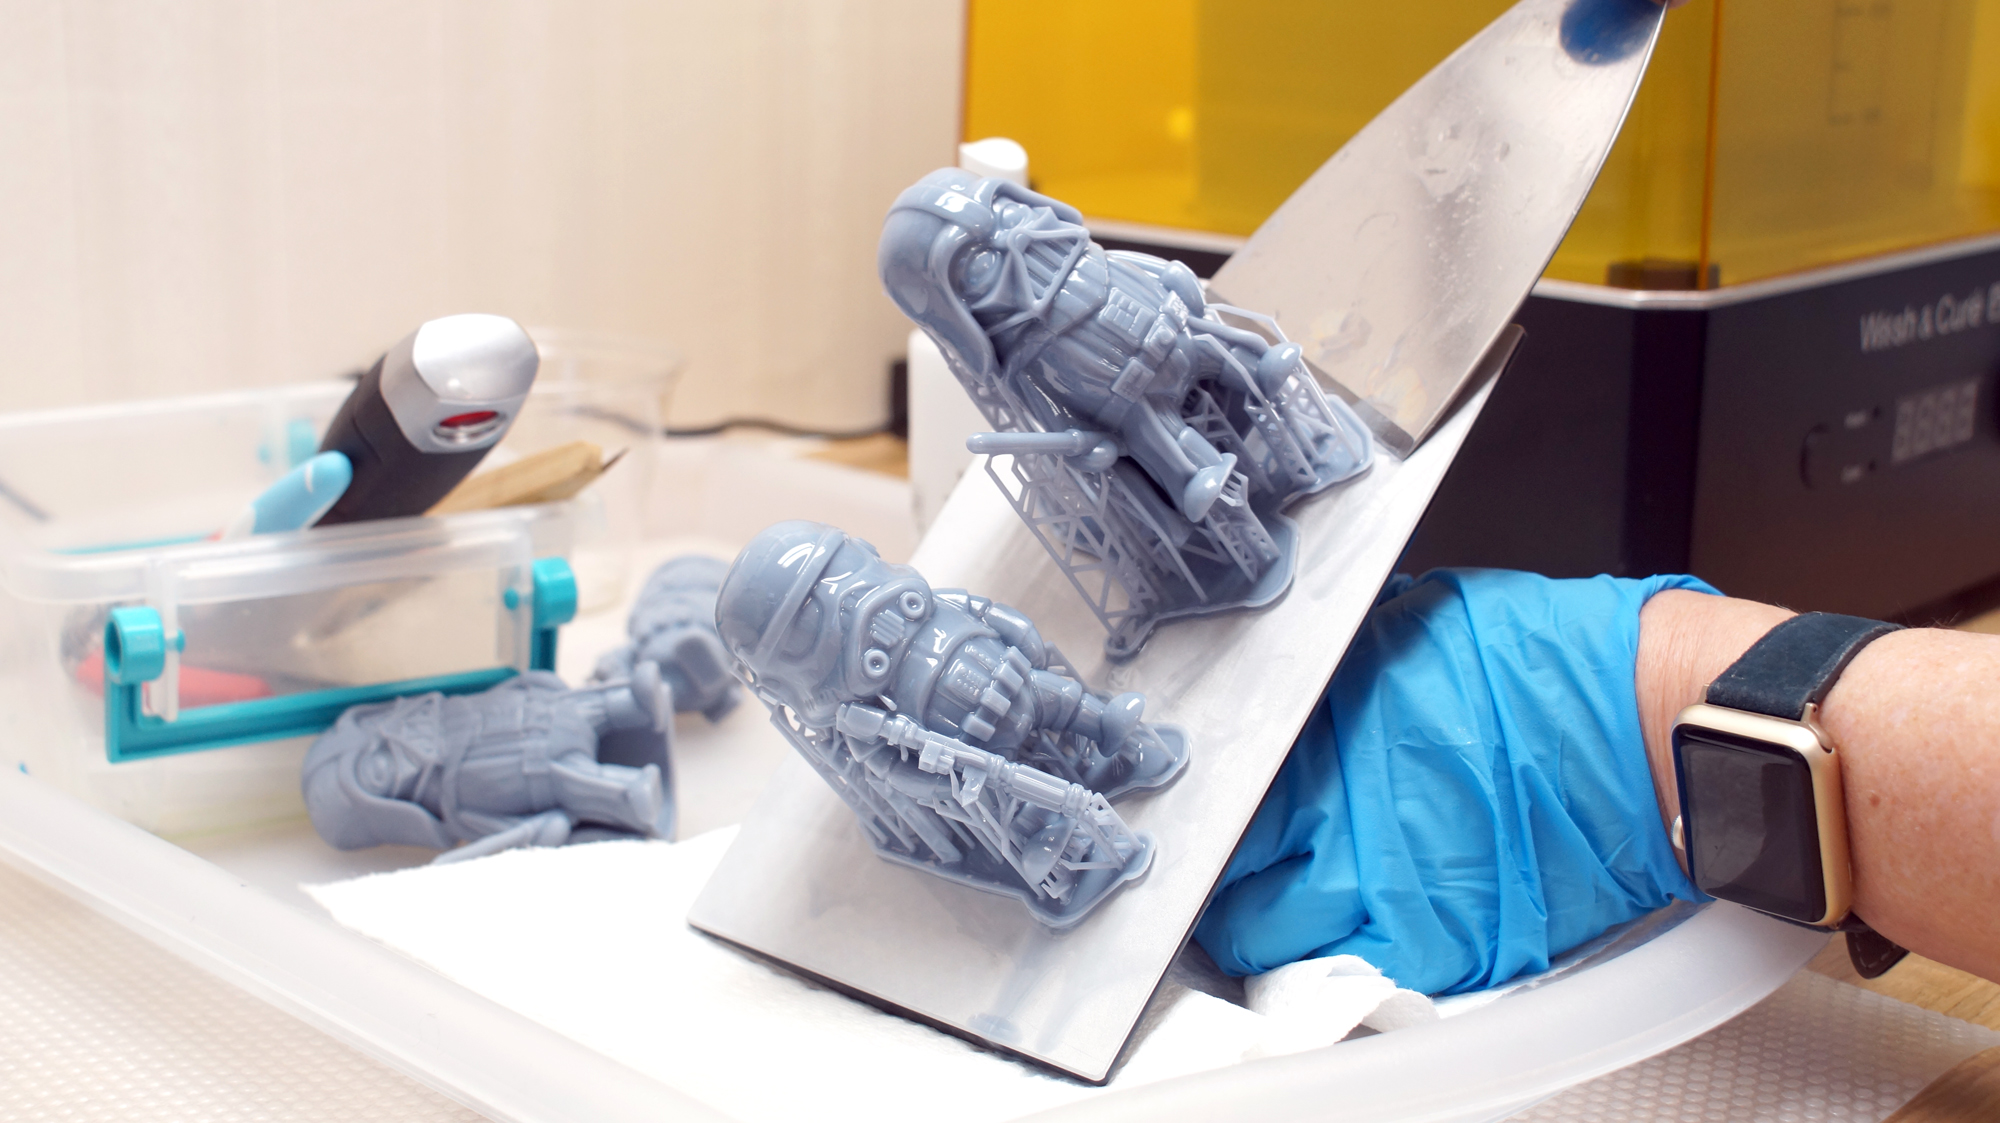
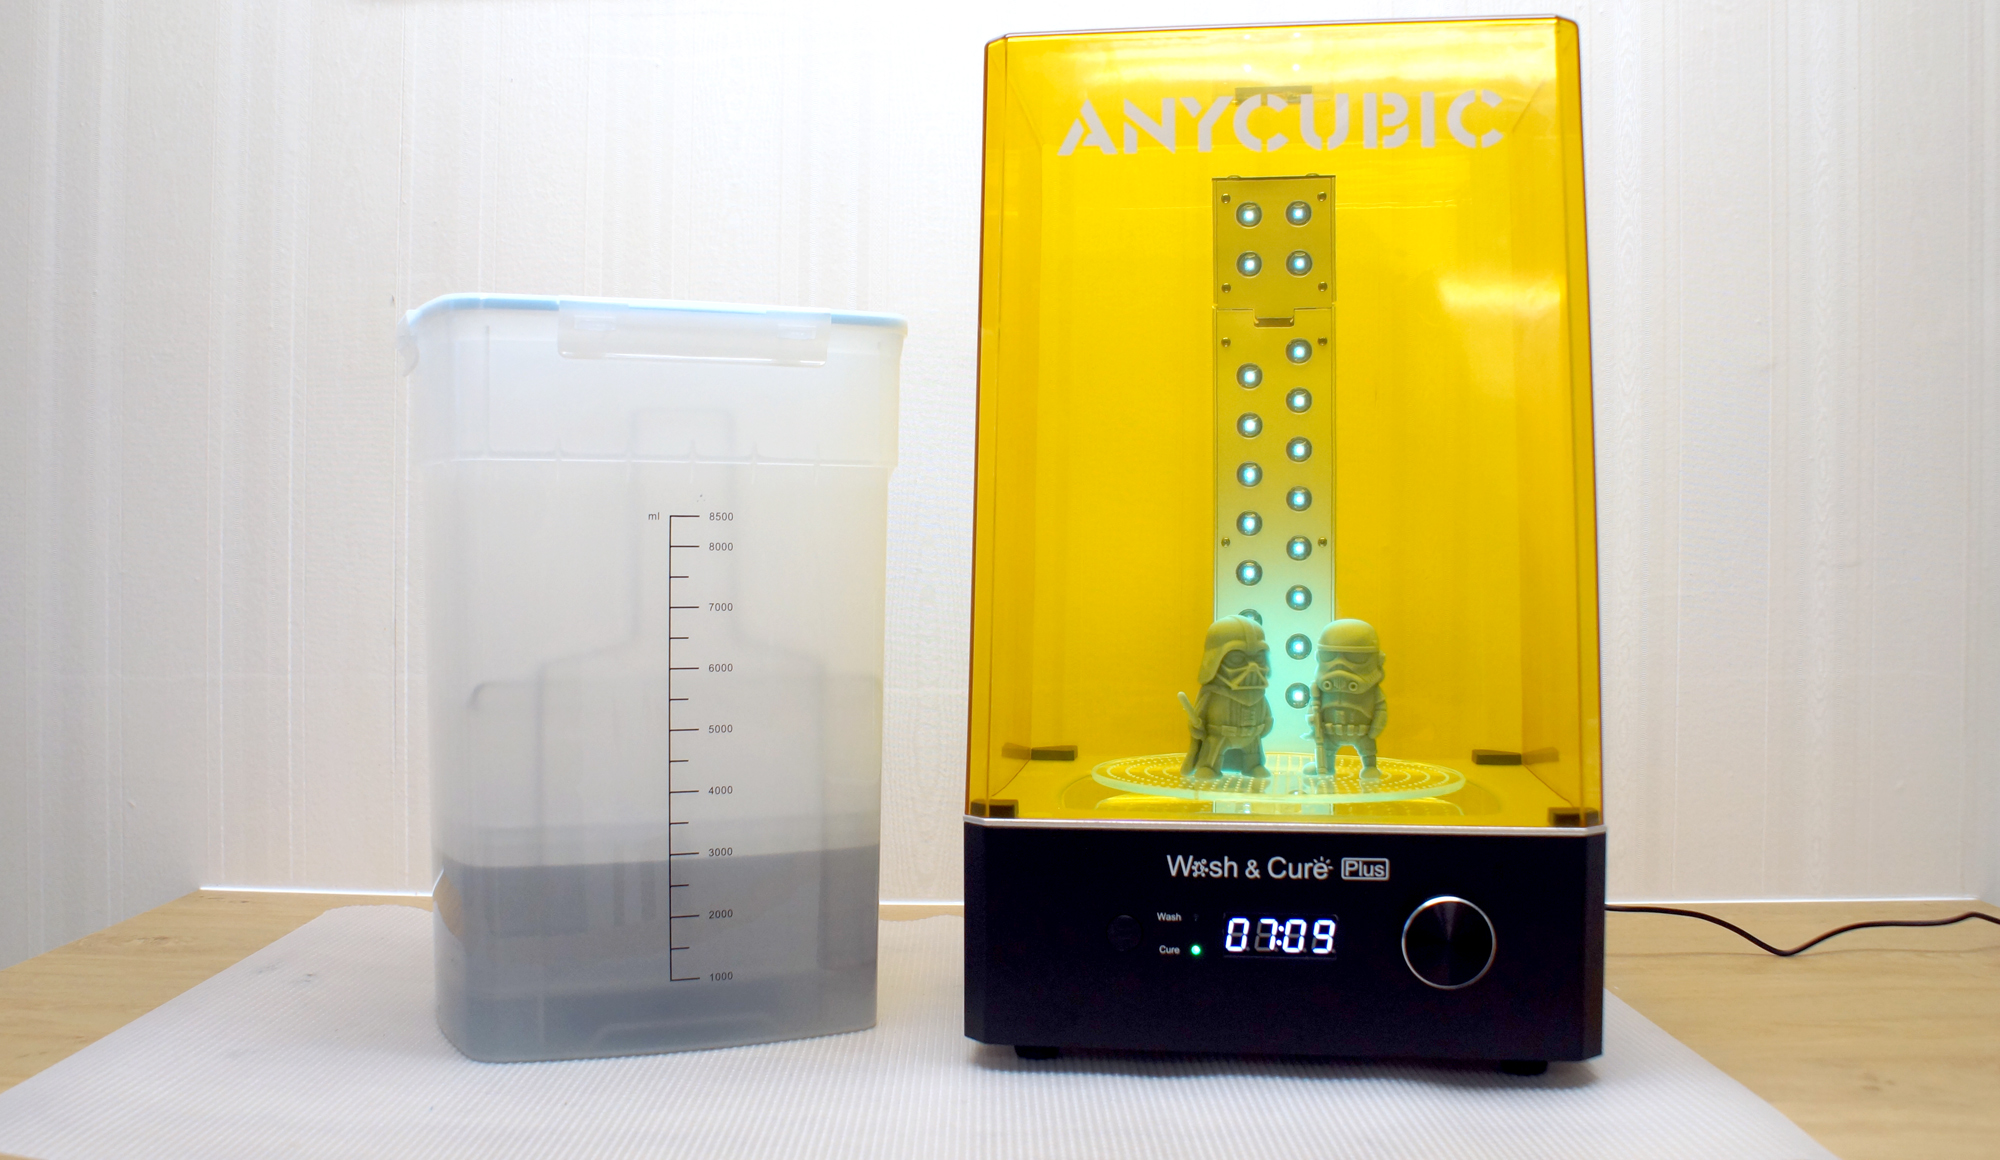
Before you can admire your prints, you’ll need to wash them with Isopropyl alcohol and cure with UV light. I like to give prints a 30 second hand rinse in a container of 95% Isopropyl alcohol, then a 2 minute rinse in the Anycubic Wash and Cure, which is sold separately, and retails for $249 at Anycubic.com.
Completely dry the print with a hair dryer on cool – IPA left on the print will turn white. You can also let the print air dry in a place away from sunlight.
Supports are easier to remove before curing because they are softer. Clip the supports off with side cutters and use tweezers to remove stubborn supports. Remember to always wear gloves while handling uncured prints.
Then place the print in a UV curing station for 15 minutes, or outside in bright sunlight for a few hours.
Your IPA should never be flushed down the drain, especially after being contaminated with uncured resin. Instead, keep using the resin until it’s too dirty, then leave the container open to evaporate. The remaining sludge can be cured with UV light or the sun before being thrown away.
Supports should also be cured before being thrown away.
Sample Prints on the Anycubic Photon Mono M5s
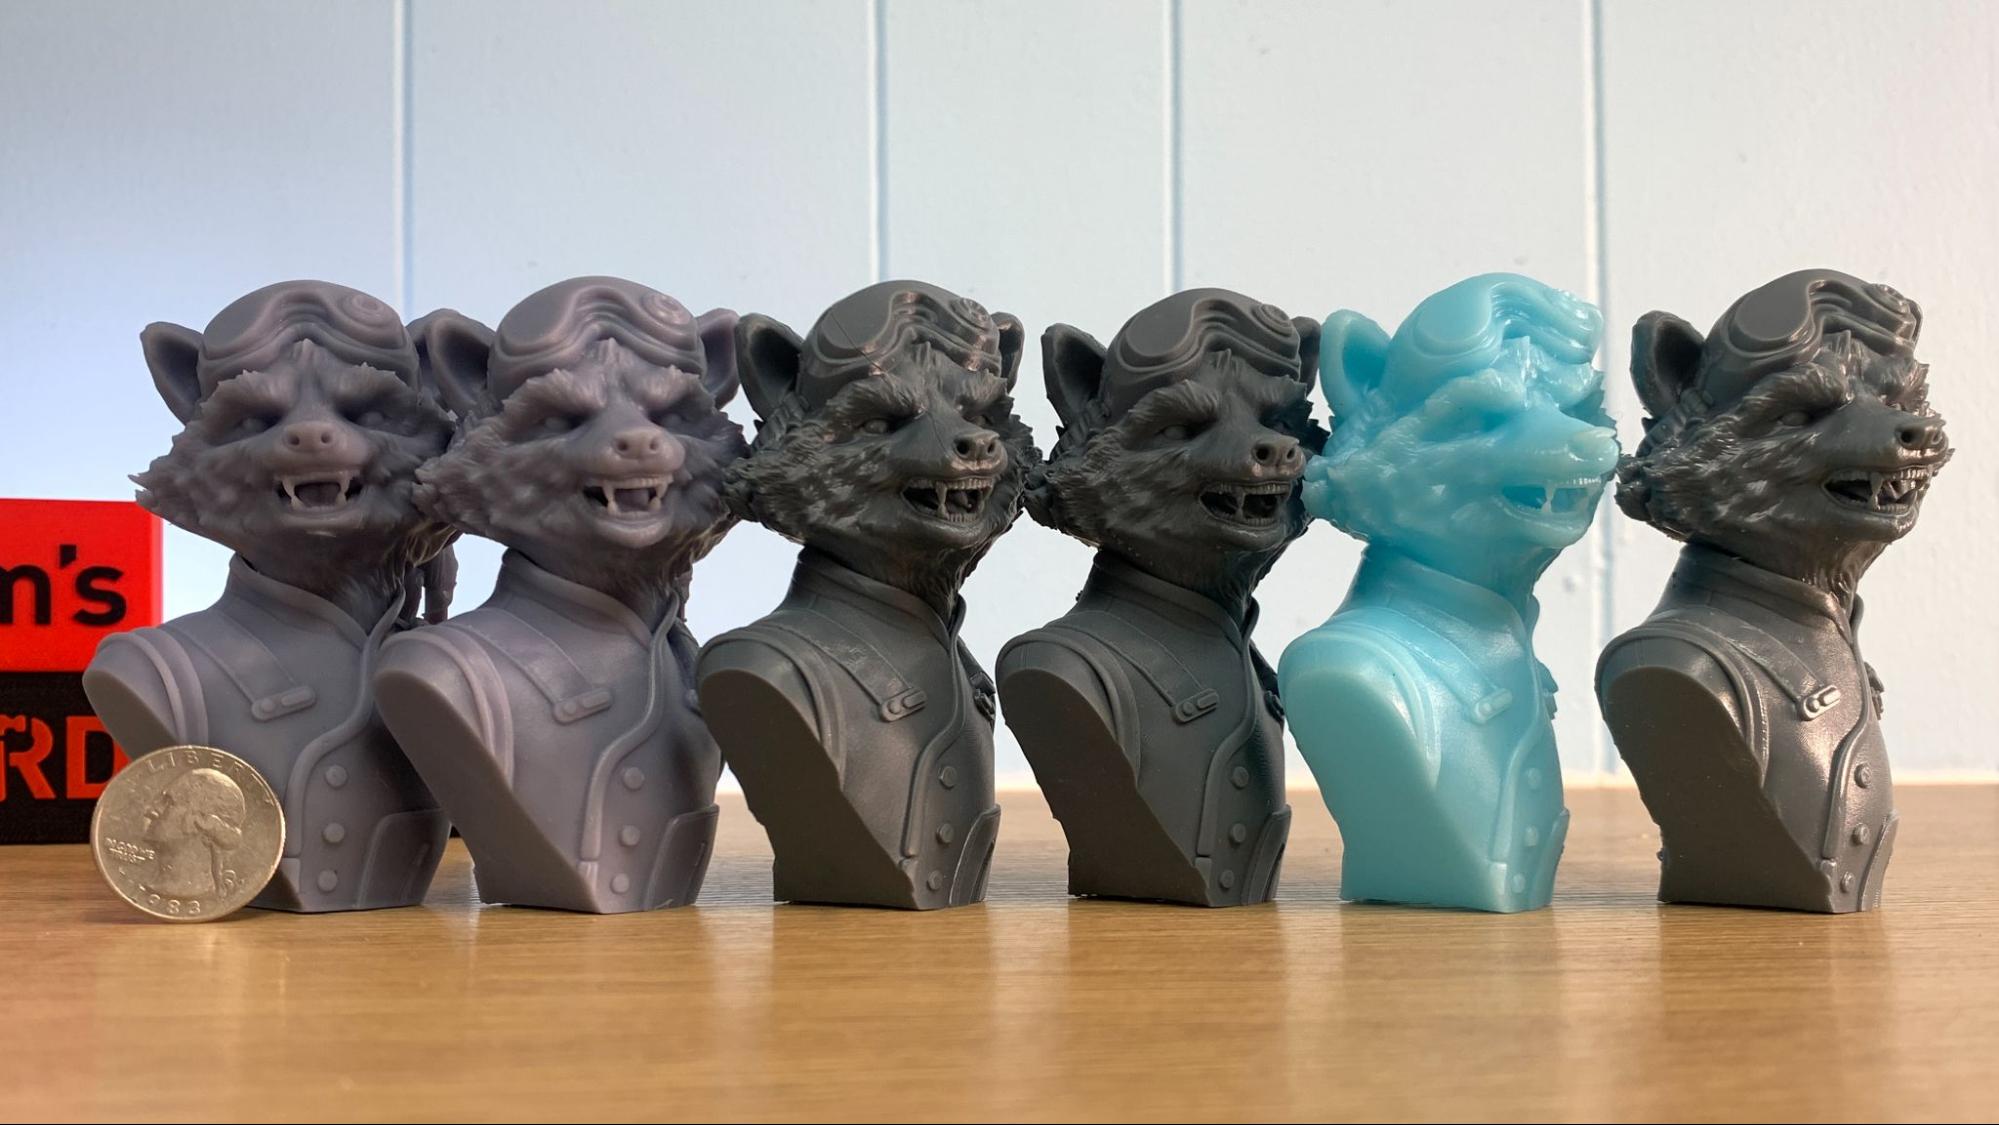
There was a lot to test with the M5s as it has settings for both high speed and regular resin. I did most of these tests using the same model – Wekster’s Rocket – for easier comparison. Photon Workshop has three profiles for the M5s: Default Resin Normal, Default Resin Fast and High Speed Resin.
The “Default Resin Normal” profile is for slower, highly detailed printing using resin with a standard – aka thick – viscosity. This profile uses a .05 layer height and 2.8 second exposure with a Z lift and retract speed of 6mm/s. It will produce the cleanest, most crisp results, especially when paired with a high definition resin. This is the profile you would use if you revert to standard FEP release film.
Both of the M5s fast profiles cheat a little. They use .1mm layer heights, twice the thickness we use with even a basic 2K printer. Both fast profiles use a 20 mm/s lift and retract speed between exposures, compared to the slower profile’s 6mm/s speed.
Anycubic states models must be hollowed, with a thickness no greater than 2mm, for the high speed resin profile. This is due to the delicate nature of the provided 3rd Gen release film.
For better understanding, the recently reviewed Anycubic Photon Mono X2 would need 6 hours and 47 minutes to print this exact same file with a normal .05 layer height. This is two hours slower than the M5s’ slowest, most detailed setting.
Here are the results of my testing.
⋇ Anycubic High Speed Resin, Fast Profile
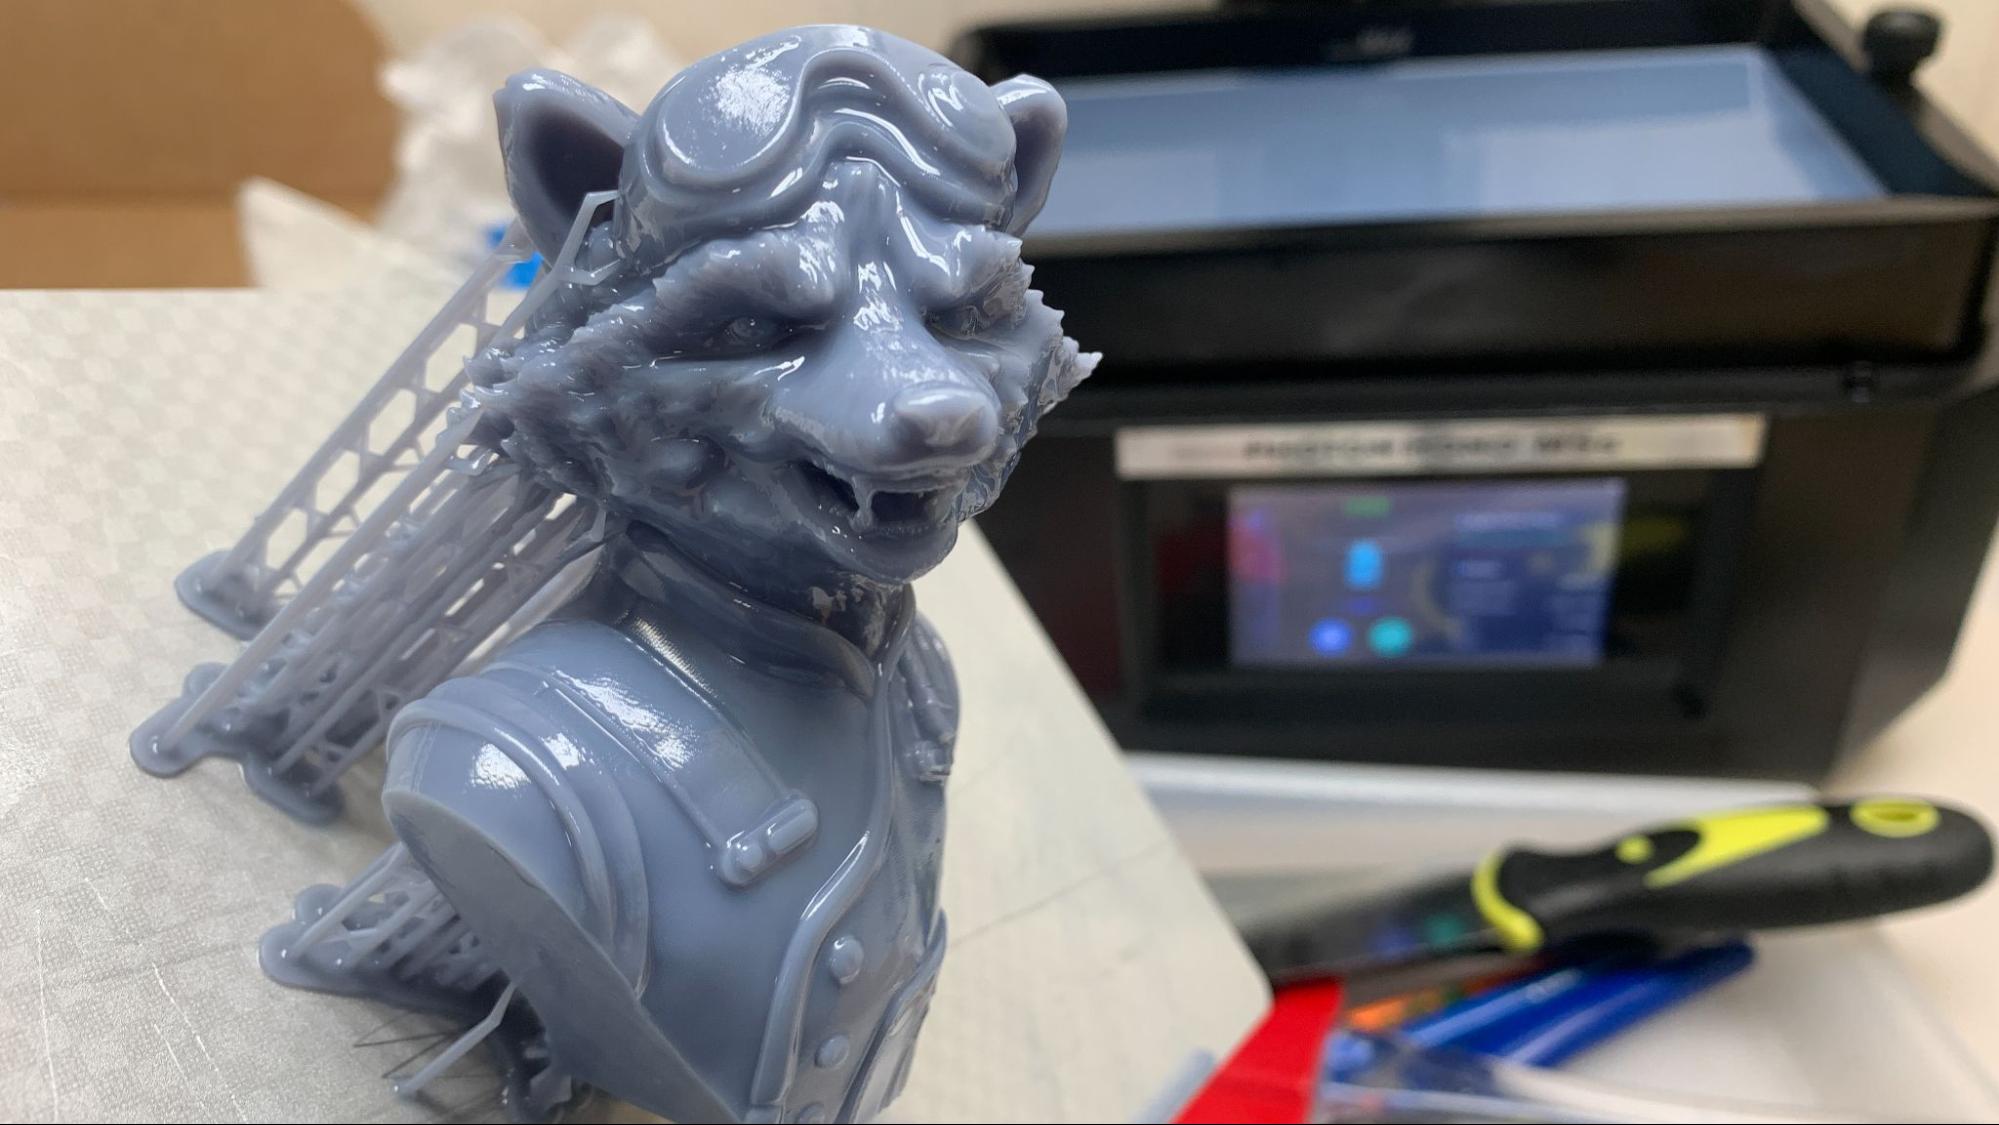
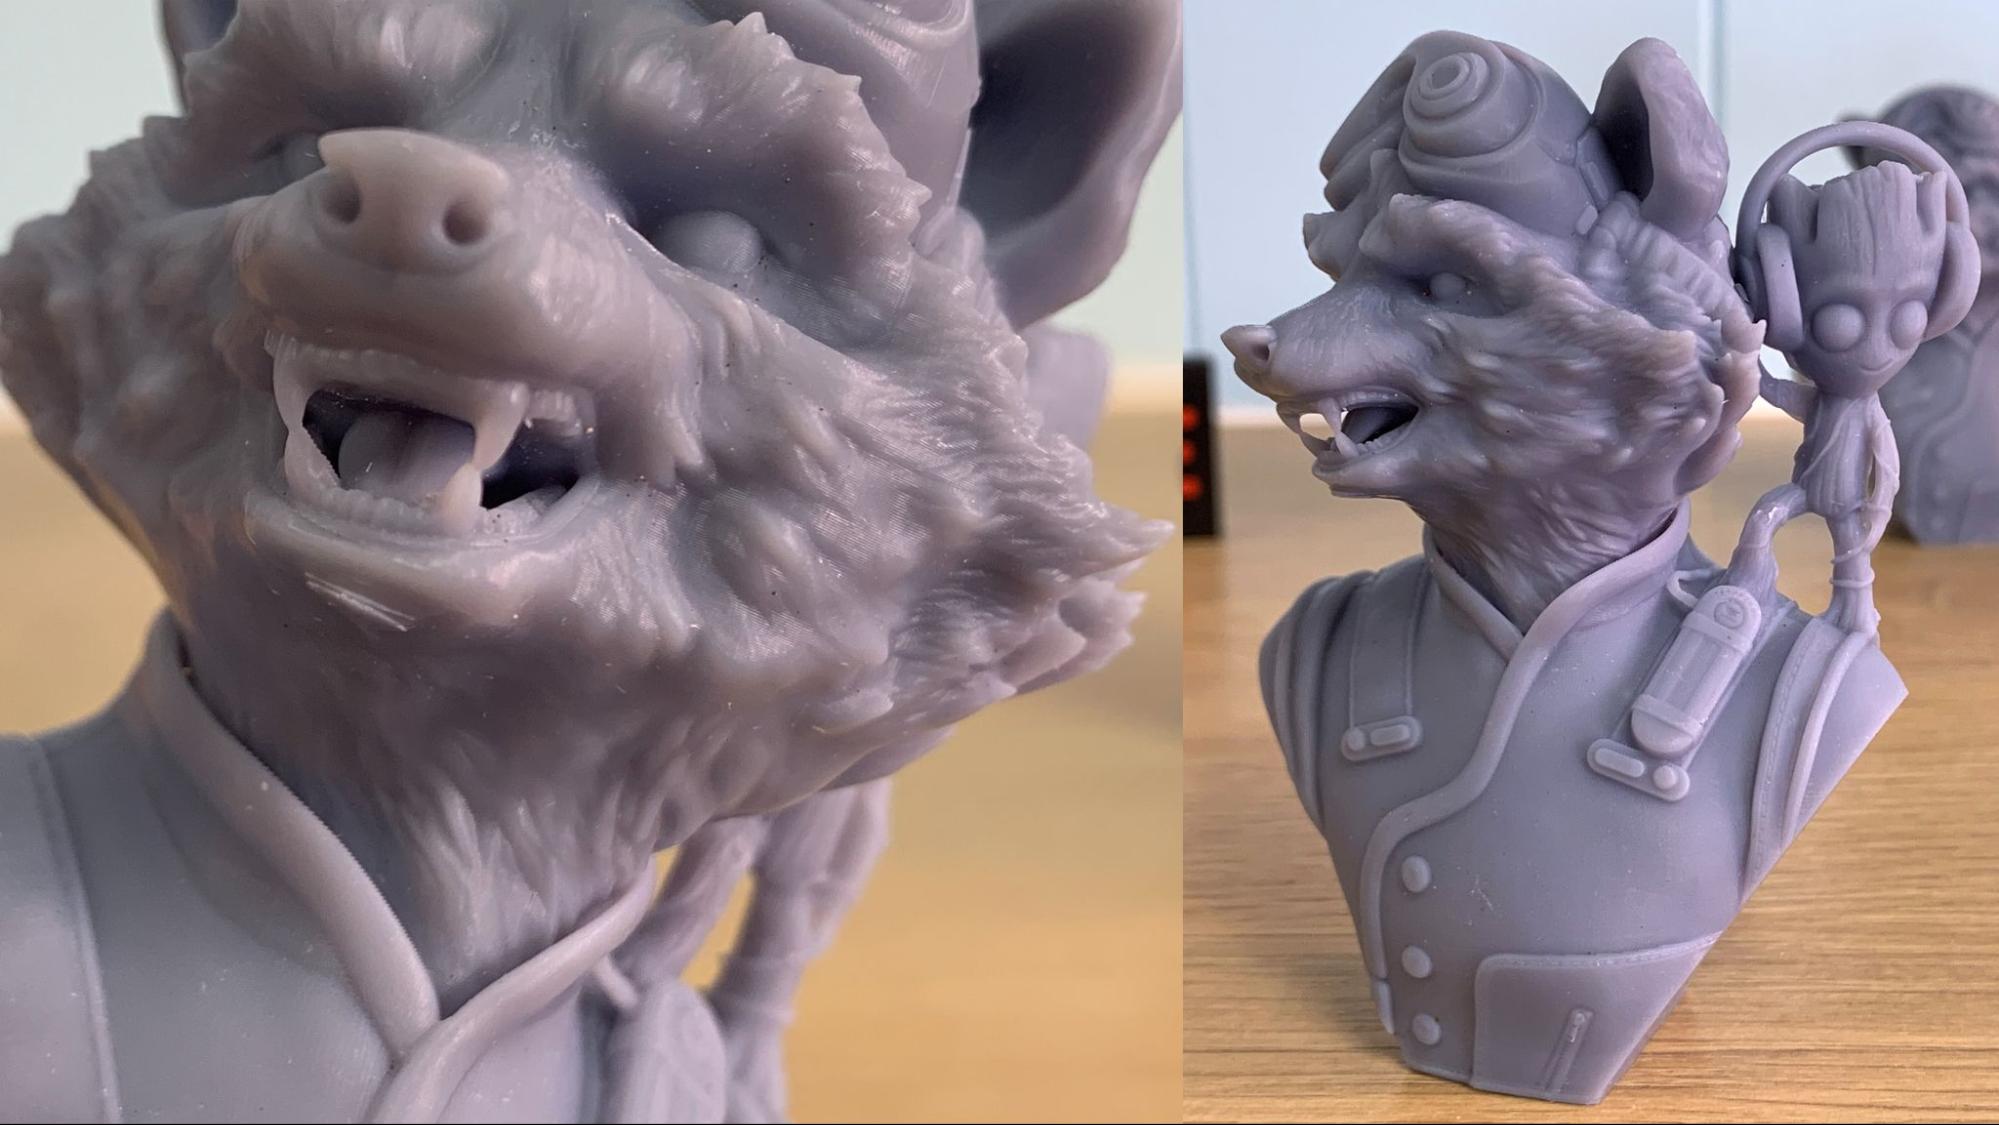
The first print in the test had to be a fast one, so I loaded the vat with Anycubic’s High Speed resin. The resin is very thin, like skim milk, and only needs a brief exposure time of 1.4 seconds a layer. The default profile is curious, as it uses a .1mm layer. The results were a superfast print that looks ok at arm's length, but is probably best used for prototyping.
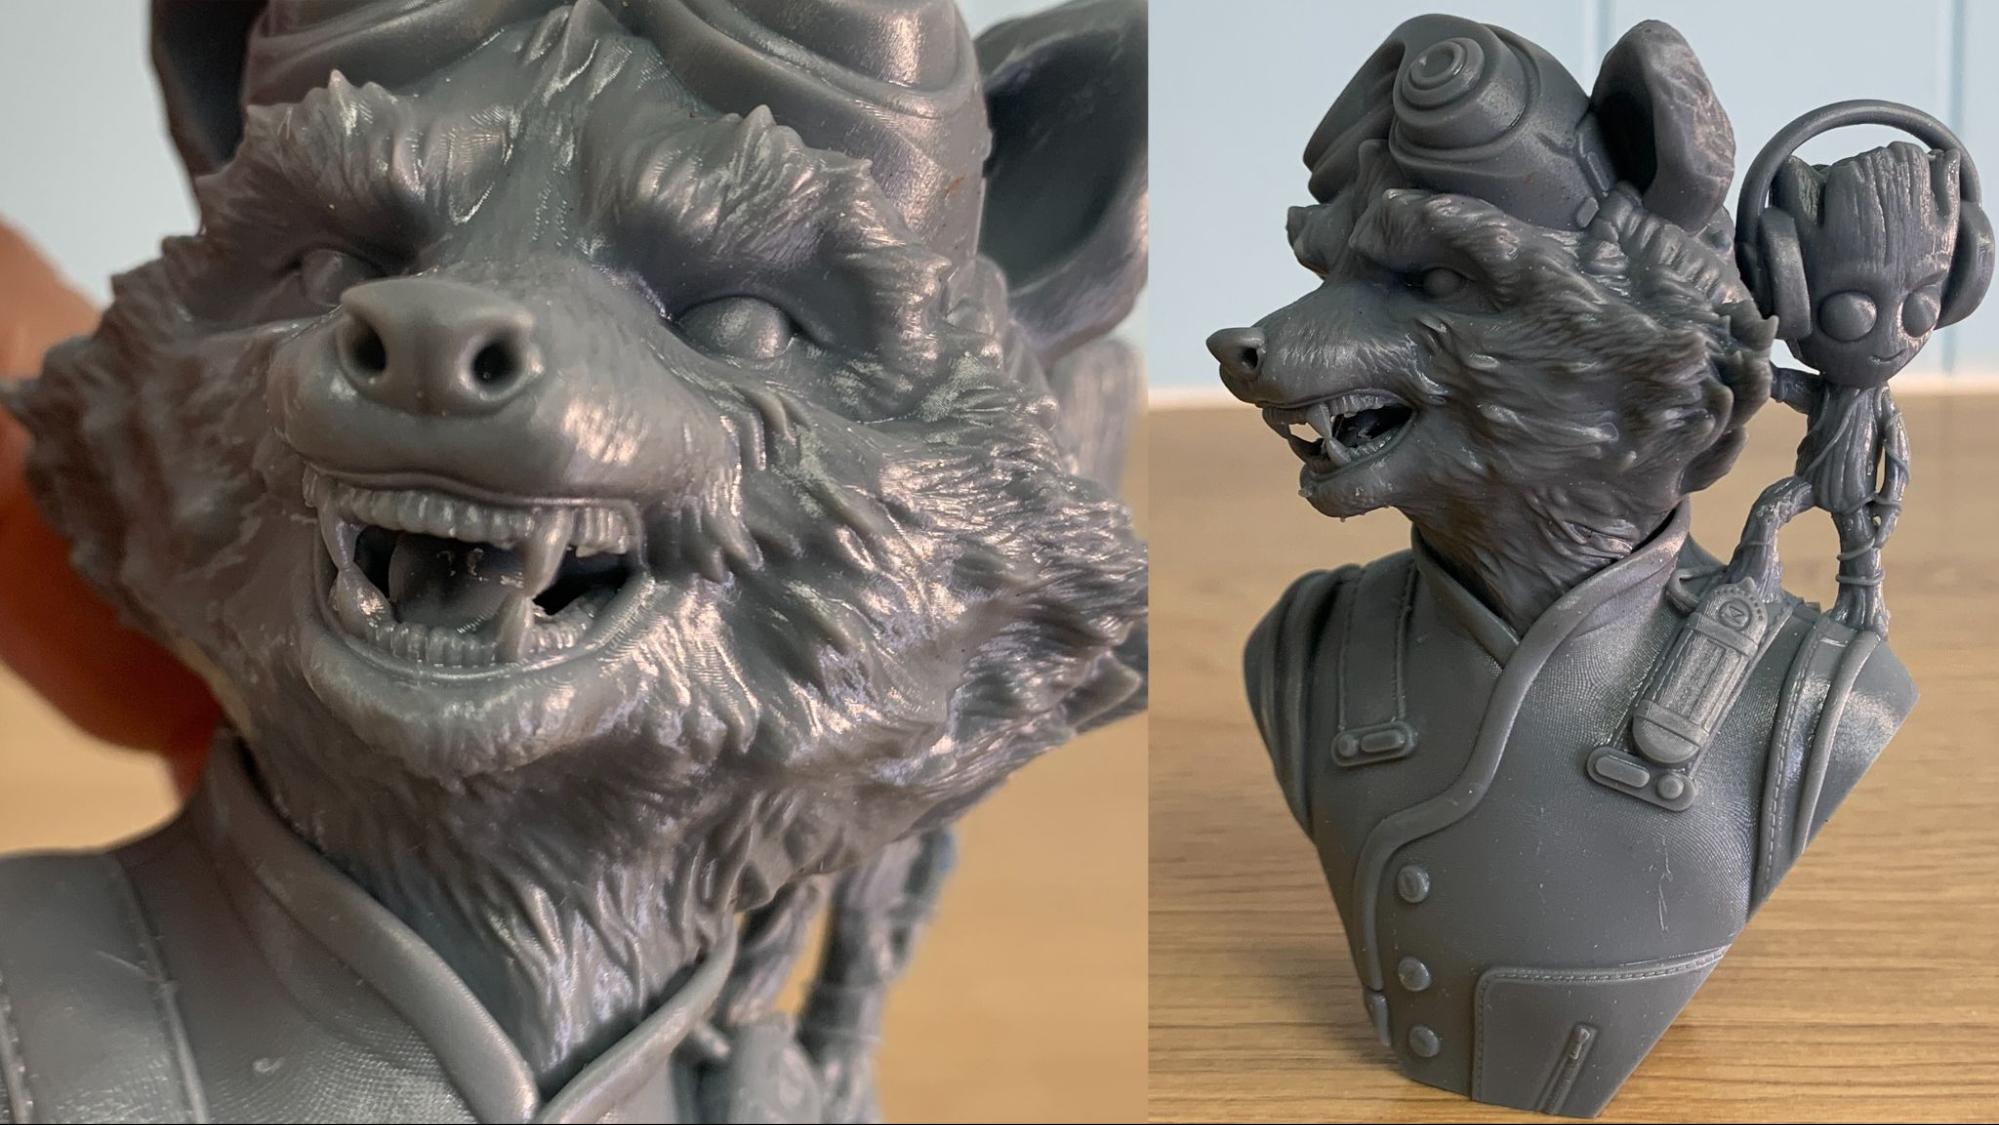
Rocket looks soft and lacks the detail you’d expect from resin. There was also a bit of peeling under his chin from the speed. Baby Groot looks good, but is nothing special. Why would you use this setting? Because it printed in under an hour, nearly a 7th of the time it took an ordinary printer.
High Speed Resin: 50 minutes, 21 seconds, with a .1 mm layer height.
⋇ Anycubic High Speed Resin, Modified Profile
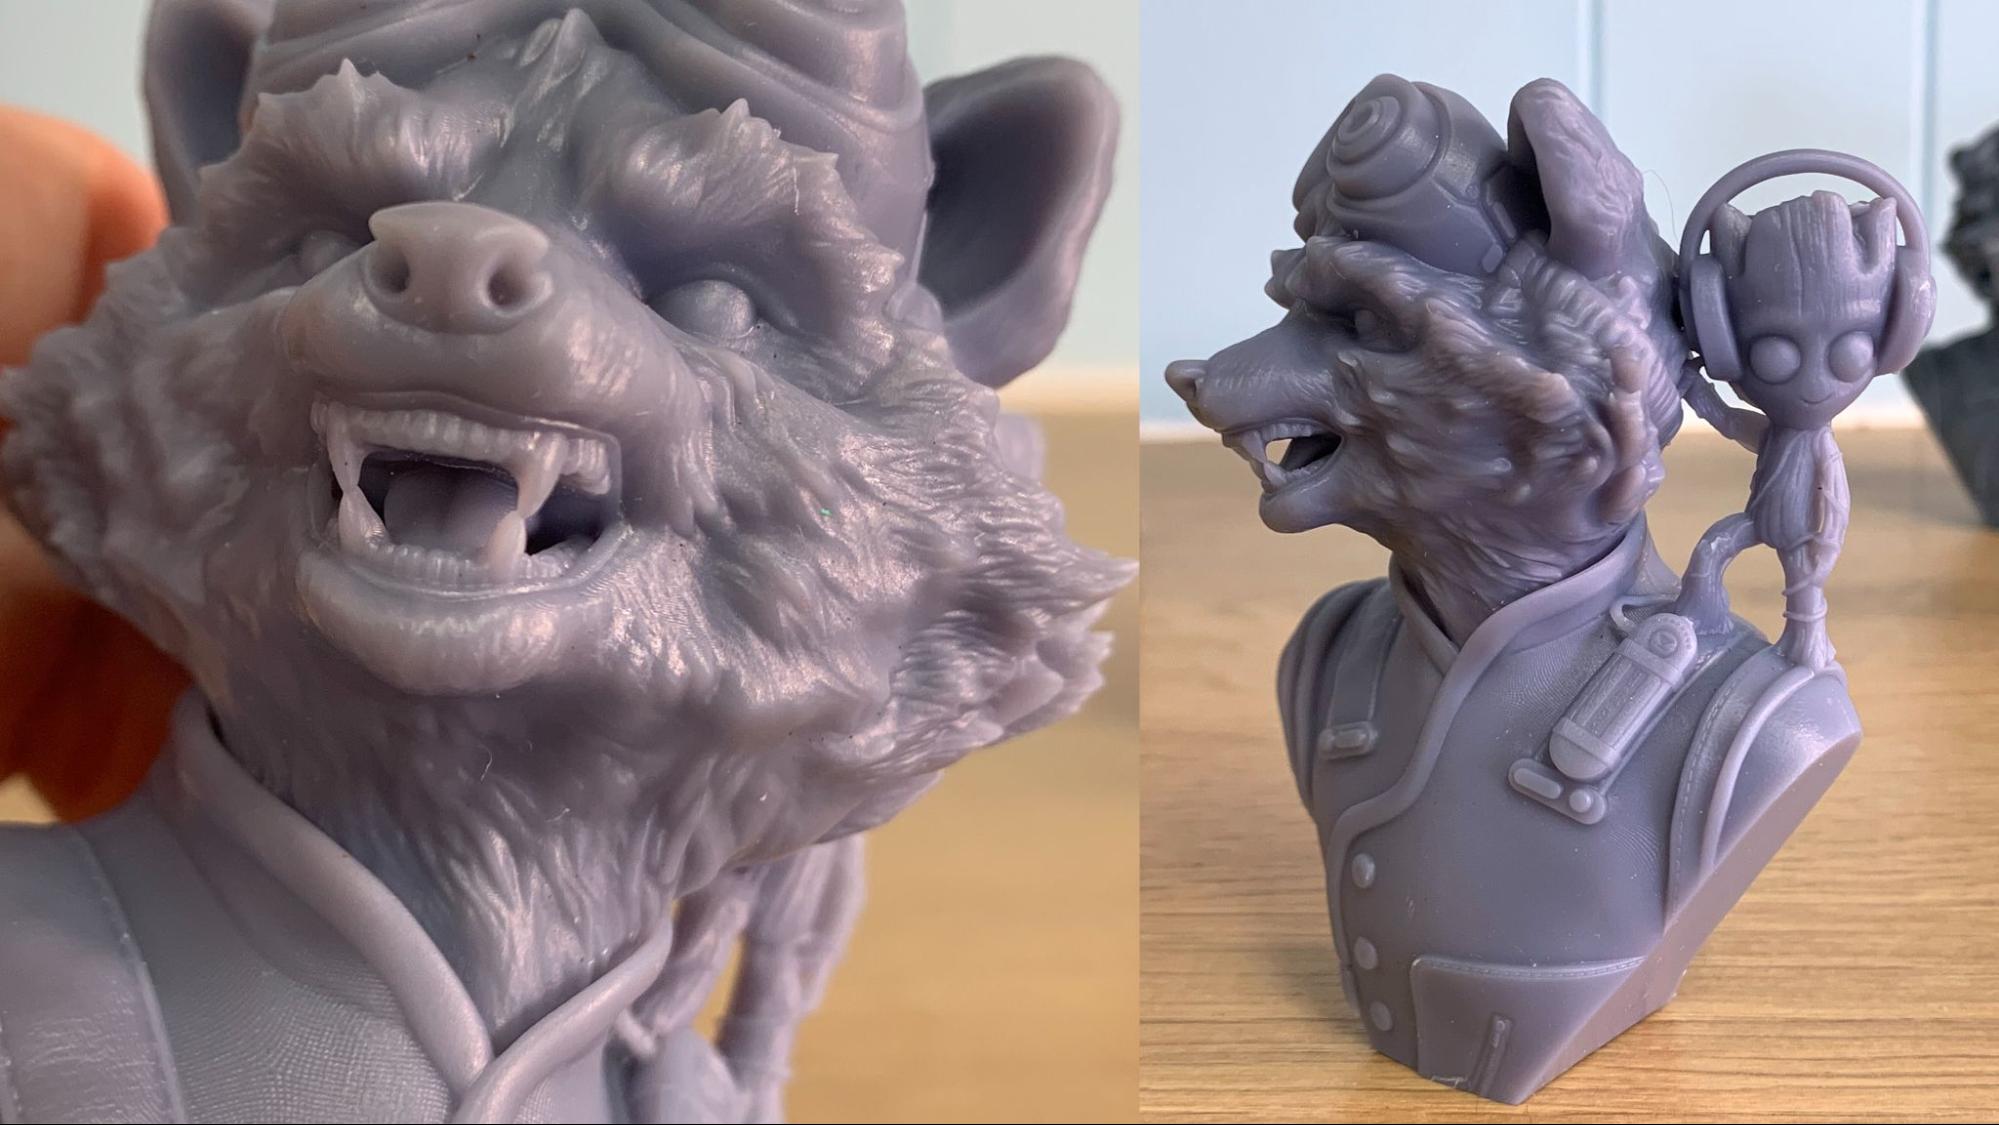
For the next print I reduced the layer height to a “normal” for resin .05 layer height. Everything else remained the same. This is more what you’d expect to see: a detailed print that’s incredibly fast. If you look at Rocket’s teeth, you can really see the difference. This print is worth displaying.
High Speed Resin: 1 hour, 31 minutes, 27 seconds, with a .05 mm layer height.
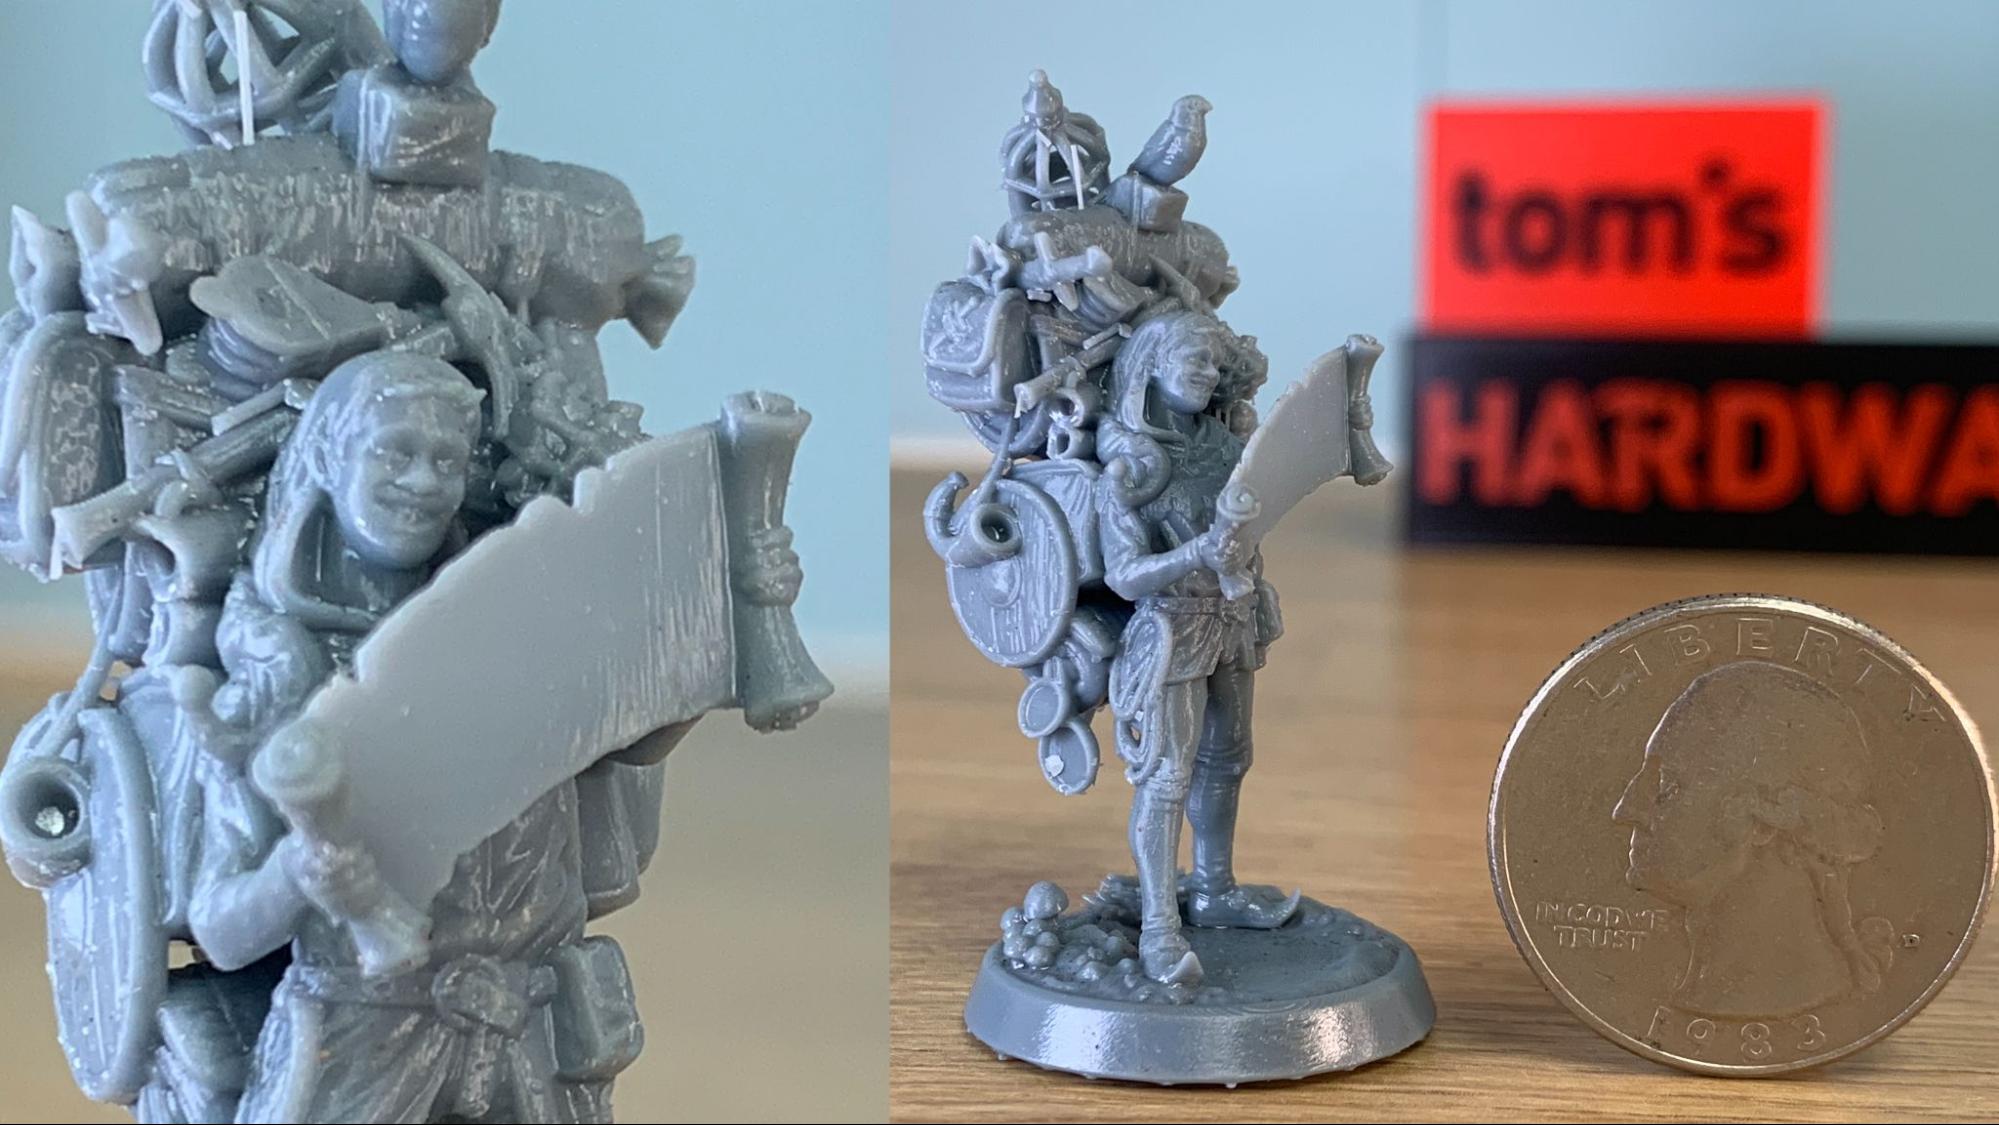
Since I had room on the build plate, I also ran this incredibly detailed gaming figure that Loot Studios uses to show off its work.
This Snailfort also shared the same build plate. I shrunk the model down so it was about the size of a real garden snail and it didn’t lose any of it’s details. You can see texture on the snail’s skin and each tiny brick. I had to zoom in so close you can see the fine scratches from my tweezers where I pulled off the supports.
⋇ Anycubic HD Resin, Normal Profile
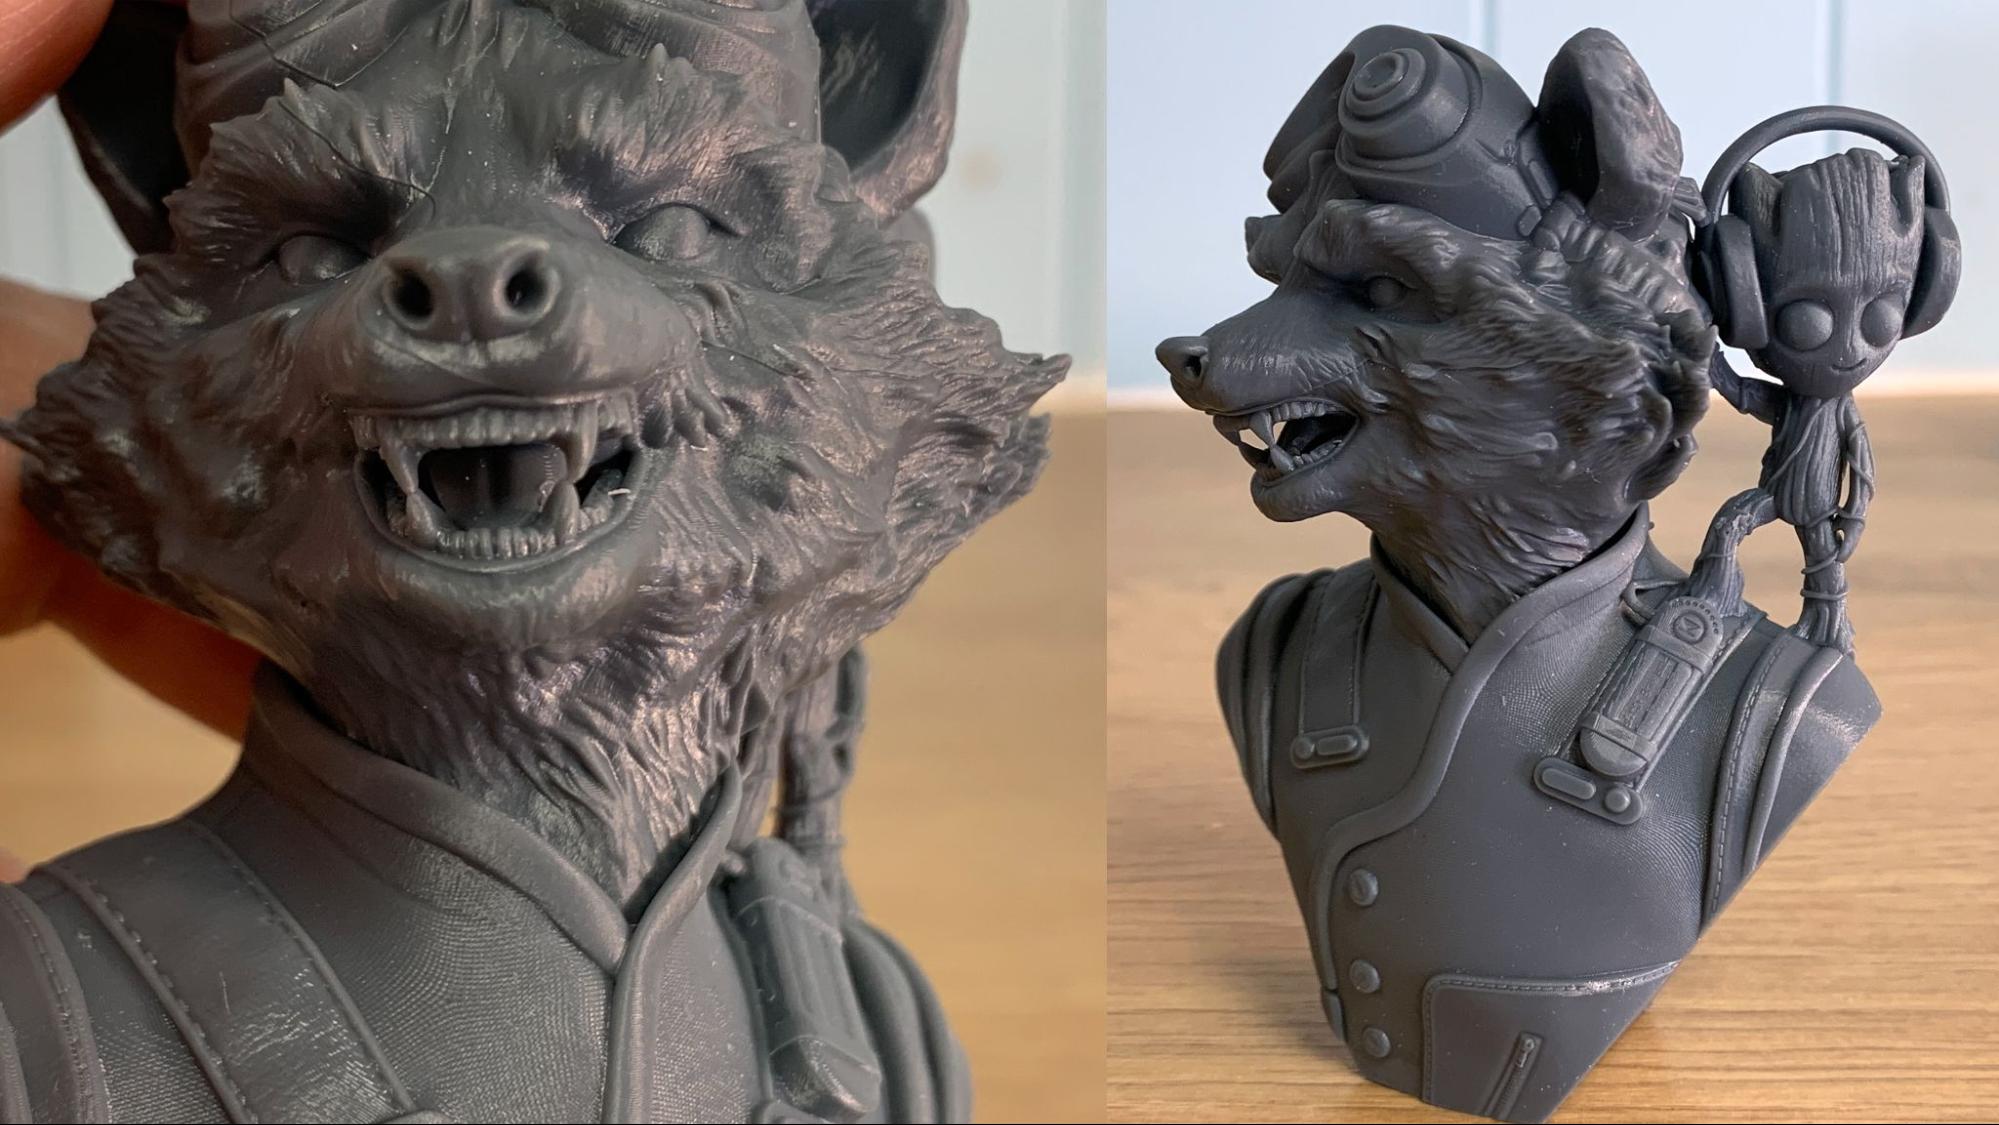
I switched to Anycubic’s High Precision resin and tested the “normal” profile for standard materials – which was still almost two hours faster than the Anycubic Photon Mono X2. This print has the best detail with super crisp lines in both the fur and the teeth. Baby Groot is finally showing lots of wood grain. This print cracked from over-curing, which is strictly user error.
Default Resin Normal: 4 hours, 59 minutes 45 seconds, with a .05 mm layer height
⋇ Anycubic HD Resin, Default Resin Fast Profile
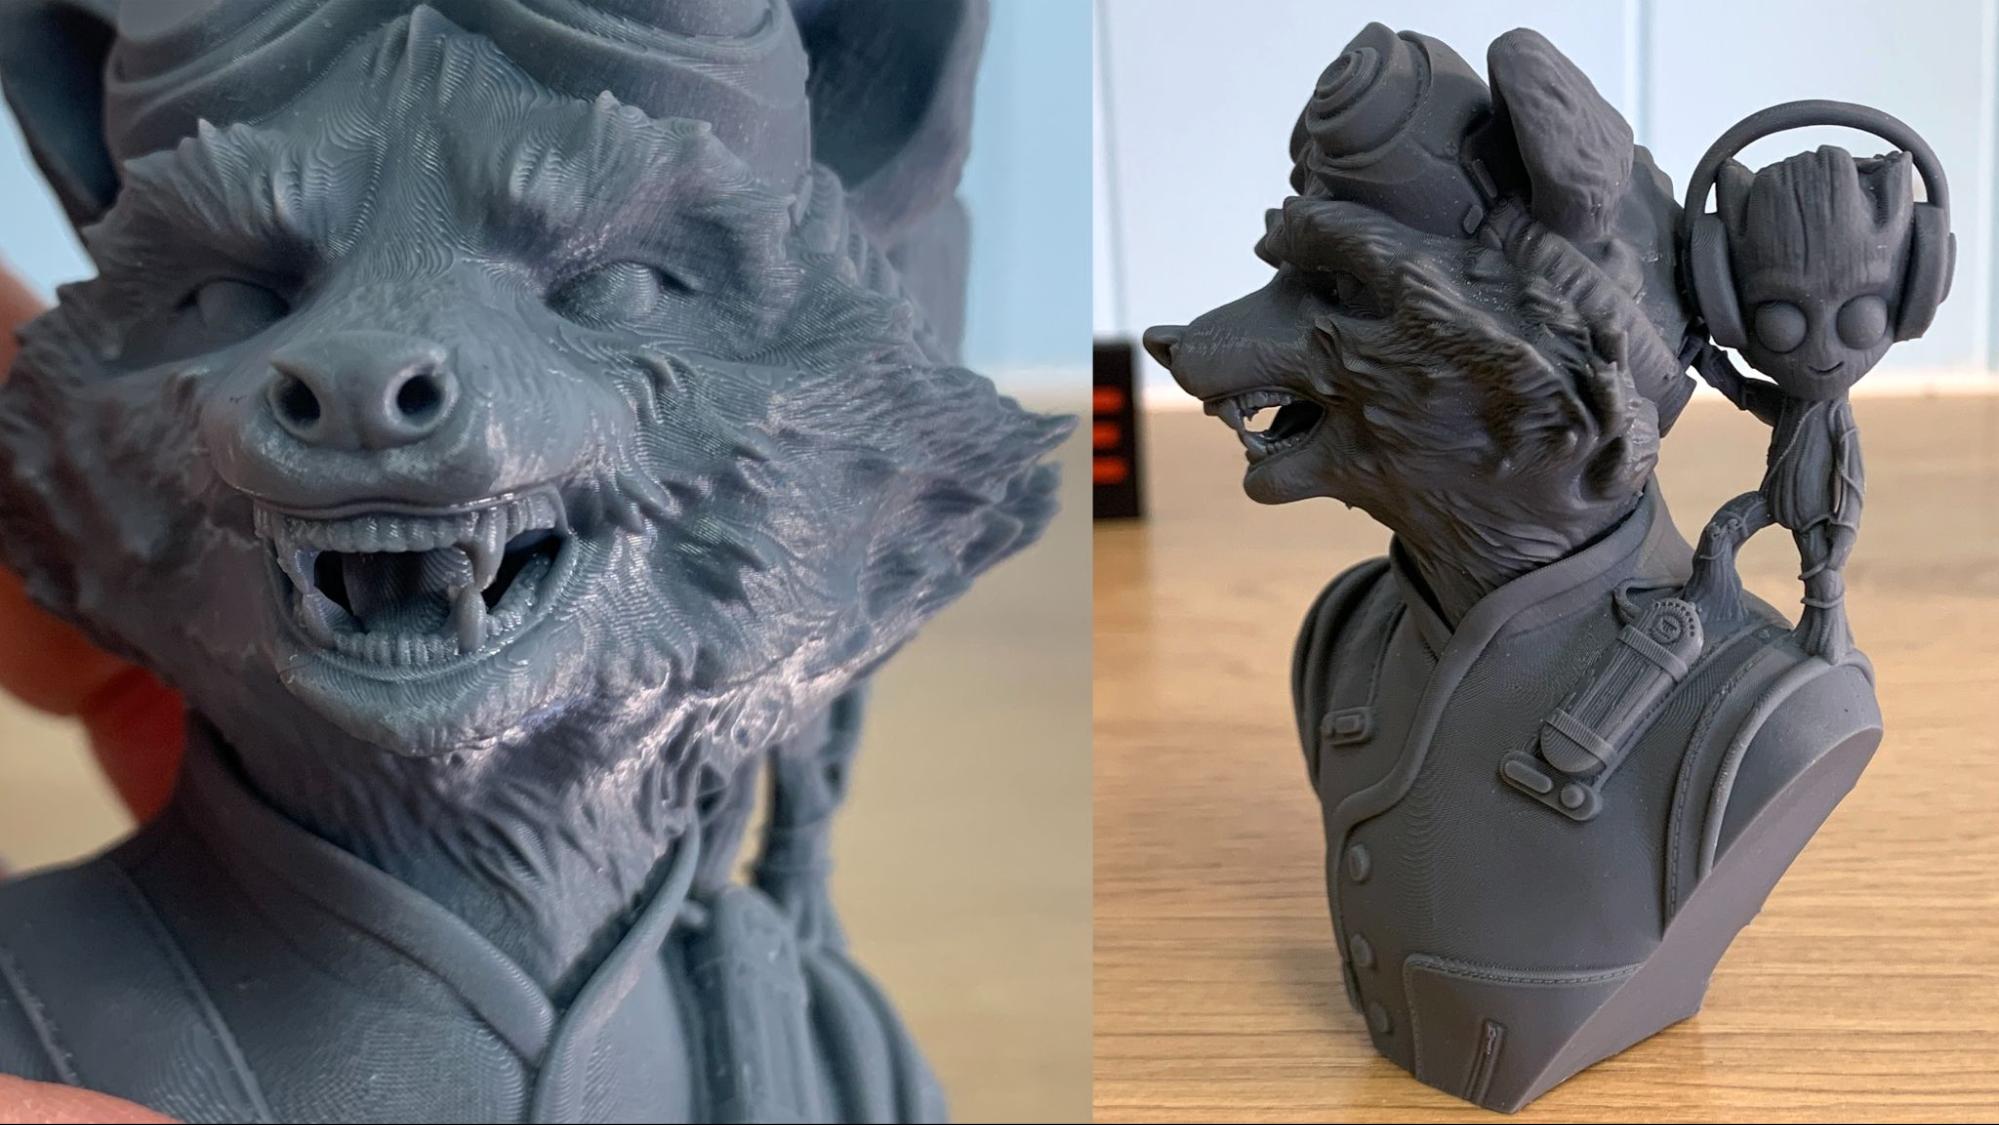
I also ran the HD resin on a fast profile, but kept the layer heights at .05mm. This is an excellent compromise between quality, speed and price, since the high precision resin is $14 cheaper per 1KG bottle, but runs in a fraction of the time as an ordinary printer. There’s some interesting wavy artifacts on Rocket’s brow, but otherwise is a nice crisp print.
Default Resin Fast: 2 hours, 35 minutes, 37 seconds, with a .05 mm layer height.
⋇ Inland Blue Resin
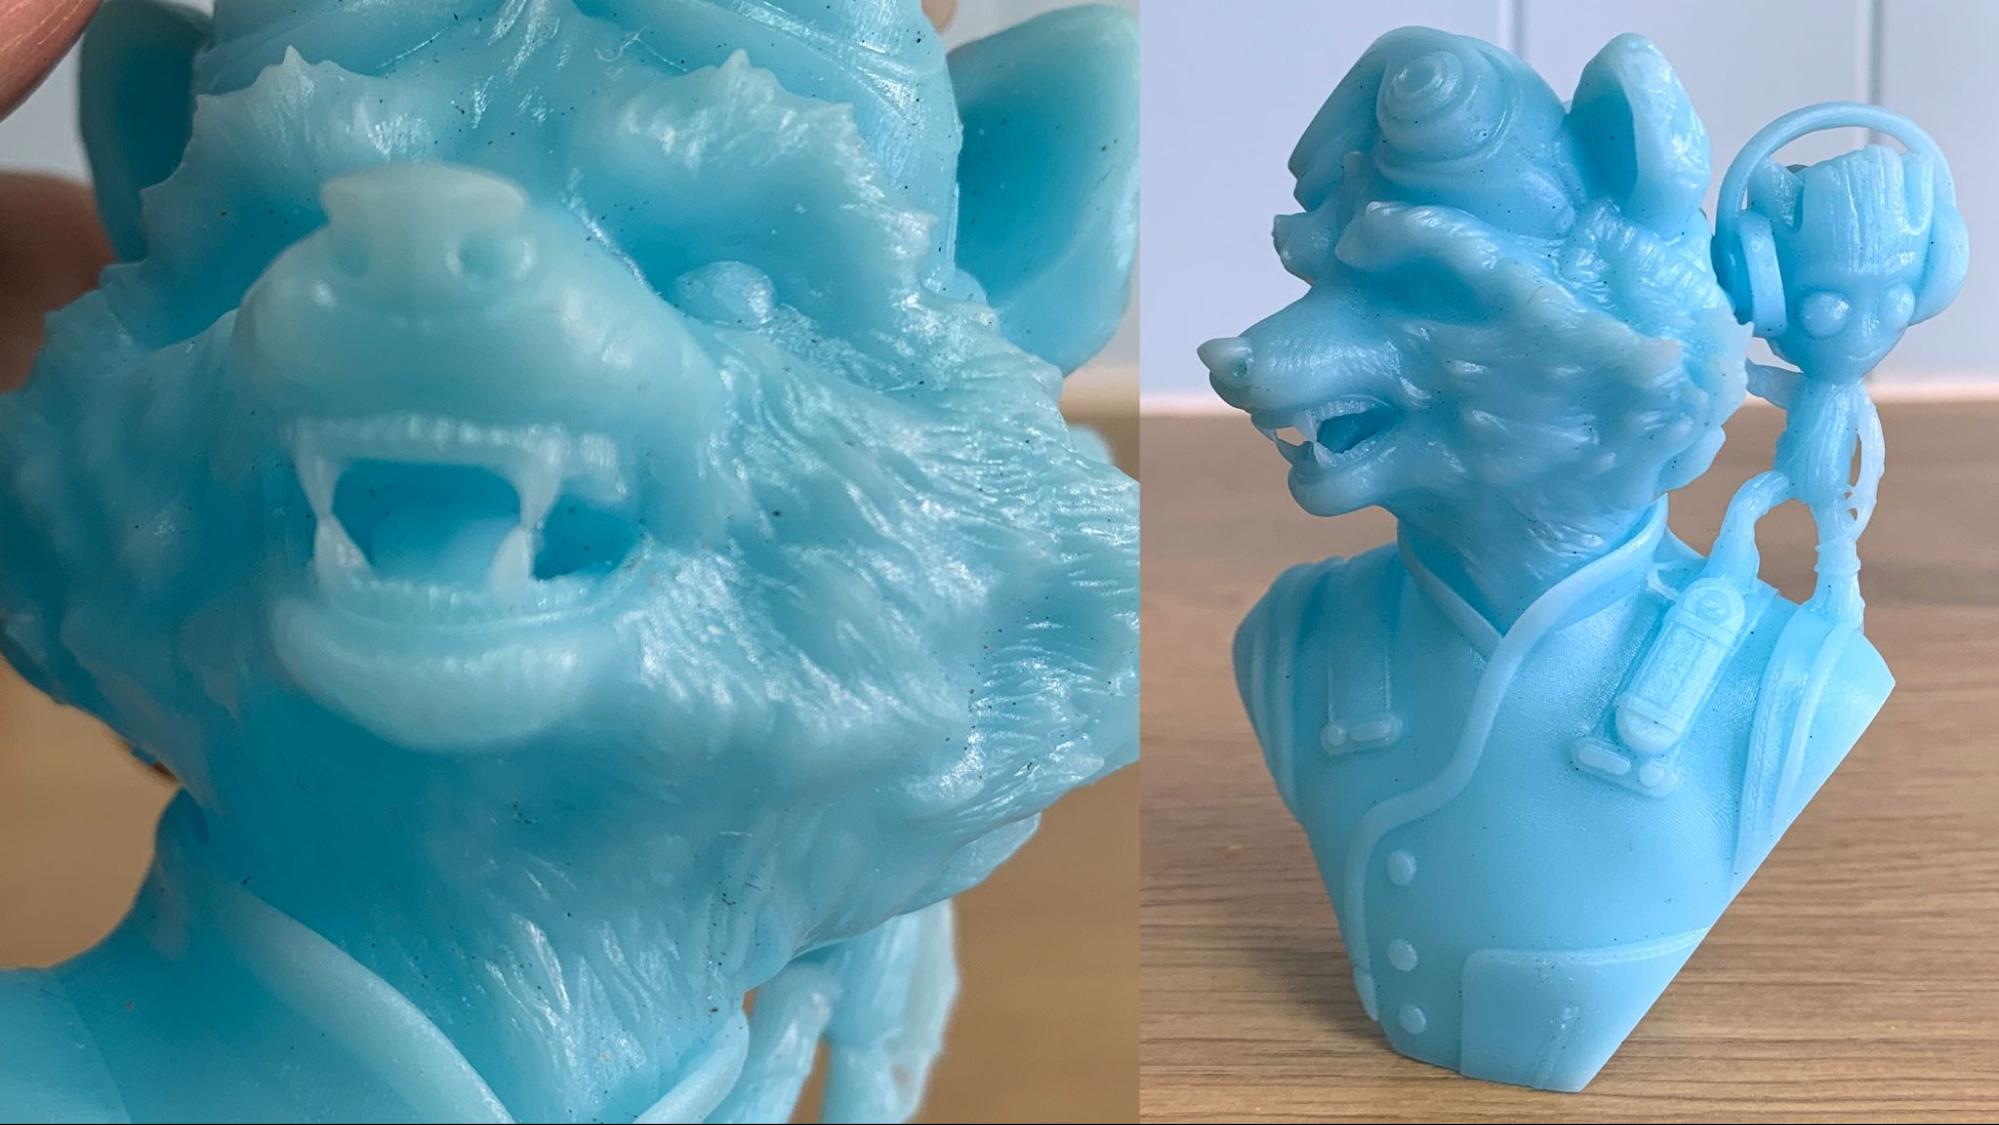
I wanted to see how 3rd party resin worked in the M5s, and ran a batch of Inland Blue Standard Resin. The pale color doesn’t show the detail quite as well, but you can tell it's a bit soft when you look at Rocket’s teeth. Light blue also picked up too much grit from my alcohol rinsing station, so I should probably clean it. The model turned a bit brown in the thin areas around Rocket’s nose and cheeks, most likely from over curing.
Default Resin Normal: 4 hours, 59 minutes 45 seconds, with a .05 mm layer height.
⋇ Anycubic Water Washable Resin
The last test was another inexpensive resin, but this time I stuck to the Anycubic brand. The water washable resin is suitable for high definition printing, but can be cleaned with water if you so choose. It’s also half the price of high speed resin, and perhaps just a little bit more detailed (see Rocket’s teeth and Groot’s forehead) when run at the same layer height.
Default Resin Normal: 4 hours, 59 minutes 45 seconds, with a .05 mm layer height
| Resin | Settings (layer height, etc) | Time to completion | Quality (your subjective view of the output) |
|---|---|---|---|
| Anycubic High Speed Resin | .1 mm layer, fast mode | 50 min, 21 sec | Average quality, little detail, soft looking, looks like a 2K print |
| Anycubic High Speed Resin | .05 mm layer, fast mode | 1 hour, 31 min, 27 sec | Good quality, some detail, looks like a 4K print |
| Anycubic HD Resin | .05 mm layer, fast profile | 2 hours, 35 minutes, 37 sec | Excellent quality, |
| Fine detail | |||
| Anycubic HD Resin | .05 mm layer, normal mode | 4 hours, 59 min, 45 sec | Excellent quality, extra fine detail |
| Inland Blue Standard Resin | .05 mm layer, normal mode | 4 hours, 59 min, 45 sec | Good quality, easily over cured, details lost due to low contrast color |
| Anycubic Water Washable Resin | .05 mm layer, normal mode | 4 hours, 59 min, 45 sec | Excellent quality, Fine detail, not as crisp as HD resin |
Bottom Line
The Anycubic Photon Mono M5s is an astounding machine with a remarkable level of detail and generous build volume. At 19 microns of resolution, we’re approaching a level of crispy detail that’s difficult to distinguish with the naked eye. Smart features like auto leveling, resin detection and the ability to stop when a major fail is sensed are something we’ve all been waiting for.
The speed of this printer is quite an improvement in the world of consumer level resin. I love that the M5s gives us choices – we can use off the shelf resin for excellent detail while trimming a few hours, or buy specialty resin for mind-boggling speed.
I’m a little concerned about the expense of running this printer full tilt. High speed resin is currently $50 for a 1KG bottle, and the $42 release film can only print 30,000 layers before risking tears. It’s difficult to find stats on FEP – I’ve only seen warnings to check periodically for wear – so perhaps I’m overreacting. Still, I’m glad that the expensive release film can be swapped for ordinary materials. You will lose some of that speed, but none of the resolution.
Priced at $539 (and currently on sale for $499), the Anycubic Photon Mono M5s is a little more expensive than other Anycubic resin printers. But you’re definitely getting some value for your money with all its features.
If you’re not ready for a next level machine and want to try something more basic, check out our Best for Beginners Anycubic Photon Mono 2 for $230. If you want a similar build volume and are willing to sacrifice a few pixels for price, the Anycubic Photon Mono X2 is a heck of a deal while it’s on sale for $289.
MORE: Best 3D Printers
MORE: Best Resin 3D Printers
MORE: Best Filaments for 3D Printing

Denise Bertacchi is a Contributing Writer for Tom’s Hardware US, covering 3D printing. Denise has been crafting with PCs since she discovered Print Shop had clip art on her Apple IIe. She loves reviewing 3D printers because she can mix all her passions: printing, photography, and writing.
