Fractal Design Arc Midi R2 Review: Improving On A Classic Case
Fractal Design scored a lot of fans with the simple and elegant architecture of its Arc Midi enclosure. The Arc Midi R2 represents an evolutionary step forward for the company, incorporating a number of refinements that build on the original's strengths.
Installing Storage: Hard Drives And SSDs
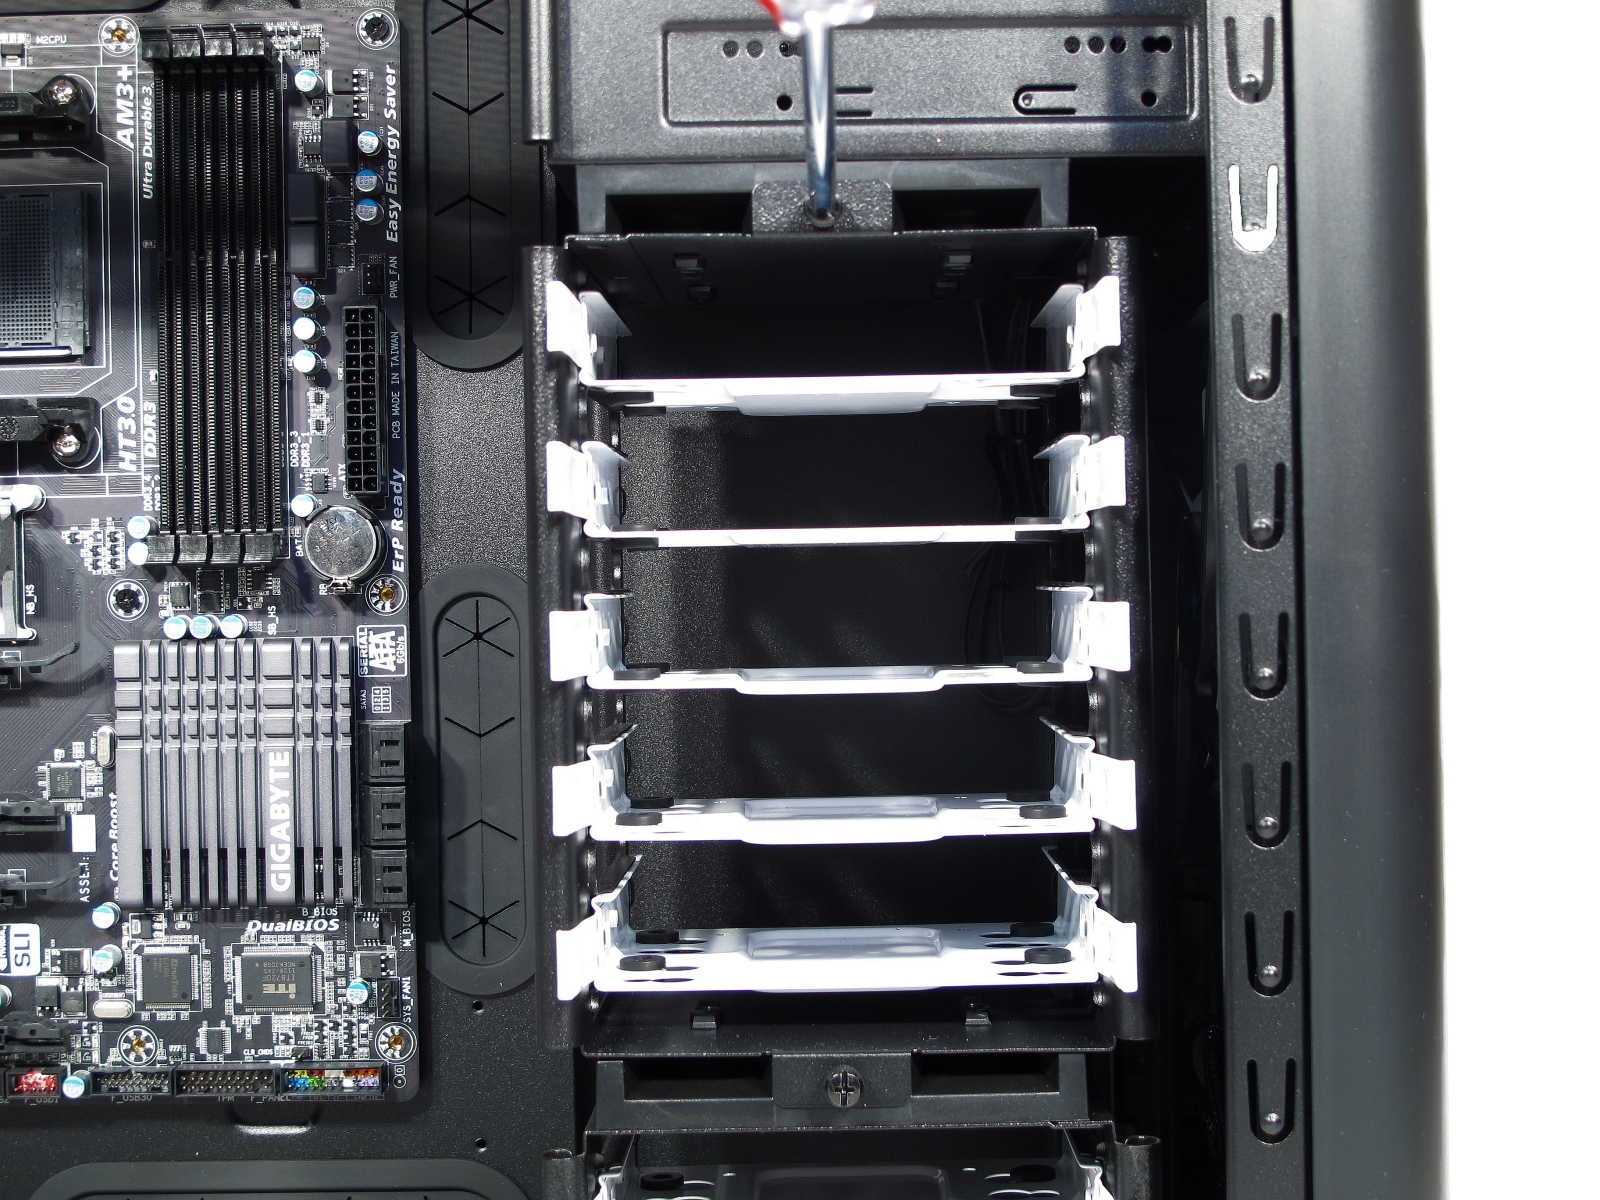
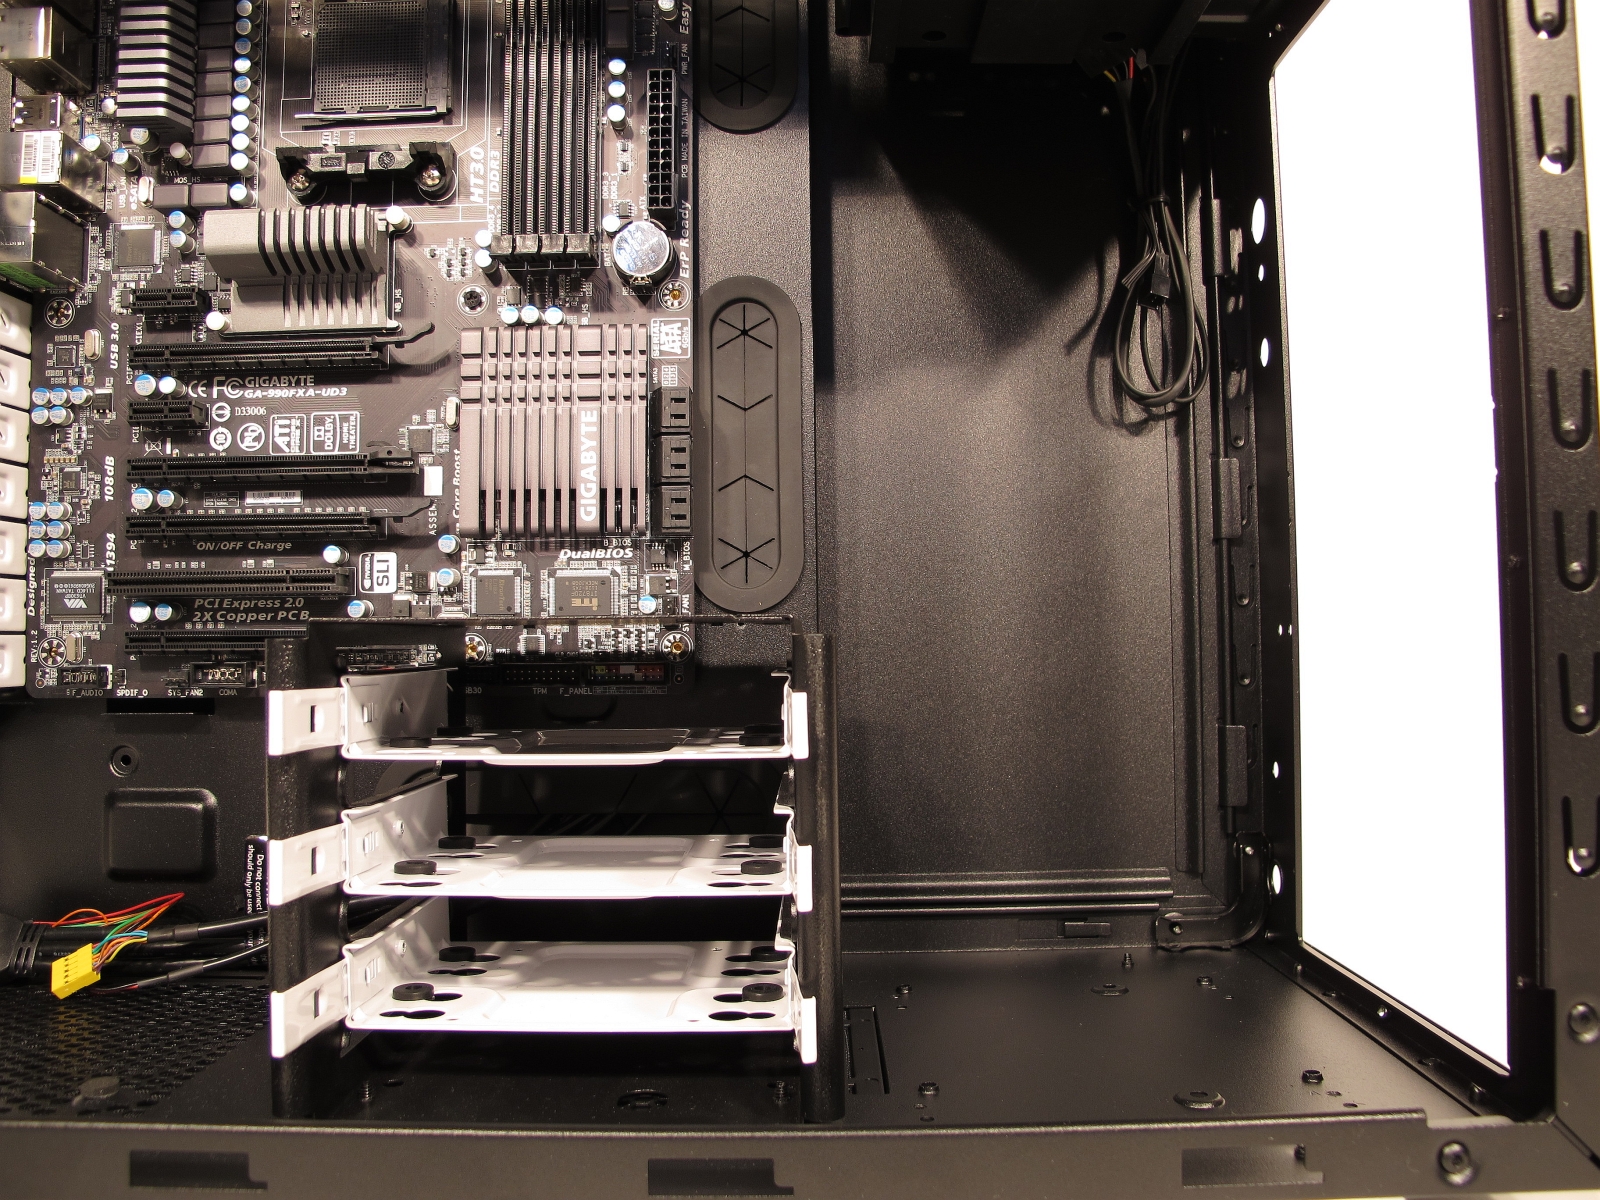
There are plenty of options for installing 2.5" and 3.5” drives. There are two hard drive cages. The top one houses up to five disks, while the lower cage holds as many as three. They're attached via rails with a white finish that can be screwed on from the bottom. Larger 3.5” storage devices benefit from grommets that isolate vibration, while 2.5" drives sit directly on the rails. Fractal Design correctly assumes that most 3.5" devices are mechanical, while 2.5" drives are typically SSDs.
Both hard drive cages can be removed. There's a good chance that you don't need more than three bays, so you'd typically want to take the top cage out for improved airflow or more space to install graphics cards (you get 430 mm instead of 300 mm). If you're planning to drop in a radiator behind the case's front panel, you'll want to move the bottom cage next to the power supply and use the bottom fan's cut-out.
The top hard drive cage is held in place by two thumb screws, so that's easy enough. Removing the bottom one will probably prove more challenging for you. First, four small screws on the bottom of the case need to be dealt with. Then, the chassis' front cover has to be taken off, exposing two more screws attaching a bracket to the front of the case, which is also attached to the hard drive cage’s frame.
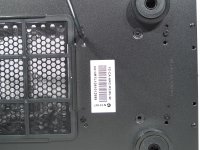
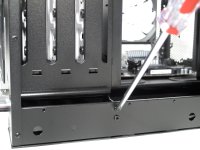
This bracket needs to be detached from the hard drive cage before moving the cage to the middle of the case. Unfasten the four screws holding the plastic rails to the hard drive cage. Then you're able to get at the two screws keeping the bracket in place. The process is a bit more complicated than it probably should be, but at least the cages are held into place securely.
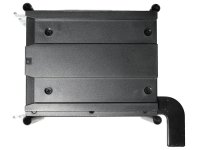
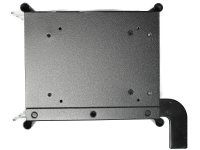
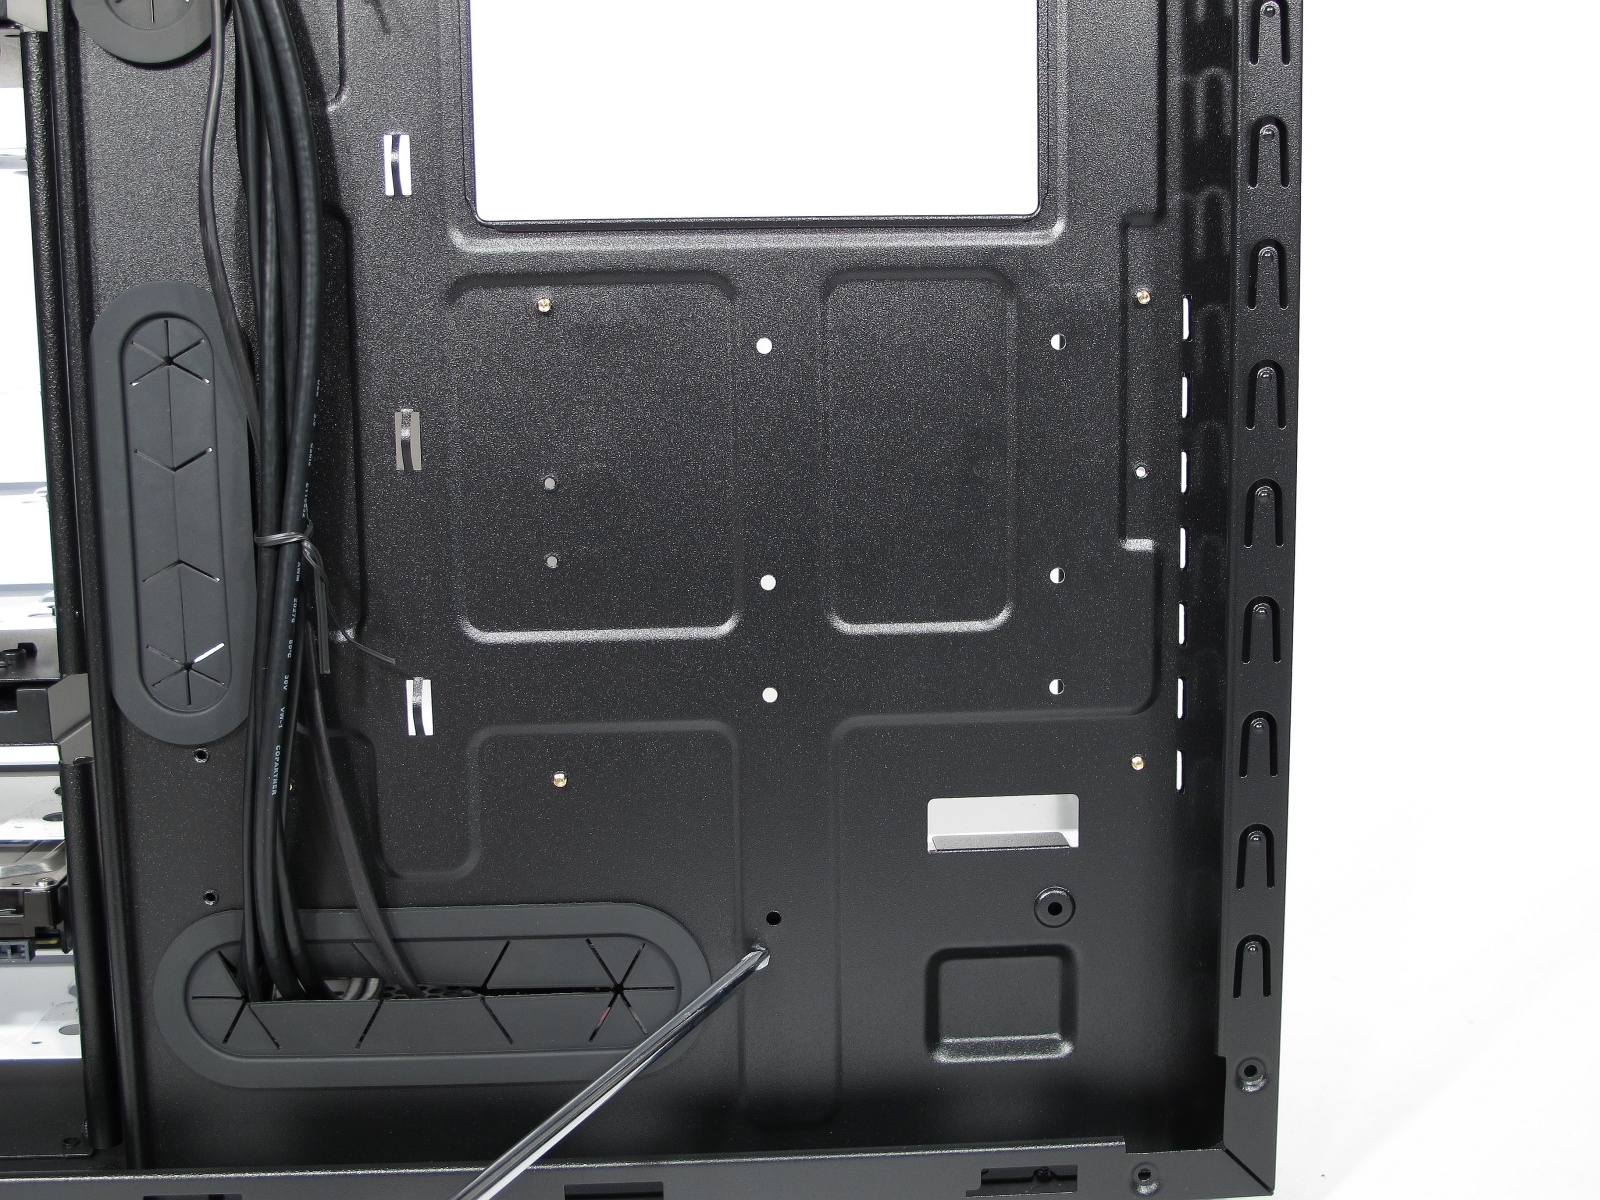
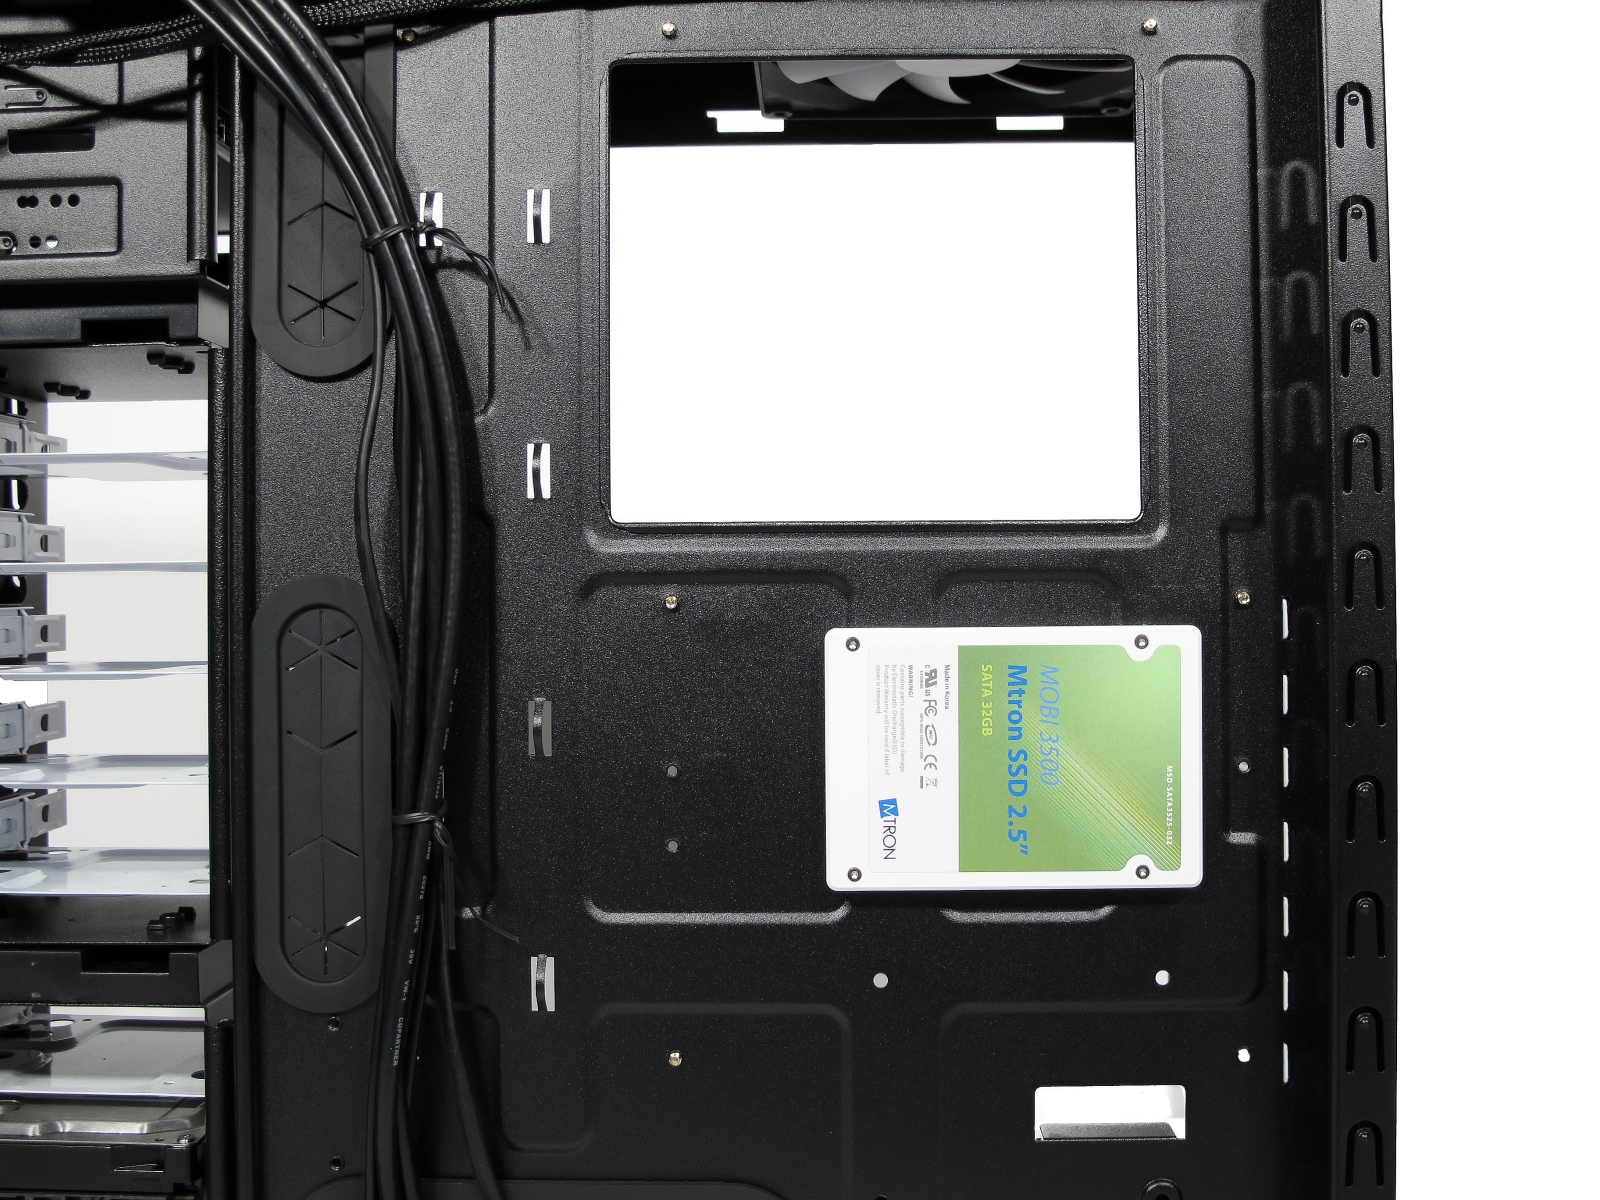
There’s another option if you're willing to use a couple of SSDs and really want to maximize airflow. Simply remove both hard drive cages and attach a pair of 2.5" drives to the back of the motherboard tray, out of sight. It can get pretty hot back there, so you'll want to stick with solid-state storage, rather than notebook drives.
The screw holes for the lower drive are only accessible before the power supply is installed, and the ones for the upper drive sit below the motherboard. Consequently, install your SSDs first. If you're only dropping one drive back there, the lower position is better thermally, since it's farther away from the back of the CPU interface. We used the top one for our temperature benchmarks as a worst-case scenario, though.
It's very nice to have the option to hide storage behind the motherboard tray, simultaneously freeing up the hard drive trays for removal. So long as you remember not to use angled SATA cables, this is a really clean look.
Get Tom's Hardware's best news and in-depth reviews, straight to your inbox.
Current page: Installing Storage: Hard Drives And SSDs
Prev Page Installing Optical Drives Next Page Motherboard And Add-In Card Installation-
f-14 Solution: buy some rubber toilet grommets or faucet washers from your local hardware store price will range from 25 cents to a little under a dollar and the problem is solved.Reply
Some Notes and Recommendations about Replacing the Fans
Let's say everything else about the Arc Midi R2 is ideal for you, and you simply want to replace its fans. -
dish_moose I think a fan that vibrates when pointed down is an inferior product. I had to replace the fan on my Antec 302 for the same reason - drove me crazy. As for beauty over function - I would much rather keep my GPU cool that have a "pretty" side window.Reply
-Bruce -
mouse24 ^ Was it a sleeve bearing fan? If so thats more or less normal due to how that bearing is designed.Reply -
SchizoFrog Who puts a fan in the roof of a case to blow downwards? Surely the roof is best used as an exhaust and it was specifically mentioned about the fan blowing downwards. Personally I think I would be likely to buy a full set of fans so that I can fill all the fan mounts with the same design range and then keep the stock fans as emergency spares.Reply
As for keeping the GPU cool, I don't that is an issue with 2 the fans in the front creating perfectly adequate airflow to keep the GPU cool unless you are using multiple GPUs. Although in time I would probably mod the window and inserting an extra fan there as that isn't a hard job to do. -
cjny71 Regarding the change from a side panel with a mesh vent to a window, I am not sure if this would make much of a difference to GPU cooling. I have the original Fractal Midi and I wanted to isolate noise a bit more, so I swapped the side panels so that the vented one is on the back of the mother board side. I had also installed 1 extra 140 mm fan in the bottom of the case blowing up to draw in cool air underneath. I did this before swapping the side panels. All of my 140 mm fans are turning at 700 rpm. Surprisingly I noticed that in this configuration the GPU was slightly cooler (1-2 C) at idle and under load with the solid panel on the right / GPU side, and the noise seemed a little lower. CPU temps did not change. I would have to guess that the mesh hole provides an escape port for air and the GPU fan has to work harder.Reply
Heat Sources: i5-3570K @ 4.4 GHz, Hyper 212 EVO, EVGA GTX 560Ti @ 900 MHz, 3 WD Cavier Black HD -
RazberyBandit The Arc Midi 2 and Define R4 use an identical core case design. The only design differences are found in the front and top panels. (Both are mesh in the Arc Midi 2, while the Define R4 has a front door and sound-proof material fan opening covers for the top fan openings.)Reply
With Define R4's often available for roughly $85 (on sale) and Arc Midi 2's typically about $65 online, I find the $20 additional cost for the sound-proofing included in the Define R4 models a very worthwhile investment. -
InvalidError Reply
Does your GPU have its fan at one end of the card and exhaust directly outside through the rear bracket? If it does, the reason you see lower GPU temps is likely that the slightly more positive (or slightly less negative) pressure in the case from going solid makes the GPU's HSF a little more efficient at shoving warm air out of the case. Cards with "mid-mount" fans may also benefit from this due to slightly increased vertical airflow between the GPU's top edge and case panel carrying warm air up through the case faster.11627141 said:Surprisingly I noticed that in this configuration the GPU was slightly cooler (1-2 C) at idle and under load with the solid panel on the right / GPU side, and the noise seemed a little lower.
That is what I like to call structured airflow. Placing fans in the most effective places and shutting off meshed areas that allow air to escape without contributing to net cooling can achieve superior results with much less meshed area and fewer fans. -
basketcase87 Reply11626775 said:I think a fan that vibrates when pointed down is an inferior product. I had to replace the fan on my Antec 302 for the same reason - drove me crazy. As for beauty over function - I would much rather keep my GPU cool that have a "pretty" side window.
-Bruce
Side fans don't always help GPU temps, they can even hurt temps in some cases by interfering with the airflow from the GPU fan. It really depends on the case and GPU (and whether or not the front intakes do anything for the GPU), but saying categorically that having an intake there will improve GPU temps is certainly not true. -
fat_panda It deserves a "Smart Buy" Award. Arc Midi R2 offers much more for the price than the competition while often being on sale for $65.Reply
