Fractal Design Arc Midi R2 Review: Improving On A Classic Case
Fractal Design scored a lot of fans with the simple and elegant architecture of its Arc Midi enclosure. The Arc Midi R2 represents an evolutionary step forward for the company, incorporating a number of refinements that build on the original's strengths.
Motherboard And Add-In Card Installation
I/O Shield Installation
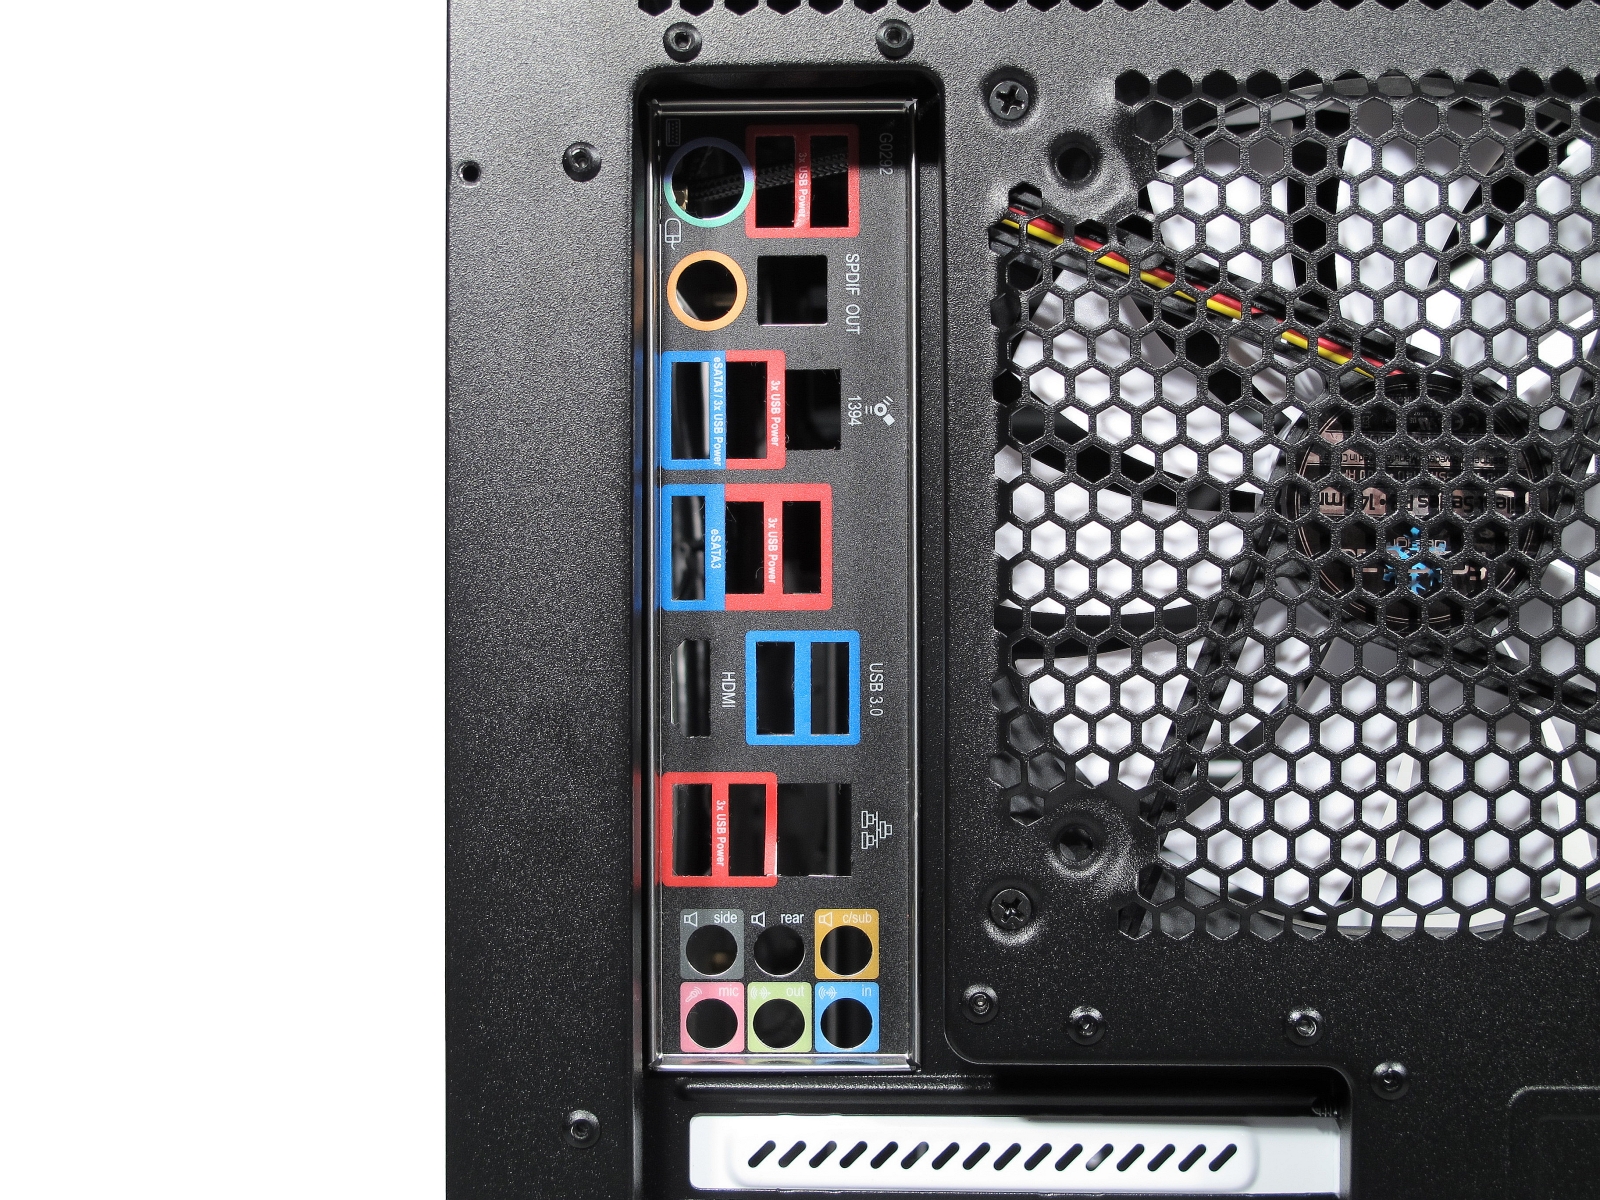
As with the last few cases we reviewed, our motherboard's I/O shield slides right into its opening in the back of the case, fitting tightly (as it should), but without bending.
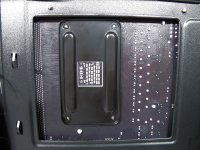
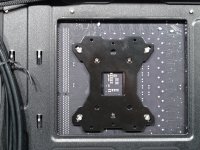
Backplate Opening
The motherboard tray features a well-sized opening for easy access to CPU cooler backplates. This makes switching out coolers easy. In the images below, you see Socket AM3+ (Gigabyte 990FXA-UD3) and LGA 1155 (Gigabyte GA-Z68XP-UD4) motherboards.
Cable Routing for the CPU Power Supply
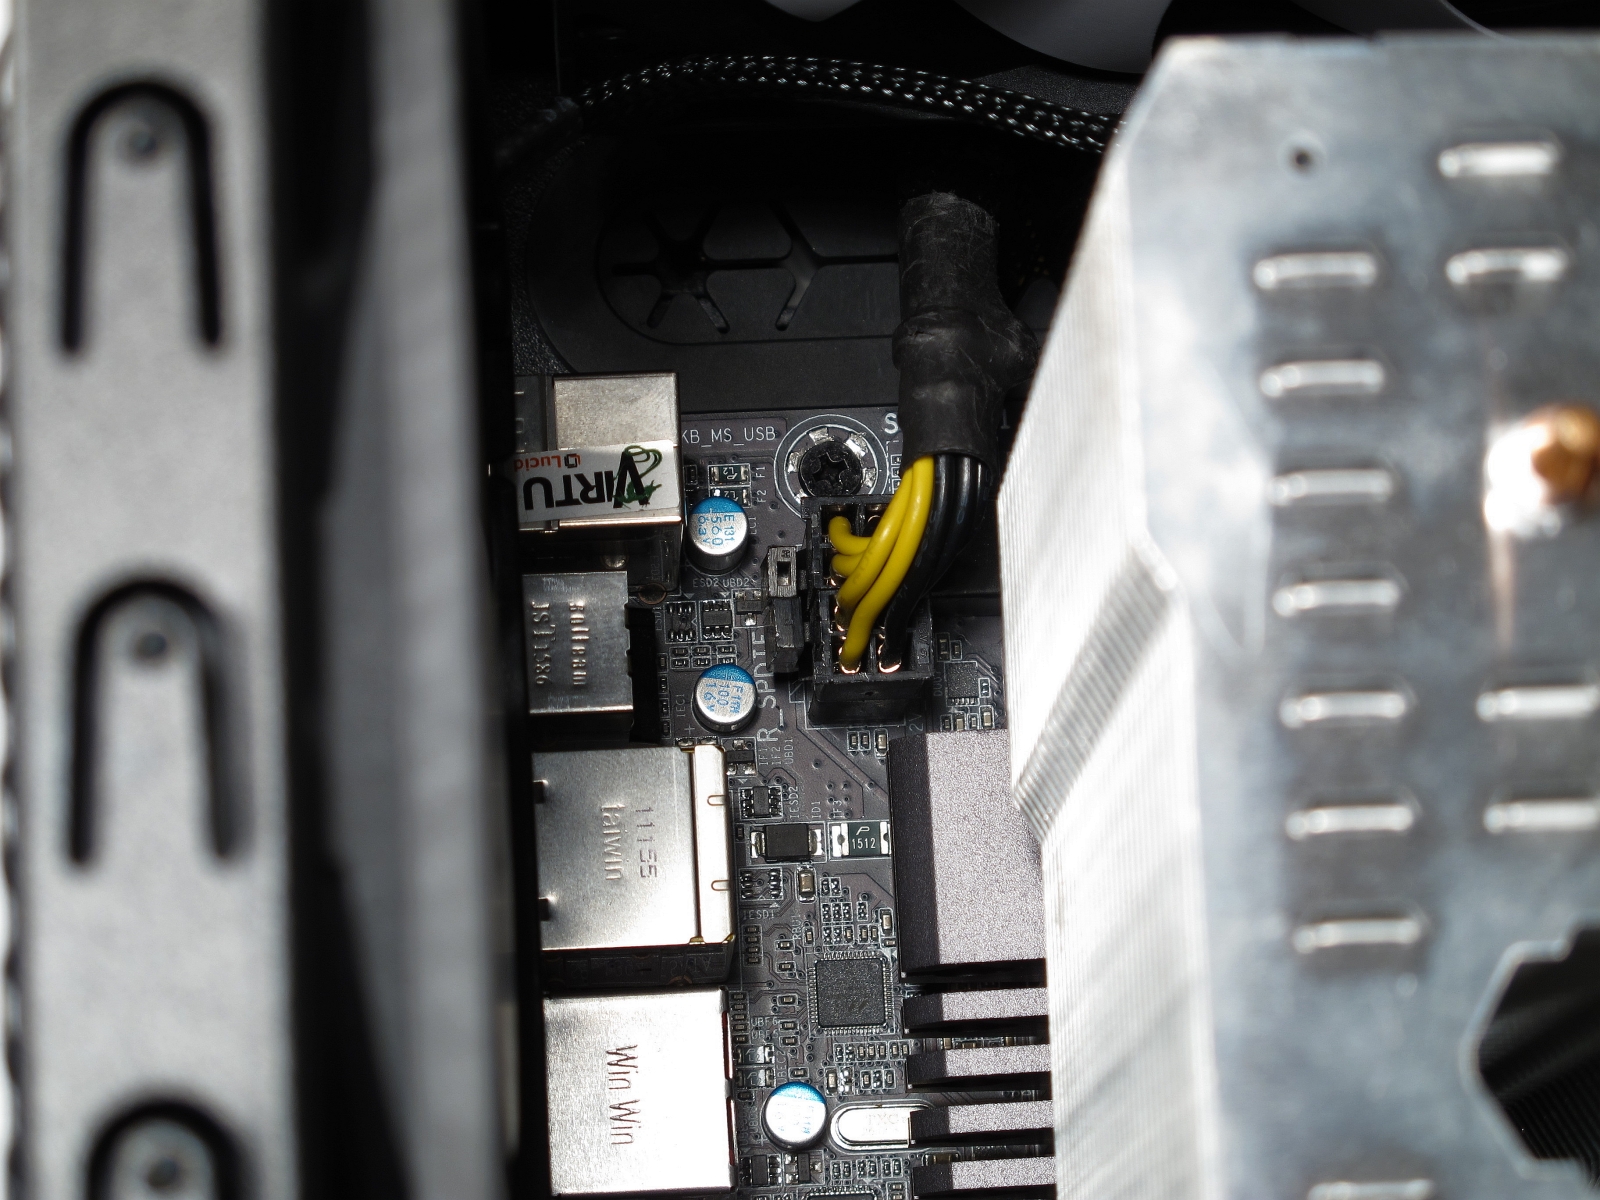
Just like its predecessor, the Arc Midi R2 features two rubber-framed cable openings next to the top edge of the motherboard. You can route +12 V cables through them, or fan cables that aren't hooked up to motherboard headers.
Motherboard and Graphics Card Installation, Maximum CPU Cooler Height
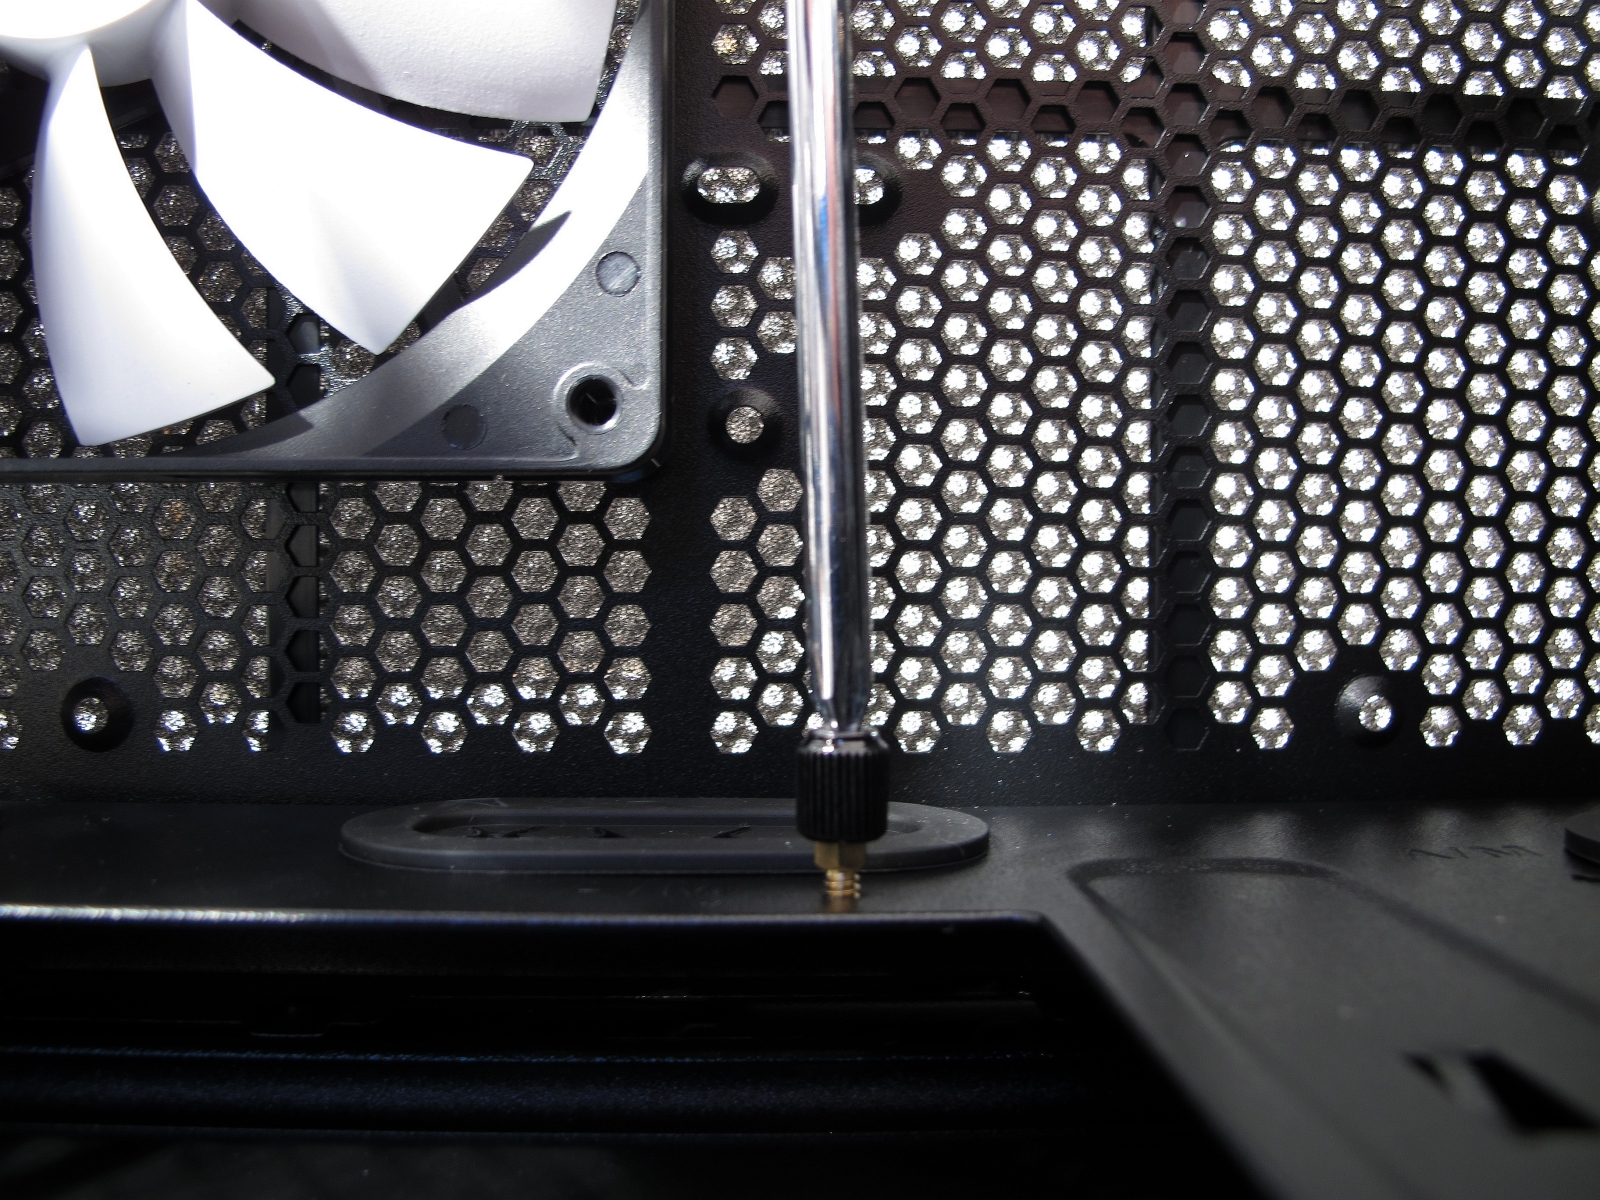
The motherboard spacers are not installed; you have to screw them in yourself. Fortunately, Fractal Design does bundle a small tool to make this process a little easier. It's a small hexagon bit with grooves for a screwdriver on the top, making the stand-offs compatible with any normal screwdriver.
Once the motherboard is securely in place, no modern CPU cooler’s height should cause a problem. This is due to the case's generous width, which allows heat sinks as tall as 180 mm to fit.
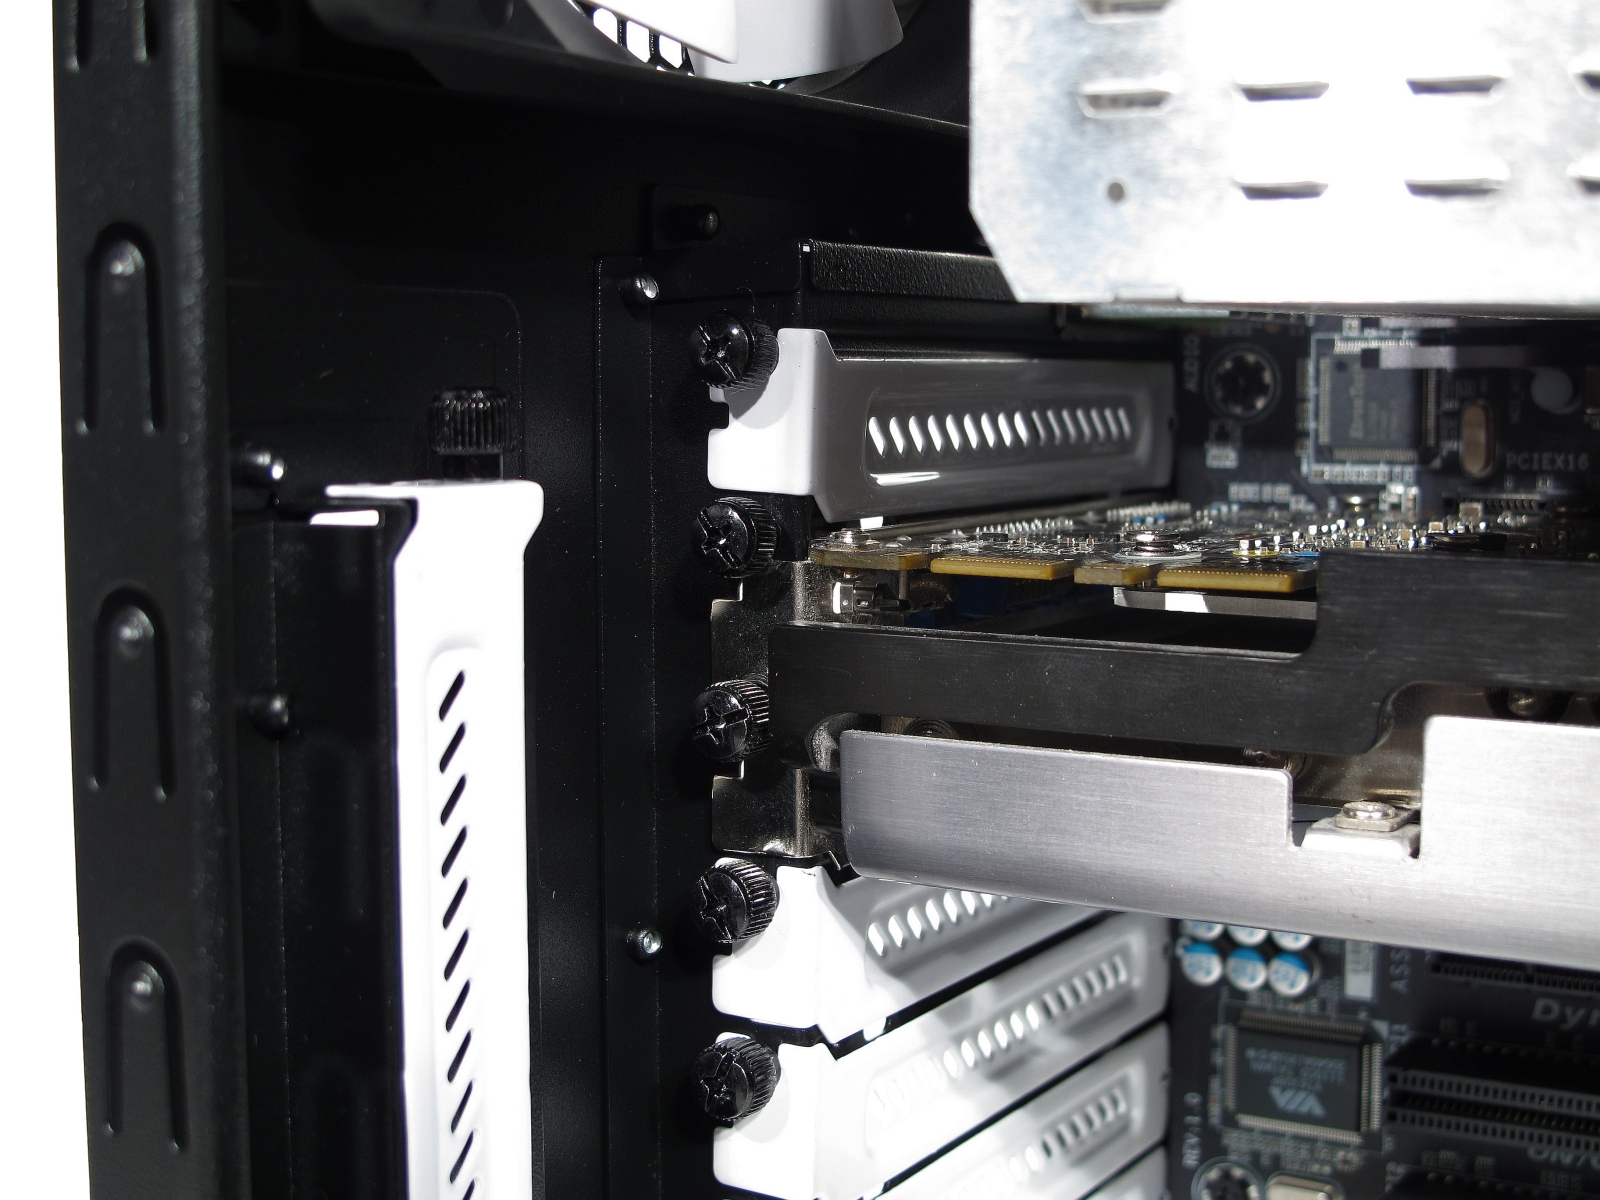
The PCI slots are equipped with solid covers painted white. They're held in place by thumb screws and are easy to pop out when it comes time to install a graphics card. In the Arc Midi R2's stock configuration, the enclosure supports cards 300 mm-long. This increases to 430 mm if you pull out the top hard drive cage.
Get Tom's Hardware's best news and in-depth reviews, straight to your inbox.
Current page: Motherboard And Add-In Card Installation
Prev Page Installing Storage: Hard Drives And SSDs Next Page Test Setup And Hardware Configuration-
f-14 Solution: buy some rubber toilet grommets or faucet washers from your local hardware store price will range from 25 cents to a little under a dollar and the problem is solved.Reply
Some Notes and Recommendations about Replacing the Fans
Let's say everything else about the Arc Midi R2 is ideal for you, and you simply want to replace its fans. -
dish_moose I think a fan that vibrates when pointed down is an inferior product. I had to replace the fan on my Antec 302 for the same reason - drove me crazy. As for beauty over function - I would much rather keep my GPU cool that have a "pretty" side window.Reply
-Bruce -
mouse24 ^ Was it a sleeve bearing fan? If so thats more or less normal due to how that bearing is designed.Reply -
SchizoFrog Who puts a fan in the roof of a case to blow downwards? Surely the roof is best used as an exhaust and it was specifically mentioned about the fan blowing downwards. Personally I think I would be likely to buy a full set of fans so that I can fill all the fan mounts with the same design range and then keep the stock fans as emergency spares.Reply
As for keeping the GPU cool, I don't that is an issue with 2 the fans in the front creating perfectly adequate airflow to keep the GPU cool unless you are using multiple GPUs. Although in time I would probably mod the window and inserting an extra fan there as that isn't a hard job to do. -
cjny71 Regarding the change from a side panel with a mesh vent to a window, I am not sure if this would make much of a difference to GPU cooling. I have the original Fractal Midi and I wanted to isolate noise a bit more, so I swapped the side panels so that the vented one is on the back of the mother board side. I had also installed 1 extra 140 mm fan in the bottom of the case blowing up to draw in cool air underneath. I did this before swapping the side panels. All of my 140 mm fans are turning at 700 rpm. Surprisingly I noticed that in this configuration the GPU was slightly cooler (1-2 C) at idle and under load with the solid panel on the right / GPU side, and the noise seemed a little lower. CPU temps did not change. I would have to guess that the mesh hole provides an escape port for air and the GPU fan has to work harder.Reply
Heat Sources: i5-3570K @ 4.4 GHz, Hyper 212 EVO, EVGA GTX 560Ti @ 900 MHz, 3 WD Cavier Black HD -
RazberyBandit The Arc Midi 2 and Define R4 use an identical core case design. The only design differences are found in the front and top panels. (Both are mesh in the Arc Midi 2, while the Define R4 has a front door and sound-proof material fan opening covers for the top fan openings.)Reply
With Define R4's often available for roughly $85 (on sale) and Arc Midi 2's typically about $65 online, I find the $20 additional cost for the sound-proofing included in the Define R4 models a very worthwhile investment. -
InvalidError Reply
Does your GPU have its fan at one end of the card and exhaust directly outside through the rear bracket? If it does, the reason you see lower GPU temps is likely that the slightly more positive (or slightly less negative) pressure in the case from going solid makes the GPU's HSF a little more efficient at shoving warm air out of the case. Cards with "mid-mount" fans may also benefit from this due to slightly increased vertical airflow between the GPU's top edge and case panel carrying warm air up through the case faster.11627141 said:Surprisingly I noticed that in this configuration the GPU was slightly cooler (1-2 C) at idle and under load with the solid panel on the right / GPU side, and the noise seemed a little lower.
That is what I like to call structured airflow. Placing fans in the most effective places and shutting off meshed areas that allow air to escape without contributing to net cooling can achieve superior results with much less meshed area and fewer fans. -
basketcase87 Reply11626775 said:I think a fan that vibrates when pointed down is an inferior product. I had to replace the fan on my Antec 302 for the same reason - drove me crazy. As for beauty over function - I would much rather keep my GPU cool that have a "pretty" side window.
-Bruce
Side fans don't always help GPU temps, they can even hurt temps in some cases by interfering with the airflow from the GPU fan. It really depends on the case and GPU (and whether or not the front intakes do anything for the GPU), but saying categorically that having an intake there will improve GPU temps is certainly not true. -
fat_panda It deserves a "Smart Buy" Award. Arc Midi R2 offers much more for the price than the competition while often being on sale for $65.Reply
