ASRock Fatal1ty Z370 Gaming-ITX/ac Review: Packing Power Into Mini-ITX
Why you can trust Tom's Hardware
Software & Firmware
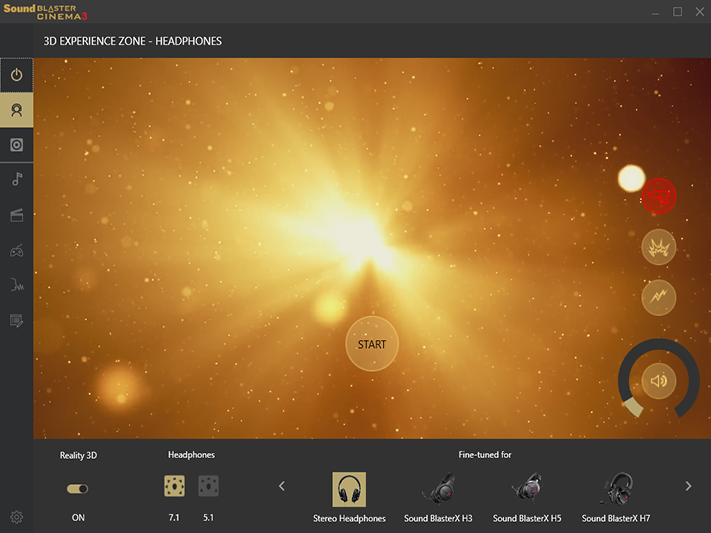
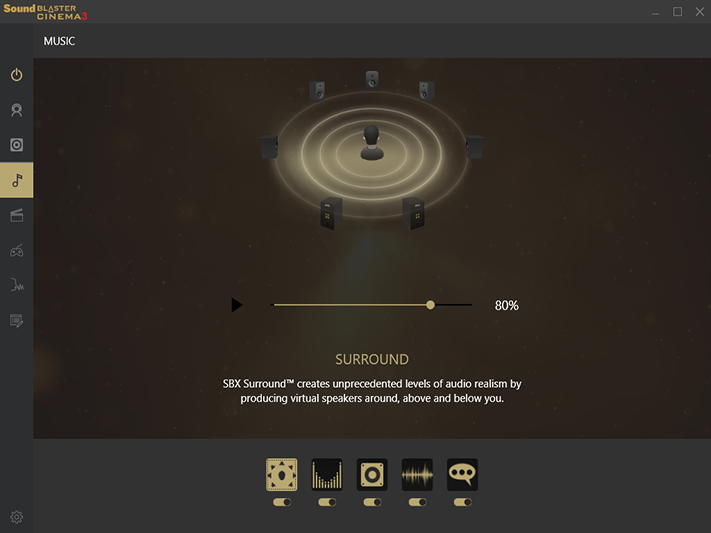
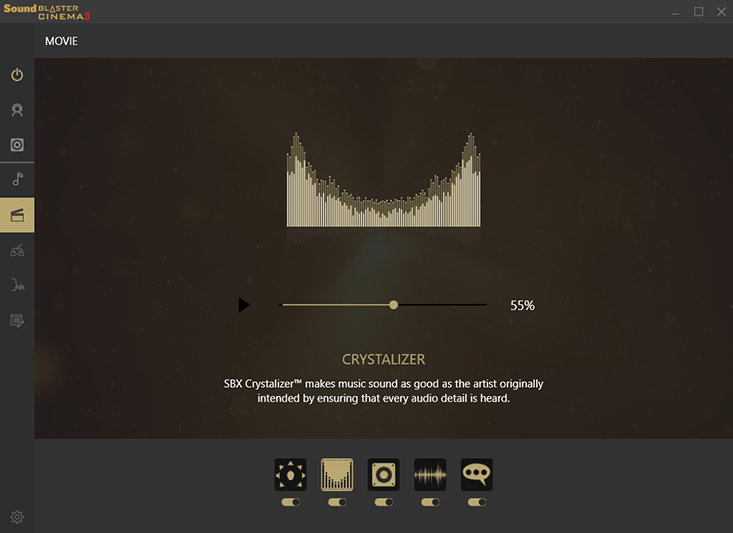
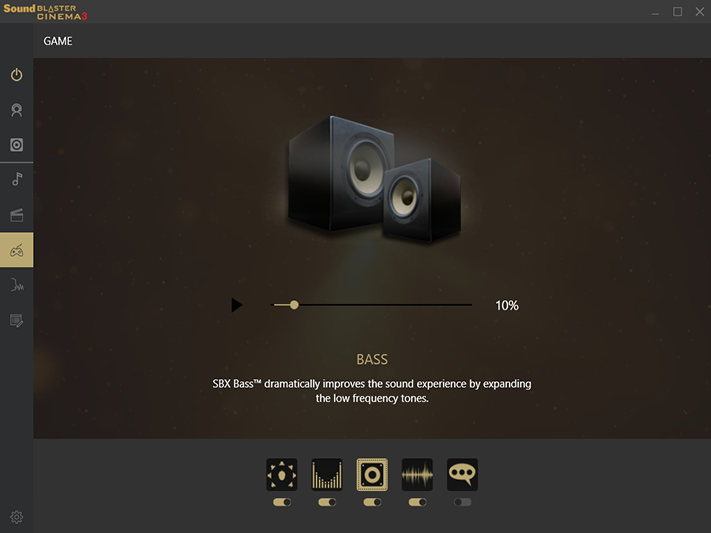
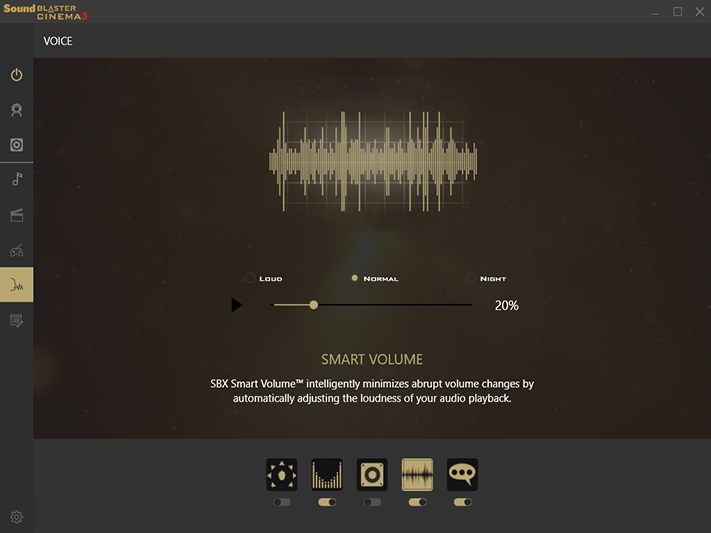
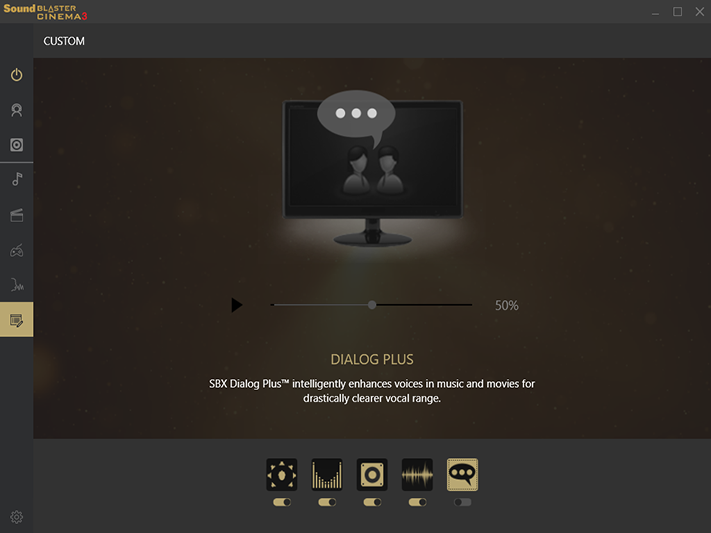
Fatal1ty-series motherboards include Sound Blaster Cinema 3 software (which adds synthesized 3D on stereo speakers or headphones), Crystalizer (to enhance fidelity in music), Smart Volume (to reduce dynamic range in playback situations such as movies with loud music), Dialog Plus (to increase dialog volume above background noise/music), and Bass Boost.
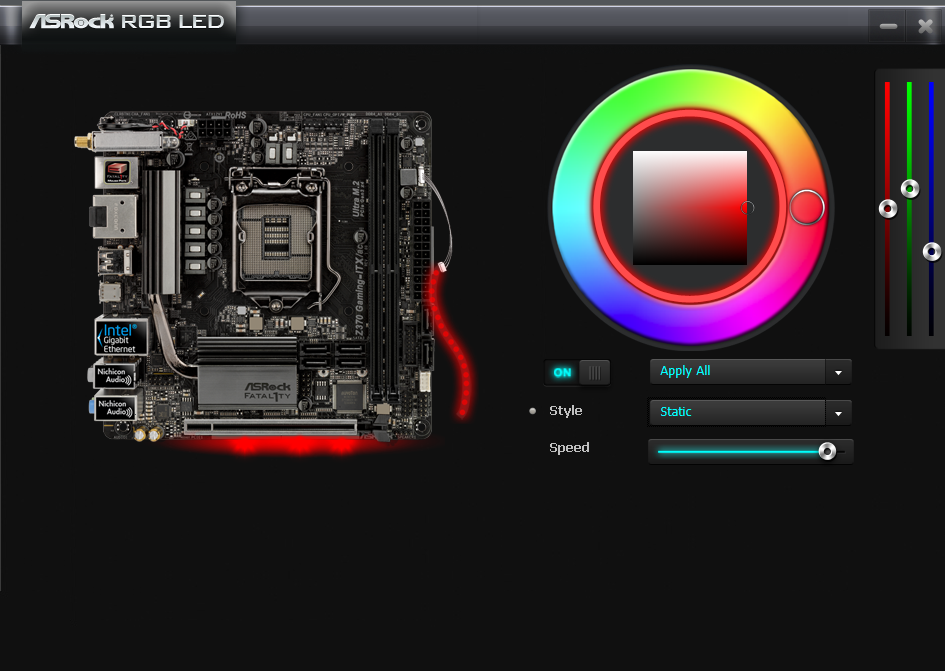
Shared between all its RGB-supporting motherboards, ASRock’s RGB LED software is merely a copy of its firmware menu.
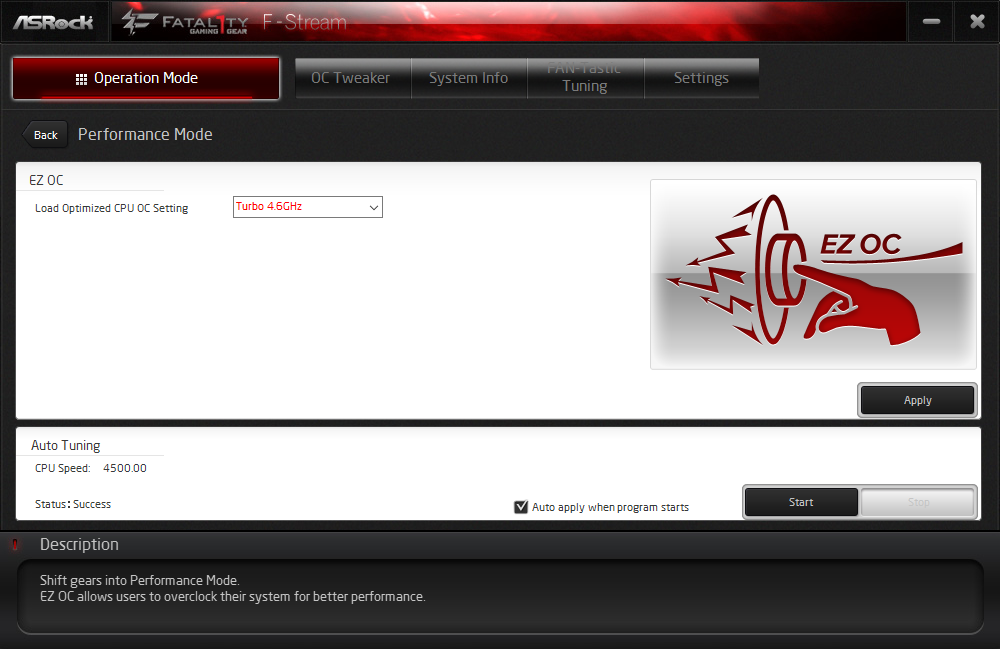
ASRock F-Stream’s EZ OC option references all the “Optimized CPU OC” programs from firmware, sets those, and requires a reboot to load those firmware profiles. Buttons for its “Auto Tuning” algorithm only become accessible after enabling one of those programmed overclocks from 4.6GHz upward, and it actually slowed our CPU to below stock frequency by setting a “fixed” 4.50GHz at 1.30V…while applying a 300MHz reduction for AVX-based loads. Those settings resulted in Prime95 running at 4.20GHz rather than its stock 4.30GHz, and games running at 4.50GHz rather than the stock 4.70GHz.
F-Stream’s manual overclocks are also firmware-based, and users who really are willing to push things can use it in the same way as firmware settings. The advantage of using software is that BCLK, CPU Ratio, and voltage levels are adjustable on the fly, which we confirmed.
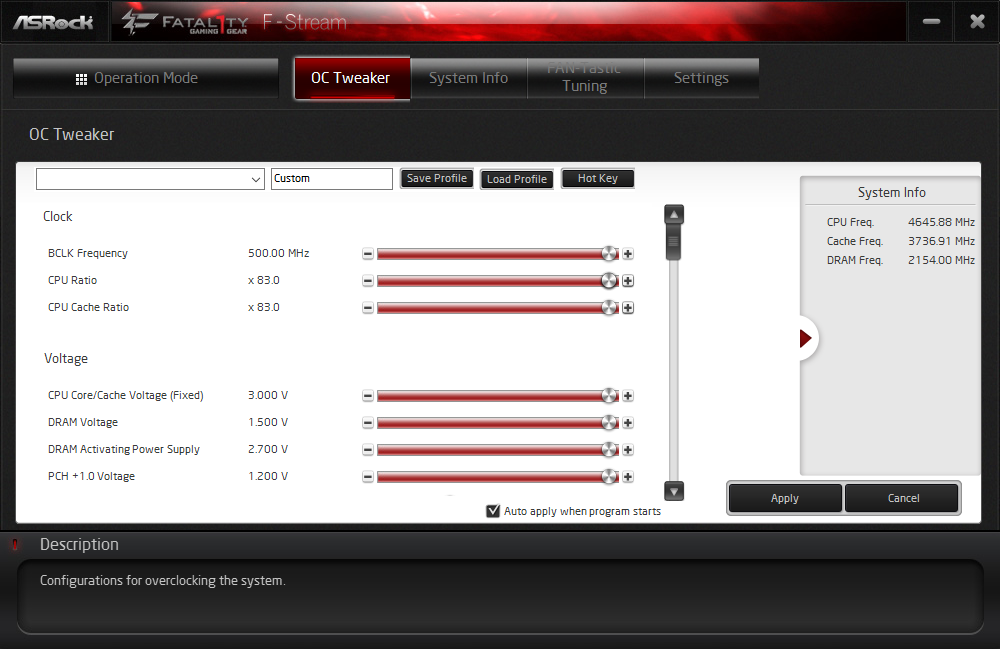
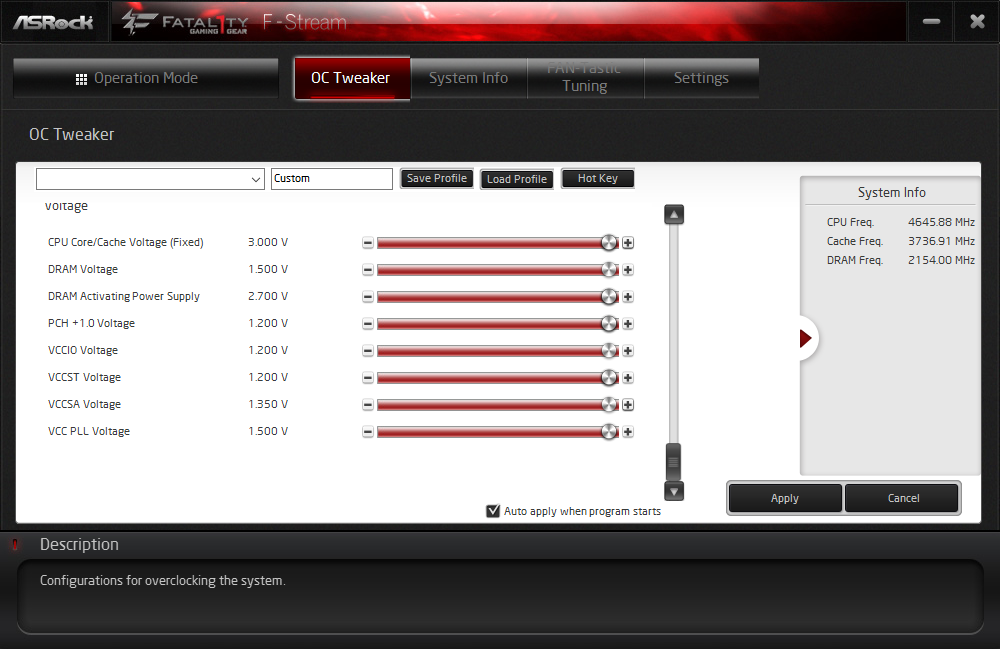
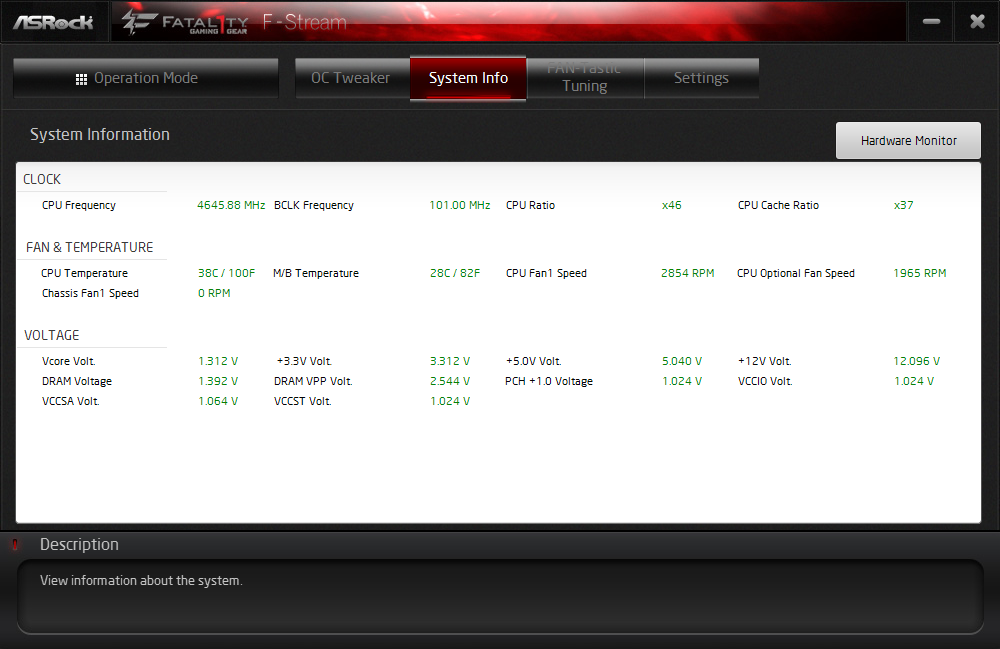
The System Info tab shows useful readings, and it’s even honest enough to reveal the huge 40mV-to-50mV default over-voltage of our 1.35V DIMMs. That’s not going to cut it for our overclocking tests, though.
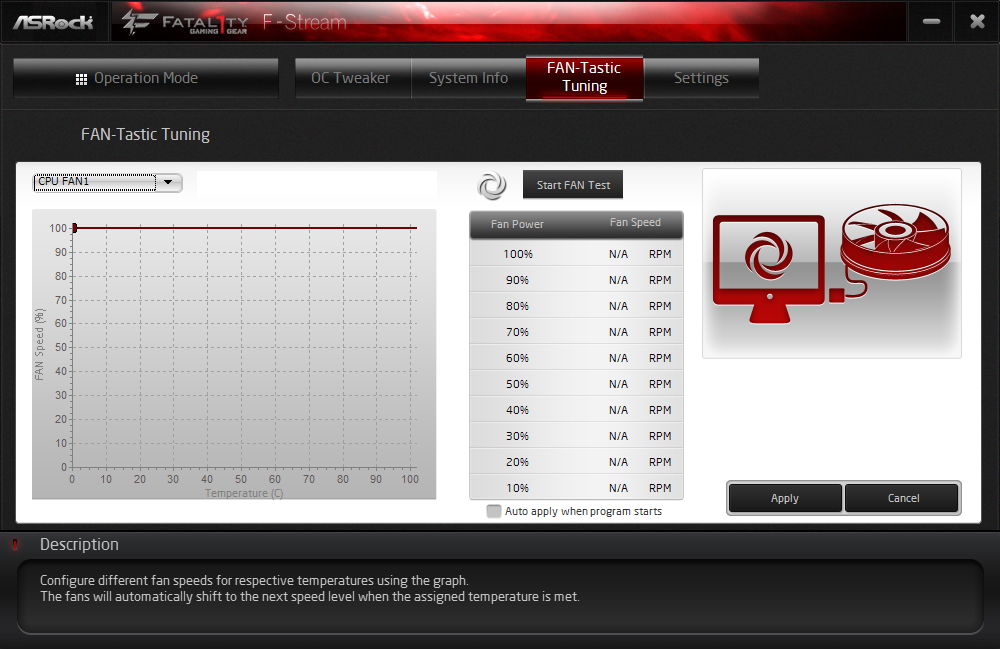
There’s also a useful fan-tuning utility carried over from firmware menus. Users can pick a profile, create a profile, or have the program create a profile based on the fan’s minimum and maximum speeds.
Firmware
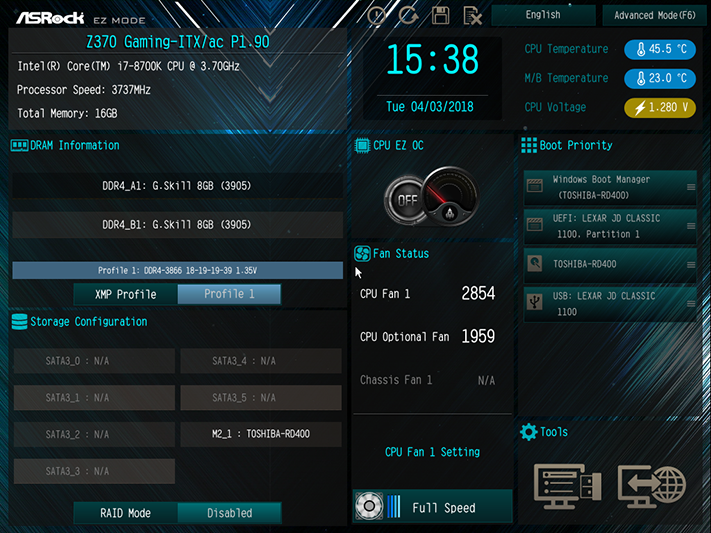
As usual, ASRock’s UEFI opens to an Easy Mode interface that isn’t all that easy to use, but allows users to enable XMP profiles, change a few storage settings, and select a fan profile. The limitations are likely set to comfort less-initiated builders.
Get Tom's Hardware's best news and in-depth reviews, straight to your inbox.
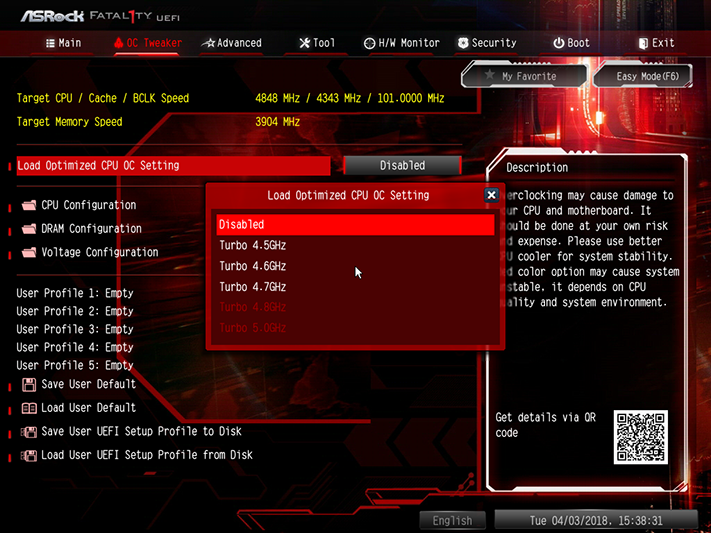
A quick tap of the F6 key brings users to “Advanced Mode”, where the M.I.T. menu provides a list of overclocking menus, storage for up to five configurations, a tool to import and export those configurations using a flash drive, and a group of factory-defined overclocking profiles. These profiles range from 4.50GHz at stock voltage to 5.0GHz at 1.50V, yet all employ an AVX offset ratio that knocks the CPU down to 4.30GHz under AVX loads such as the Prime95 small-FFT’s we use for stability tests.
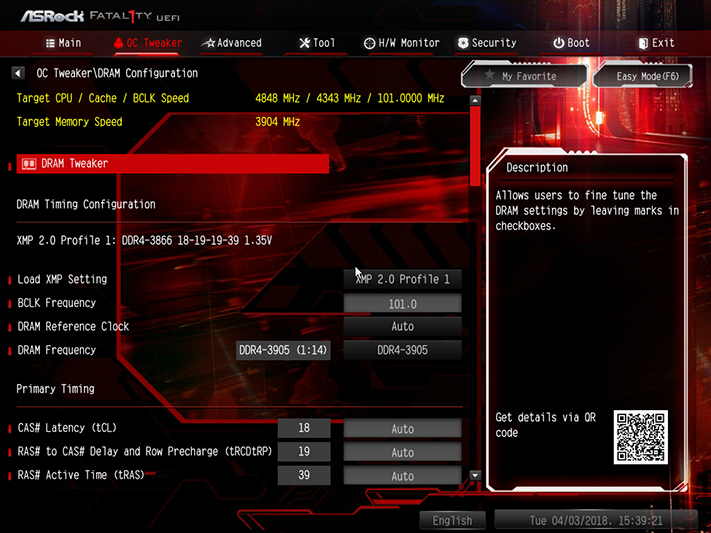
We easily pushed our CPU to 4.85GHz, and our memory easily exceeded DDR4-4000, yet automatic stability-compensating timing adjustments got us our best memory performance at its DDR4-3866 XMP rating.
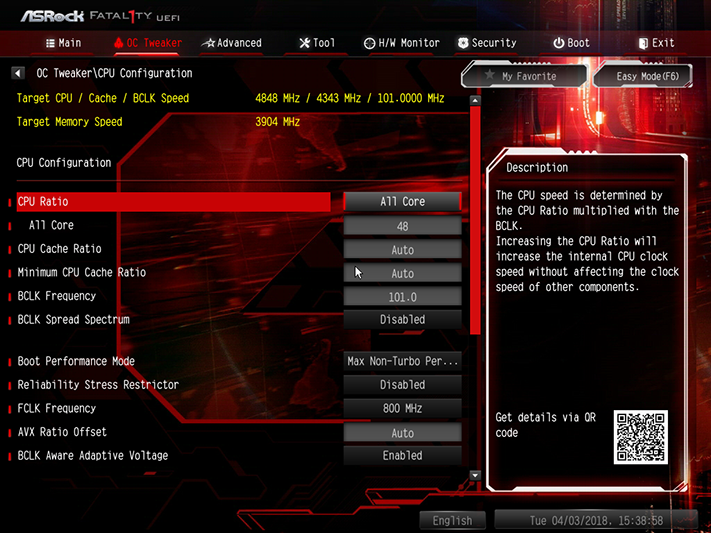
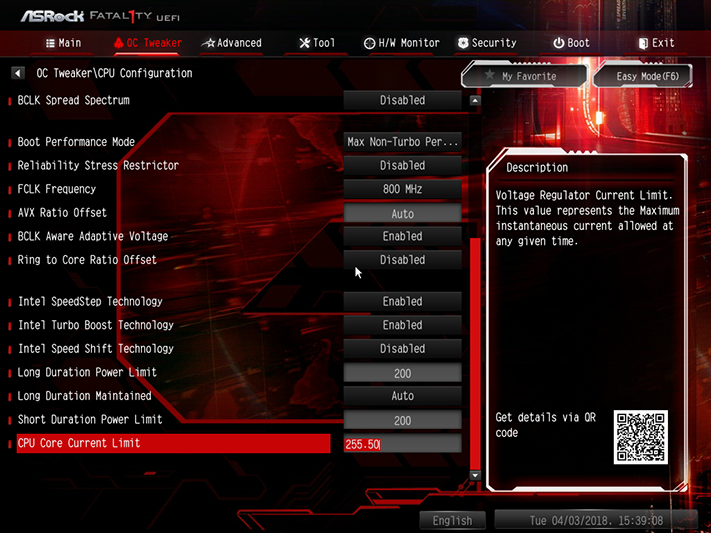
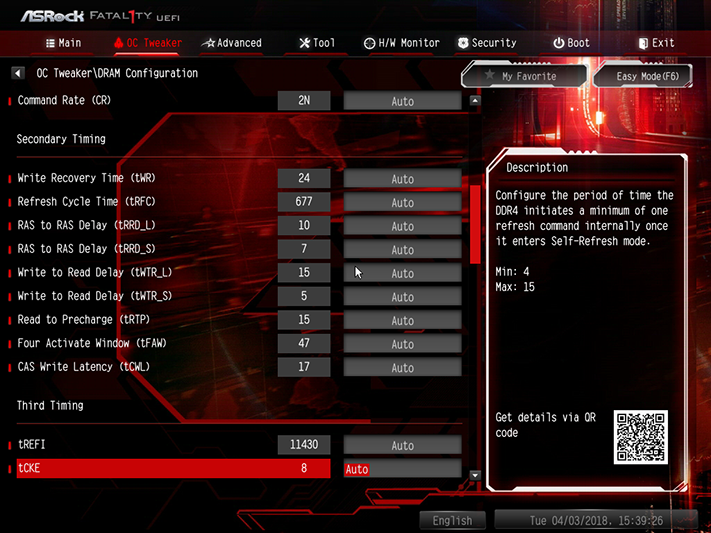
It’s not that we couldn’t set our own advanced timings to get DDR4-4000 to perform better than DDR4-3866; it’s just that there are so many adjustments available that picking the right combination would have taken days. Starting off with DDR4-4000 would have set the bar slightly higher, but with the same behavior above that bar.
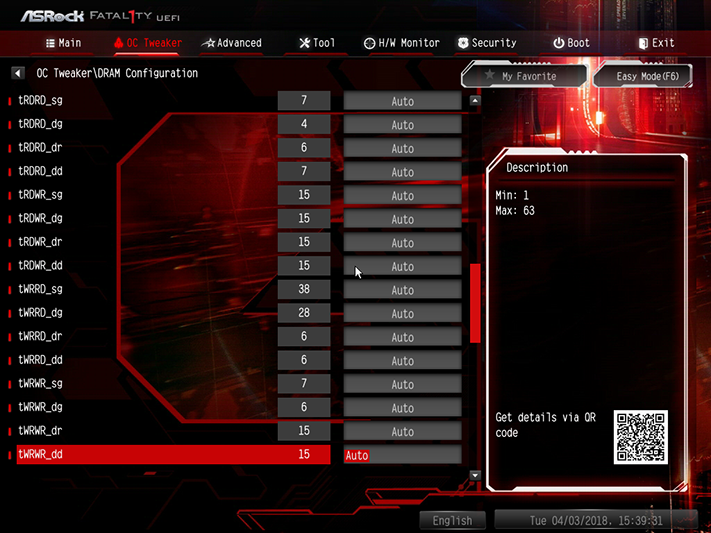
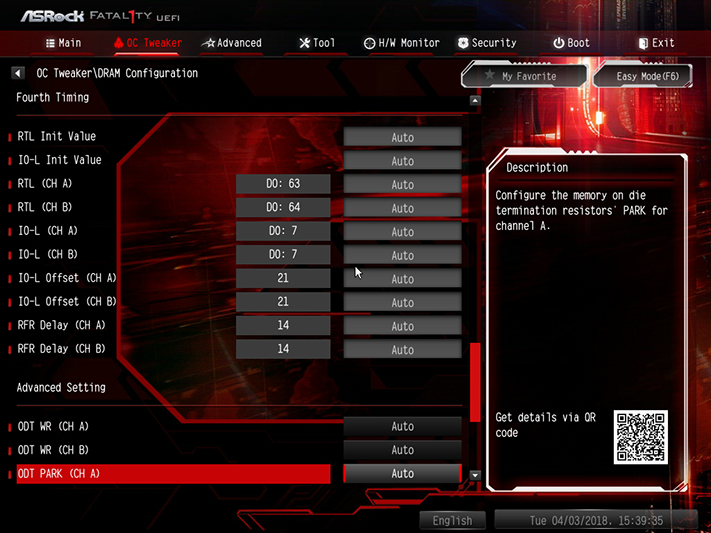
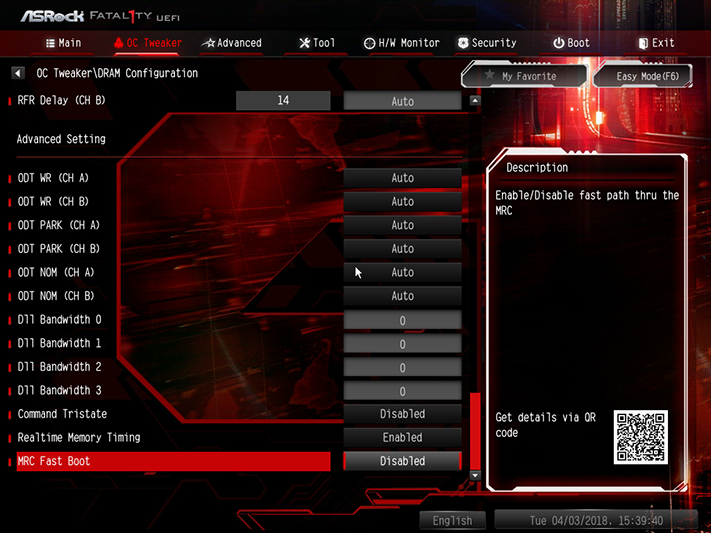
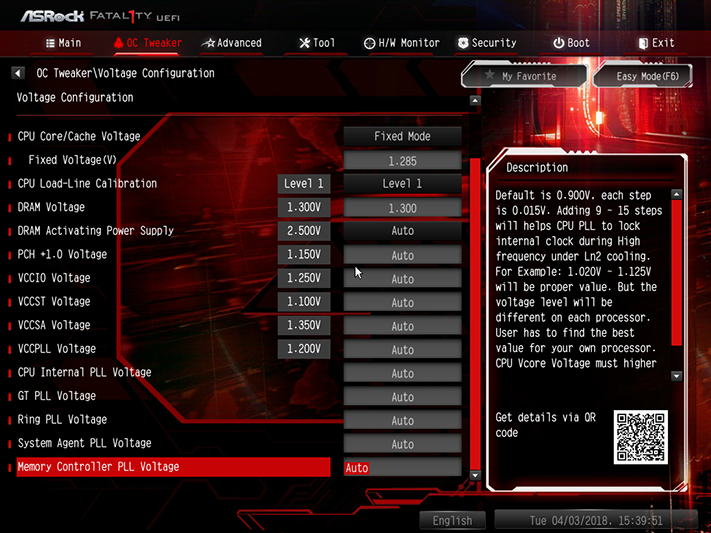
One of the problems for motherboard manufacturers who want us to show sky-high overclocks is that we’re really fussy about the voltage we use when testing, as that modicum of precision is required in order to compare boards fairly. We found, for example, that CPU core voltage would drop by around 40mV under Prime95 small-FFTs when using “Level 2” Load-Line calibration, but was overcompensated by around 15mV when using Level 1. Since the extra voltage is only really needed under heavy loads, choosing Level 1 at 1.285V got us to 1.30V at 4848 MHz…while saving a little energy at lower loads.
Also note above that we set DRAM to 1.30V. Our meter showed 1.349V at the DIMM slot with that setting, and fine-tuning wasn’t available, since the board supports only 50mV intervals. Users should know that the Z370 Gaming-ITX/ac will default their DRAM to around 1.4V even with XMP disabled. Best CPU longevity is thereby achieved by selecting a lower voltage of your own accord.
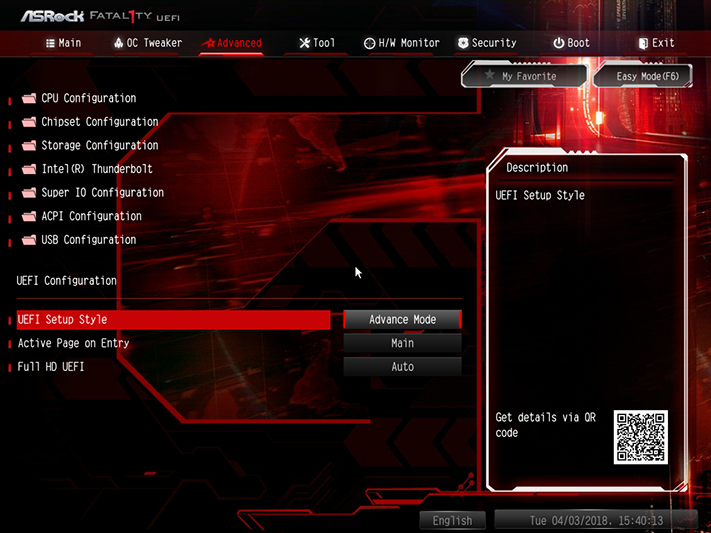
Overclockers tired of pressing F6 at every UEFI entry can change UEFI Setup Style to “Advance Mode”; that selling is found under the Advanced menu of Advanced Mode. (Confusing, we know.)
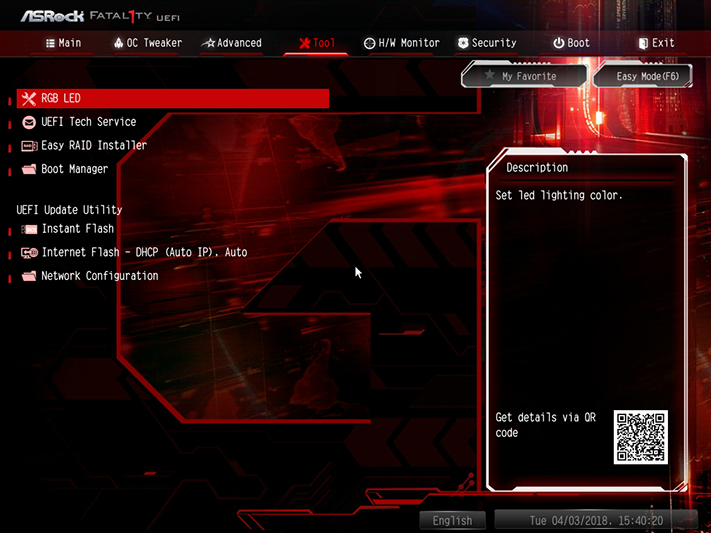
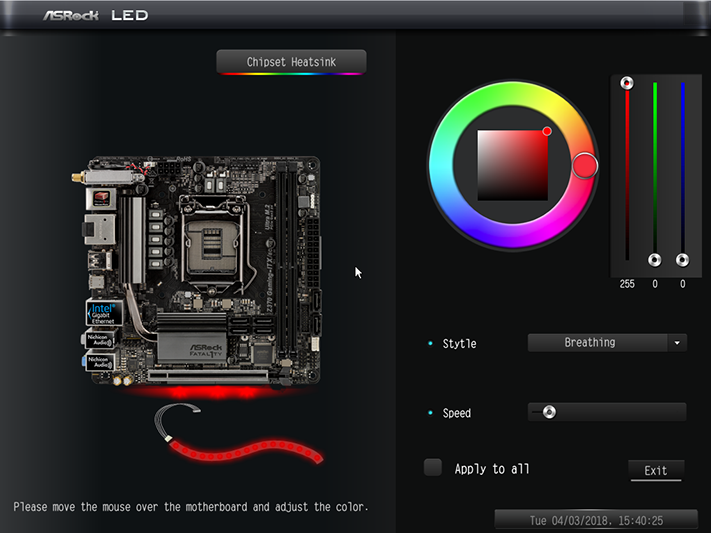
A “Tool” menu includes basic controls for RGB lighting, an email dispatching service for tech support, a tool to copy RAID drivers to a thumb drive, a firmware flashing tool, a firmware download tool, and a network configuration page that helps users get online to use some of those other tools.
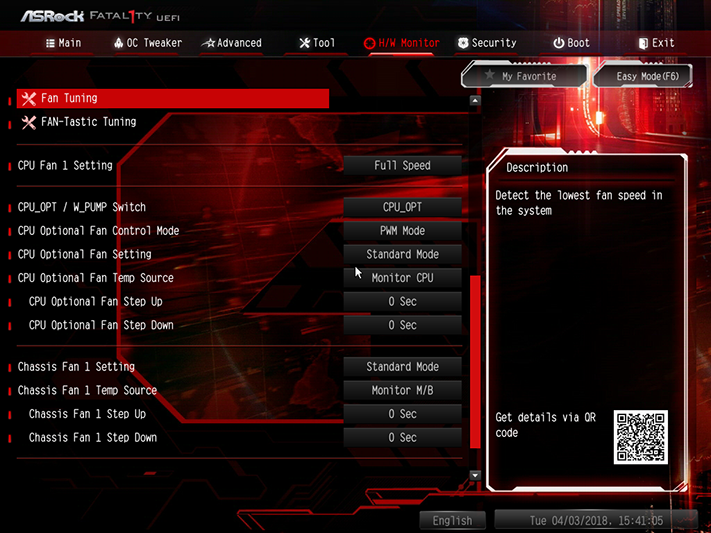
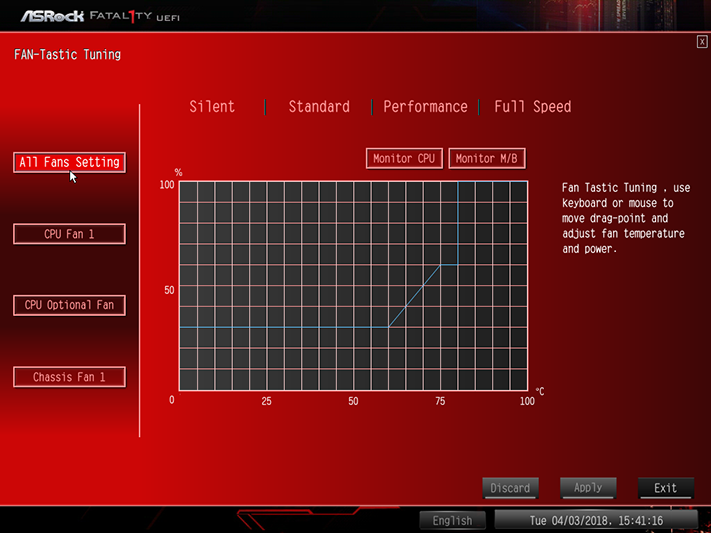
The three fan headers can be assigned custom slopes from the FAN-Tastic Tuning page of the H/W Monitor menu, but only one of the fan headers supports voltage-based speed control. Conversely, the Fan Tuning button runs an algorithm to determine maximum and minimum fan speed and create a slope accordingly.
MORE: Best Motherboards
MORE: How To Choose A Motherboard
MORE: All Motherboard Content
-
iopssopi I moved from Asus to Asrock and regretted it once . Their Bios is not as good as ASUS and after some while the front USB3 stopped accepting any External hdd Drive , while my other ASUS PC Front USB3 never did that , and both have the same win10 version and updates.Reply
I stopped using ASROCK motherboards after that.
I contacted ASROCK many times and they never solved my problem. -
logainofhades I have used a couple different Asrock boards, and they have been great. I only have Asus now, because at the time, that was the only board in stock, when I went to purchase. I would consider this board, if I made the move to coffee lake.Reply -
FD2Raptor ReplyOverclockers tired of pressing F6 at every UEFI entry can change UEFI Setup Style to “Advance Mode”; that selling is found under the Advanced menu of Advanced Mode. (Confusing, we know.)
Yeah, I was also confused for a second there.
