ASRock X299E-ITX/ac Skylake-X Motherboard Review
Why you can trust Tom's Hardware
Software & Firmware
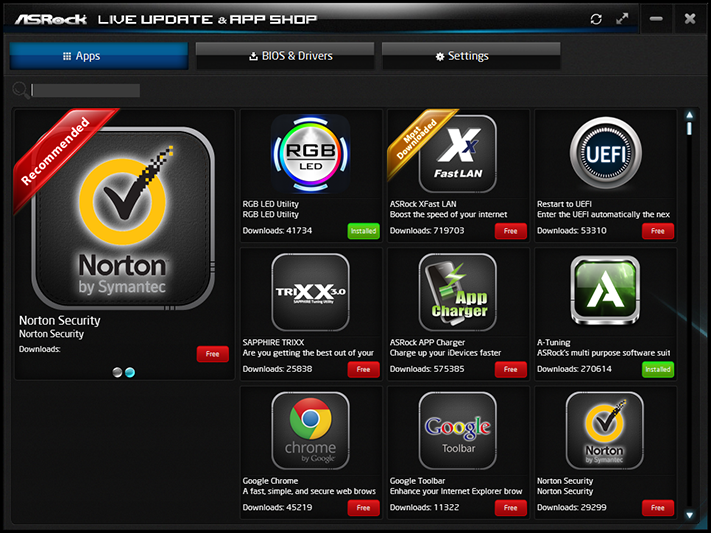
Although its driver disc provides needed drivers to get the system working and online, ASRock’s software comes by way of its App Shop application. Here we find download links to its RGB LED control applet, a custom-interfaced version of the cFos network utility called XFast LAN, the self-explained Restart to UEFI applet, Sapphire’s graphics card overclocking utility, ASRock APP Charger USB device charging mode applet, A-Tuning overclocking suite, a bunch of freeware, and a Norton Security trial. The application’s BIOS & Drivers download tab polls ASRock servers for updates, and its Settings tab adds a tickbox to disable auto-load at Windows boot.
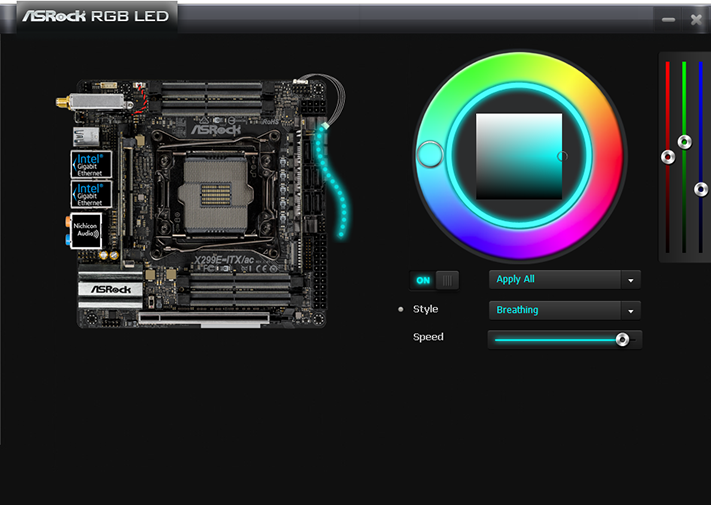
ASRock RGB LED is nothing more than a Windows app that accesses its firmware settings, its GUI a reflection of firmware. Though the board lacks on-board lighting, a test of its RGB output shows normal function (including color-cycling modes).
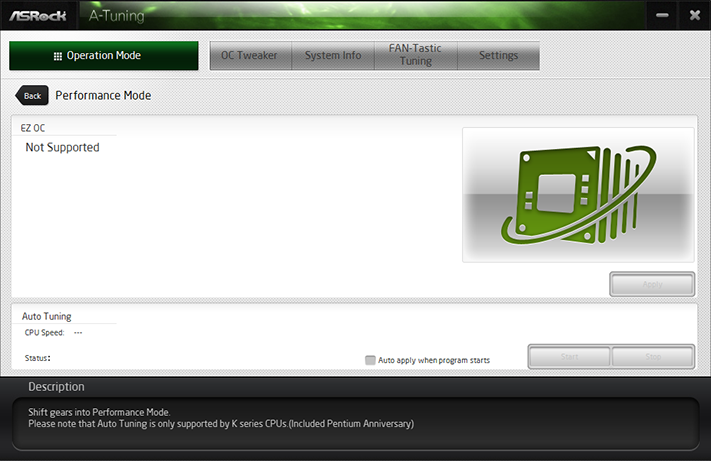
Likely due to thermal concerns, the X299E-ITX/ac does not have any factory-configured overclocking profiles saved in its firmware. Since A-Tuning pulls these from firmware, its EZ OC section is blank. Furthermore, since Auto Tuning uses EZ OC profiles as a baseline, it's likewise not enabled.
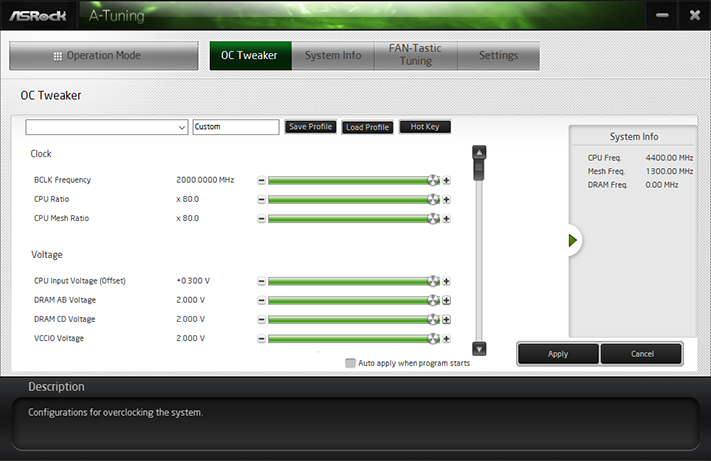
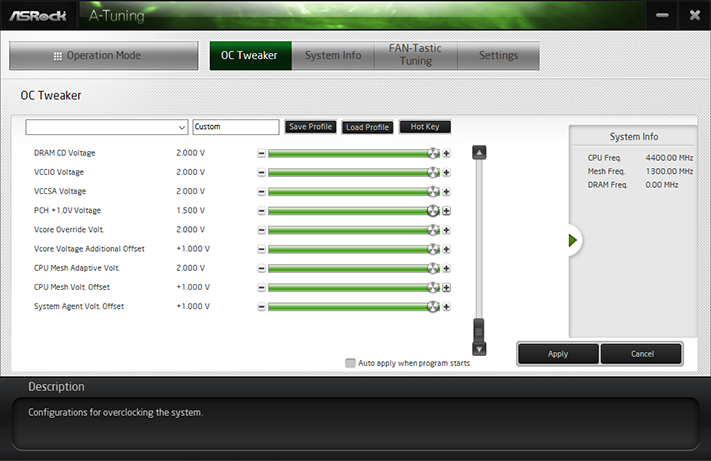
A-Tuning’s OC Tweaker menu still works, providing Windows access to a full range of UEFI settings. We confirmed functionality of CPU multiplier, BCLK, and voltage settings.
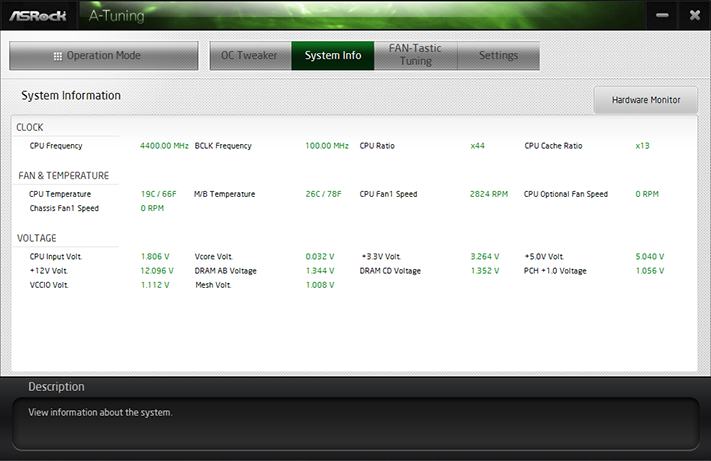
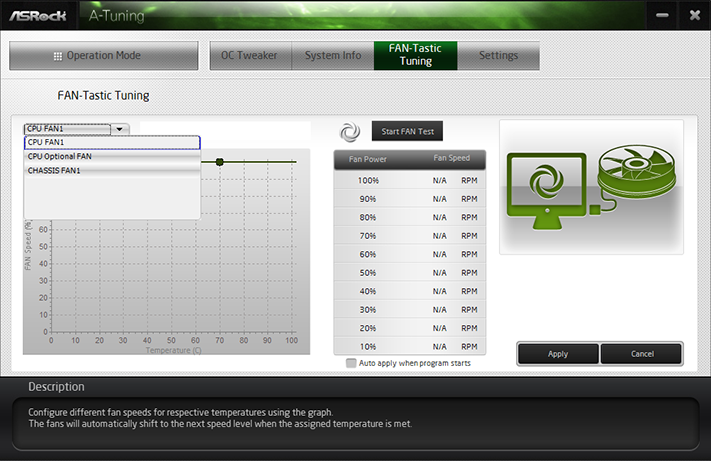
Other A-Tuning menus provide system monitoring and fan control. We couldn’t find any reading for the motherboard voltage regulator, and the reported “M/B Temperature” was up to 60°C below that of the voltage regulator.
Firmware
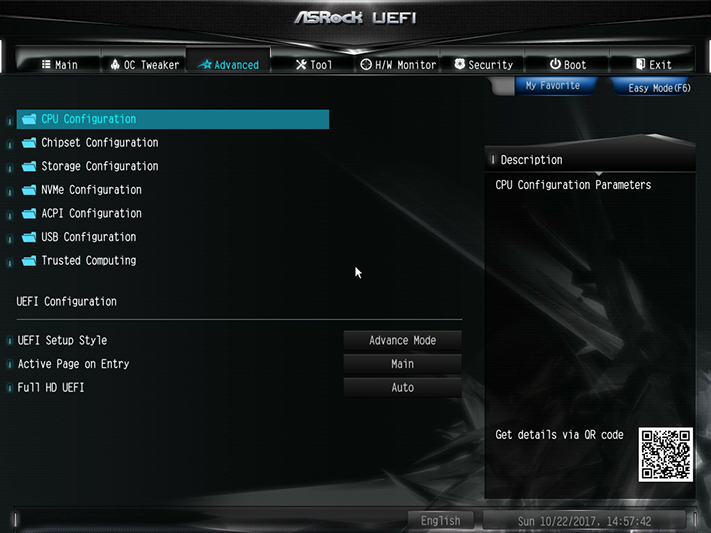
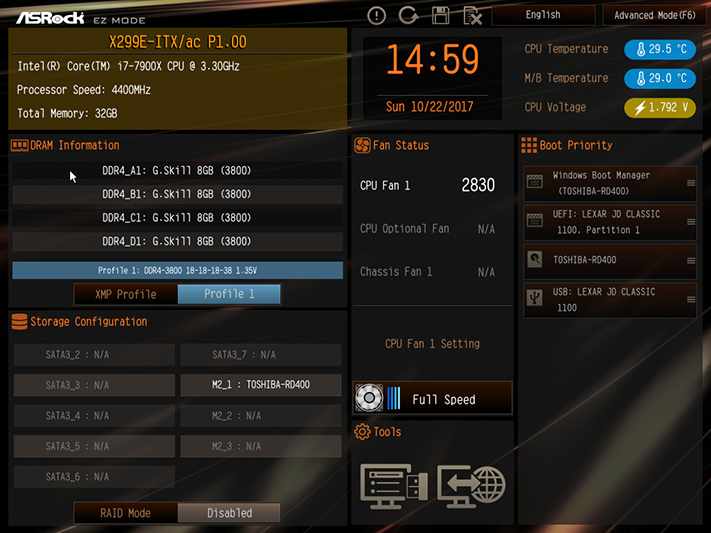
The X299E-ITX/ac opens to its Advance Mode GUI, where we were able to easily set a stable CPU frequency of 4.40 GHz and a DDR4-3800 data rate. DDR4-3800 SO-DIMMs? Jump to the next page to see them.
Get Tom's Hardware's best news and in-depth reviews, straight to your inbox.
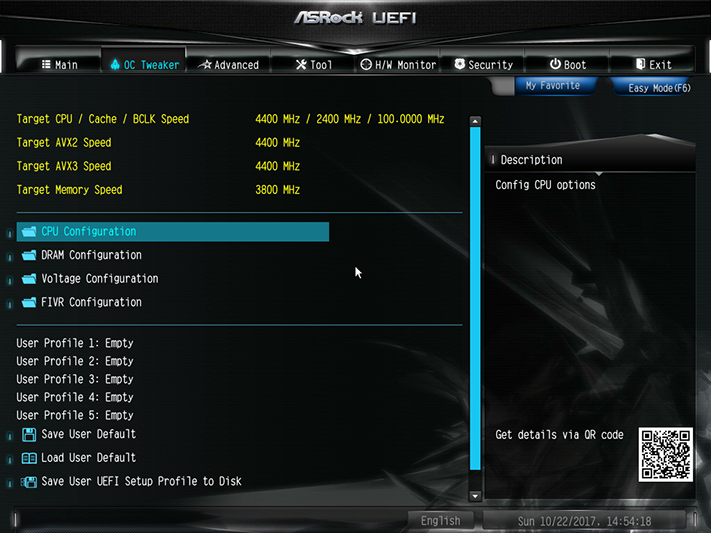
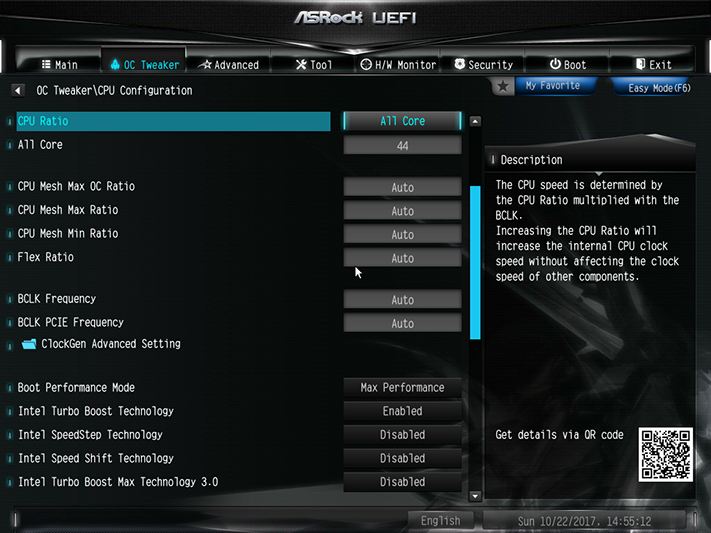
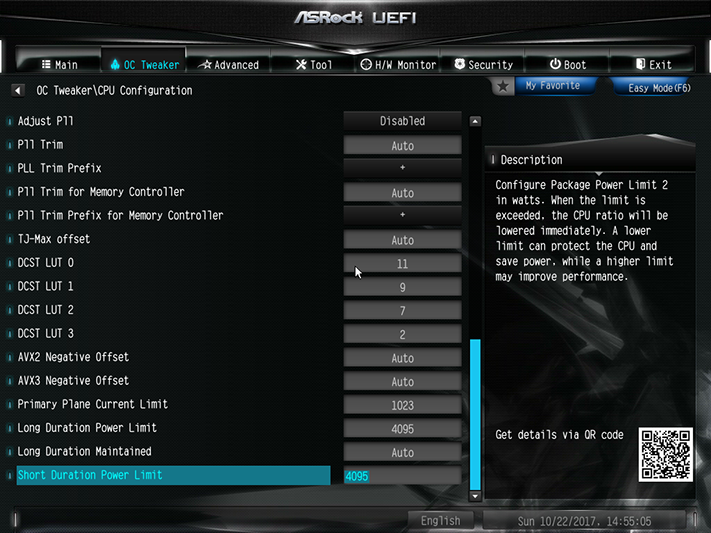
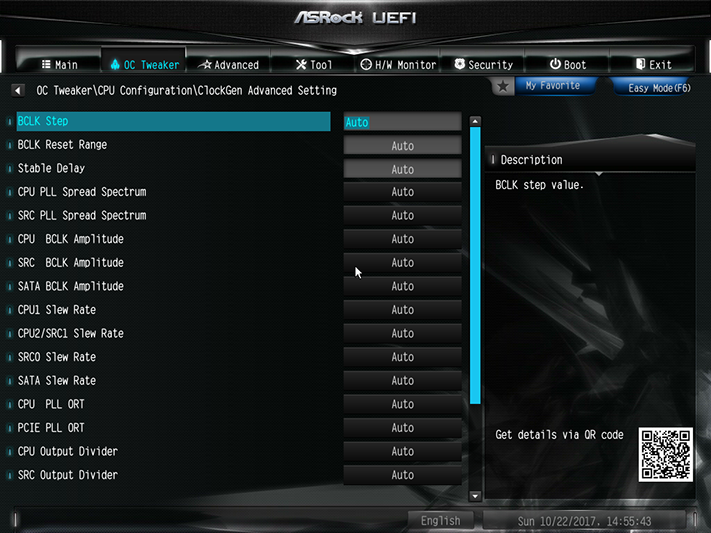
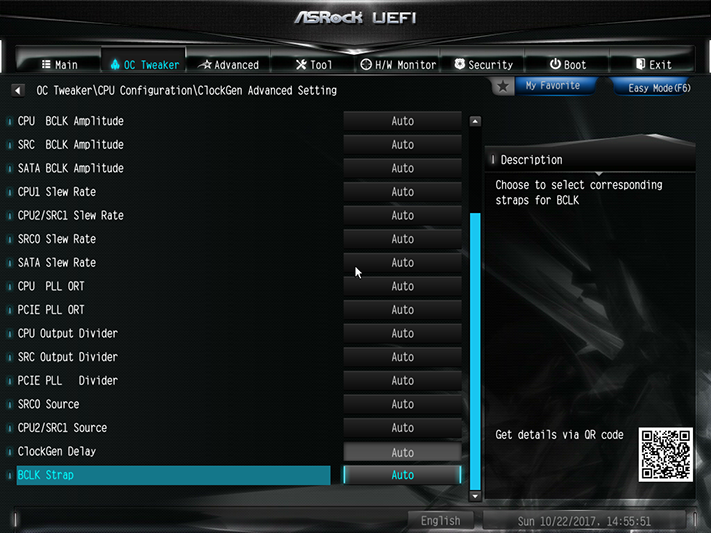
We had to manually increase power limits to accomplish any overclock under heavy CPU loads. The board would even force our CPU below its minimum Intel Turbo Boost ratio when loaded with Prime95 small-FFTs at default settings.
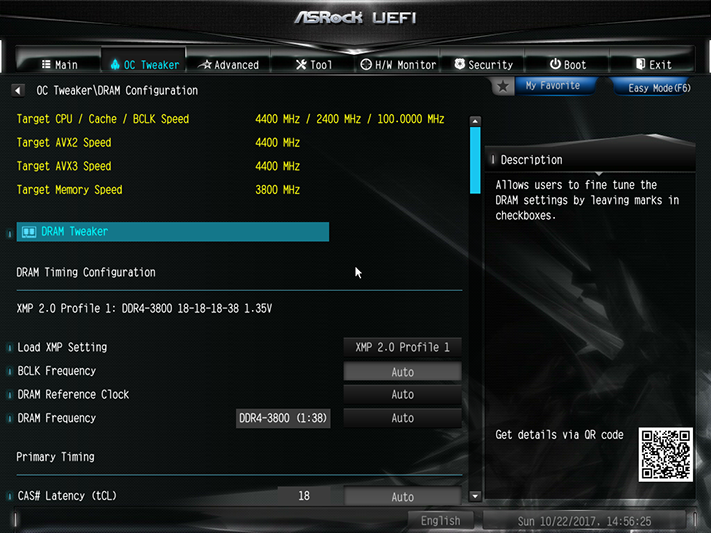
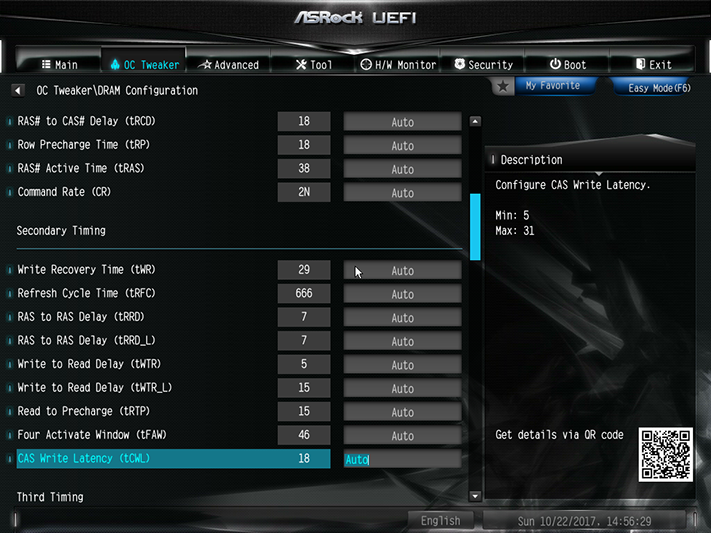
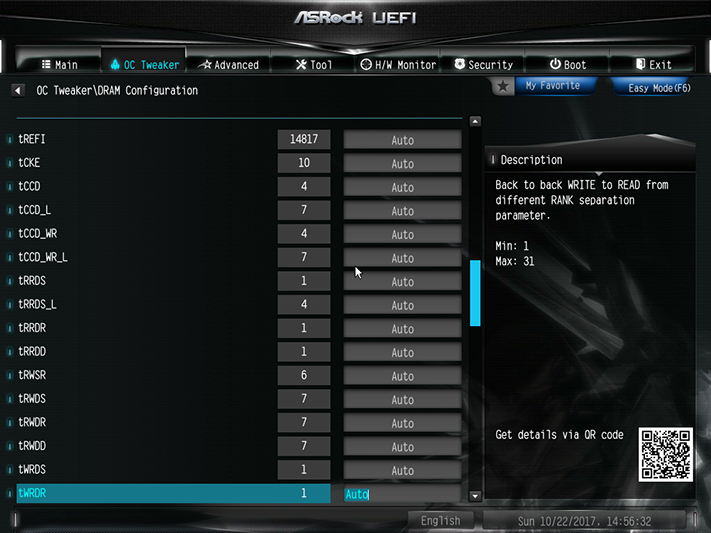
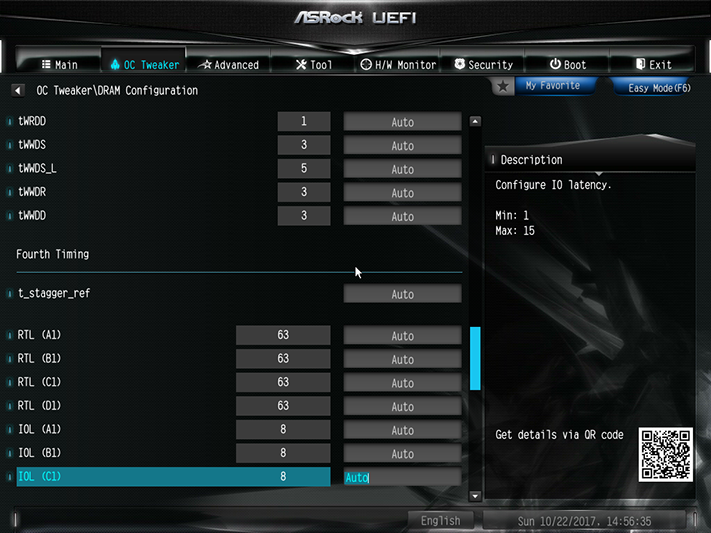
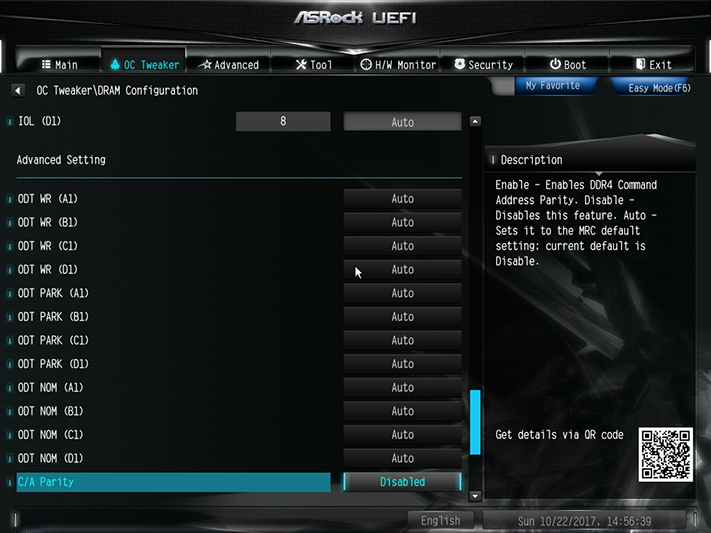
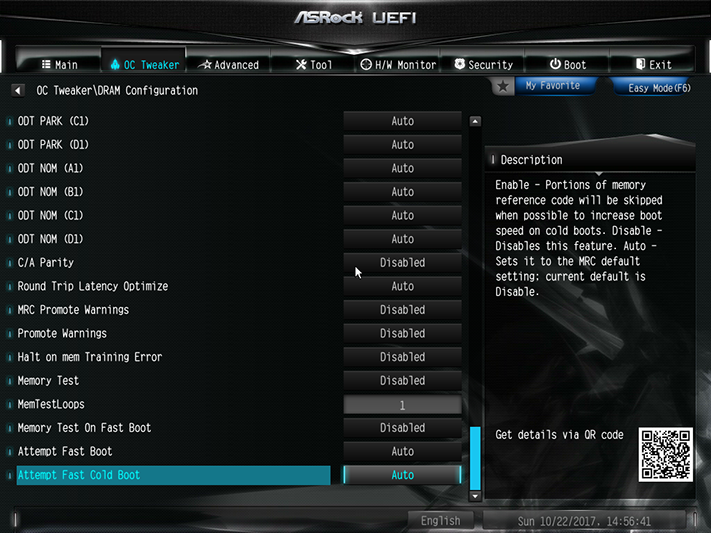
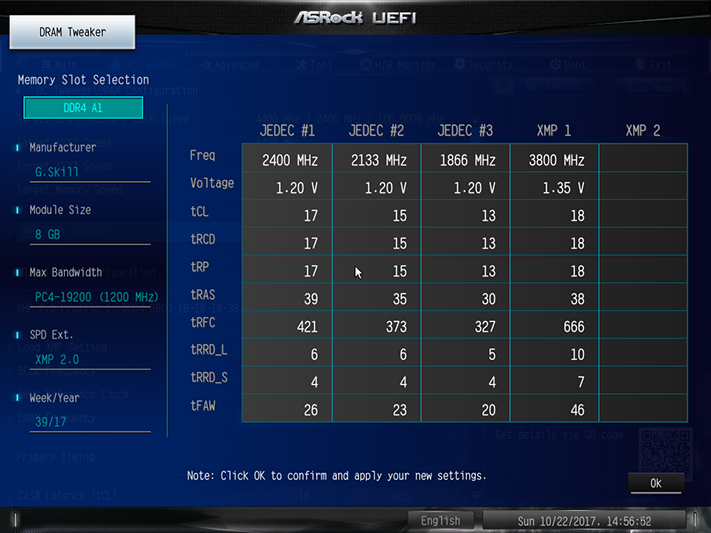
The X299E-ITX/ac’s UEFI supports XMP, along with a full range of data rates, primary through tertiary timings, and memory boot settings. It even has an extra menu to enable the viewing, selection, and application of the memory’s SPD and XMP programming.
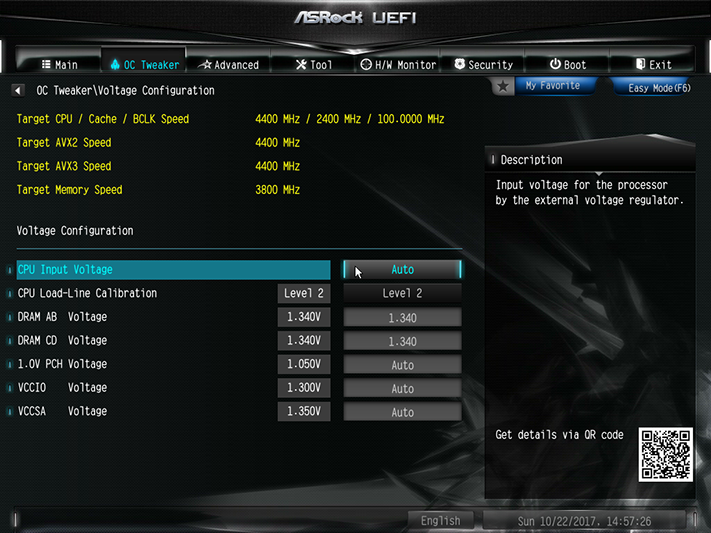
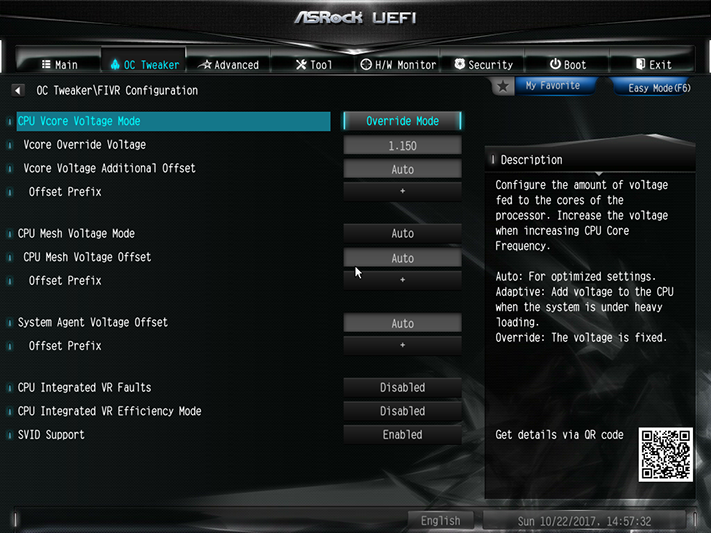
The Voltage Configuration menu allows changes to motherboard settings, while the FIVR Configuration menu adjusts voltages inside the CPU. We were able to sustain our desired 1.15V CPU core at full AVX load using the board’s Level 2 Load-Line Calibration setting. Conversely, the DIMM setting of 1.340V produced a measured 1.354V at the slots, and the lower setting was required to keep within the 1.355V limit we chose to keep overclocking comparisons fair.
The UEFI Setup Style setting is found within the Advanced menu of Advance Mode, and users who don’t want to see all these settings can choose to enter firmware in EZ mode next time. The F6 keyboard function also toggles between these GUI styles.
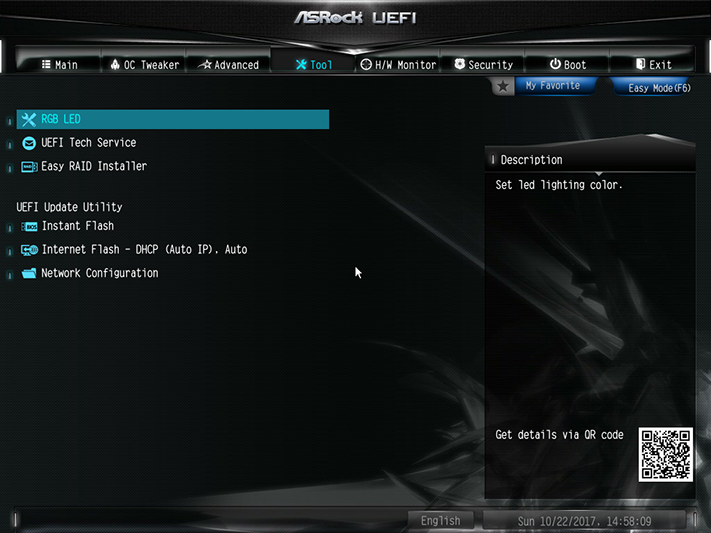
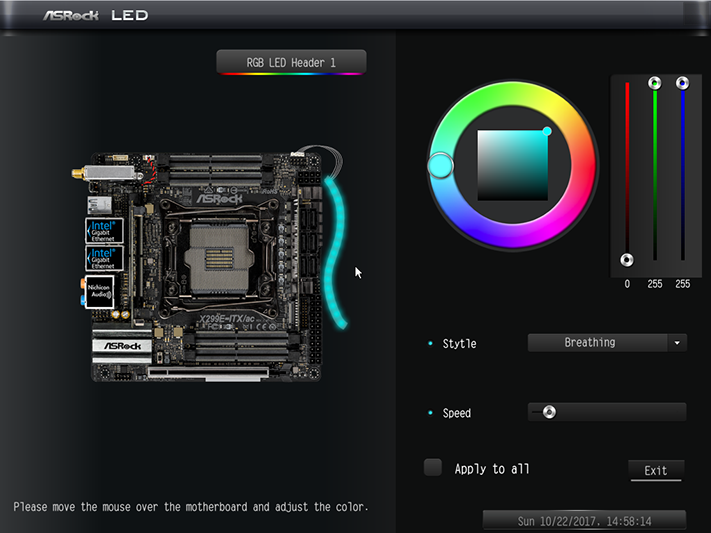
The Tool menu includes RGB LED header control, an outgoing email client for tech support, a utility for copying RAID drivers from the disc to a USB flash drive, a utility to enter UEFI Flash mode, a utility to poll servers for new UEFI versions and download them to a USB flash drive, and a network configuration utility.
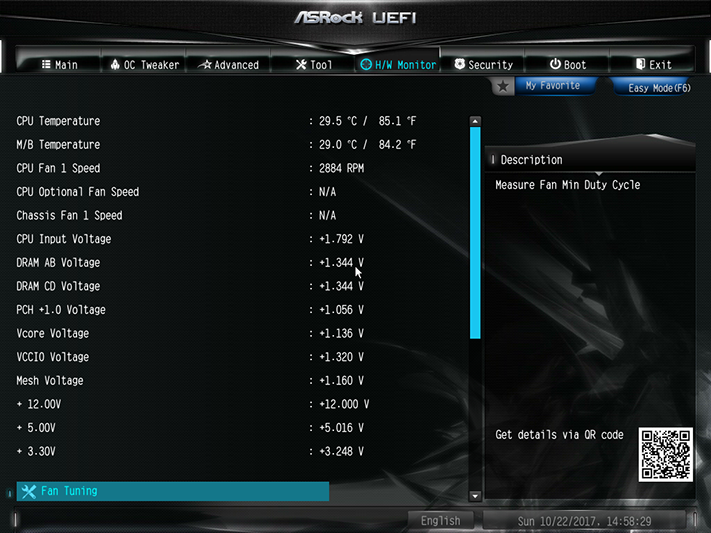
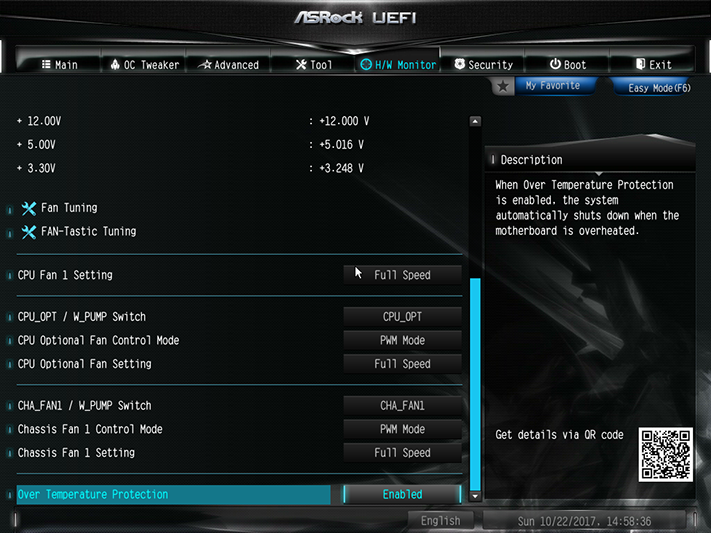
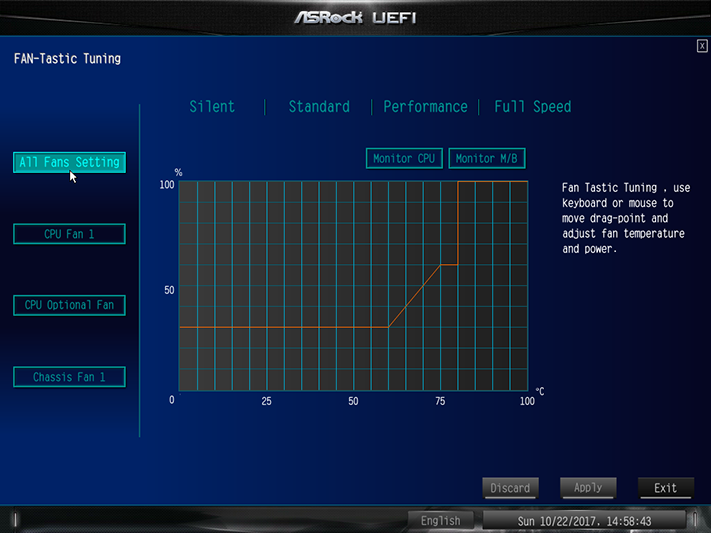
ASRock motherboards provide a UEFI utility that determines a fan’s operational range and alters its automatic slope accordingly, and two of its fan headers are even rated for 1.5A (rather than 1A) output. Those two headers also provide a voltage regulation option for speed control, and users are welcome to set their own fan slopes by clicking the FAN-Tastic Tuning tab to bring up an additional sub-menu.
Users who choose EZ Mode GUI can still set boot order, enable XMP, and access tools menus for Instant Flash firmware updating, Internet Flash firmware downloads, and Fan-Tastic Tuning.
MORE: Best Motherboards
MORE: How To Choose A Motherboard
MORE: All Motherboard Content
-
MichaelElfial Well guys, if you want to save space you have to accept the 20-30% premium even for much popular chipsets. They kept the price inside this limits and deserve a good word for that. I myself just moved to Coffee-lake and I would not consider this board for the moment, but who knows ...Reply -
Leaps-from-Shadows An excellent board! Definitely my top choice for X299 if I go that route with my next build, just for the challenge. Might do 8700K with Asus Maximus X Formula though. We'll see.Reply -
JonDol Reply20428533 said:400$ is way too expensive
Please remember that this is a HEDT MB so it can't come cheap.
AsRock has the nicest mITX portfolio which not only covers almost all the new chipsets but also ticks all the feature boxes !
All the other mITX MB lack one (or even more) of these features: TB 3.0 (on Intel platforms ofc), Bluetooth, WiFi, ALC 1220 sound (for the Z270 chipset for example AsRock's mITX Gaming/ac was the only one, all the other MBs were using the 'older' 1150 or even older than that), HDMI 2.0 (where applicable) etc.
I personally bought the Z270 one after Thomas' review and although it was the most expensive mITX it also was a no brainer buy !
You (and others) said it's expensive because you have only thought price without thinking value. These mITX boards do excellent living room passively cooled machines far cheaper and more flexible than any of the shelf network streamer I know. Think about using an ATX or even a micro ATX behemoth instead (and yet you won't find many passively cooled cases for that sizes).
-
Lutfij If anything this is new form of bragging rights for ASRock since the X299 platform aids those with bigger ambitions and cramming so much onto a small real estate is in itself a marvel to behold. Bravo, ASRock for pulling this off though if only their other itx boards for the mainstream platform were this praiseworthy...:'(Reply
