Tom's Hardware Verdict
The Creality LD-002R offers solid print quality, but at painfully slow speeds.
Pros
- +
+ Sturdy metal construction
- +
+ Integrated carbon air filter
- +
+ Solid print quality
Cons
- -
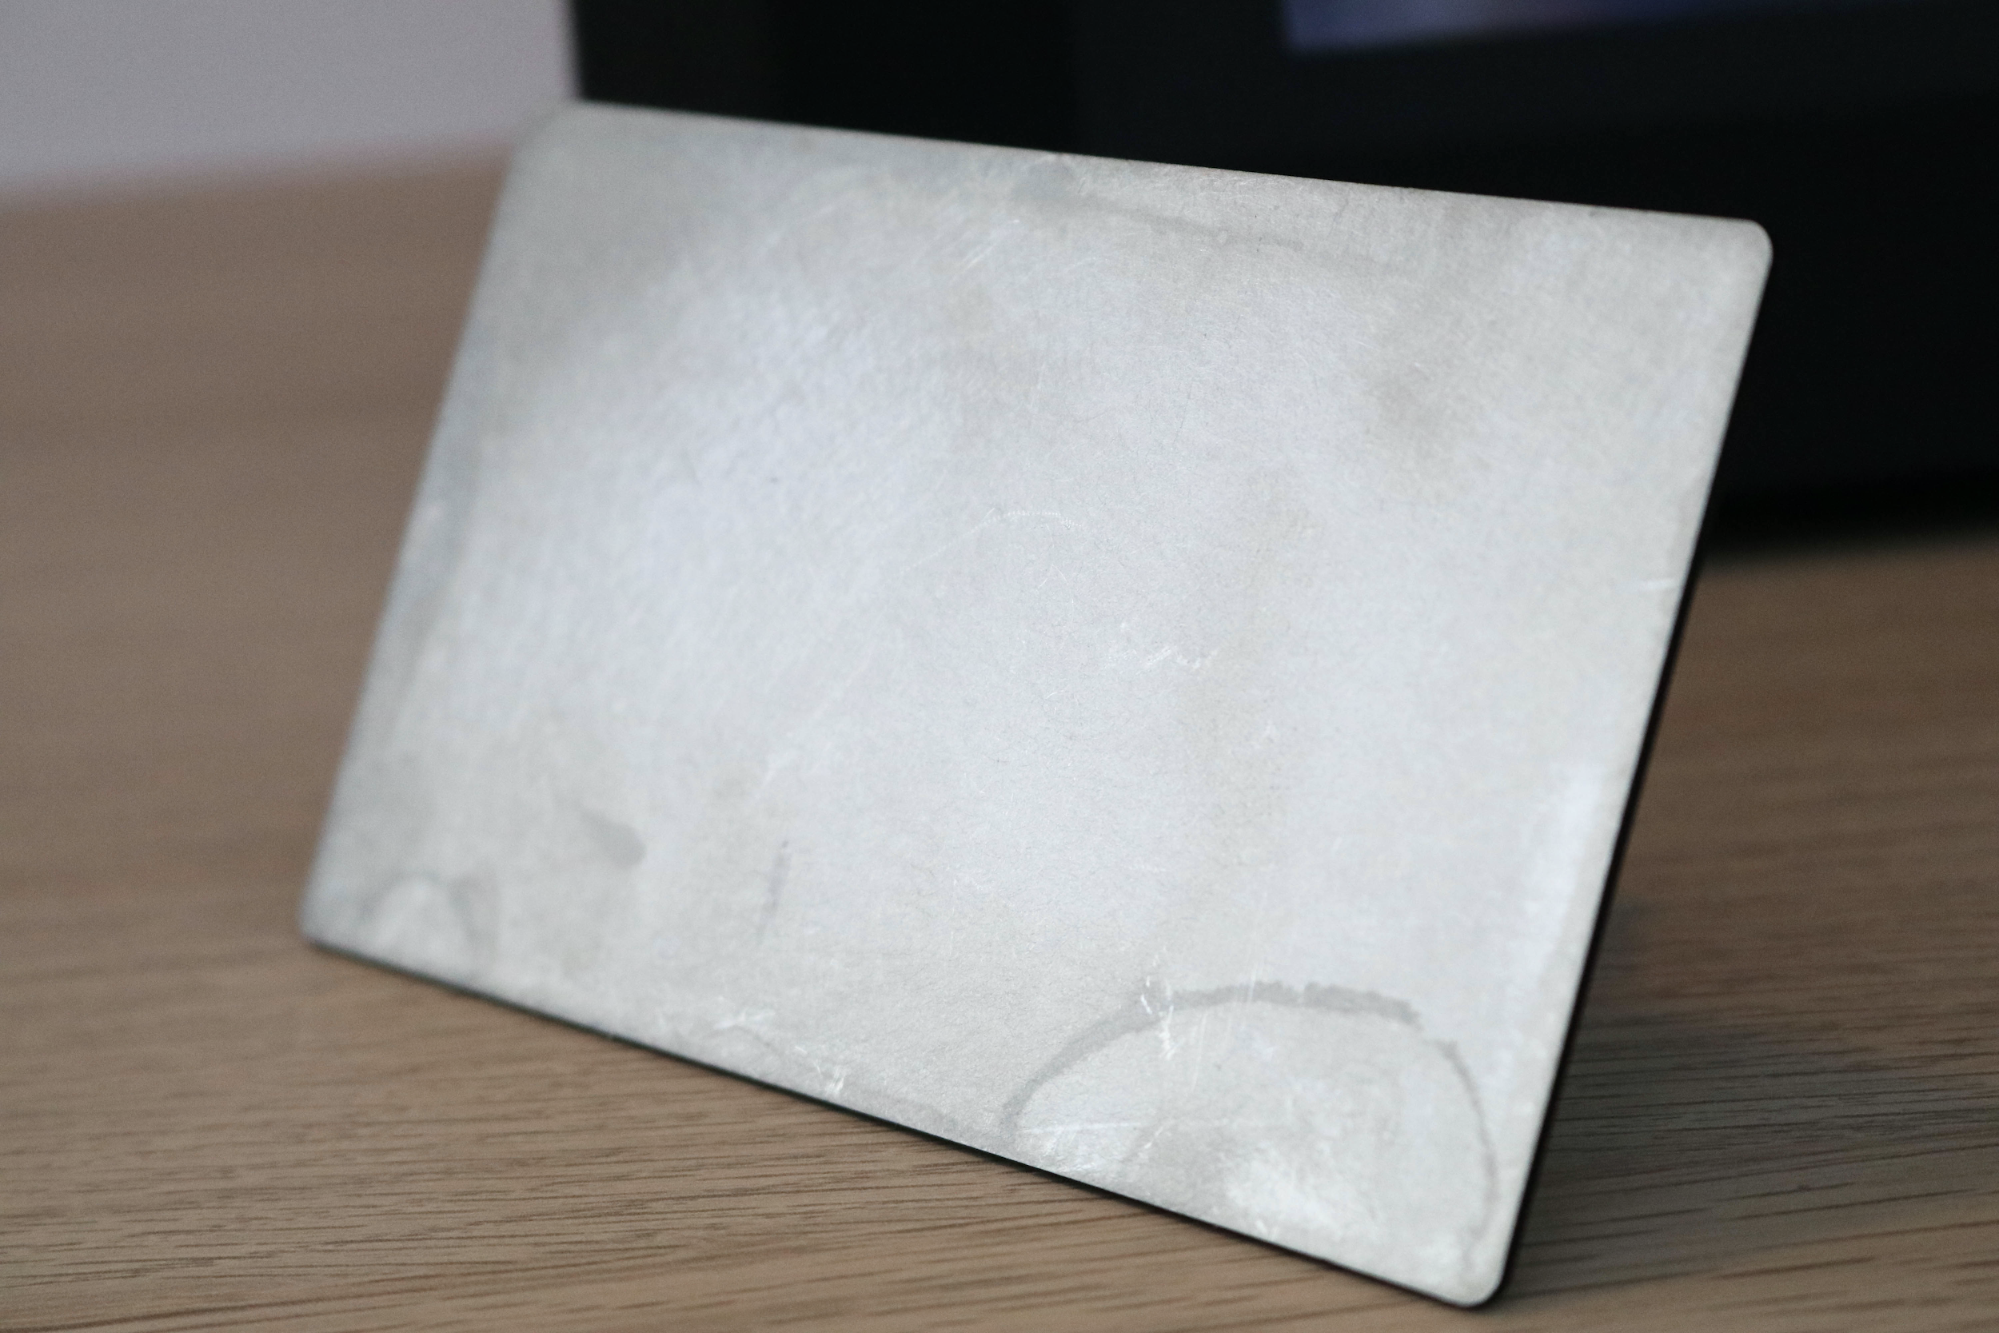
Build platform arrived with scratches on it
- -
Lackluster build speed
- -
Built-in demo model takes over 19 hours to print
Why you can trust Tom's Hardware
The smaller of the two printers in the Creality LD-002X family, the LD-002R is an MSLA resin 3D printer with a modest build volume, relatively slow build speeds, and a retail price coming in around a very-reasonable $199. The 2K, 5.5-inch masking LCD gives the LD-002R an XY accuracy of .075mm while the 9 second exposure time per layer means this printer will spend more time printing than the best resin 3D printers in this price range.
Specifications
| Machine Footprint | 8.7" x 8.7" x 15.9" (22.1cm x 22.1cm x 40.3cm) |
| Build Volume | 4.69" x 2.56" x 6.30" (119mm x 65mm x 160mm) |
| Resin | DLP Photopolymer Resin |
| UV Light | 30W 405nm UV LED |
| Masking LCD Resolution | 2560 x 1440 |
| Masking LCD Size | 5.5" |
| Interface | 3.5" LCD Touchscreen |
| XY Axis Resolution | .075mm |
Creality LD-002R: Included in the Box
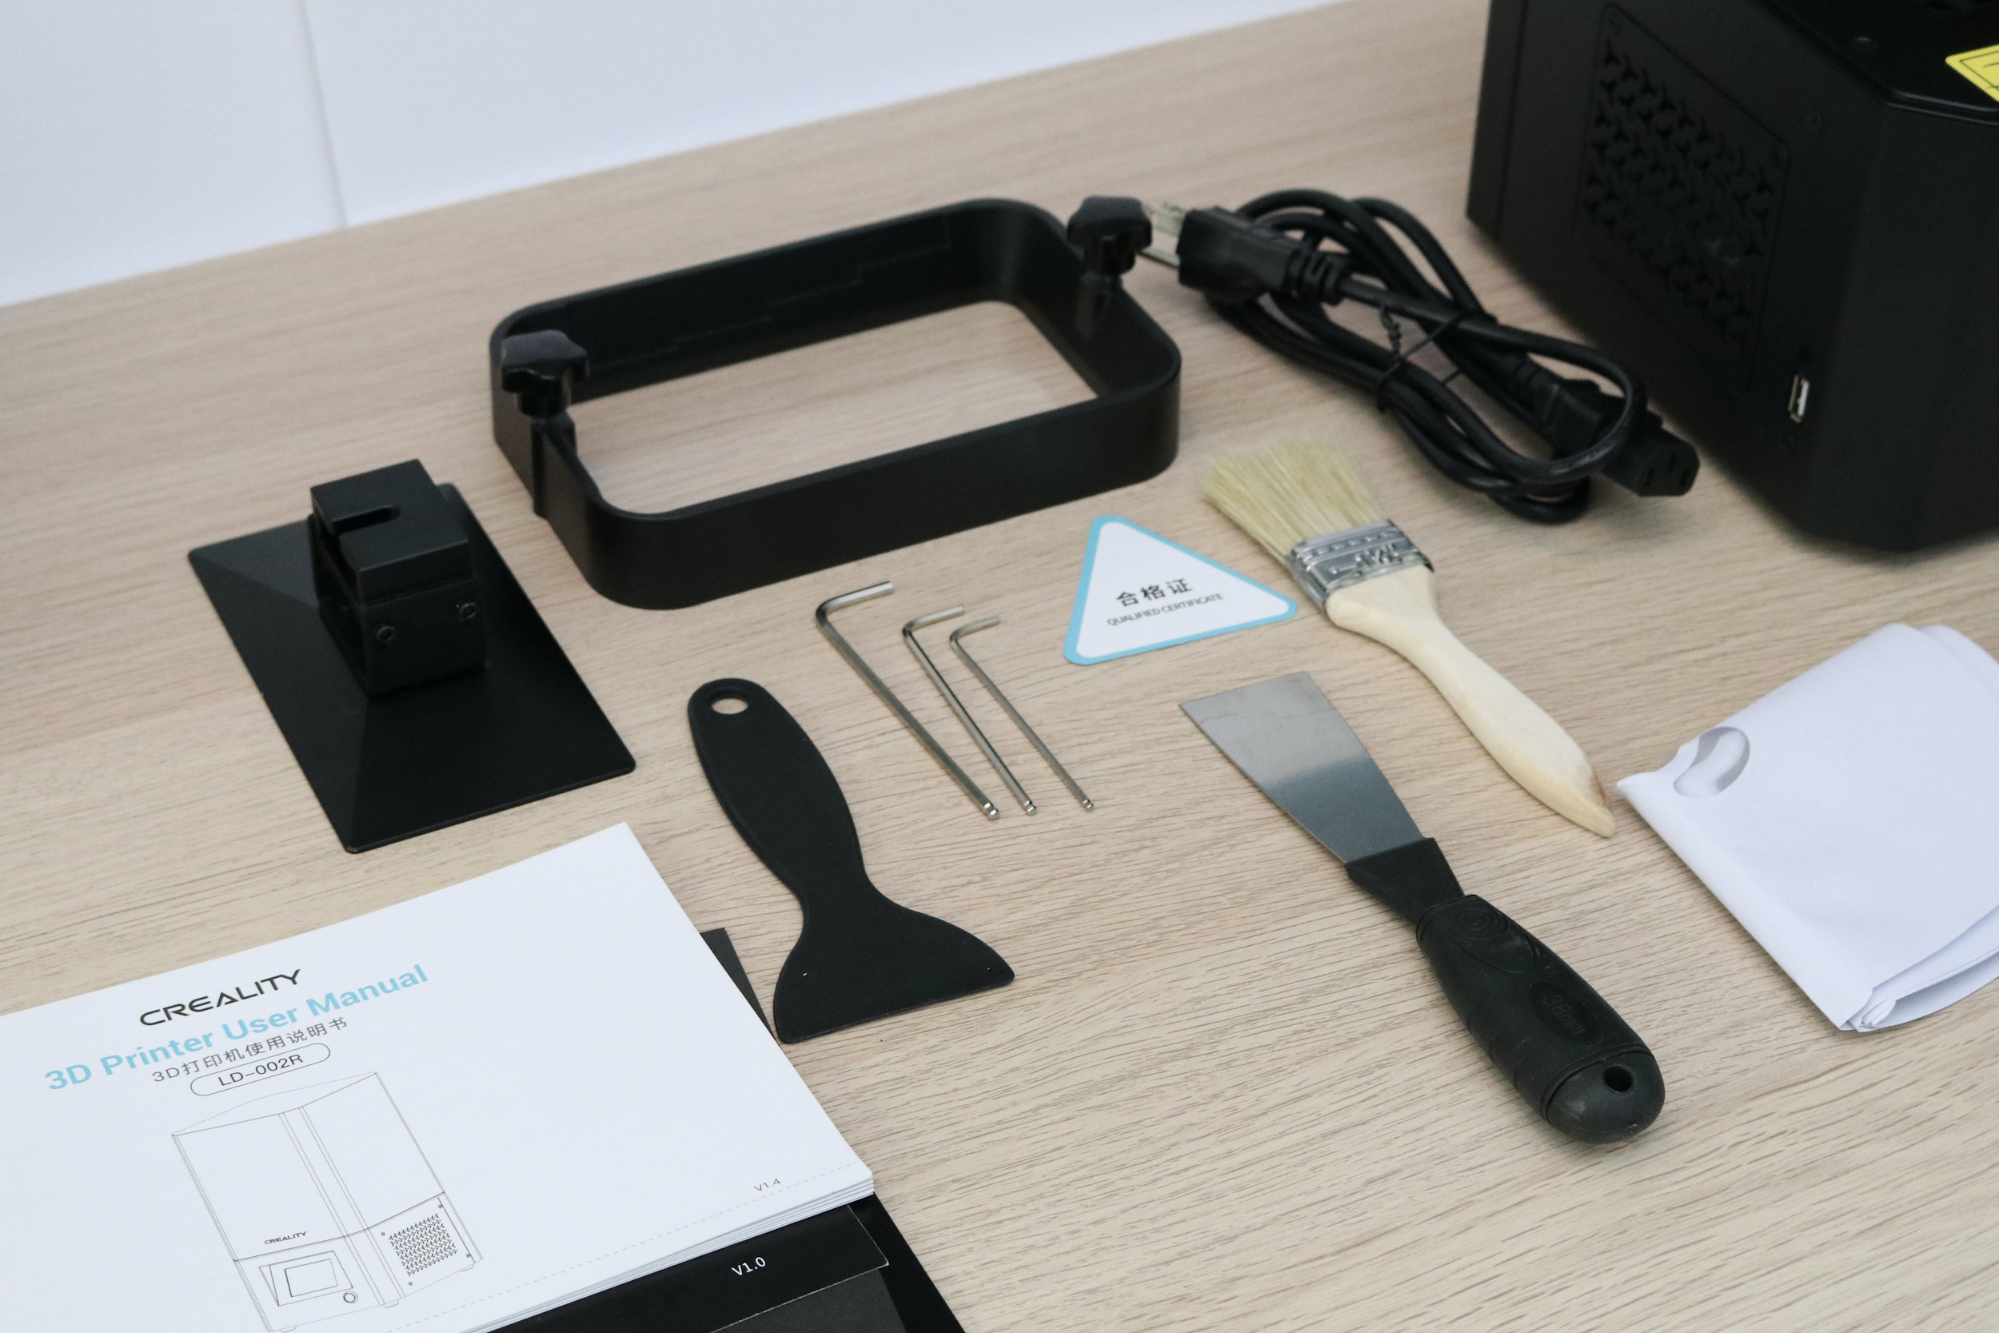
The Creality LD-002R includes all of the mechanical components you need to get up and running, including the resin vat, the build platform, a USB drive, and a power cable. It also includes some basic tools and consumables like a set of Allen keys, a brush, an extra FEP film for the vat and a pair of scrapers for removing parts from the build platform.
I was surprised to see that the LD-002R didn’t ship with any nitrile gloves or a surgical face mask, which are included with similar MSLA resin printers like the Anycubic Photon Mono, Phrozen Sonic 4K, and the Elegoo Mars 2 Pro. It would be helpful if those items were highlighted in the listing as not being included. This is a minor point, but it’s worth noting you should order those items with the machine if you’re planning on using it the same day you unbox it.
The build platform that was included with our review unit, which we bought from Amazon, showed clear signs of use, including scratches on the surface, a small amount of uncured resin on the top, and some staining present all over the component. I cleaned it up with some isopropyl alcohol and was able to get it looking a bit better, but I wasn’t expecting the platform to arrive in a used state. The rest of the printer (LCD, Z-axis, etc.) all look brand-new and unused, so this may just have been an error in the packing process. We reached out to Creality customer service and marketing for comment and, after several days, received no response, also a bad sign.
Design of Creality LD-002R
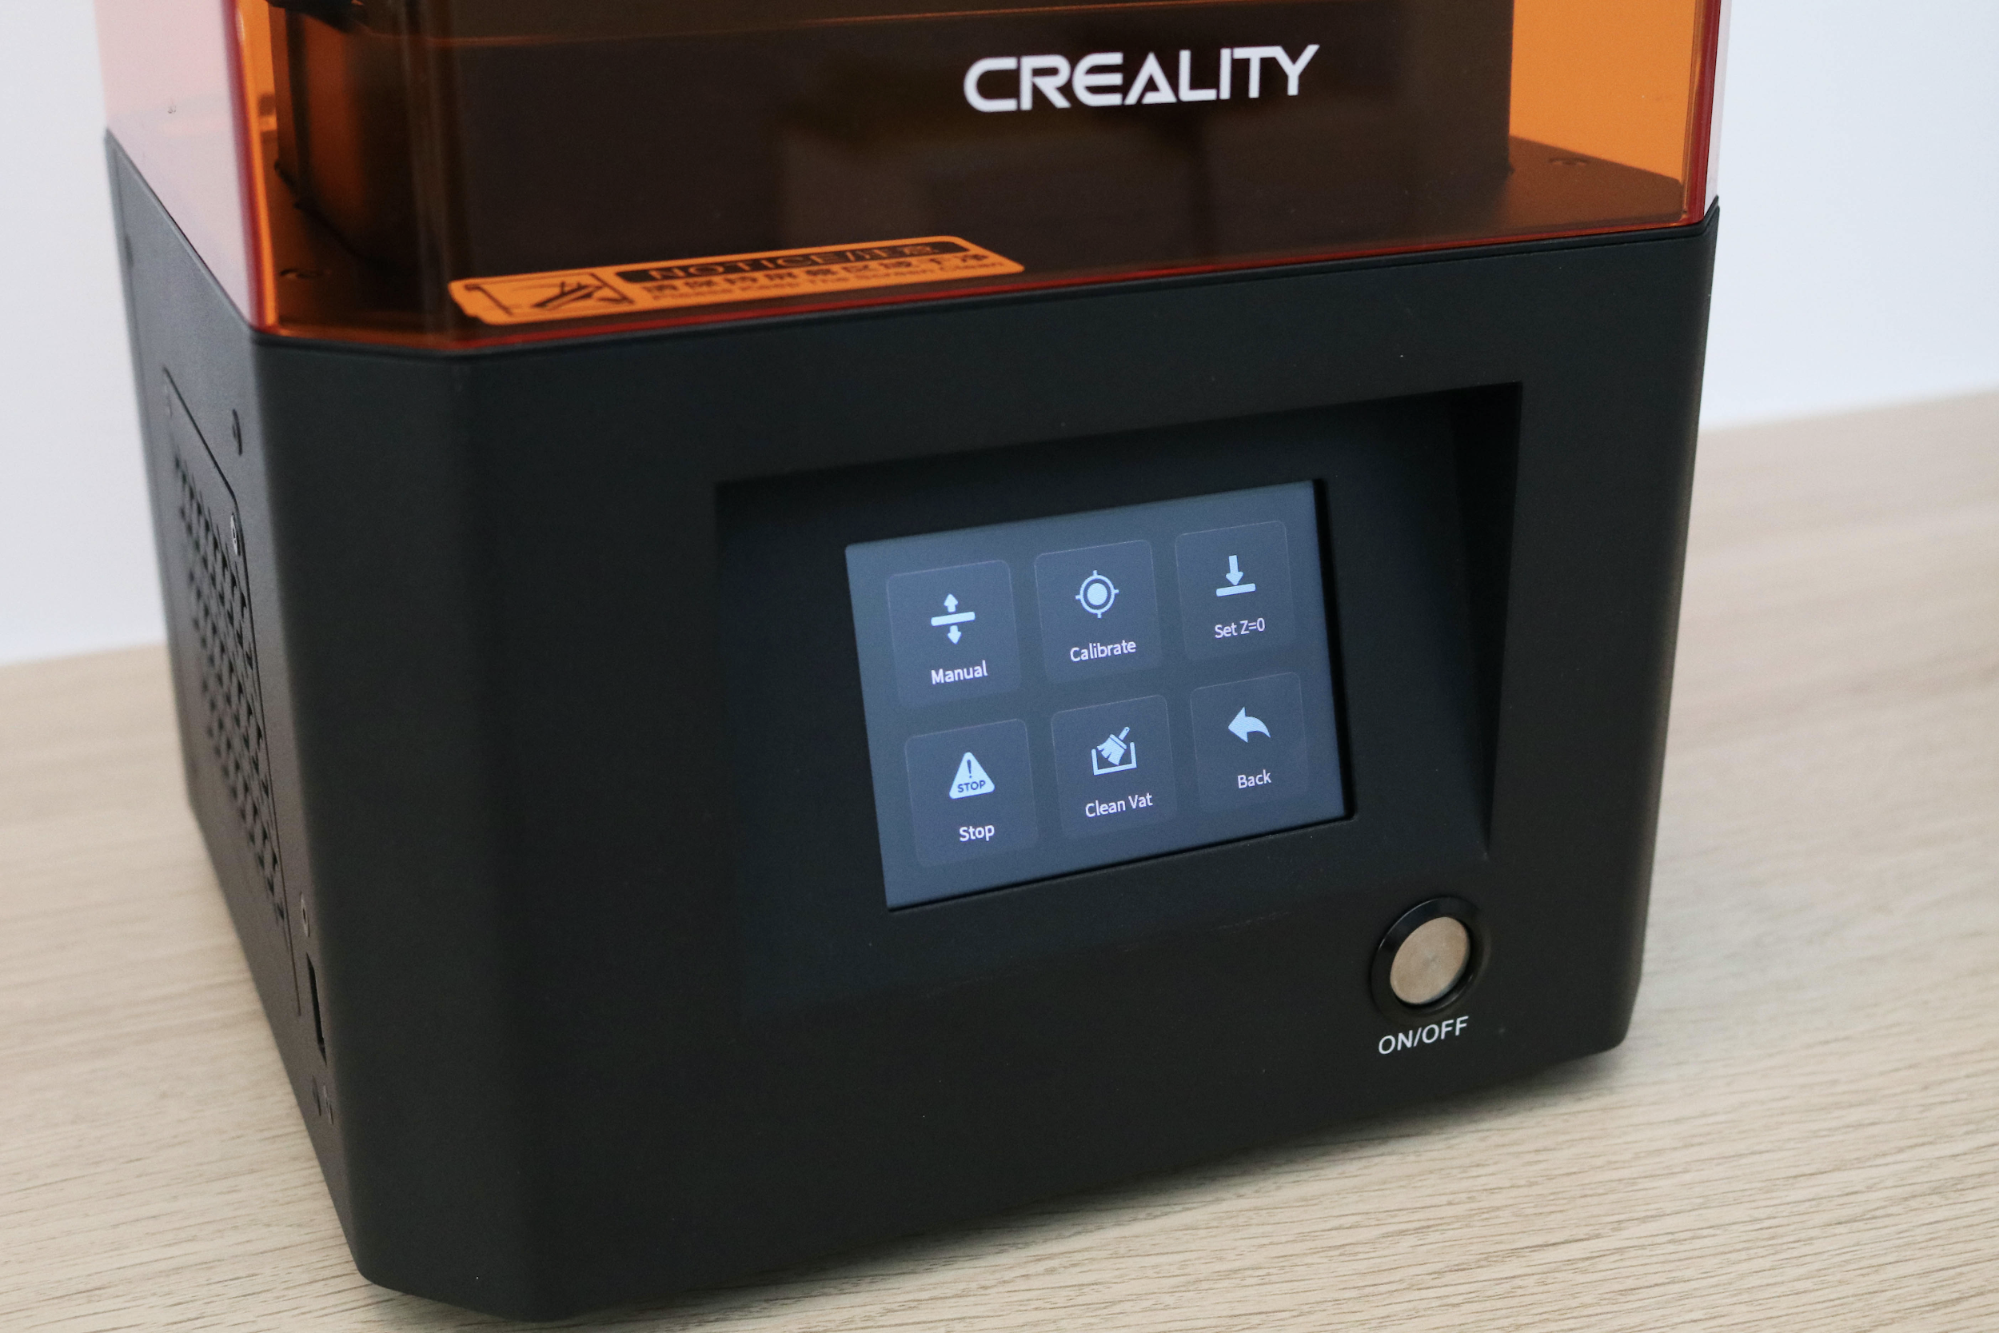
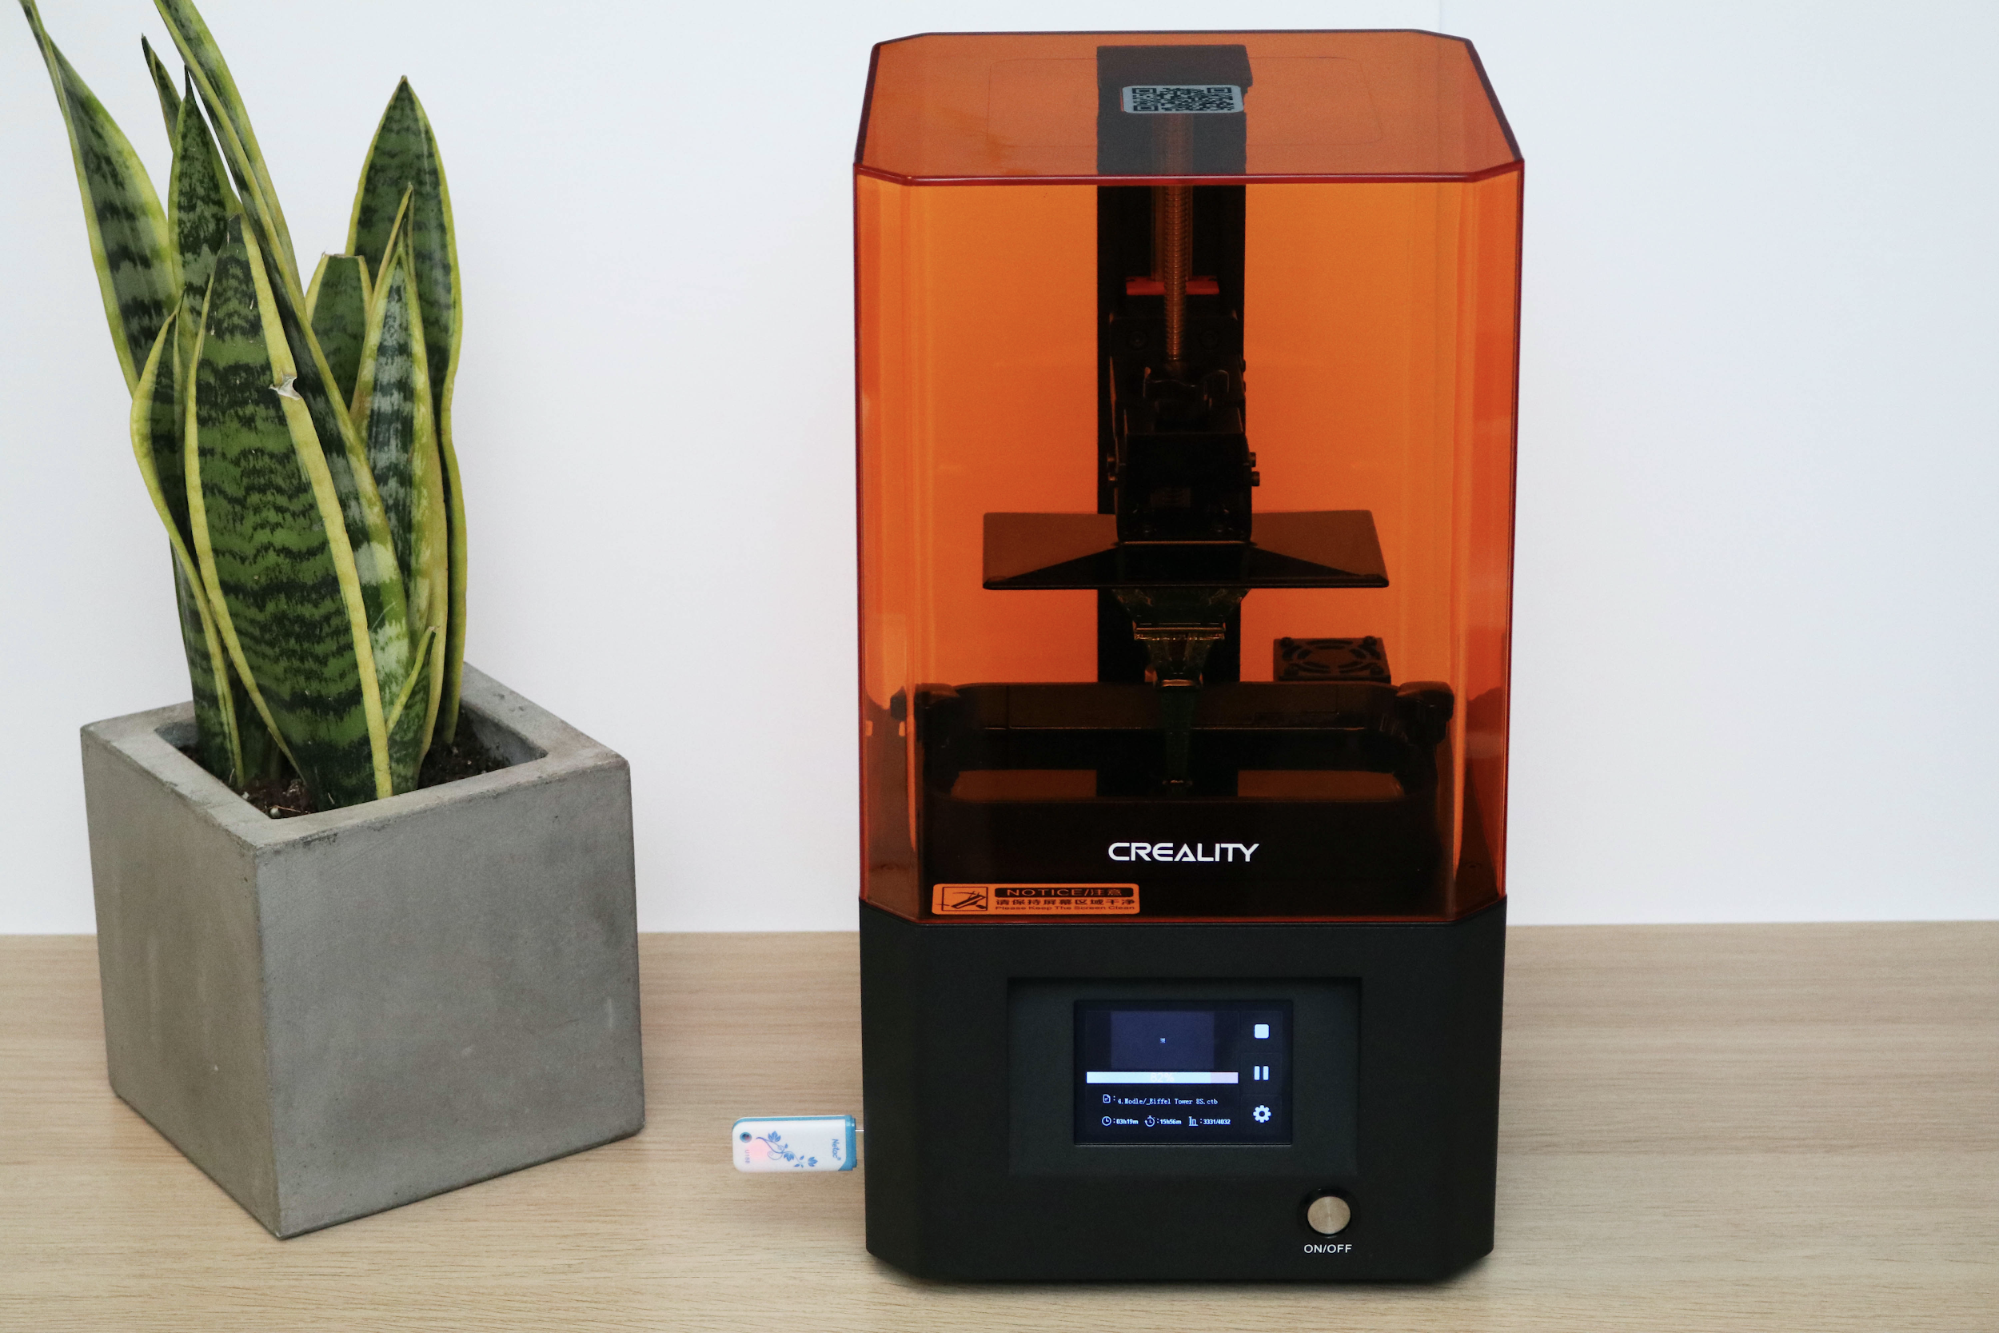
Similar to most MSLA resin 3D printers, the Creality LD-002R consists of four primary components: a base, a lid, a resin vat, and a build platform. The base on the LD-002R is made from bent sheet metal and has a substantial feel to it and the 3.5-inch touchscreen LCD user interface is bright and responsive.
The UV-blocking lid is a bright orange color which I like due to how much visibility you have into the printer even while the lid is on. The resin vat features built-in thumbscrews that make it easy to remove and also has markers embossed on the back to show how full the vat is. Finally, the build platform has a four point leveling system, similar to the Anycubic Photon Mono or the Phrozen Sonic Mini 4K.
The Creality LD-002R uses a 5.5-inch, 2K masking LCD with a resolution of 2560 x 1440 pixels to block the light from the UV light source which gives the printer an XY resolution of .075mm. The actual per-layer cure time is a little confusing on this printer, with the website spec sheet recommending 4 seconds / layer, the manual recommending 6 seconds / layer, the included test model being set at 8 seconds / layer and the slicer settings programmed for 9 seconds / layer.
Get Tom's Hardware's best news and in-depth reviews, straight to your inbox.
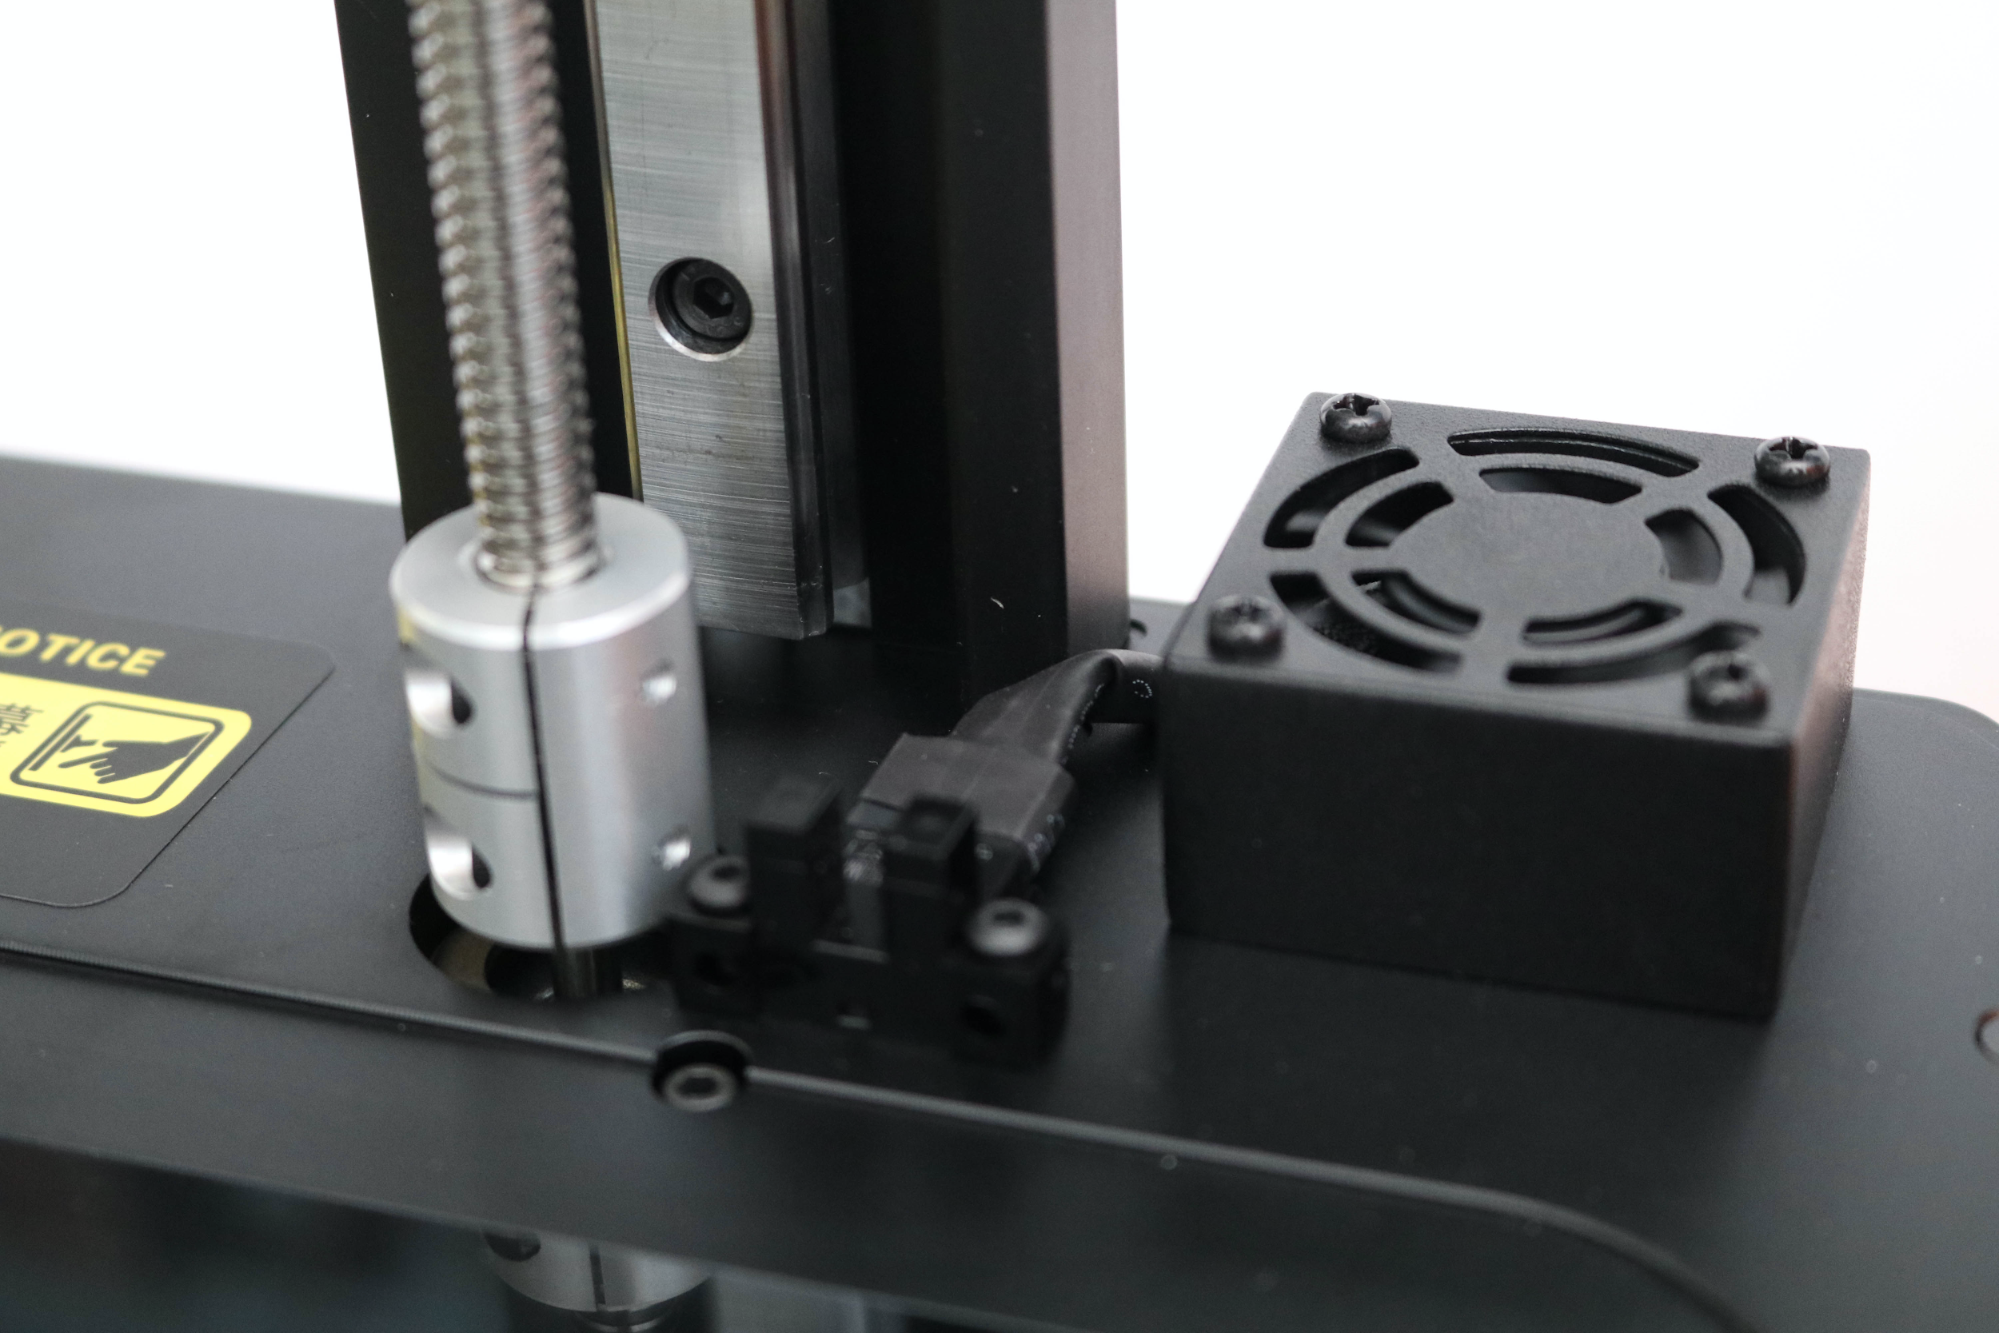
The Creality LD-002R features an active carbon air filtration unit on the top of the base, which pulls air through the filter and out through the exhaust of the printer. The air filter worked well during my testing, and removing the lid during printing made it clear how much air it was scrubbing. I didn’t see a lifespan for the filter listed in the manual, but it didn’t seem to lose any efficacy during my 45+ hours of testing.
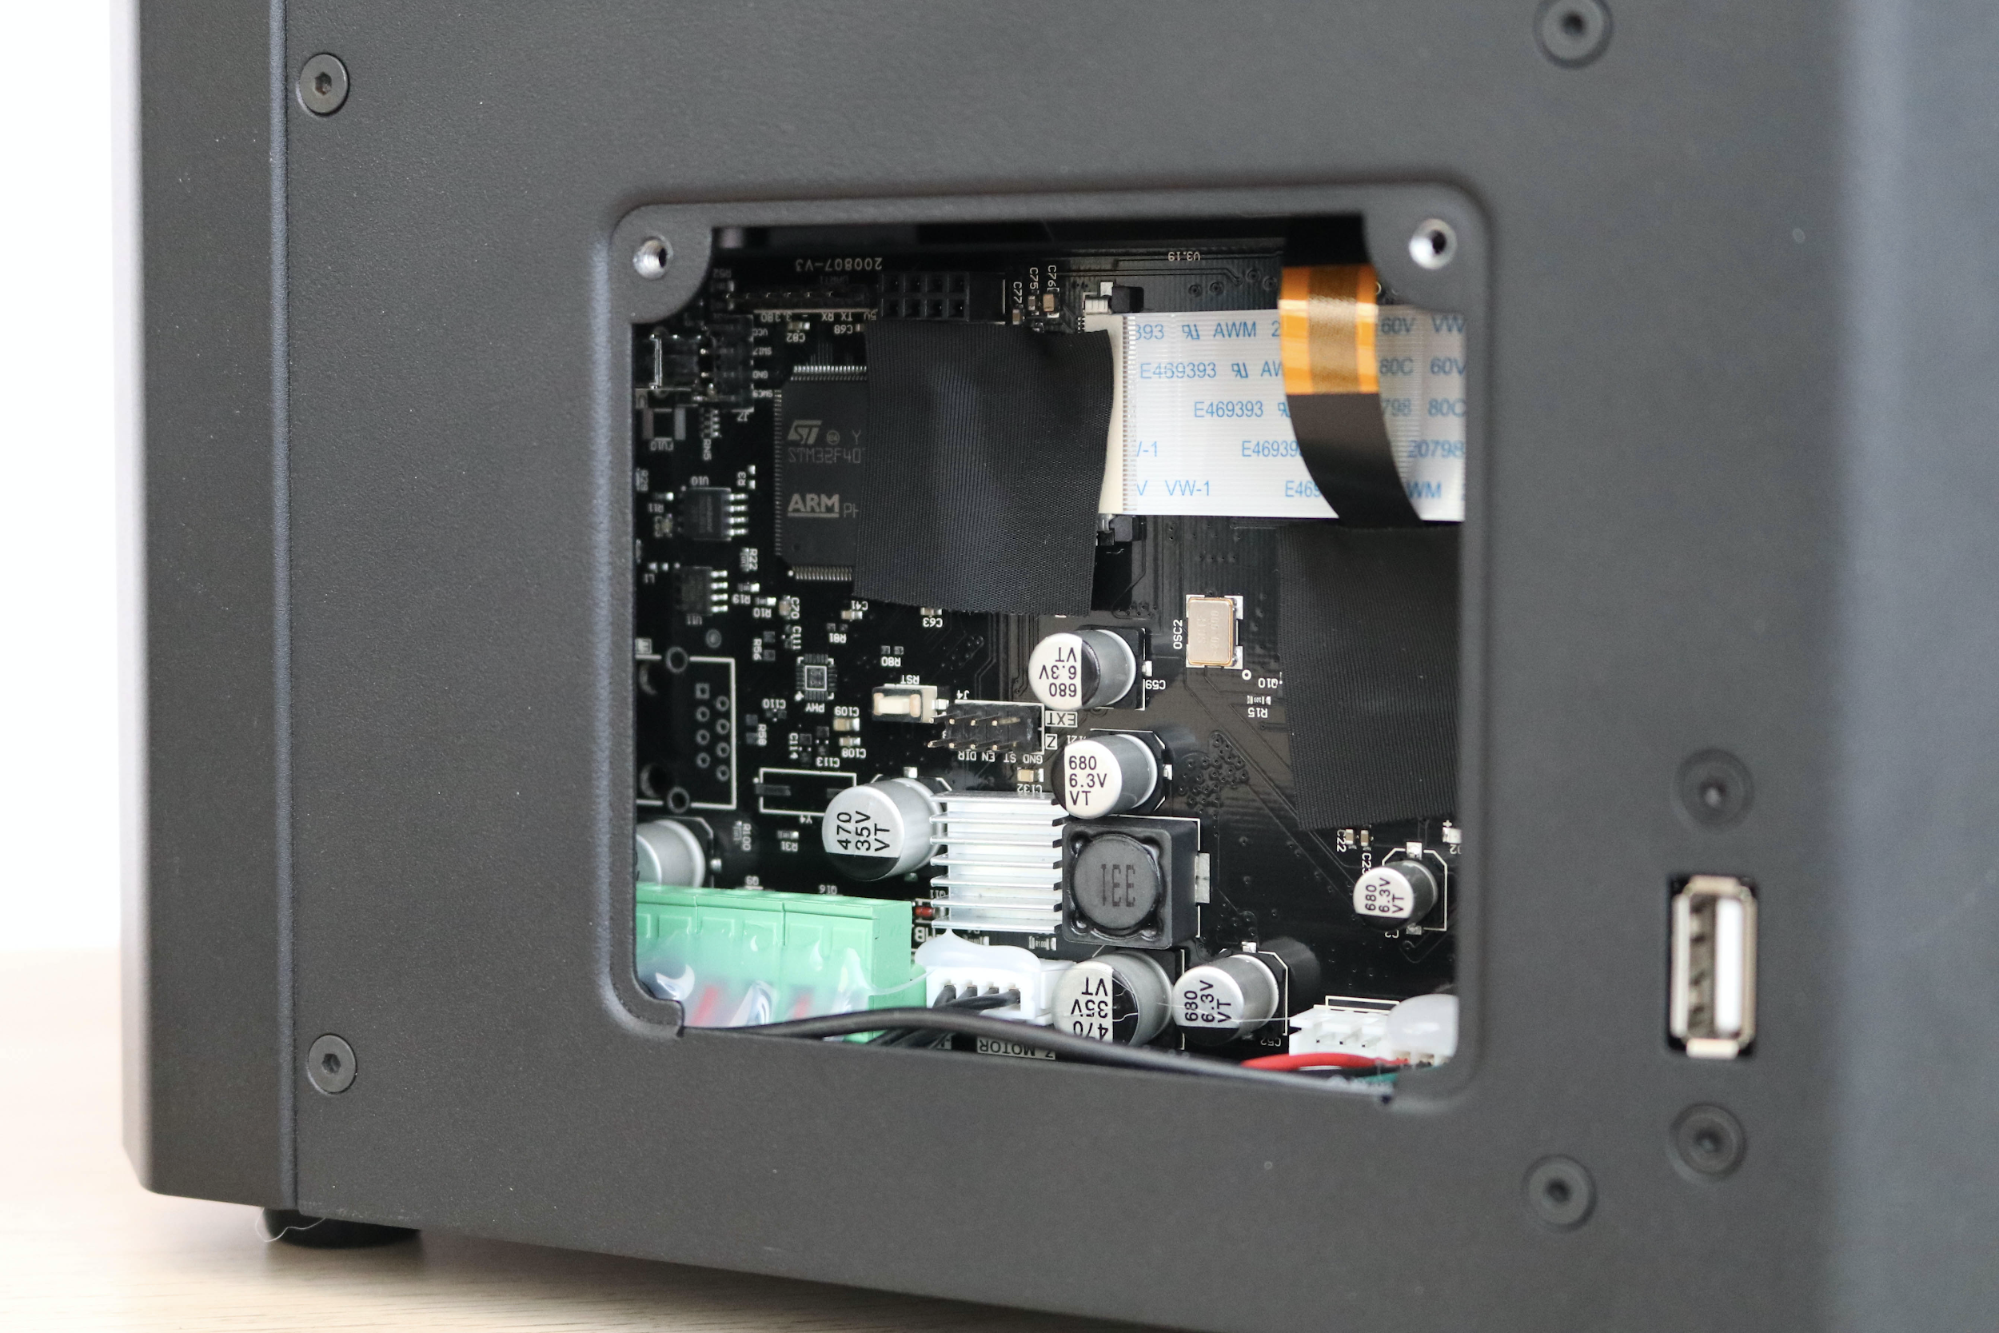
The side of the printer has an access panel that can be removed to easily access the main controller board of the LD-002R. The wiring is clean and professional, and the plastic terminals for the fans, UV light source, and Z-axis motor have been epoxied into place to prevent them from coming loose during shipping or printing. I noticed the manual indicates an empty set of headers where a Wi-Fi module can be installed, but the Creality LD-002R ships without one.The potential to add a Wi-Fi module is a competitive advantage for this printer, but as of this review, Creality does not appear to offer this module for sale on their site.
Set Up of Creality LD-002R
I had the Creality LD-002R up and running in just under an hour, with a non-trivial amount of that time spent cleaning the build platform. This printer is a mechanically simple machine, so getting it up and running consists only of installing and leveling the build platform, installing and filling the vat, putting the cover on, and hitting ‘Print.’
Leveling the Build Platform on Creality LD-002R
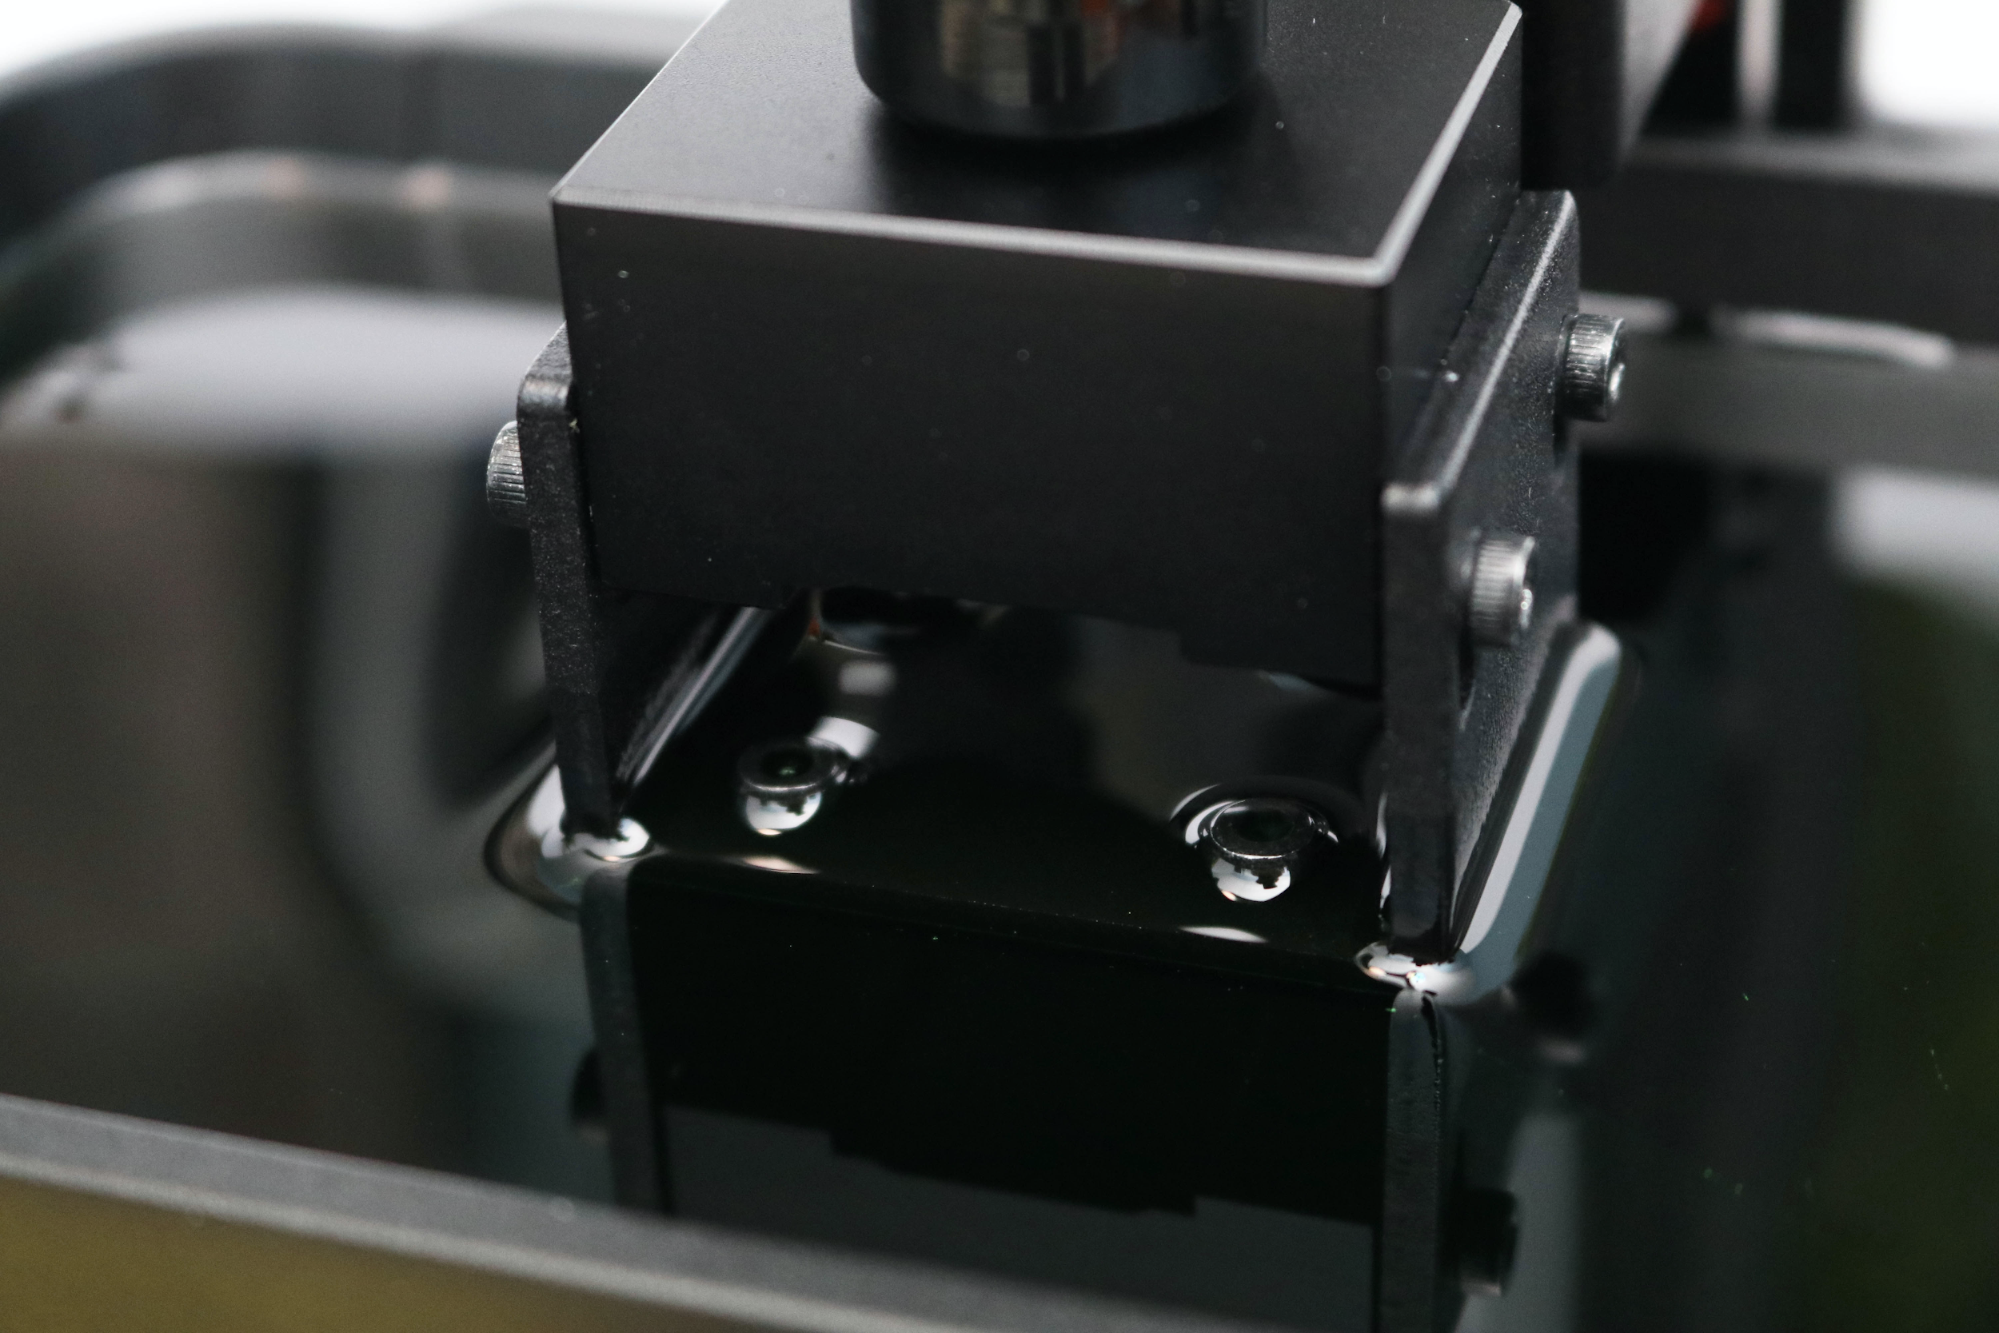
The Creality LD-002R uses a bracket with four screws to calibrate and align the build platform so it sits parallel with the masking LCD and also has an offset to compensate for the thickness of the FEP film on the vat.
Interestingly enough, the manual included with the LD-002R indicates that the platform should be dropped directly onto the LCD, which can potentially crack or shatter the screen. While the included plastic LCD protector may offer a slight offset for the very first level, once it’s removed, you’ll still need to use a piece of paper between the sensitive LCD and the metal build platform.
Printing Safety with Creality LD-002R
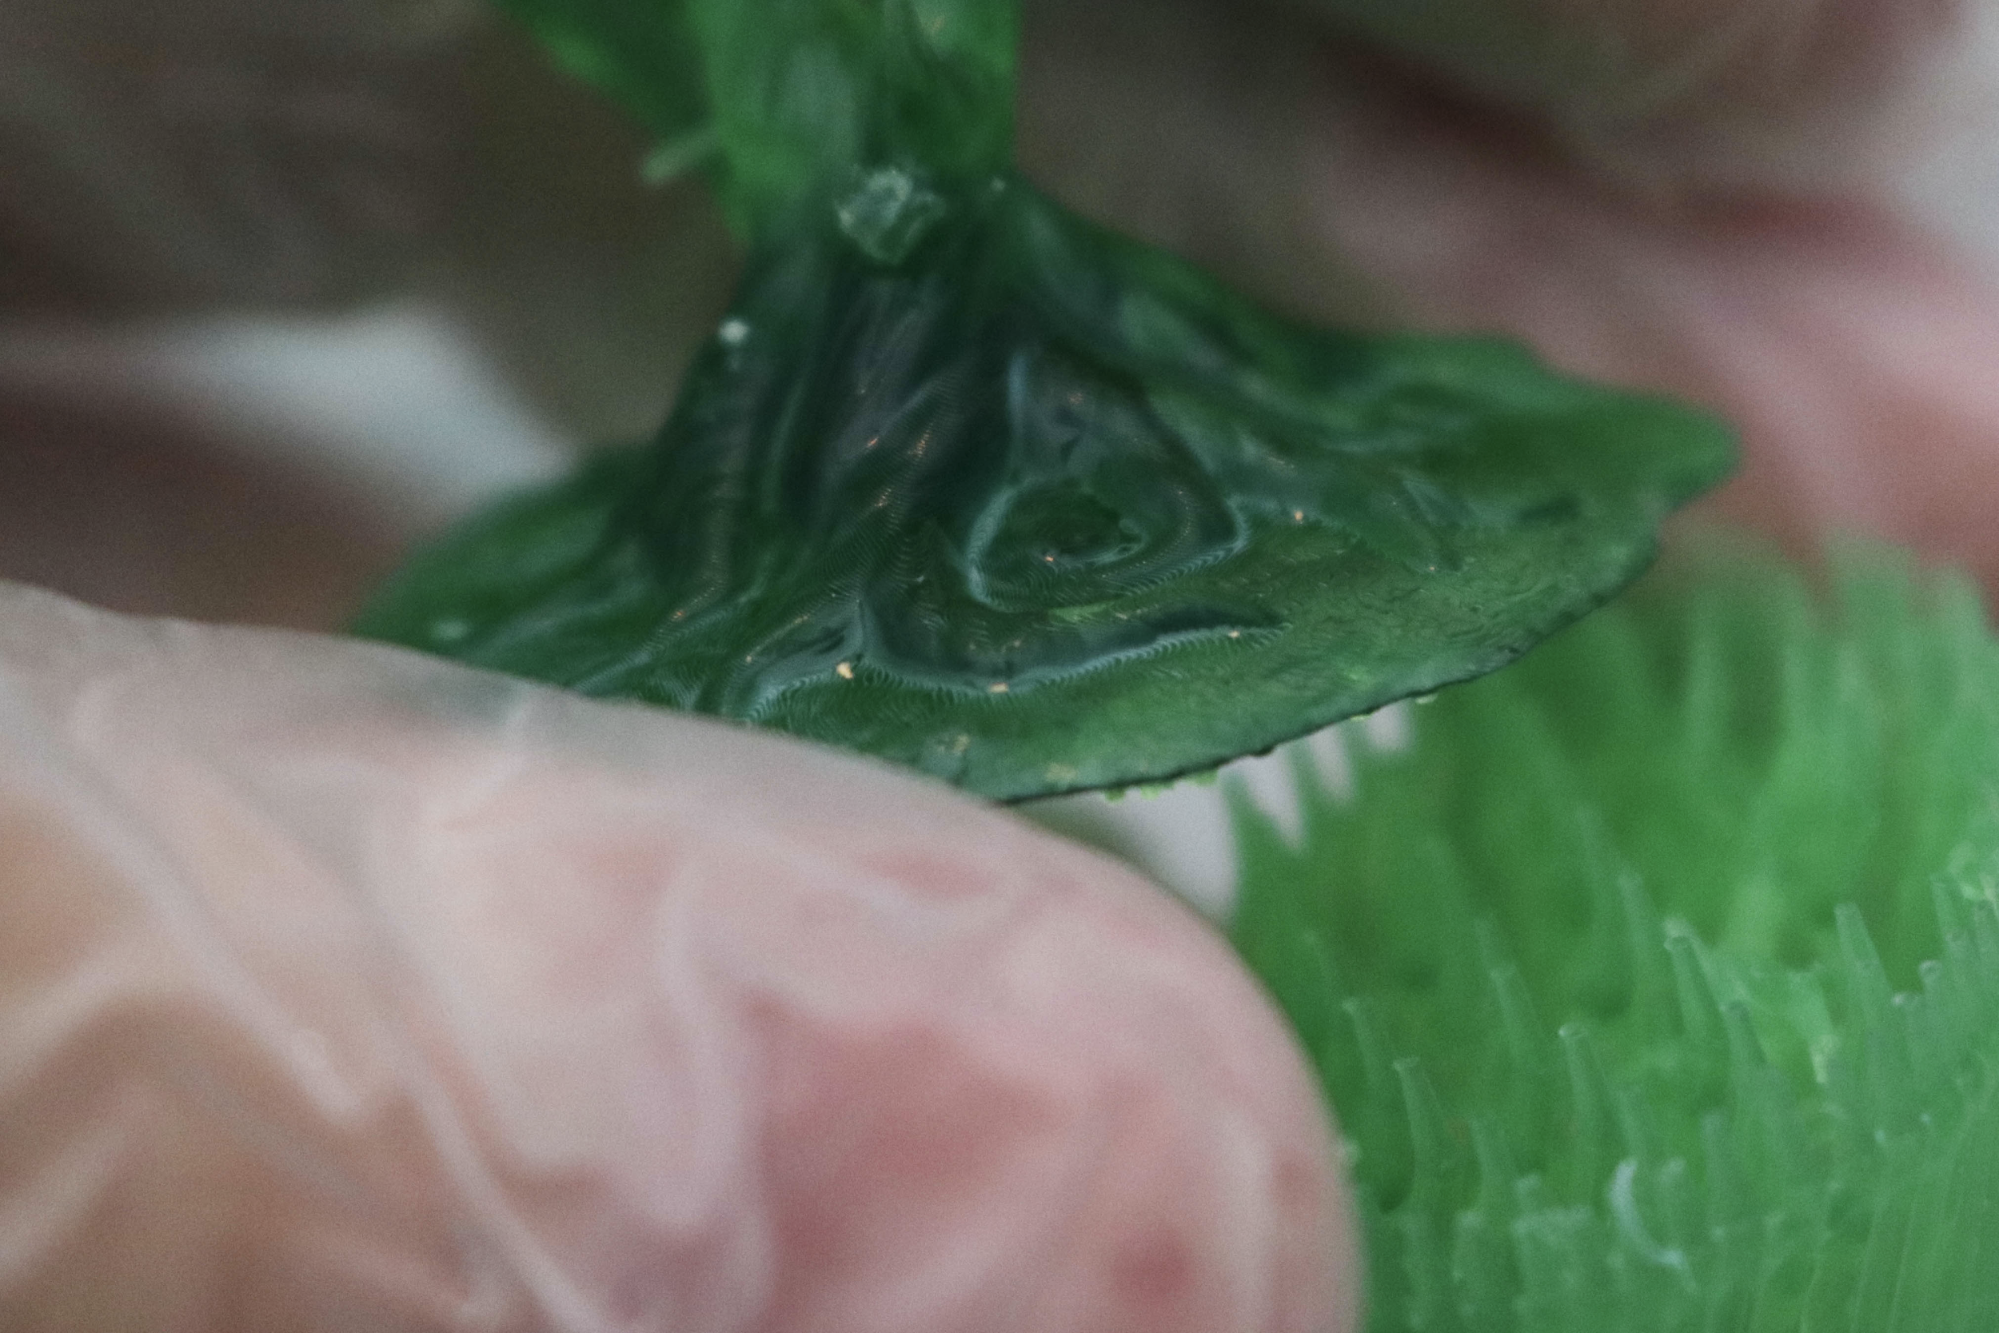
The Creality LD-002R uses 405nm UV resin, a material that you need to handle safely when in an uncured state to avoid injury. The resin can be harmful when making contact with skin, so make sure to wear gloves when pouring, cleaning up, or handling uncured resin. I also make sure I’m wearing gloves when removing the build platform after a print, as the resin tends to pool on top of the platform and can drip off while the platform is being removed.
Make sure you use the Creality LD-002R in a well-ventilated room to minimize the danger from inhaling fumes. Any spills or uncured resin stuck to a surface should be cleaned using 99% Isopropyl Alcohol and the container for the resin should be kept closed and secured when not actively pouring material.
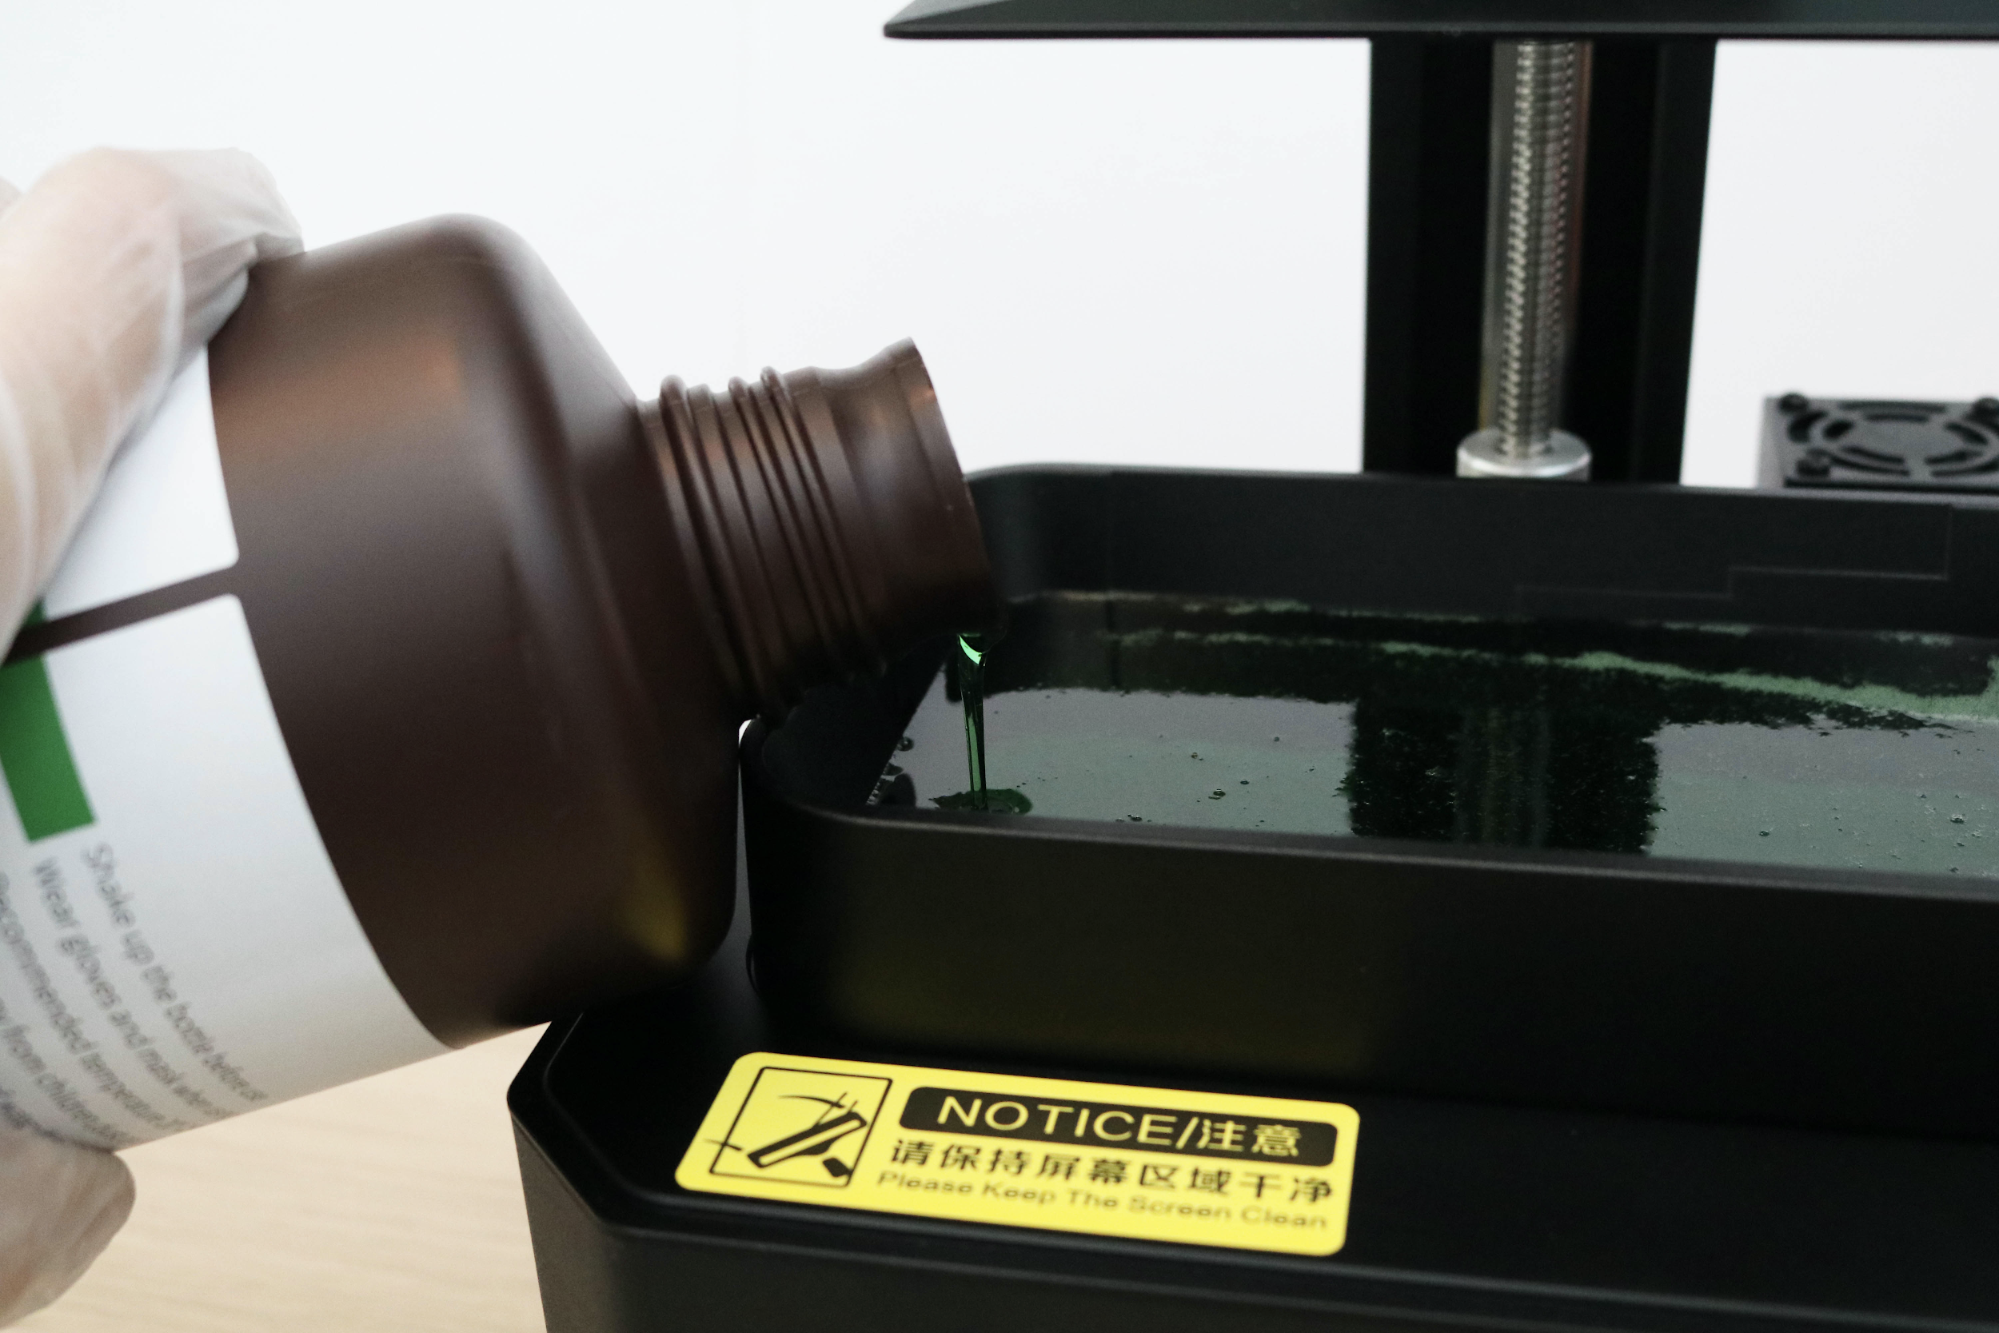
After filling the vat with Elegoo Clear Green Photopolymer Resin, I noticed a minor issue that could be frustrating to users looking to fully clean the printer after each print. When the build platform lowers into the vat, the resin level rises and climbs over both the platform as well as part of the bracket holding it in place. This means the screws on the inside of the bracket, which are difficult to reach, were soaked in resin and were difficult for me to clean, even with the bracket fully removed. In comparison, the Elegoo Mars 2 Pro has solved this problem by increasing the distance between the bracket and build platform, which was much easier for me to clean in comparison.
Printing the Included Test Print on the Creality LD-002R
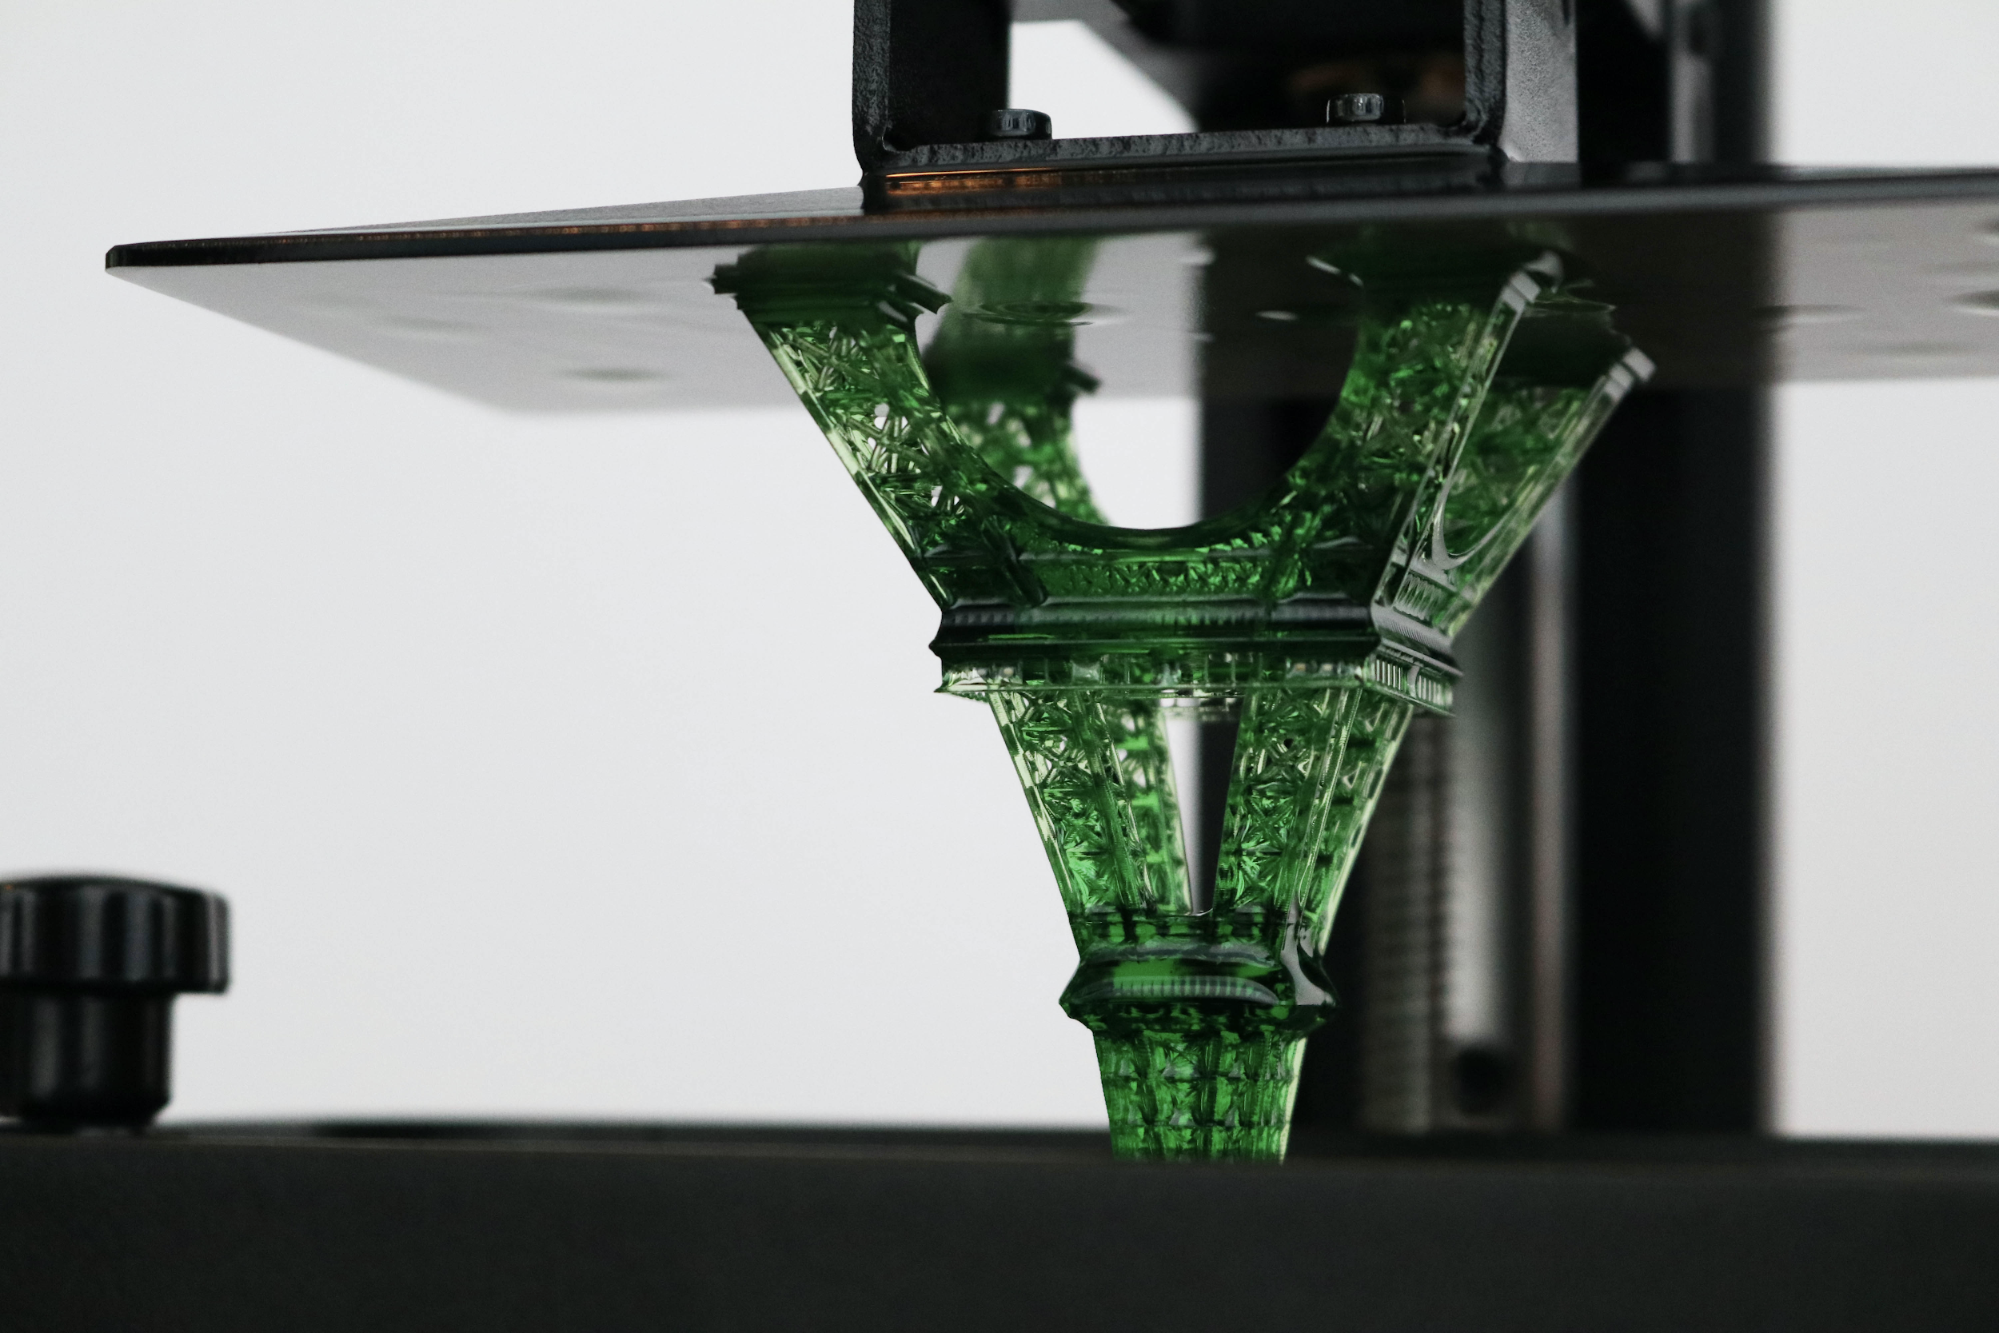
The Creality LD-002R ships with a USB stick that contains a test print titled ‘Eiffel Tower 8s.ctb’. Opening this model in the included Chitubox software gave me an estimated build time of 16 hours and 57 minutes; this is a substantial time investment for a test print, especially one that uses only 10.6 grams of material.
I’m not a fan of test prints that exceed two or three hours. Ideally the print should be fast enough for you to be present and observe the machine to see how it works and quickly fix any issues that may pop up during your first print.
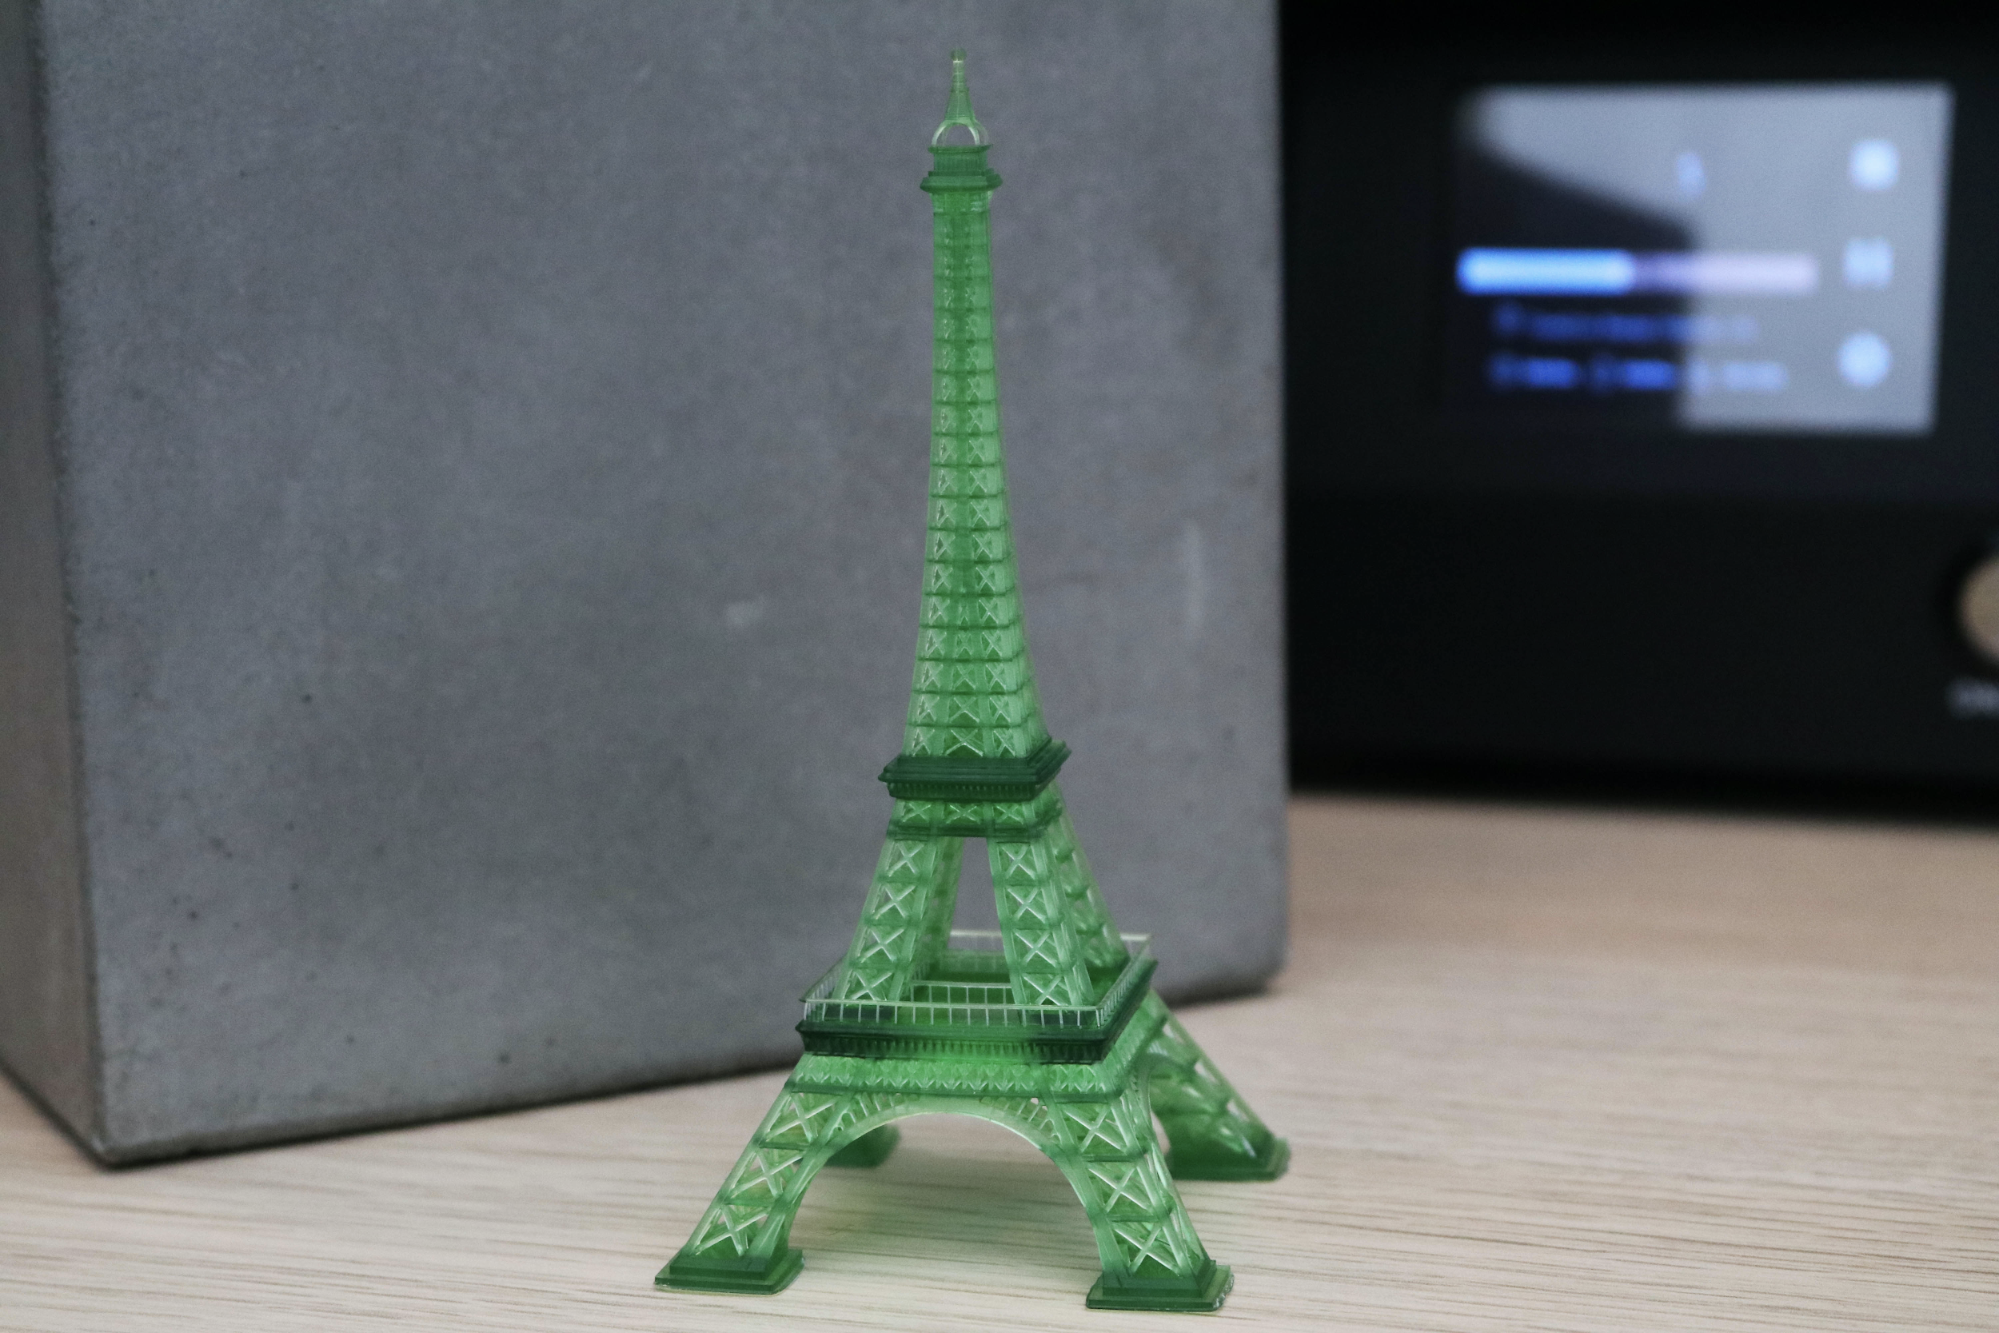
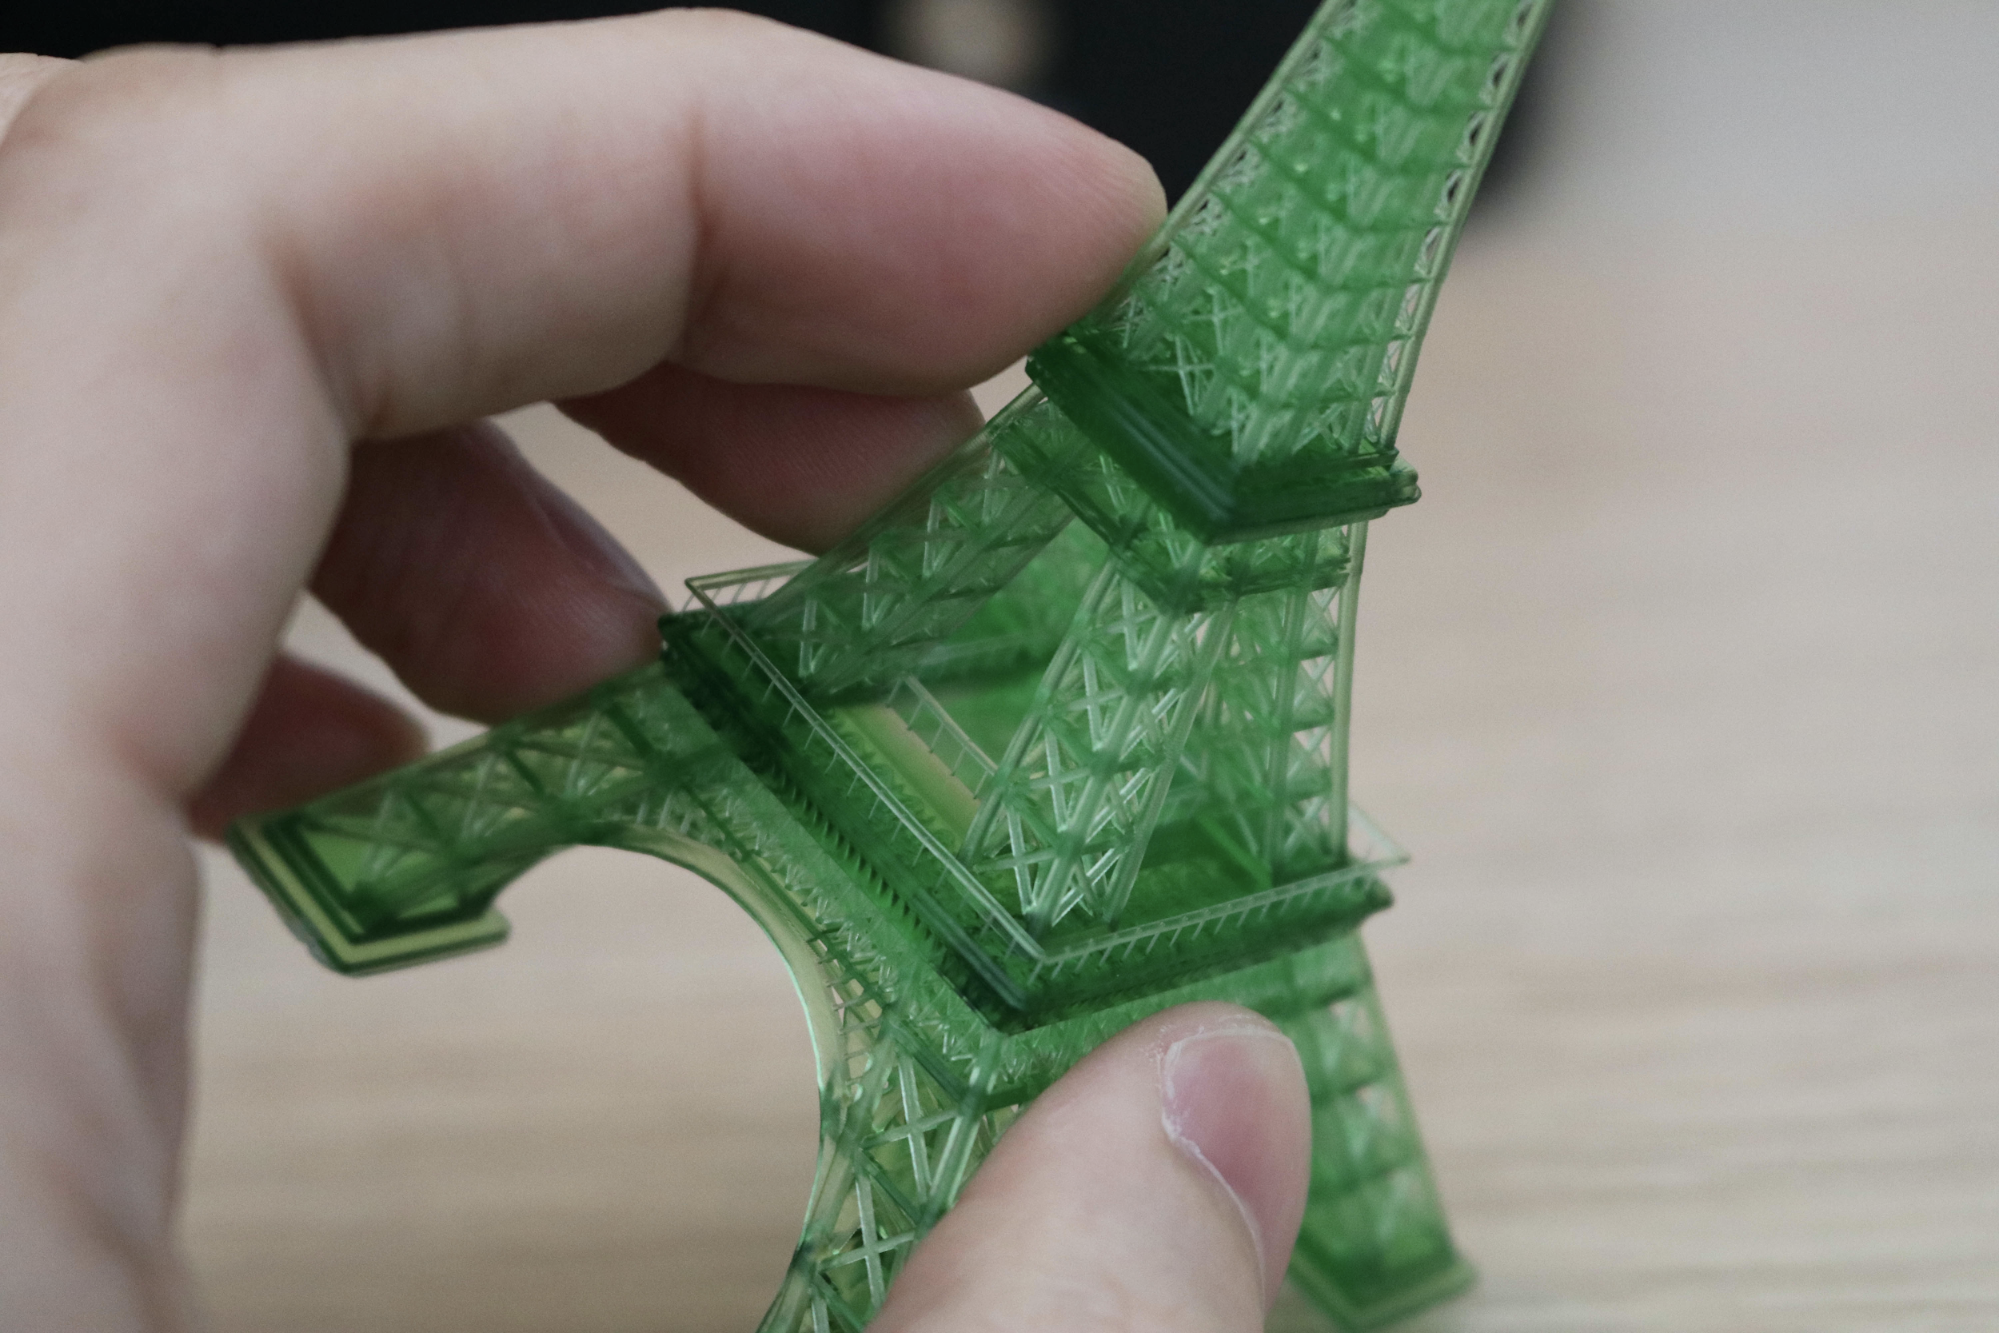
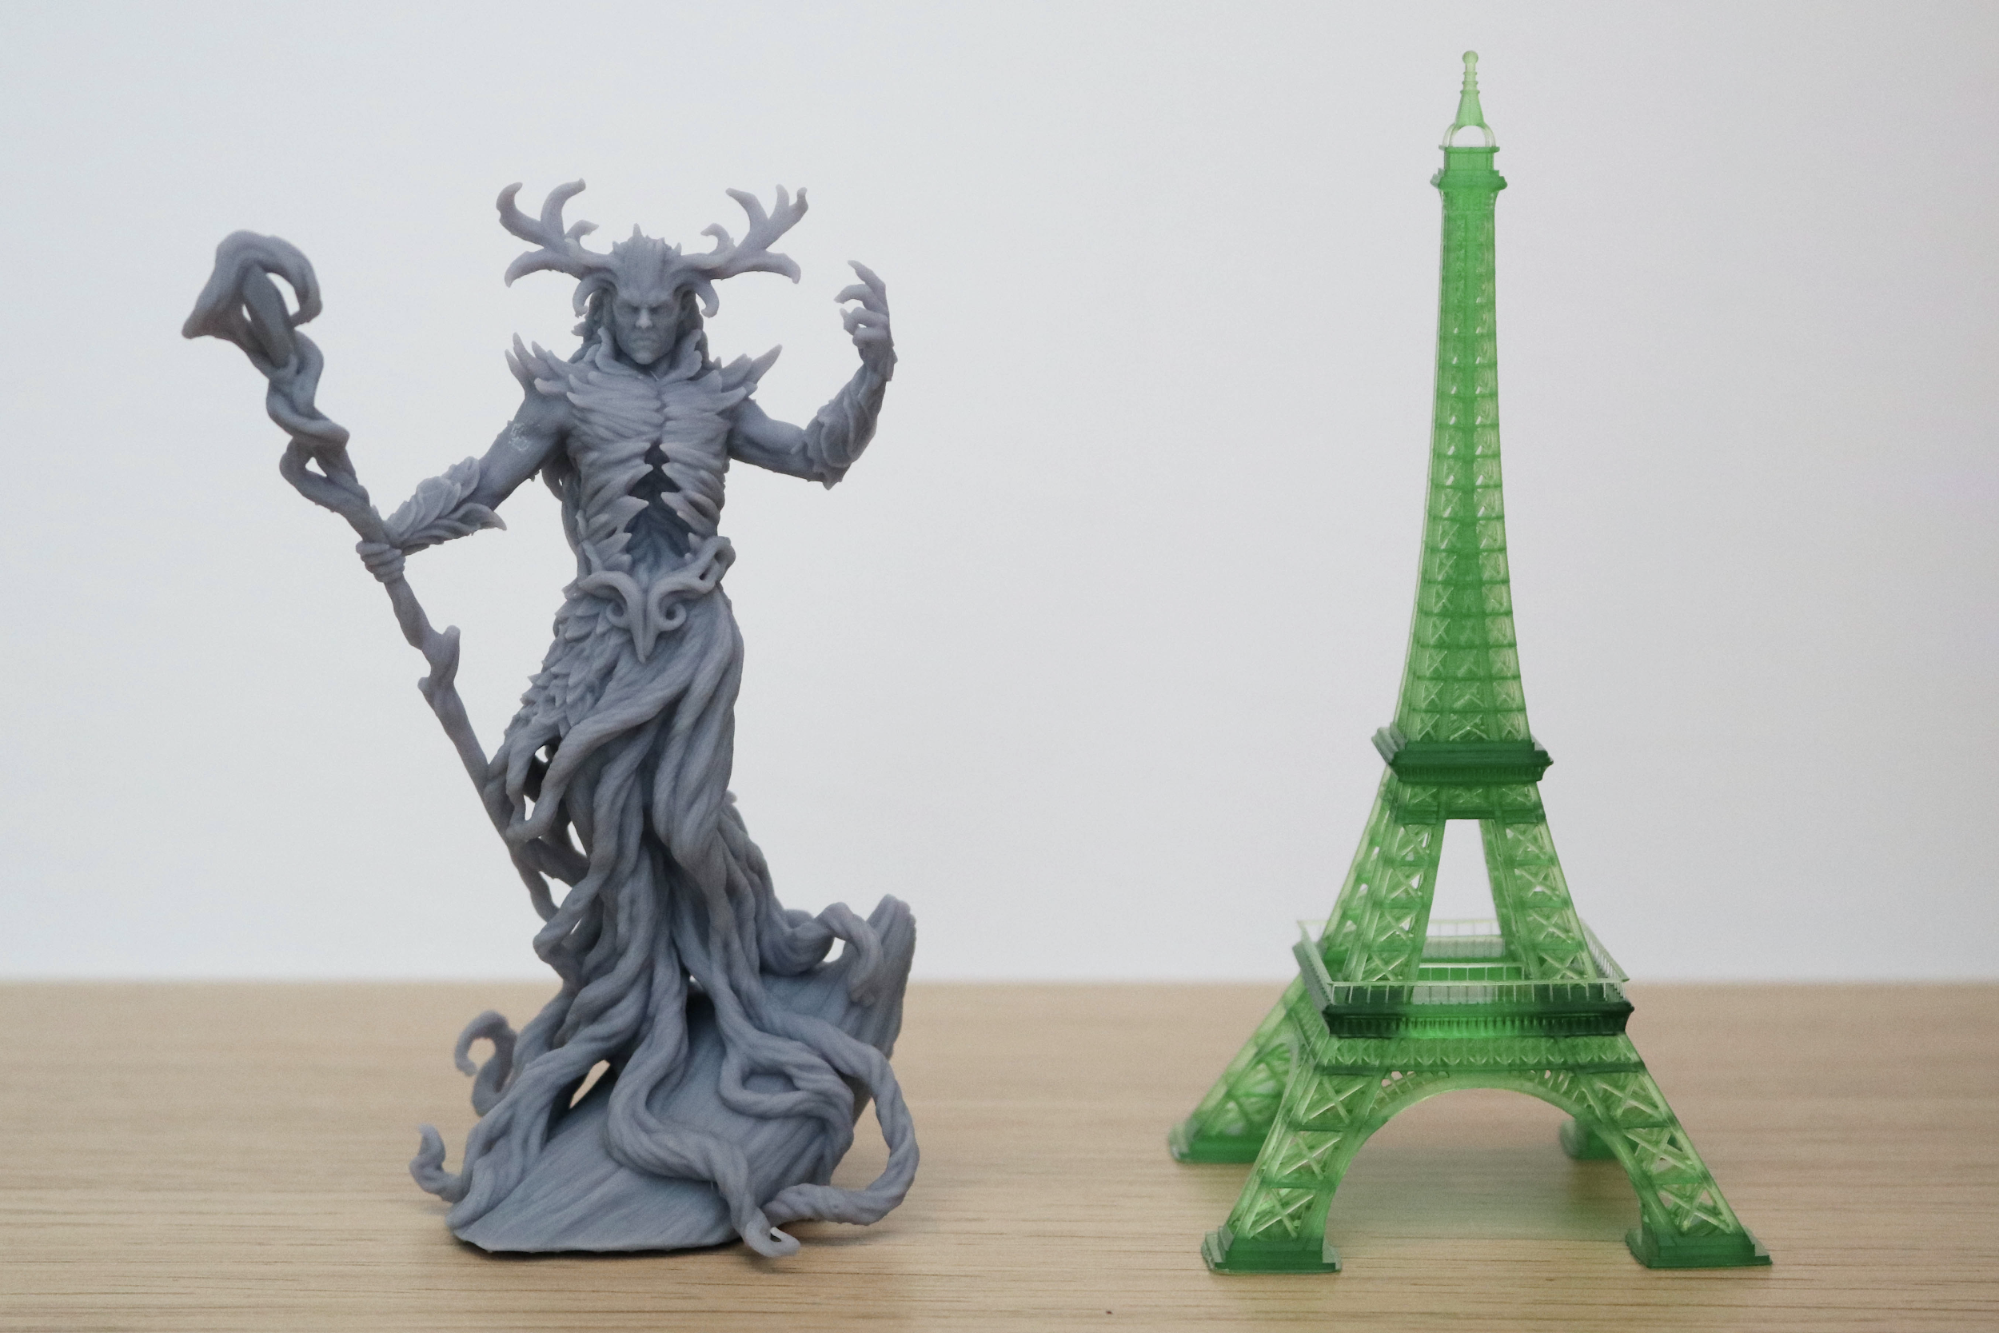
The Eiffel Tower model actually took 19 hours and 15 minutes to print out, which is far more time than I’m usually comfortable with for a first print. To give Creality credit, the model printed with no issues and the detail on the model was eye-poppingly crisp. However, I still think that a more reasonable technical demonstration makes sense for a first print, as a 19-hour failure could cause serious problems if the vat is punctured, the LCD is cracked, or other problems occur.
Despite the 19+ hour print time, I was impressed with the fine detail on the test model. The smallest feature (the rails surrounding the first level) measured around .15mm in thickness, which is right around twice the minimum XY resolution. Printing a complex lattice structure like this also highlights the rigidity of the motion system, as any play in the gantry or Z axis would show up as uneven or disconnected layers.
Preparing Files for Printing with Chitubox
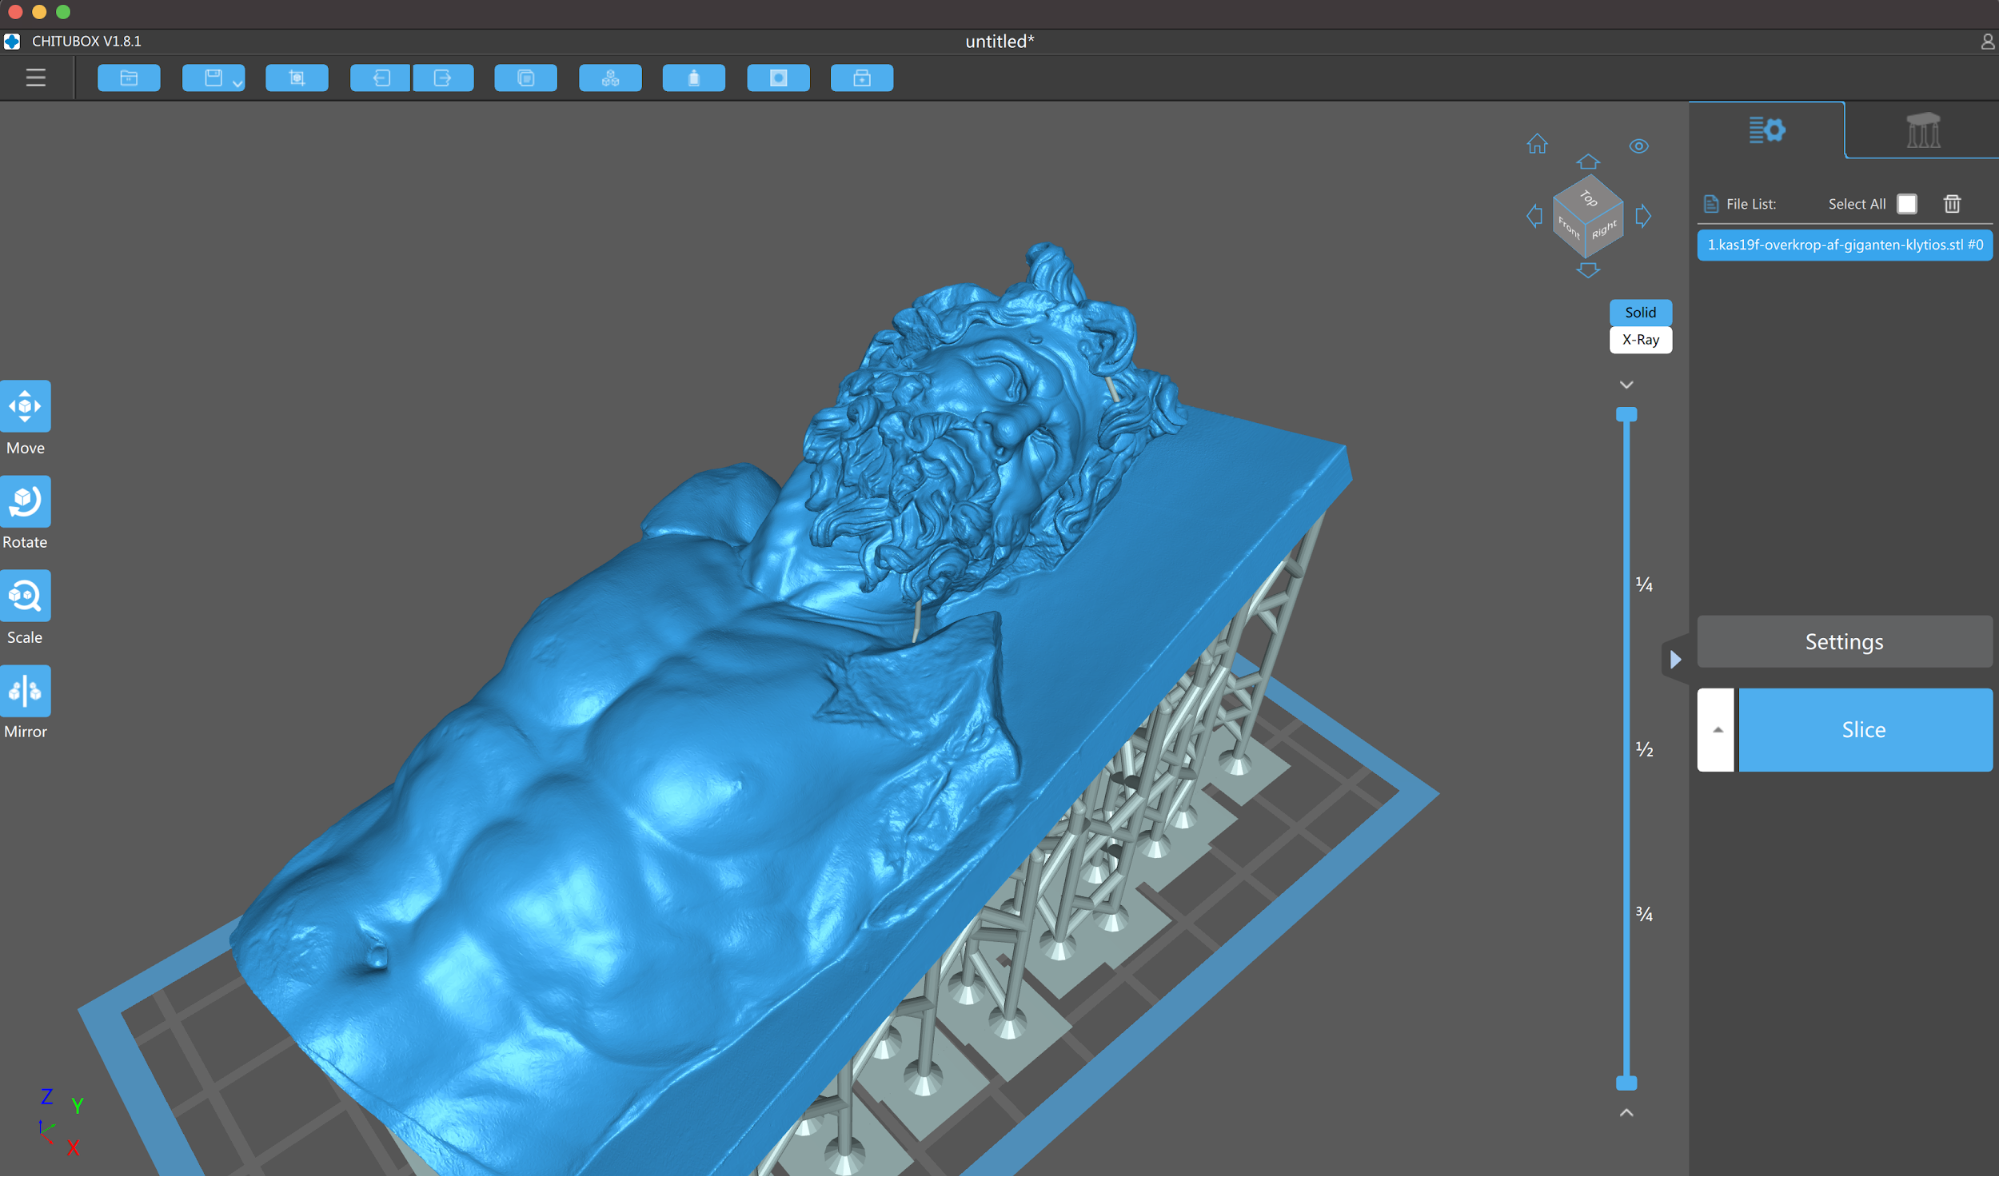
The Creality LD-002R uses the included Chitubox software for importing, preparing, and exporting files to the printer. Chitubox is a robust software that offers the ability to import a model, hollow the model, add drain holes, and more. Chitubox has a native profile for the Creality LD-002R built-in, which meant all I had to do was select “Creality LD-002R” from the configuration to get started.
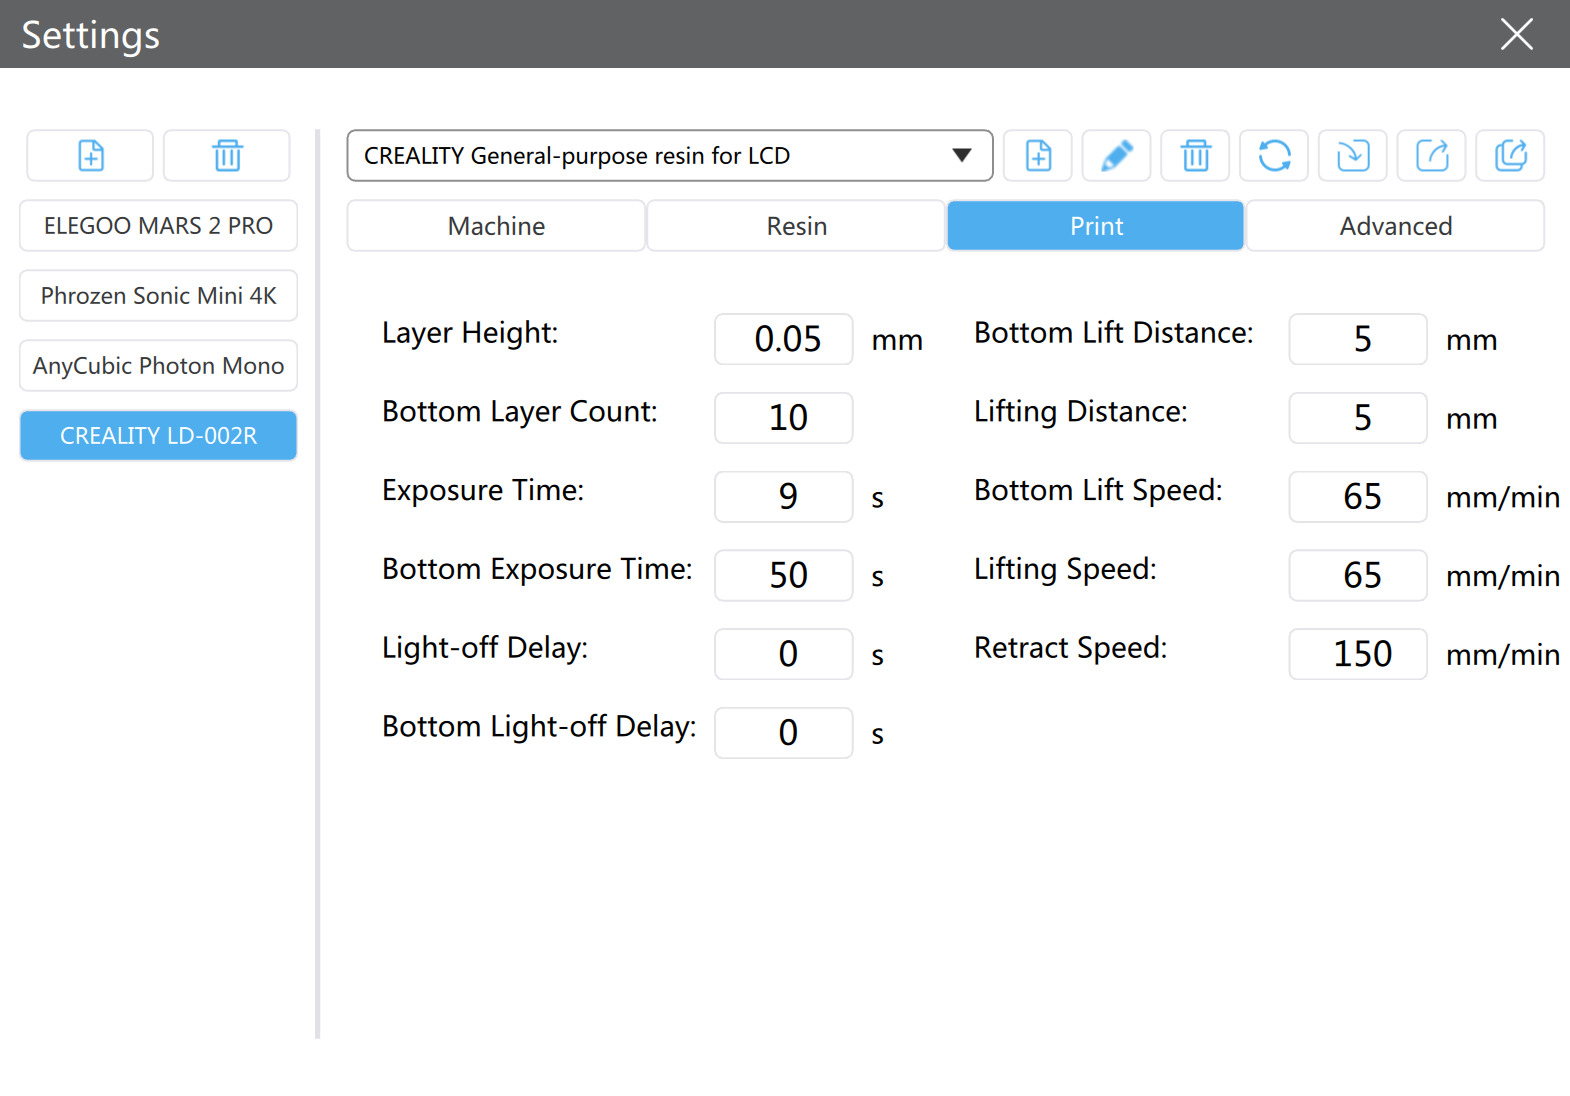
The profile provided by Creality has an exposure time of nine seconds, which means each layer of the print (after the bottom layers) receives nine seconds of UV exposure. Compared to the two-second exposure time of the Anycubic Photon Mono and similar Mono LCD printers, this translates to very long print times on tall parts. The lift and retract speed settings are also about one third of the speed of the Photon Mono, which also add to the total print time.
Printing with the Creality LD-002R
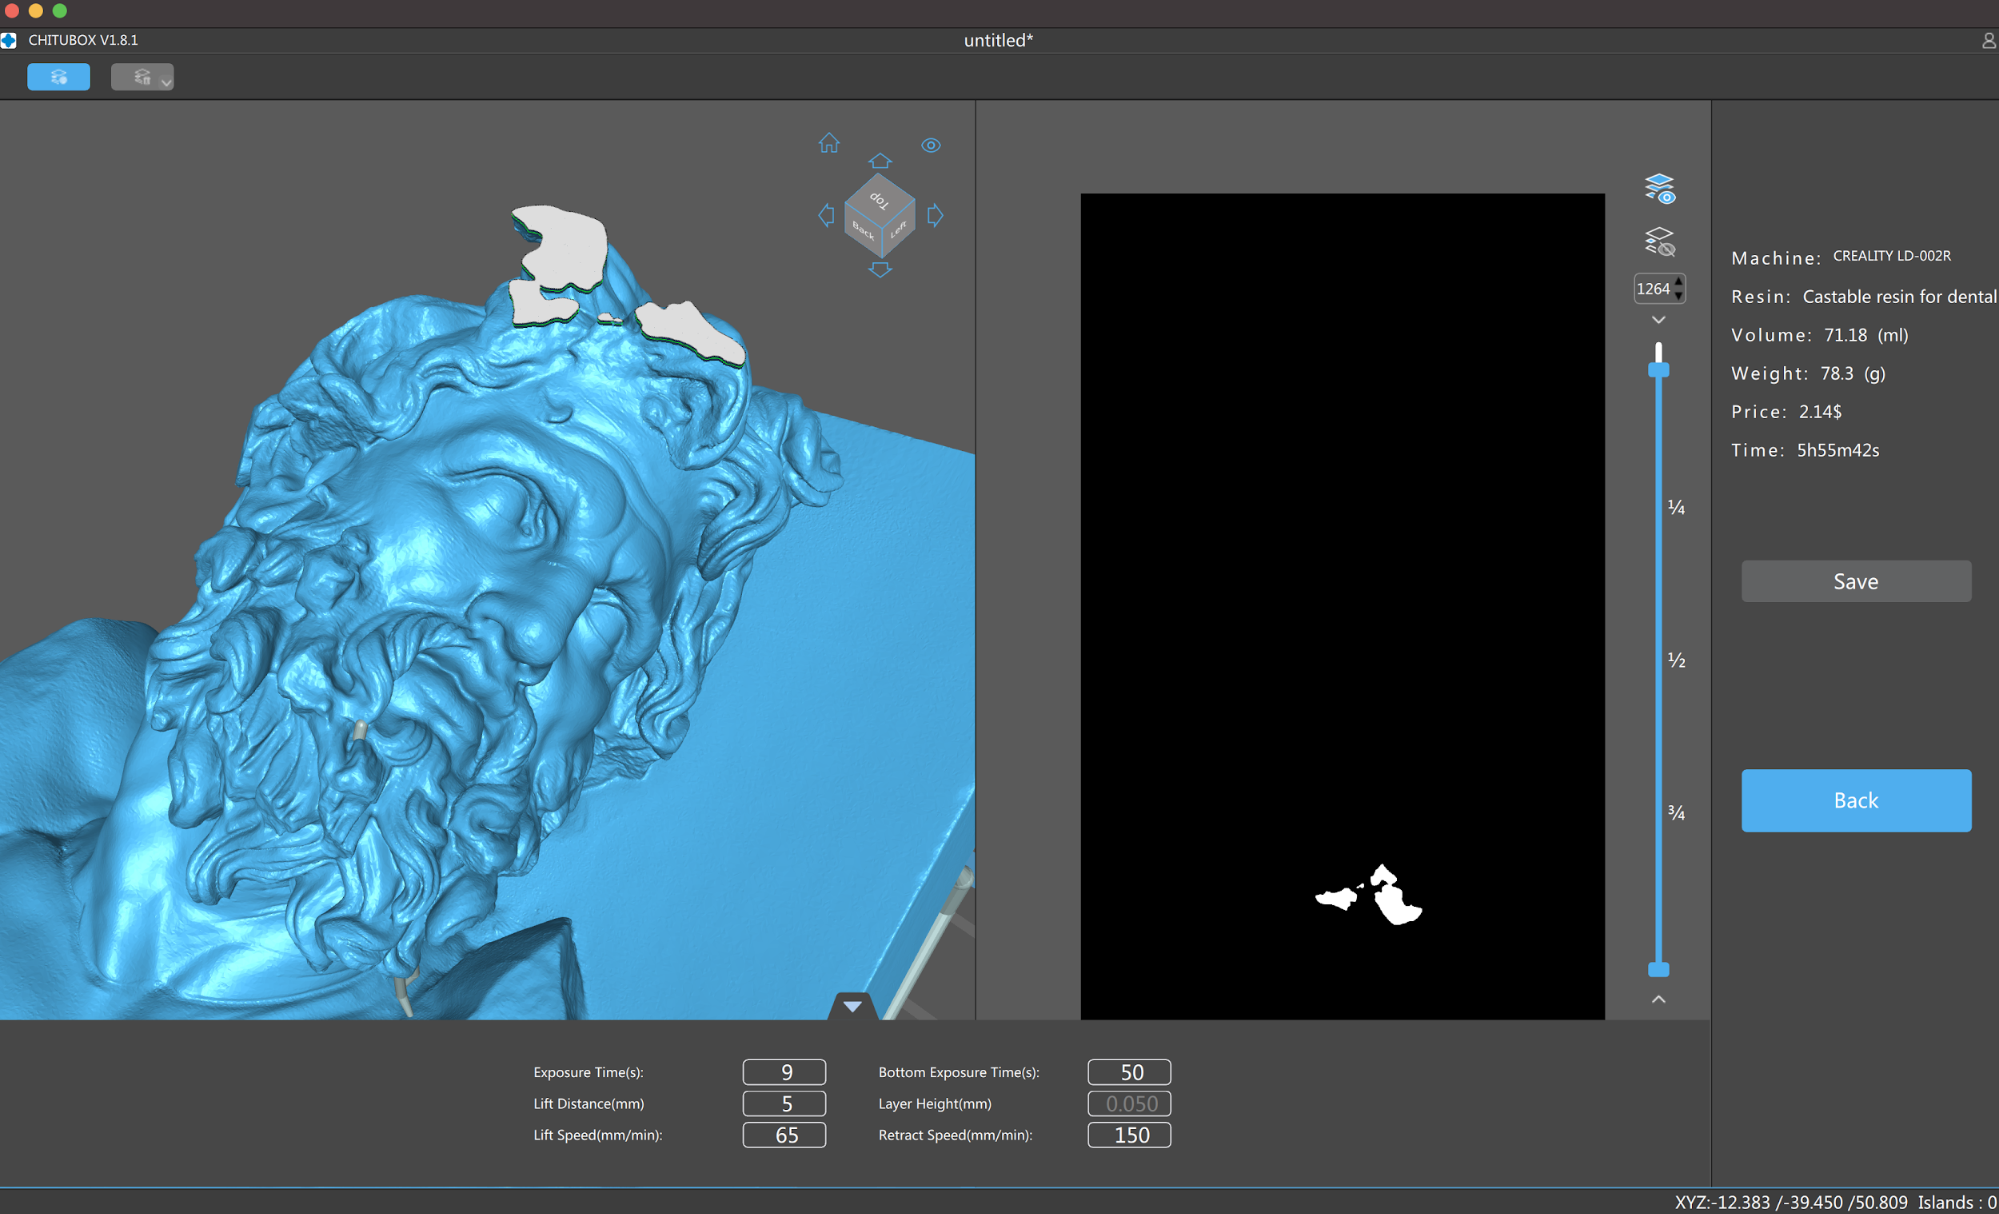
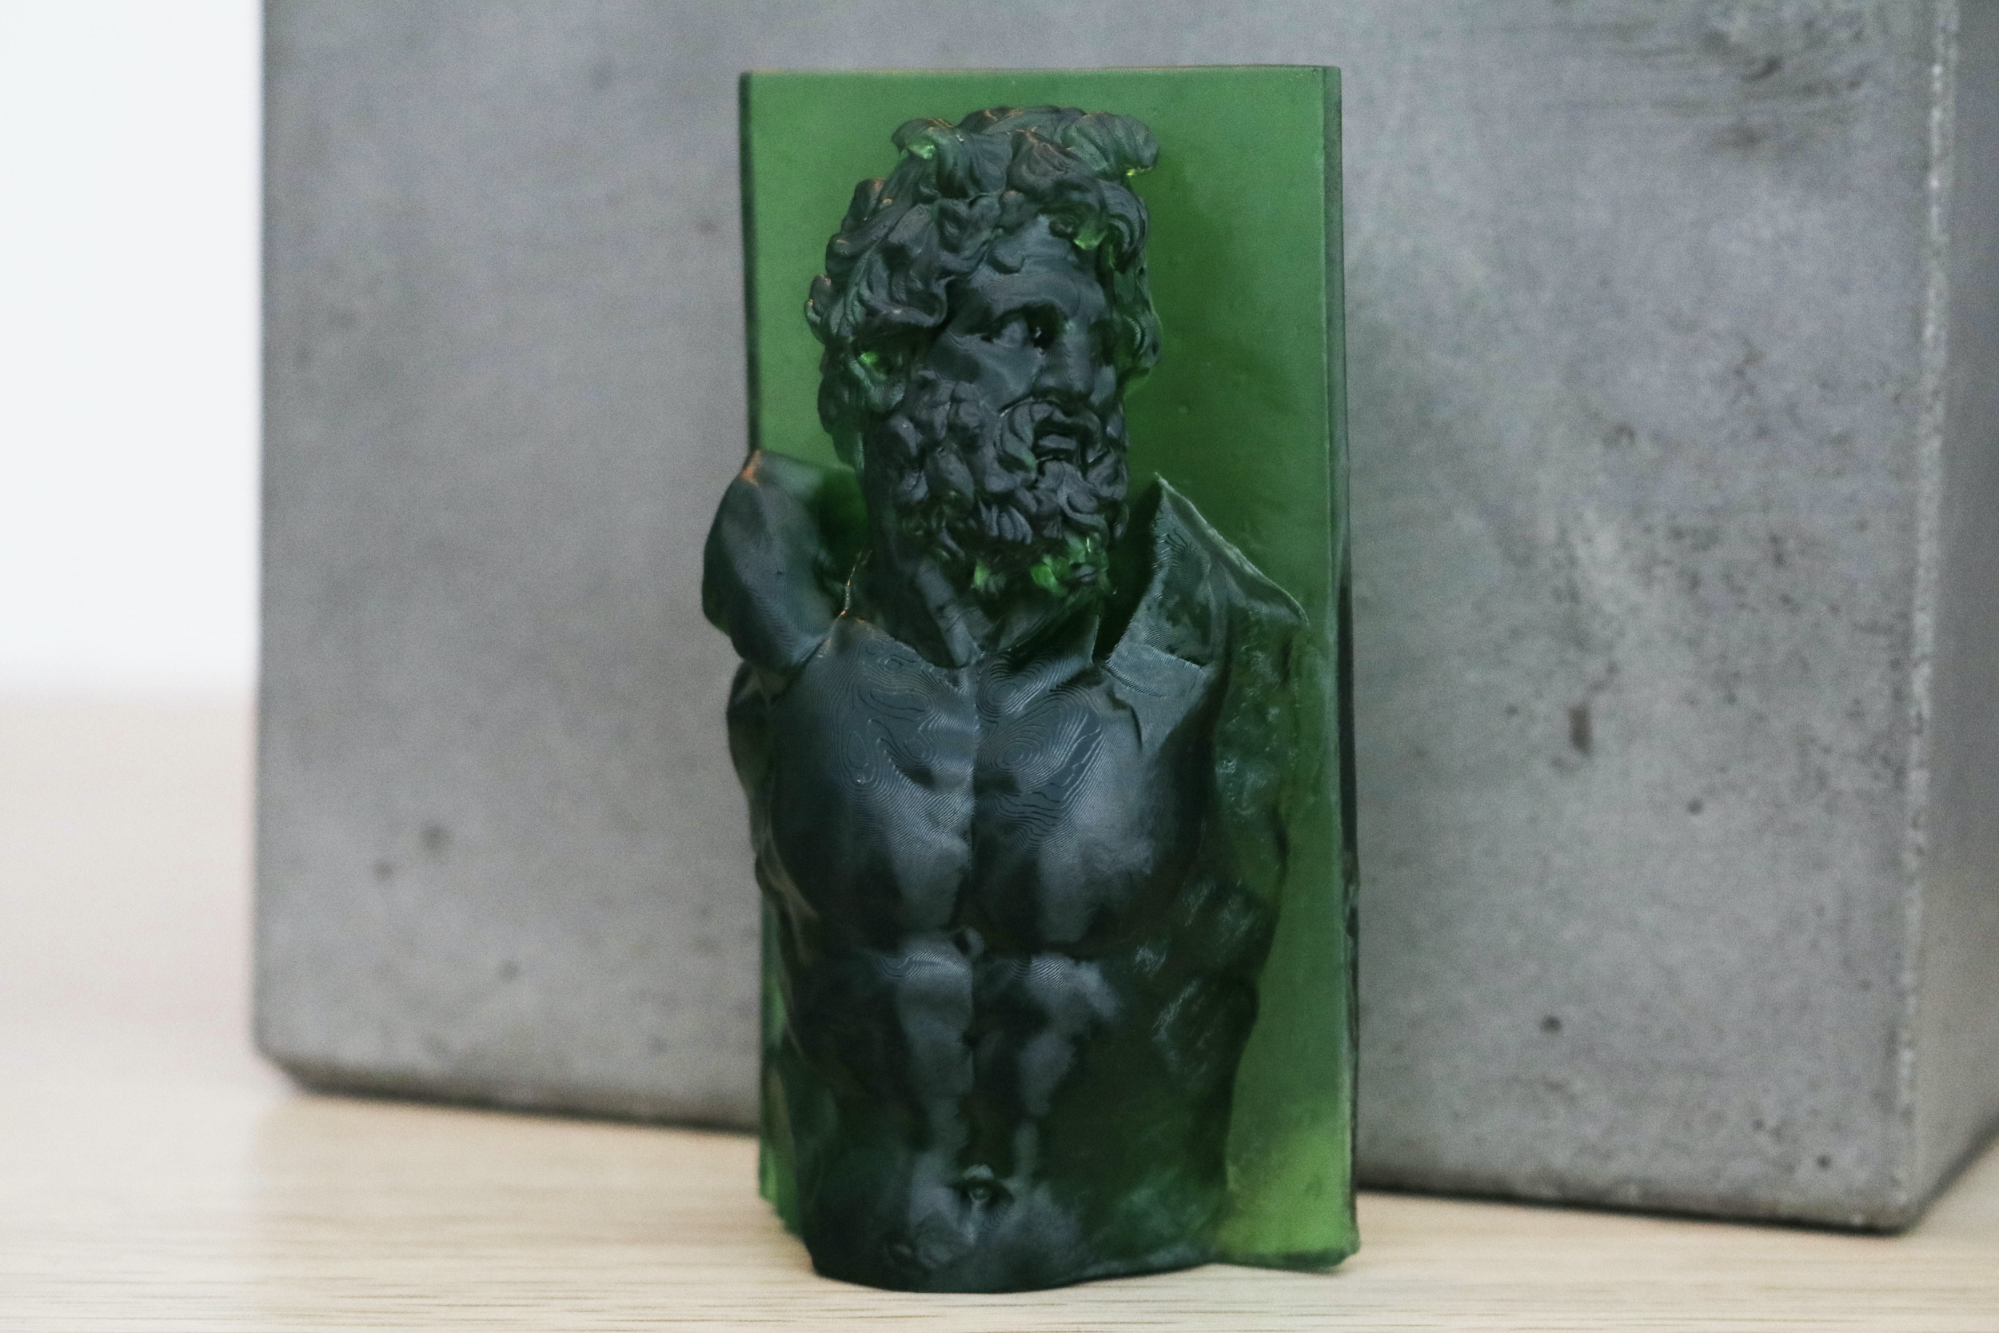
The first model I printed was the Upper body of a giant, Klytios, a 2nd Century BC sculpture scanned and digitized by the Staten Museum for Kunst (National Museum of Denmark). This model has lots of fine detail visible on the face and hair, which makes it an ideal test model.
| Layer Height | 0.05 mm |
| Bottom Exposure Time | 50 seconds |
| Exposure Time | 9.0 seconds |
| Bottom Layer Count | 10 |
I used the default resin profile included in Chitubox (CREALITY General-purpose resin for LCD) for this print, which has a nine second exposure time and a bottom exposure time of 50 seconds for the first 10 layers.
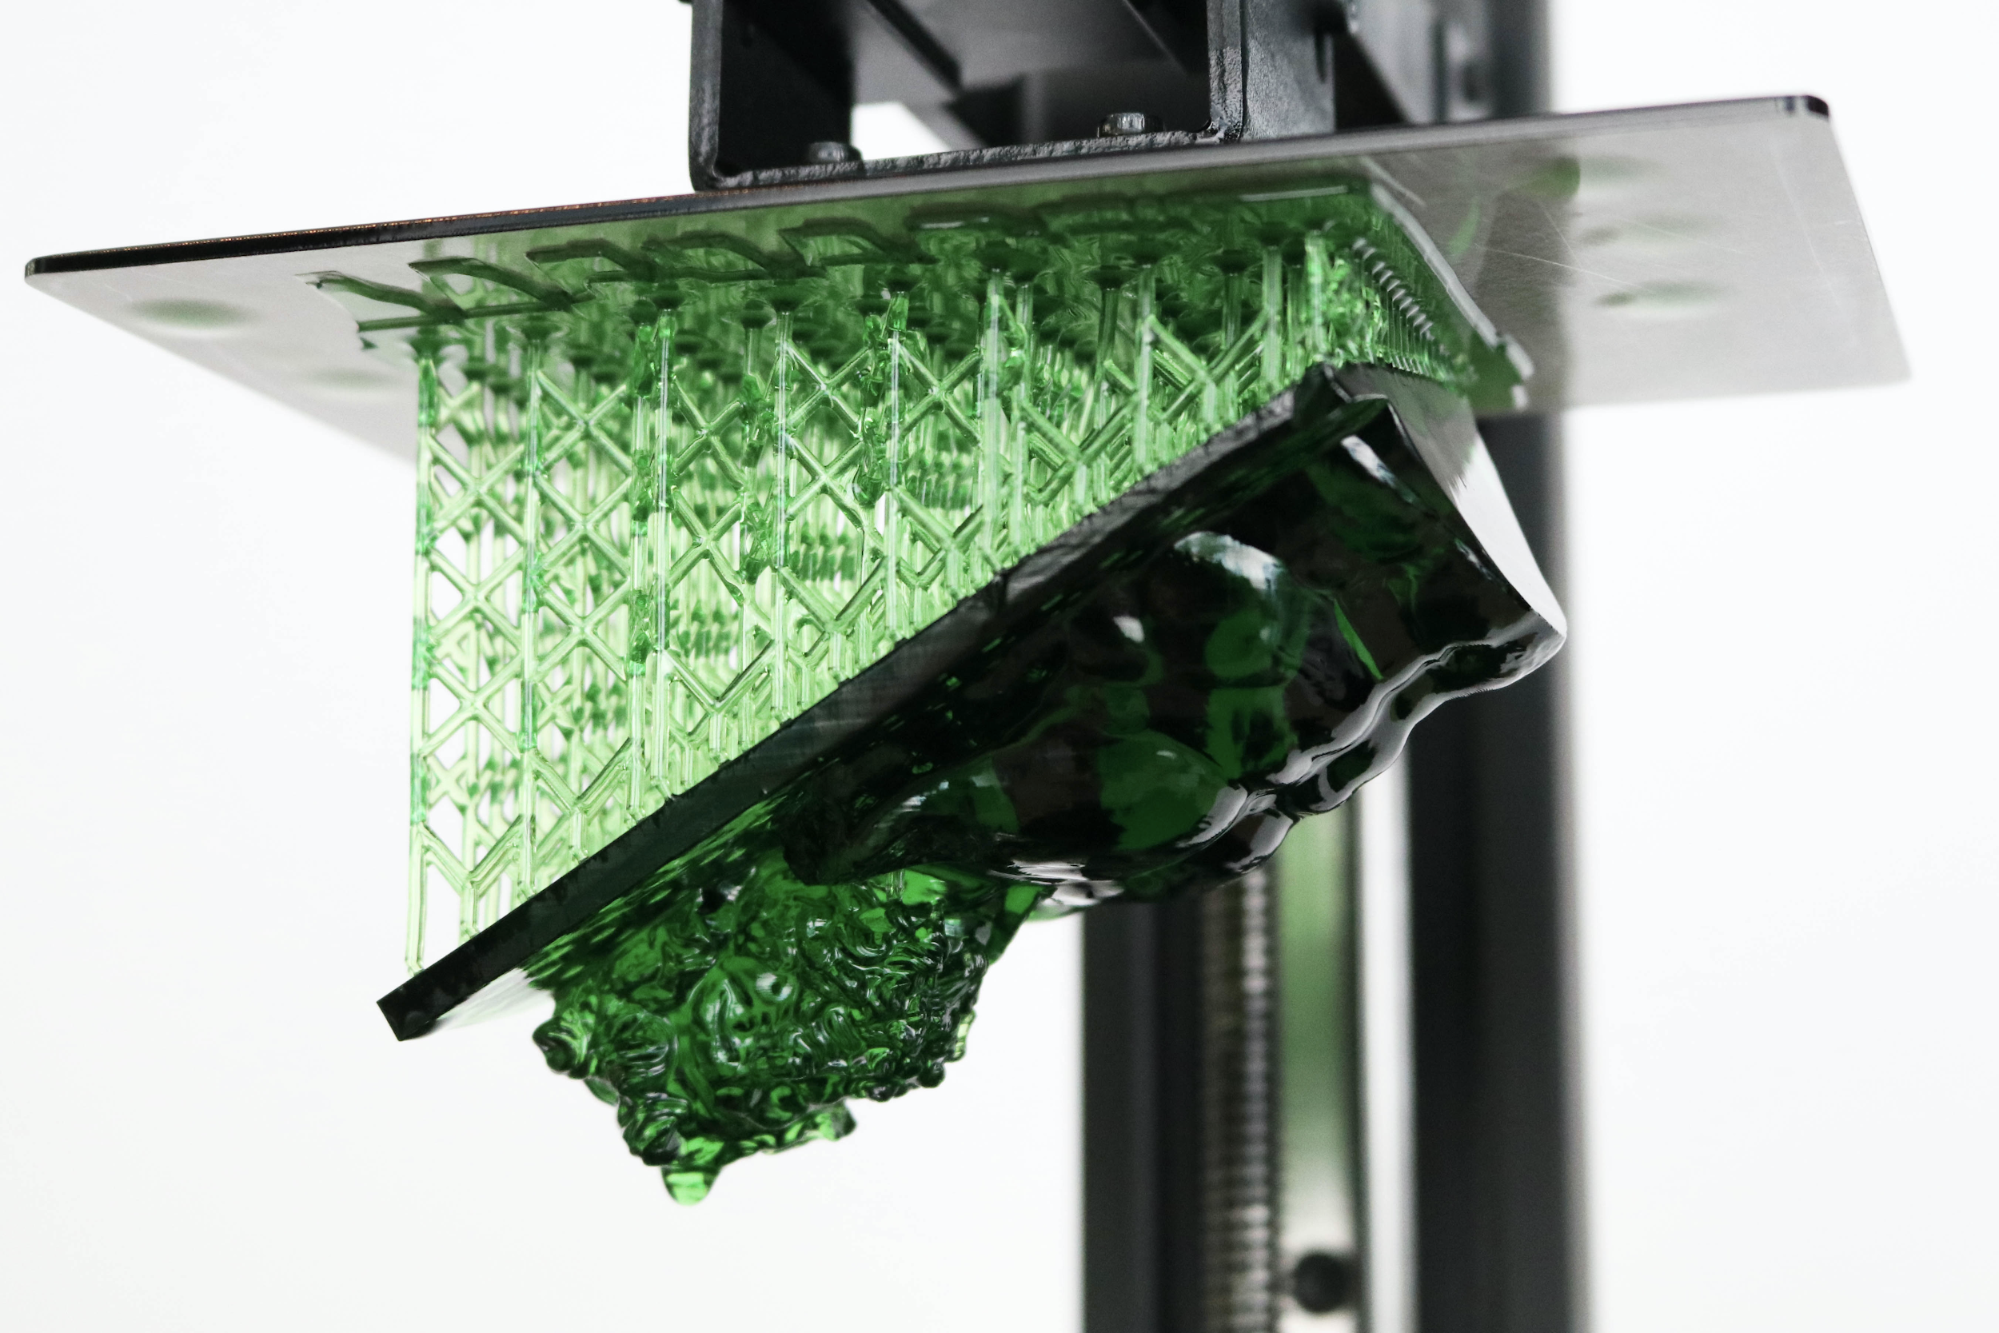
This bust printed in seven hours and eight minutes, almost a full hour longer than the original print estimate of six hours and 15 minutes. The raft that adheres to the build platform to anchor the supports printed was a little misaligned, and the second layer looked like it was offset slightly from the first. Despite this, the model itself printed without any visible defects and I was able to peel away the support material easily after rinsing the model.
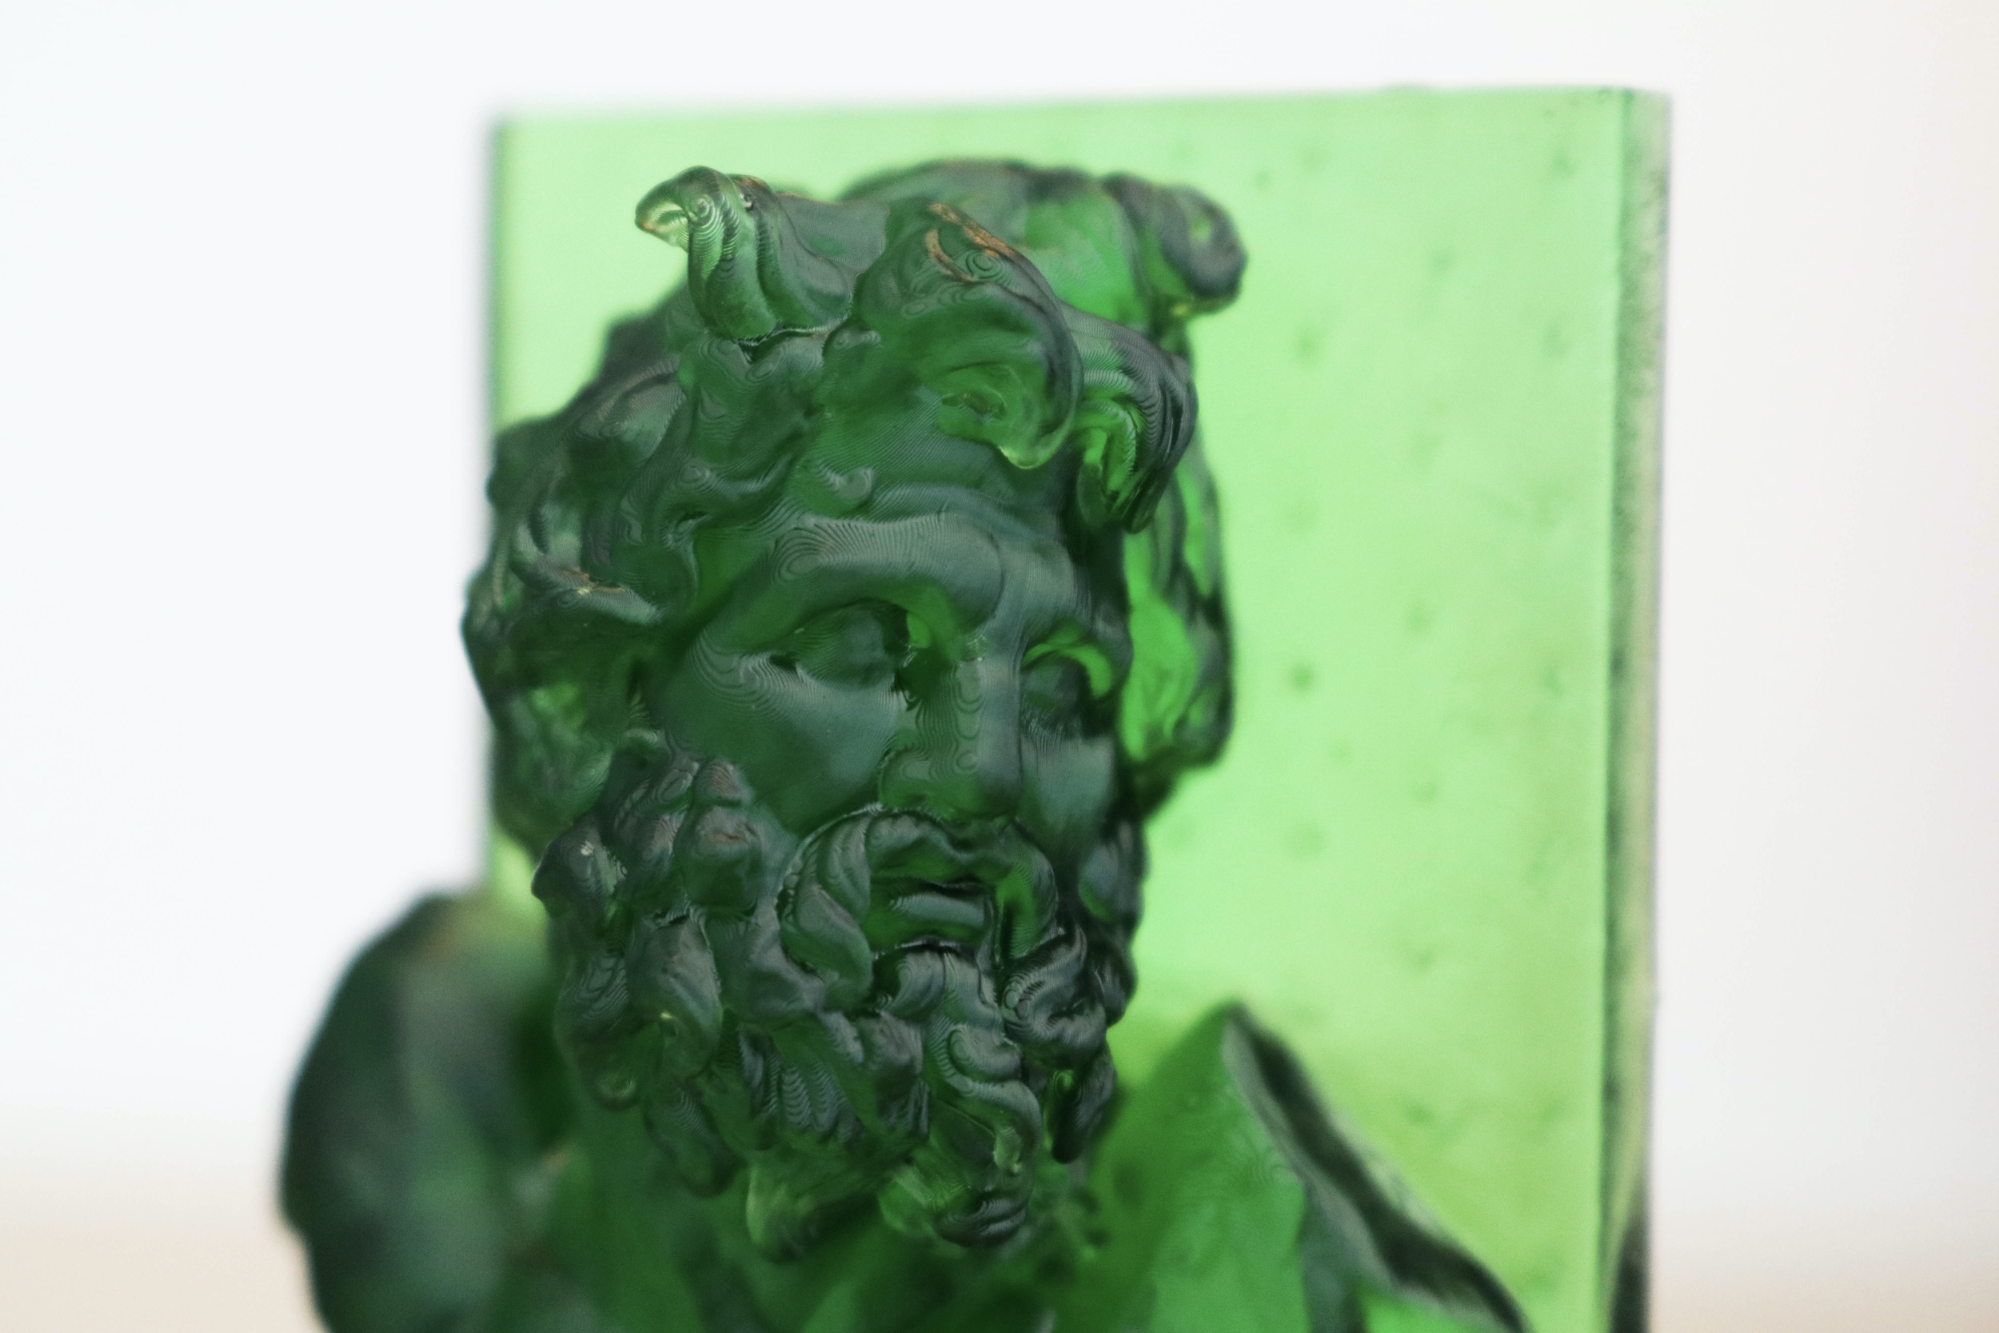
The fine detail on the hair and beard of the model looks sharp and clear, and the only visible stepping is on the chest and nose of the model where the layers were parallel with the build platform. Overall, the level of detail on this model is what I would expect from a 2K LCD on an MSLA resin 3D printer, but it doesn’t quite have the same high resolution as the Phrozen Sonic Mini 4K, which is able to print small models like this with almost twice as much detail on the XY plane.
Printing Miniatures on the Creality LD-002R
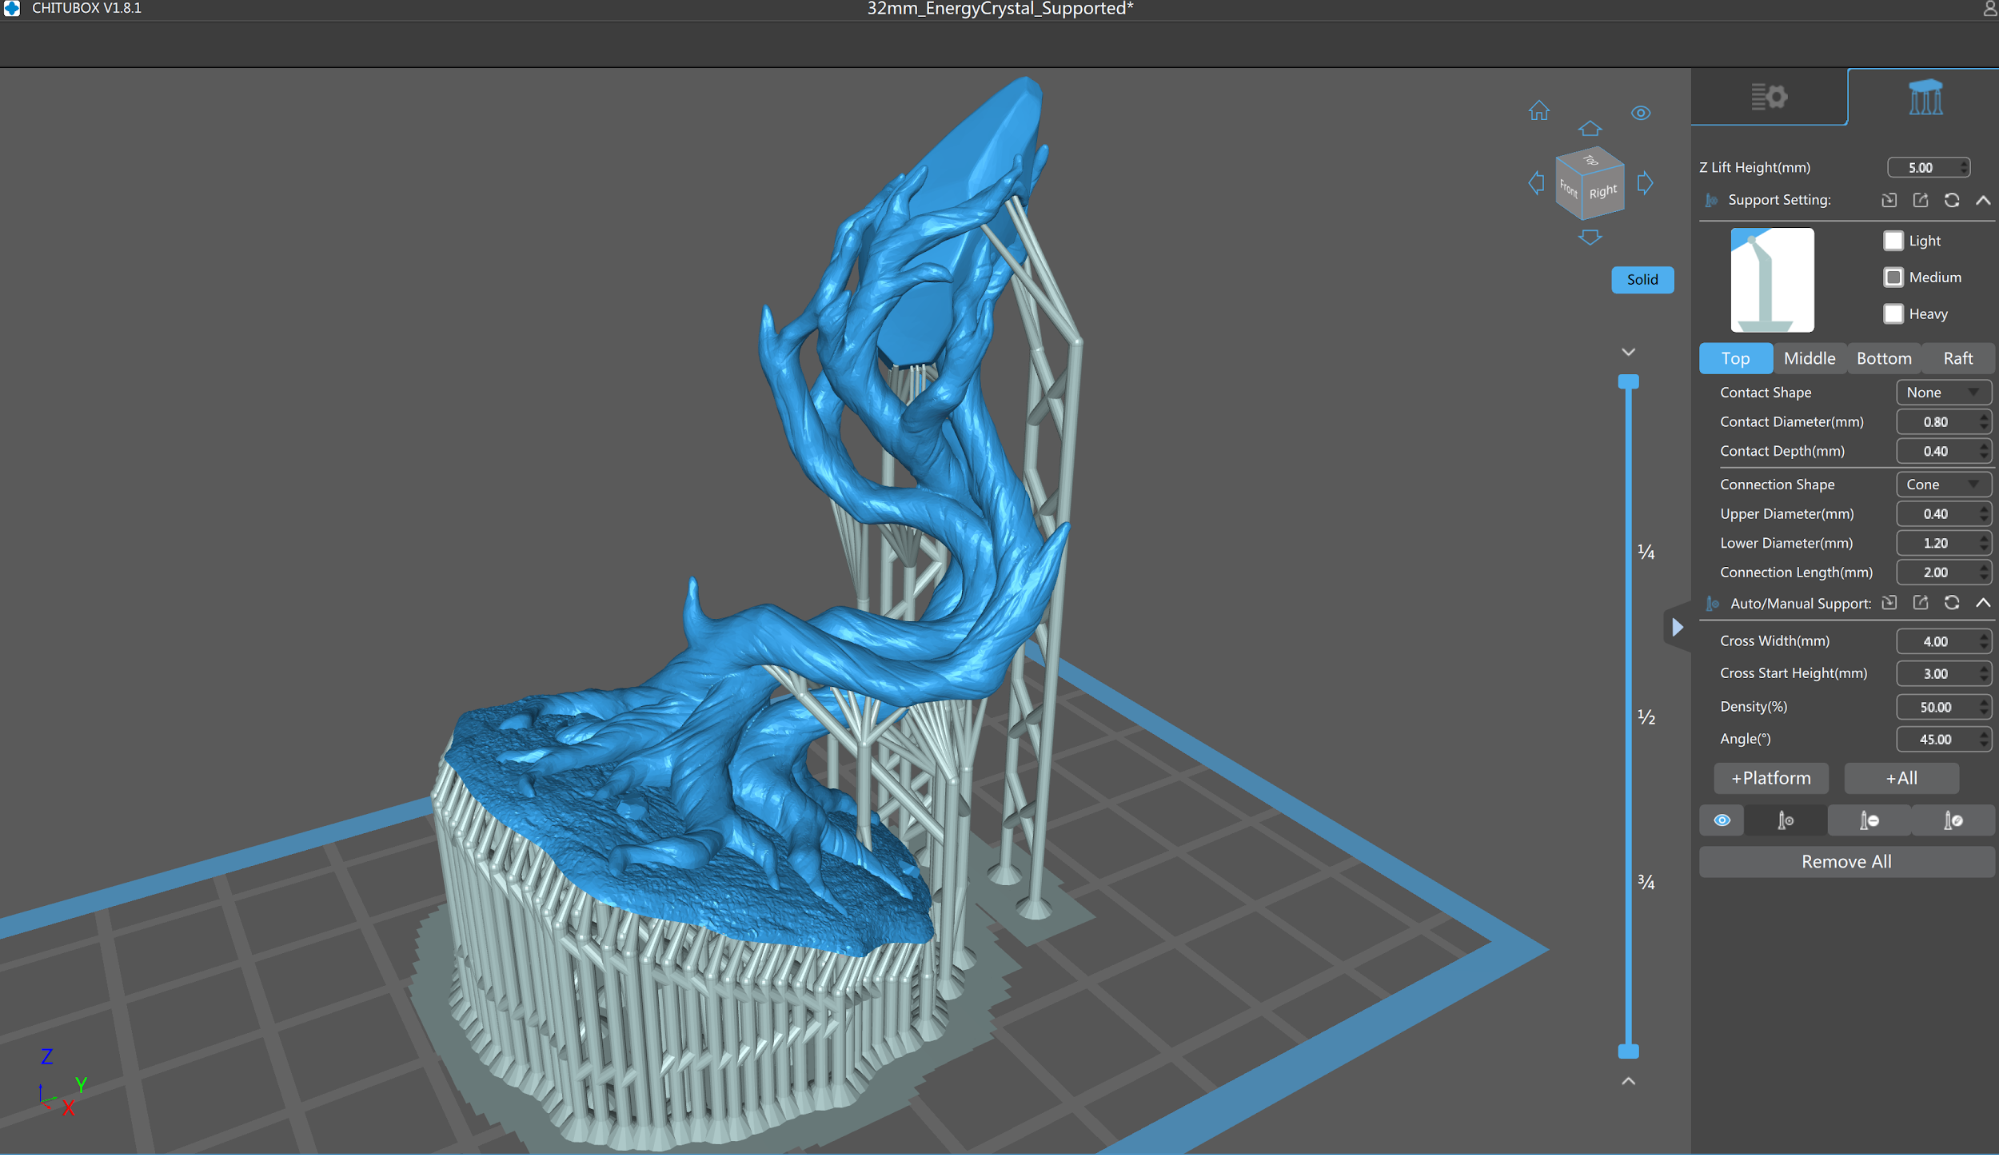
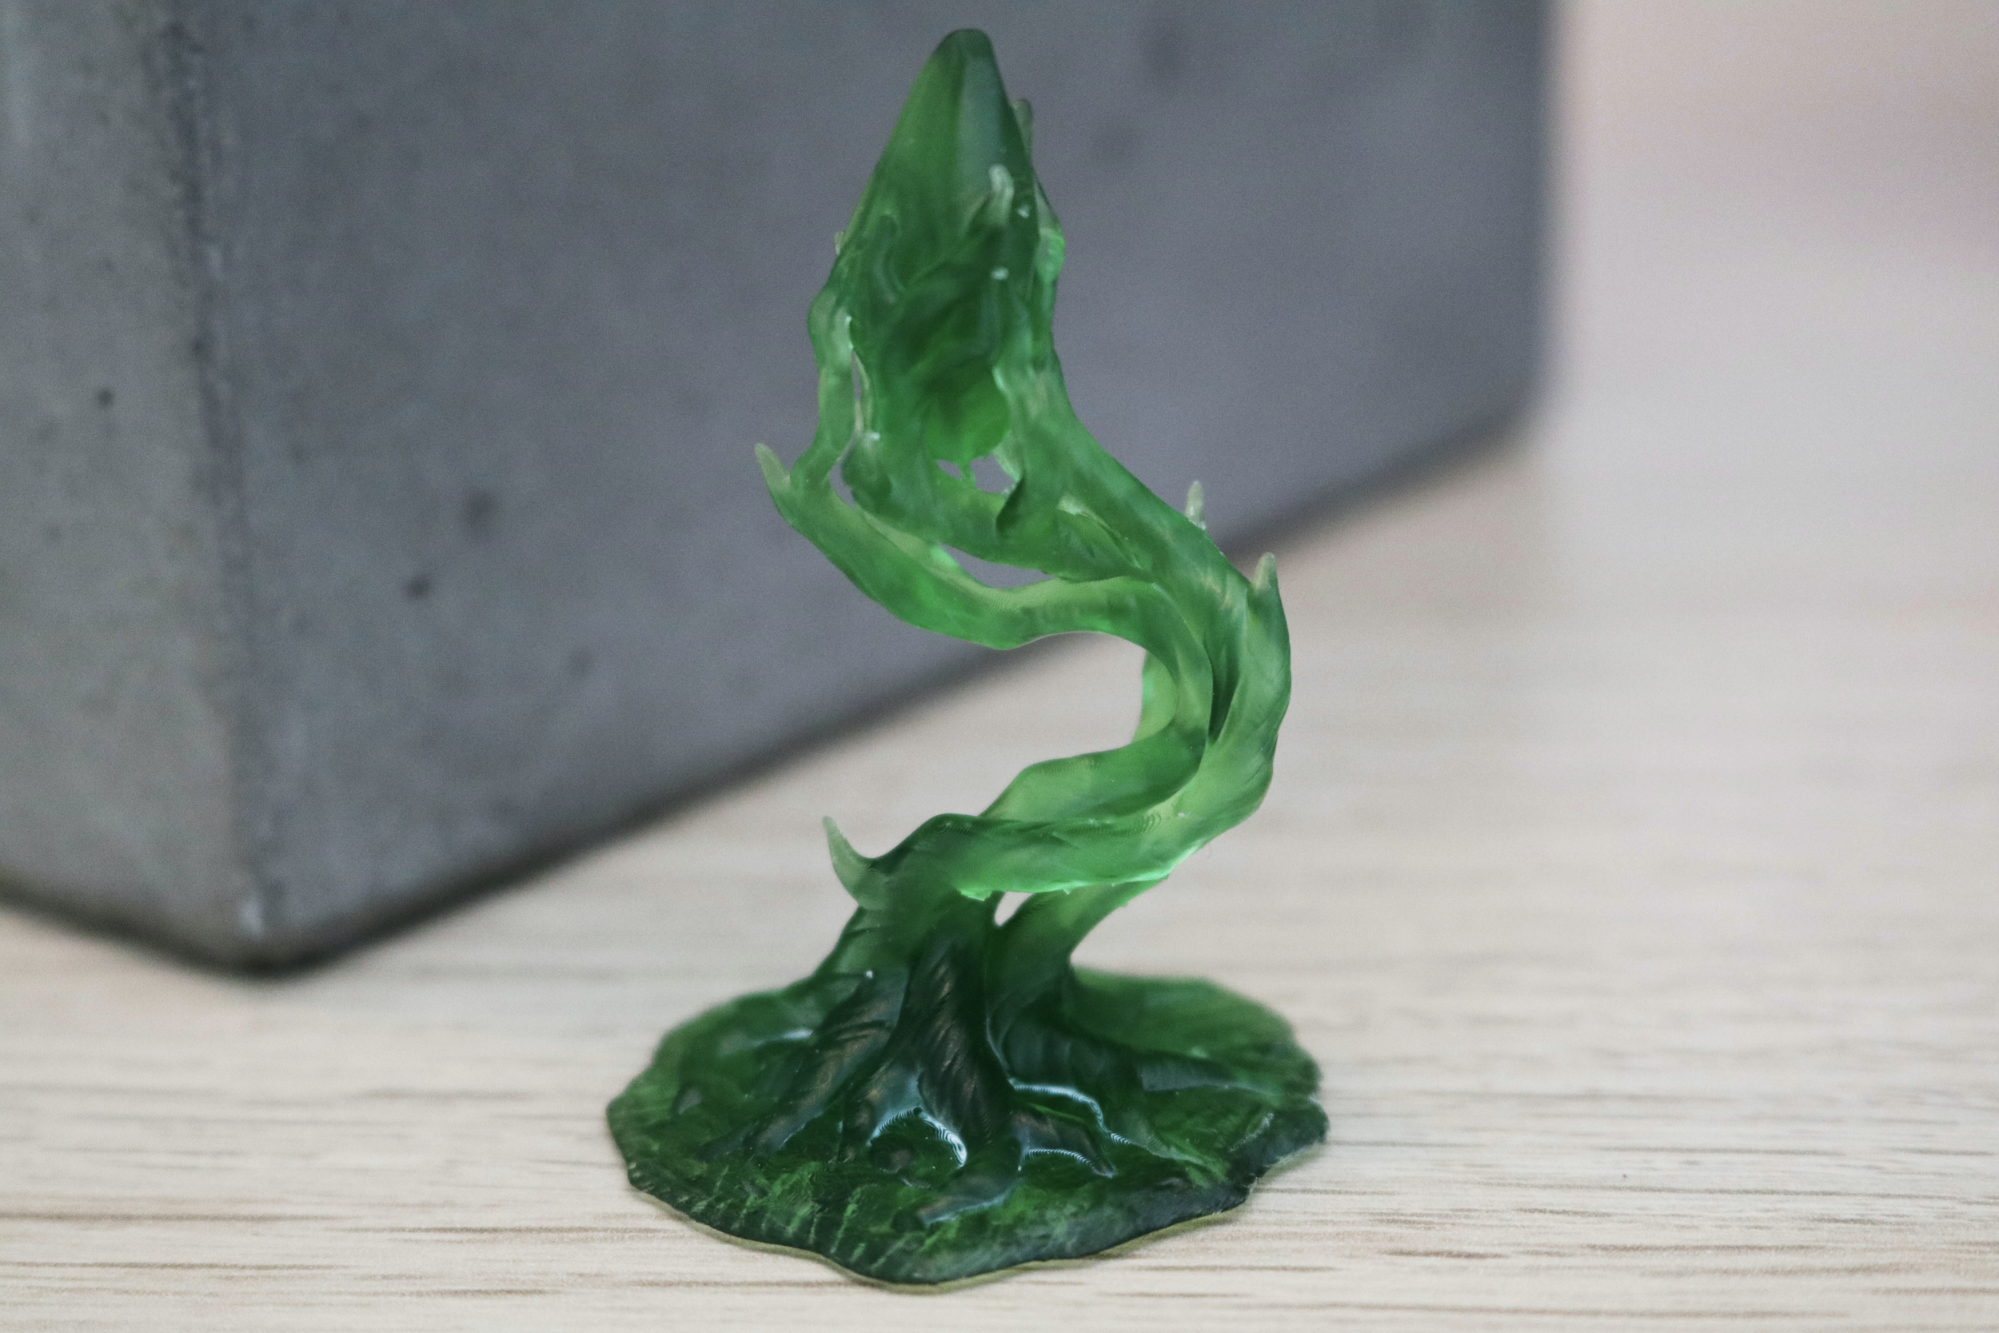
To test out the detail when printing miniatures, I printed the Energy Crystal model from Loot Studios to see how the LD-002R would perform. The model has a thin base with a dense patch of support structures as well as multiple tall support structures which extend to the top of the model. The part printed out in just under six hours and I was easily able to snap the support material off the model without damaging even the smallest feature.
The detail on the base looked great, and I was impressed with how easy the support removal process was. The only problem I ran into was the dimpled surface on the very bottom of the model which was left by the dense support structure.
Print Speed Comparison of the Creality LD-002R vs. Anycubic Photon Mono
Creality offers two MSLA resin 3D printers in the LD-002X family; the LD-002R, the subject of this review, and the LD-002H. The primary difference between the two is the LCD used for masking; the LD-002R uses a 5.5” RGB LCD screen which requires a longer exposure time while the LD-002H uses a 6.08” inch Mono LCD which can make layers at almost four times the speed. Mono LCD screens allow more of the UV exposure to reach the vat, which greatly reduces the amount of time required to cure each layer.
To get a clearer picture of the build time difference between the Creality LD-002R and a printer with a Mono LCD, I compared the Eiffel Tower print from the $199 LD-002R with the Verdant King print I made on the $240 Anycubic Photon Mono. MSLA resin printers create parts layer by layer, as opposed to the volumetric approach used by FDM filament printers which means the total print time is generally based on the height of the model, not the width or amount of material used.
| Header Cell - Column 0 | Anycubic Photon Mono | Creality LD-002R |
|---|---|---|
| Exposure Time | 2.0 seconds | 9.0 Seconds |
| Lift Speed | 180mm/min | 65mm/min |
| Retract Speed | 240mm/min | 150mm/min |
| Print Height | 118.73mm | 120.93mm |
| Print Time | 6 Hours | 19 Hours 15 Minutes |
| Print Speed | 19.79mm/hour | 6.28mm/hour |
The difference in print speed is dramatic due to the differences in the exposure time and lift speeds. These settings are individually adjustable in the Chitubox software, but it can be tricky for a beginner to understand how these parameters can affect a printed part. While it’s easy to increase the lift and retract speeds as well as reduce the exposure time on the Creality LD-002R, a beginner shouldn’t need to focus on these changes to get quality prints, and an experienced user won’t want to spend time dialing the printer in through a process of trial-and-error.
Bottom Line
At first glance, spending less than $200 on an MSLA Resin 3D printer seems like a bargain. However, the one thing we can never buy is time and the Creality LD-002R takes a ton of it to complete a model. The fact that our store-bought review unit had a clearly-used platform and that we didn’t receive a response from Creality also makes us concerned about quality control and customer support.
The $30 difference between the Creality LD-002R and the Anycubic Photon Mono makes the gap between these two machines seem that much larger, with the Photon Mono offering superior features and specs across the board for only a relatively-small cost increase. The RGB LCD used by the LD-002R suffers from a relatively long exposure time when compared against MSLA resin 3D printers like the Anycubic Photon Mono that use a Mono LCD for faster print speeds.
If you’re looking for one of the best budget 3D printers at a price point of under $200 and want to stay in the Creality ecosystem of products, the LD-002R may be a fit for you. However, you’ll need a lot of patience while waiting for those prints and hoping for any response from Creality customer service.
MORE: Best 3D Printers
MORE: Best Budget 3D Printers
MORE: Best Resin 3D Printers

Andrew Sink first used a 3D printer in 2012, and has been enthusiastically involved in the 3D printing industry ever since. Having printed everything from a scan of his own brain to a peanut butter and jelly sandwich, he continues to dive ever more deeply into the endless applications of additive technology. He is always working on new experiments, designs, and reviews and sharing his results on Tom's Hardware, YouTube, and more.
