Setting Up Your First 64-Bit Digital Audio Workstation
Building The Workstation
There are a few basics to keep in mind when assembling the PC. First, consult the list of parts I used below. Of course, you can change components around and experiment.
Computer Hardware:
- Asus M4A79 Deluxe Motherboard
- Crucial Ballistix DDR2-1066 4 GB RAM
- AMD Athlon X2 5050e CPU
- Thermaltake Element S case
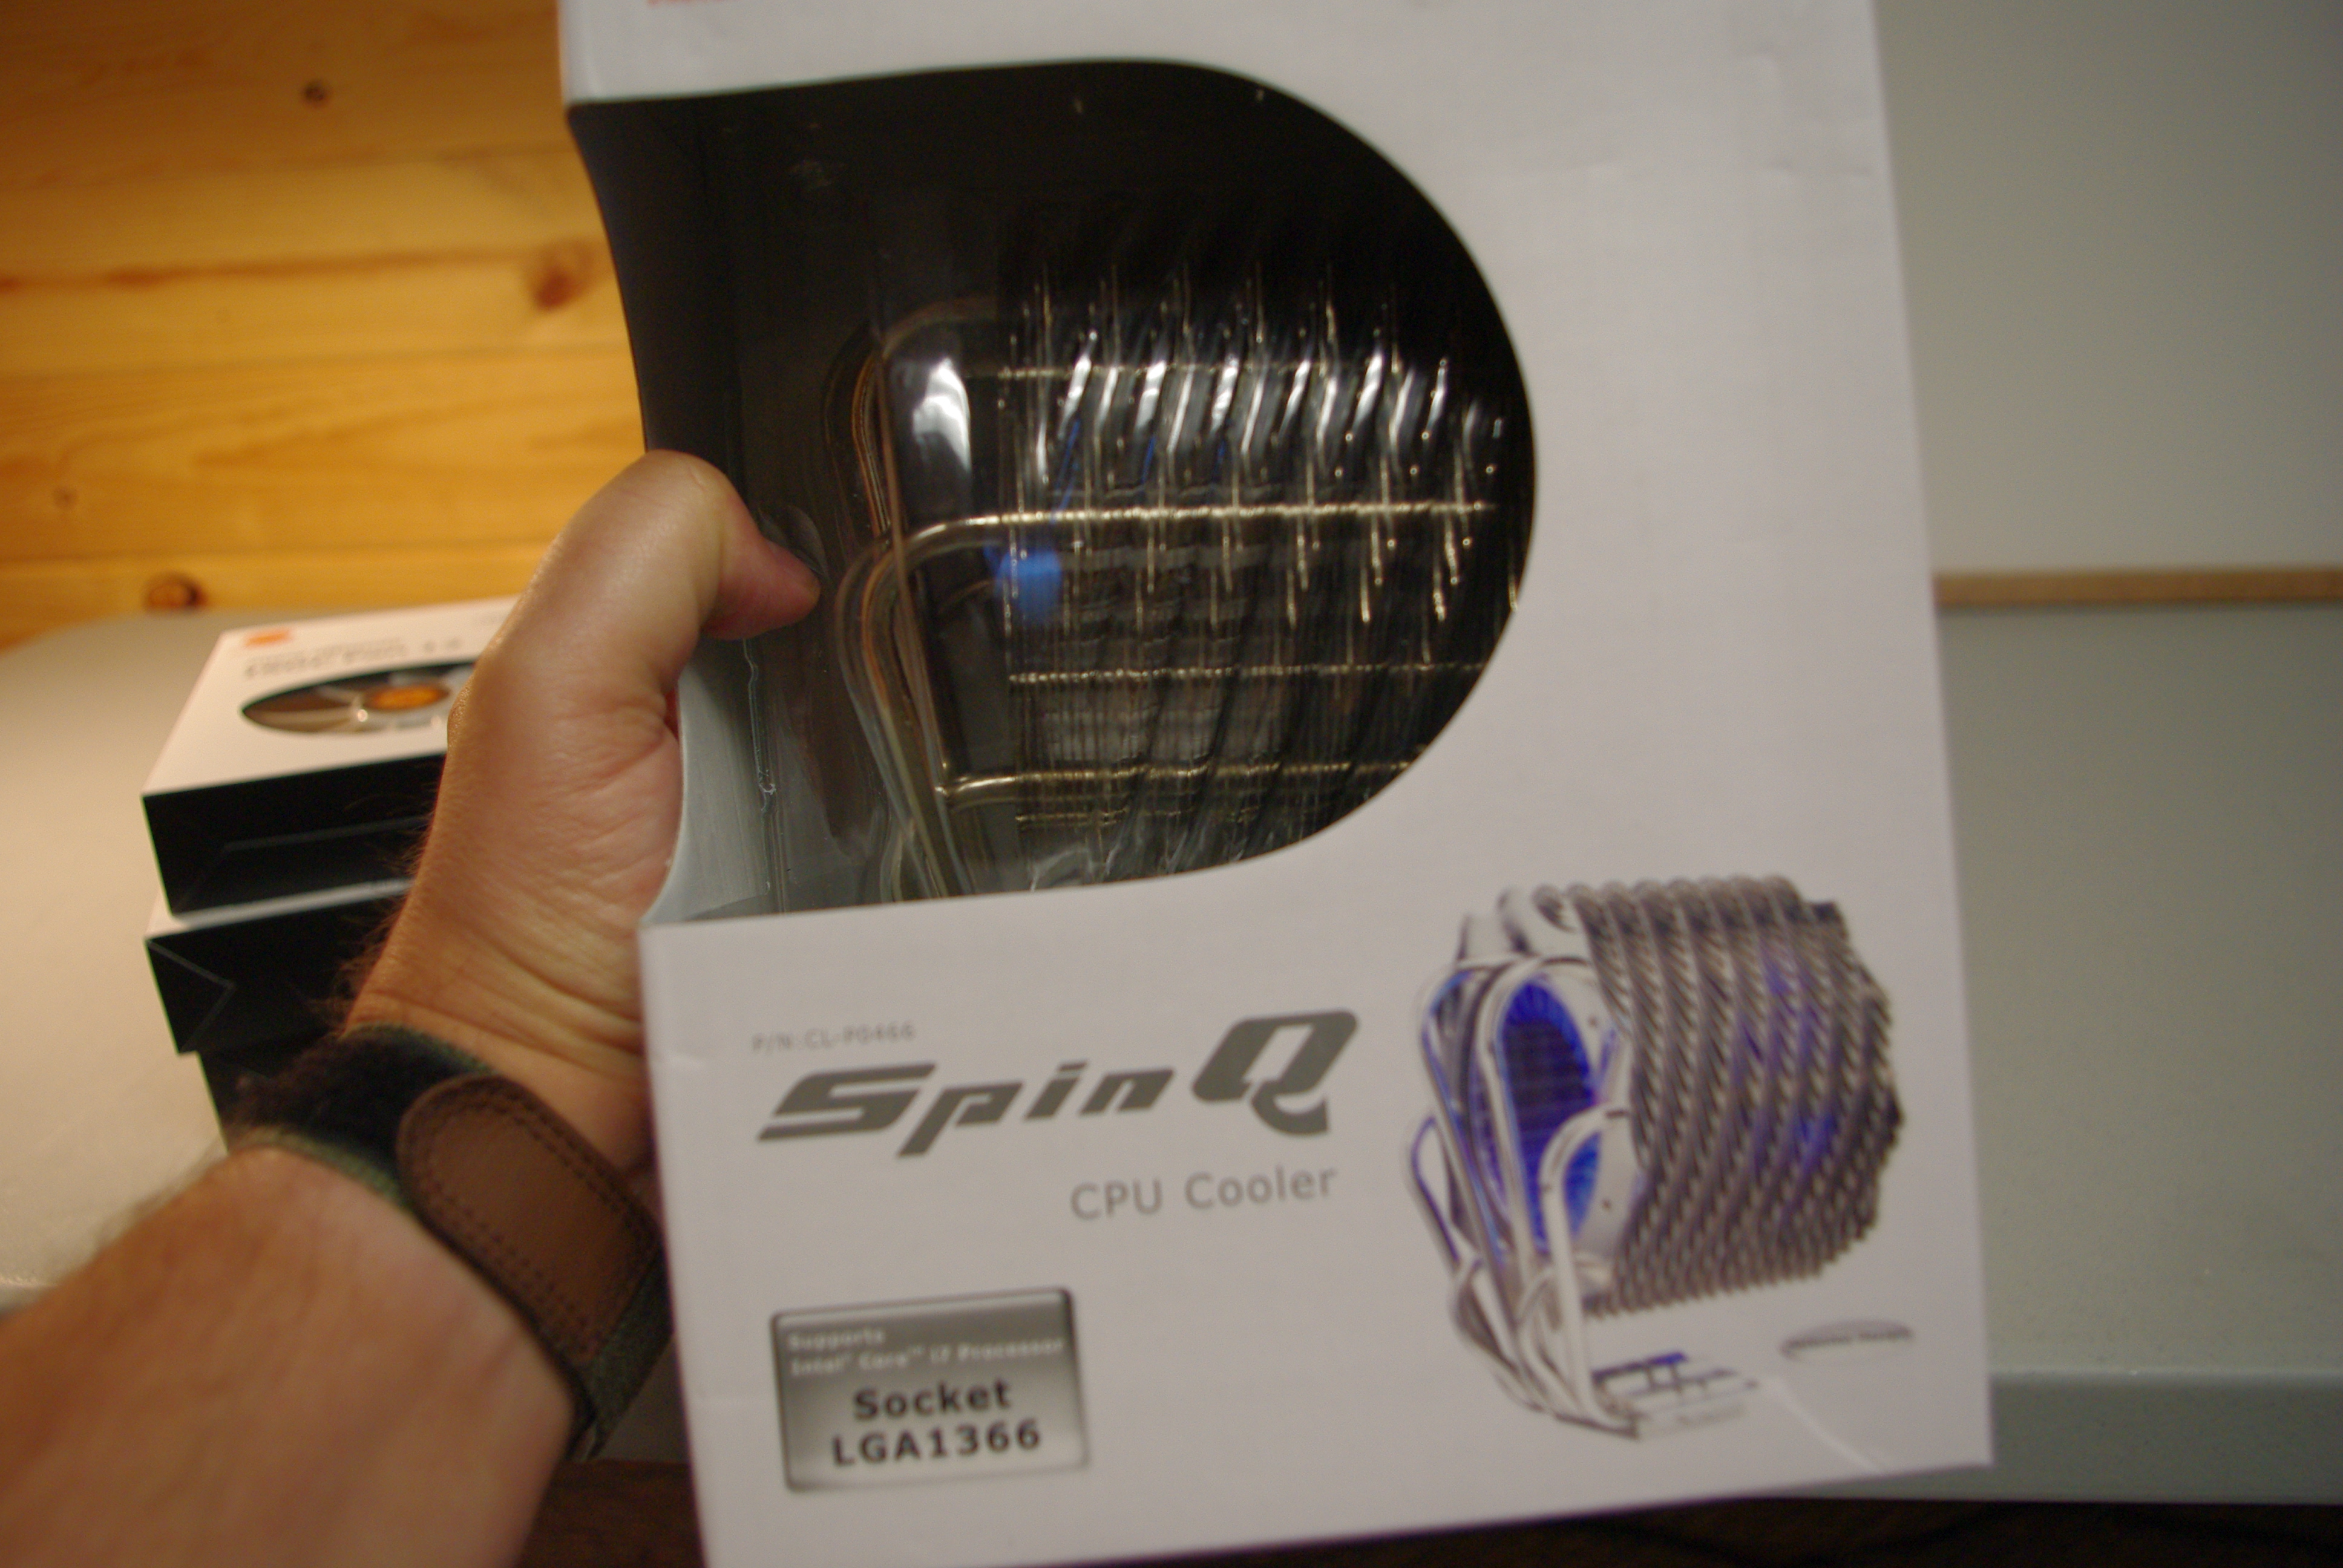
- Thermaltake Spin Q cooler
- Thermaltake Q-Fan 650 PSU
- XFX Radeon HD 4650 GPU
- Intel X25 M SSD 64 GB drive
- Seagate Barracuda 7200.11 750 GB drive
- Lite-On DVD 22x Optical Drive
Software:
- Windows Vista Ultimate 64-bit
- Steinberg Cubase 5
Audio Hardware:
- Roland SonicCell audio interface
- Roland SH-201 Keyboard
- Edirol MA15D
- AKG C414 Microphone
- Great River MP-500NV Pre-amp
- Monster instrument, microphone, and speaker cables
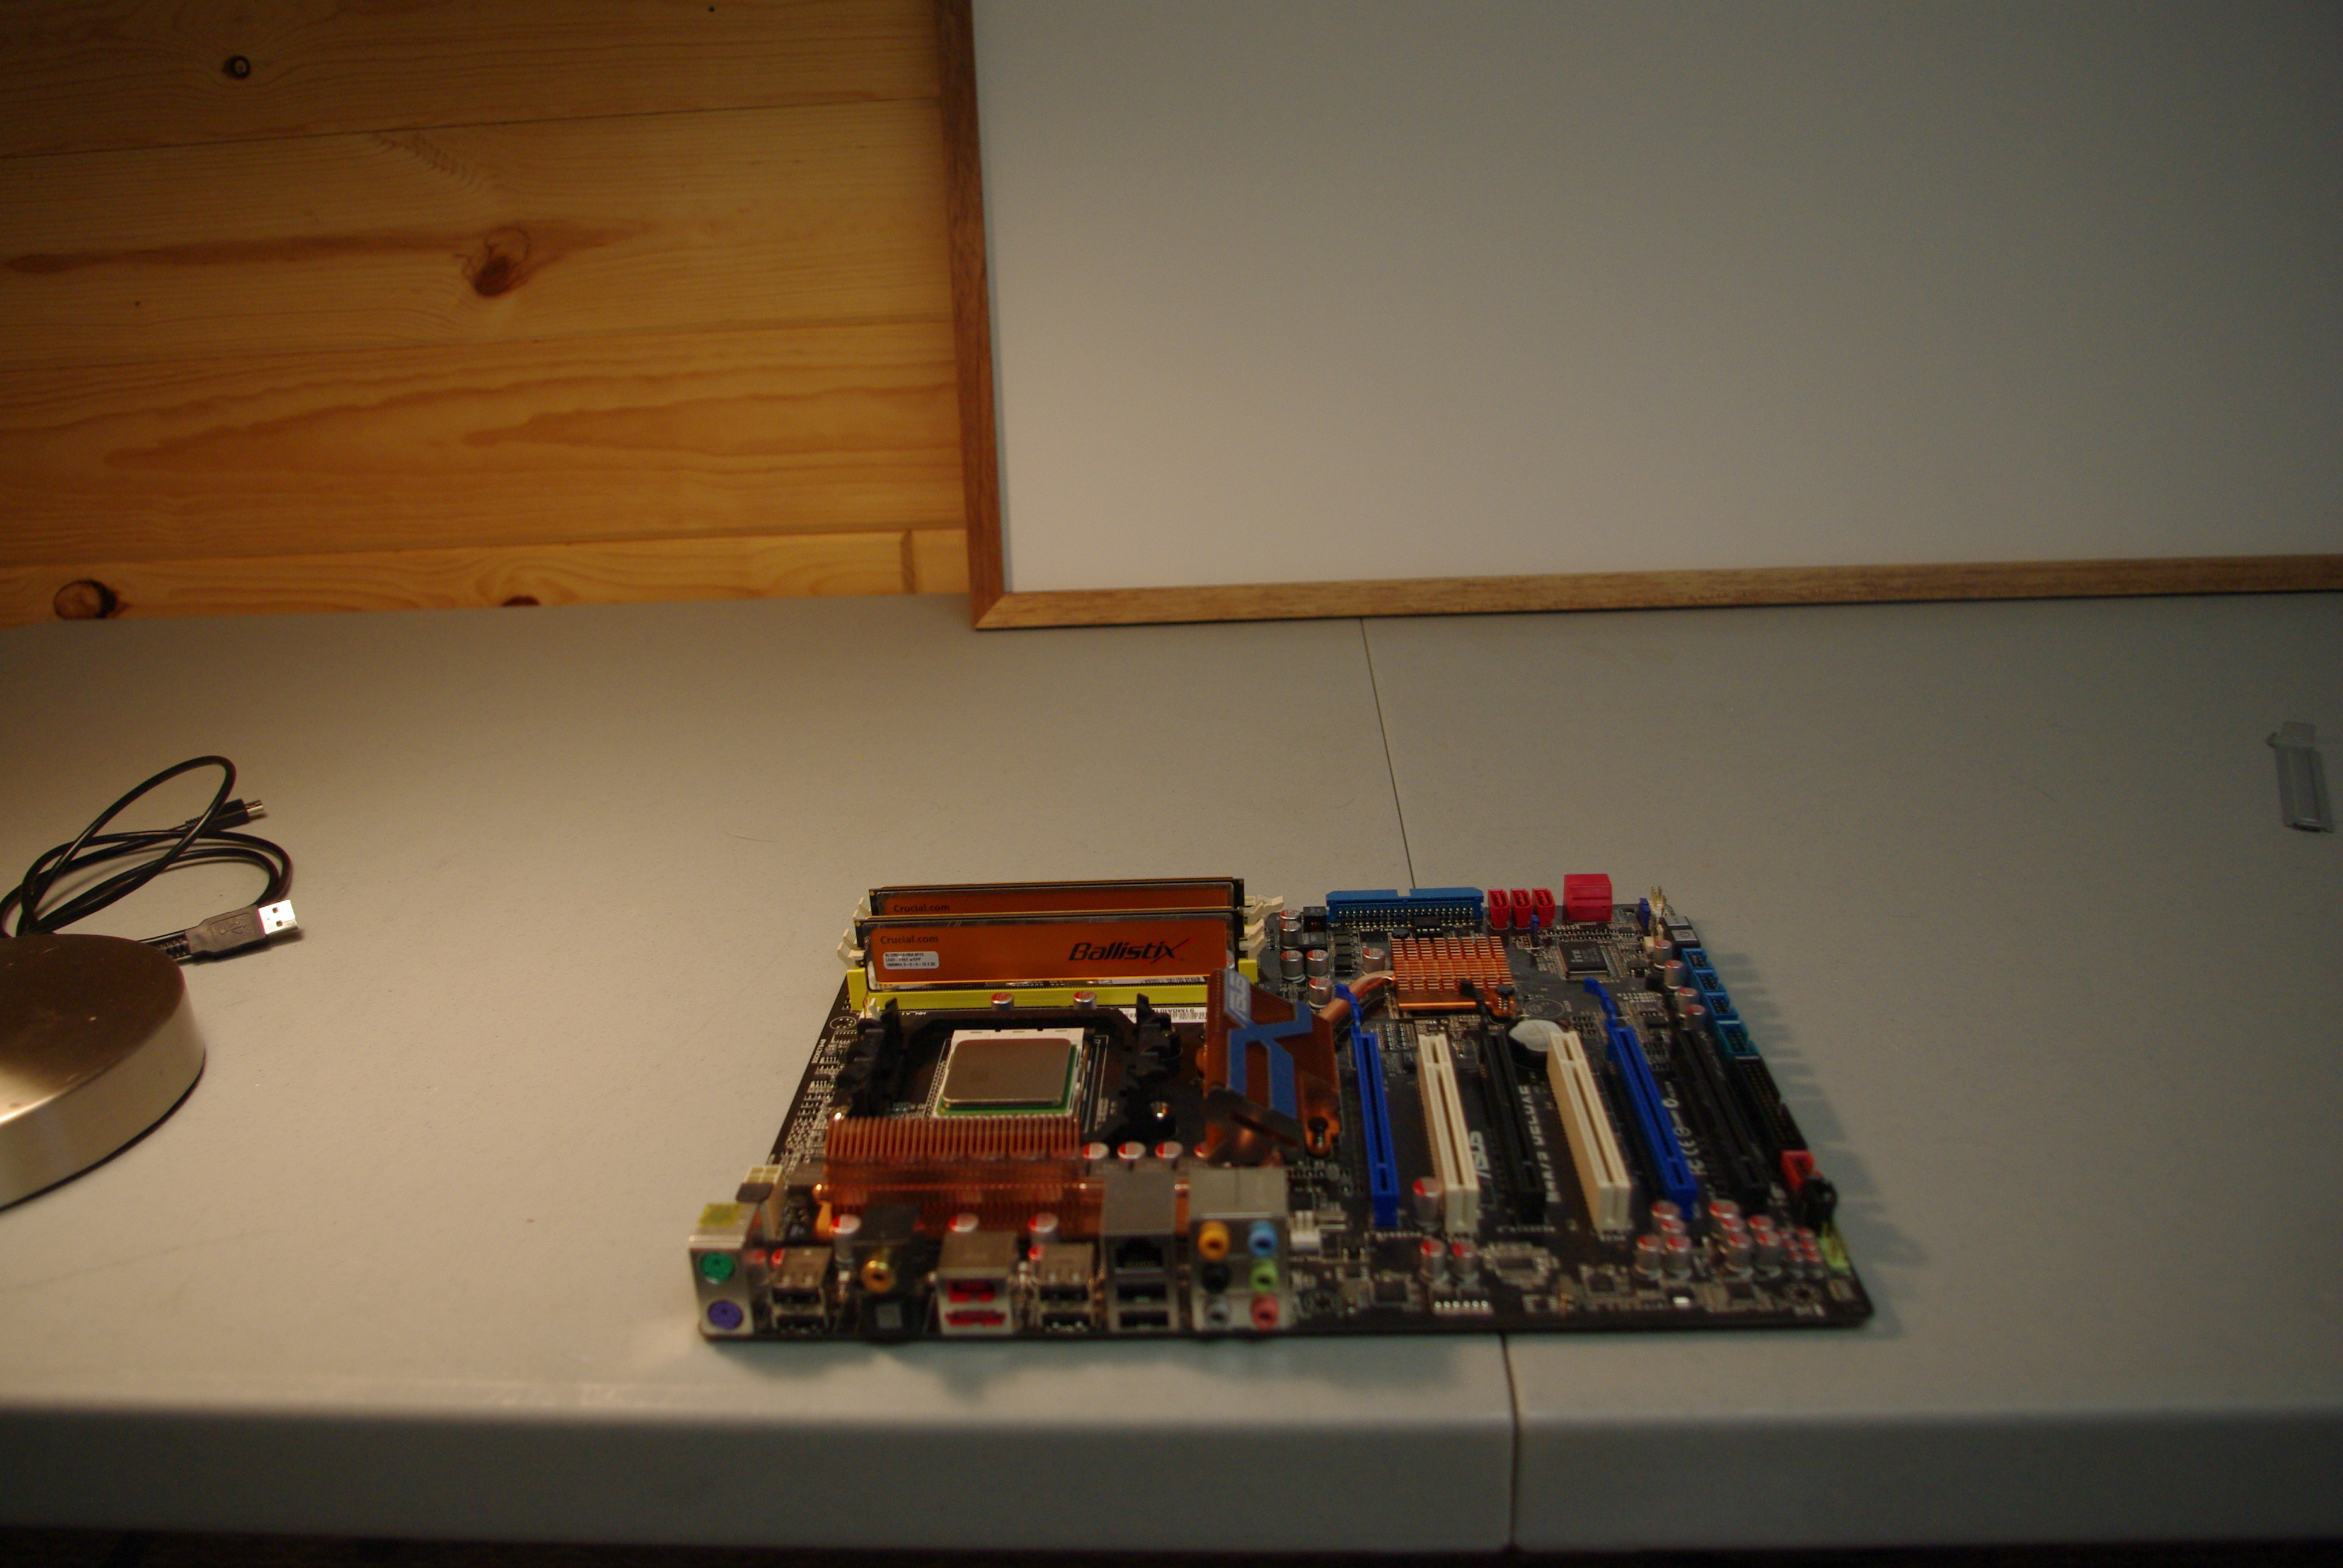
I tend to assemble as many components as I can outside of the case (I don’t like to twist my wrist around inside the innards of a PC). So, place the M4A79 motherboard on a flat surface and snap in the CPU, then put a small amount of thermal grease on the chip and clasp the Thermaltake Spin Q heatsink and fan combo into place. Connect the cooler fan wire to the motherboard connection labeled CPU Fan. Next, insert all four RAM modules into place. On the Element S, you have to remove a couple of screws to remove the power supply bracket (I never re-installed mine) and then insert the PSU and screw it into place.
For the hard disks, you have to remove the HDD tray (there are two screws holding it into place). Use the larger, wide-head screws to secure the HDD into place. For the SSD, you will need a bracket to hold it into place. Place the HDD tray back into the case and secure. Install the Lite-On optical drive as well.
Now, install the Asus motherboard using the screws provided. Install the GPU. Connect the SATA cables and power cables to the storage drives and optical drive. Connect the two main motherboard power cables from the PSU to the motherboard. Make sure you tie down all the cables so that there is ample airflow.
Get Tom's Hardware's best news and in-depth reviews, straight to your inbox.
After your audio workstation hardware is all assembled, close up the case and install Windows Vista Ultimate 64-bit. The package comes with an install disc for the 32-bit and 64-bit versions, so make sure you use the right one. If you are a glutton for punishment, try Ubuntu 64-bit and the Ardour workstation software, but you will have a wonderful time getting drivers to work with just about any audio workstation on the market, especially products by PreSonus, Roland, and M-Audio.
After you install the operating system, you are ready to start turning it into an actual audio workstation. Note that, without any fans running except the Thermaltake Q-Fan cooler, you should not hear anything from the PC. I used a RadioShack sound meter and could not get a reading out of my newly-built PC, so I knew I was in good shape.
A few other notes about the PC: you won’t need to use the on-board audio on the motherboard, because the audio interface will take care of that. In fact, you can disable it entirely in the Device Manager. If your PC does run a bit hot without the extra fans, you can use Thermaltake Silent Cat 120 mm fans.
Current page: Building The Workstation
Prev Page Design The PC Next Page Low-Latency Recording Options-
one-shot There are large HSFs designed for to be passively cooled. Have you thought of that as an option? You are running a CPU which doesn't draw much current and it could help to even lower the noise even more as that is your main concern, it seems. No fan should make less noise than A fan, even if that one fan is very quiet.Reply -
REAPER has a 64bit version that's quite lauded (as is the 32bit, for that matter).Reply
www.reaper.fm -
mitch074 what I find strange though, is the use of a non-real time OS for audio recording; Windows' sound system always introduces latency (when there's no latency, then it introduces clicks); on the other hand, there are optimized Linux distros dedicated to sound recording and processing, that cost nothing, that are 64-bit compatible, and thanks to a well tested kernel patch (I think it entered mainline a while ago) has zero latency: kernel allows real time access to sound hardware.Reply
You can also forget about disk problems with Linux, as it is and remains light years ahead of Windows in disk access - especially when using low latency file systems.
So, while your hardware choices are excellent, you cripple your system by using an inappropriate system. It's like putting a truck driver in command of a Formula 1 car: he may be used to drive powerful and costly machines with precision, but not THIS kind of machine. -
Totally agree with mitch074! I've used Ubuntu Studio (ubuntustudio.org) for 32bit audio processing. The (stable) latency I get with that system is unsurpassed (took me a few days to finetune the kernel for this result though...)Reply
-
mitch074 just to add something to my previous comment: while you mentioned Ubuntu 64-bit, do realize that the -rt kernel isn't installed by default; its use of PulseAudio (that plays the same role than Vista's current audio stack does) is a pain to configure... Not that it's impossible, but then you'd better look at 64 Studio (Debian-based 64-bit RT distribution) or at the very least Ubuntu Studio (which is already configured for audio use, with several drivers pre-built).Reply
More data at http://linux-sound.org/ (obviously) -
Hamsterabed Please examine your power supply bracket a little closer, if you look carefully you will notice 4 tabs sticking up upon both sides of the bracket. You may mount a SSD to these 2.5 inch slots instead of buying a separate one that will be in your air corridor.Reply -
> has zero latencyReply
That's bull - no system has zero latency - not even DSP-based ProTools.
All soundcard-hardware has at least 32 samples of latency.
Apart from that, you will achieve VERY low latency figures by carefully selecting the right PC, with the right add-on-hardware with Windows as well. And if you have the right card with the right drivers, you can even use that 32 sample latency (less than 1msec) for tracking.
Also IMHO 99% of all virtual instruments/effects existing are Win/OS X only, so you will not have the same range of tools to use when limiting yourself to Linux.
Dogmatic thinking is never smart. Use the right tool for the right job. Linux is (currently) IMHO not the right tool for DAW work (at least not if you want to work in a somewhat professional level) -
vivi22 to-pseAlso IMHO 99% of all virtual instruments/effects existing are Win/OS X only, so you will not have the same range of tools to use when limiting yourself to Linux.Reply
Have to agree with this. Linux isn't supported by the majority of major plug in makers, so if you use it you'd be pretty limited in what you had available in that area. I'd also rather not spend any more time dealing with getting drivers that run properly than I already do using Windows.
Anyway, the article seems like a good intro for those who may be new to building a DAW and it's nice to see Tom's put up an article not geared towards gamers or IT. I didn't think I'd ever see an article relating to music production on here so I appreciate the effort, but there are some things that I would have liked to see mentioned. For starters, Cubase isn't the only 64-bit recording program. Reaper was already mentioned in the comments, and Sonar was 64-bit before Cubase ever made the move. Might be some others that are or are moving to 64-bit, but those were the major ones when I was looking into a recording program last year.
Also, although I could understand going with a processor that doesn't require some pretty massive cooling when you're going to be recording real instruments or vocals in the same room as the PC, I wouldn't recommend deliberately limiting processing power if someone is working largely, or even completely with midi. Once you start throwing in some VST synths and effects, the processor can be taxed pretty easily. You can get around it by bouncing tracks to wav as you work on other parts, but it can be a pain when you want to edit multiple parts in real time. -
You have a nice rig there, would look at cleaning up the wiring though, its a bit messy in the pic!Reply
-
Ryun This was actually a very interesting article. It's a shame though, I wish you had taken more pictures of the audio hardware and audio connectors instead of the "stock" hardware. I don't really know much about audio hardware or even the theory to work with, so pictures of those would have helped immensely for a noob like myself.Reply

